Community Brag Posts

Outdoor Daybed with Canopy
Submitted by calimomma on Wed, 07/04/2012 - 00:19

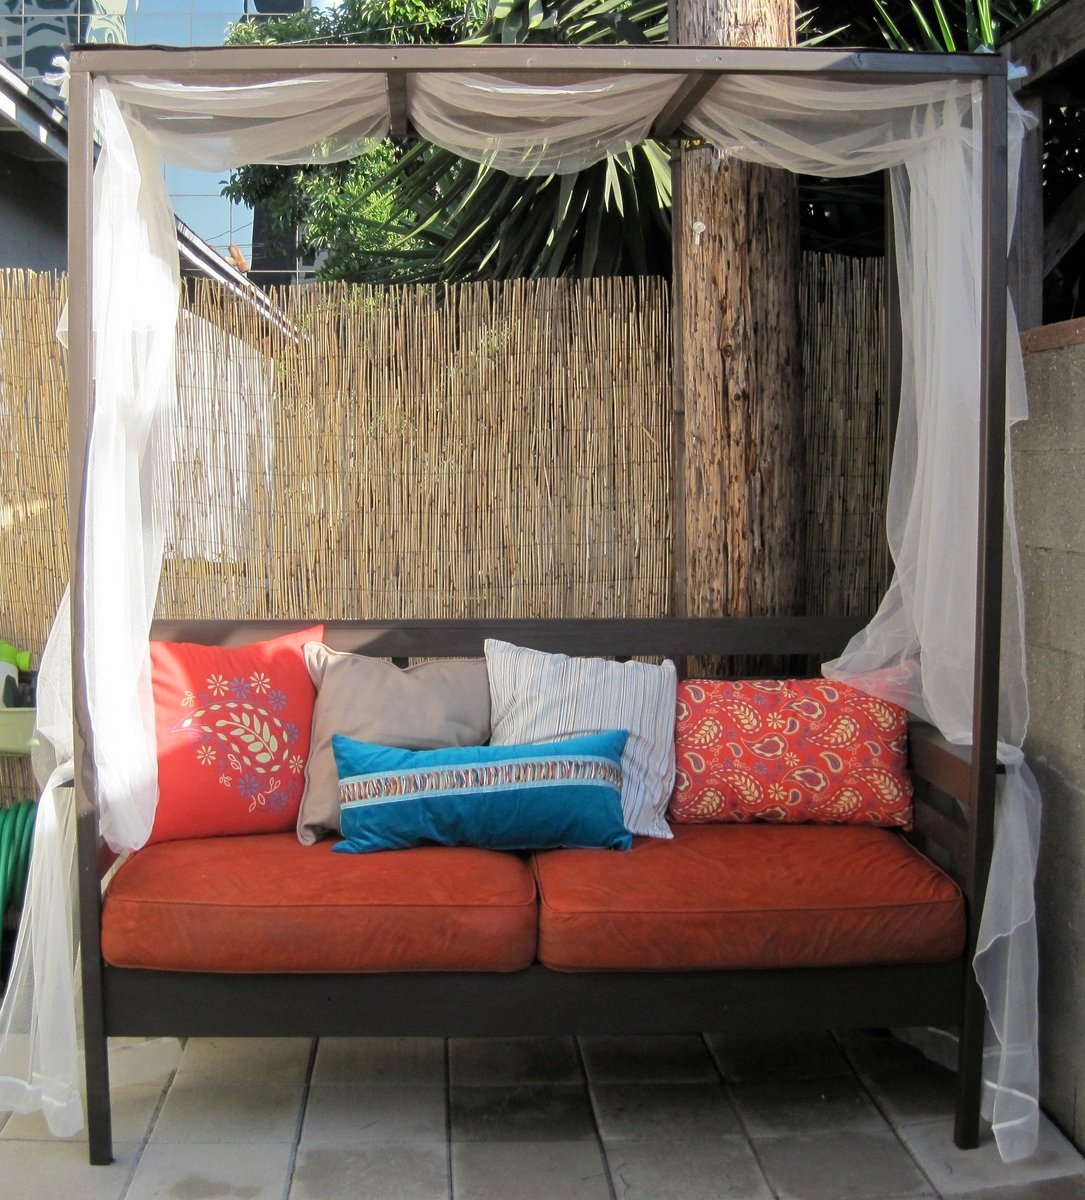
Thank you anawhite.com for this project! It was exactly what I was looking to build for my outdoor space. The outdoor daybeds with this look are WAY too expensive for us to buy and these plans were just what I needed!

My husband and I built (and painted) this project over one weekend. Not included in that time are 2+ hours shopping for materials on the friday night before and extra hours over the next few days to buy pillows, tie on the drapery, and finish the cushions.

We actually changed the plans to make more of a smaller 'daycouch' rather than a 'daybed' because we had some old cushions from a loveseat we just got rid of that I wanted to repurpose. It worked out great for our small space. If you do change the proportions keep in mind that a 1X3, 1X4, etc., are not exactly 3", 4", etc.

This project is totally doable, so go for it! The only things I would recommend are that you have some skills with power tools, know a little about carpentry (the directions are pretty spartan), and paint the pieces beforehand (if you have the patience; it really does cut down time on painting all those slats).

*Important note: the materials list is missing 2 2"X4"X8" (for the 2 cleats) that you need to complete the project.
Built from Plan(s)
Estimated Cost
$260+ (includes pillows and cost of way more paint than we needed)
Estimated Time Investment
Weekend Project (10-20 Hours)
Recommended Skill Level
Intermediate

Comments

calimomma

Fri, 07/13/2012 - 23:26

Thank you! We are pretty happy with the way it turned out. If you do the project please post a pic!

Double Kayak Rack

Submitted by JamieLynn on Tue, 05/26/2020 - 09:44

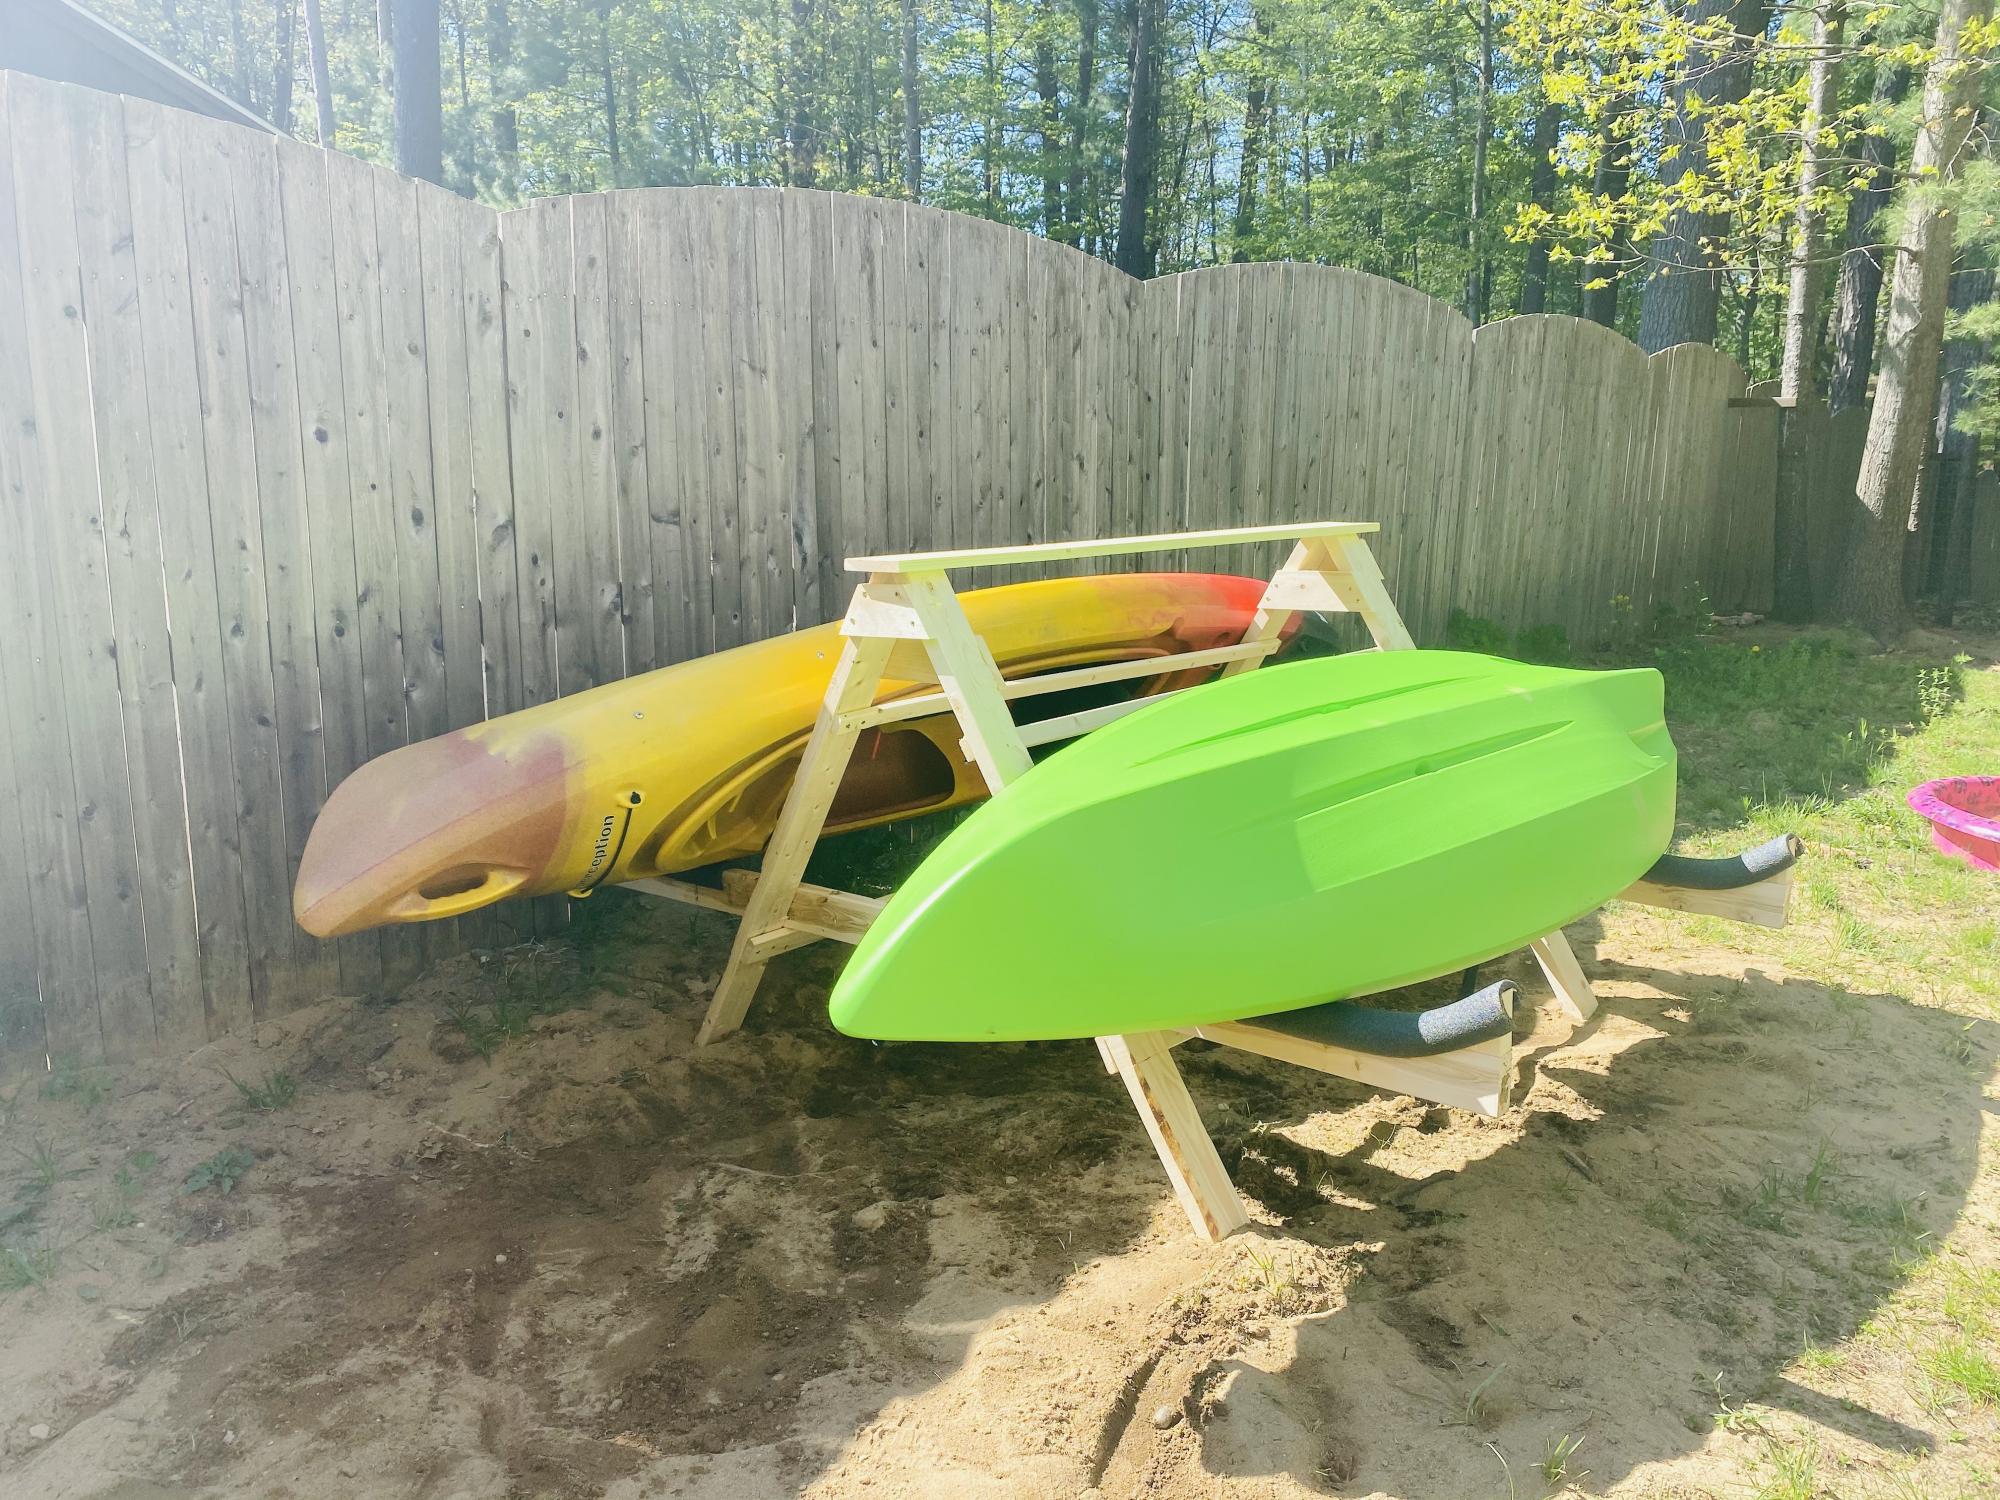
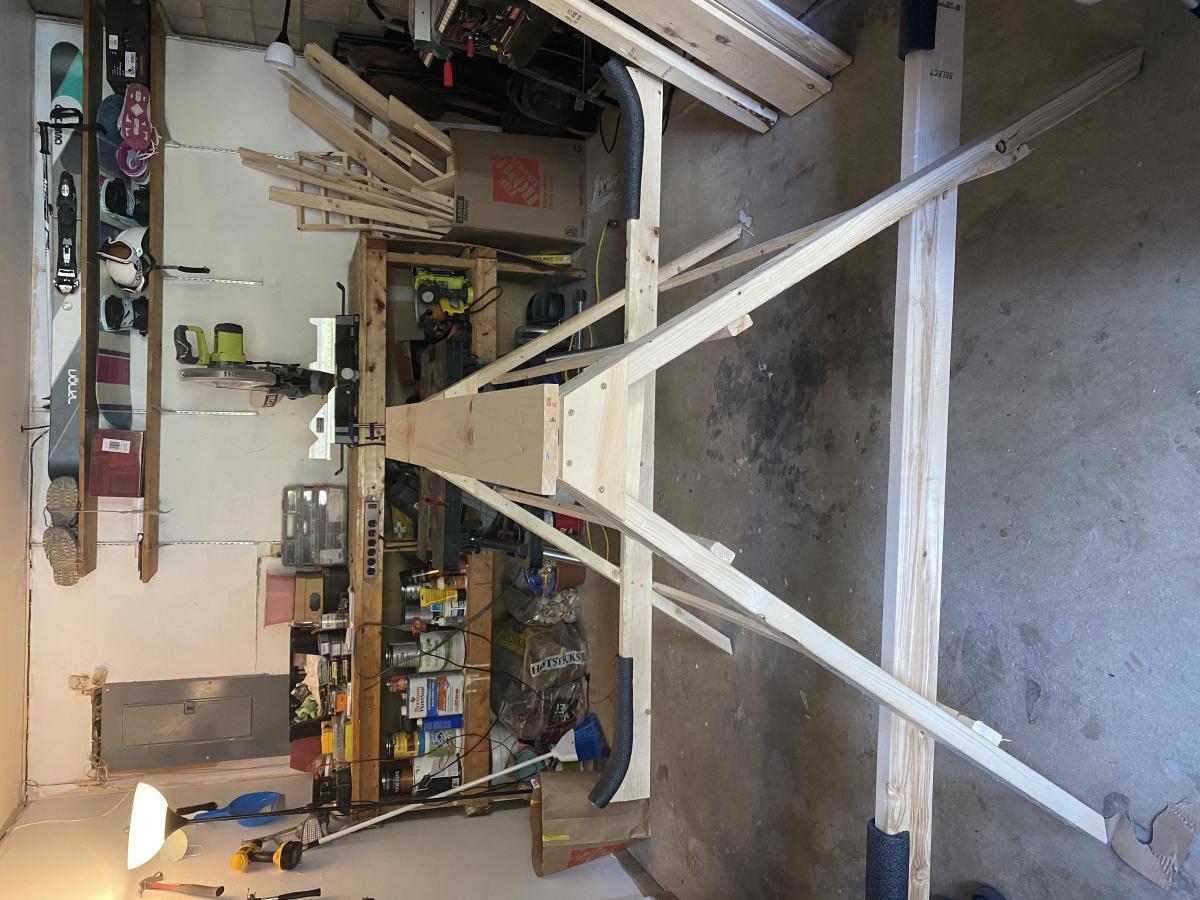
I couldn't find a plan for this but found a picture of what I was looking for. It's a little too big but works. Took about 3 hours to make. Used mostly scrap wood.

Estimated Time Investment
Afternoon Project (3-6 Hours)
Recommended Skill Level
Beginner

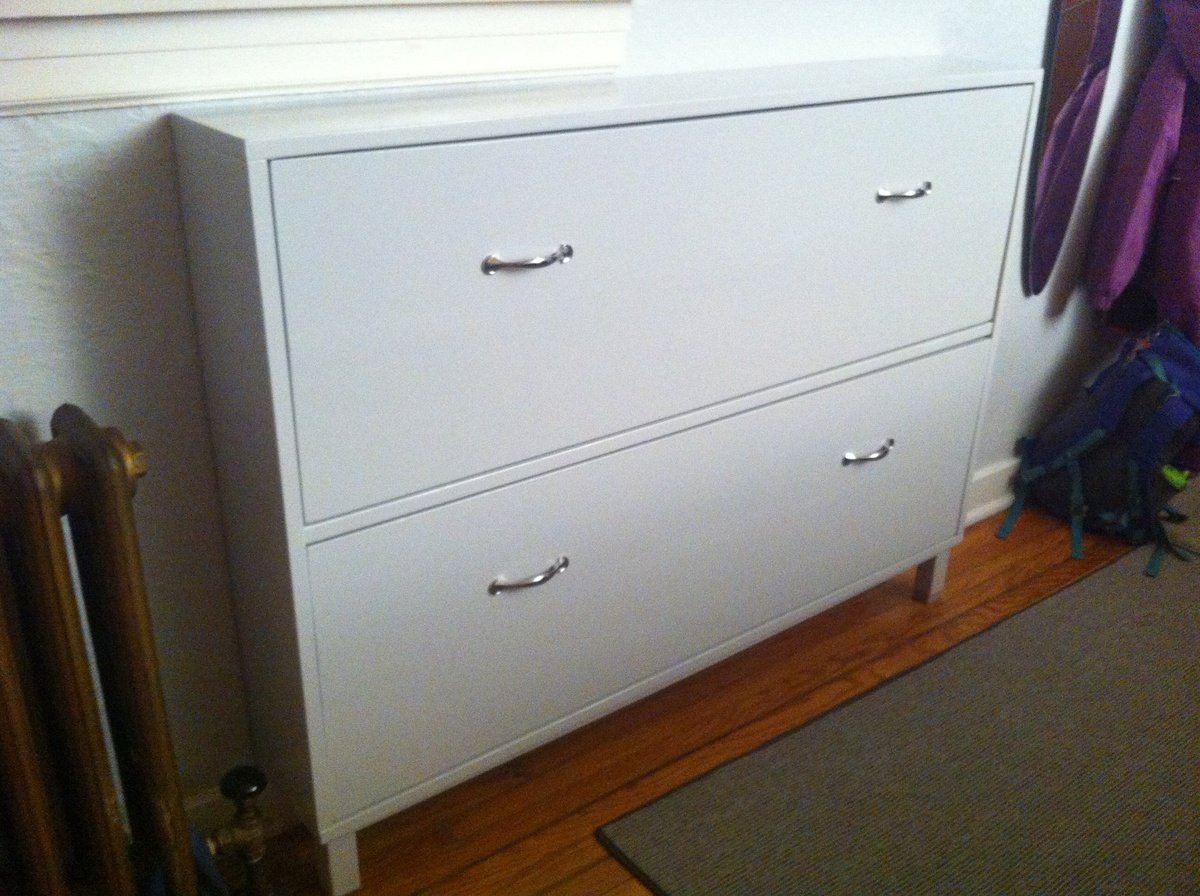
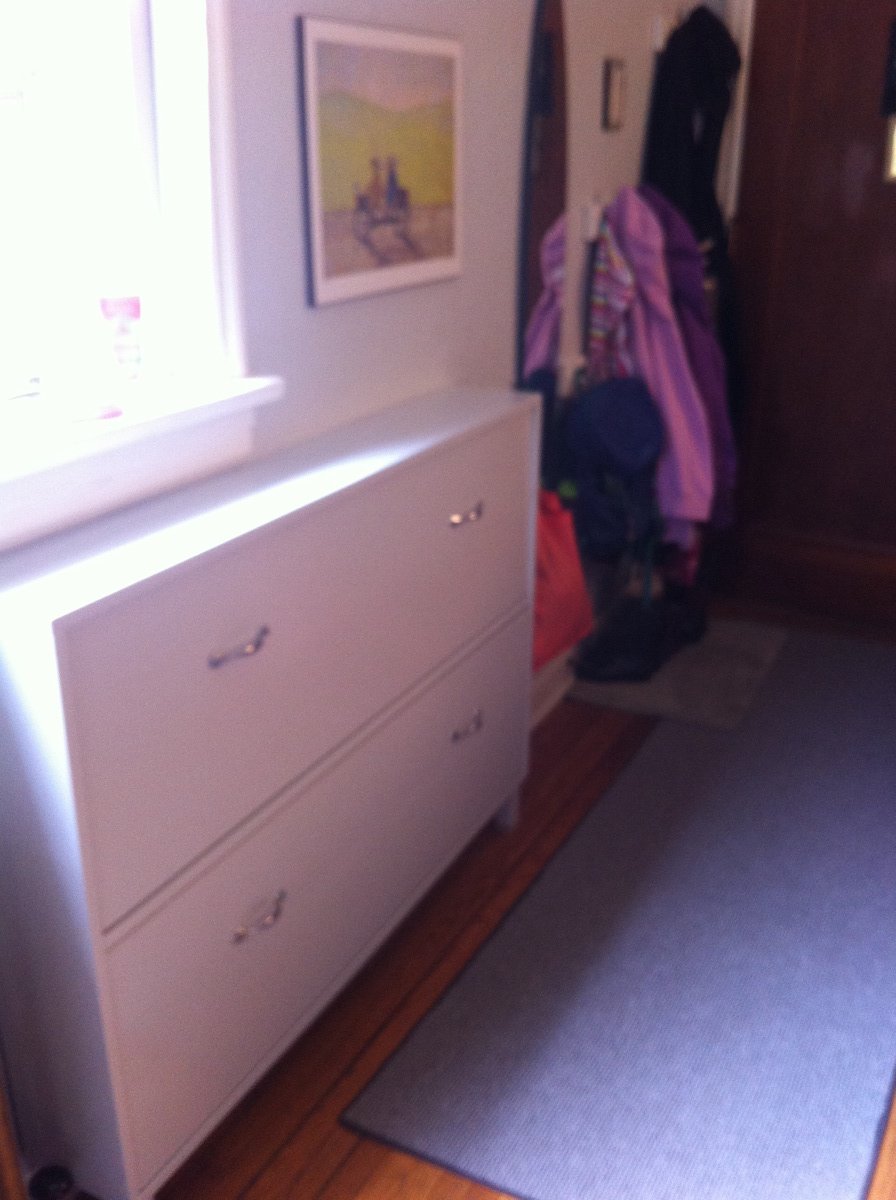
First build--shoe cabinet!!

Submitted by Anniecat on Fri, 05/16/2014 - 23:40

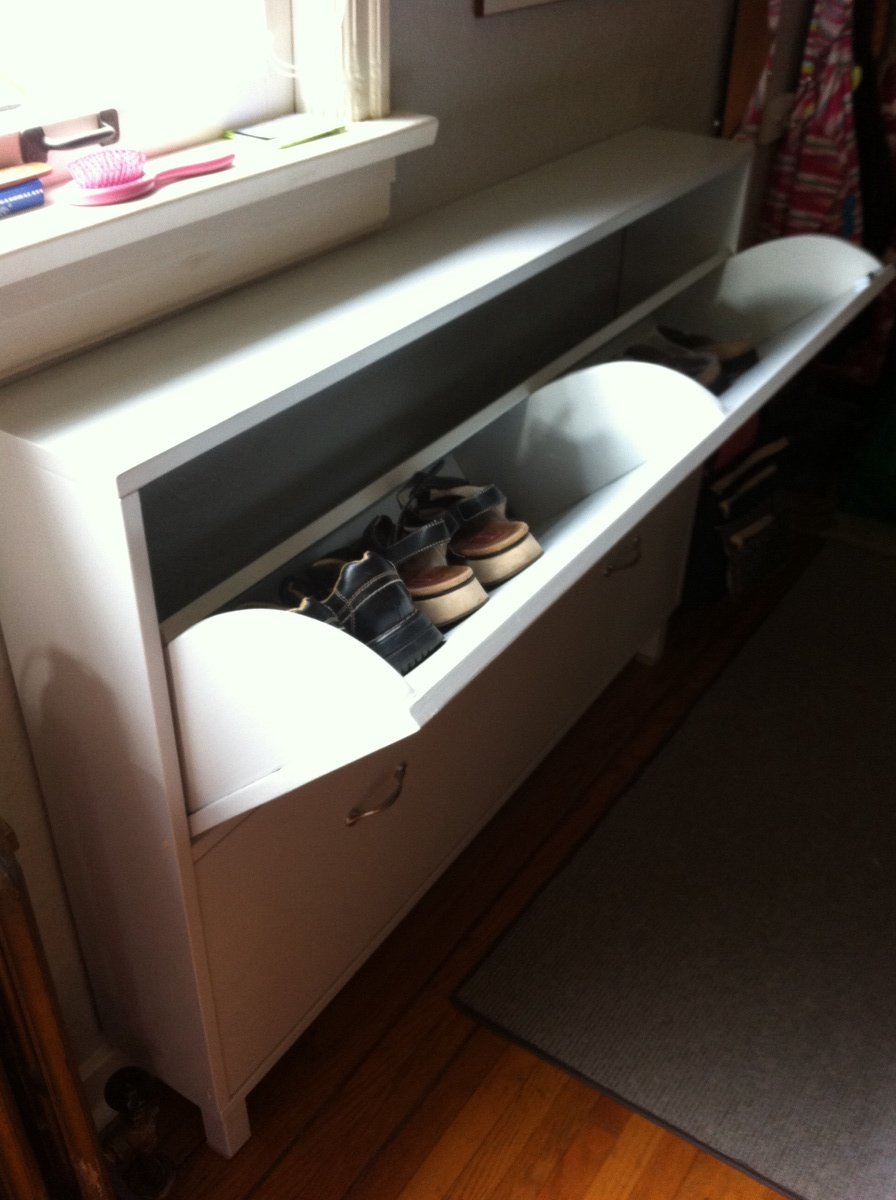
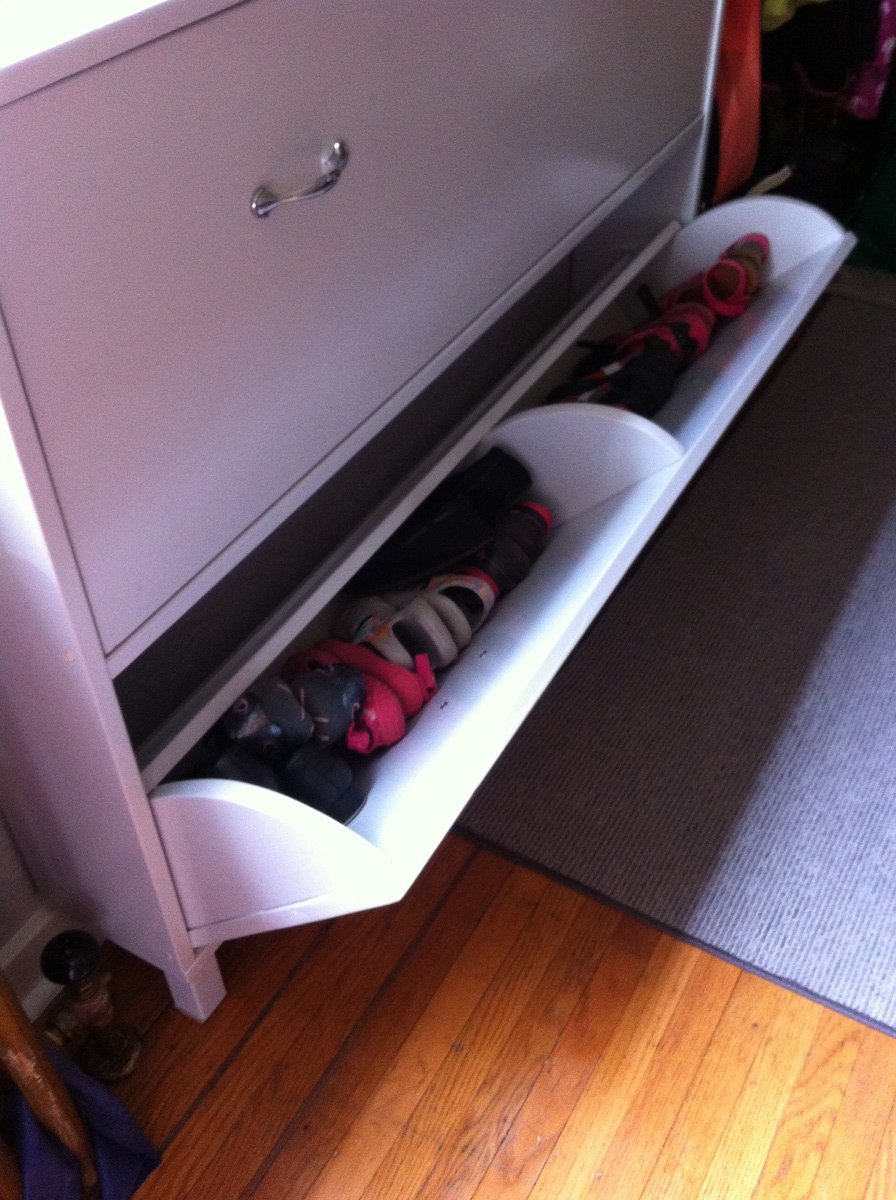
Had a horribly messy front entrance so really needed this shoe cabinet. It's dimensions suited my space better than an Ikea one, and accommodated more shoes. This being my first project, I am glad I started with this instead of a loft bed, since I made alot of mistakes (& corrections) along the way. Although some of the problems occurred because of pieces that ended up being convex. I chose to fill in the gap between the two boards on the front of each bin. It worked out really well.
Really love the Kreg Jig! So worth the investment.

Could not figure out how to properly use magnet catches. Did apply one to one side of the top drawer but it doesn't work too well--pulls the bin too far in. 

Built from Plan(s)
Estimated Cost
$80
Estimated Time Investment
Week Long Project (20 Hours or More)
Finish Used
Used latex primer (which I hated because it behaved like an alkyd & destroyed a couple of brushes) & high gloss paint for high durability.
Recommended Skill Level
Beginner

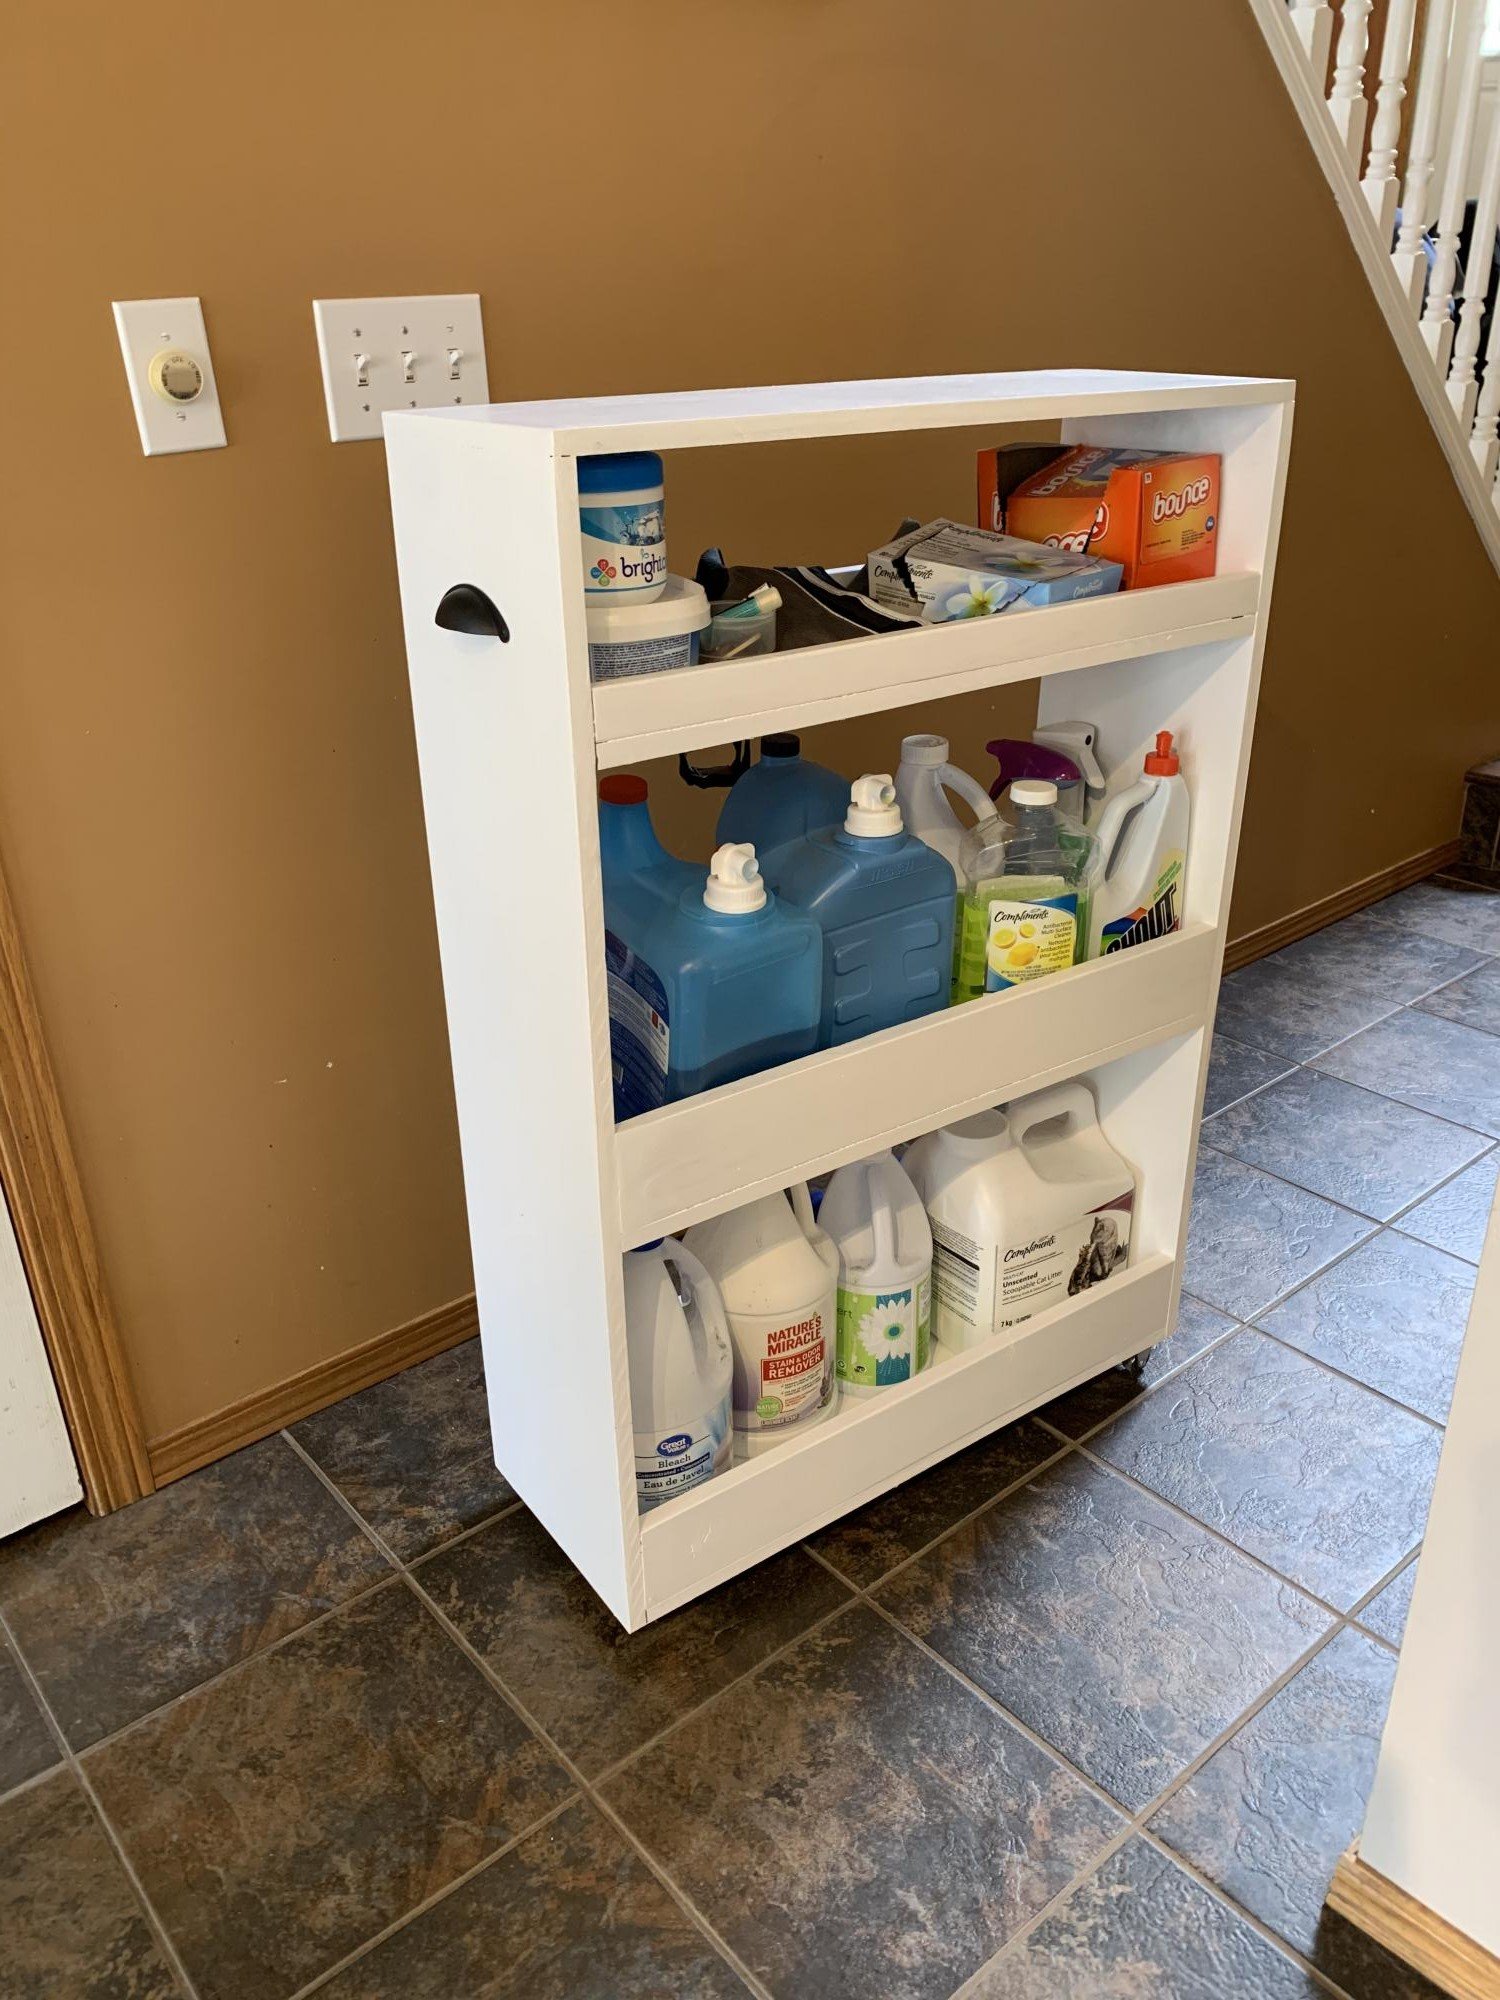
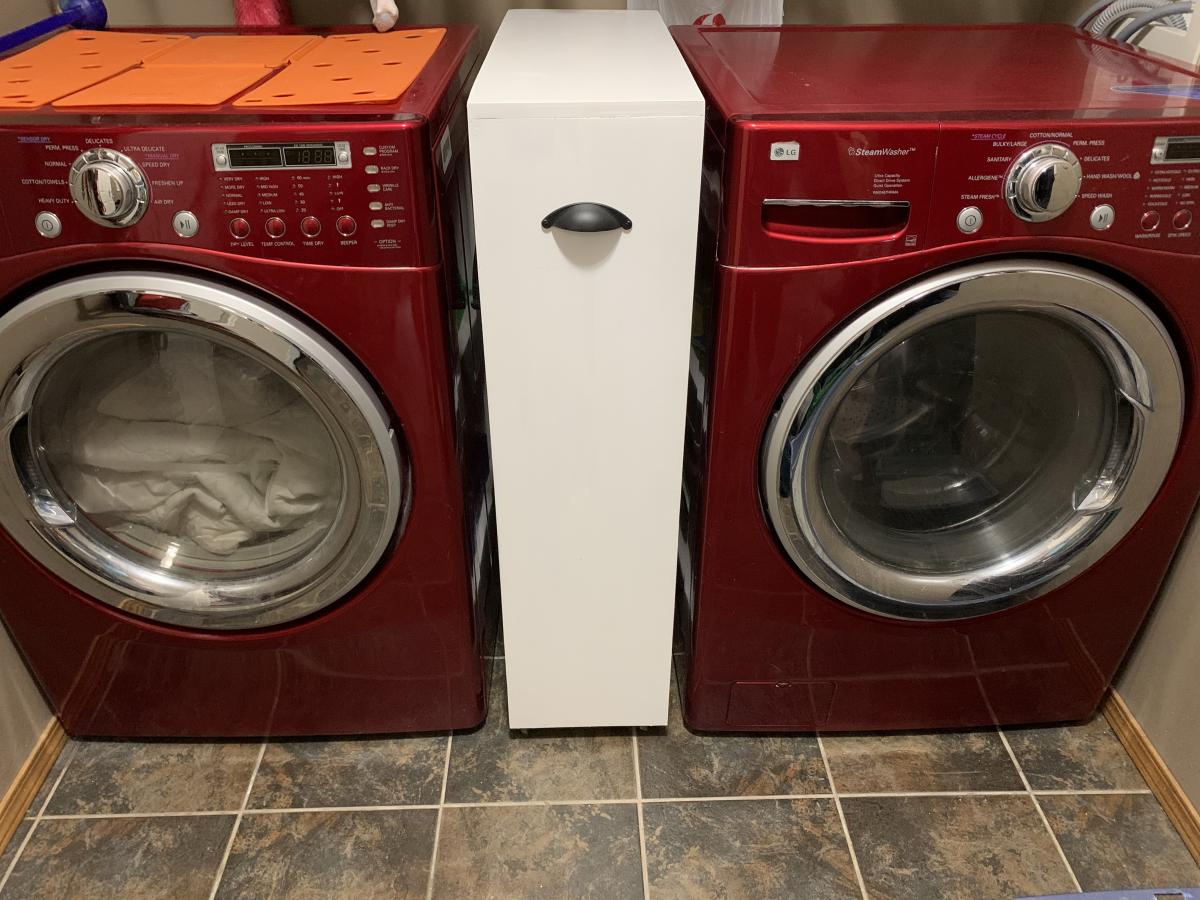
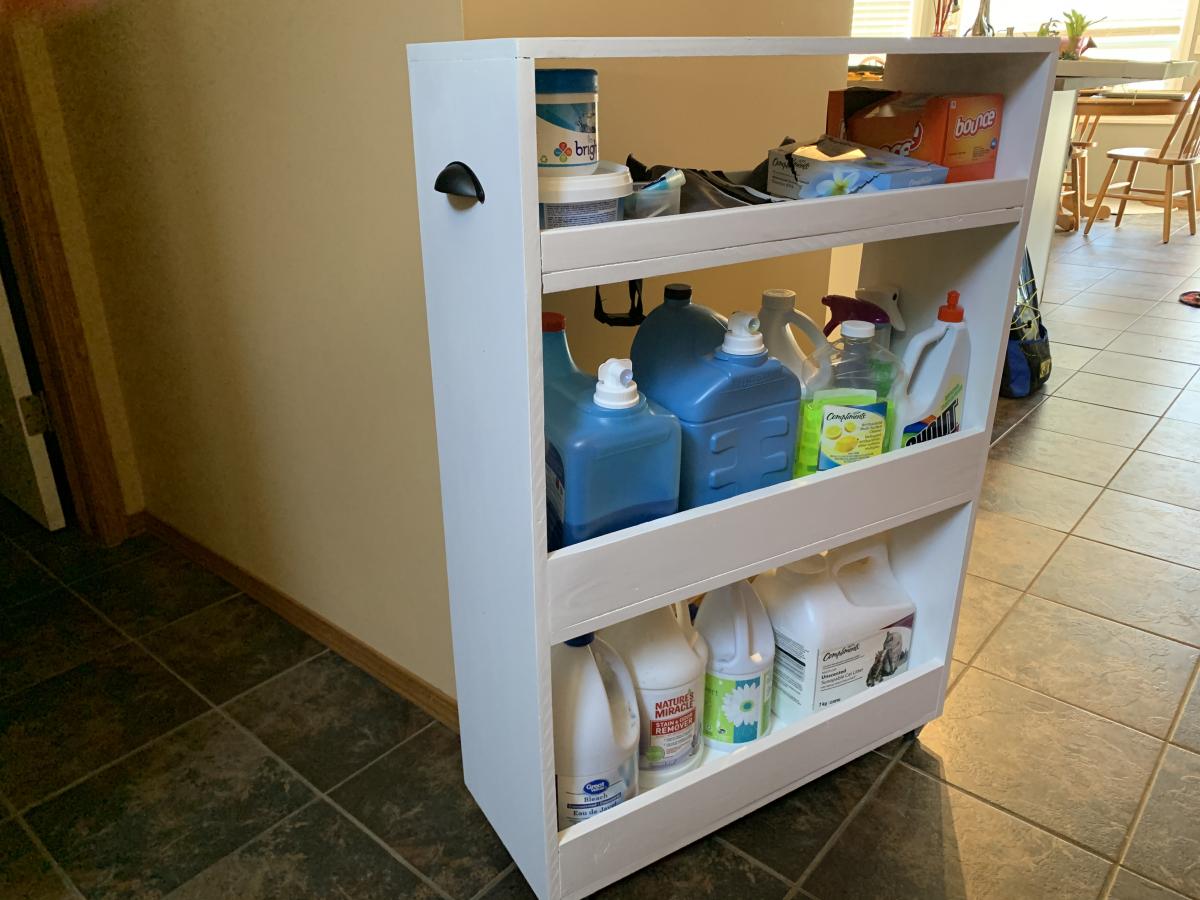
Rolling laundry cart

Submitted by smitcher on Wed, 06/03/2020 - 13:48

My husband and I have been inspired by your website and are getting started with wood working projects. We did this cart on the weekend. We used MDF board for the front, back and shelf bottoms because we had it laying around after replacing our garage shelving. I’m pleased with how it turned out given that we are just beginners. I do think we’ll have to invest in a table saw. Not a fan of working with MDF board. We used the example found on Infarrantlycreative.net but changed it up slightly. (Sorry about the first photo, I can’t seem to delete it)

Estimated Cost
Under


Approximately $35 CAD because we had the MDF, paint and nails
Estimated Time Investment
Afternoon Project (3-6 Hours)
Recommended Skill Level
Beginner

Comments

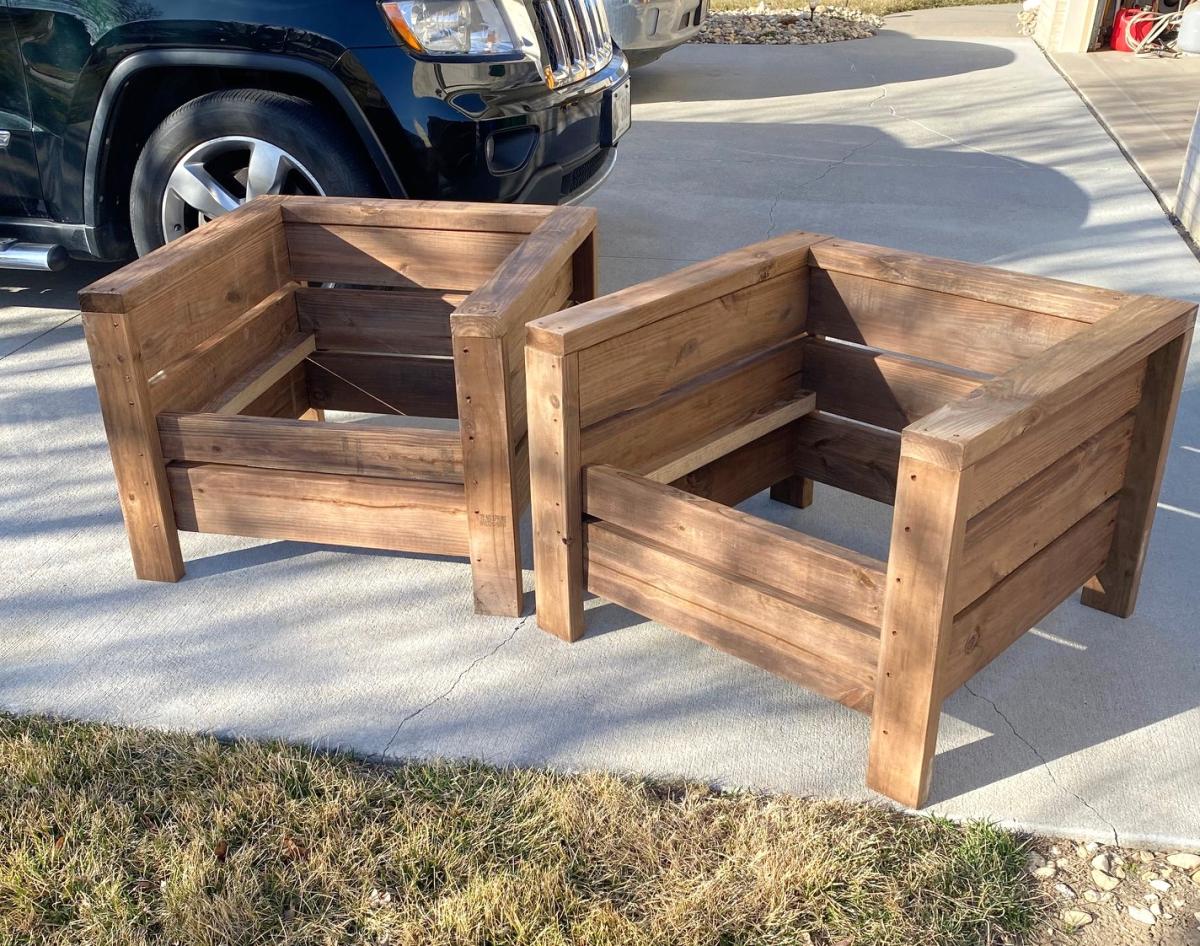
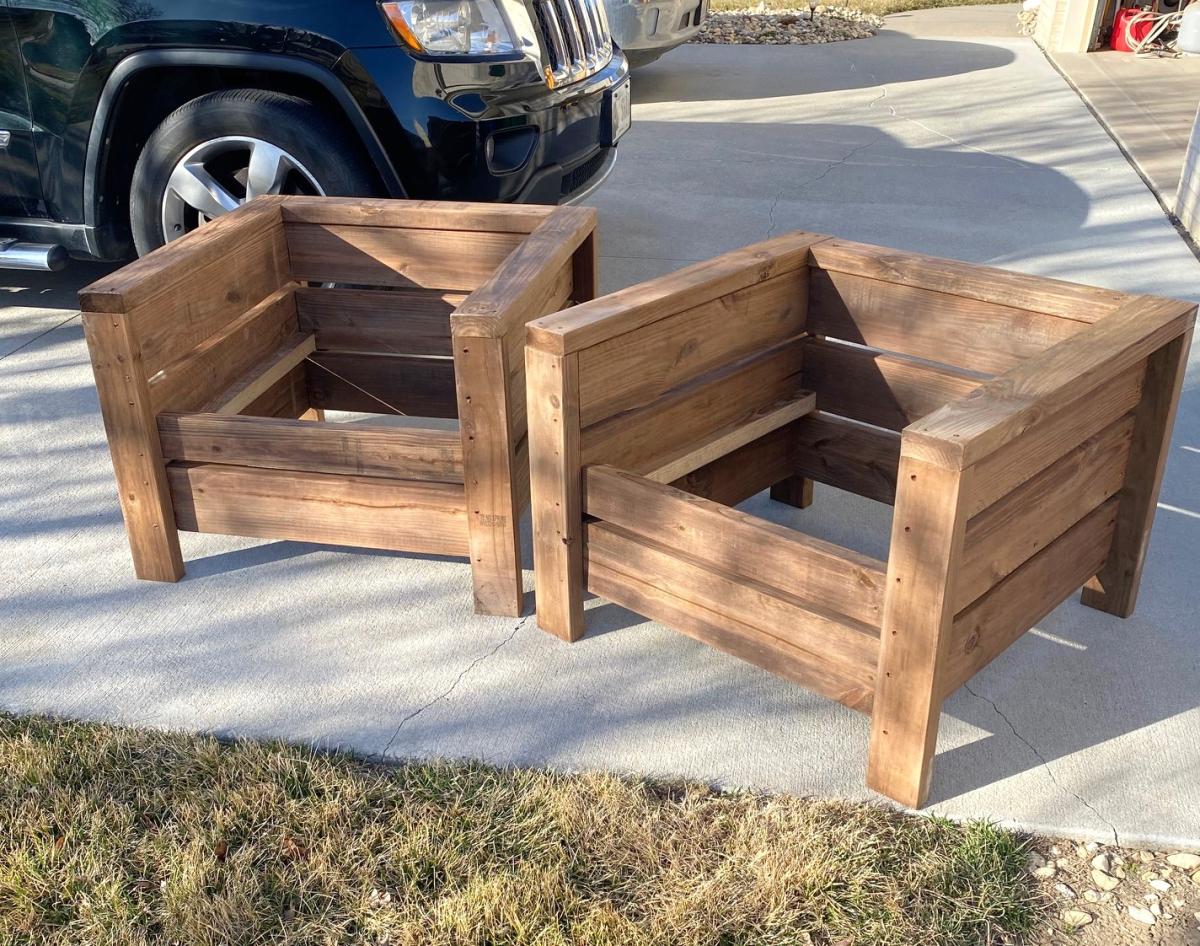
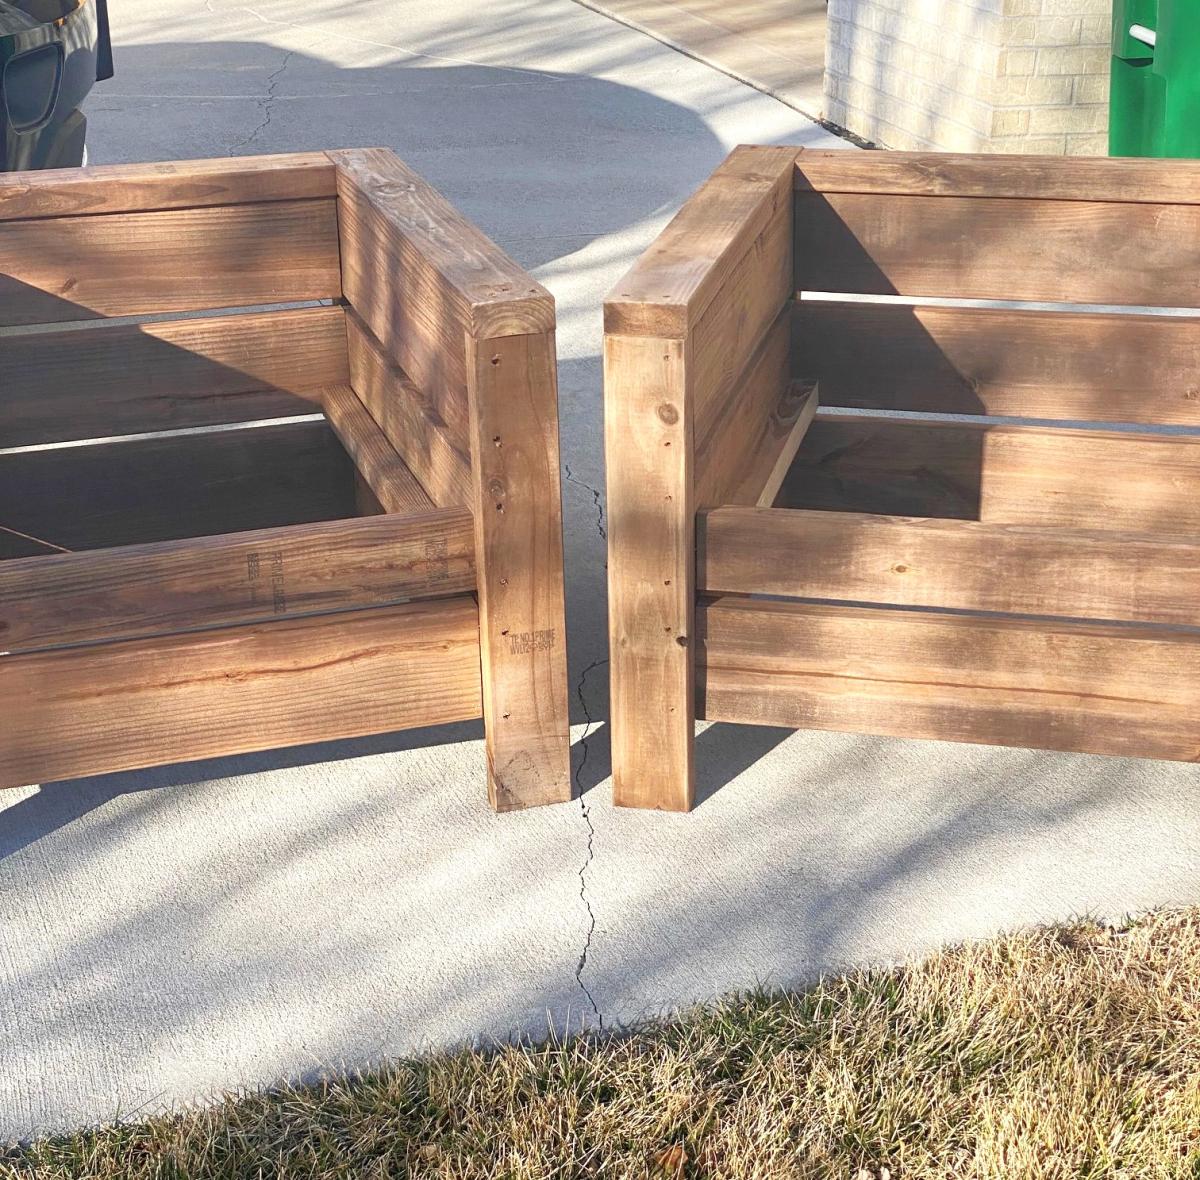
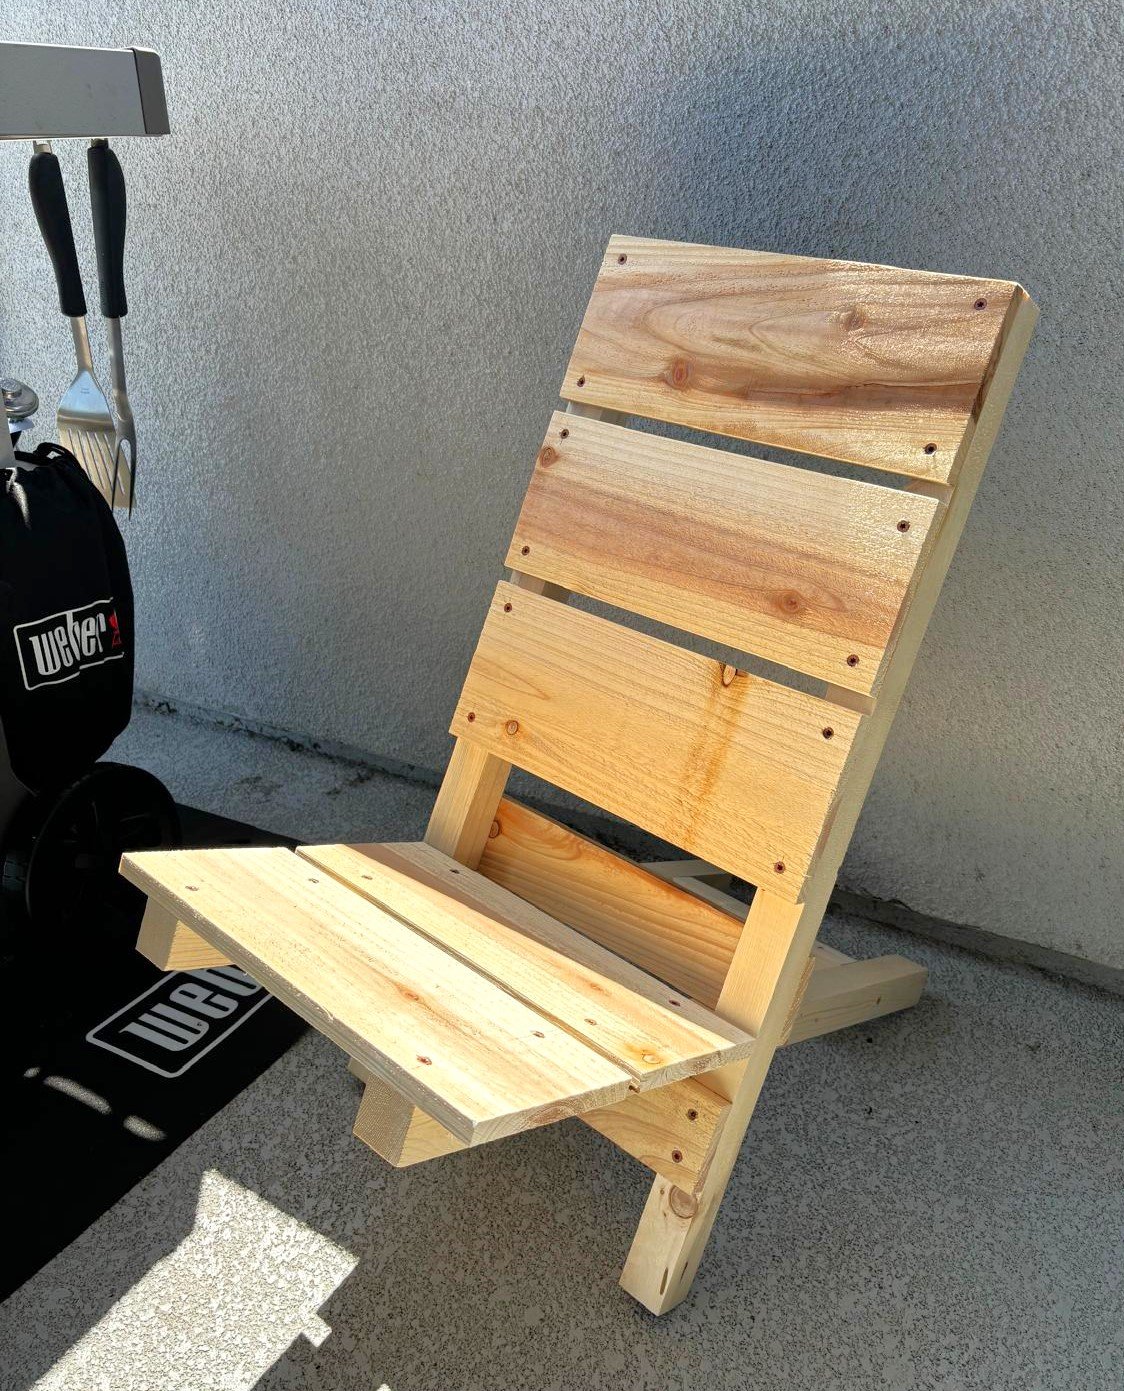
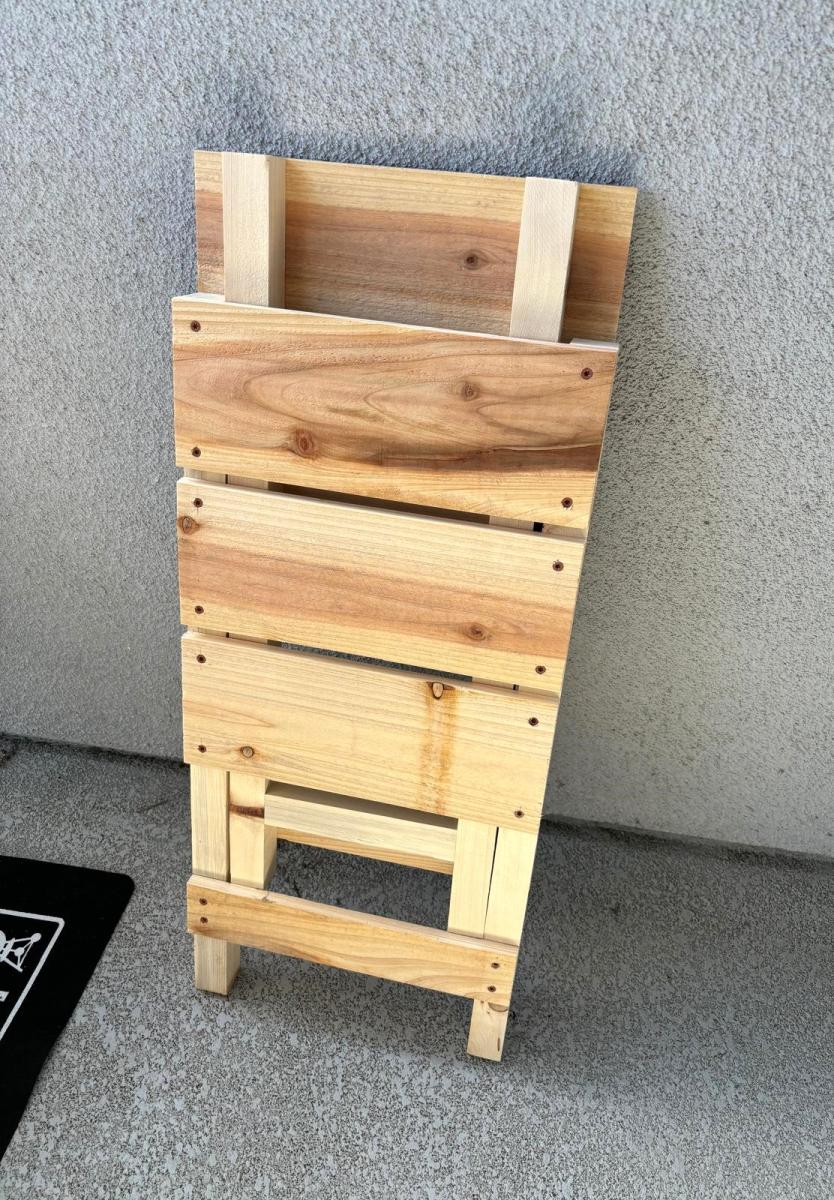
Rustic Outdoor Chairs

Submitted by Anonymous (not verified) on Mon, 03/04/2024 - 11:53

Seen these plans a couple years ago and finally have gotten around to making a set. This was a fun and really easy to follow set of instructions and I think they turned out really nice.

Jeff, with LaBrie Family Woodworking LLC

Seasonal And Holiday

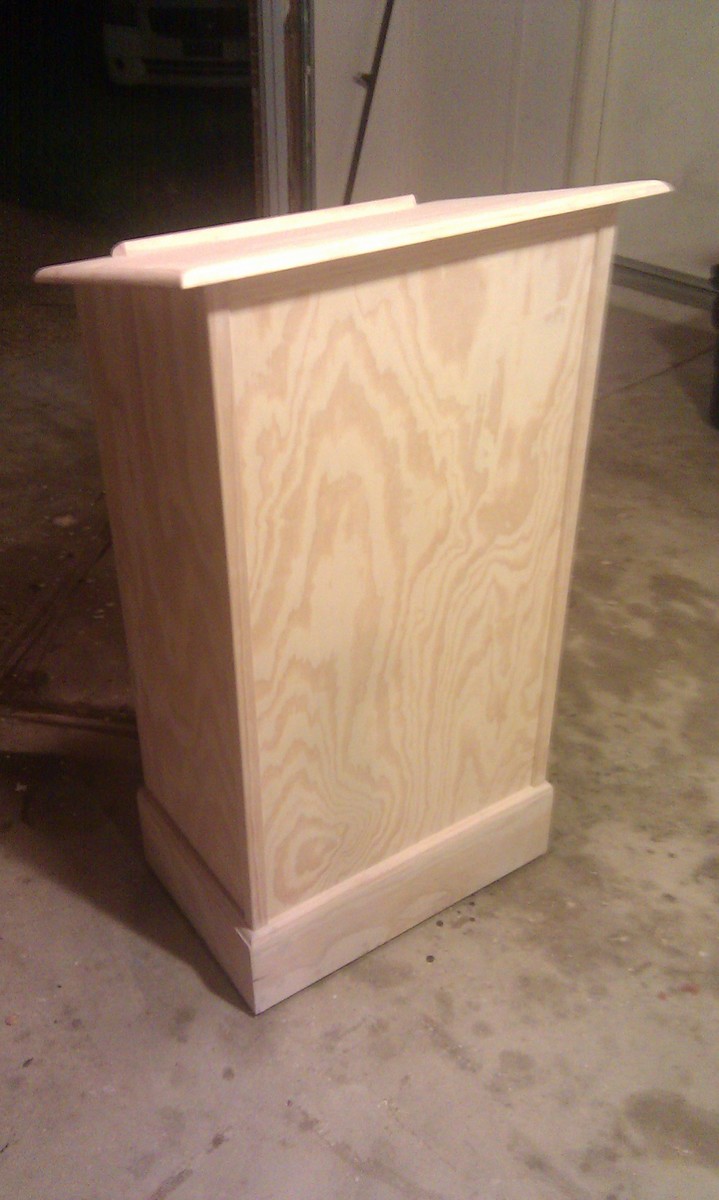
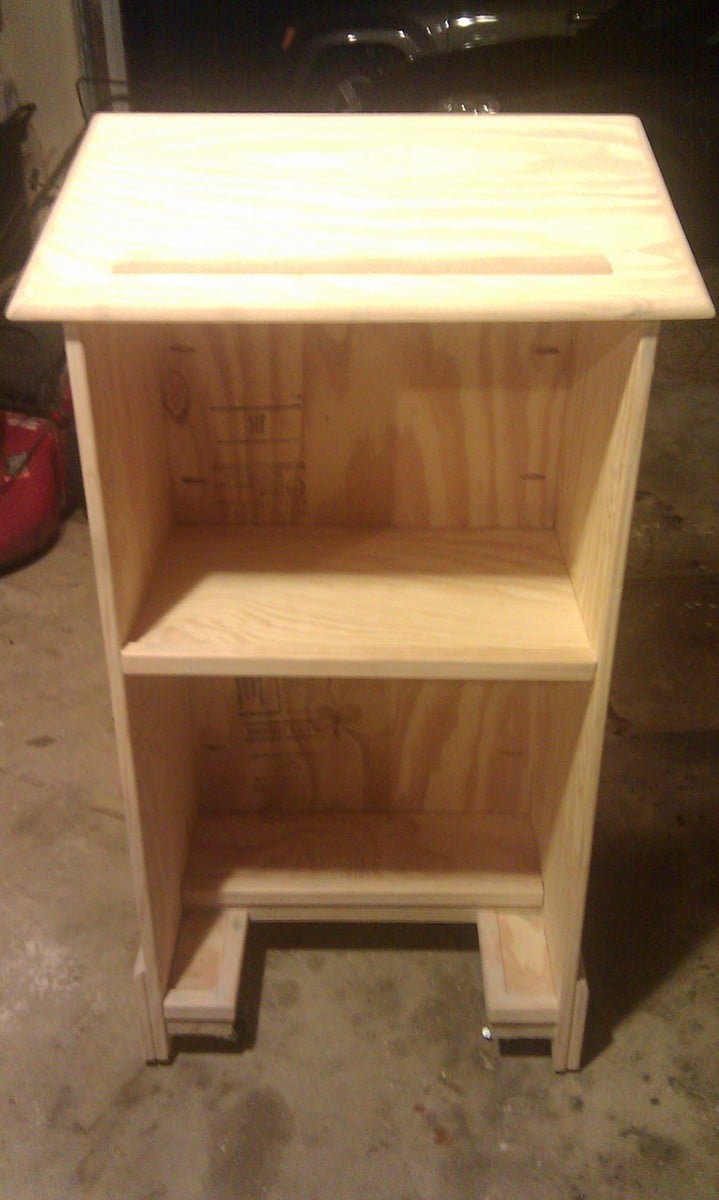
Podium for My Wife's Classroom

This is my first try at building furniture. I've built larger things in the past like decks and a fort for my nephews, but never furniture. Even though I used the plans to build the main box, I did change up the bottom and added some new stuff. I added wheels to the bottom my wife could easily move it around her classroom. I didn't want to put a square base on it because I thought it might hit her ankles when she was standing close to it. So I sort-of notched it out to give an opening for her feet and I used some scraps to create a short shelf at the bottom. I also added more trim that the plans call for. I cut strips of the pine plywood for the base molding and topped it with quarter round. I used corner trim for the front corners, the self inside and the bottom notched shelf. I also used screen trim for the back of it. I think it came out nice and I've very pleased with it. I used 2 coats of Minwax PolyShades American Chestnut on it.

Built from Plan(s)
Estimated Time Investment
Weekend Project (10-20 Hours)
Finish Used
Minwax PolyShades American Chestnut
Recommended Skill Level
Beginner

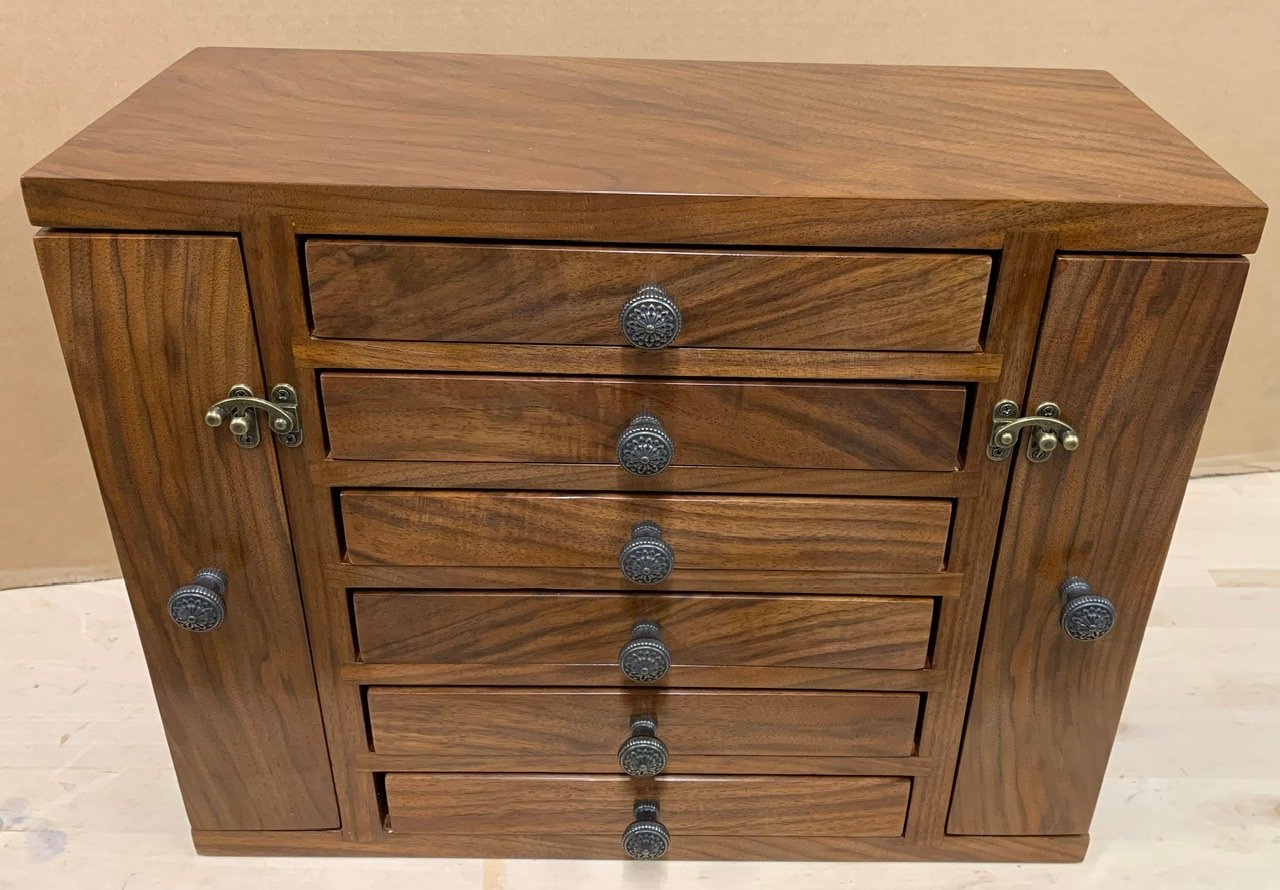
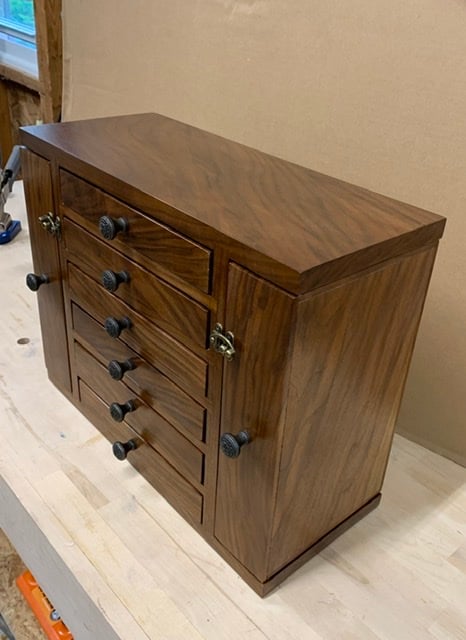
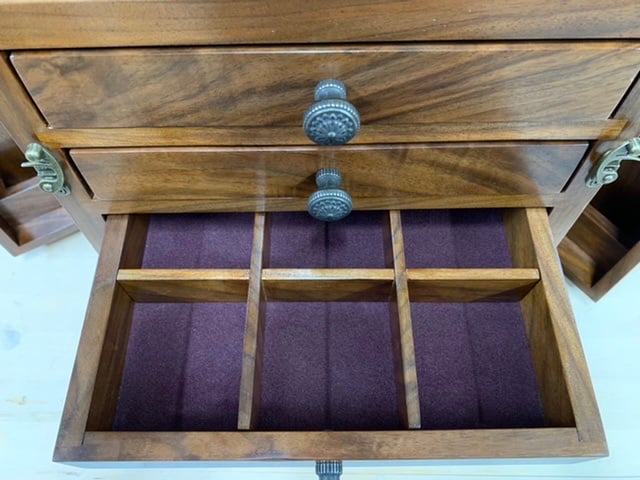
Fancy Jewelry Box

Submitted by Matt L on Mon, 06/29/2020 - 19:52

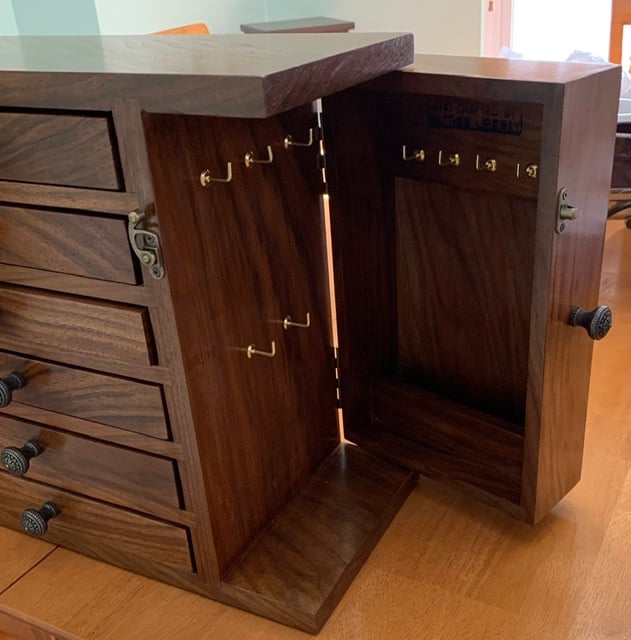
Great plans and a fun build. I made some modifications. My drawers are 1.5” high and 10” long. It allowed for 6 drawers. Overall height is 13.75” and length is 17.5”.

I used rabbits and dados rather than butt joints. There is flocking in the drawers.

Built from Plan(s)
Estimated Time Investment
Week Long Project (20 Hours or More)
Finish Used
Garnet Shellac at a 2# cut. Wiped on. I used 4 coats sanding with 400 grit after coats 2 and 3. I used 0000 steel wool after coat 4. Then I applied Paste wax.
Recommended Skill Level
Intermediate

Organizer

Submitted by Taa-daa on Thu, 09/29/2016 - 21:41

It's a little twist on Ana's Coat organizer. Turned out really useful and did not cost me anything since I ussed scrap wood. I wish I would build have built one for coats as well.

Estimated Cost
0
Estimated Time Investment
An Hour or Two (0-2 Hours)
Finish Used
Walnut stain plus clear coat
Recommended Skill Level
Beginner

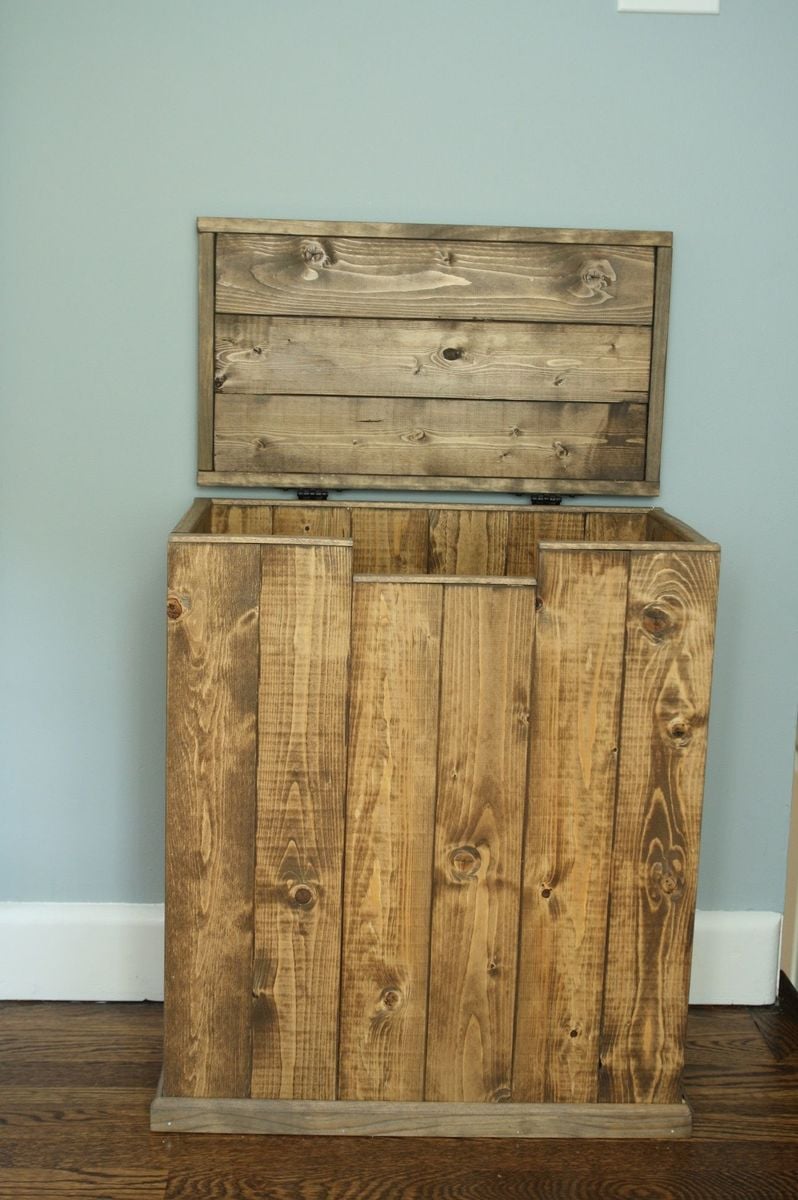
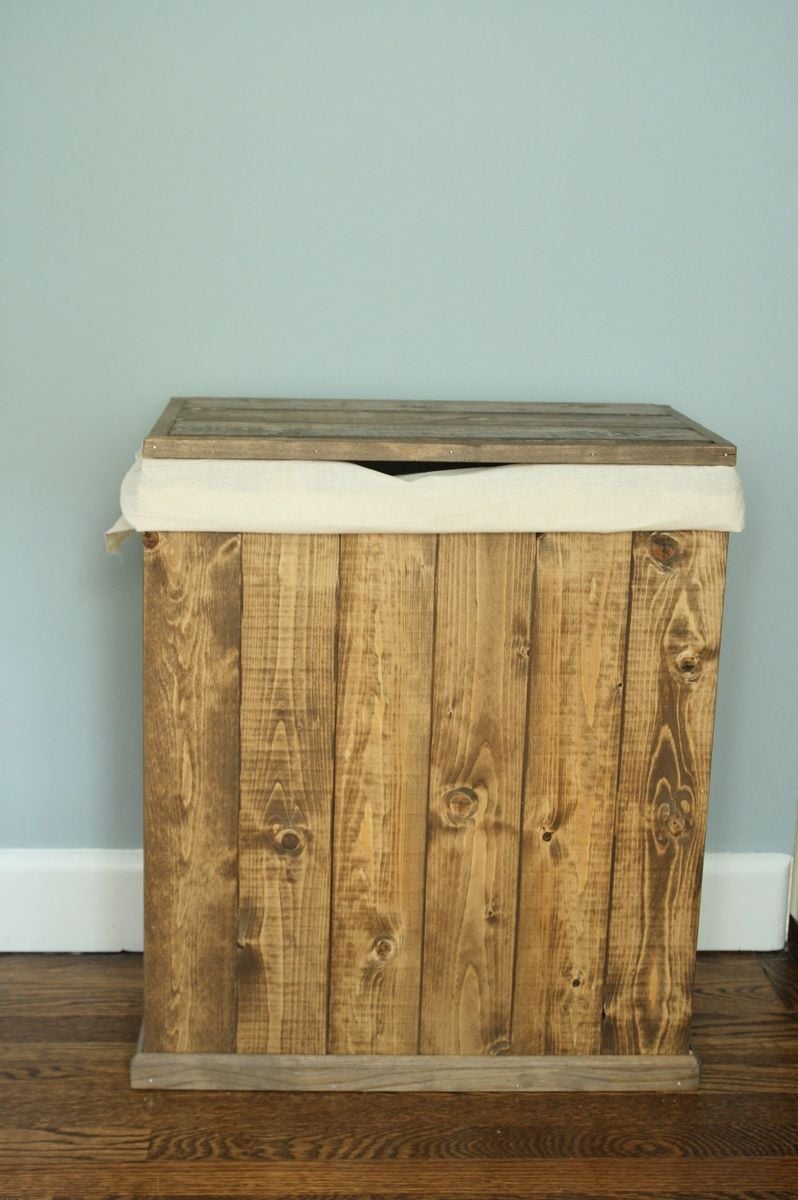
Hamper

My family is expanding, which means more laundry! (I am 39 weeks pregnant now) So I decided to build a big enough hamper for us (two adults, one toddler who constantly dirties his clothes). For finish, I tried to mix two stains "weathered oak" and "dark walnut" and I think it came out really nice! I must admit I love my new hamper!

Estimated Cost
$40~50
Estimated Time Investment
Day Project (6-9 Hours)
Finish Used
weathered oak : dark walnut = 2:1
Recommended Skill Level
Starter Project

Comments

momkanof6

Wed, 04/01/2015 - 05:00

I liked this design of hamper you made. After looking at your photo and doing some figuring I started working on my own yesterday. So far I like it, although I think mine maybe taller. Again I really like your idea here.

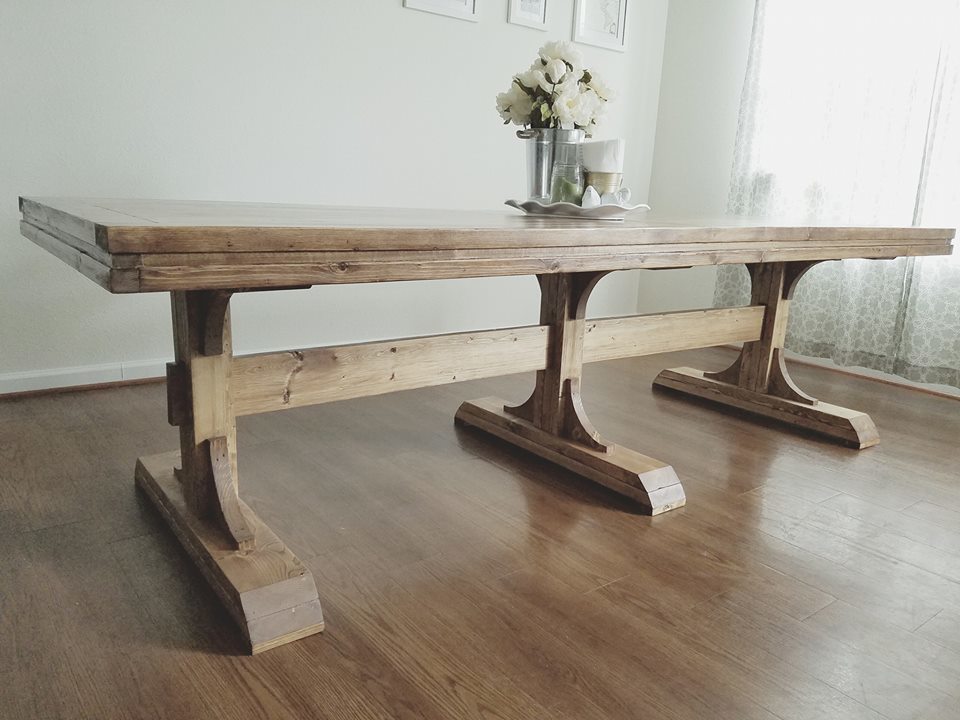
Beautiful Table

Submitted by Anonymous (not verified) on Mon, 11/07/2016 - 05:27

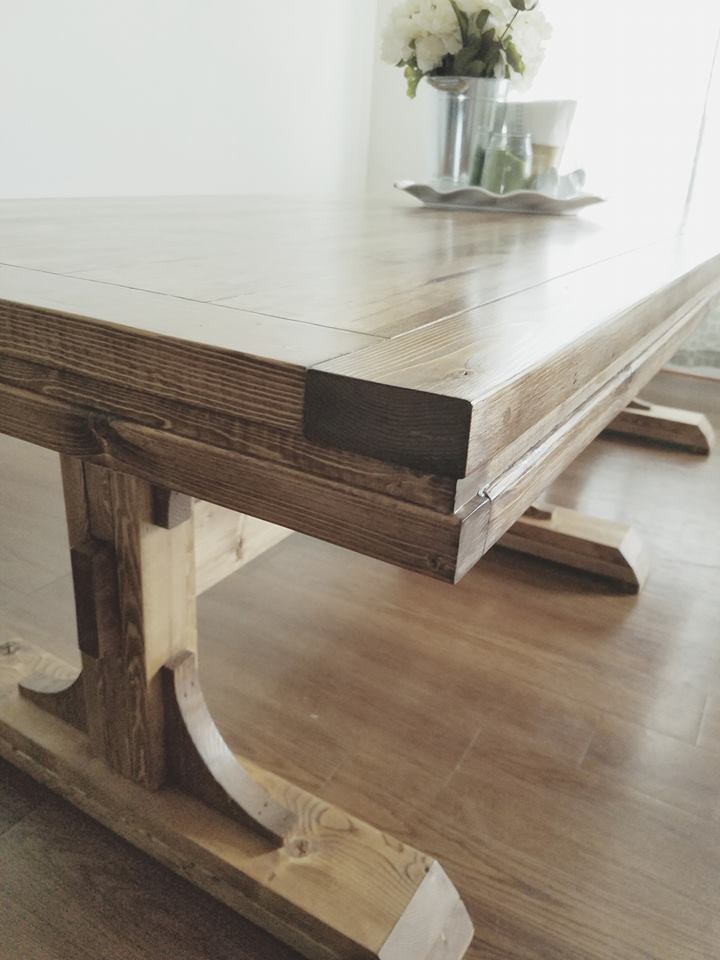
We have been eyeing this table for years now...finally the military has brought us to the east coast where we have room to do some wood work hobbying! This table is sturdy and beautiful. Love that we can break it down into so many pieces for our moves. Thank you Ana White!!

Built from Plan(s)
Estimated Cost
140 for wood, hardware, stain and sealer
Estimated Time Investment
Weekend Project (10-20 Hours)
Finish Used
Minwax Early American, Varthane semi gloss poly
Recommended Skill Level
Intermediate

Comments

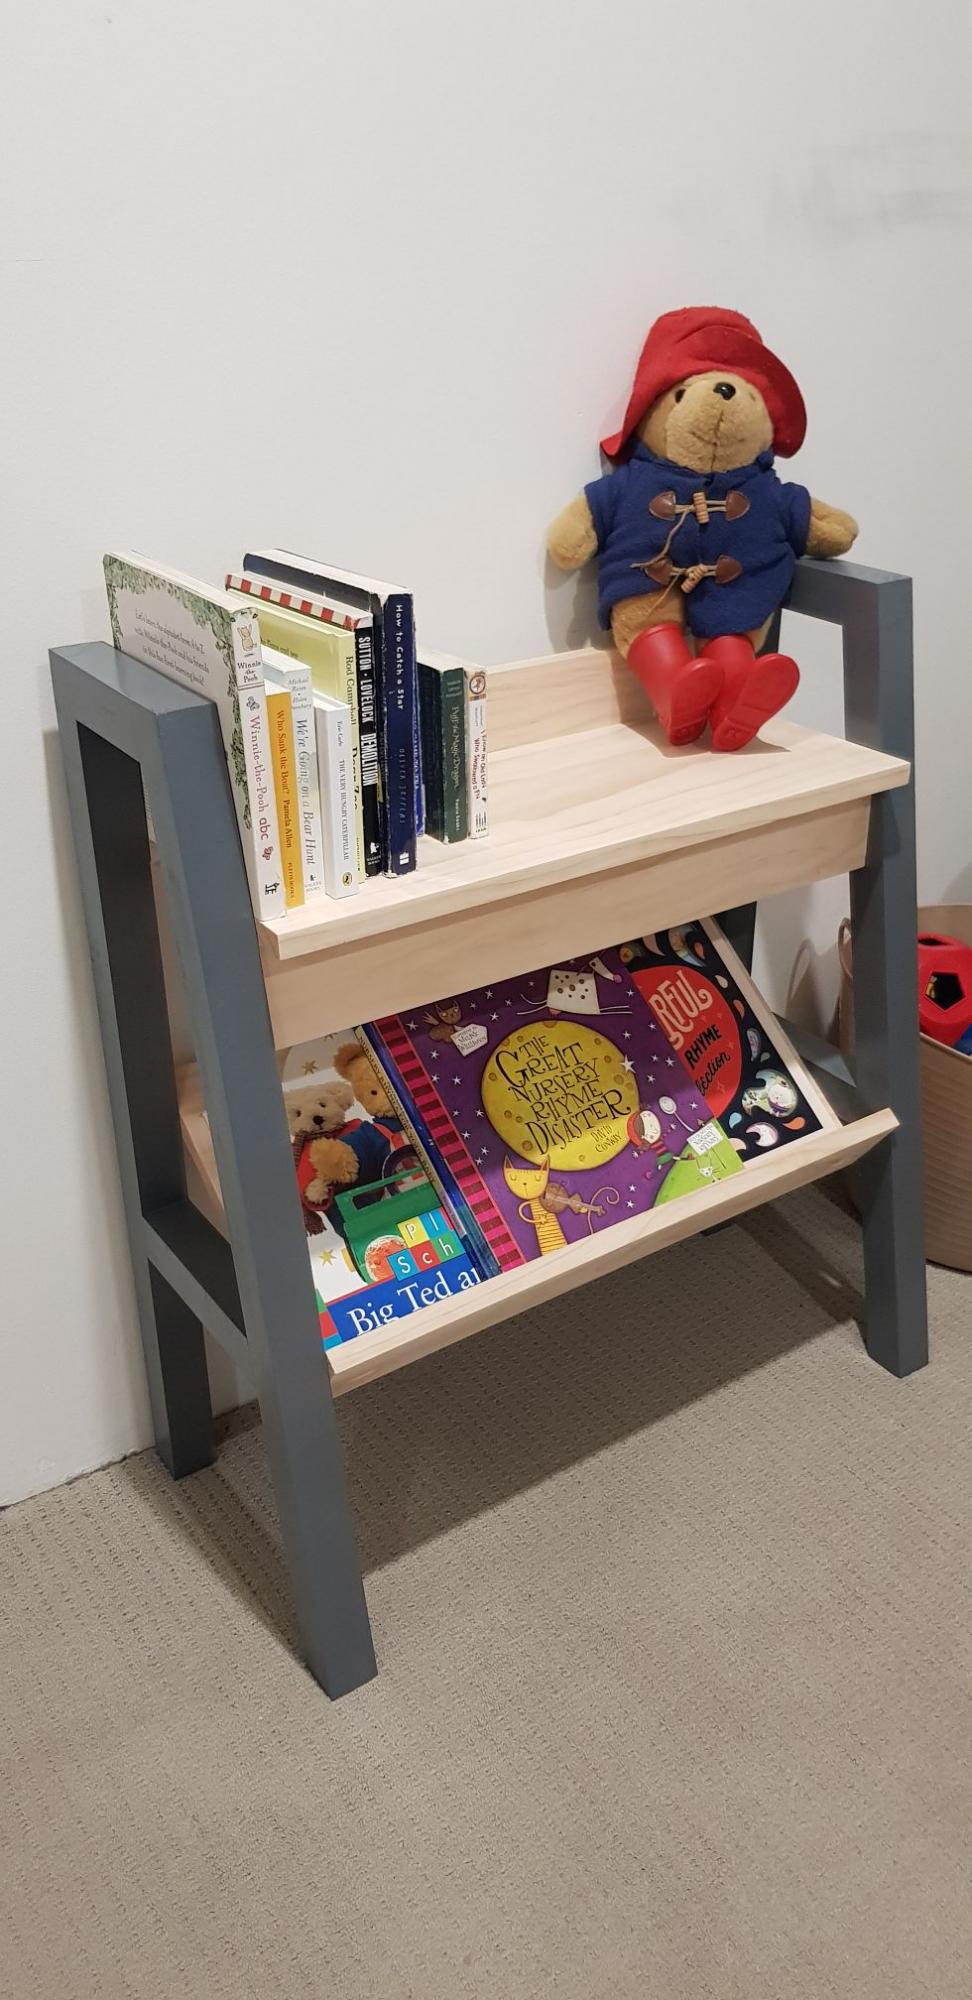
Kids bookshelf

Submitted by Anonymous (not verified) on Mon, 07/27/2020 - 17:52

Had to half the length due to room size, but was happy with the results!

Built from Plan(s)
Estimated Time Investment
Weekend Project (10-20 Hours)
Finish Used
Charcoal spraypaint and clear varnish
Recommended Skill Level
Beginner

Comments

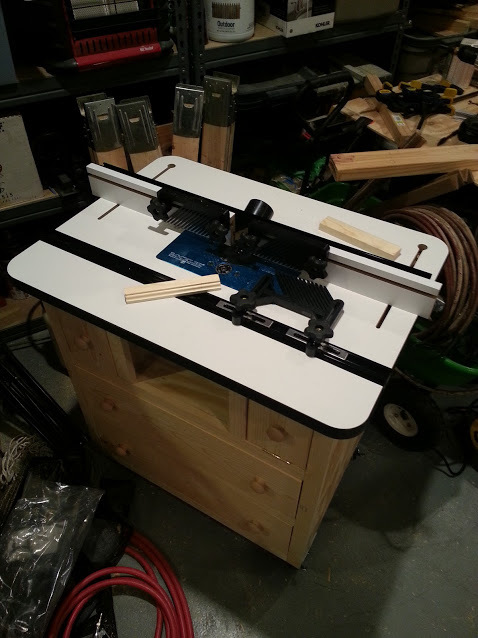
Router table w/ rockler table, fence and lift

Submitted by 1n4001 on Fri, 11/02/2012 - 08:19

Built Patrick's Router table and added a rockler table, fence, and lift to finish off.

Built from Plan(s)
Estimated Cost
~$90 in lumber and hardware + ~$460 for table top, fence, and lift + $170 for bosch 1617evs router
Estimated Time Investment
Day Project (6-9 Hours)
Finish Used
raw, probably sand and spray some poly on it in the near future.
Recommended Skill Level
Intermediate

Comments

Patrick Hosey (not verified)

Fri, 11/02/2012 - 09:10

Yes! Enjoy. It'll be the most valuable tool in your shop trust me.

patrickhosey

Sat, 11/03/2012 - 19:28

Here's a tip for that 1617 router. Try putting a bandaid over the on/off switch. That thing will get gummed up if left uncovered. It's annoying.

jimssolidwoodp…

Sun, 03/05/2017 - 21:13

My question for Patrick is when he built the top section for 2 small drawers and middle section for the router access..

Did Patrick put on top a 3/4" pc of plywood then the router table top.

Can l attach my router table top to the top pc if 3/4"plywood then my table top is 1 3/4" thick that it would be to thick could you email to let me know please.

Jim

Ultimate Work Bench using Ana's plans

Submitted by Wendy KT on Mon, 08/31/2020 - 08:30

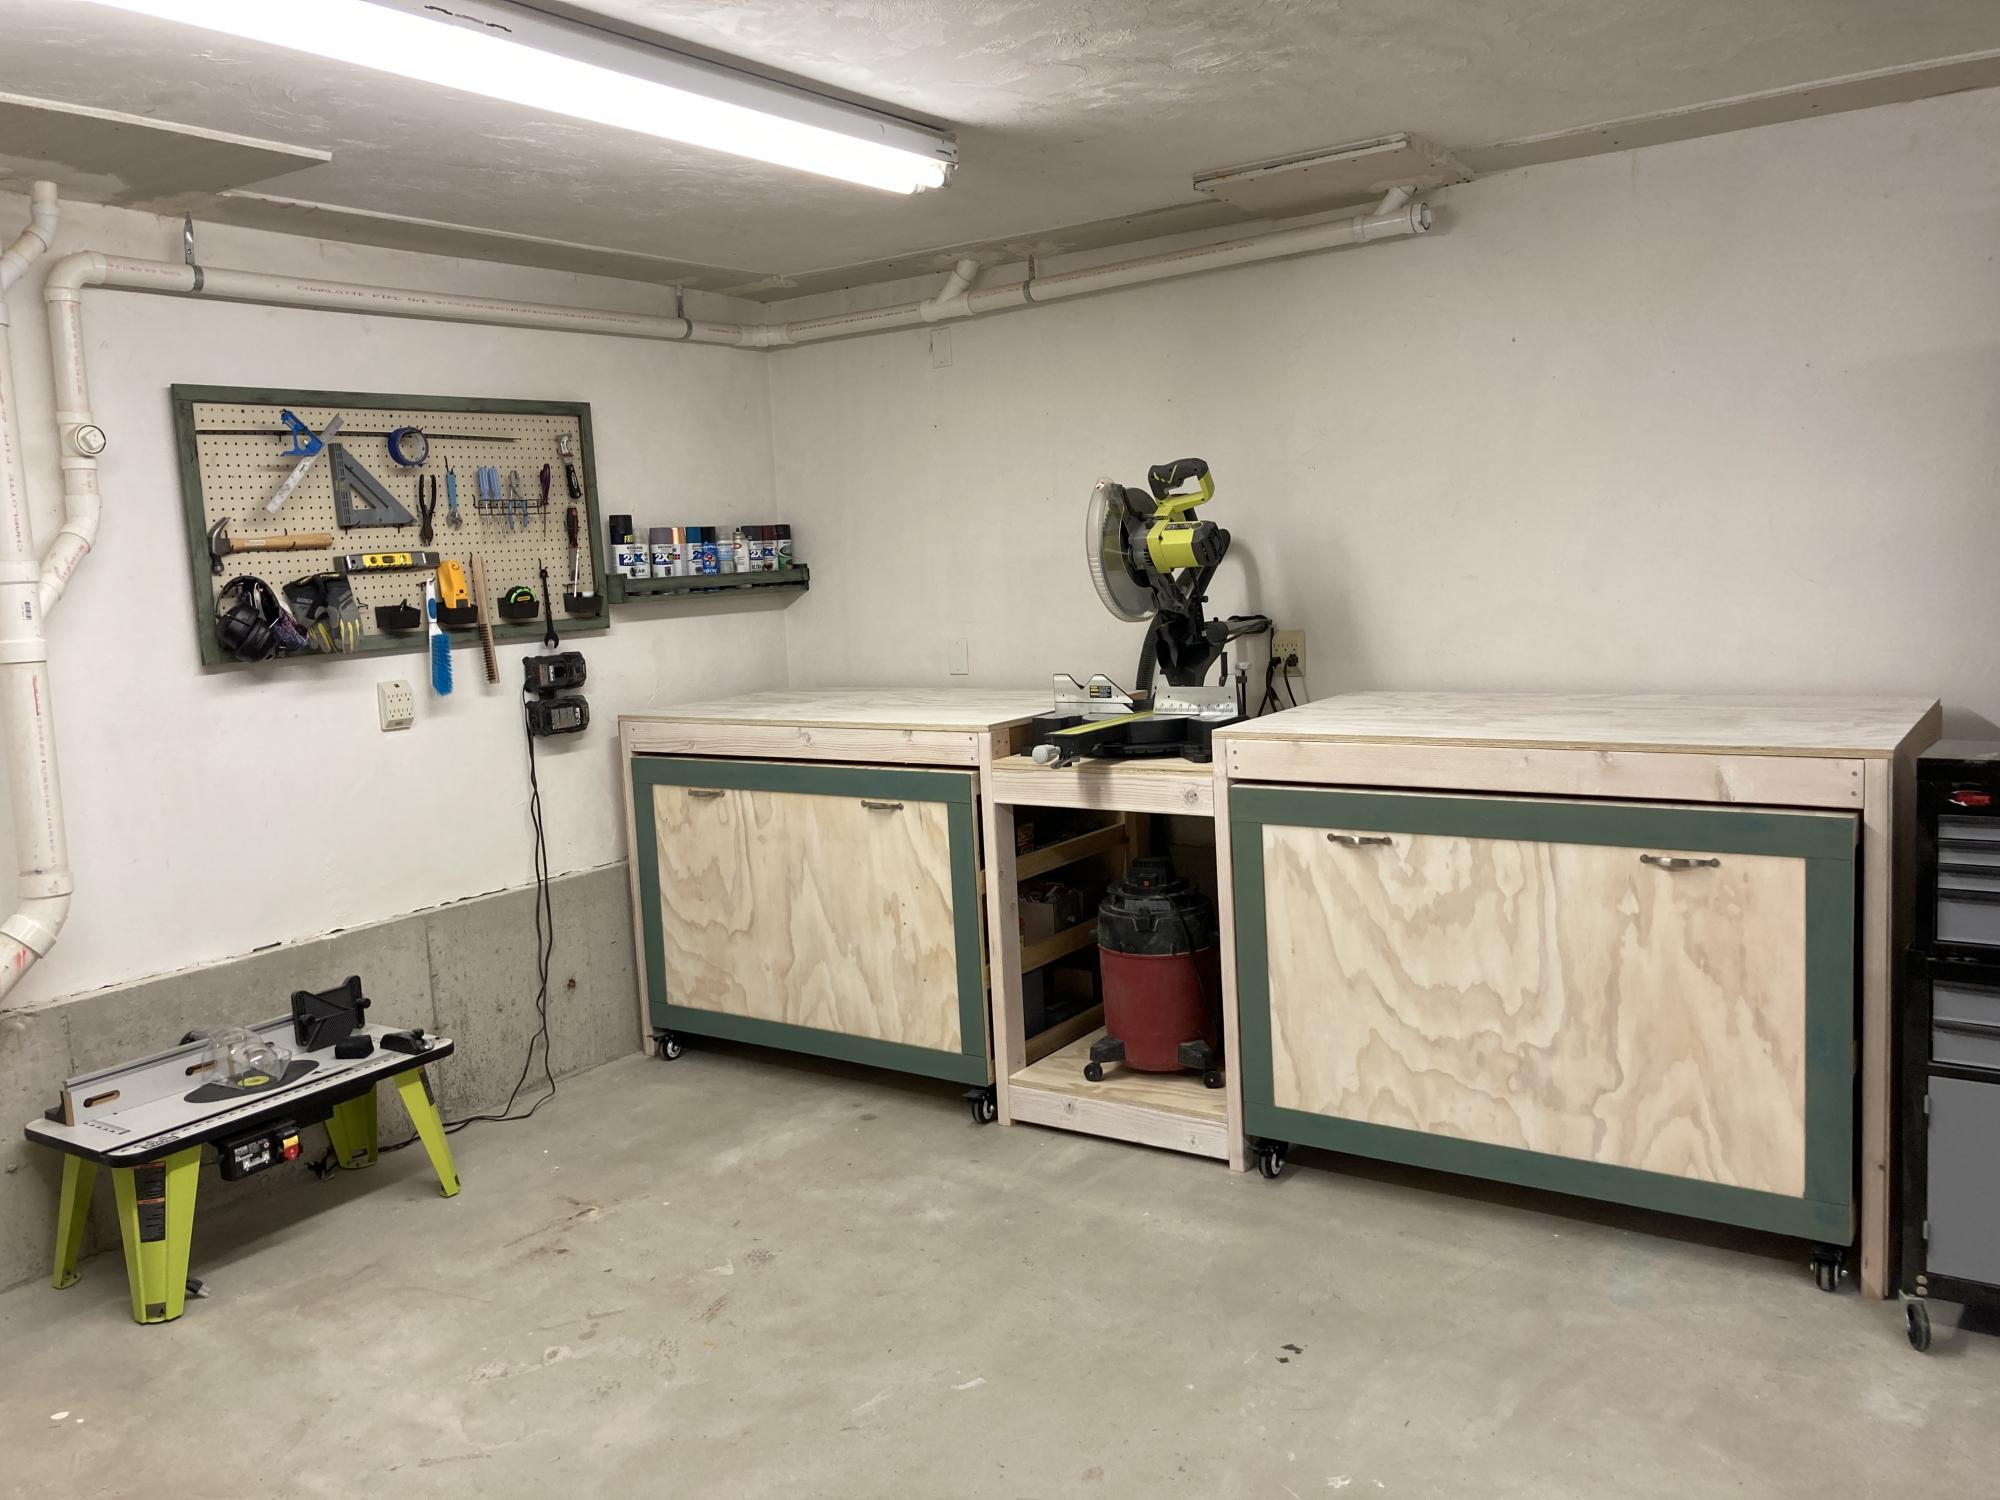
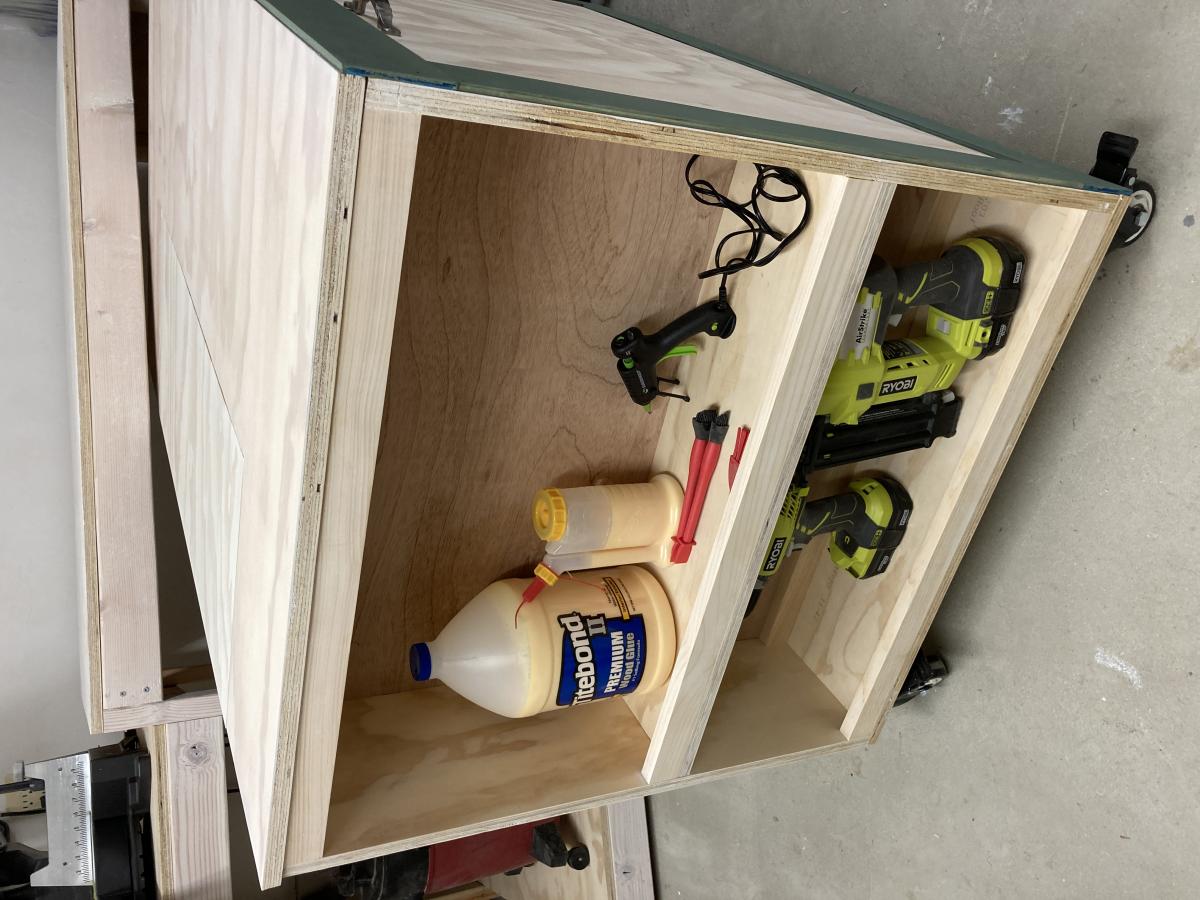
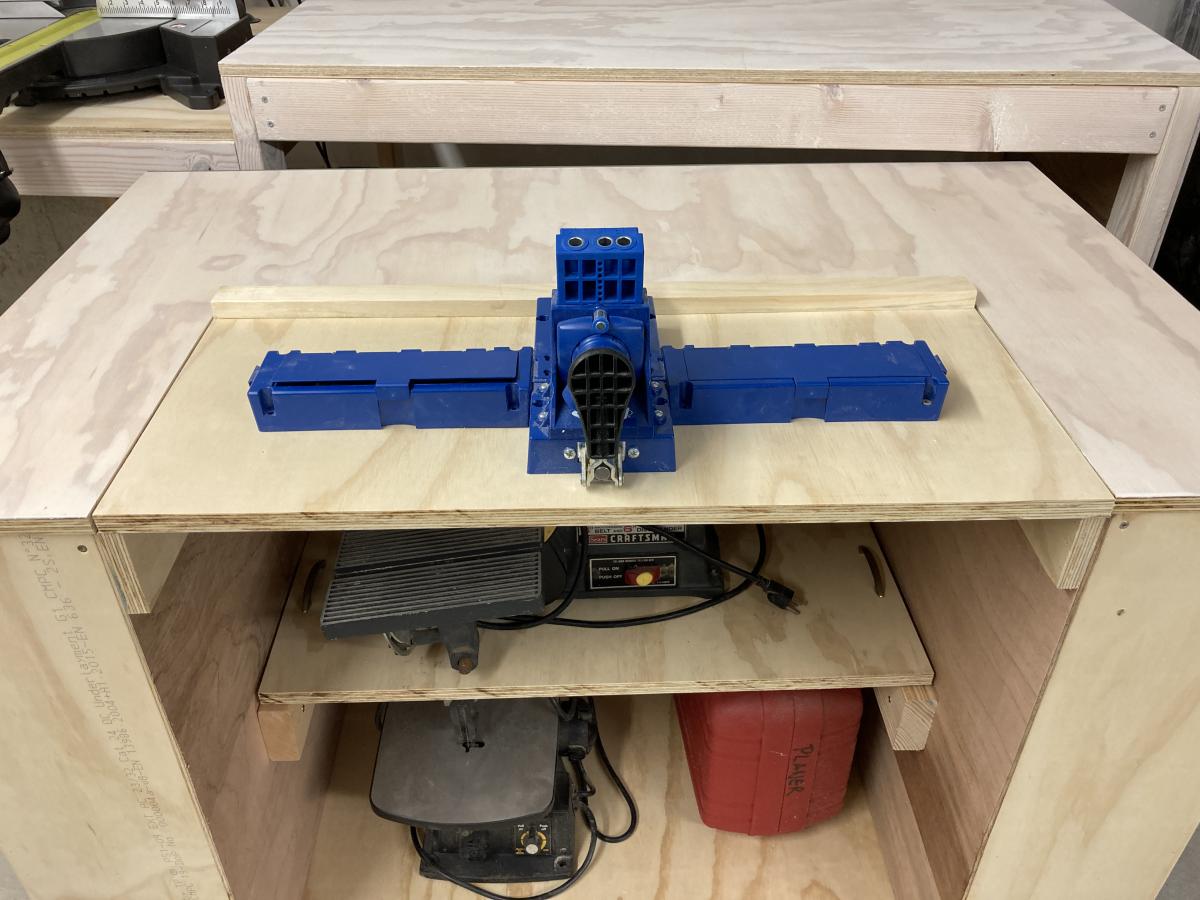
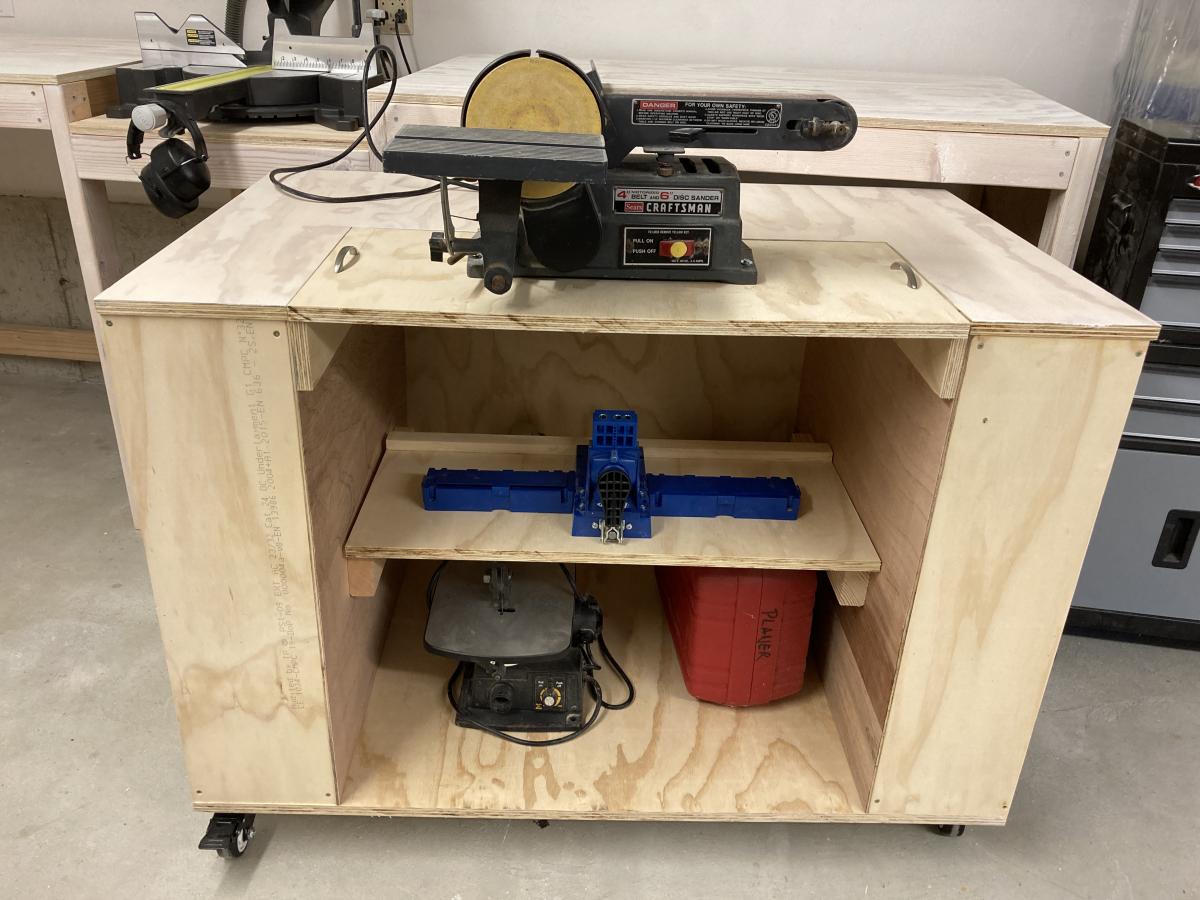
When I first saw Ana's Ultimate Work Bench I was blown away. I *had* to make this. I love how neat the garage looks when everything is put away.

I had to make a few extra cuts in order to allow room for my table saw fence, but other than that the only thing I did differently was to pretty it up using a white gel wood stain that I sealed with finishing paste. I also added trim using the leftover 1/4 inch plywood.

Thank you for being such an inspiration, Ana. I love your plans!

Estimated Cost
$375
Estimated Time Investment
Week Long Project (20 Hours or More)
Recommended Skill Level
Beginner

Country Pie Safe

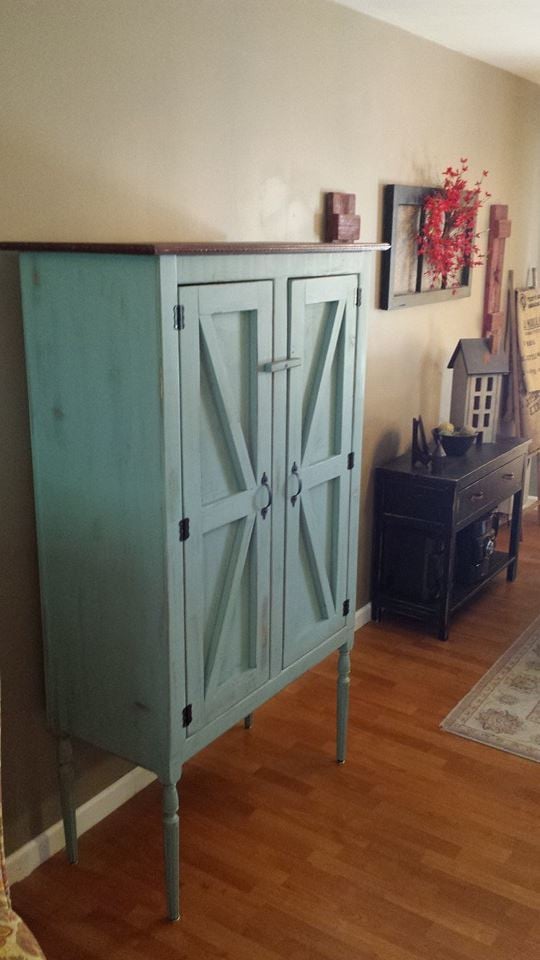
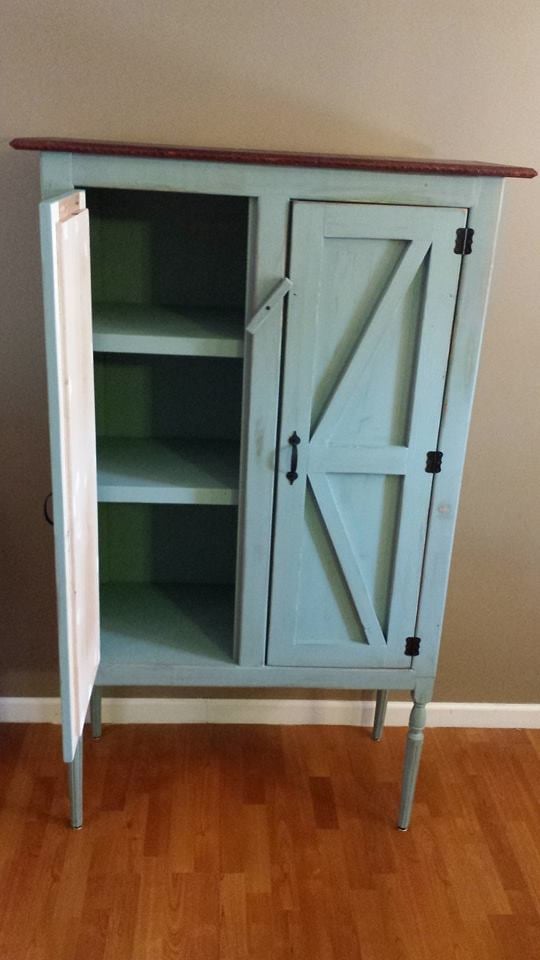
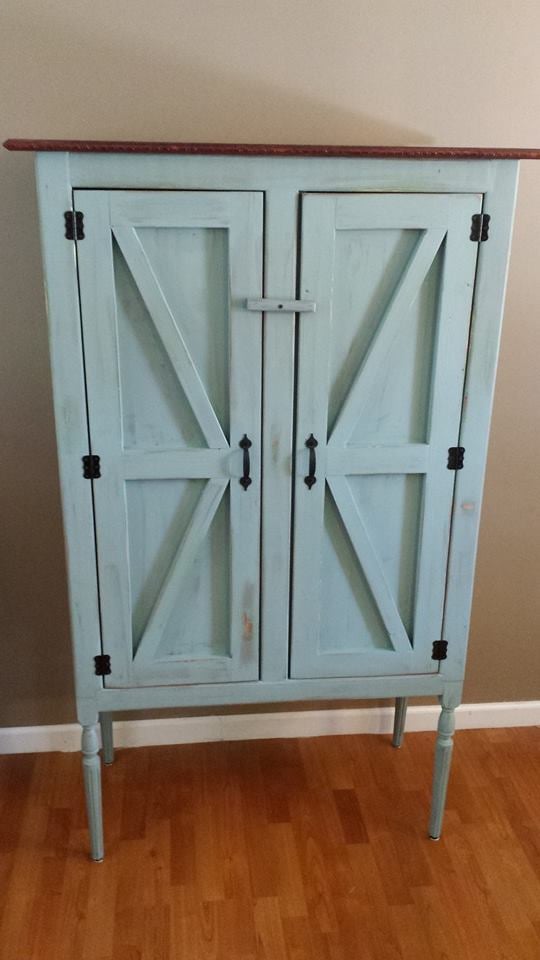
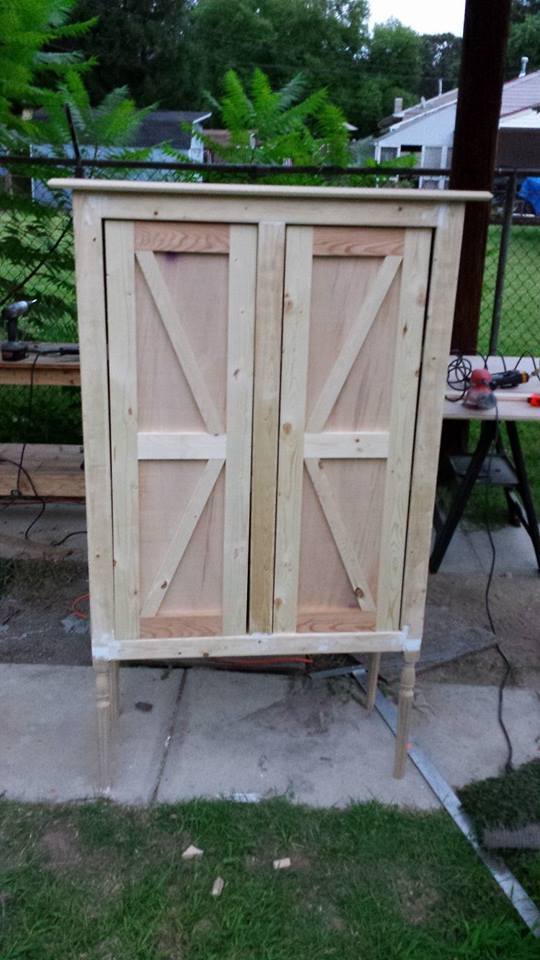
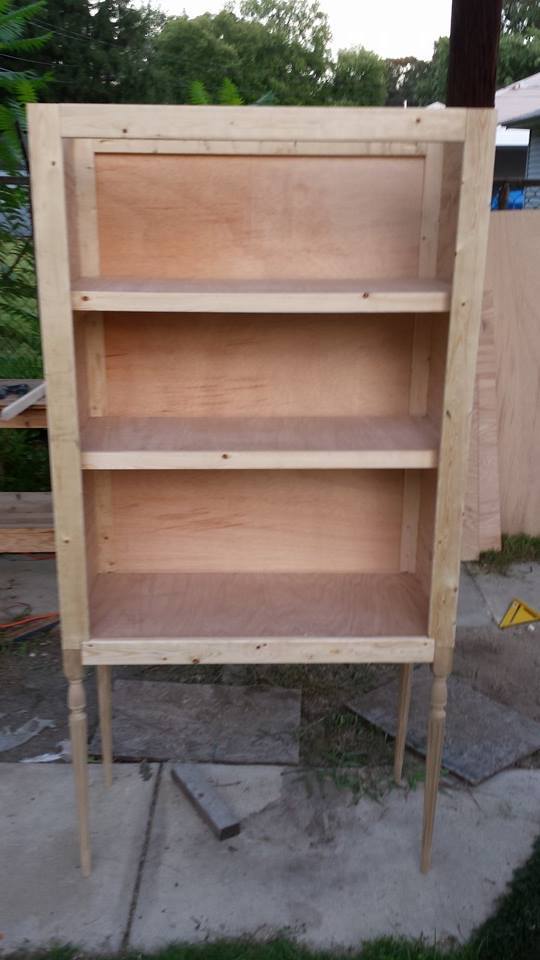
We recently moved from Washington state to Maryland and the house we rented didn't have a pantry. I decided after searching pintrest that this would be the perfect addition to the house and it could add to our kitchen storage. I am completely happy with the finished project.
Estimated Cost
$115.00 for paint and wood
Estimated Time Investment
Weekend Project (10-20 Hours)
Finish Used
Paint and stain
Recommended Skill Level
Intermediate

Comments

Pantry Door Spice Rack

Submitted by HR Dad on Wed, 09/02/2020 - 18:11

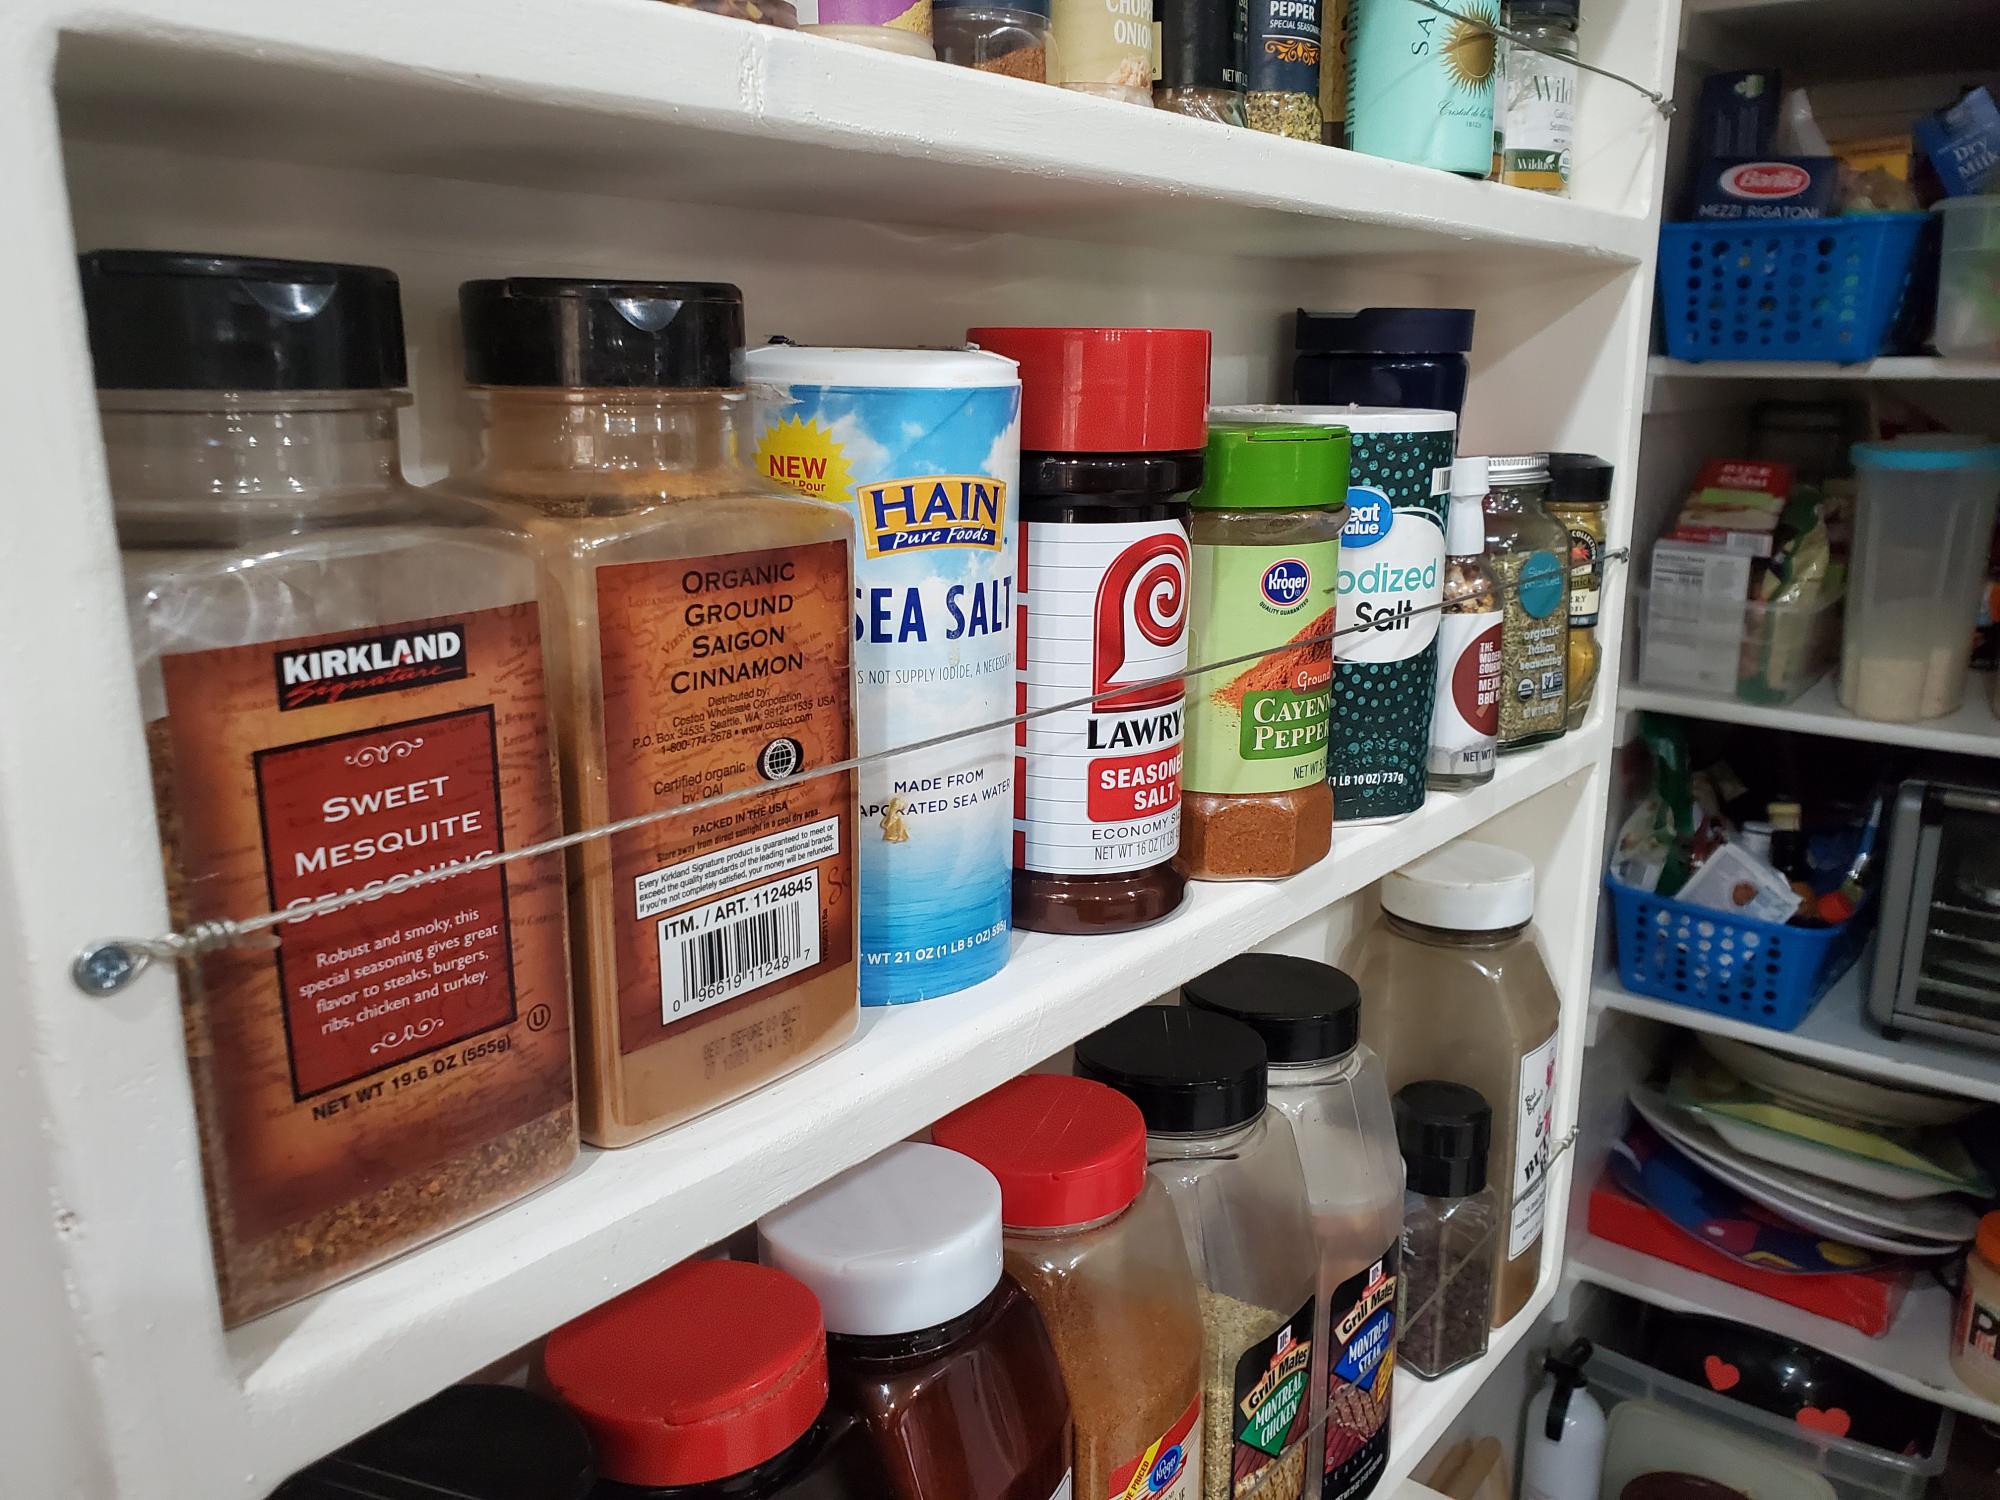
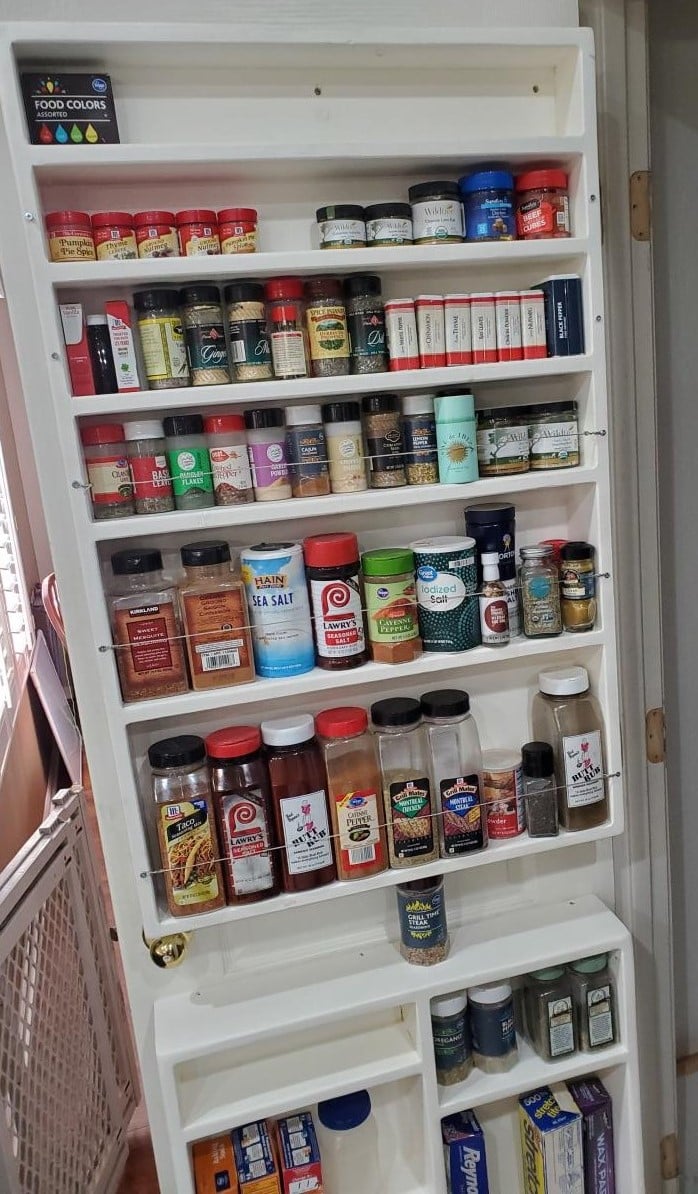
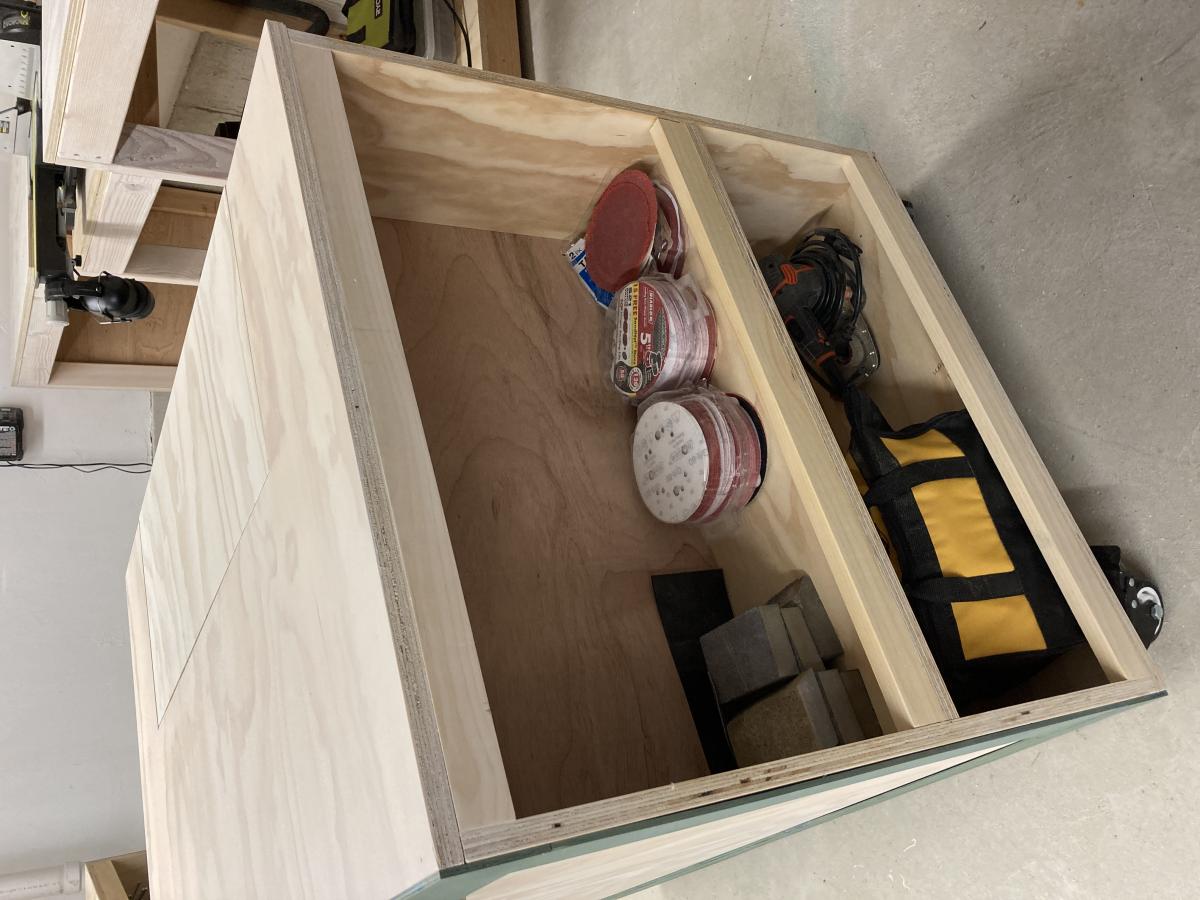
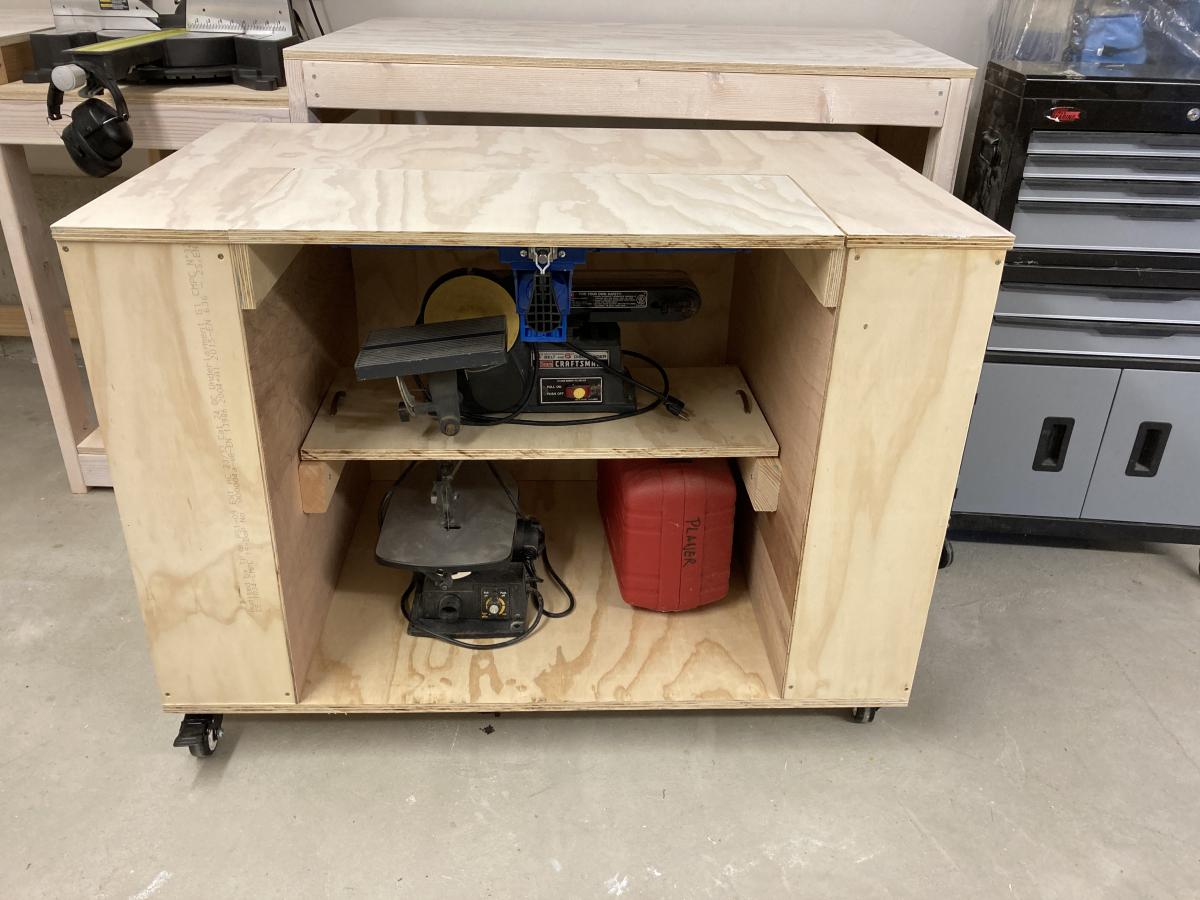
First I had to flip the pantry door from opening into my small pantry to opening out. Doing this allowed me to utilize back of the door for this spice rack. Frees up quite a bit of space in our cabinets, drawers and pantry for other items. Substituted braided picture frame wire for the wood dowels; still keeps all items secure on the shelves but also allows for more flexibility when dealing with canister sizes that are very close to the amount of space in between shelves. Already had the paint from doing some baseboards as well as quarter inch ply. So, final cost was for 1x4's and 1x6's coming out to about $30
Built from Plan(s)
Estimated Cost
$30.00.
Estimated Time Investment
Weekend Project (10-20 Hours)
Finish Used
Equal parts Behr Premium Plus Semi-gloss interior and Minwax Polycrylic Clear Satin
Recommended Skill Level
Beginner
Back