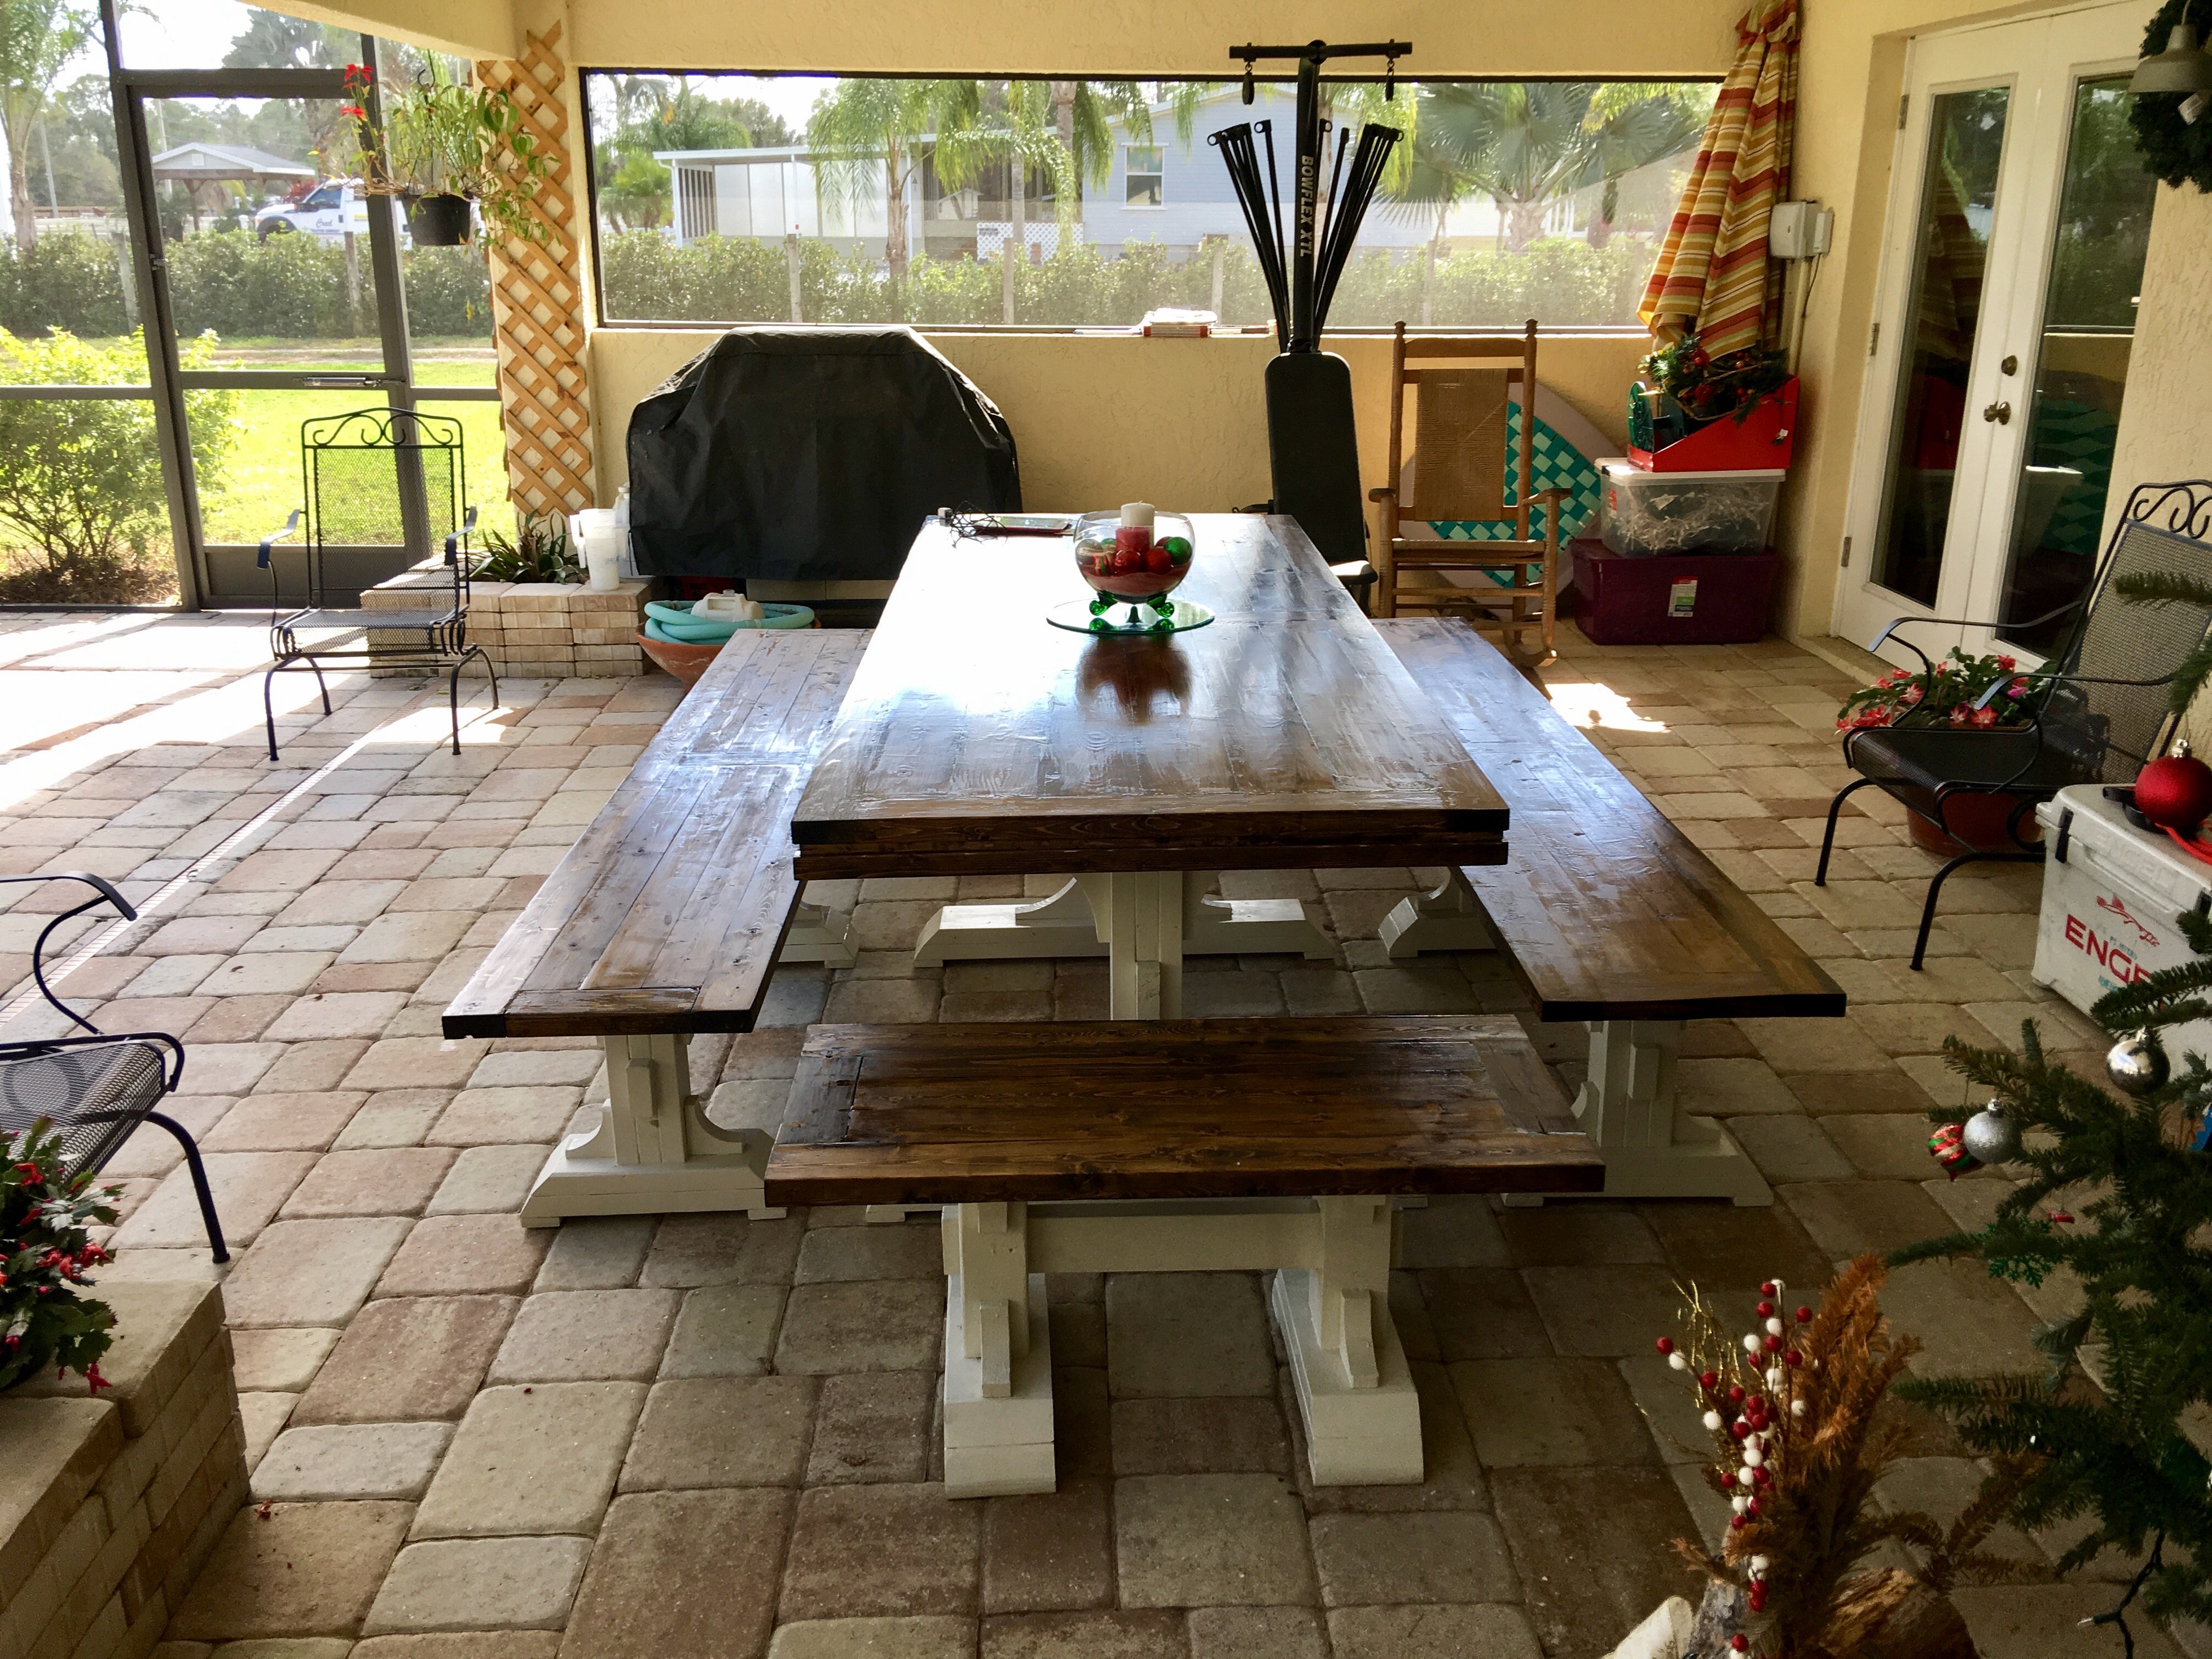
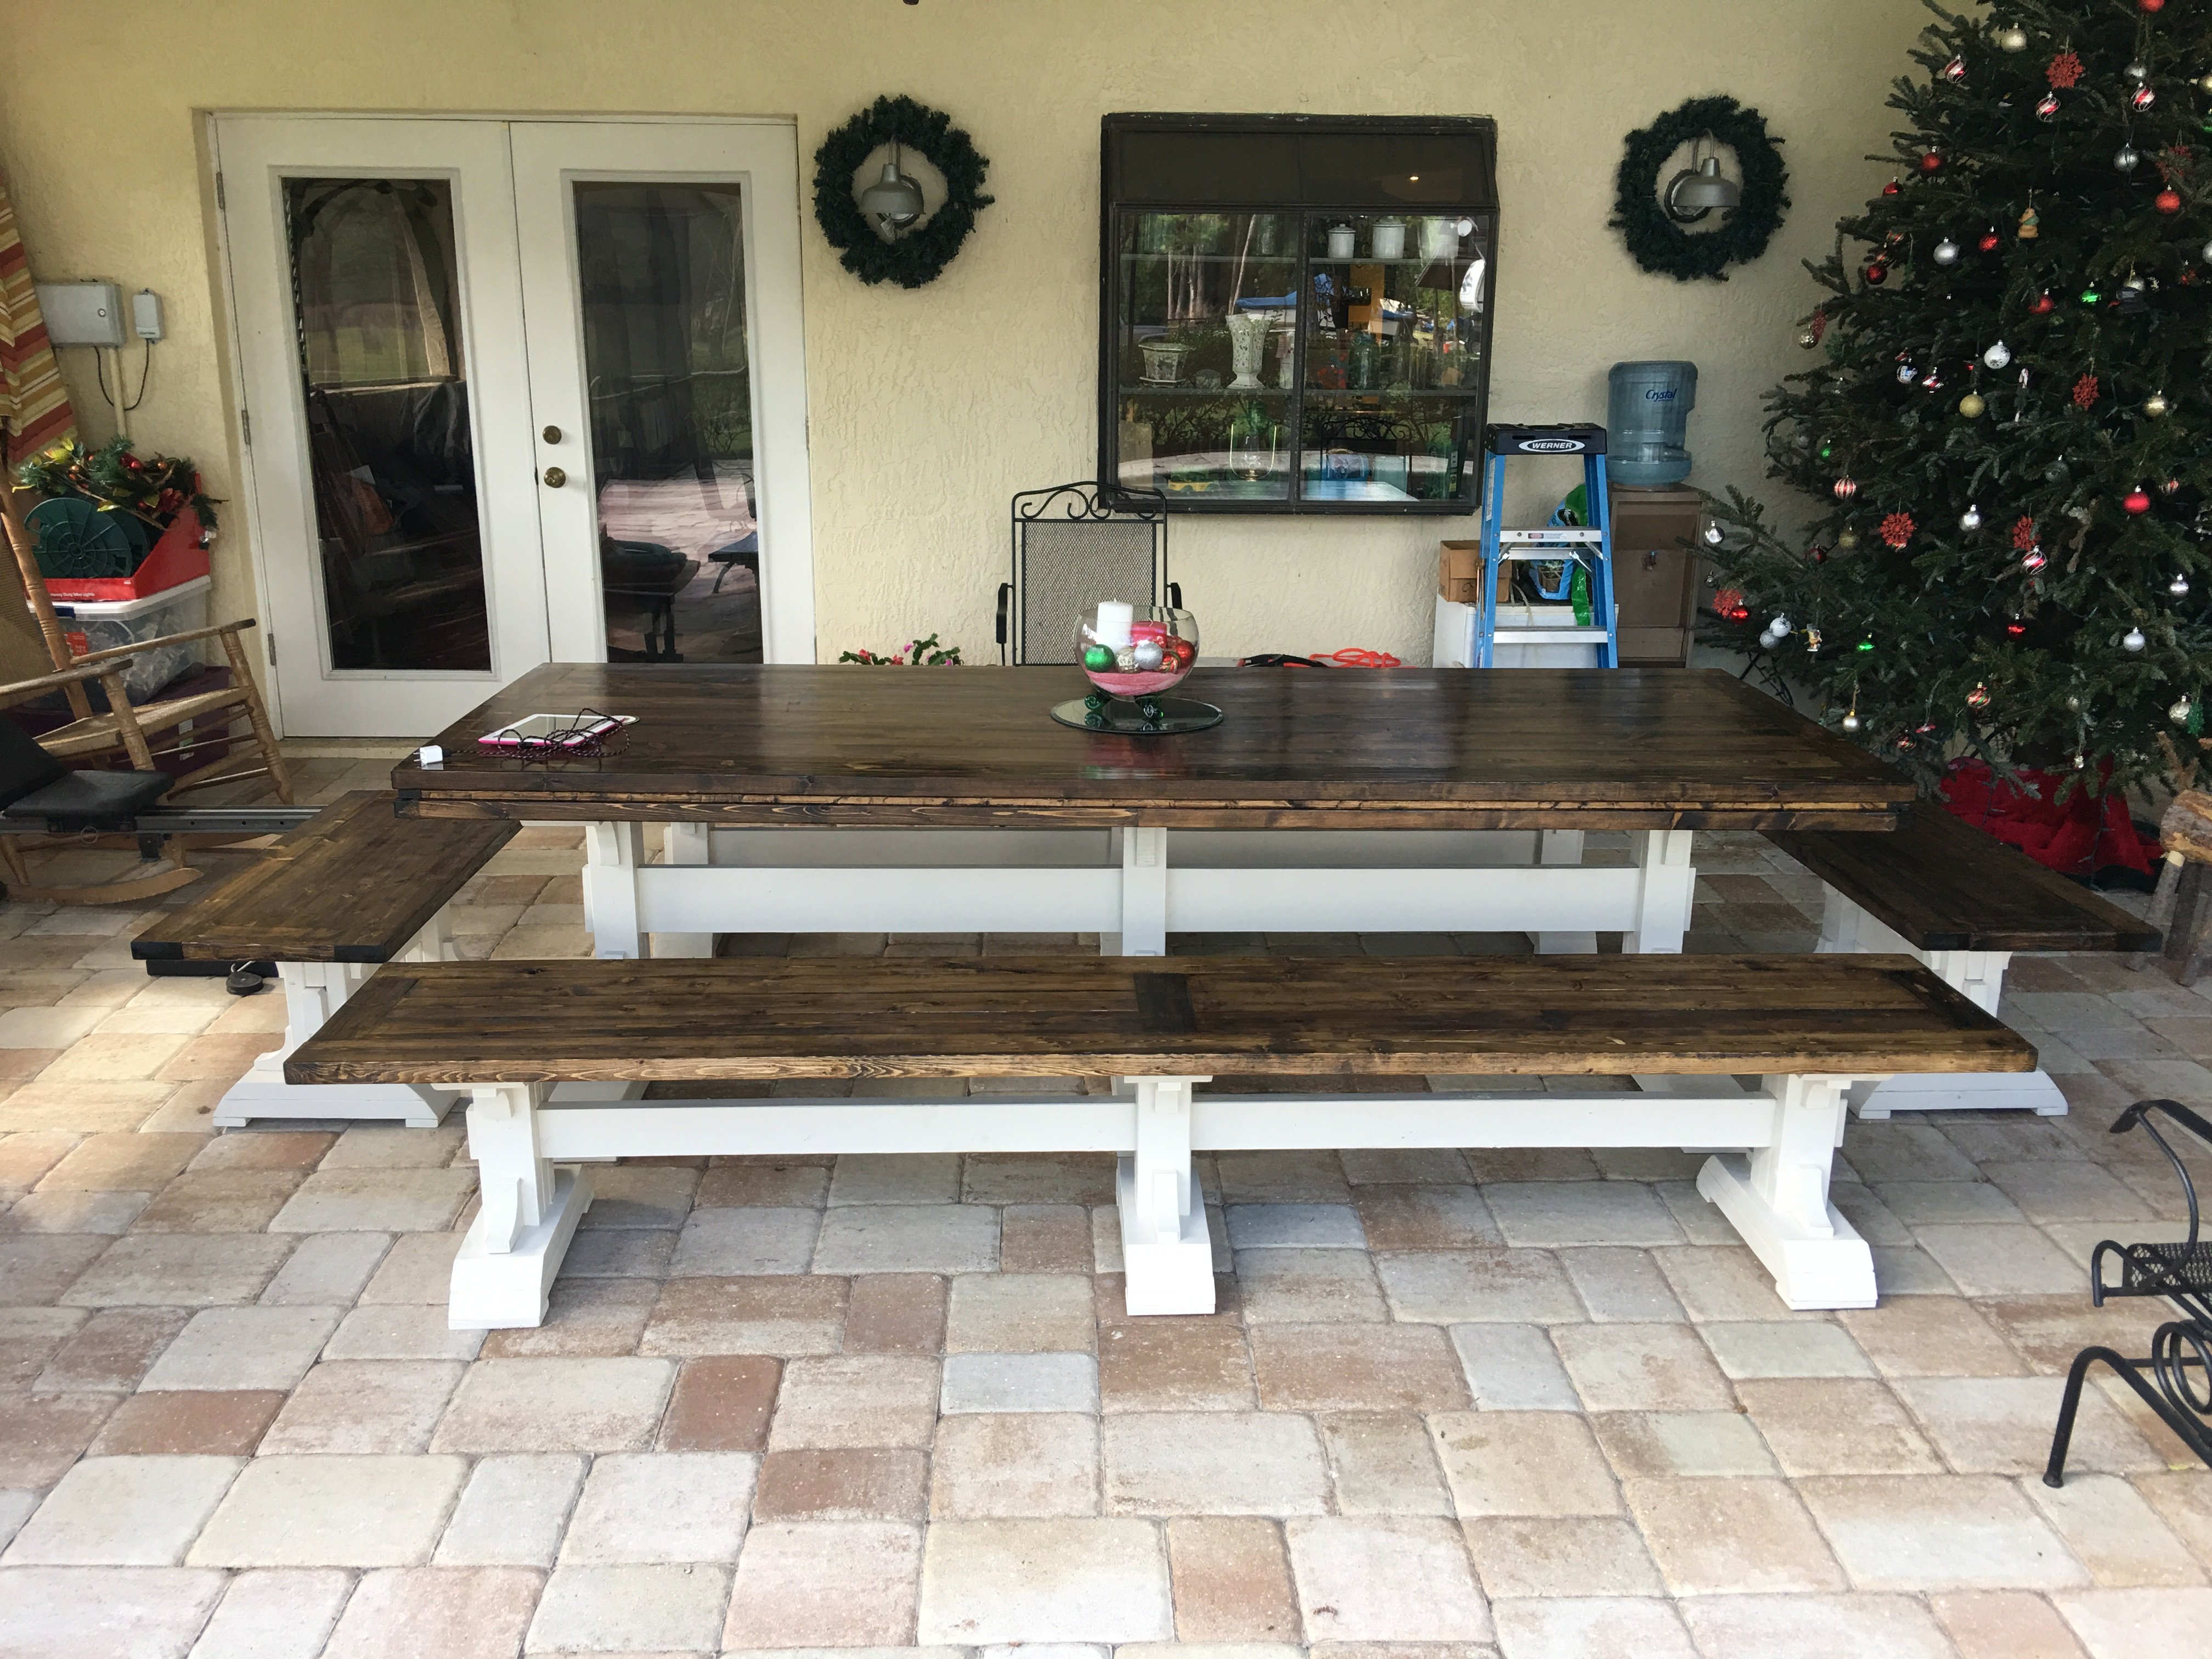
Variation on the outdoor sofa
![](/sites/default/files/IMG_20200629_131822.jpg)
Being older, my wife and I wanted the deck sofa with an angled back, so... here it is, stained in a dark walnut. We bought the cushions cheap ($120 for all) at Home Goods.
![](/sites/default/files/IMG_20200630_131141.jpg)
Being older, my wife and I wanted the deck sofa with an angled back, so... here it is, stained in a dark walnut. We bought the cushions cheap ($120 for all) at Home Goods.
We added a 2nd tier and left space from the beds as they have drawers that slide out. Will be building some filler boxes that come up about 2' creating kind of a headboard and another shelf area about 7" wide.
This was my first attempt at a bigger project. As with most, the finish took the most time. I modified the size of the table because I made it for my sister. It was also the first time I used a belt sander, and I loved it! It made the top nice and even. I did have a huge debacle when trying to fill the gaps of the table with clear silicone...that is definitely something that requires practice! I ended up removing all of the silicone and just allowing the top coat to sink in. Luckily, it just peels right out, although it did leave some clumps that took a little extra care to remove. But overall, I loved how it turned out, and my sister loves it too. I made the bench too.
Wed, 08/27/2014 - 15:12
What a nice table!!! I love the finish too, it is beautiful! Thanks so much for sharing!
We bought this house about a year ago and we finally got around to removing this pointless niche! The center divider and bottom were removed. The cabinet and hutch were assembled seperately.
This is still a work of progress. I am looking for a nice decorative molding face for the top. If anyone has any suggestions please let me know! We will most likely paint it white to match the fireplace mantle.
I started out building the Rustic x-End Table but got frustrated with the Xs not fitting well so I left them off. I showed the unfinished table to a friend and she wanted it, but with some changes and additions that lets her use it outside near her pool. So the pics show the final result including the K she wanted in the center of the shelf.
I lined the shelf with glass tiles and a wooden K and grouted everything in. The glass tiles have a few of the blue and green hues you find in swimming pools, I hope.
The top is not glued down just in case the top boards begin to warp or crack and can be repaired. Of course at Restoration Hardware a warp, crack or knot just raises the price.
Thanks for the plans! My wife loves the table that I built for her using them. Only change I made was that I used my Kreg Jig to screw all the table top boards together. I'll be building the bench next.
First project we tried. Turned out great. Now I am addicted to building furniture!
Thu, 11/15/2012 - 17:27
Gorgeous job! I built the single version as my second project....I love this little table! Anyway...yours is wonderful. Kudos!!
This was my first build and I throughly enjoyed it! This bed is for my three old son and it meant so much to me that I was able to build his very first big boy bed. Thanks Ana for the plans and for making then so easy to follow.
This is our first project using one of Ana's plans. We made one modification adding stability to the top of the structure, but otherwise stayed pretty true to what was described.
Next up is the matching end table!
For the full story of our piece, please visit our website.
I got tired of dust settling on all my tools so I built this woodshop storage cabinet. It's main inspiration is from Steve at www.woodworkingformeremortals.com. A place for everything and everything in its place.
Tue, 11/20/2012 - 10:58
That's pretty good looking furniture for a workshop!
I took Ana's plans for the Easiest Industrial Cart and modified them into a coffee table. I shortened the pieces of angle aluminum to 10", omitted the middle shelf, and added some 7", DIY casters, made from pulley wheels. Since I used 3/4" thick project panels, instead of 2 x 12, I was only able to drill lag screws through one side of each corner of the wood. To add stability, I added small, L-brackets, screwed to the wood and bolted to the aluminum. I included a photo so you can see the modification closely.
Wed, 09/03/2014 - 16:17
Great job. You just gave me a good idea for a coffee table.
Veronica
Fri, 01/08/2016 - 13:48
Great Job on this coffee table!!! Looks very good, and the added L brackets fit the industrial look perfectly!
Here is a Triple Pedestal table with benches and two end stools to match everything else.
Thanks for sharing this project. I made a few adaptations knowing my friends, family, and monkey grandkids would be climbing all over the table. Everyone loved the table and we have broken it in with a great party.
Changes:
I added a second bottom stretcher that also serves as a footrest and ran them between the bottom legs rather than on top.
I added on 2x6 to the table width which required changing the leg dimensions.
I also ran an extra 2x4 middle support brace.
Results:
This table is a tank! Thanks!
I used the Danish Oil and the Thompsons to seal.
Now I am ready for another project.
Thanks Ana!
The Martin's
I used your "cedar planters for less than $20" plan and modified it to create two beautiful planters for my house. I framed out the top of the planter to give it a more complete look. Also, I added a "C" for our last name. -Shaye
Sliding door console built by Kathryn and Scott Winkler of K & S Coastal Home Furnishings. Kathryn added her own unique chippy finish to set this piece off! Visit our other builds at fb.me/kscoastal
This was a weekend job, had a lot of angles and I had to scribe a lot of them
My wife and I are expecting our second child in February, and we were short the money to buy a new crib. We searched Craig's List, and couldn't find anything in our price range that was worthy of buying. I began to search the plans catalog. My wife and I decided that we could give building my daughter a toddler bed a shot. This web site is a blessing to us. We were able to get everything we needed at Home Depot.
Sun, 11/25/2012 - 21:17
Love it! It came out great! Blessings to your growing family!
I built this table following Ana's plans! It turned out great!
Tue, 09/09/2014 - 14:42
This table turned out great. The stain job is very well done. Now I may have to build one.