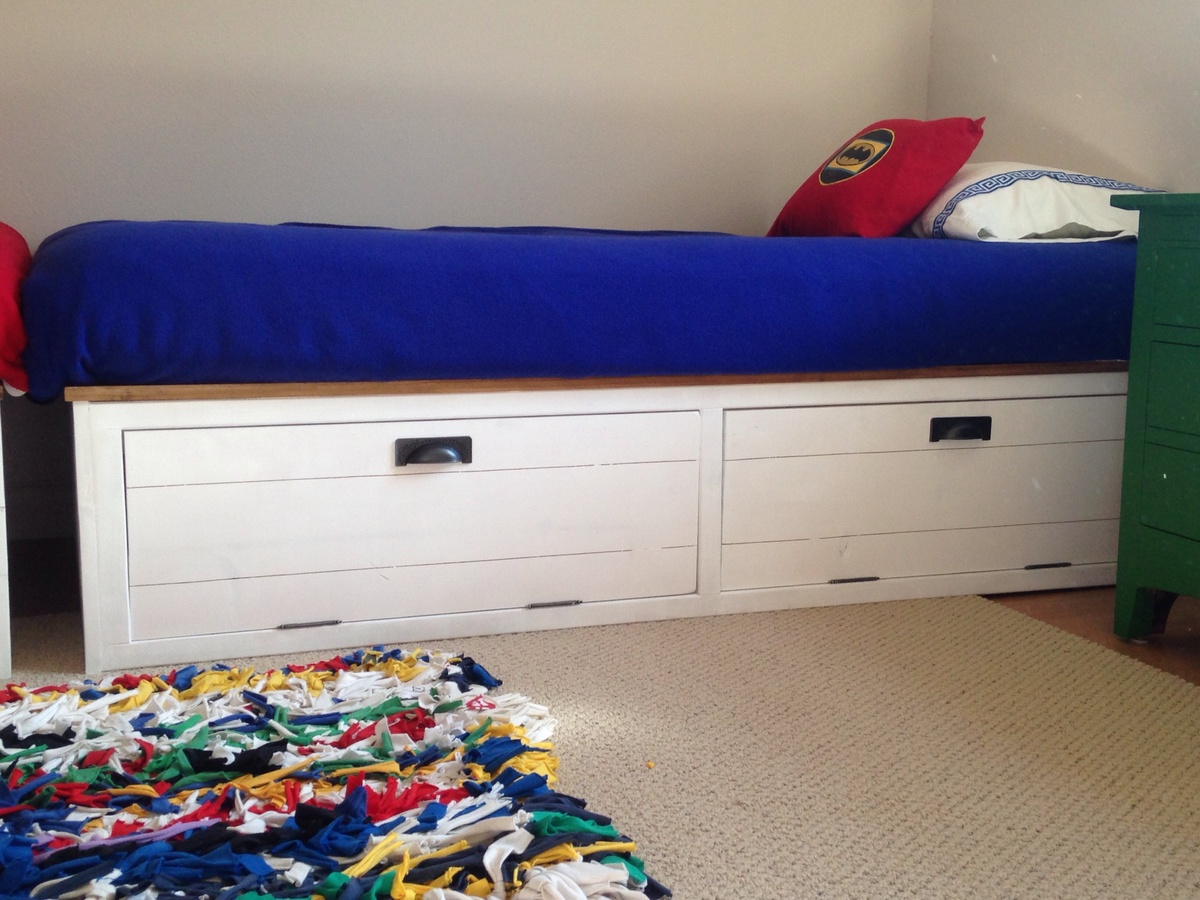
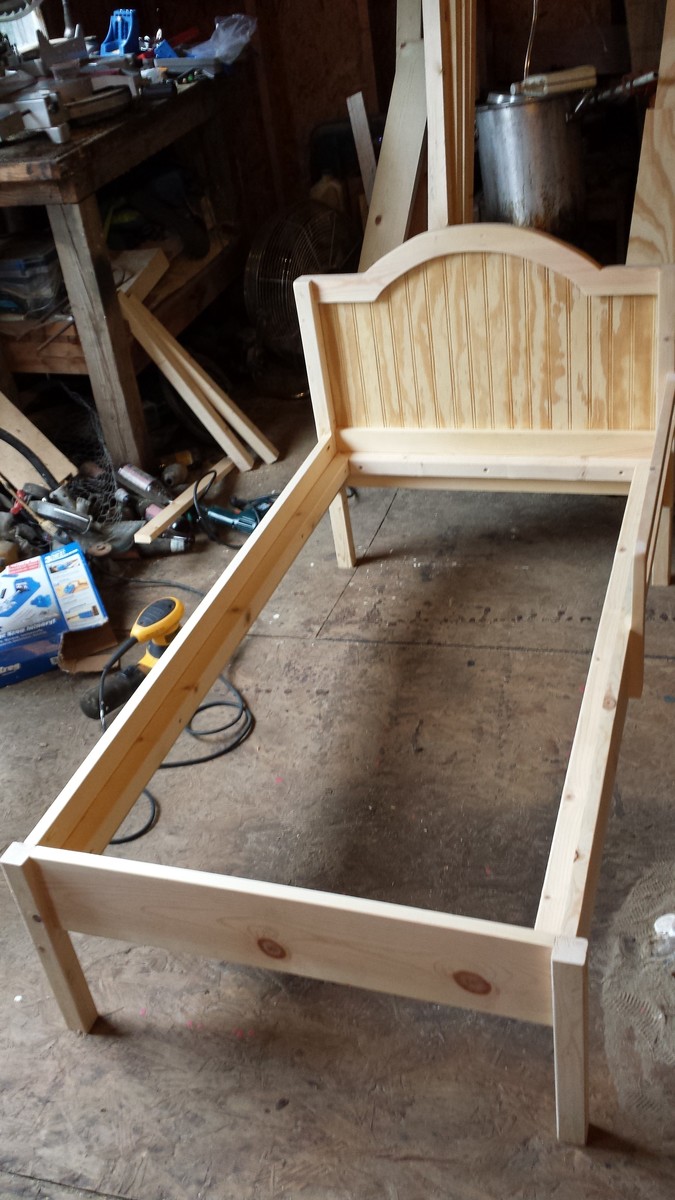
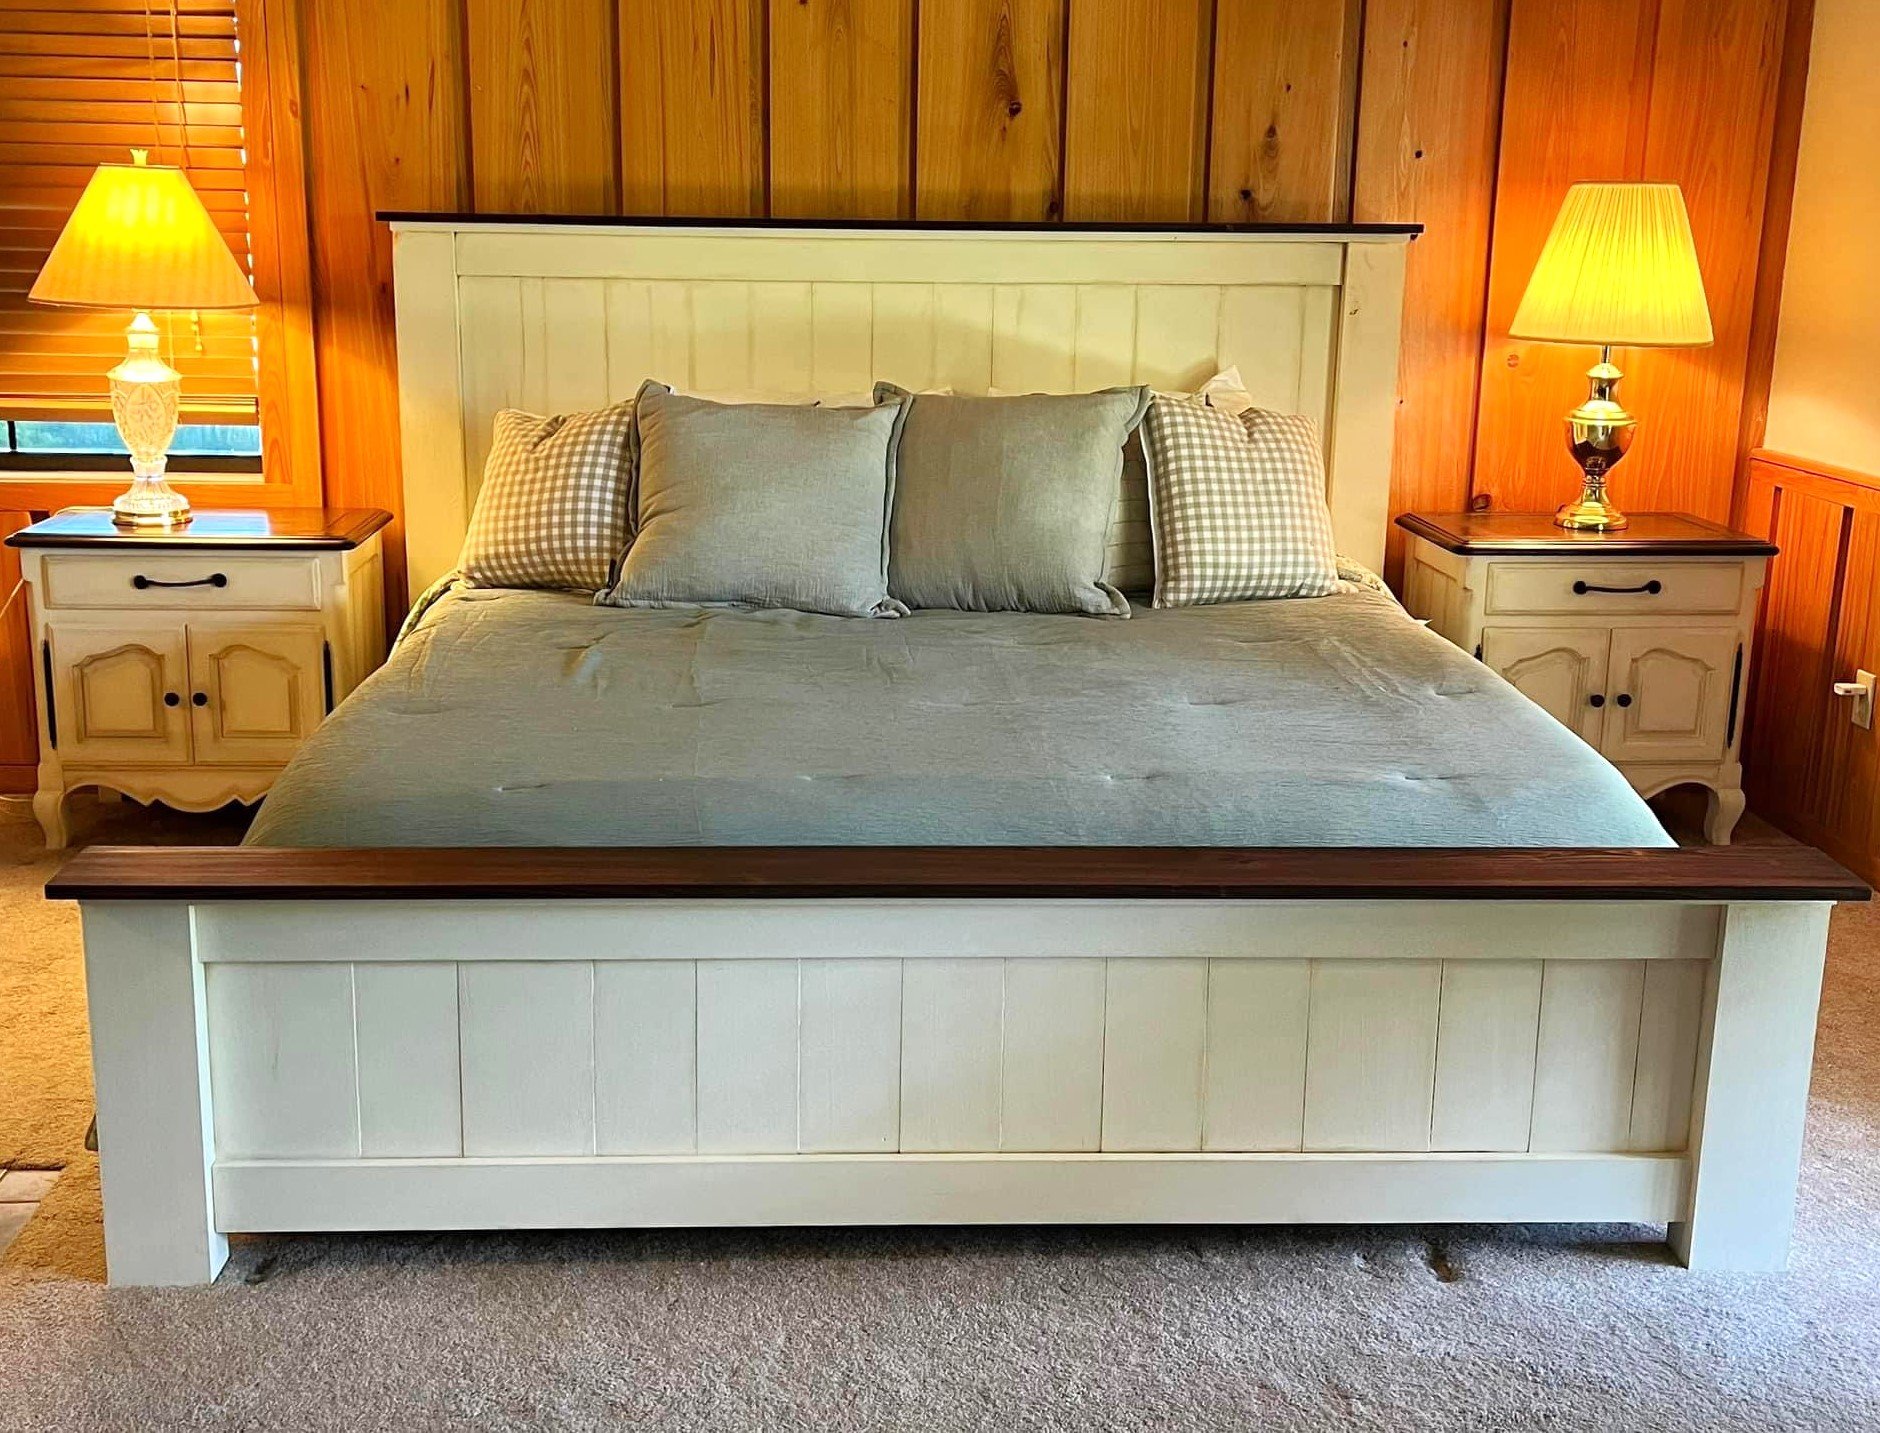
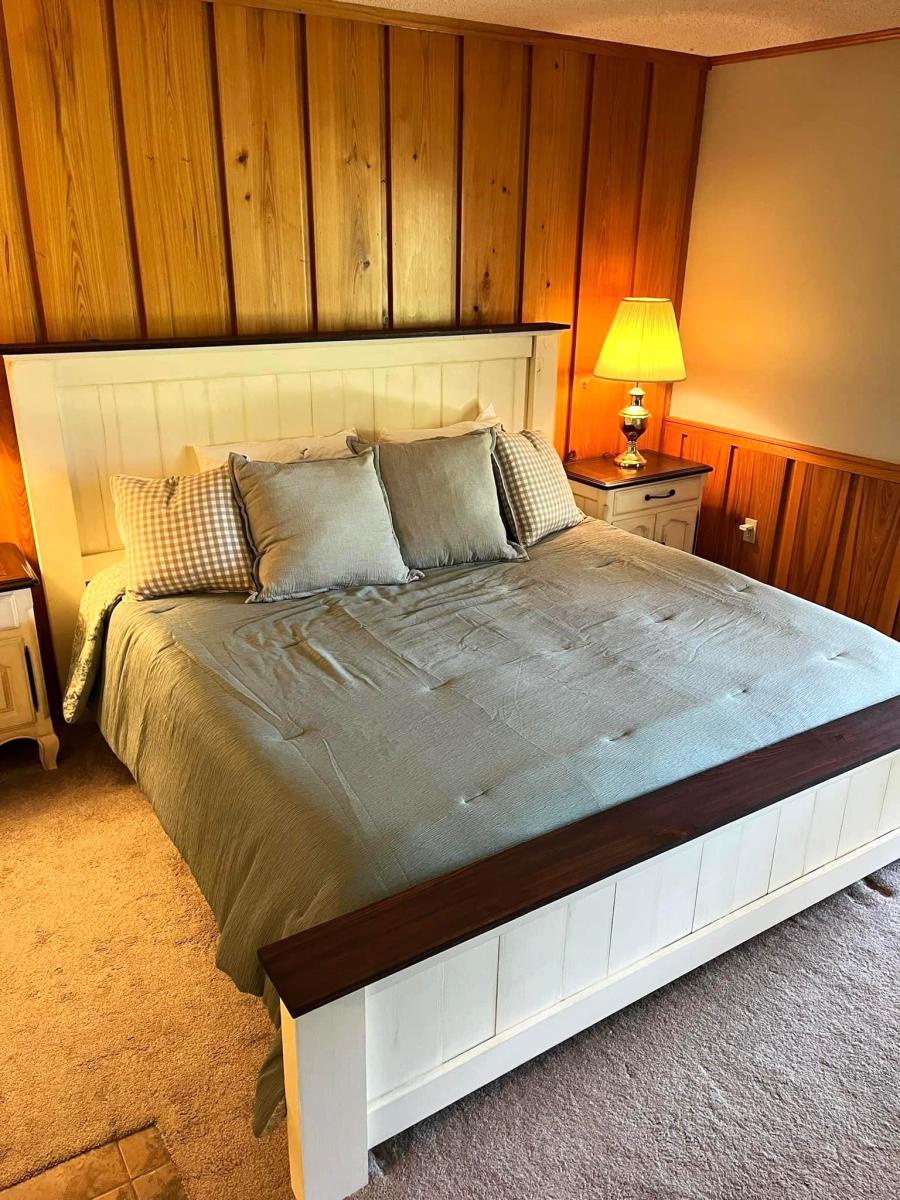
Twin Cabin Daybeds
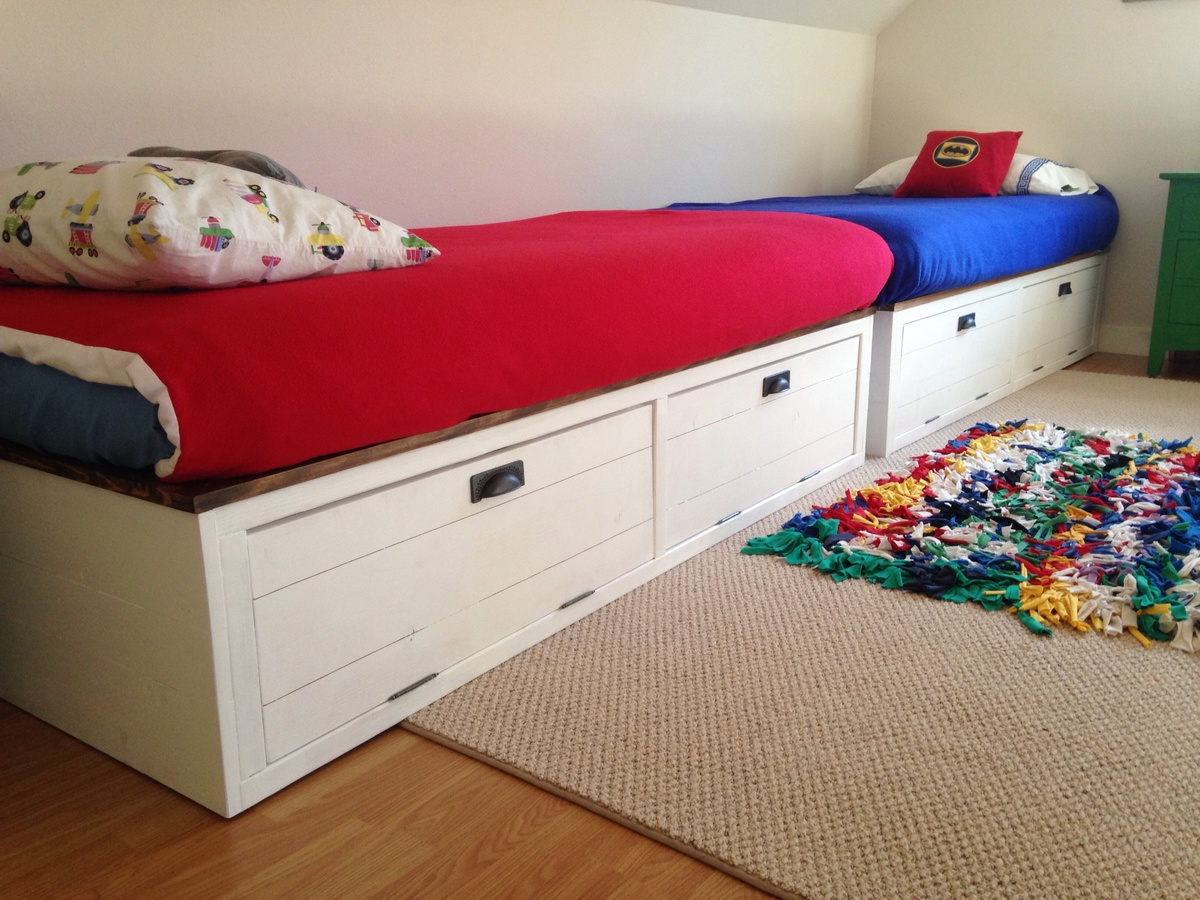
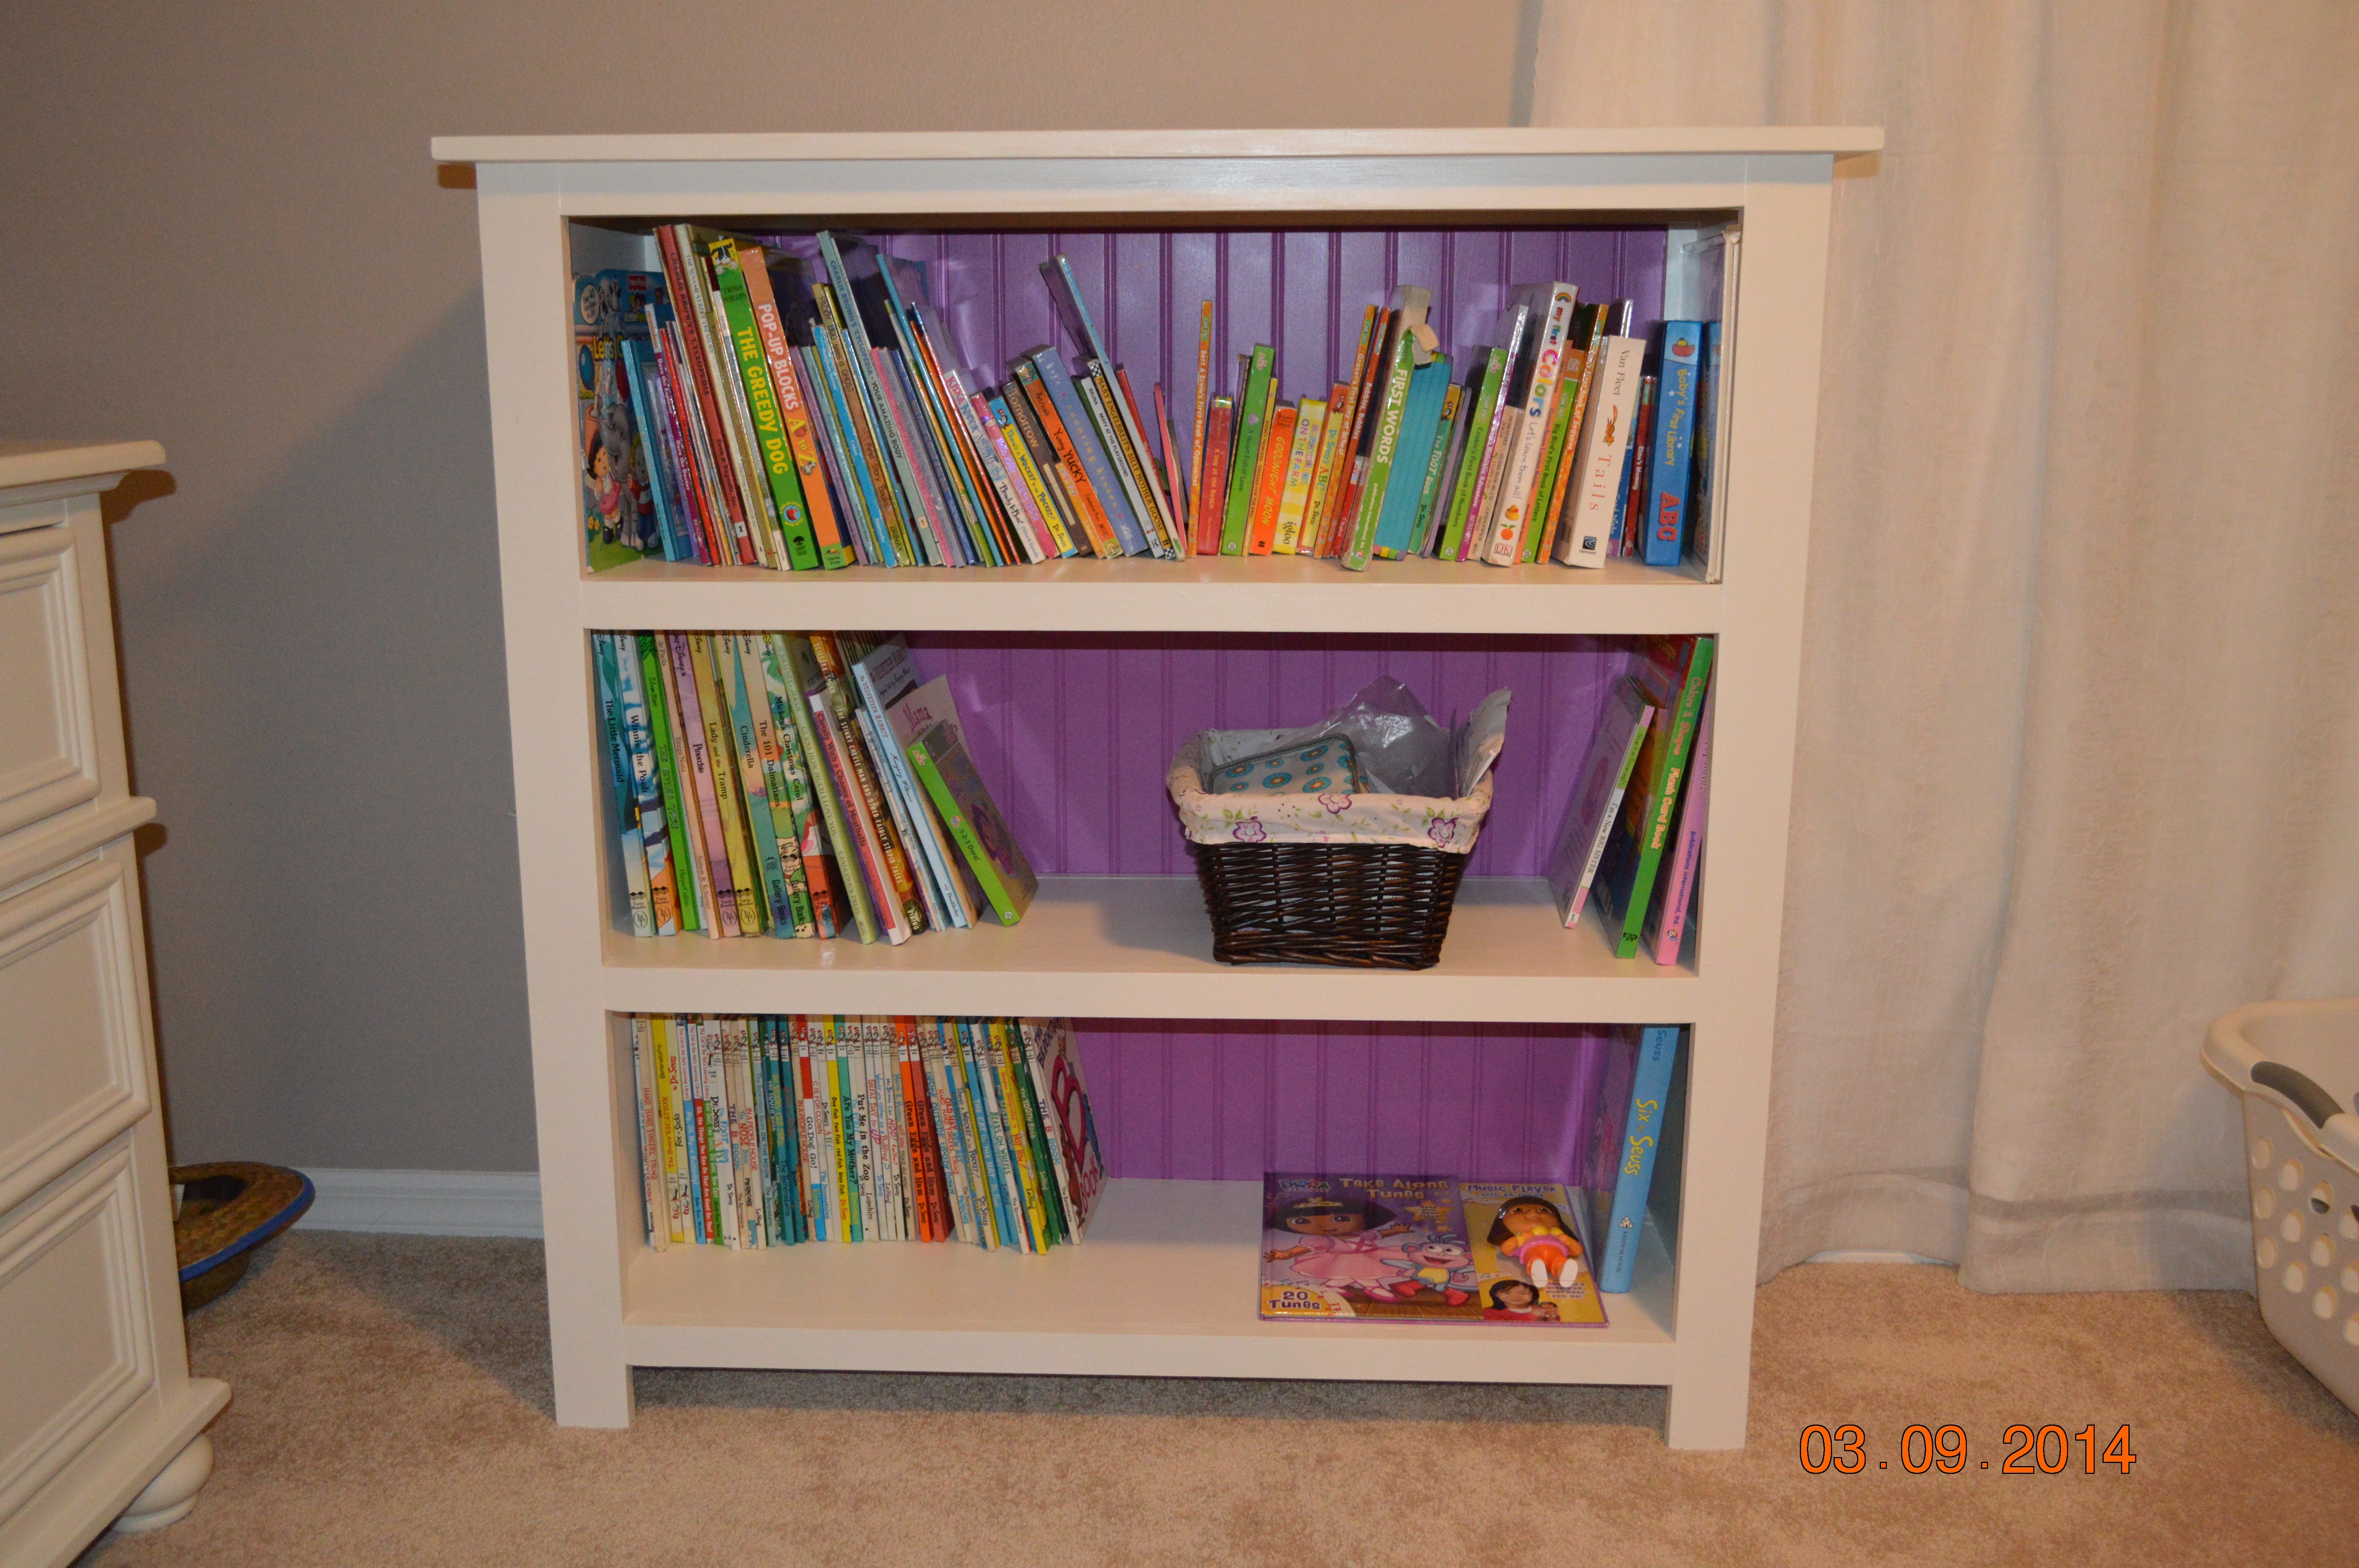
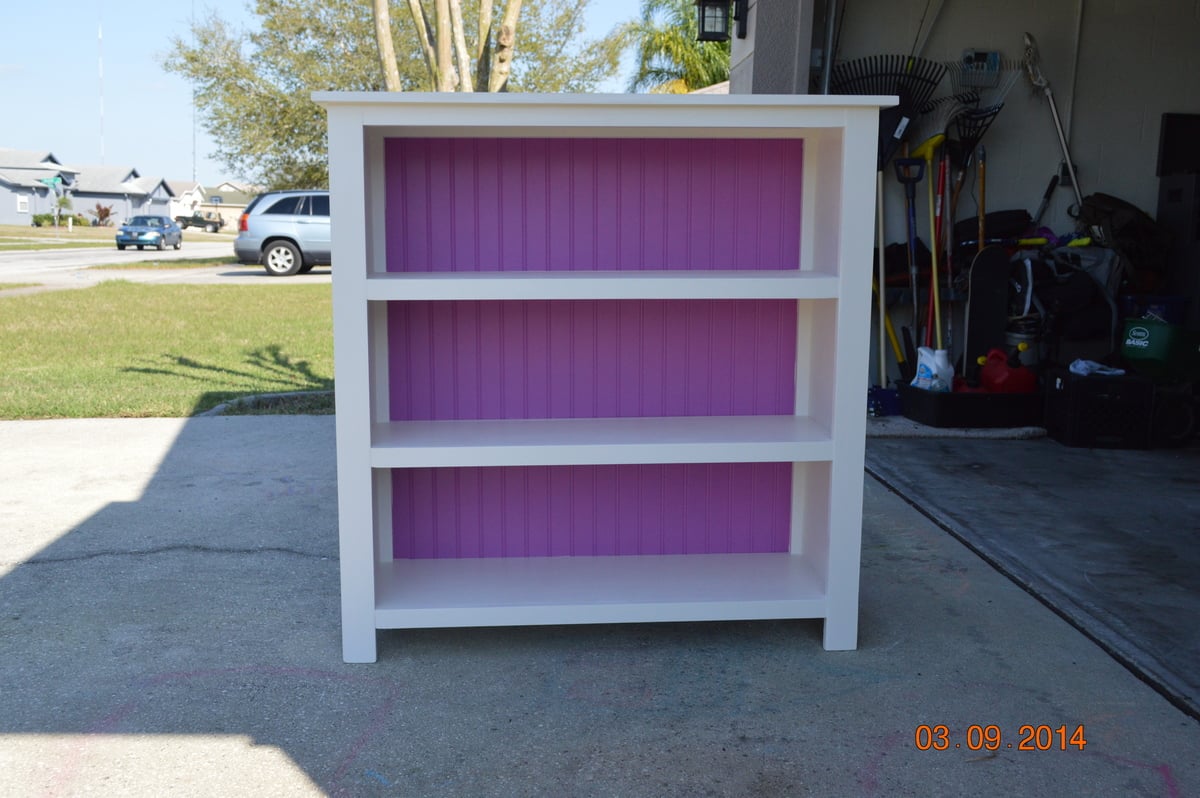
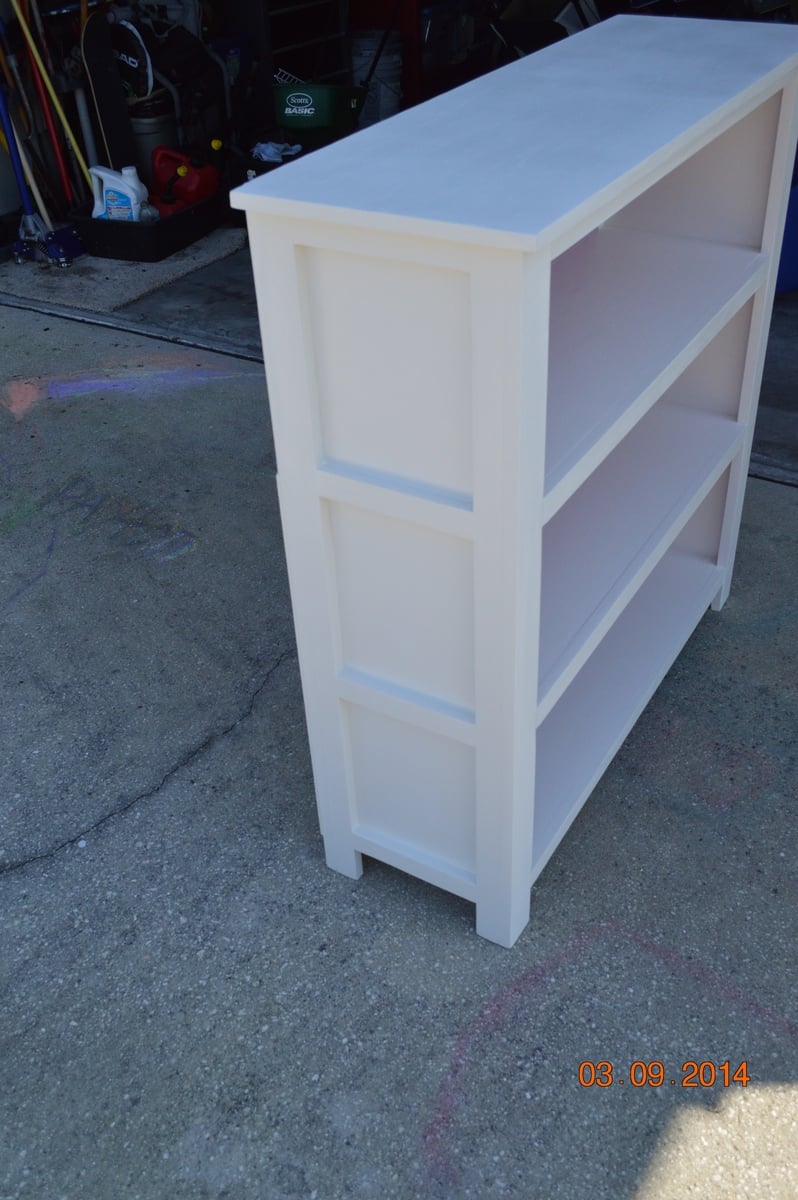
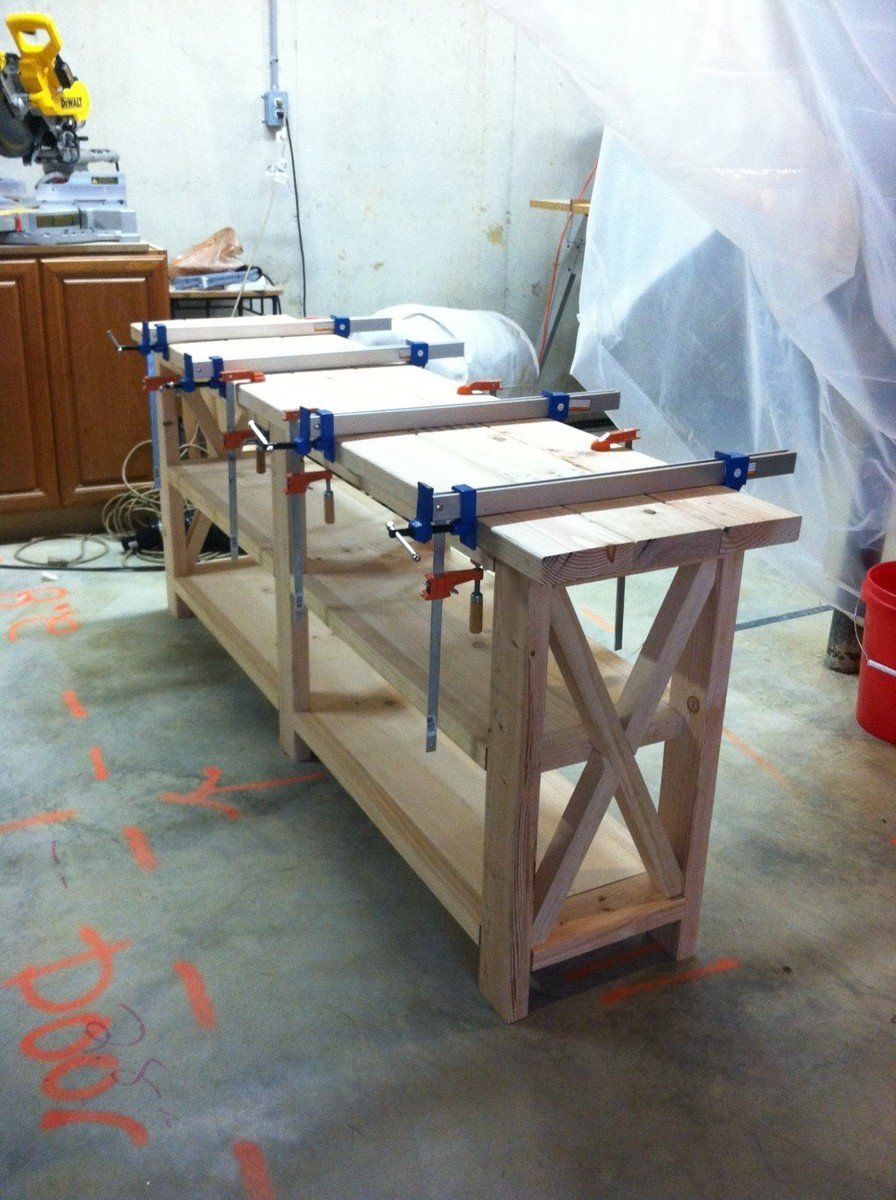
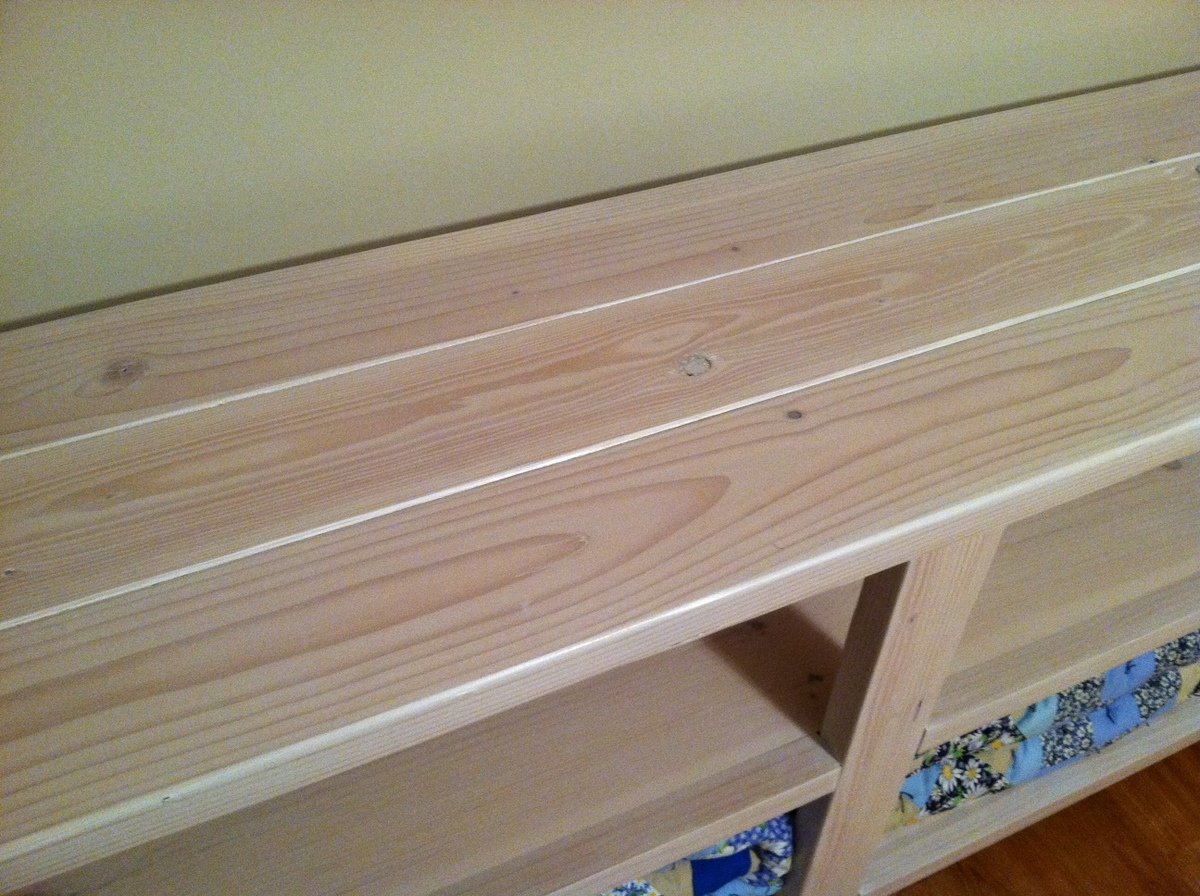
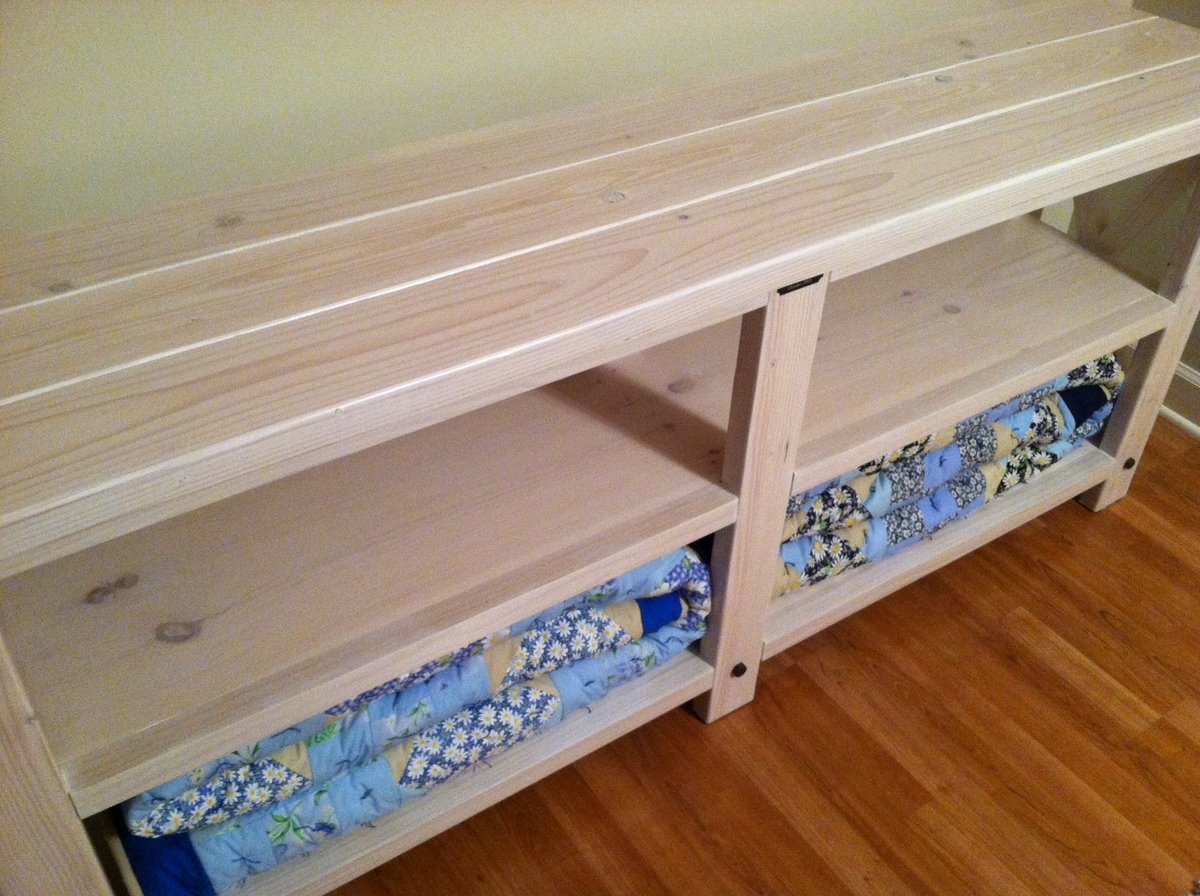
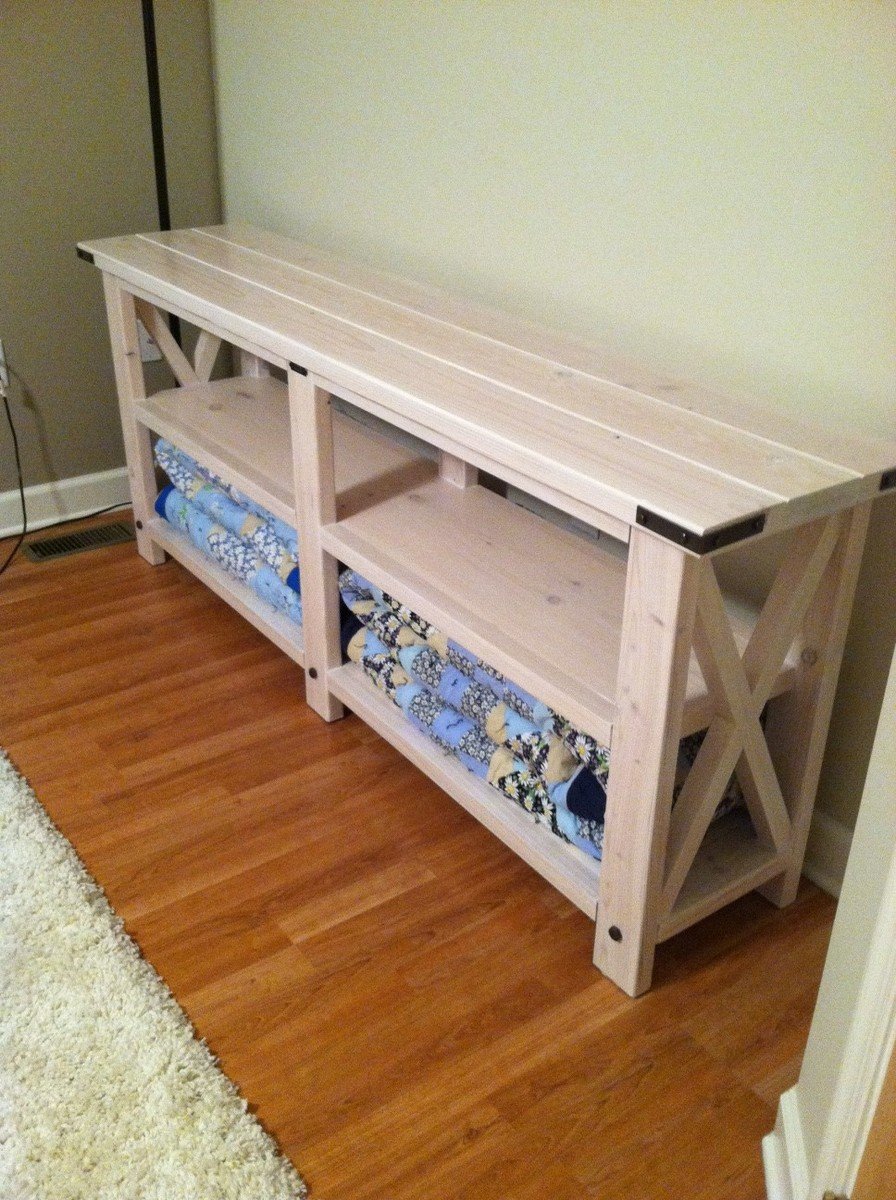
Hello! Sloped ceilings won't allow bunk beds at our house. Decided to go with these beds for the built in toy-box feature. The hinges were a bit tricky. I added magnets to the doors. All in all, I am pleased!
Built from Plan(s)
Estimated Cost
$150 plus mattresses
Estimated Time Investment
Weekend Project (10-20 Hours)
Finish Used
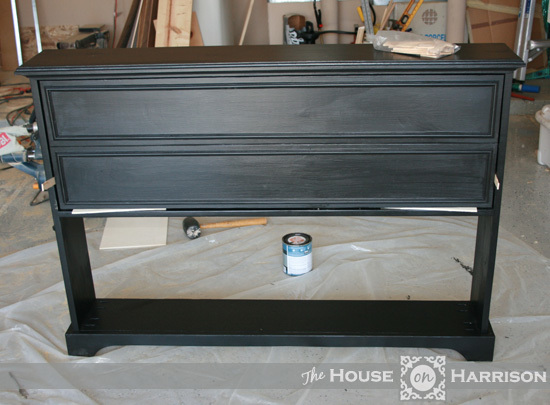
Off the shelf white paint. I let the boys help- Yikes! Early American stain for the top trim.
Recommended Skill Level
Beginner


Comments
Ana White Admin
Wed, 11/09/2016 - 12:16
Looks great!
Love the outcome, great choice! Thanks for sharing:)