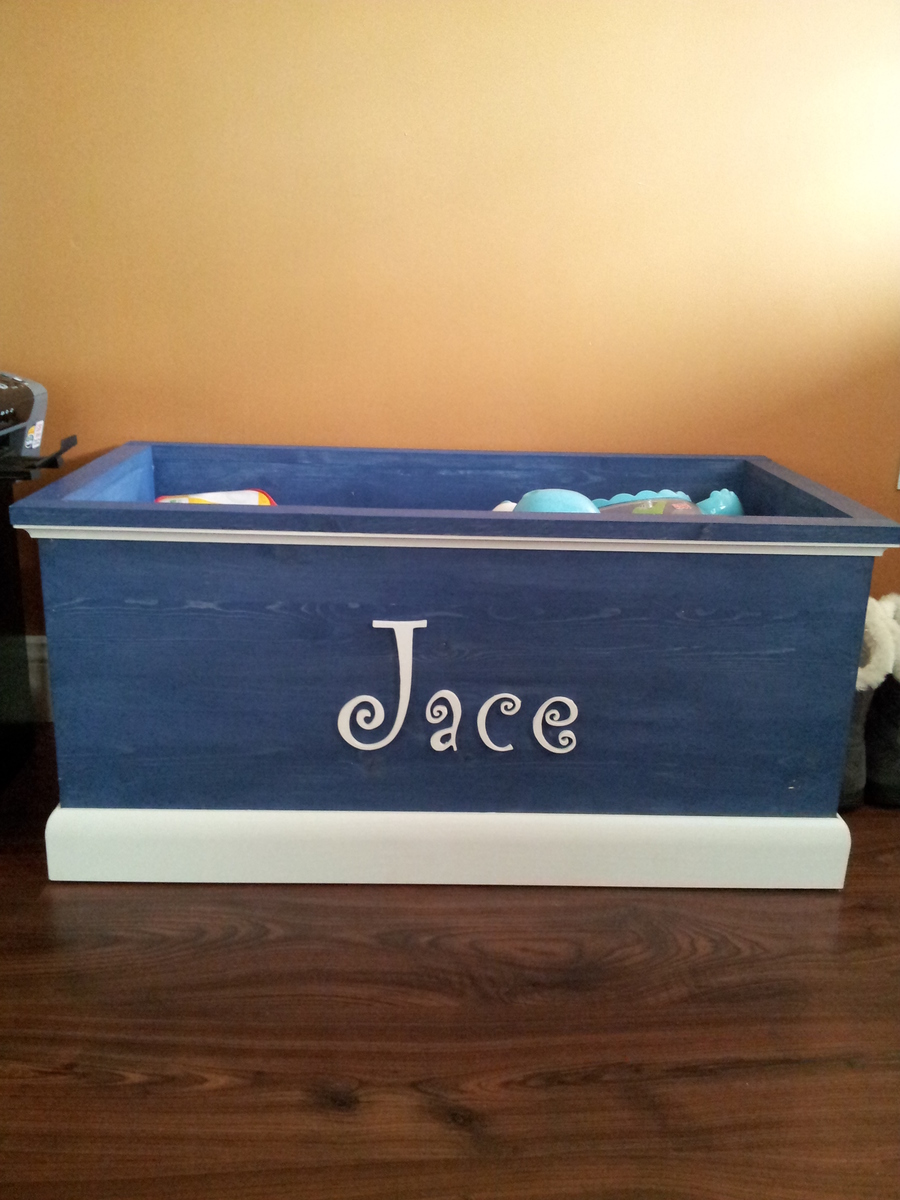
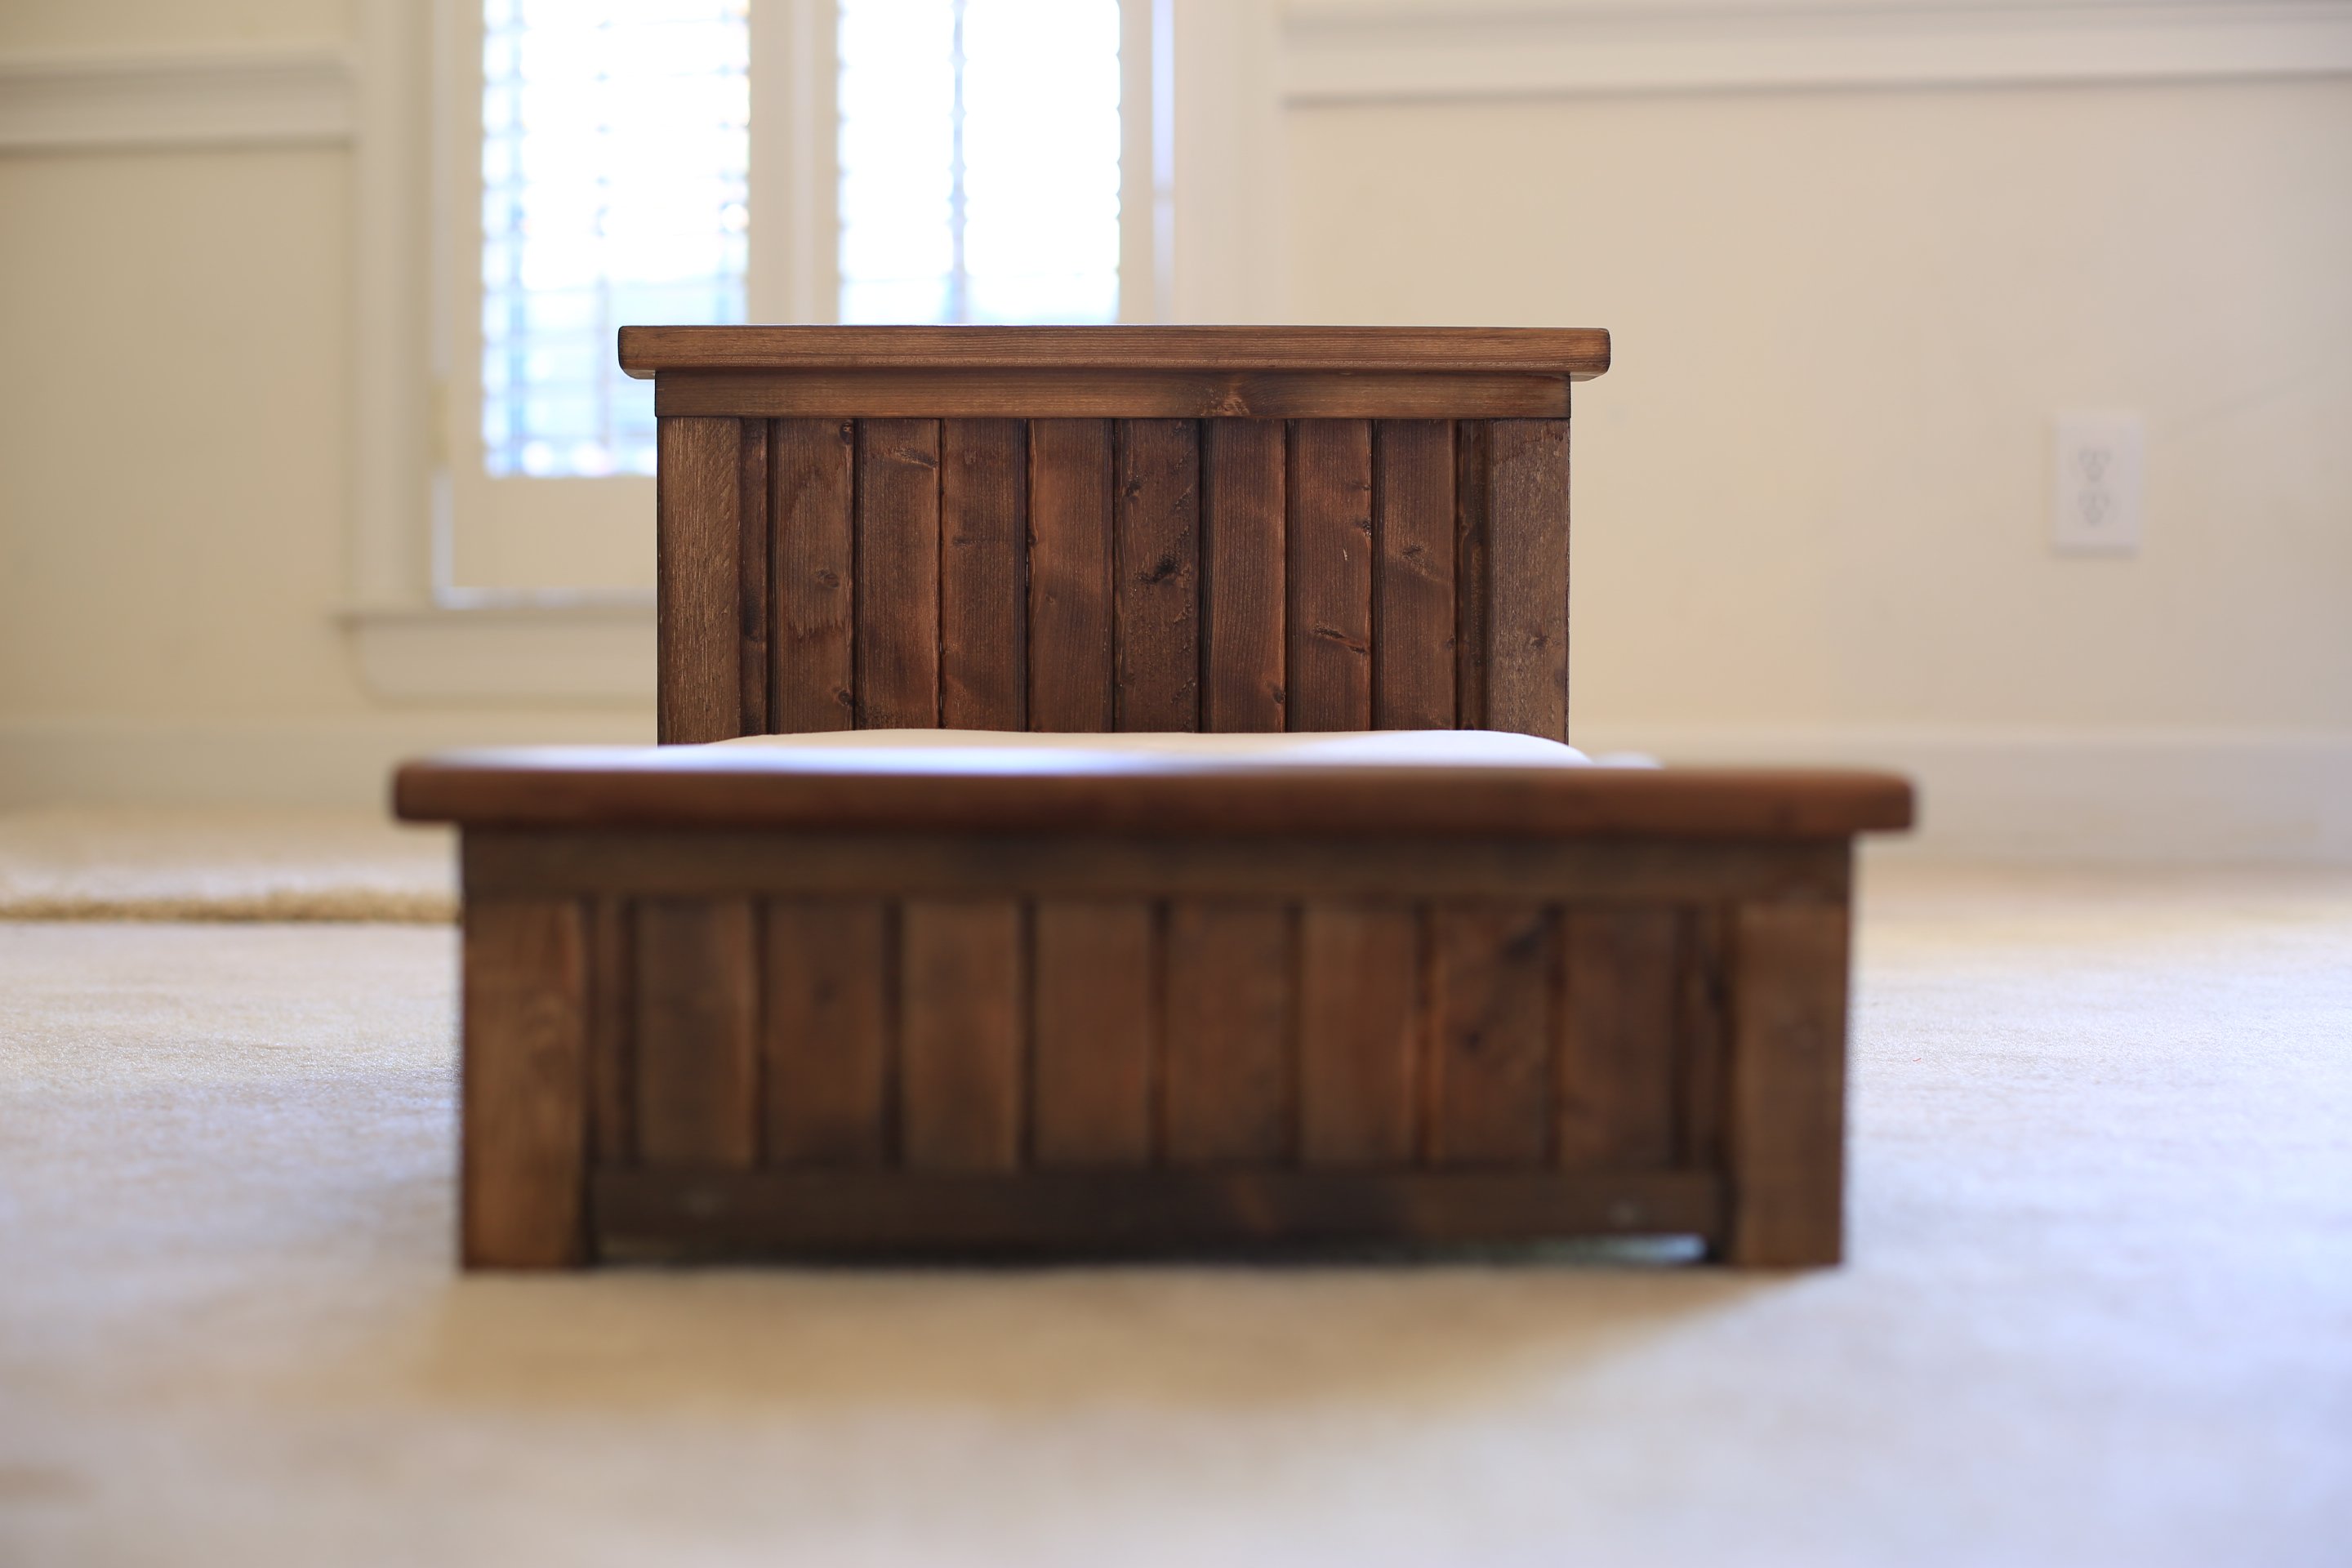
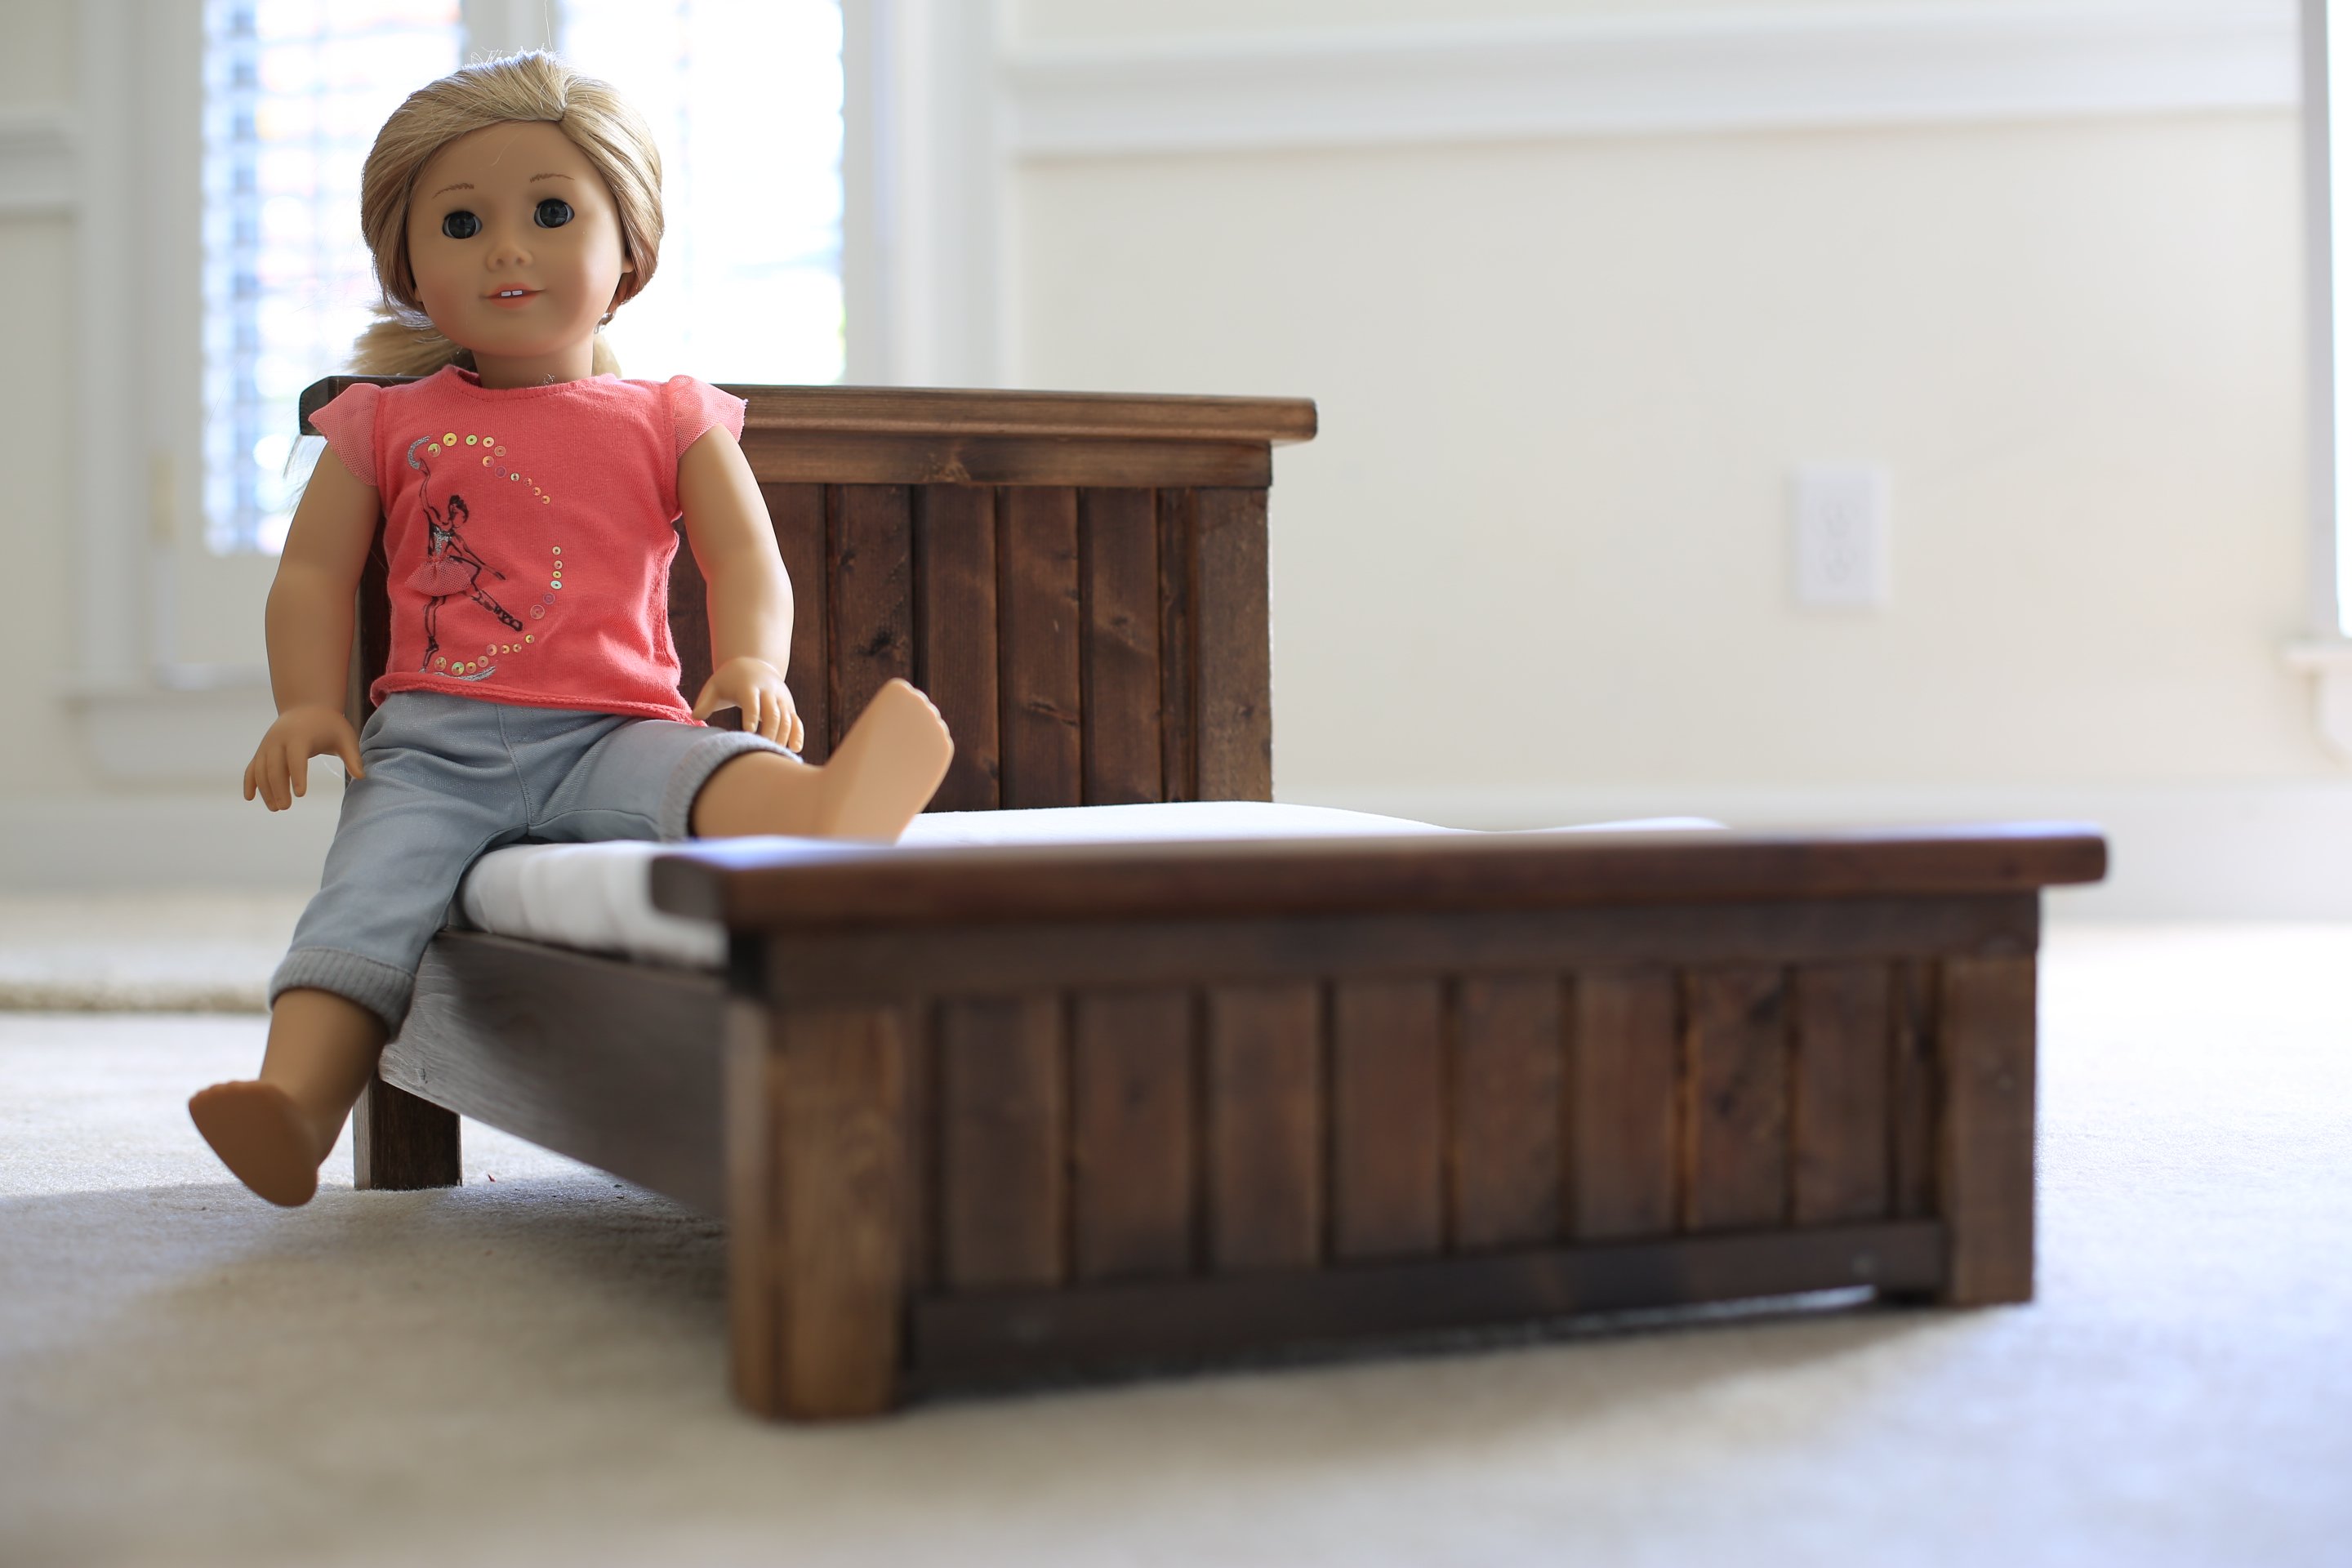
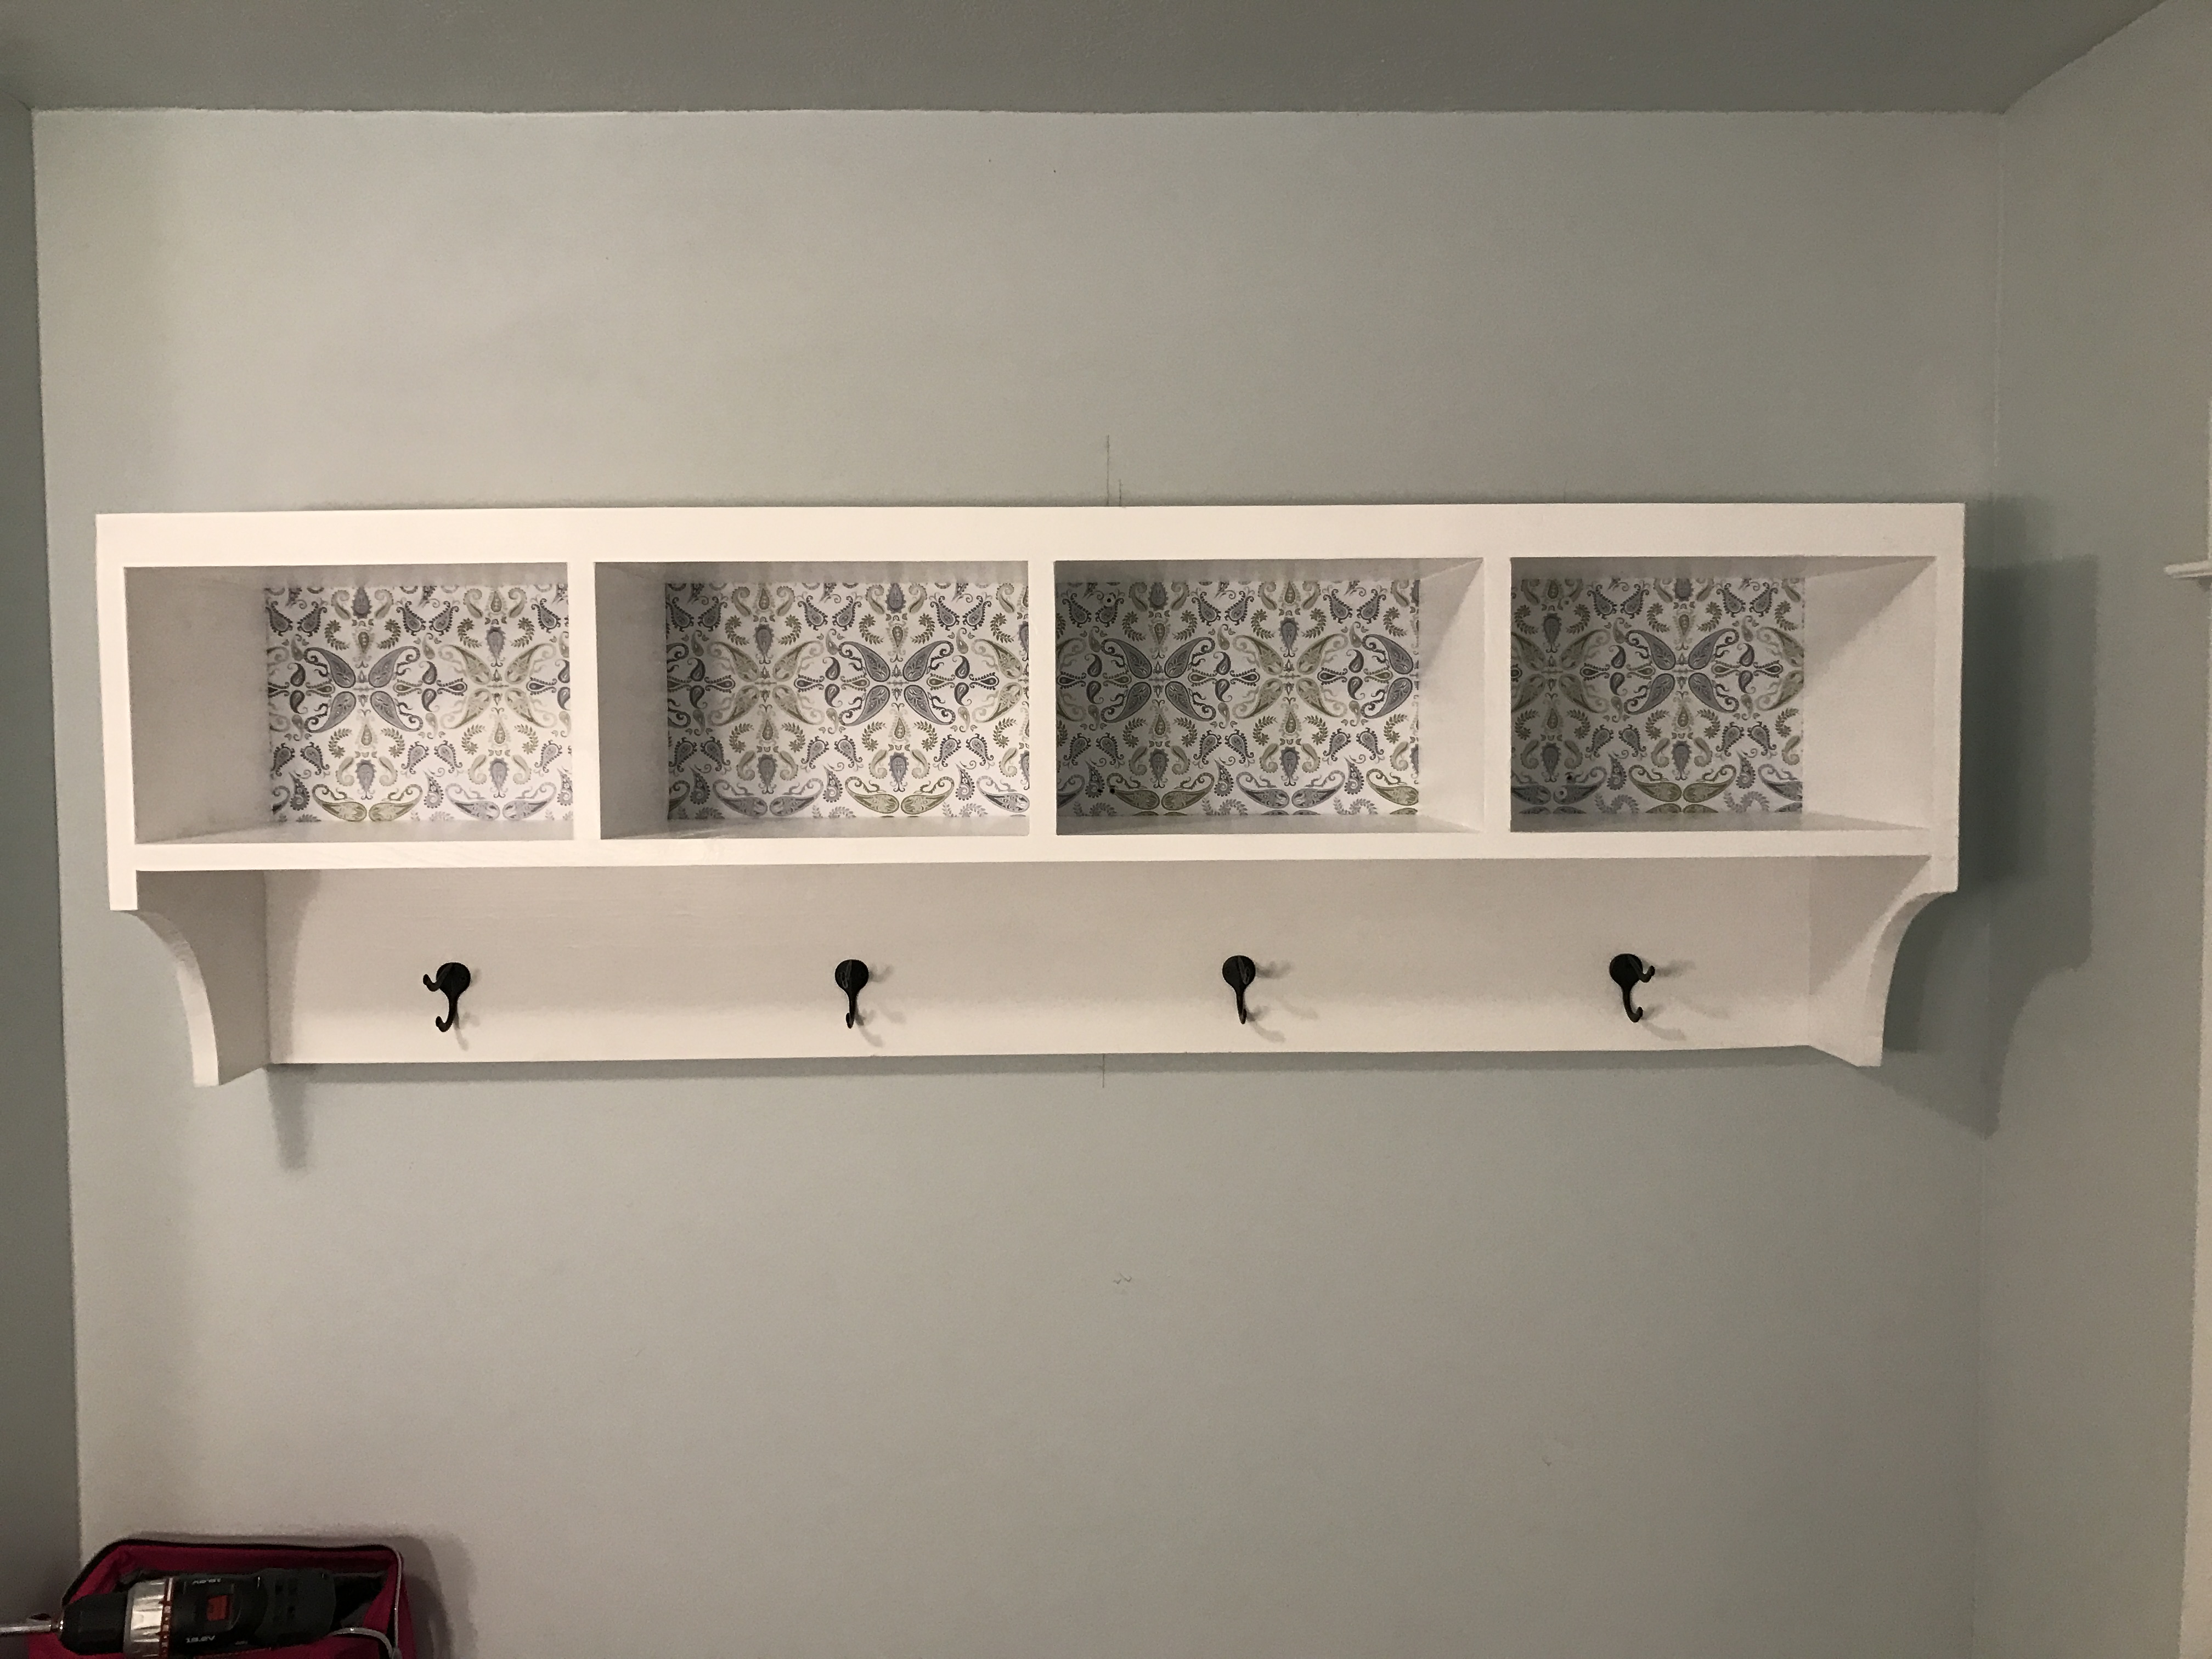
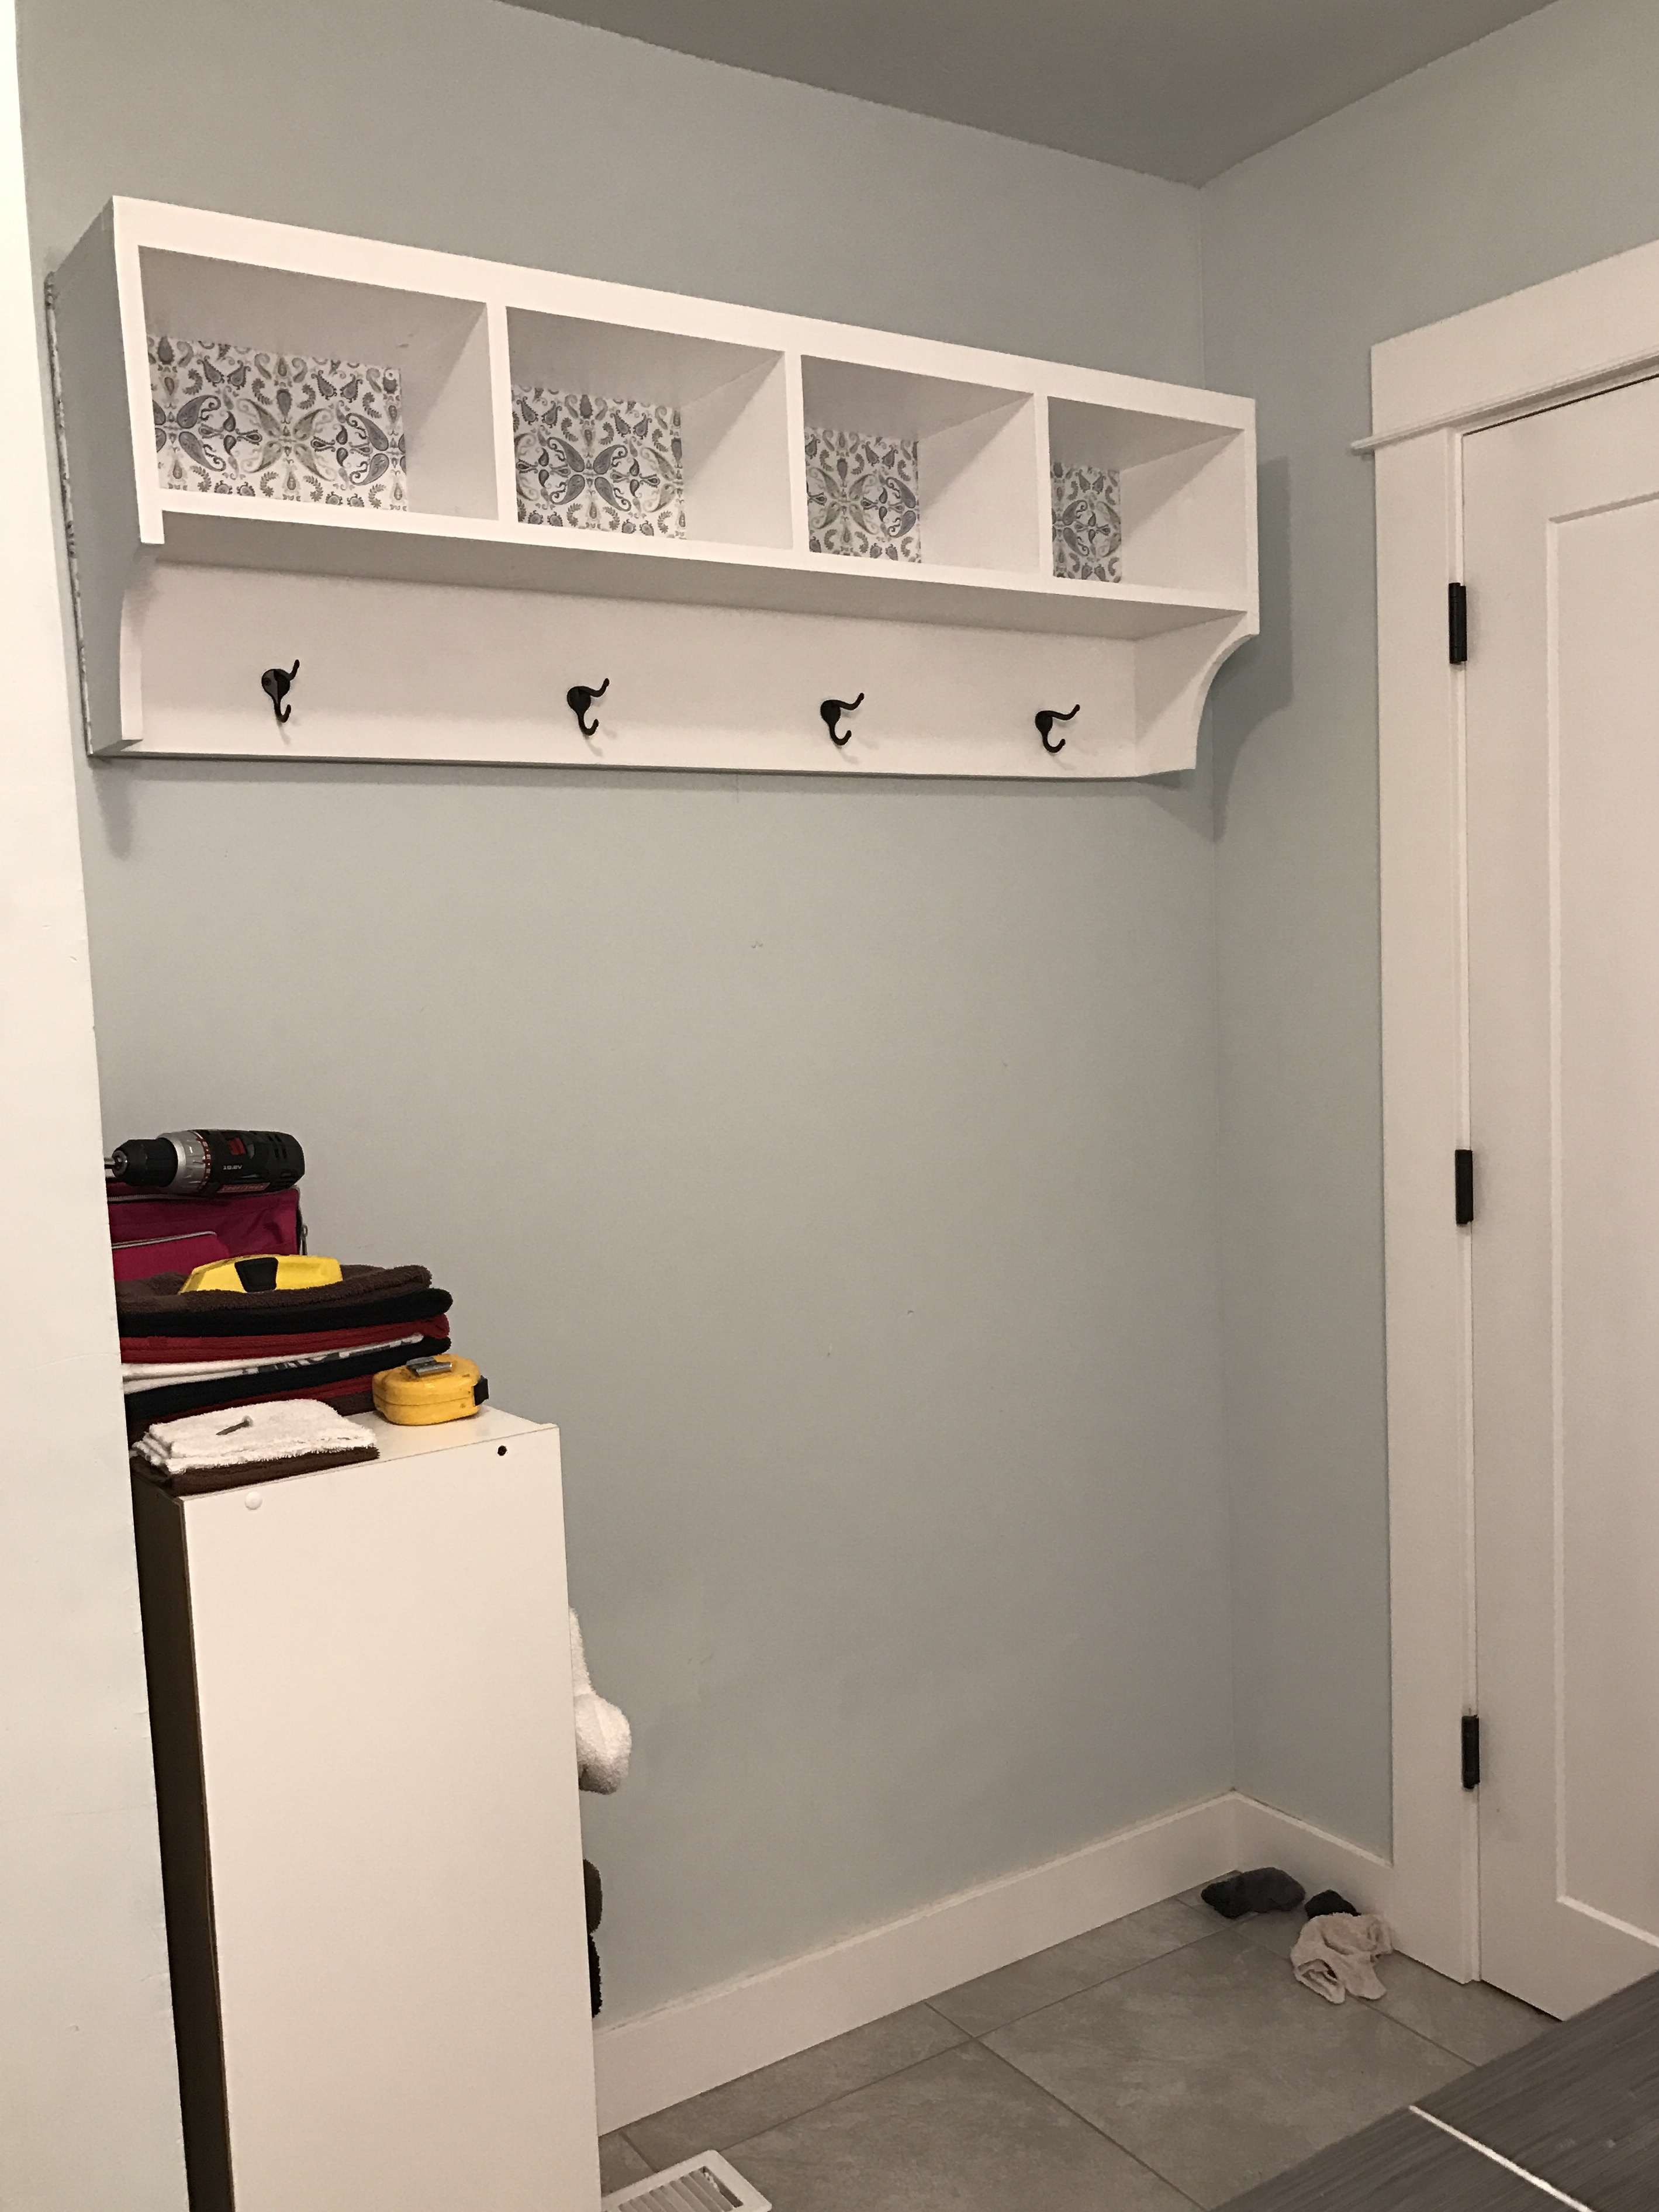
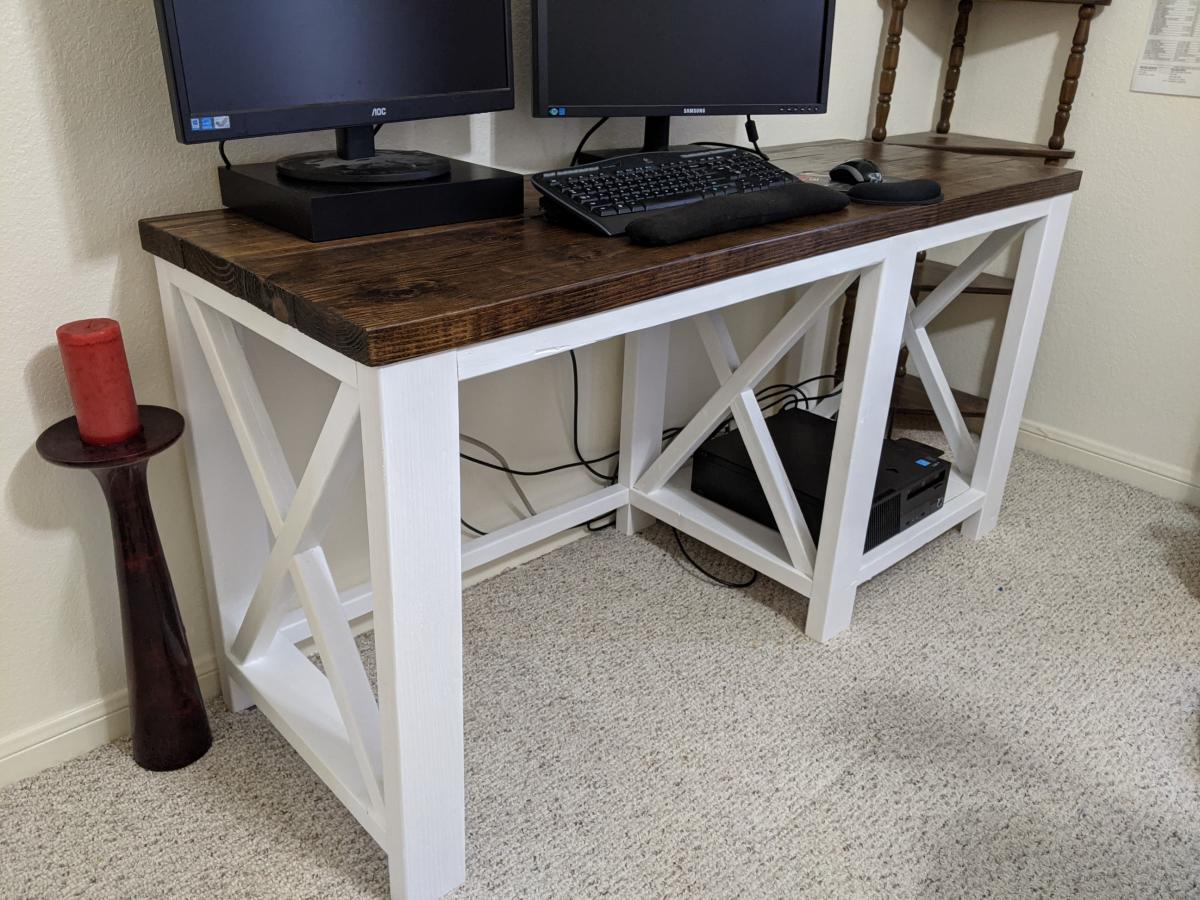
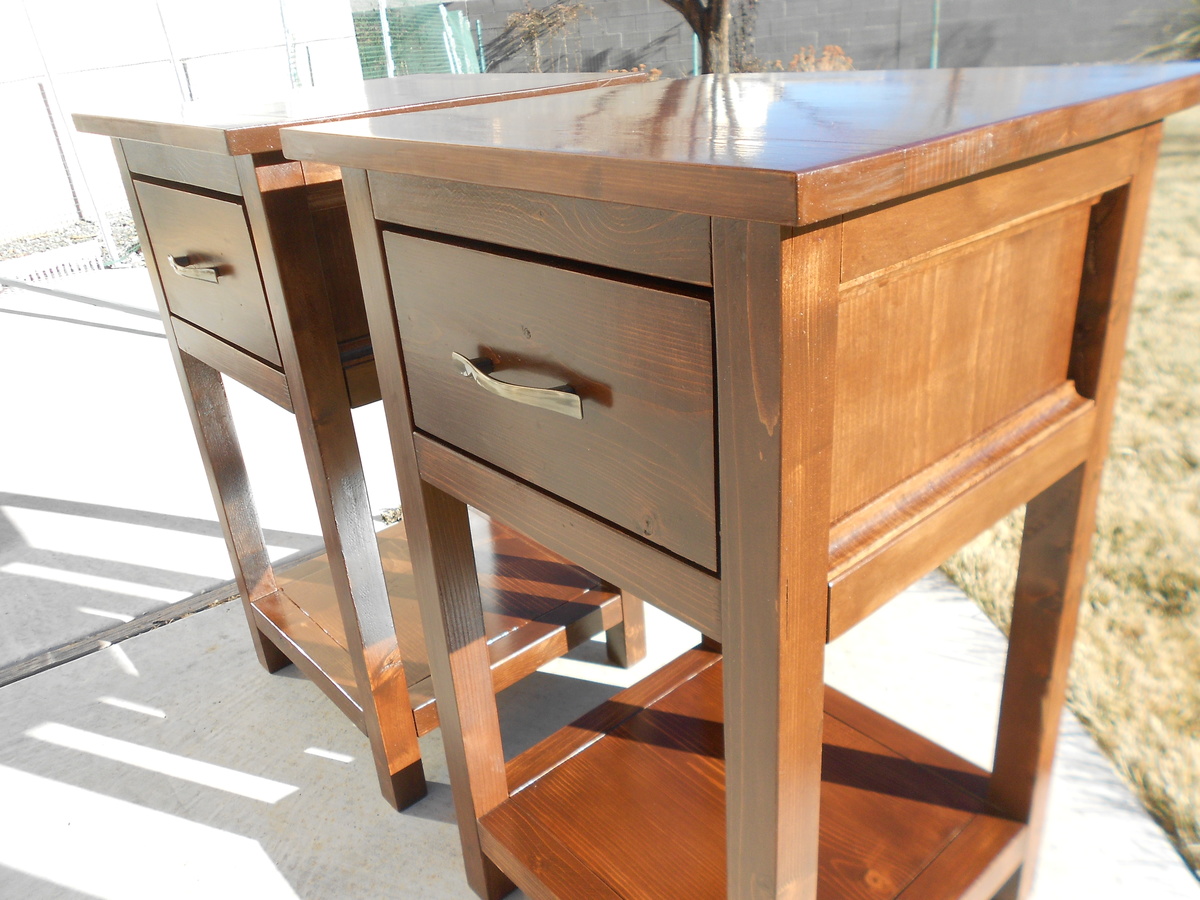
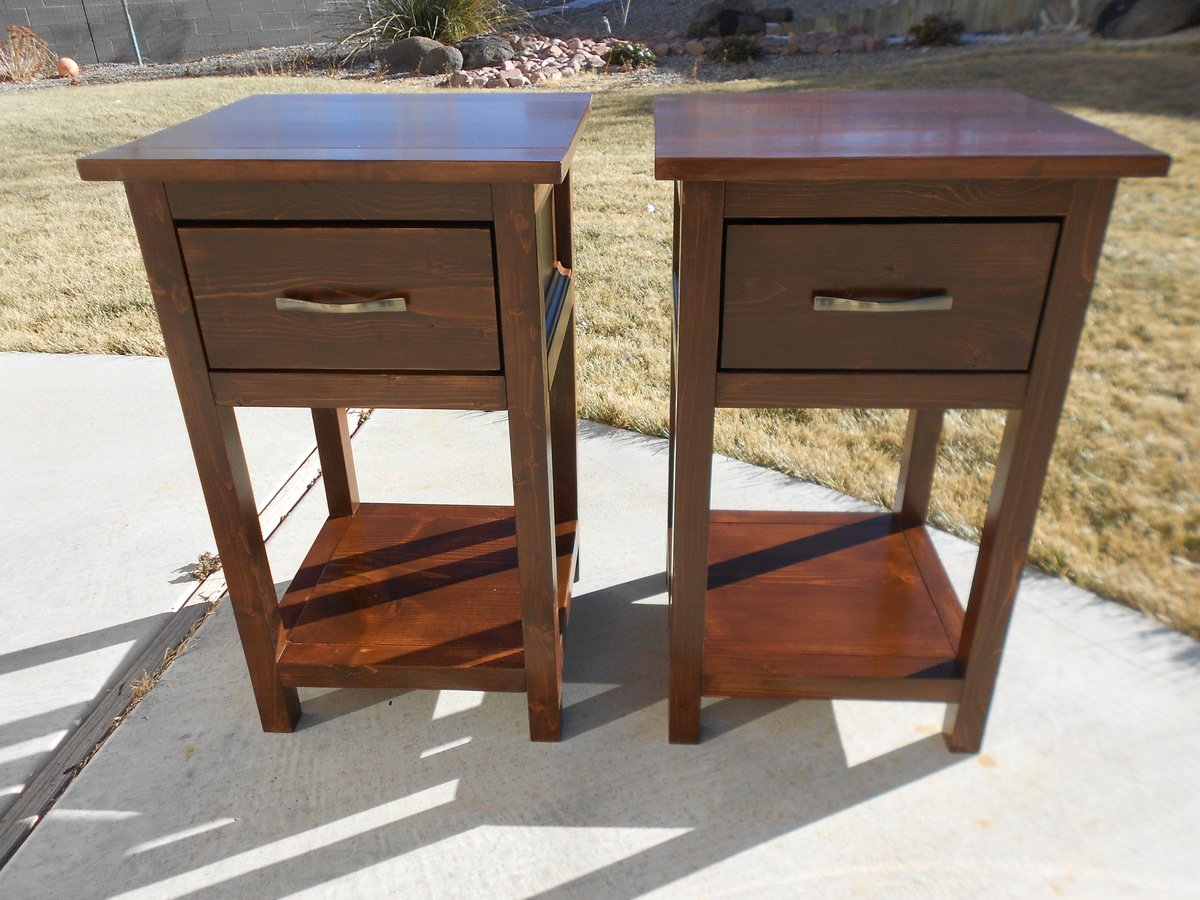
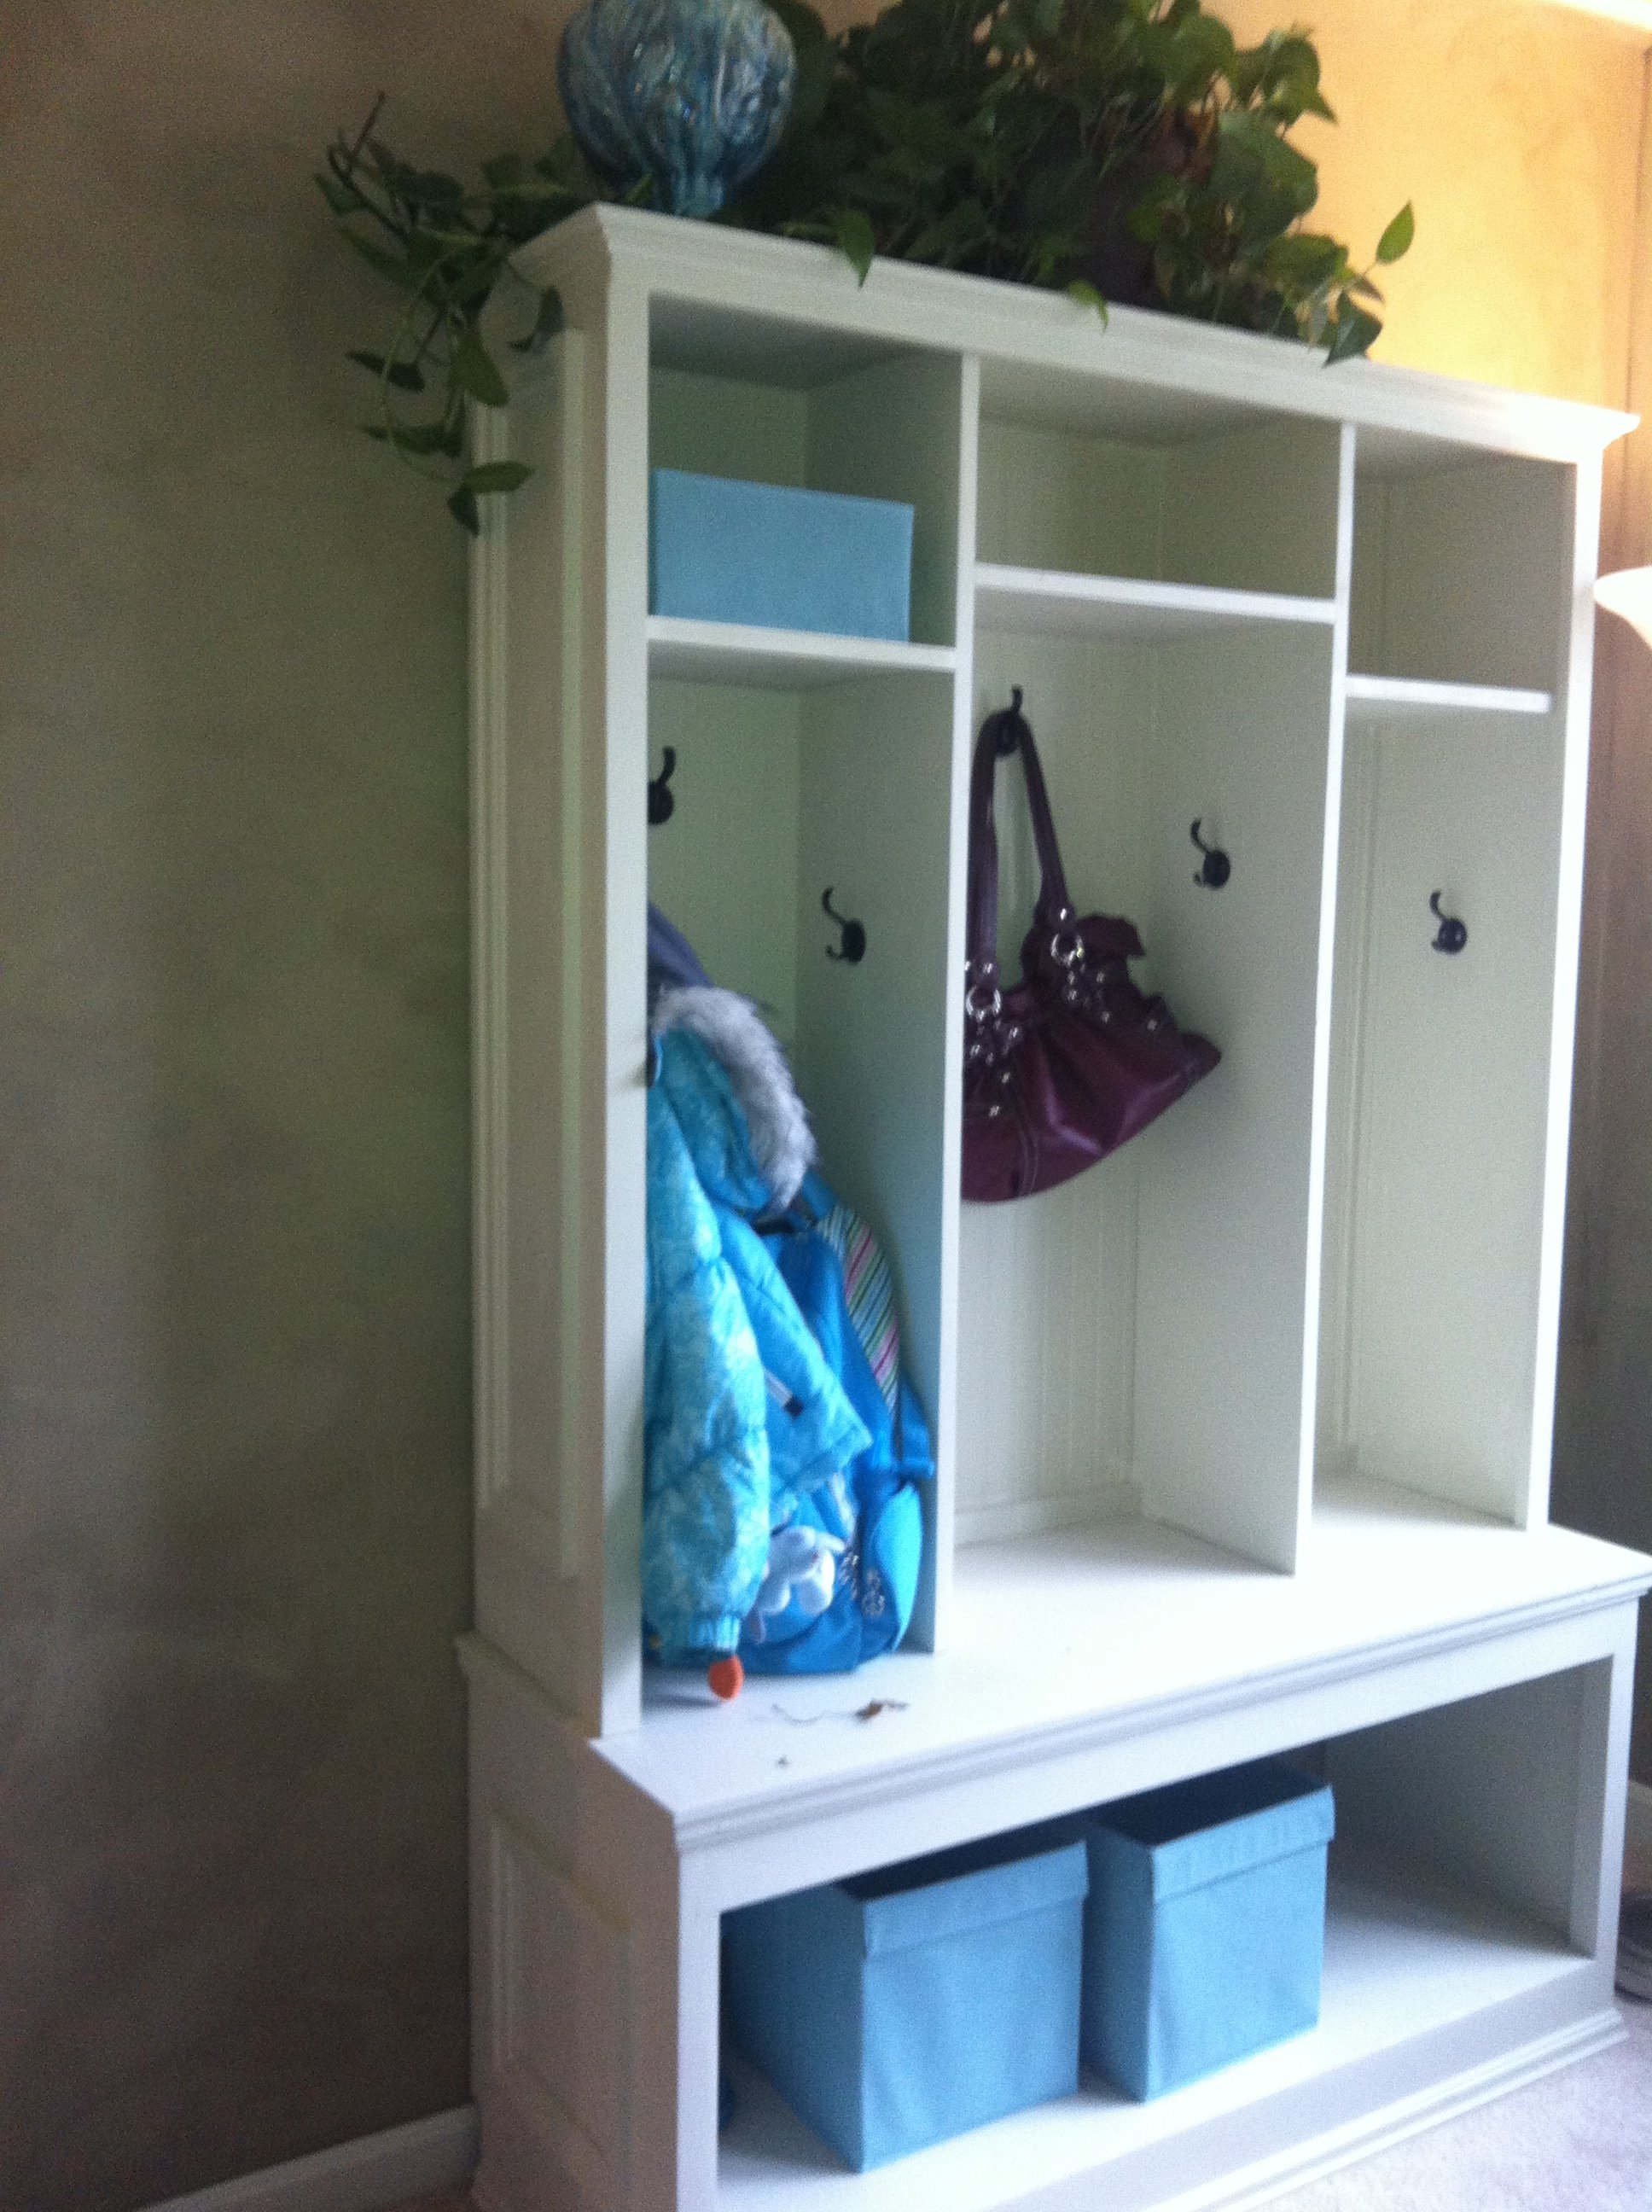
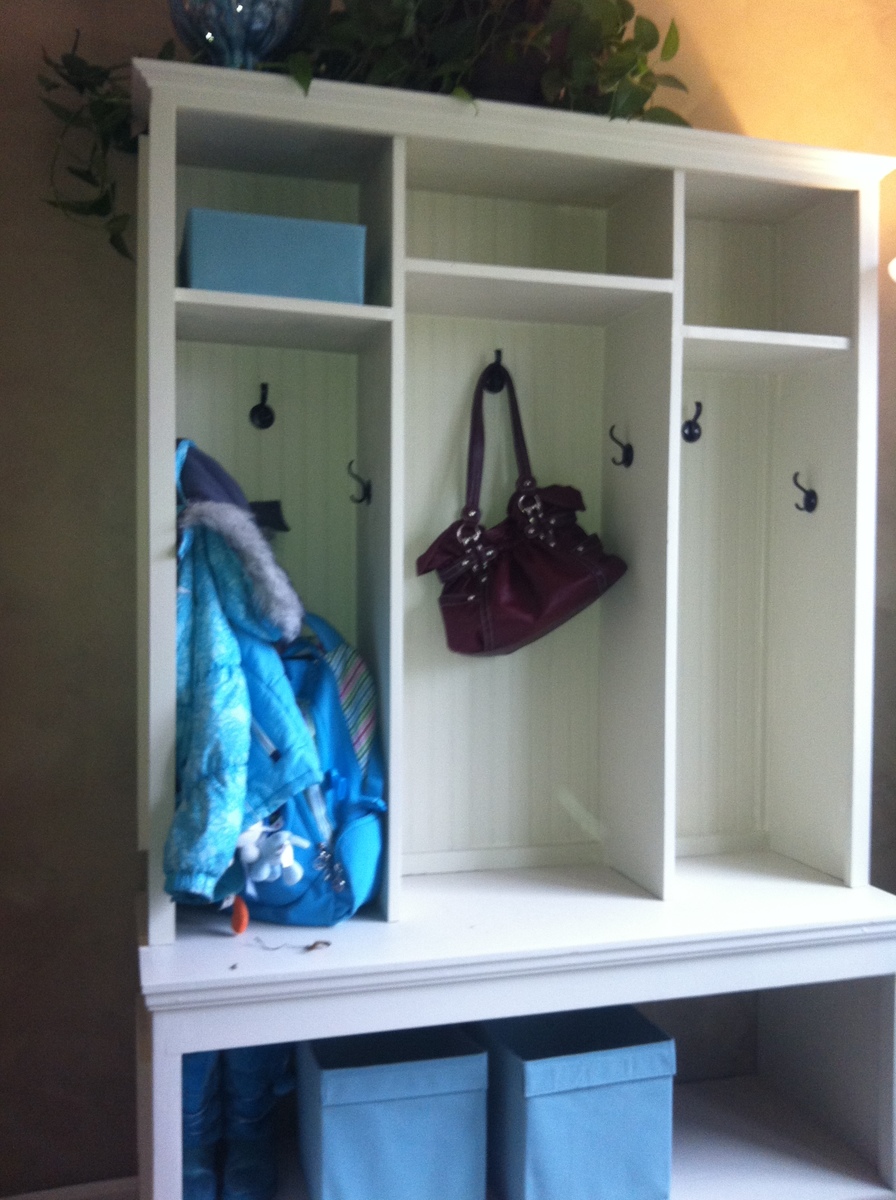
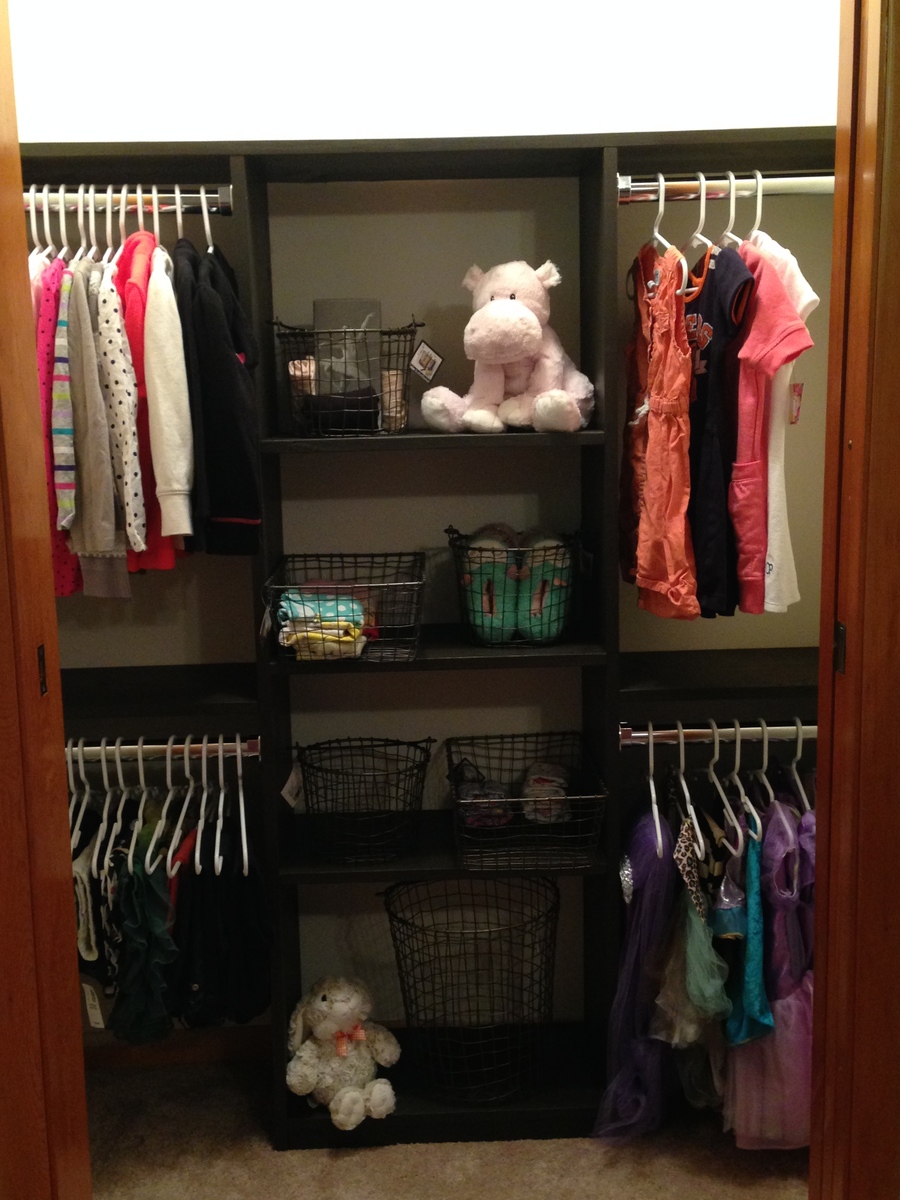
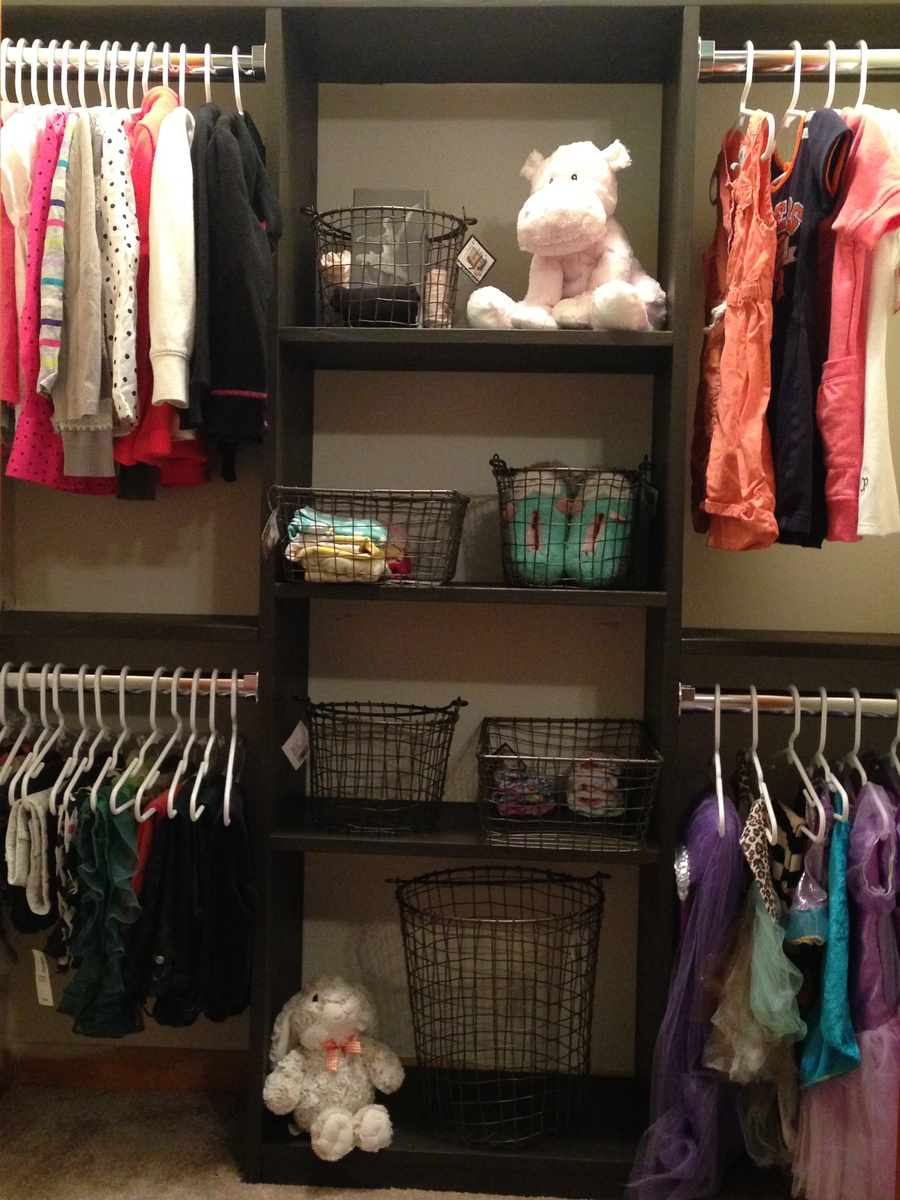
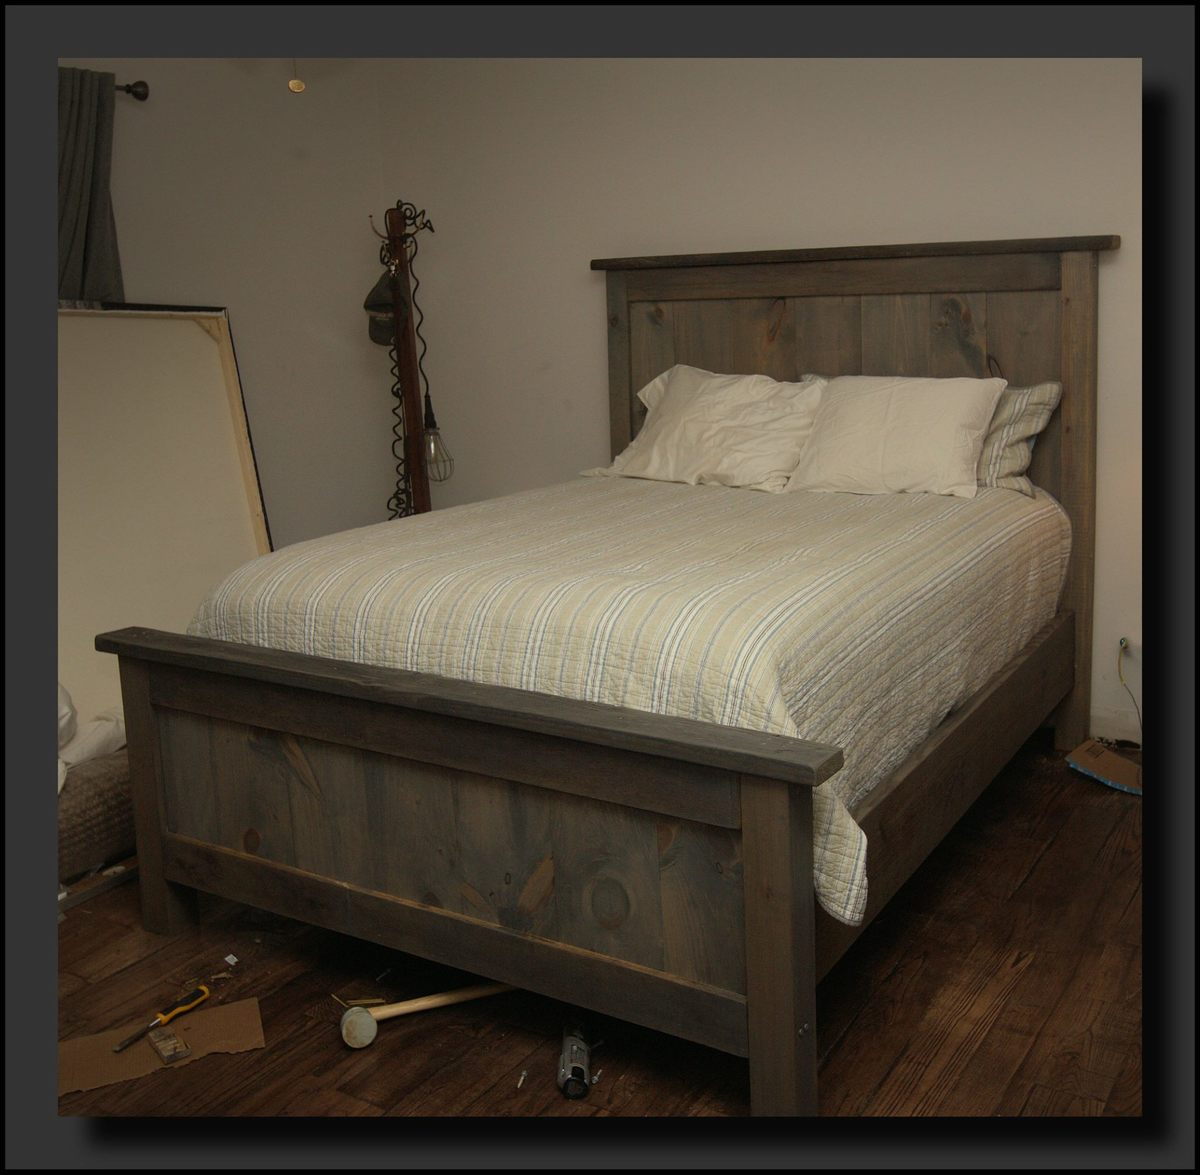
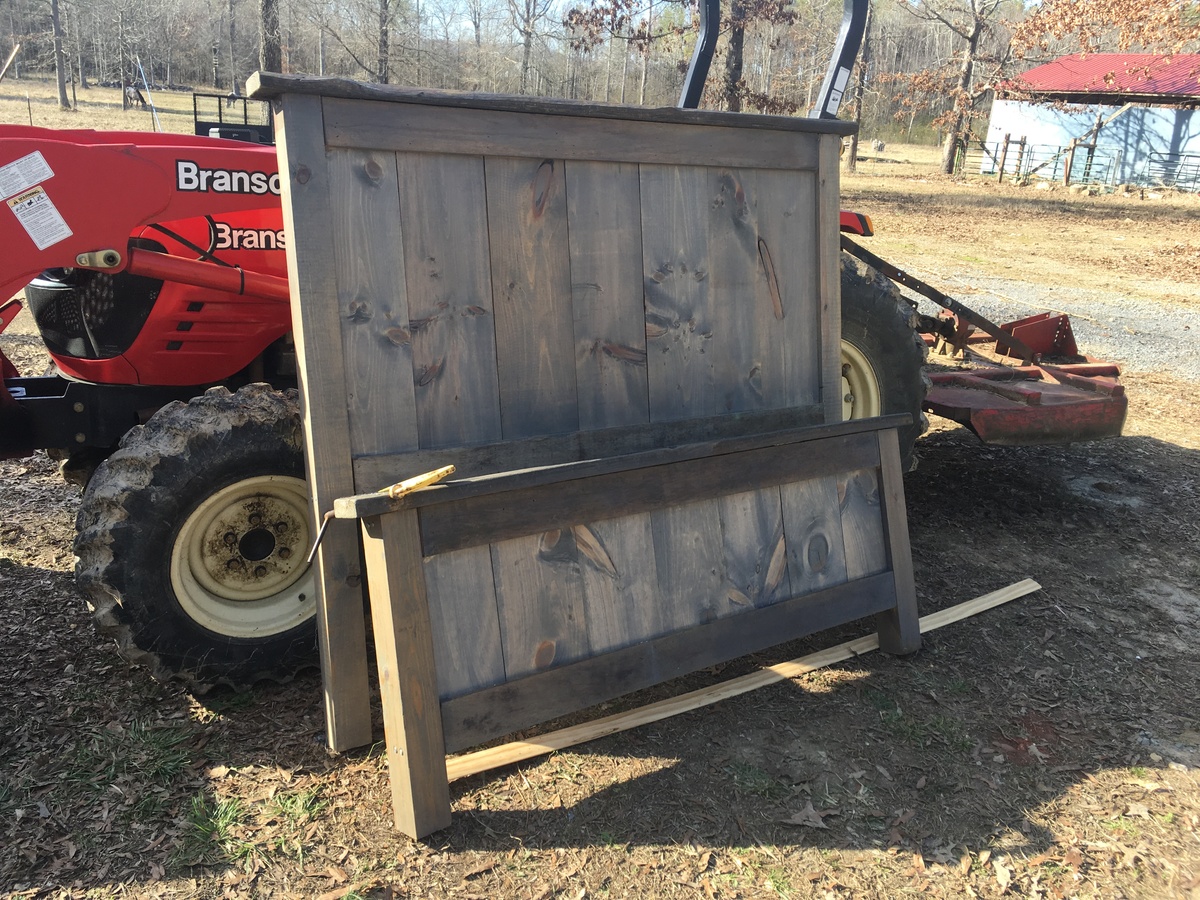
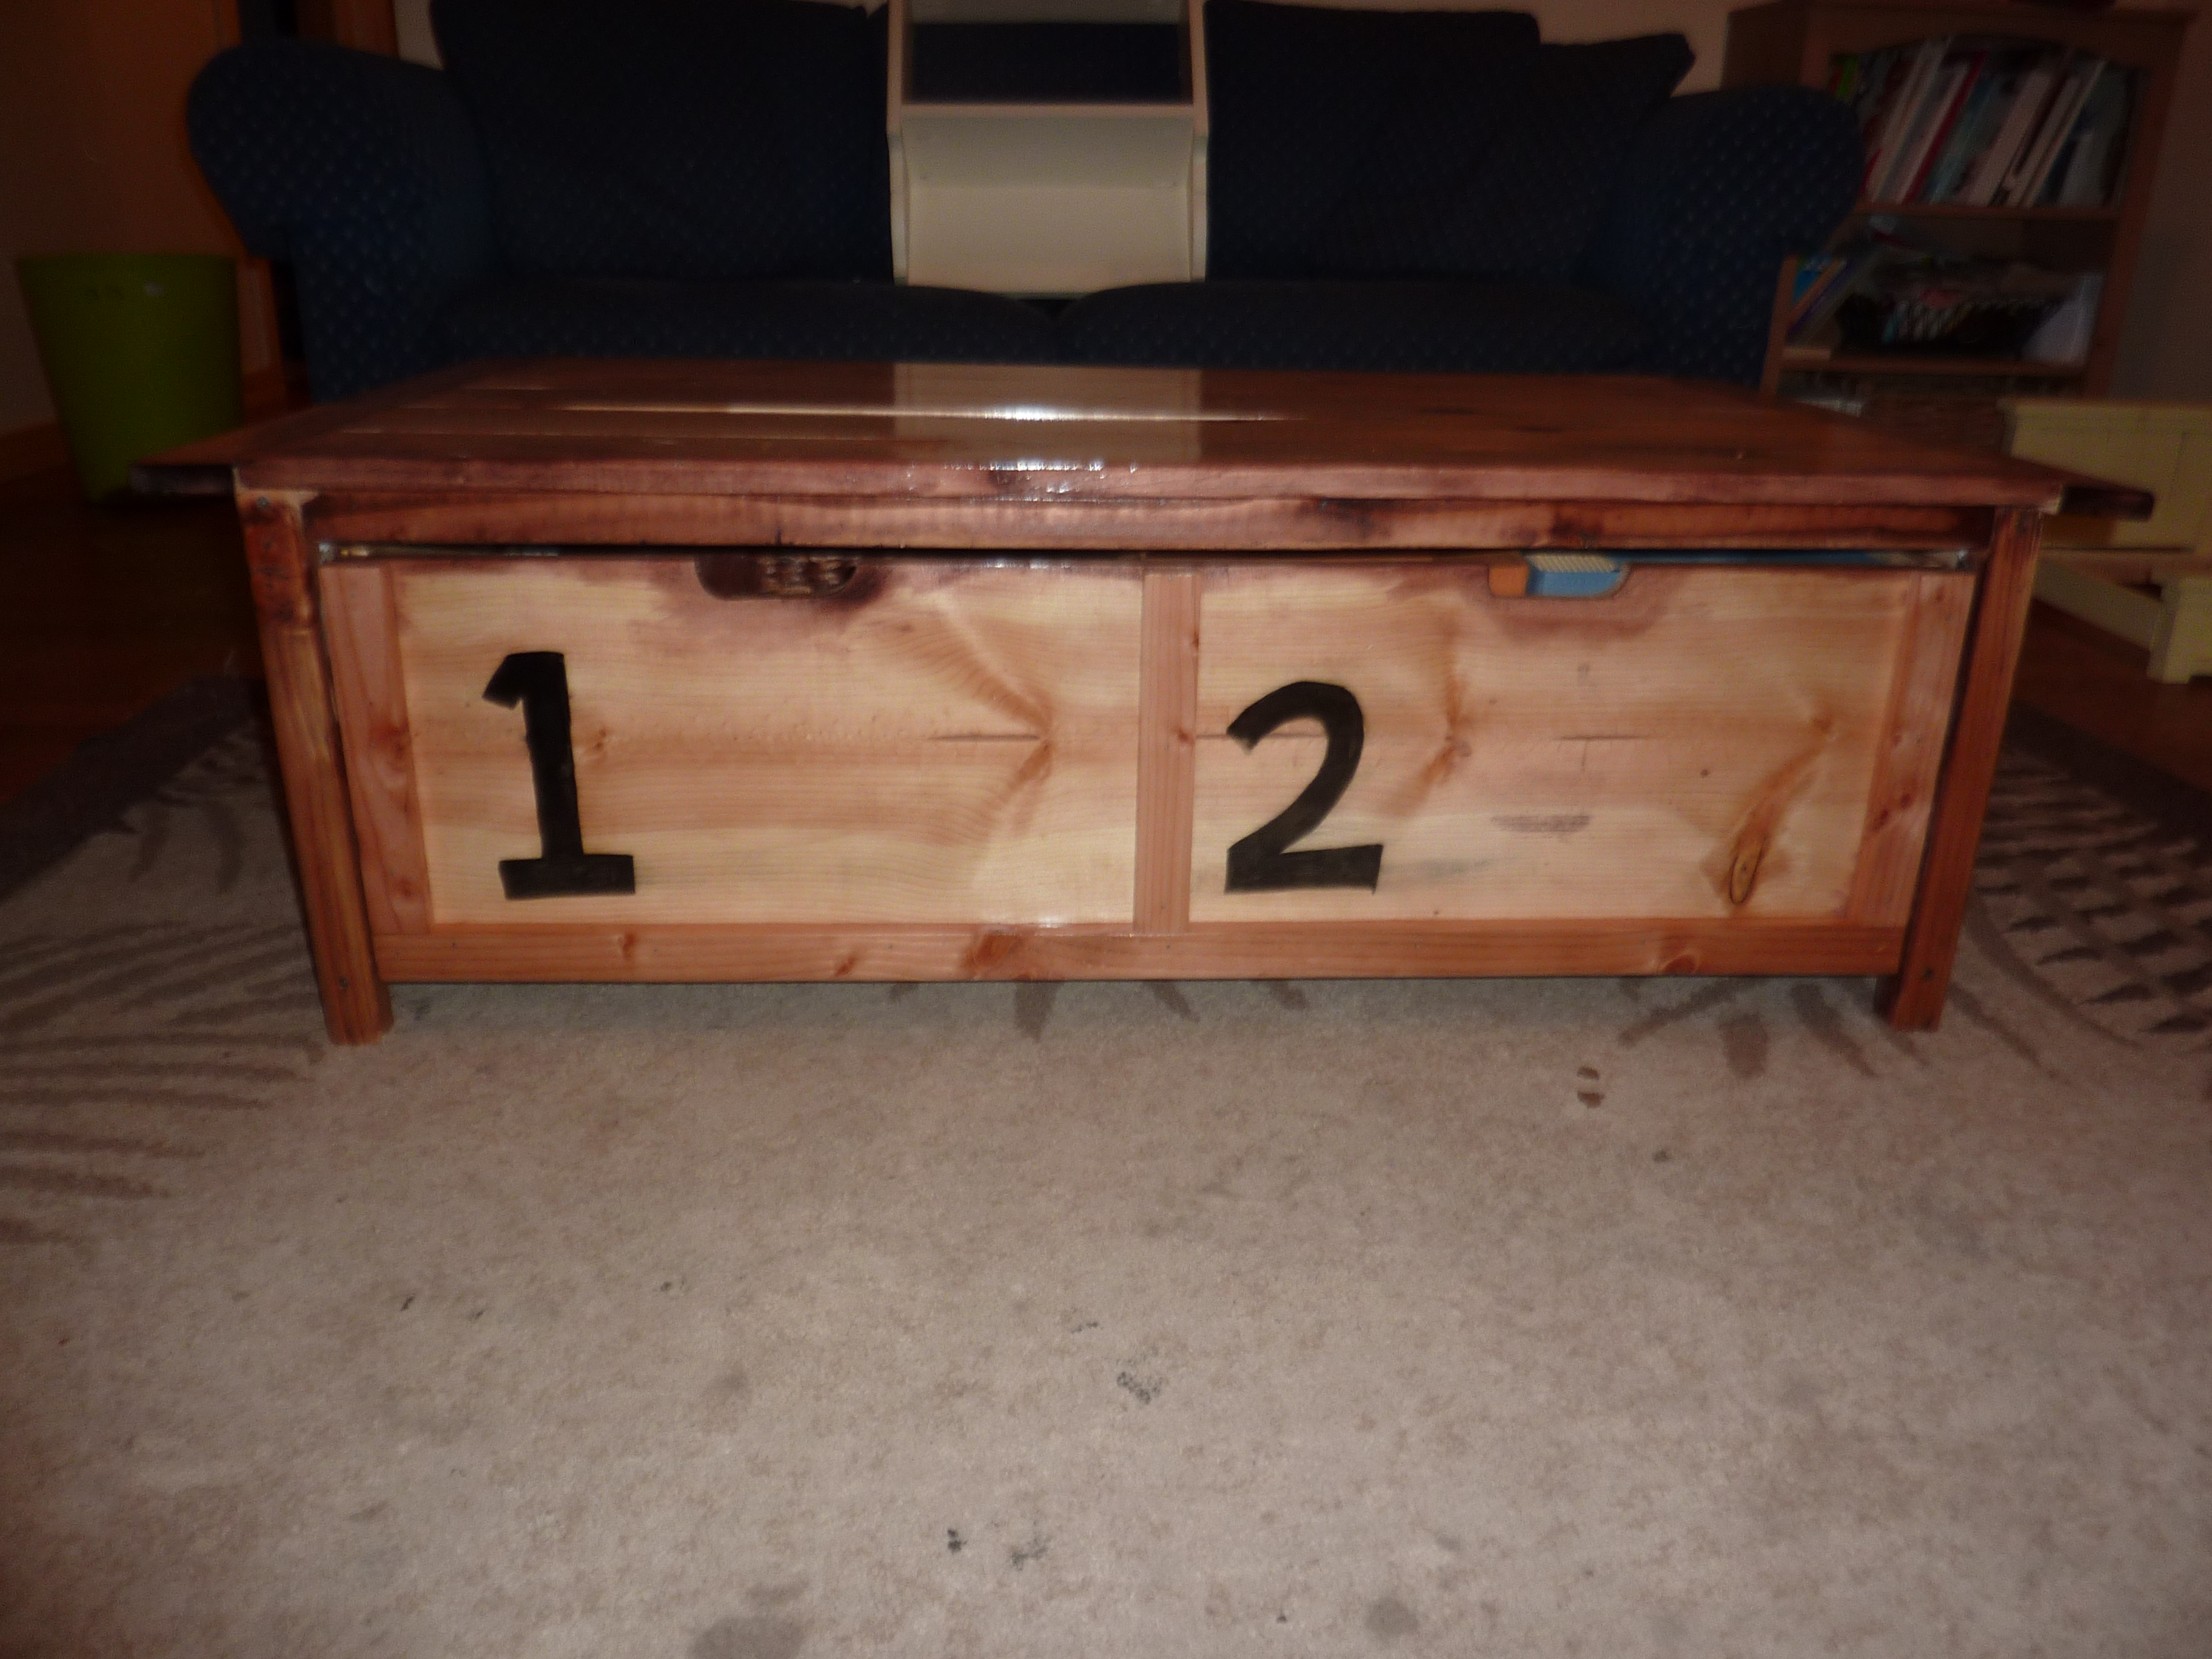
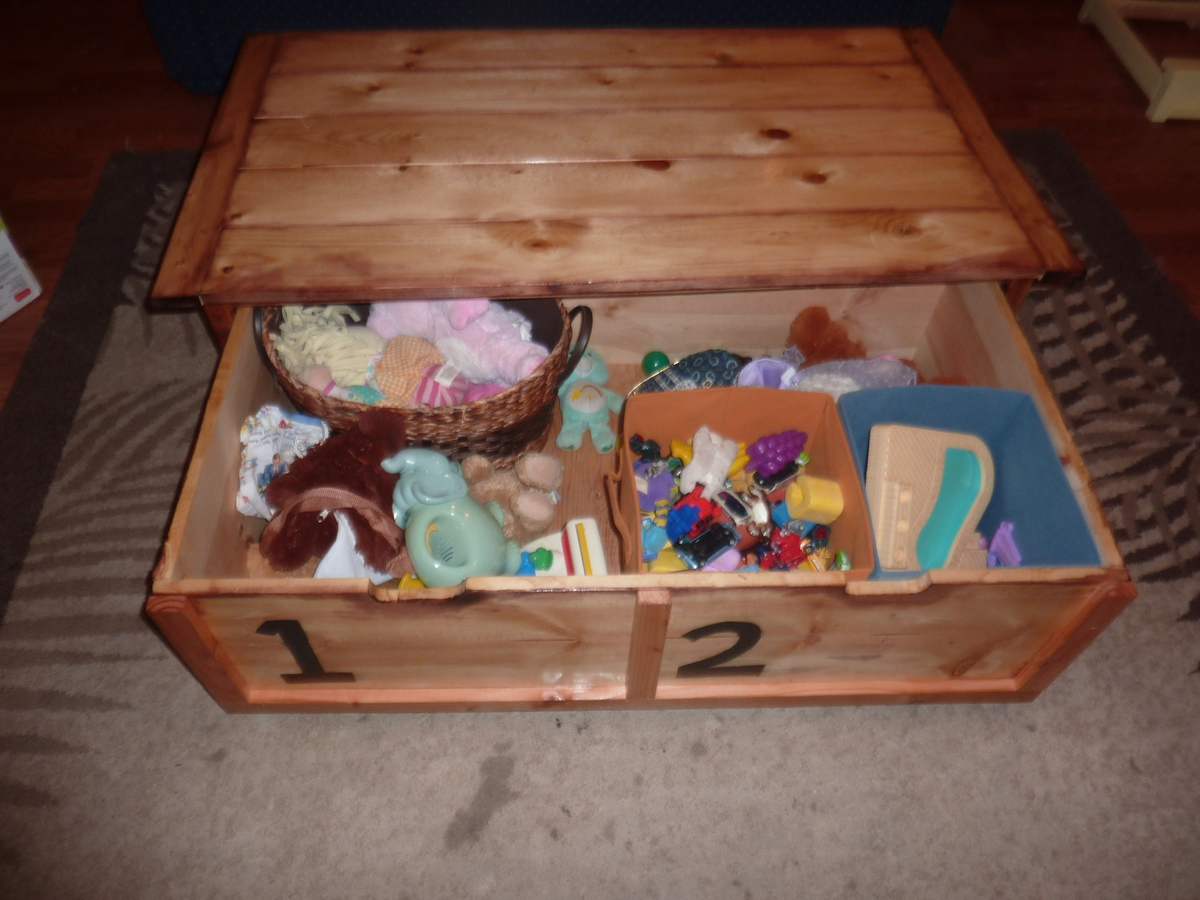
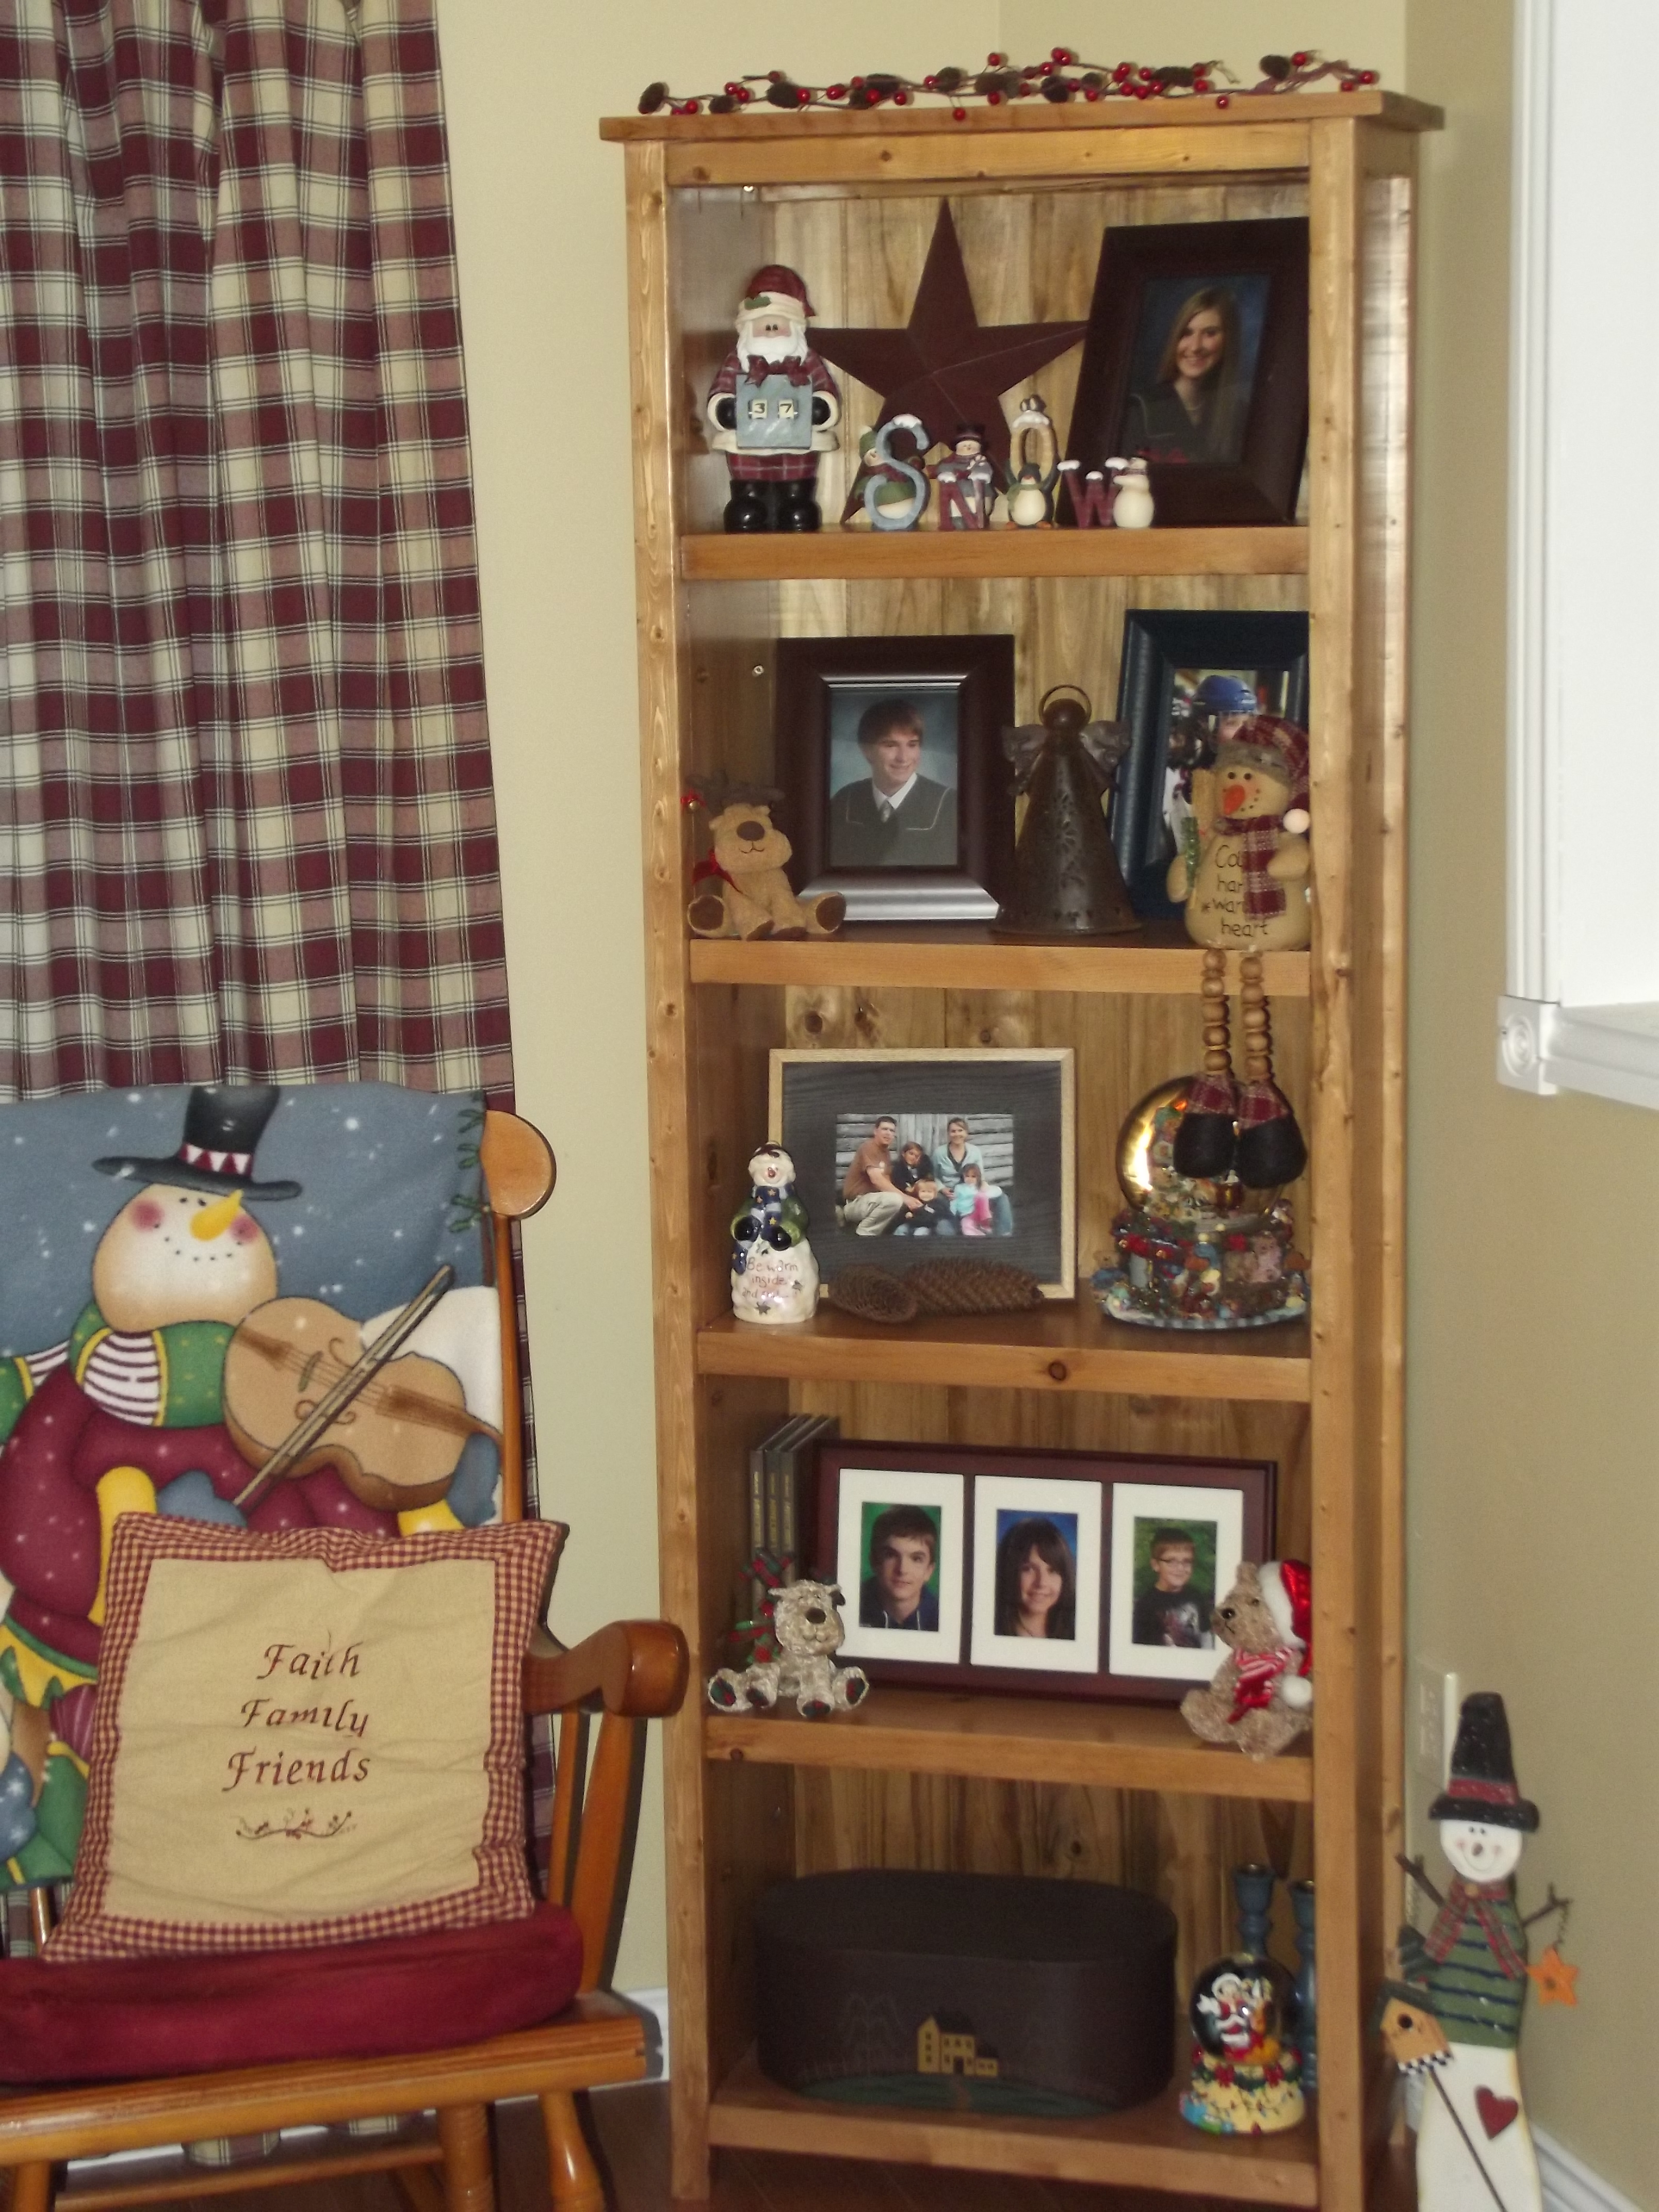
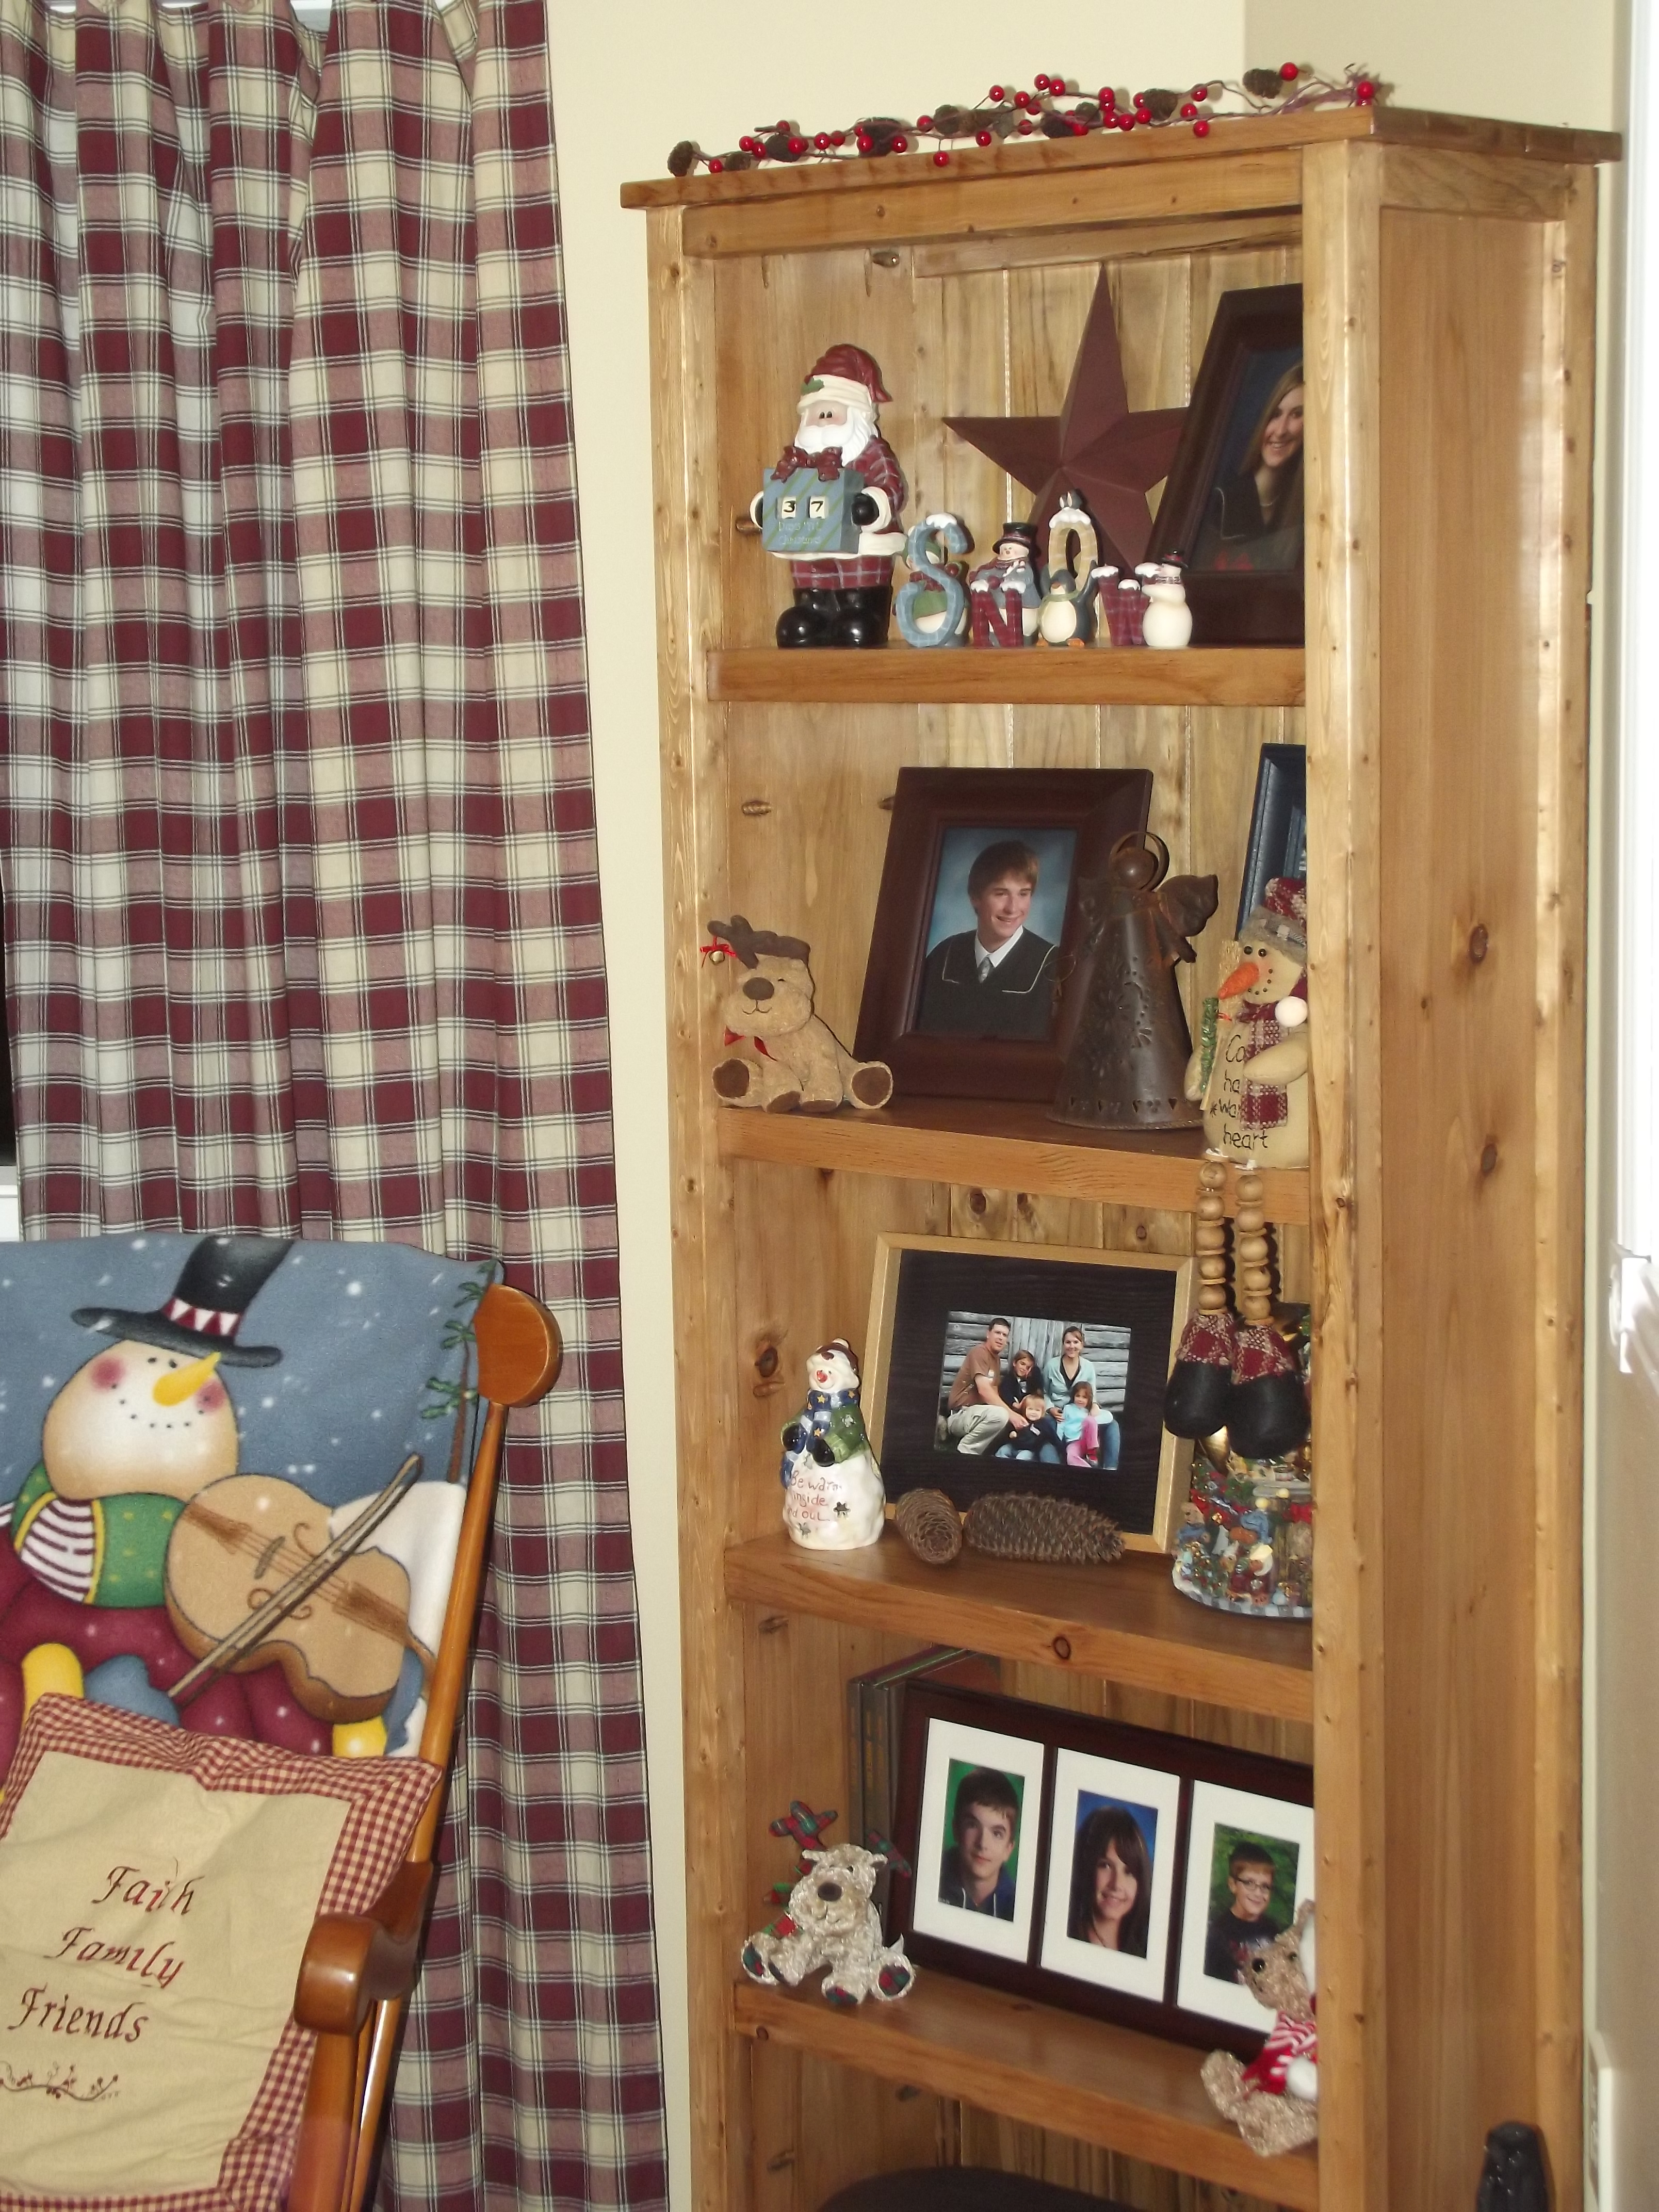
Modified Dumpster Dresser
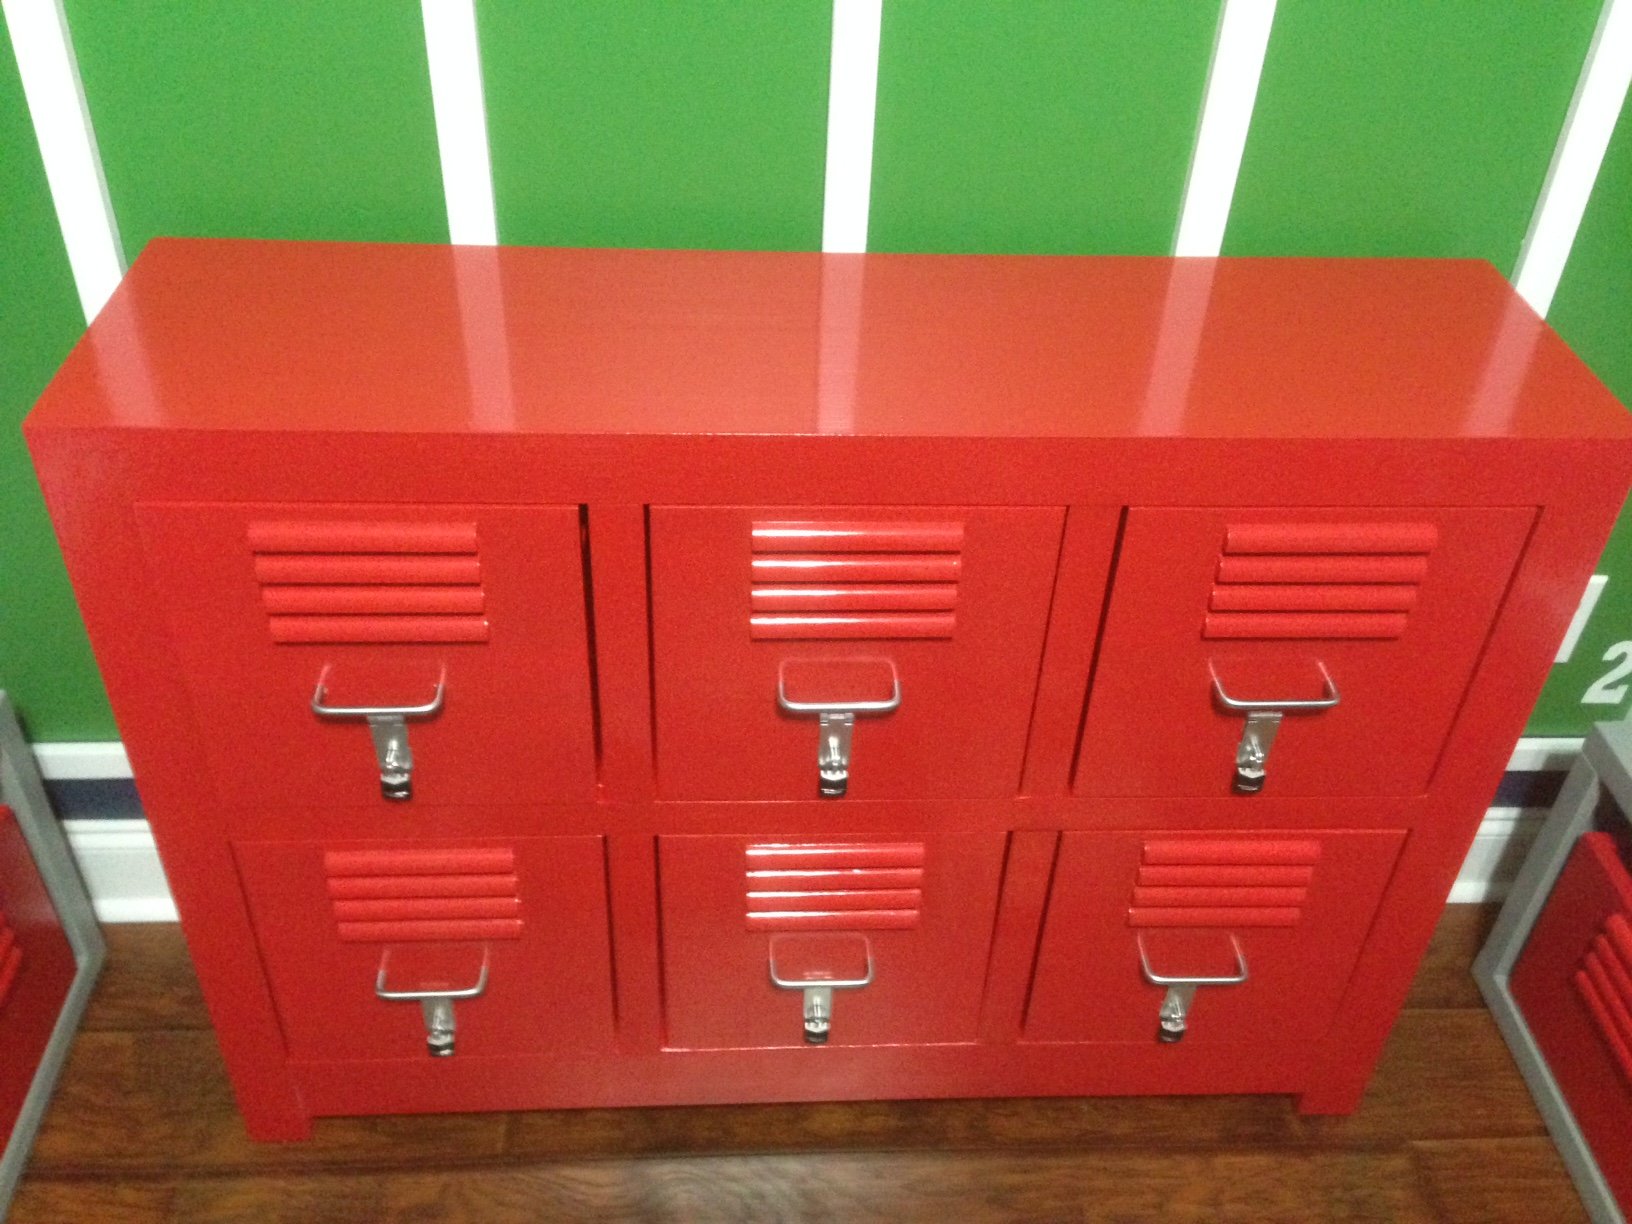
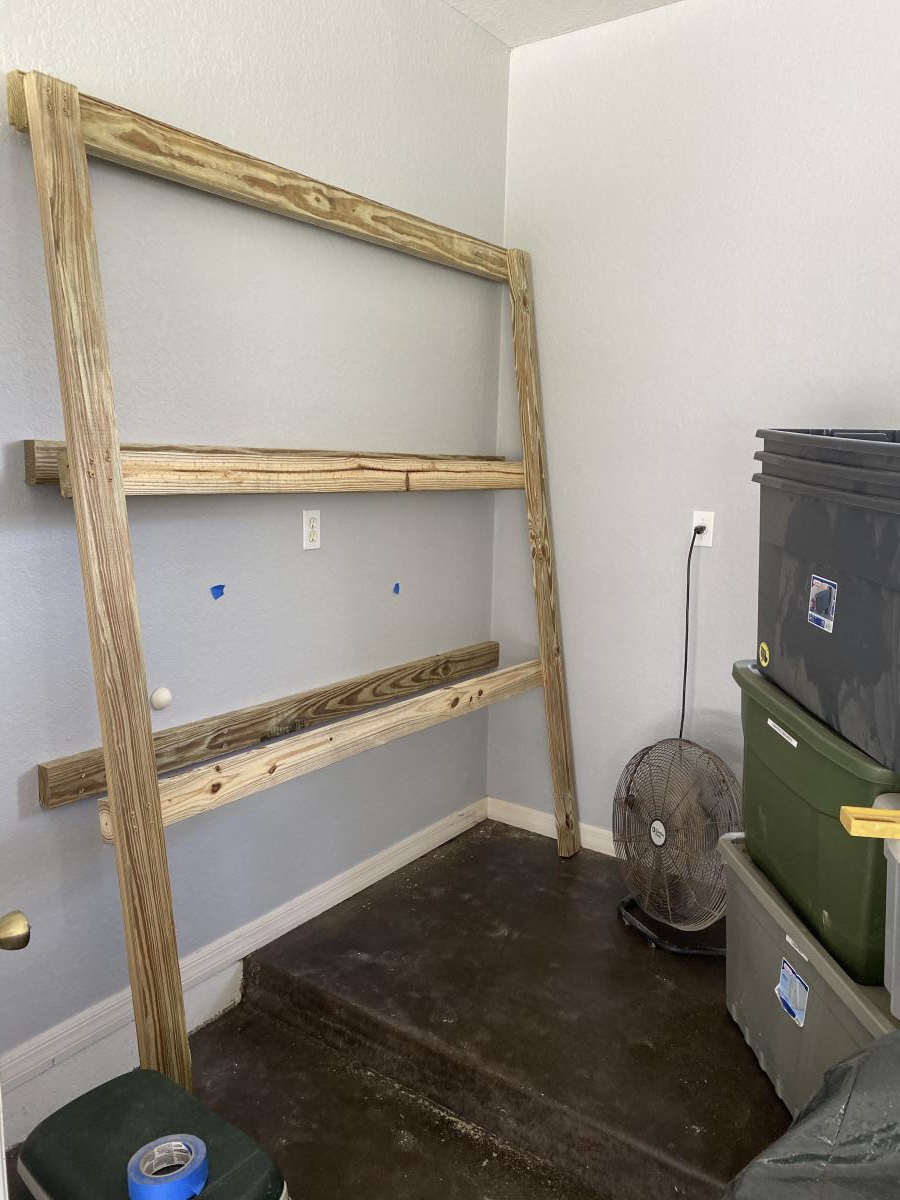
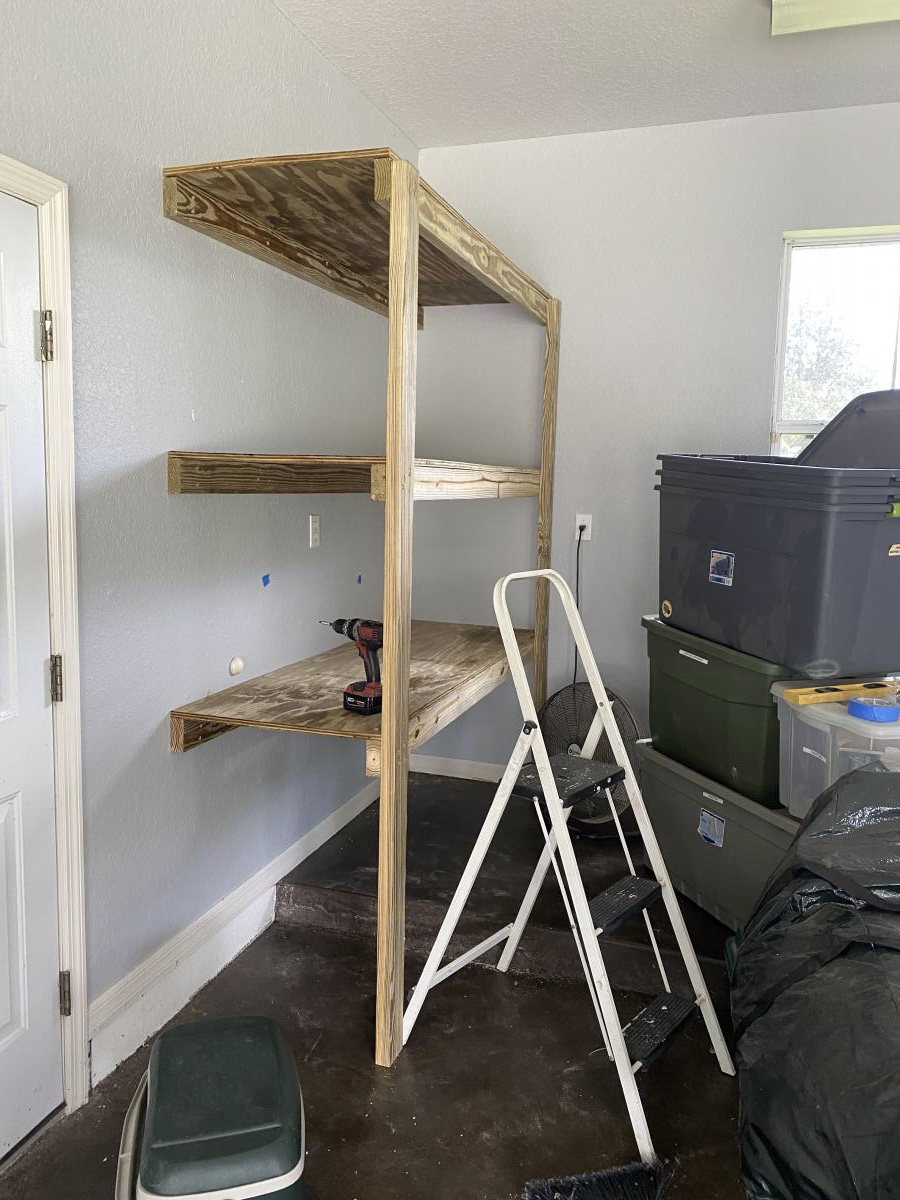
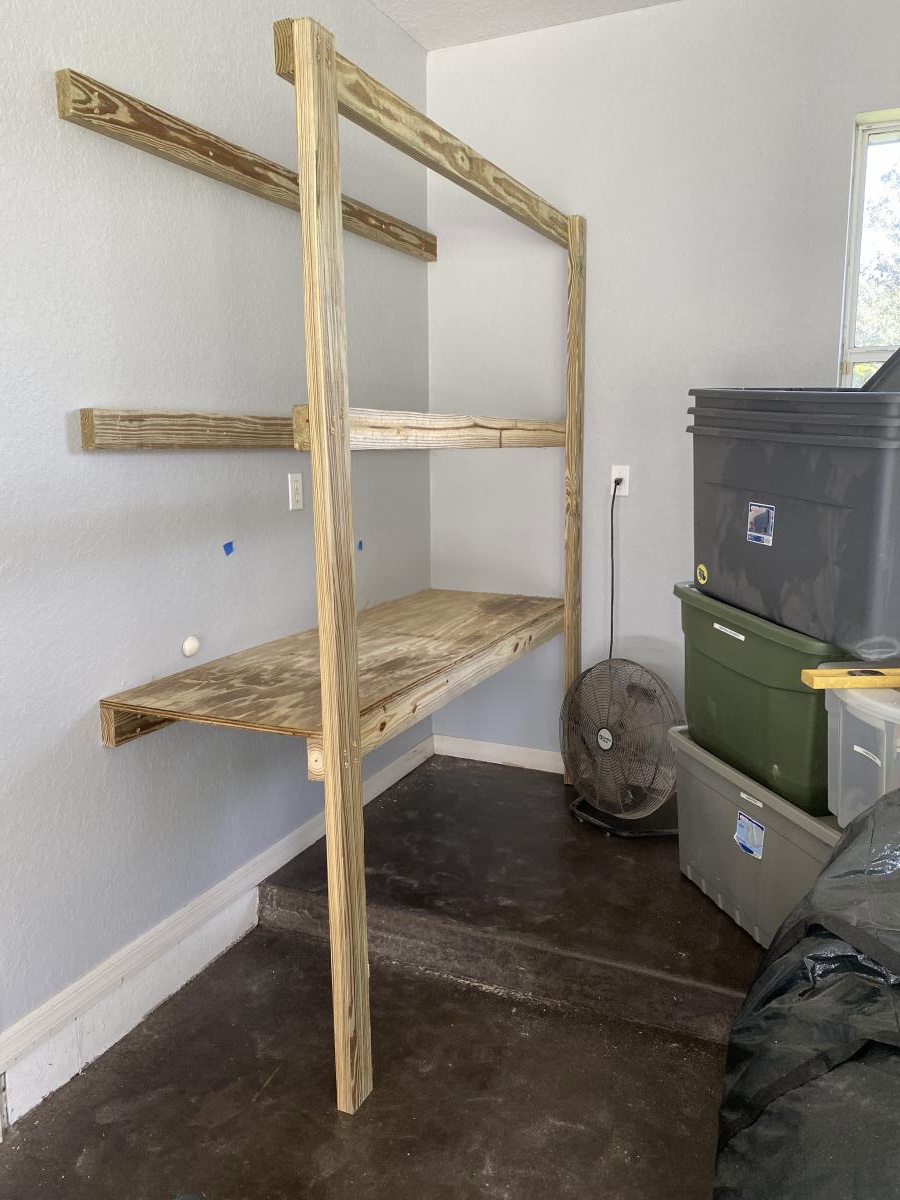
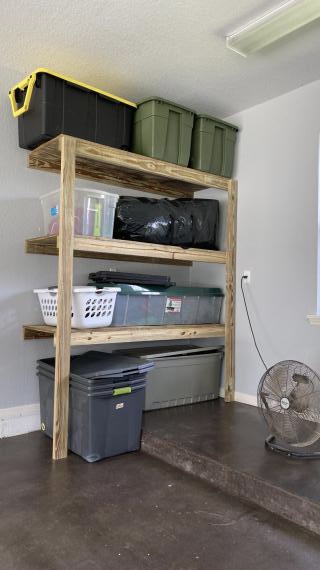
modified this plan to fit space in room used 1x12 for top and sides, 2x2's for most of the frame, 2x4 at the bottom of frame.
Built from Plan(s)
Estimated Cost
about 200.00 including all lumber, paint, the locks and the clasp for the locks
Estimated Time Investment
Weekend Project (10-20 Hours)
Finish Used
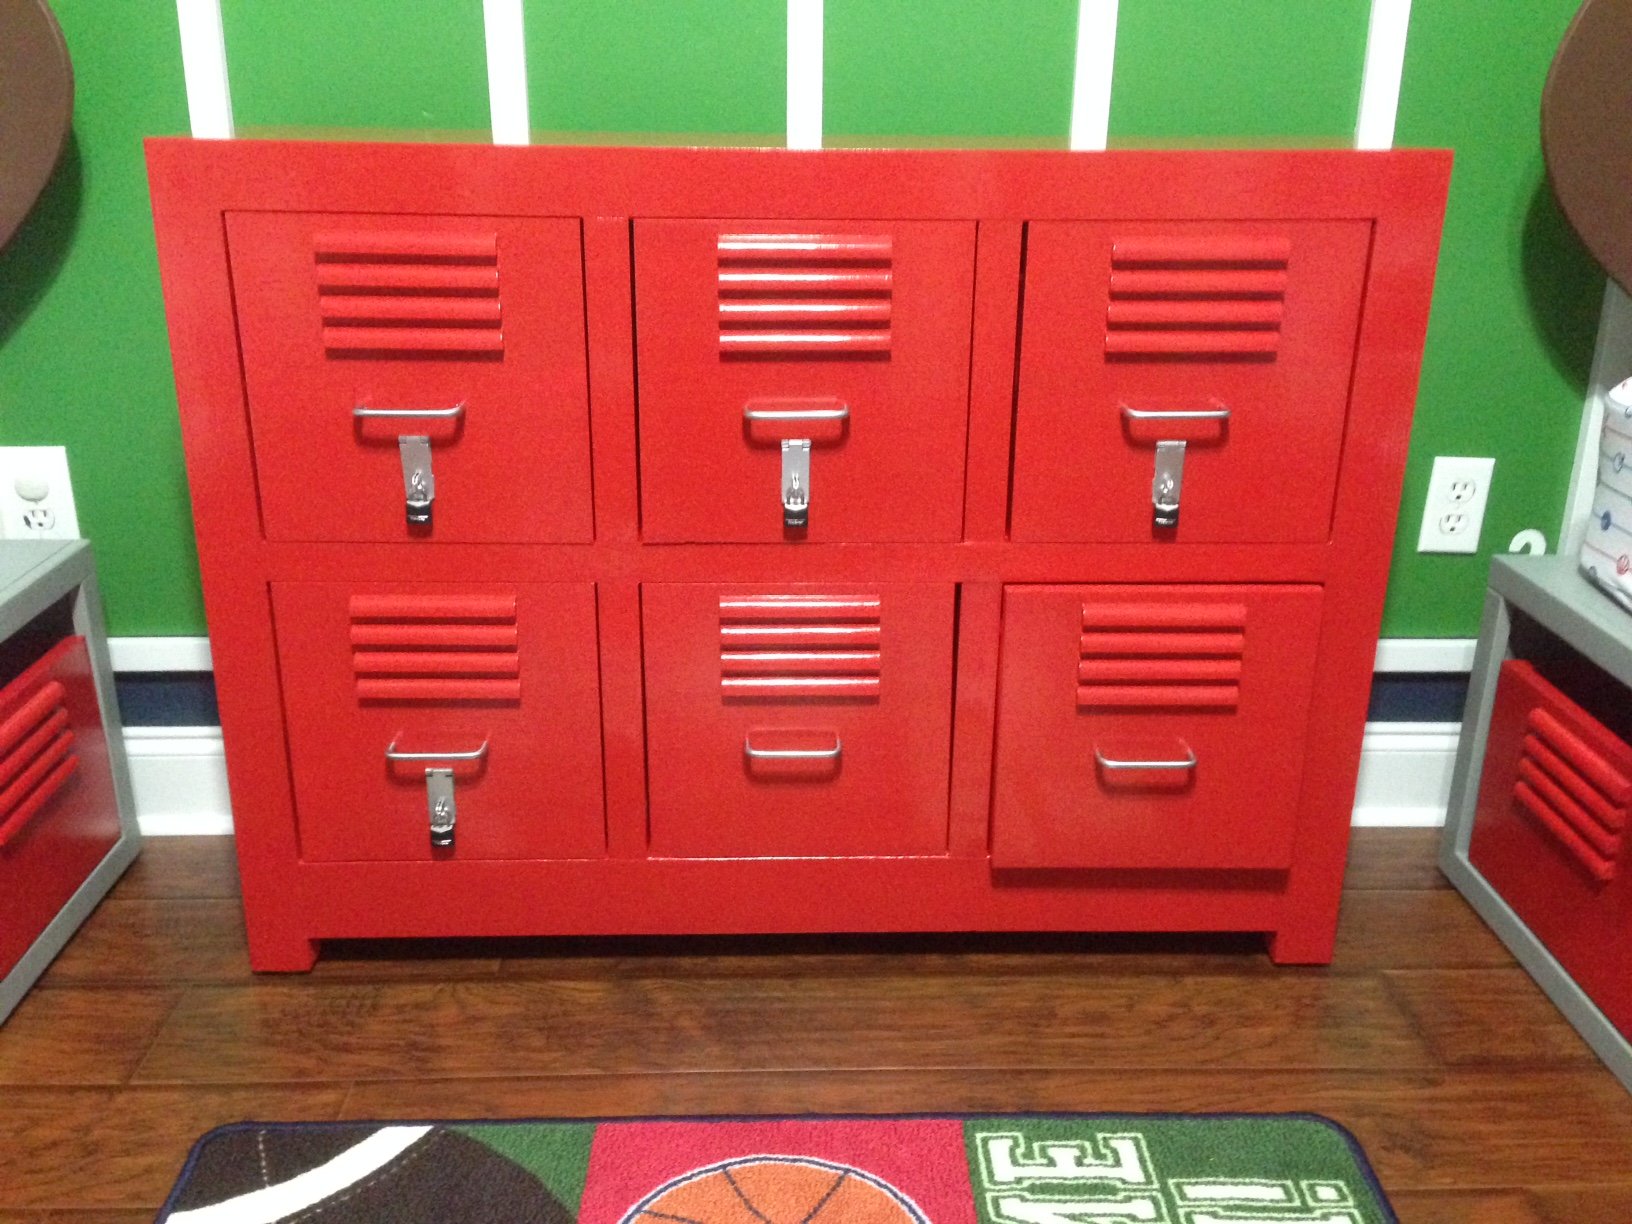
Bear gloss trim paint. custom matched color
Recommended Skill Level
Intermediate


Comments
Ana White
Tue, 11/04/2014 - 18:13
Cool Build
Wow I really like this it is very unique! What a cool build. Thanks for sharing!
Pam the Goatherd
Wed, 11/05/2014 - 07:14
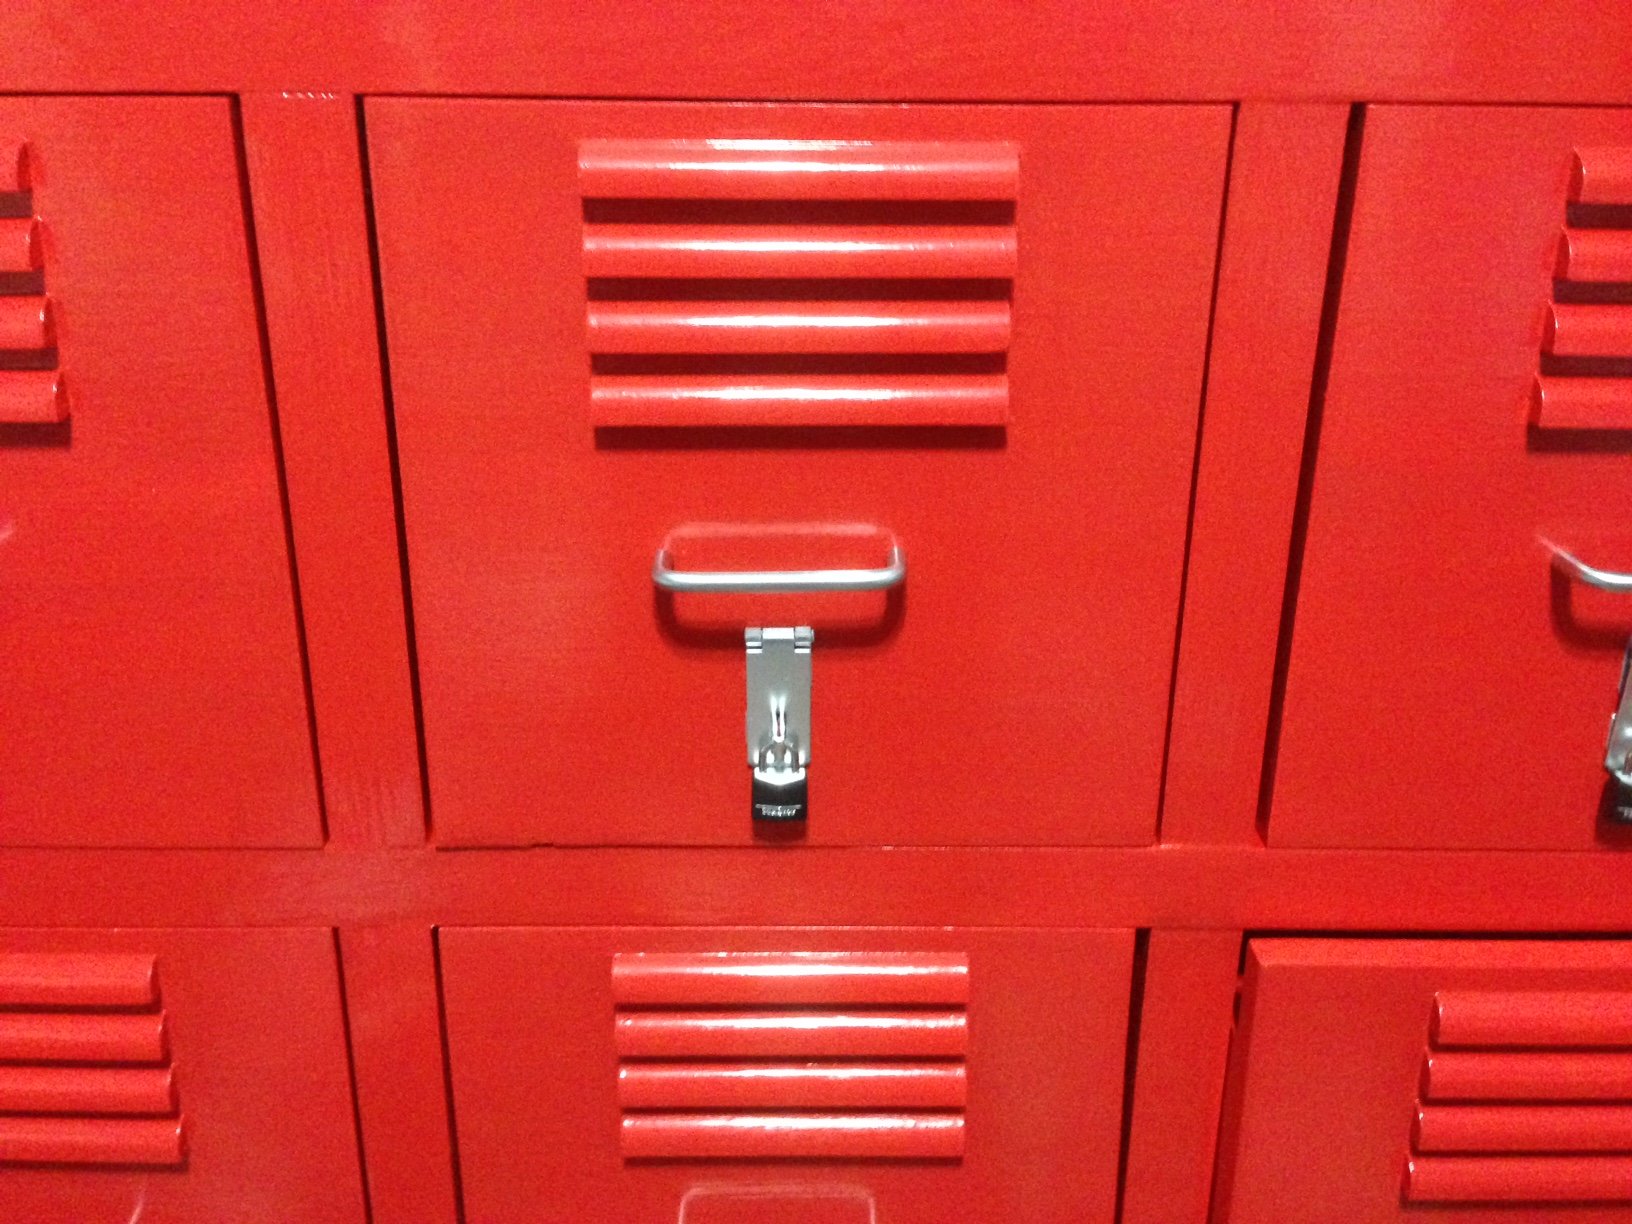
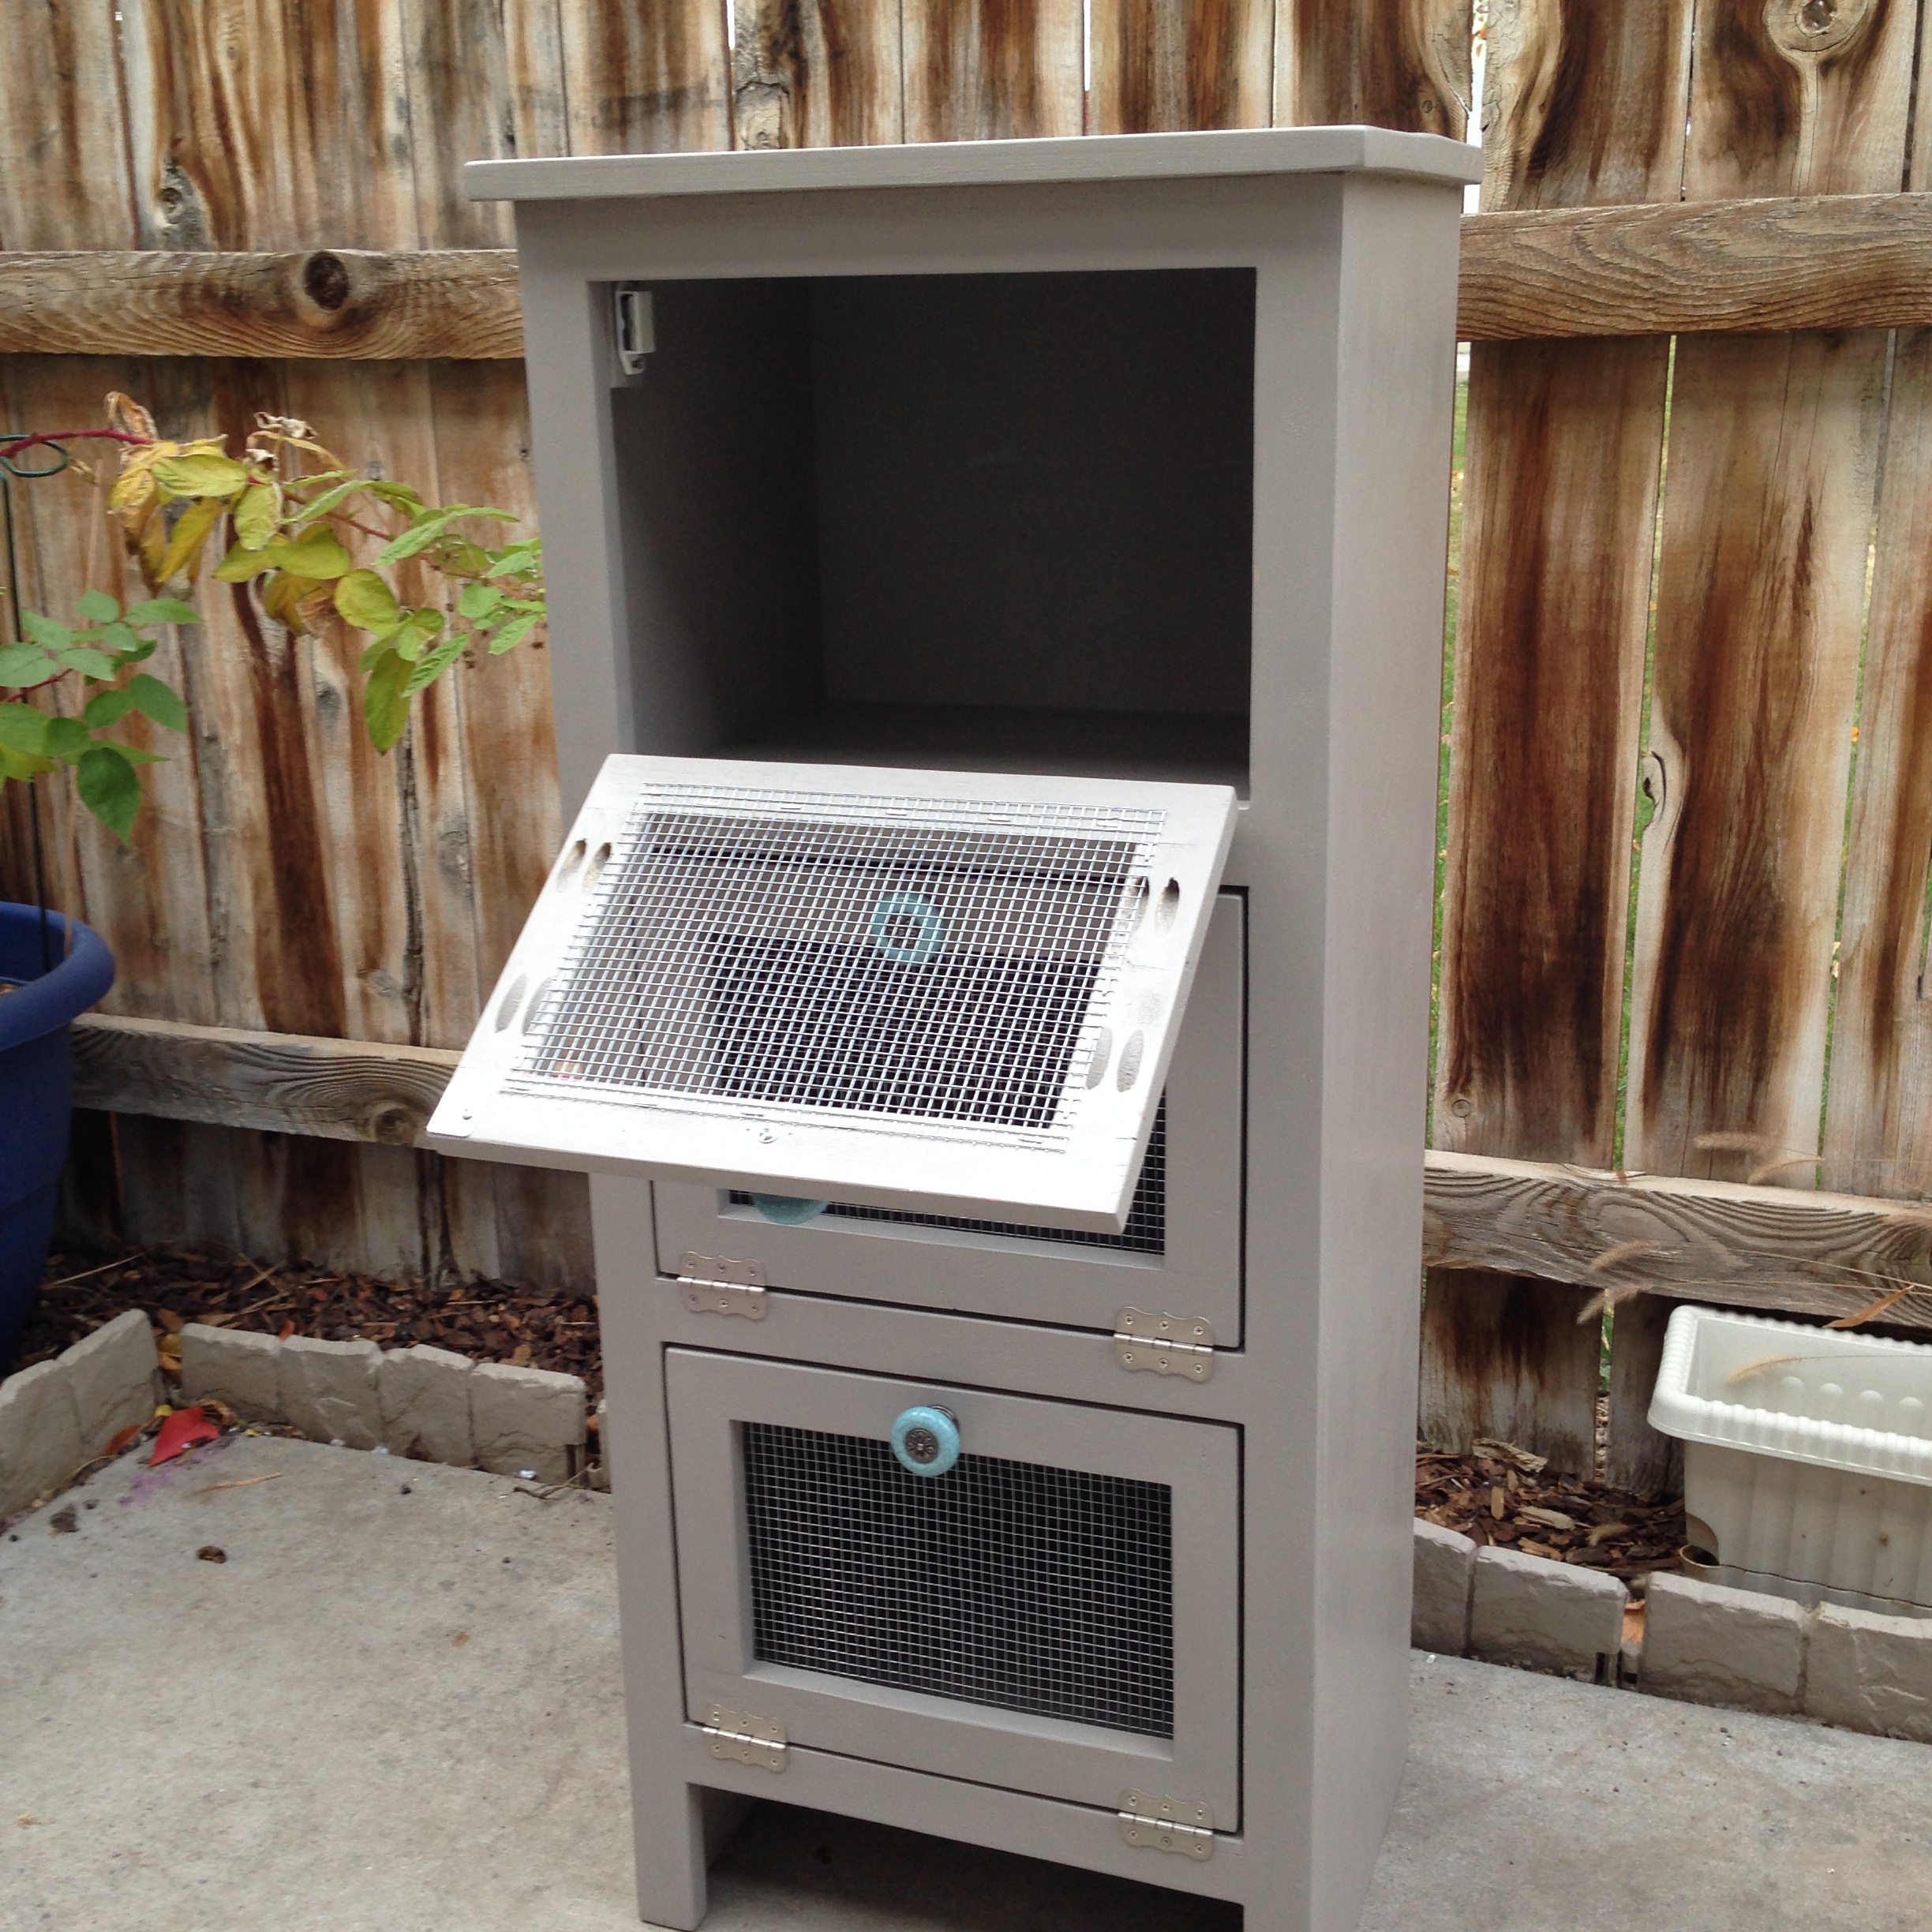
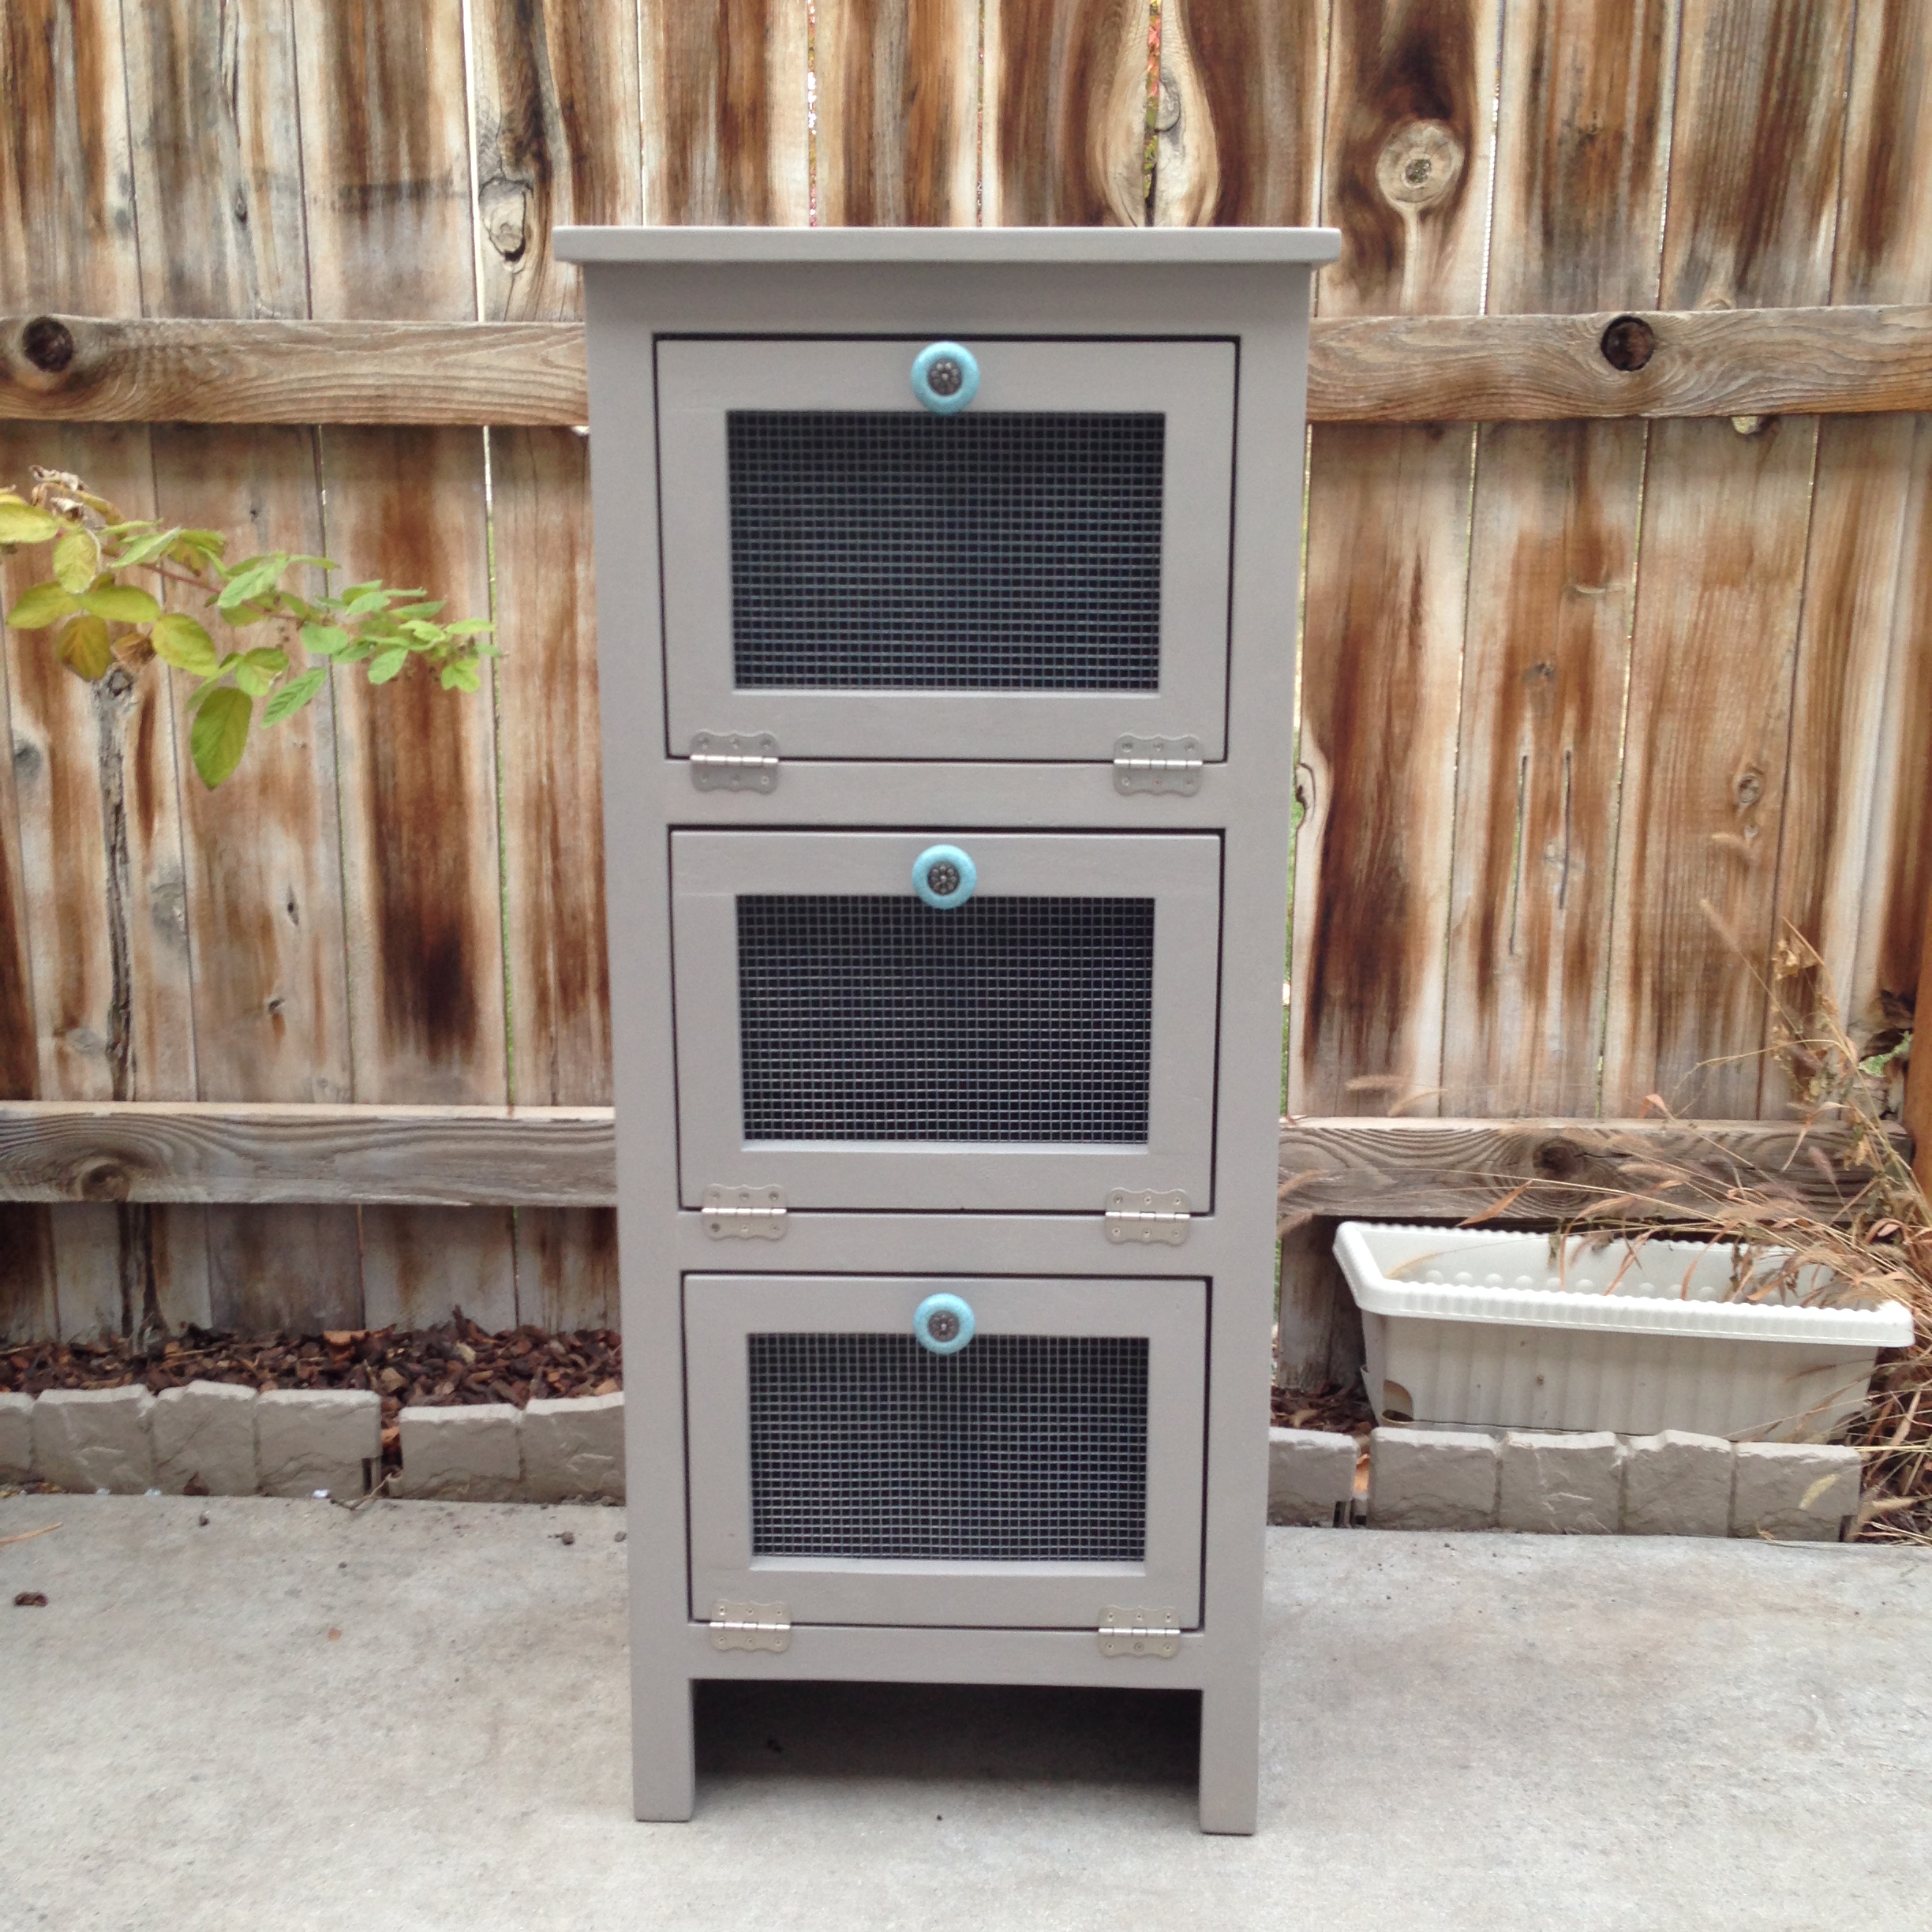
What did you do to make the
What did you do to make the "grillwork"? I've always loved the look of lockers but could never figure out how to faux the vent part of the doors. I'd love to know how you did this.
DIY JEFF
Wed, 11/05/2014 - 10:26
I used small shoe moulding,
I used small shoe moulding, and just glued and brad nailed it. The space between them is about 1/2". Hope this helps.
Dvedcft
Thu, 11/06/2014 - 07:35
Modified Dumpster Dresser
I love the way that you used your own personal touch.
It shows with a little imagination and work you can a great idea into something more personal, and adjust it to fit a certian area.
Great Job
Vickie B
DIY JEFF
Thu, 11/06/2014 - 10:32
GREAT PLANS
Thank you for submitting such a cool plan, I have been trying to come up with a storage idea to go along with my sons themed room and then I saw this plan and thought perfect if I can modifiy it a bit, it should work just fine. Thanks to you and Ana both.
srodge1
Tue, 11/23/2021 - 13:10
Great Creativity!
I LOVE this ... what great creativity!! What is the hardware that you used? It looks like where you would lock it, but I can't tell. TIA