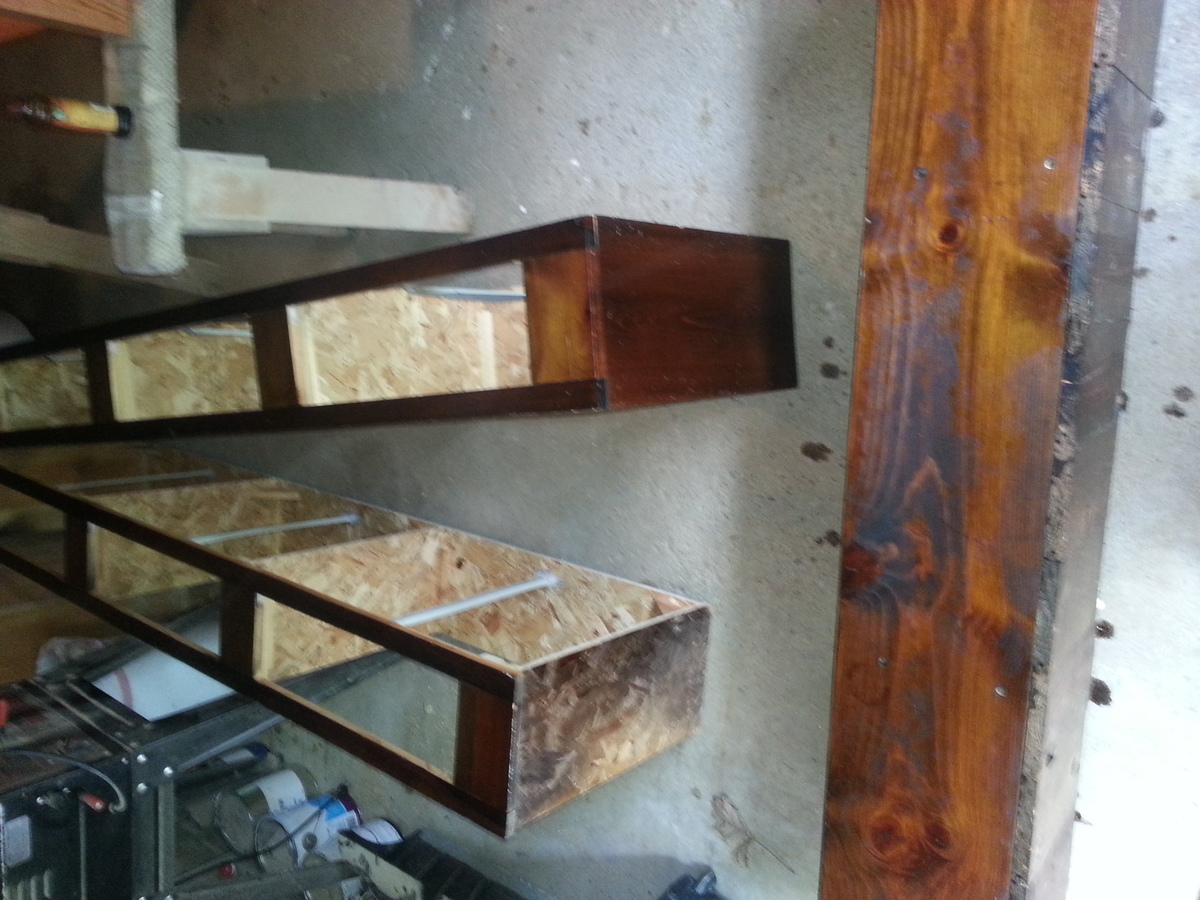
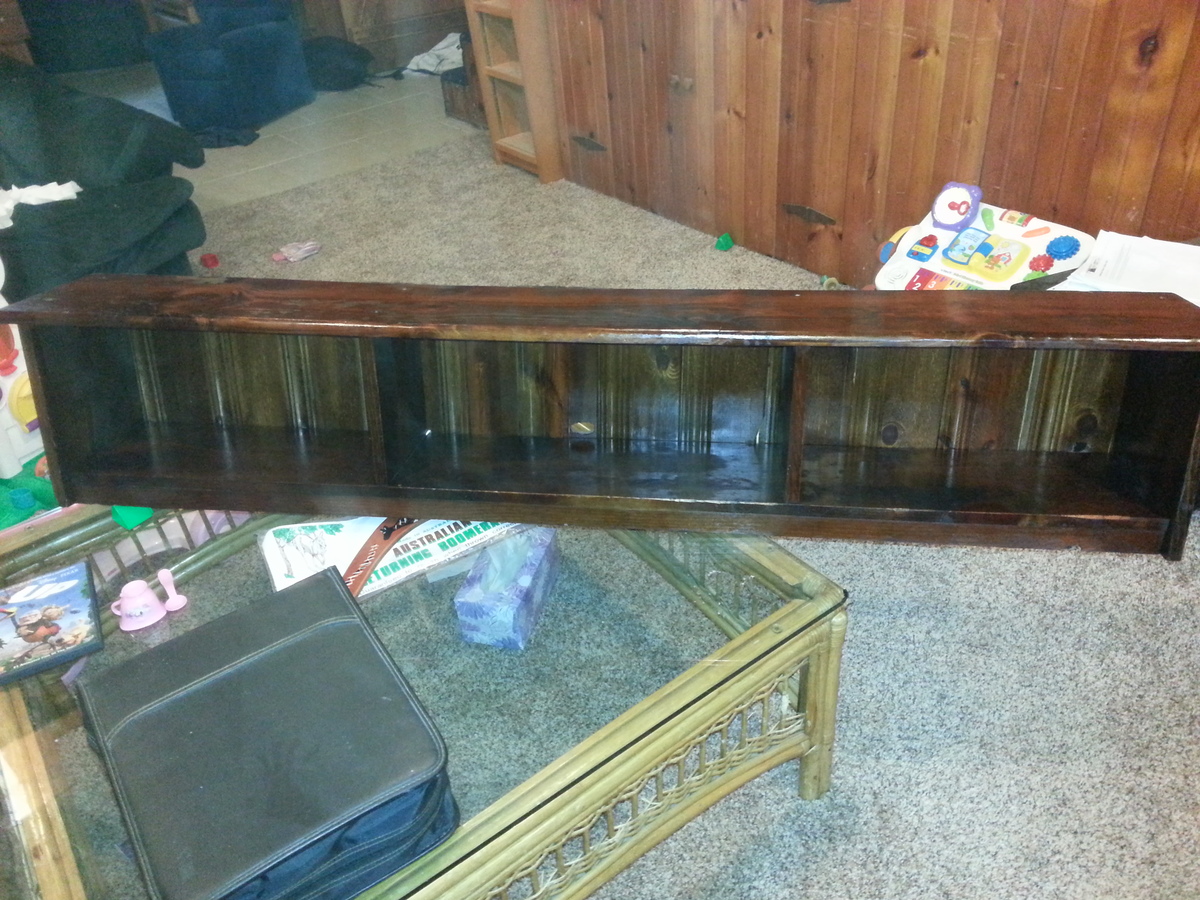
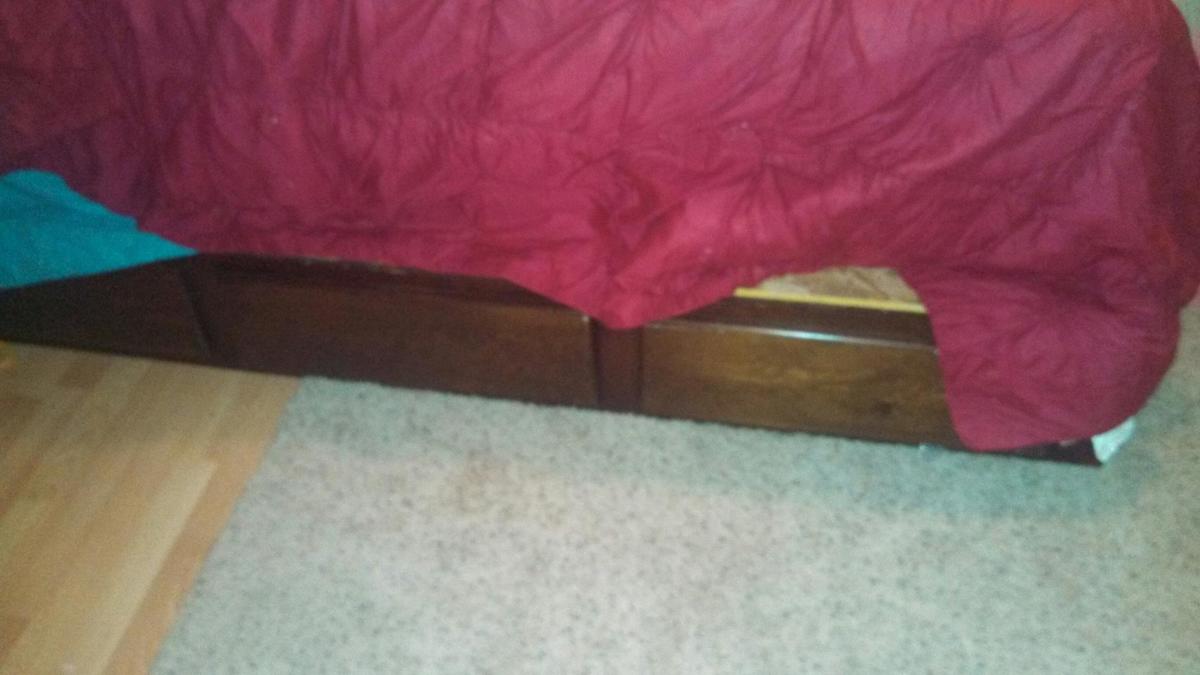
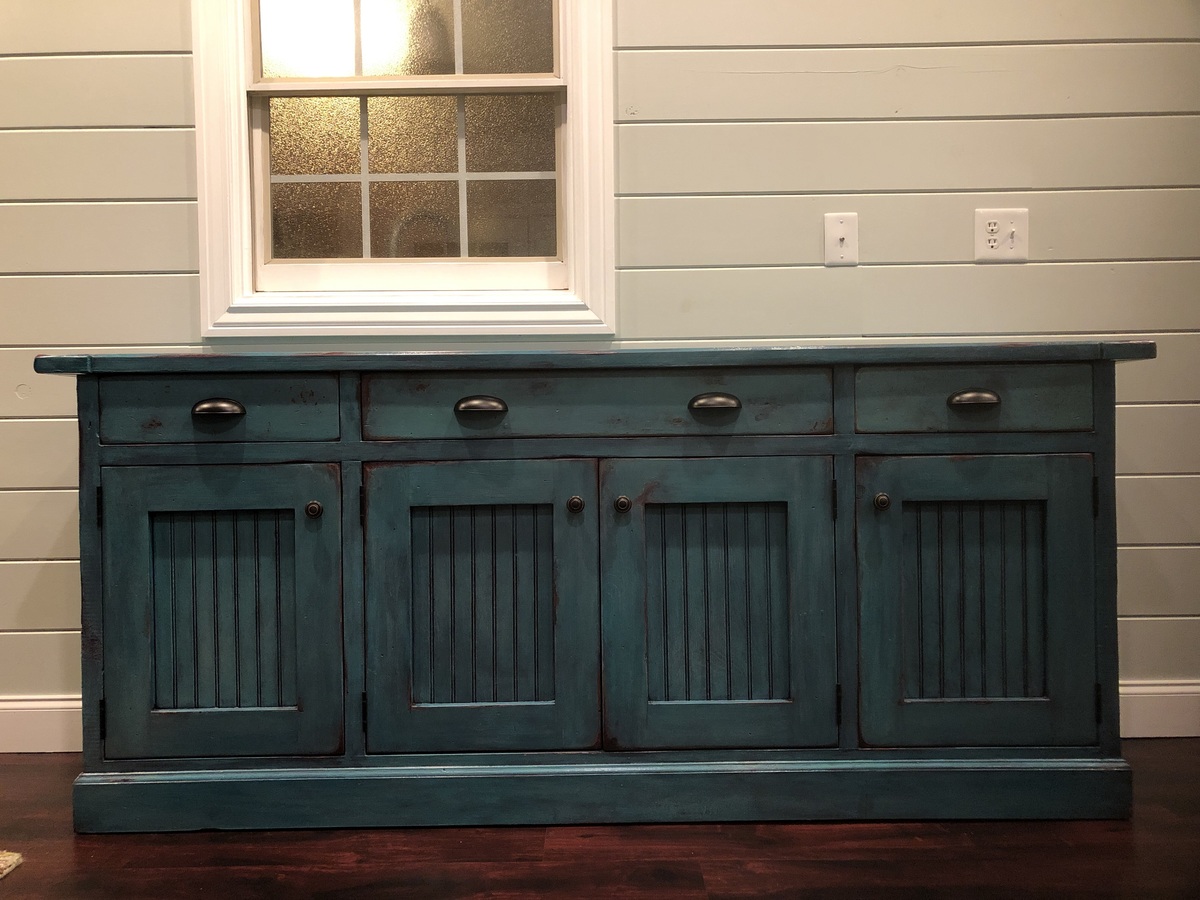
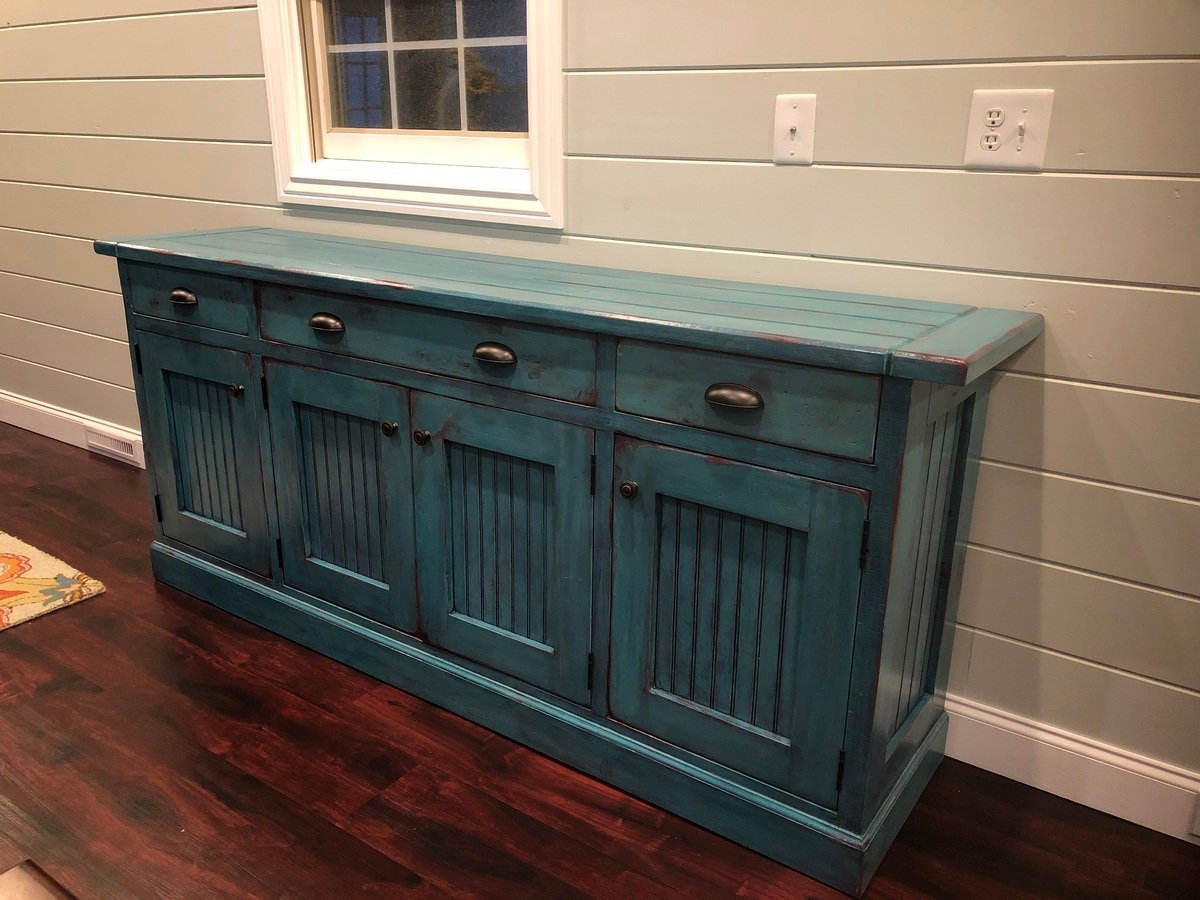
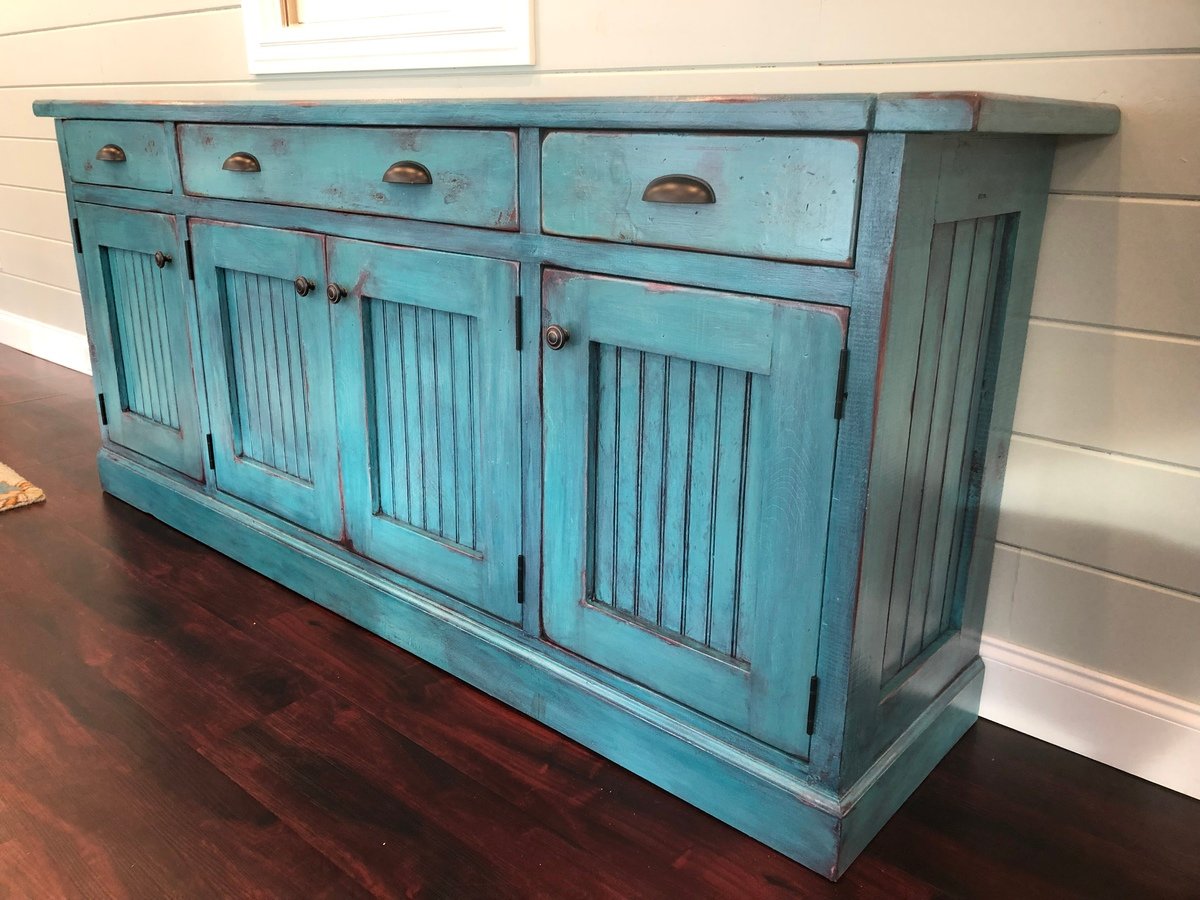
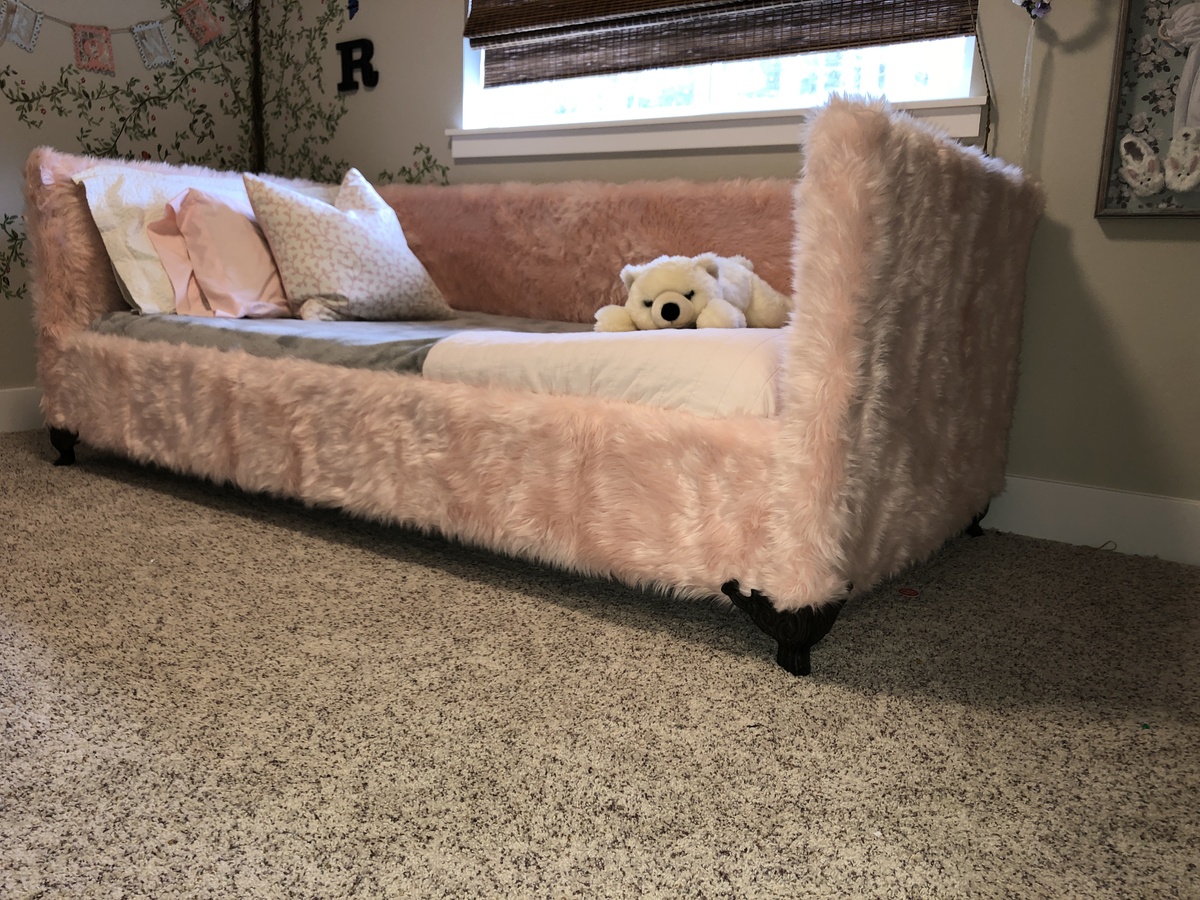
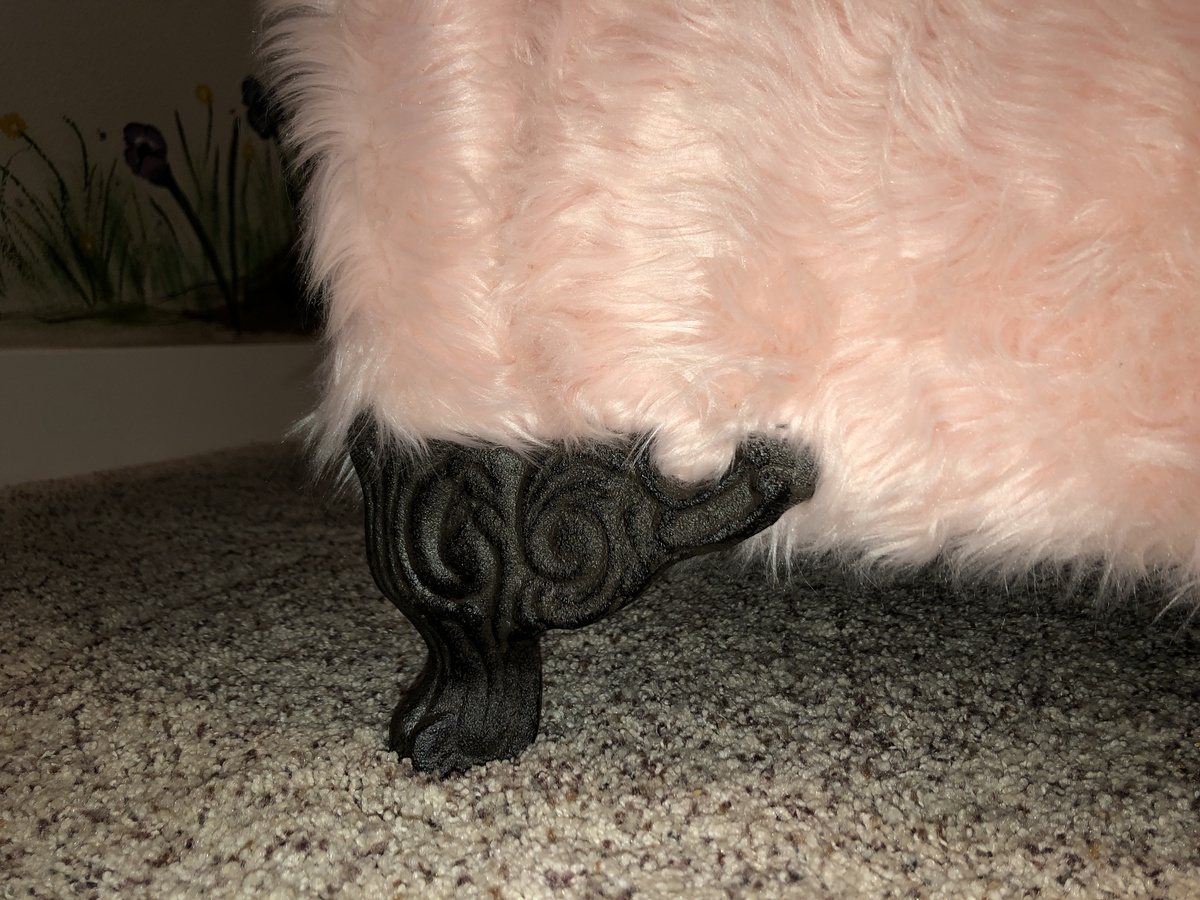
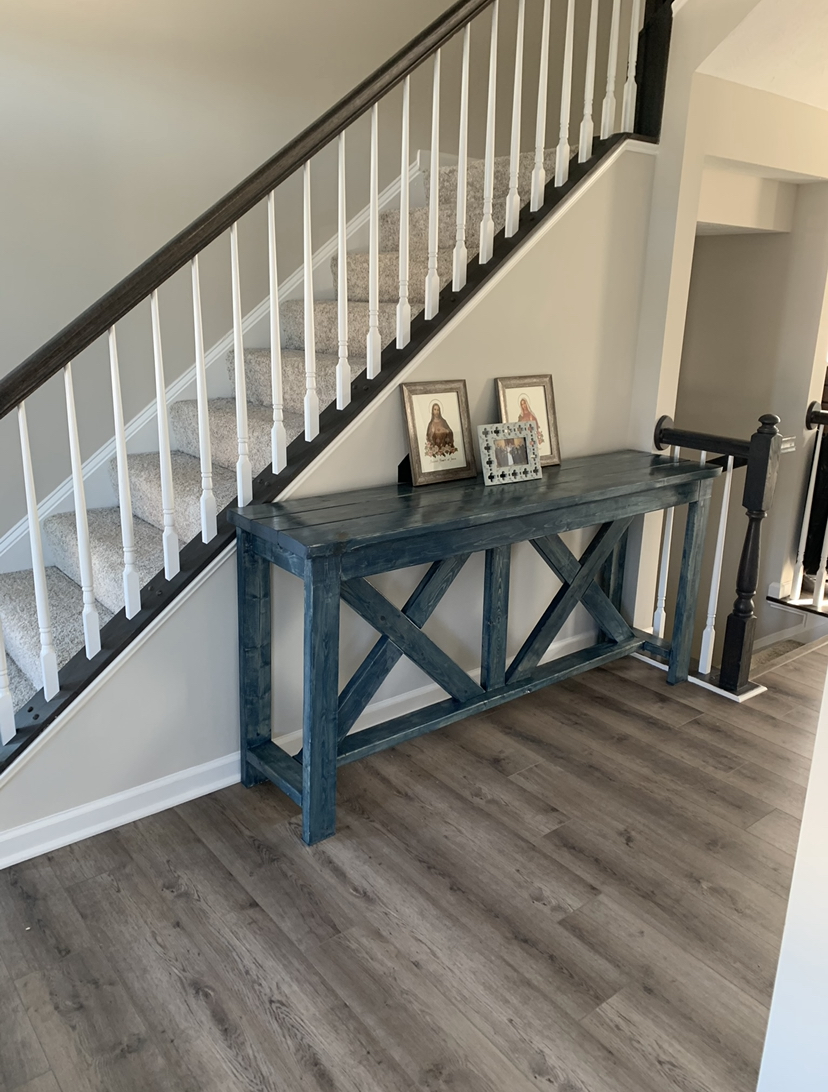
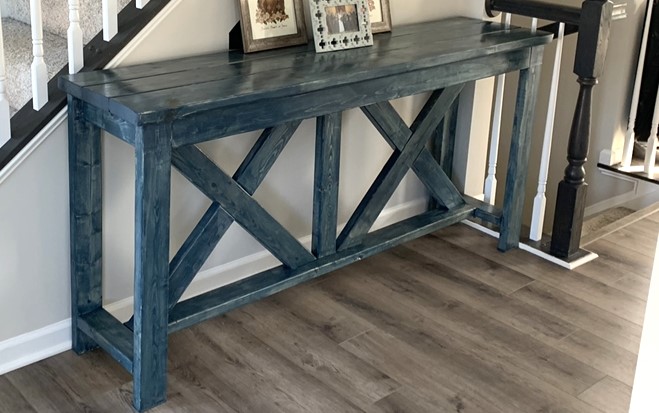
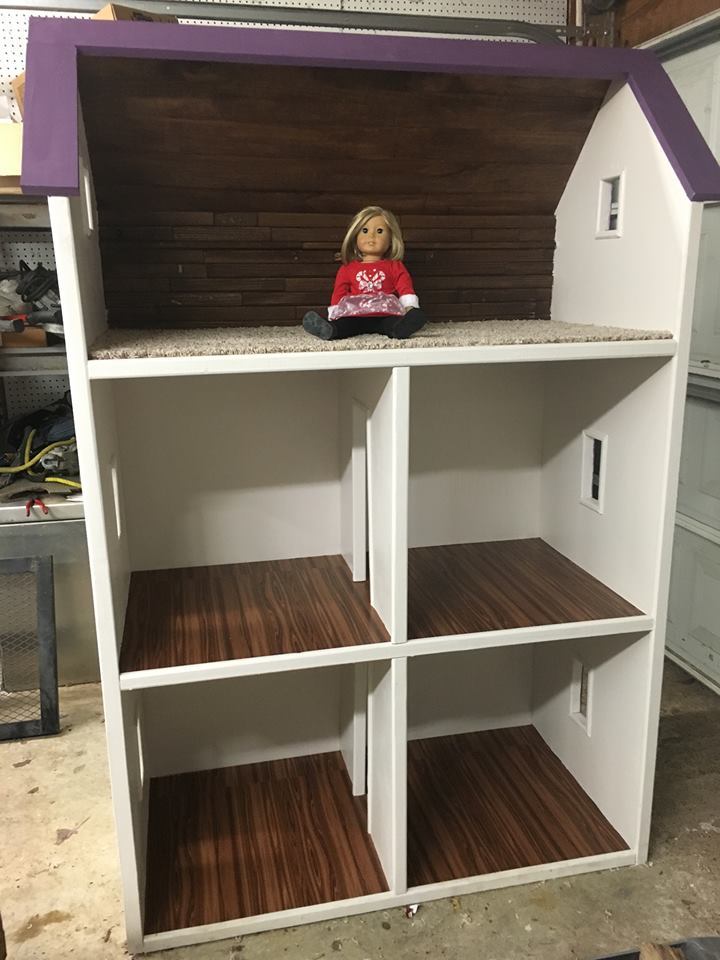
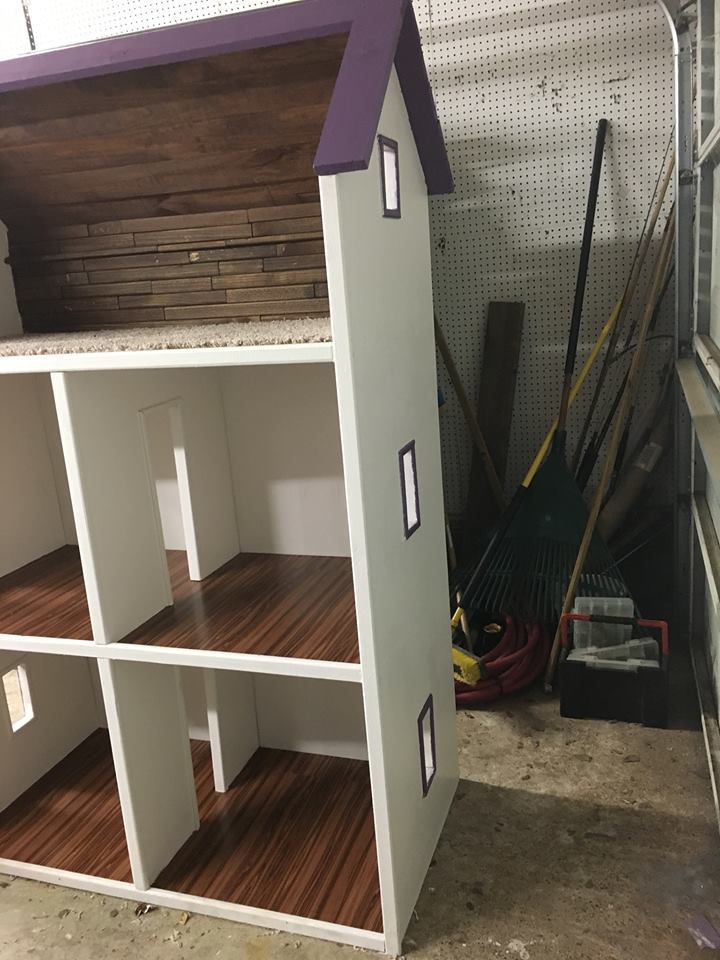
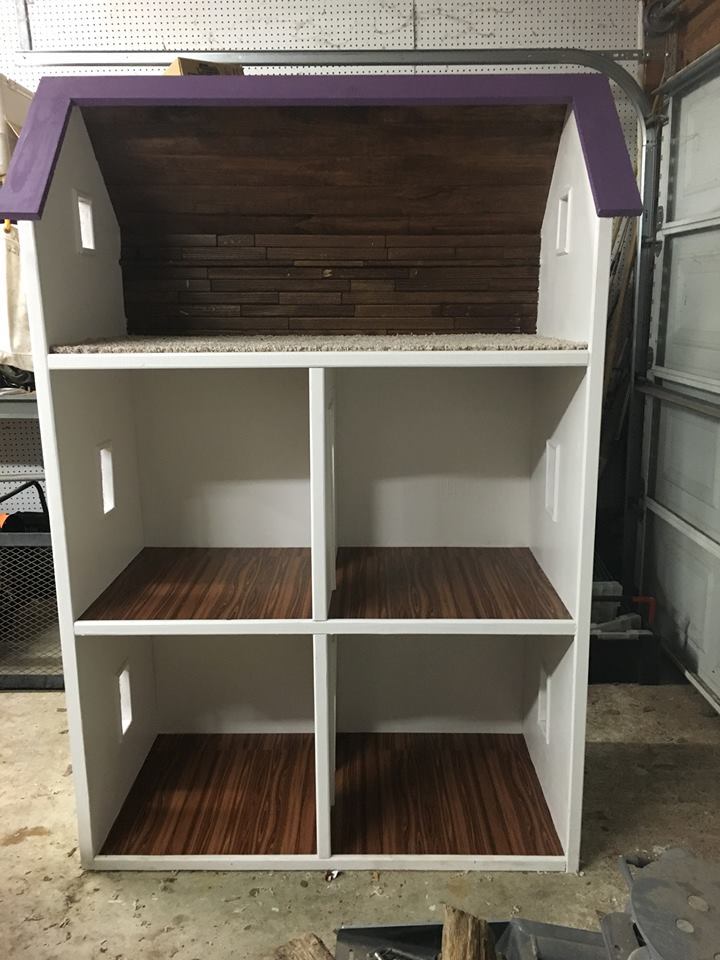
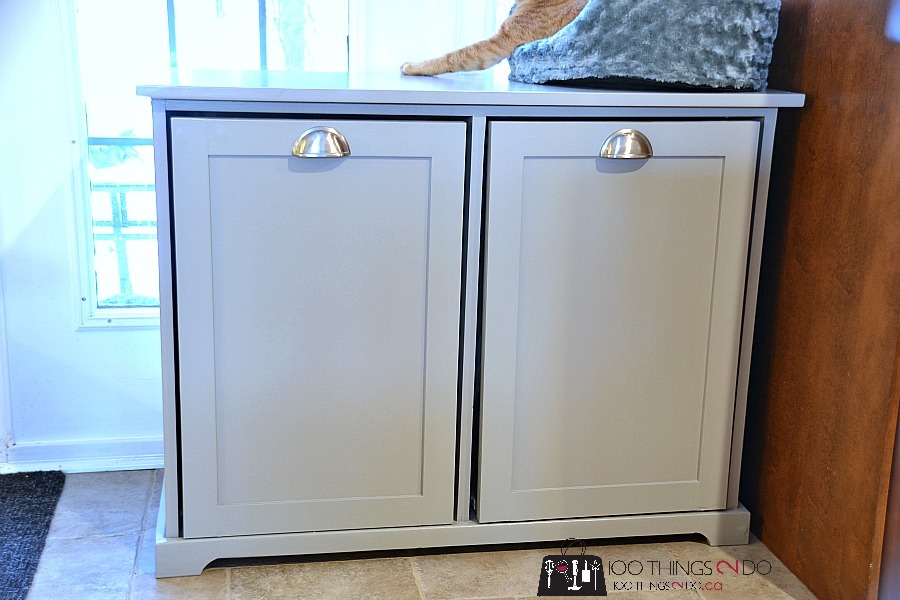
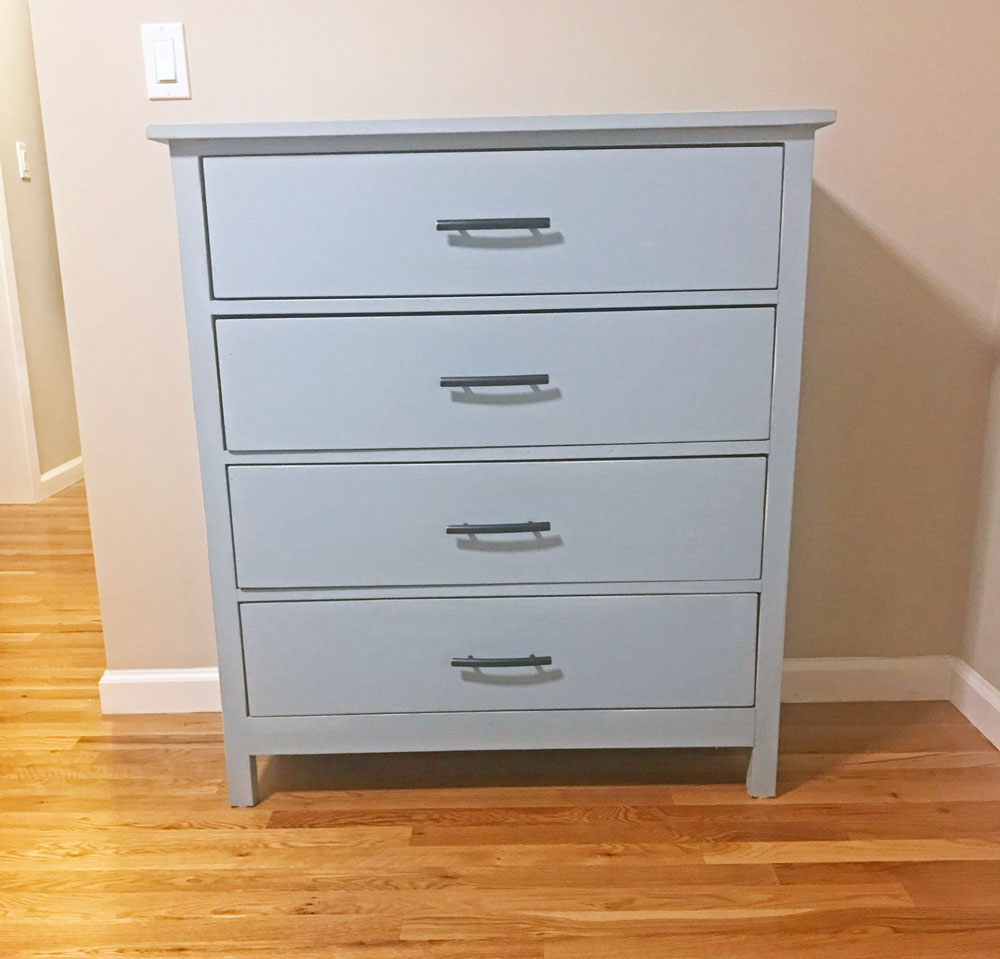
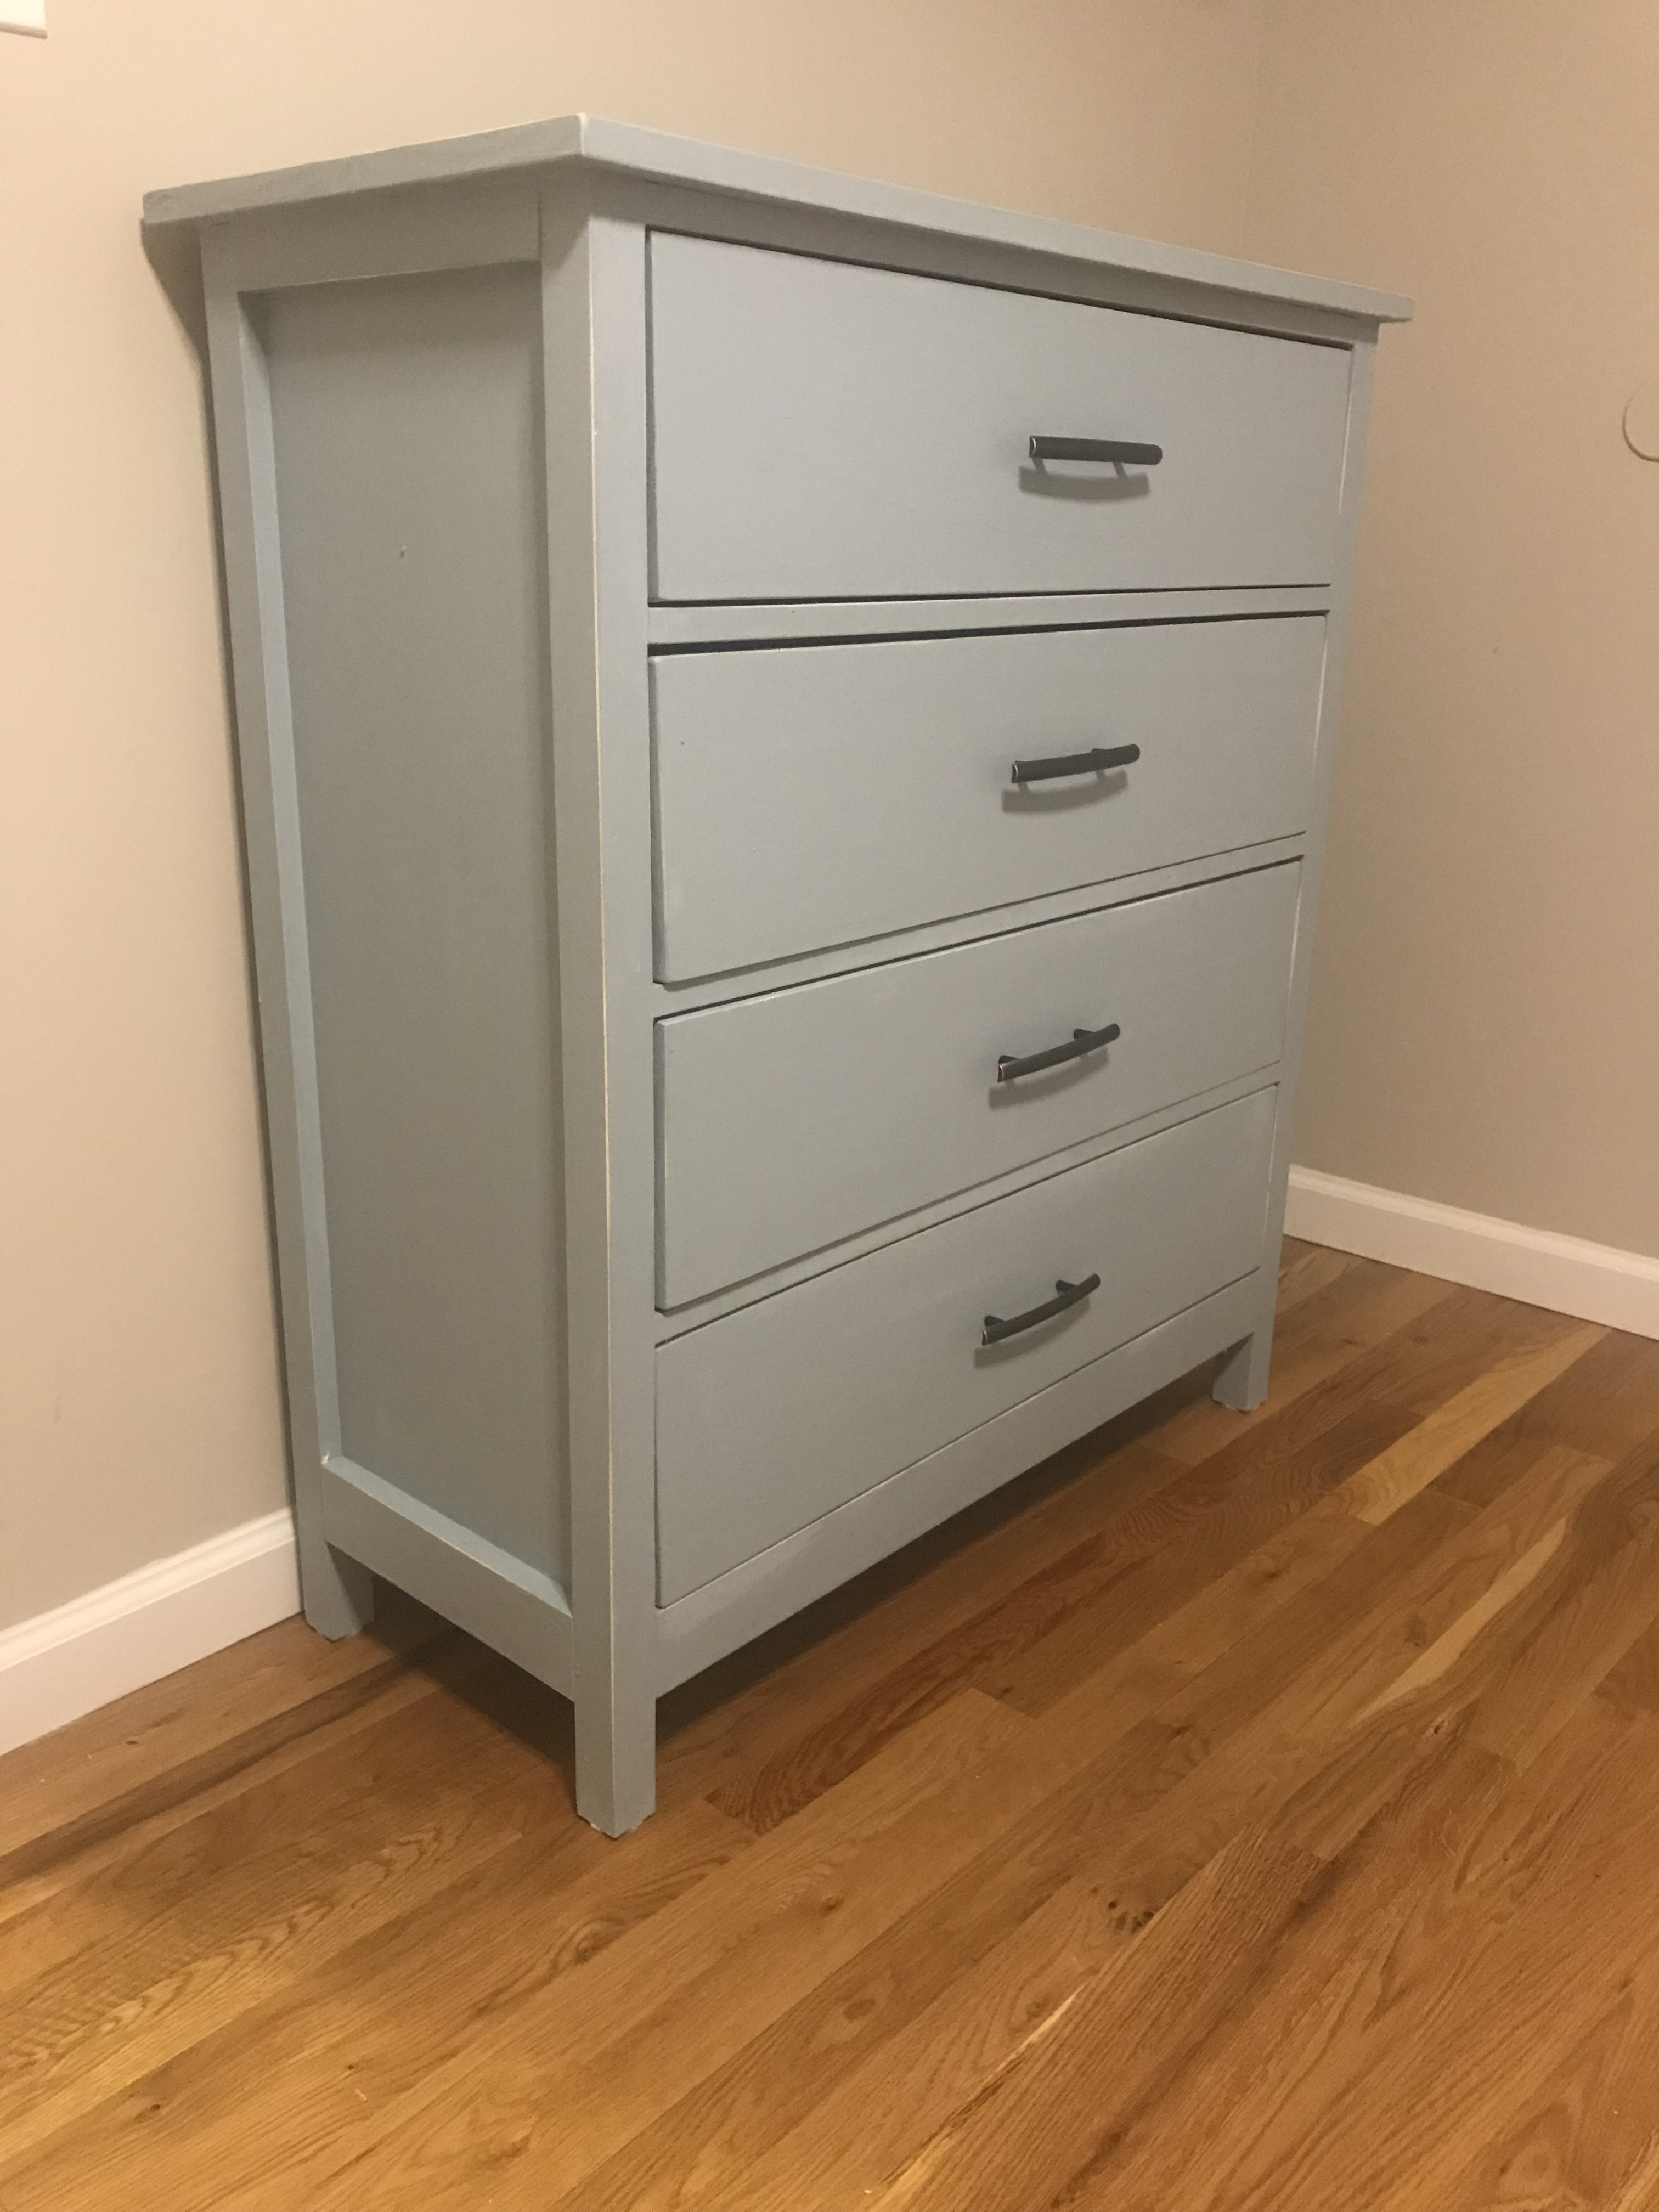
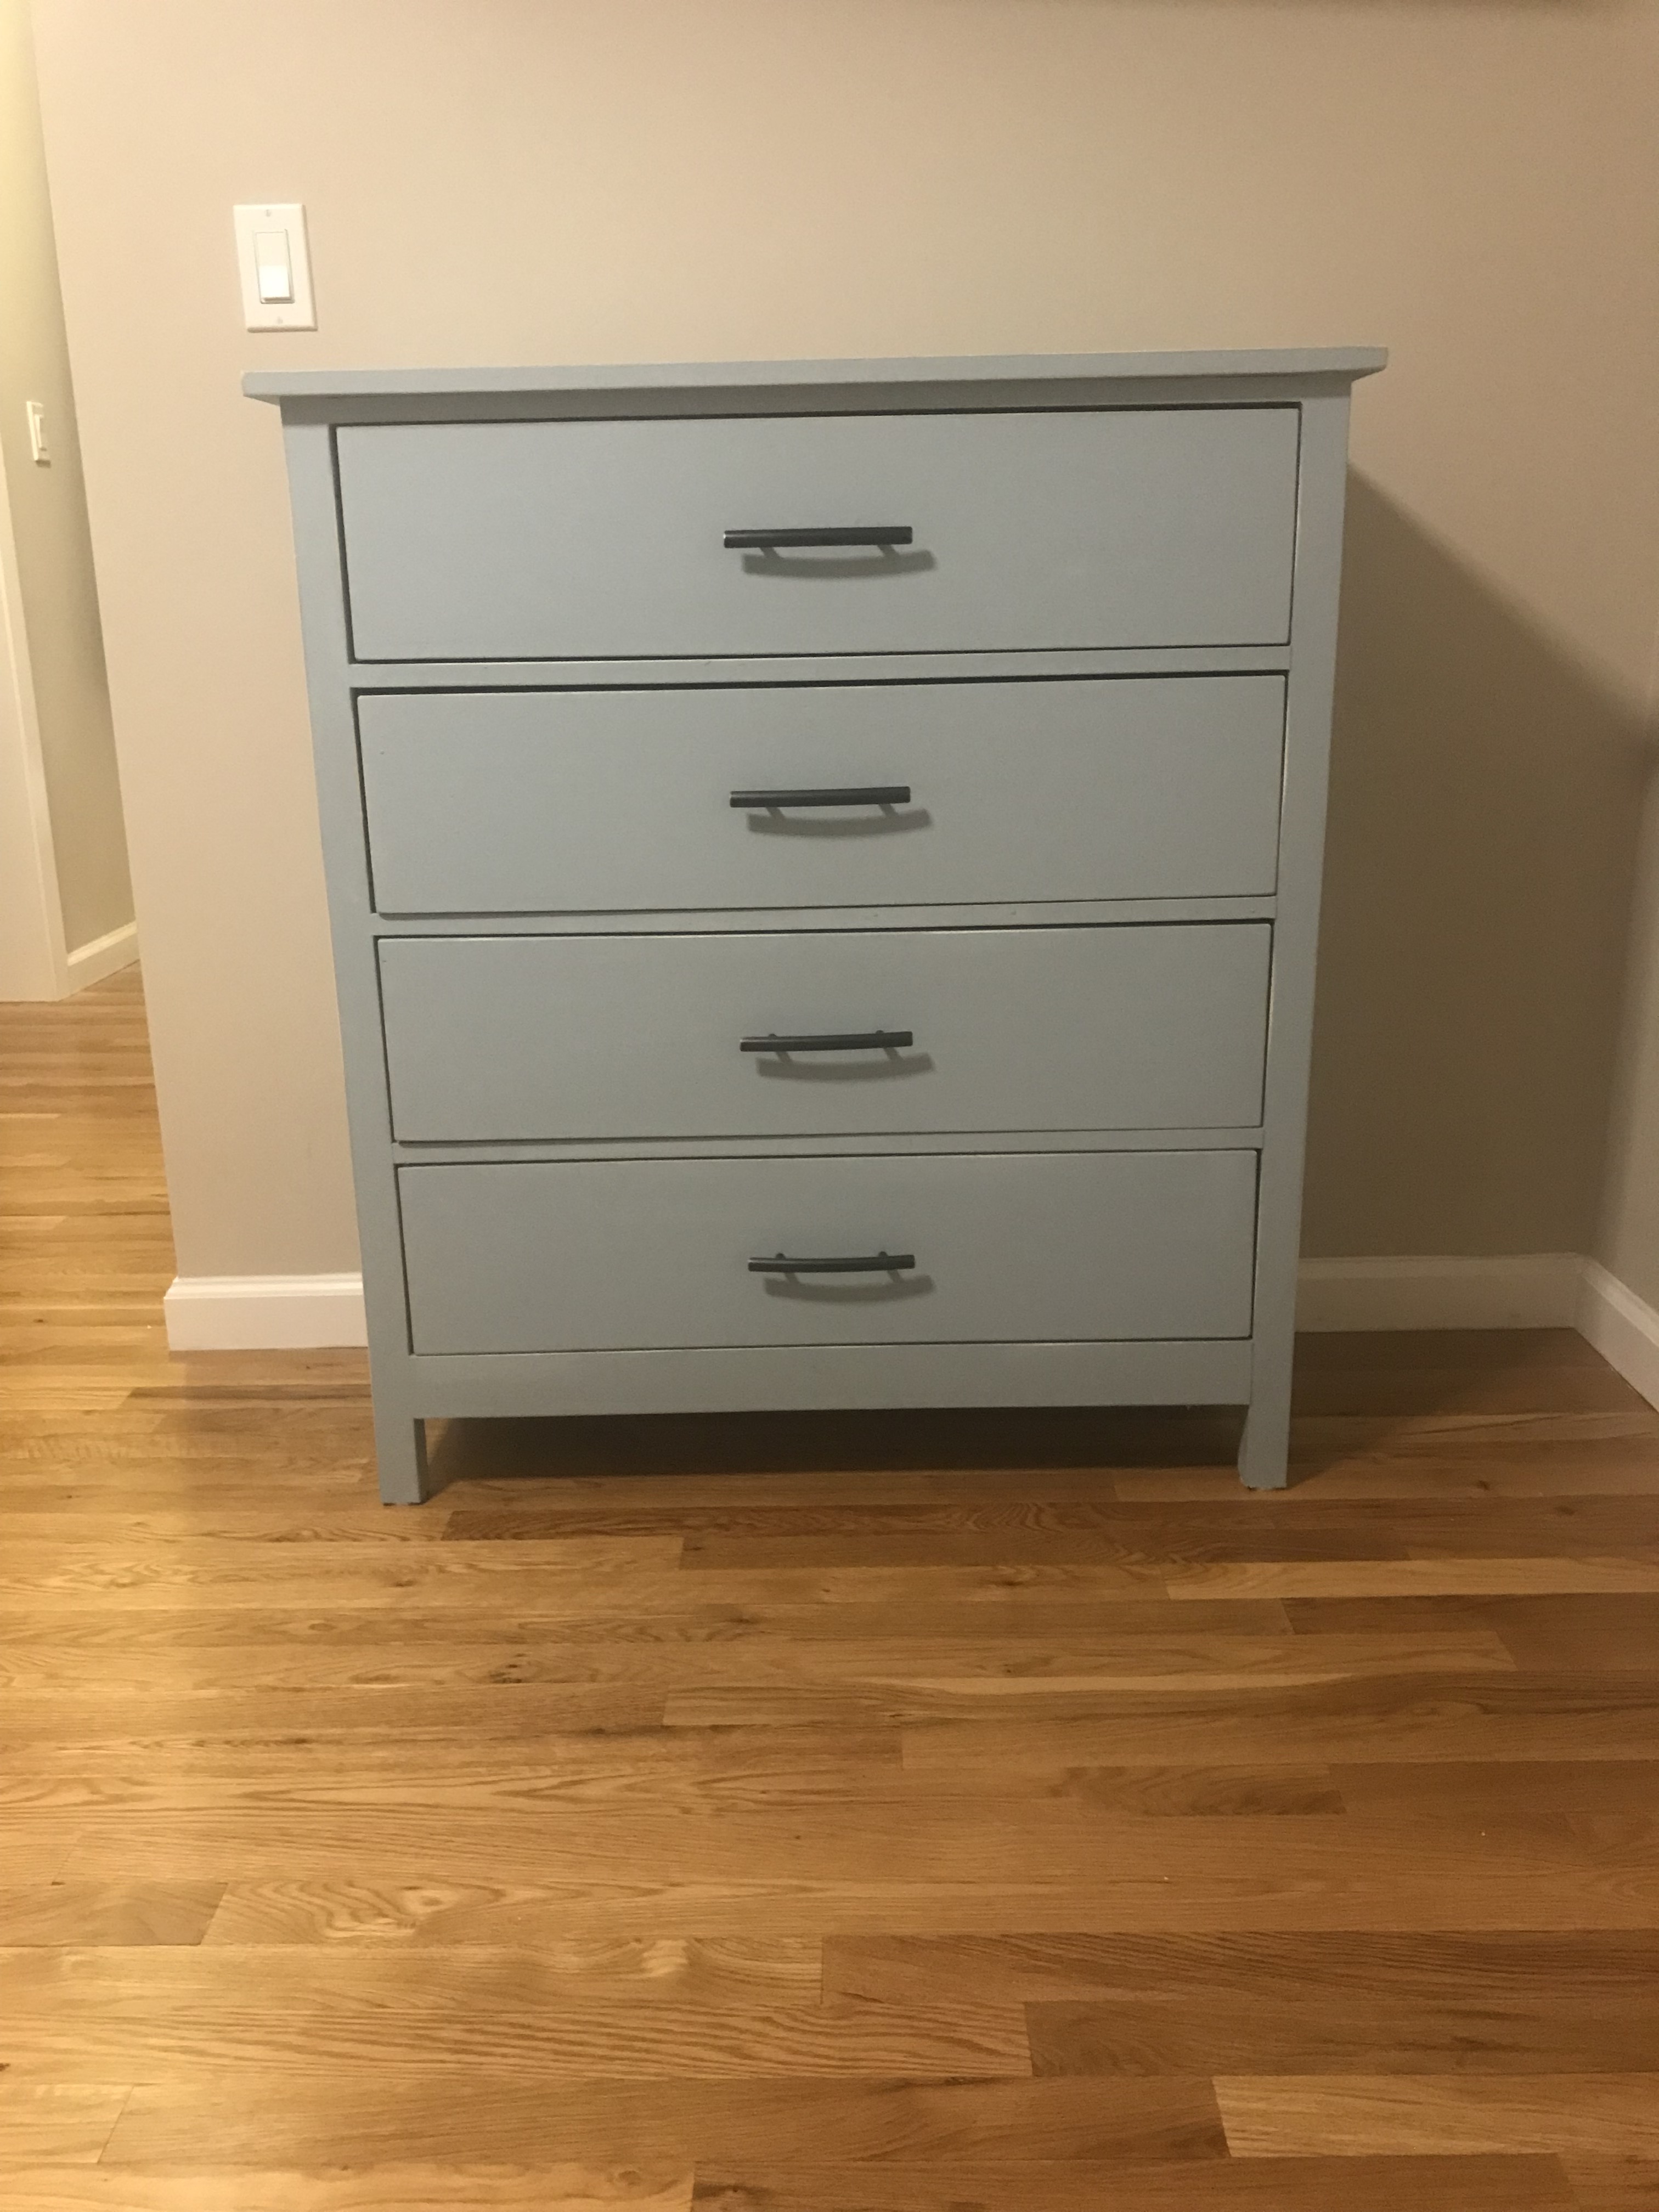
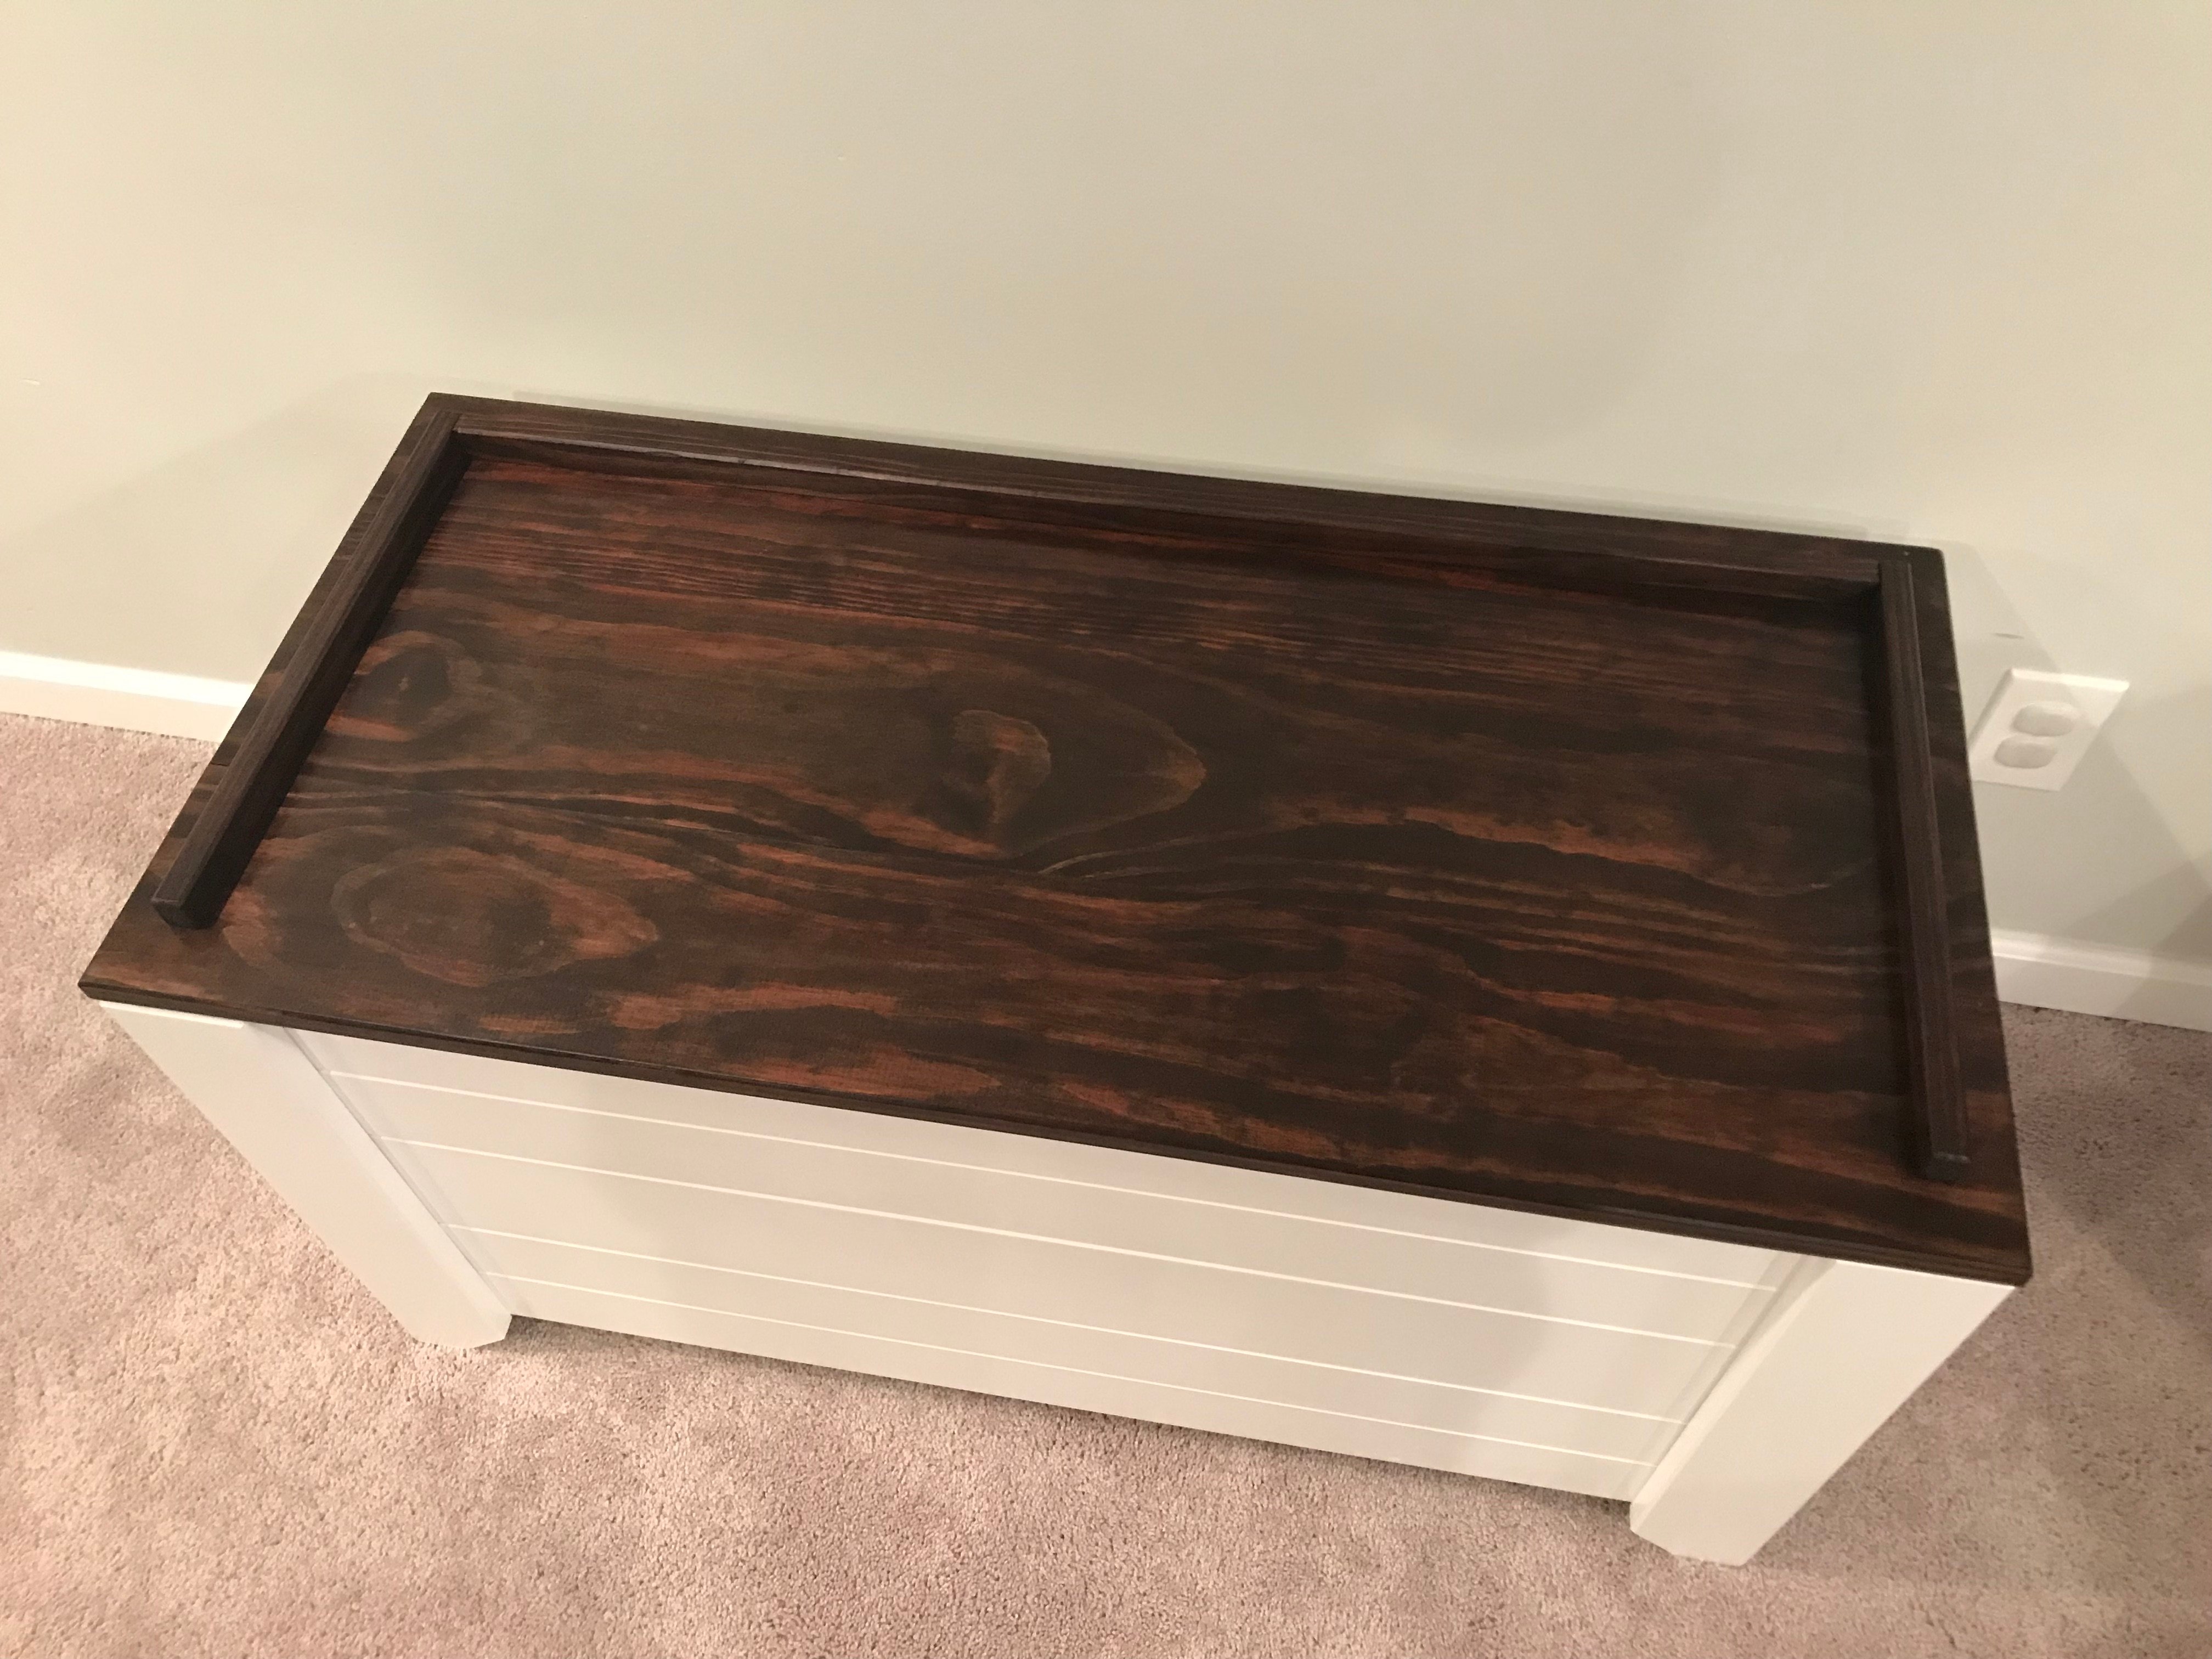
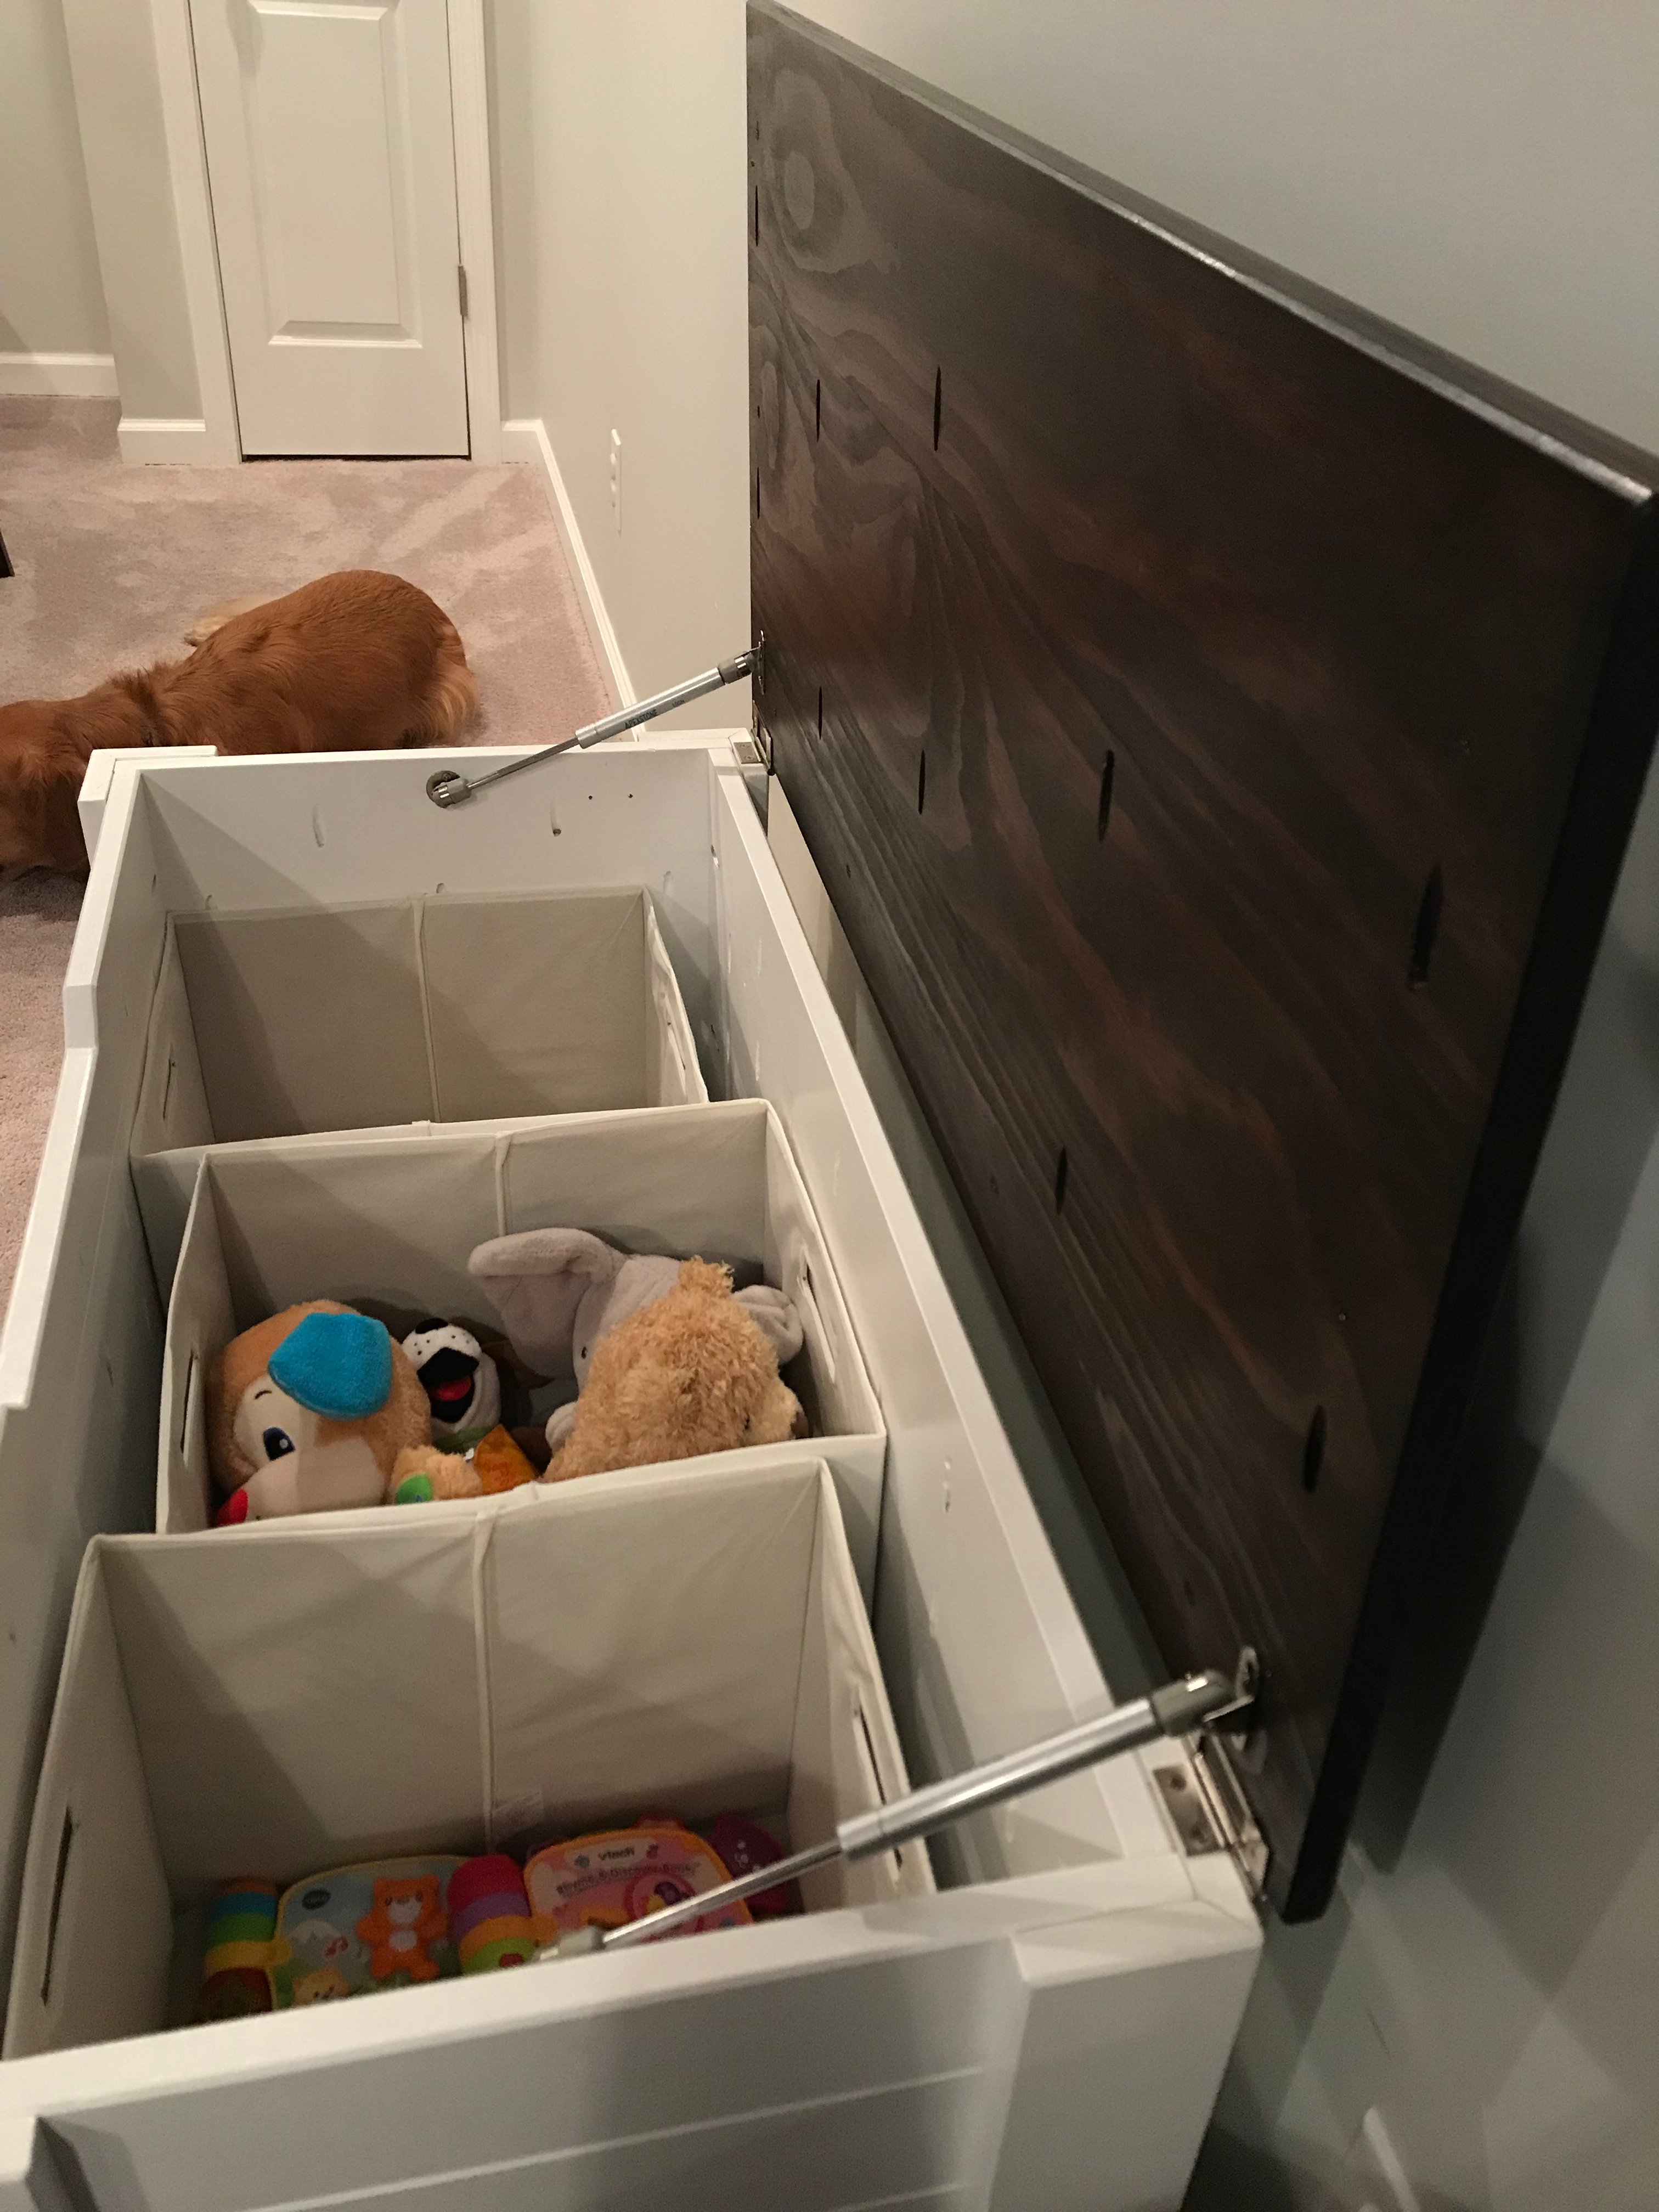
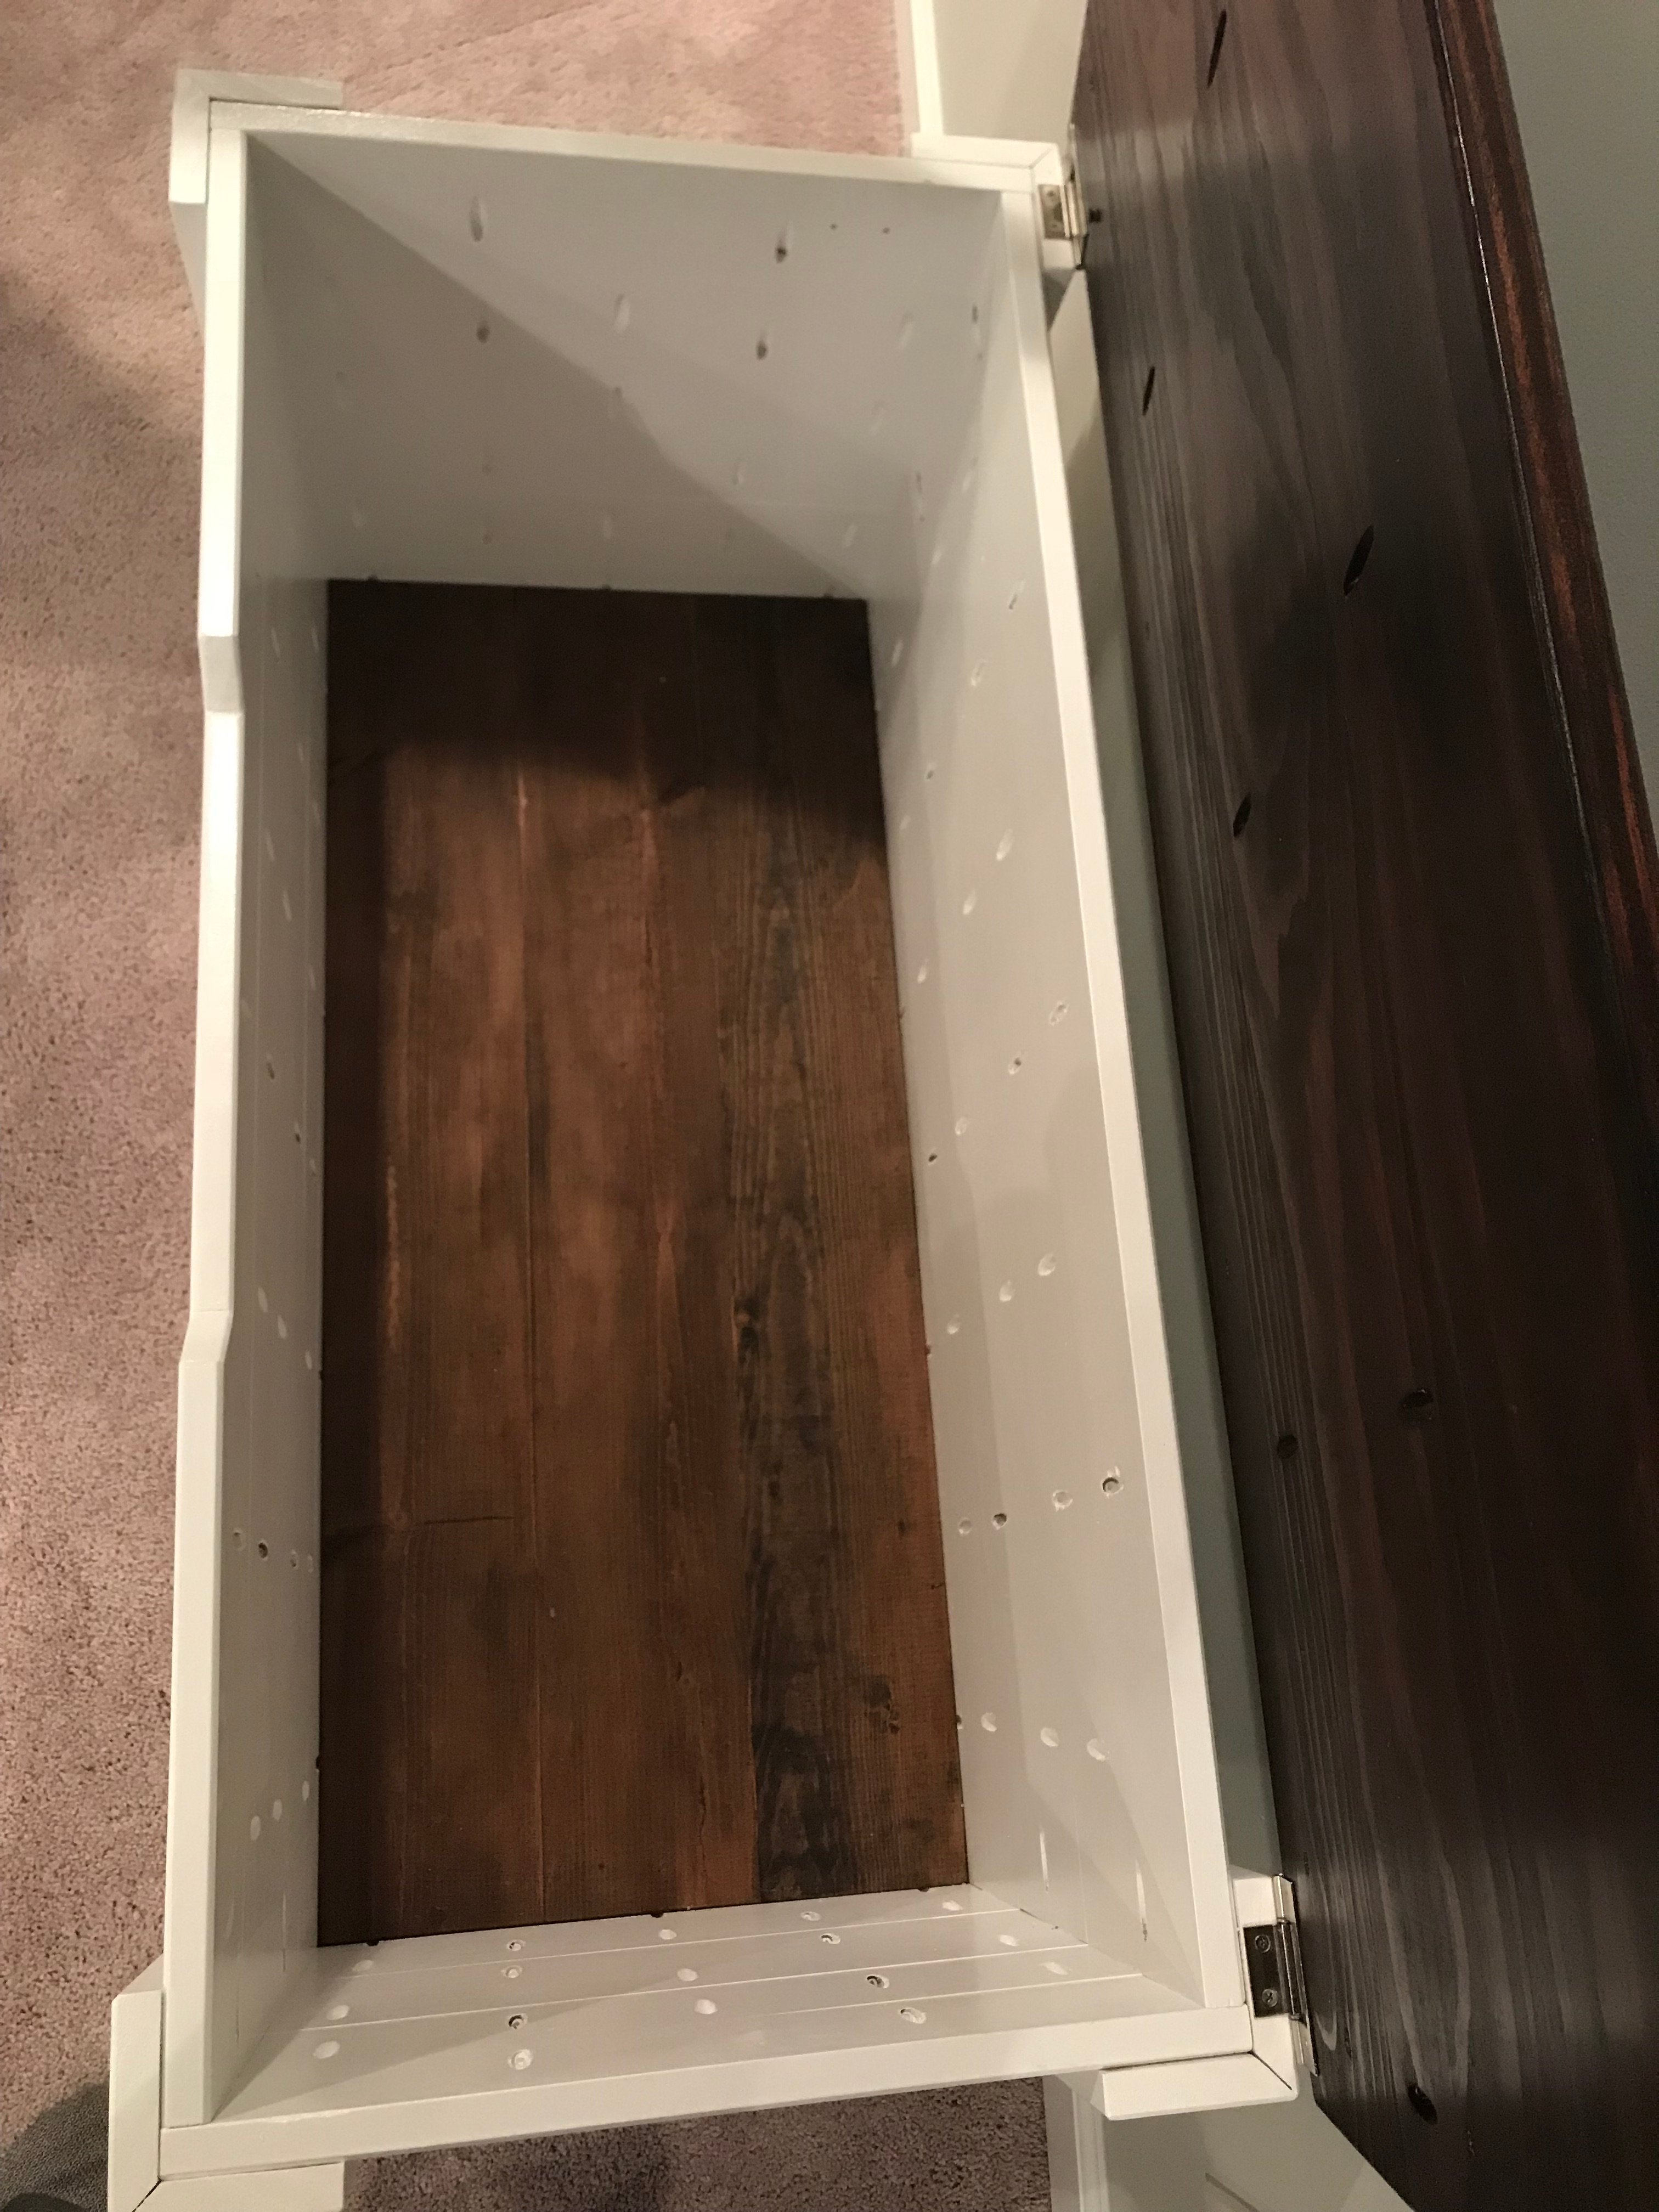
Farmhouse Toy Box
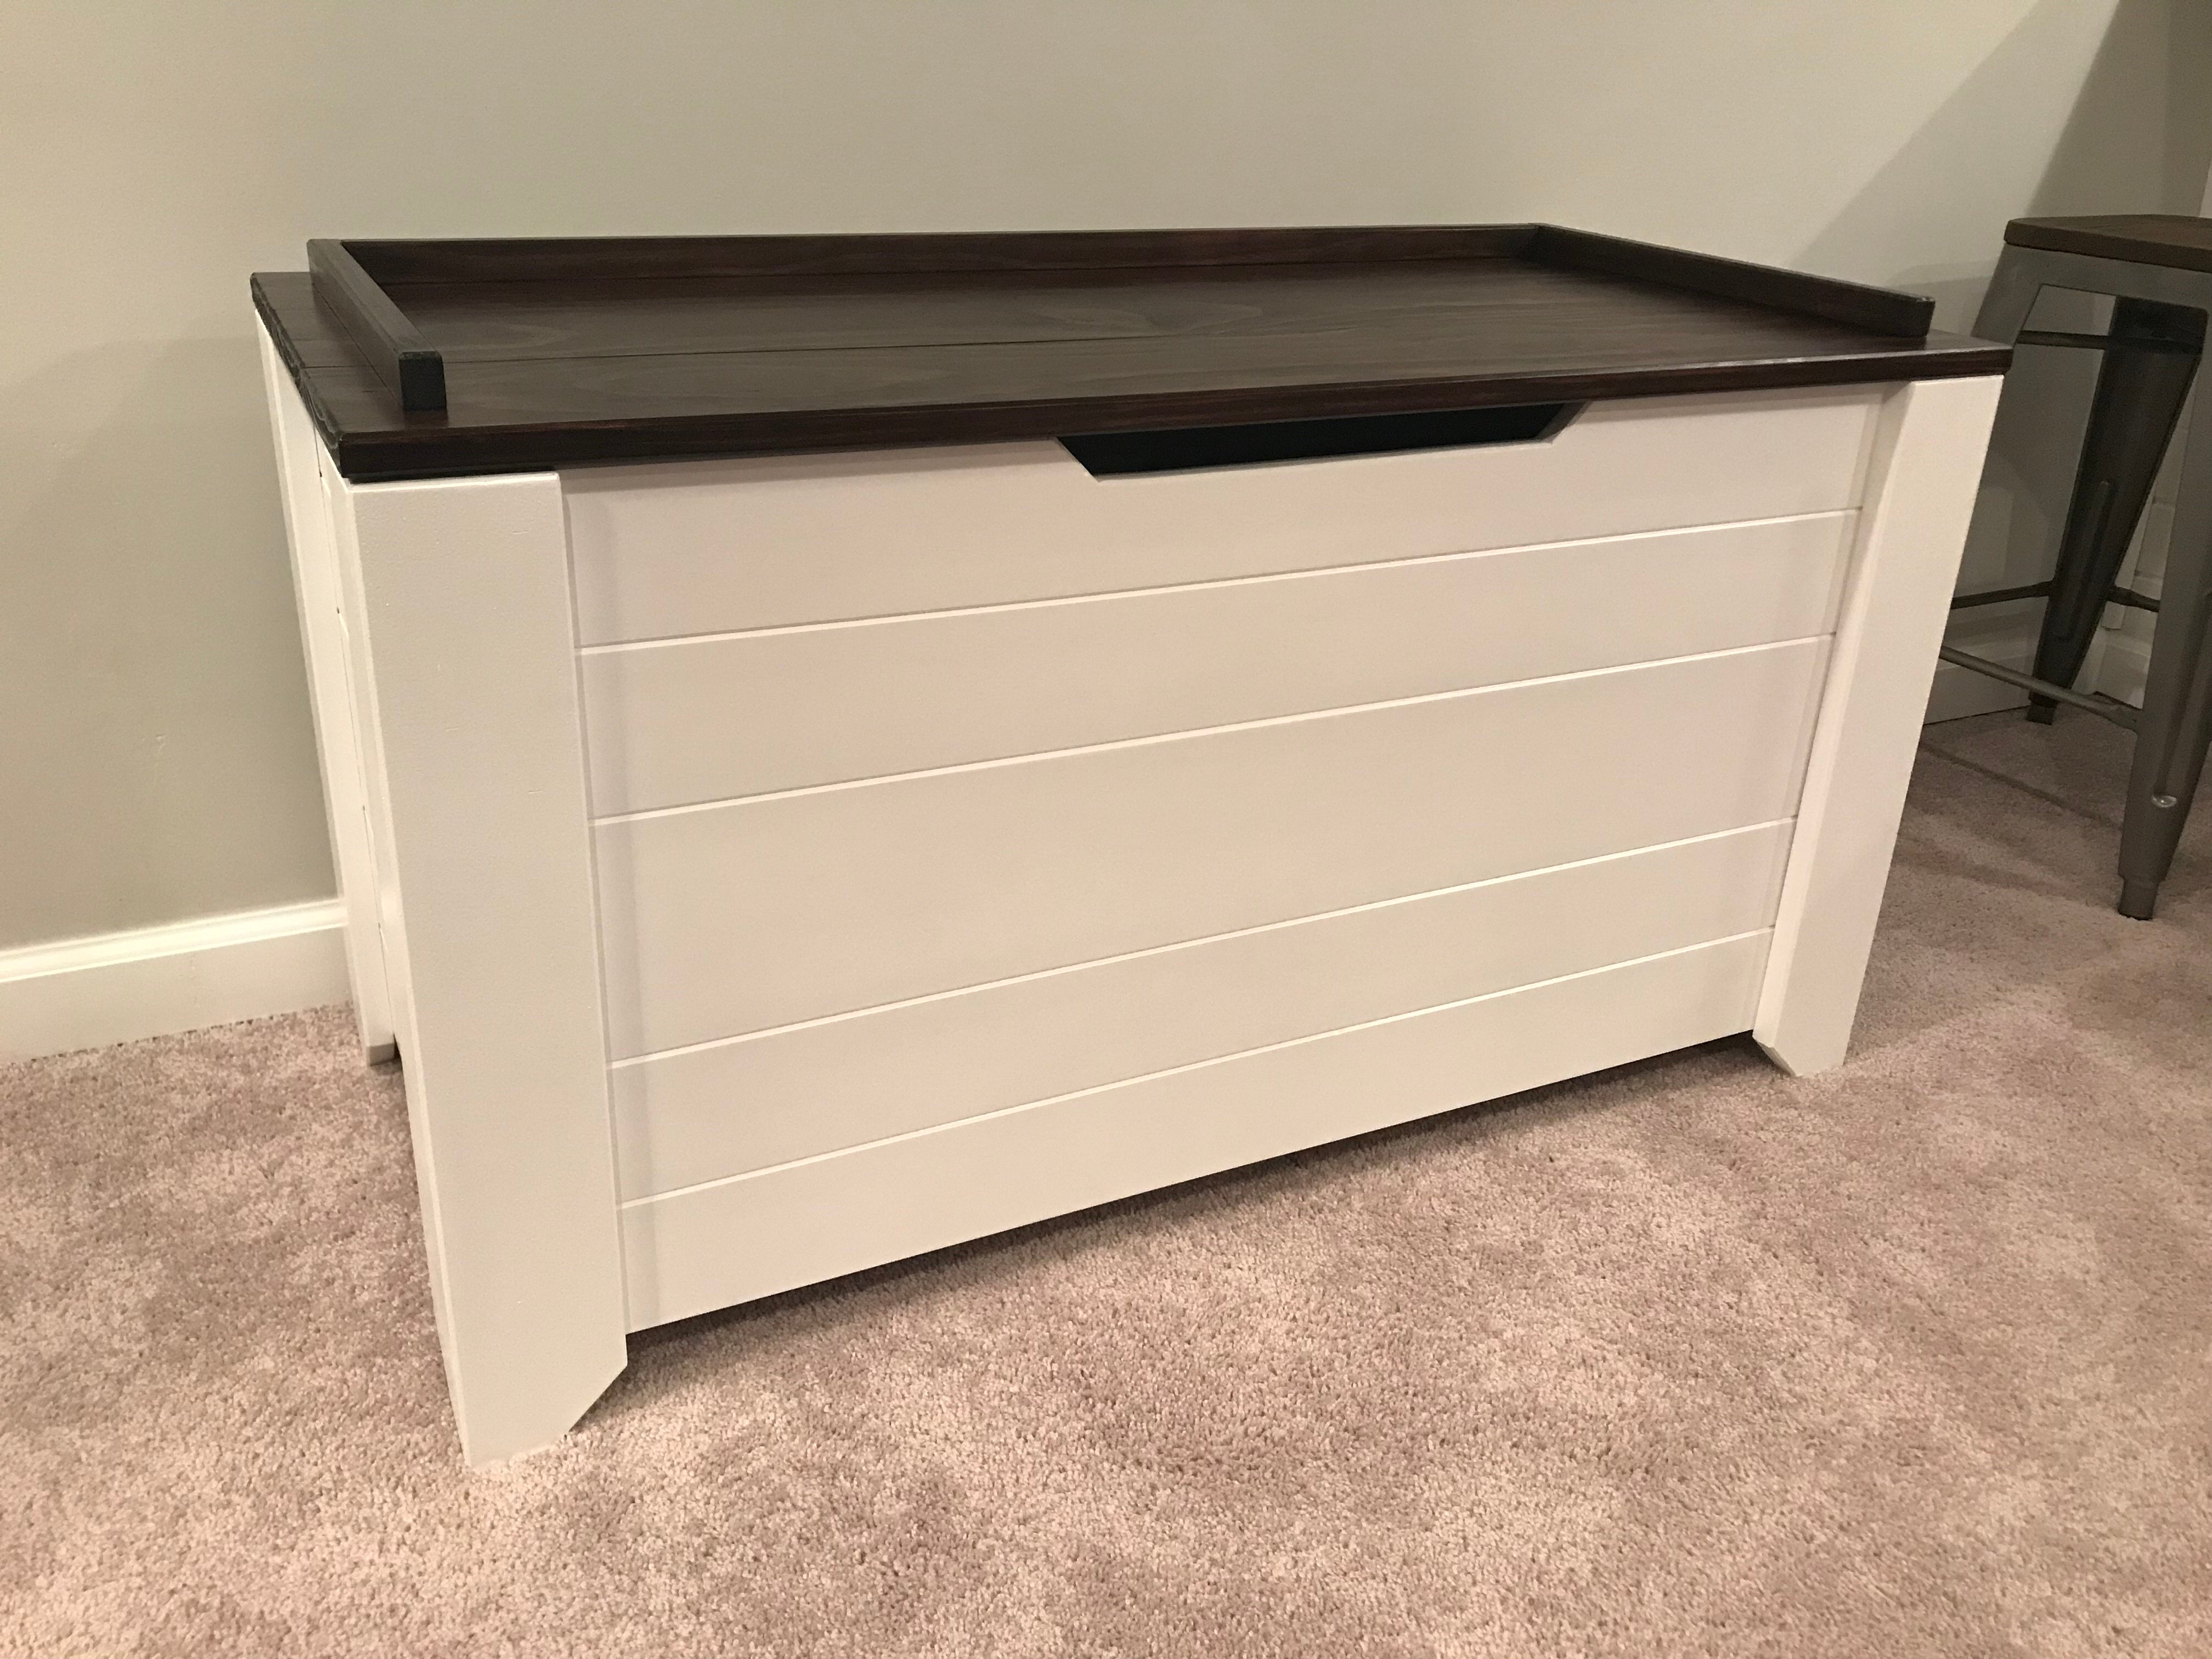
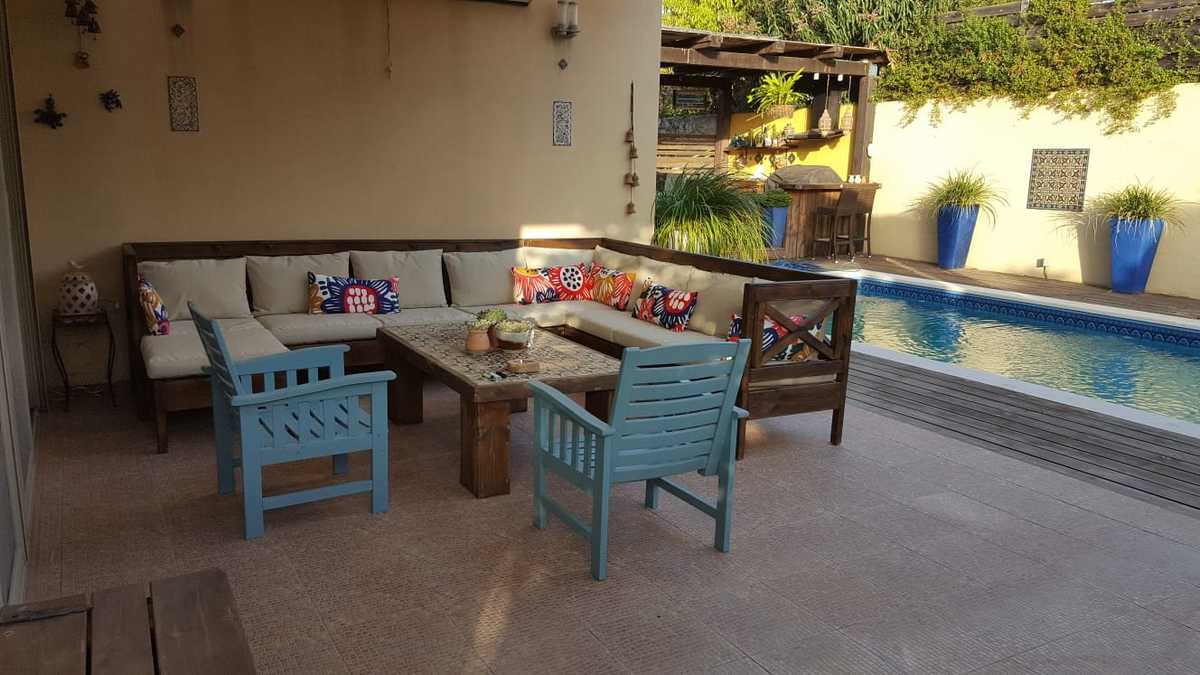
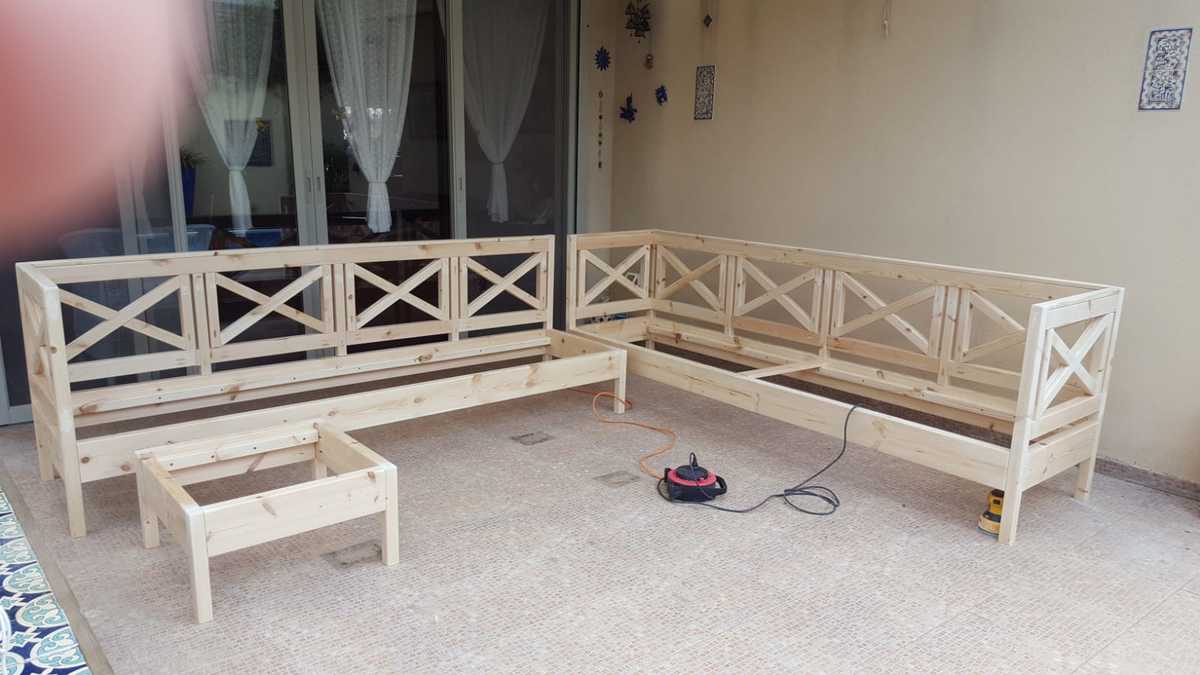
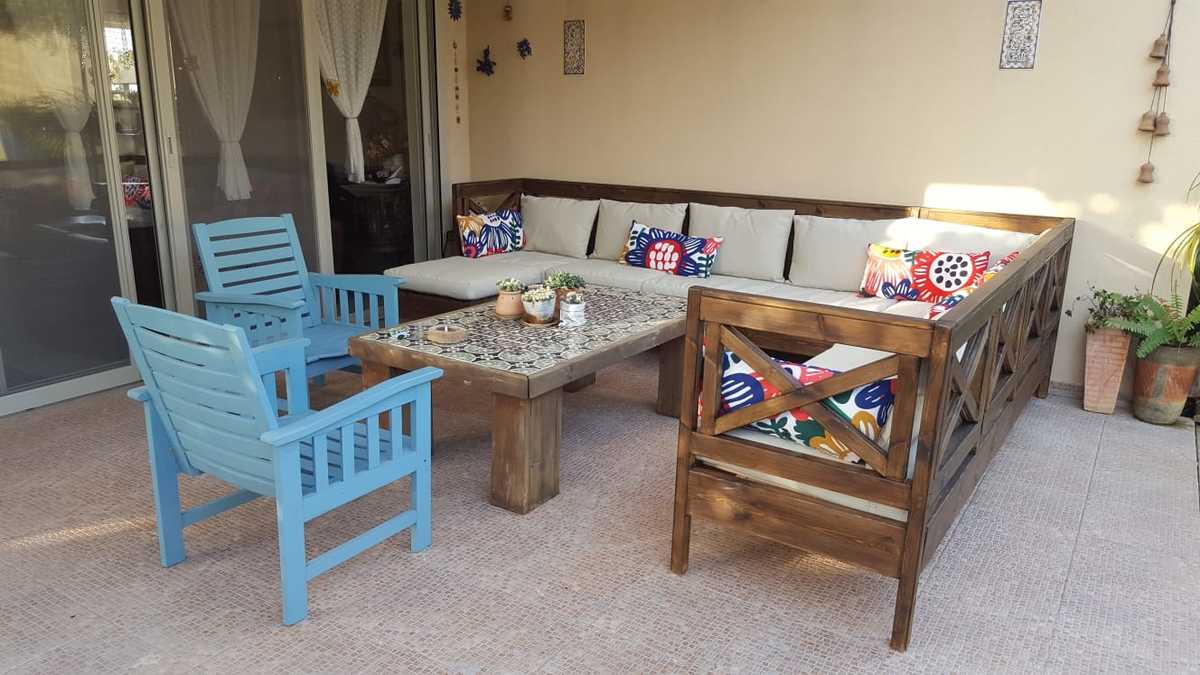
Picture of my own version of the Ana White Design linked here
http://www.ana-white.com/2017/01/DIY_furniture/farmhouse-style-toy-box-…
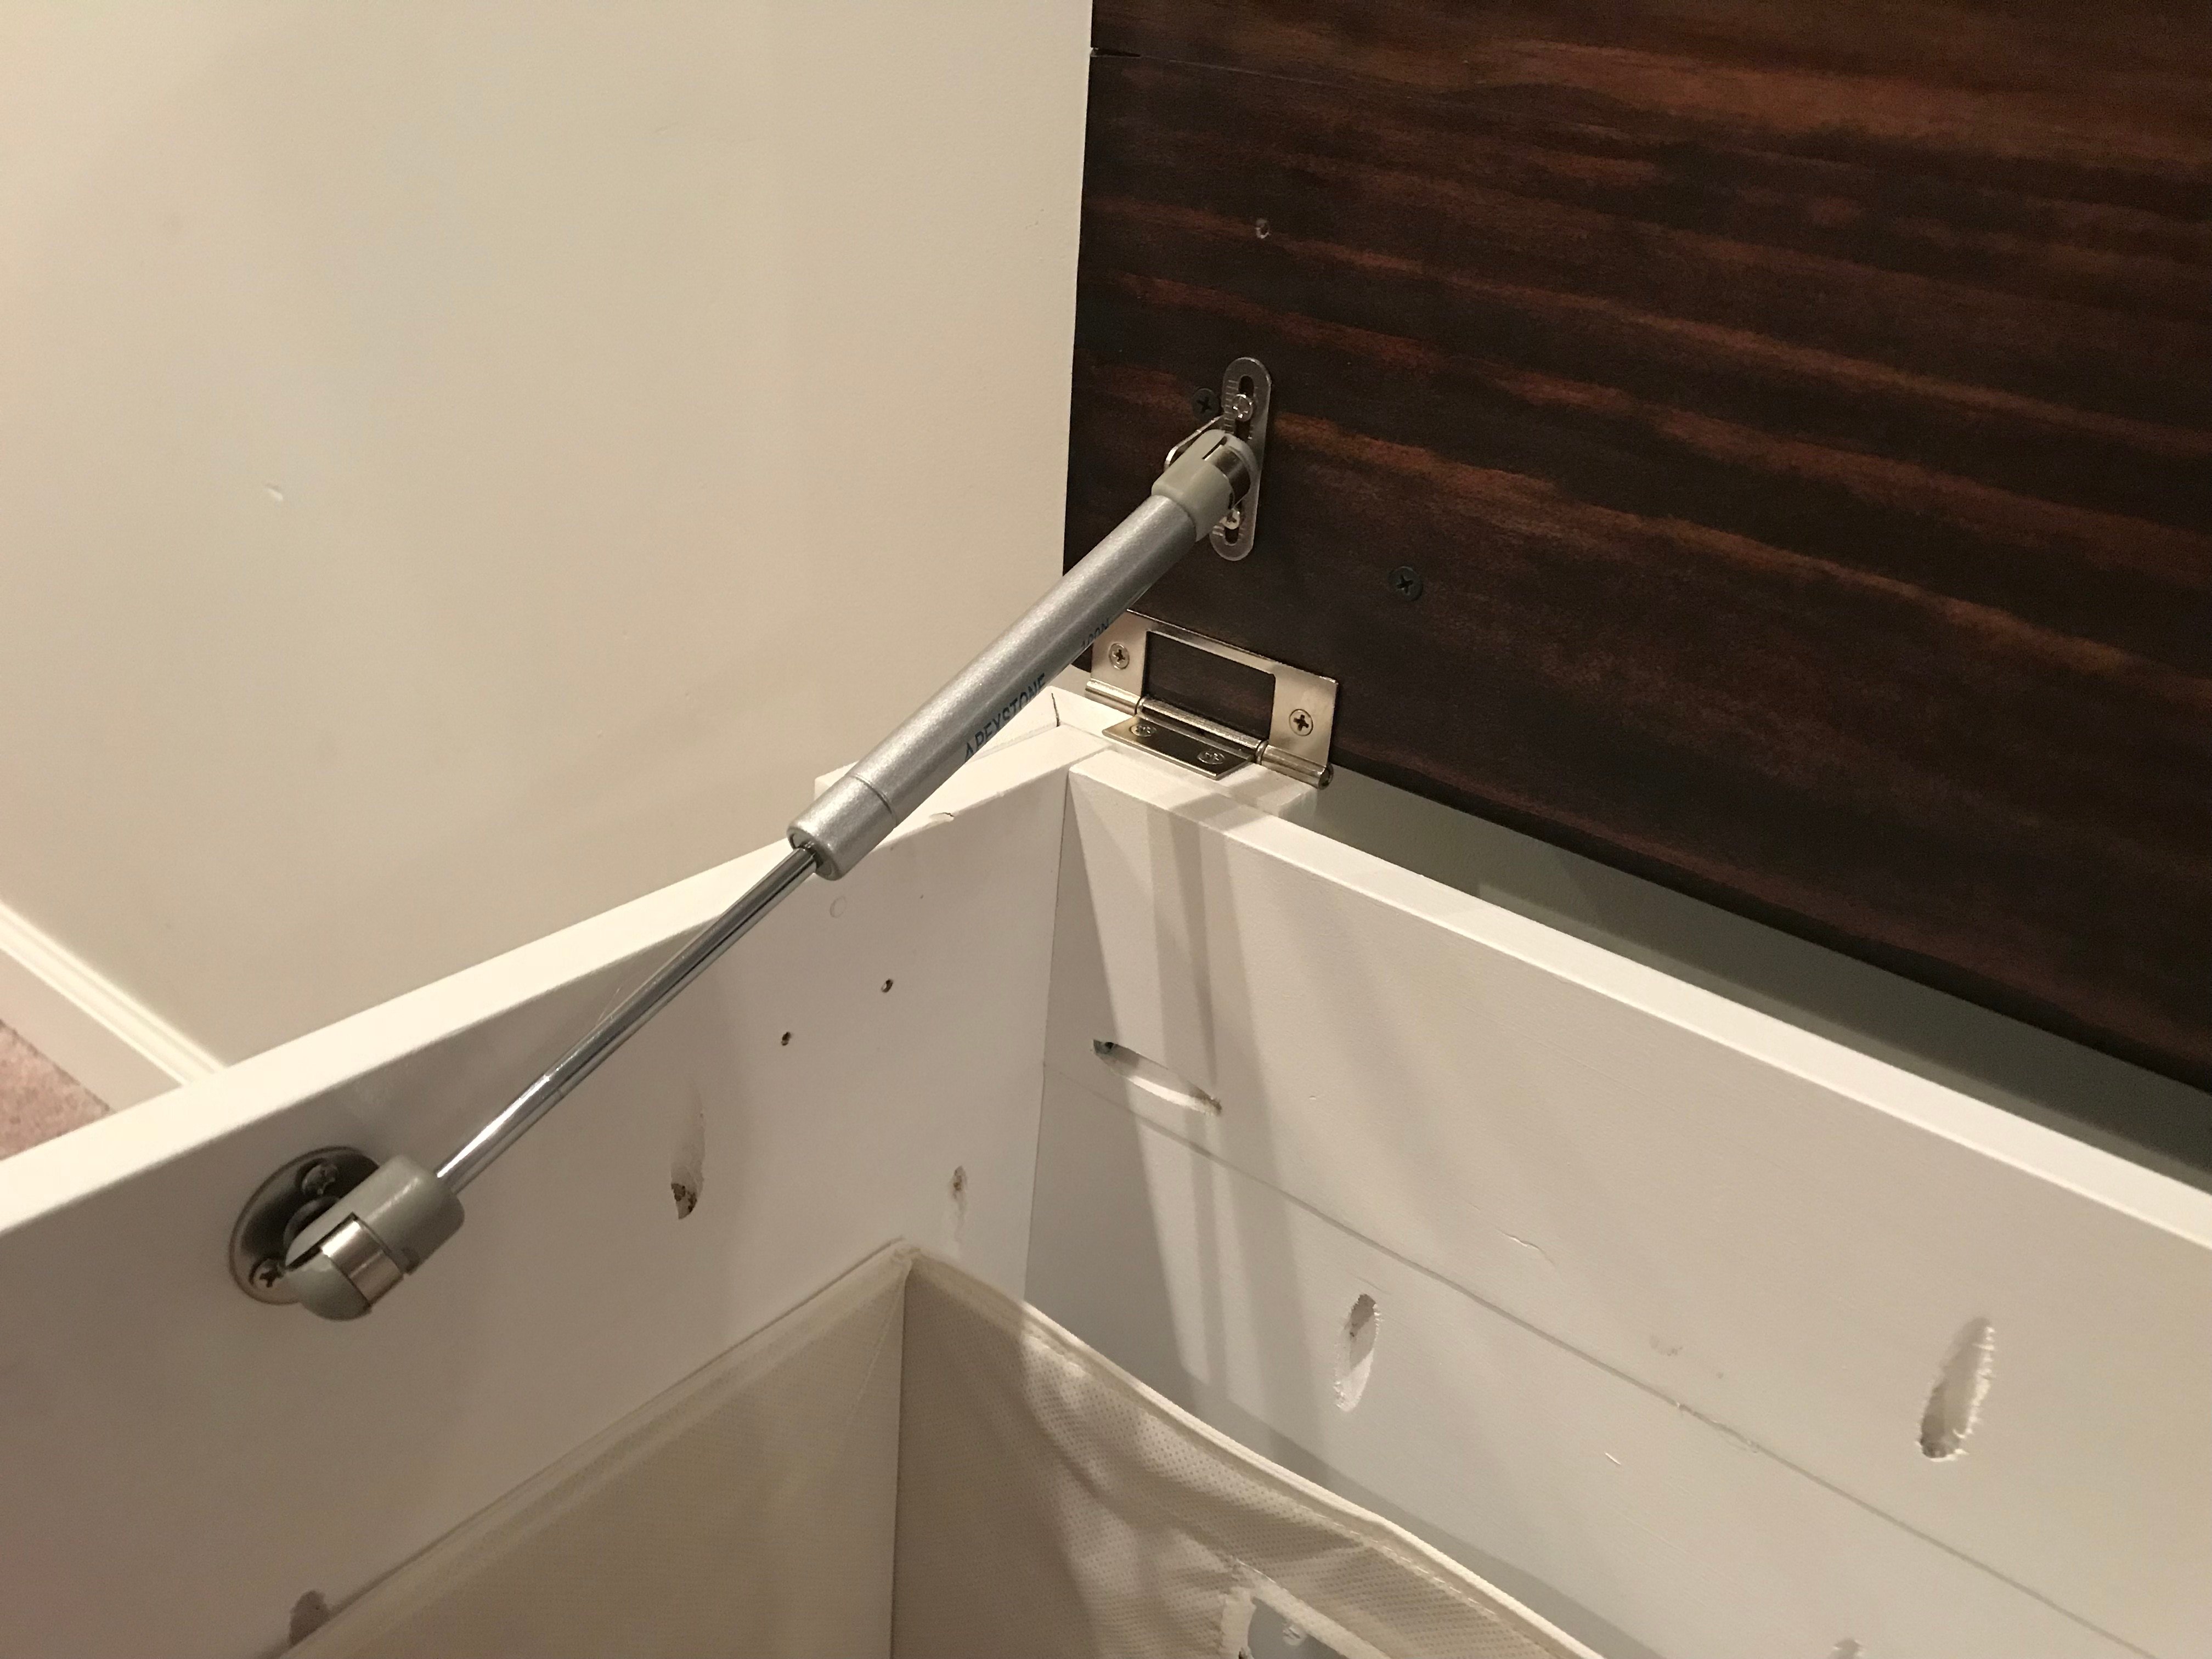
Added Gas Shocks from Amazon 100N/18lbs.

Built from Plan(s)
Estimated Time Investment
Week Long Project (20 Hours or More)
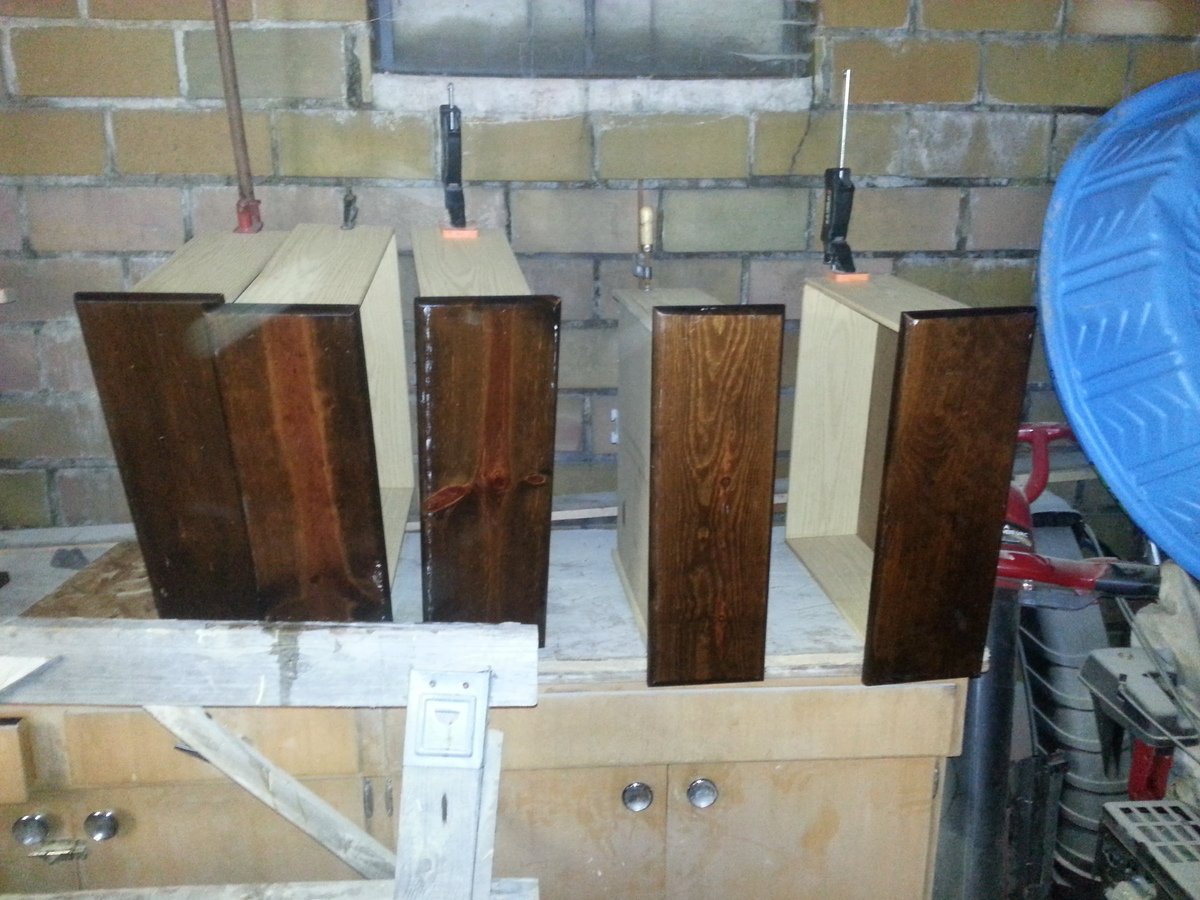
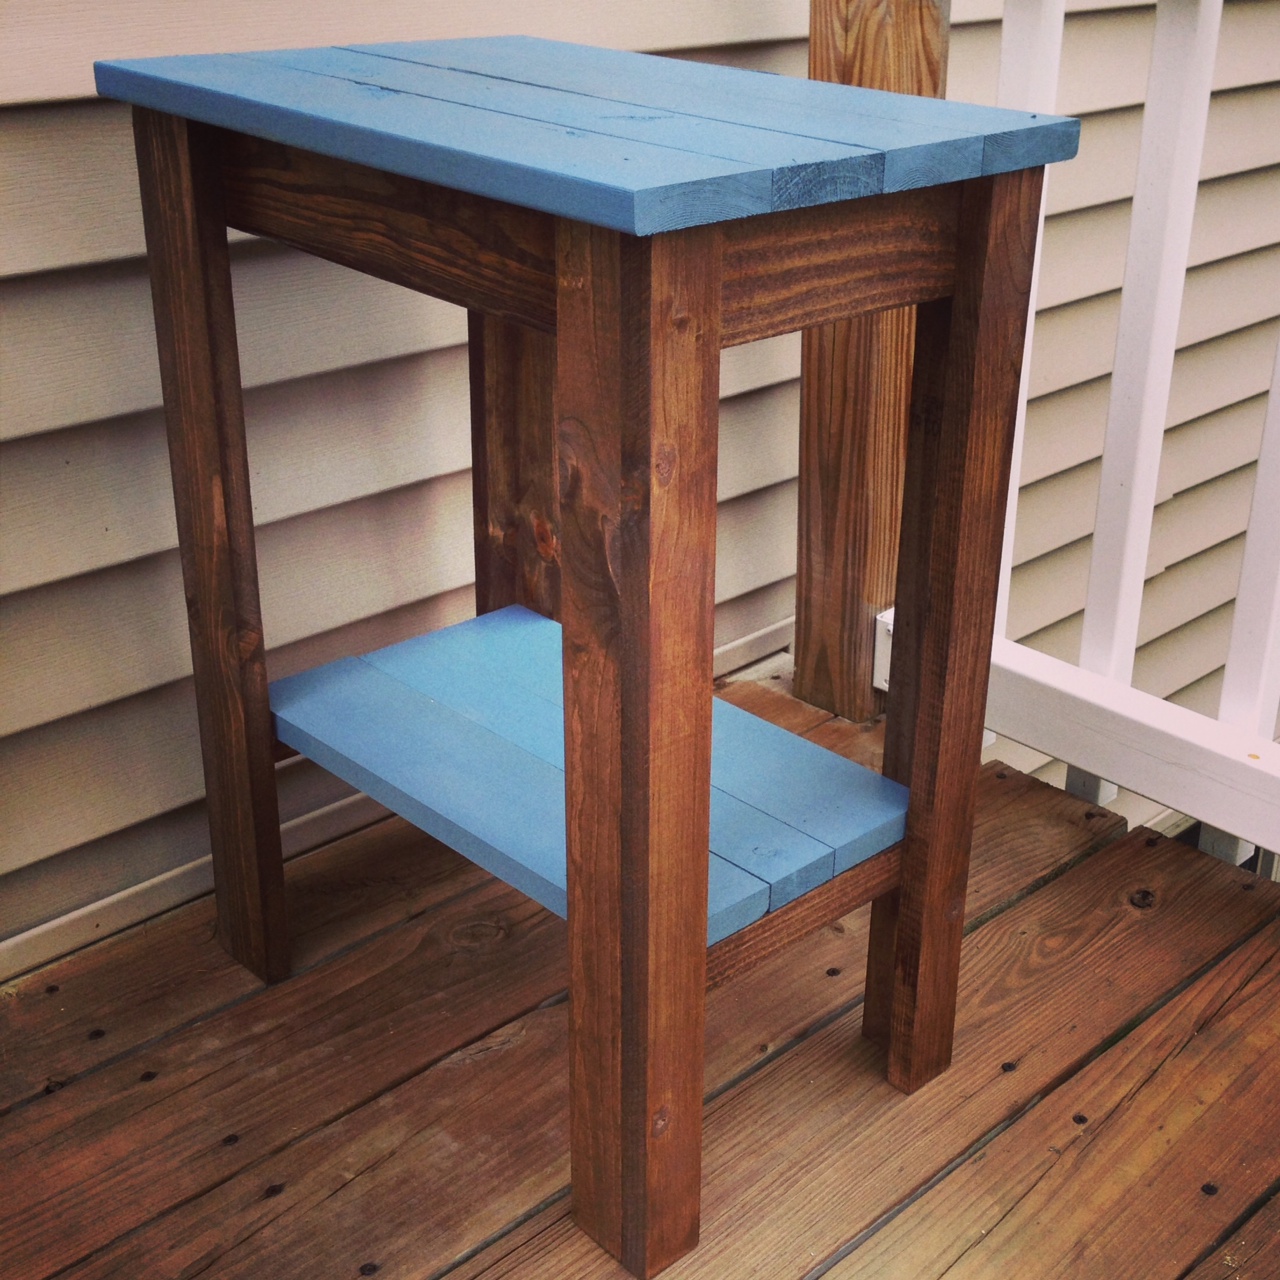
Finish Used
White Paint
Minwax Espresso
Minwax Red Mahogany
Minwax Espresso
Minwax Red Mahogany
Recommended Skill Level
Intermediate