New Bedroom For Jonathan
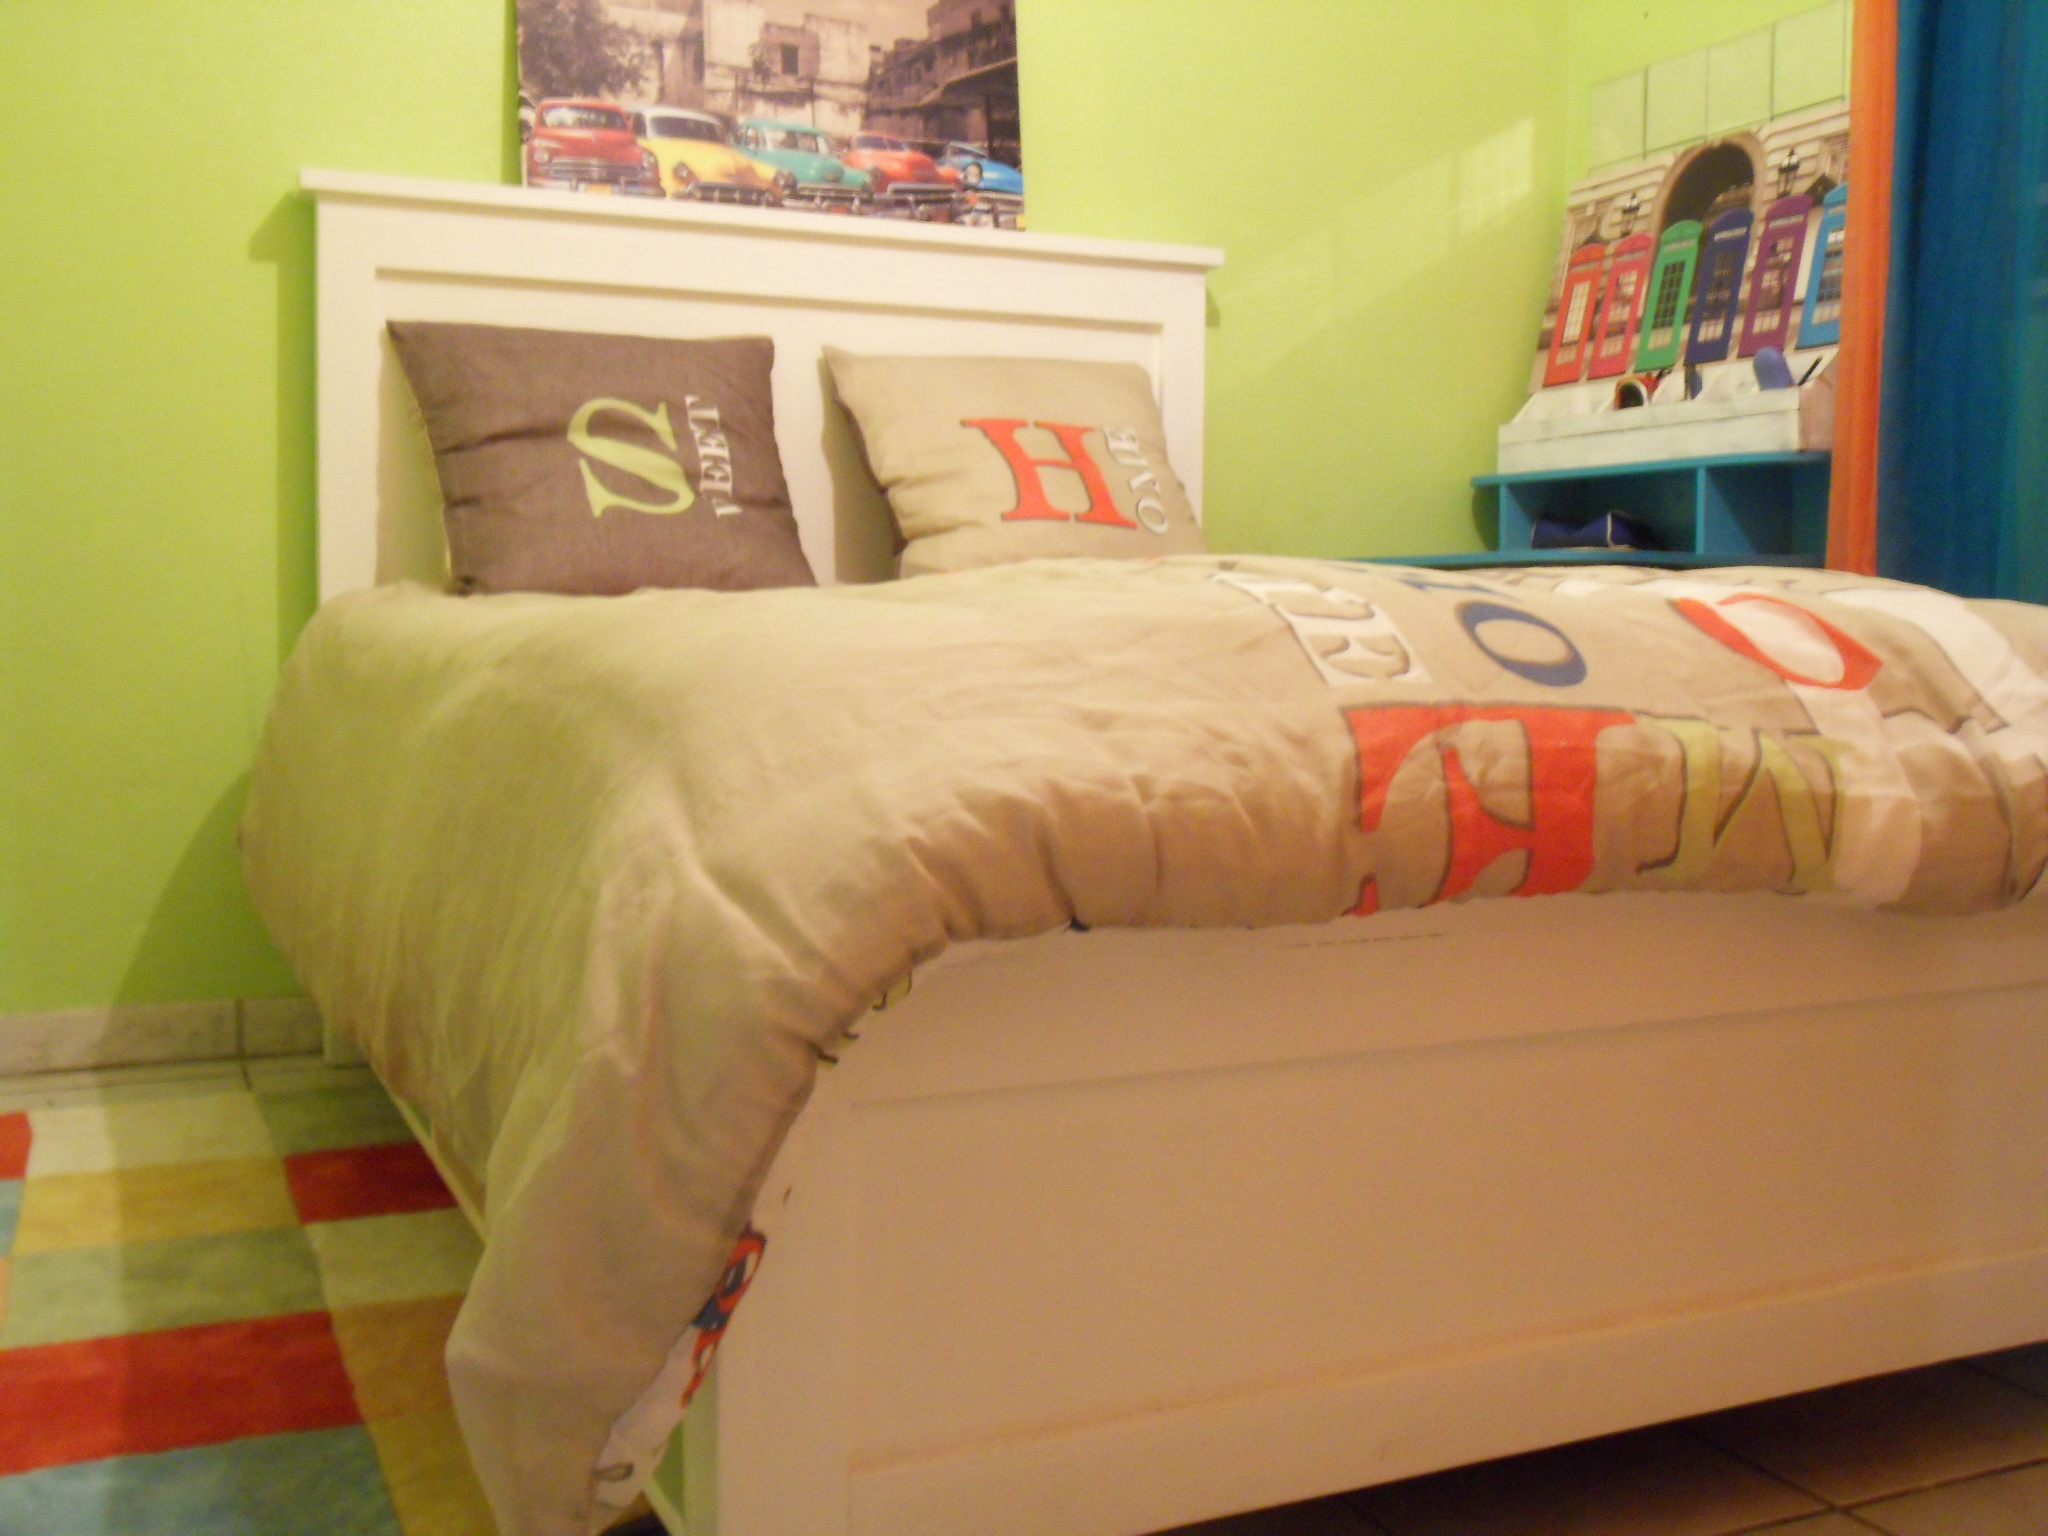
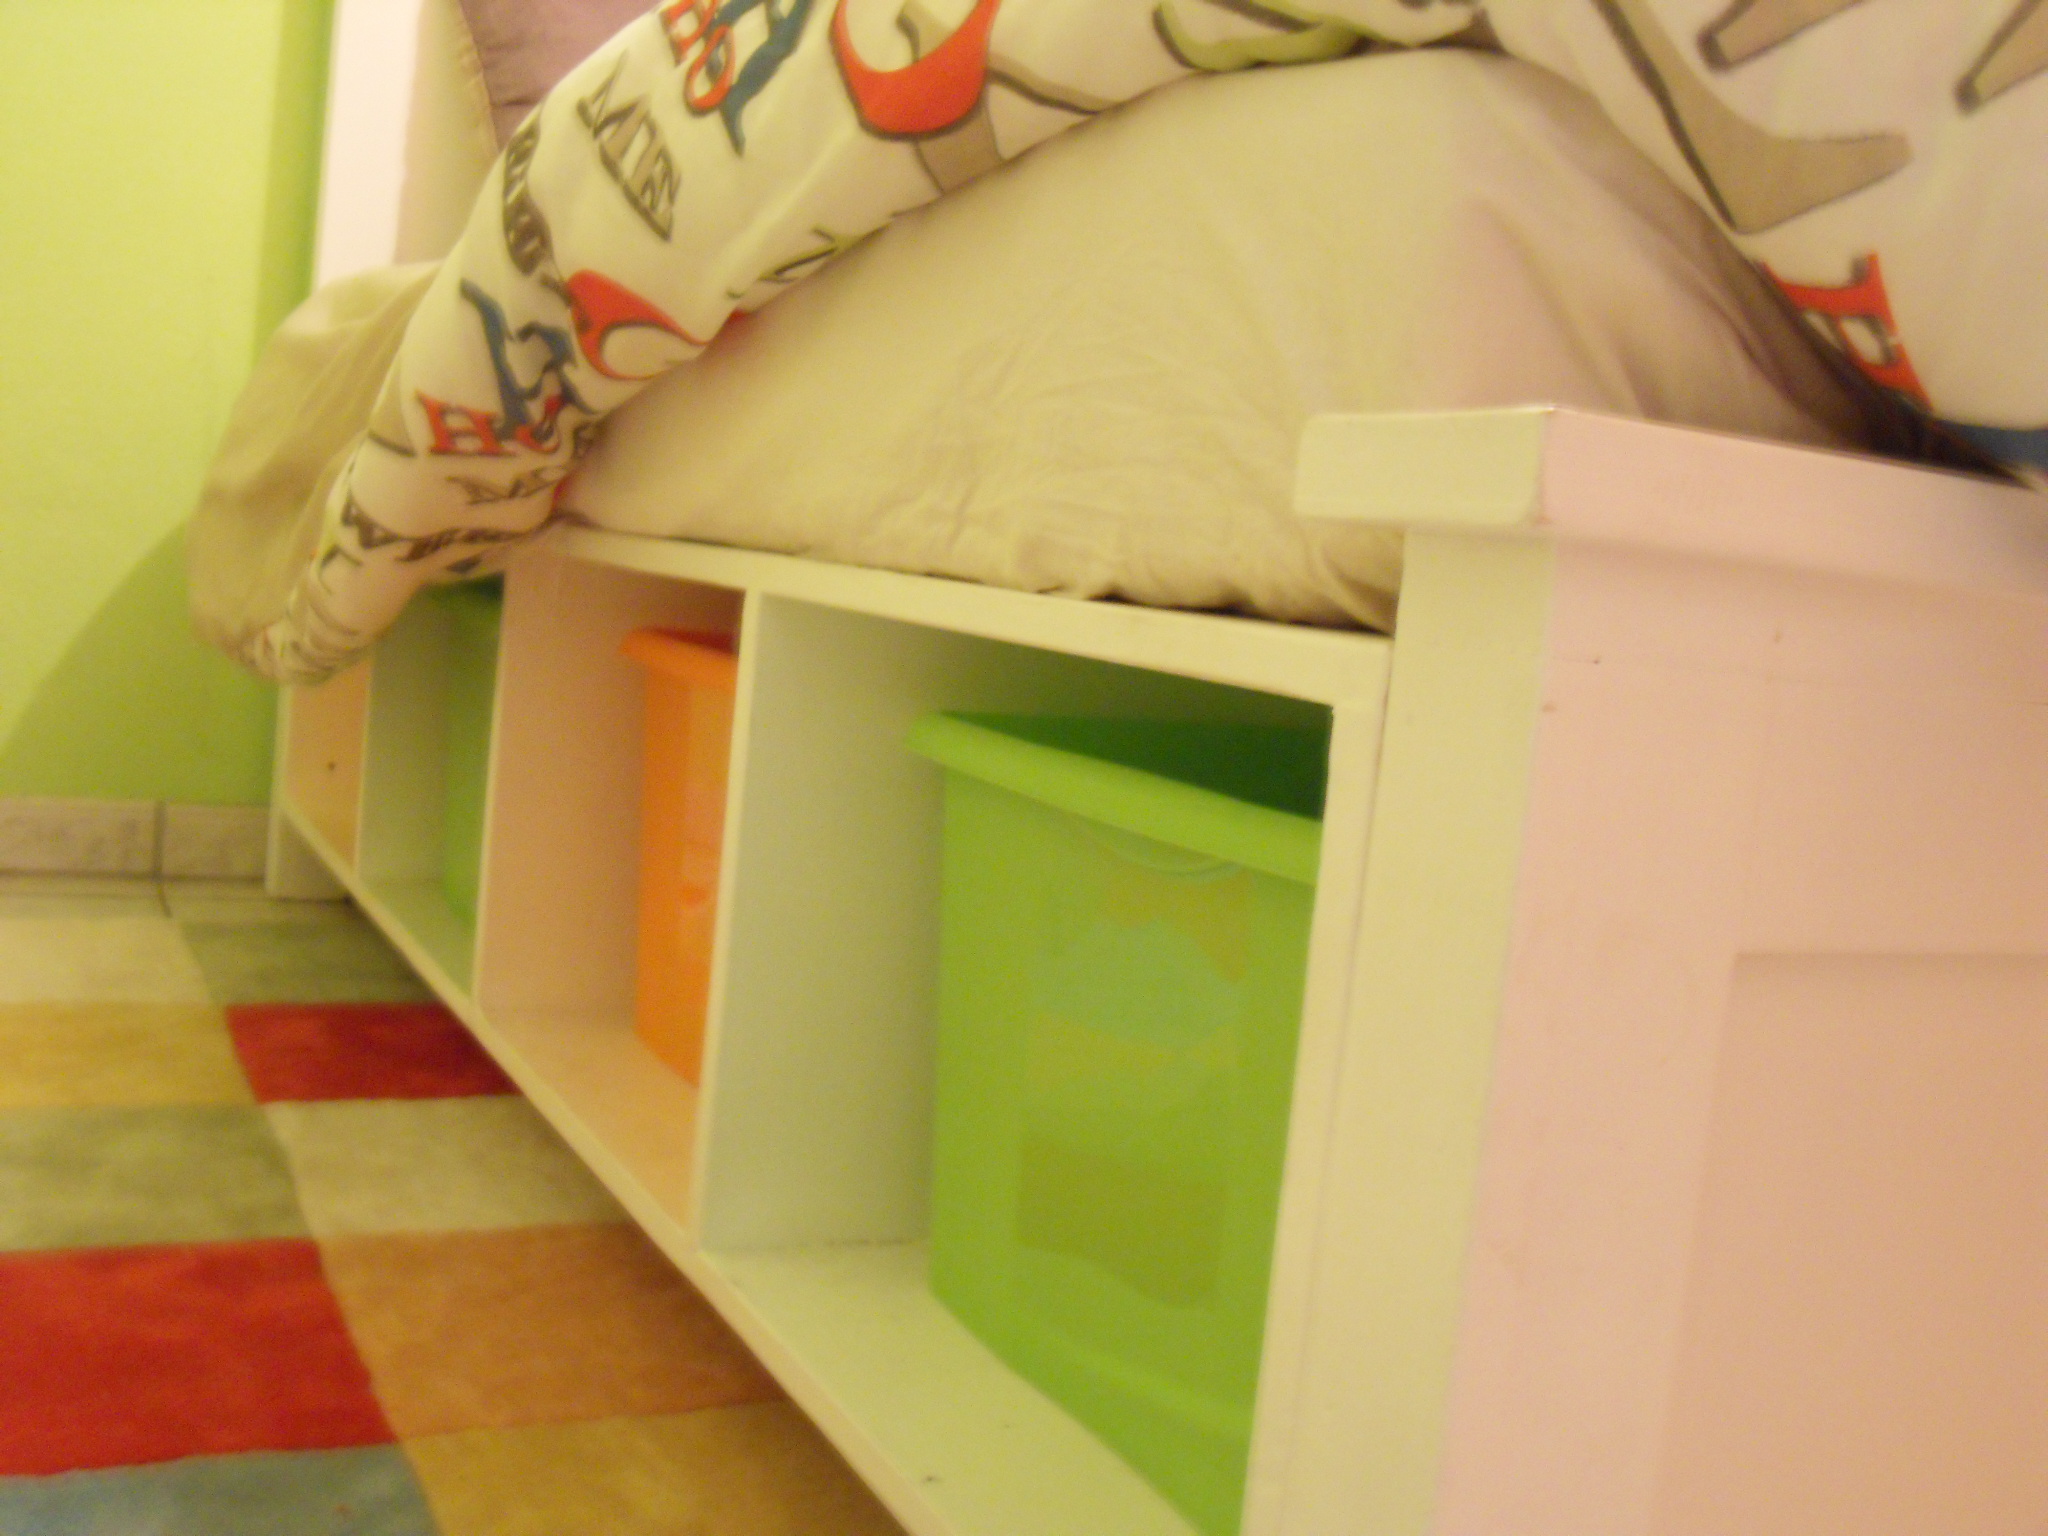
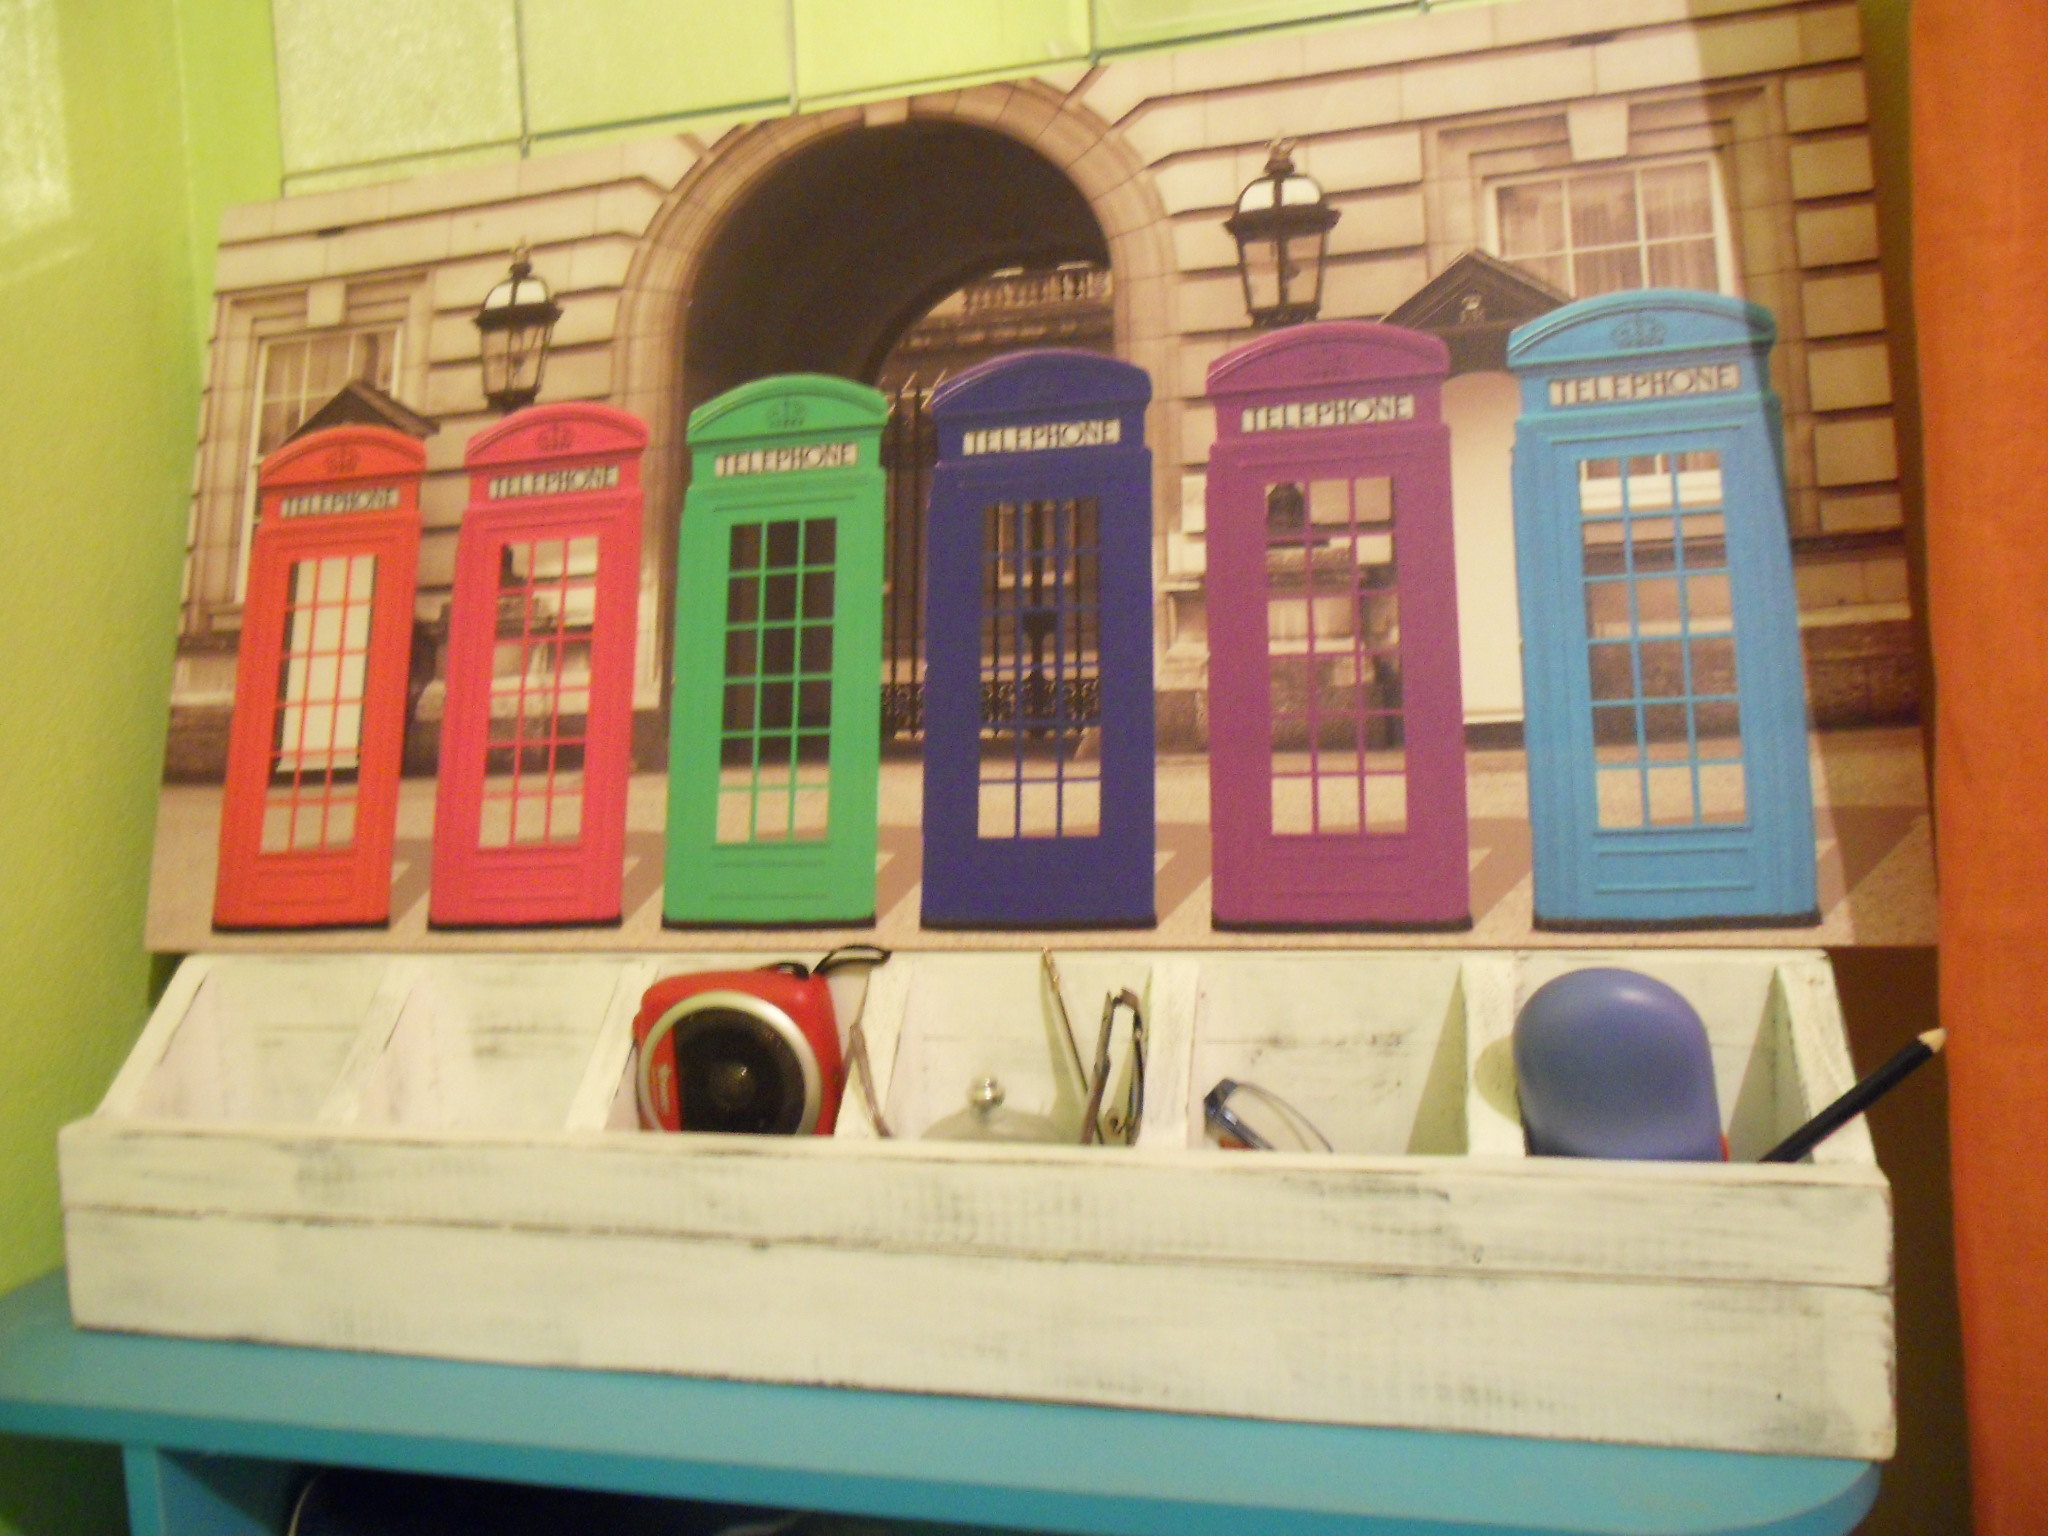
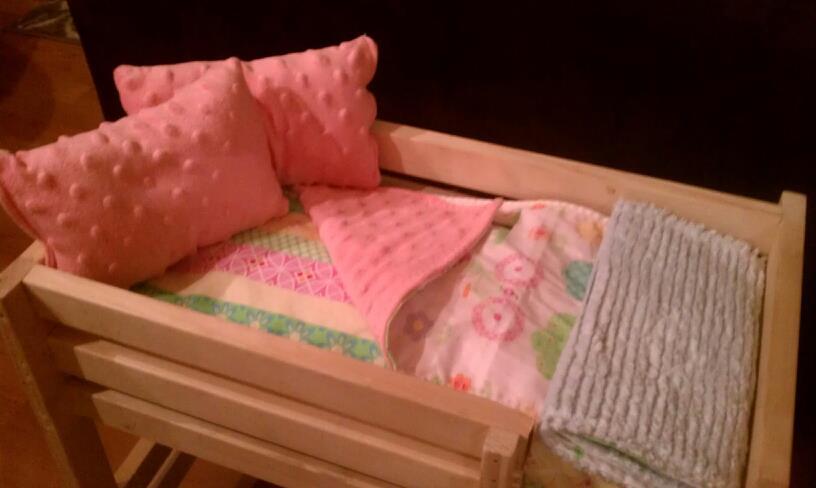
My son is 10 year old and I decided to change his room. His bedroom is very small so I built a full size bed whith storage. I hung up bookholders on the wall too.
Wee are very happy how it turned out.
Thanks Ana!


Built from Plan(s)
Estimated Cost
200 euros
Estimated Time Investment
Week Long Project (20 Hours or More)
Finish Used
white gloss paint
Recommended Skill Level
Beginner


Comments
spiceylg
Tue, 12/13/2011 - 05:27
Nice!
That is a wonderful room! You did a great job and your son must be thrilled!
alamanda973
Tue, 12/13/2011 - 10:50
Thank You
Thank You!
carnini
Sun, 01/22/2012 - 18:24
great bed
I like the cubbies under the bed instead of drawers, seems much easier and better for a non adults bed.
bhoppy
Wed, 02/15/2012 - 09:34
Love this
How beautiful! I love the bed and shelves! I bet your son is so thrilled!