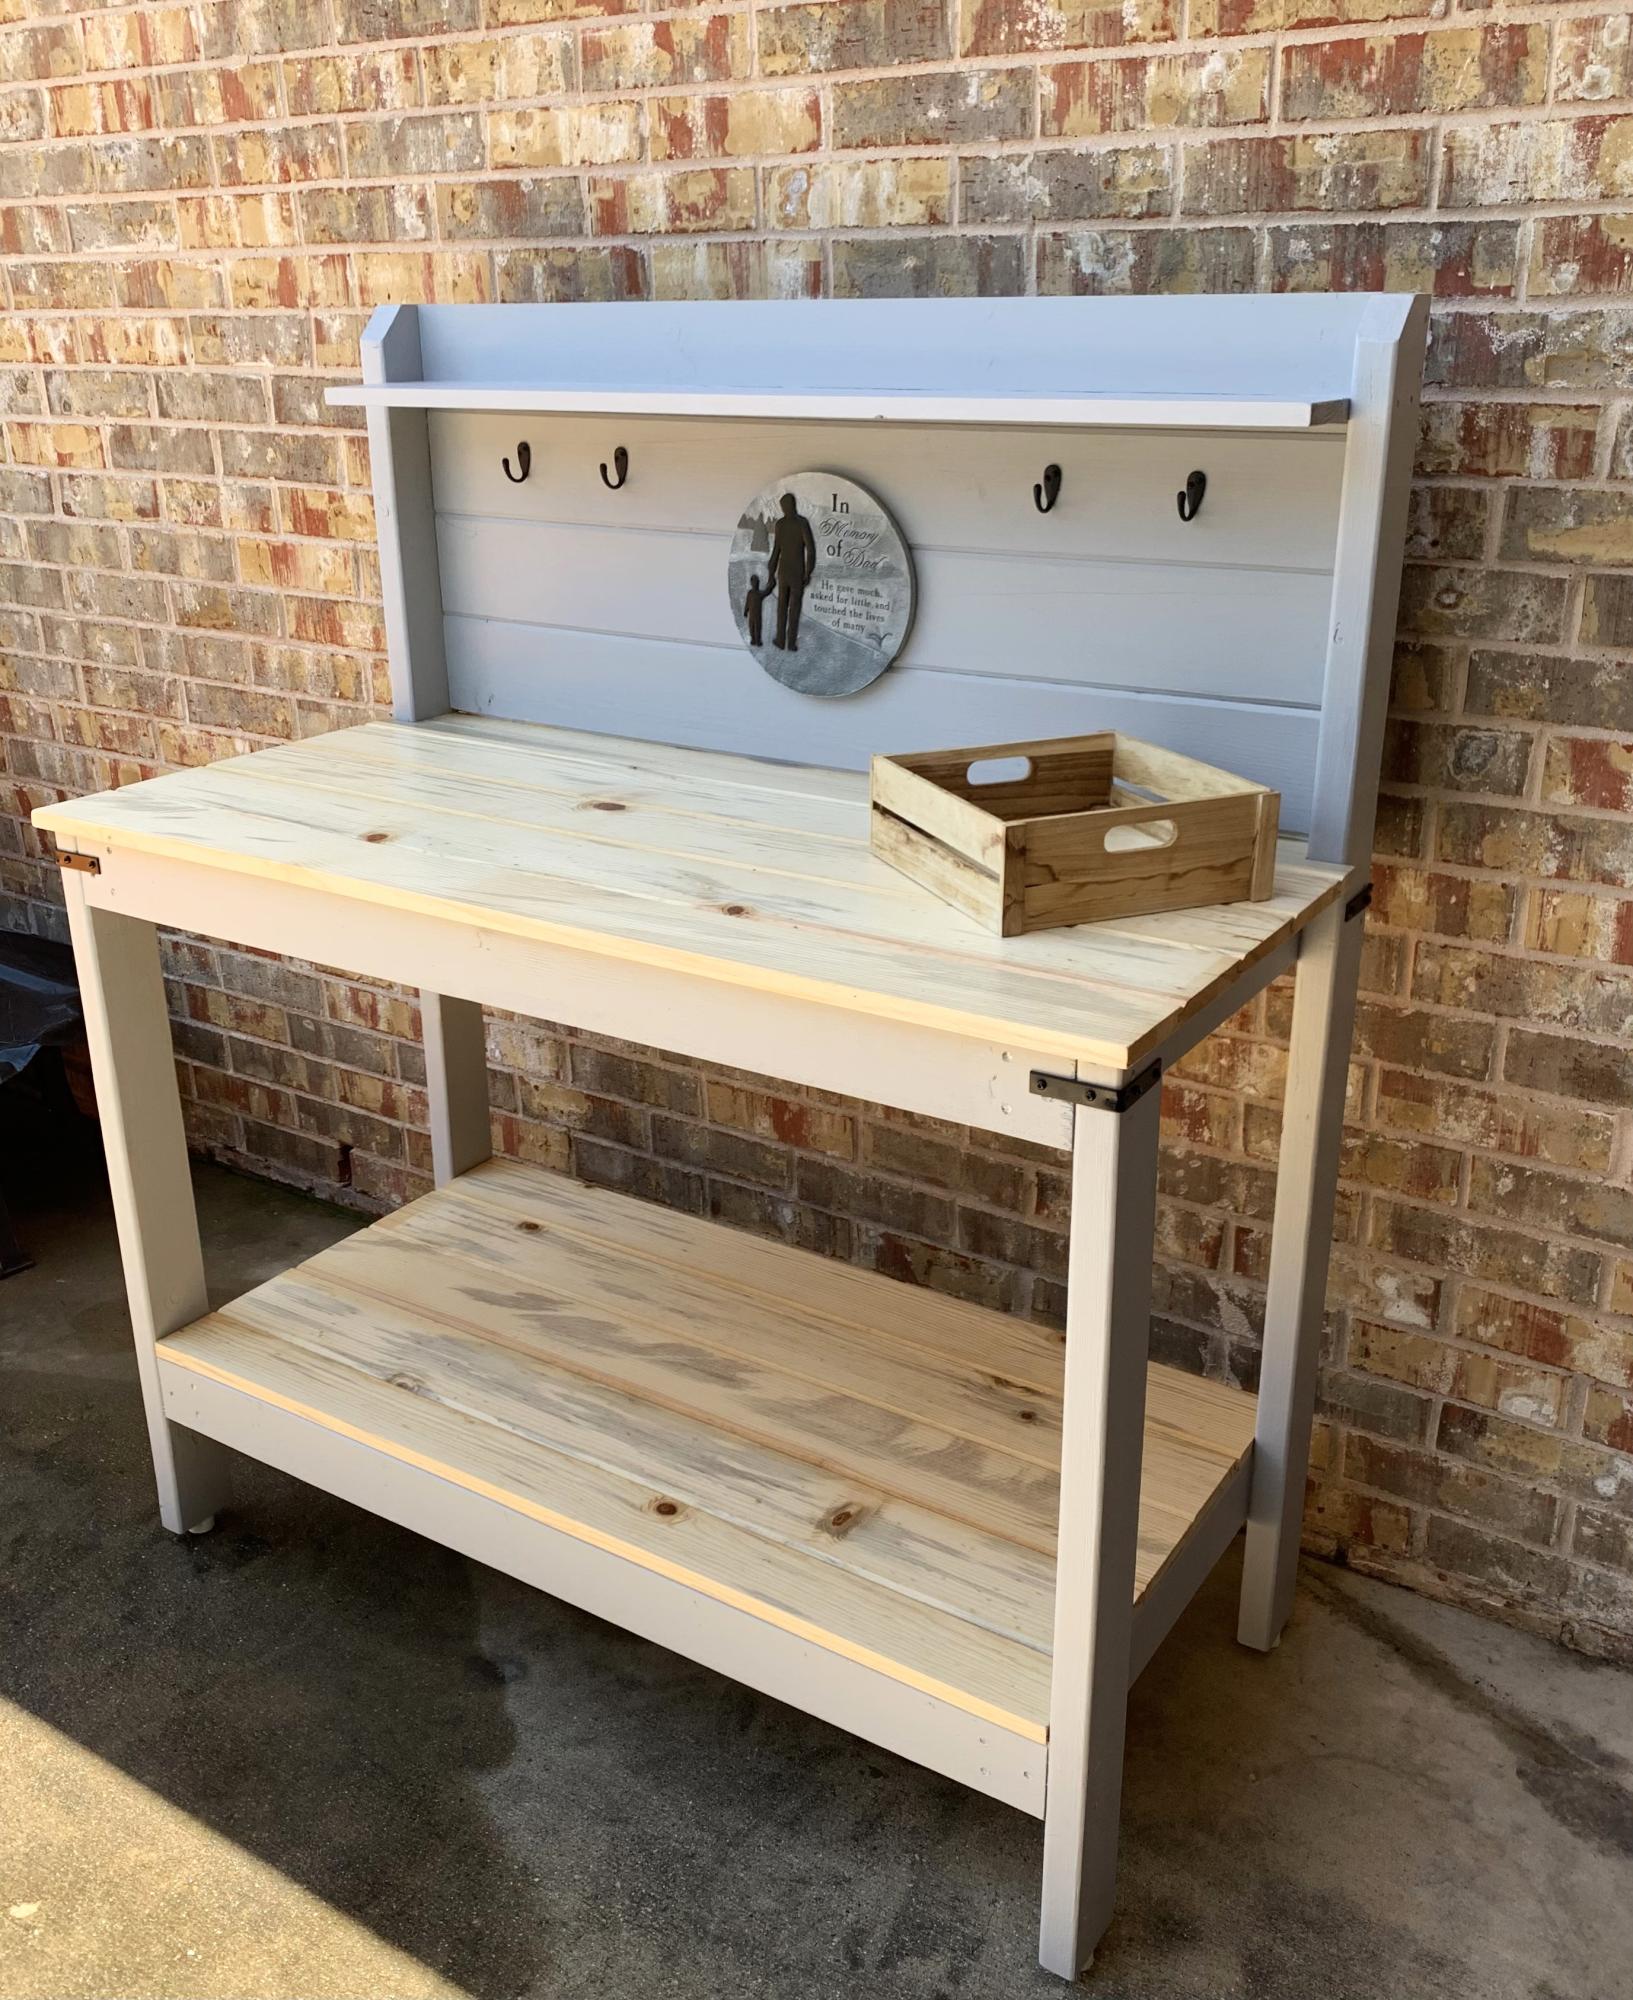
Farmhouse potting bench grill table and chalkboard
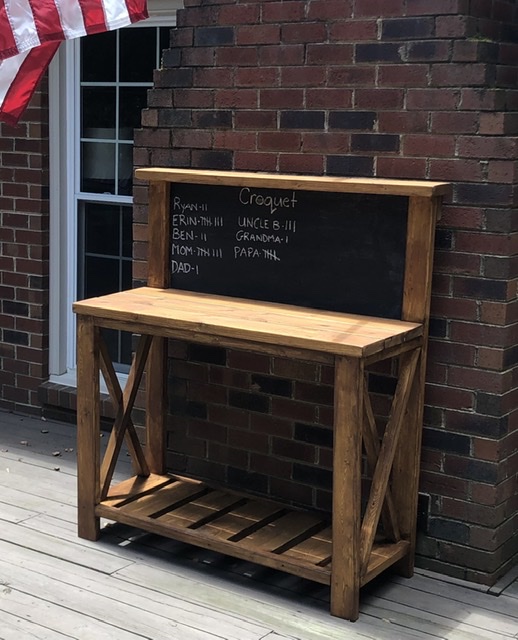
Mom wanted croquet scoreboard and I needed a grill prep area.
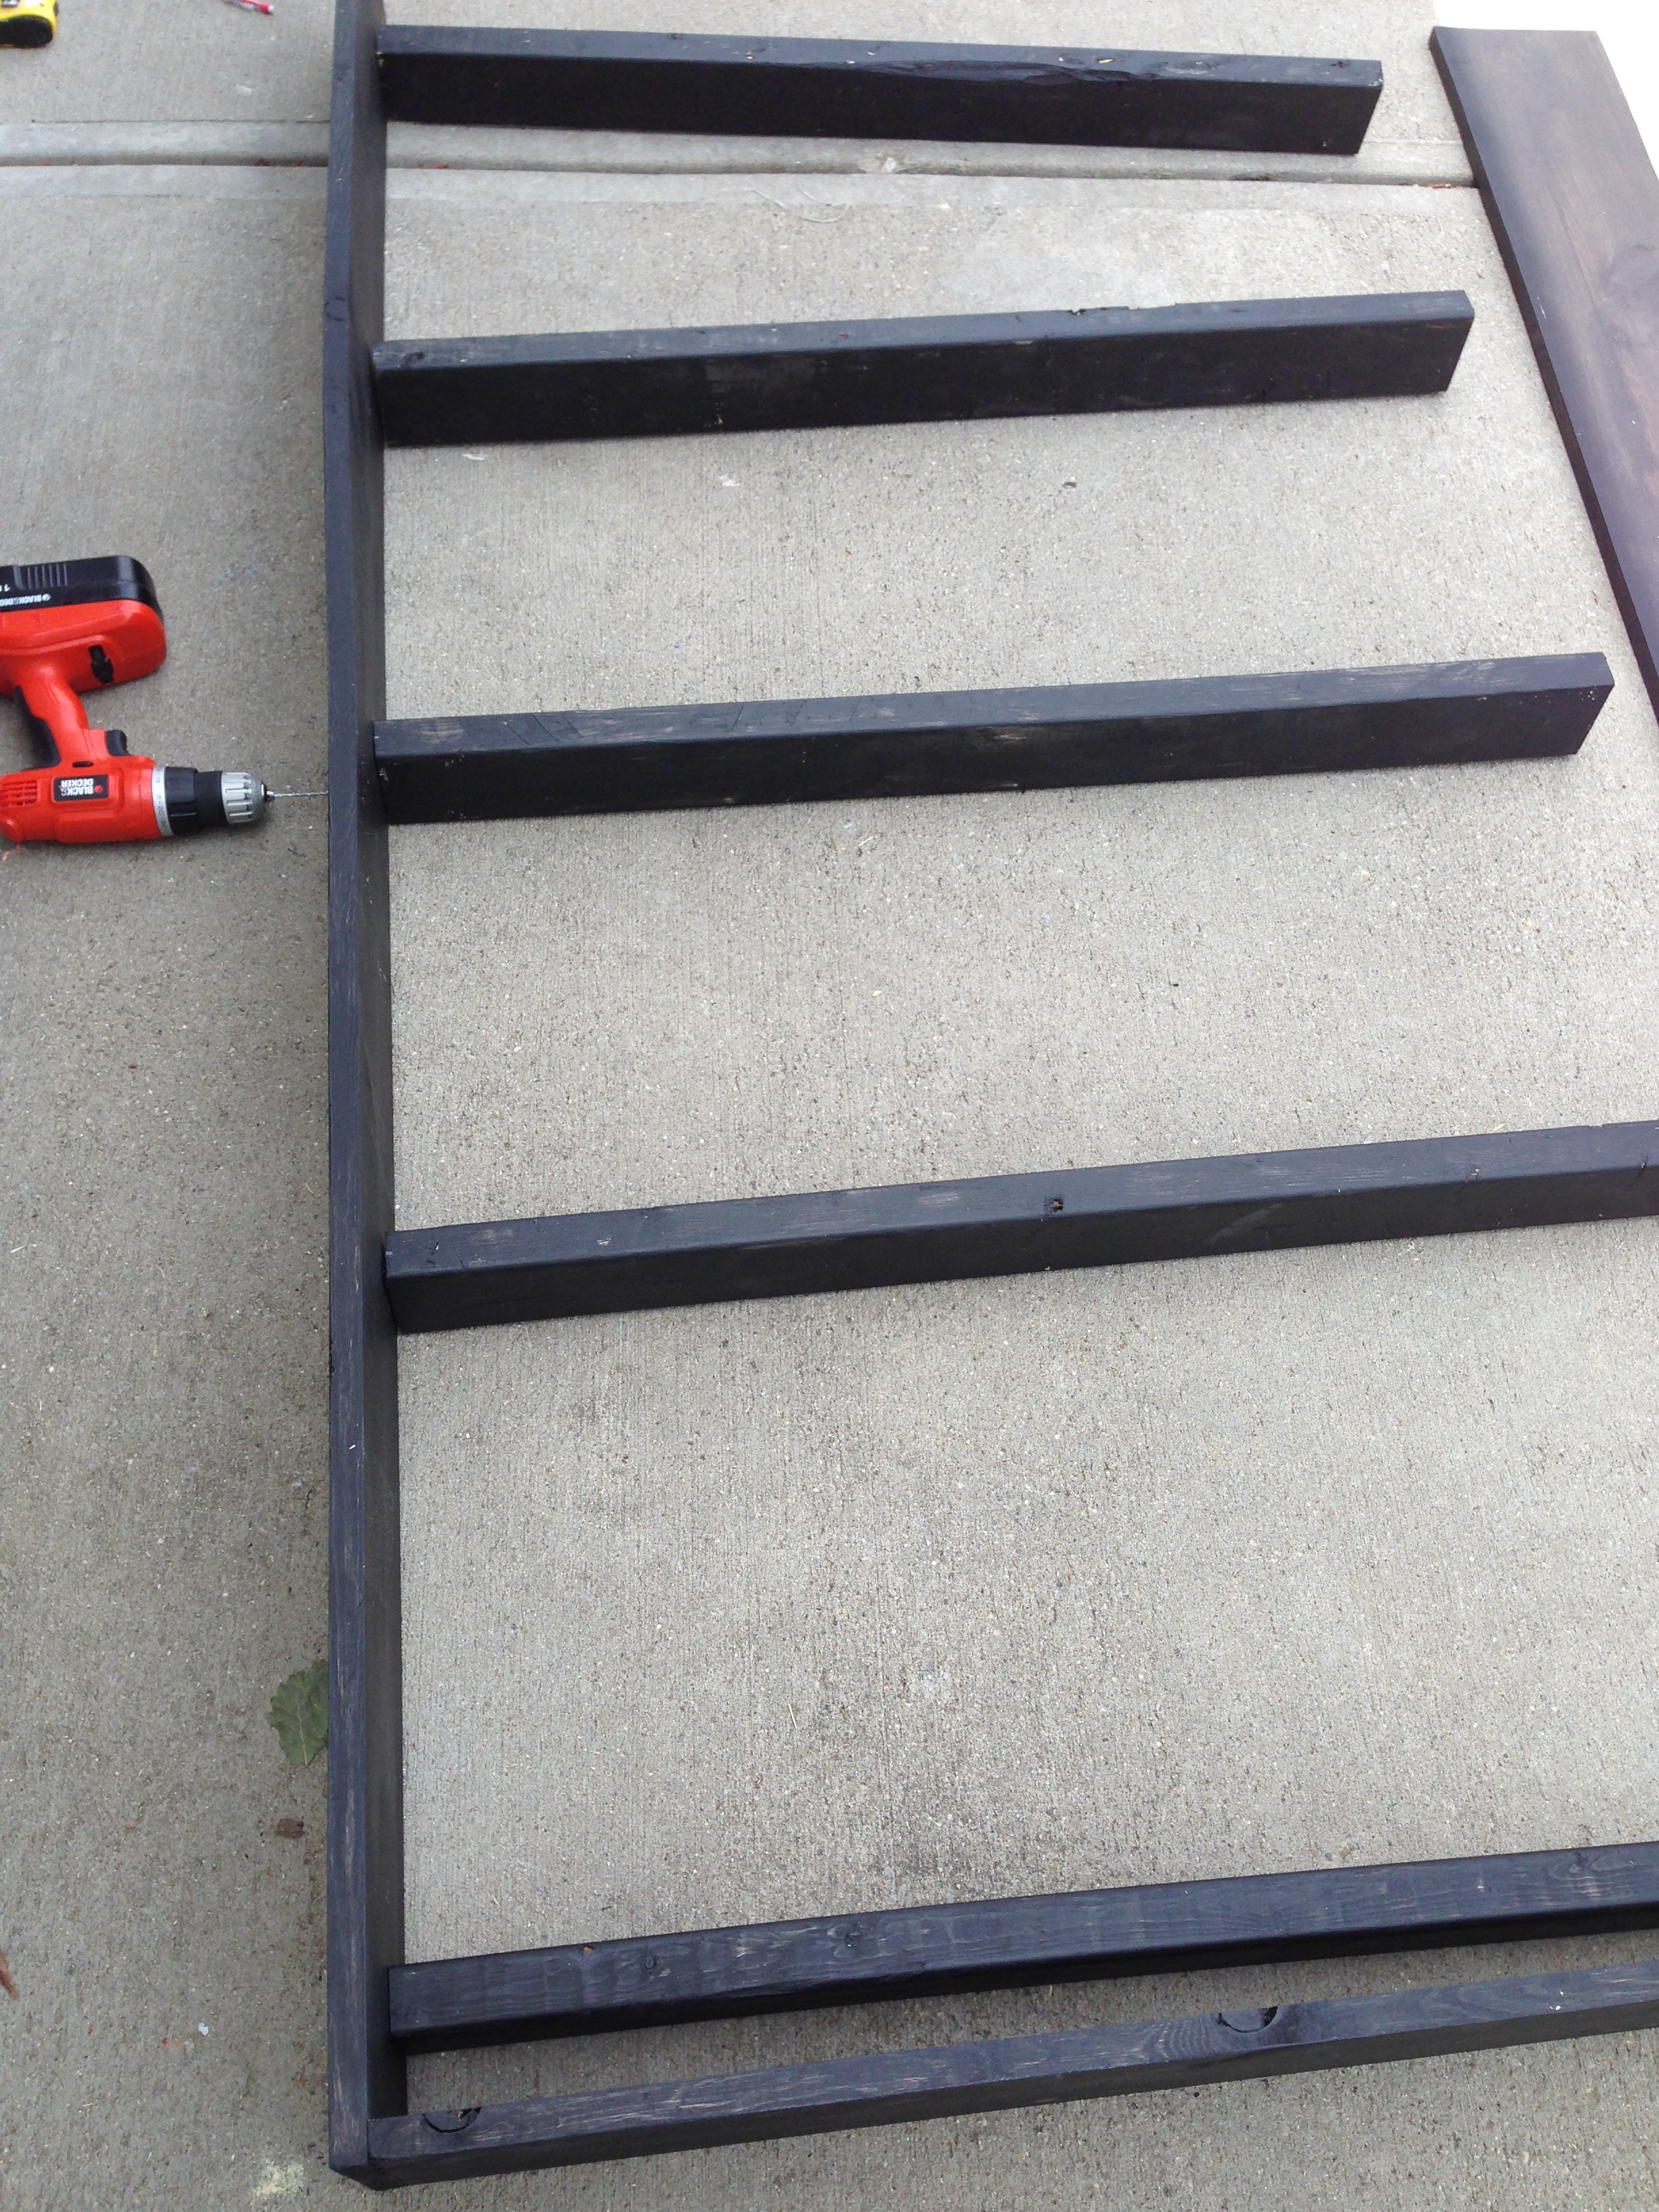
Built on a few hours
Sanding and finishing took a few evenings.


Built from Plan(s)
Estimated Cost
150$
Estimated Time Investment
Day Project (6-9 Hours)
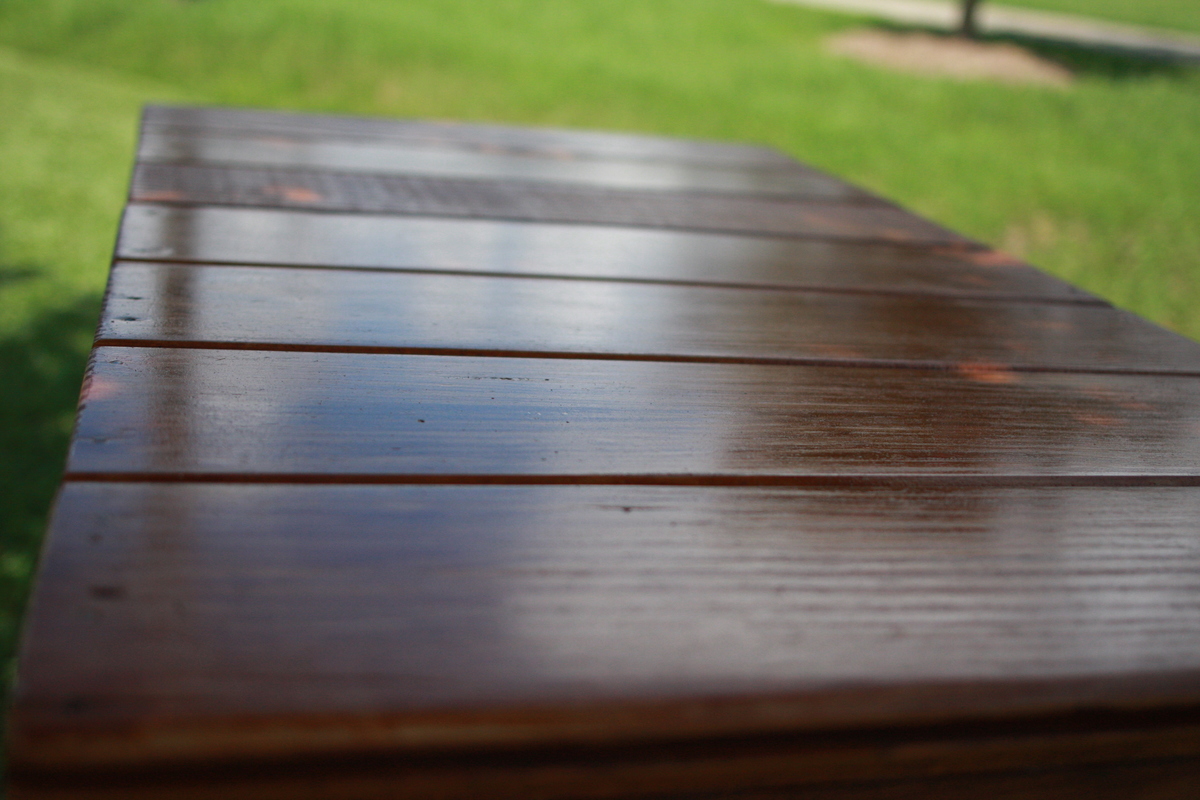
Finish Used
Valspar One coat exterior stain and sealer canyon brown
Recommended Skill Level
Beginner