Farmhouse Bedside Table
![](/sites/default/files/20160827_185613.jpg)
Farmhouse Bedside Table for nursing room.
My daughter and I made this for her new apartment. Used MDF with painted trim for the top and added a third leg so she could have a shelf. We used pallet wood for the shelf.
Used your plans for a California King! Had to lengthen the bed by 4” to accommodate the comforter.
David Turton
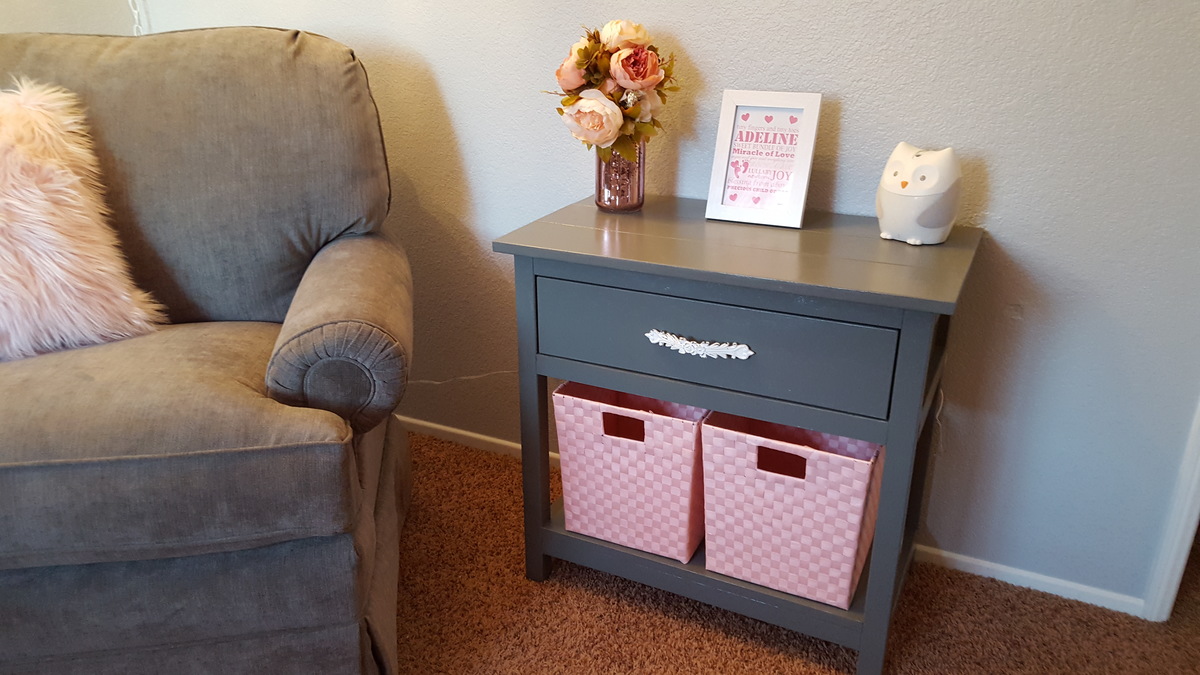
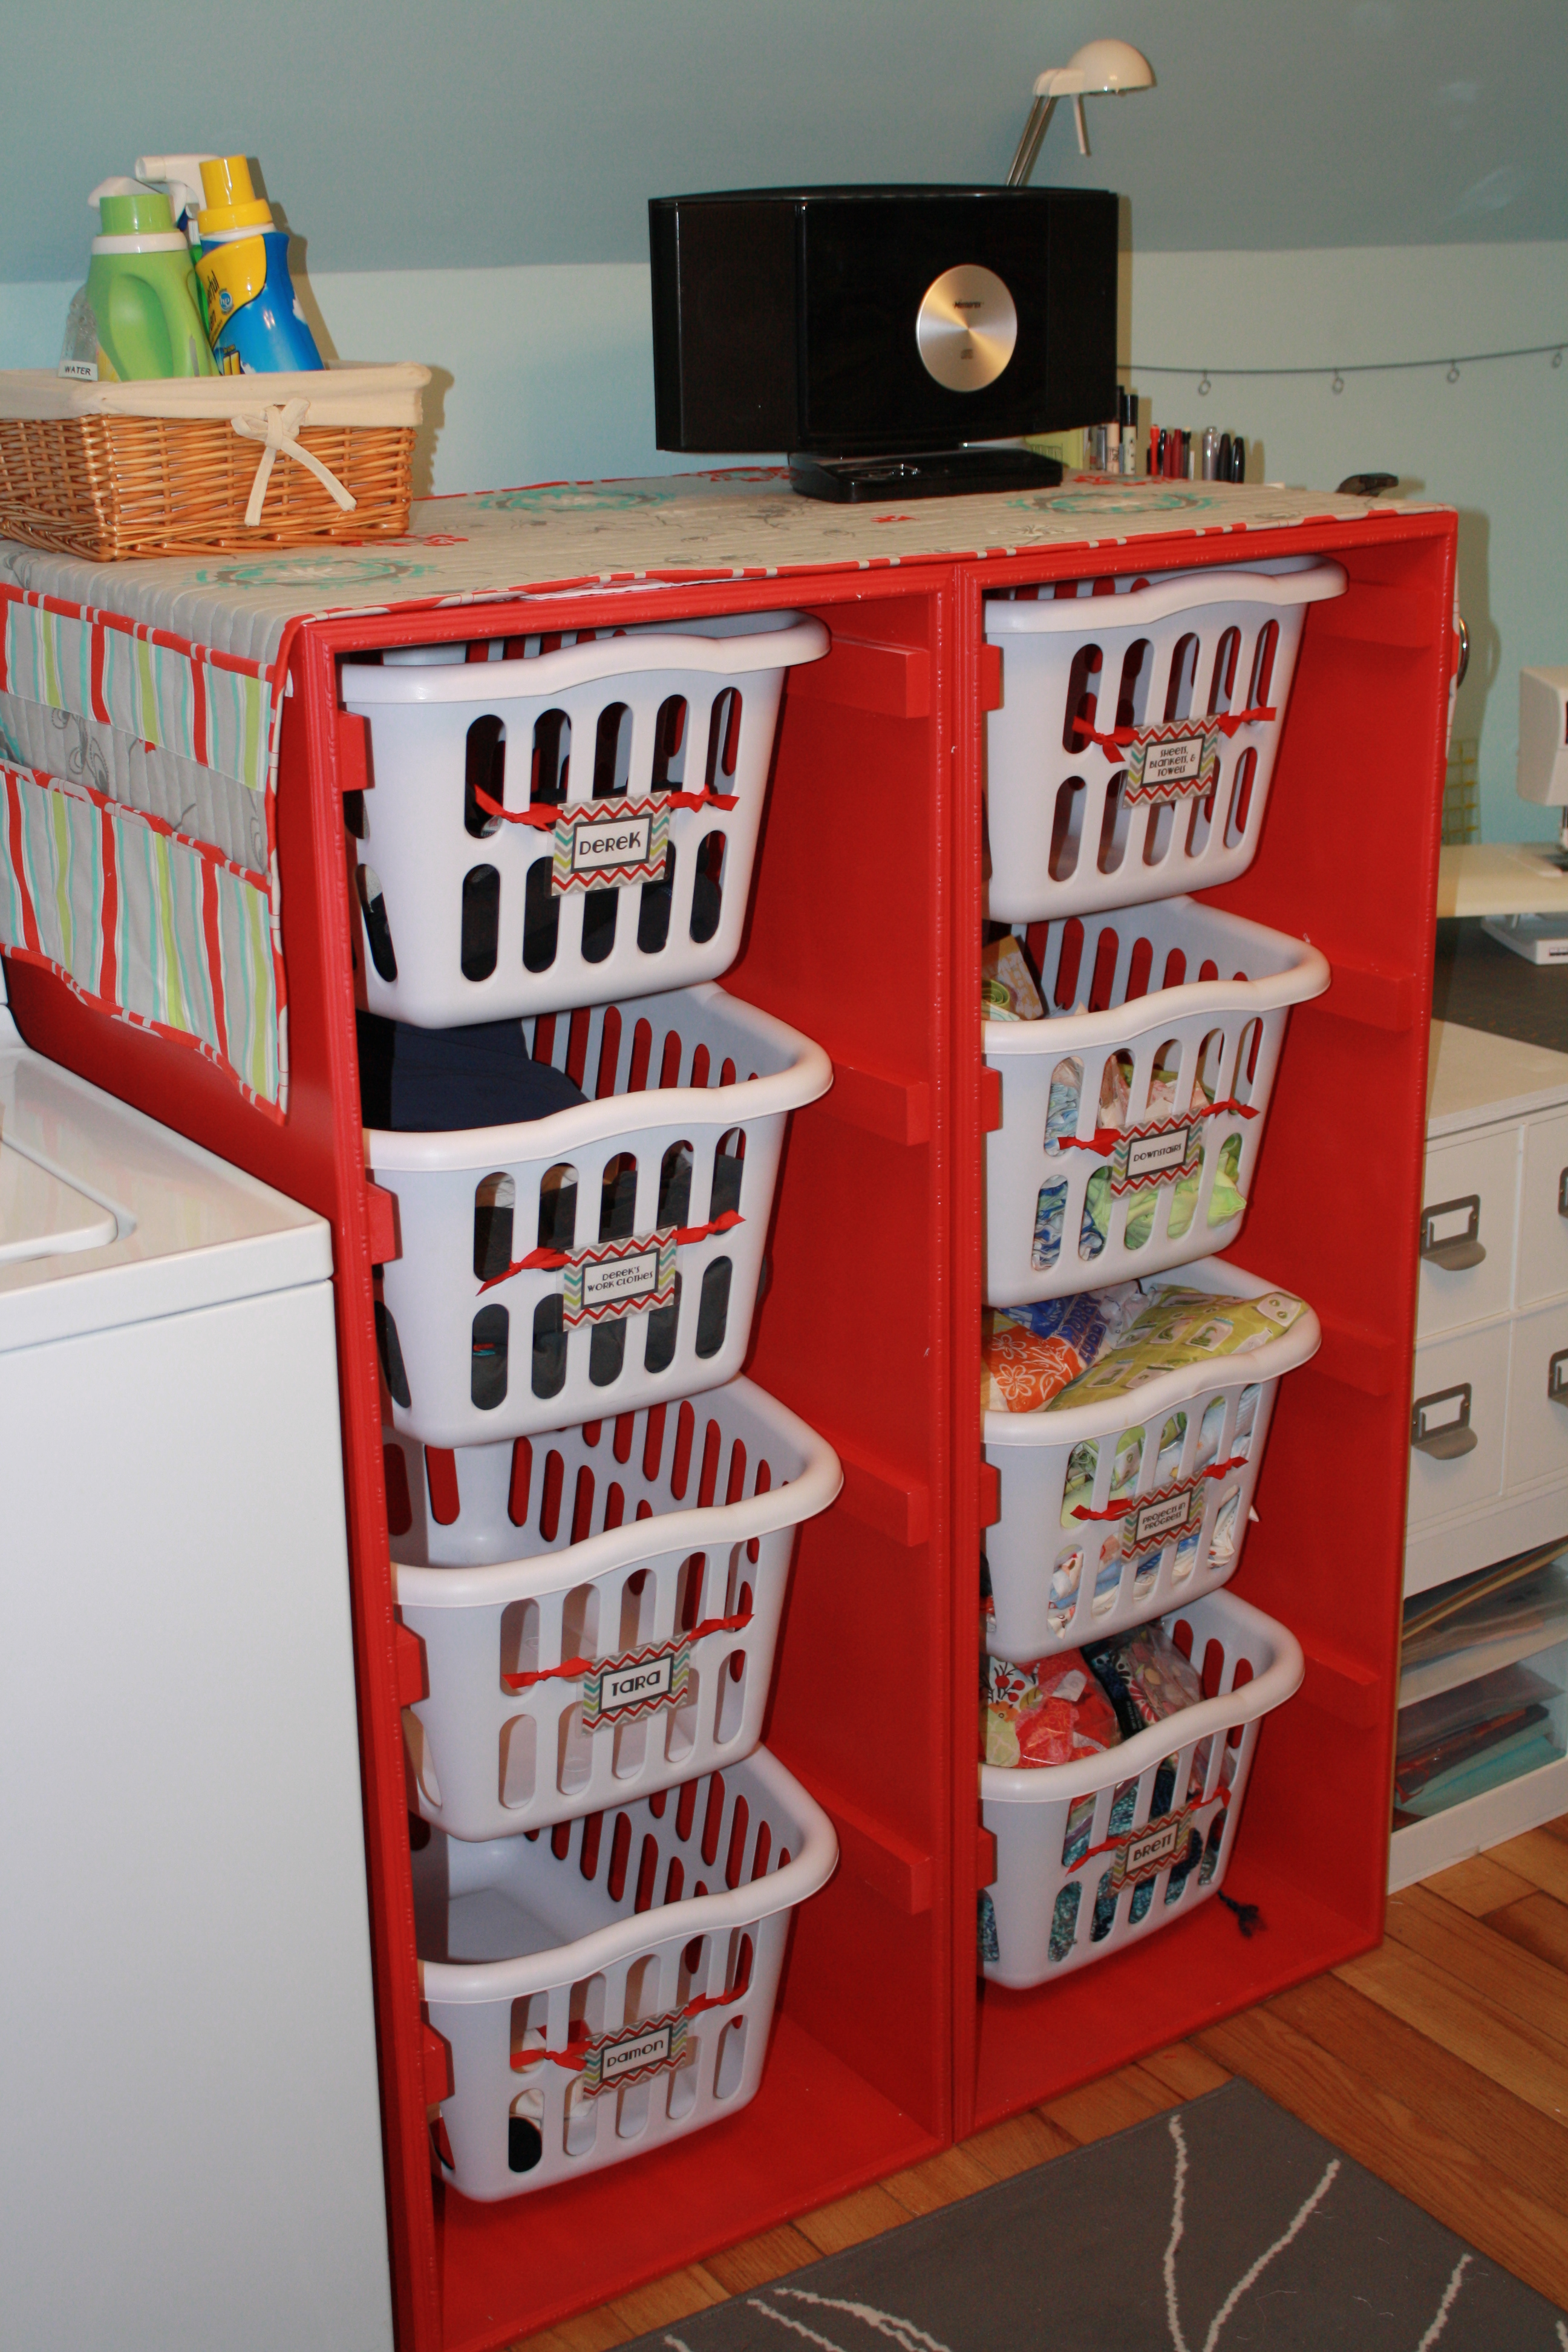
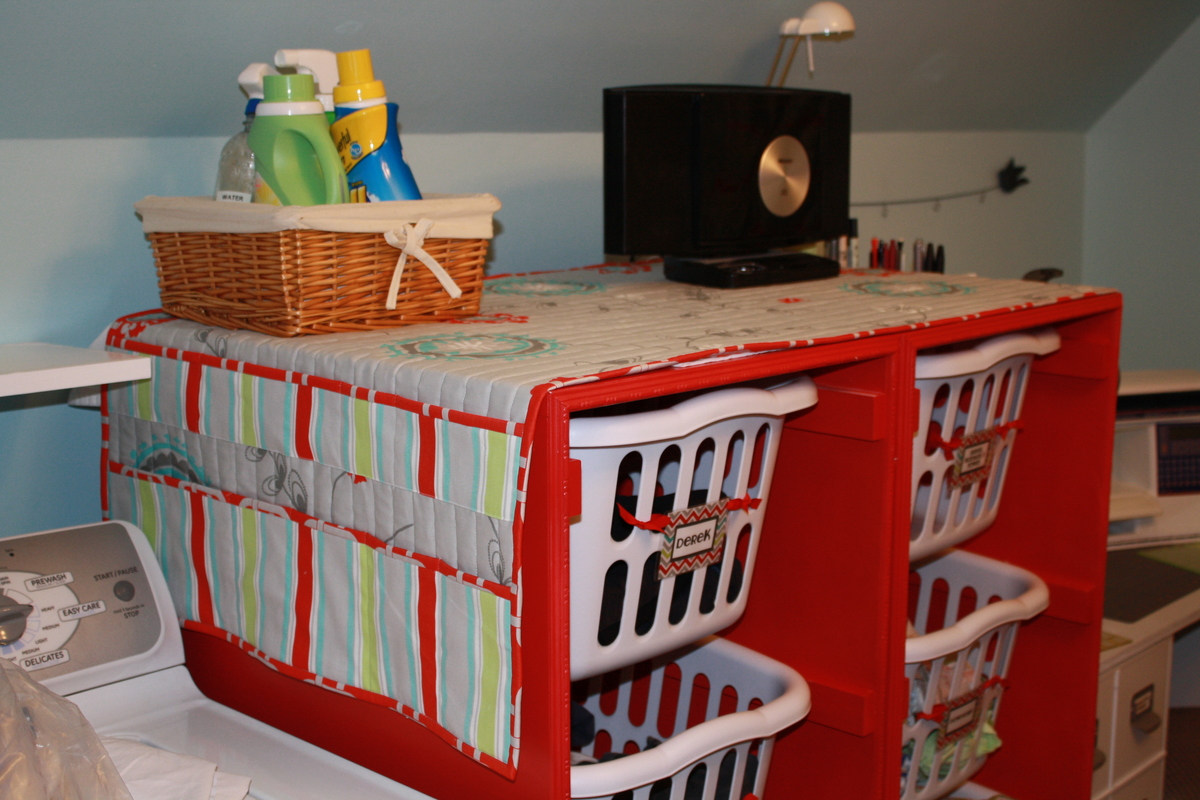
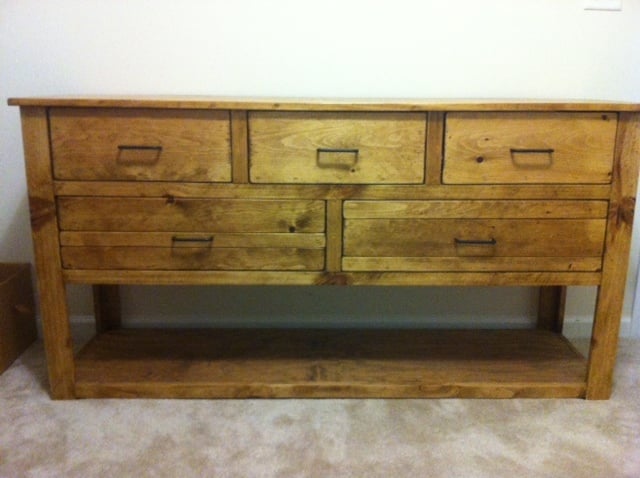
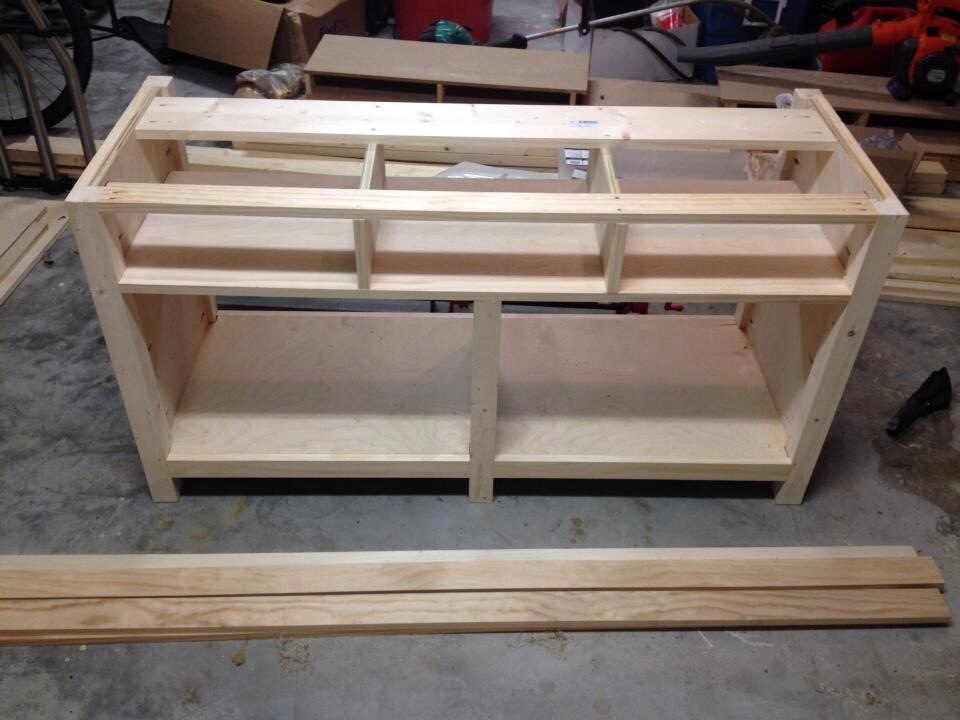
I made these based off the Brook laundry basket dresser plans. I did notice that the bottom rung placement measurement is about an inch off if you want your baskets spaced evenly, so I moved it an inch higher, which made them all very close.
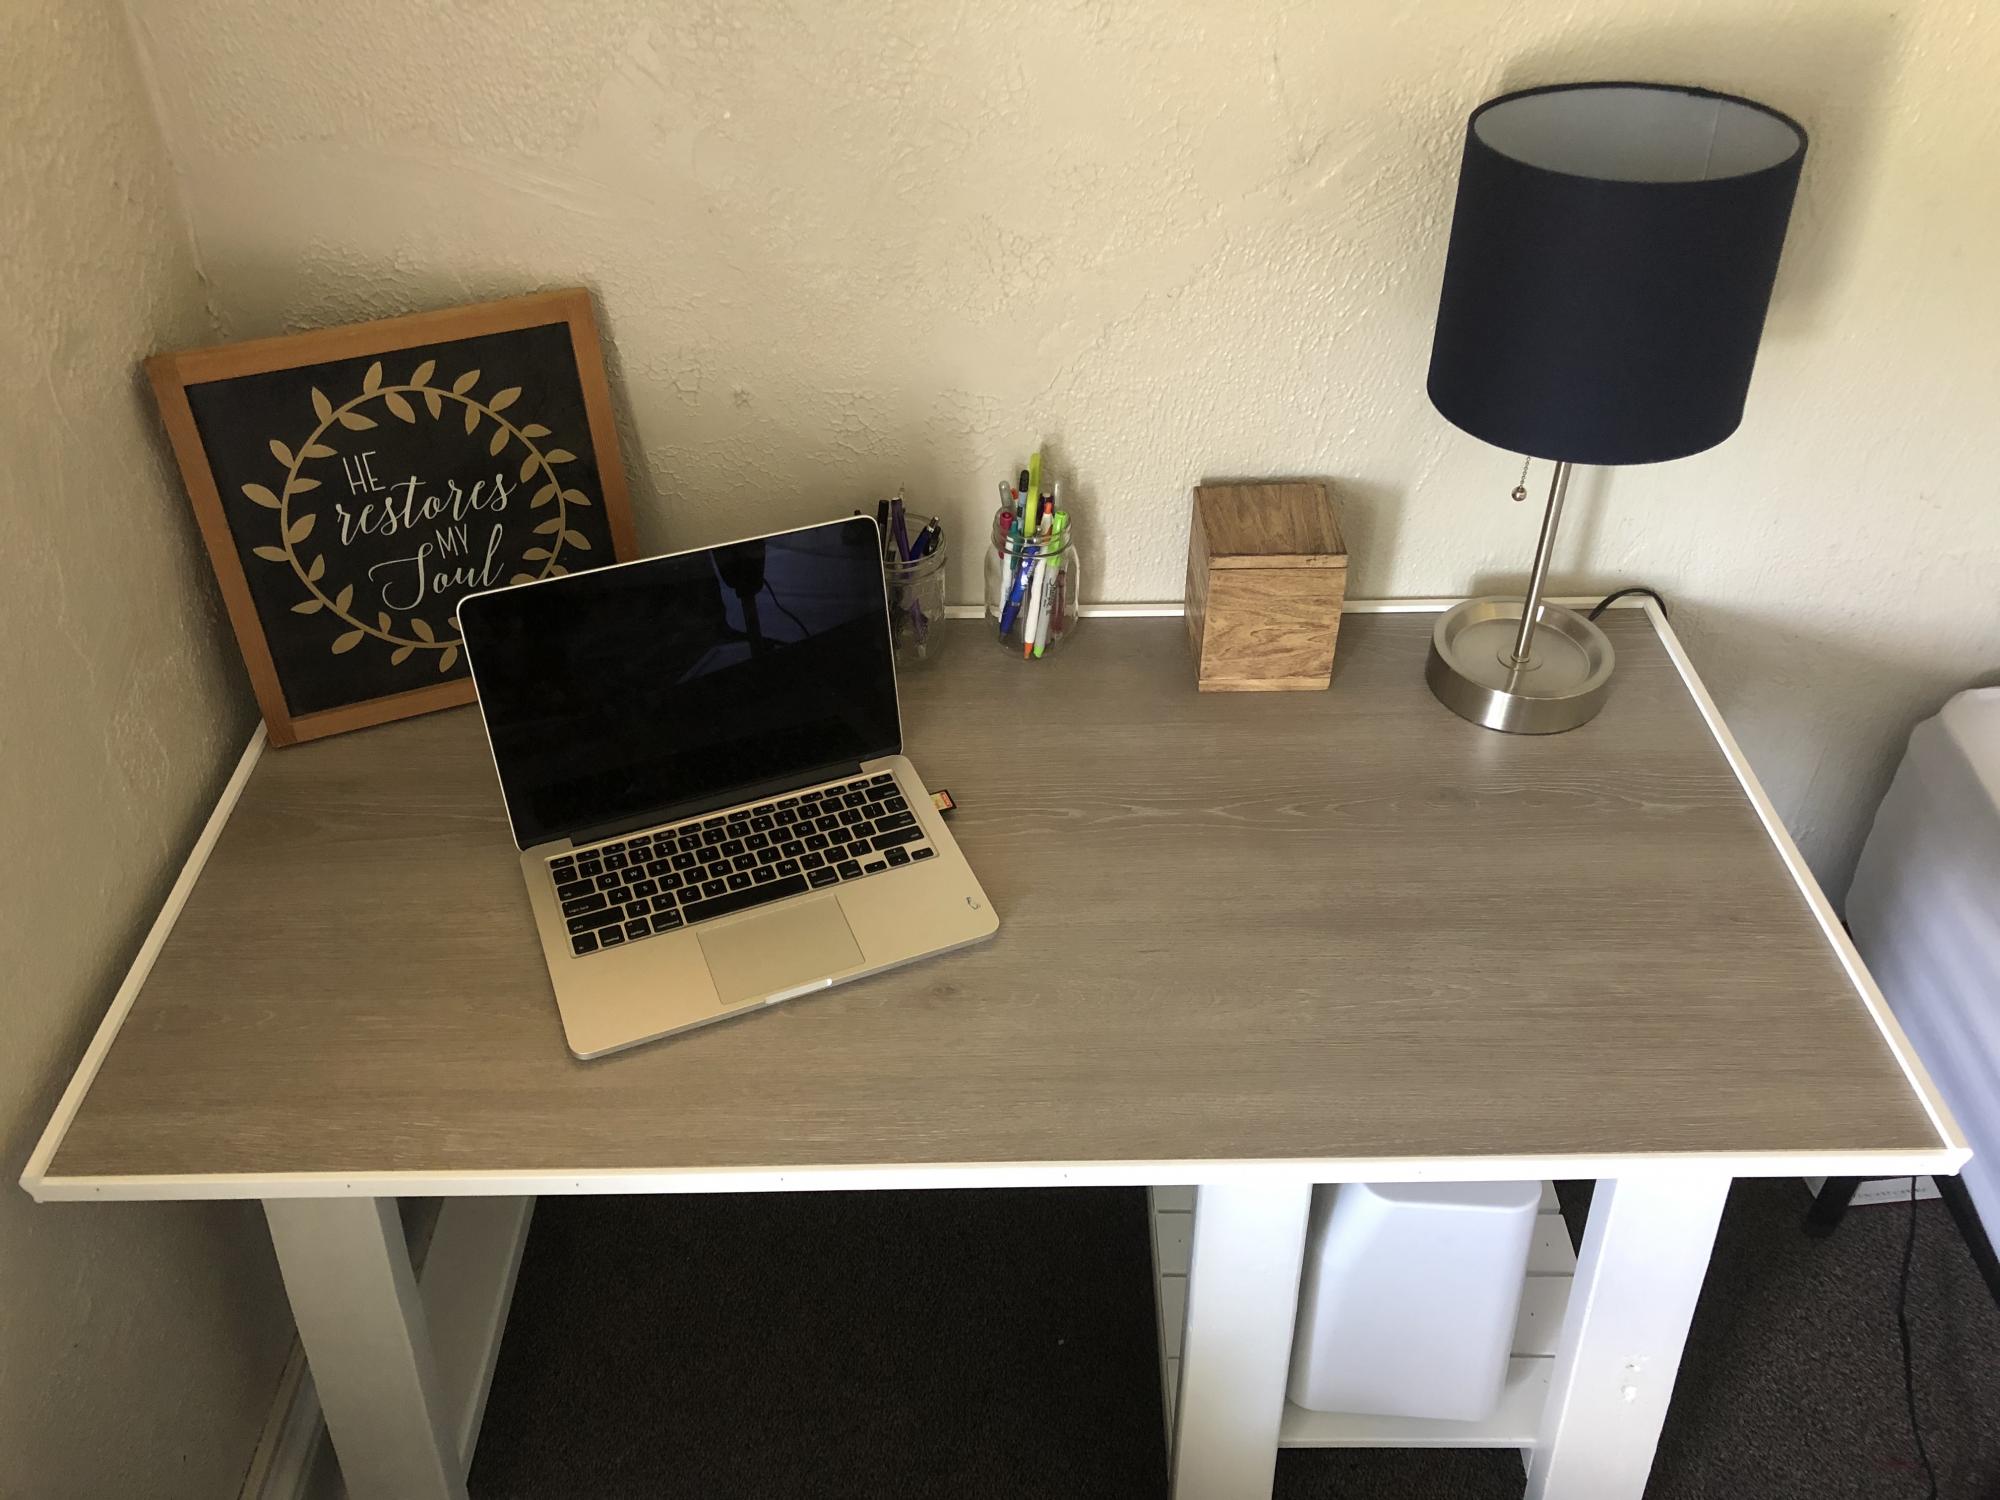
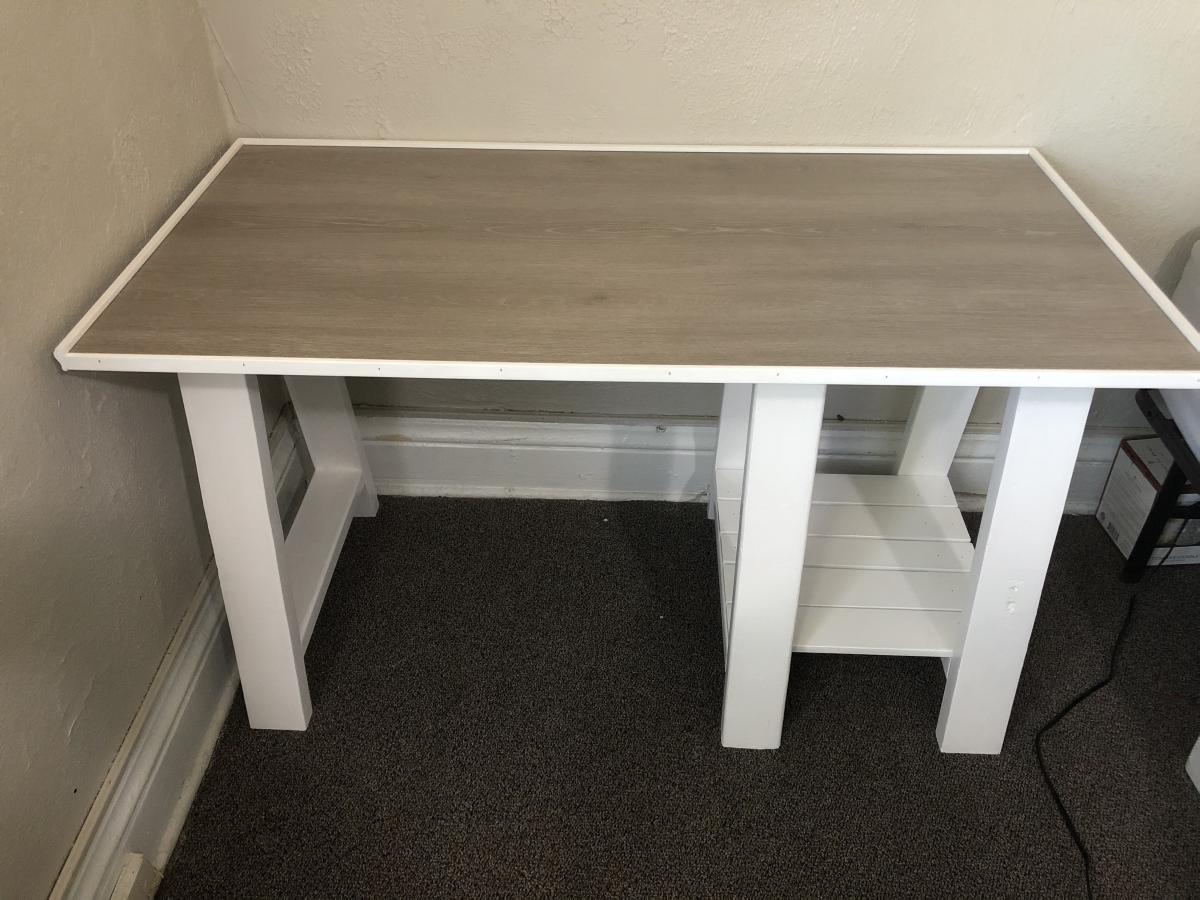
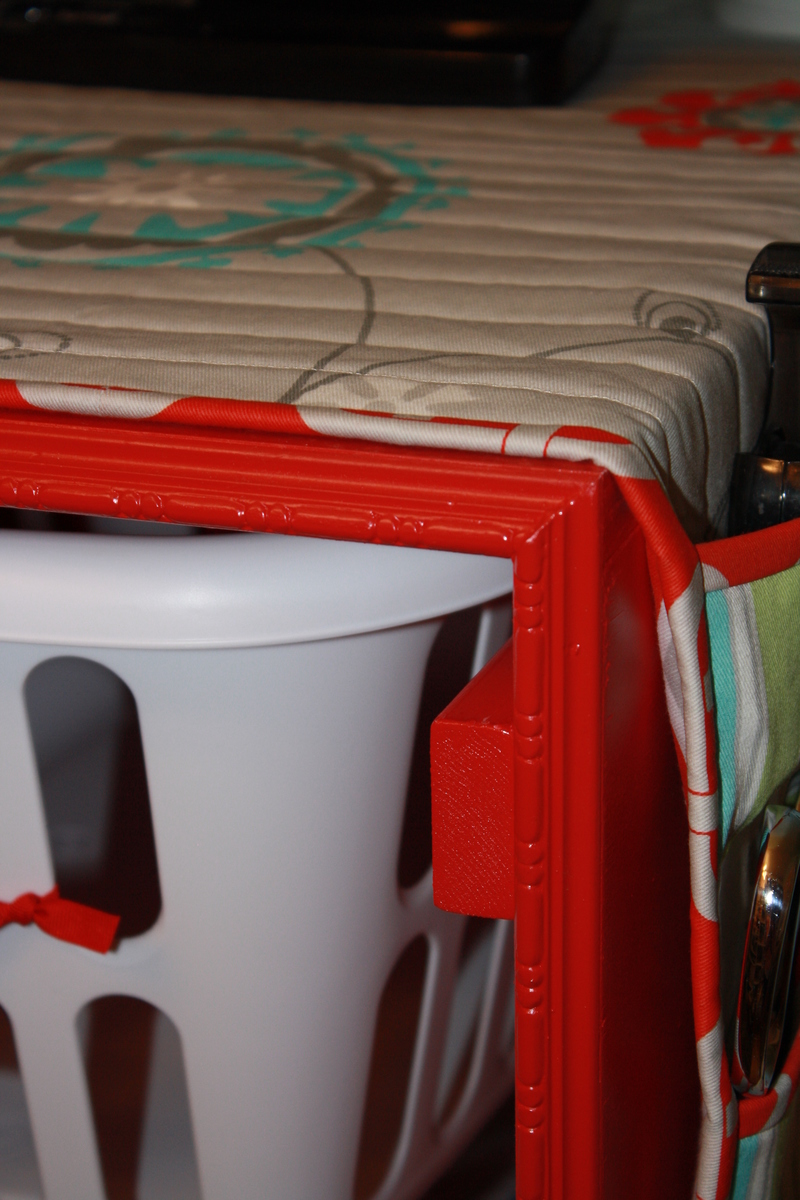
The only other thing I changed about the plans was to add some decorative trim molding to the front edges where the raw plywood edge would have been. Plywood these days isn't of the best quality, so that rougher edge would have bothered me.
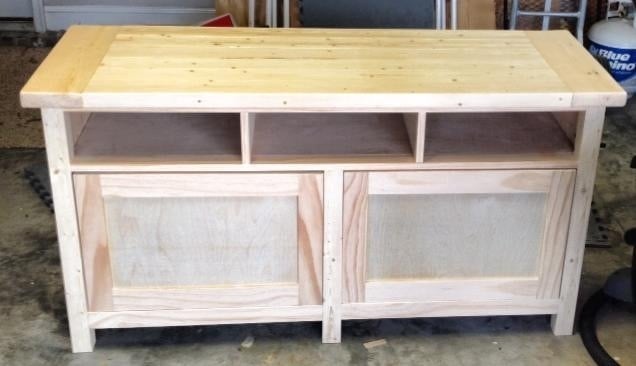
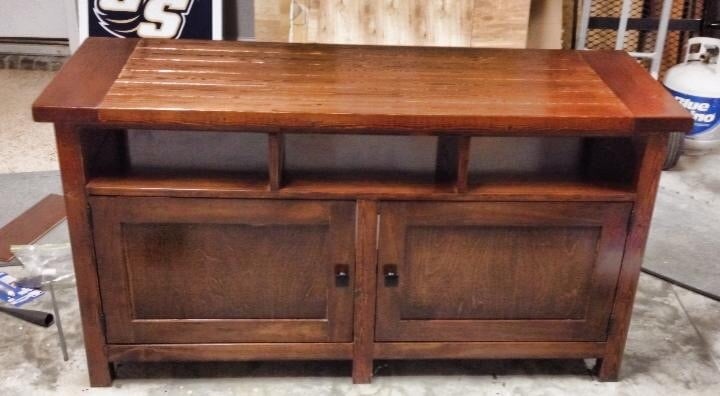
I primed by hand (it took six hours!!) and then decided to use spray paint for the top coat. It was a good decision-- the finish was much smoother than a brush, and it took less time to spray around the rungs than it did to brush them. It was also about half the price for the paint.
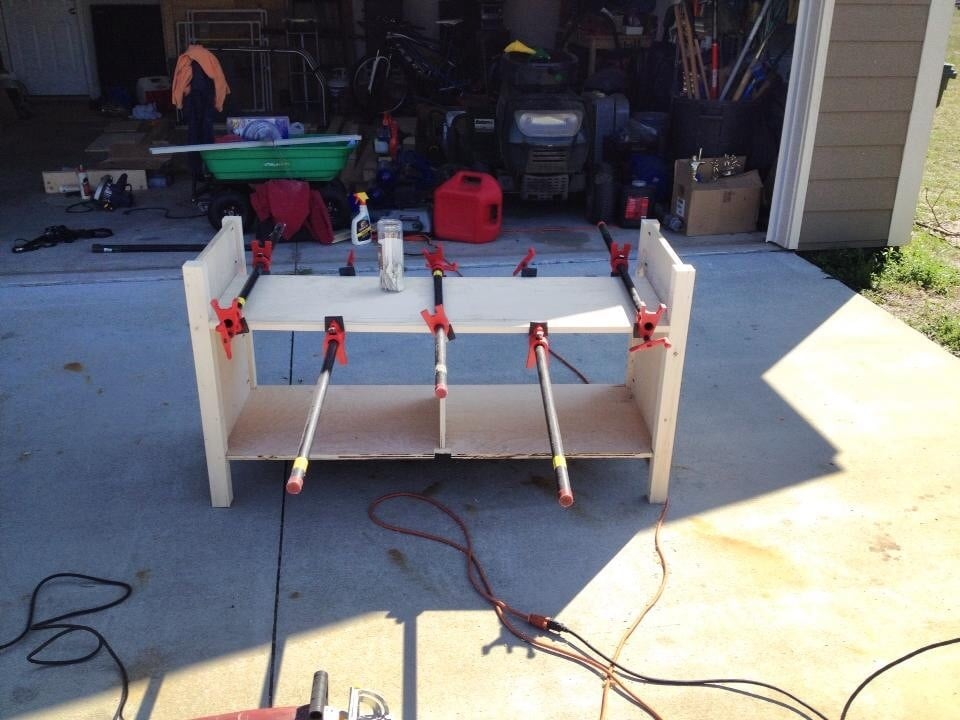
If I were to make these again, I would paint the insides before assembling the dressers. The painting part was by far the most difficult of the project. Painting while they aren't in a box formation would have been so much easier, and I could have touched any little spots up after assembly if needed.
More details can be found on my blog post: http://www.stitchfancy.com/2012/08/04/laundry-basket-dressers/
We had some unused space behind our front door and not enough room in the entryway closet. So we found a mud room plan and... voilà. We now have a place for backpacks, jackets, and shoes. We still need to put in the "T" into the bottom cubby for a shoe tree. We made sure to add 1/4 round trim to snug it seemlessly against the wall and 1/2 round for the face.
Wed, 05/28/2014 - 20:42
We didn't back with wainscoting; however, we taped it out with frogs tape and painted vertical stripes instead. The kids race to sit down and put on their shoes. Love it :)
Modern farmhouse bed for our cottage.
Small shelf for herbs or small flowers. About 12" wide and 7" high. The shelf itself is about 3,5" deep.
The small pots are from the local supermarket, and cost under 1 $ each.
Wood is from old pallets, and mahgoany stain.
Really enjoyed making this one. The plan was great but i ran into a few difficulties. The 2x2 trim was the hardest. I settled on 22.5* miter because my saw has a positive stop there and i thought it might be the angle that i needed. Careful as the plan doesn't have much room to experiment unless you want to buy an extra 2x2. If your selection of 2x2 is anything like mine, that could be a huge endeavor. Hard to find a straight board in texas.
We needed extra seating for friends to come over for football game days, so I took the outdoor chair plans and decided to use it for a den chair. Simple build, but I did add some 1x3 boards on the rails for more comfortable armrests. Add some appropriate color cushions and it's ready for football season! Quick assembly, but as usual, staining and clear-coating took the bulk of the time spent.
Fancy Farmhouse King Bed
Heather Kay
So far we are in absolute love with this bed! It was a easy quick project that was fun to do. Made an adjustment so that we could fit the box spring in the frame. We also used the bed rail brackets from Rockler. http://www.rockler.com/product.cfm?page=11&site=ROCKLER
I got a miter saw for mother's day this year! This is the first project I made with it. We needed some accessible storage in the bathroom and this works out perfect
I loosely based them on the flat wall bookshelves and made them the right width to fit on the door. I used scrap wood and lathe that we had laying around to make both shelves.
I made this a little wider than the plans so that my kids could use it as an art and game table.
This project went pretty quick. I've learned how important it is to make super accurate cuts while making a carcass and inserts for it so I didn't have to "fix" as much along the way for this piece, yay for progress! The only amendment I made was adding drawer glides because this will be in my toddler's room so I didn't want the drawers to be able to come out all the way. I used mostly scrap wood I had that just needed to be ripped to the right size for all the framing pieces so all we actually had to buy was the 3/4" ply! And it cleaned up my scrap pile nicely too!
I built this off of the benchwright media console from PB and the benchmark media console plans and tweeted them slightly for my preferences
Loved the simple look and convertible design. Easy to visualize, hardest part was making sure of square
We did three at once and it was pretty hard.
A couple of months ago I built a farmhouse table for our dining room. Now that we've moved into our house and have more space, I've put together the bench too. I used 2x6's for the top and 2x4's for the legs. When I put the legs on, it didn't feel sturdy enough so I added some 2x2 braces for support. I wasn't sure how they would look at first, but they really add a cool dimension to the bench.