Community Brag Posts
Doll Farmhouse Bed
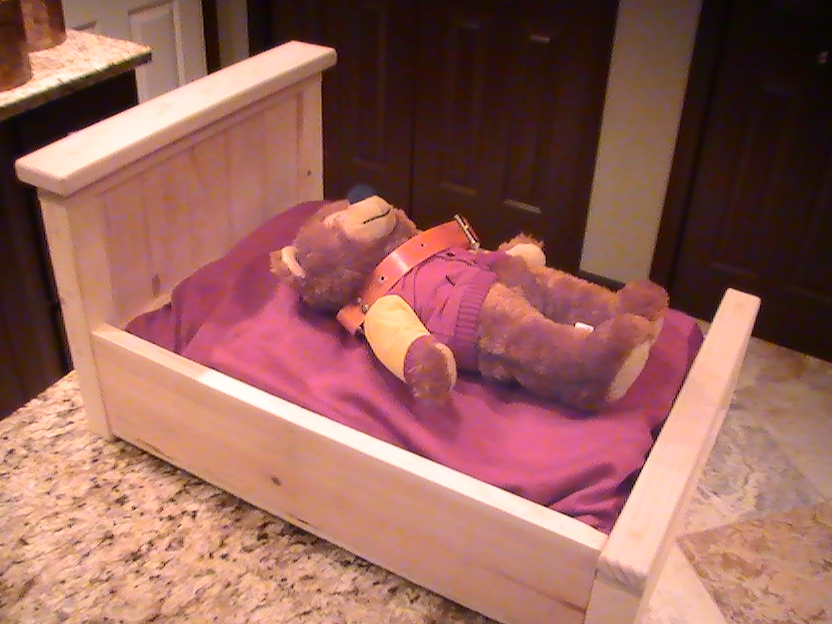
Easy to build, and I have made several now.
Built from Plan(s)
Estimated Time Investment
Afternoon Project (3-6 Hours)
Recommended Skill Level
Beginner
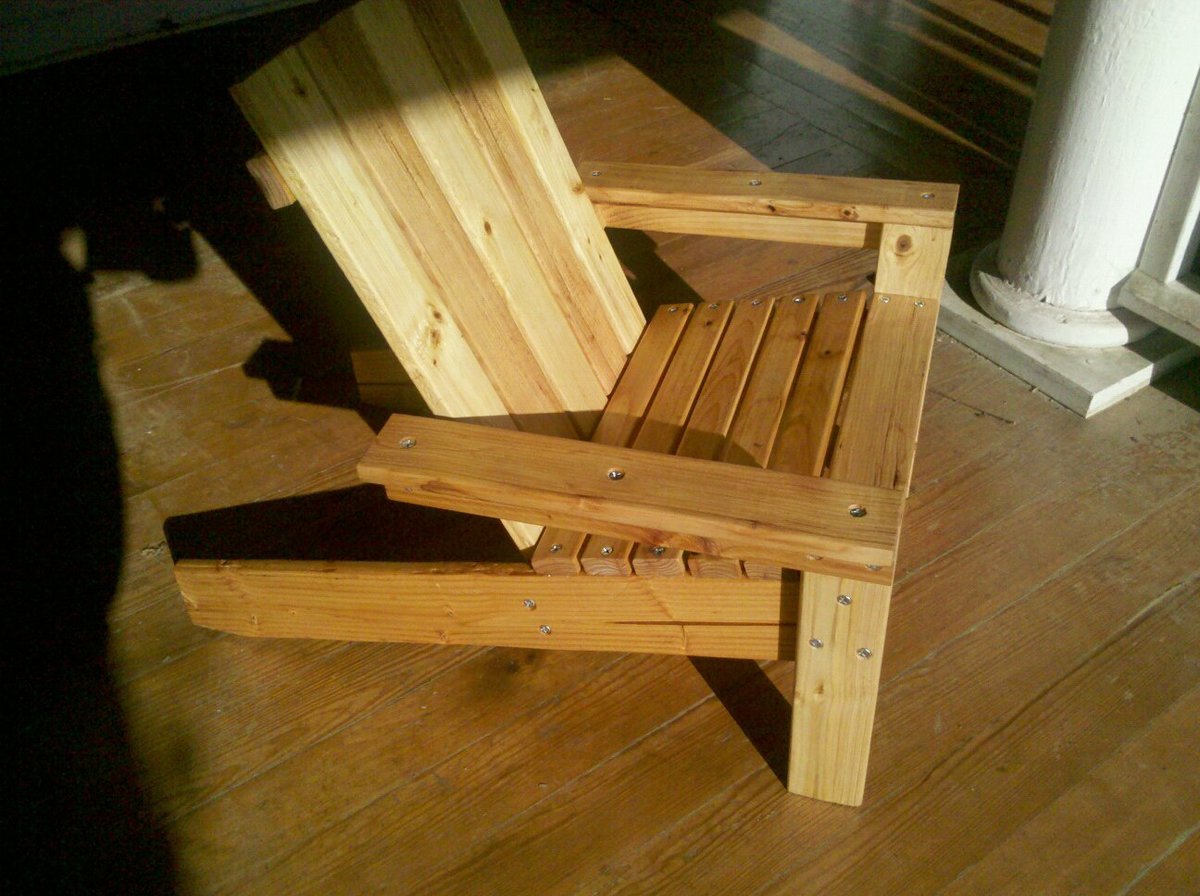
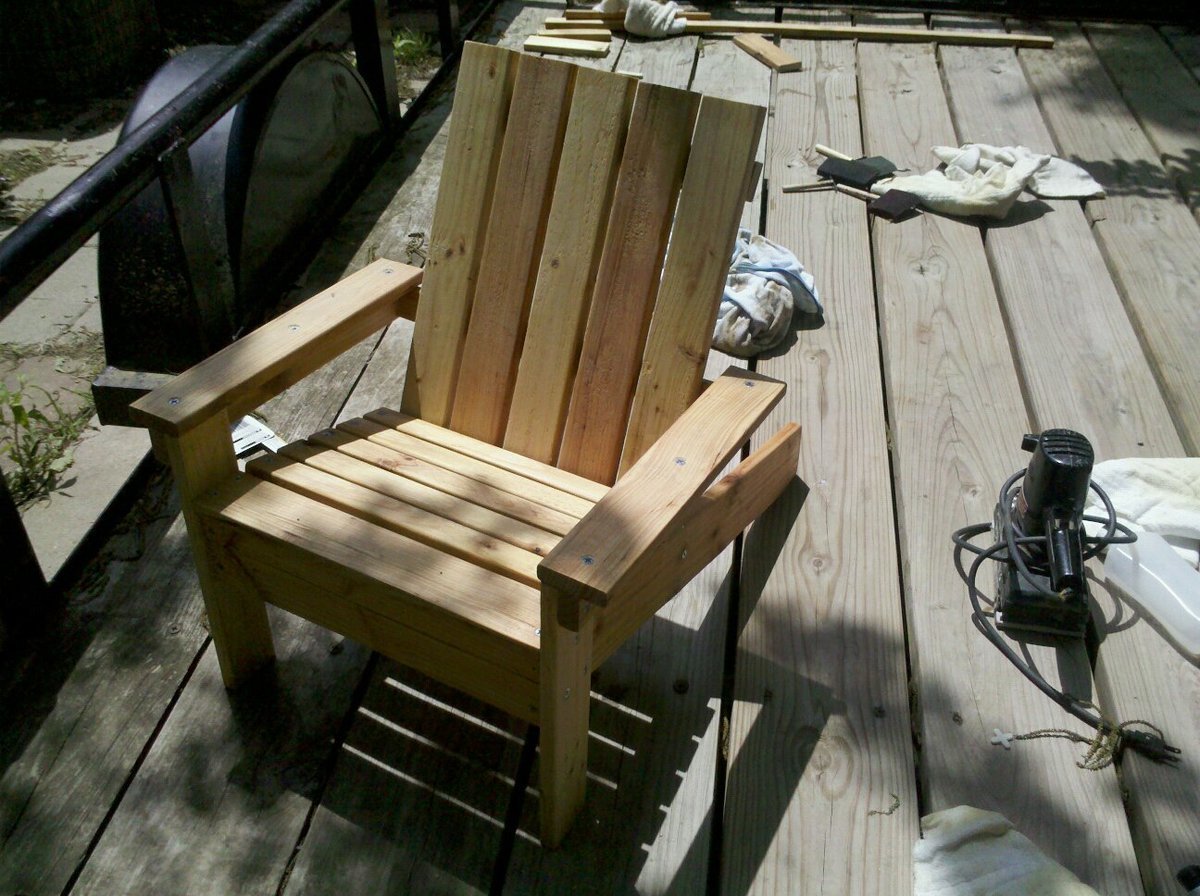
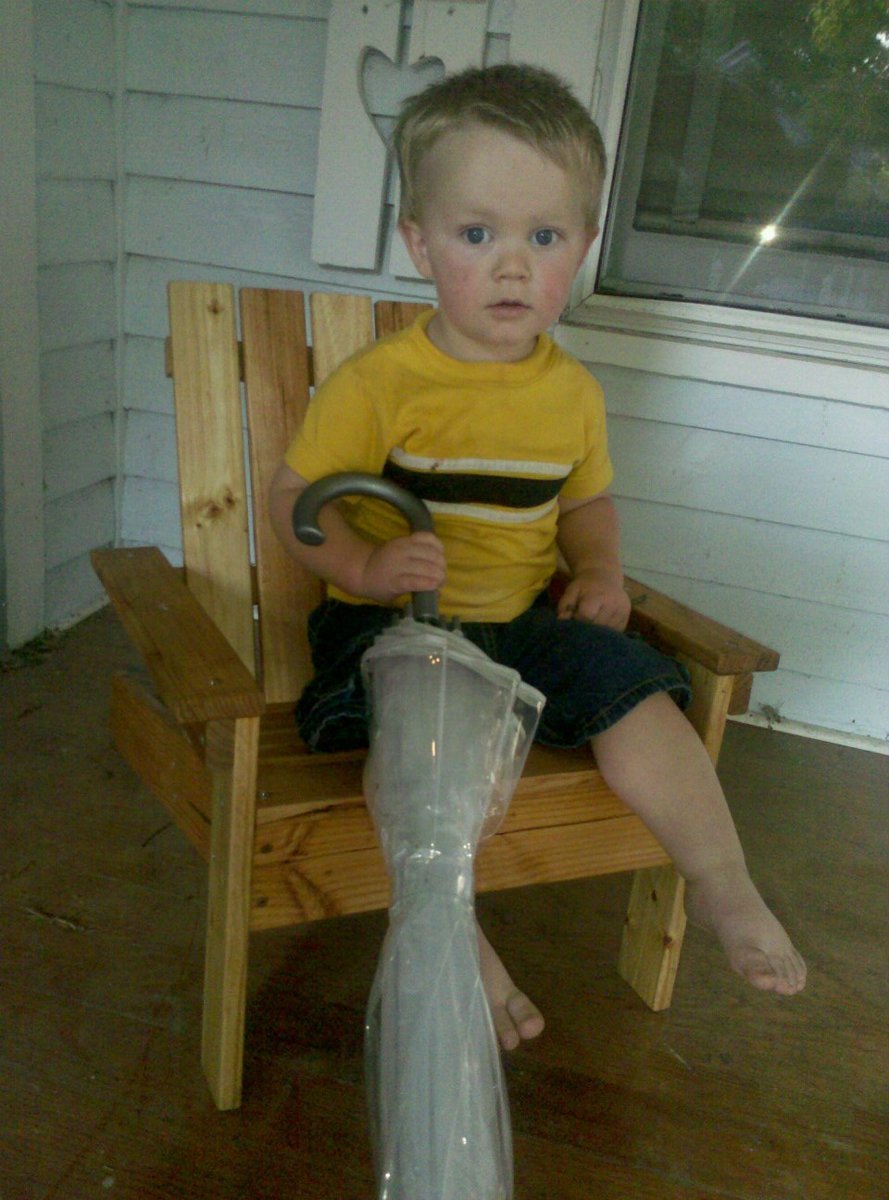
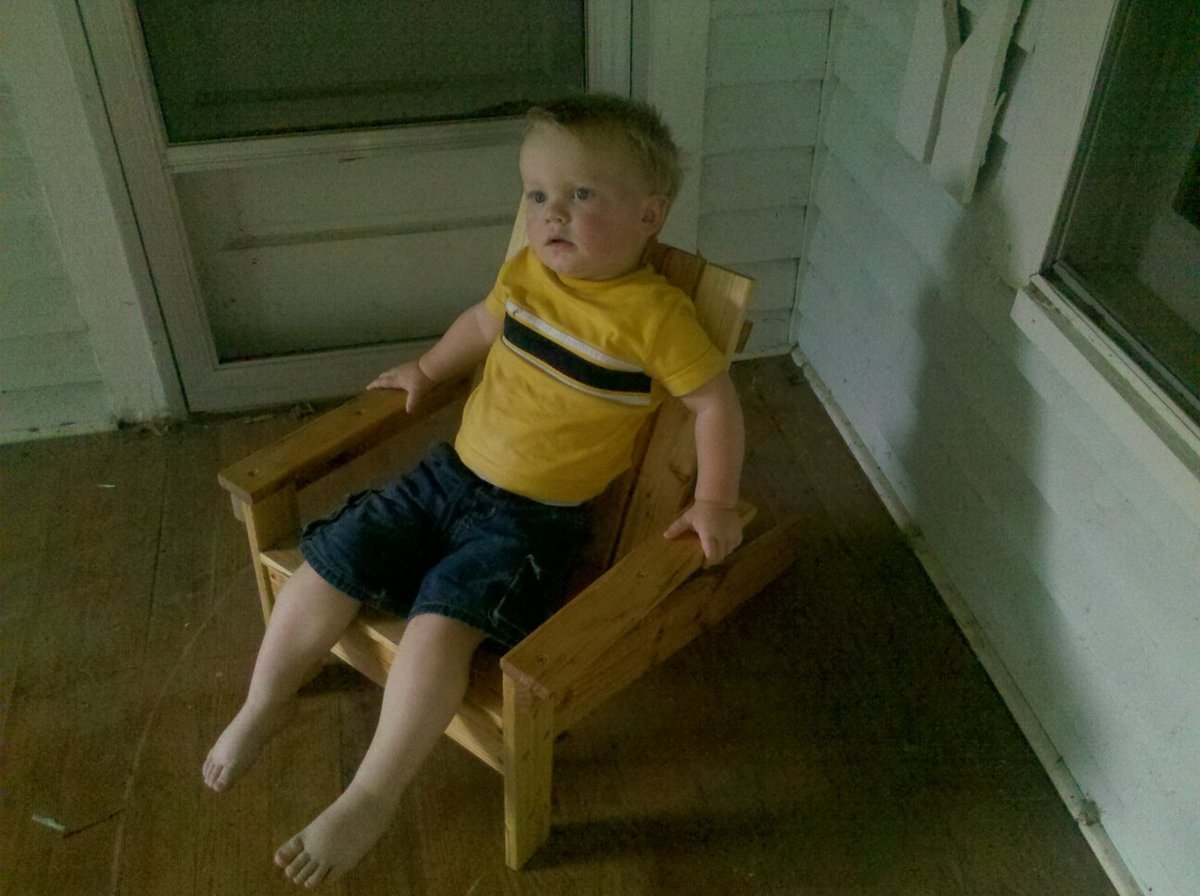
My First "Ana White" Project - Kiddie Adirondack Chair
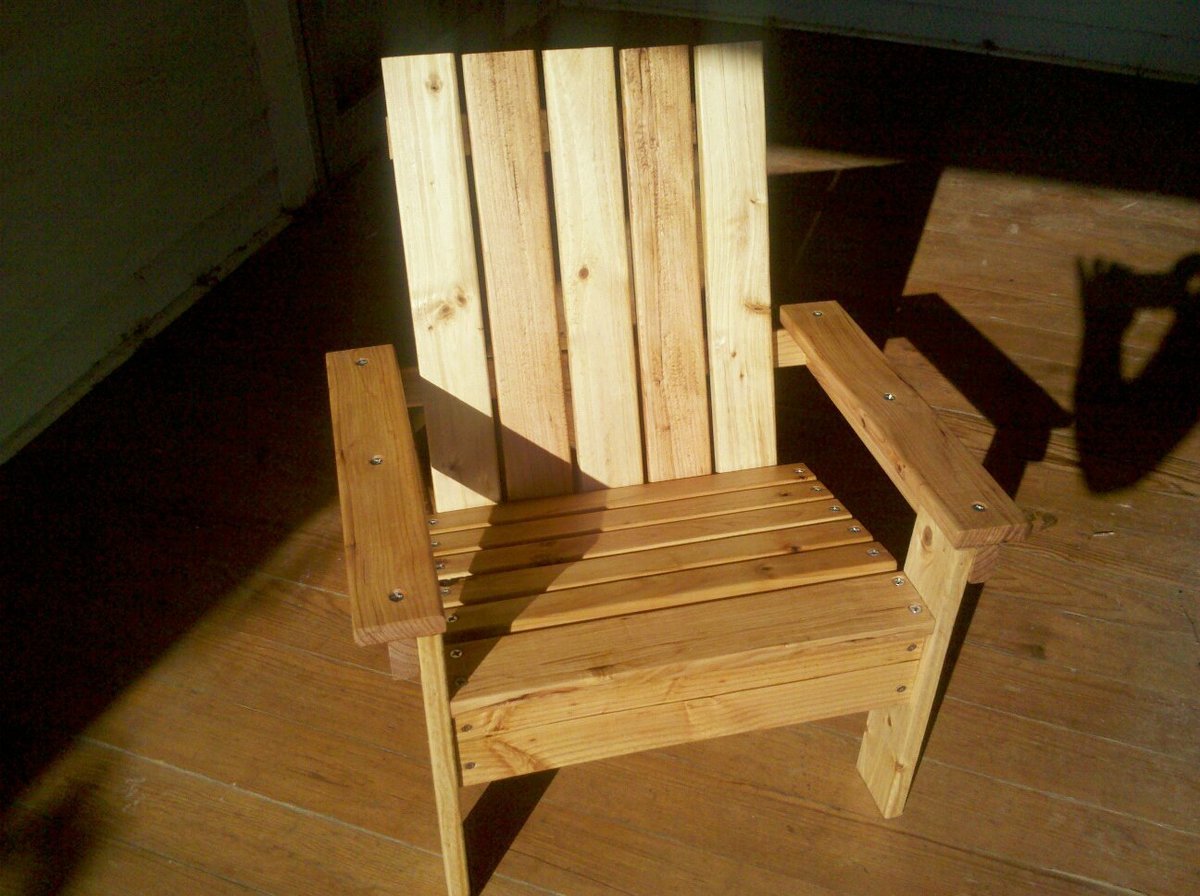
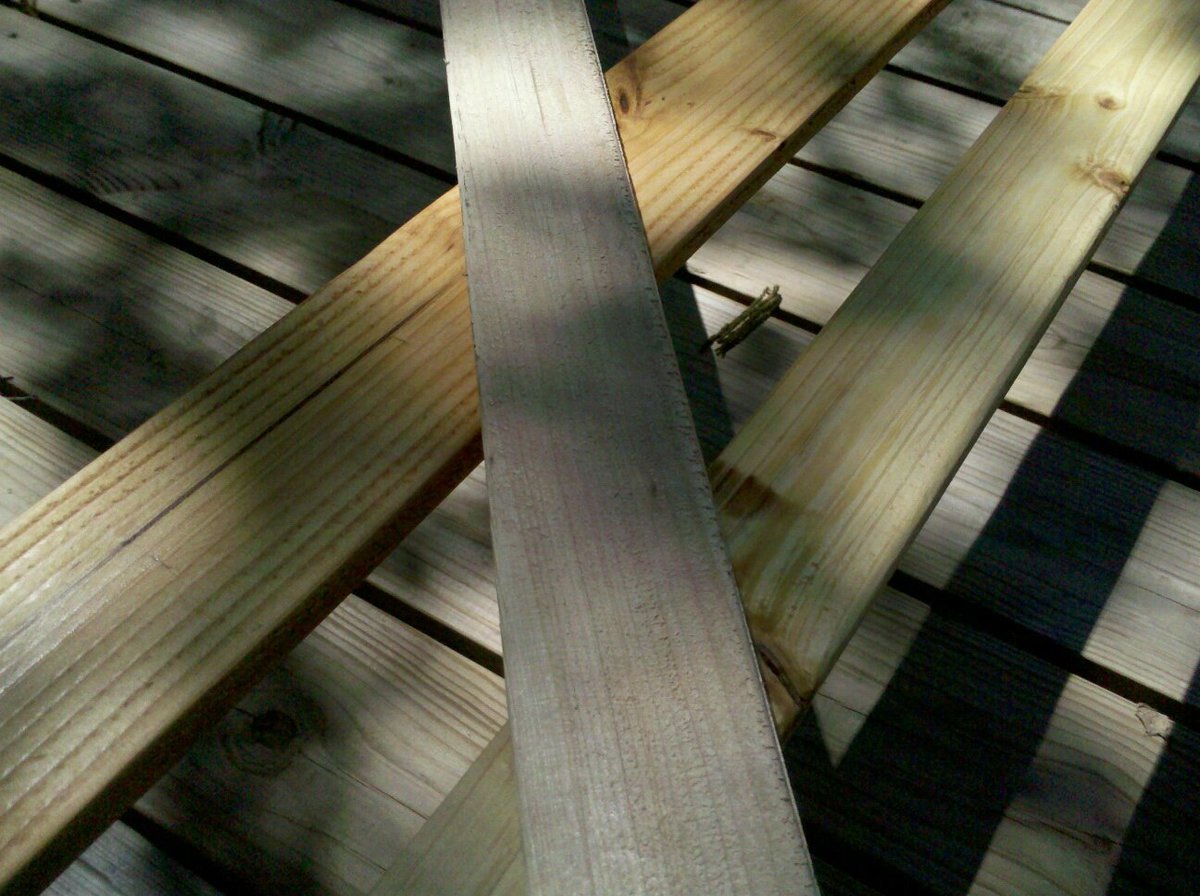
My husband bought me a new compound miter saw and impact driver for our 5th anniversary, so I immediately came here to pick out my first project. I decided on the Super Easy Little Adirondack chair. I bought $6 worth of rough sawn pine lumber. I dug through piles and piles to find pieces that weren't cracked or warped. Then I sanded it and oiled it with teak oil, before cutting and constructing. After it was put together, I applied two more coats of oil and then hand-rubbed it to finish. Additional pictures show it before last two coats of oil, and also a before and after of the wood prior to and after sanding and applying the preliminary oil finish. Also added a couple with a cute model in the chair... I am listing this as a one-day project because of the type of wood and finish that I chose. If you bought nicer wood, it probably wouldn't take that long!
Built from Plan(s)
Estimated Cost
$15, mostly spent on Teak Oil
Estimated Time Investment
Day Project (6-9 Hours)
Finish Used
Teak Oil
Recommended Skill Level
Beginner
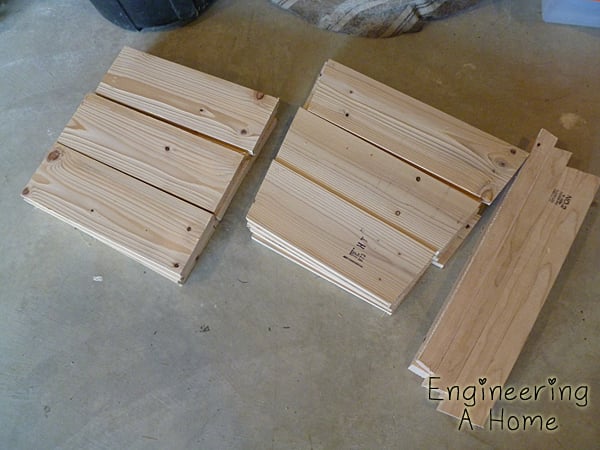
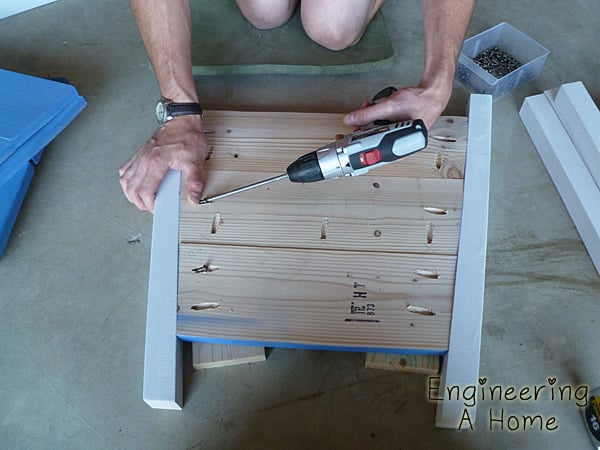
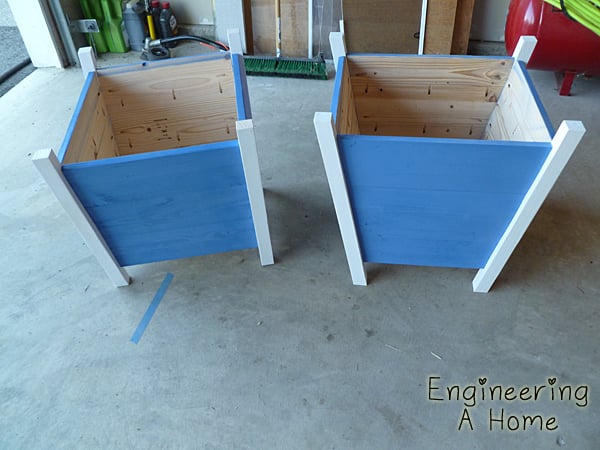
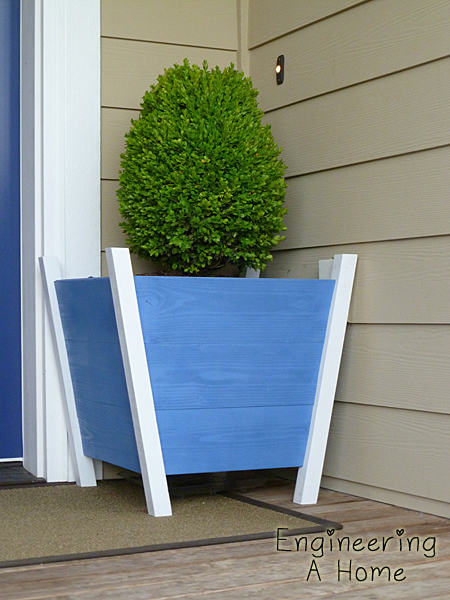
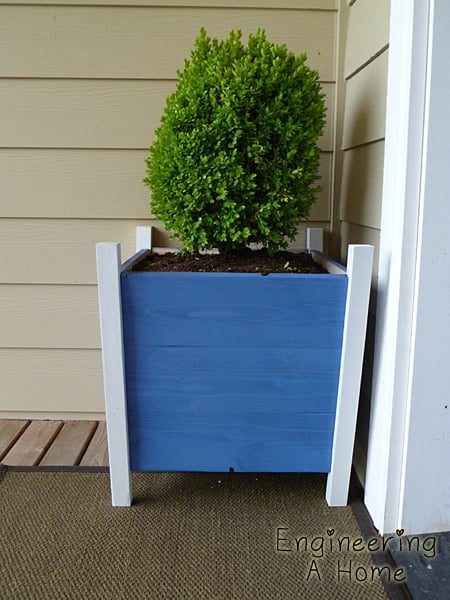
Tapered Planter Box
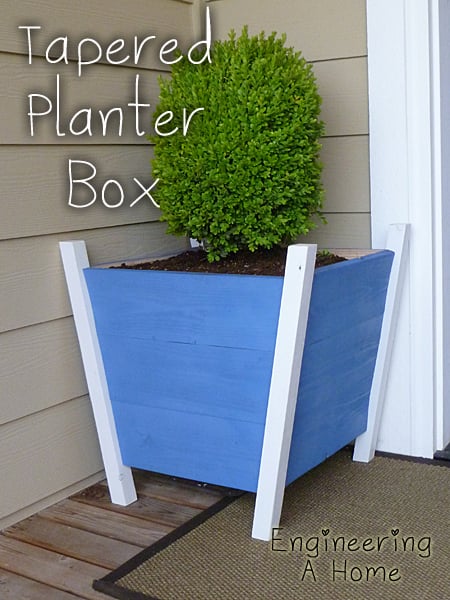
I used both the $1 dollar cedar planter plan and the square planter with finals to come up with this design.
It's made from 1x6's and 2x2's. The finished box is about 16" x 16" on the top. They were pretty easy to put together. If you want more info check out my blog post.
Built from Plan(s)
Estimated Cost
$22
Estimated Time Investment
Afternoon Project (3-6 Hours)
Finish Used
Rustoleum Spray Paint in White and Wildflower Blue.
Recommended Skill Level
Beginner
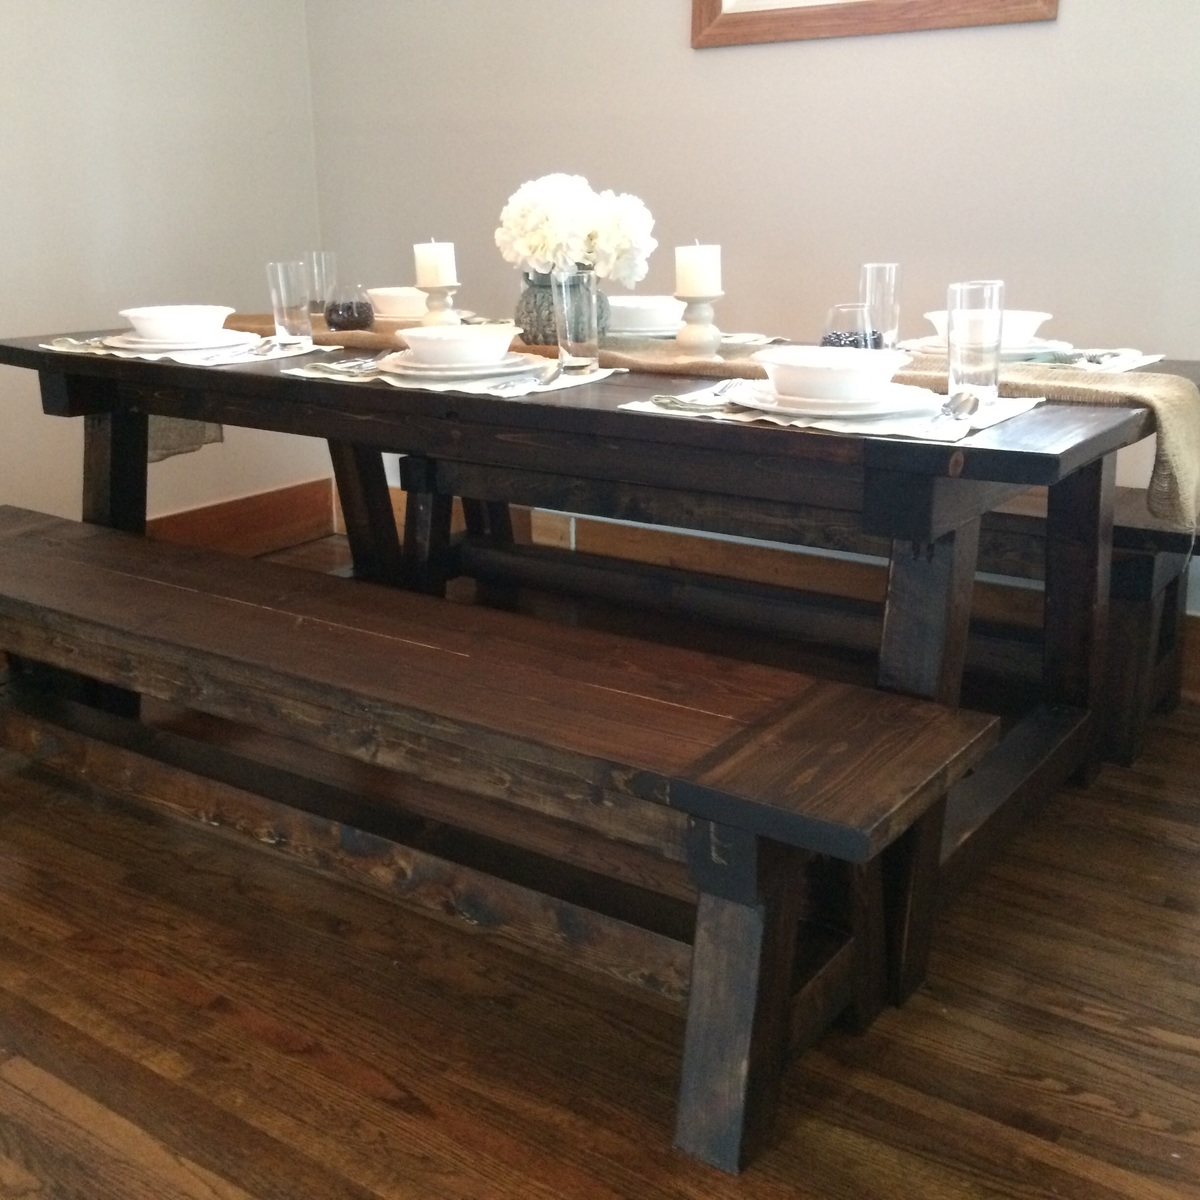
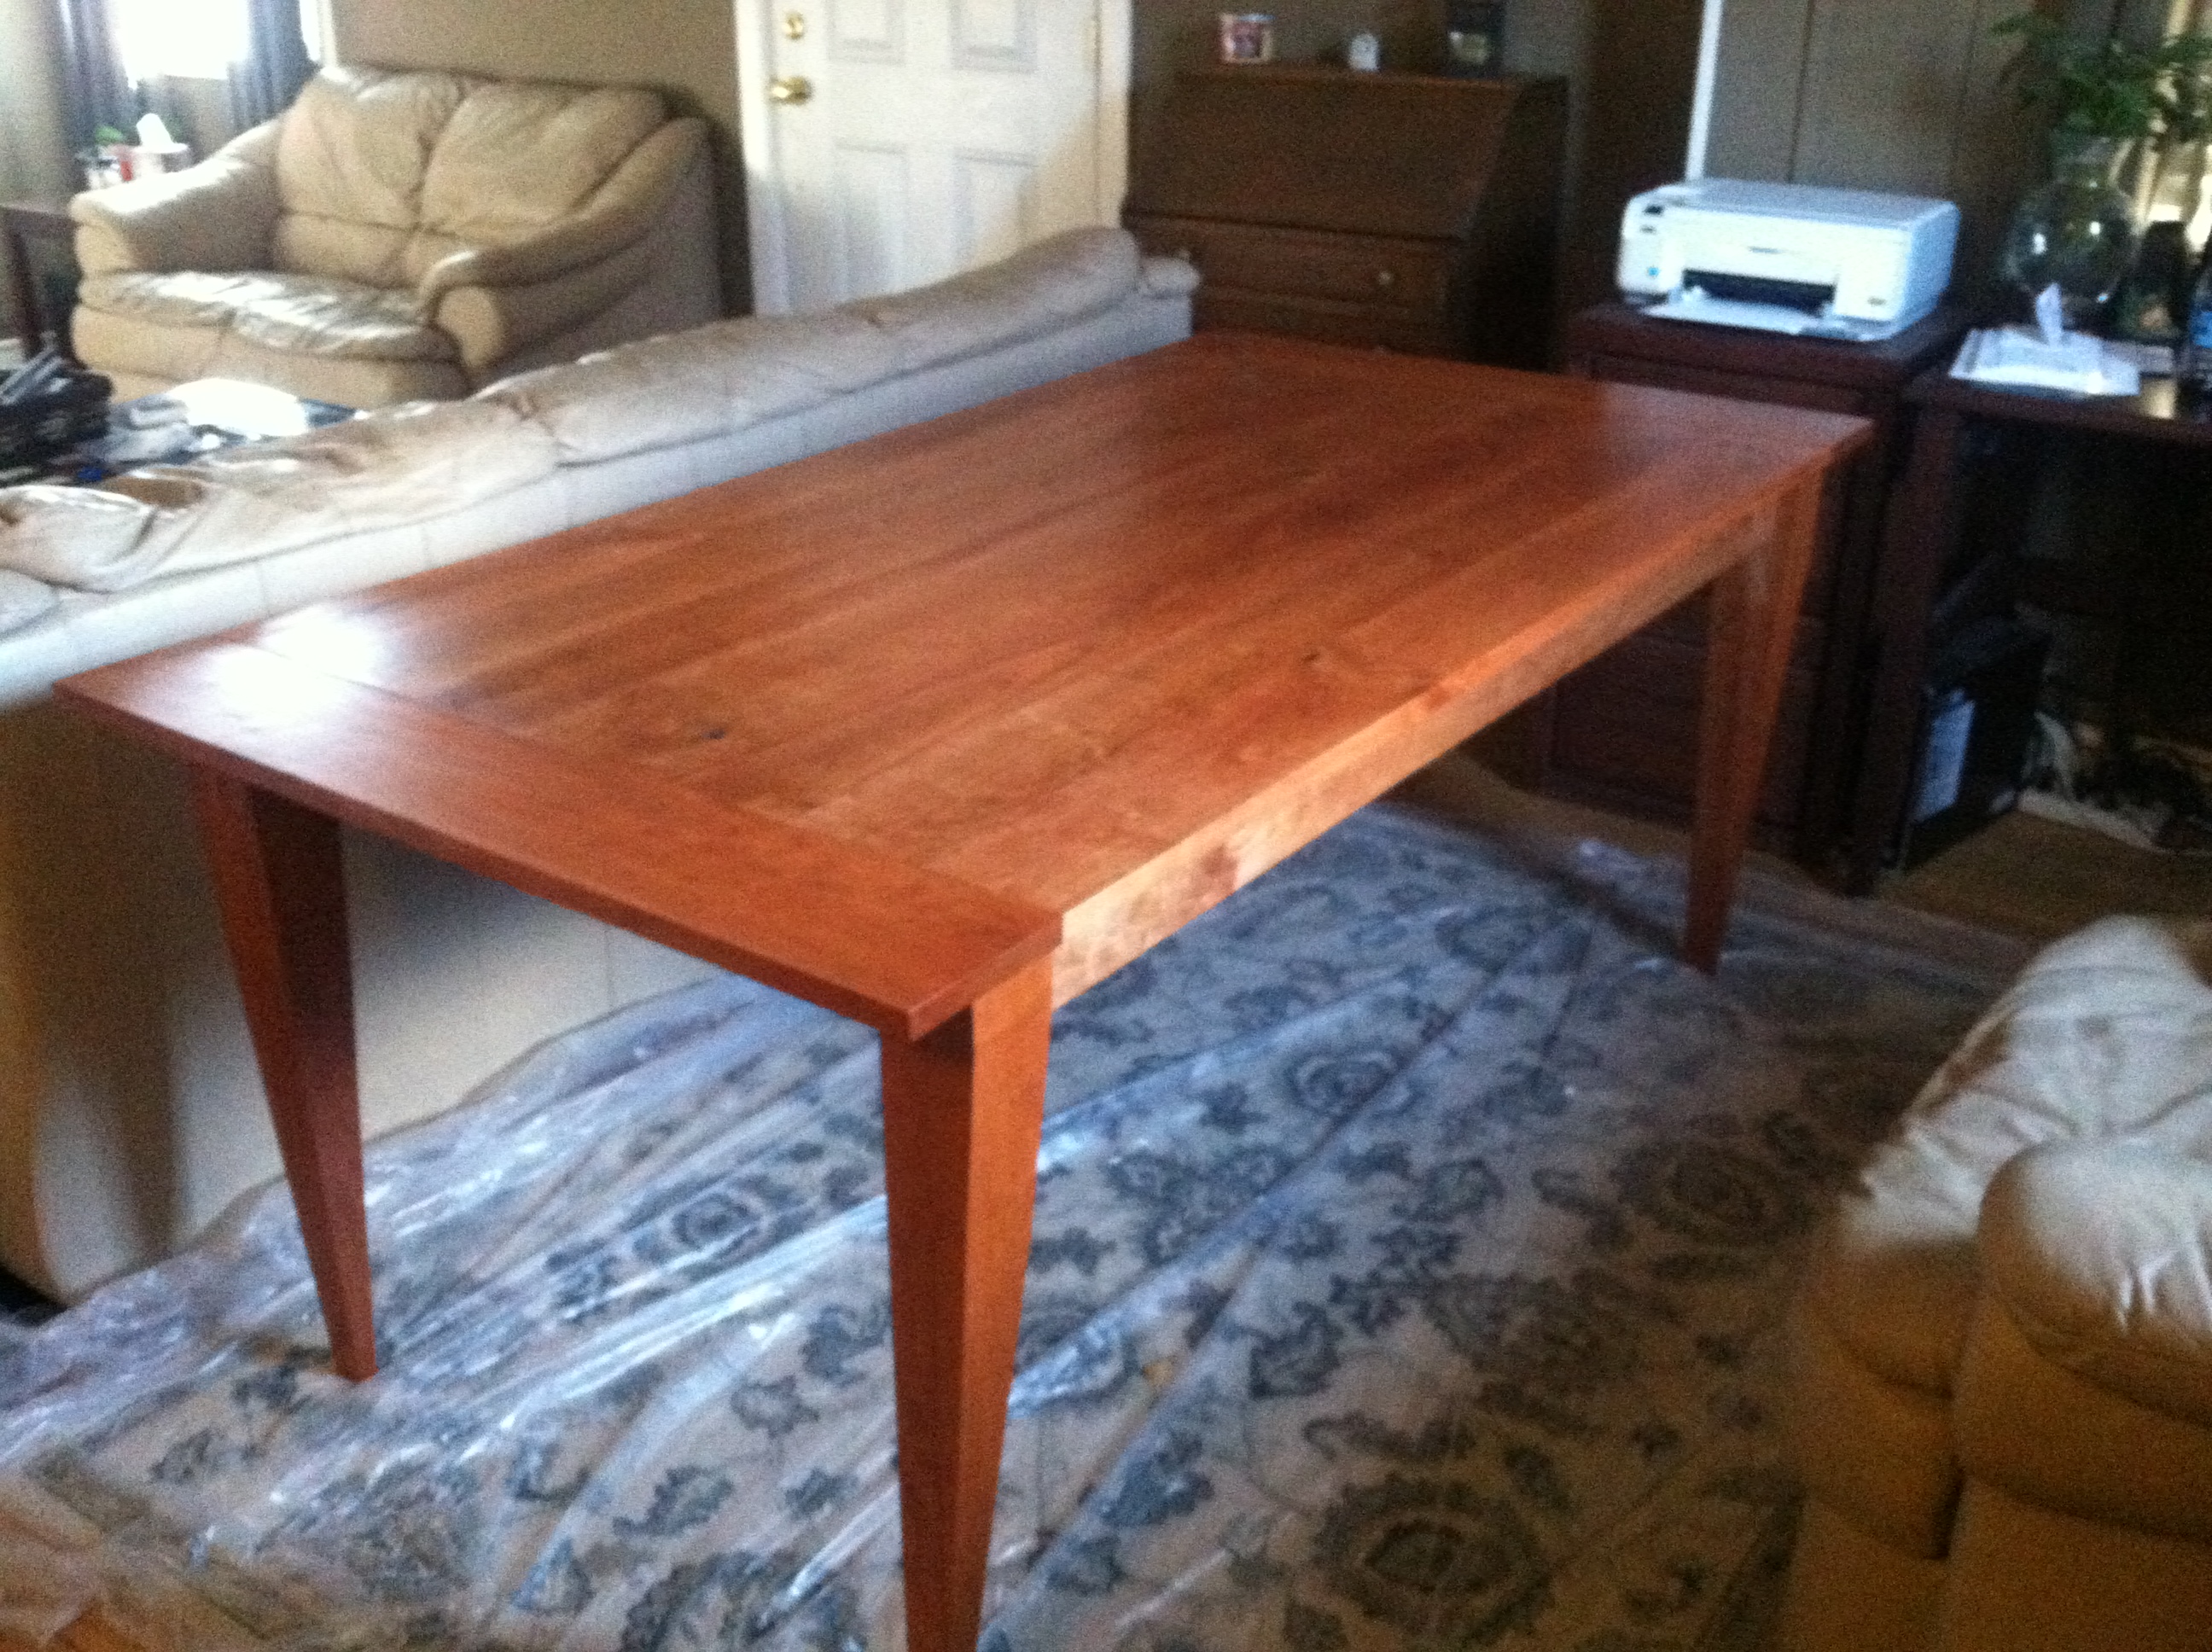
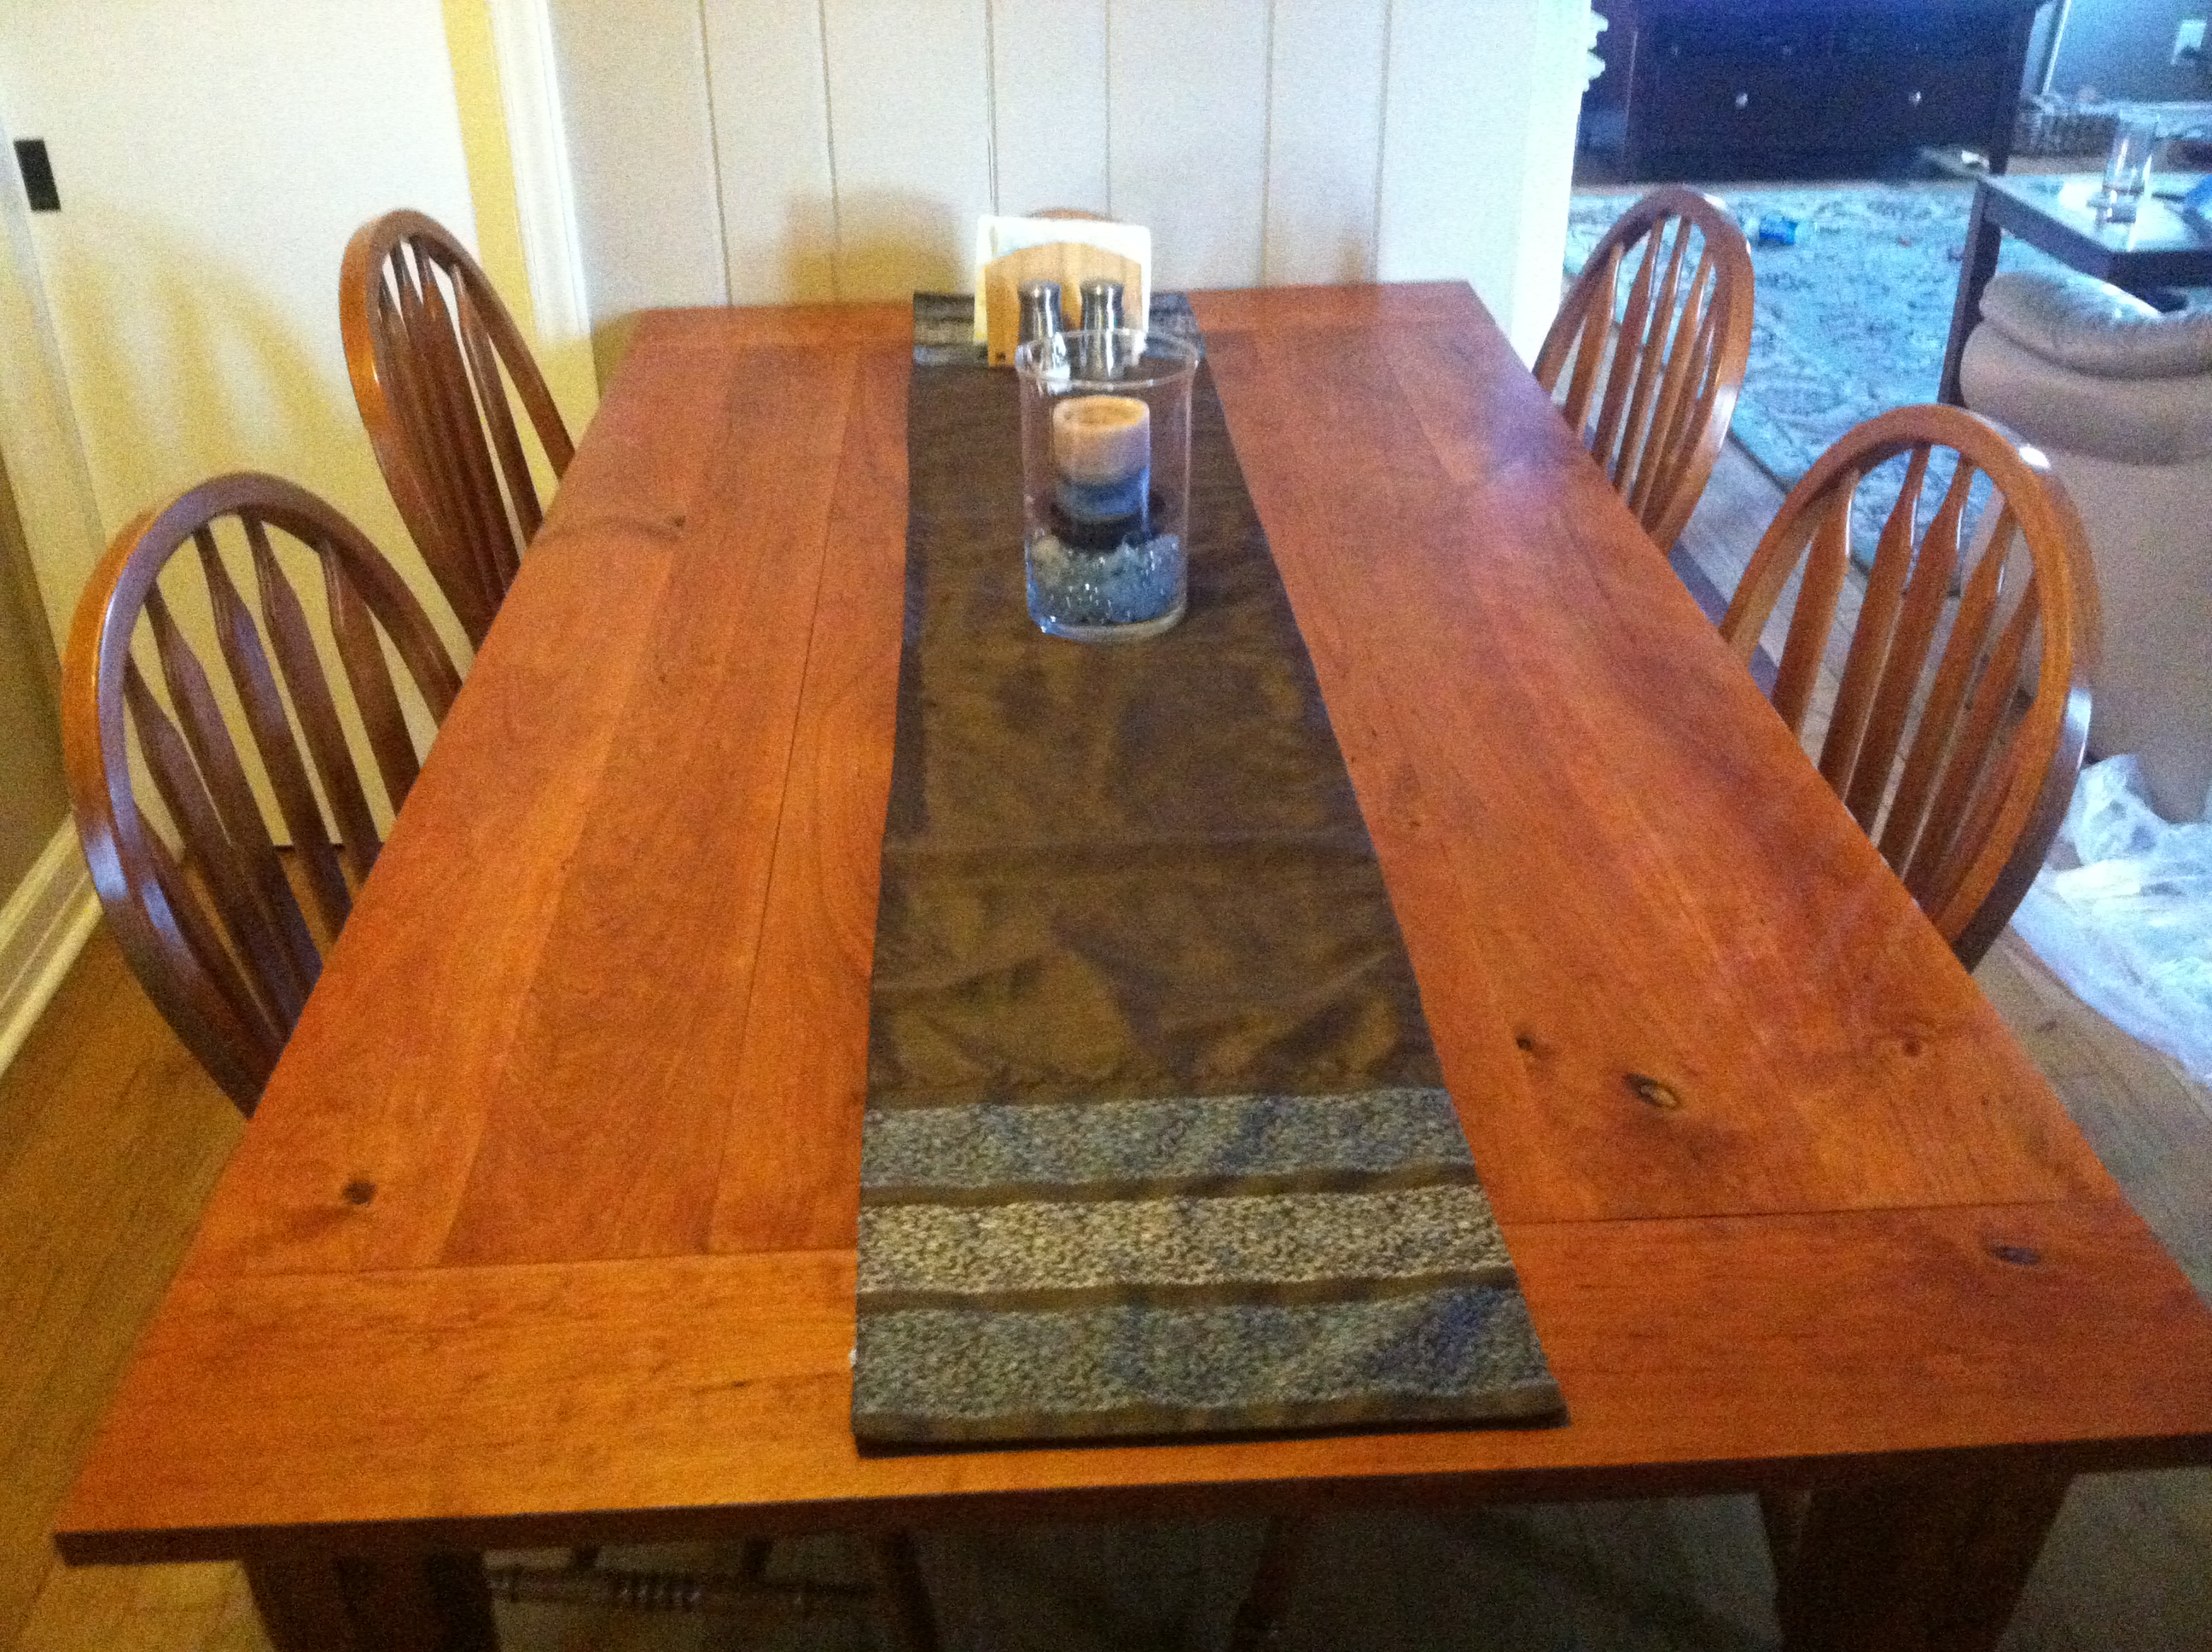
My First Project

My son went off to college and left me with a lot of free time...decided to try woodworking. After finding plans for a farmhouse table on this website I had to give it a try. I started with rough sawn cherry lumber and alter the measurements to fit my dining area. I learned a lot while building this project and am ready to try a new one now. Thank you so much for your information and website Ana. I will certainly be a frequent visitor!!!
Built from Plan(s)
Estimated Cost
$300.00
Estimated Time Investment
Week Long Project (20 Hours or More)
Finish Used
Danish Oil (Cherry tint)
Recommended Skill Level
Beginner
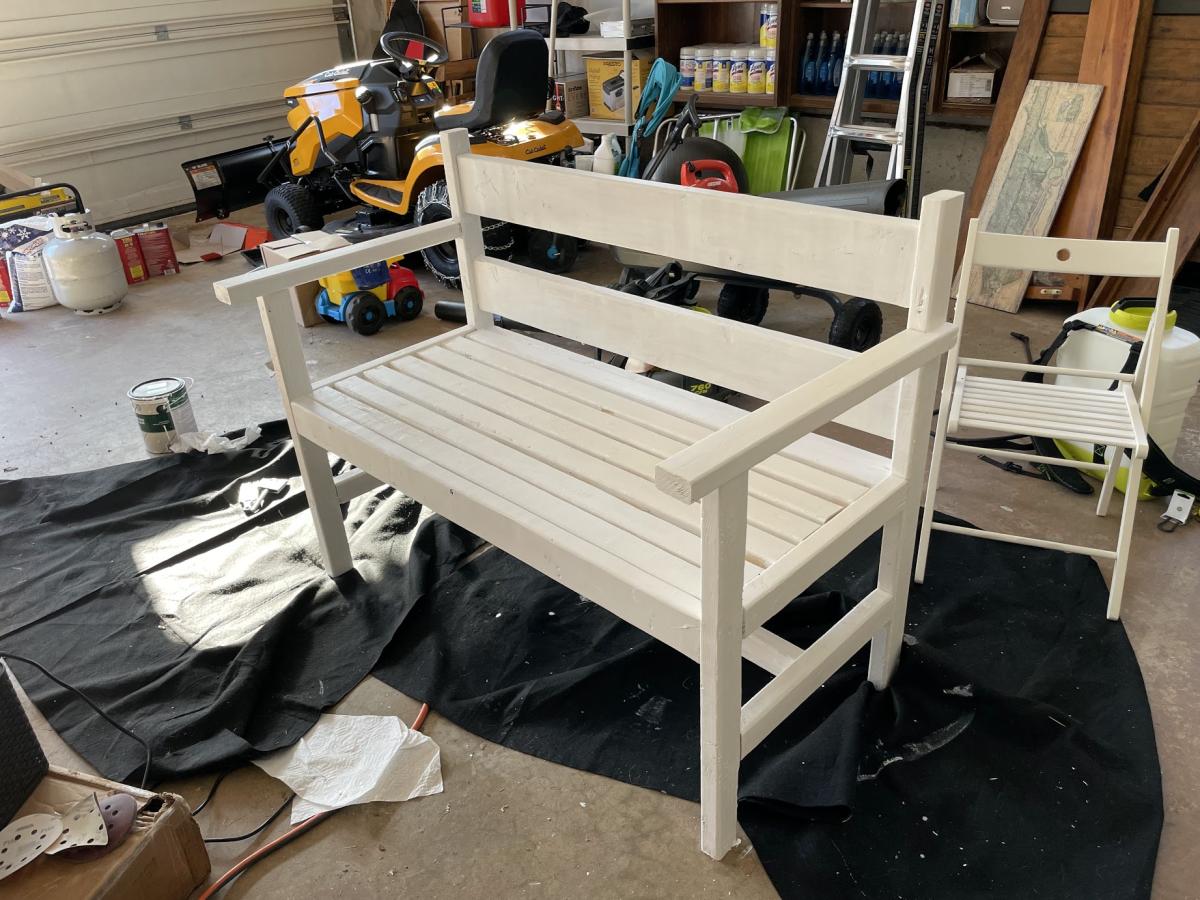
Garden Bench
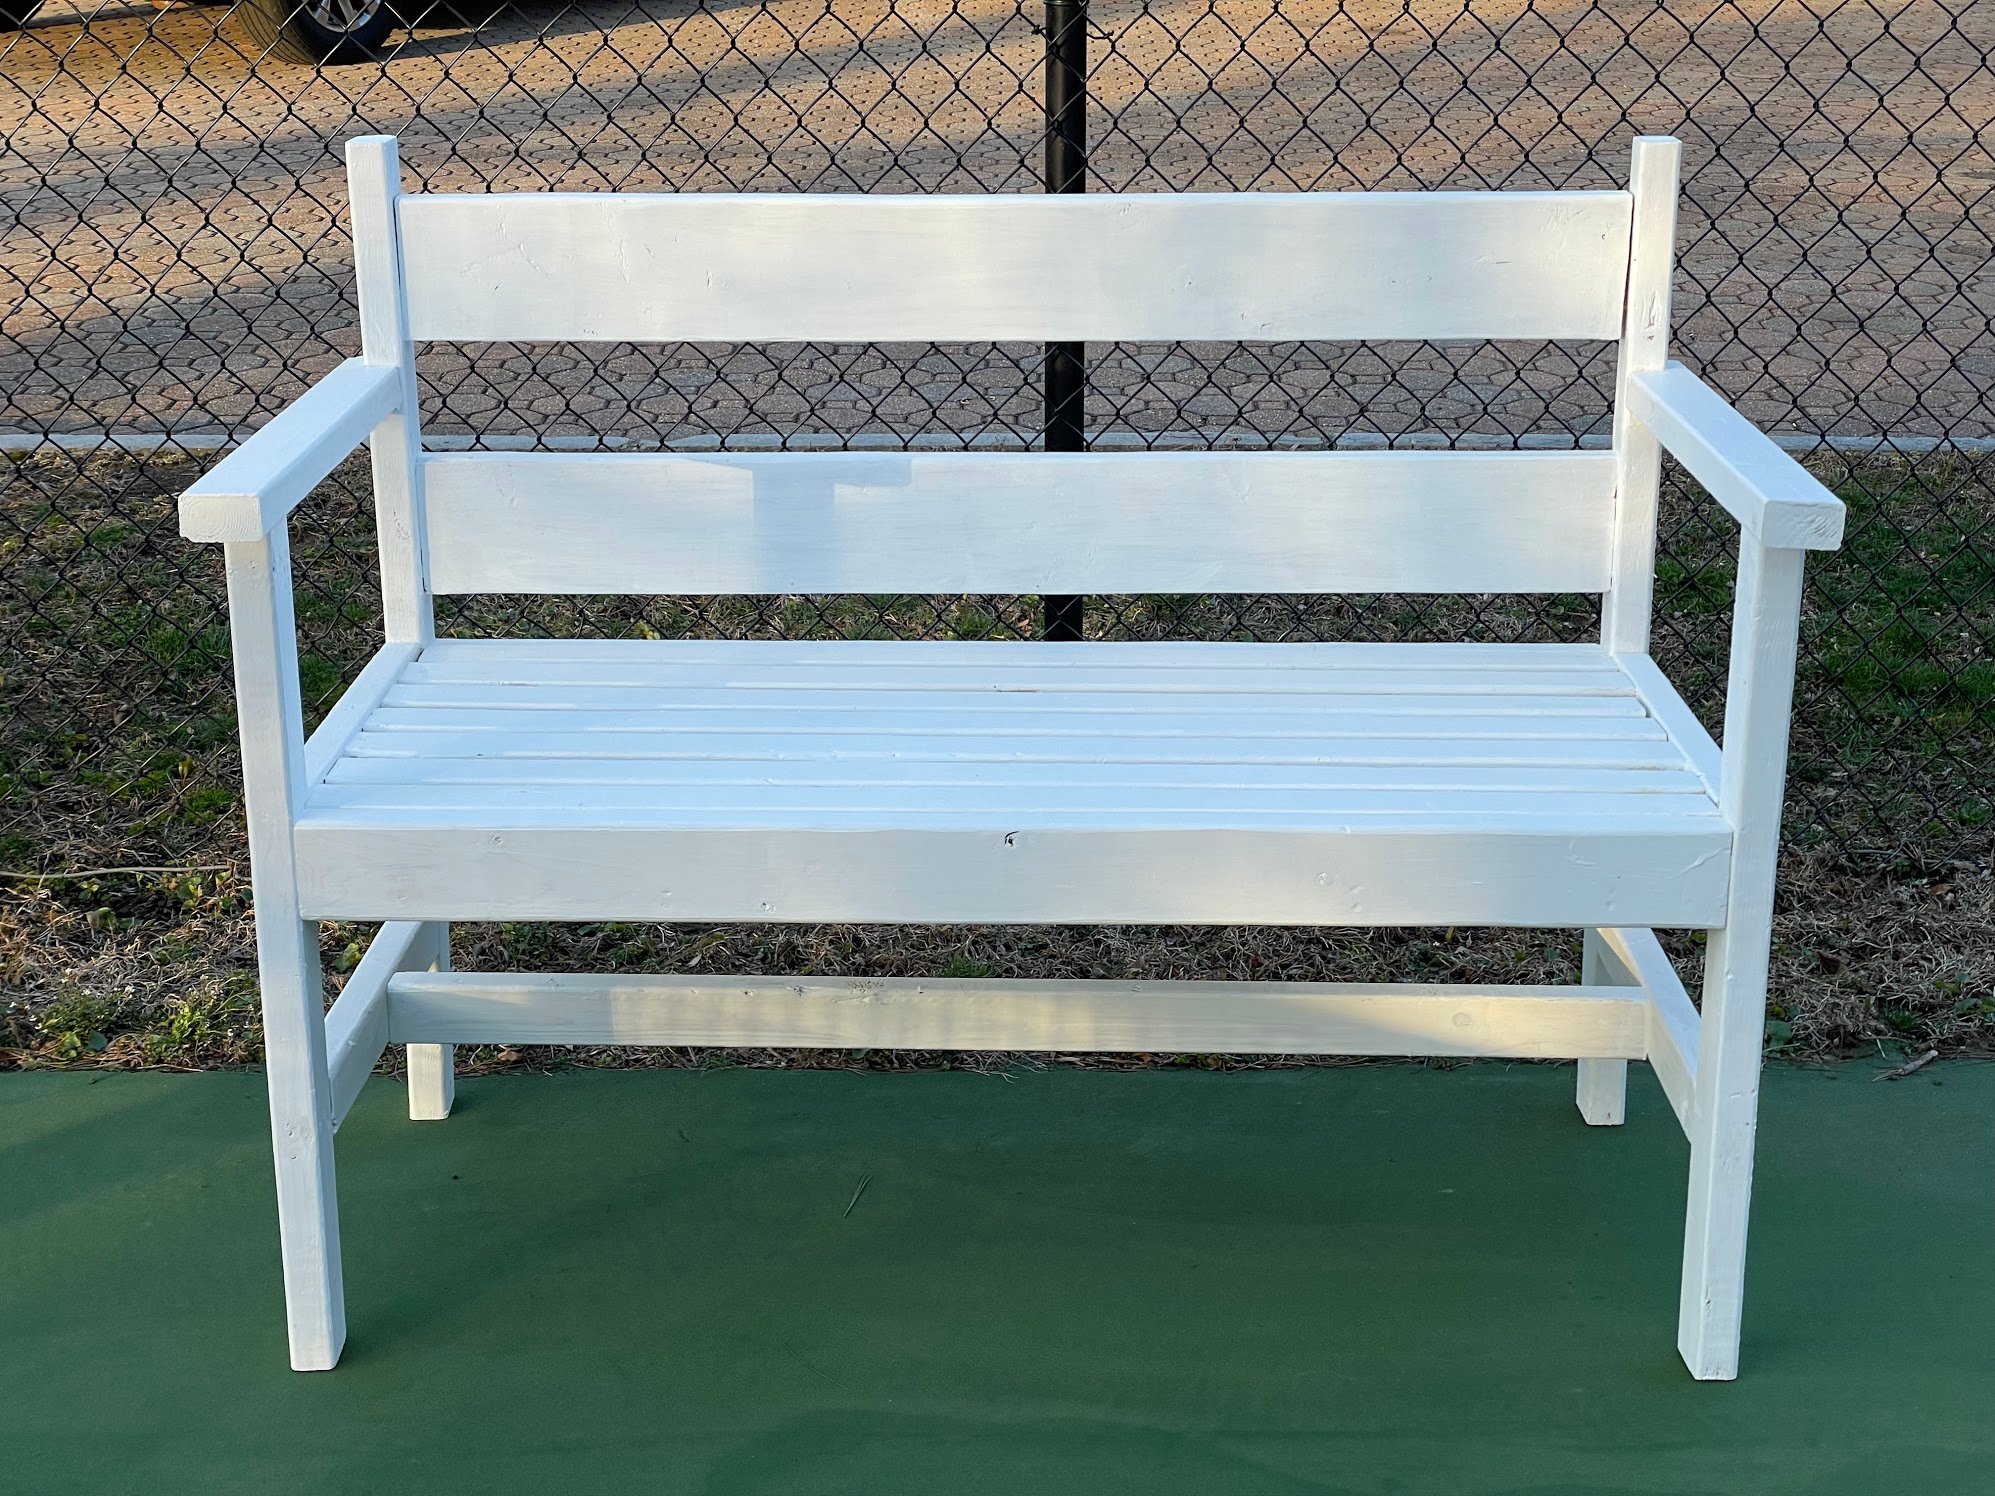
Second project ever! Came out pretty nice in my opinion!
Built from Plan(s)
Comments
Mon, 04/04/2022 - 07:32
Perfect little garden bench!
It looks fantastic, thank you so much for sharing!
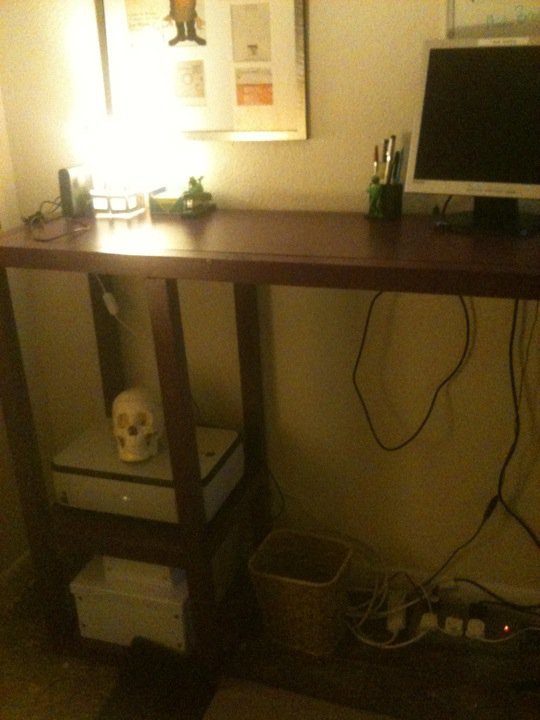
Parson desk - Modified bar height
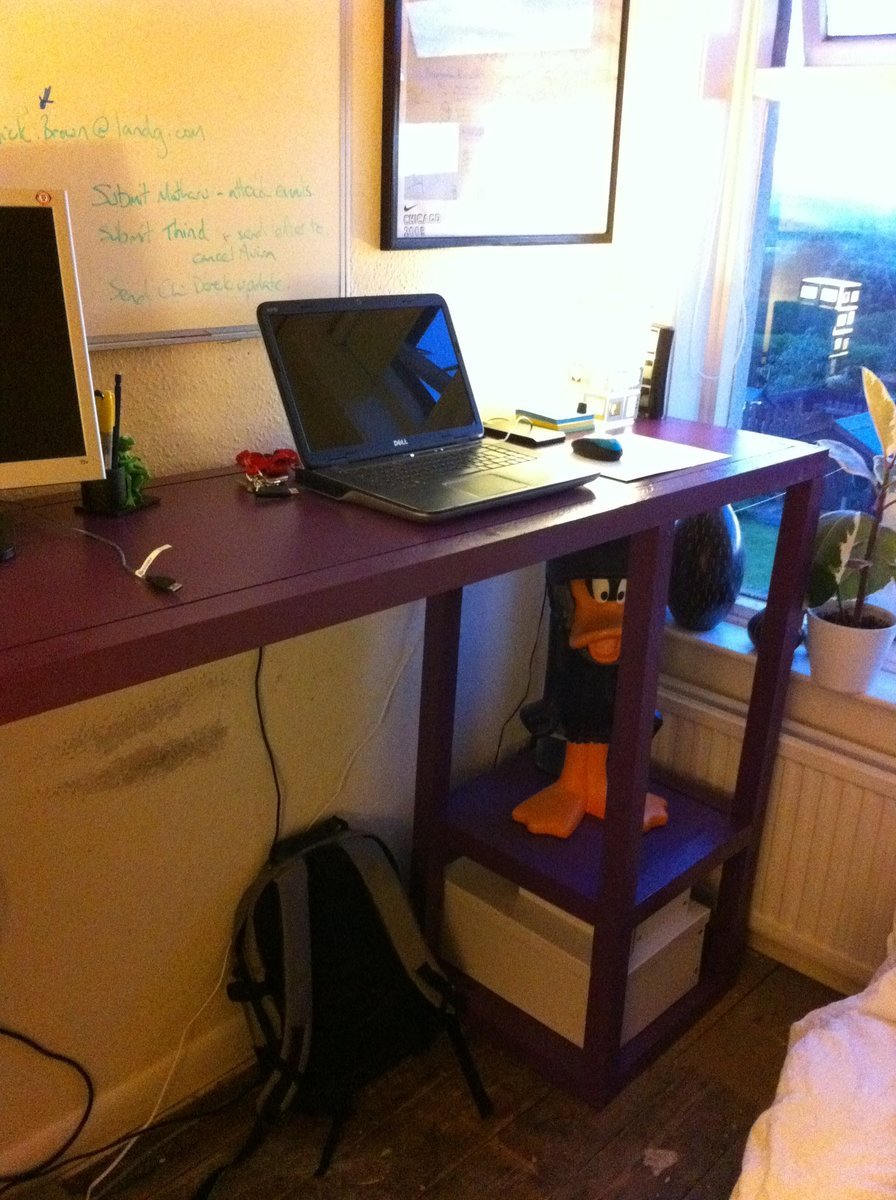
This was my first project. I made it tall so we could work standing, and made it longer so that two of us could work at the same time. The top of the bench was made from 1" MDF to ensure that it wouldn't sag with the extra length.
I meant to put in an extra shelf on each side, but I forgot to get the extra cuts done at the hardware store (oops).It's hard to find a pocket hole jig in the UK, so I opted for a combination of countersunk screws and dowels.
Thanks for the plans, Ana!
Built from Plan(s)
Estimated Cost
£80 (includes finishing and some tools)
Estimated Time Investment
Weekend Project (10-20 Hours)
Finish Used
A coat of spray primer and two coats of purple eggshell finish Dulux paint, and it was finished.
Recommended Skill Level
Starter Project
Cedar Planter
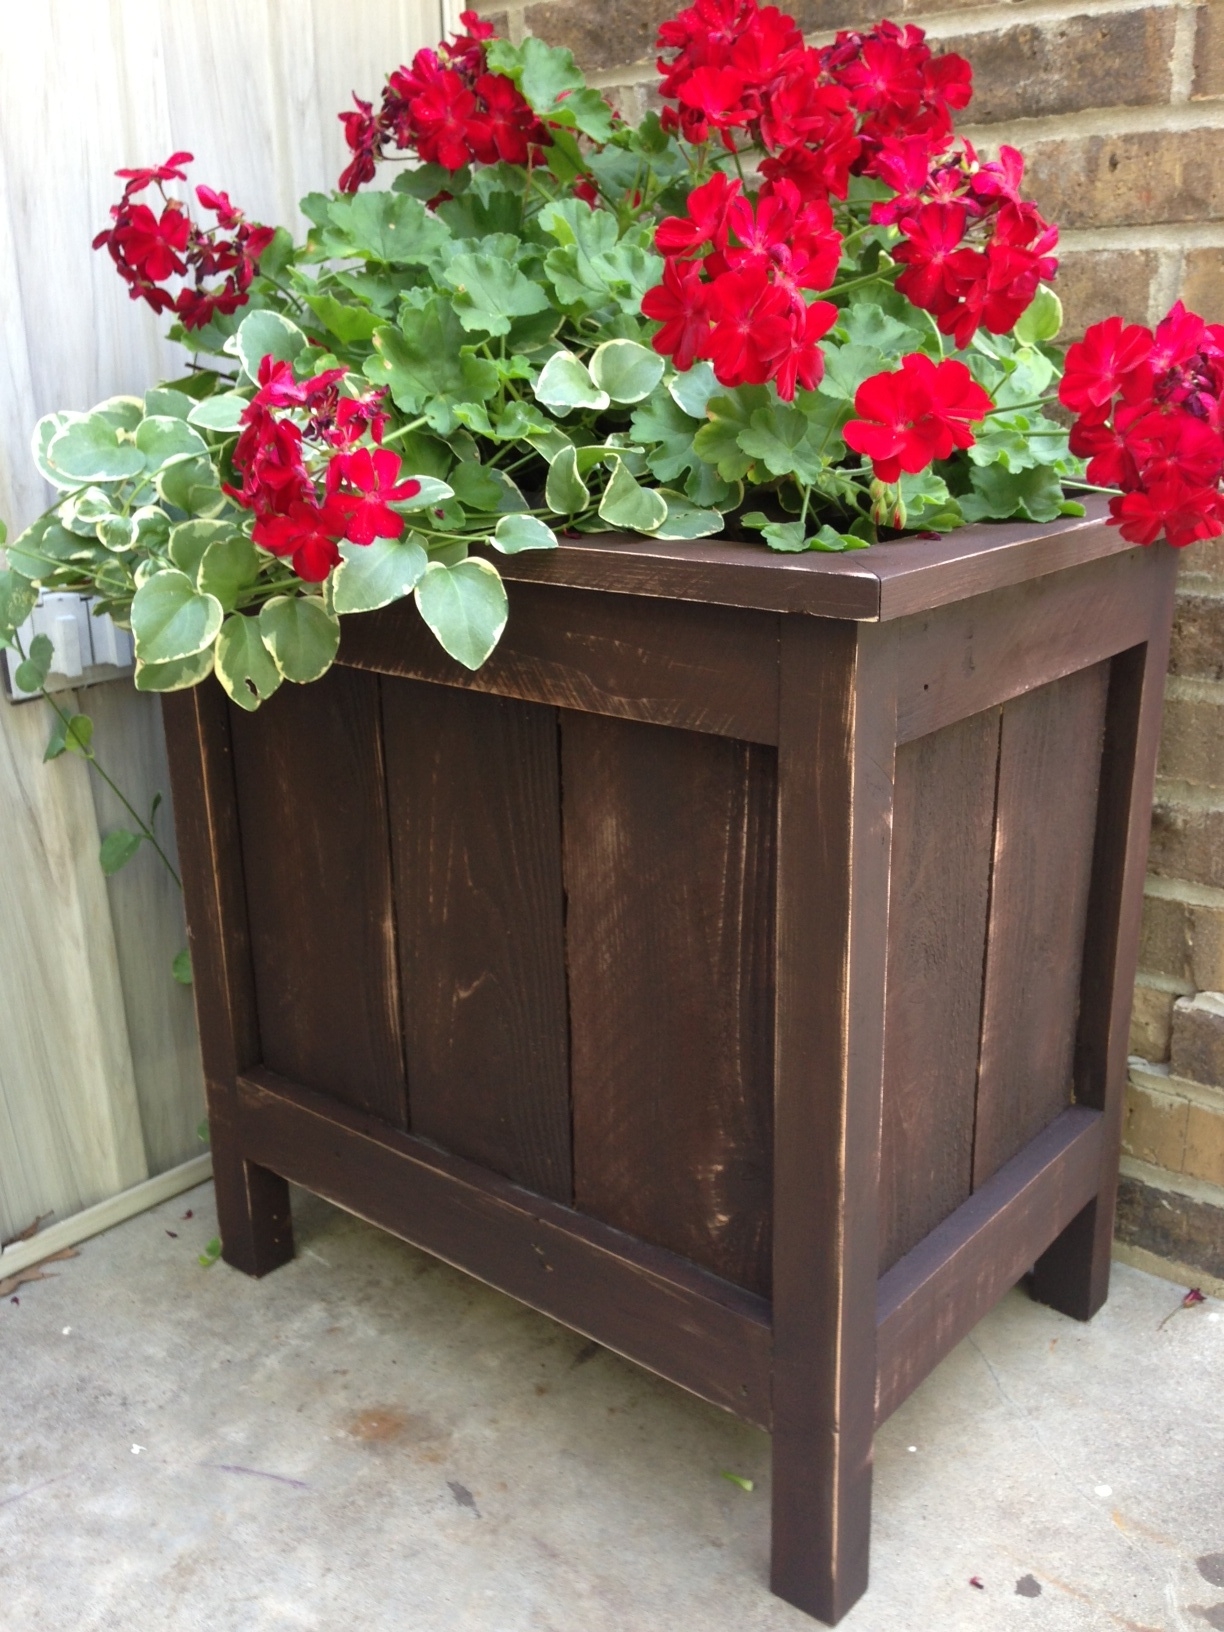
This project was PERFECT for using reclaimed pallet wood! I ripped some of the larger pieces on my table saw to make 2x2's and 1x3's for the frame, and also ripped 1x2's to frame out the top (as posted by Infarrantly Creative). I had to alter the dimensions a bit so it would fit between the door and the chimney on my porch. Total cost was for the Kreg screws, gel stain and the acrylic finish I have yet to apply. Will be making a matching one for the other side of my porch very soon. Thank you, Ana!
Built from Plan(s)
Estimated Cost
$10
Estimated Time Investment
Afternoon Project (3-6 Hours)
Finish Used
General Finishes gel stain in Java
Recommended Skill Level
Beginner
Pergola
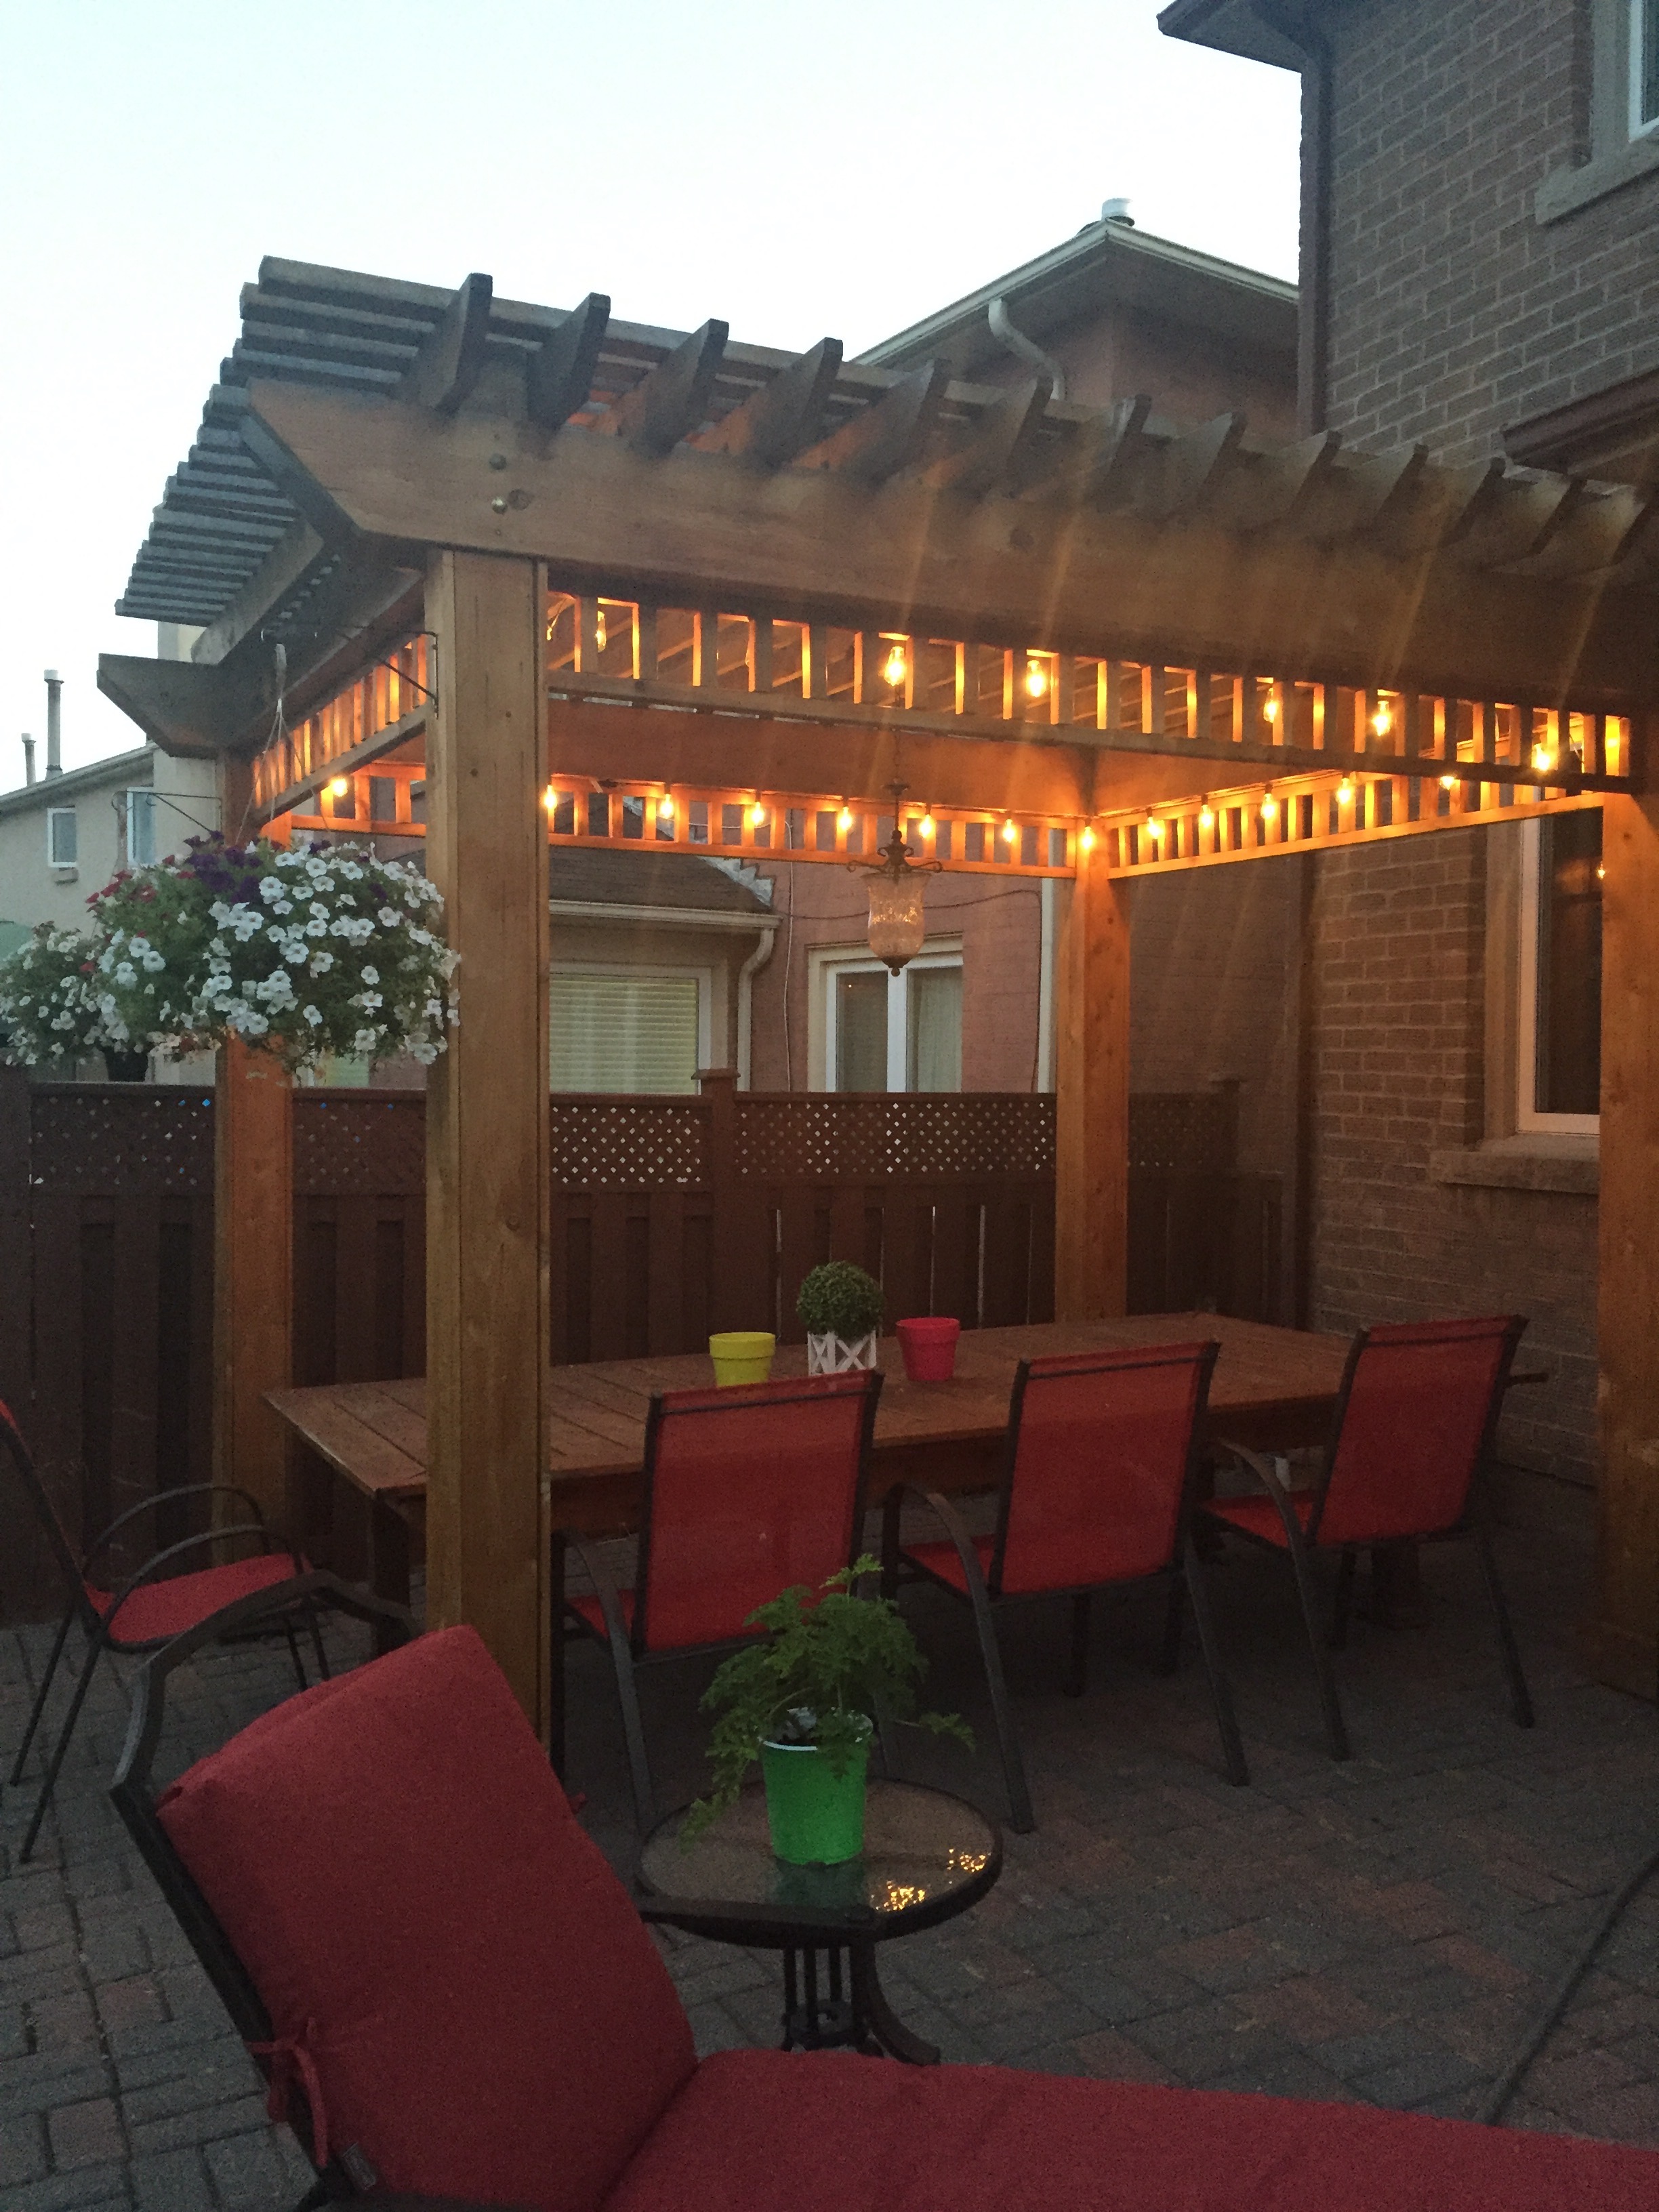
Pergola is 10x12 made of all cedar except posts. Posts were 6x6 brown wood then covered in 1x6 cedar. Slats on top were attached using L brackets. Stained the same year.
Estimated Time Investment
Week Long Project (20 Hours or More)
Finish Used
Cabot in Natural finish
Recommended Skill Level
Intermediate
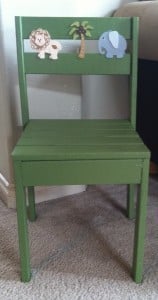
$4 Stackable Chairs

Oh boy did my kids squeal when they saw their chairs! I followed Ana's plan on these chairs and used some leftover pink paint from one of the walls in my daughter's room on the pink chair, and mixed left over paint from my son's room for the green chair. I wasn't sure what I was going to do for the personalization until I found the crown and animal wood pieces at the local craft store, then it all just kind of came together. I'm very pleased with how sturdy the chairs are and how happy they are making kids!
Estimated Cost
$10 with accents if I had to buy the wood, since I had most of it, about $4.00 total for both
Estimated Time Investment
Afternoon Project (3-6 Hours)
Finish Used
Leftover paint, sand paper, and wood glue for crown
Recommended Skill Level
Starter Project
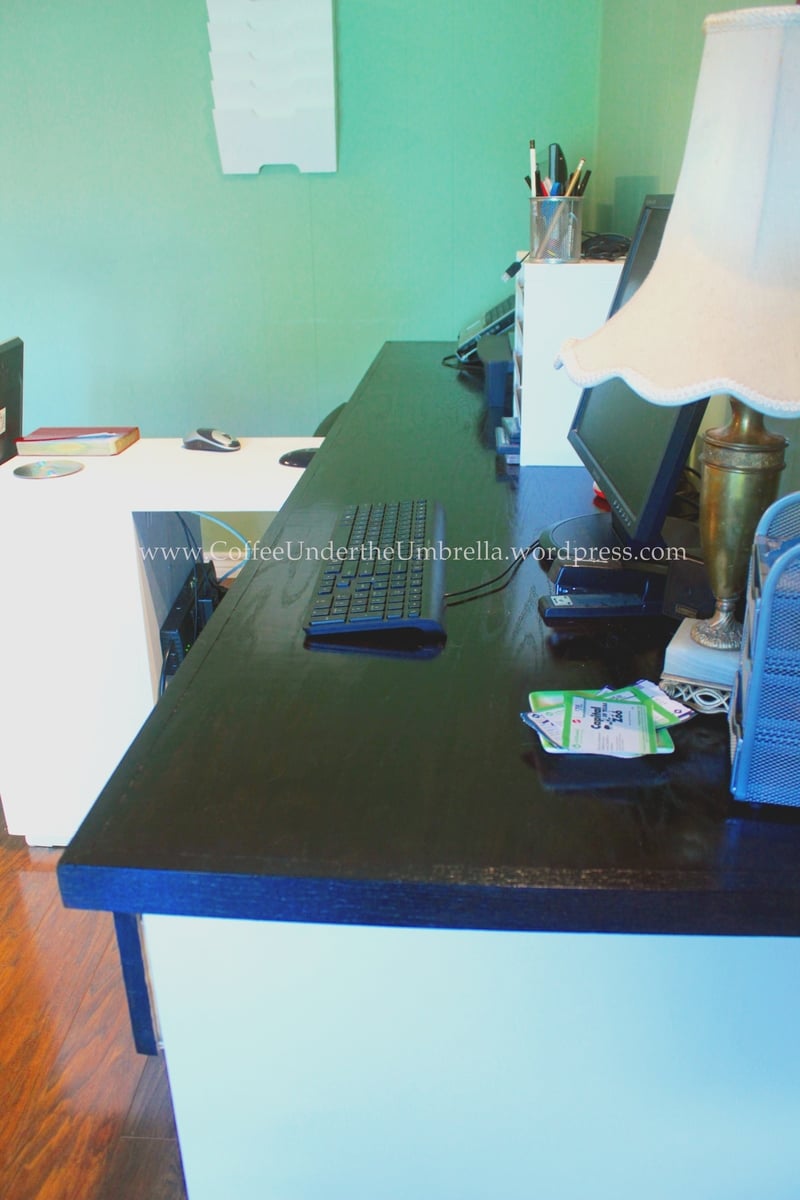
Eco Modular Office Desktop
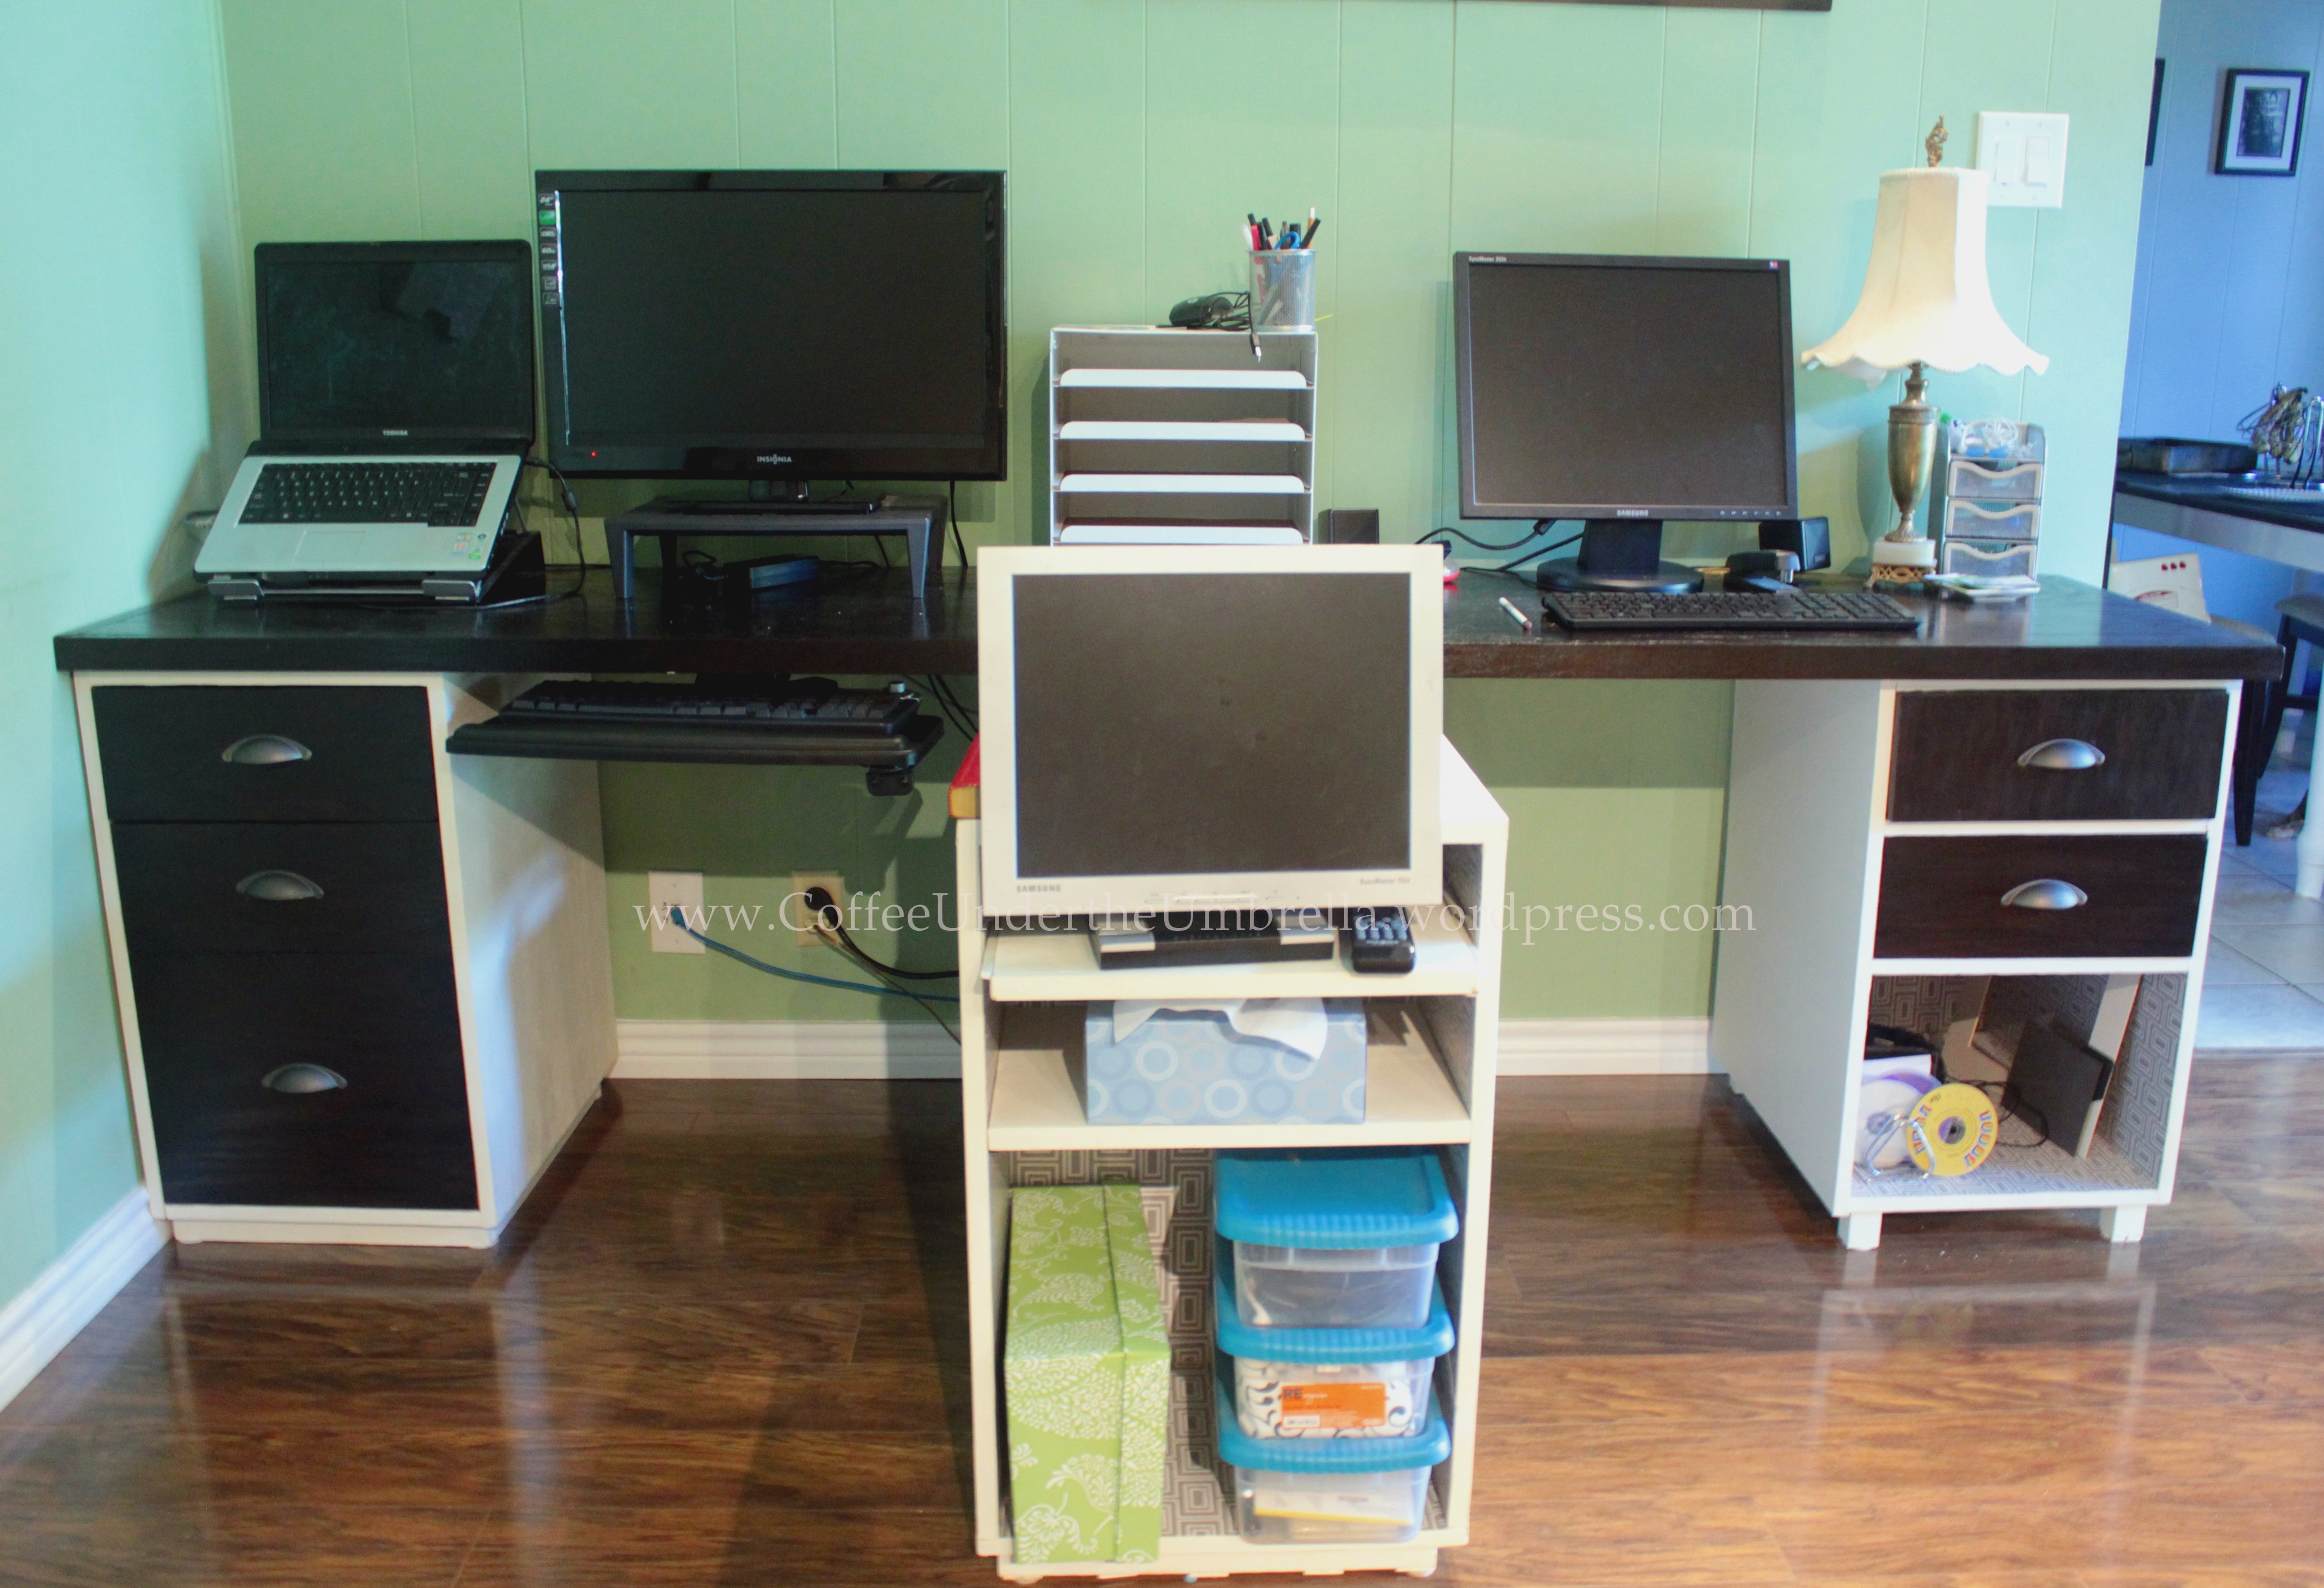
We (my husband and I) were in desperate need of a better work space, and this was perfect.
Built from Plan(s)
Estimated Cost
$150-$200 for the entire set
Estimated Time Investment
Weekend Project (10-20 Hours)
Finish Used
General Finishes in espresso (water-based), top coated with GF polycrylic in gloss
Recommended Skill Level
Intermediate
Comments
Mon, 07/22/2013 - 20:47
Really pretty finish
I'd love for you to share how you got that beautiful color! I'm using an espresso stain right now. I've put on 3 coats of stain and still have light spots!
In reply to Really pretty finish by sgilly
Tue, 07/23/2013 - 07:14
What species of wood and what
What species of wood and what stain? I used red oak, which apparently is one of the easiest woods to stain. I really didn't have to do anything except sand.
Tue, 07/23/2013 - 07:21
Wood
I use birch in most of my projects. Usually, I can get a decent color from the stain. But, I'm thinking that this last batch of plywood wasn't the best. Also, I've never used General finish stains. I might try that next time.
I think I'm going to sand again, add another coat of stain, and if it's still a hot mess I'm thinking I'll mix some color into the poly and try to even out the color with the sealer. I don't have any idea if that will work - I'm not a finisher, but my husband used to do something he called "fogging", where he'd tint the sealer (Lacquer, in his case) with the color and as he sprayed the finish on it blended the colors.
Thanks for the response.
Tue, 07/23/2013 - 08:39
I *love* GF stains - I was
I *love* GF stains - I was really hesitant to try it because of the higher price point, but I just can't go back to Minwax. I'm forever spoiled. Well, the water based ones, that is - I tried a Minwax gel stain and actually got decent results, but I think their water-based stains are crap. I'm just lazy and don't want to go through the extra effort in using oil-based, though I acknowledge their durability is superior.
I'd be interested in knowing how your technique works out, as I don't have a lot of experience with stain - just wood conditioner, stain, poly. I've heard of using sealers and mixing ingredients but have been too afraid to try it myself. Good luck!
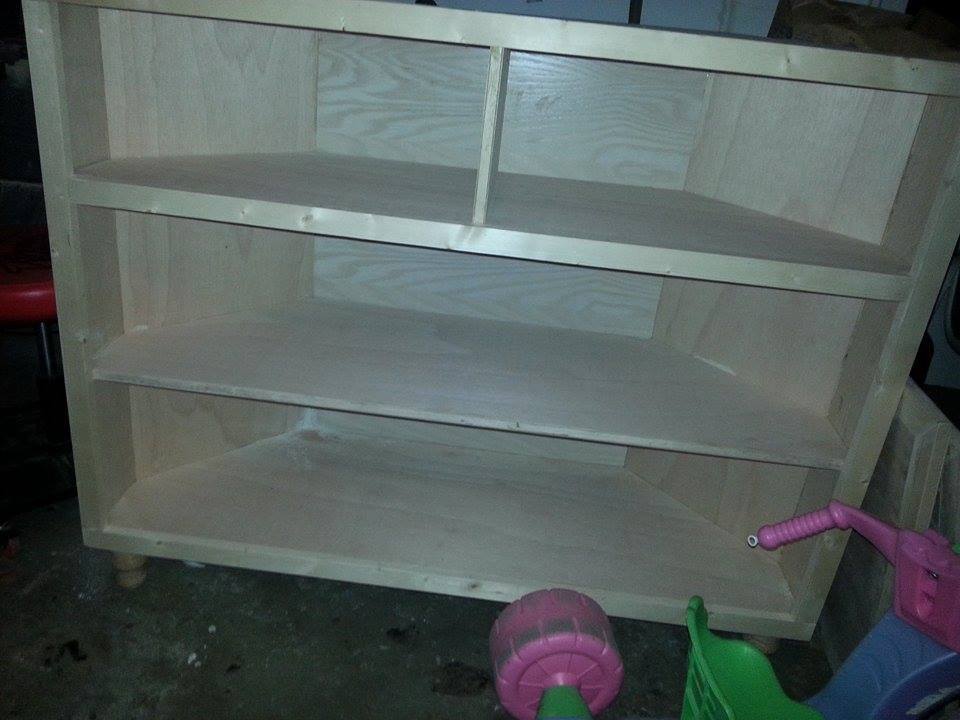
Corner TV stand
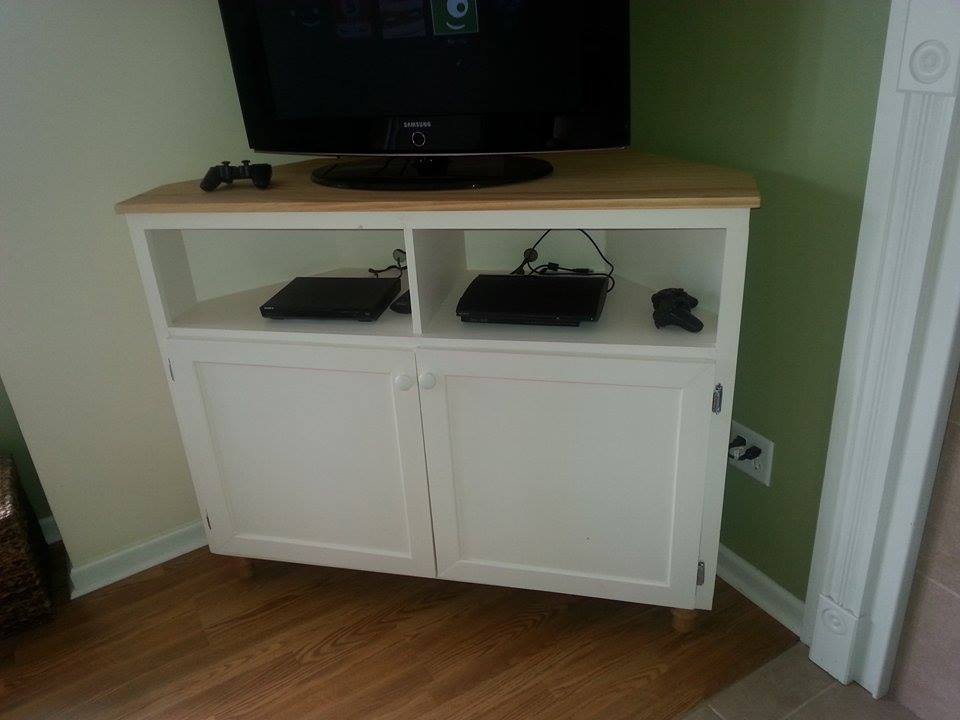
Modified the plan a bit to make it shorter. Top is made from pine 1x4's and polyurethaned. Painted the base antique white. Bought the bun feet at the box store.
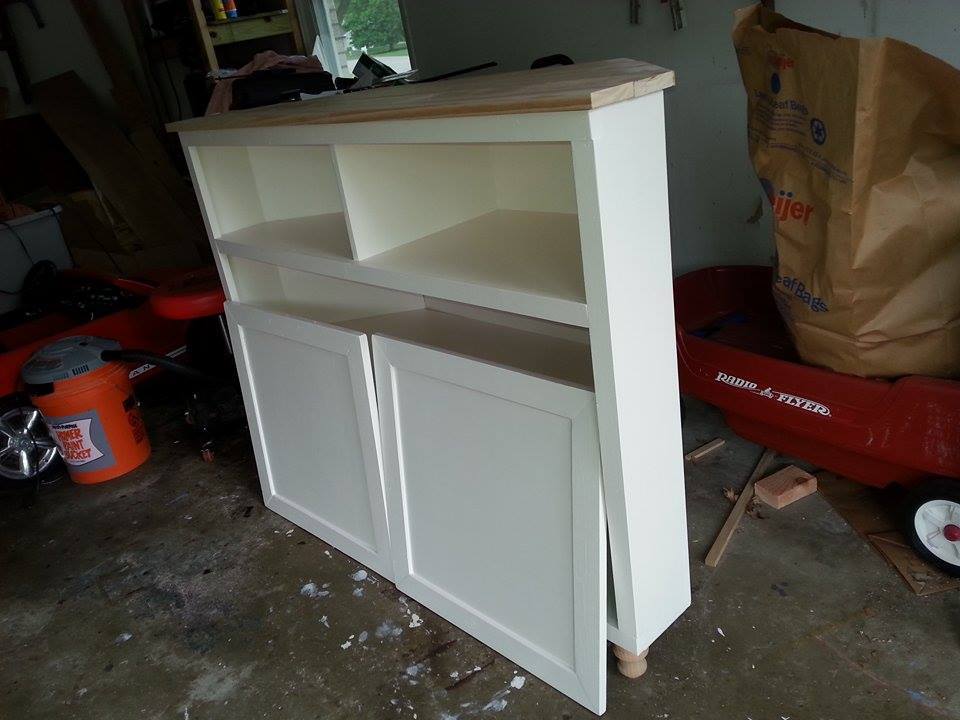
Estimated Cost
$125
Estimated Time Investment
Week Long Project (20 Hours or More)
Finish Used
minwax poly and white paint
Recommended Skill Level
Intermediate


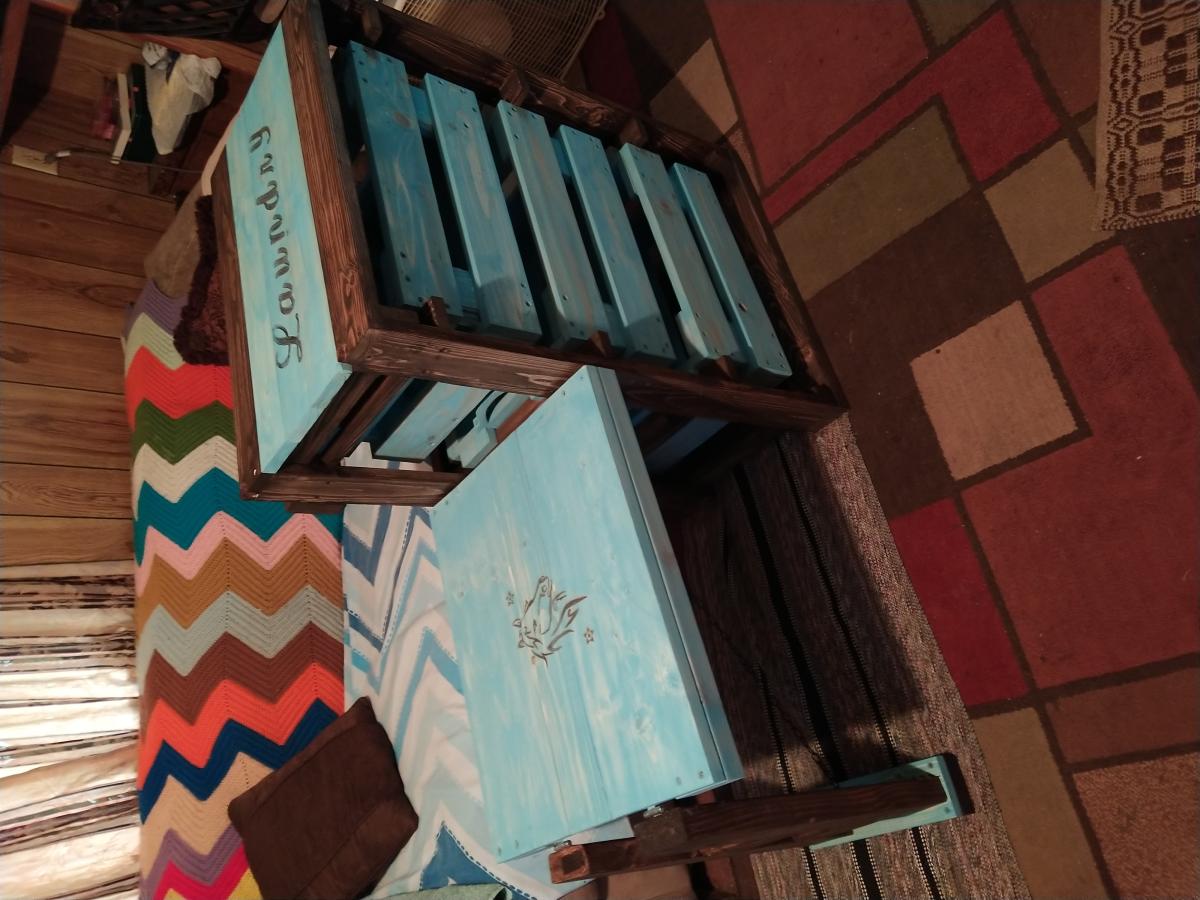
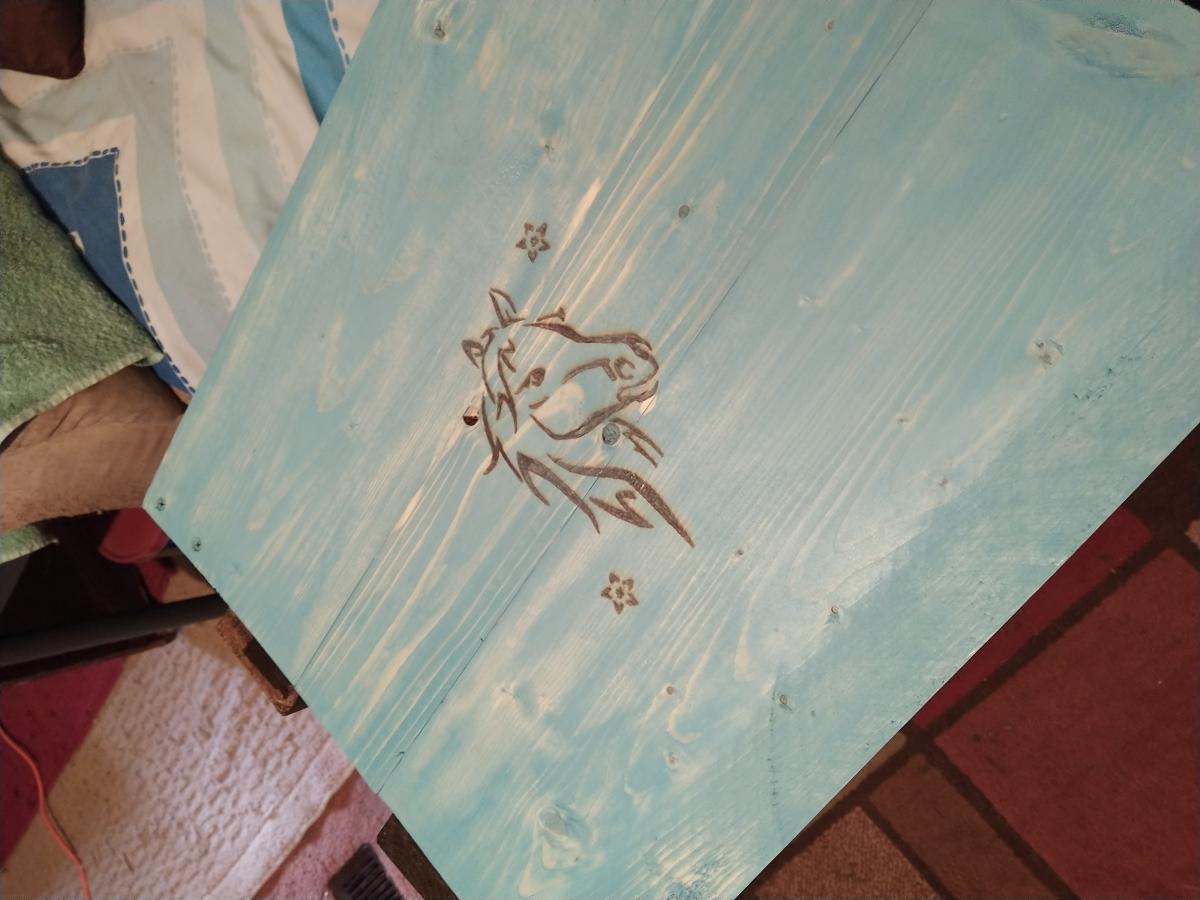
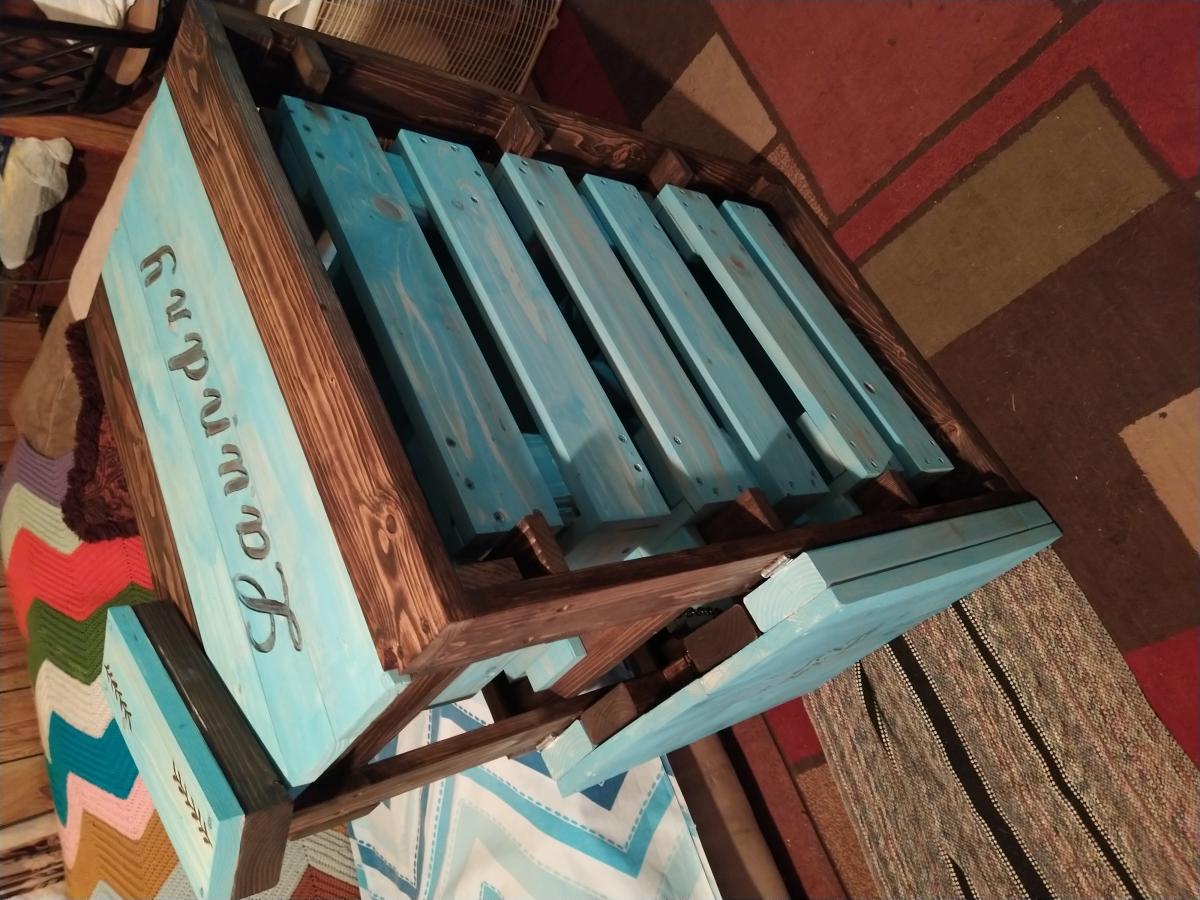
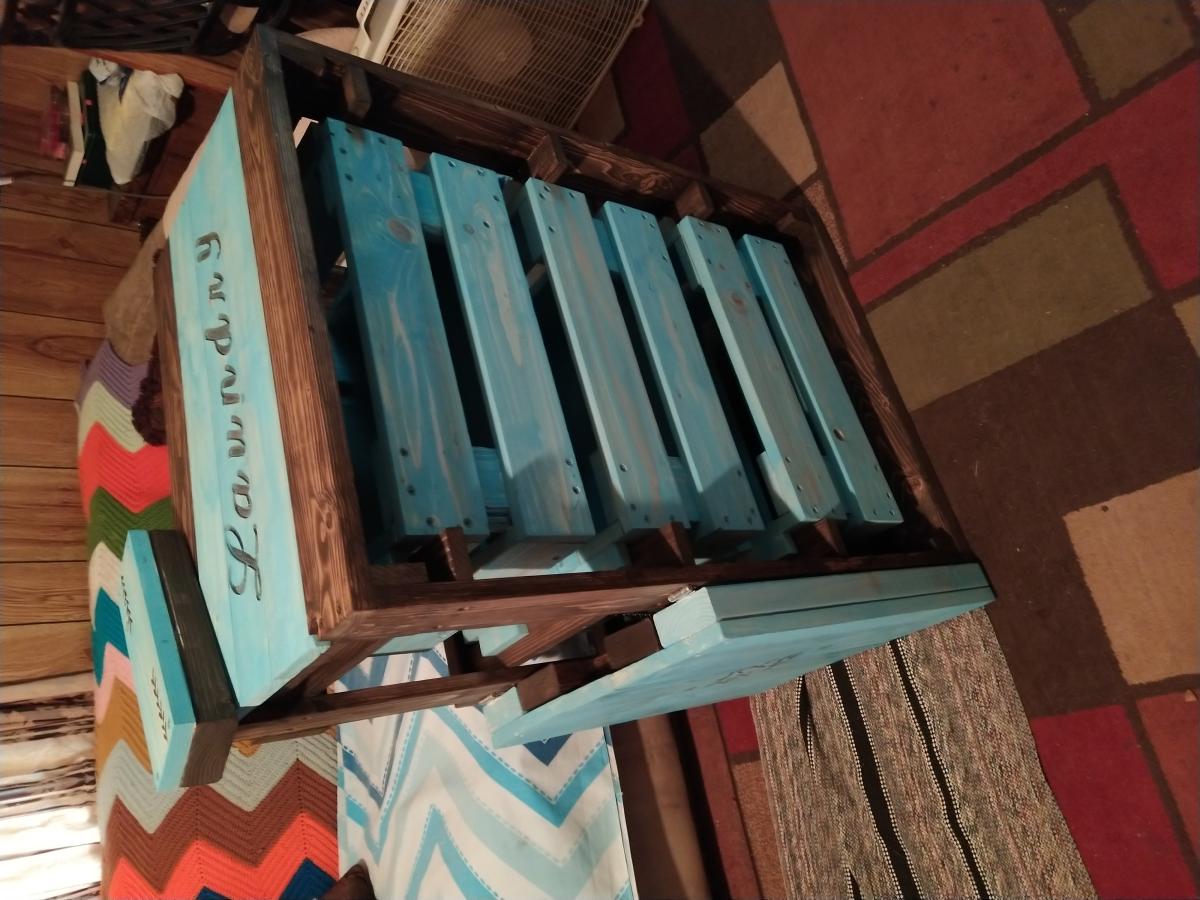
Custom Pallet Laundry Basket!!!
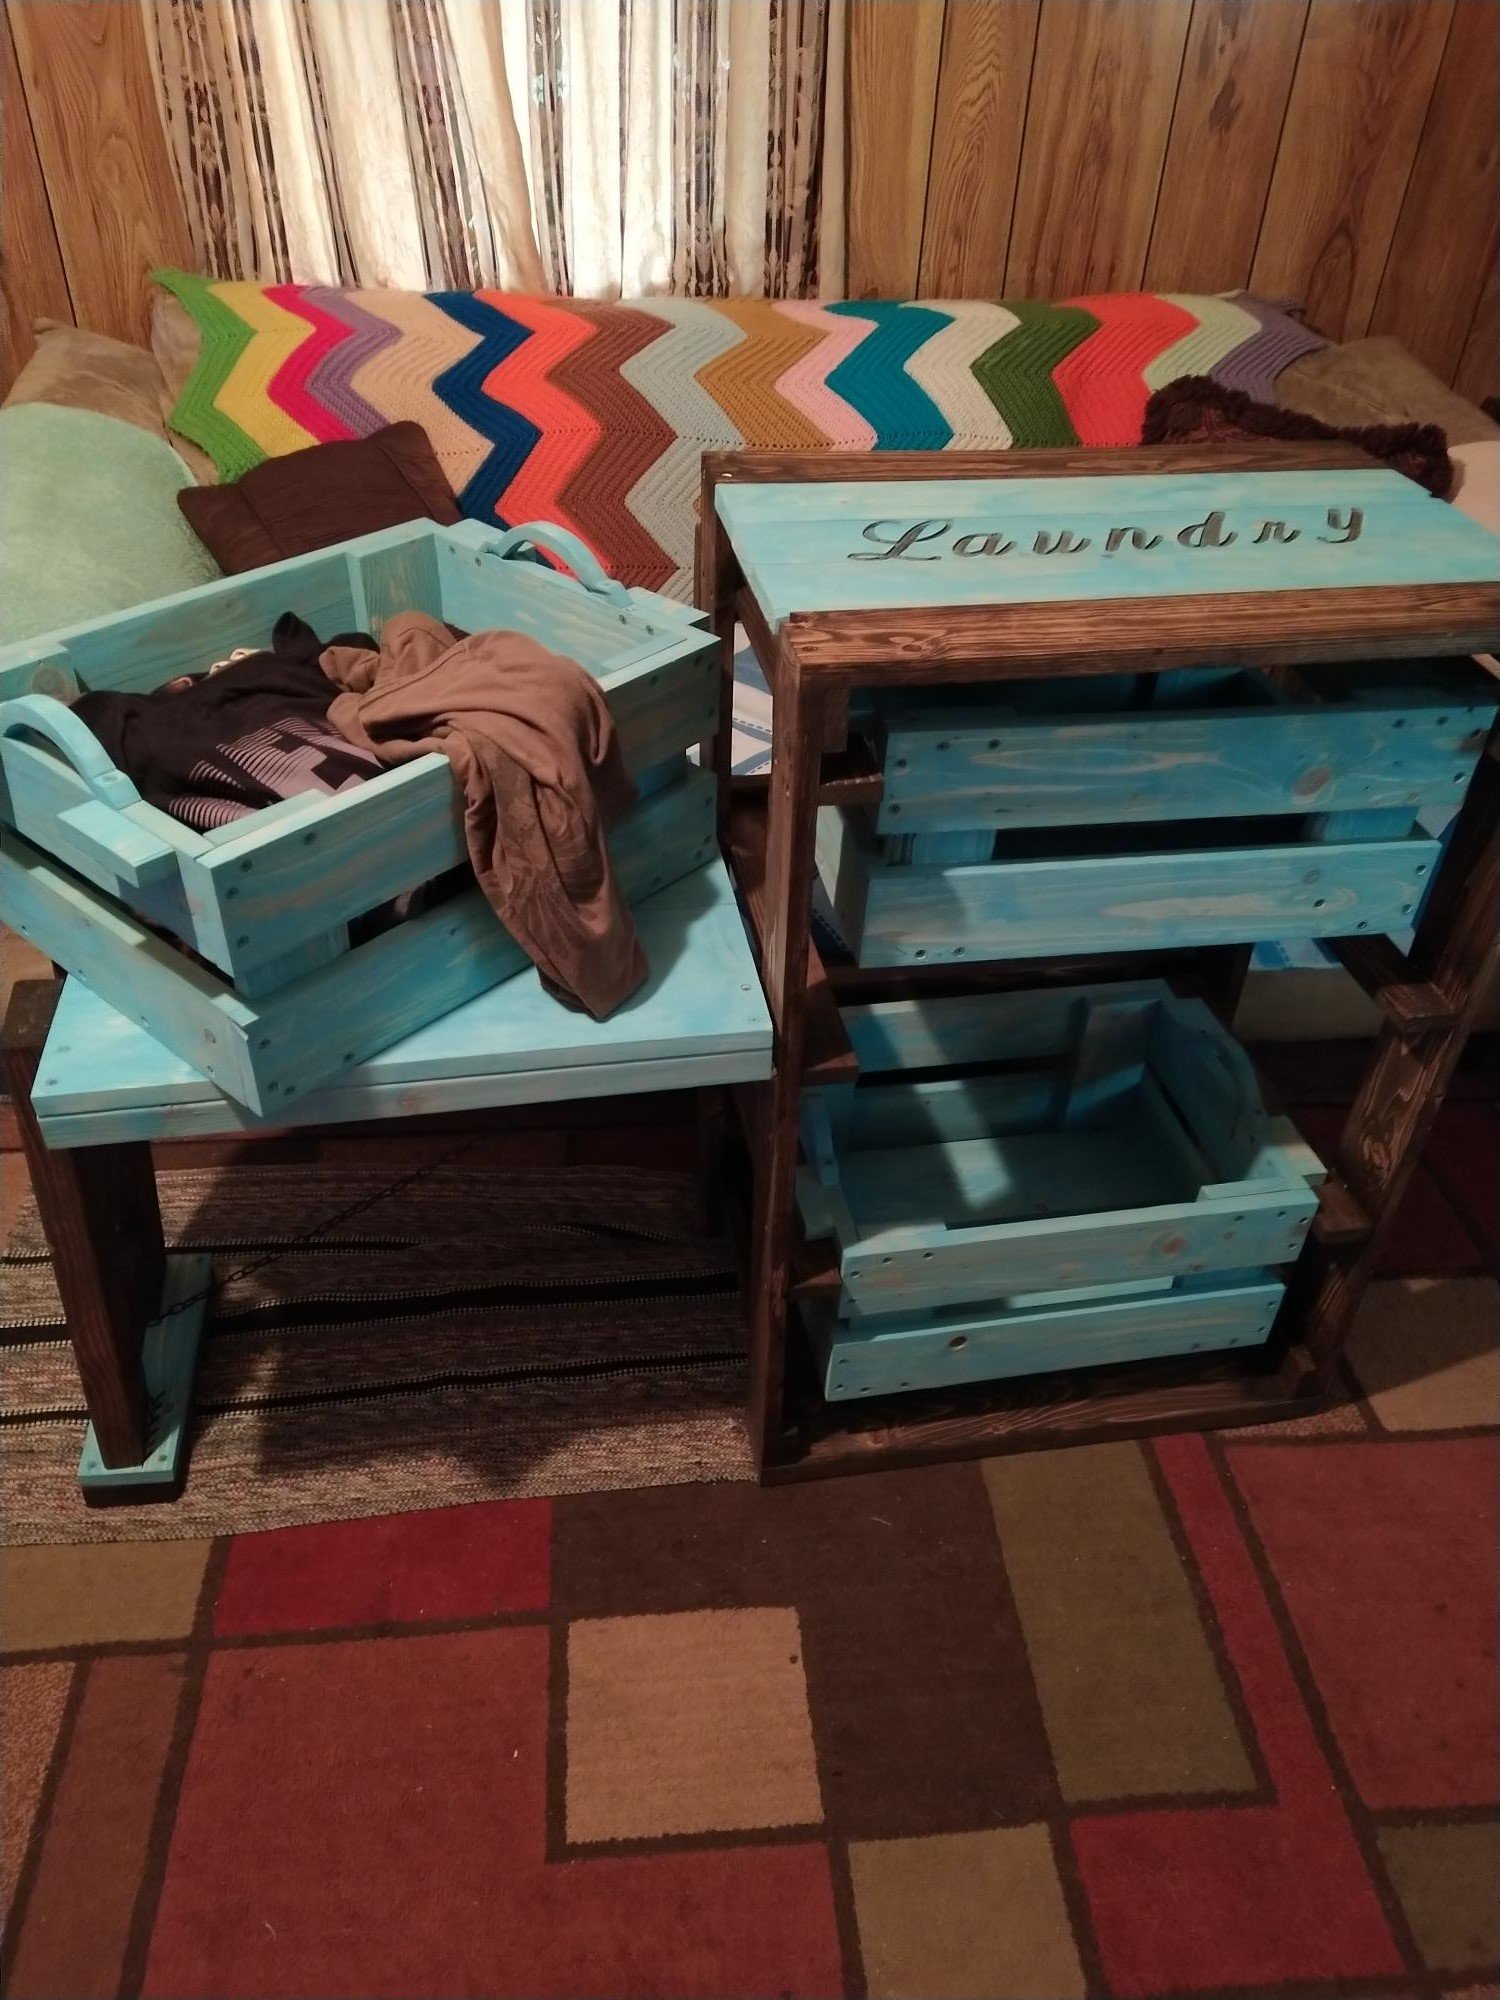
I told the love of my life about how Ana had a really cool laundry basket shelf, and asked her if she wanted one. Of course she said yes, so I made her one! I added a few twists to mine as you can tell, but the actual shelf itself is completely from her design!
Built from Plan(s)
Comments
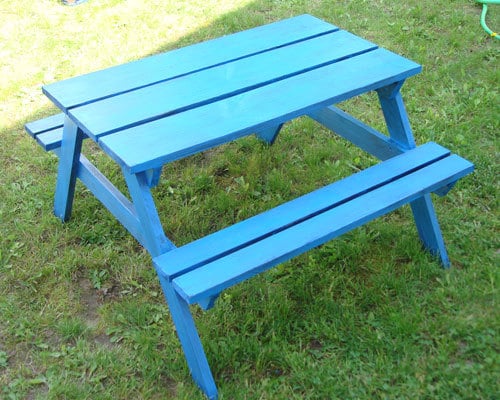
L'il Man's Picnic Table
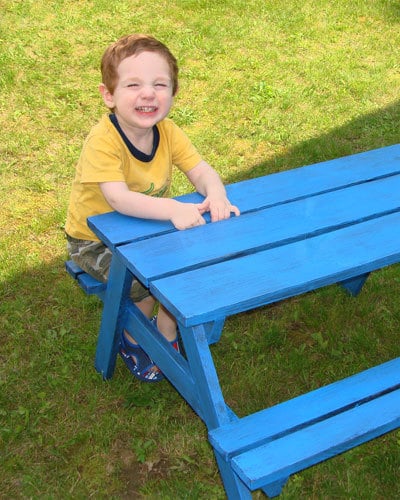
My first Ana White project! This was the first project on my to-do list, and my little guy loves it!
Built from Plan(s)
Estimated Cost
$25
Estimated Time Investment
Afternoon Project (3-6 Hours)
Finish Used
Stained with Minwax Ebony then dry brushed with Behr Star Command Blue to give it a weathered look. Finished with spray sealer.
Recommended Skill Level
Beginner
Comments

Tue, 06/07/2011 - 11:11
What a gorgeous blue finish!
What a gorgeous blue finish! Love seeing picnic tables! Great job on your first project! Looking forward to seeing more from you!
Patio Dining Table with Built-In Drinks Cooler

I found this website when I was looking for patio dining table designs/styles. When I looked at this table, I knew I wanted it but I will have to make it myself. With no prior building experience, I gave in and purchased circ saw, sander, kreg jig and lumber.
The directions provided on the website were very easy to follow. And in about one week, I had built a new patio dining table.
I modified the plans slightly. The original table looked very small. So I added 2x6s on the long sides and 2x8s on the short sides to make the table wider/longer. And I also made the legs out of 4x4s. And for the inner skirt, I used 2x4 studs instead. Each leg is secured by 3" L brackets (3 sides) and 2 1/2 screws thru 2x4 stud on one side. This made the table stable and strong.
Dimensions:
84" L x 43" W x 31 1/2" H


Estimated Cost
$234 if you don't count the tools purchased (circ saw, sander and kreg jig)
Estimated Time Investment
Weekend Project (10-20 Hours)
Finish Used
Home Depot guy suggested Behr Transparent Waterproofing Wood Finish and Helmsman Interior/Exterior Polyurethane Clear Gloss.
Recommended Skill Level
Beginner
Comments
Tue, 08/25/2015 - 08:36
Board Lengths
Sir,
Just wanted to say your table turned out great! I too have little experience and want to make this table. I have left over 2 X 6s from a pergola I put up. (Board are already stained!) Saying that, I had a question with the demensions of the the short boards and middle board between the troughs. Both short boards are 2X8s correct? The inner middle board looks like a 2X4?
Any assistance would be appreciated!
Robert
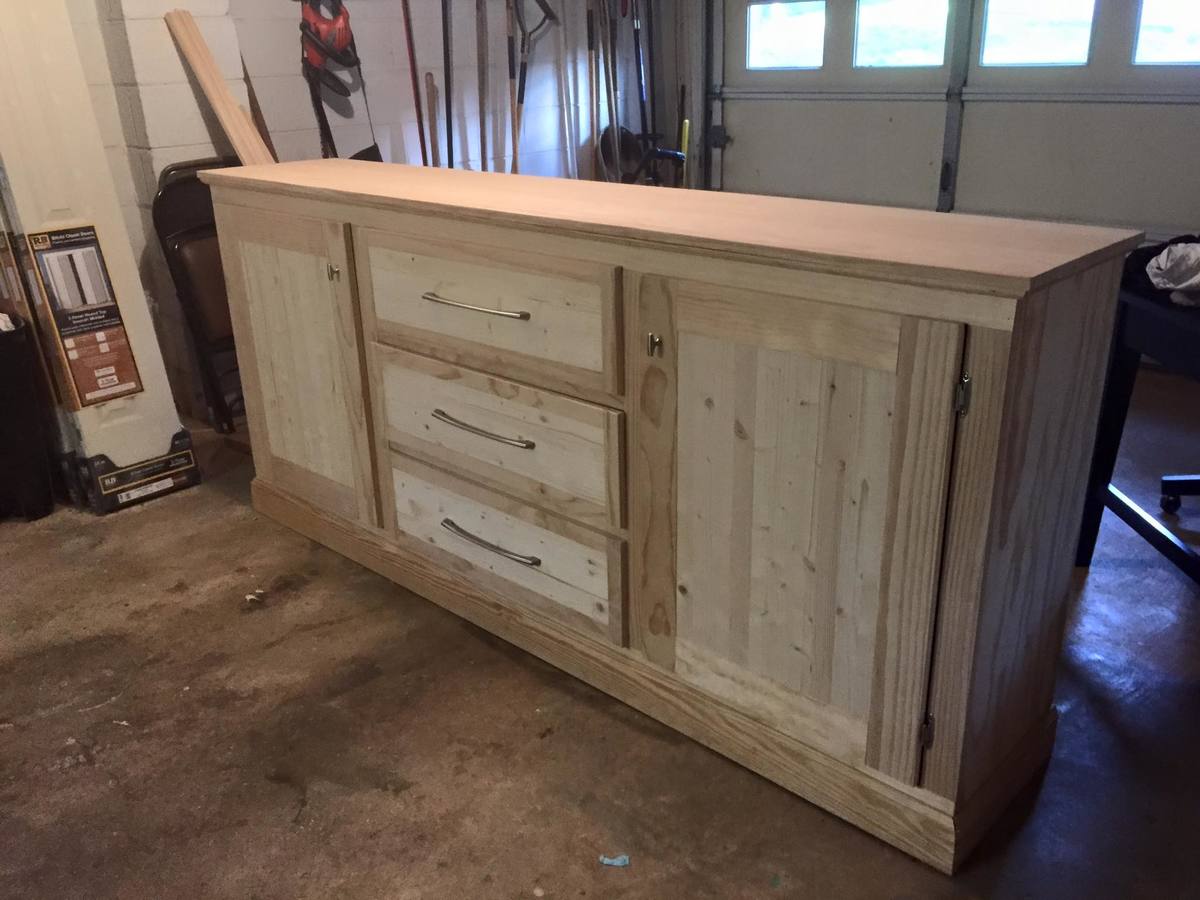
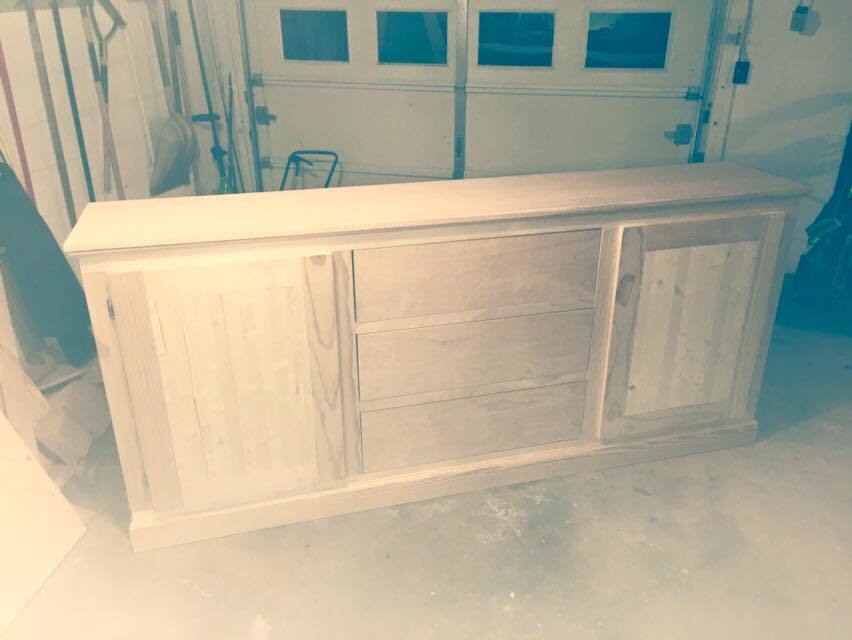
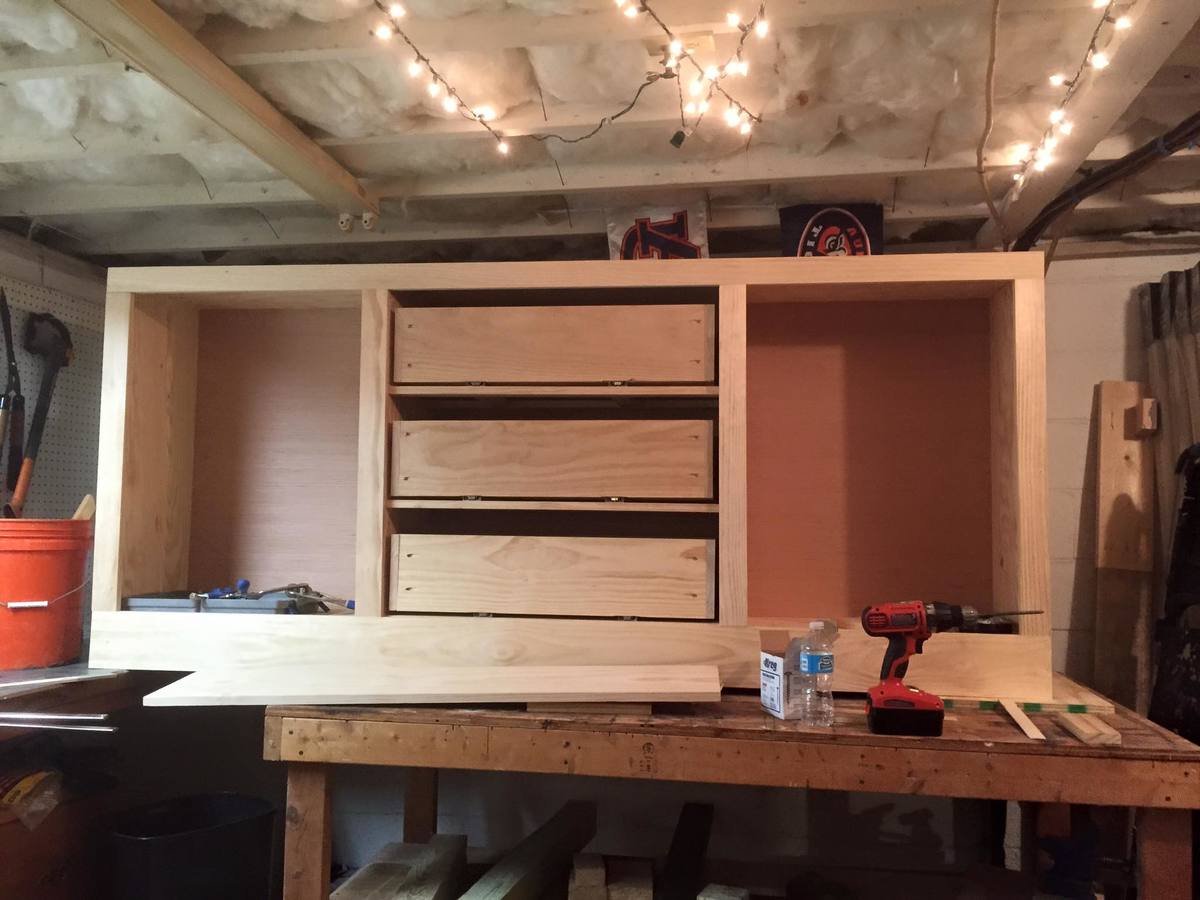
Extra Long Buffet Cabinet

Kept it natural for now. Might stain it in the future.
Built from Plan(s)
Estimated Cost
$300 in wood. Another $100 in hardware.
Estimated Time Investment
Week Long Project (20 Hours or More)
Finish Used
Kept natural color of wood.
Recommended Skill Level
Intermediate
Half Moon Baby Cradle

Built by Keith Hunt from pallet boards
Recommended Skill Level
Intermediate
Comments
Fri, 09/18/2020 - 07:51
Beautiful!!! Where can I get…
Beautiful!!! Where can I get the plans for this? I would love to make one for the new grandbaby arriving in June!!
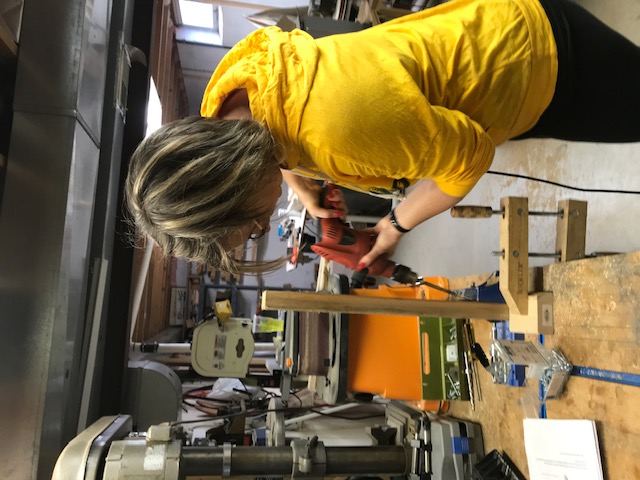
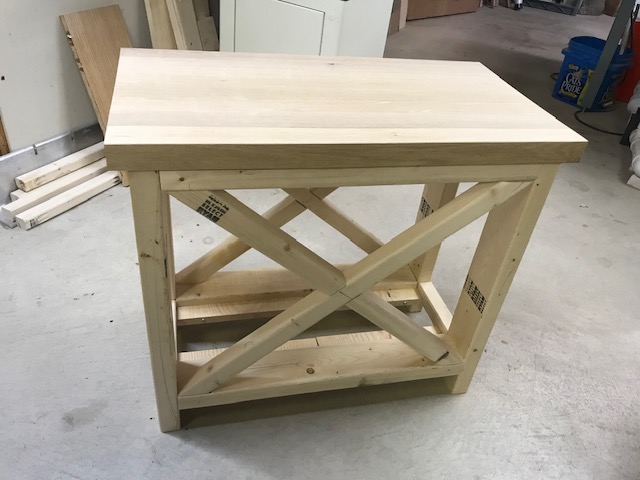
Rustic "X" endtables-reimagined!
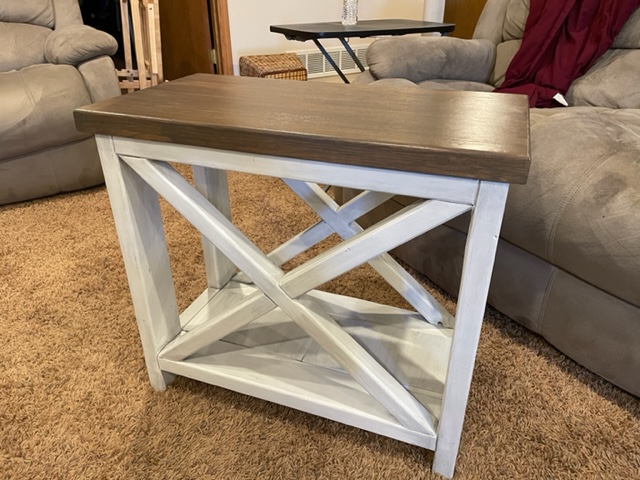
I loved these end tables, but they were too big for what I needed. I made one table to be 20" x26" and two others that were both 13"x26". We modified the top of the table by using quarter-sawn oak that had been sitting in the basement for years. We squared the boards, glued and biscuited them together and planed them to create a beautiful butcher block top. I am so happy with the way they turned out and they fit perfectly in my space. I learned a lot and the time spent with my Dad to create them is priceless!
Built from Plan(s)
Comments
Thu, 04/21/2022 - 15:13
Priceless!
Absolutely beautiful, that is precious time spent! Thank you for sharing.
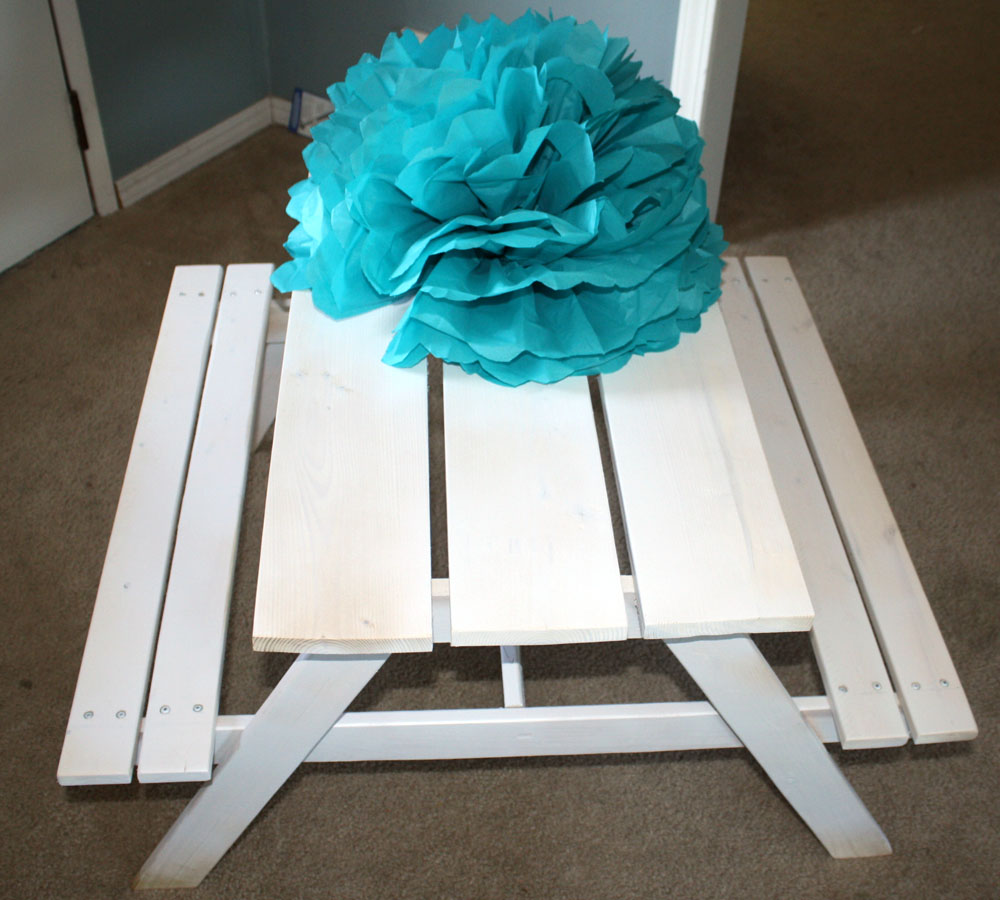
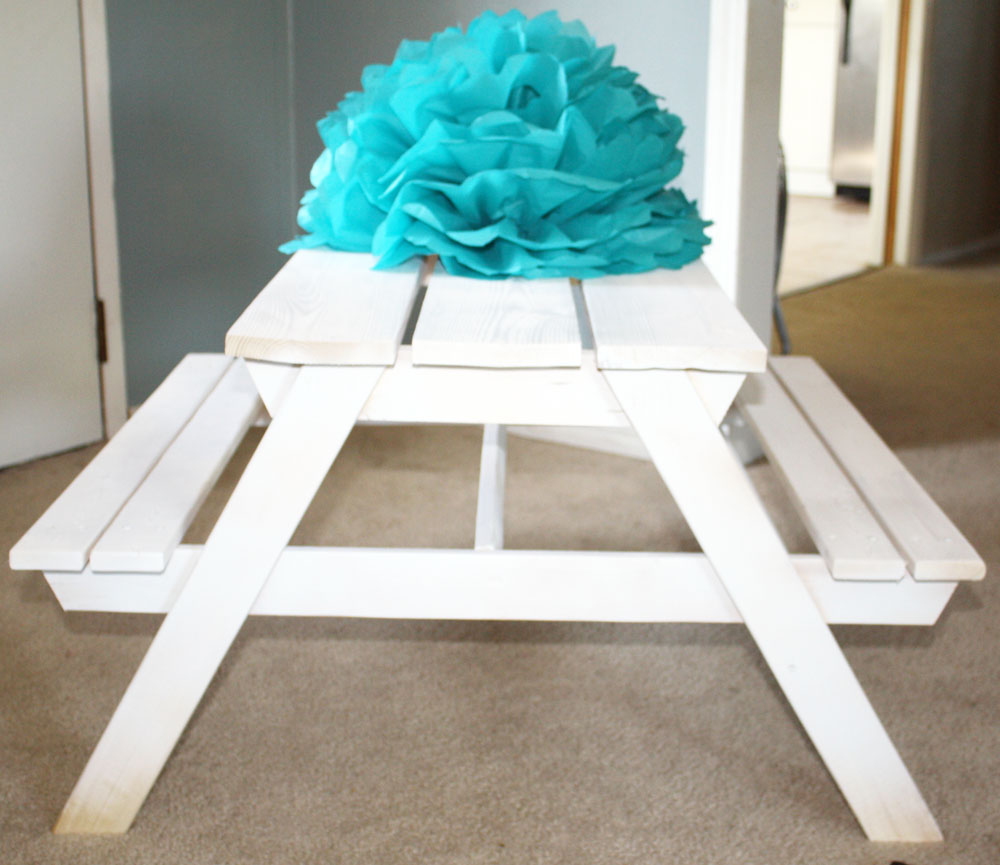
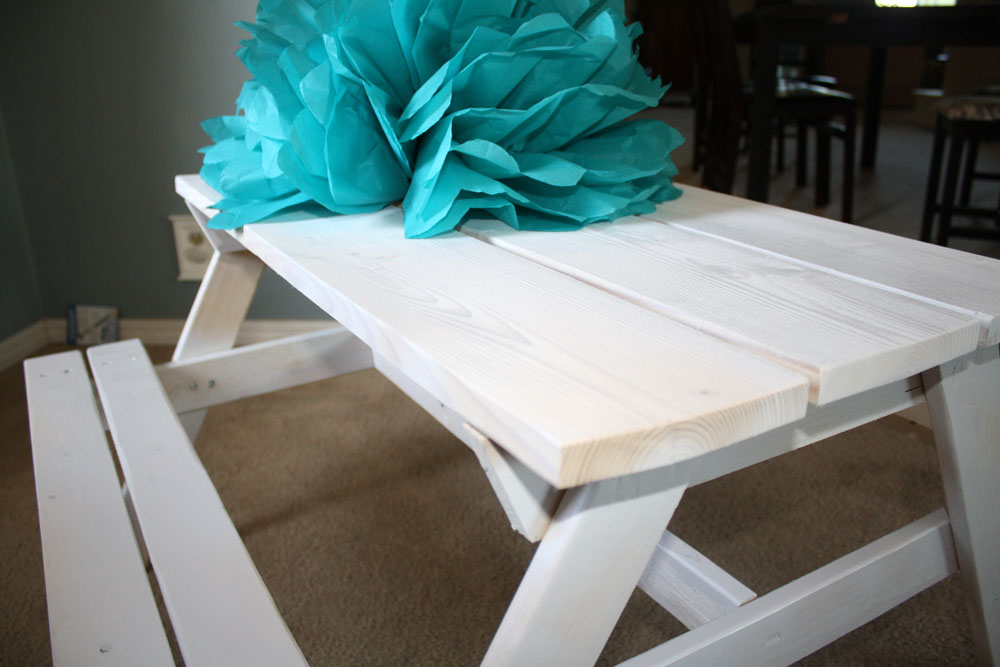
Ready for Summer...
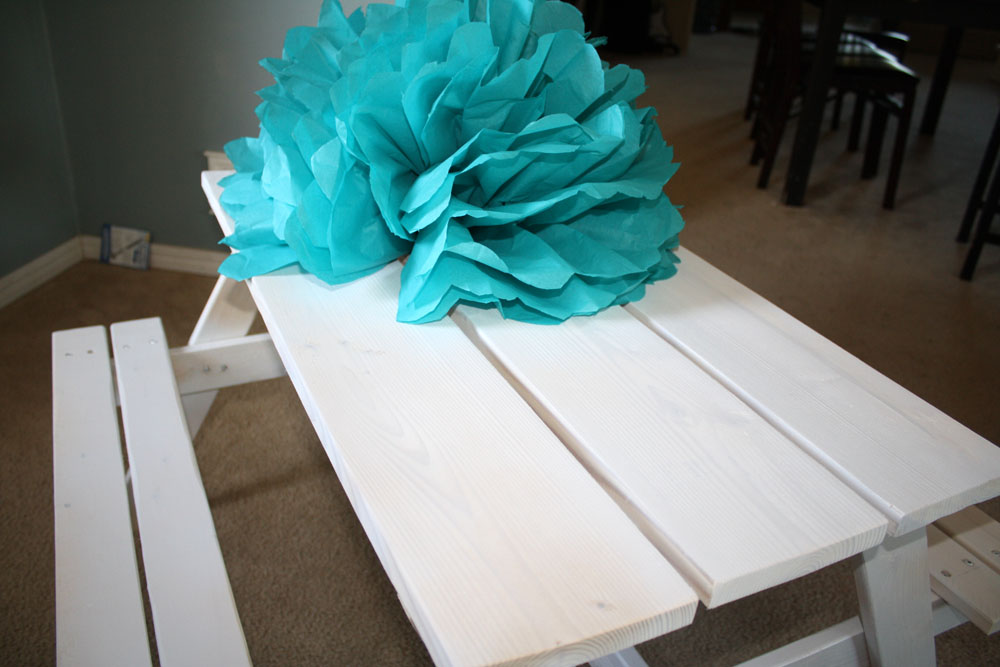
I had tons of fun with this one! I have a boy and a girl and I like light...so white is my best option...

Built from Plan(s)
Estimated Cost
$11.00
Estimated Time Investment
Afternoon Project (3-6 Hours)
Finish Used
White spray paint- my can broke so I have not finished painting it...although a white wash looks nice...i think i will finish it off with a white wash finish look...
Recommended Skill Level
Starter Project
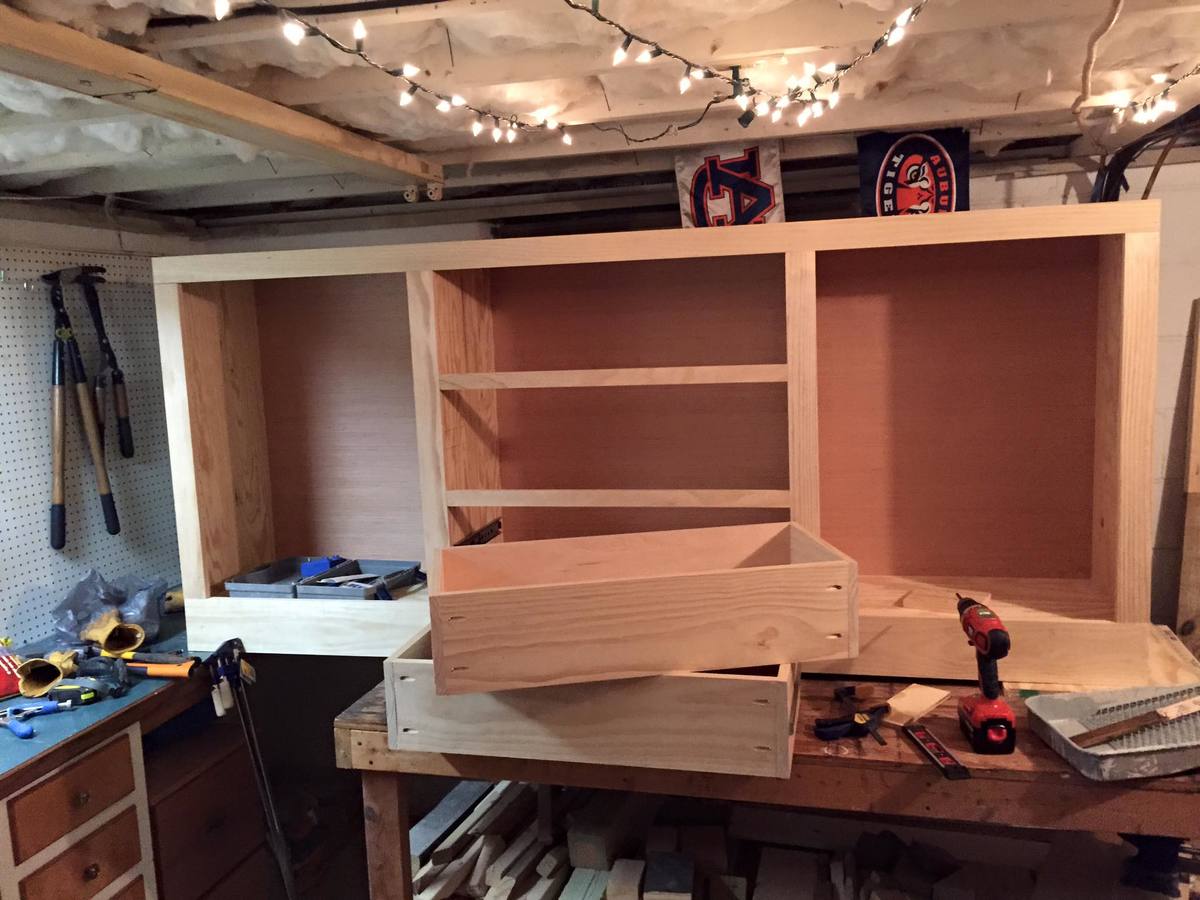
LITTLE PALLET DRAWERS

I made two of these little drawers to use in the Bathroom Wall Storage project that I built from Ana's book, The Handbuilt Home. They're from her Pallet Storage Boxes plan. They went together in no time! I really like the rustic look of them, so I'll be making lots more!
Built from Plan(s)
Estimated Cost
About $4 for both boxes.
Estimated Time Investment
An Hour or Two (0-2 Hours)
Finish Used
I used two coats of stain in Minwax Early American, followed by a coat of Varathane's Diamond Finish in satin. All coats were applied with a rag.
Recommended Skill Level
Starter Project