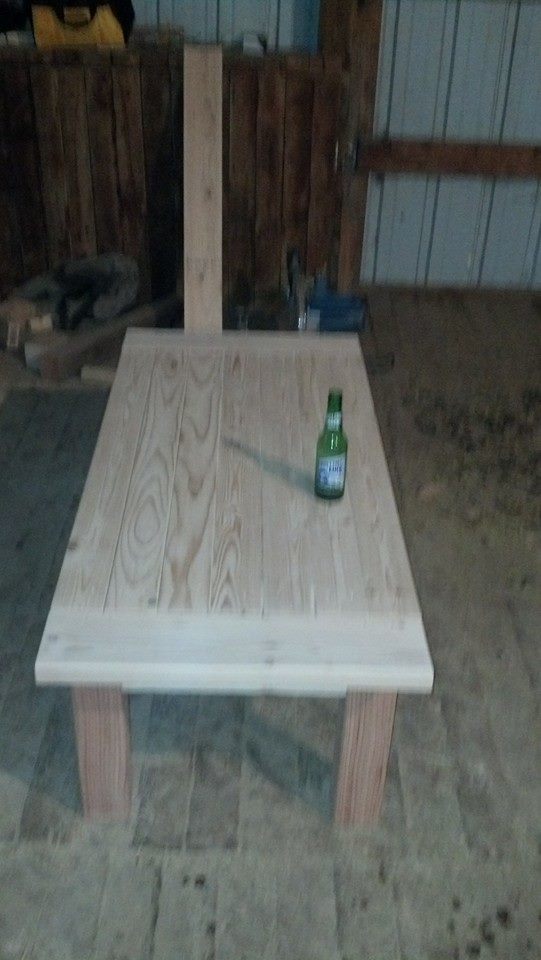
DIY Wood Outdoor Chair

Finally have a lawn chair that won't blow away in the MatSu Valley wind.
Built from Plan(s)
Finally have a lawn chair that won't blow away in the MatSu Valley wind.
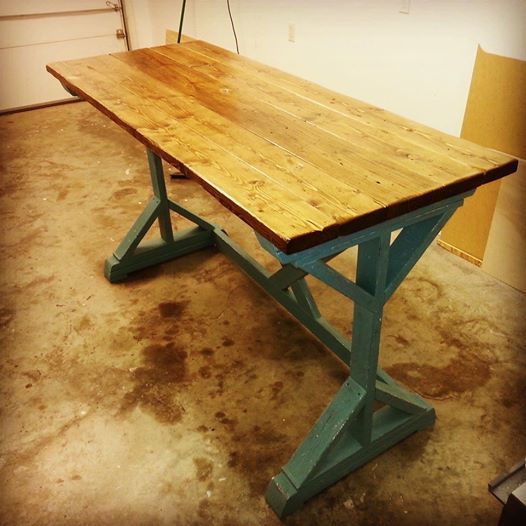
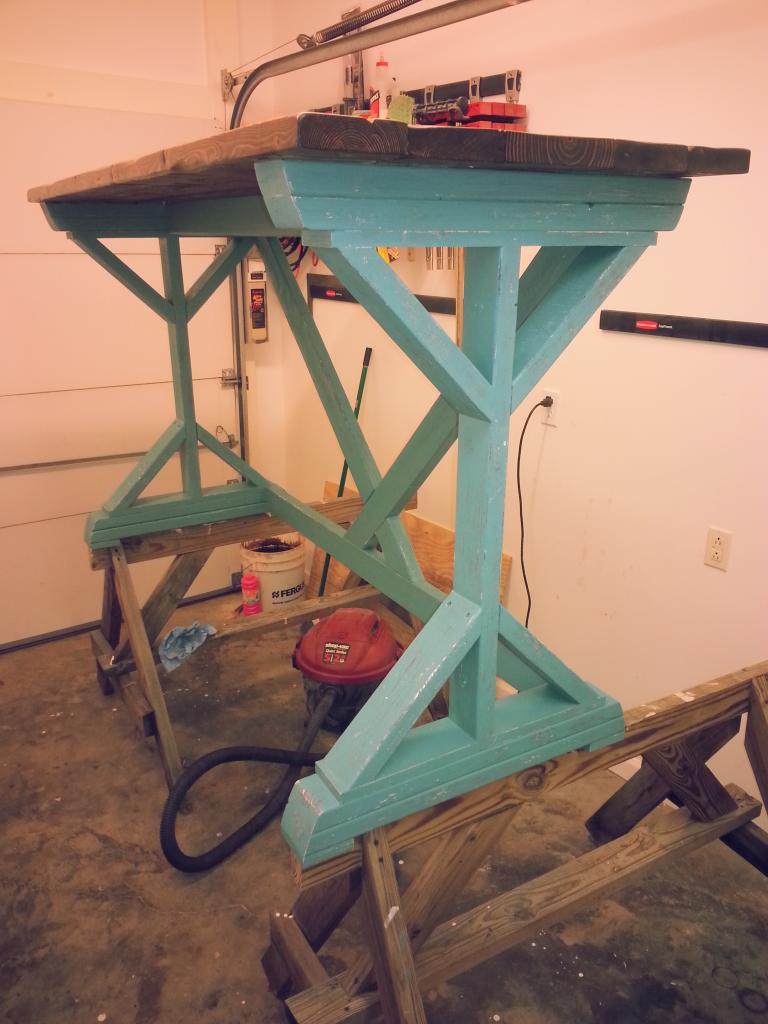
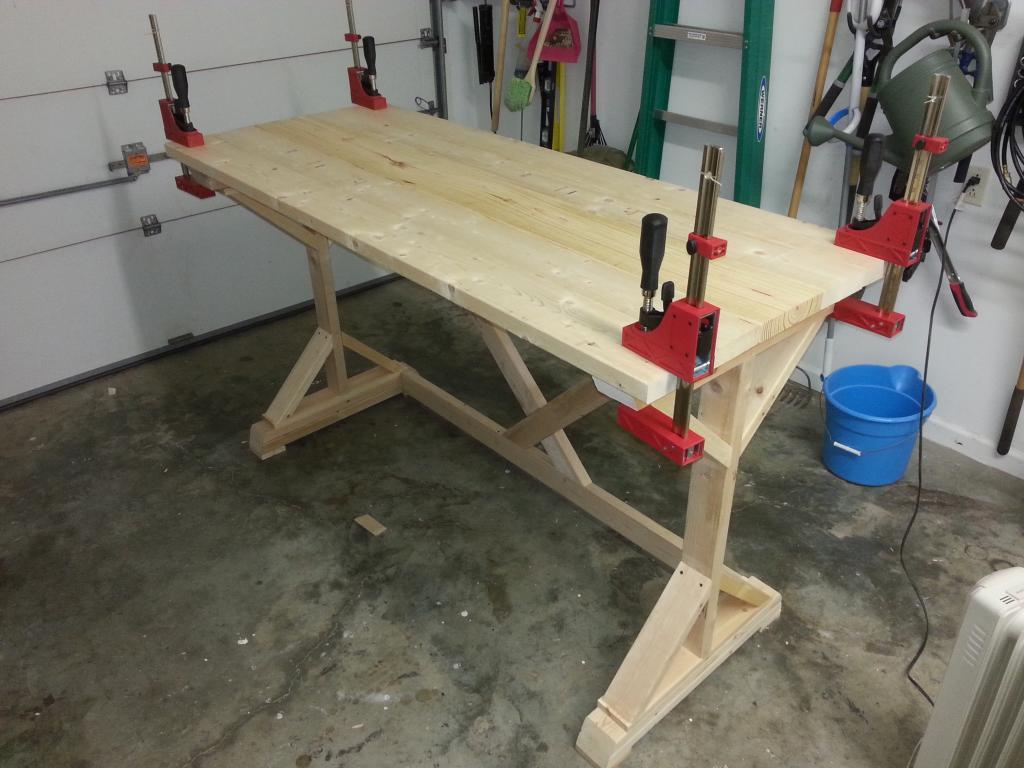
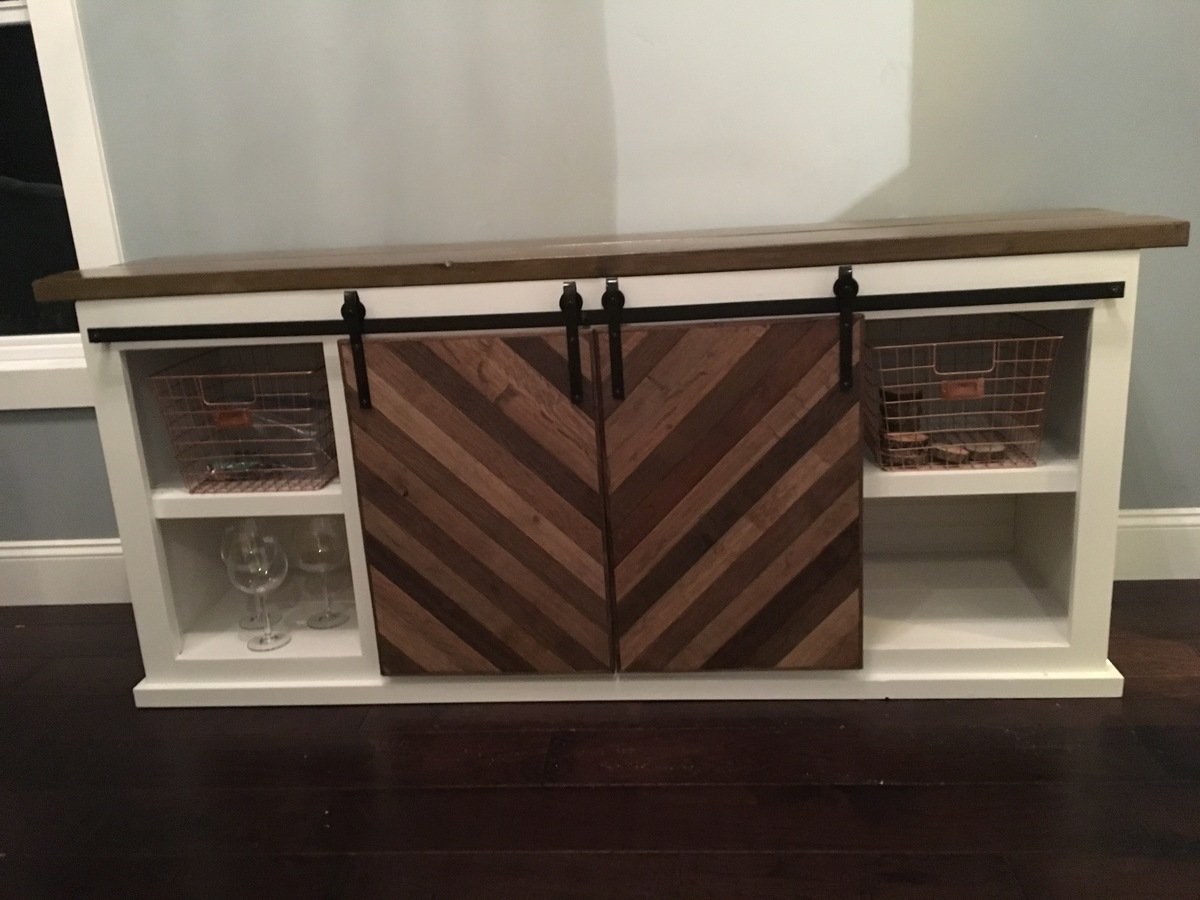
I built this bar for my mom to use i her dining room. I altered the plans for the X Style Desk to build this at bar height. This was my first time distressing anything and was pleased with the outcome. i used one coat of Minwax Dark Walnut stain and two coats of Minwax clear satin finish. White shellac Based primer, brown egg shell paint and Green egg shell paint for the base and sanded for the distressed look. I used dimensional pine lumber from the home center to build this with.
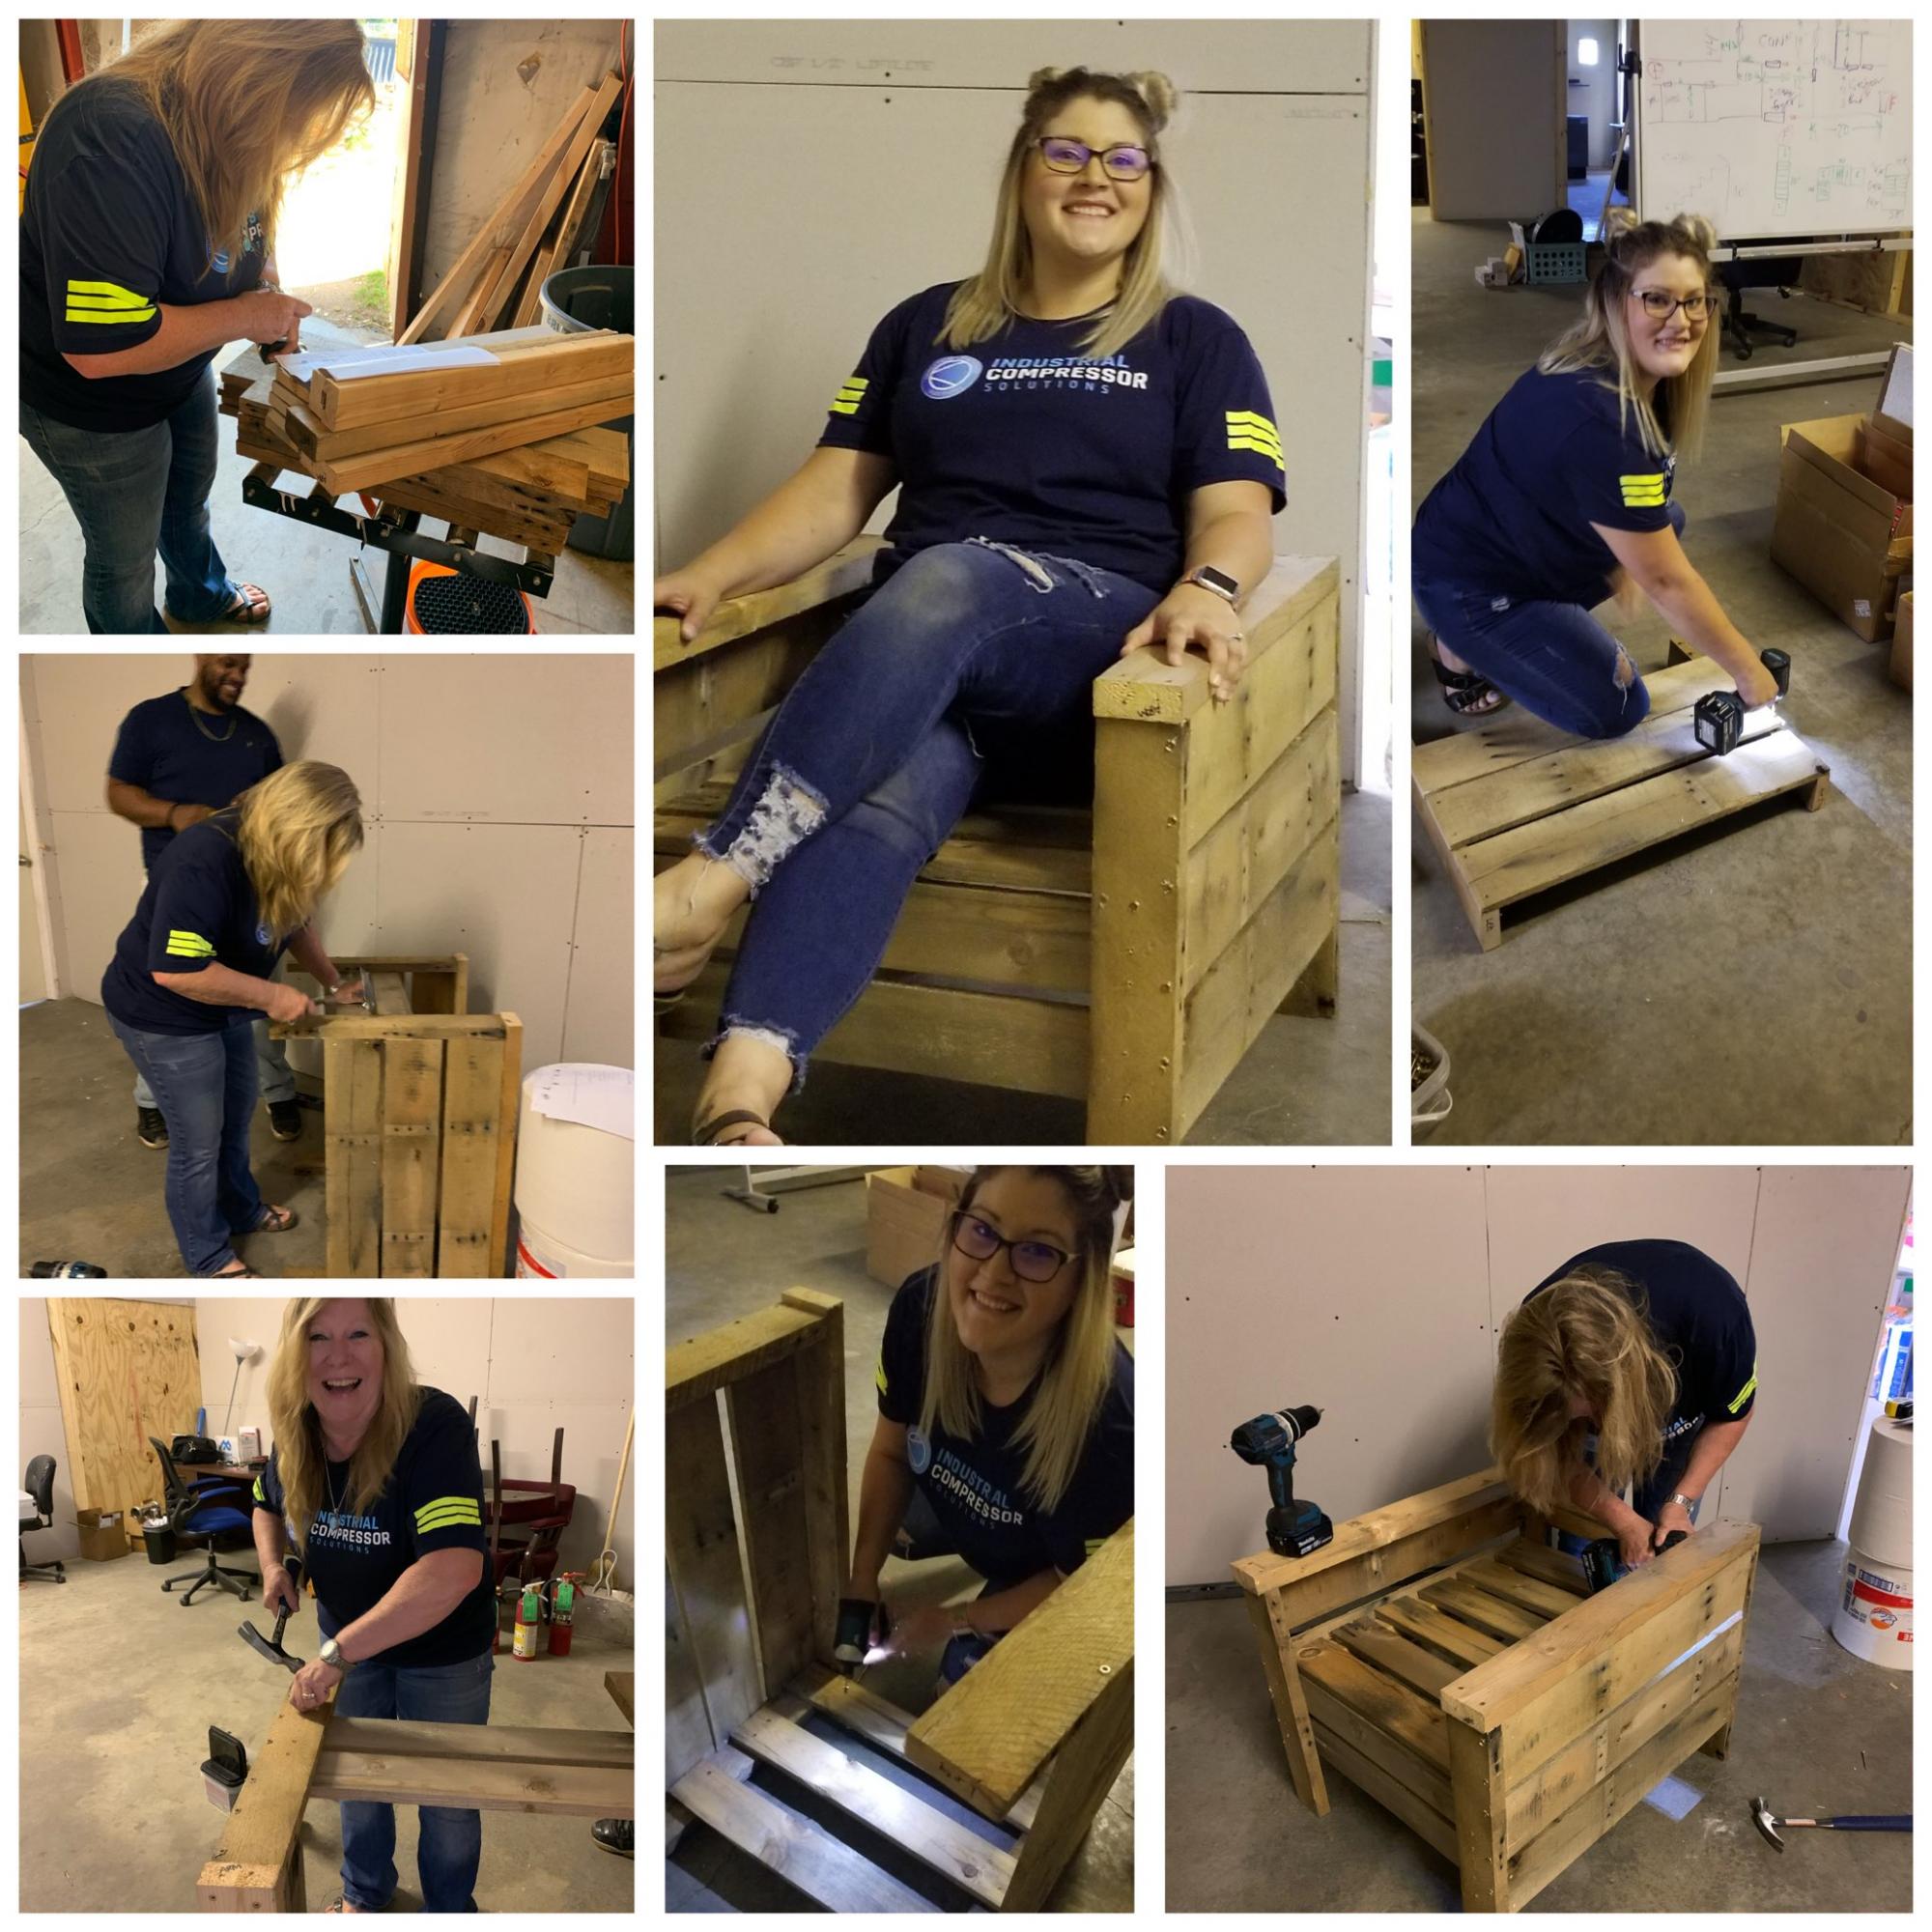
It's a Friyay! and we have a bunch of used pallets at work the boss is wanting to get rid of. Well he is on vacay so ....
We (me and my office manager) had to alter the directions a bit but the end result is great. This was our first project and tools were very limited. Even so its a win win and we will be making more. Thank you Ana!
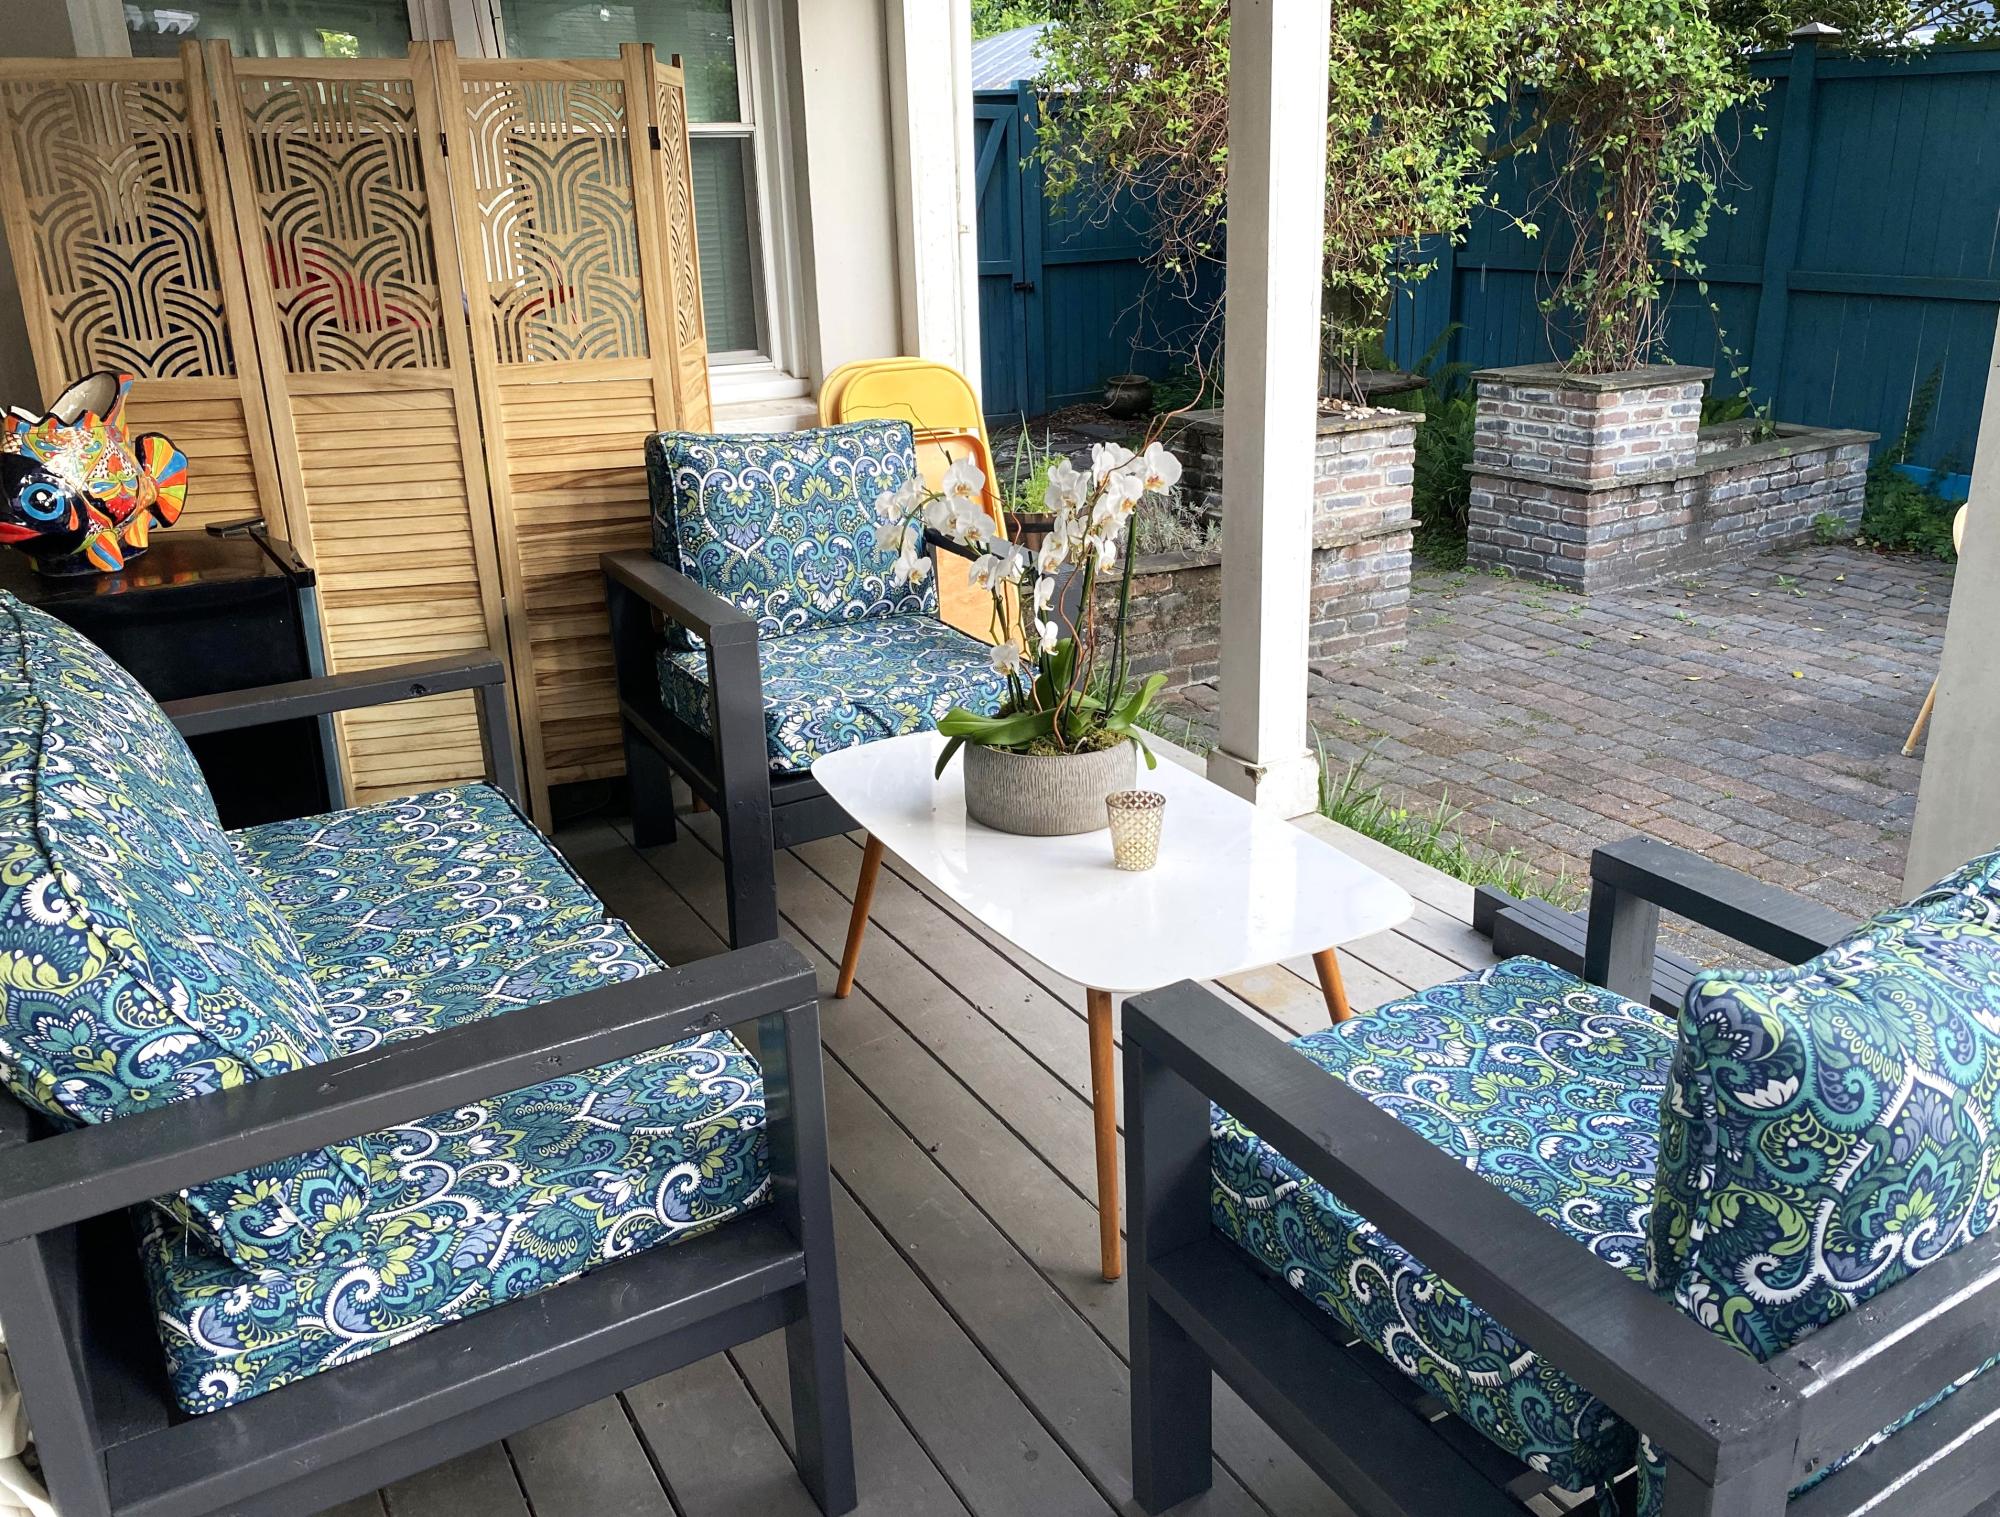
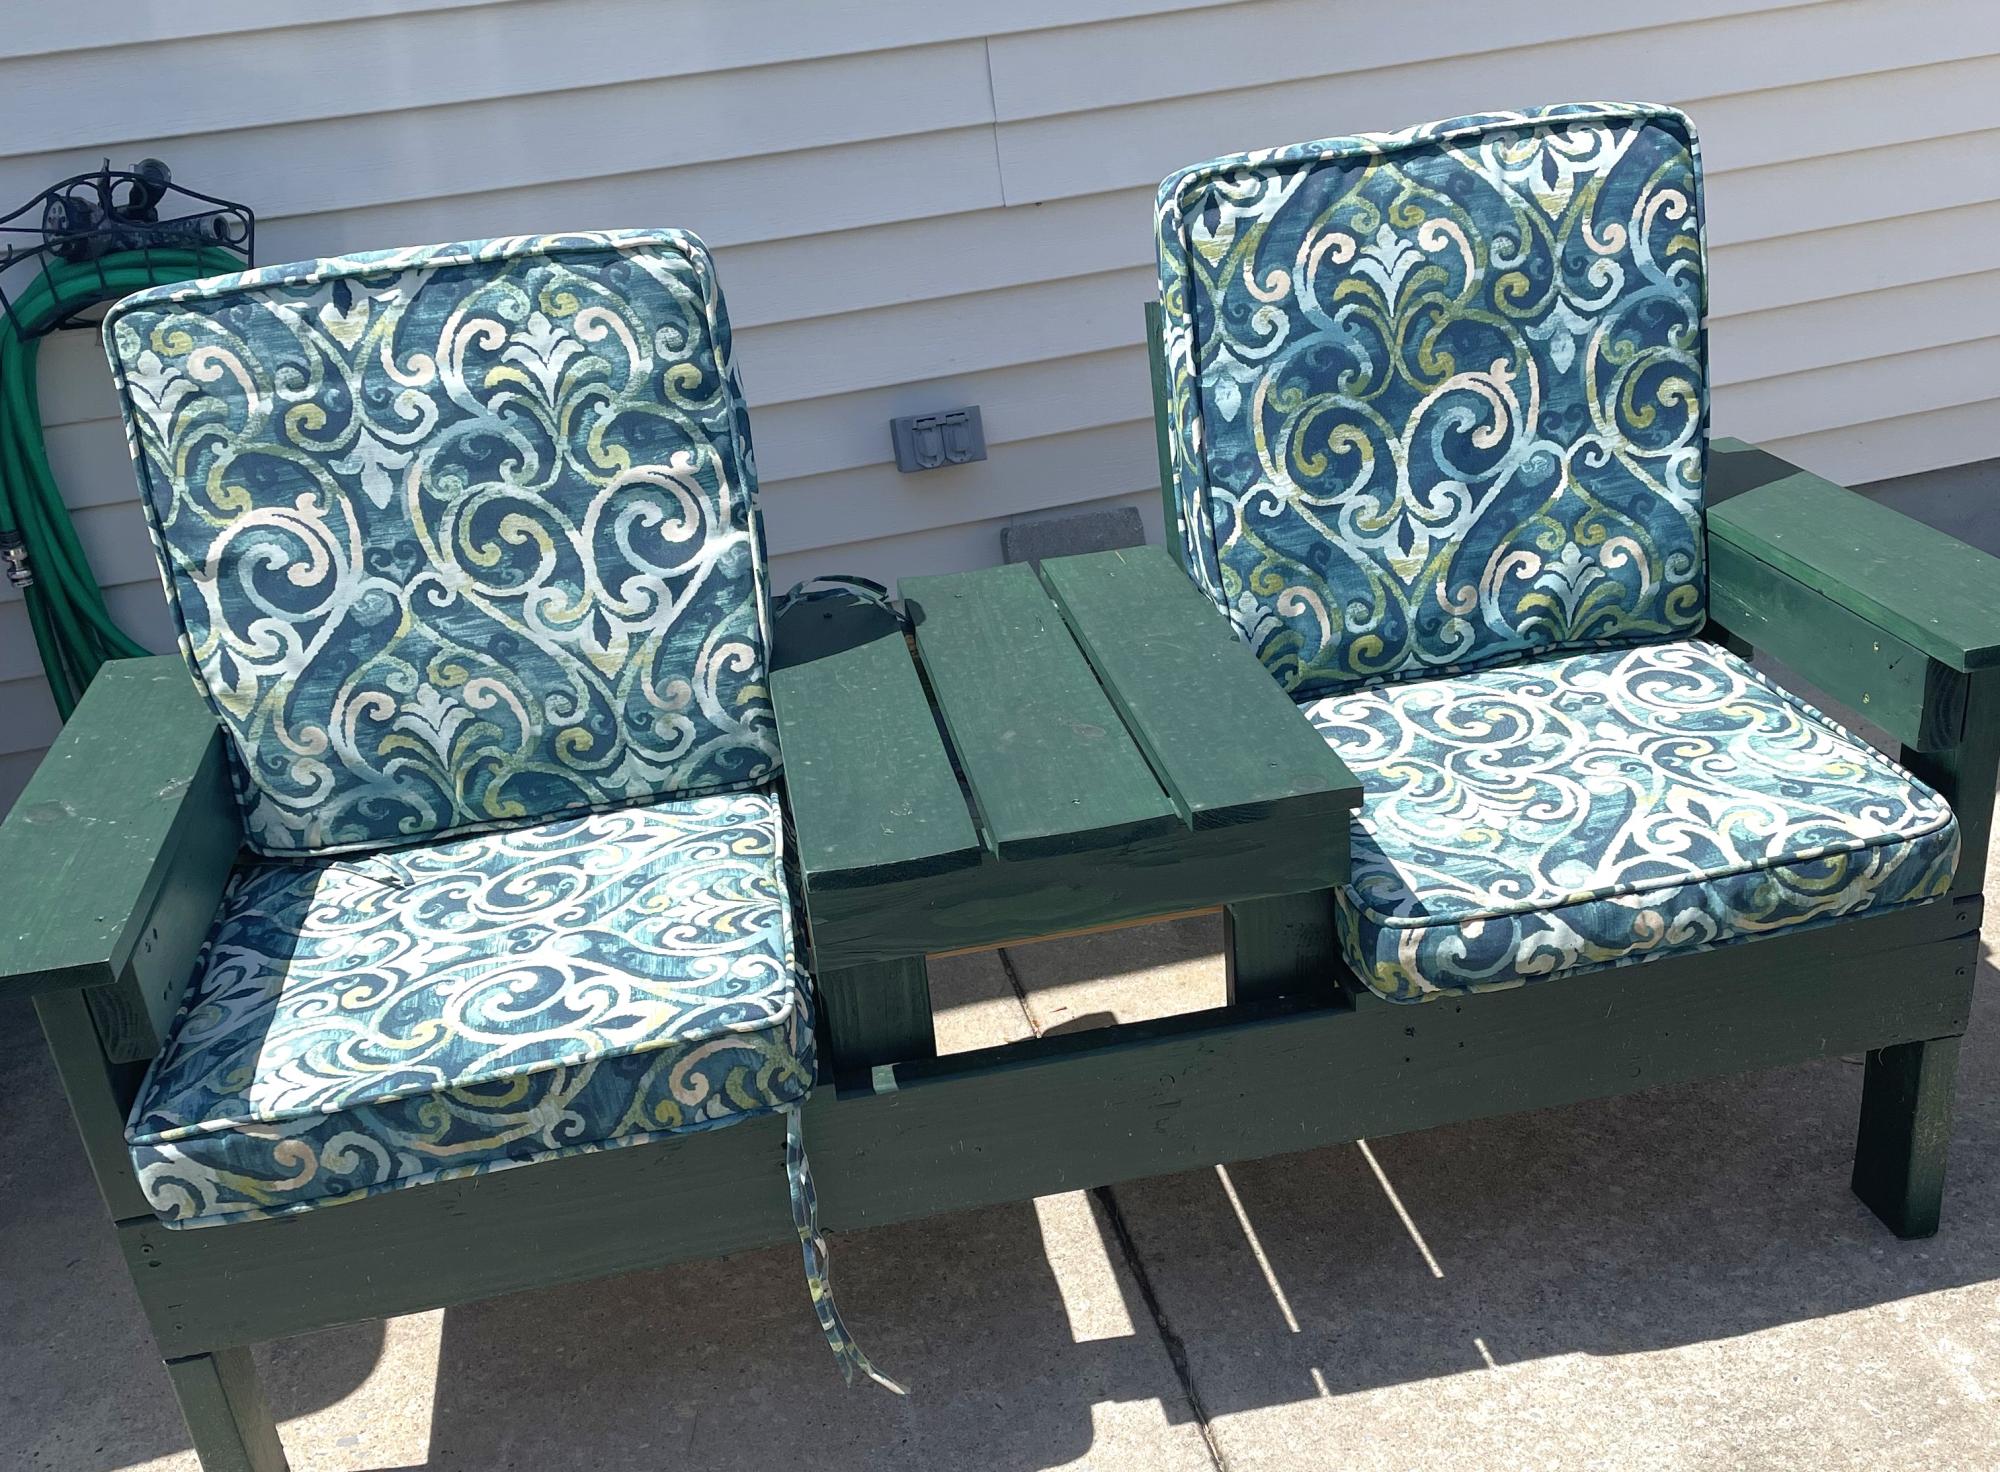
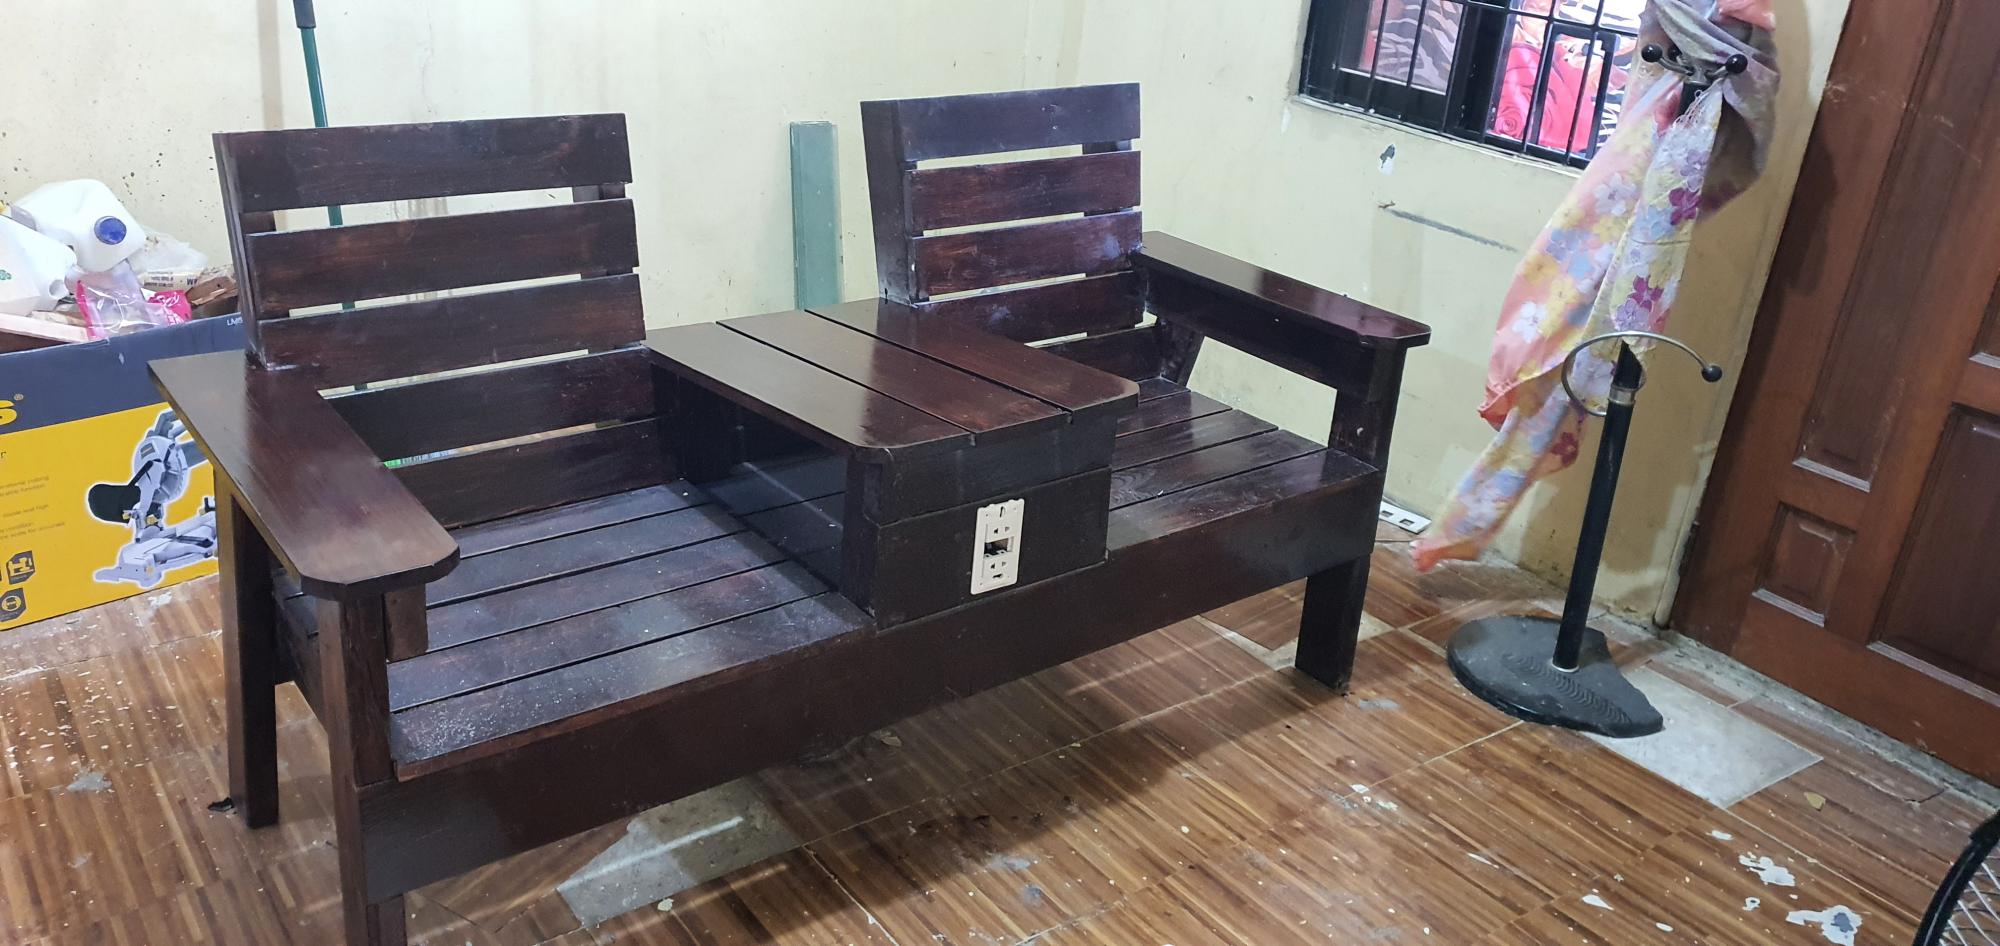
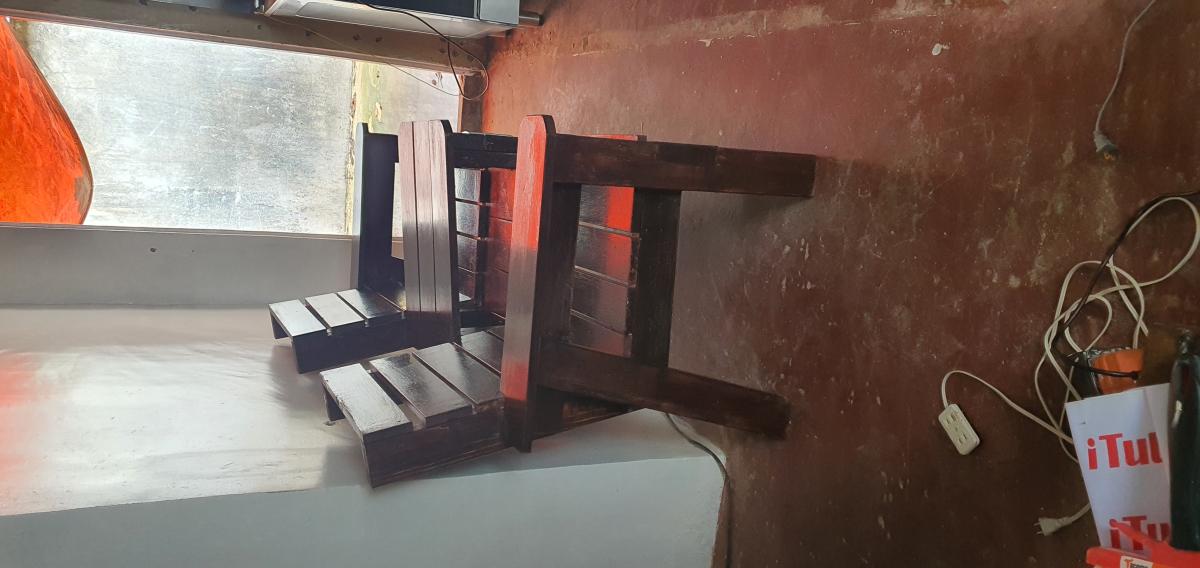
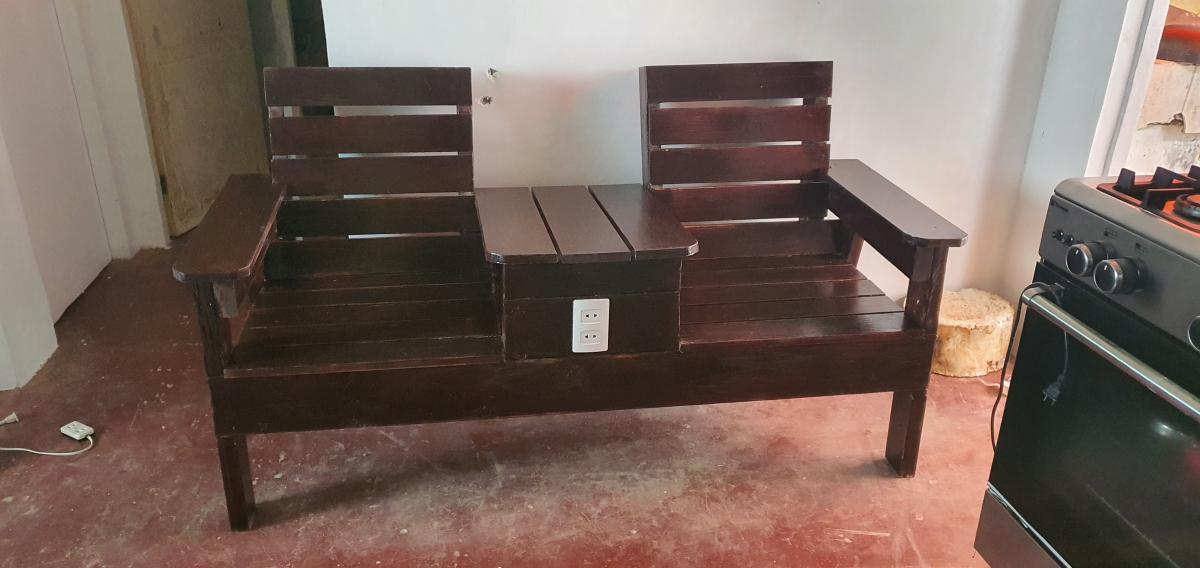
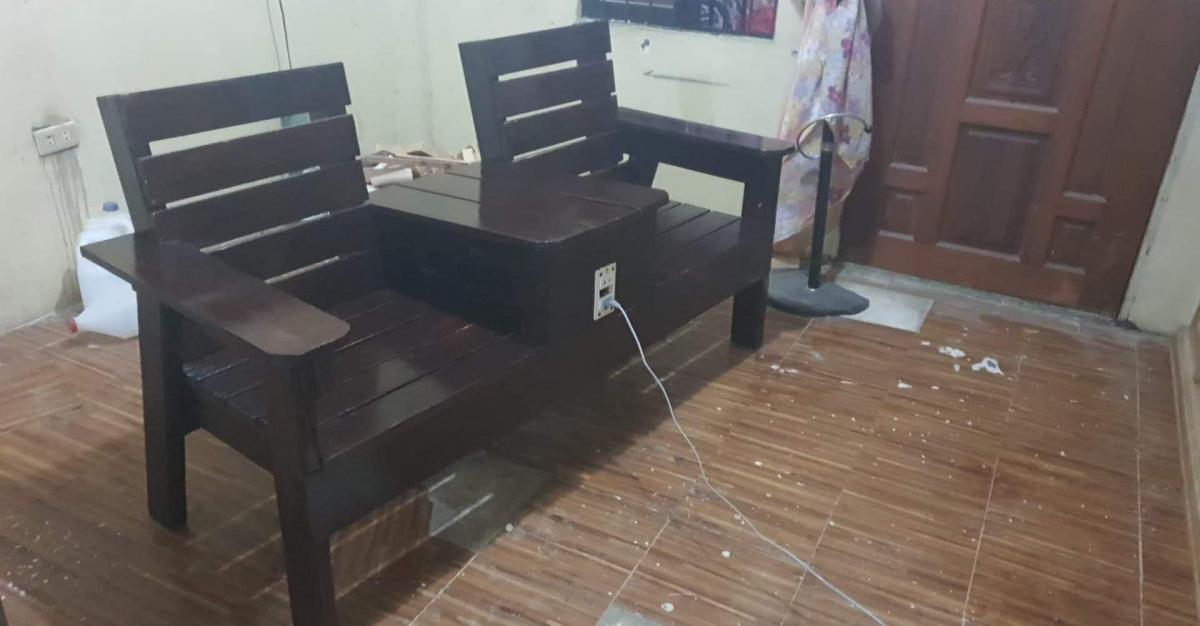
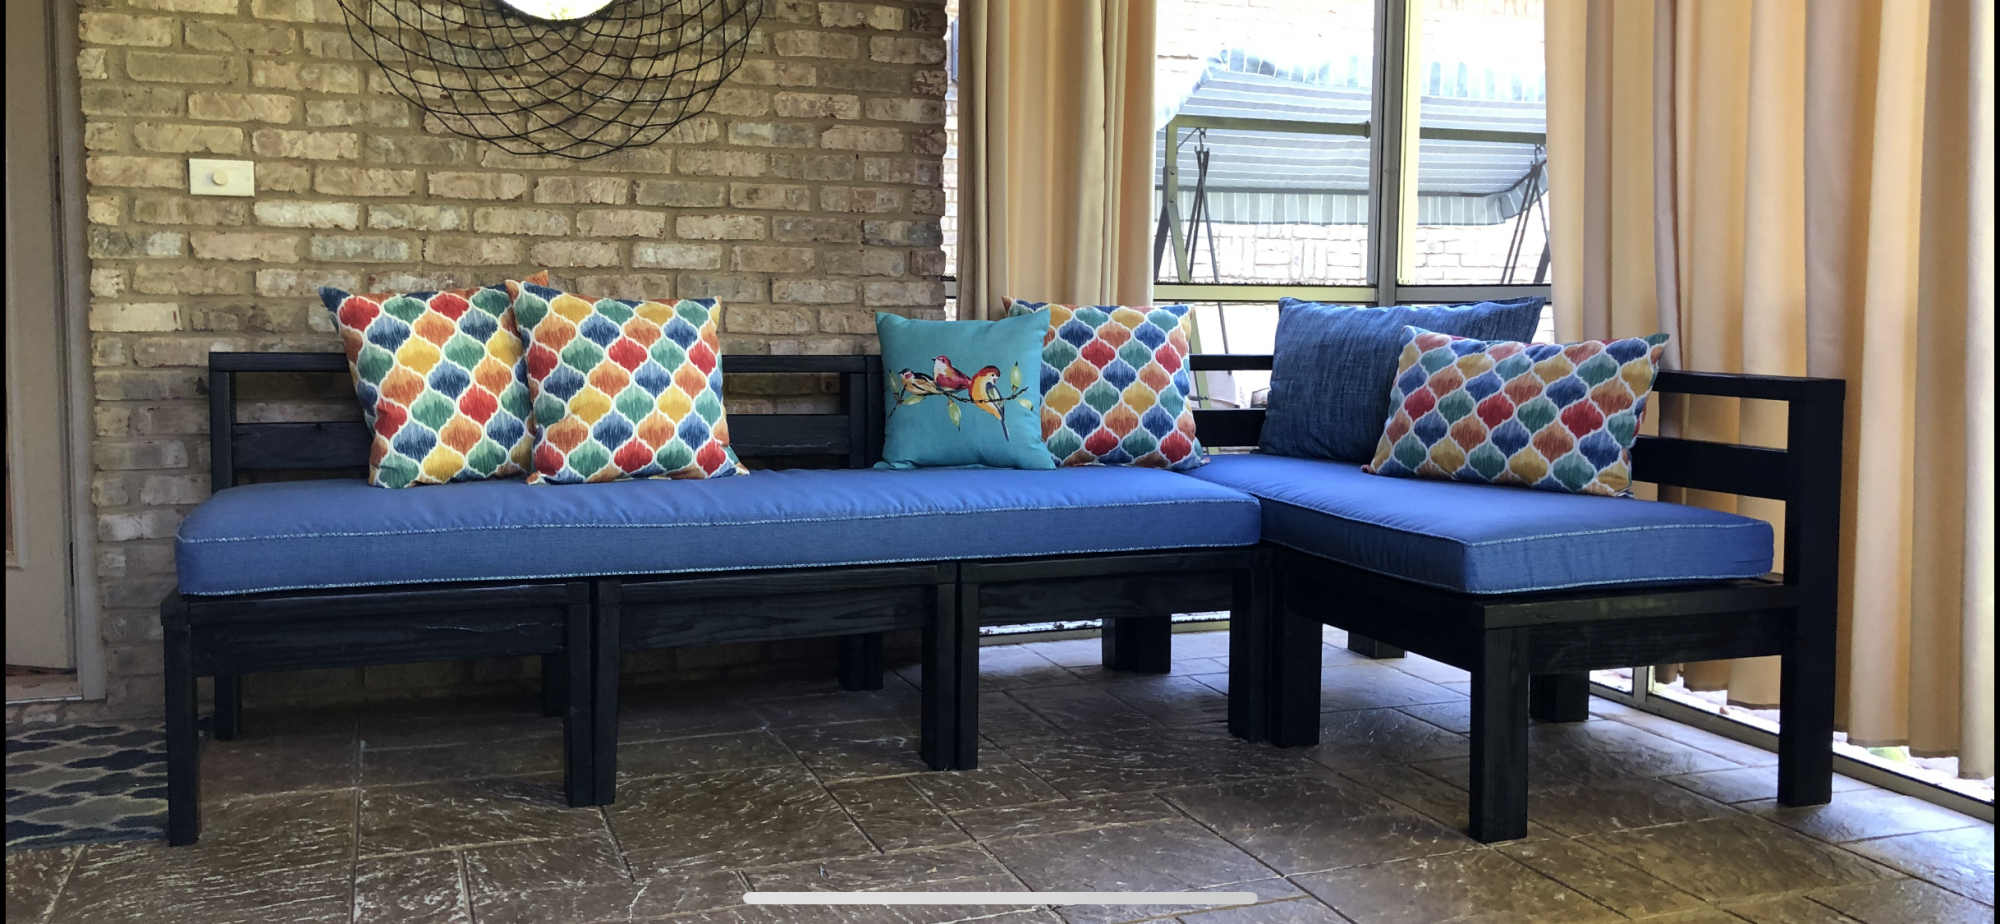
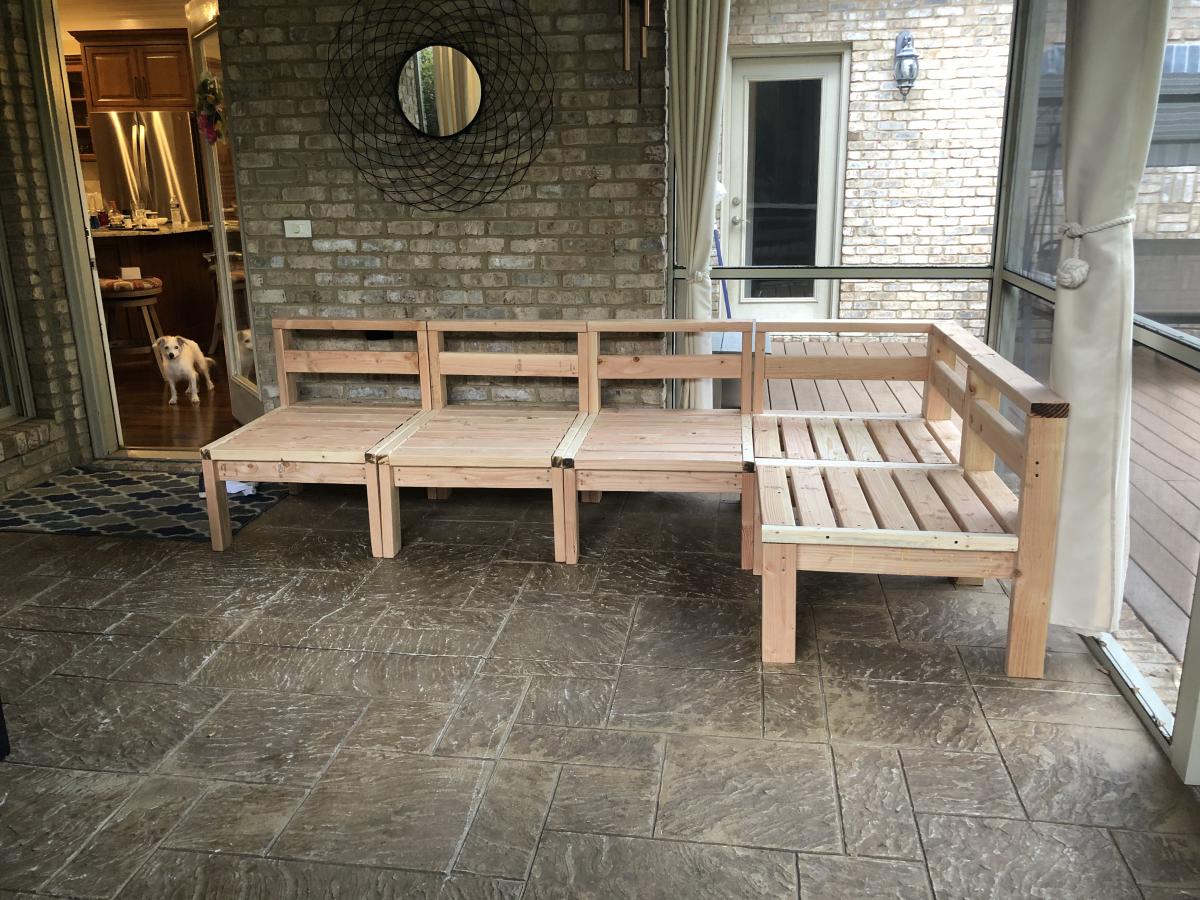
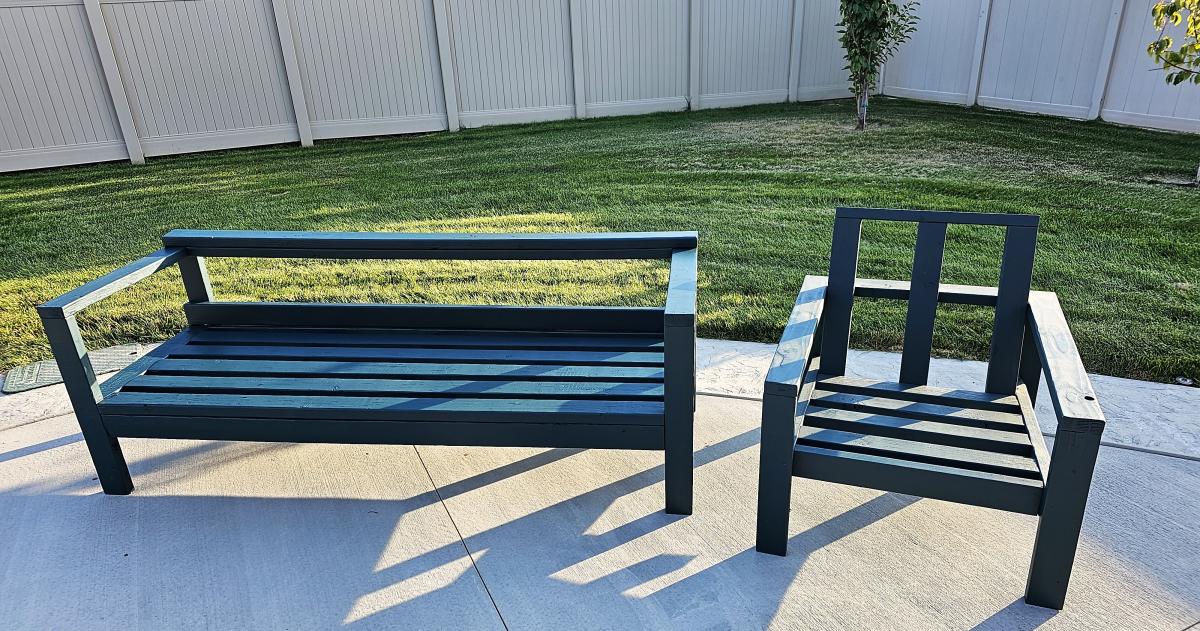
We built our patio furniture with your outdoor chair and couch plans! Thank you thank you!
Candice

I Love this plan! I had to modify mine a little form Ana's because the reclaimed wood I got was already cut in small pieces. I love how it turned out! I ended up giving it as a gift and made several more for the same purpose. You can see those on my blog!
Thanks Ana for another awesome plan!
This was my second project from Ana White and it turned out just as well as the Tryde Side Tables. The finish used was exactly the same as the side tables; however, just regular Cedar was used instead of Red Oak.
This was a fairly easy build, but the hardware was a challenge. Very exciting that it actually worked. Followed hardware instructions linked in comments
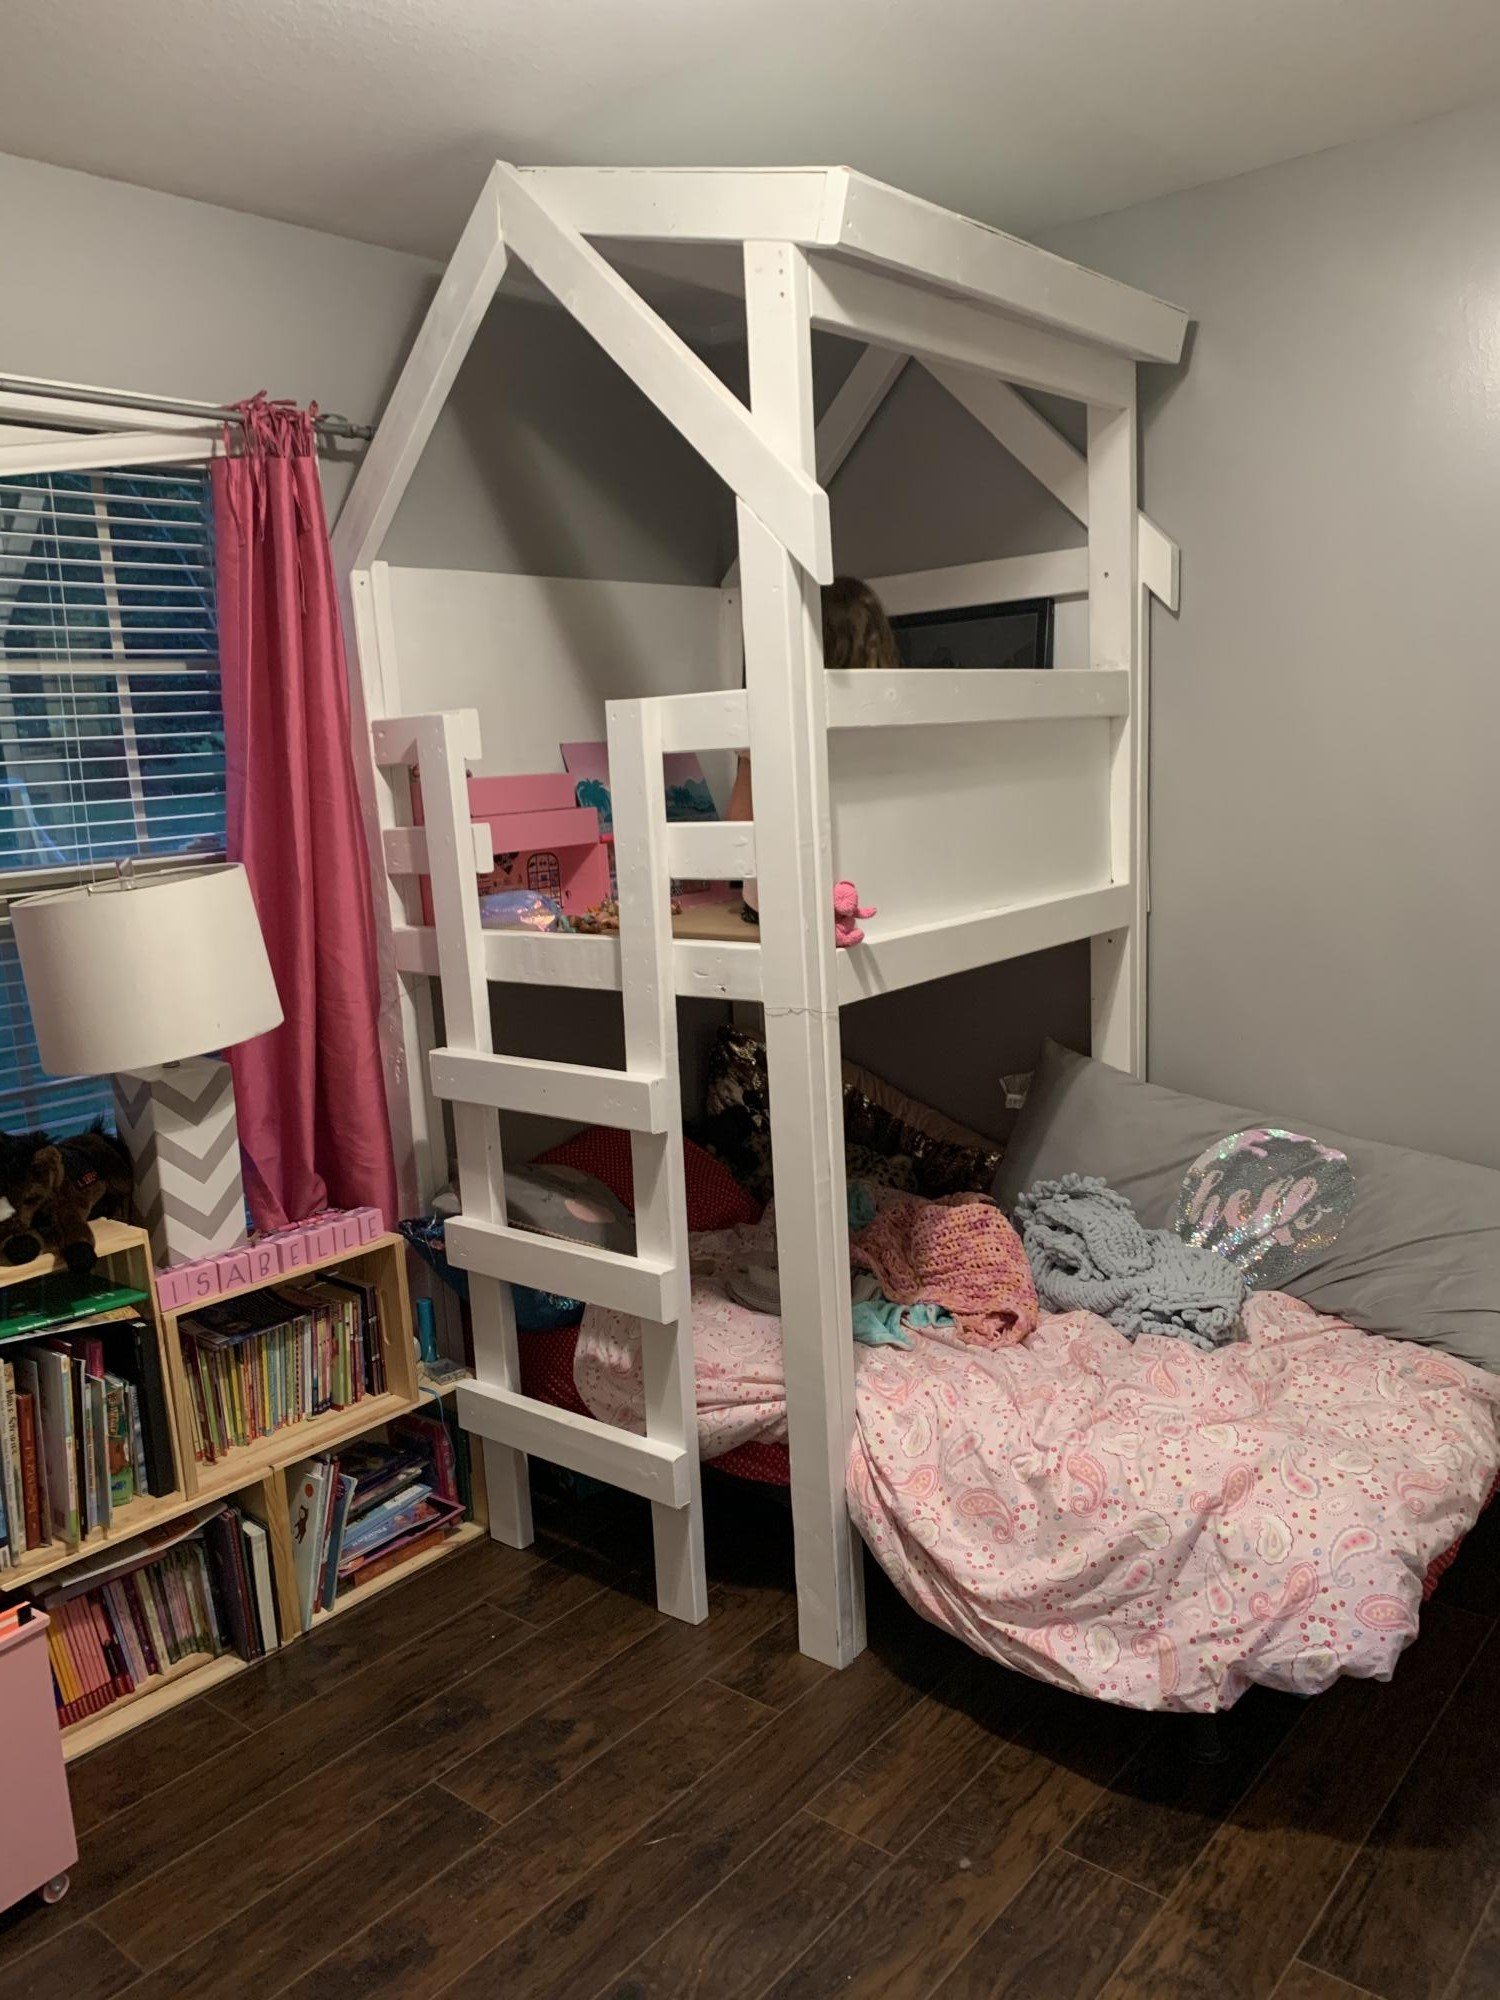
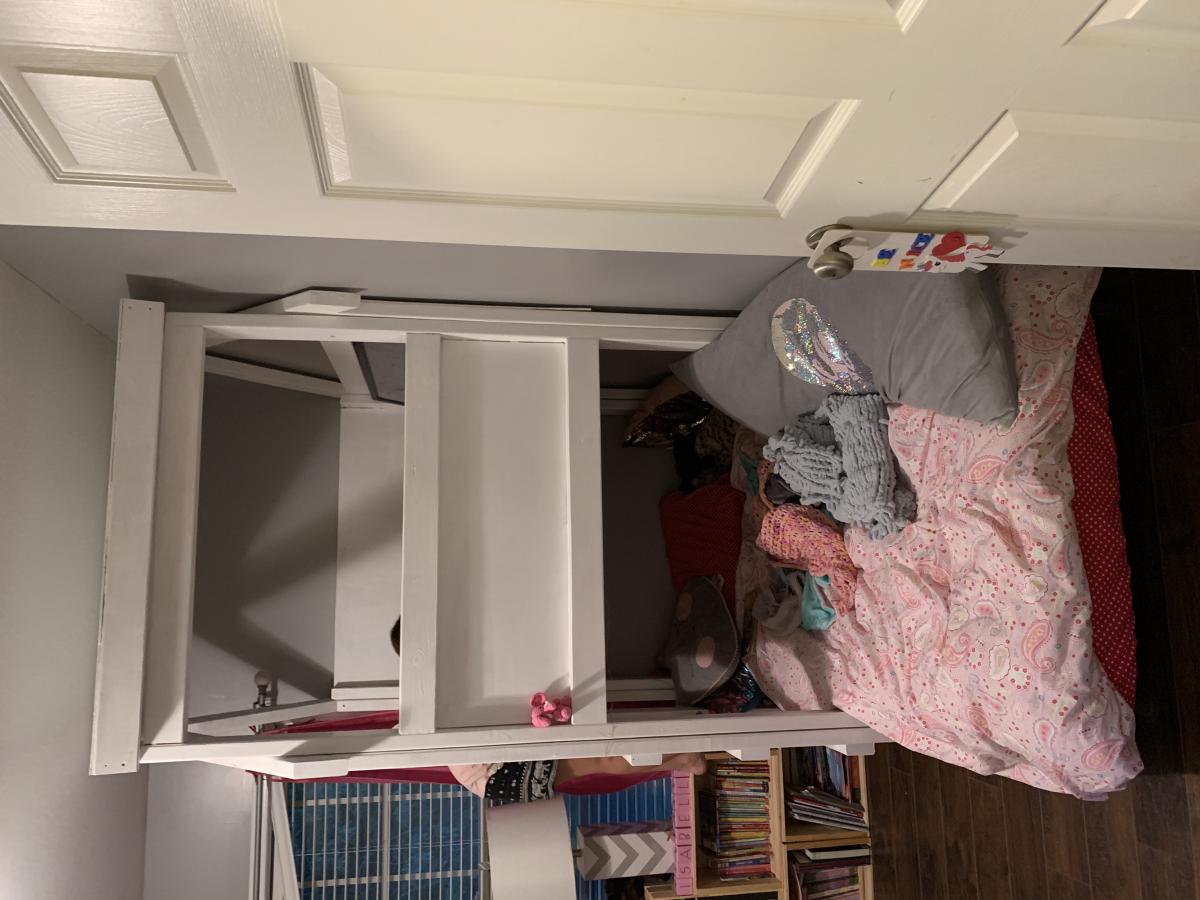
Indoor playhouse above twin bed. Cost about $190. Took two full days. Built using the plans off this site. The inside play area is 42in by 39in. The plans have the mattress on the ground. I have a dog that sheds like crazy so I have her mattress on a metal frame but plant to build a low to the ground platform bed.
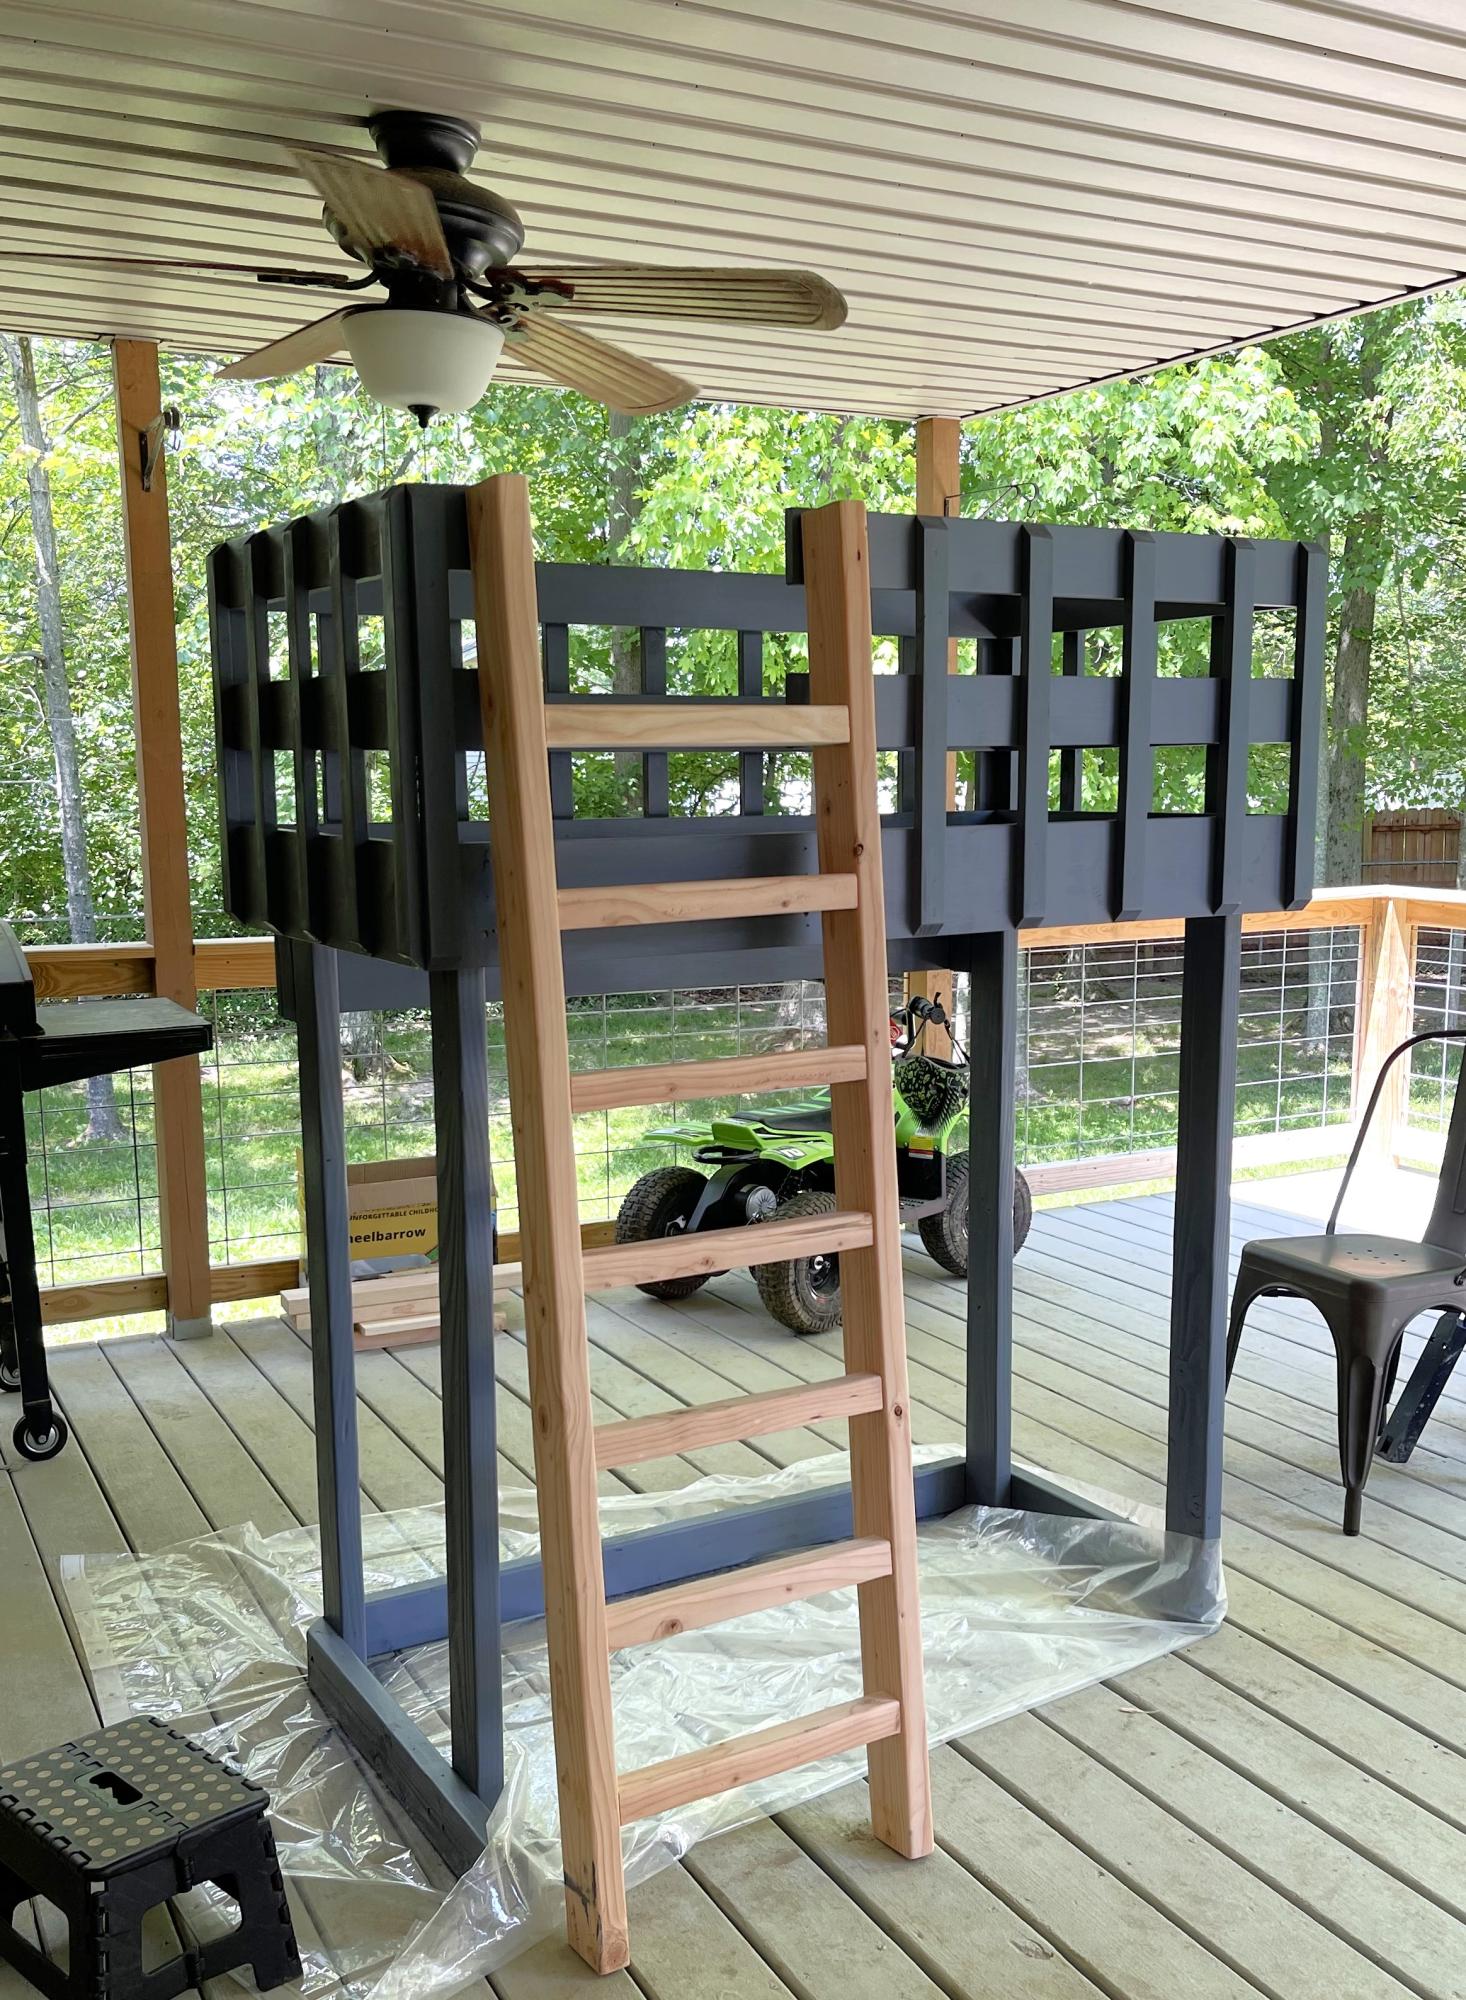
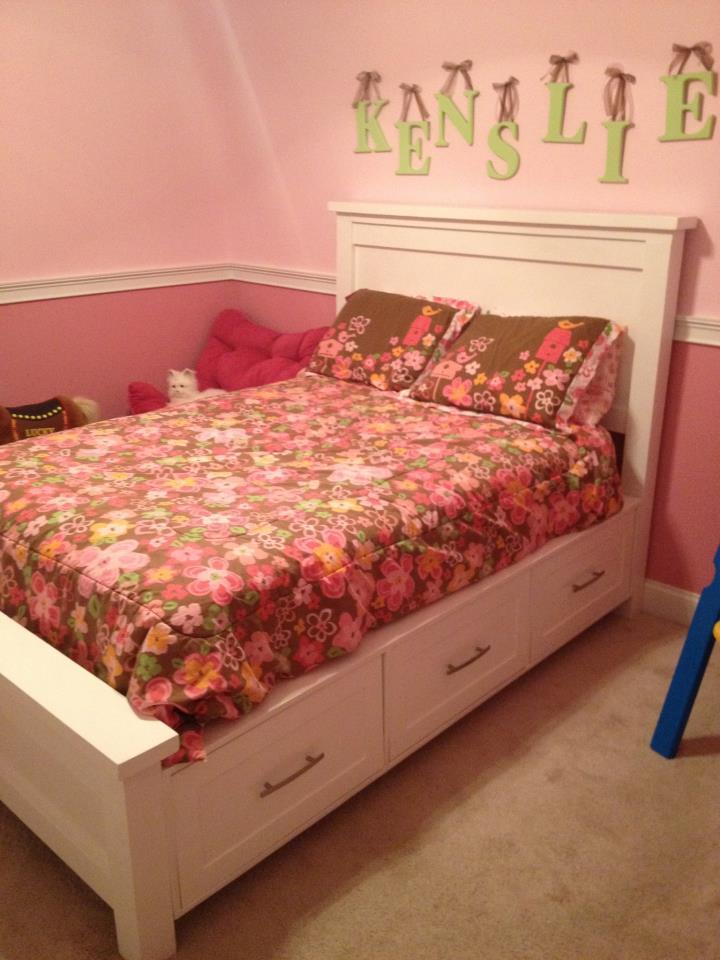
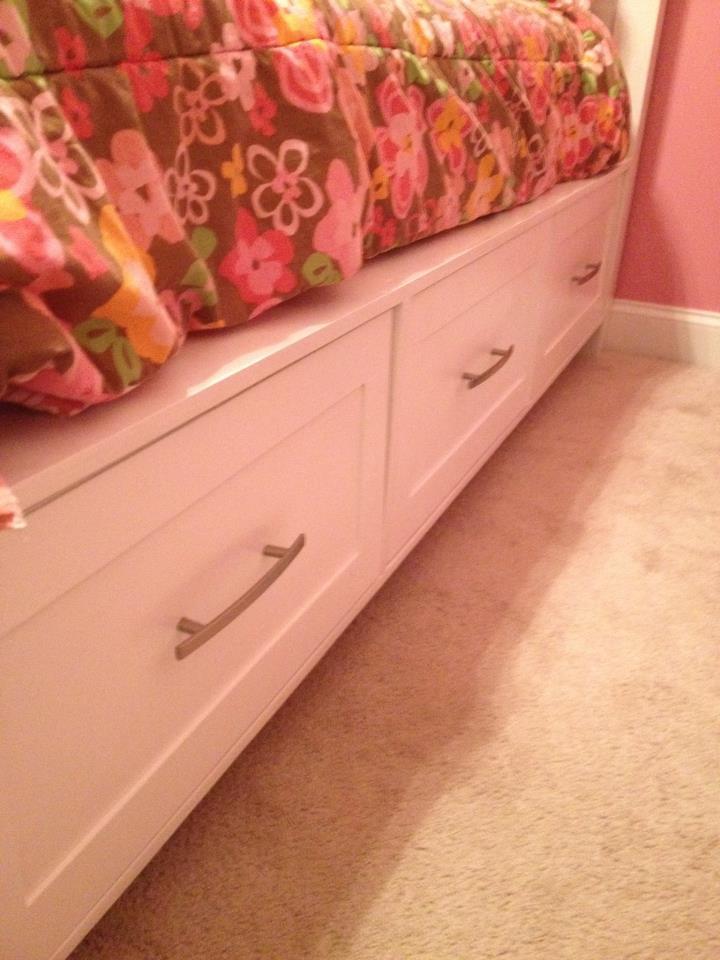
My husband and I modified this bed quite a bit to make it work for our 4 year old grandson. We made it 60” tall and it holds a crib mattress and spring base. Considering it is for a 4 year old, we did add a brace on the back of the bed, so it could be anchored to wall studs to prevent tipping.
After the painting was completed, we had to head home, so I will share “completed” photos later. By the way, he loves his “Big Boy bed”!

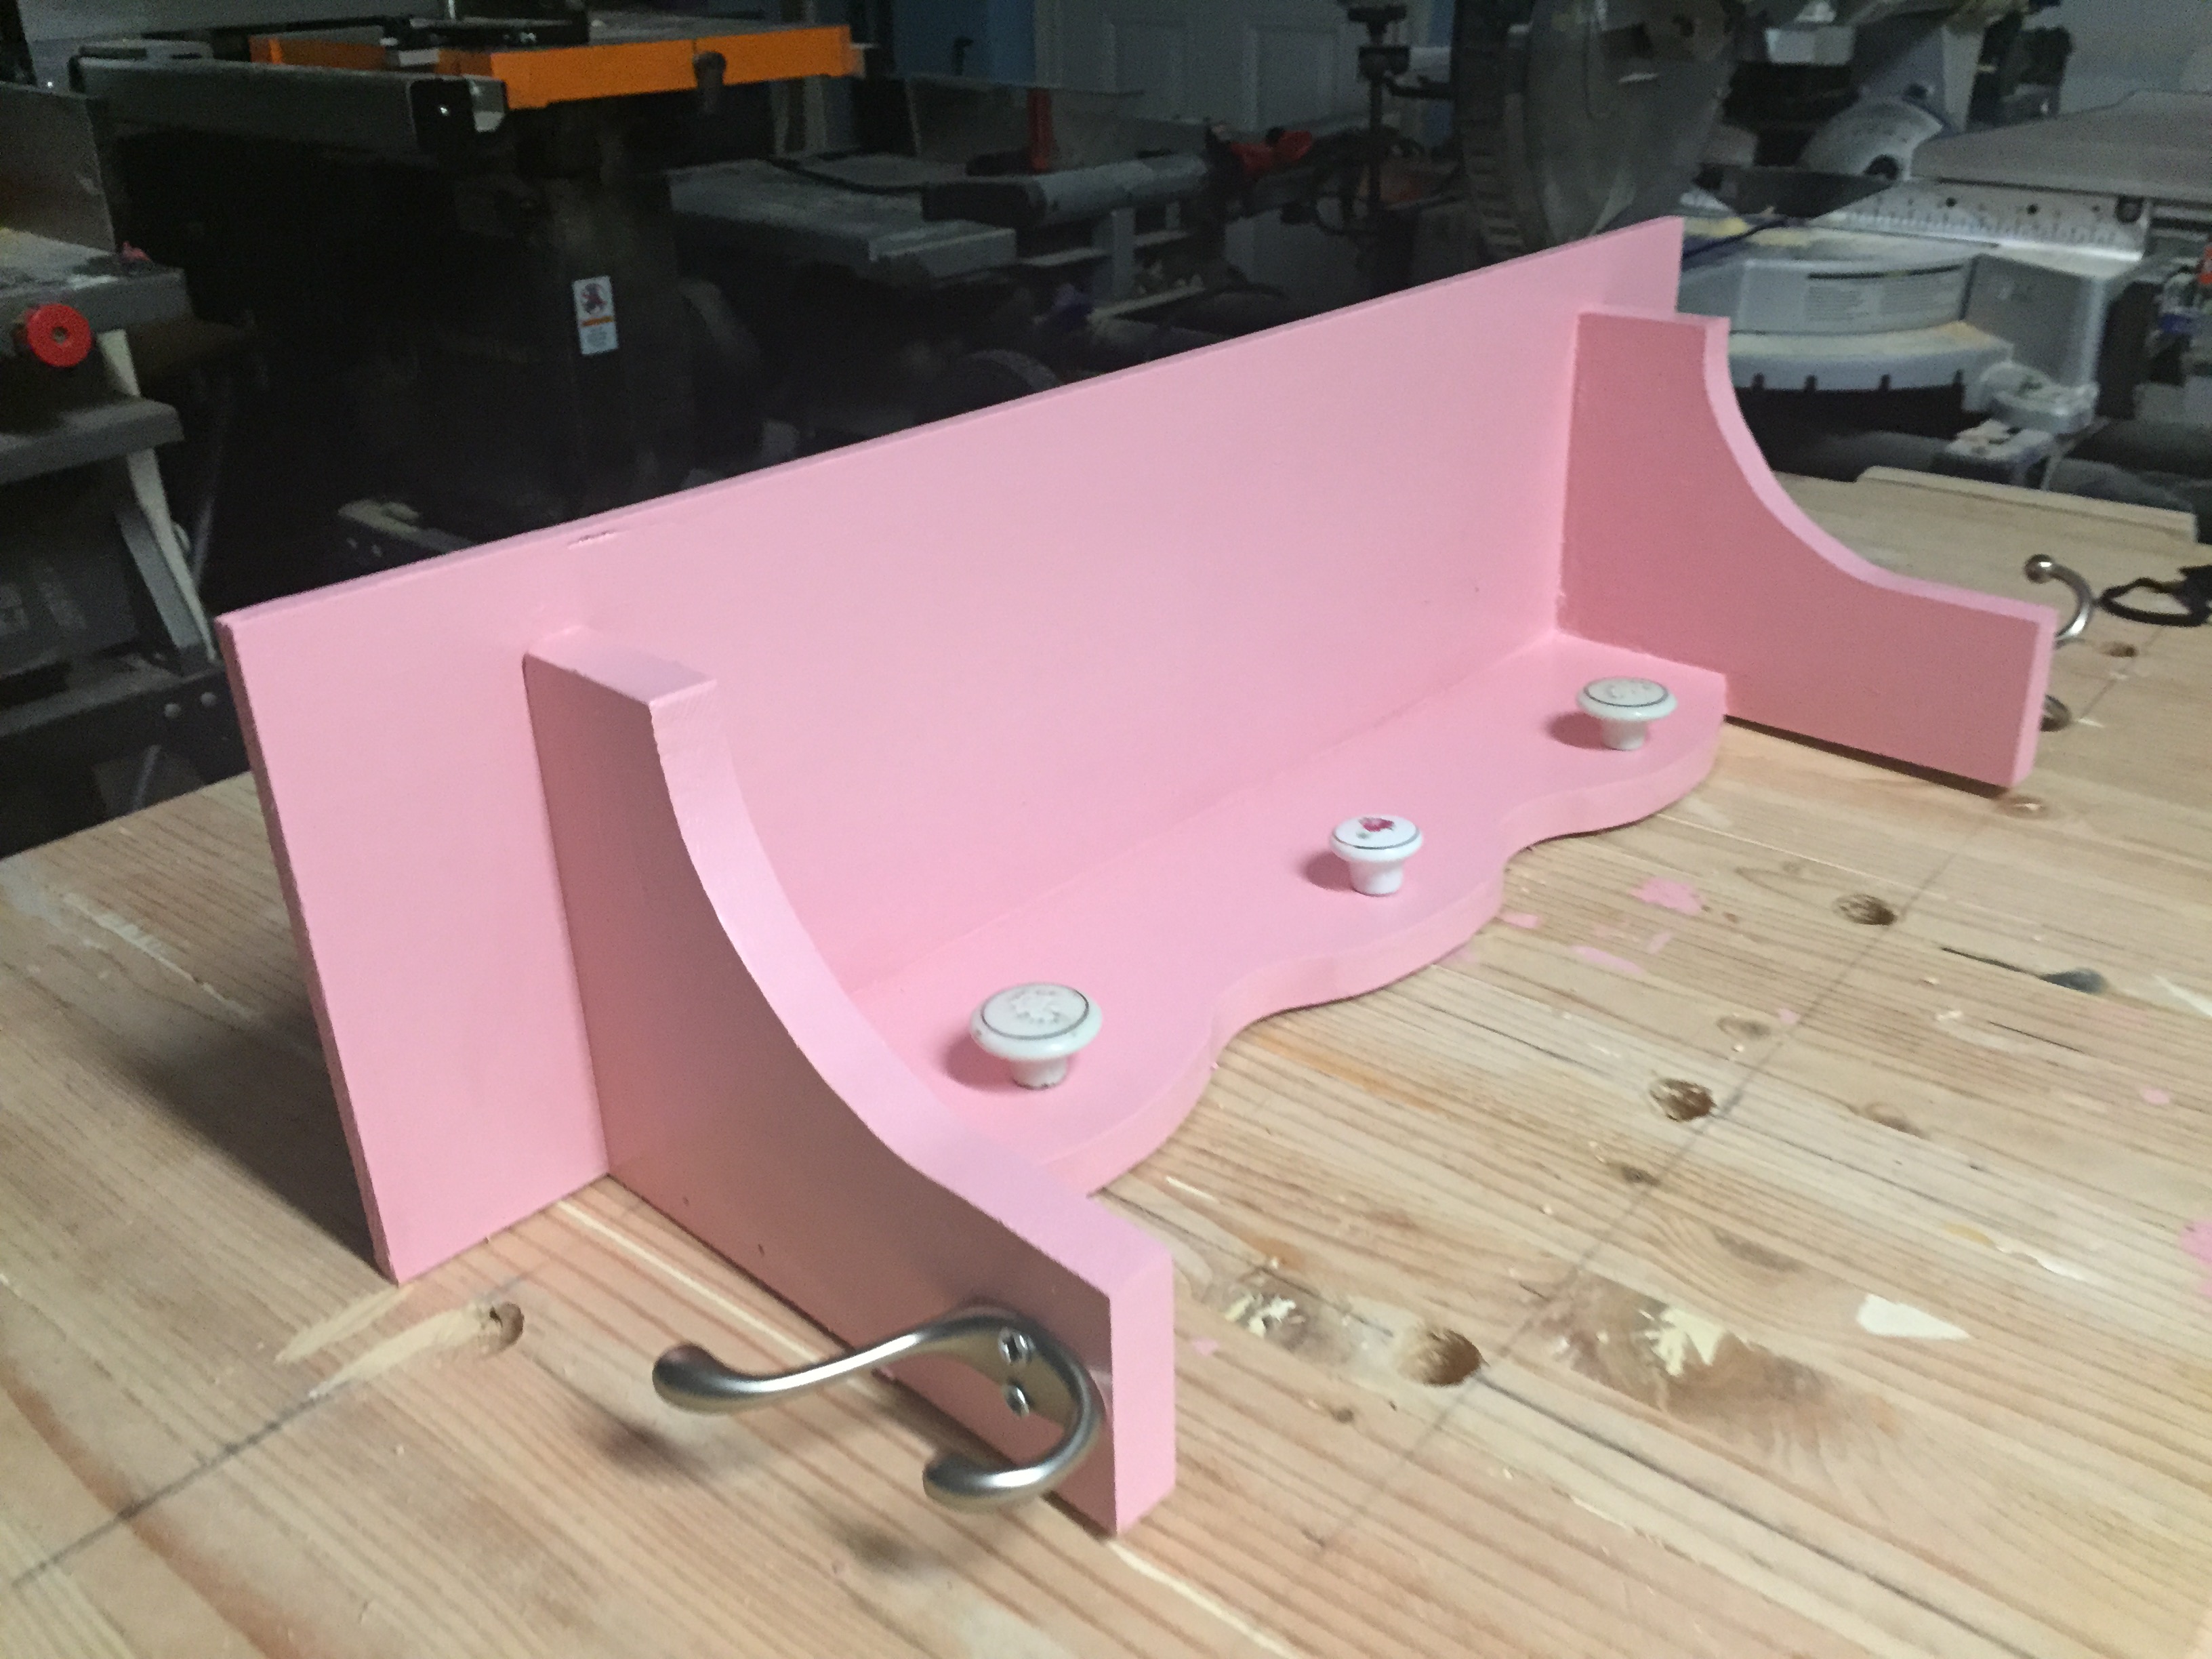
I suppose this is the simpliest shelf stand ever :) Pls note that side boards should stand on bottom board (in order to provide tensile strength). Also pay attention that the construction shown will not be safety standing near the wall. You should screw it to the wall. Well, that's all. The top valance is made of floor plinth. PS. Sorry, English is not my native language, but I hope you can understand my post. Blog link leads to russian language page.


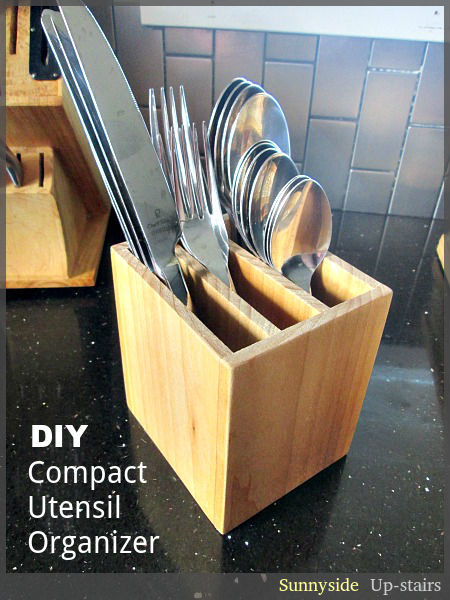
I made a counter top utensil organizer for our little kitchen and love how it solved a few utensil difficulties for us. I wish I could post plans, but all I can offer for now are photos and a brief explanation on my little blog: http://sunnysideup-stairs.blogspot.com/2014/07/compact-utensil-organize…
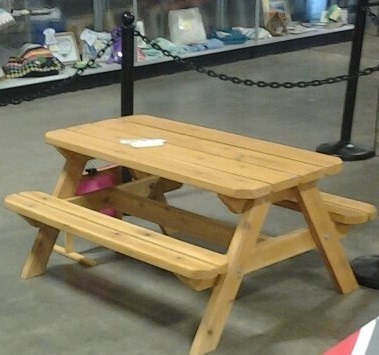
This was a fun project. I built it for our local county fair and it was a hit, I won an award.
I used all cedar 2x4 and 2x6 lumber. I used pocket hole screws. and glue and I used carriage bolts to make it stronger. I used Thompson Simi- transparent stain/ sealer in a Honey color for the finish. It will last a long time and will be perfect for all kids,
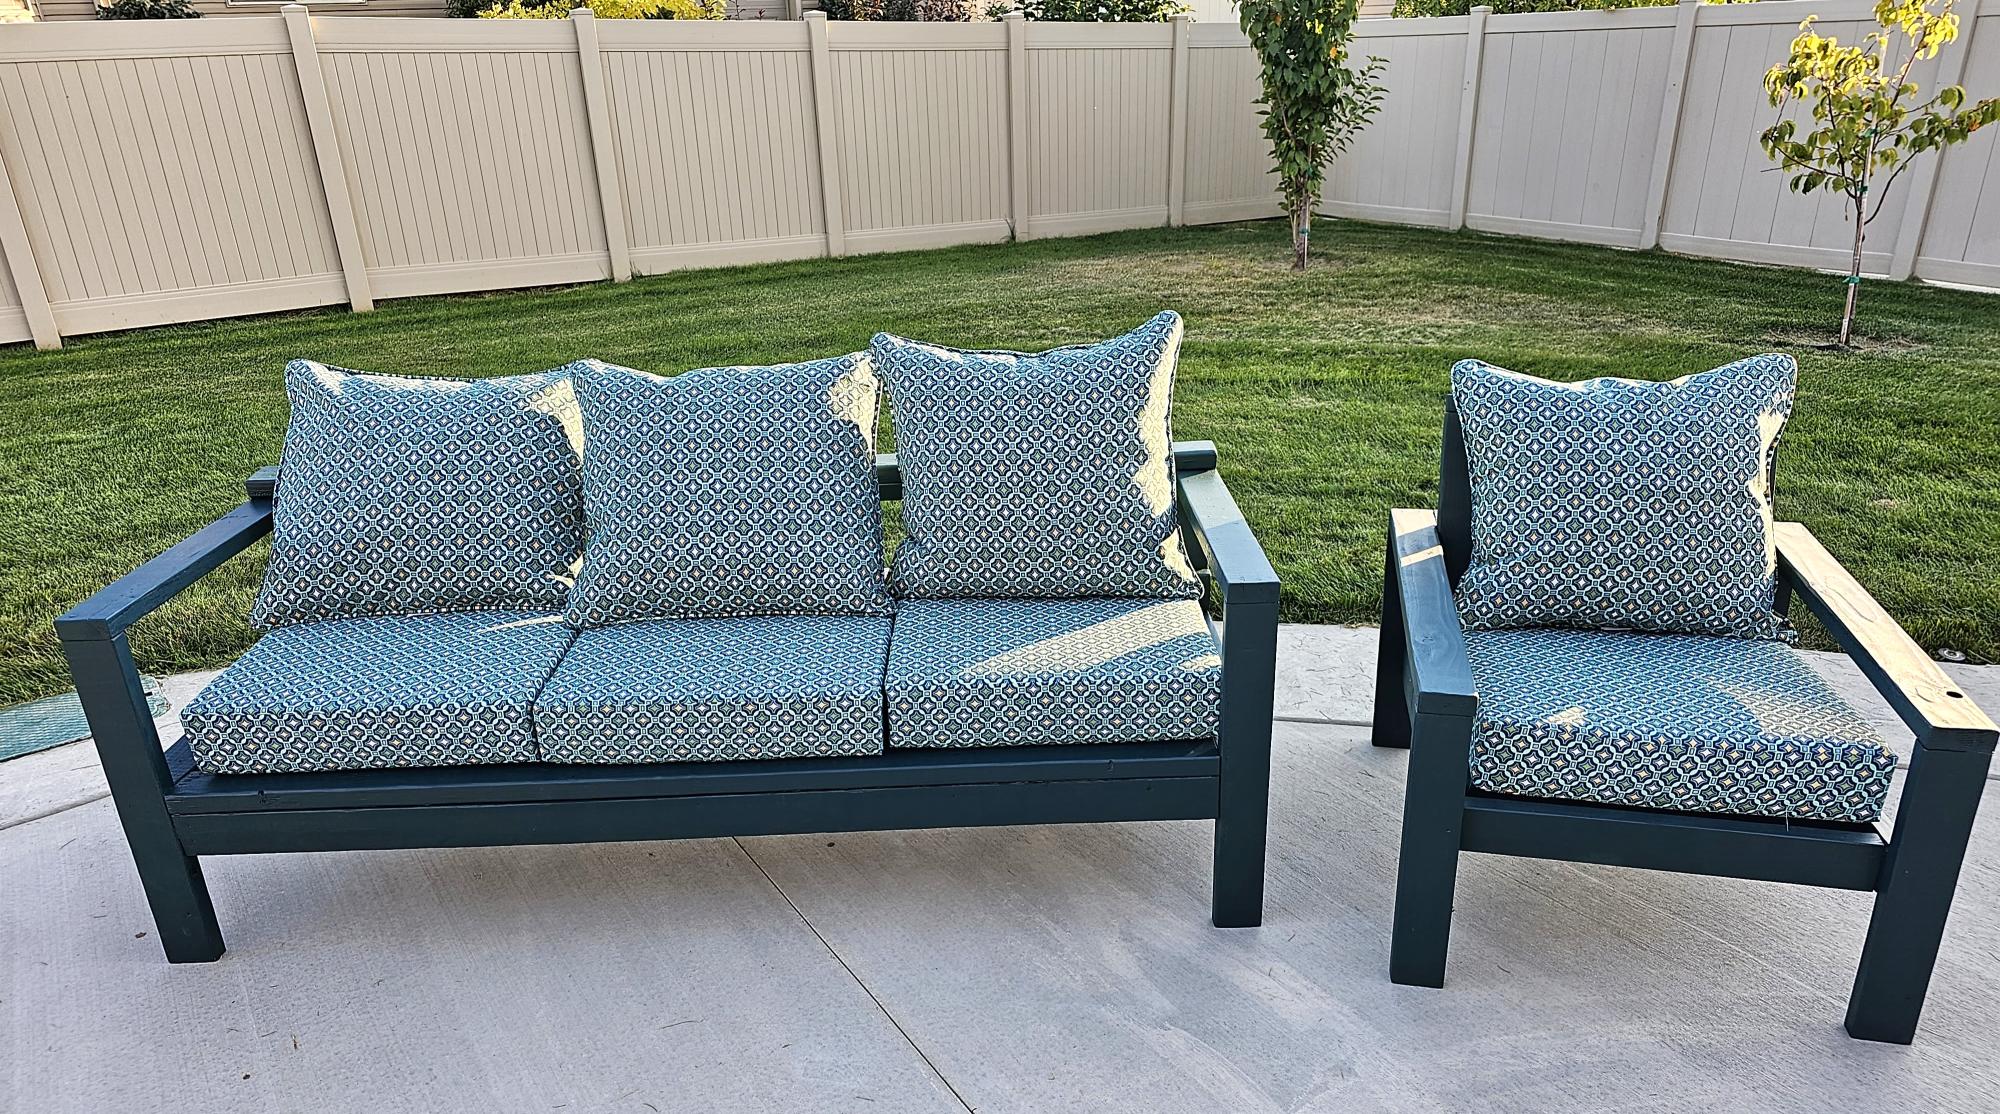
Ten-day project (construction plus sewing) that concluded with exactly what we needed for our space. No big issues with the plan and really pleased with the result. Making the cushions was only possible through upholstery sewing experience. Thank you Ana White!
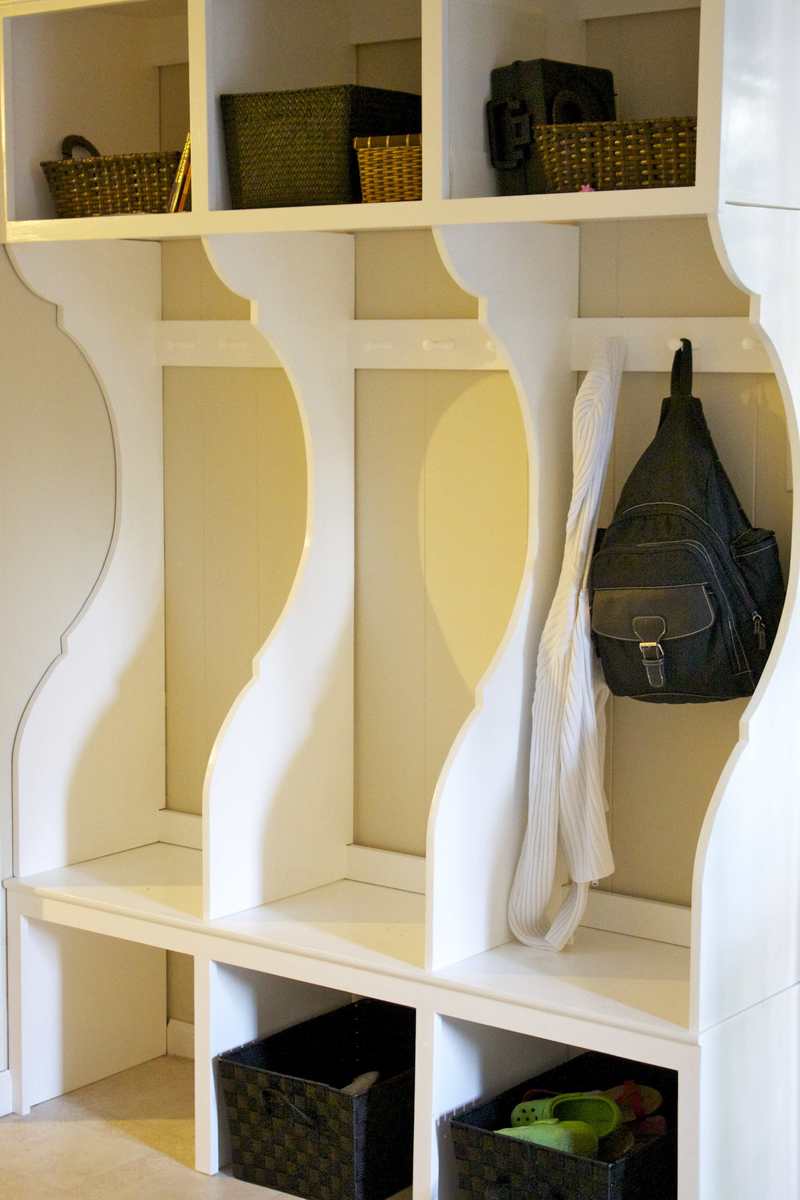
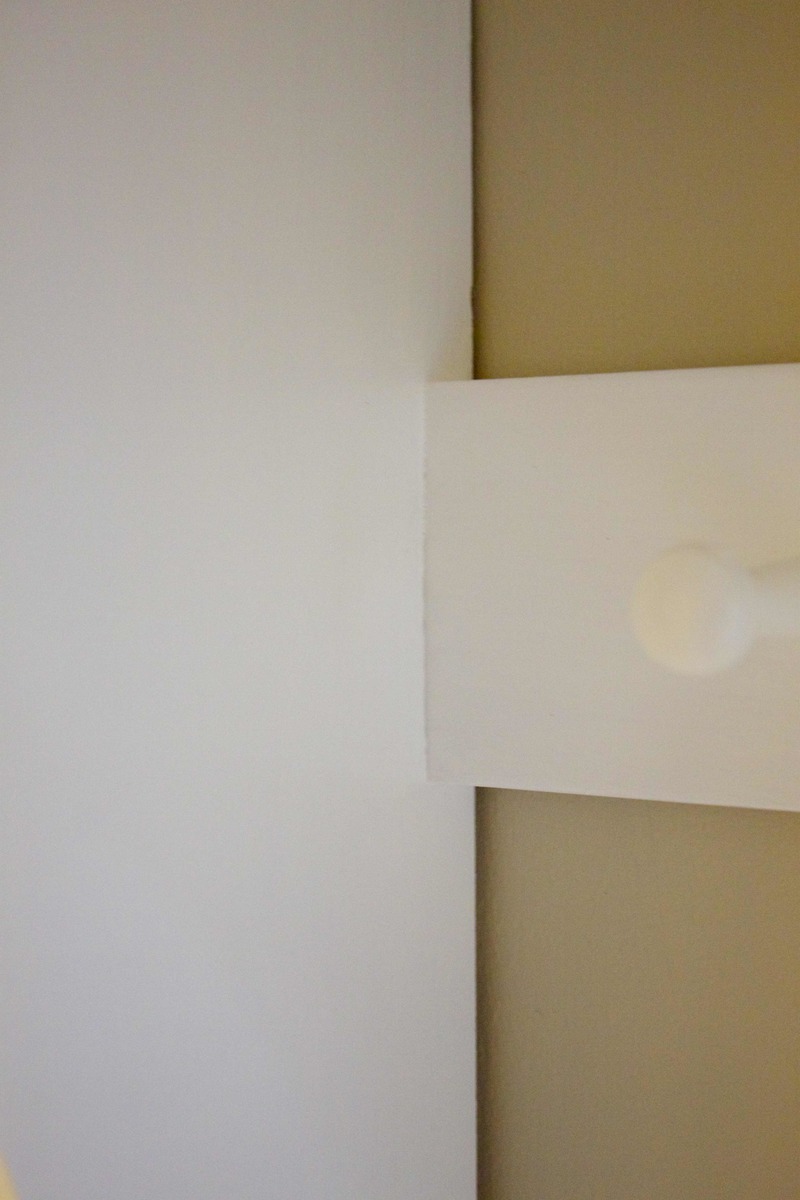
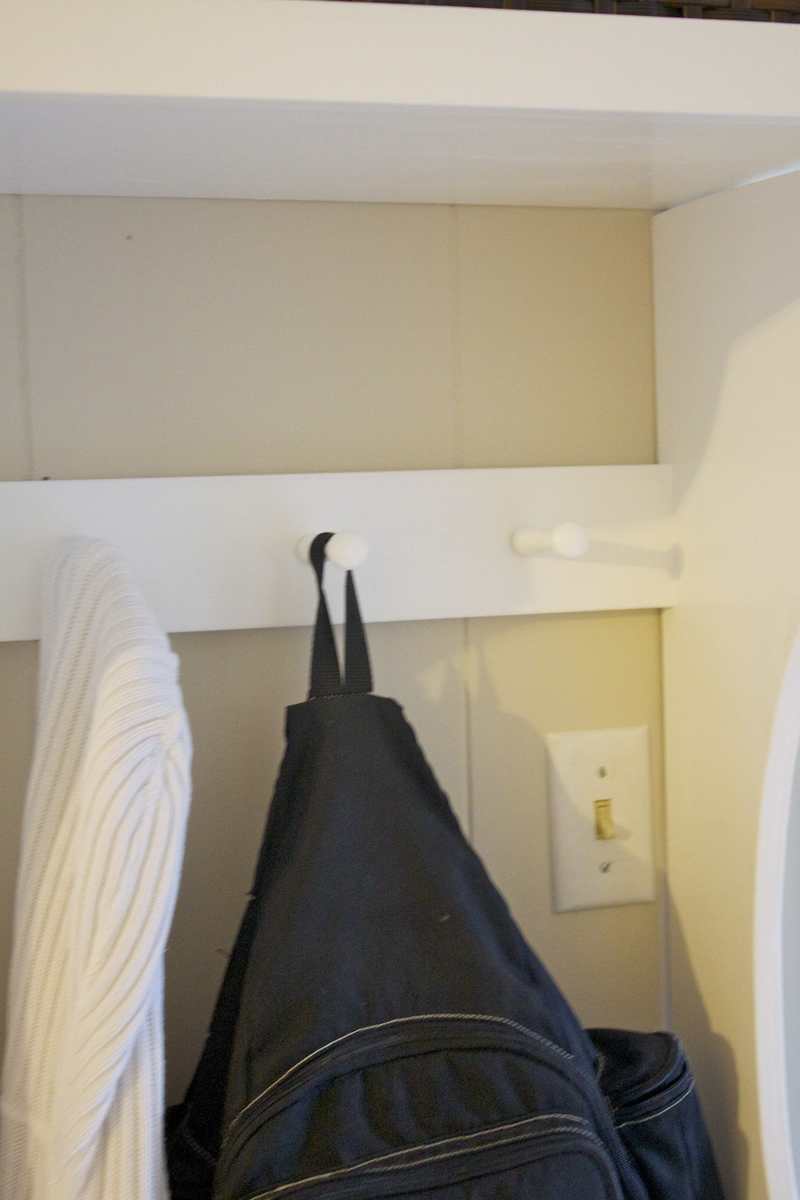
Such a useful and attractive way to keep the mudroom area organized. Especially needed in our house which has no dedicated mudroom--just an area carved out by the kitchen door where we need to stash our coming and going type stuff. Loved the plans!
I made a few alterations to the originals to customize the plans to our particular needs, which are outlined in the blog post on our site, http://littlehouseinthesuburbs.com/2012/09/my-ana-white-mudroom.html.
Sun, 09/23/2012 - 15:47
I love it! It is beautiful. Makes my boring mudroom frown! :D

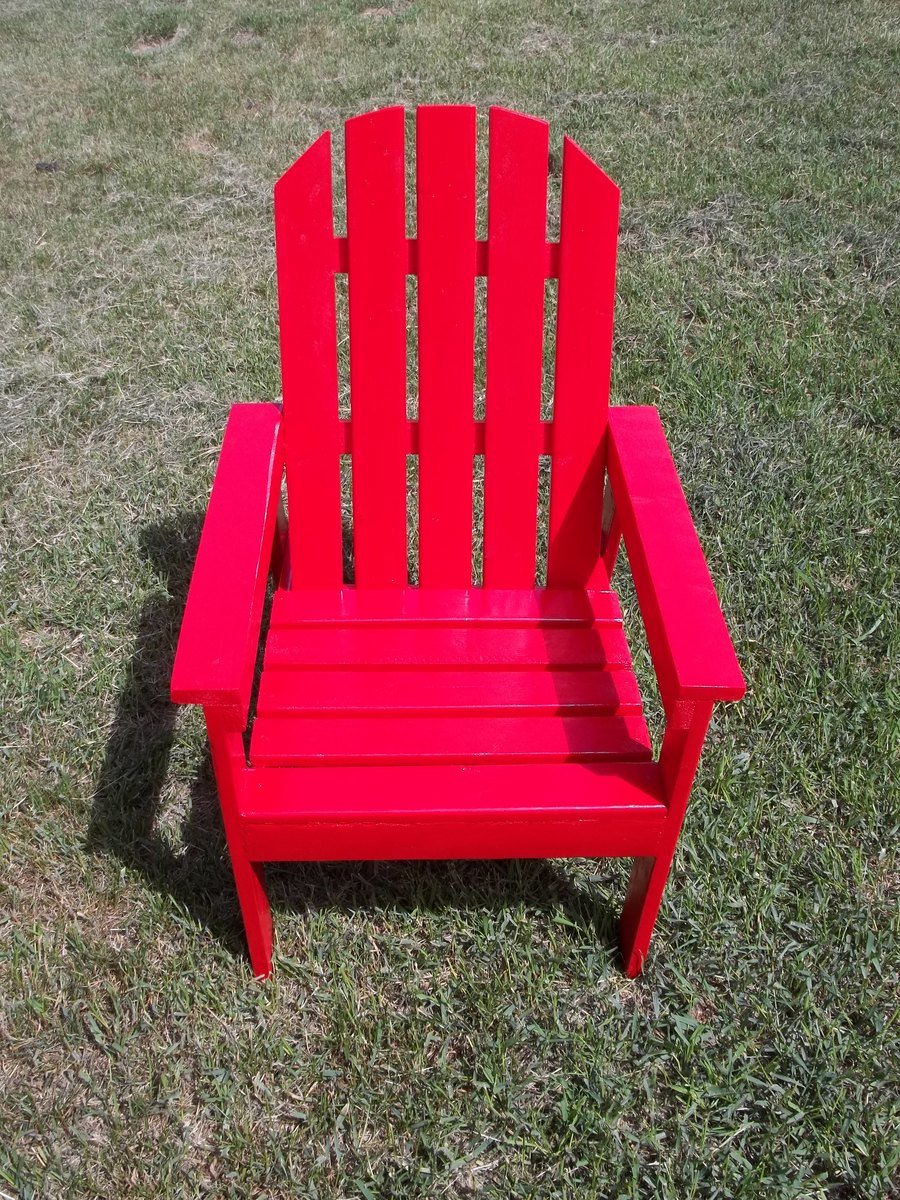
I made this cute kid-sized Adirondack chair to be auctioned off for charity. The pattern I used for this can be found in Ana's book, The Handbuilt Home.
This chair costs less than $5 for the wood!
If you want to see more details and pictures about how I built it, check out my blog post.
I couldn't see spending several thousand for outdoor furniture, so I looked at what you had done. It was so much easier and sturdier than I thought it would be. Thank you for all you do for the community.
I added the board on the back of the sofa to stop the cushions from slipping through. My wife wanted a fun color so we found a waterproof stain and had it tinted. I thought it came out very nice.
Decided to build this bed for my 3 yr old to free up some space in her room. It was a big success.
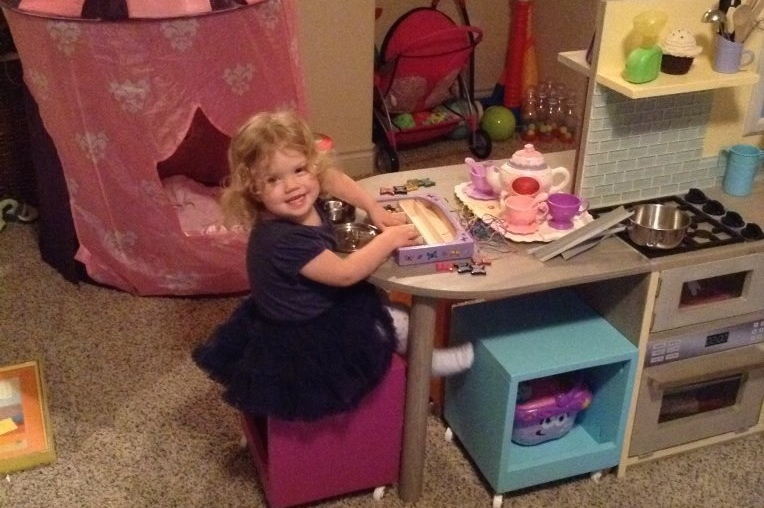
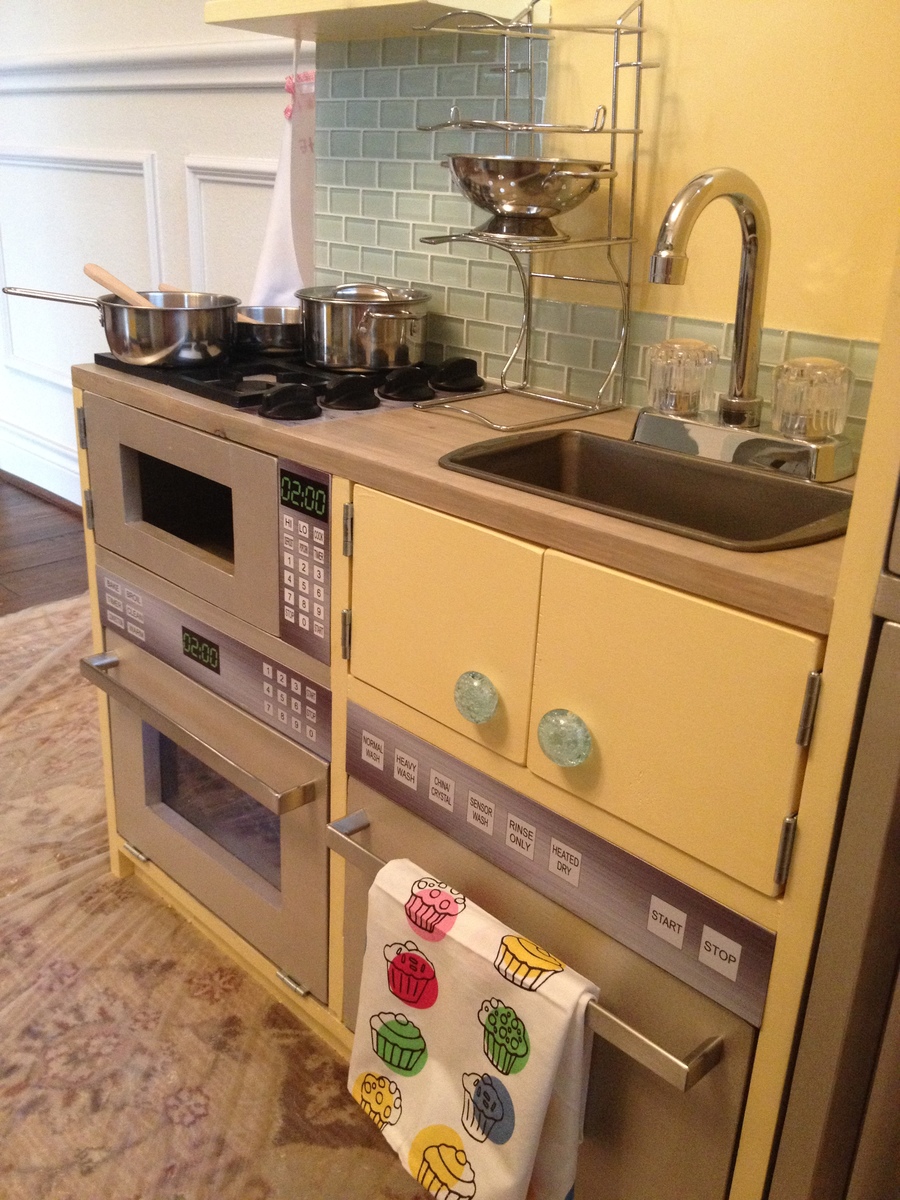
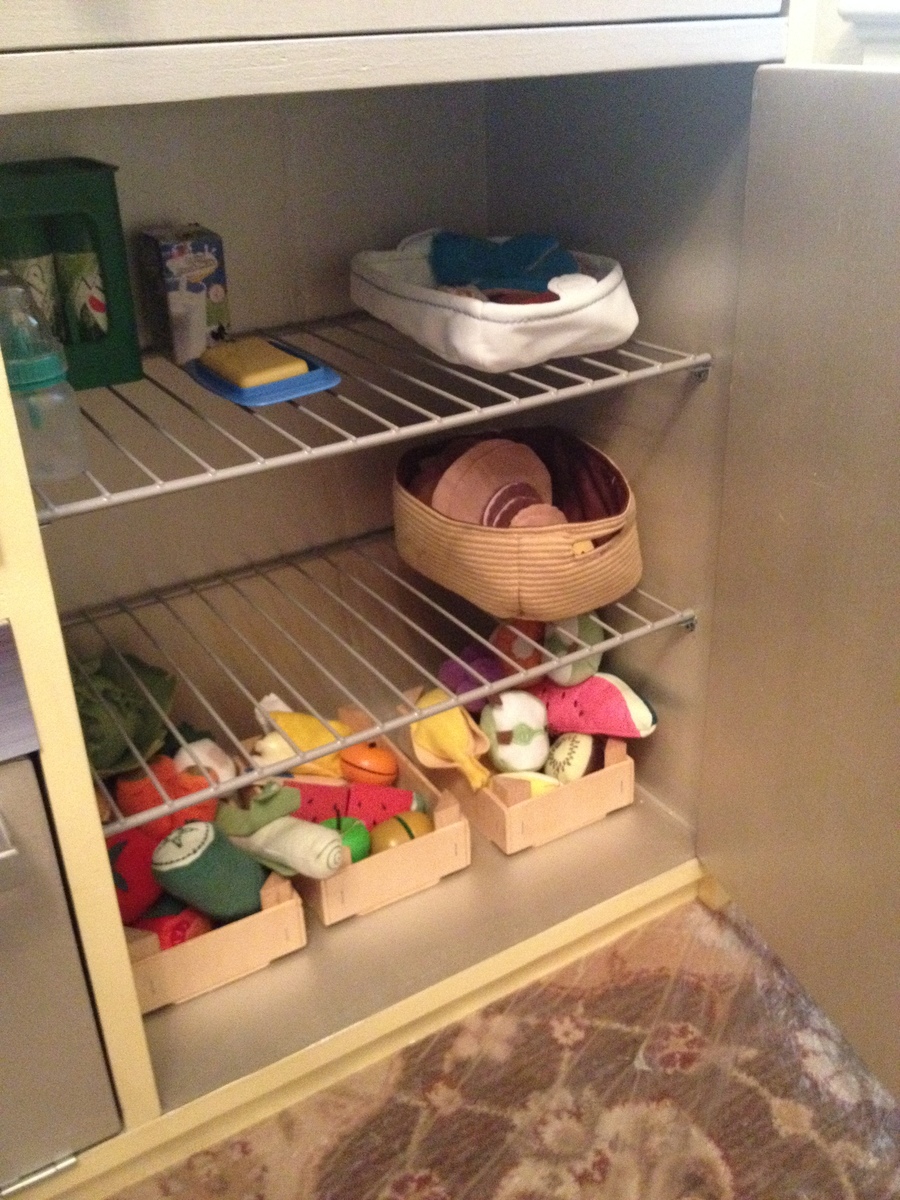
What's better than an Ana White play kitchen? 2 Ana White play kitchens back-to-back!
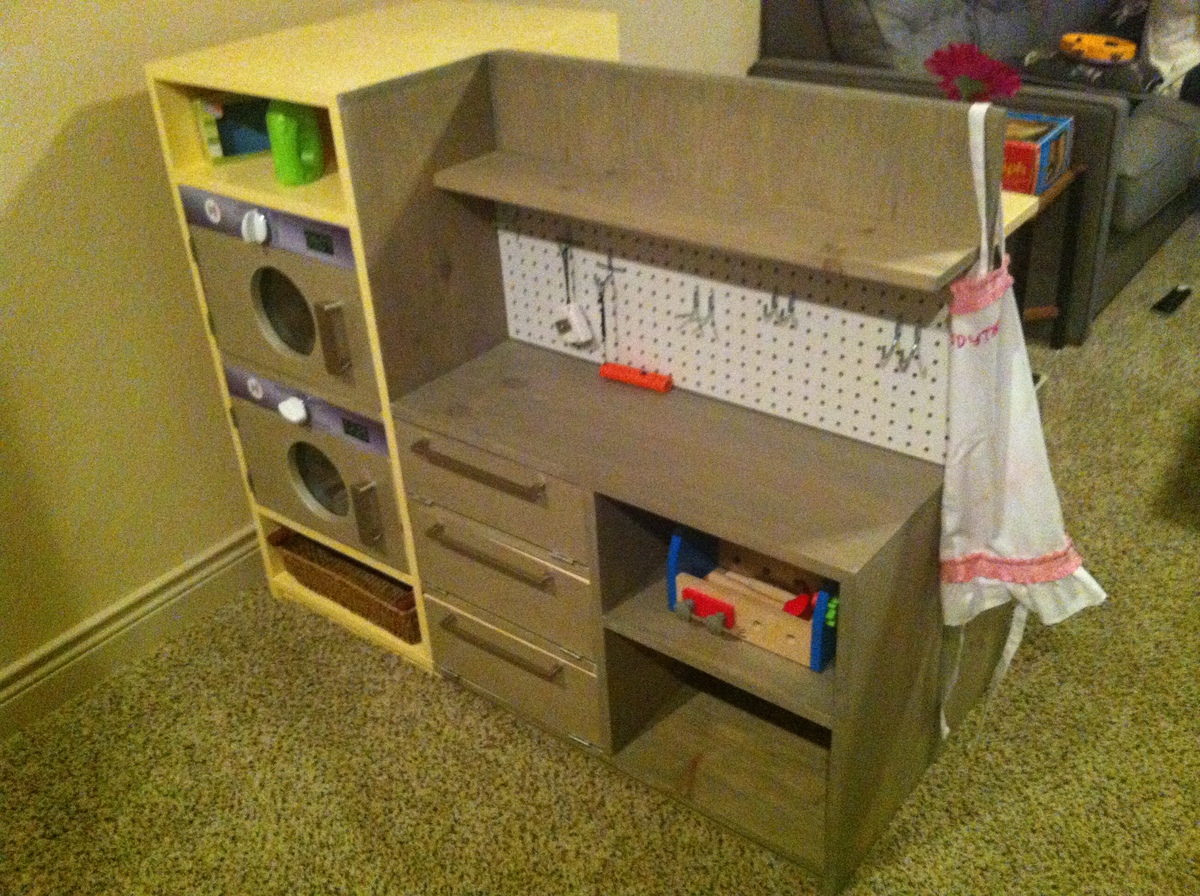
Slightly modified, we made 2 play kitchens, turning one into a garage workbench and laundry. We managed to just get the kitchen & garage done for Christmas morning (minus a latch & plexi for the microwave). We later added a window view above the sink, and a table and 3 storage stools to join the two units on one end. In a long mixed-use playroom with little wall-space available, they jut out from the wall, dividing the TV side of the room from the toy storage side.
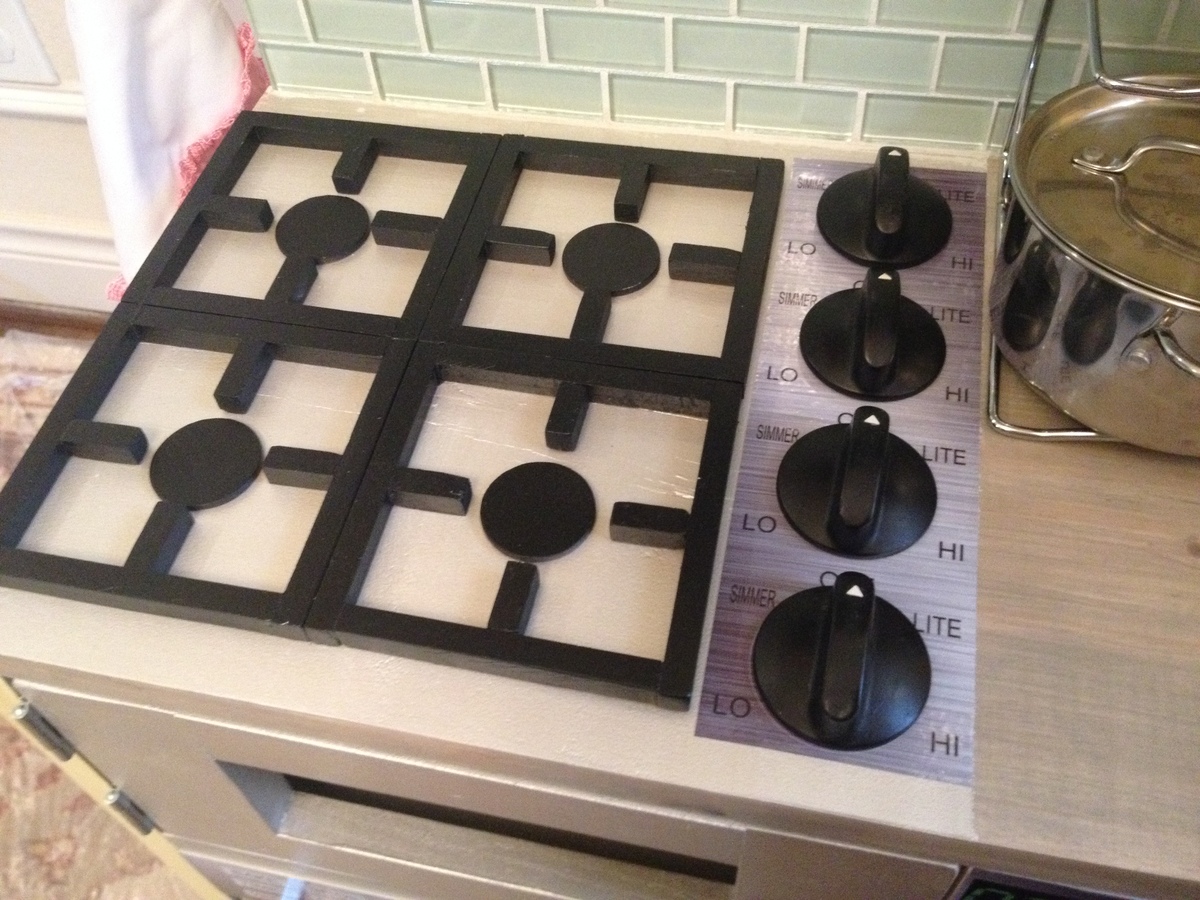
Dad was excited to help put the garage-side together and bought his little girl some peg-board to hang her tools on, and installed garage lighting. As pull-out drawers cut into the storage space, her "tool cabinet" doors just fold-down. Grandpa sent her a full tool-set with power drill for her new workbench. Big brother helped piece the gas burners together and chose paint colors.
Little miss finger-painted in the garage next to me while I worked on this first woodworking venture, but she was not a bit interested in the contraption until we added the stickers! A local sign vendor we use was so tickled to be involved, he had the stickers printed in under an hour and for just $25 (which saved hours and hours of detail painting)!
Next up: the ana white dream dollhouse (which perhaps we should've started with).