L'il Man's Picnic Table
![](/sites/default/files/DSC02030.jpg)
My first Ana White project! This was the first project on my to-do list, and my little guy loves it!
![](/sites/default/files/DSC02031.jpg)
My first Ana White project! This was the first project on my to-do list, and my little guy loves it!
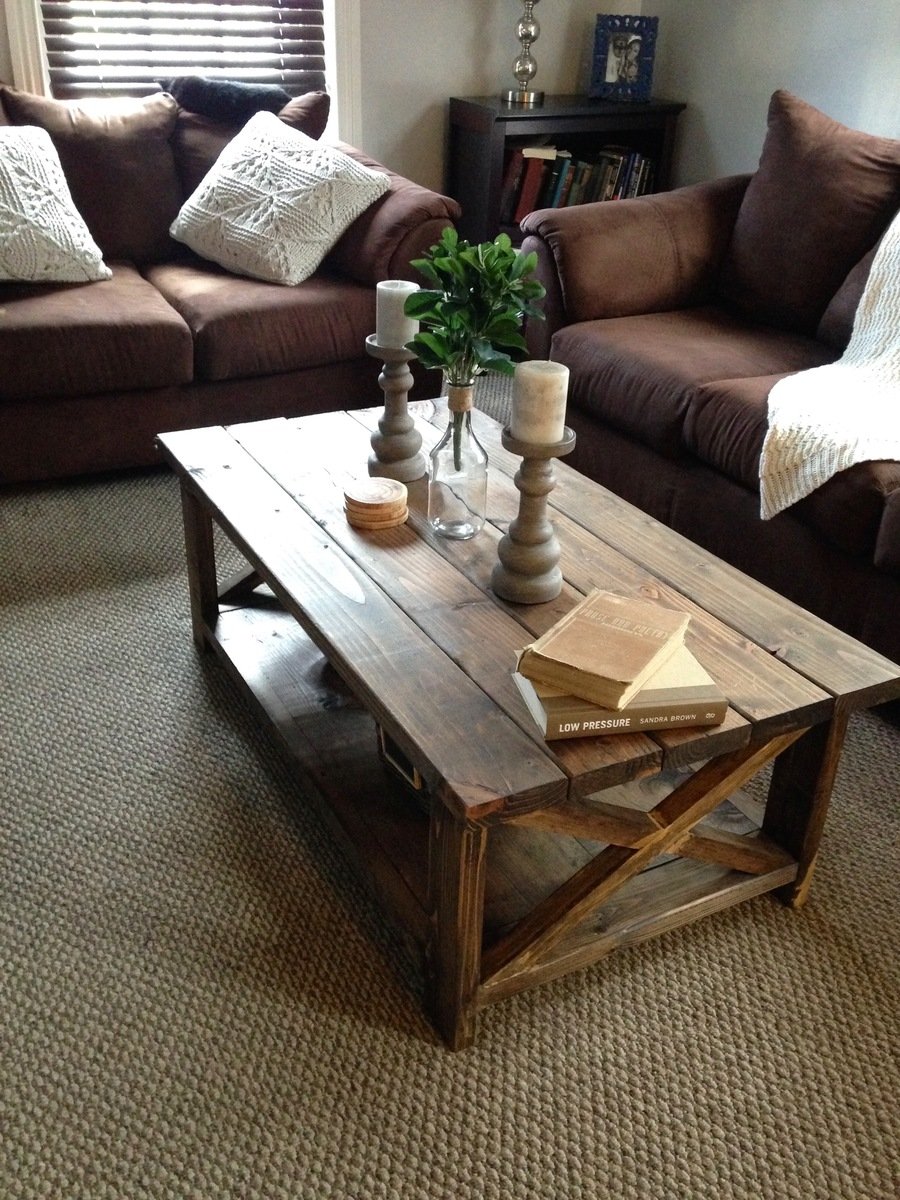
I found this website when I was looking for patio dining table designs/styles. When I looked at this table, I knew I wanted it but I will have to make it myself. With no prior building experience, I gave in and purchased circ saw, sander, kreg jig and lumber.
The directions provided on the website were very easy to follow. And in about one week, I had built a new patio dining table.
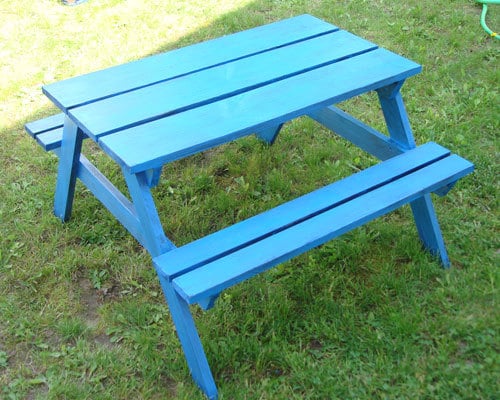
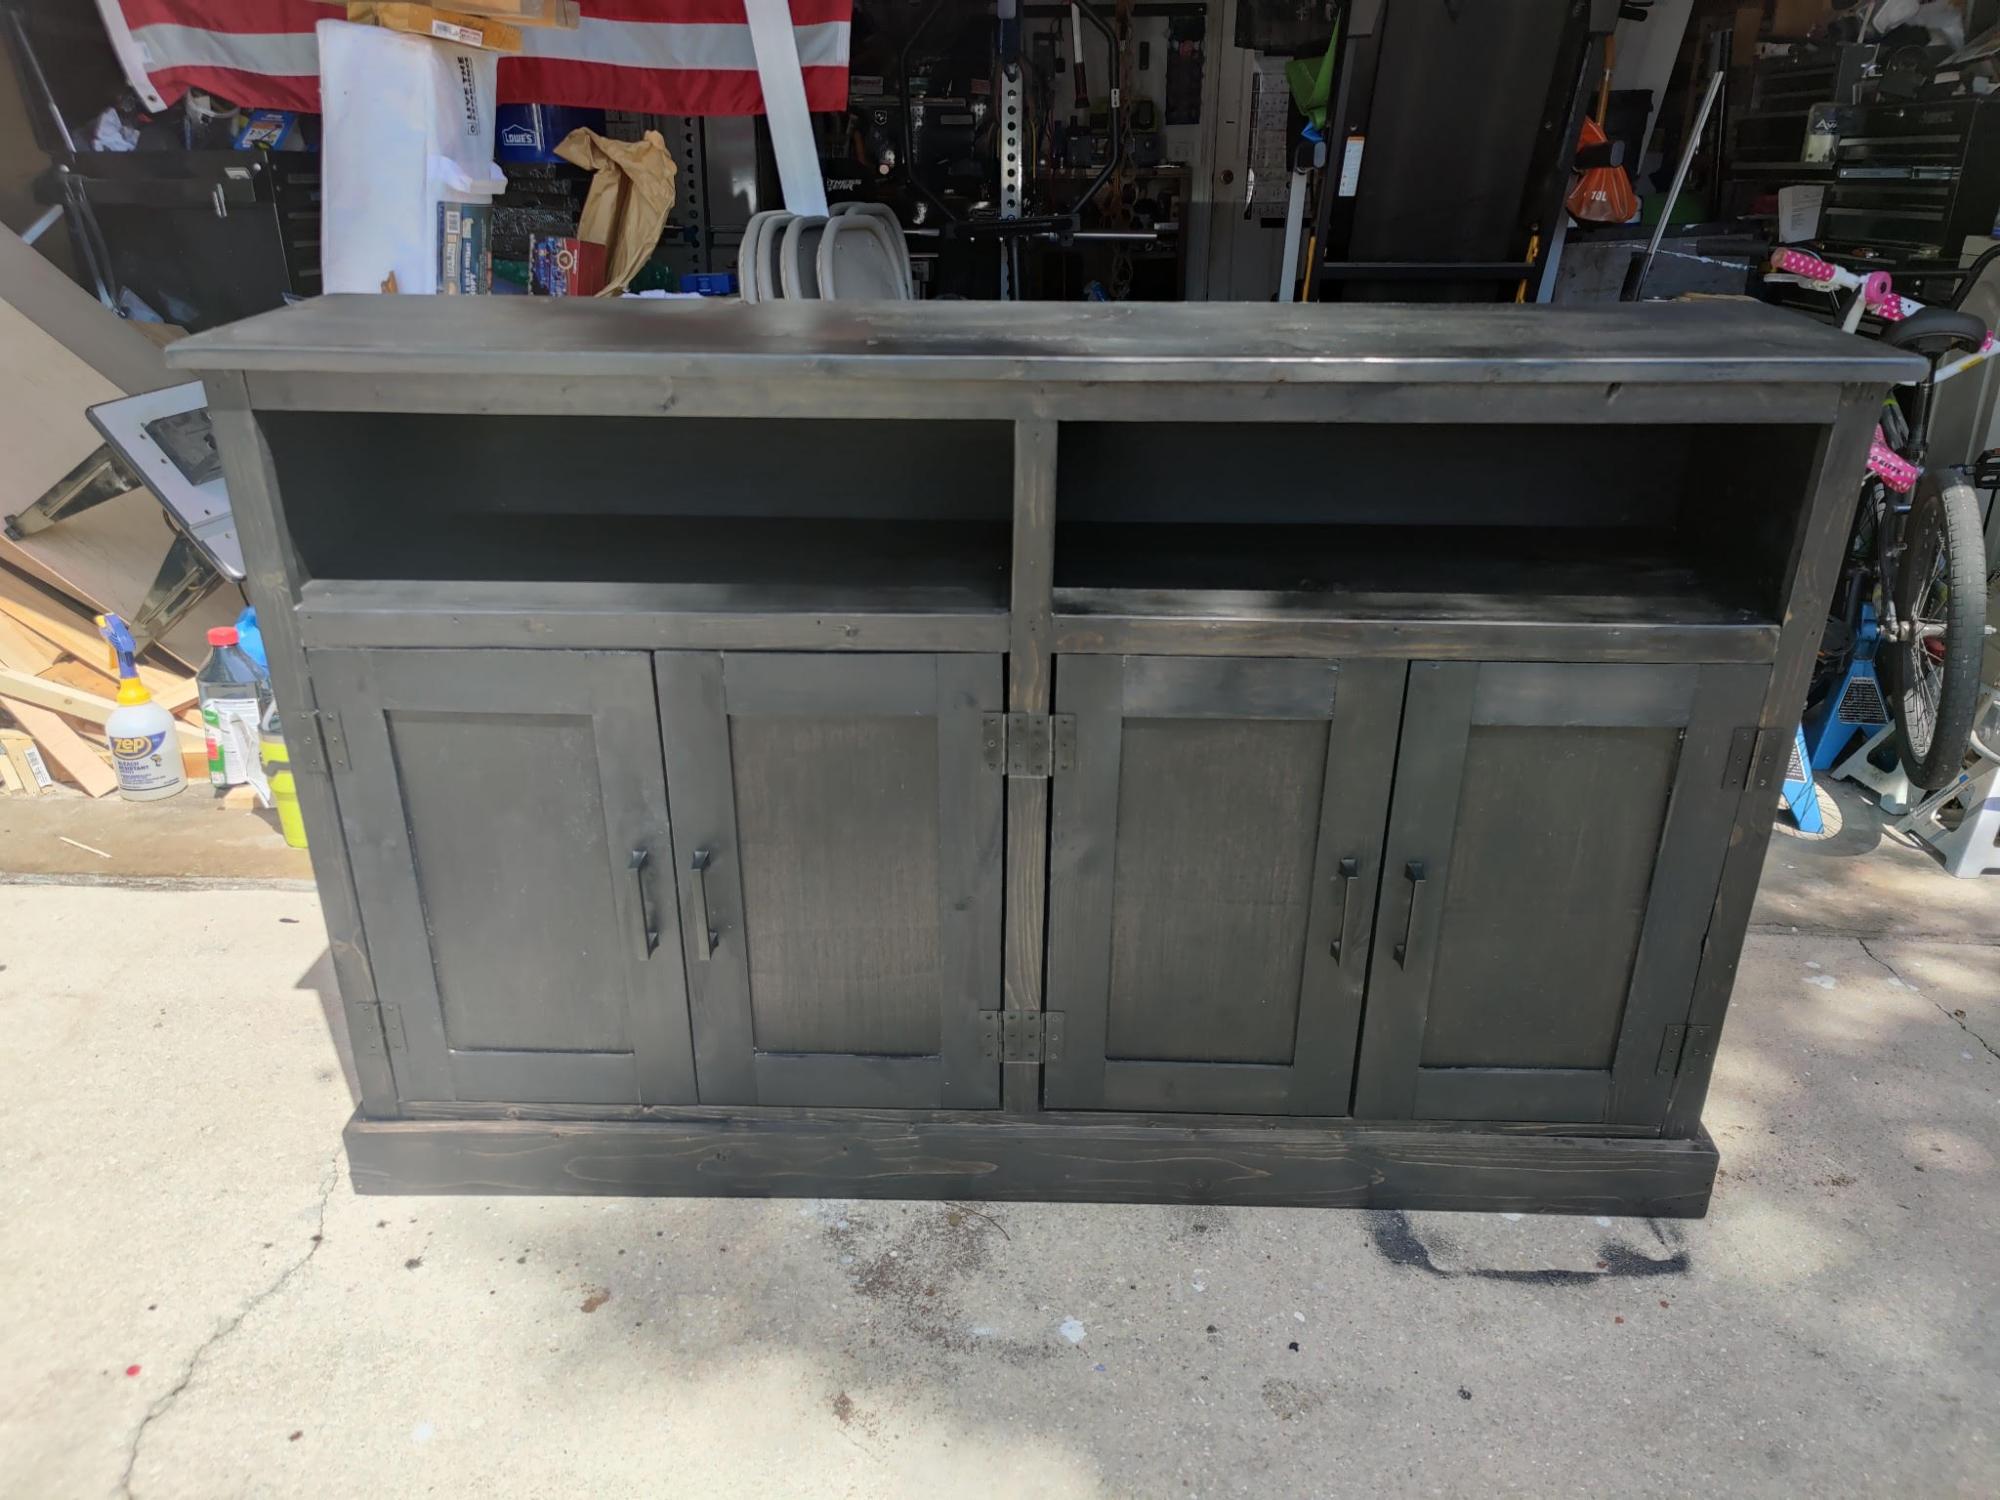
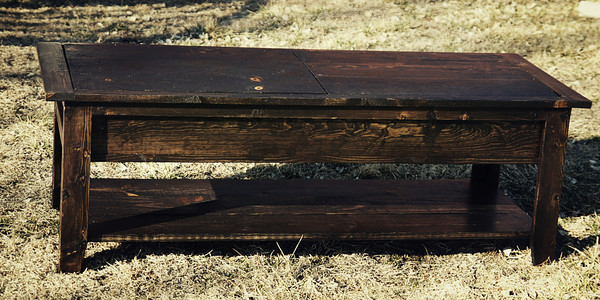
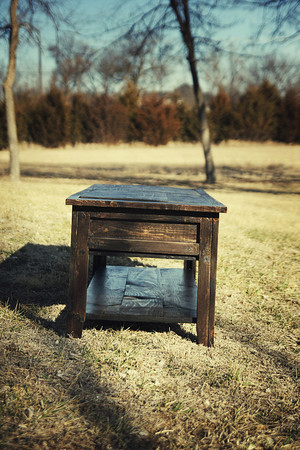
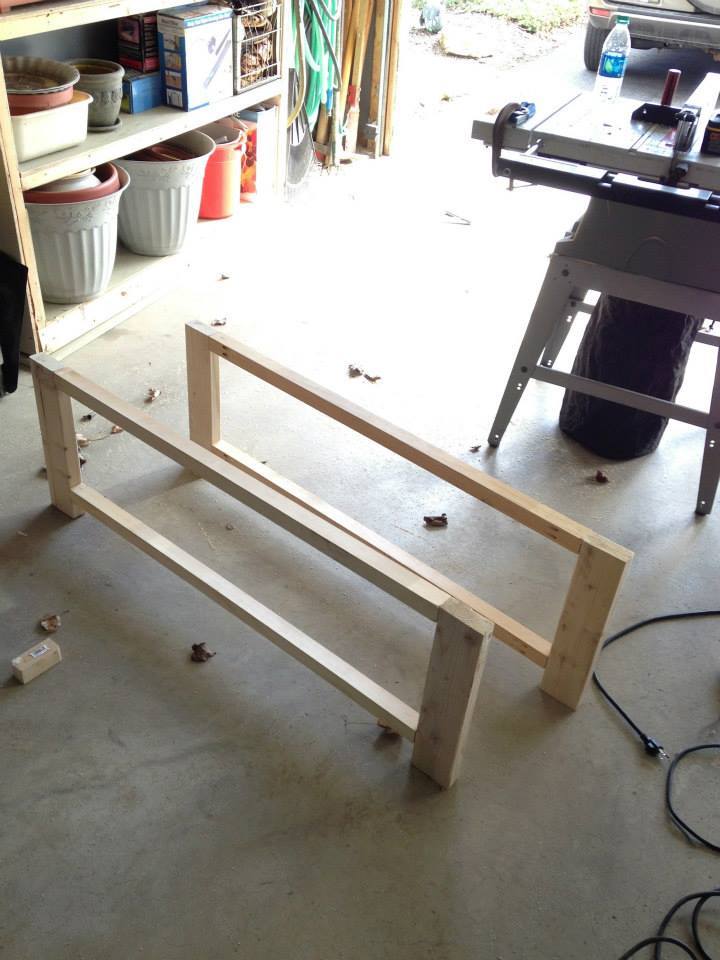
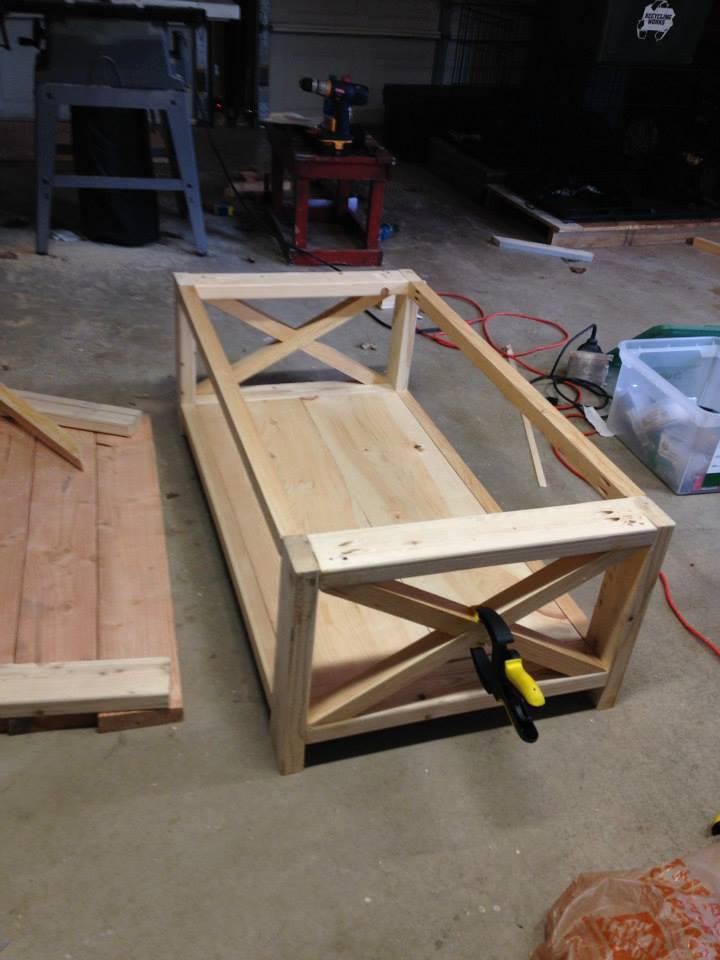
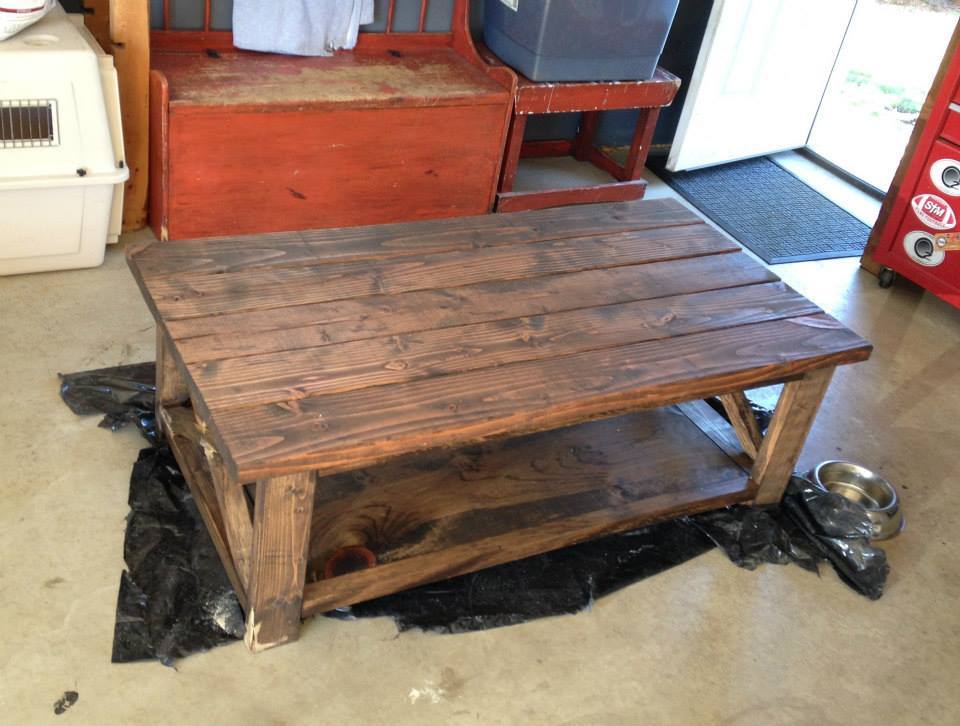
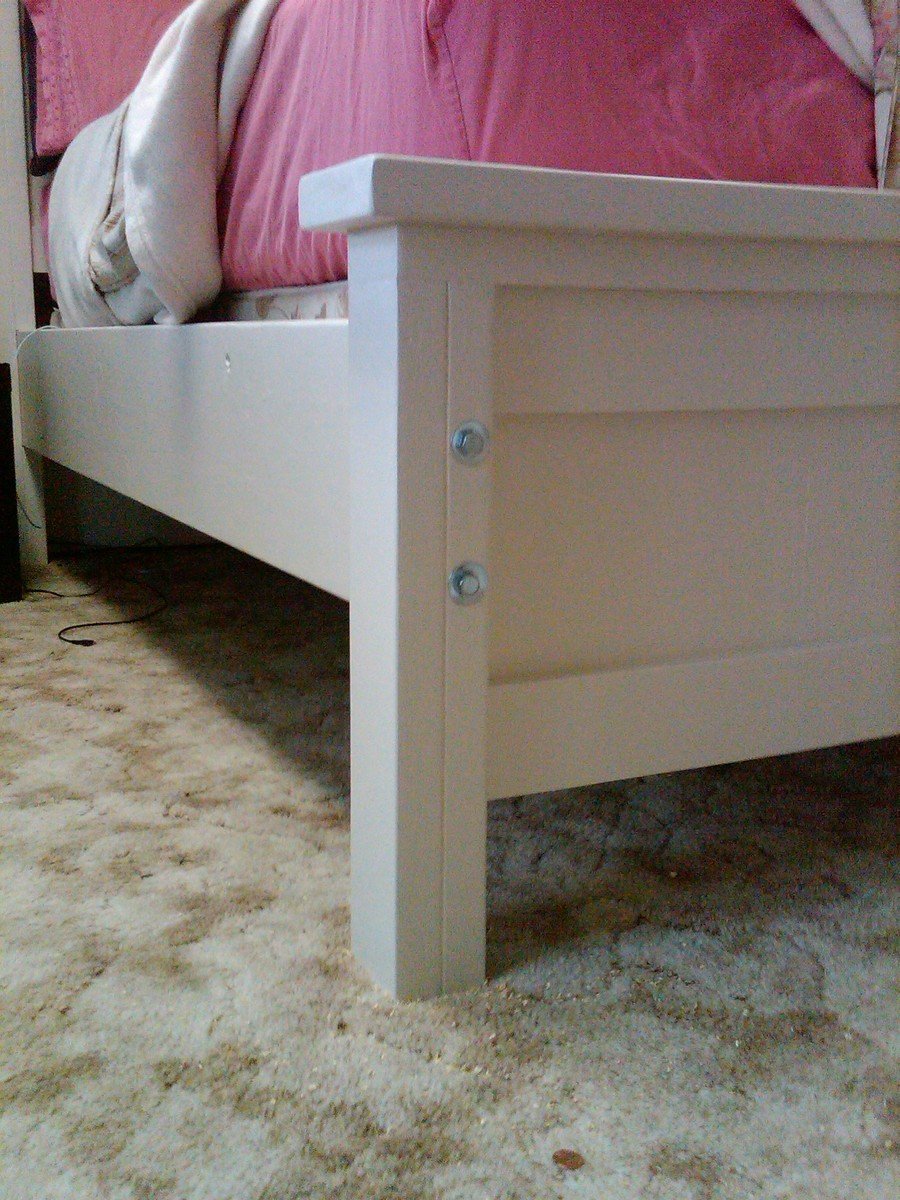
I modified the plans slightly. The original table looked very small. So I added 2x6s on the long sides and 2x8s on the short sides to make the table wider/longer. And I also made the legs out of 4x4s. And for the inner skirt, I used 2x4 studs instead. Each leg is secured by 3" L brackets (3 sides) and 2 1/2 screws thru 2x4 stud on one side. This made the table stable and strong.
Dimensions:
84" L x 43" W x 31 1/2" H
Tue, 08/25/2015 - 08:36
Sir,
Just wanted to say your table turned out great! I too have little experience and want to make this table. I have left over 2 X 6s from a pergola I put up. (Board are already stained!) Saying that, I had a question with the demensions of the the short boards and middle board between the troughs. Both short boards are 2X8s correct? The inner middle board looks like a 2X4?
Any assistance would be appreciated!
Robert
Kept it natural for now. Might stain it in the future.
Built by Keith Hunt from pallet boards
Fri, 09/18/2020 - 07:51
Beautiful!!! Where can I get the plans for this? I would love to make one for the new grandbaby arriving in June!!
I loved these end tables, but they were too big for what I needed. I made one table to be 20" x26" and two others that were both 13"x26". We modified the top of the table by using quarter-sawn oak that had been sitting in the basement for years. We squared the boards, glued and biscuited them together and planed them to create a beautiful butcher block top. I am so happy with the way they turned out and they fit perfectly in my space. I learned a lot and the time spent with my Dad to create them is priceless!
Thu, 04/21/2022 - 15:13
Absolutely beautiful, that is precious time spent! Thank you for sharing.
I had tons of fun with this one! I have a boy and a girl and I like light...so white is my best option...
I made two of these little drawers to use in the Bathroom Wall Storage project that I built from Ana's book, The Handbuilt Home. They're from her Pallet Storage Boxes plan. They went together in no time! I really like the rustic look of them, so I'll be making lots more!
No plans. Just found a picture online that I liked and built it by trial and error. Made out of pine boards and hardwood legs purchased at the local hardware store.
Used jig saw to cut the sides to desired slanted shape. Then used random orbital sander to round all the edges.
Thank you for the basic stool design. I’m new to wood working and have been using you website for the last two years. I built these stools using 2by3’s and an oak top. And the lichtenberg figures filled with color resin is my specialty. I completed the tops of stools with clear table top resin.
A great console for the entryway with tons of storage!
Simple lemonade stand
Thu, 06/16/2011 - 09:08
Thank you! I'm really happy with how it came out and I've already received bites on orders. I think it's the kiddo that makes the build so appealing ;)
Thu, 10/18/2012 - 04:28
Yeah I would totally buy lemonade from that face! lol
After a couple years out of bodybuilding because of a bad injury, I decided I really needed a new hobby. I've always been impressed with woodwork but it just seemed out of my reach. I wanted a porch swing and saw these plans and though, "even if I mess up it'll only cost me a couple hundred dollars". I bought the kreg jig kit and some lumber and thankfully have all the other tools I need. This only took me a few hours to build and it was so easy and a really good time. I watched a few you tube videos with both ana and Jeff devlin from Kreg Tools and it really prepared me. The job was fun and I plan on going back to the lumber store this week just to build more stuff I probably don't need lol.
Here is my version of the nursery armoire with plexiglass inserts for the doors.
Rustic X Hall Tree with White and natural finish!
by
My third project (second from Ana). I love how it turned out. So far it's held up well to a massive amount of abuse from my 4 year old and 2 year old. I've had it for about 3 months I think. I used 1x6s kregged together for the lids and bottom shelf, because I like that look.
As a complete beginner in wood working (unless you count a year of woodshop over a decade ago), I decided that building a cart for the miter saw I just bought would be a great first project. So what did I do with that brand new miter saw? I left it in the box and made all of the cuts with a circular saw. Not sure what I was thinking there...
I mostly followed the excellent plan provided here but used wooden arms to prop up the wings in order to save on cost. I got the idea from the folding sling chair plan. It took quite a few screw ups and adjustments of the lower support bar before getting one of the wings level but I got it eventually.
Update 8/20/13: The miter saw has been a joy to use with the cart and the big flip up wings provide a ton of really convenient work space in addition to stabilizing 8 ft boards for cutting. I added a sliding drawer and some utility hooks for additional storage.
Thu, 08/01/2013 - 08:10
I originally just had a 2x2 and two blocks to hold up the wings on the cart. They kept falling out, so I replaced them with hinged arms, which were a pain to fit and install, but they work well. Your approach has the same advantage of hinging the support arms: the wood can't fall out and it looks way simpler to install than my system.
One hint if you try Nermell's approach: Flip the cart upside down when you fit and install the support arms. I did all kinds of complex sketches and measurements, then realized it was just faster to lean the support bracket at roughly 45 degrees, then I installed the two block (one on the side, one on the wing) to hold the bracket in place. Flip the cart over, and your wing will sit at a perfect 90 degrees to the sides of the miter saw cart.
This was such a fun project and only took 1 day to complete! It was a lot more fulfilling to build my own coffee table than go out and spend $400 on one. It looks beautiful in my living room and is a perfect accent to my rustic, earthy decor.
I made this sliding mirror jewelry cabinet for my wife for Christmas.
I love this bed! Building it was pretty easy. I used 2x4s instead of 4x4s because I could not get them un-treated out here in the country. I used the king size frame idea and dado'd (if thats how its spelled or even if thats the right name for it) the legs so the bed rails rested inside flush. See picture! I used 4" lag screws and washers to fix the frame together. Next time i'll countersink holes so you wont see them!I built the bedframe with the joists, and used my boxspring with my mattress. If we ever get tired of the height, we just take out the boxspring. I used 5 2x4s for the joists, and it seems super sturdy. I CANNOT move this bed on my own, not even shake it, its super sturdy and is not going anywhere...but at the same time, I can plop out the lags and it can be hauled away if need be.
This bed fits my house! It was built sometime before 1920, and yes has all the flaws of an old house, but also has all the wonderful things like original molding, 9ft ceilings, and underneath shag carpet is a gorgeous wood floor just begging to be refinsihed... so this bed just adds to the charm:)
I love it! Thank you Ana for the plans!
Wed, 06/22/2011 - 09:05
It seems as though I want everything. Thanks for posting sooo many detailed pics, I love that!
I am starting on the Toddler Bed for my son. :)
THANKS...
This project was super easy! It only took three hours to build and another 24 hours to stain and paint. Third project that I've made using Ana White plans, and was BY FAR the easiest!
Comments
Ana White
Tue, 06/07/2011 - 11:11
What a gorgeous blue finish!
What a gorgeous blue finish! Love seeing picnic tables! Great job on your first project! Looking forward to seeing more from you!