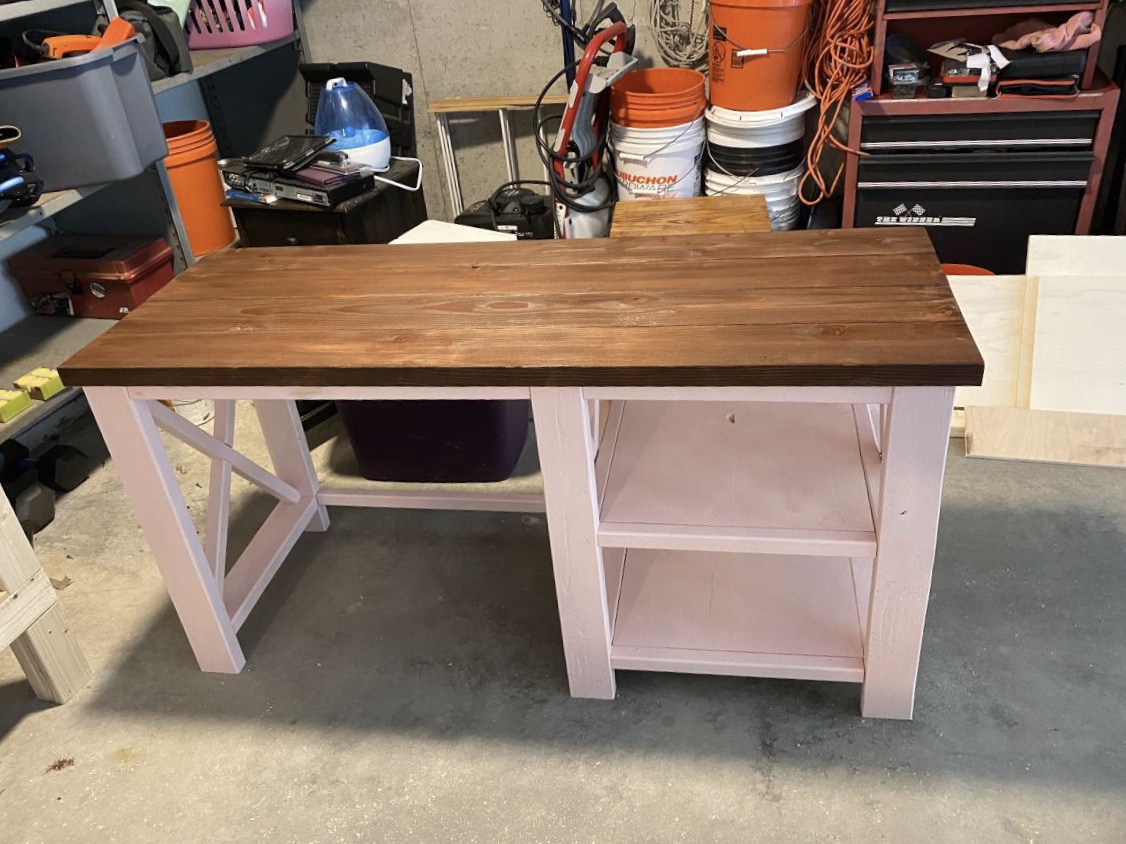
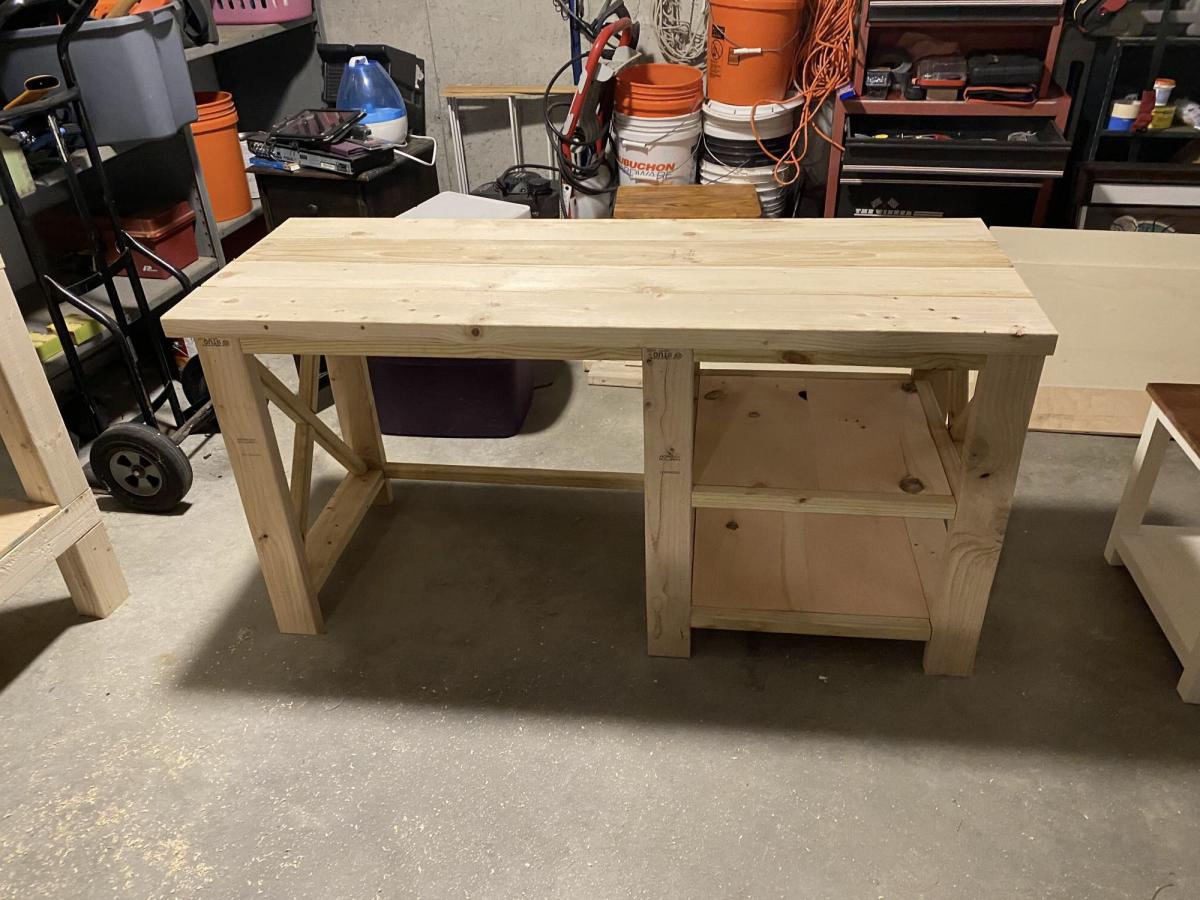
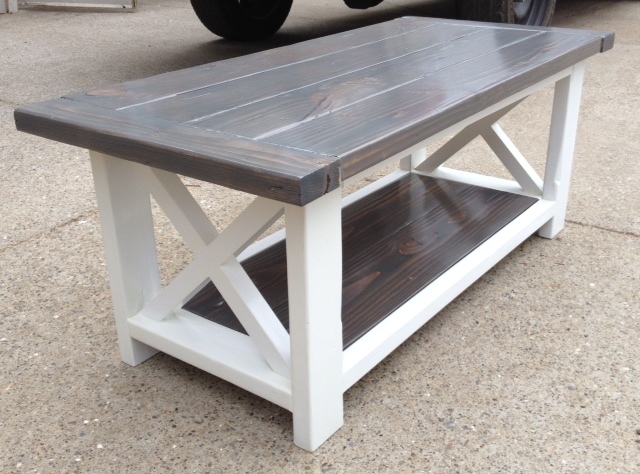
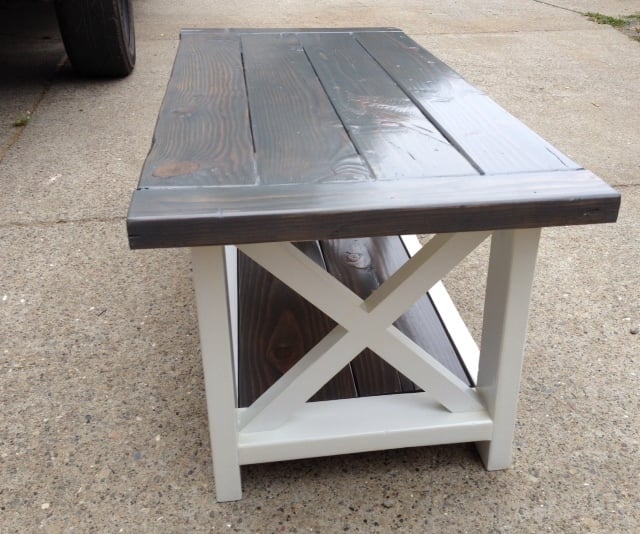
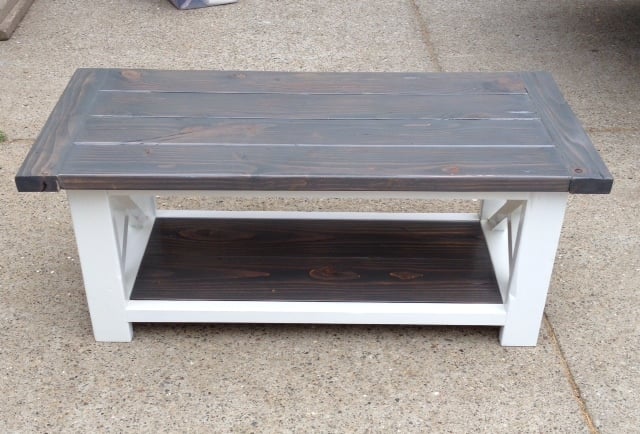
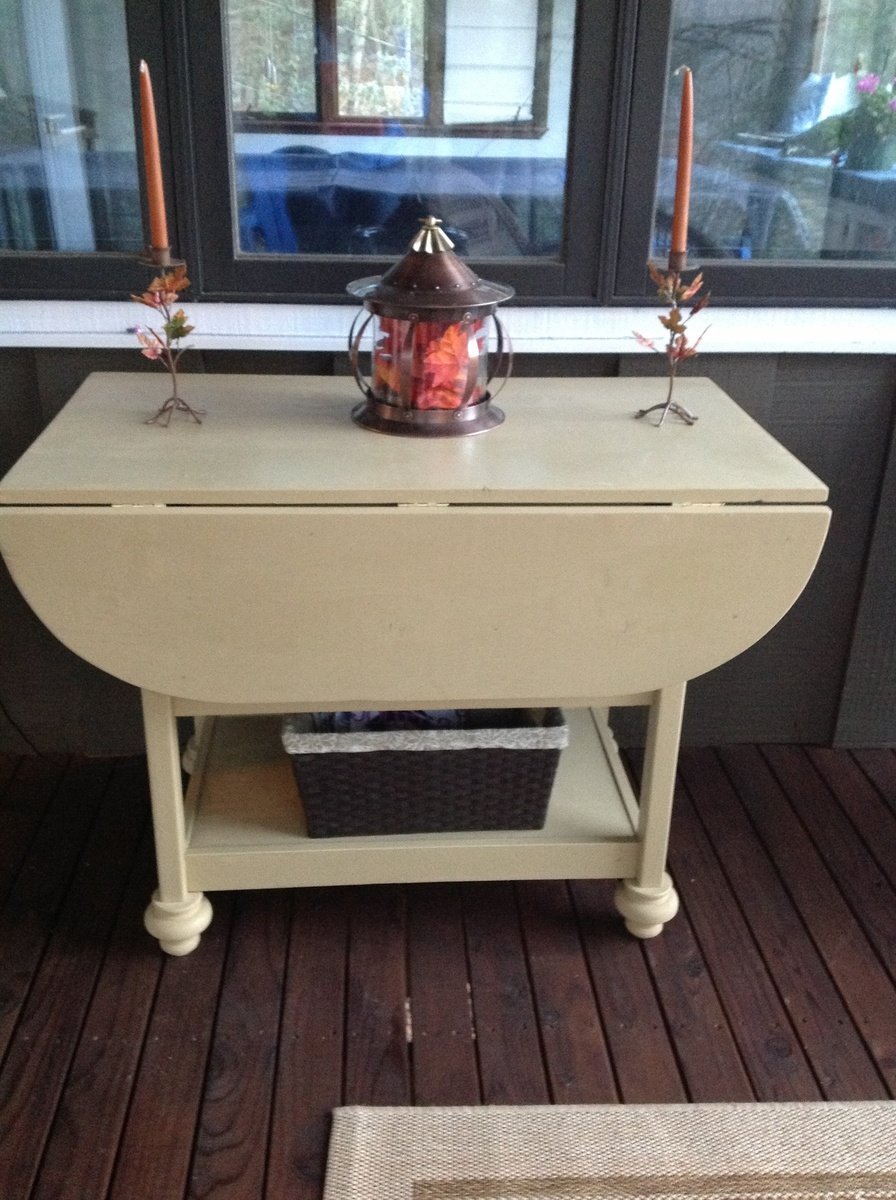
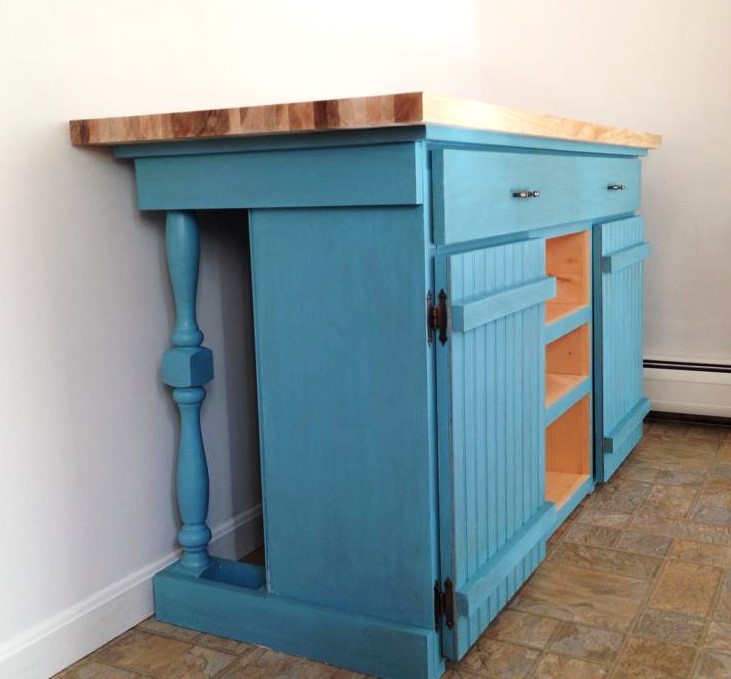
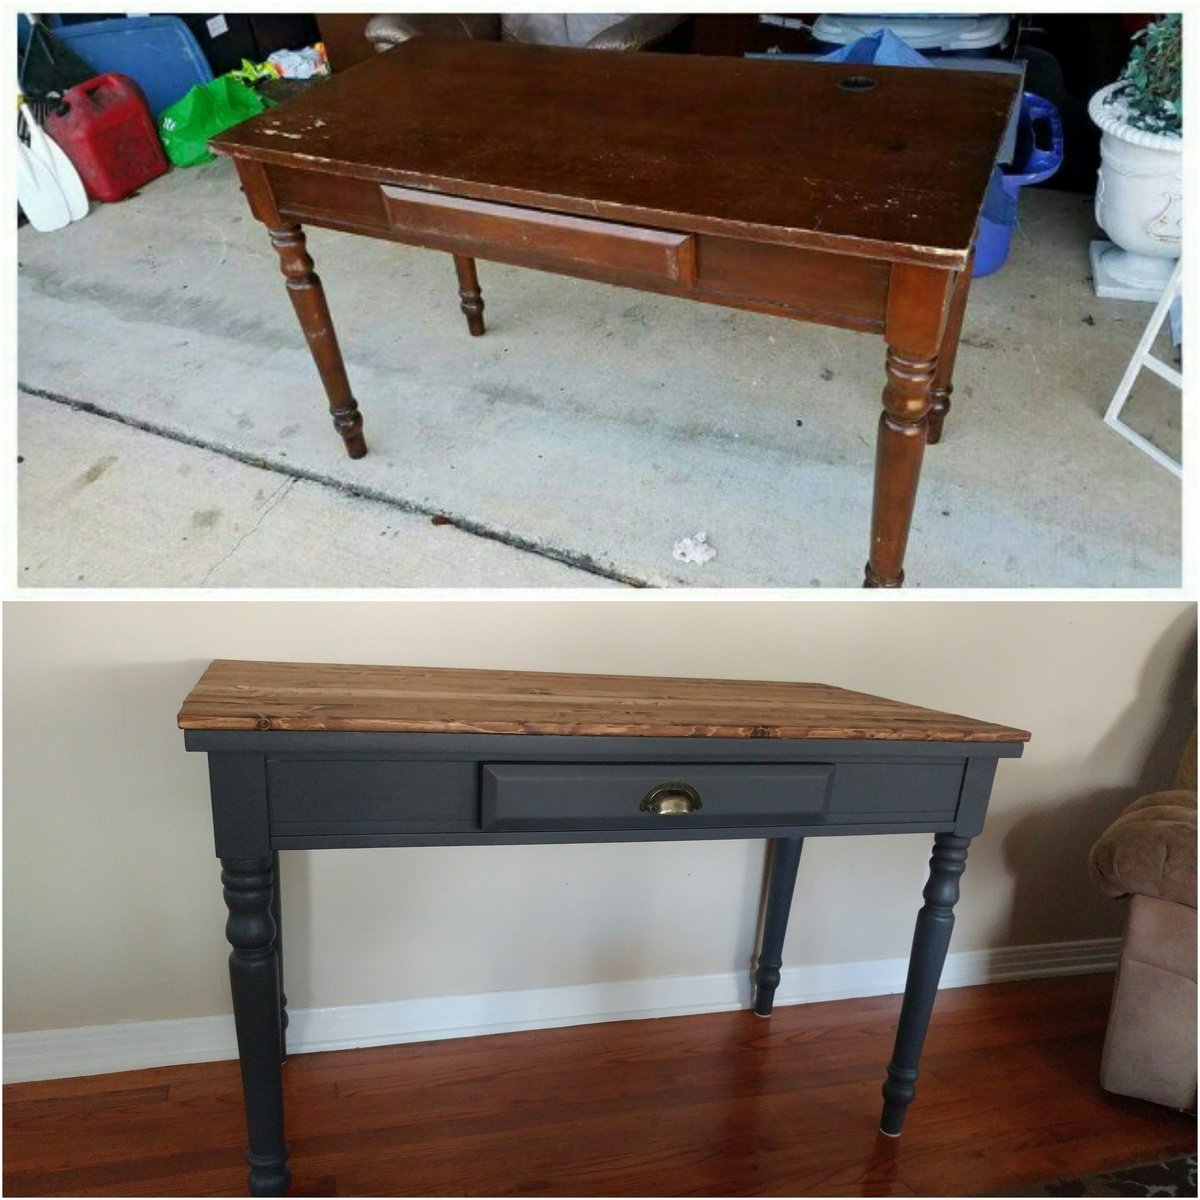
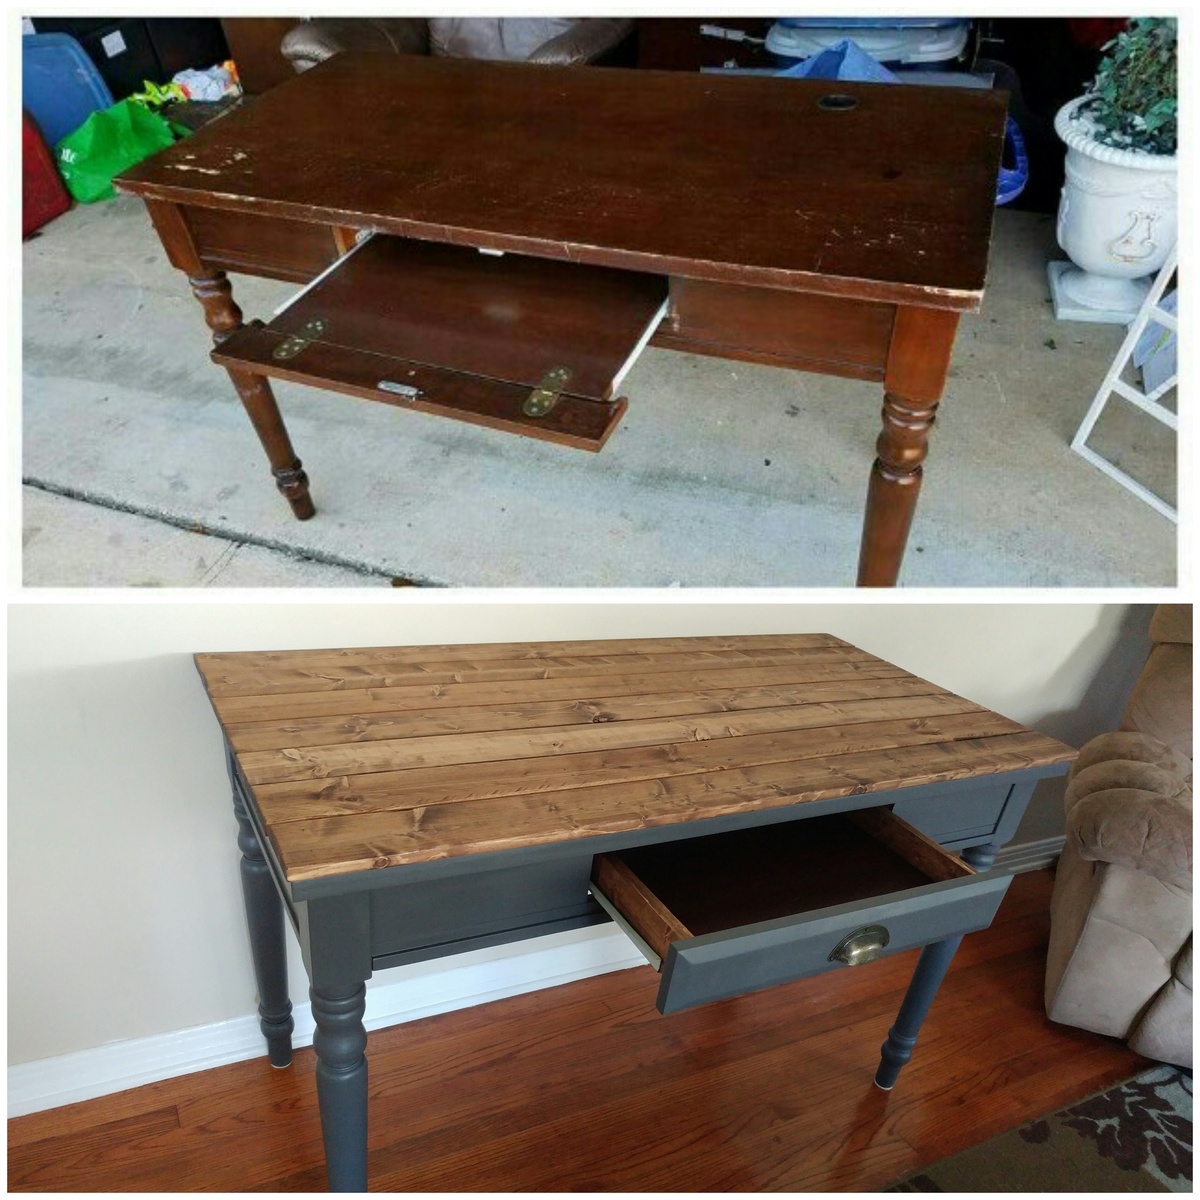
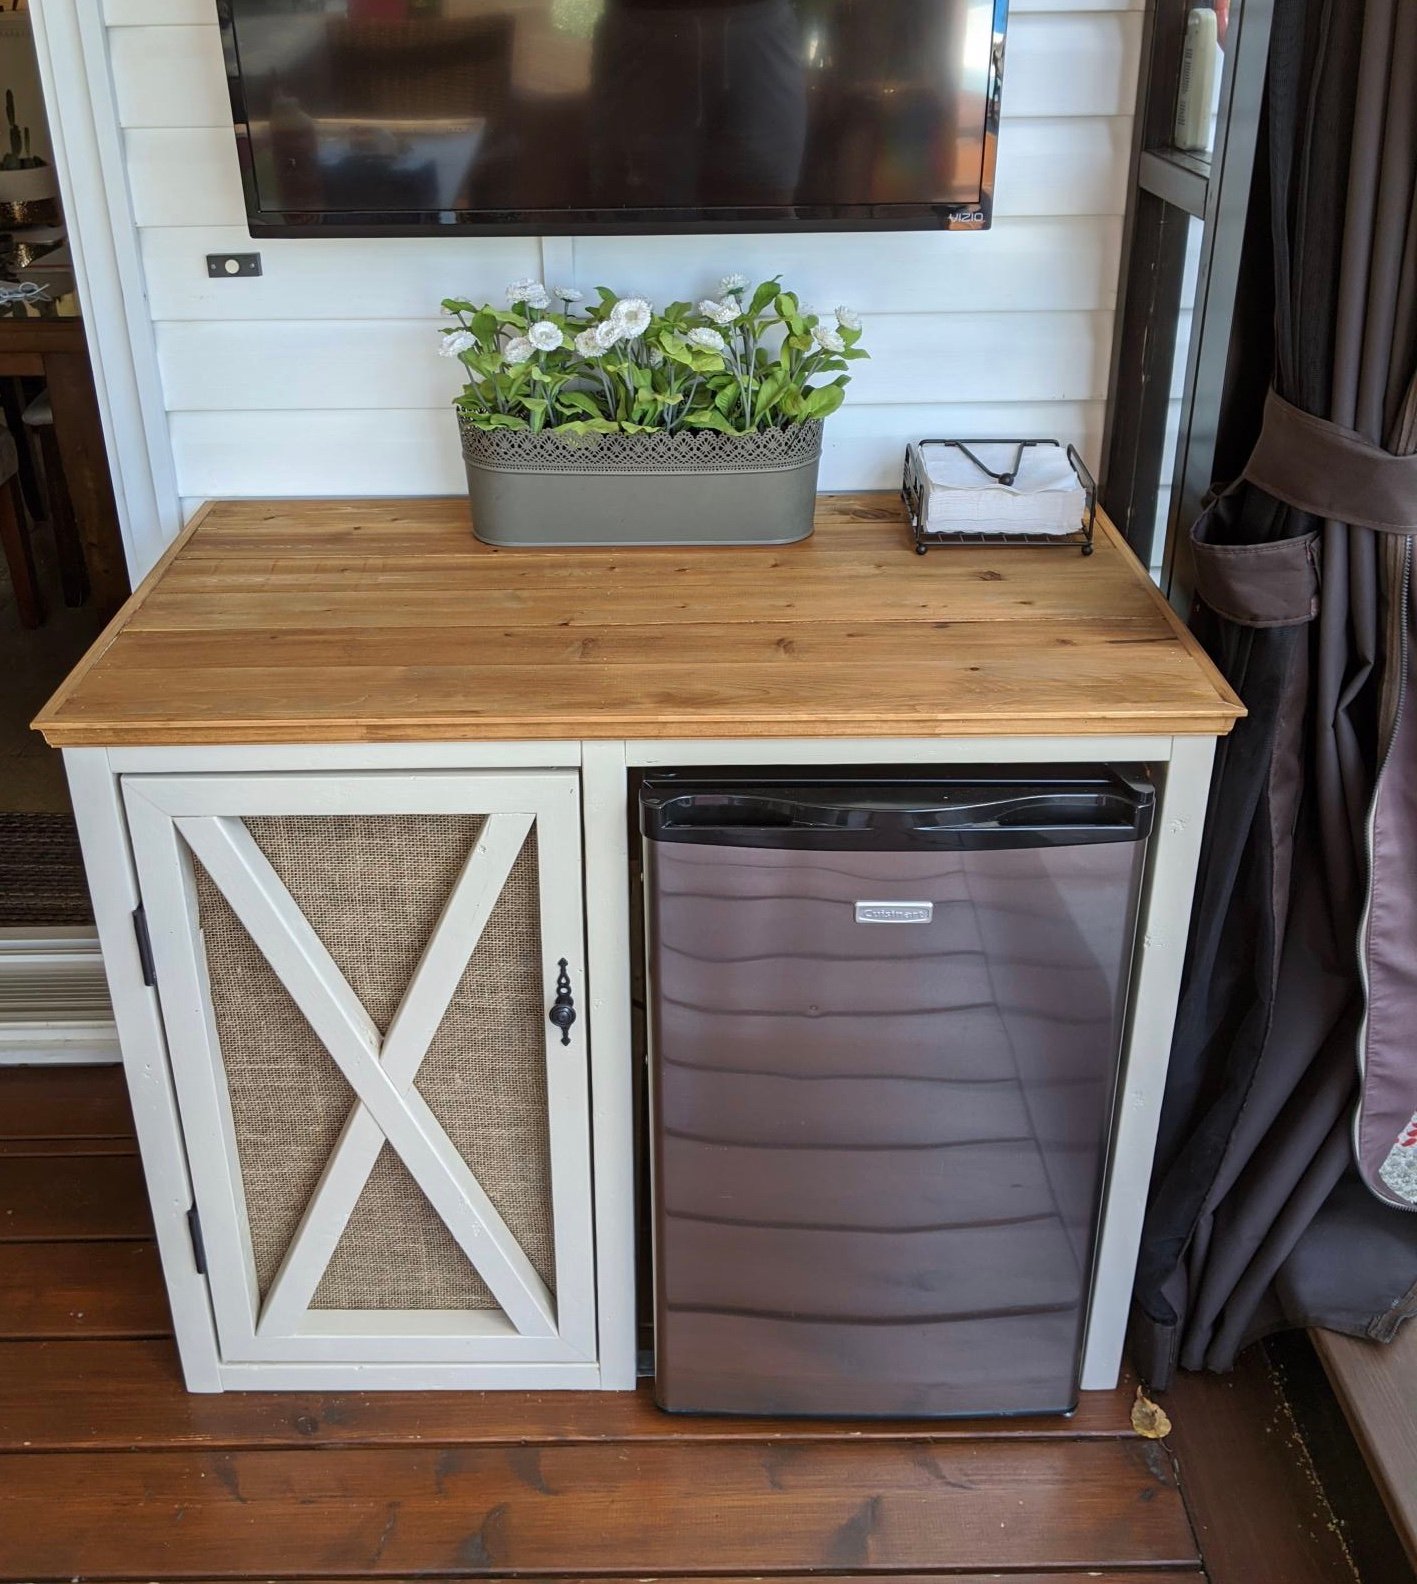
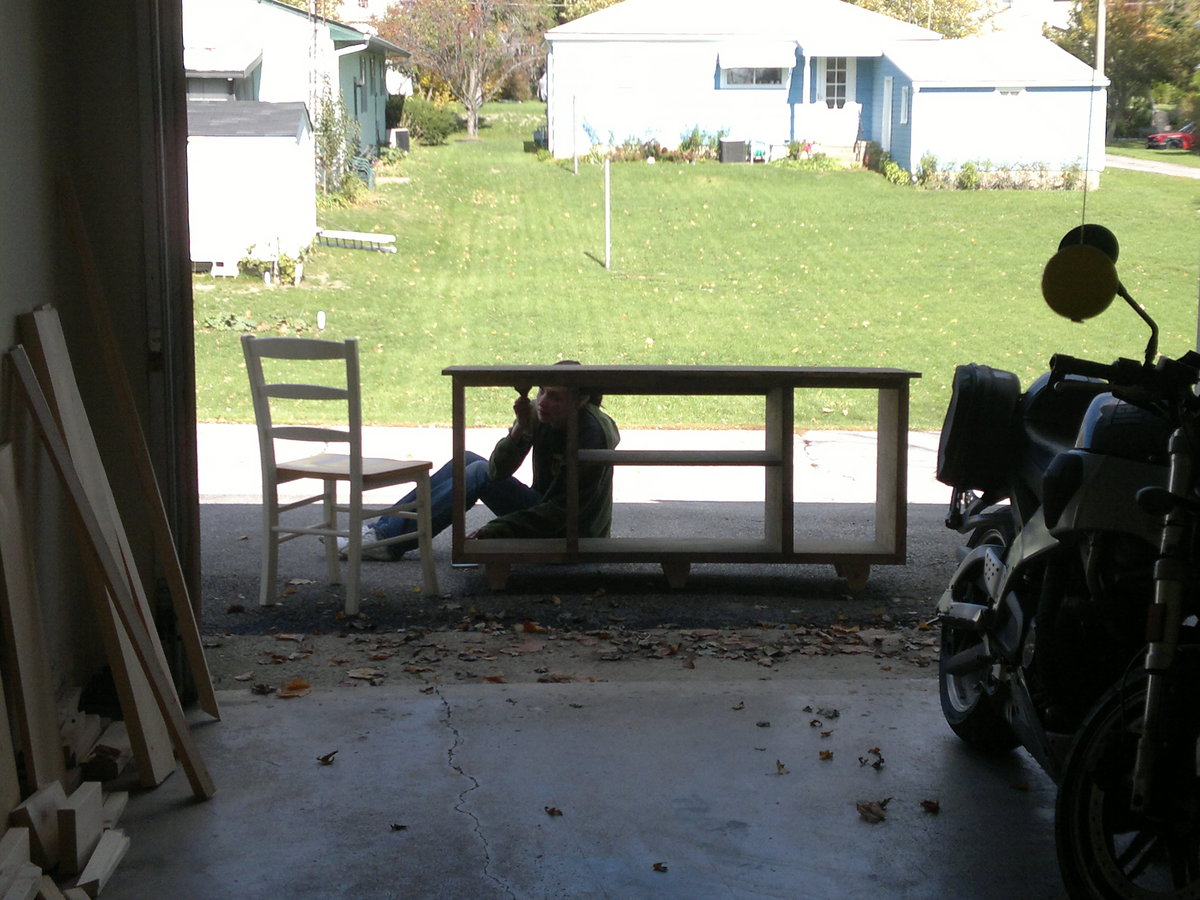
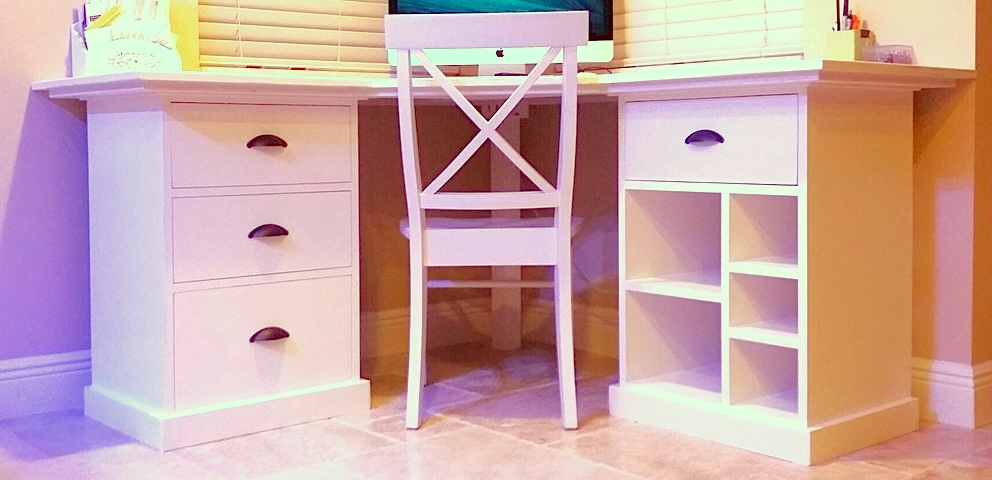
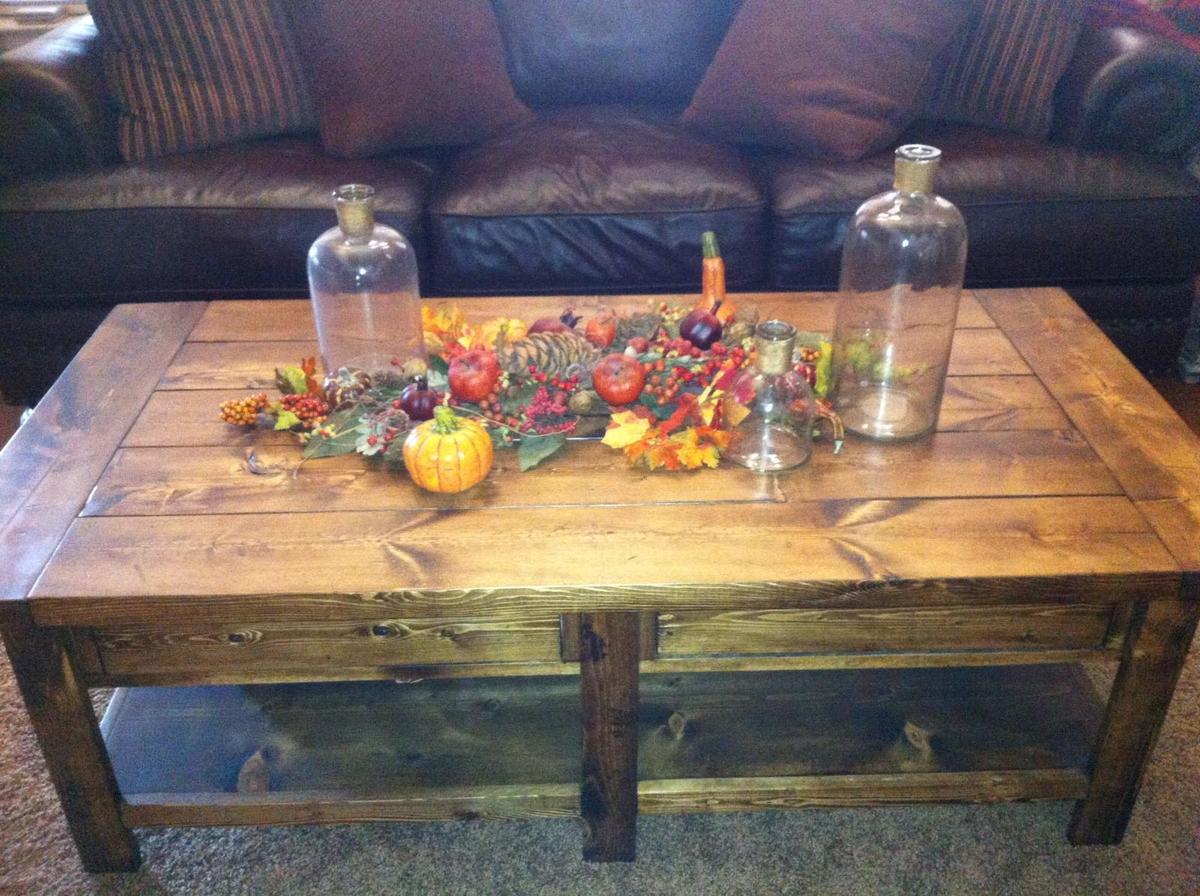
Benchwright Coffee Table
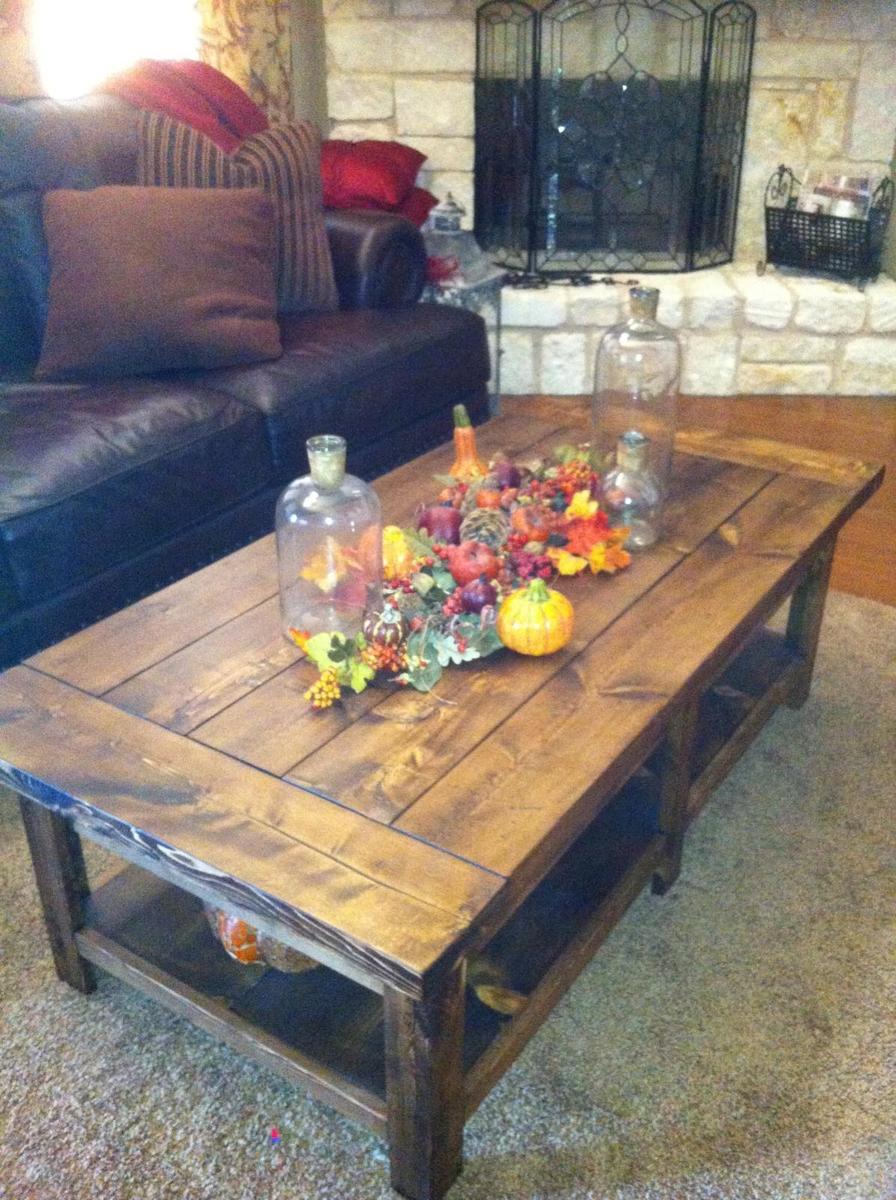
Benchwright Coffee Table built from Ana's plan. Minwax Dark Walnut stain & Satin Polyurethane
Built from Plan(s)
Estimated Cost
140
Estimated Time Investment
Week Long Project (20 Hours or More)
Finish Used
Minwax Pre-stain conditioner, let sit for 10-15 minutes and wiped off excess. Let sit for another 5-10 minutes, then applied Minwax Dark Walnut with foam brush, wiped off after 15 minutes. Only used 1 coat. Finished with 2 coats of Minwax Polyurethane Satin, light sanding between coats with 220 grit (used foam brushes to apply poly), then due to visible brush marks/streaks, used a few coats of polyurethane spray for smooth finish.
Recommended Skill Level
Intermediate