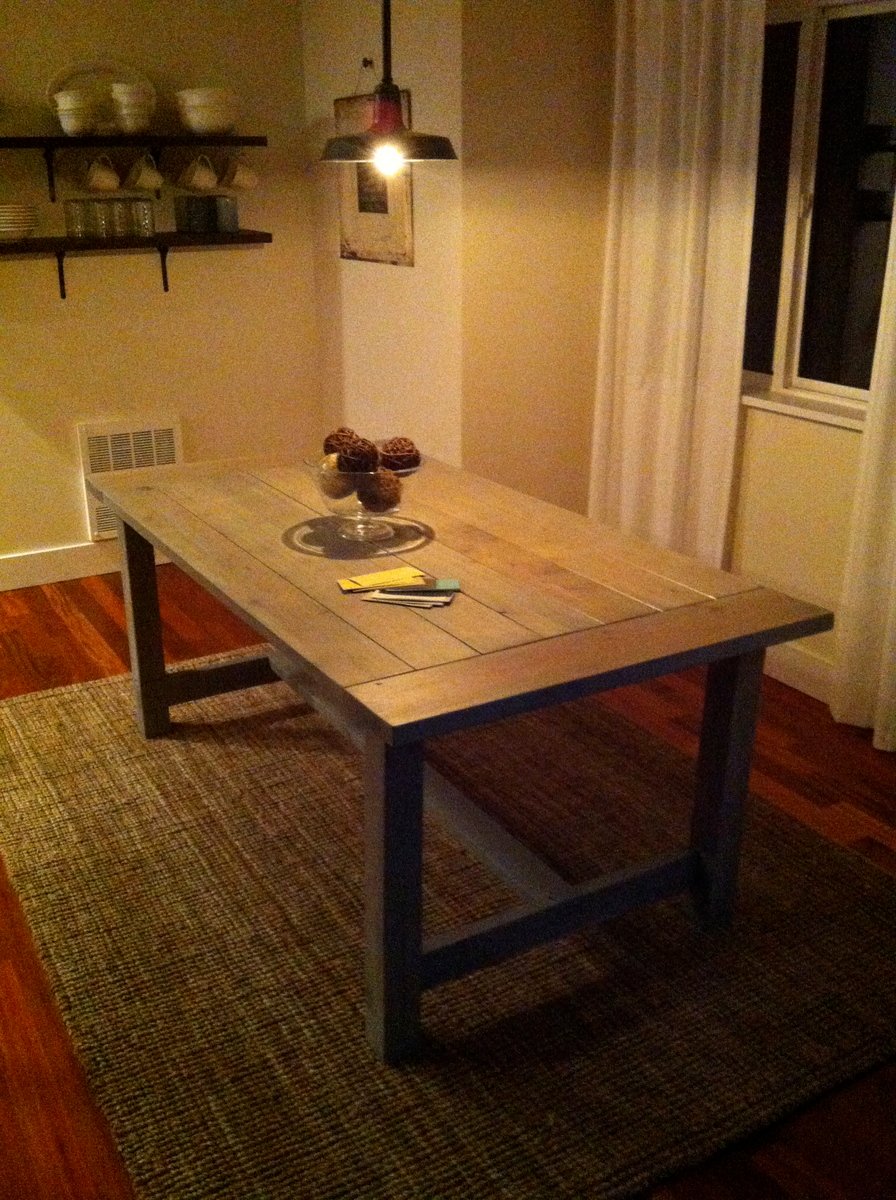
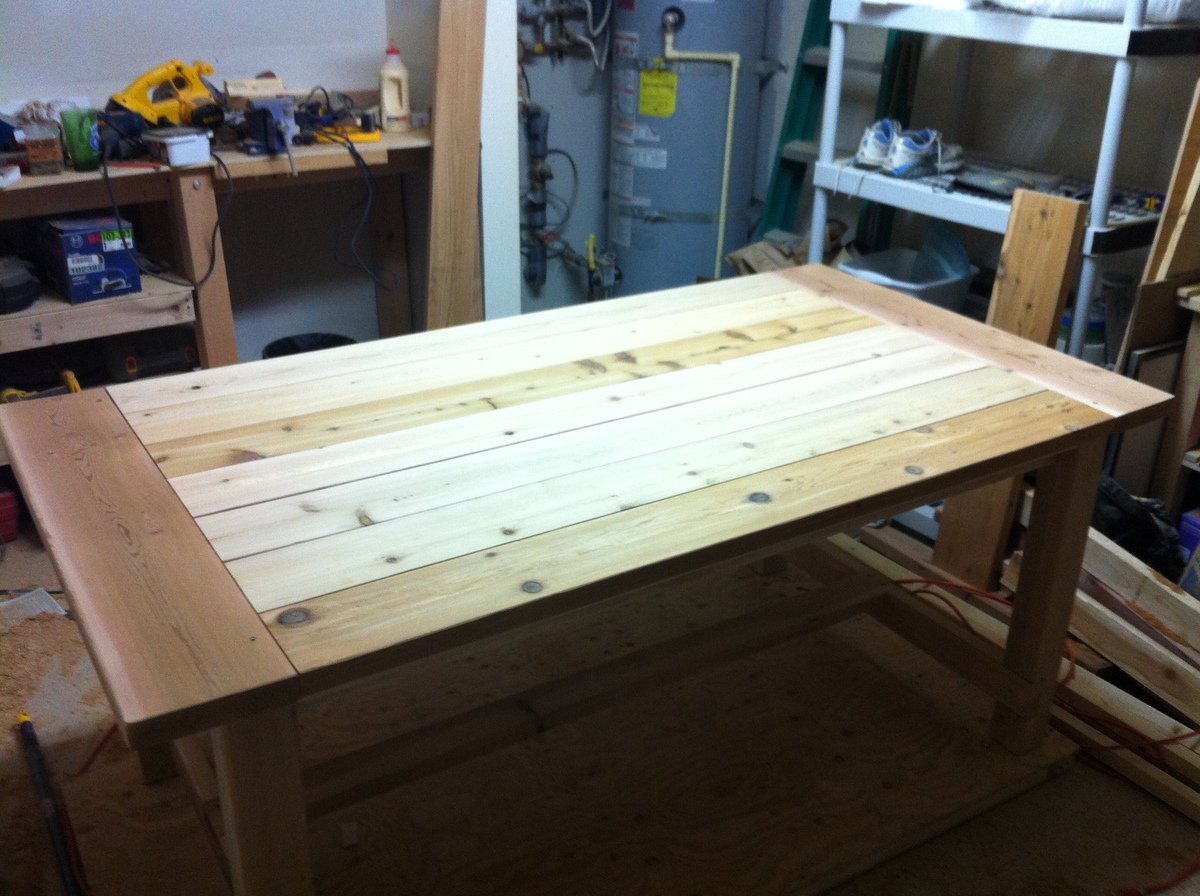
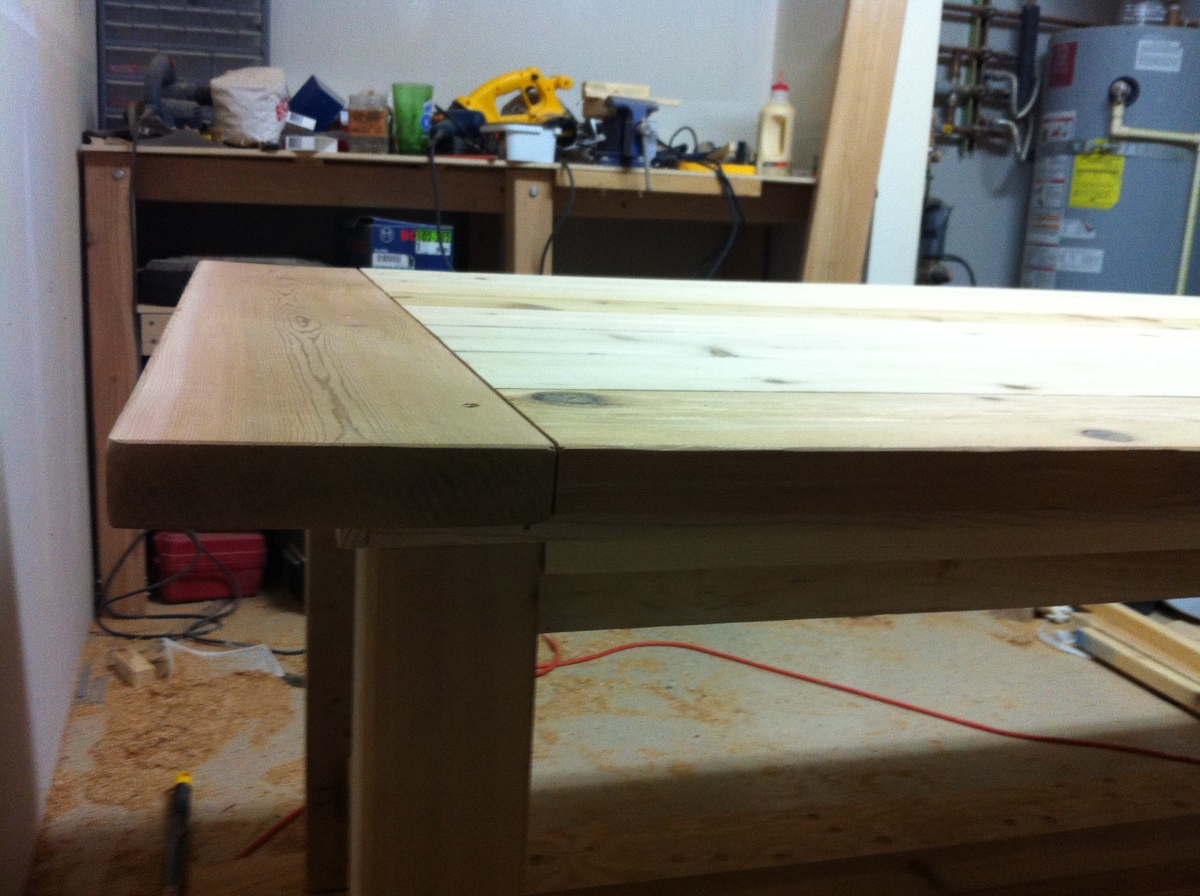
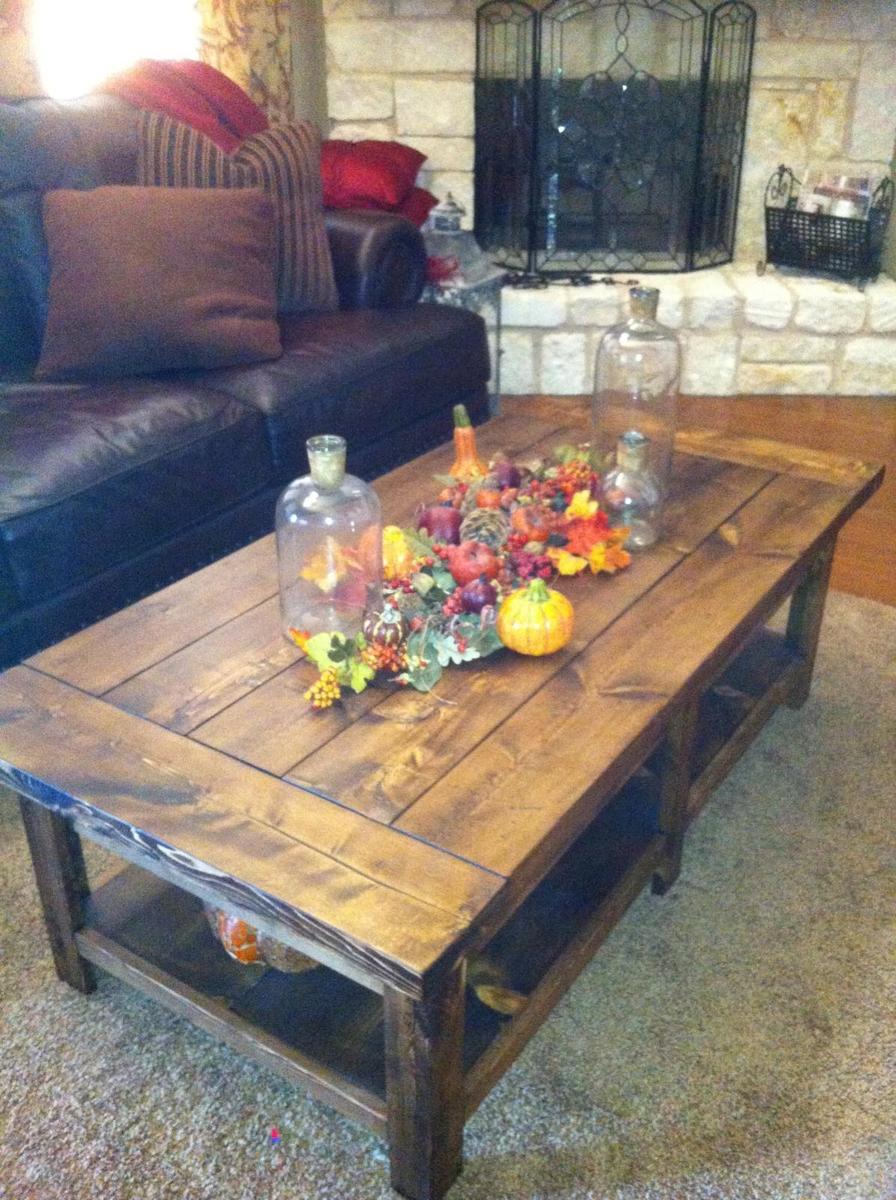
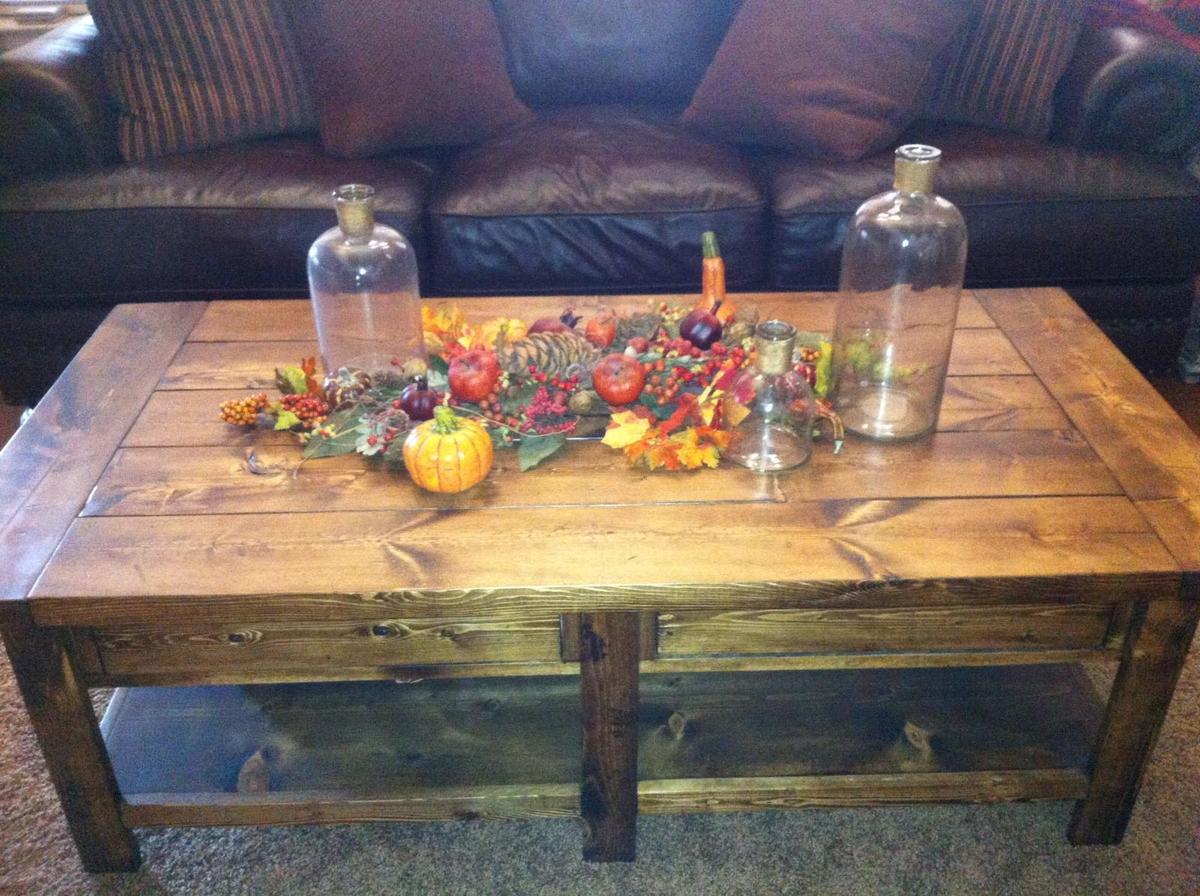
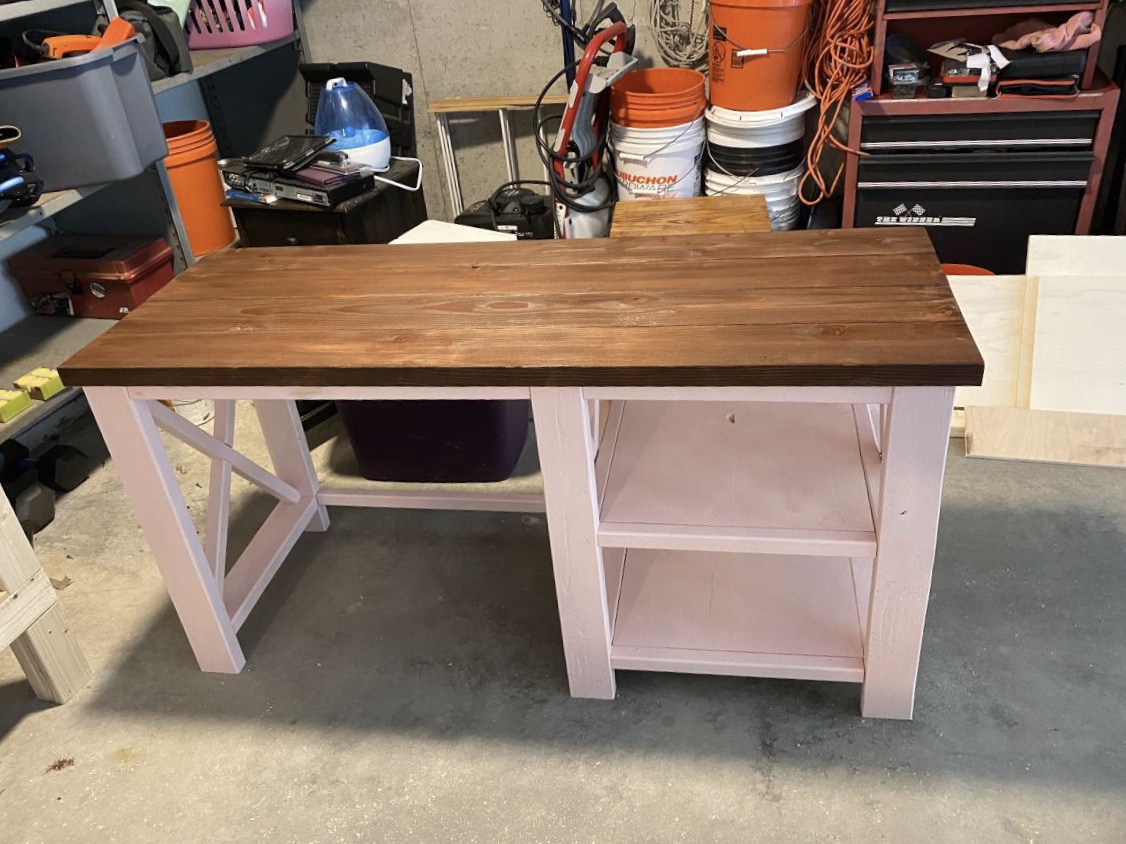
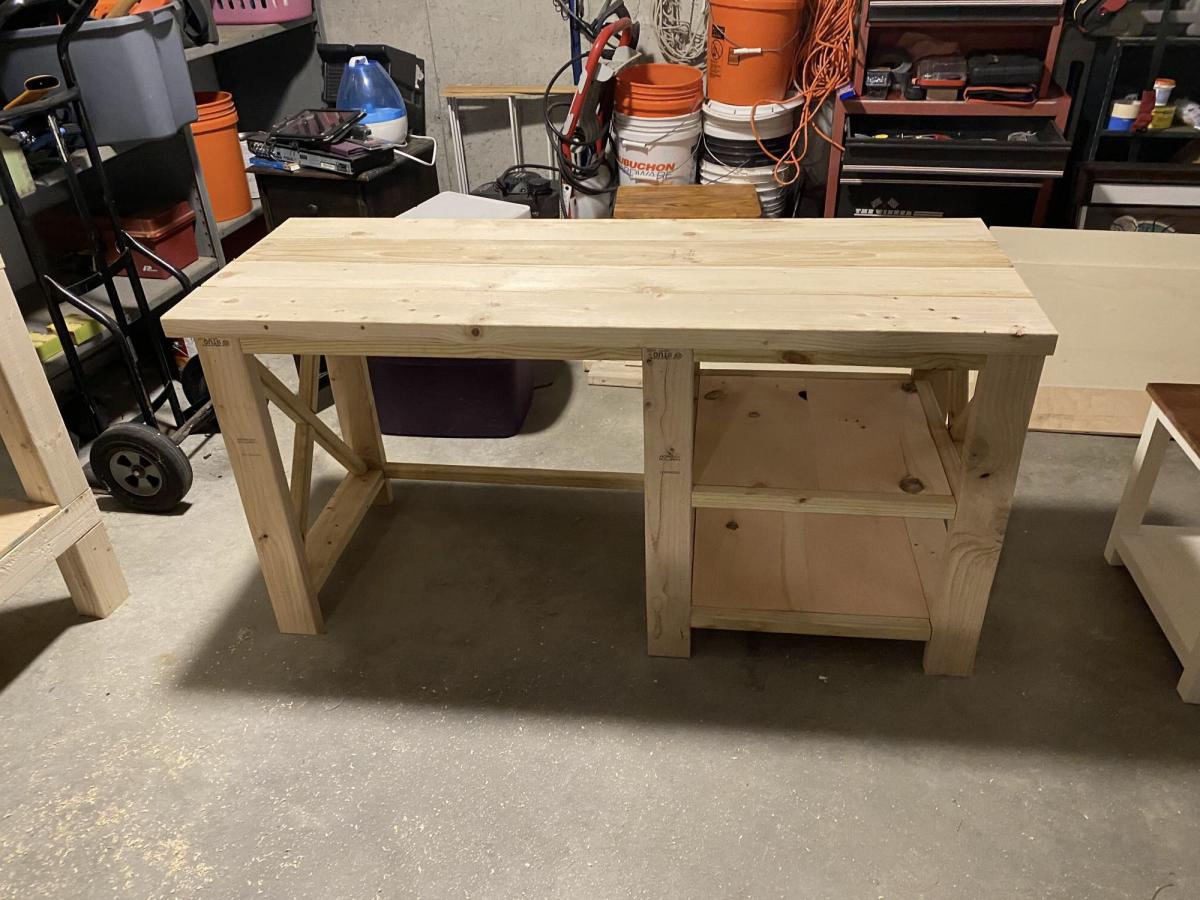
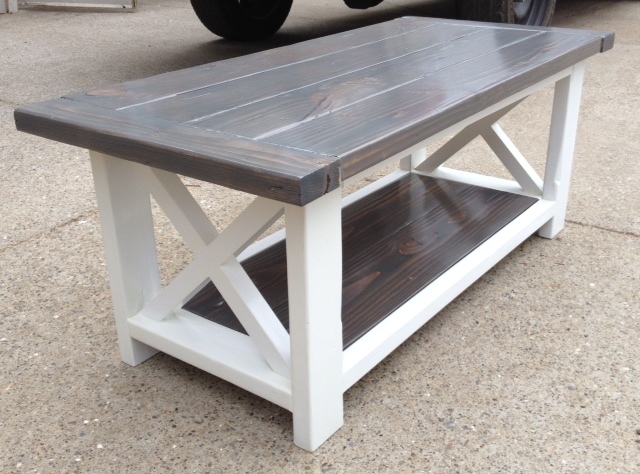
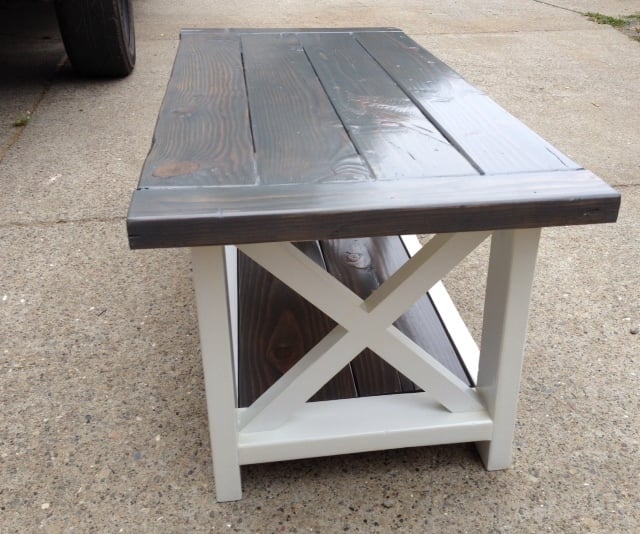
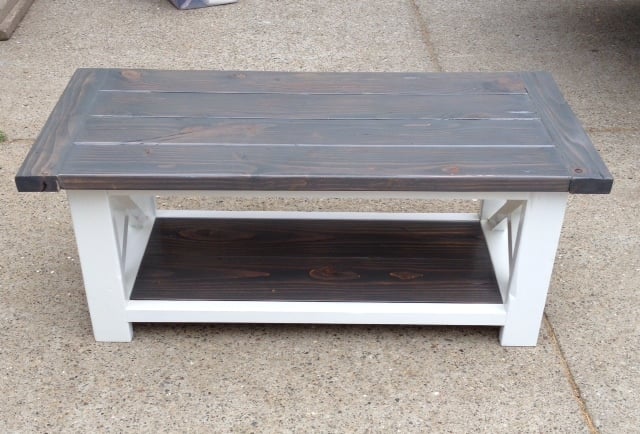
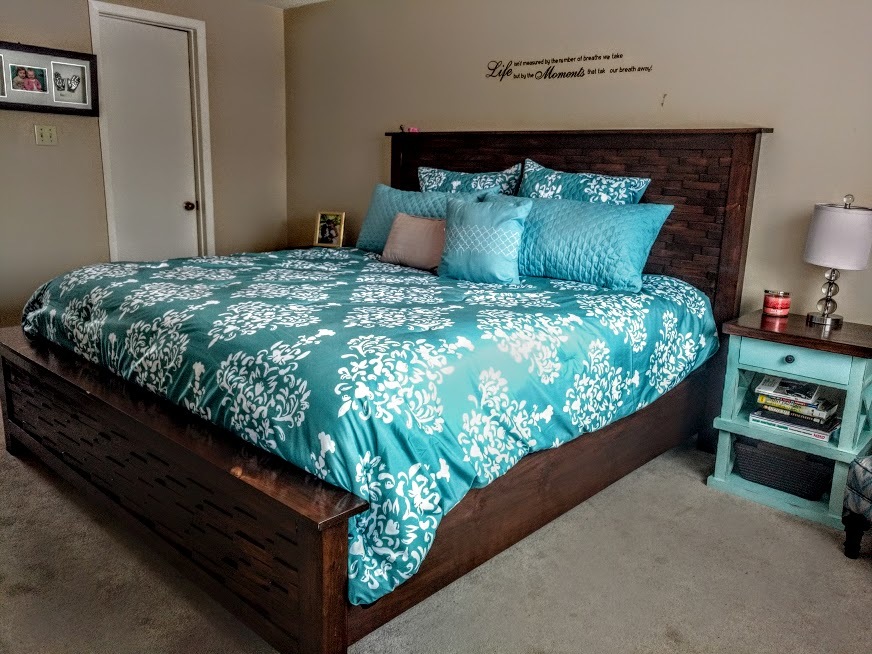
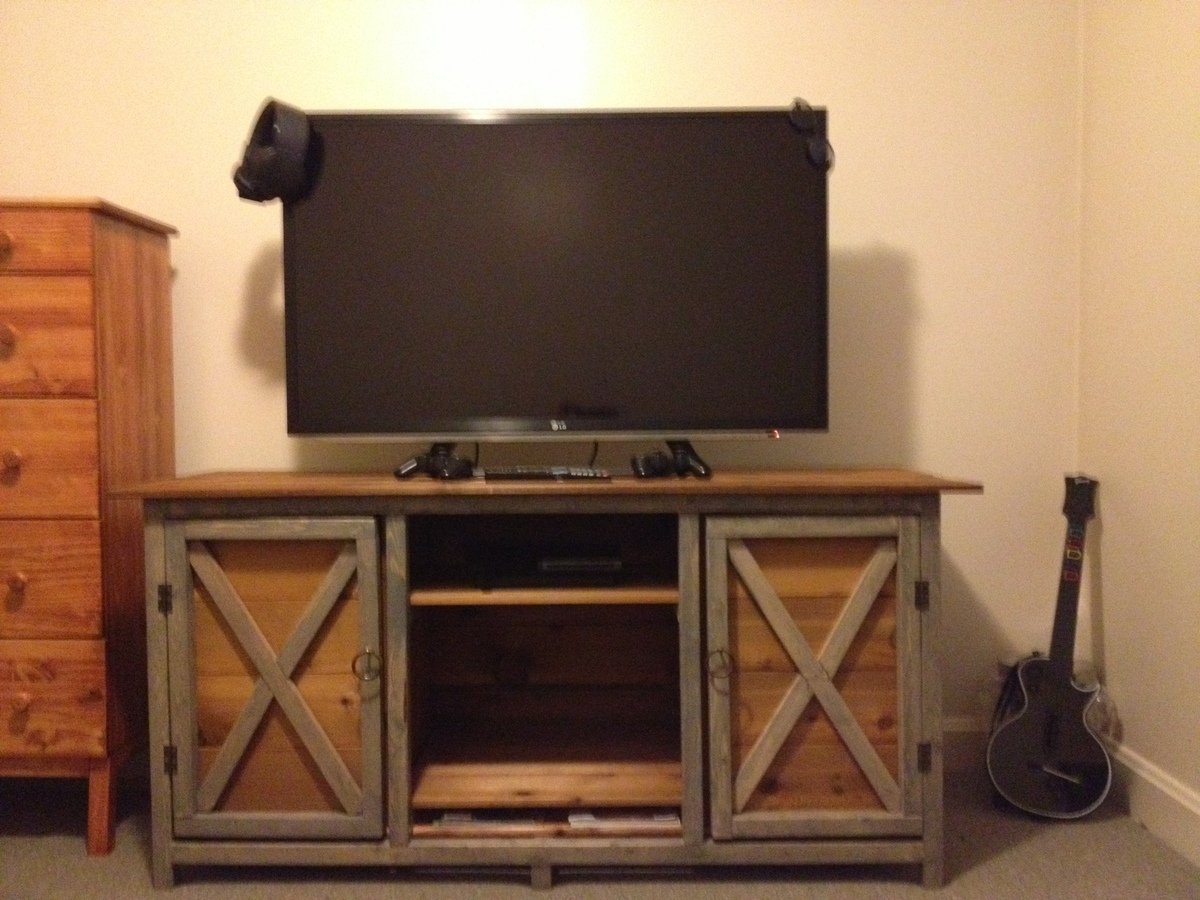
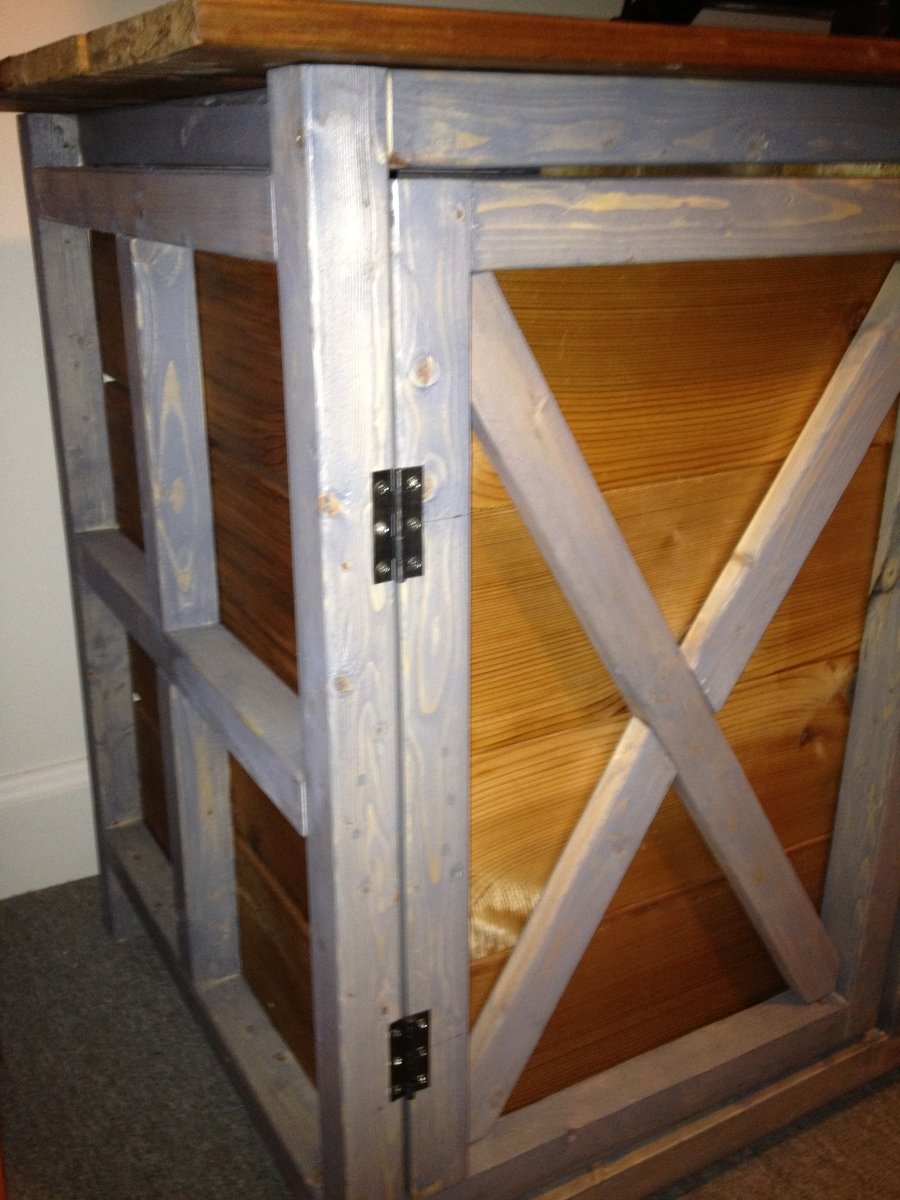
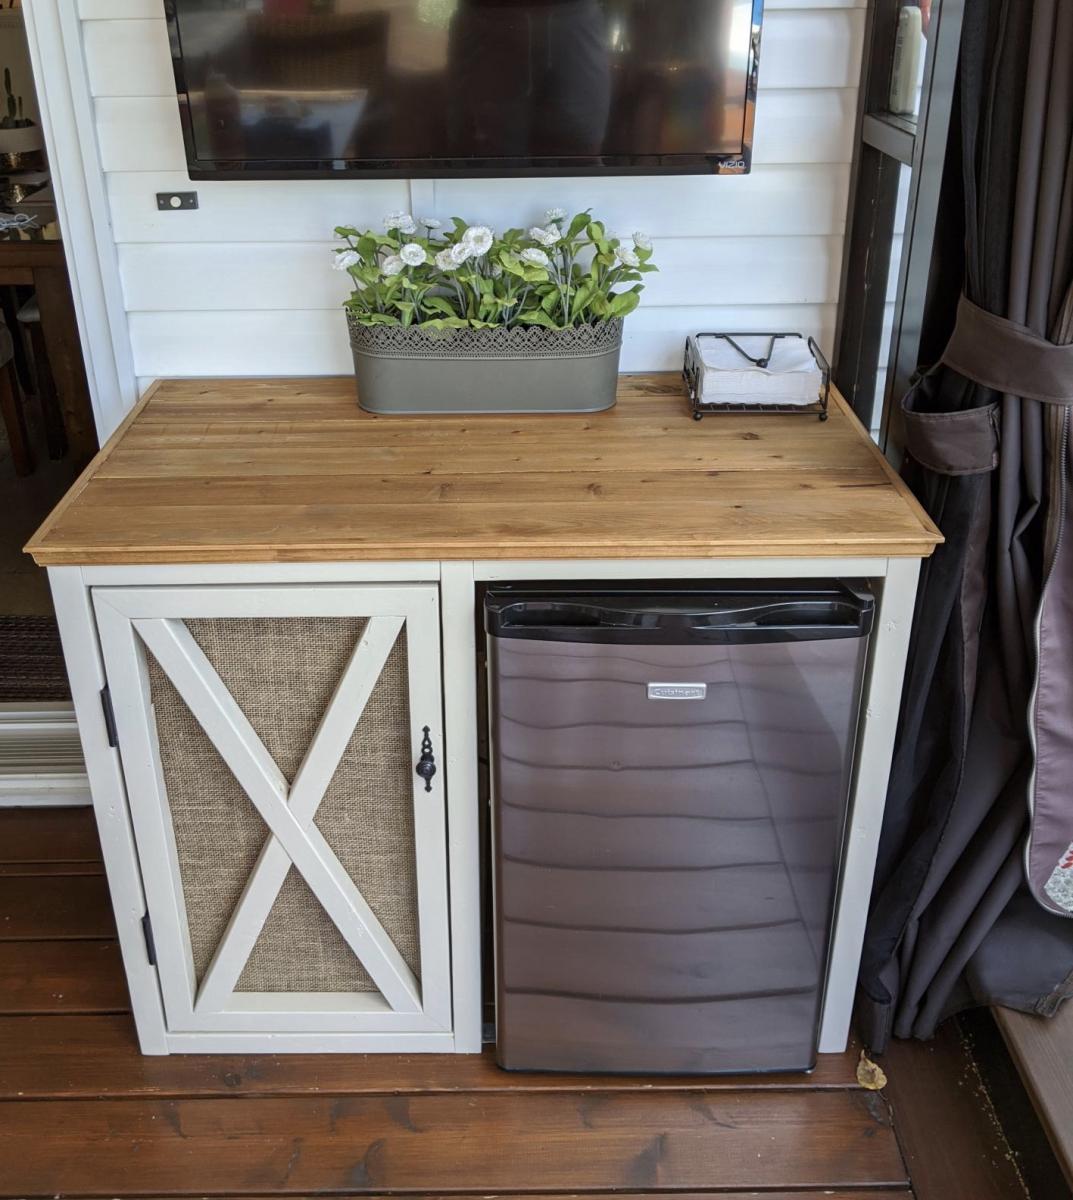
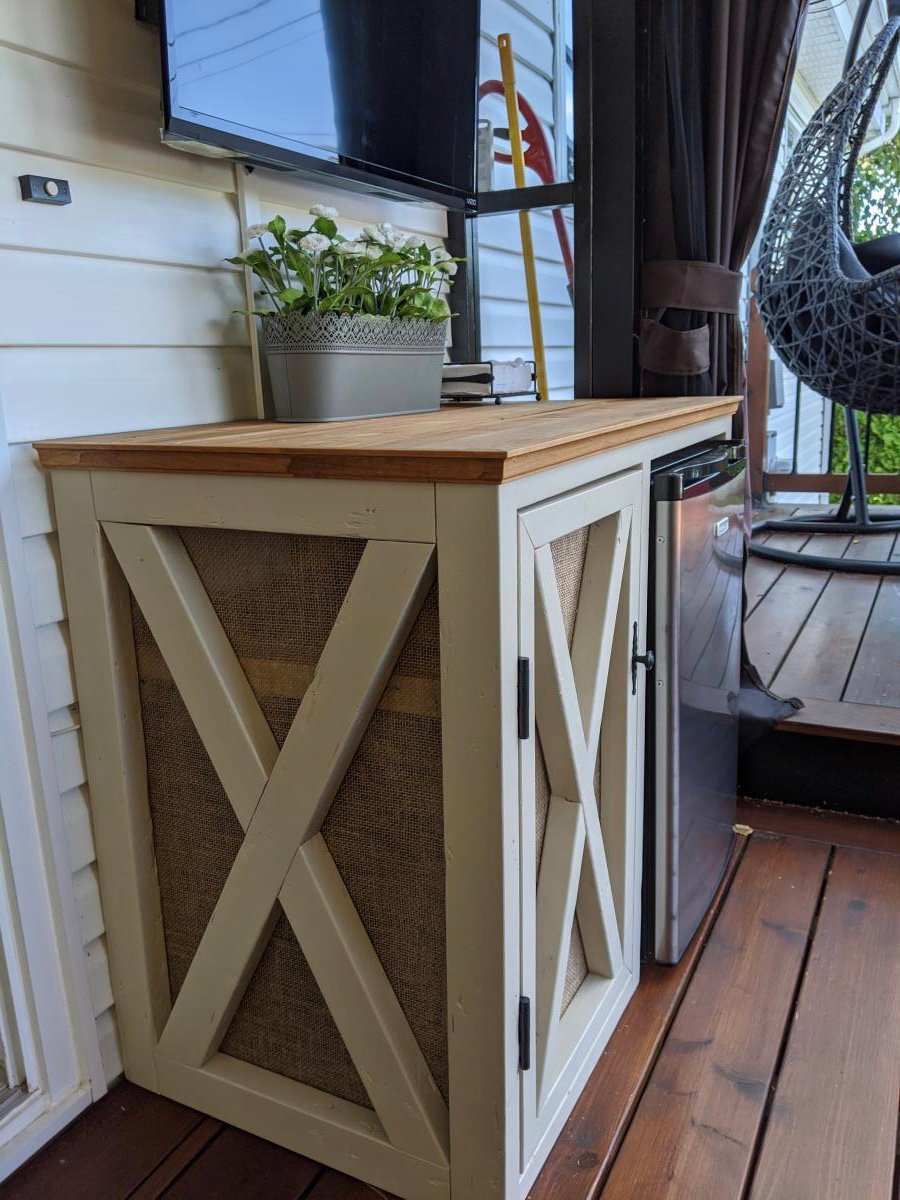
Rustic X Farmhouse Coffee Table
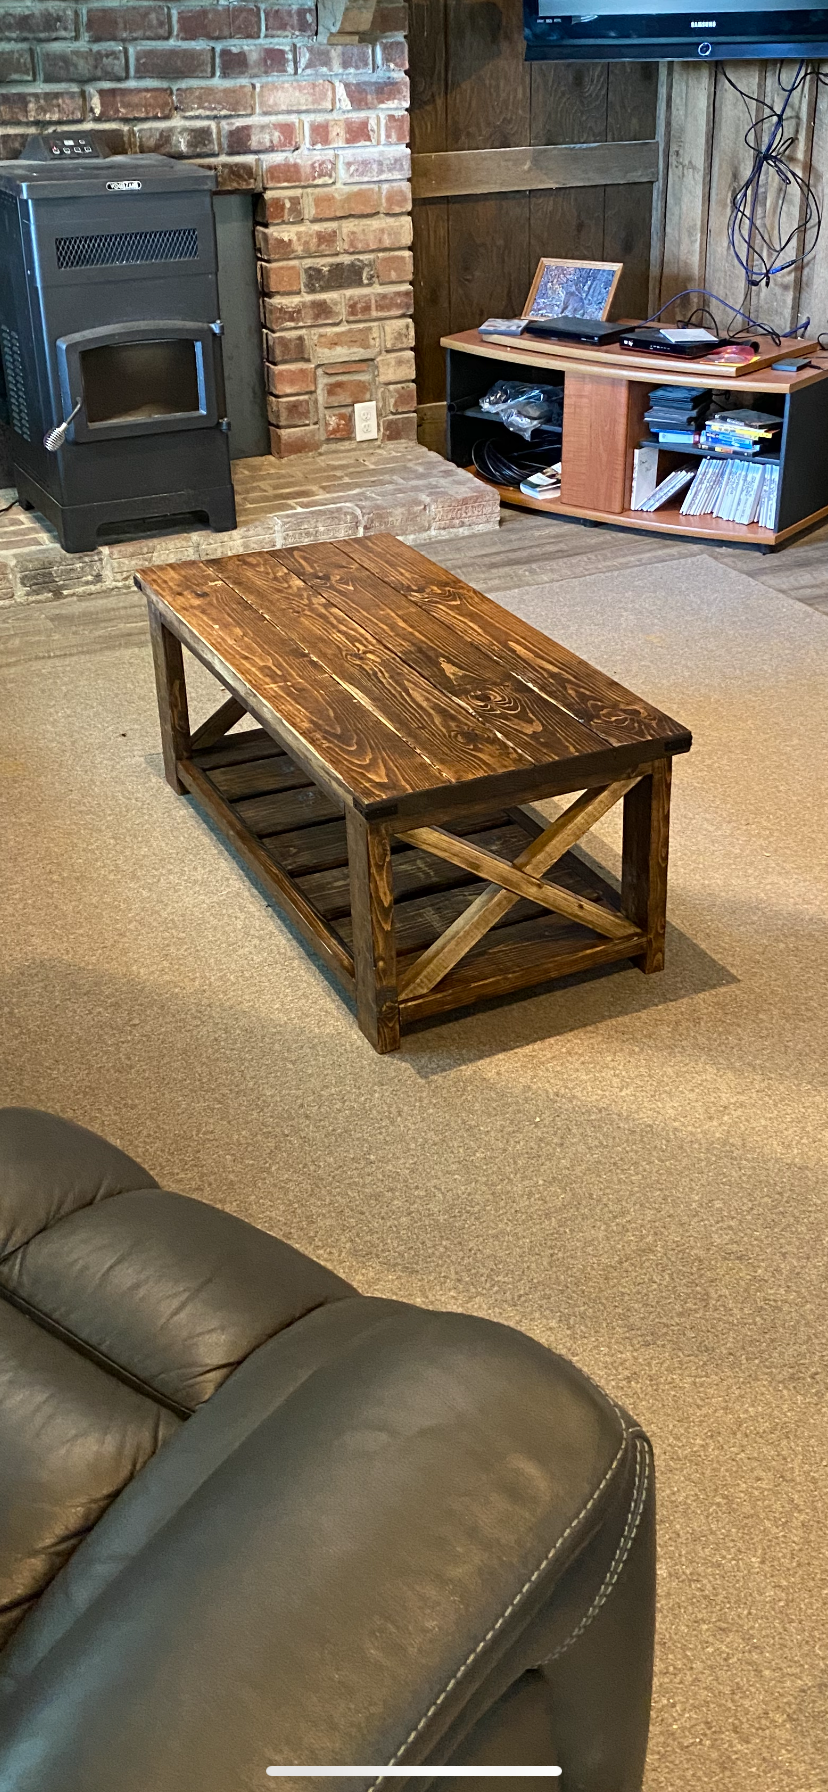
Rustic X Farmhouse coffee table, built for a true rustic farmhouse!
Built from Plan(s)
Estimated Cost
$60
Estimated Time Investment
Afternoon Project (3-6 Hours)
Finish Used
Light coat of Varathane Dark Walnut woodstain on each X, heavy coat everywhere else.
Minwax Polyurethane (5 coats, lightly sanded between each)
Minwax Polyurethane (5 coats, lightly sanded between each)
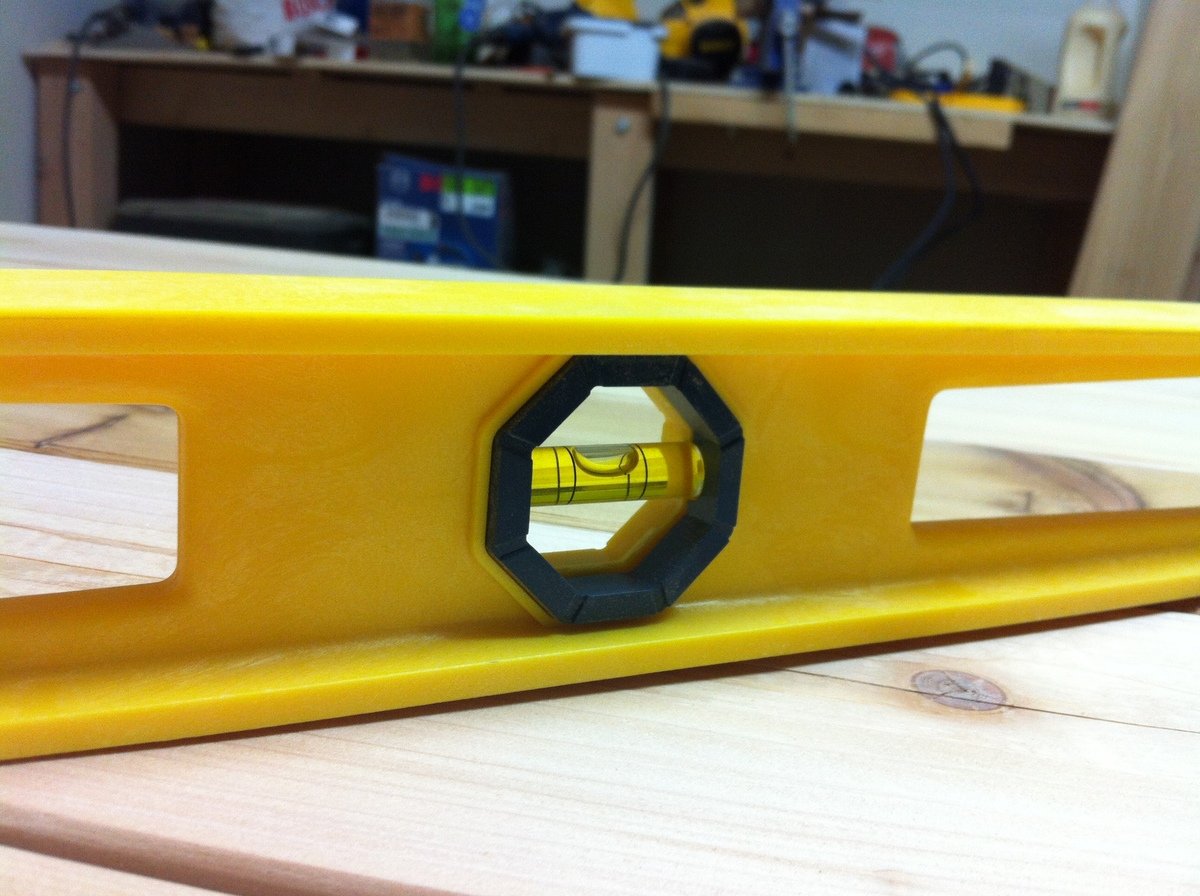
Recommended Skill Level
Beginner