DIY Wooden Farmhouse Bed
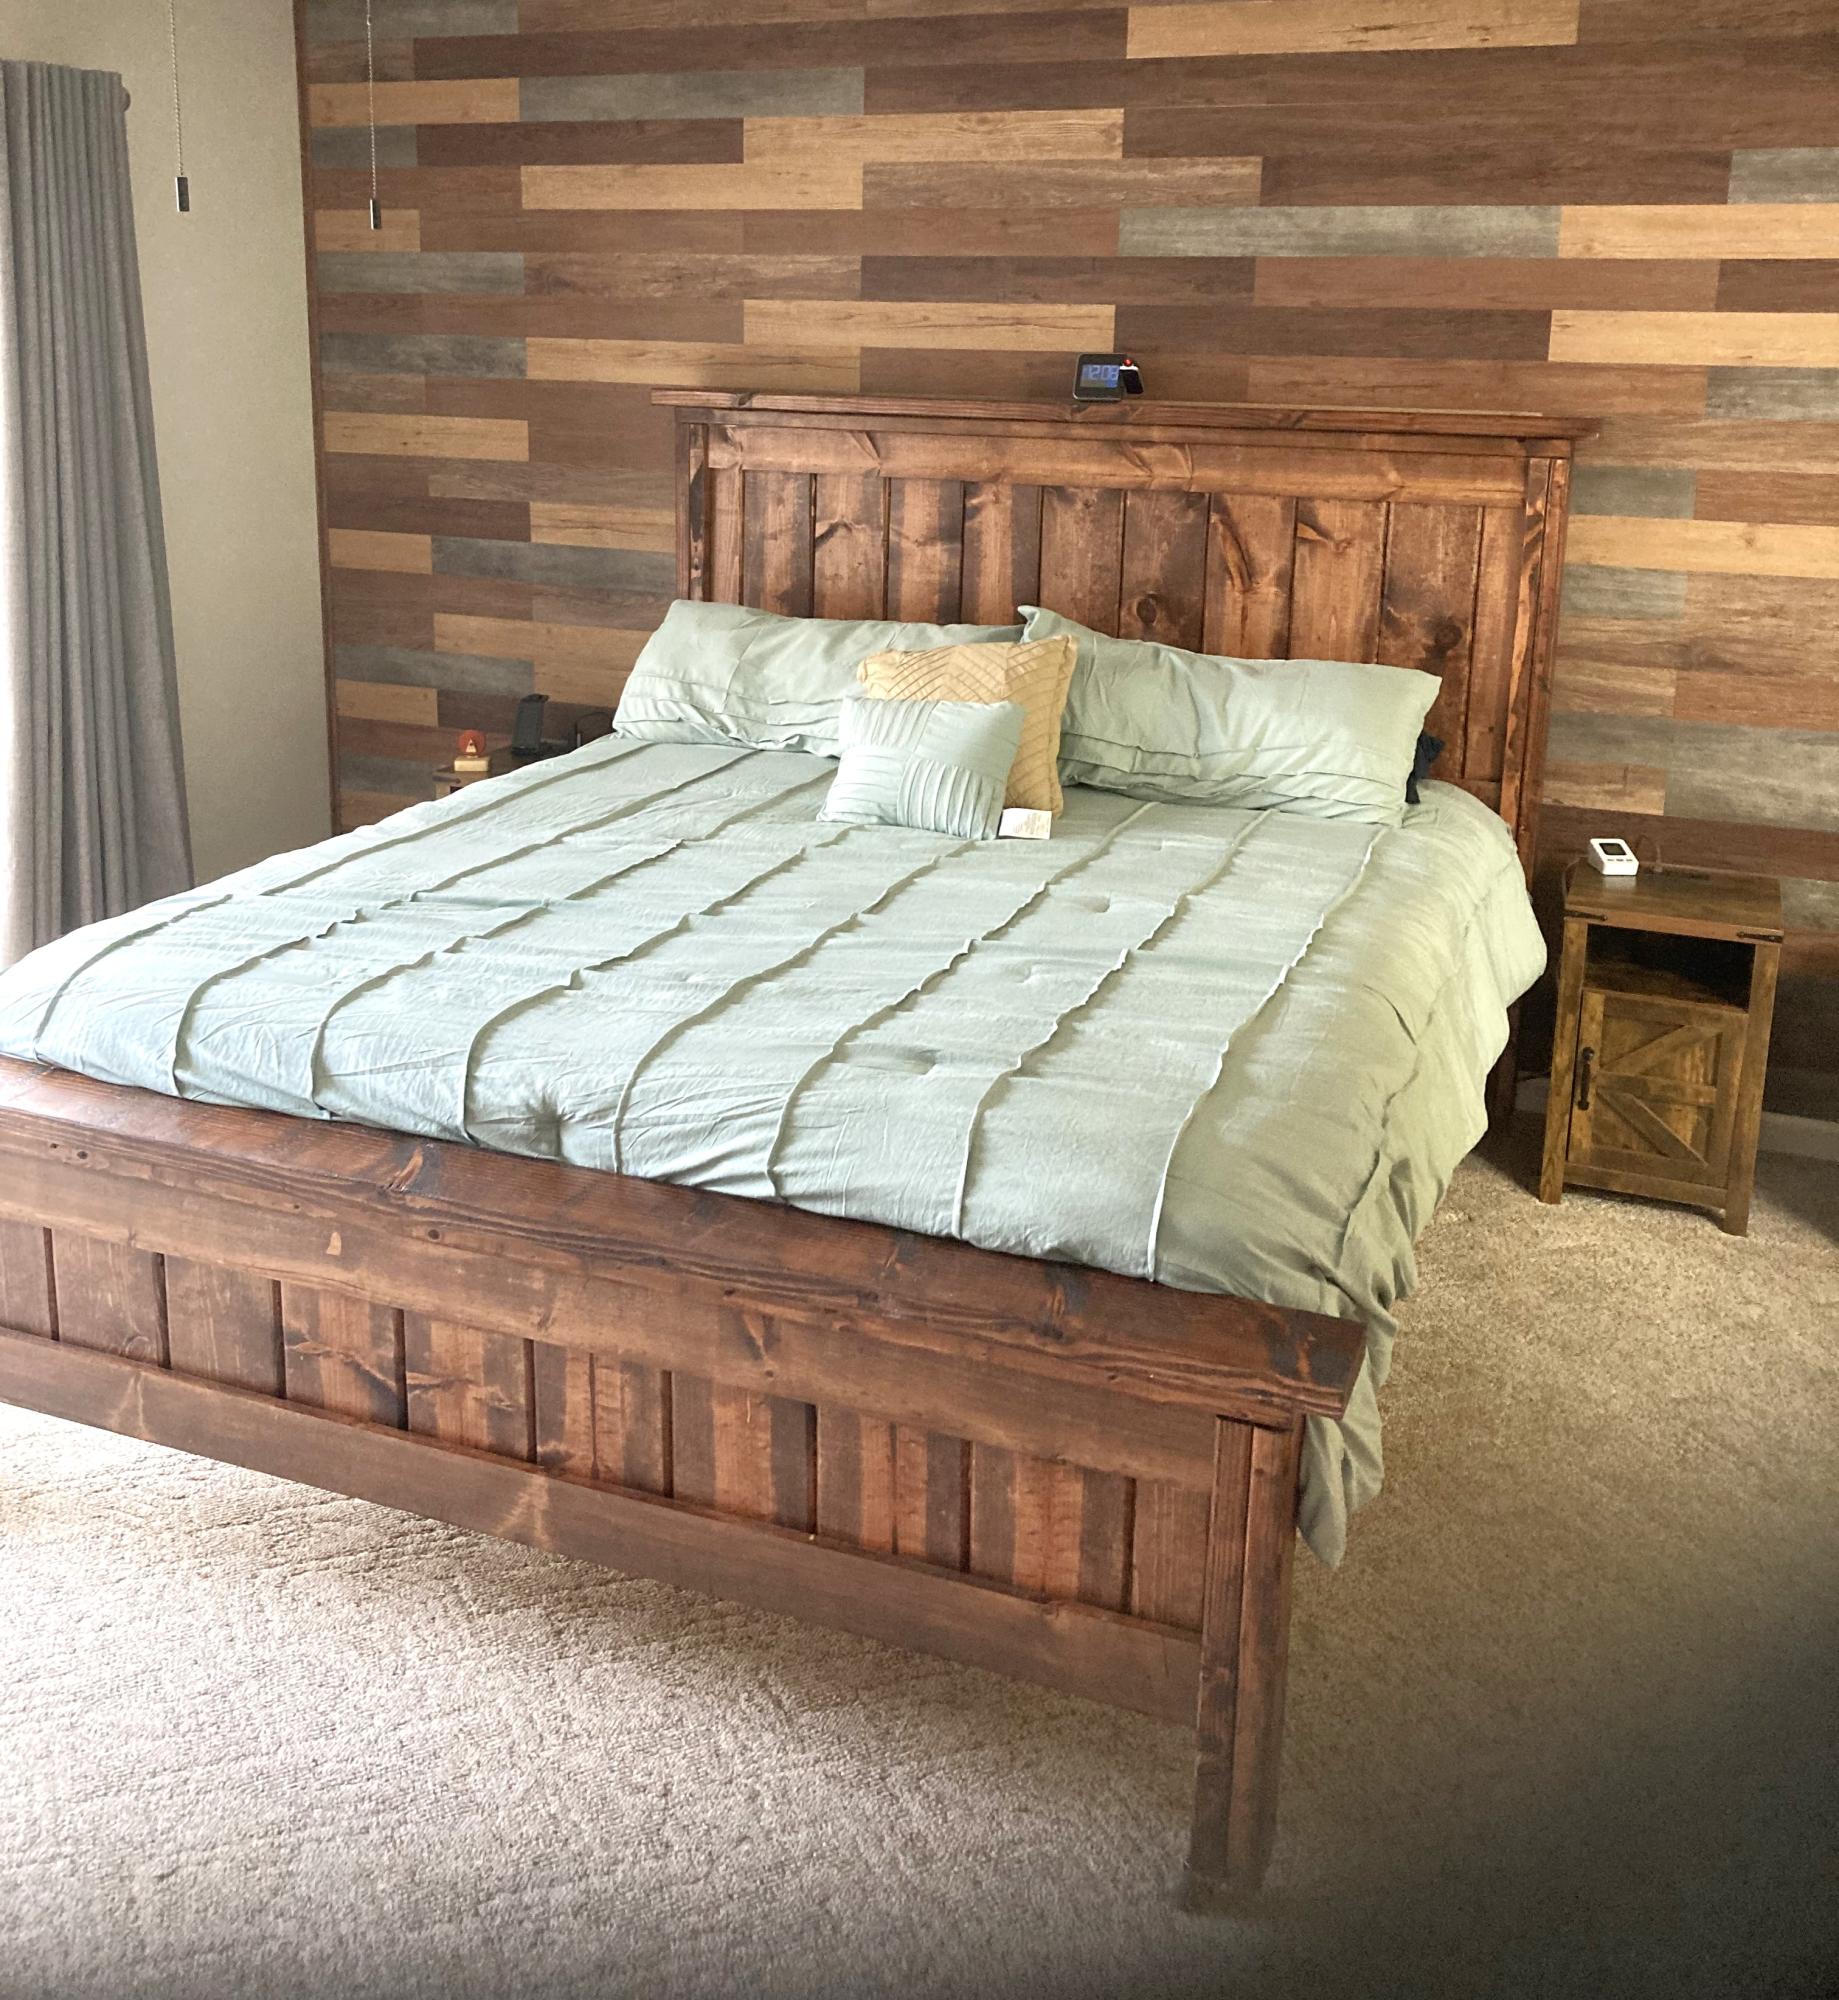
Used your plans for a California King! Had to lengthen the bed by 4” to accommodate the comforter.
David Turton
Built from Plan(s)
Used your plans for a California King! Had to lengthen the bed by 4” to accommodate the comforter.
David Turton
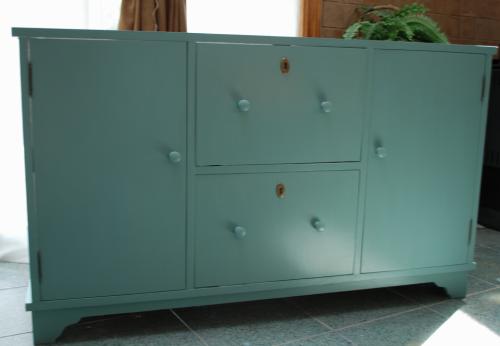
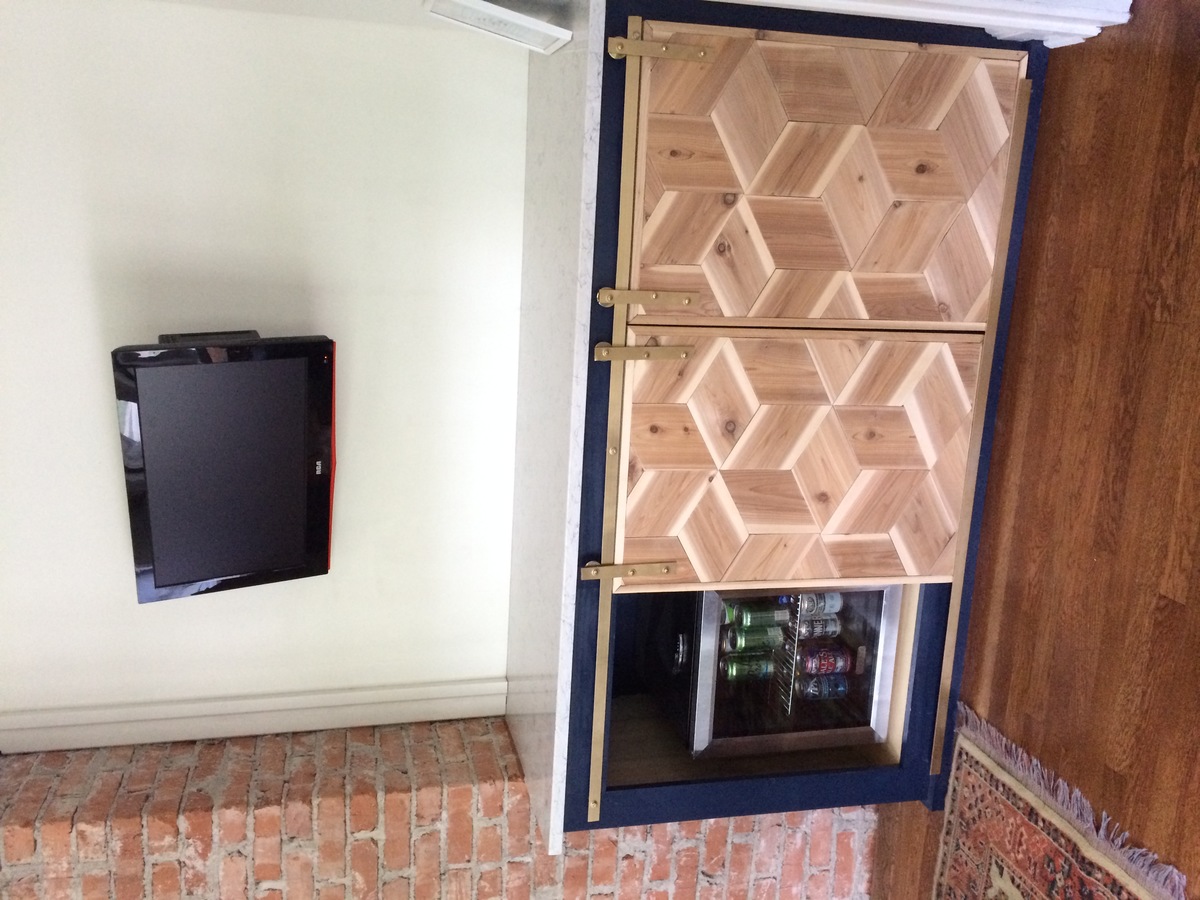
Used the Cyndi media console plans but changed the doors, and made 2 fold out doors in the middle that drop down for use as a shelf when your going through your dvd's. Used many screws & glue. Think I going to include a trim around the top later, to give it depth.
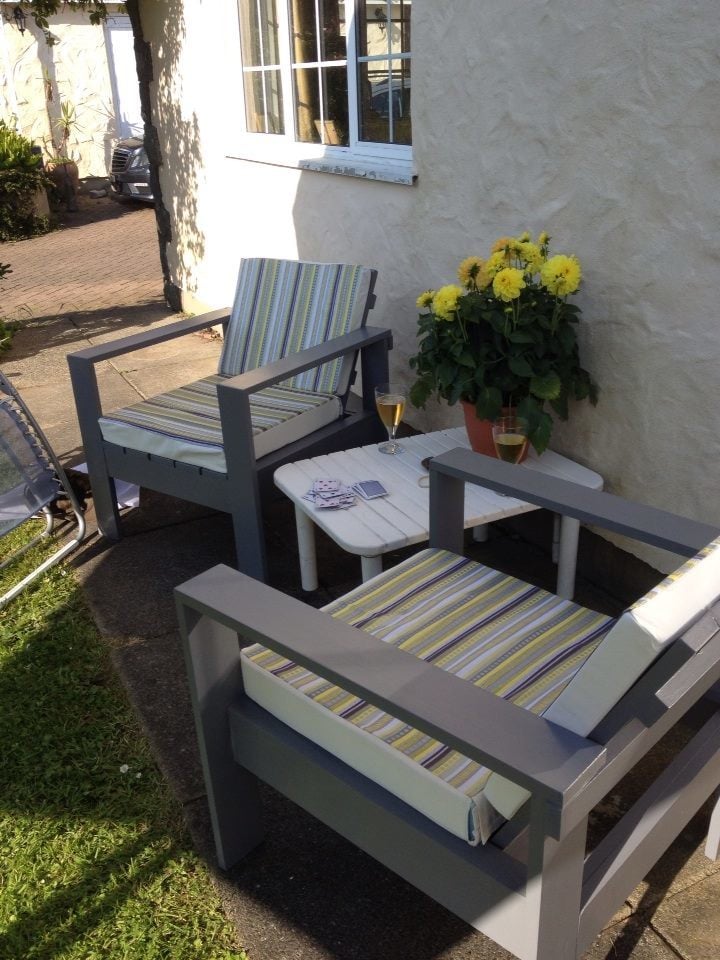
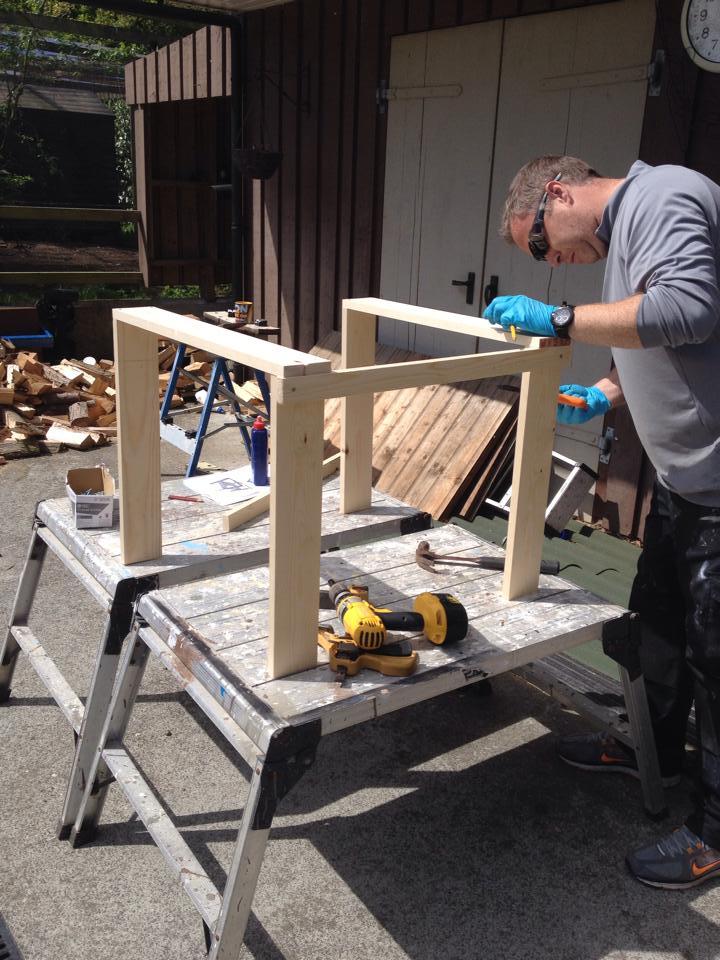
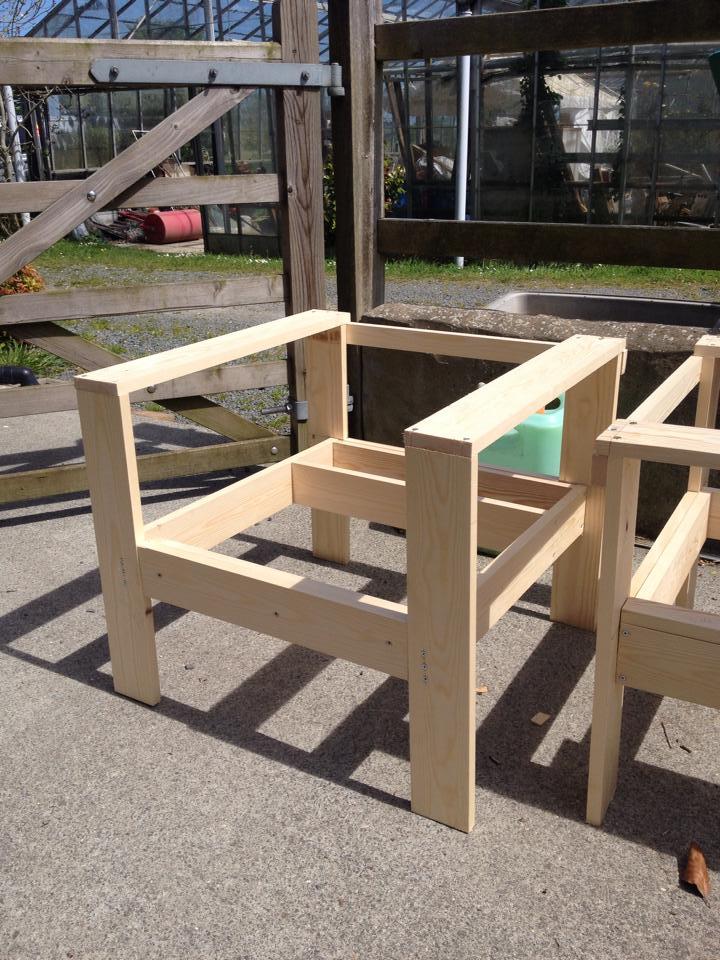
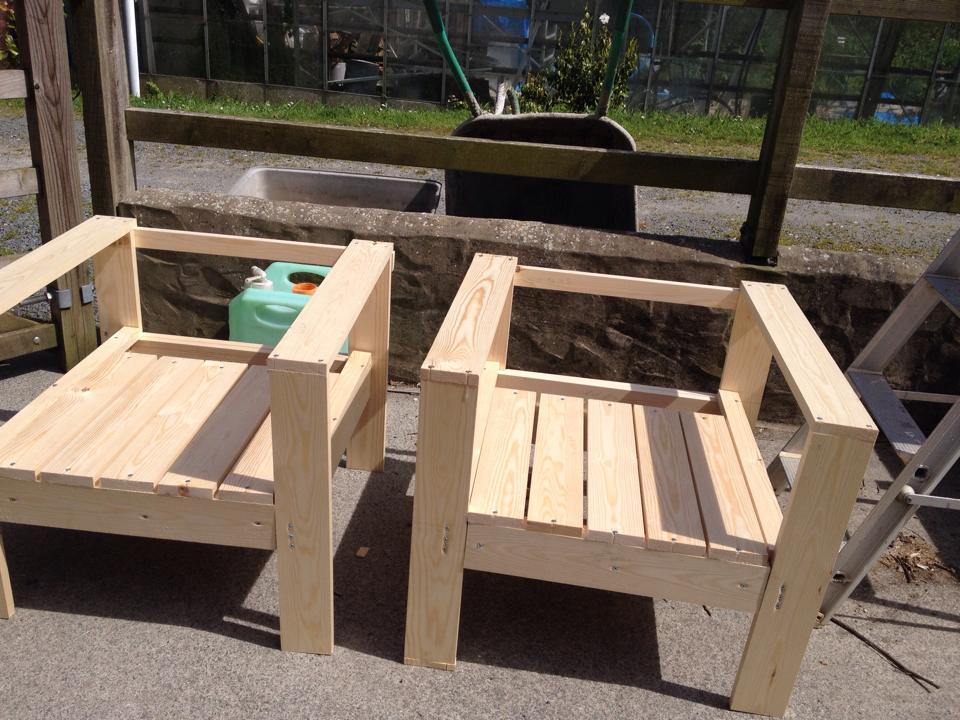
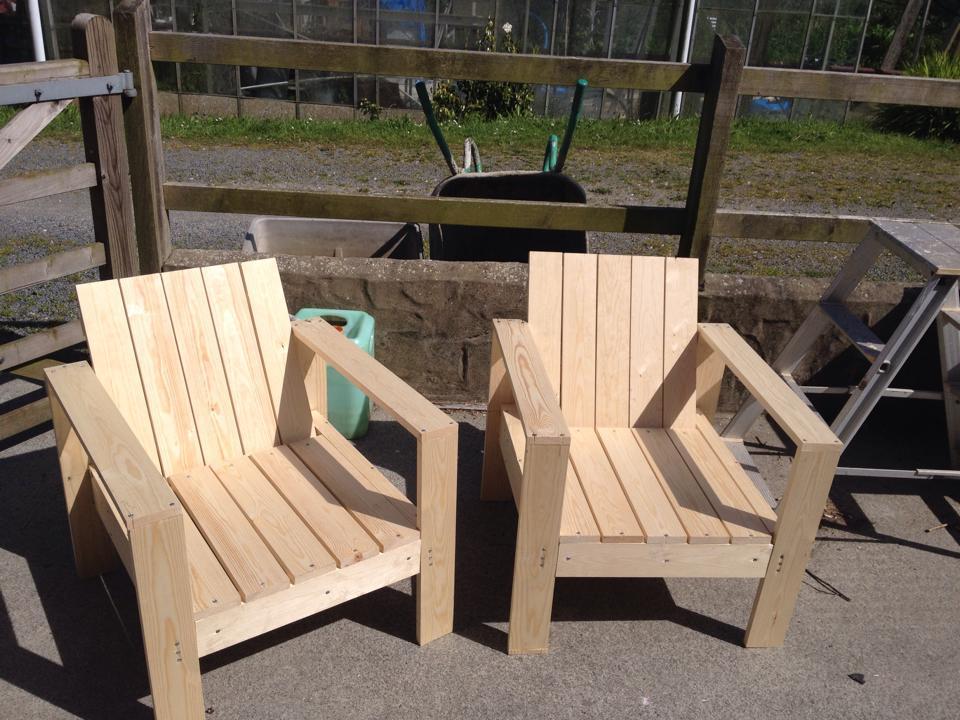
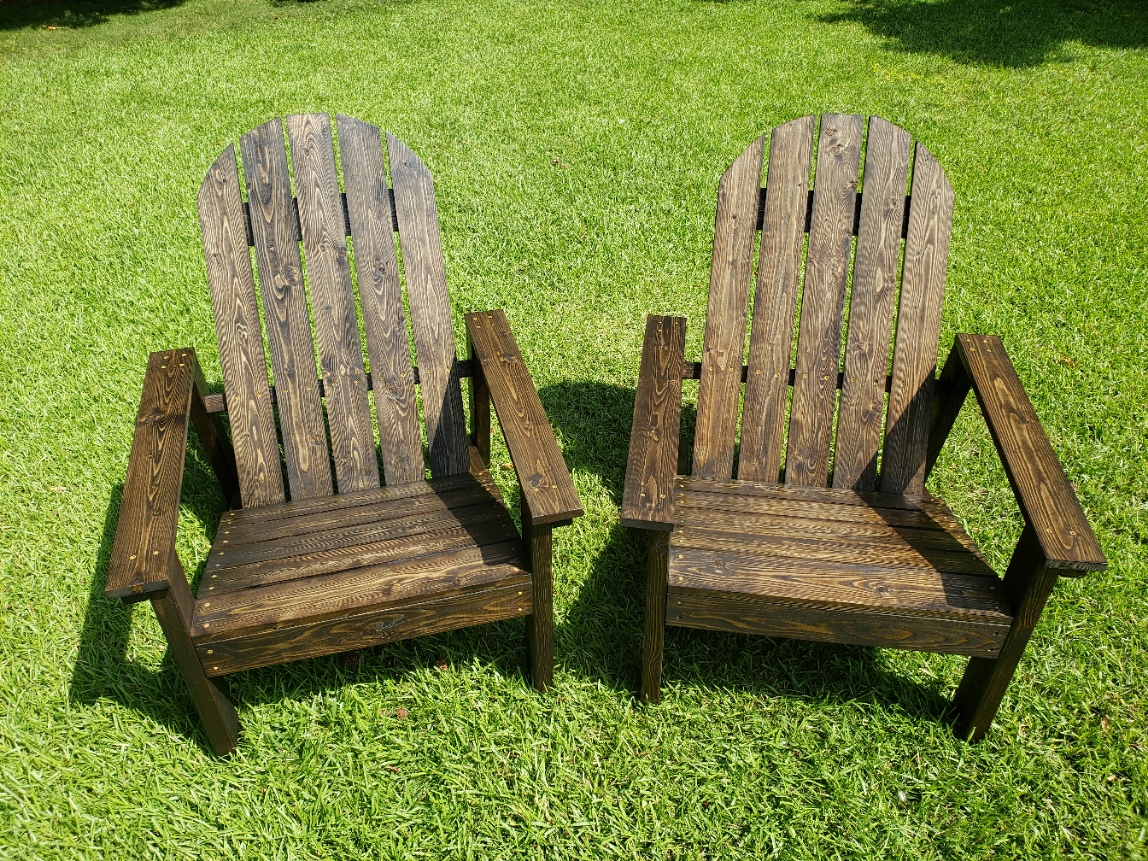
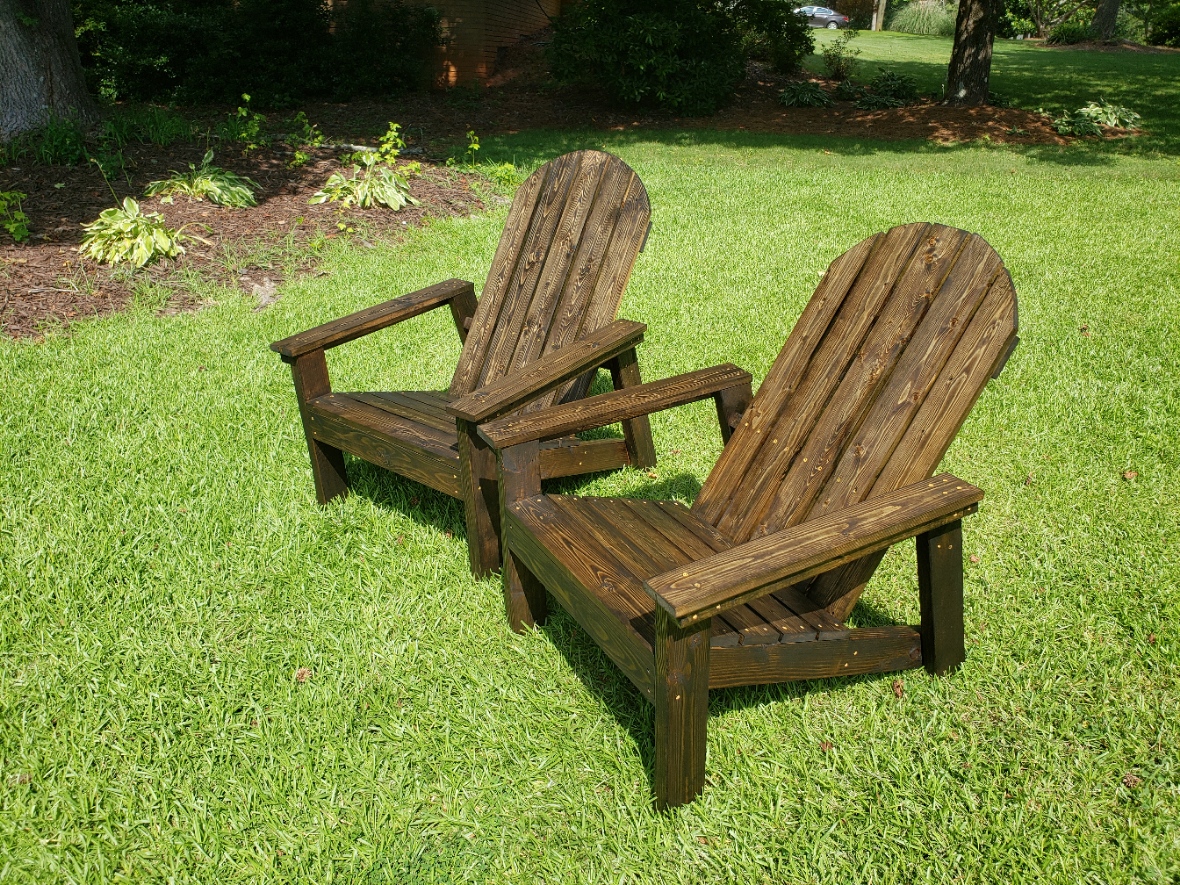
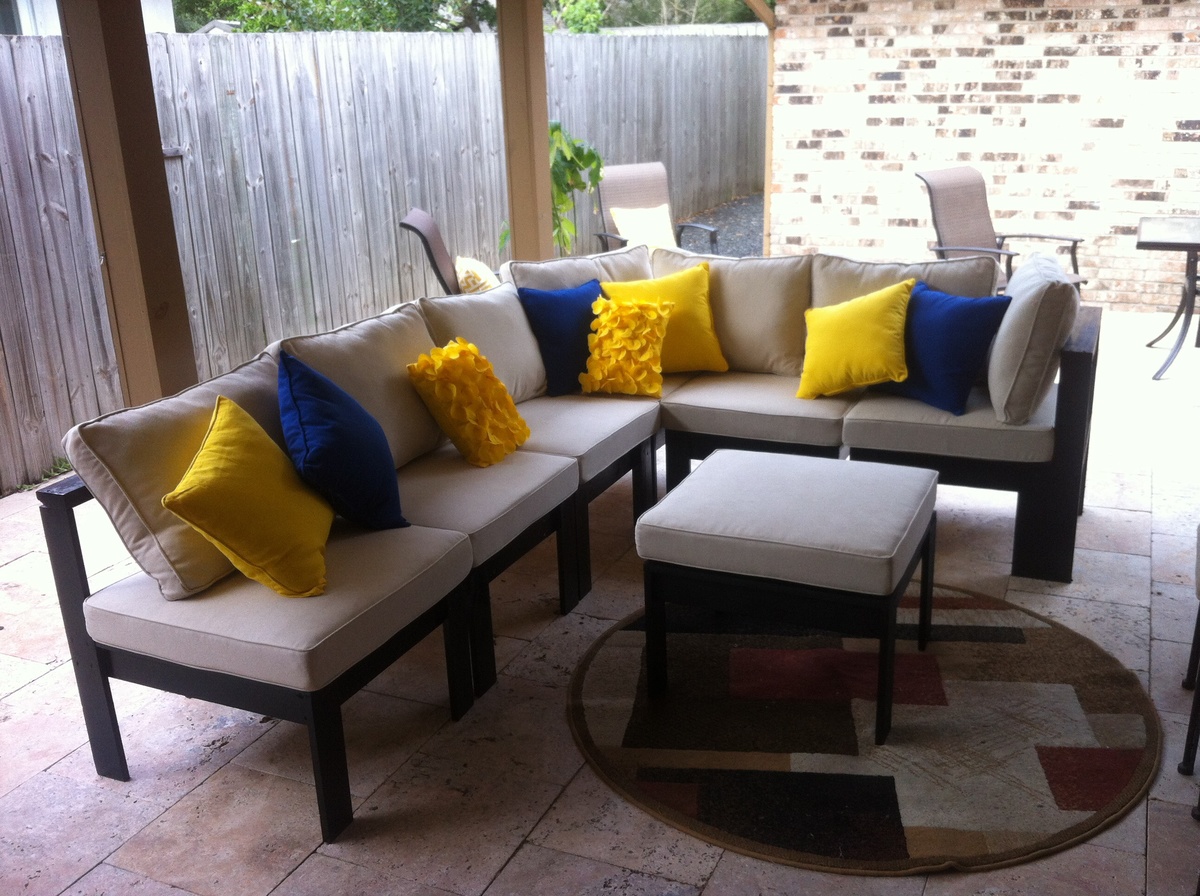
After finding Ana's plans on how to make these outdoor chairs we decided to give it ago one long weekend. The plans are easy to follow and the end result is the most comfortable chairs, we've spent hours relaxing in them. It took 4 hours to make two chairs and the rest of the weekend painting them. The only thing that I would have done differently is to paint the wood prior to assembling the chairs. My partner then decided to use the left over wood to make a matching table (not shown)
Thu, 06/05/2014 - 09:01
I hand made the cushions, had to dust off the sewing machine. The foam and the fabric were more expensive to buy than all the wood. We're going to make the two seater sofa next and I'm going to buy pre-made, it's not the same but we live in an isolated area with limited shopping..
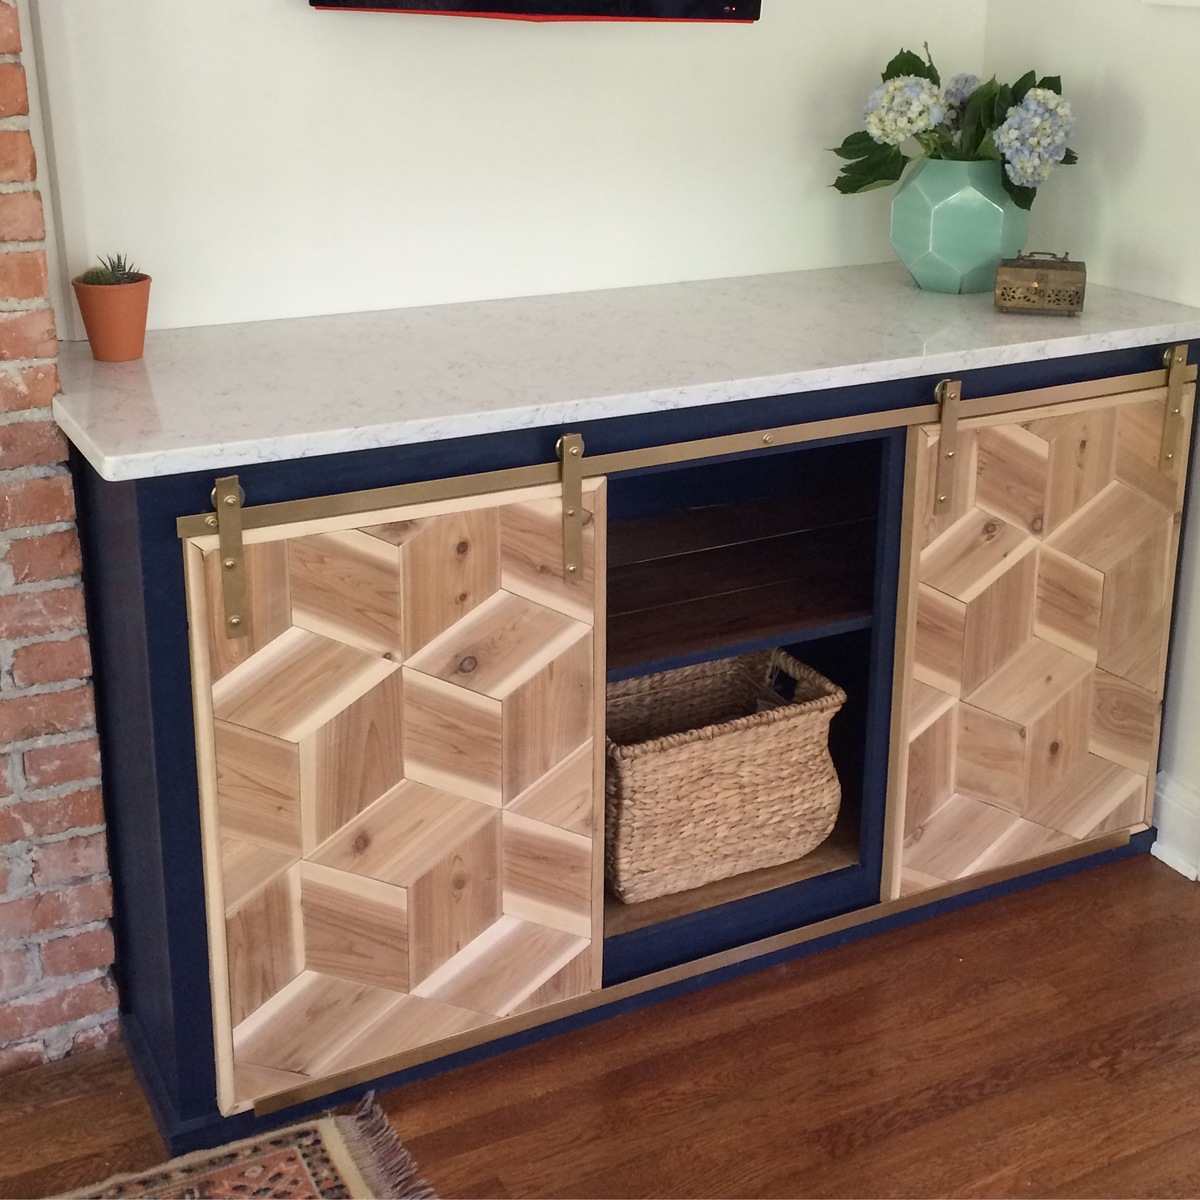
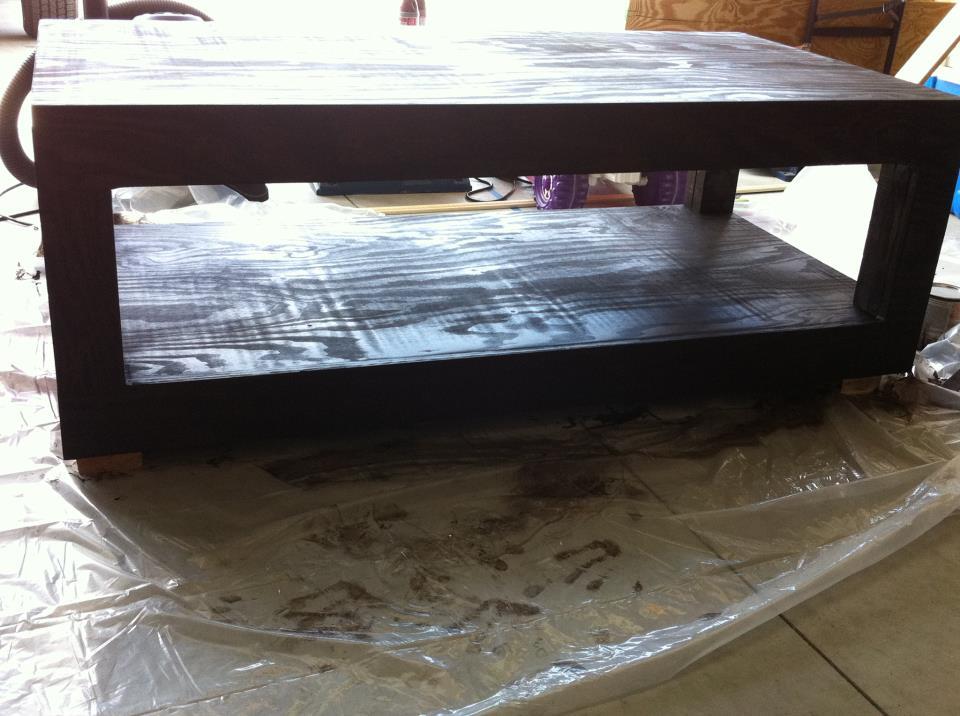
I bought a piece of remnant silestone for the top. It was a pretty simple build but the hardware was the hardest part. Use wheels with bearings and 1/4" flat bar. Otherwise it was not moving smoothly. Love the finished product!
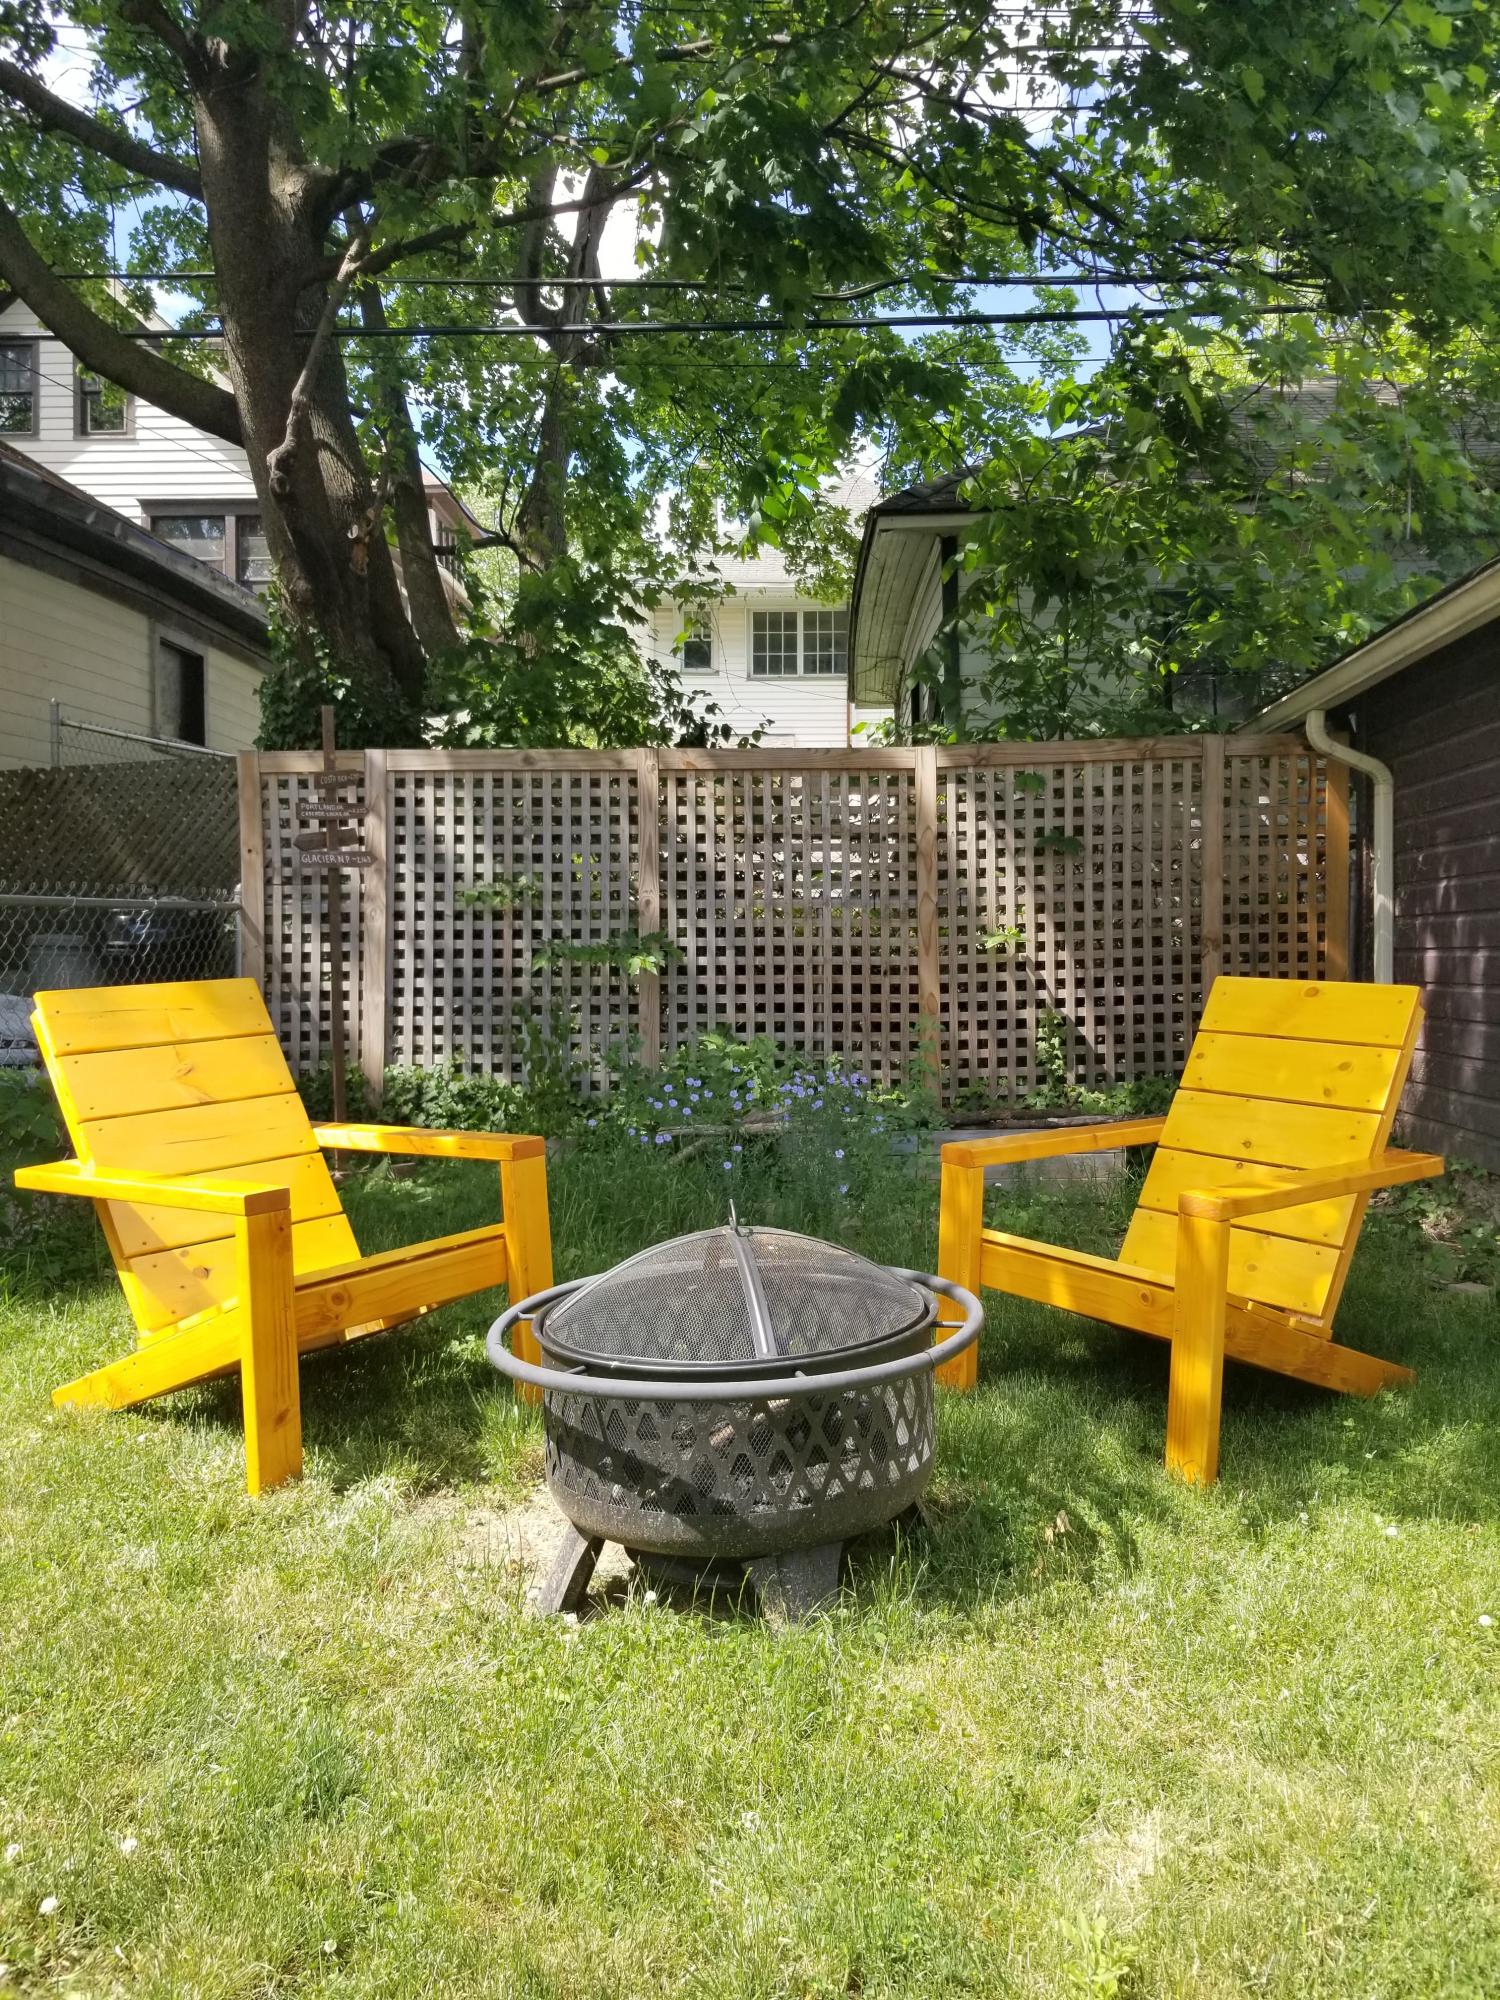
Modified with 1x6 for seat and seat-back. Need to purchase 4 - 8ft 1x6s for mod.
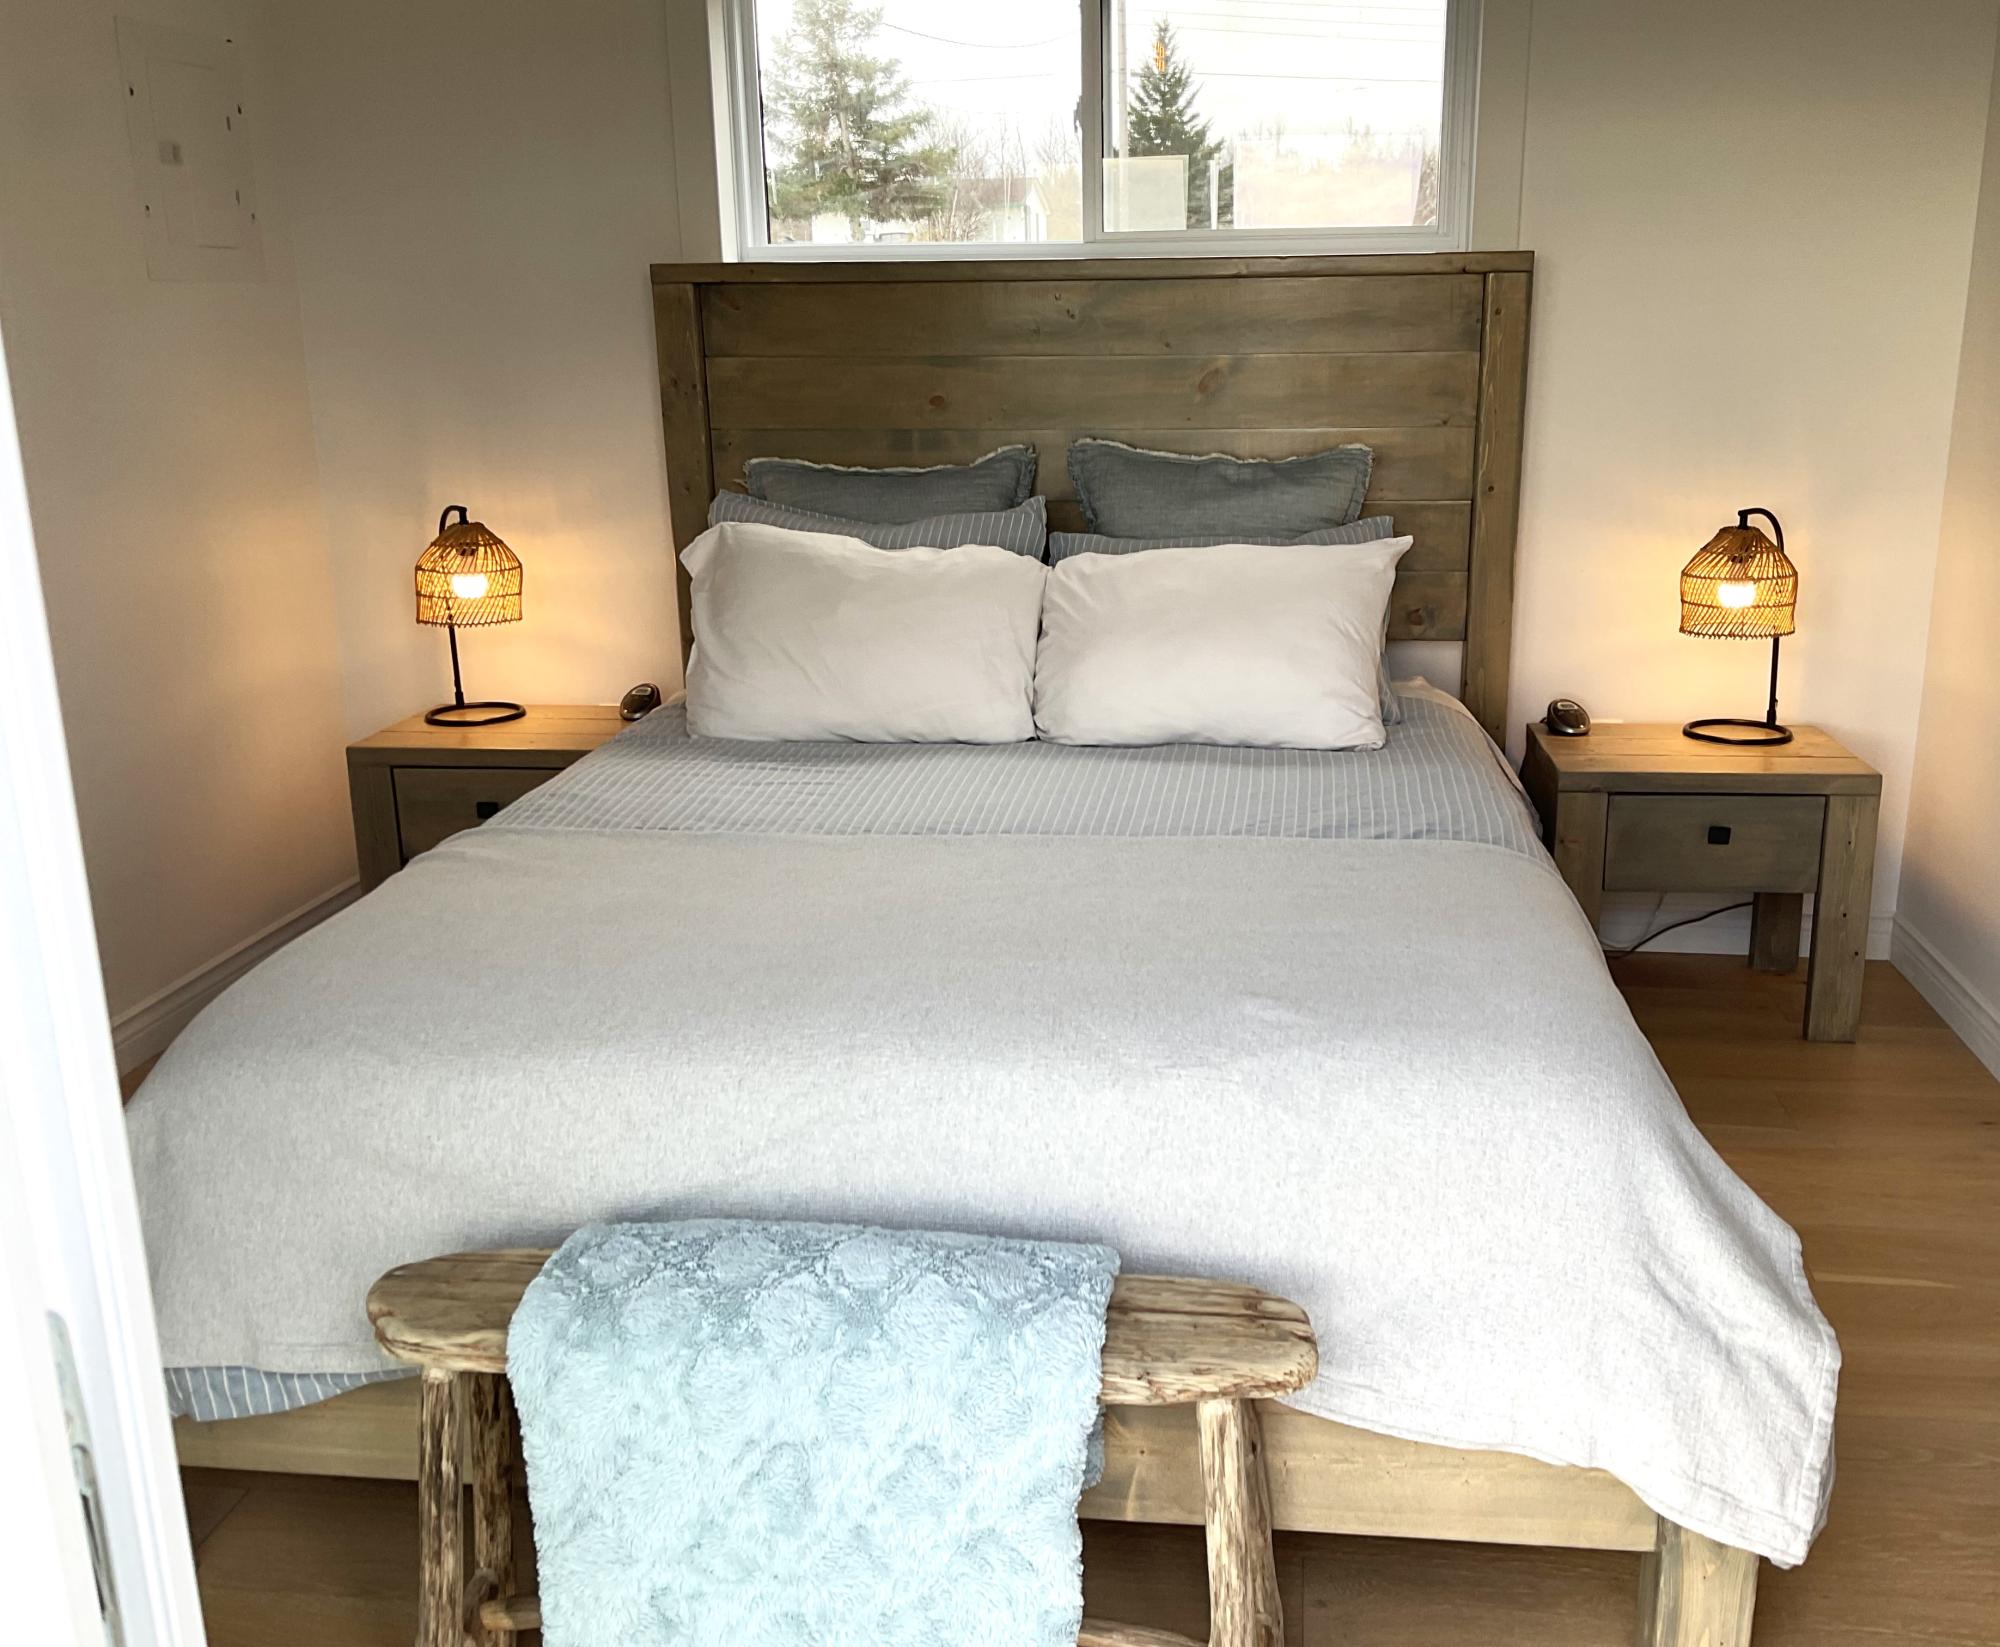
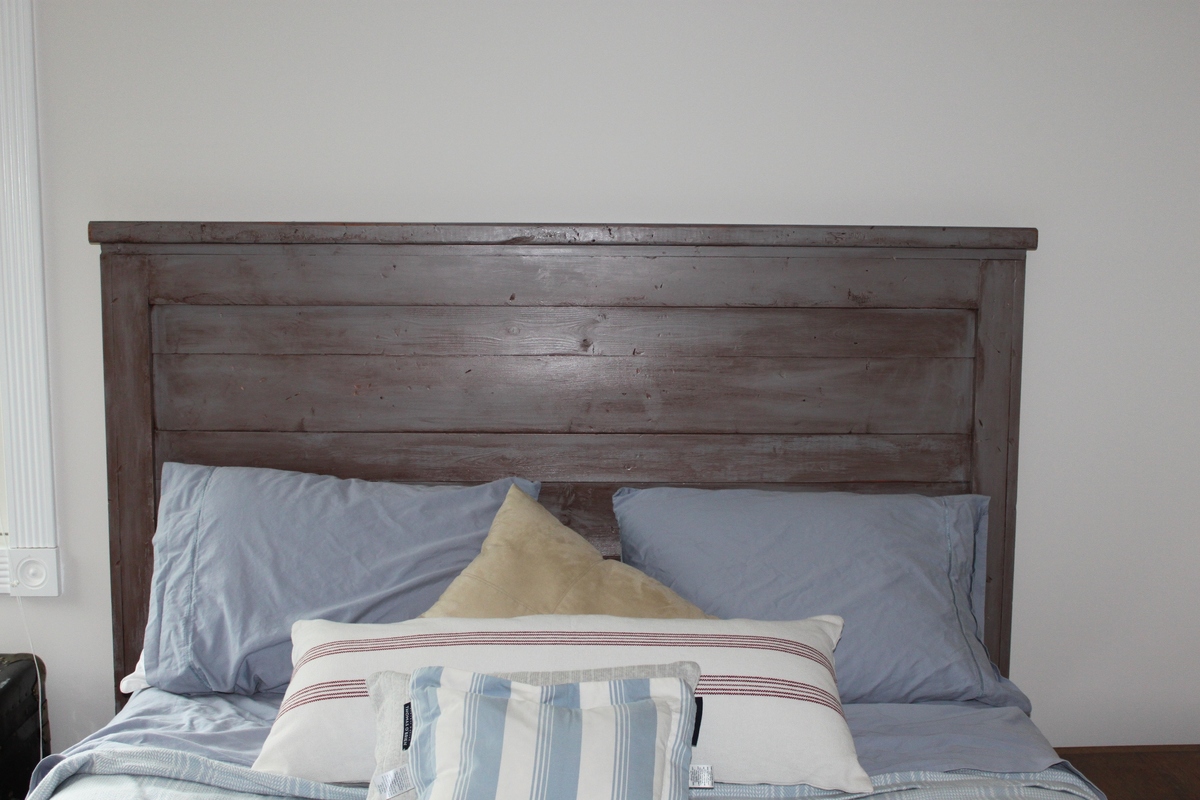
Modern farmhouse bed for our cottage.
The how I made this video can be seen at http://youtu.be/AoysTtE9blw?hd=1
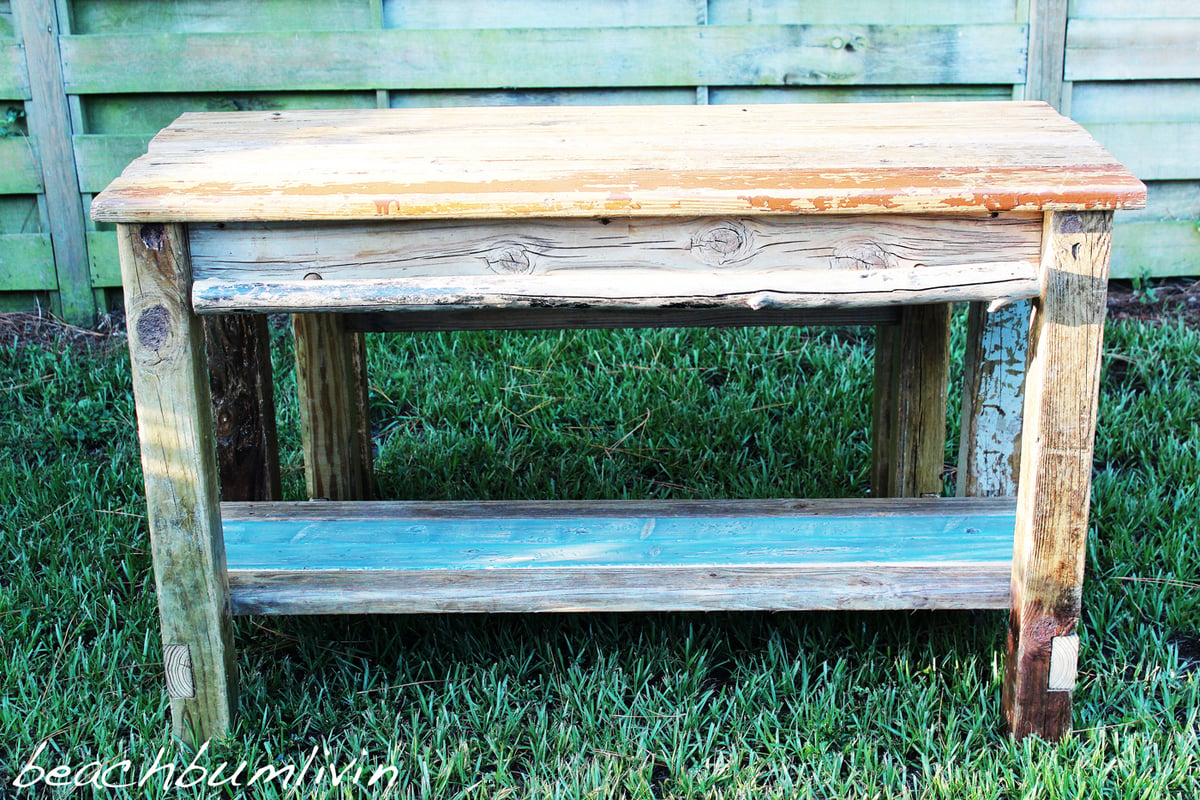
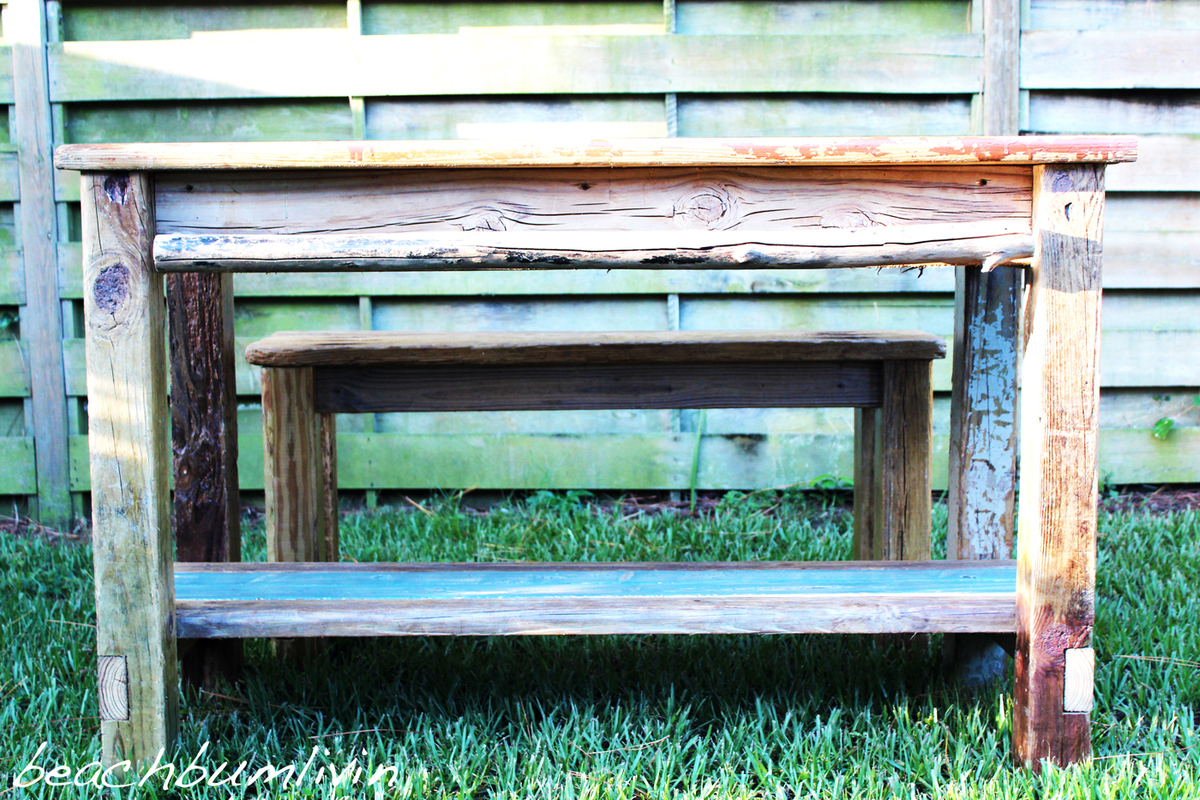
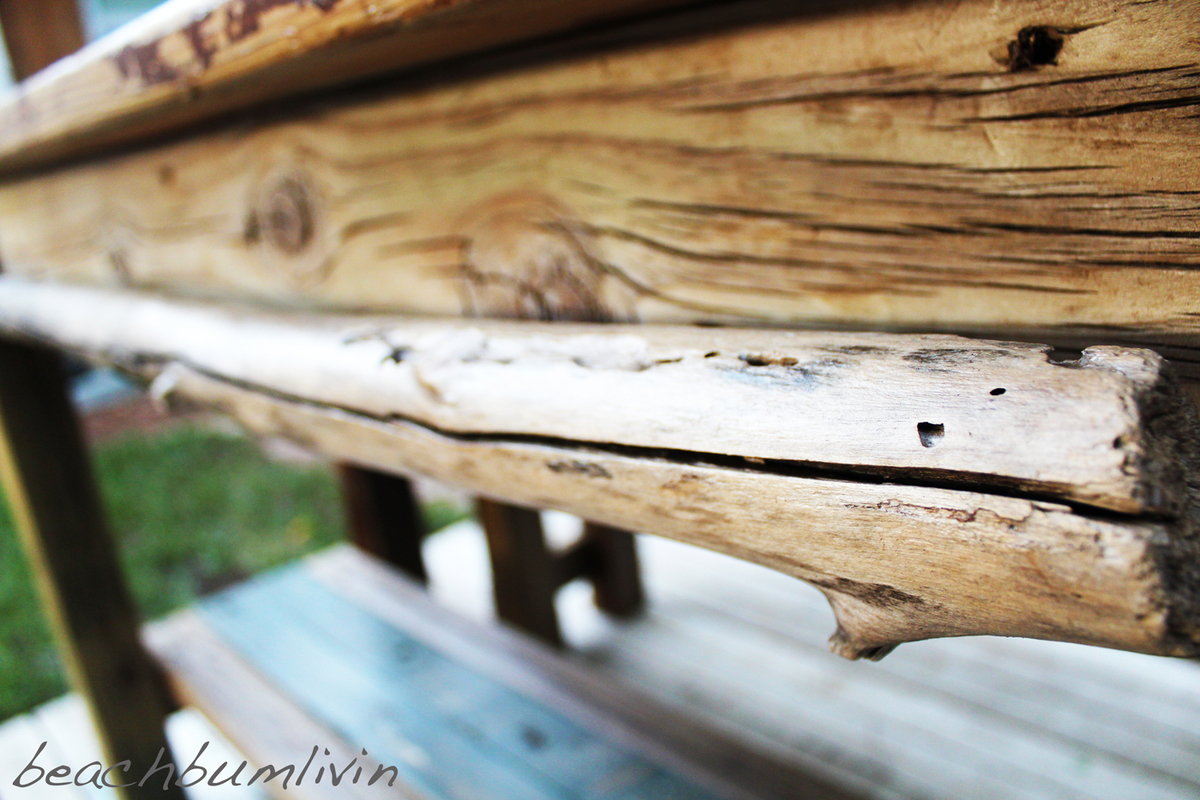
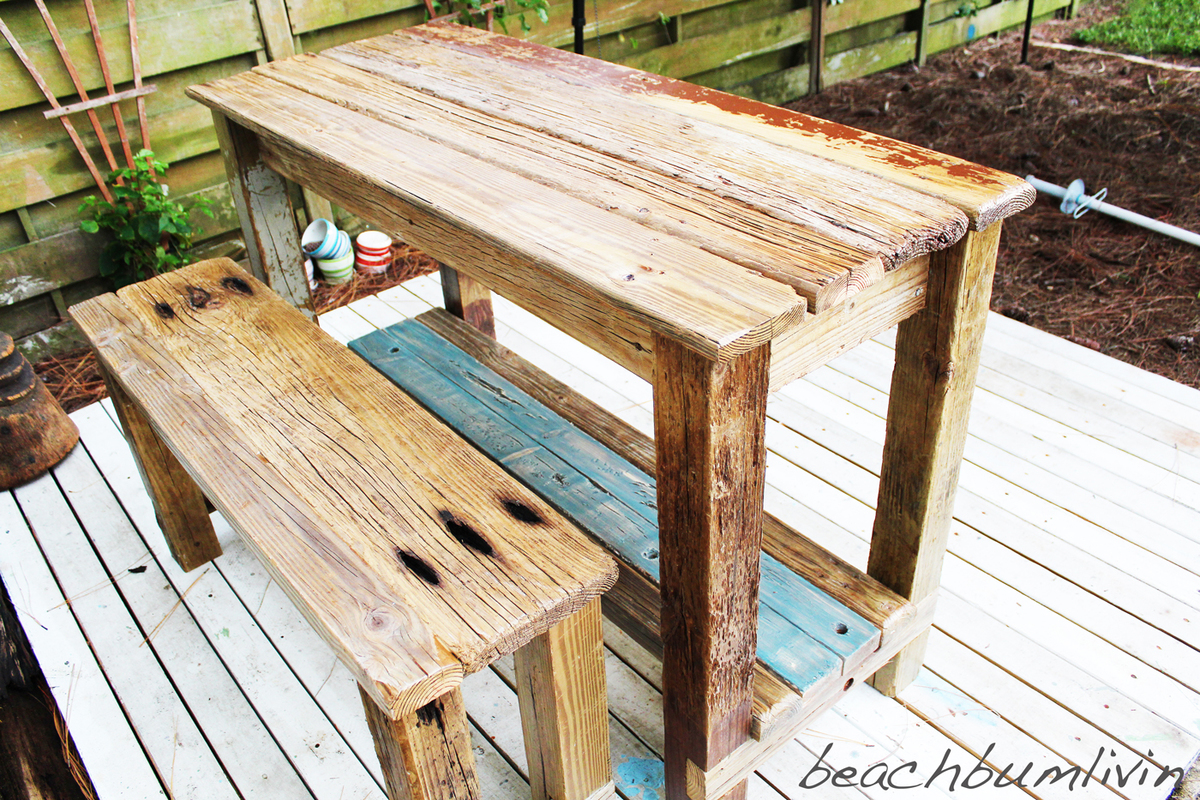
I built this project using driftwood I had collected from the beach and using the Gaby Kitchen Island plans. The only thing I altered from the plans was instead of putting in drawers I put up a hand towel rail using a driftwood stick.
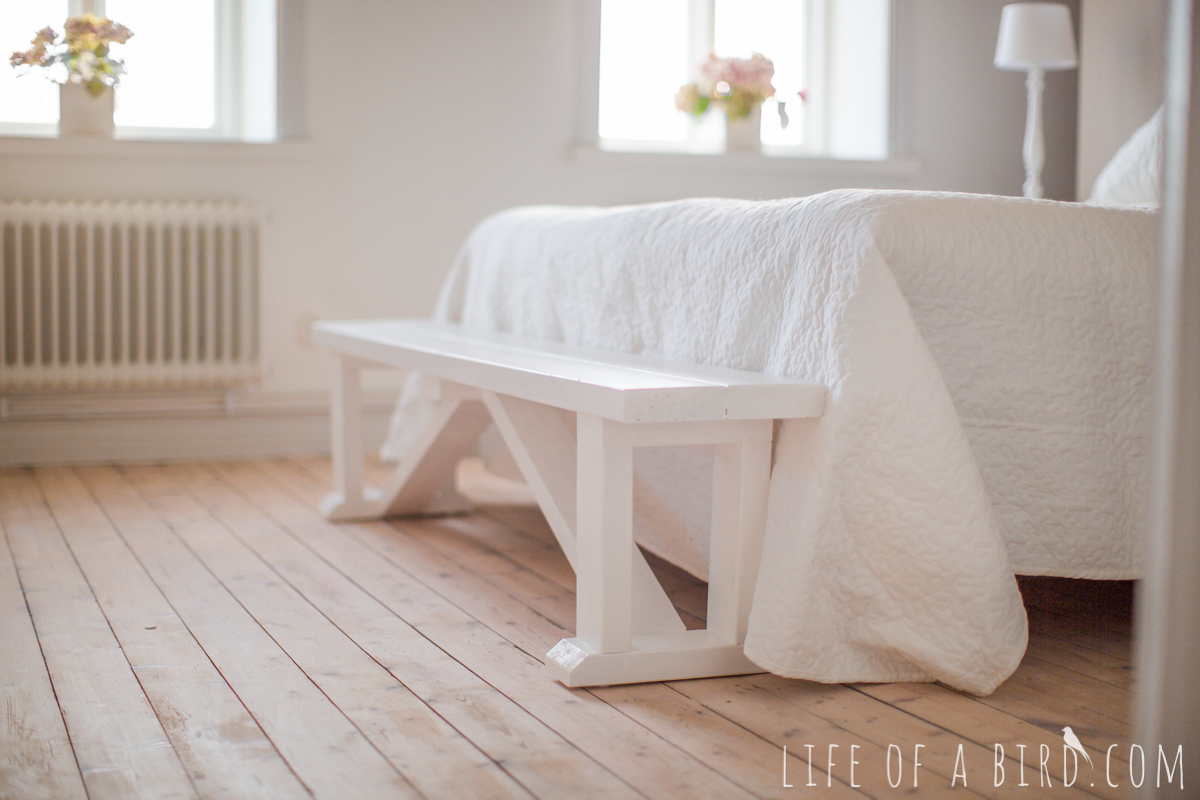
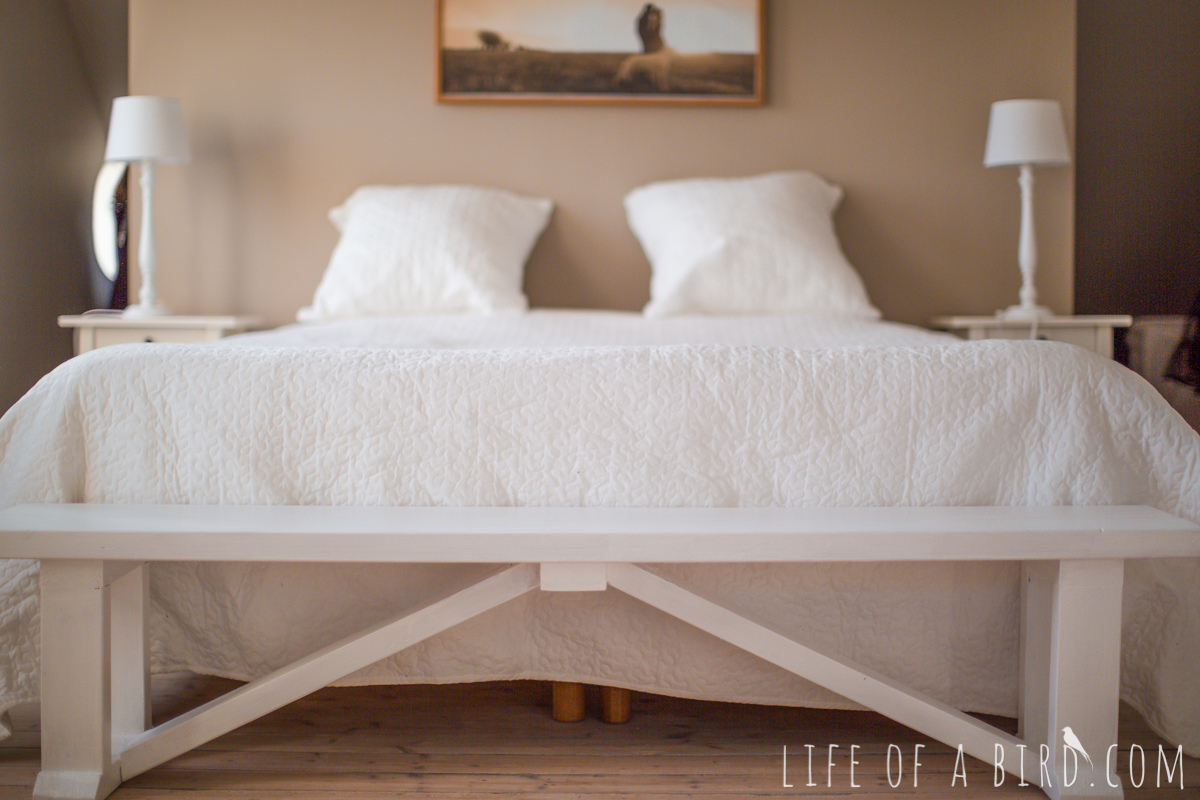
This was a really good starter project! I loved building this and have gotten tons of compliments on it! I spent about 5 hours on it, from when I came home with the wood, until the paint was drying. Including a coffee break! Estimated cost for wood + paint was 300 SEK which is about 47 dollars with todays currency. I have written down more info on how I did it and more images on my blog post. Thanks Ana for this great design!

Thu, 06/20/2019 - 14:33
This is gorgeous! I love the white paint and how you used it at the bottom of the bed. I can't believe I didn't see this one sooner!
I've made 6 of these chairs! This was only my third woodworking project and I'm really happy with how they turned out. They are just the right size for me, I'm 5' 5", and my husband, he's 6'1". They are very comfortable and look great around the fire pit.
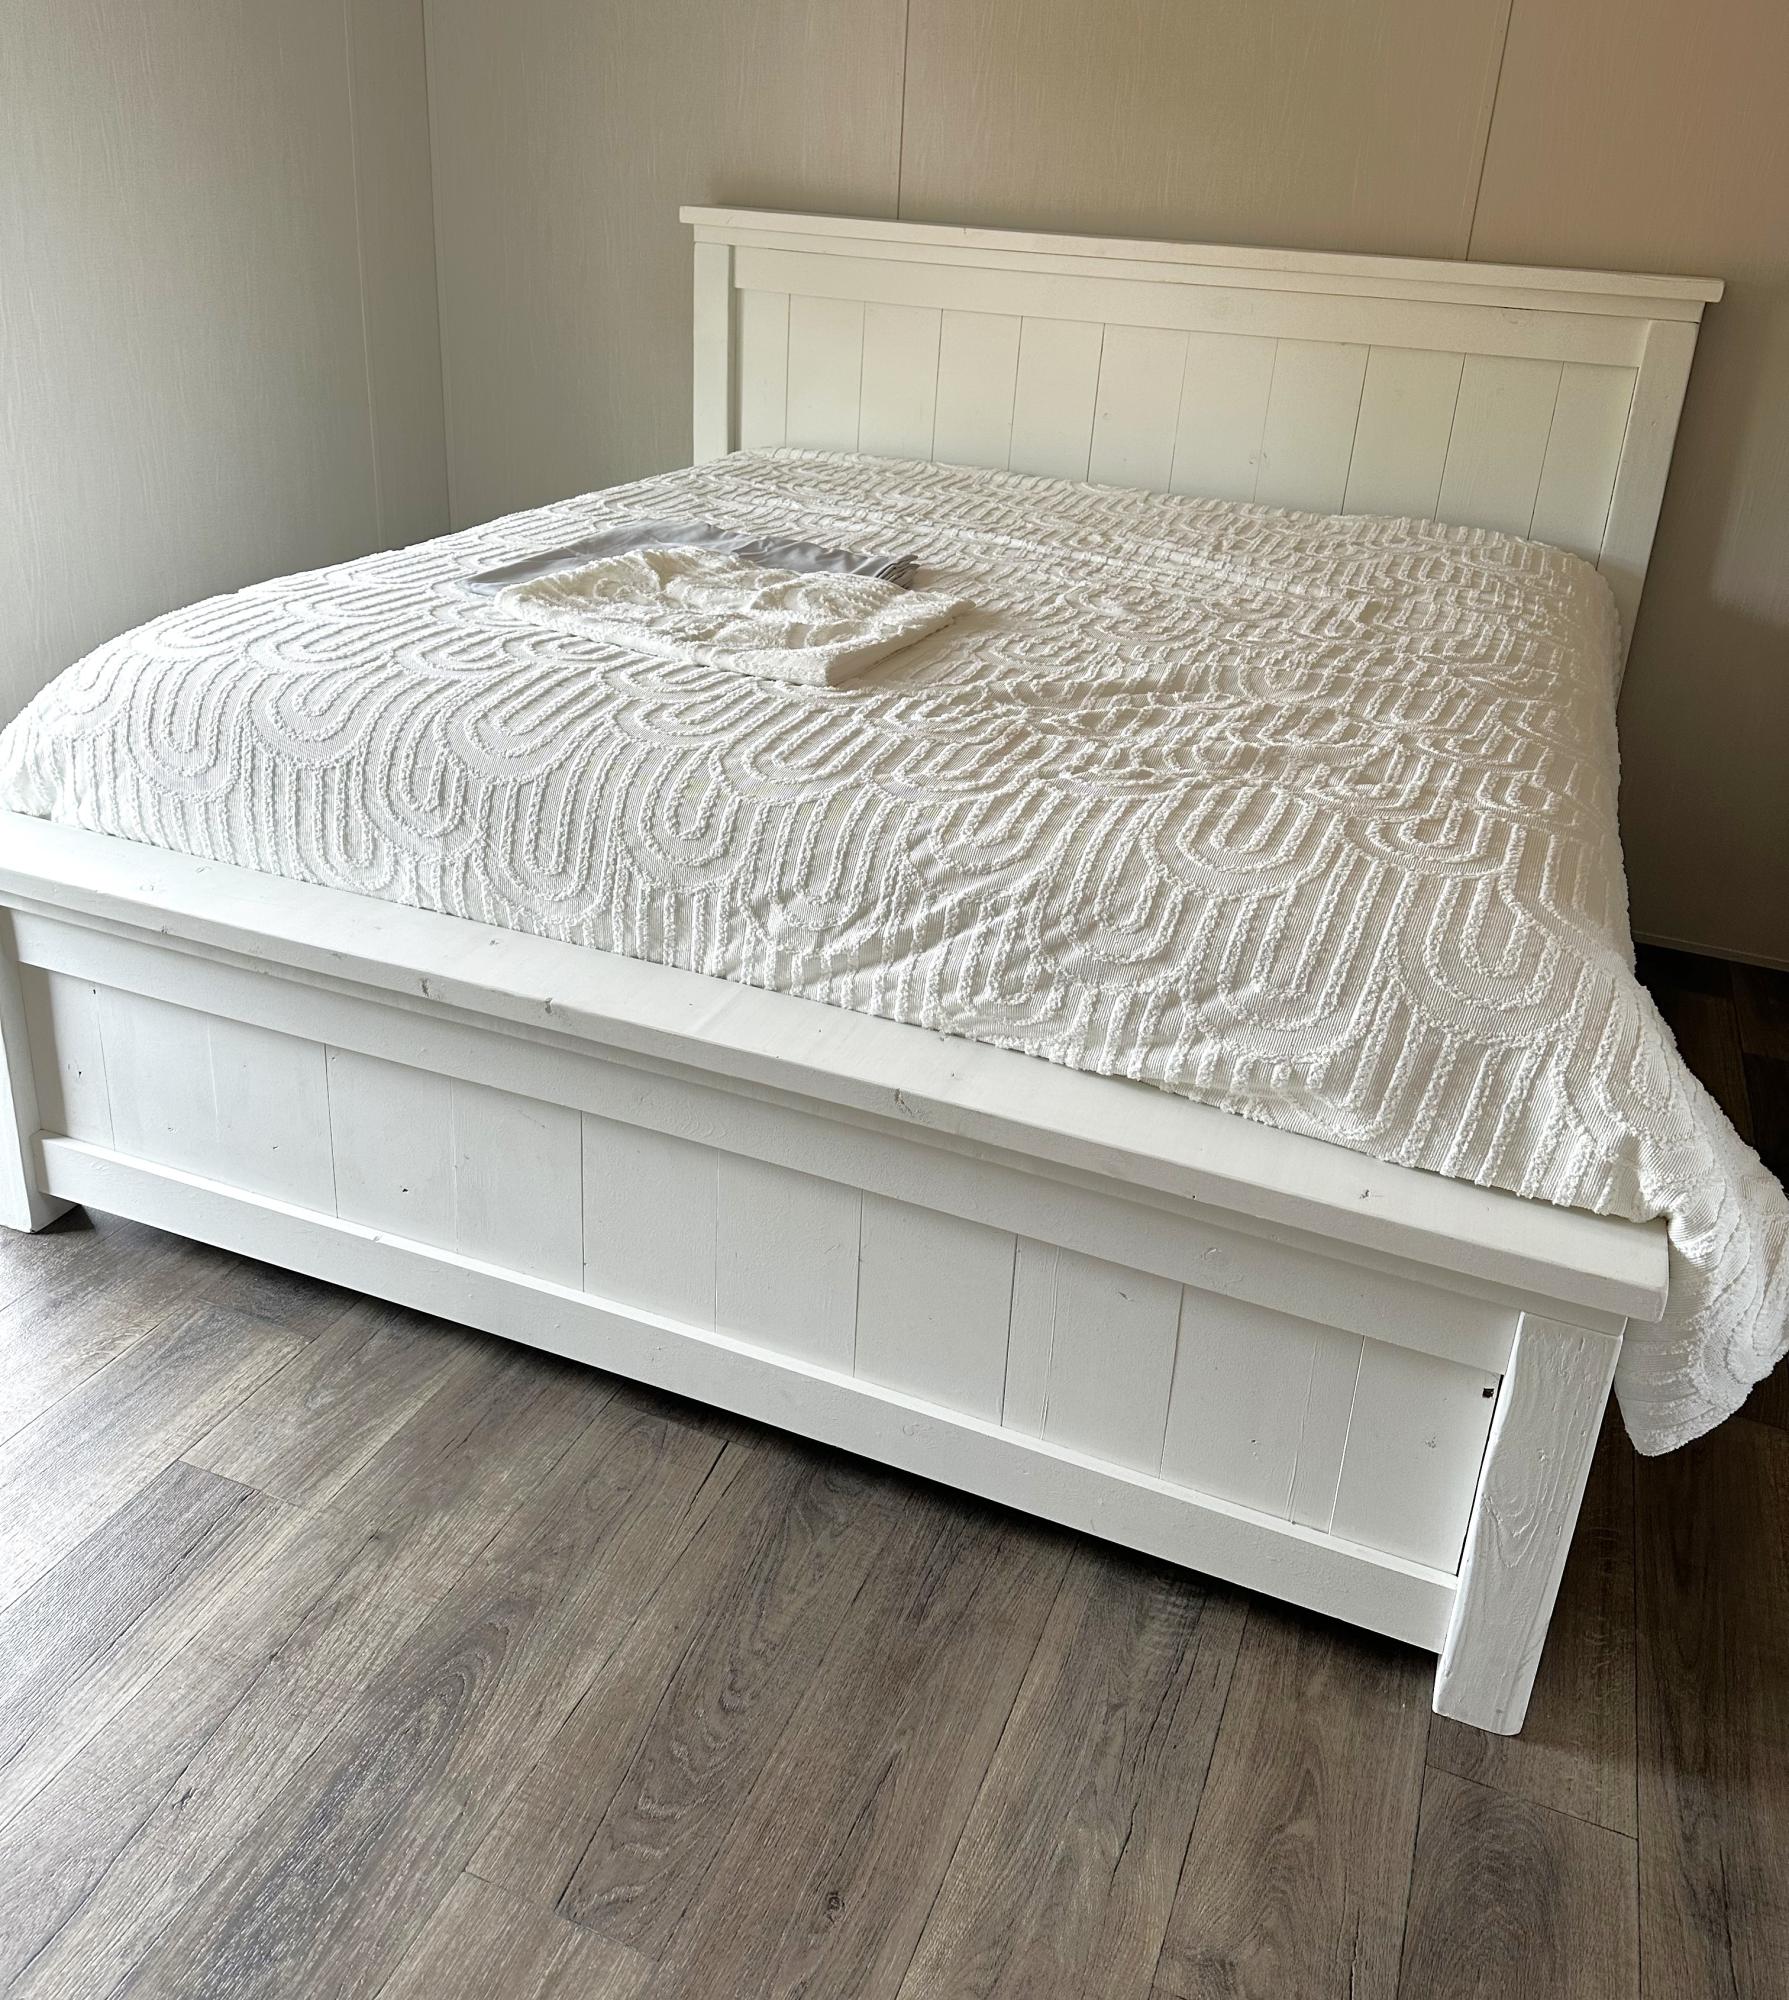
Fancy Farmhouse King Bed
Heather Kay

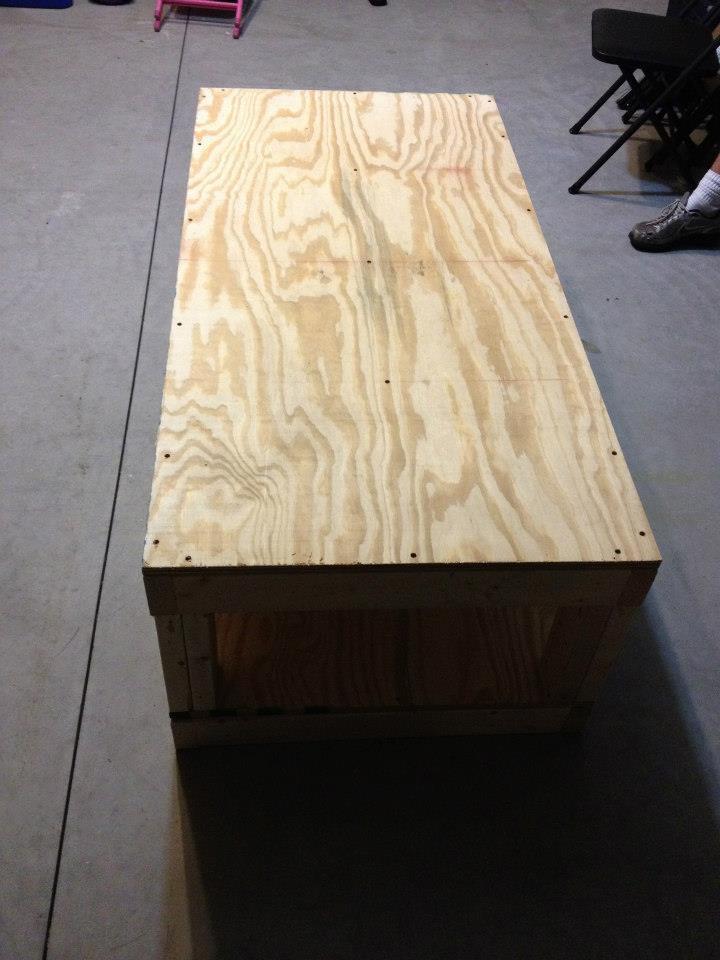
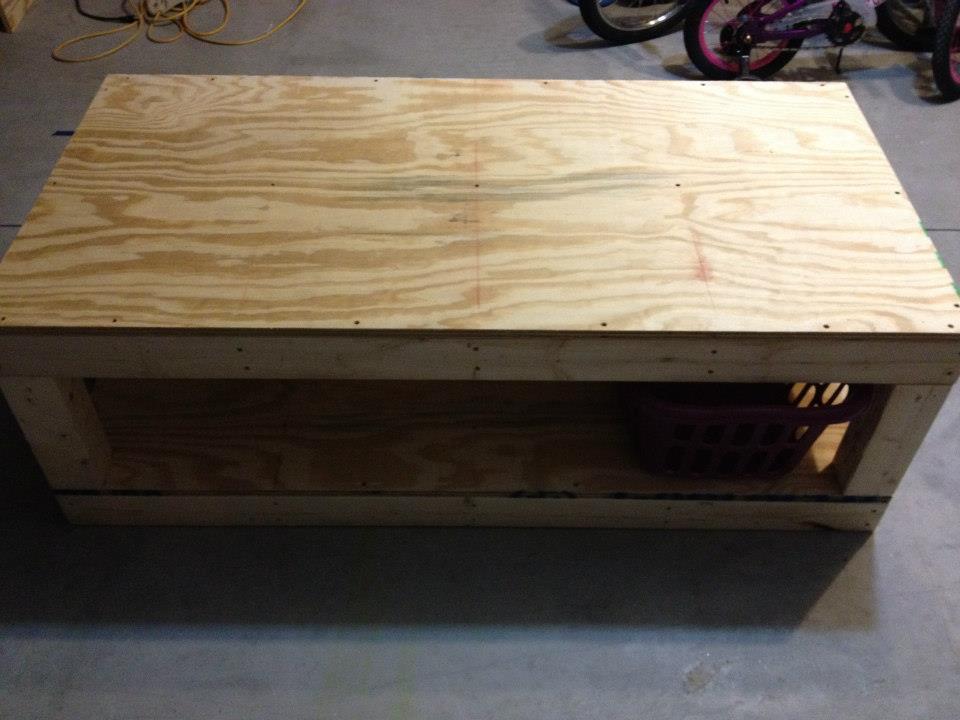
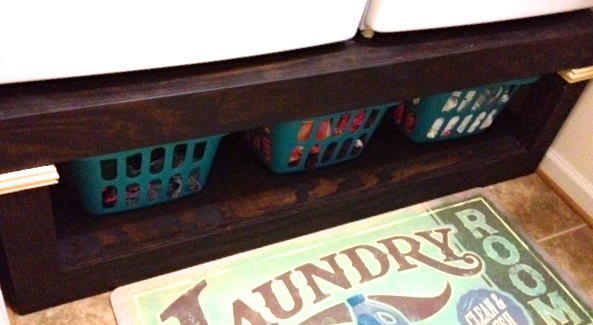
We had to shorten the length to 57" for this project to fit our space of 60", due to baseboards and shoe molding. It was just a few inches too large to fit through our doorway, which we also could have adjusted if we'd have thought ahead! I was worried that the 3 small baskets wouldn't fit with our plan but they fit perfectly, Especially if you push them back from the edge a bit.
Overall cost was around $120, the screws were around $20 b/c you have to get a box each of 2" and 3" length. We weren't able to get any "untreated" 4x4's at our Lowe's so we opted for the 2x4's sandwiched together- worked just fine.
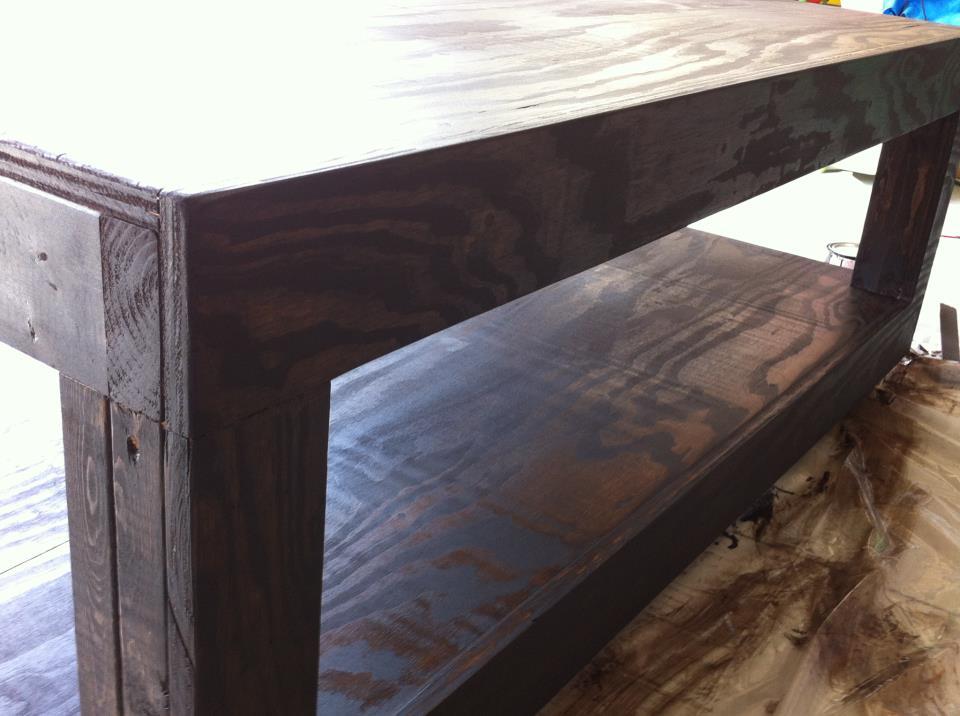
Due to such a tight space, we only faced the front of the pedestal with the plywood, but I would have liked to do the whole thing- it would've made the molding much easier to square up!
I'm a much happier Homemaker with this in place! No more moving baskets around to open the dryer door! Thanks so much for sharing this with us, now onto the loft bed!

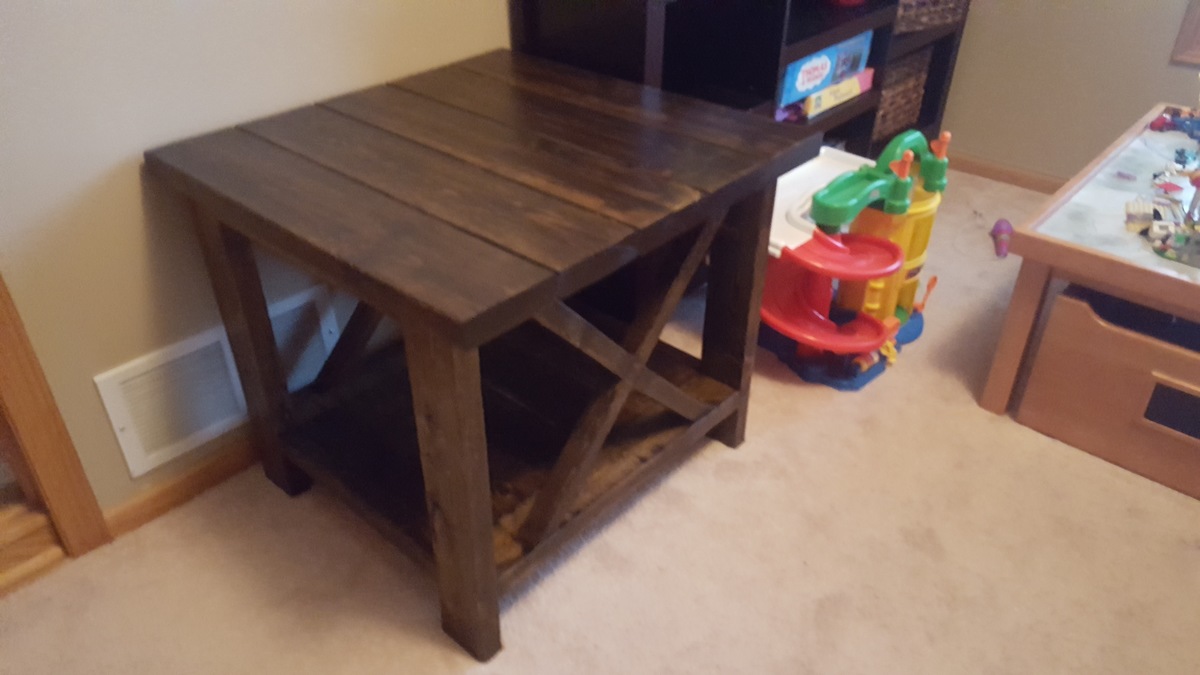
My second project with my new miter saw. I plan to make 3 altogether but so far this is the only one done due to having a one and a half year old under foot.
I used Ana's Barnwood frame plan as a guide. I didn't have enough 1x2 to make the edges and the innner frame so the edges are made of lathe.
12x12 scrapbook paper fits inside this frame prefectly (didn't purposely make it that way but it works) I cut down a piece of foamboard to hold everything in the back. Then I found a quote a liked on Pintrest and printed it out and used thumbtacks to hold it to the foamboard.
This was one of the first projects I did, practicing to build a custom Oak bar table...
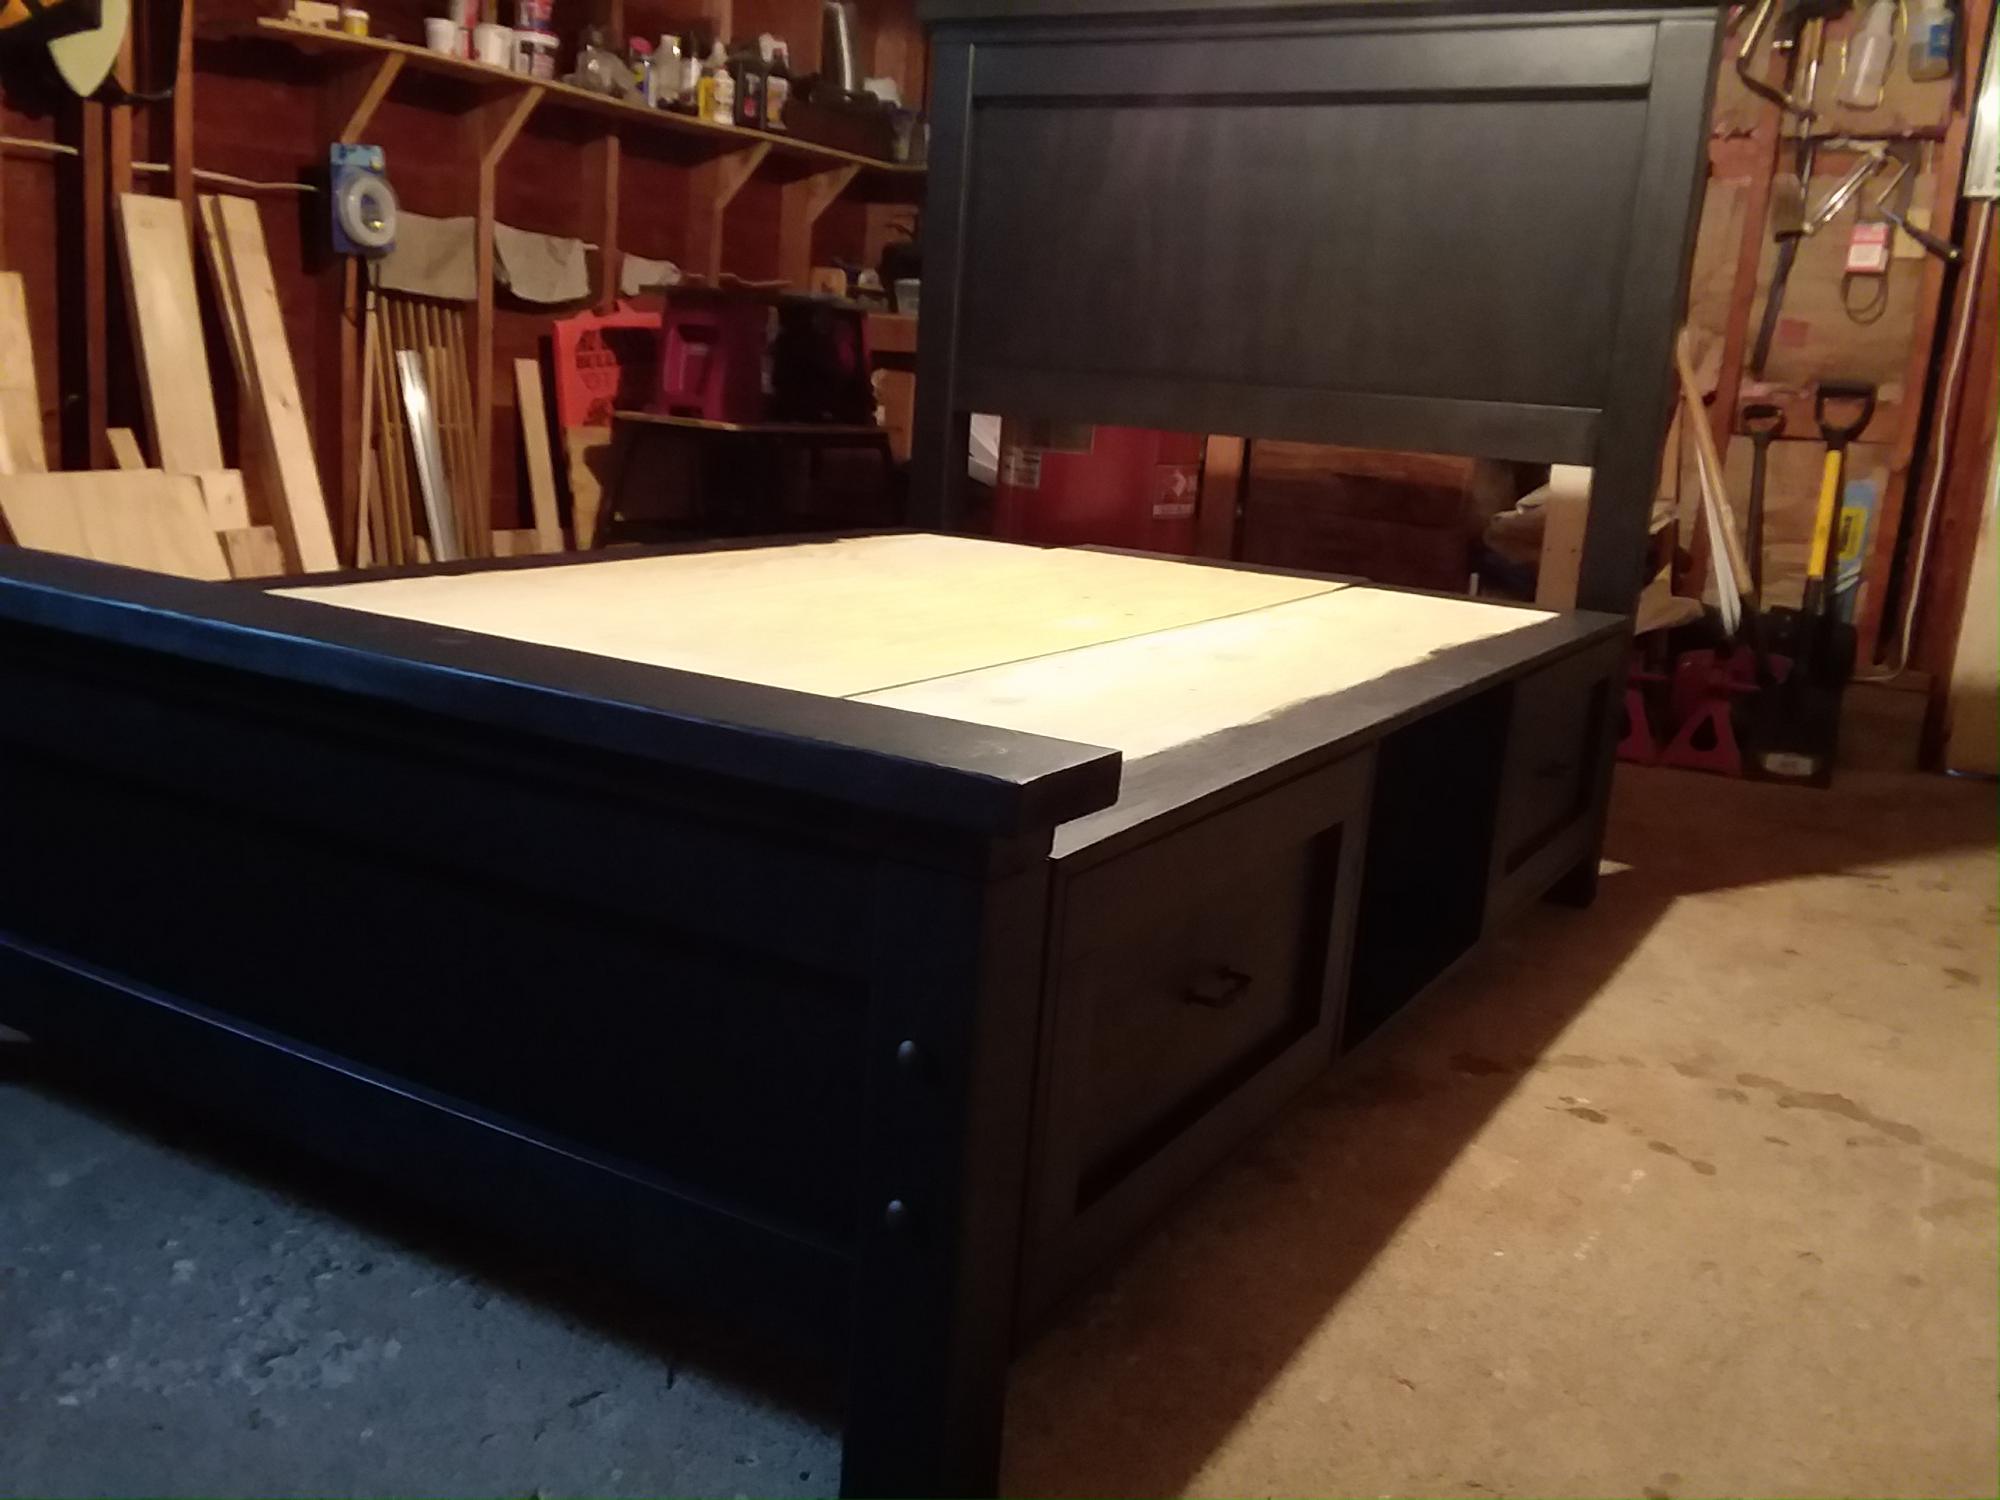
The plans for this bed were great! I made 2 queens and one double bed using these plans with minor modification to add extra durability. Instead of using screws to attach the head and footboards, I used carriage bolts. I added 2X6s for additional bed feet (3 per side) as well as 2X4s (unattached-for ease of being able to move the bed). I also used 3/4" ply instead of slats in the middle section of the bed, this also allows for additional hiding/storage space in the middle of the bed. I could have chose to go another step forward and added hinges and an inset door handle to that middle ply for ease of using that space.
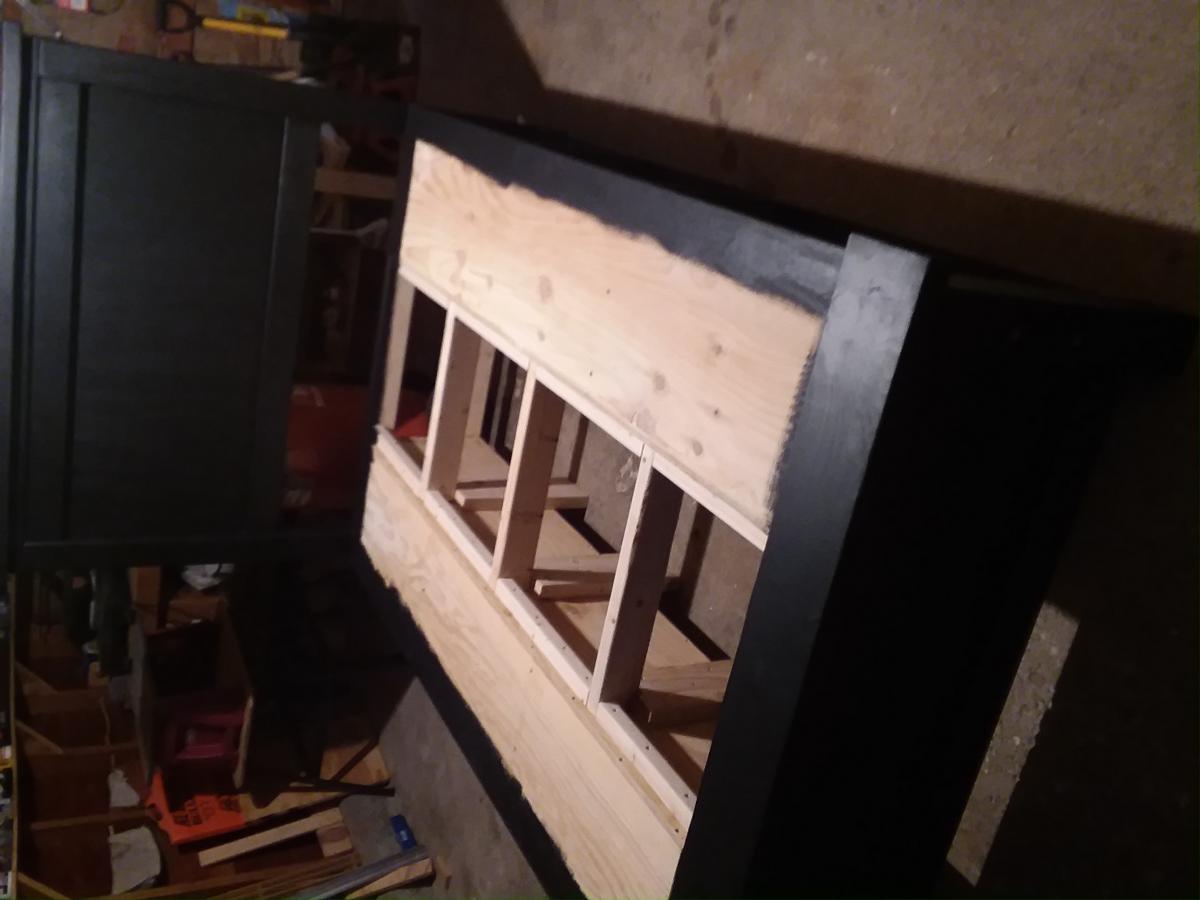

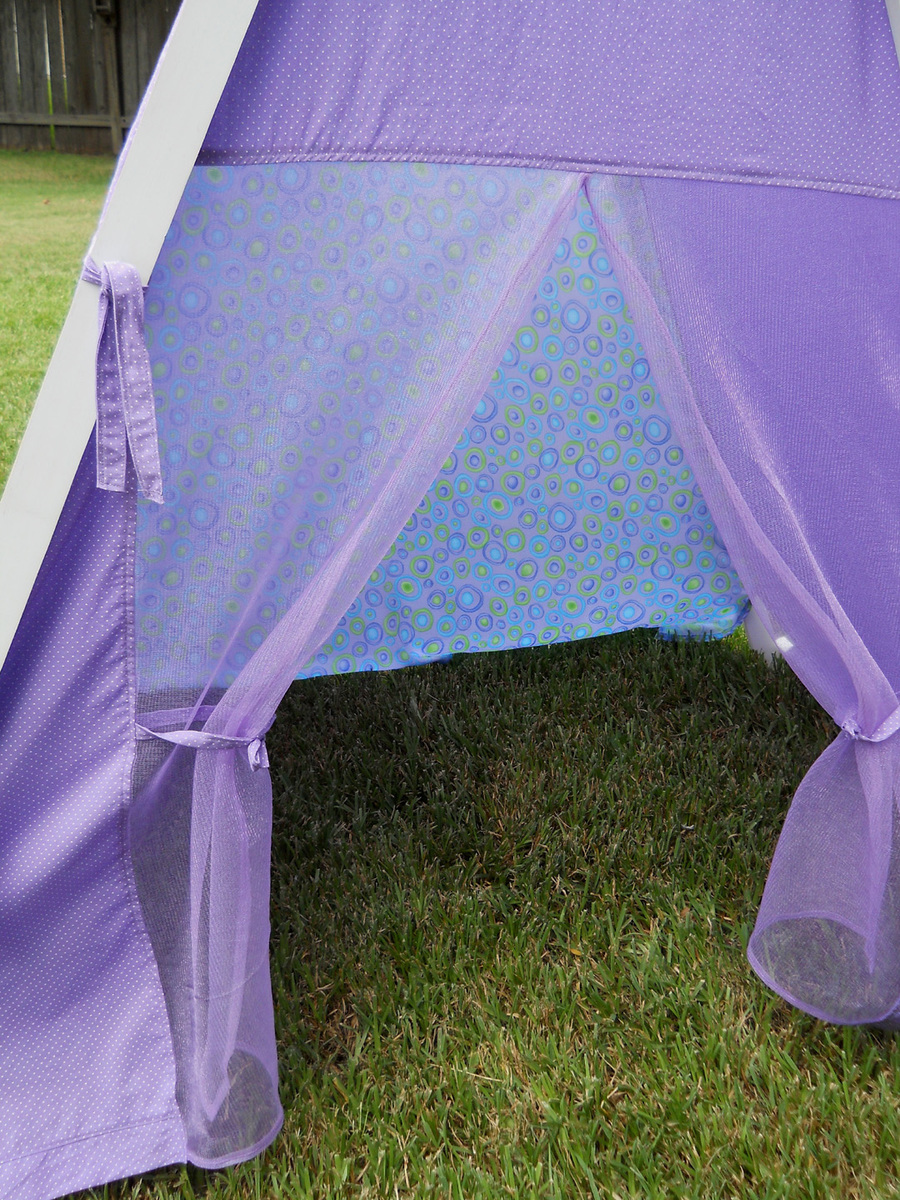
Our little girl Lucille is a wild monkey. I don’t say this lightly-she is wild! She scales walls and hangs from chandeliers; she lives for danger! She loves to play in a tent as most kids do (kids on the spectrum especially). We have gone through several from various stores. I was getting tired of it and began thinking of making her a stronger one but hadn’t found the right project or design.
The tent is now spectacular! It stands at almost 6’ tall’ and is 38” deep and nearly 52” wide.
Here are some of the changes that I made to the original plan:
- Added a brace in the back that screws into the baseboards in two places.
- Bolted the top to the wall and secured the cross pieces.
- Adjusted the size of the board at the top (holding the cover).
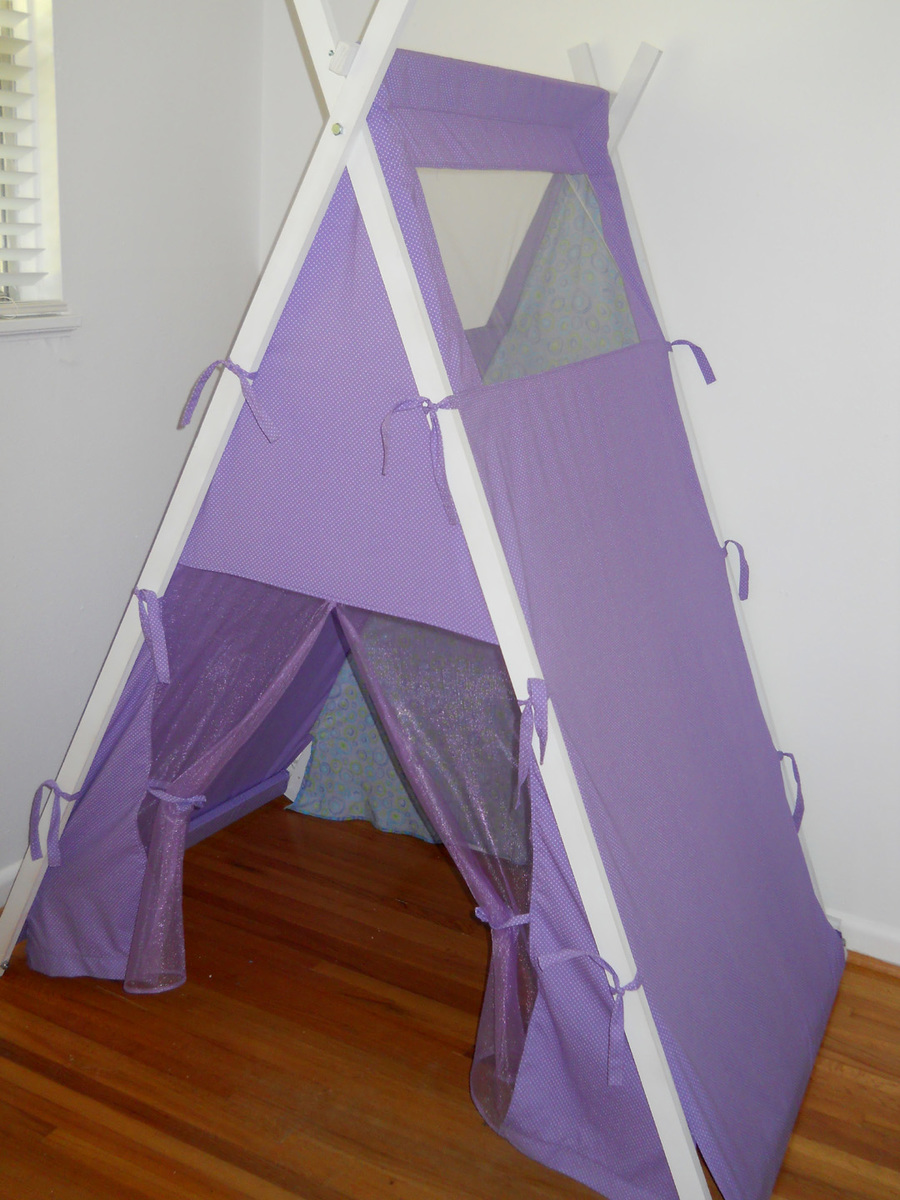
Sewing the cover:
- Measured the sides and taped paper at the front to get the angle for the front and back.
- Used about 6 yards of the purple, 1 yard of the lavender organza, 2 yards of the print in the back (improvised), and ½ yard of the nylon mesh.
- Attached 12 straps (3 on each side) to attach the cover to the frame (much needed addition) with 2 smaller ties on the front.
- Used nylon mesh to create the skylights (Adorable).
- Glued velcro on the frame itself rather than attach to the cover.
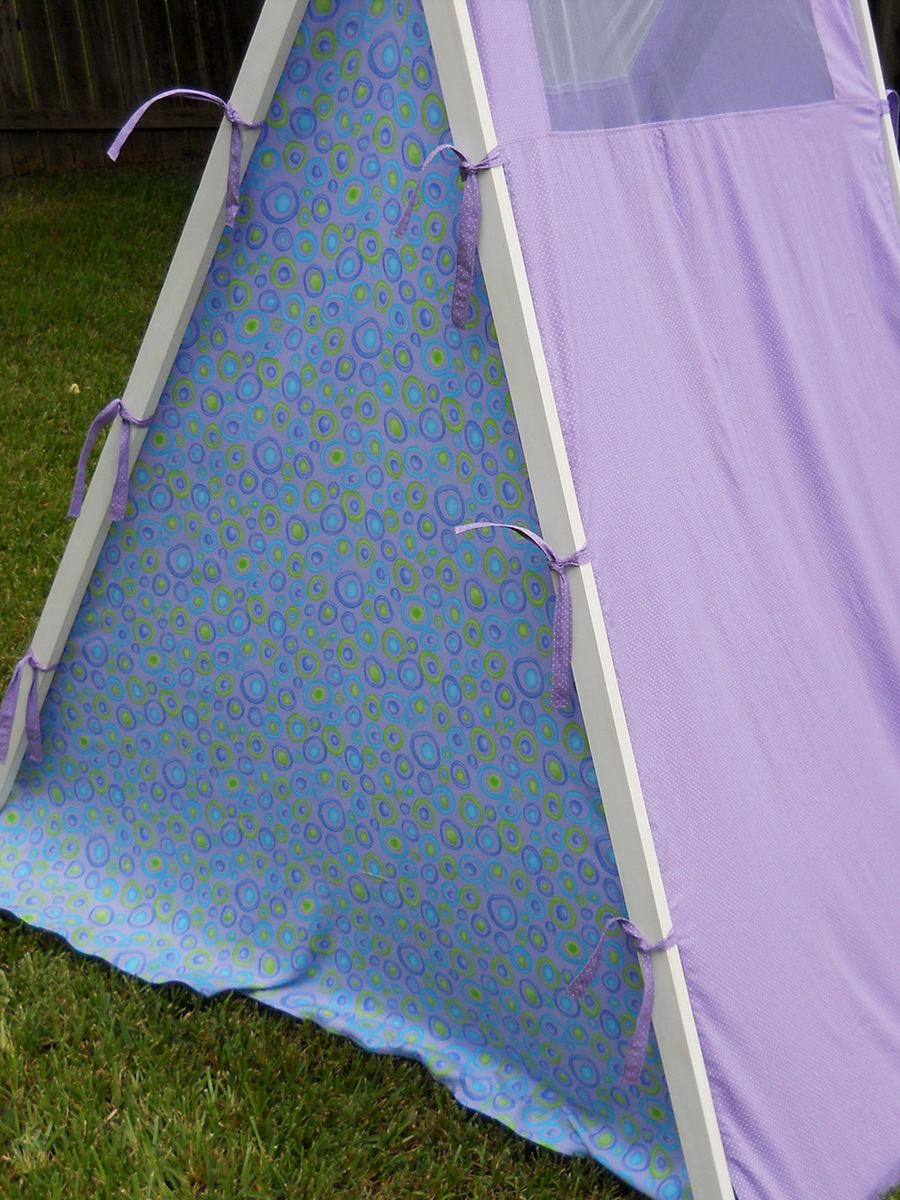
- Finished every edge of the fabric because the main purple fabric had lots of fraying (In hindsight, I should’ve used a poly or something that wouldn’t fray).
- Stitched all seams and then top stitched for strength (which is why I used almost three rolls of thread!!)
- Released the seams in all four corners at the bottom about 4 inches, so it would hang well and allow the sides to wrap around to velcro.
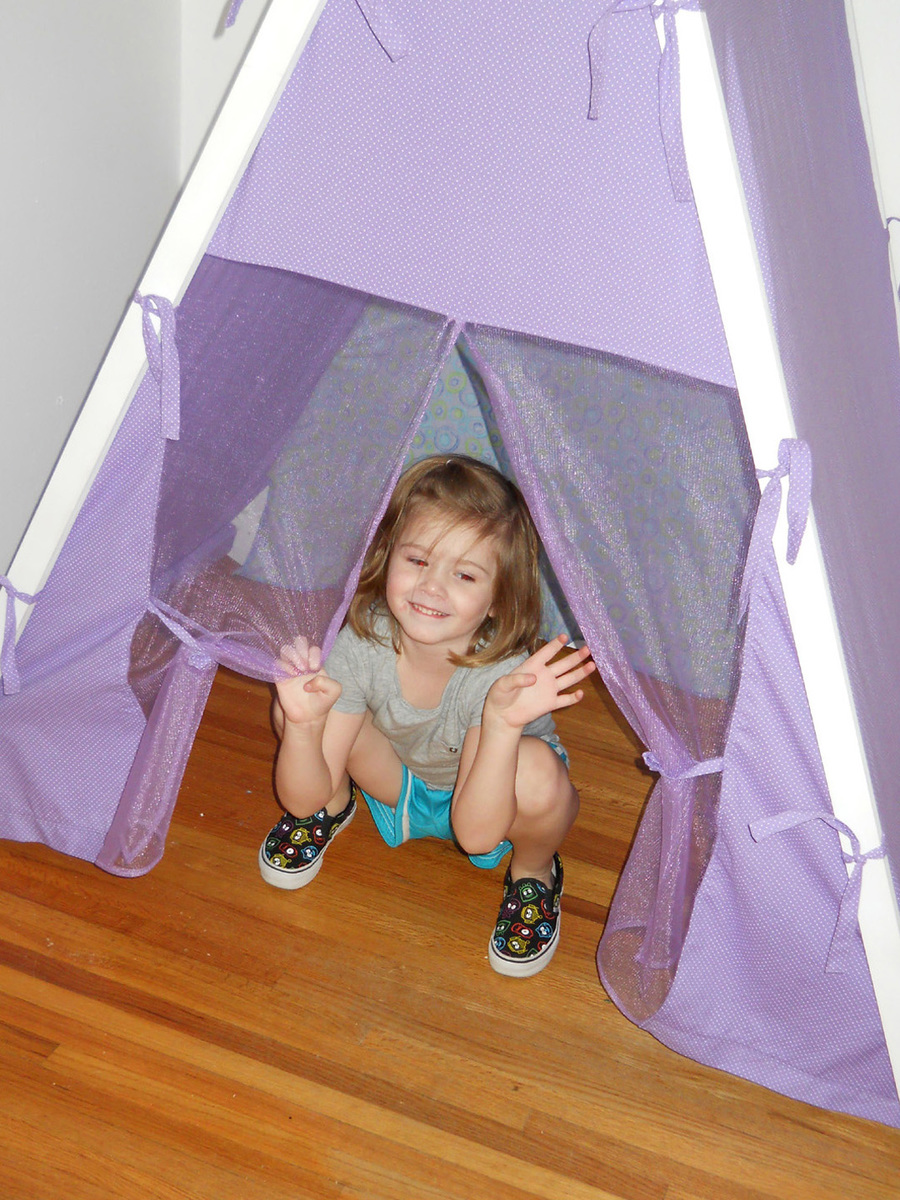
It looks great and will hopefully stay in her room for awhile, although I may have gone a bit overboard with the skylights and transparent organza in the front. She isn’t too interested in it yet and I'm wondering if it's too open and doesn’t give her that closed-in feeling that she likes. I may need to cover the skylights or switch the organza with some fabric.

Followed the plans and here was the result.
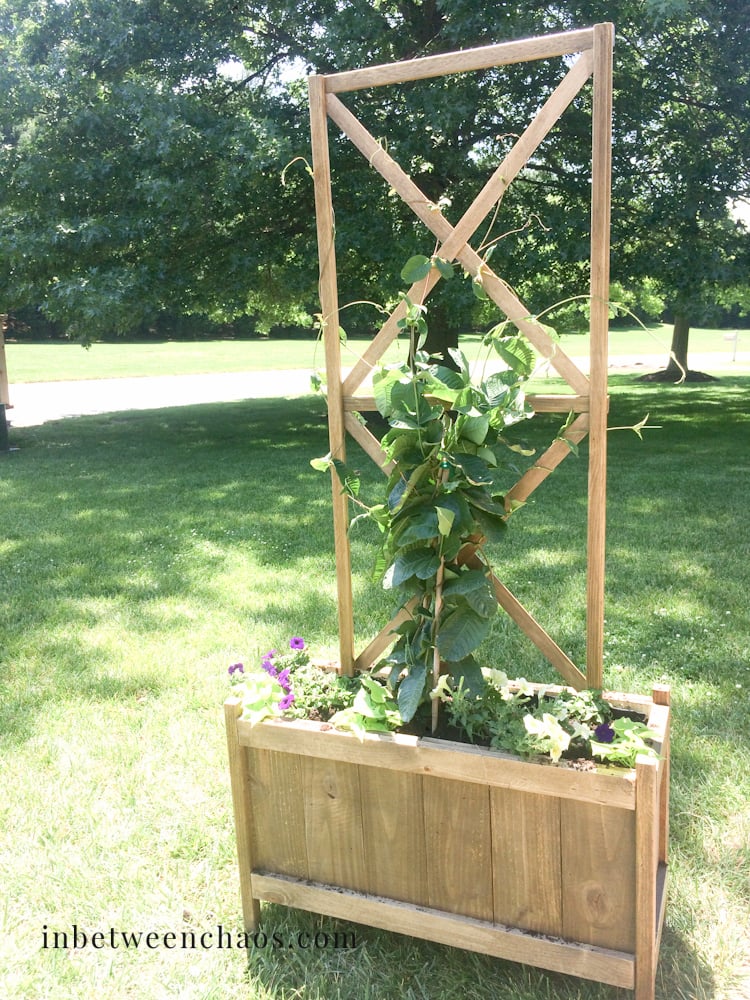
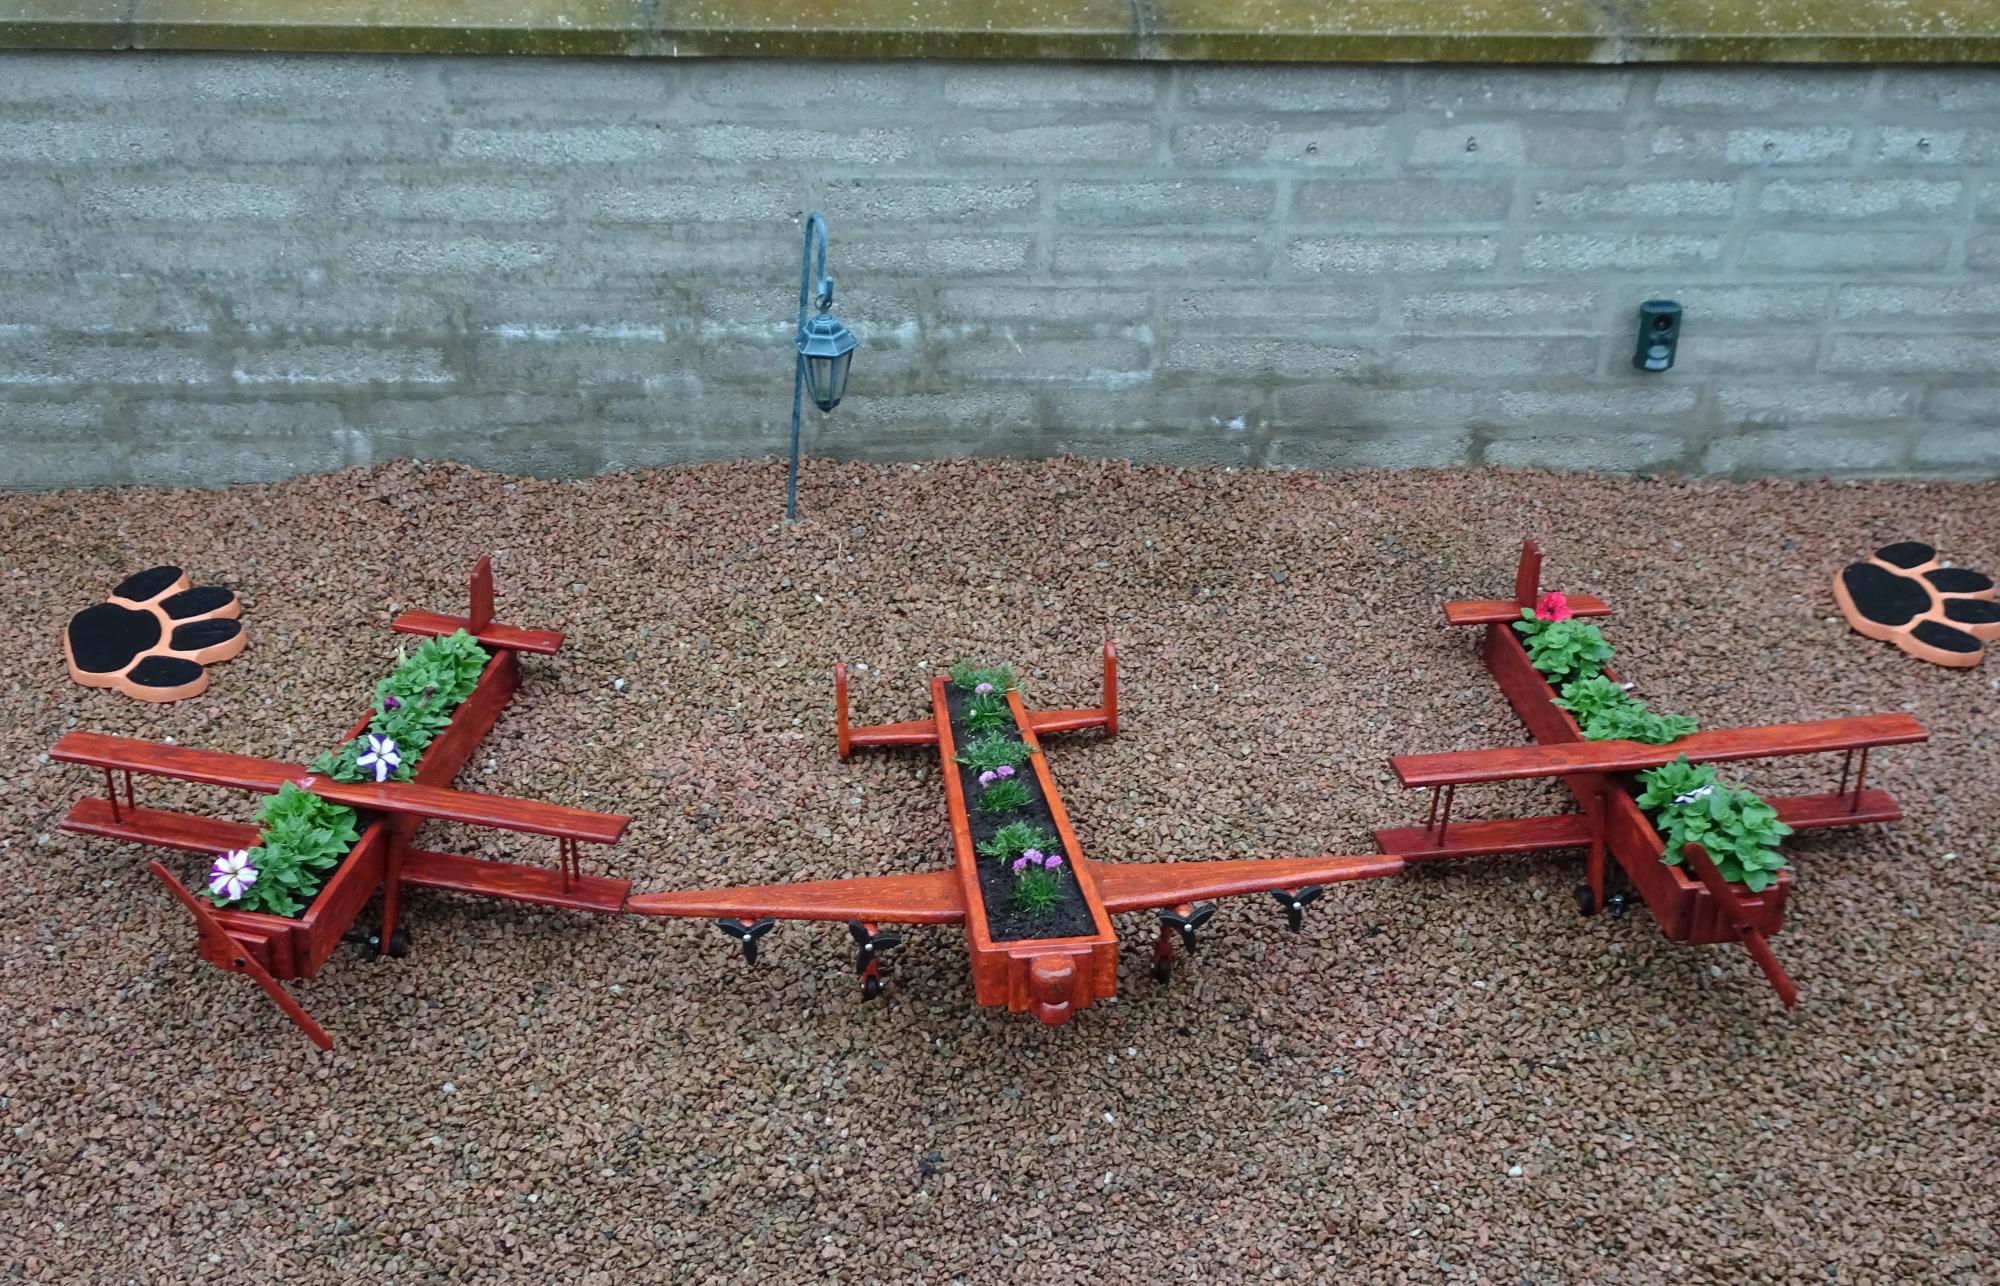
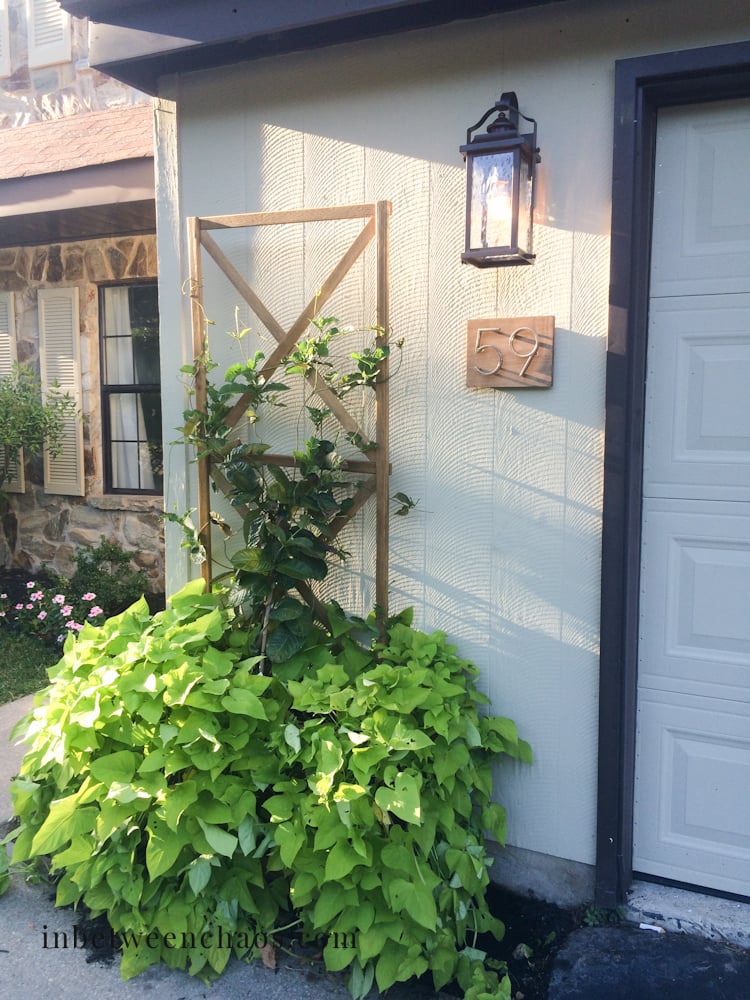
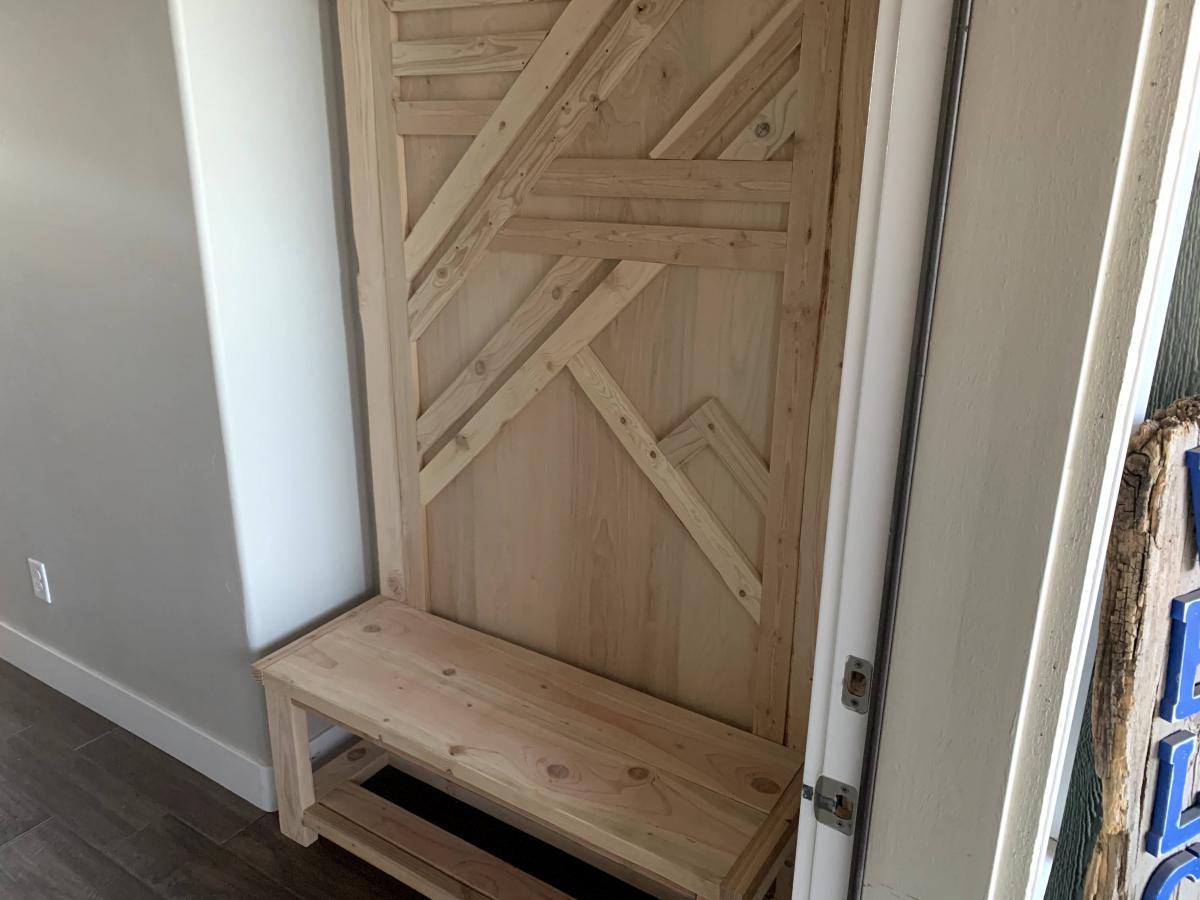
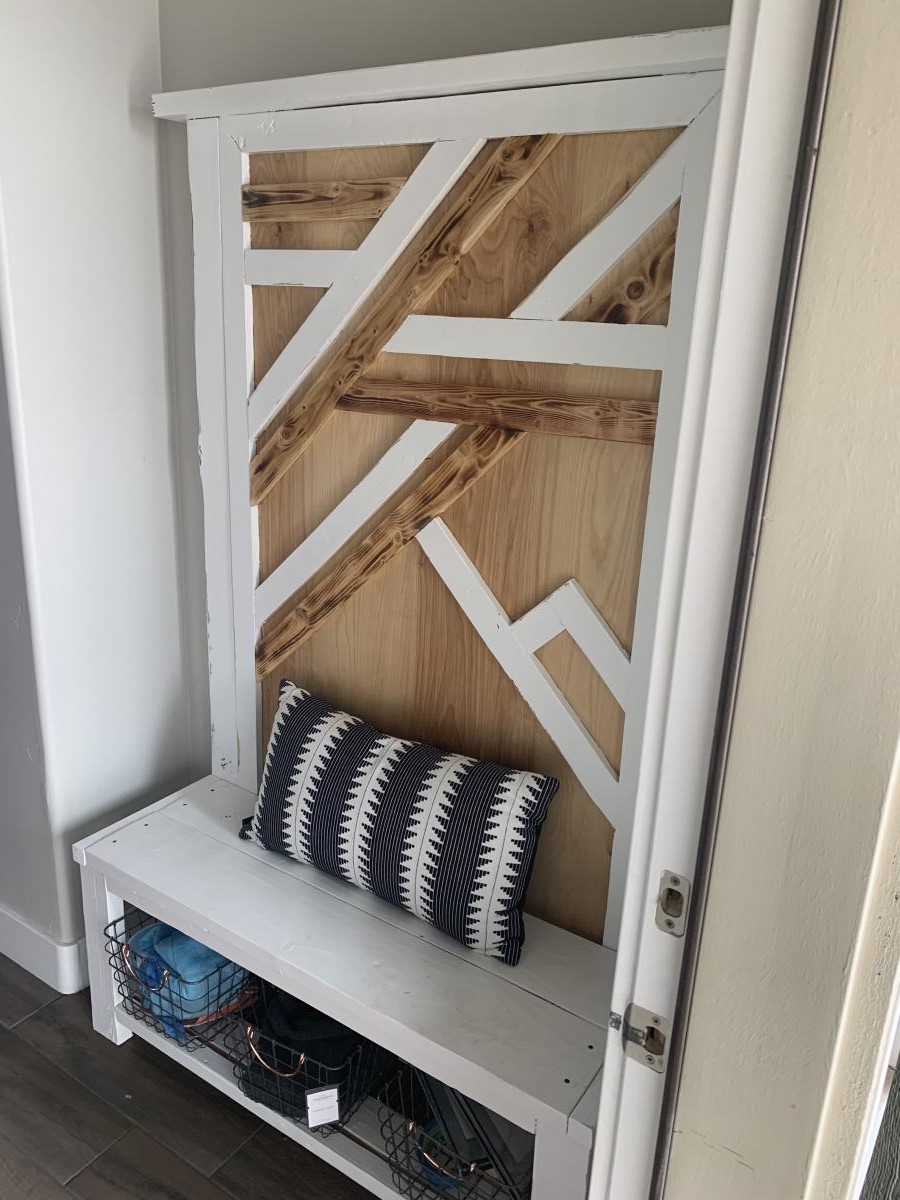
I made this project to add a little life to the front a flip house I just finished. I had an awkward spot, and I was able to easily modify this plan to fit the space. Thank you for the inspiration!
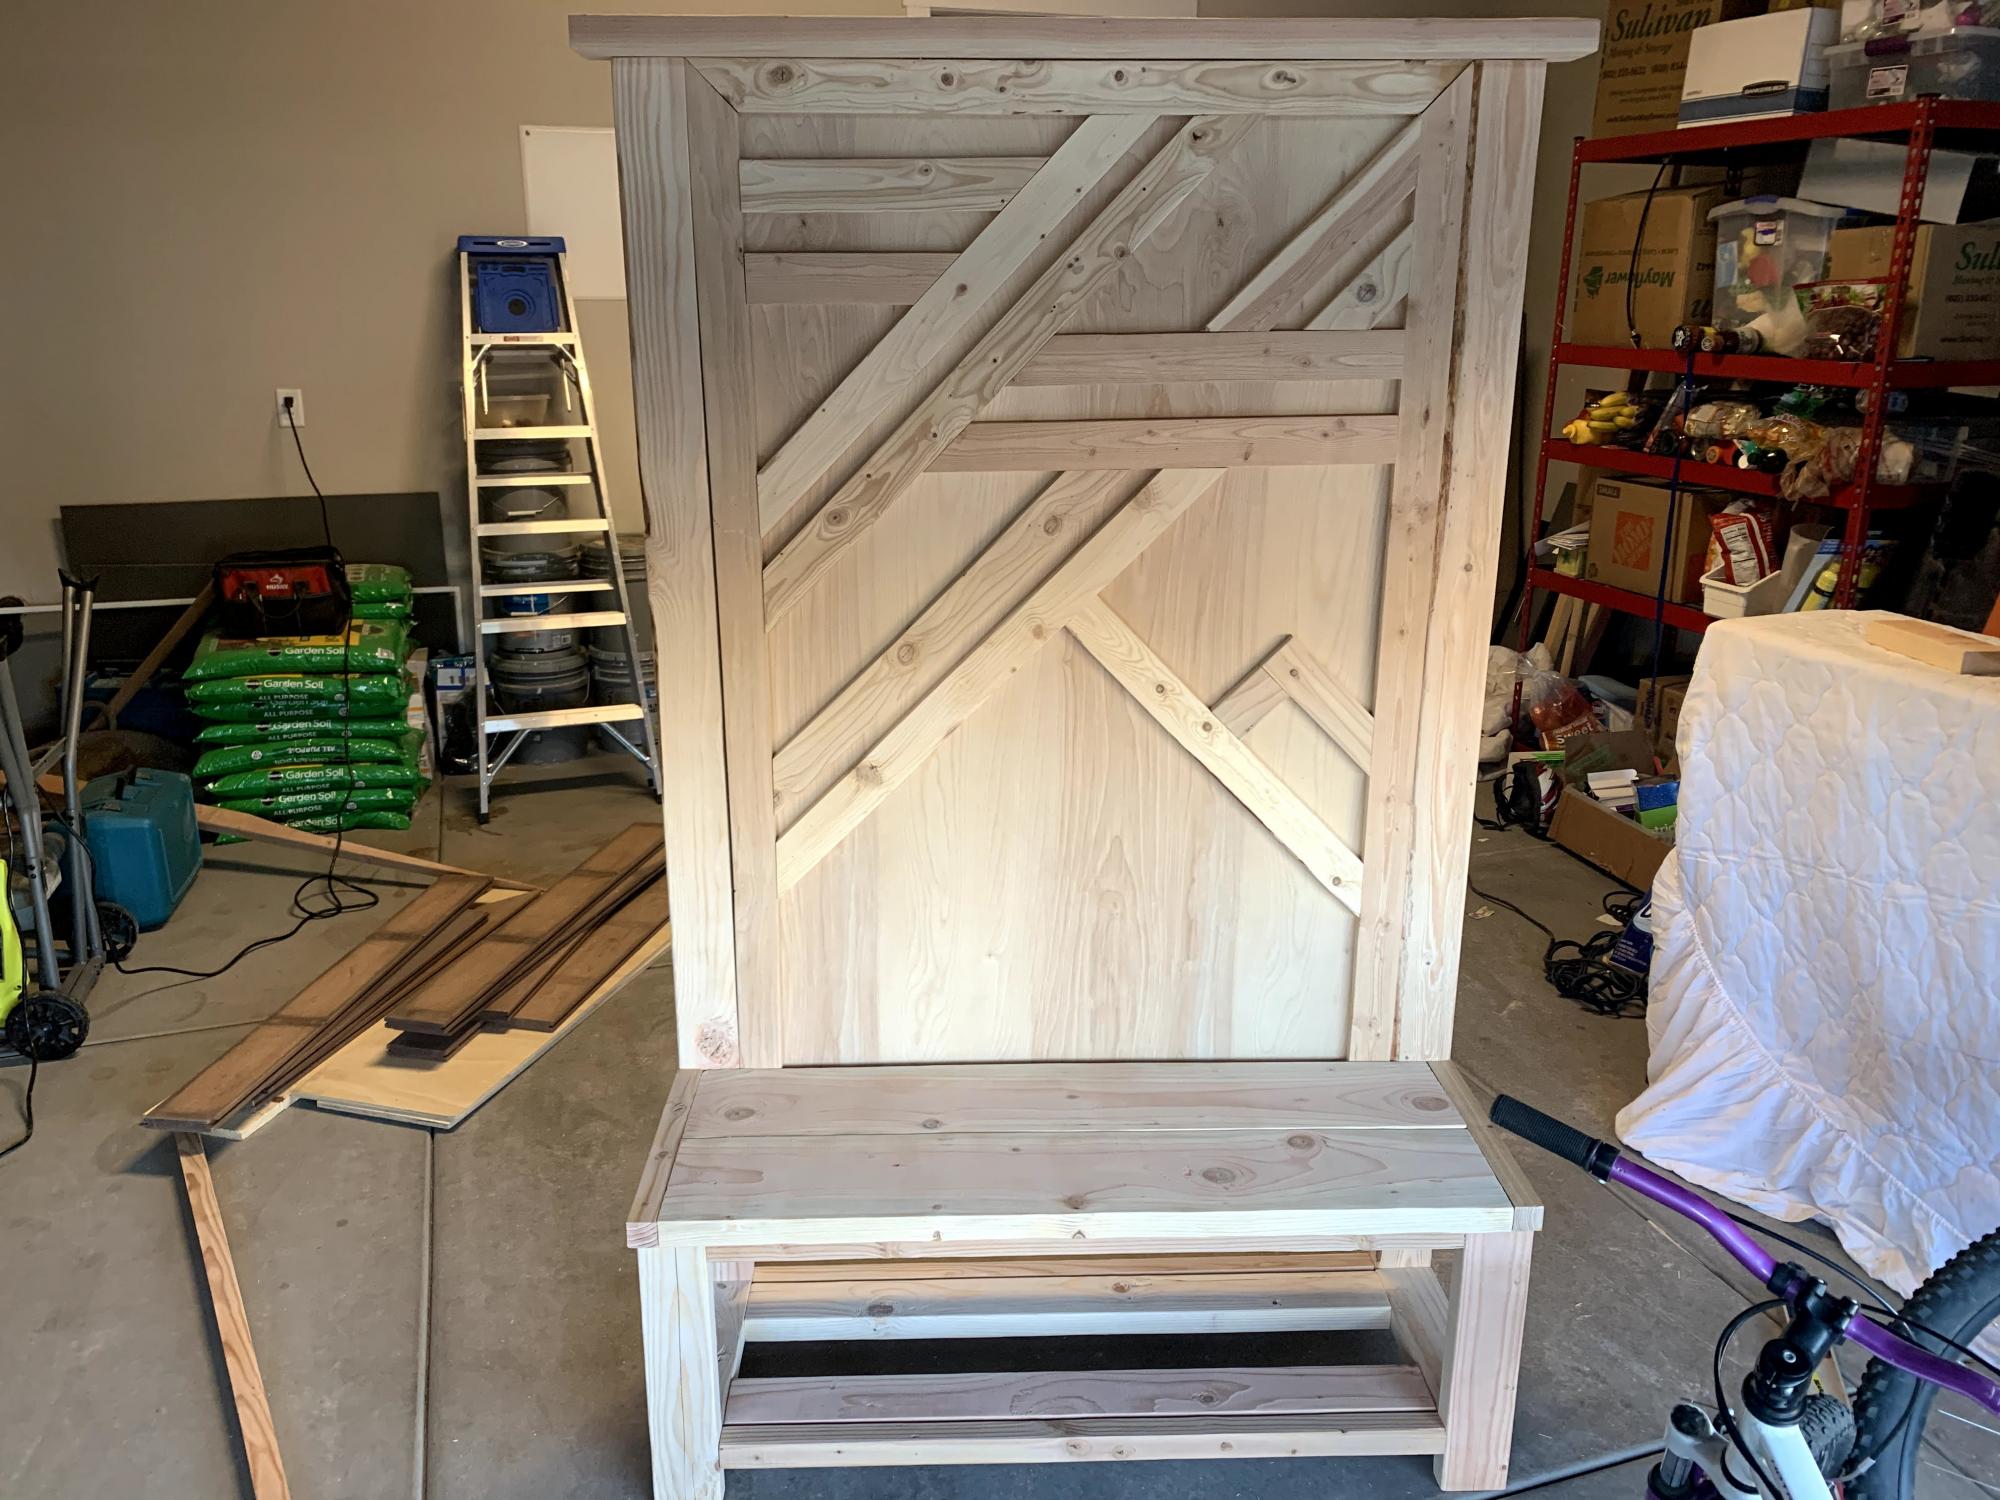
We utilized Ana's rustic x bench to fit our hall tree design. Love the bench.
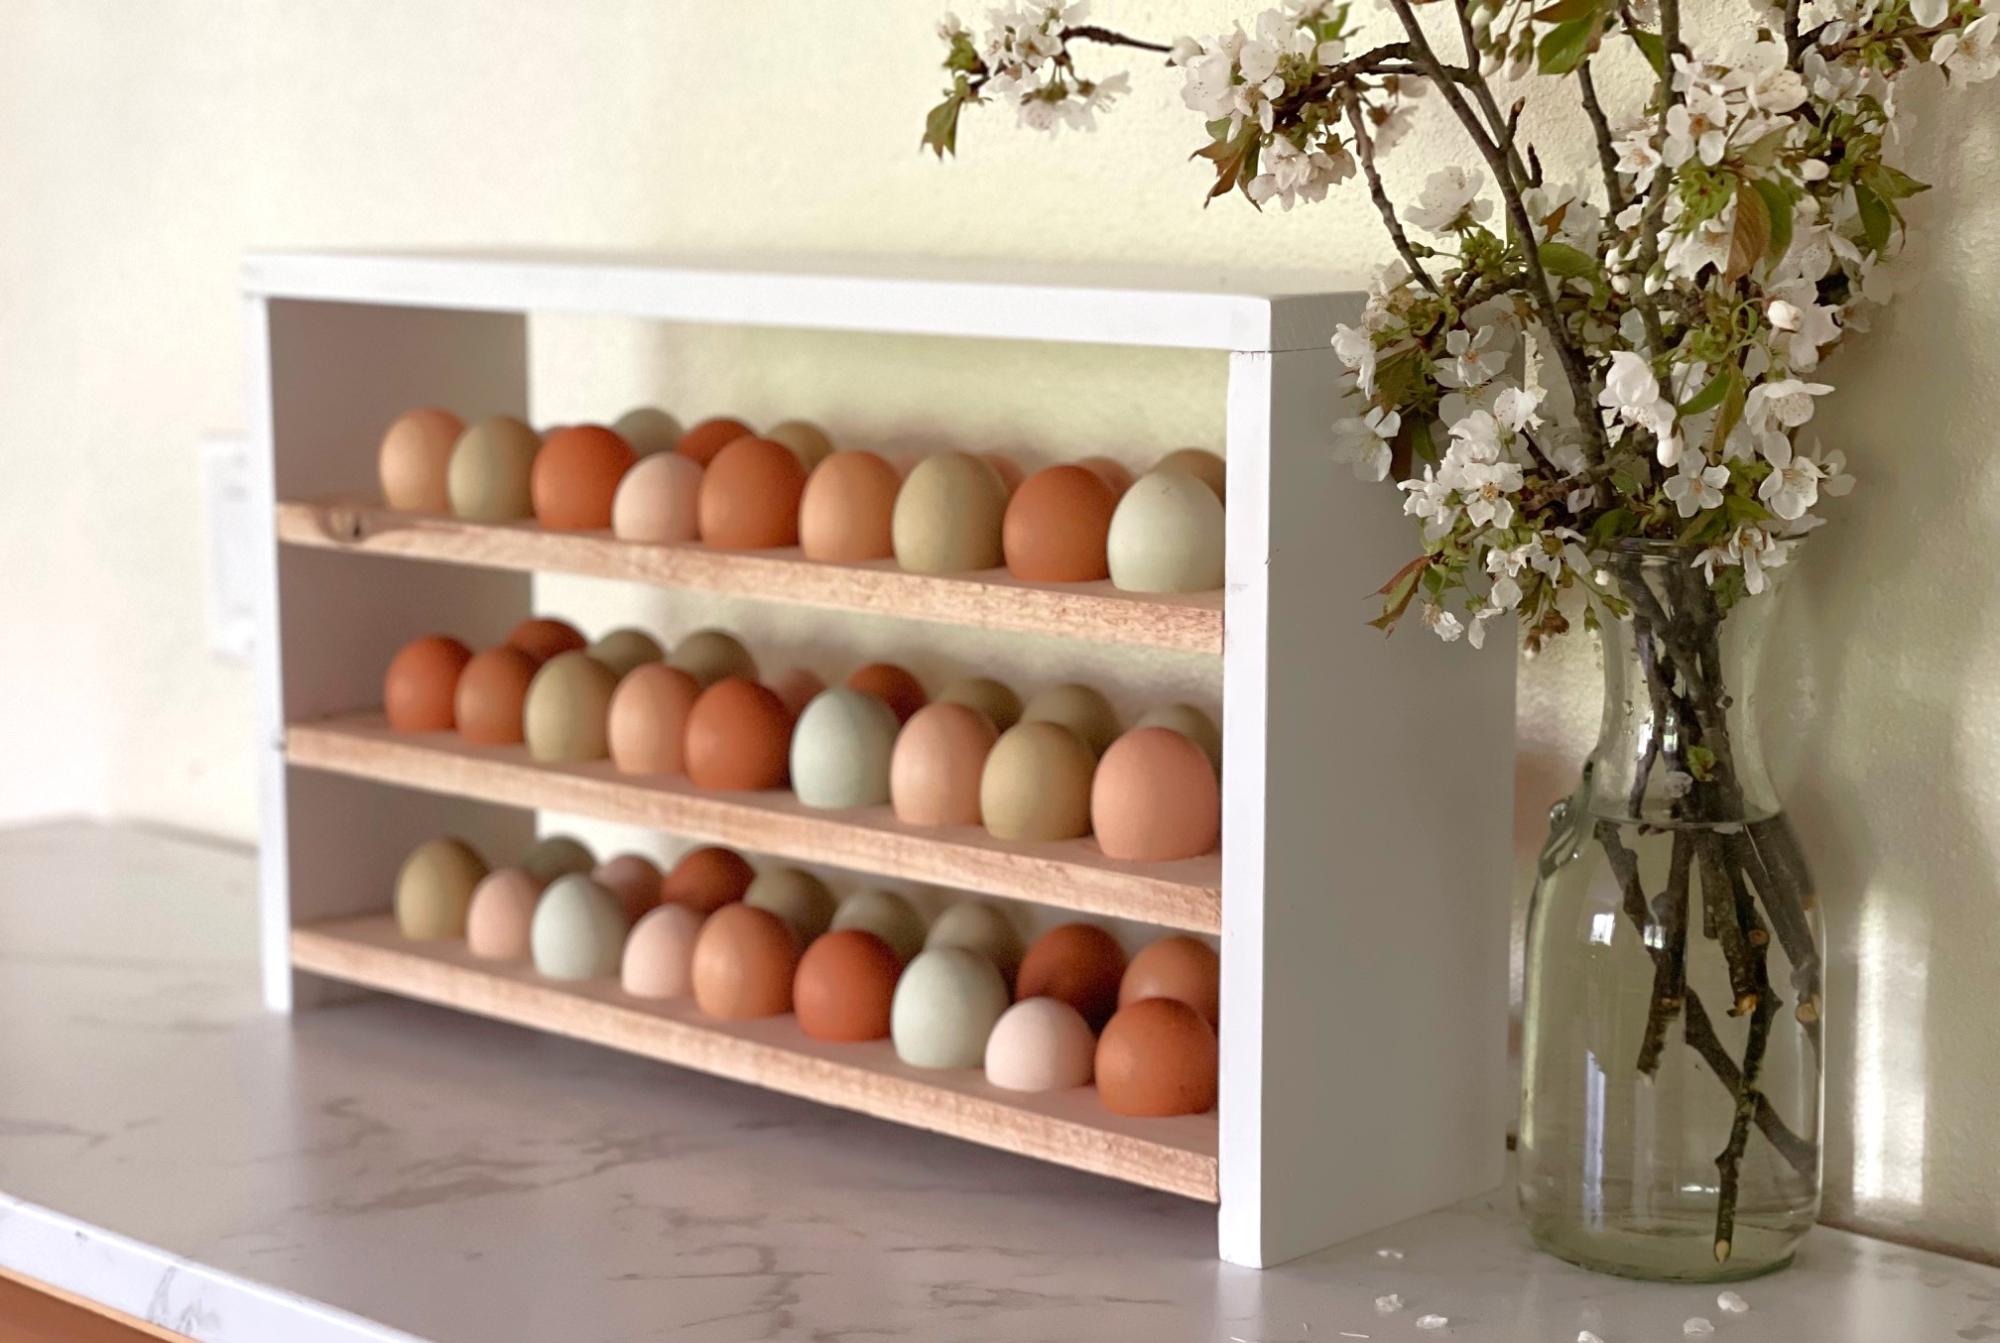
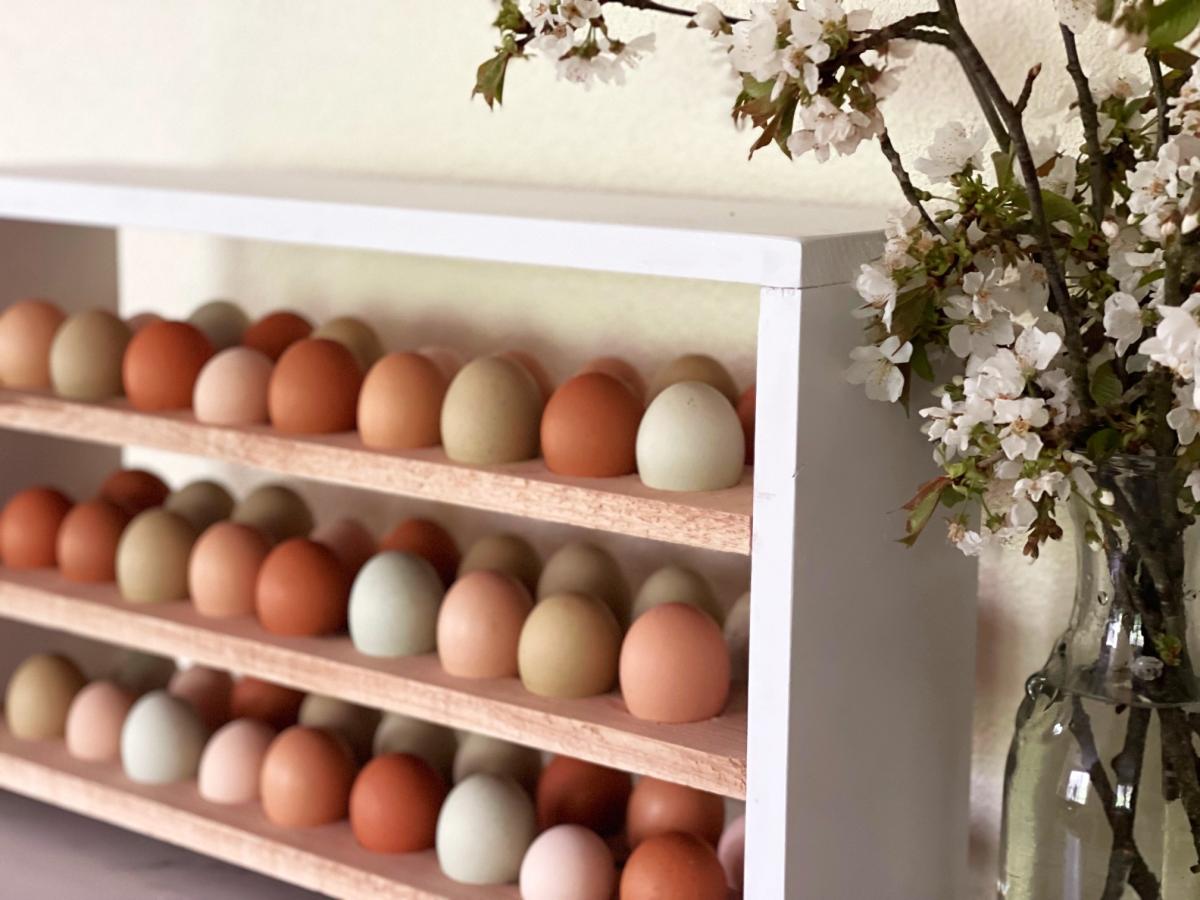
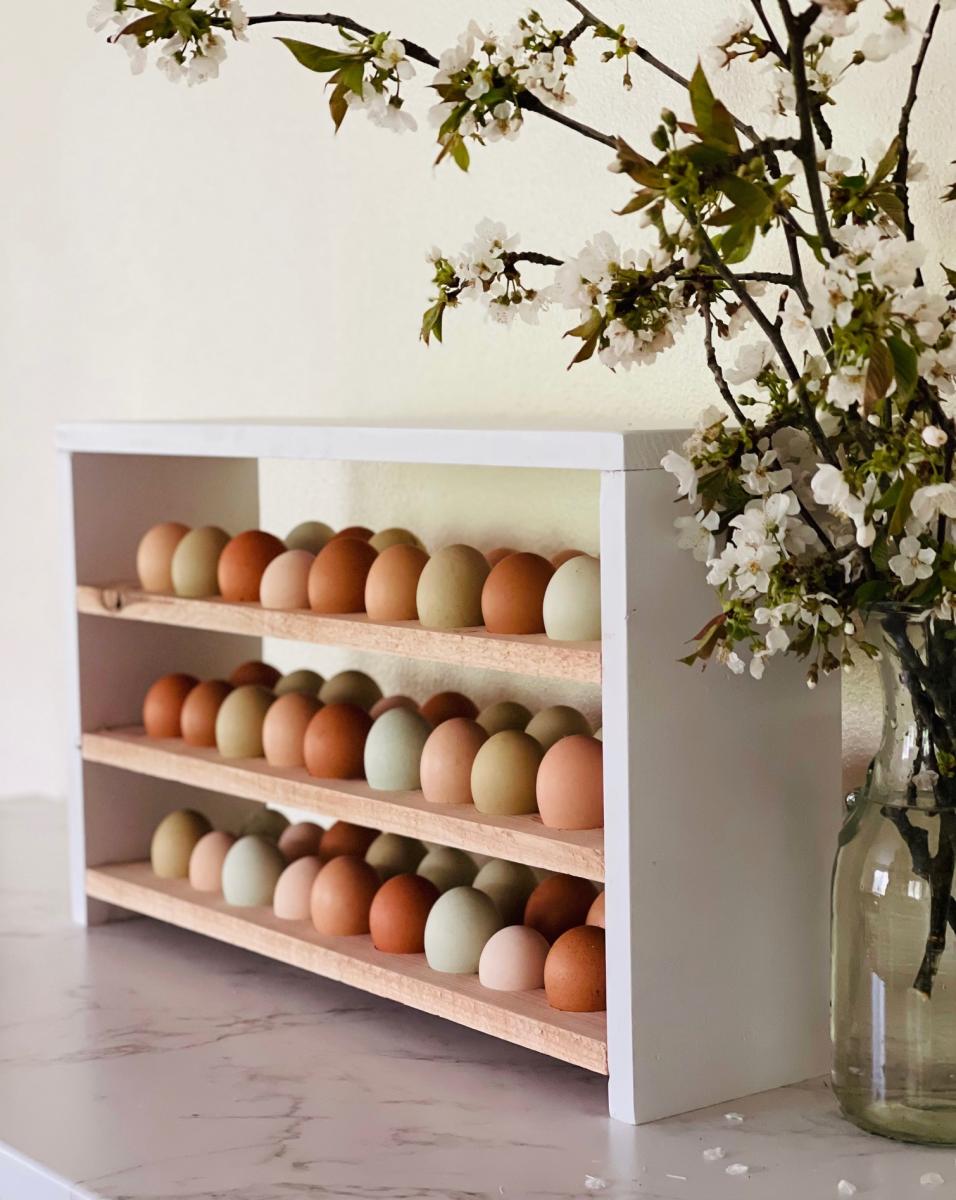
I used Ana's plans with modifications to hold 4 and a half dozen eggs. I love that it can sit on my counter and display those beautiful farm fresh eggs!

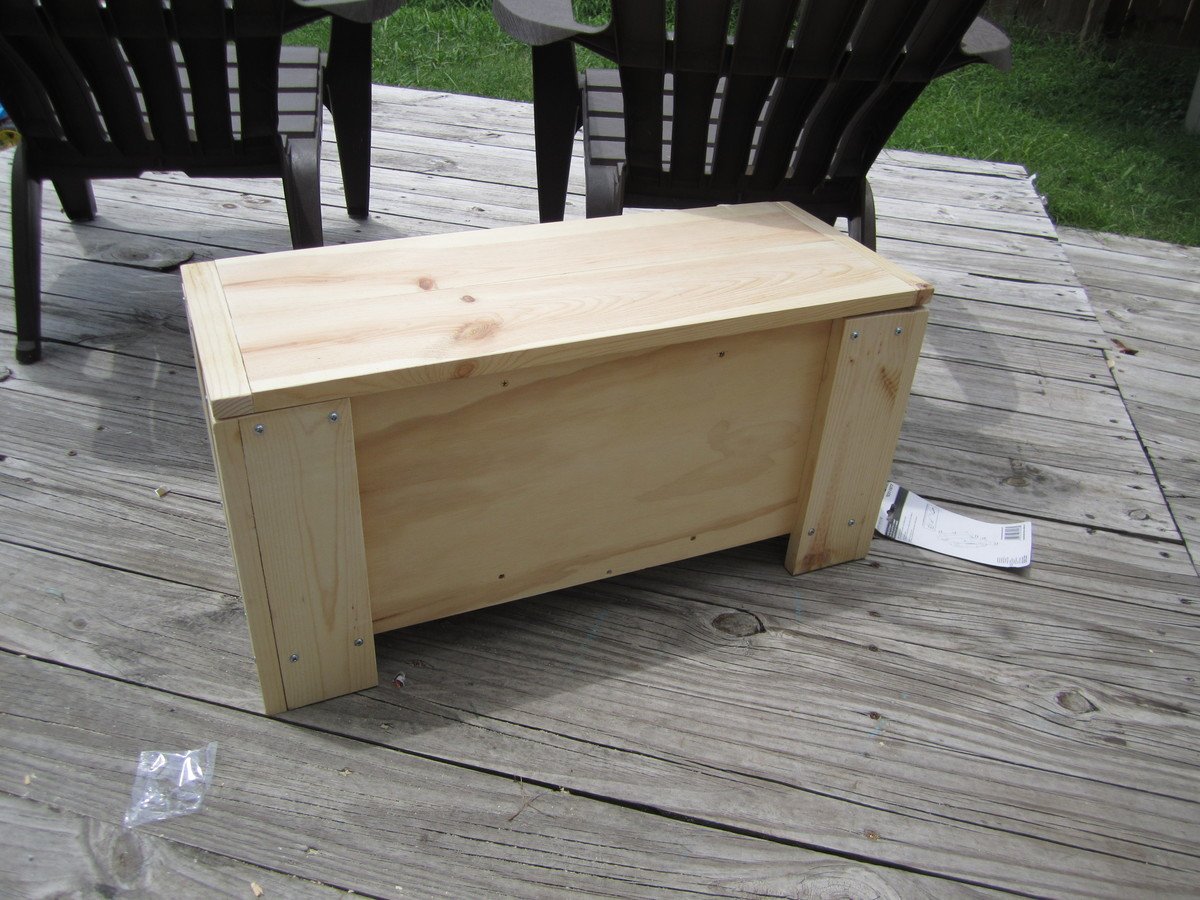
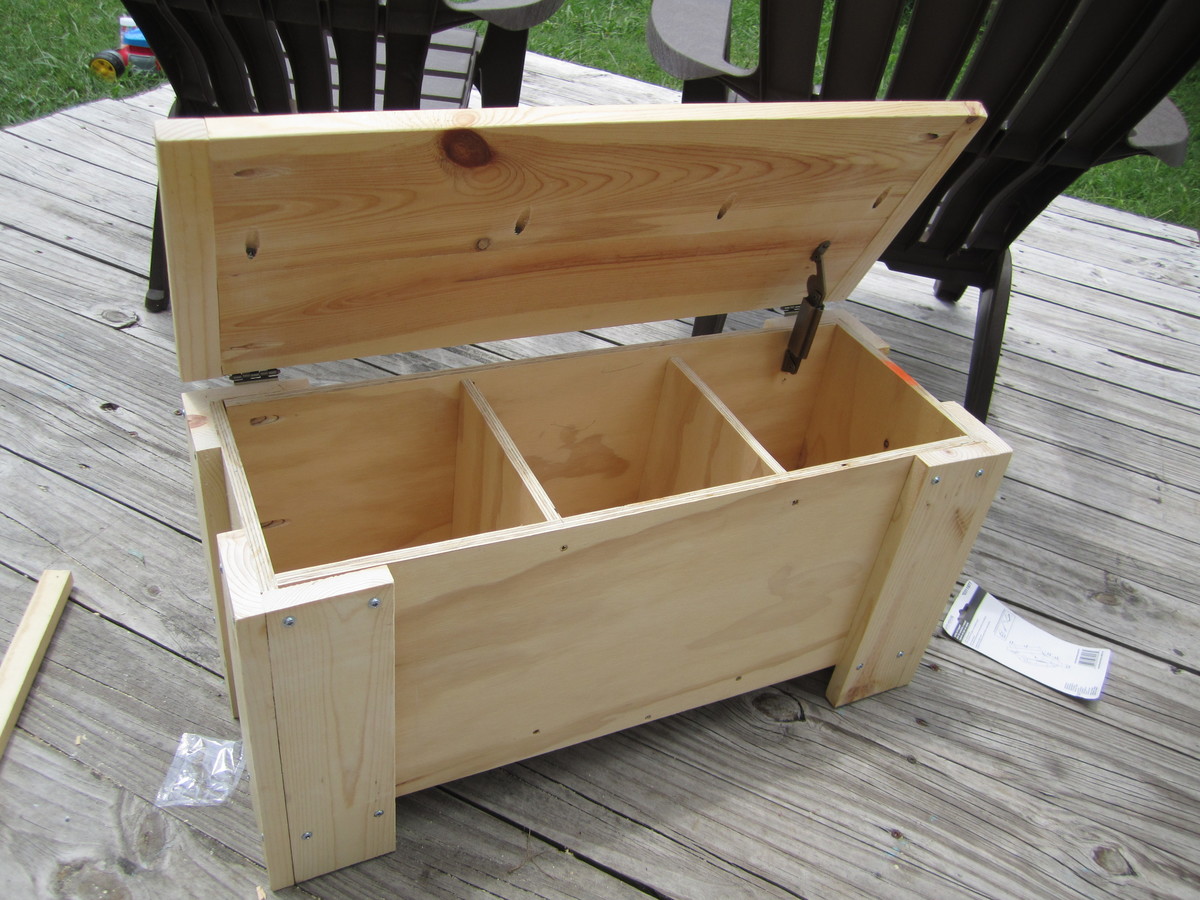
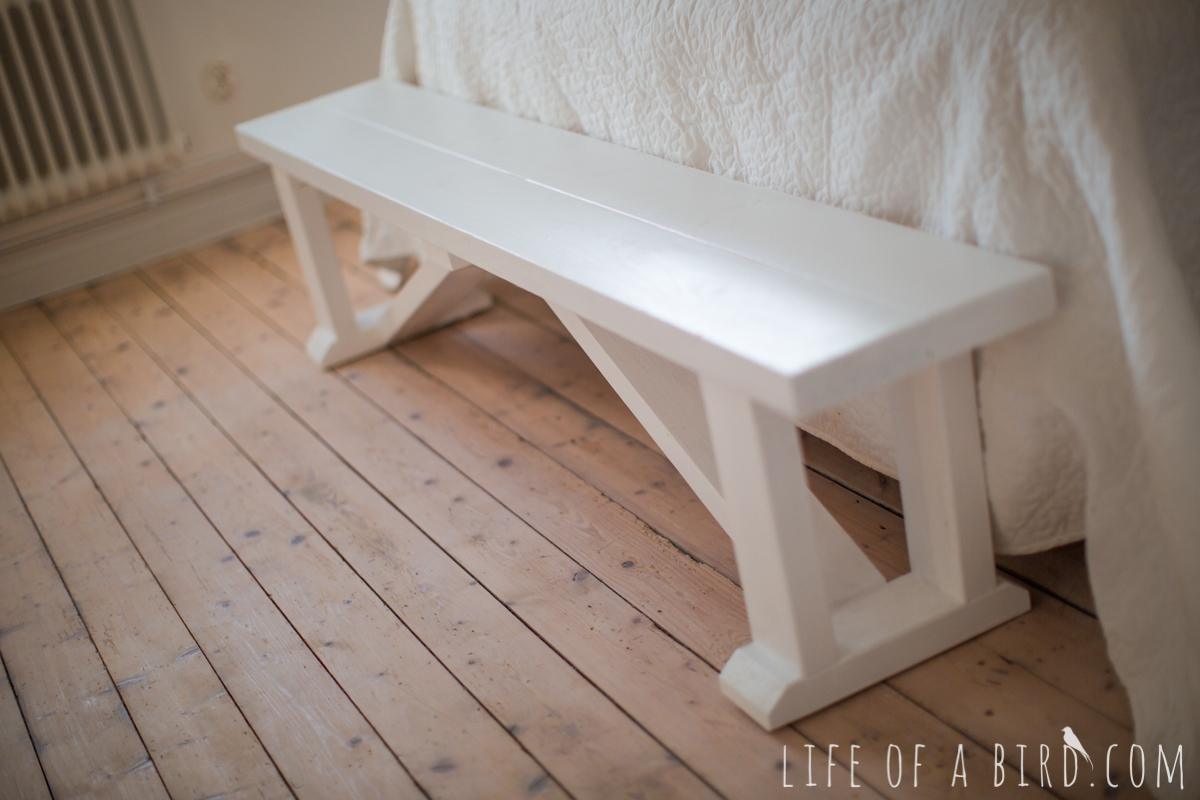
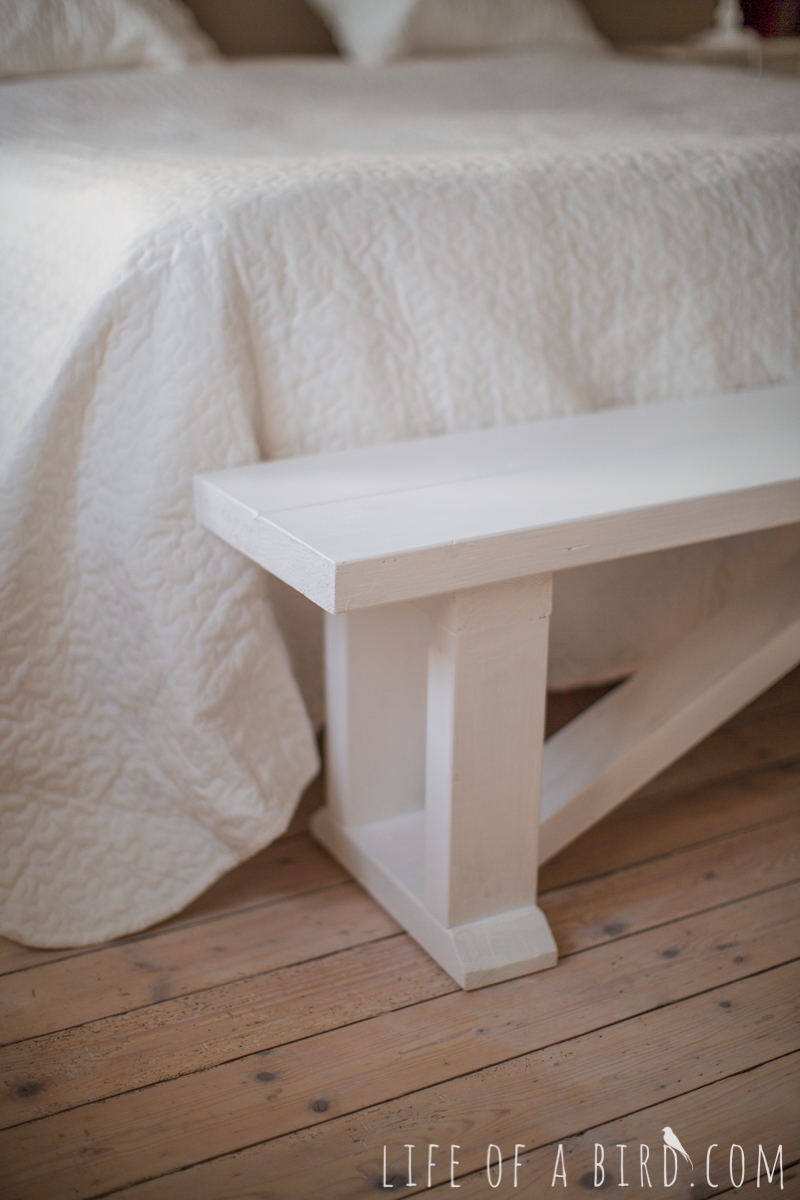
After building a few things from plans I decided to come up with something on my own, and from scraps I made this bench for my son.