Sandbox with Benches
![](/sites/default/files/2C0DC53C-8C13-4A6E-995A-8D1ED5F990AF.jpeg)
Awesome sandbox !!
I’ve made a couple of these . One thing to save you money that I switched to on my second one is making the frame from 2x material vs 1x. Looks better too and is more sturdy .
Awesome sandbox !!
I’ve made a couple of these . One thing to save you money that I switched to on my second one is making the frame from 2x material vs 1x. Looks better too and is more sturdy .
Loved how easy to follow along the instructions were for my first ever project.
Christina
I built this bar for my mom to use i her dining room. I altered the plans for the X Style Desk to build this at bar height. This was my first time distressing anything and was pleased with the outcome. i used one coat of Minwax Dark Walnut stain and two coats of Minwax clear satin finish. White shellac Based primer, brown egg shell paint and Green egg shell paint for the base and sanded for the distressed look. I used dimensional pine lumber from the home center to build this with.
It's a Friyay! and we have a bunch of used pallets at work the boss is wanting to get rid of. Well he is on vacay so ....
We (me and my office manager) had to alter the directions a bit but the end result is great. This was our first project and tools were very limited. Even so its a win win and we will be making more. Thank you Ana!
I made a few changes to the original plans for this island. I had to convert all measurements to metric to begin with. I live in Portugal and standard size woods, such as 2x4s are simply not available. I found a lumber yard that had some extremely nice German Oak which was a pleasure to work with. Although, this did add some weight to the finished project. All wood needed to be jointed and planed to ensure straightness. The "X" cross braces are full length. I used my router to remove half the thickness where they intersect so that they interlock with each other.
The granite top was a remnant we brought with us when we moved here and was sized and shaped previously. Instead of using pocket screws to join pieces together I opted for doweling all pieces and did not use screws at all, except when attaching the tracks for the drawer.
Fortunately, the overall plans did not require much alteration to accommodate the granite.
I would have liked larger wheels but these allowed for the island to match the countertop height in our kitchen.
Christopher Mathrusse
I Love this plan! I had to modify mine a little form Ana's because the reclaimed wood I got was already cut in small pieces. I love how it turned out! I ended up giving it as a gift and made several more for the same purpose. You can see those on my blog!
Thanks Ana for another awesome plan!
This was my second project from Ana White and it turned out just as well as the Tryde Side Tables. The finish used was exactly the same as the side tables; however, just regular Cedar was used instead of Red Oak.
This was a fairly easy build, but the hardware was a challenge. Very exciting that it actually worked. Followed hardware instructions linked in comments
Indoor playhouse above twin bed. Cost about $190. Took two full days. Built using the plans off this site. The inside play area is 42in by 39in. The plans have the mattress on the ground. I have a dog that sheds like crazy so I have her mattress on a metal frame but plant to build a low to the ground platform bed.
My first time building anything. Came out great. Thanks for the great instructions!
Annie K
I suppose this is the simpliest shelf stand ever :) Pls note that side boards should stand on bottom board (in order to provide tensile strength). Also pay attention that the construction shown will not be safety standing near the wall. You should screw it to the wall. Well, that's all. The top valance is made of floor plinth. PS. Sorry, English is not my native language, but I hope you can understand my post. Blog link leads to russian language page.
I made a counter top utensil organizer for our little kitchen and love how it solved a few utensil difficulties for us. I wish I could post plans, but all I can offer for now are photos and a brief explanation on my little blog: http://sunnysideup-stairs.blogspot.com/2014/07/compact-utensil-organize…
Ten-day project (construction plus sewing) that concluded with exactly what we needed for our space. No big issues with the plan and really pleased with the result. Making the cushions was only possible through upholstery sewing experience. Thank you Ana White!
I have followed Anna for several years and really liked the Adirondack chairs so I finally got around to making mine, the plans are the same but I made some modification so I could use as much of the recycled mahogany I had. The wood came to me from South America in the form a crates, I kept as much of the original patina as I could as well as the chainsaw kerf marks. The seat was the only part where I used a different wood and that is kiln dried beetle kill pine.
Such a useful and attractive way to keep the mudroom area organized. Especially needed in our house which has no dedicated mudroom--just an area carved out by the kitchen door where we need to stash our coming and going type stuff. Loved the plans!
I made a few alterations to the originals to customize the plans to our particular needs, which are outlined in the blog post on our site, http://littlehouseinthesuburbs.com/2012/09/my-ana-white-mudroom.html.
Sun, 09/23/2012 - 15:47
I love it! It is beautiful. Makes my boring mudroom frown! :D
I made this cute kid-sized Adirondack chair to be auctioned off for charity. The pattern I used for this can be found in Ana's book, The Handbuilt Home.
This chair costs less than $5 for the wood!
If you want to see more details and pictures about how I built it, check out my blog post.
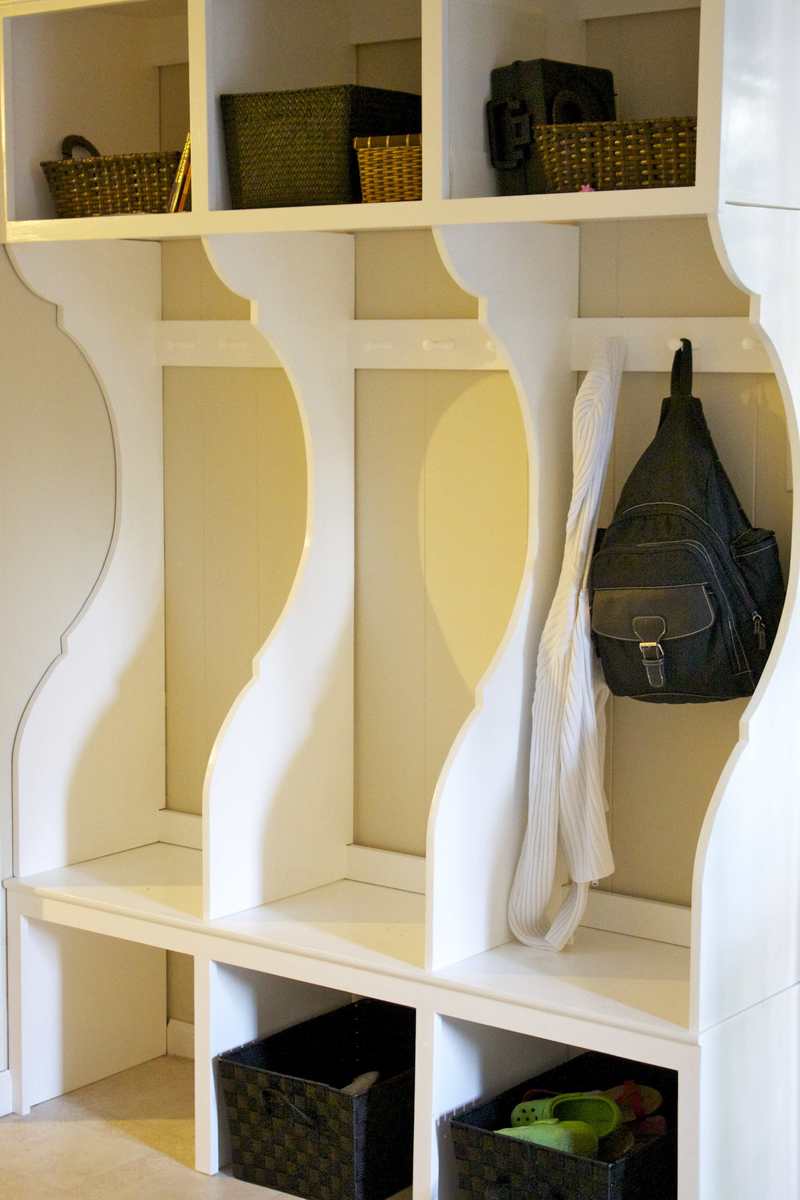
I'm building a house for a client who wanted a country farm house feel. The kichen cabinets are custom frames with beaded board inserts.
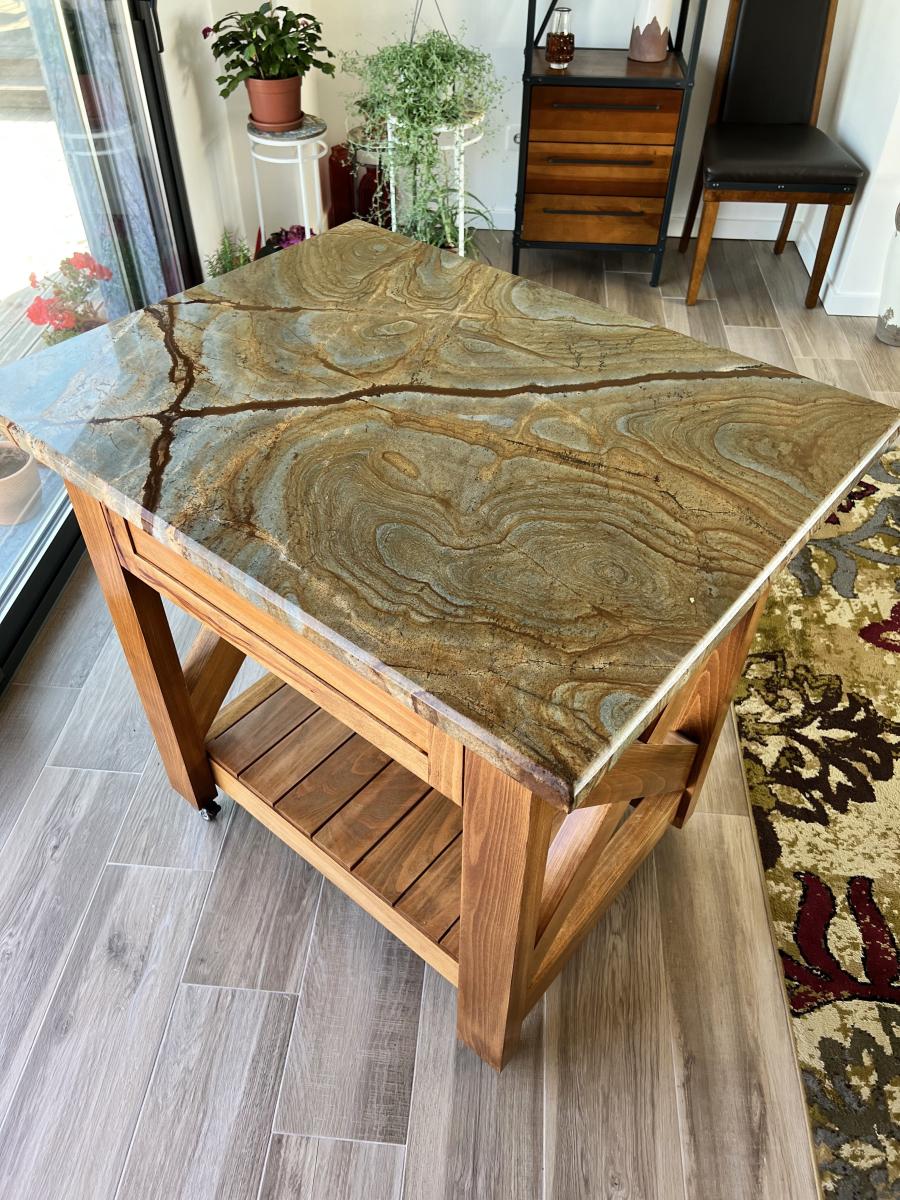
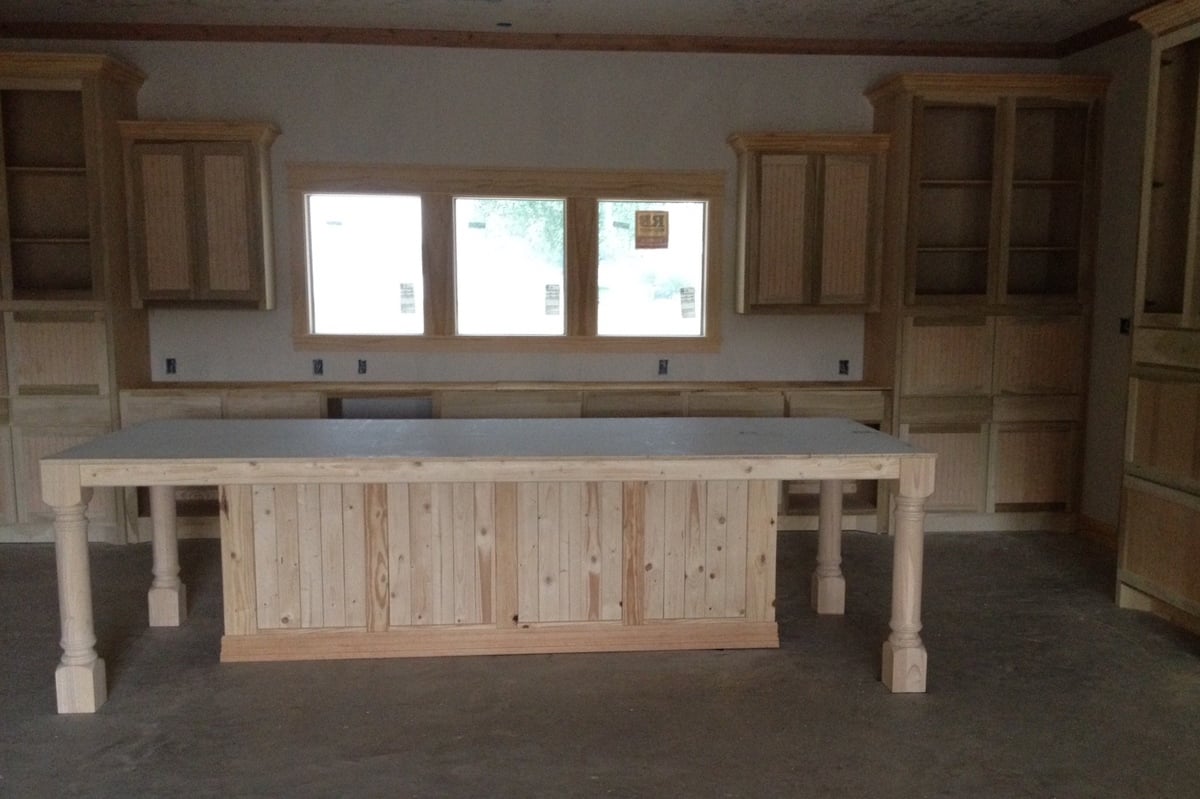
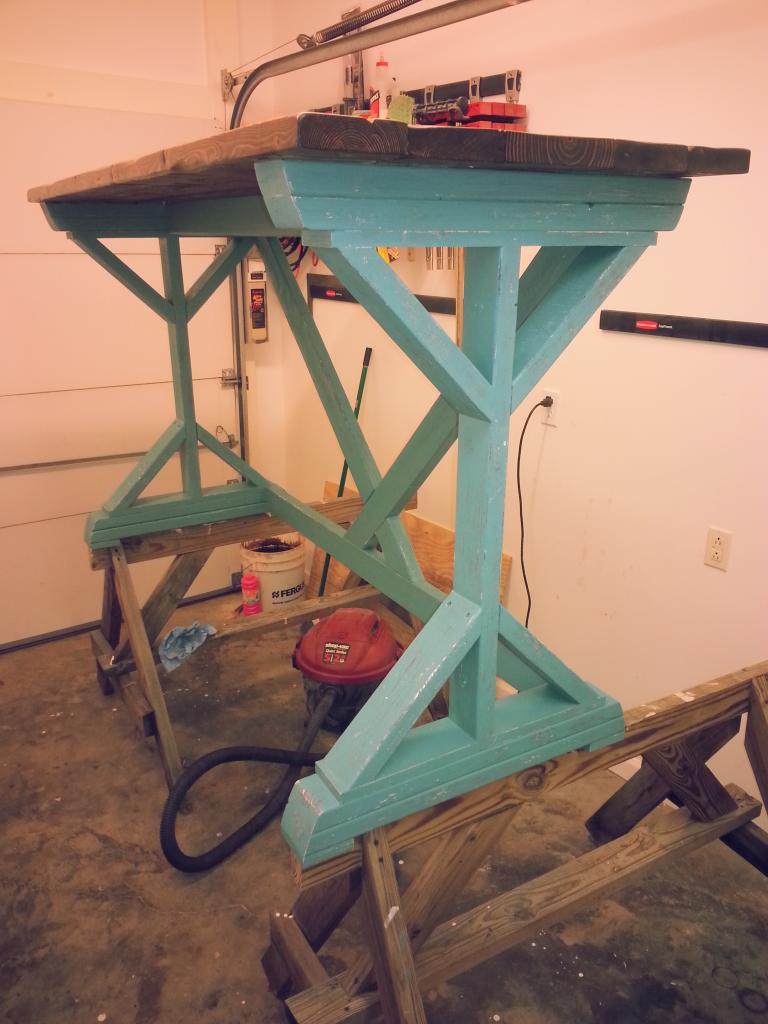
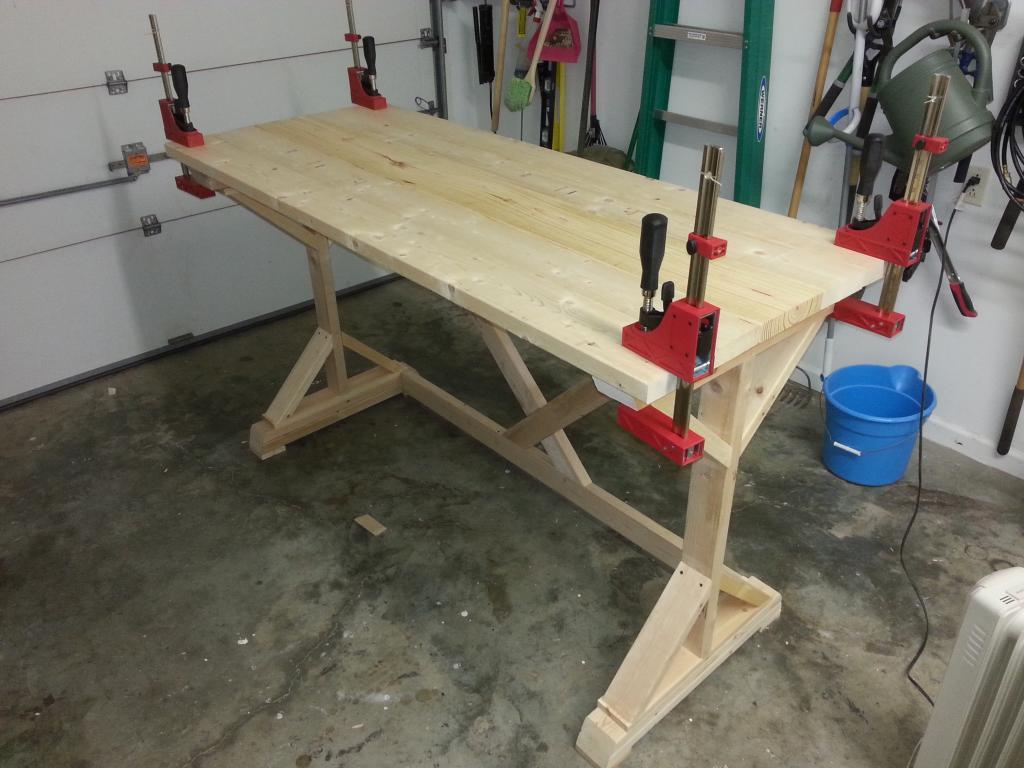
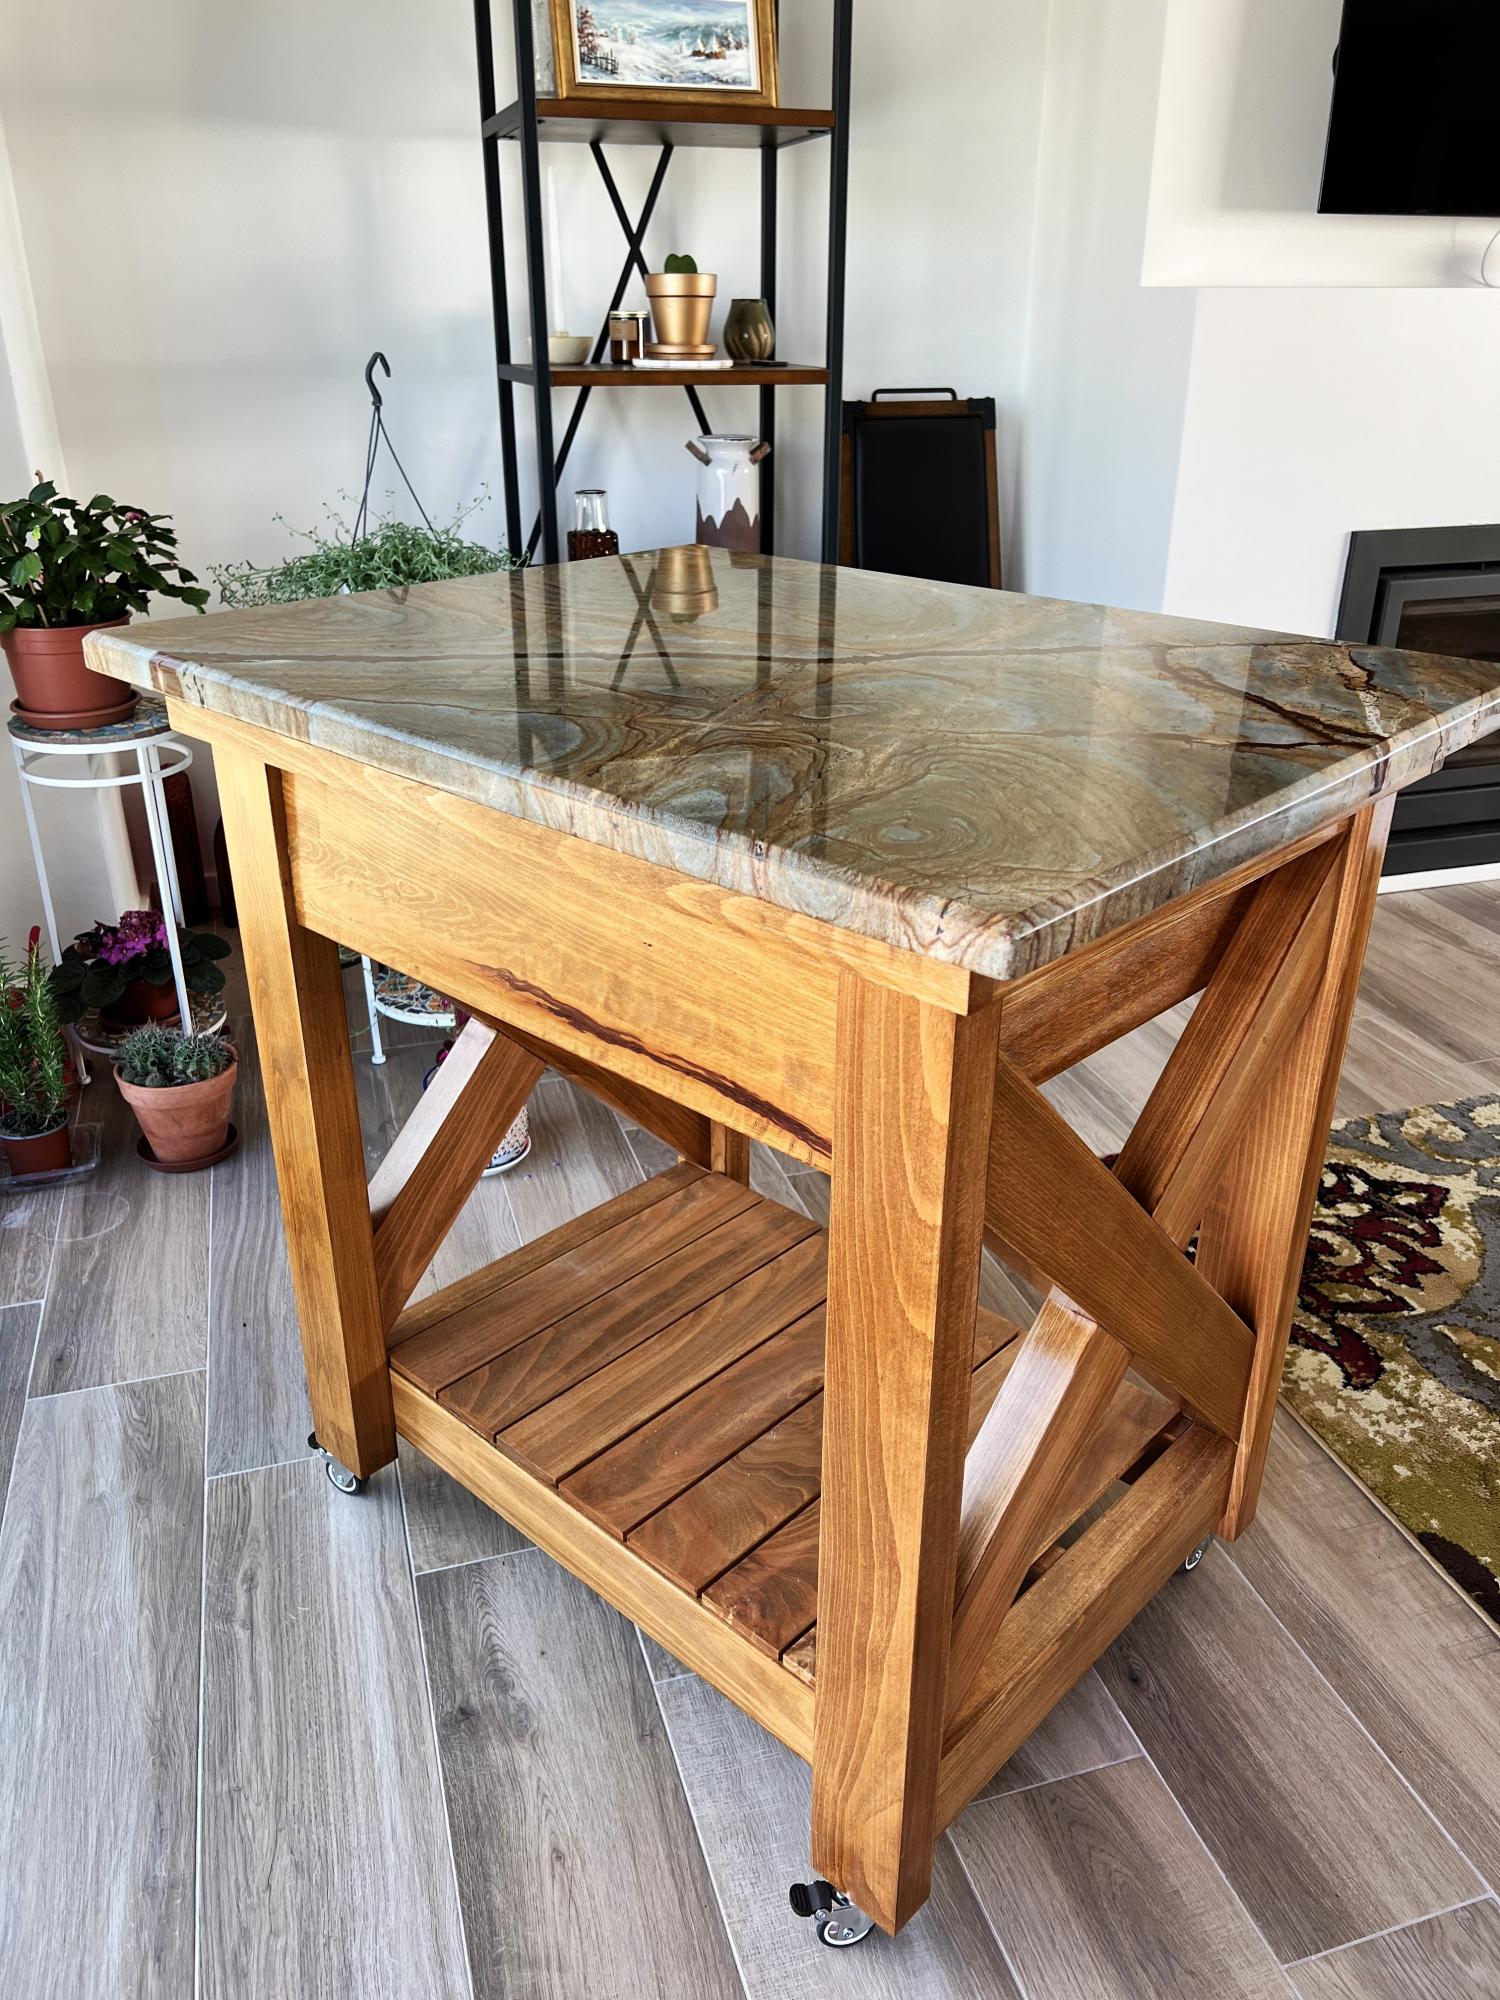
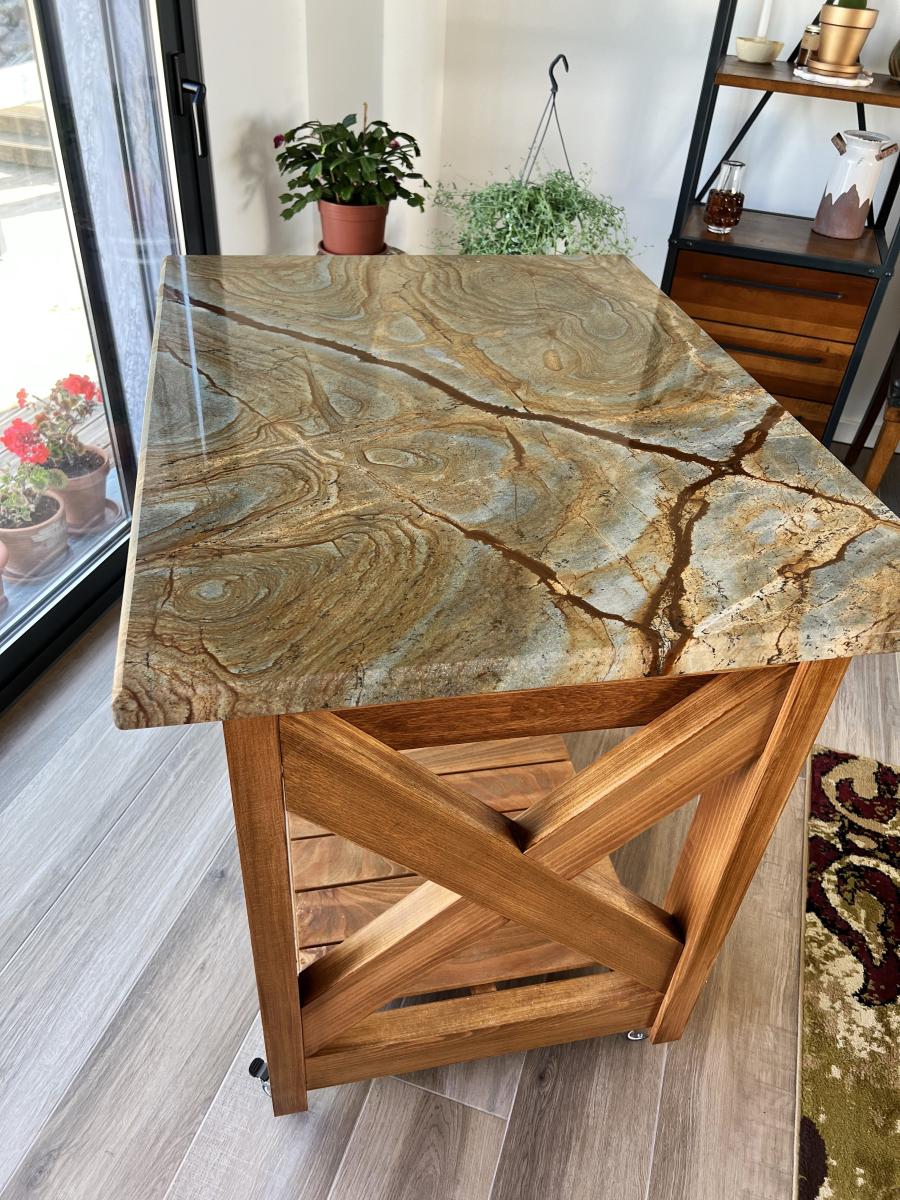
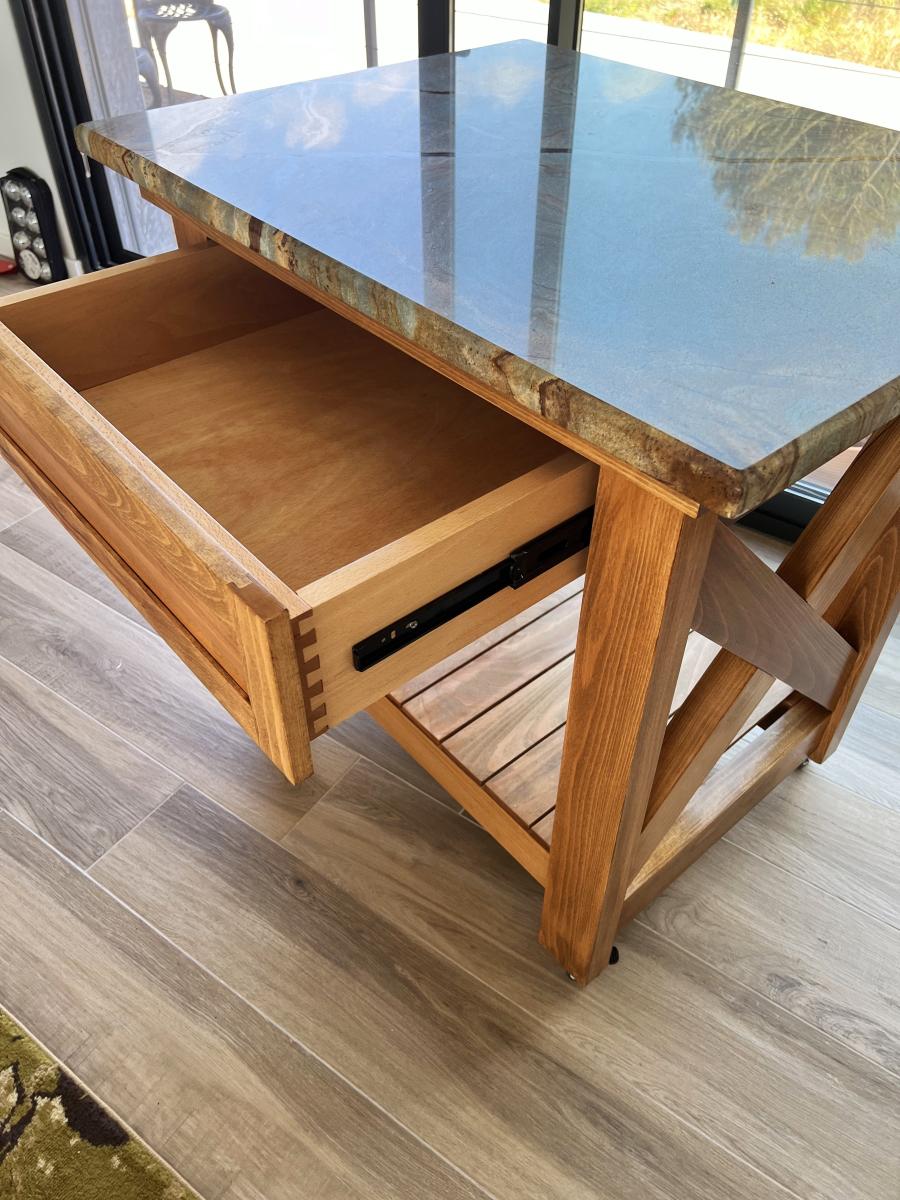
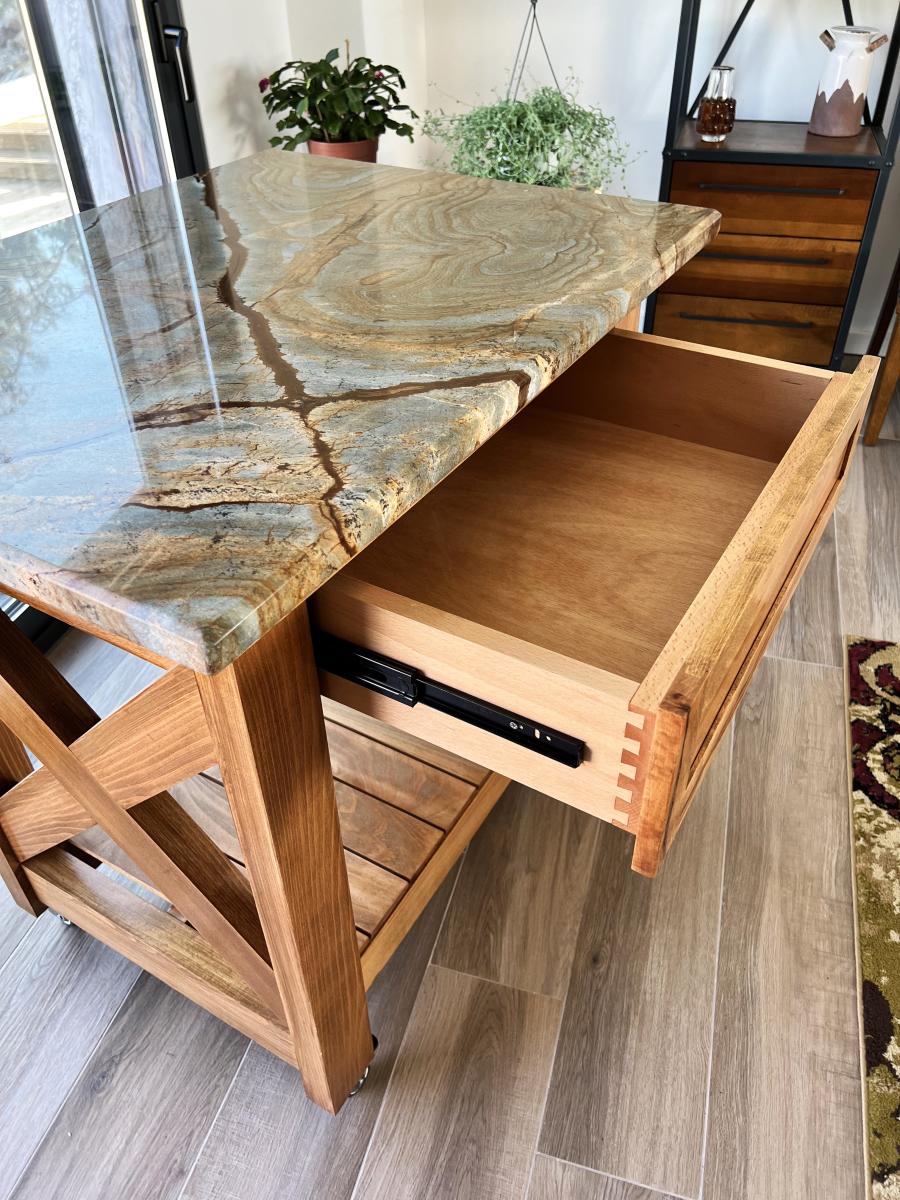
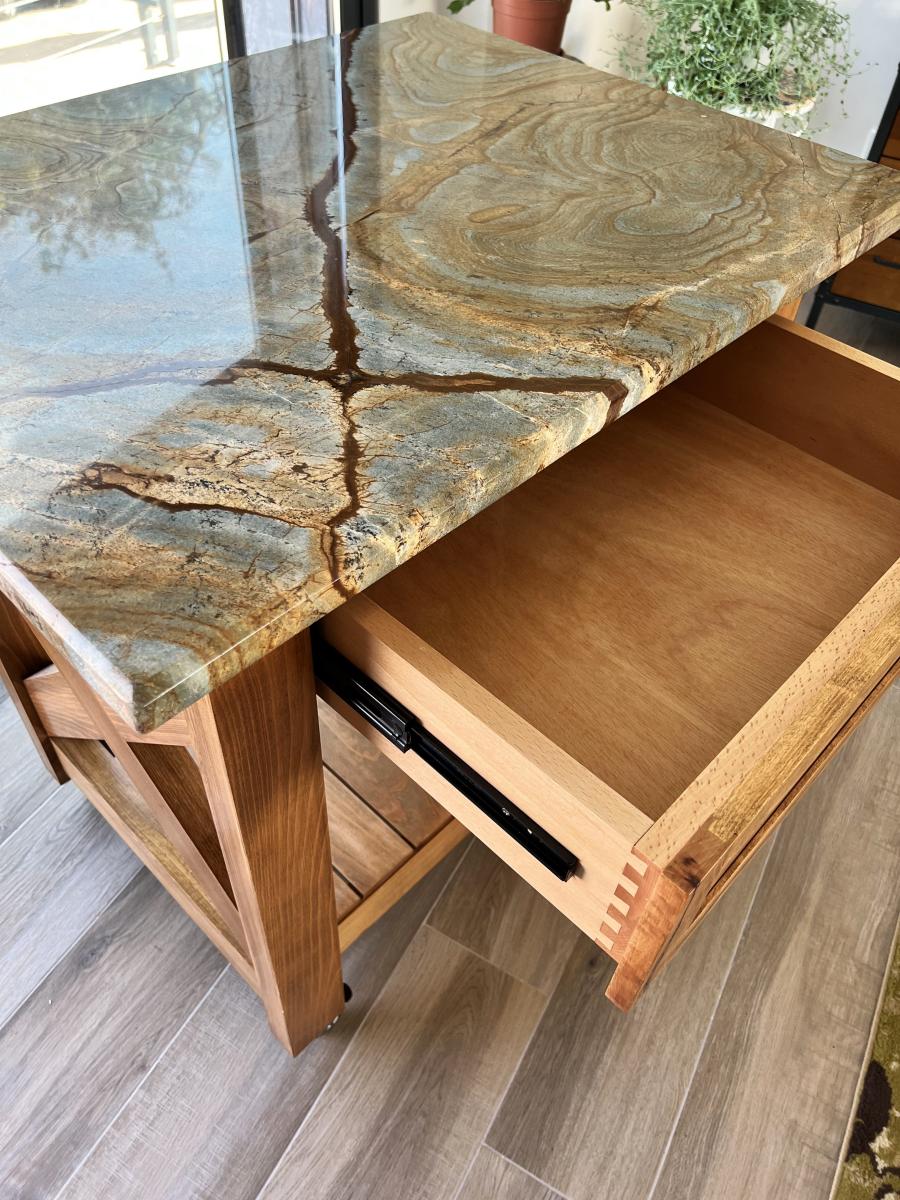
The custom kitchen island is unusually large for this size home at 10' 6" x 4'. The base cabinet 90" x 25 1/2". But, there is no dining room. I wanted the island to not look like the rest of the cabinets. Then I found Ana's design. I reworked the design to fit my space and the buyers preferences. Trash pullout, larger drawers ect. My plan was so far from typical site built trim that I decided I would build it myself or it would really be a budget breaker. I do have experience in all aspects of building but, this is my biggest trim project. Time? I'm sure I have 40 + hours in it. Money? The columns alone were $500. I'm sure I have $1,500+ in it. Don't even ask how many cool tools I had to add to my collection just for this project!
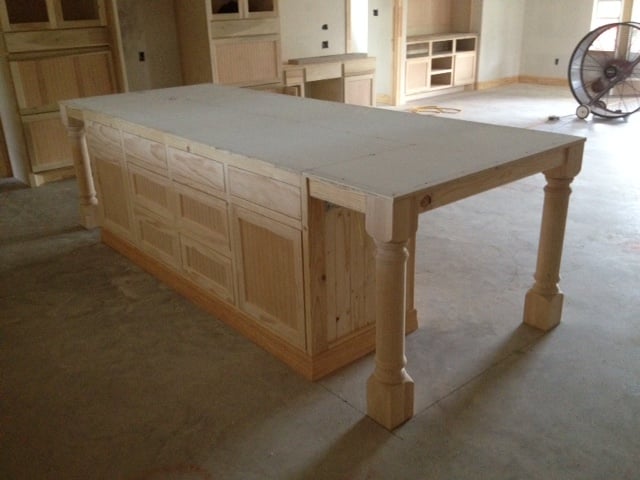
I built the custom kitchen island in pieces in the shop, and assembled it in place. Very heavy, no way to move it after assembly. The stain went on today. I'm happy with the way it turned out. Thanks for the inspiration Ana!
Fri, 10/21/2016 - 08:13
WOW! This is absolutely breathtaking! Just think of the memories that will be created around this beauty. The cabinets are great, but the console island steals the show! Job well done!
Sat, 10/22/2016 - 10:42
Incredible build! Please share a photo of it done too!
Decided to build this bed for my 3 yr old to free up some space in her room. It was a big success.