Narrow Cottage End Tables
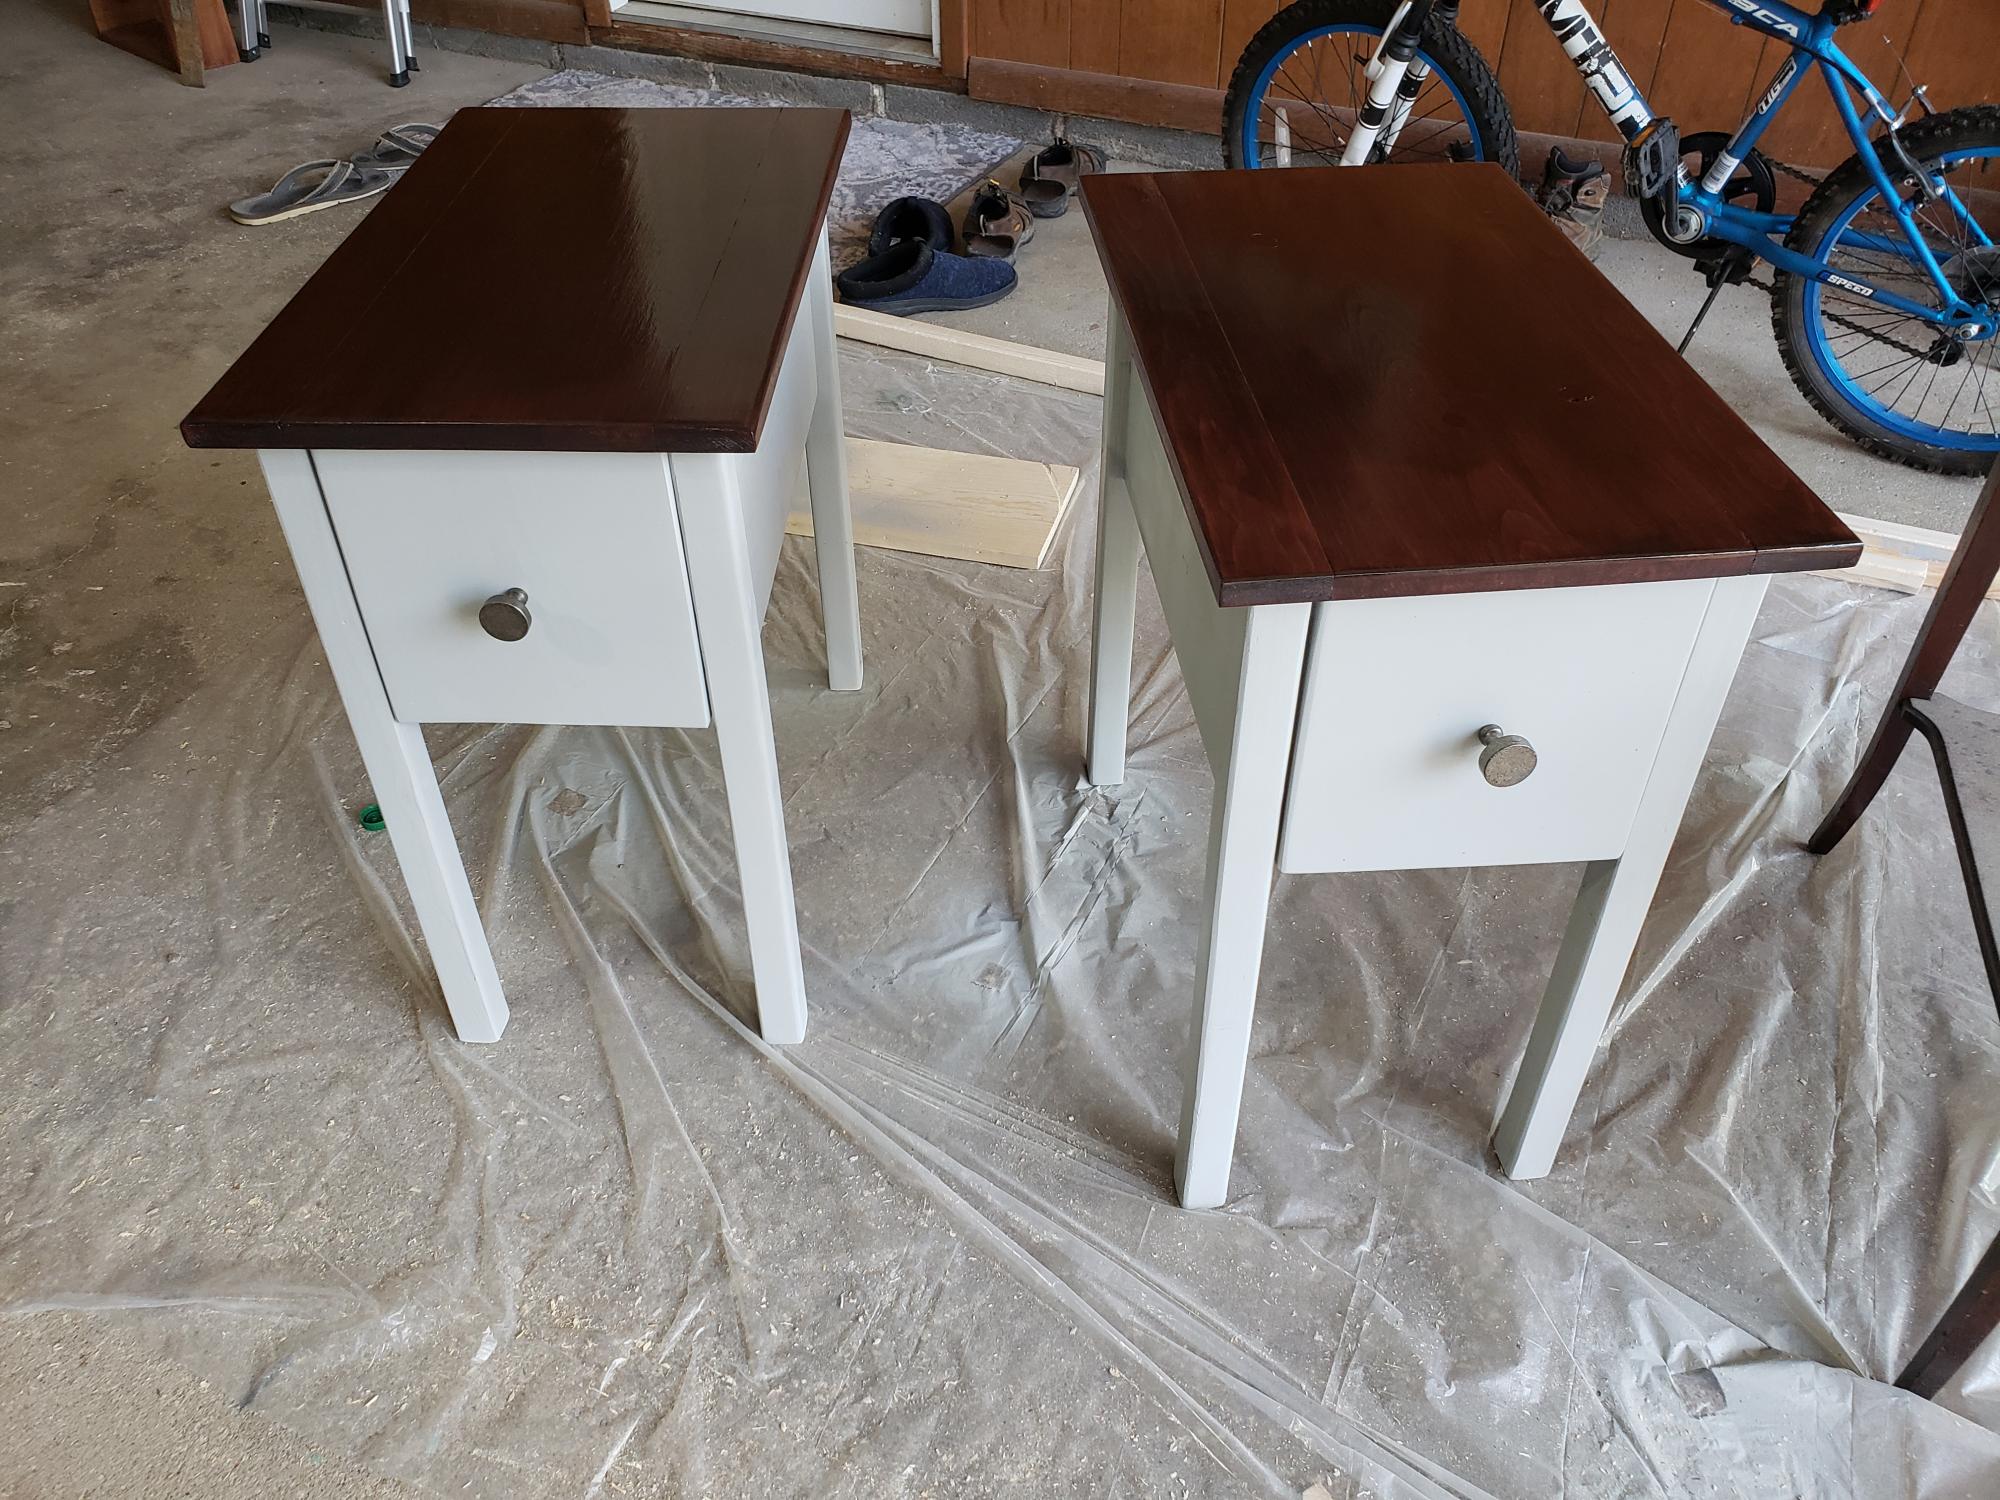
Perfect for for my living room
Built from Plan(s)
Estimated Time Investment
Weekend Project (10-20 Hours)
Recommended Skill Level
Intermediate
Perfect for for my living room
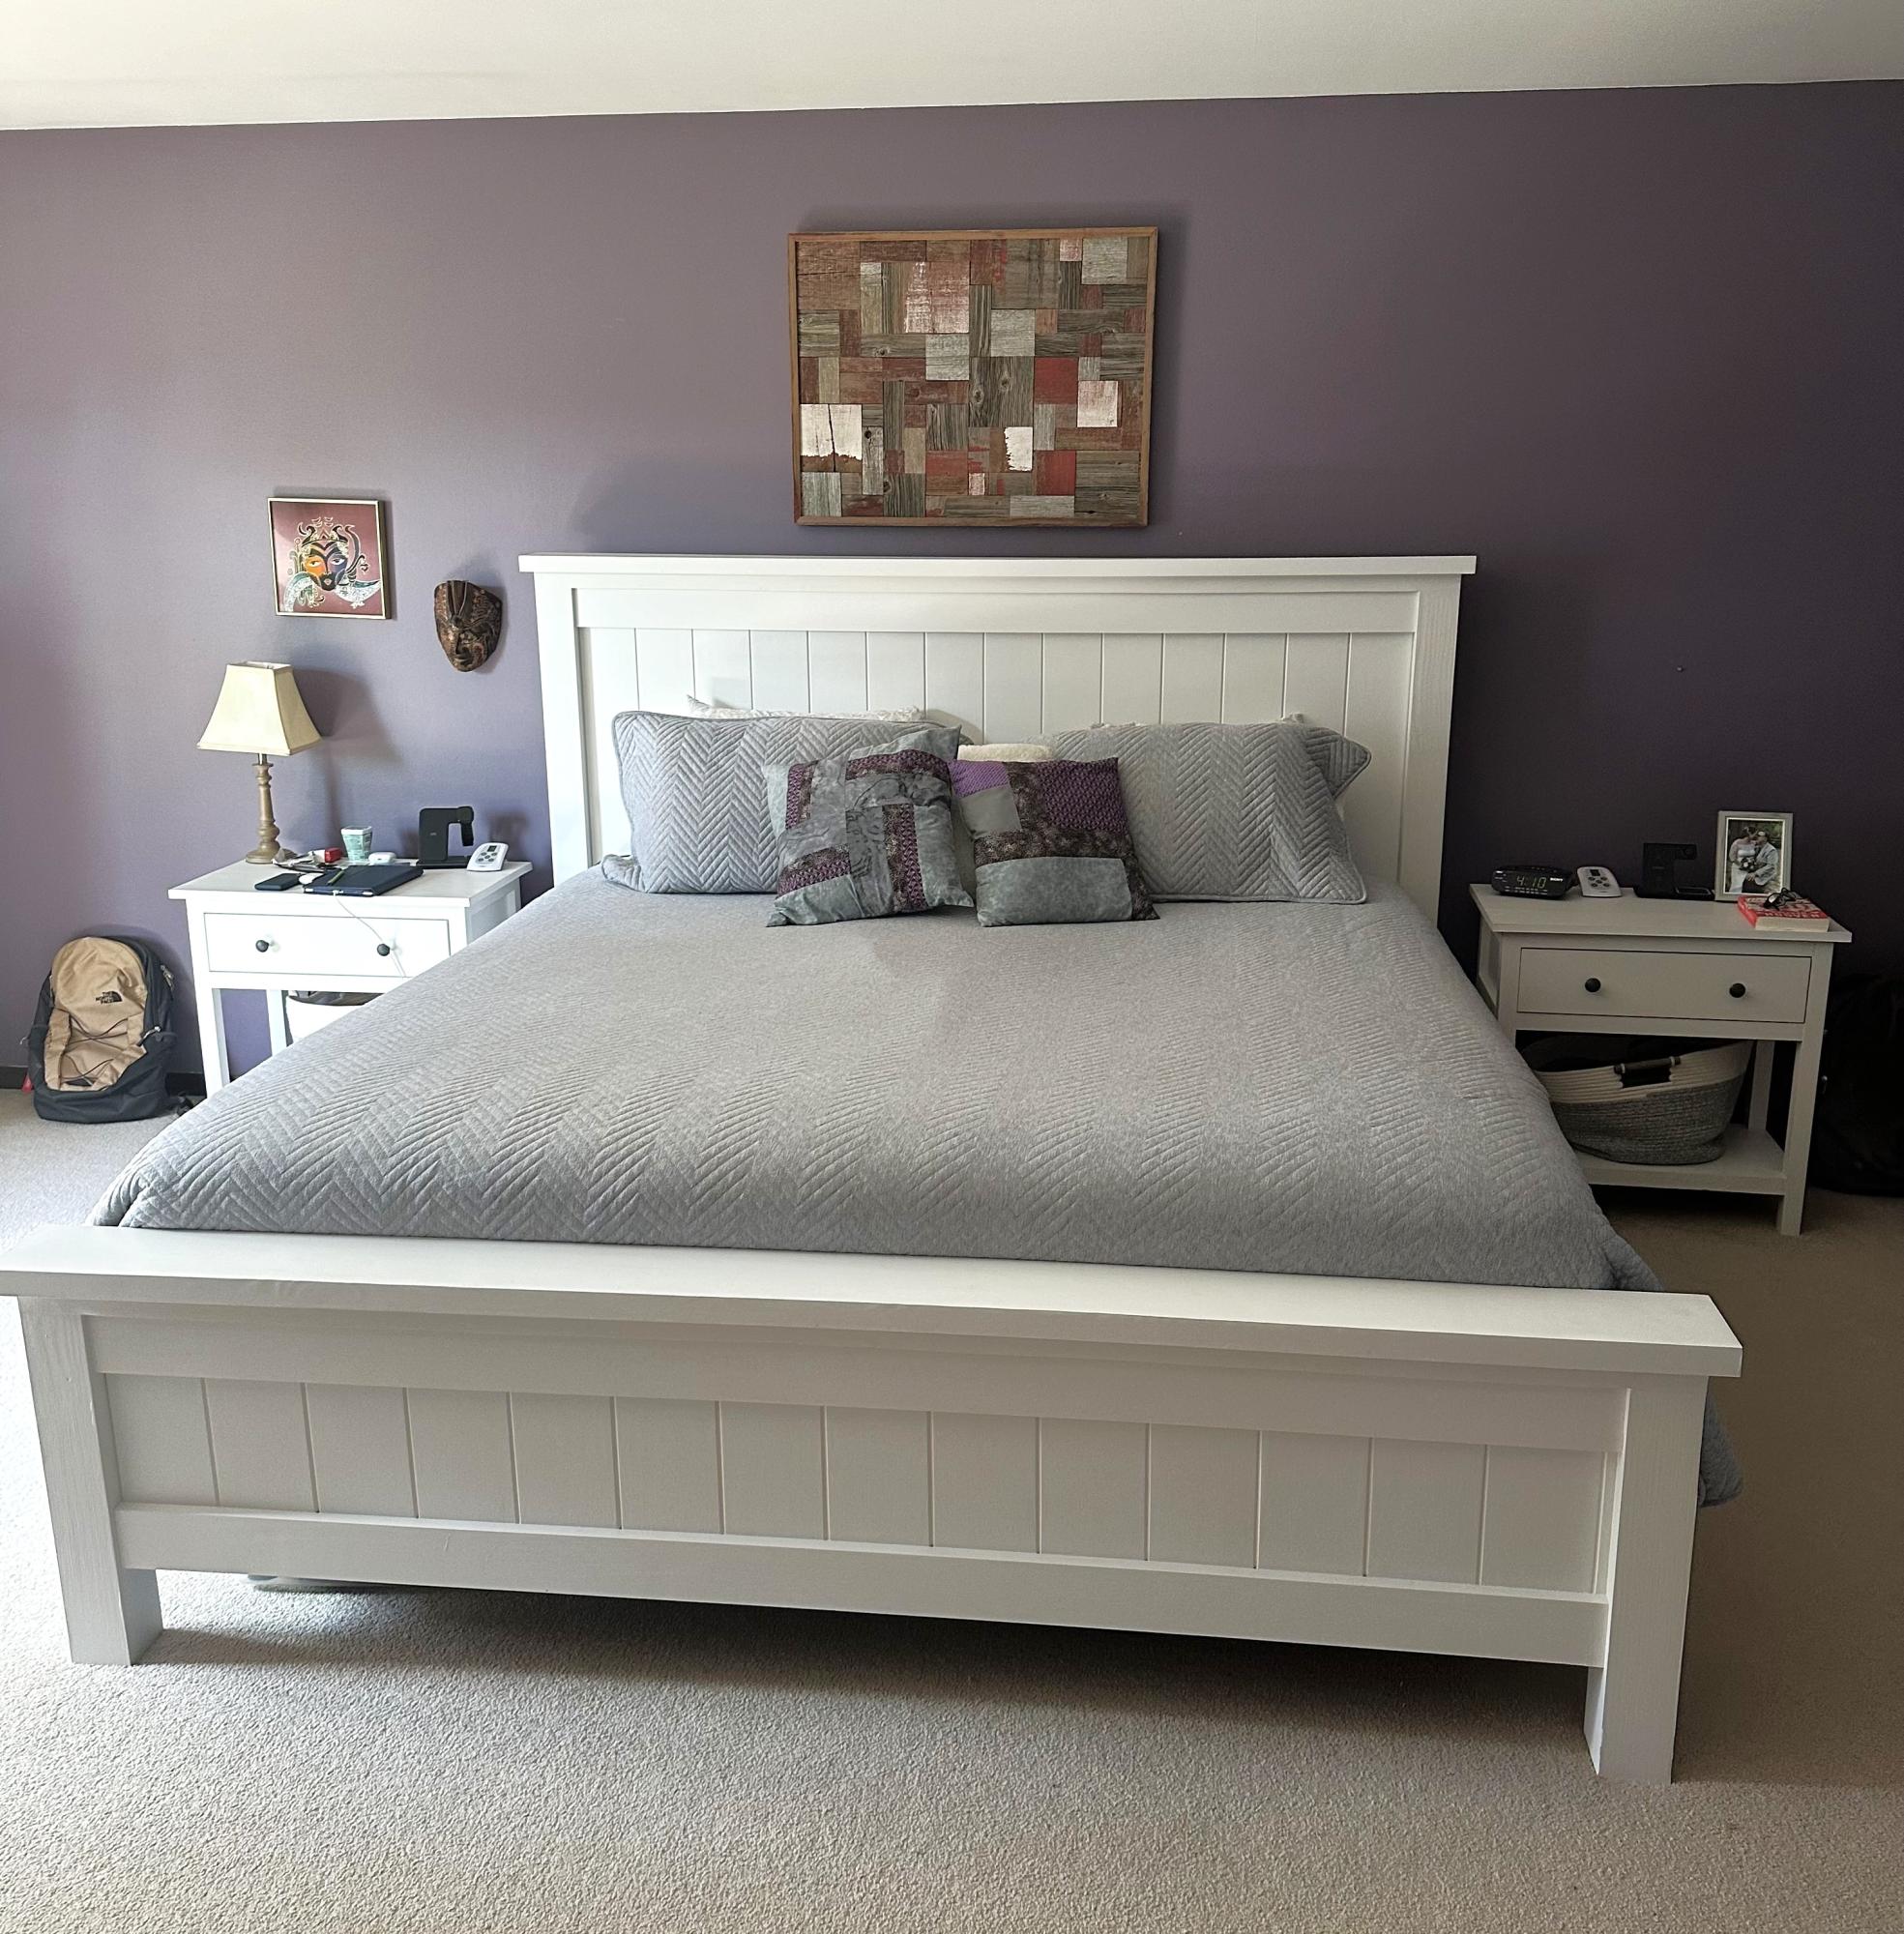
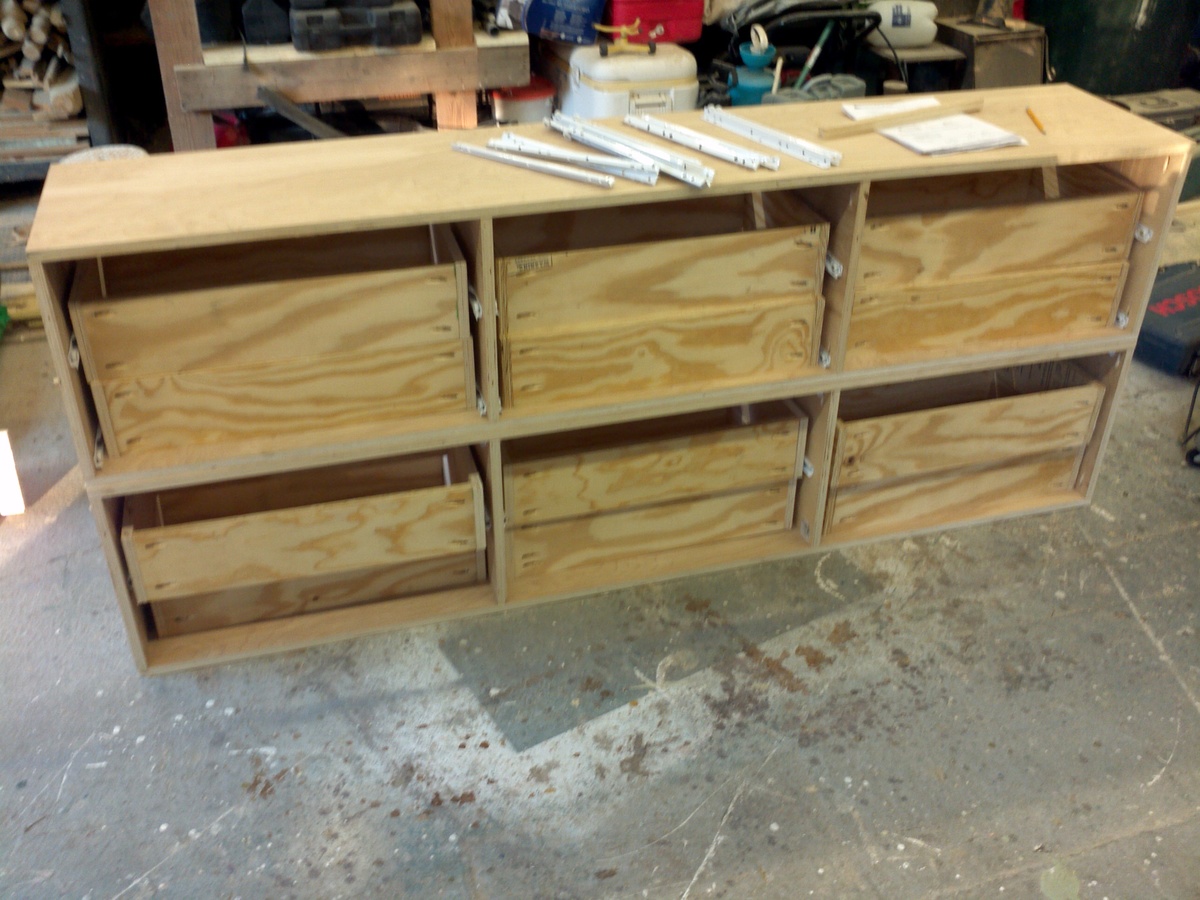
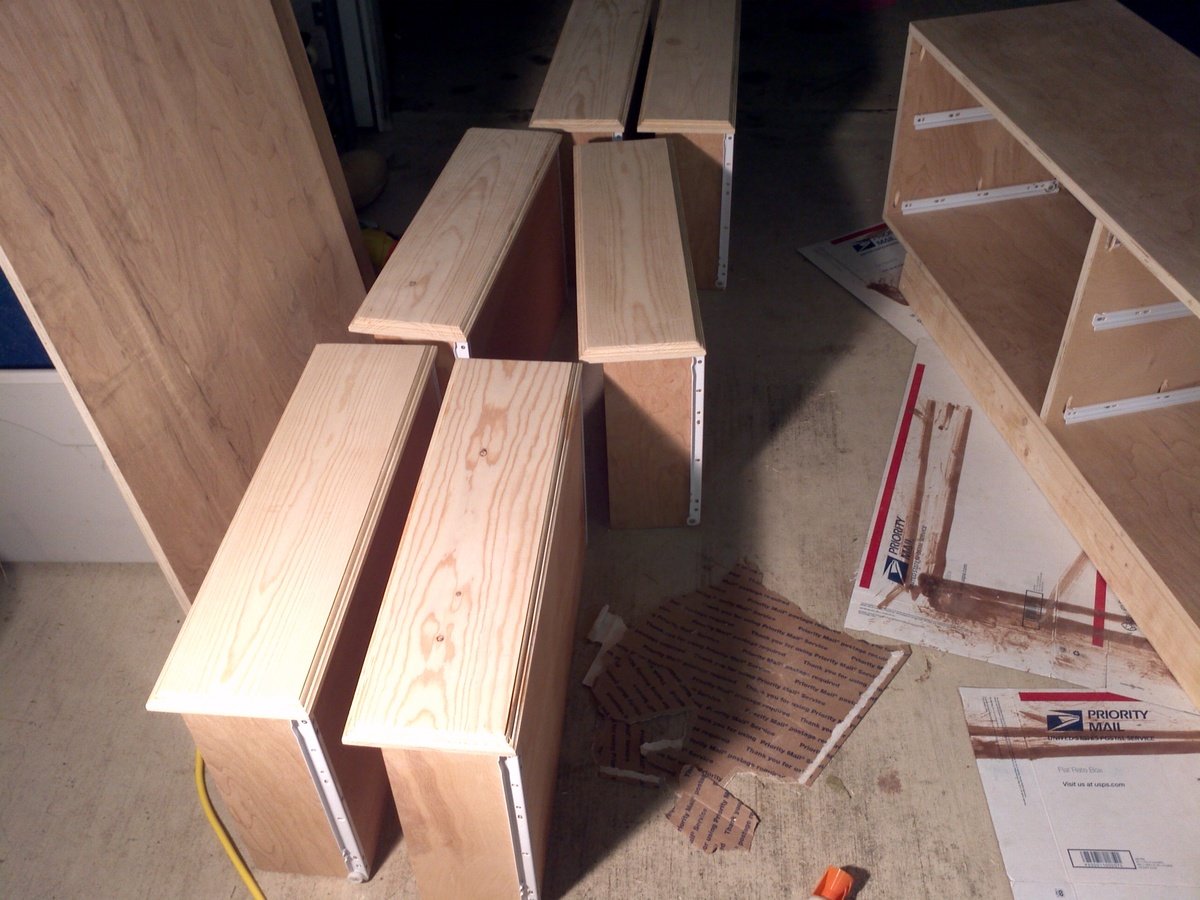
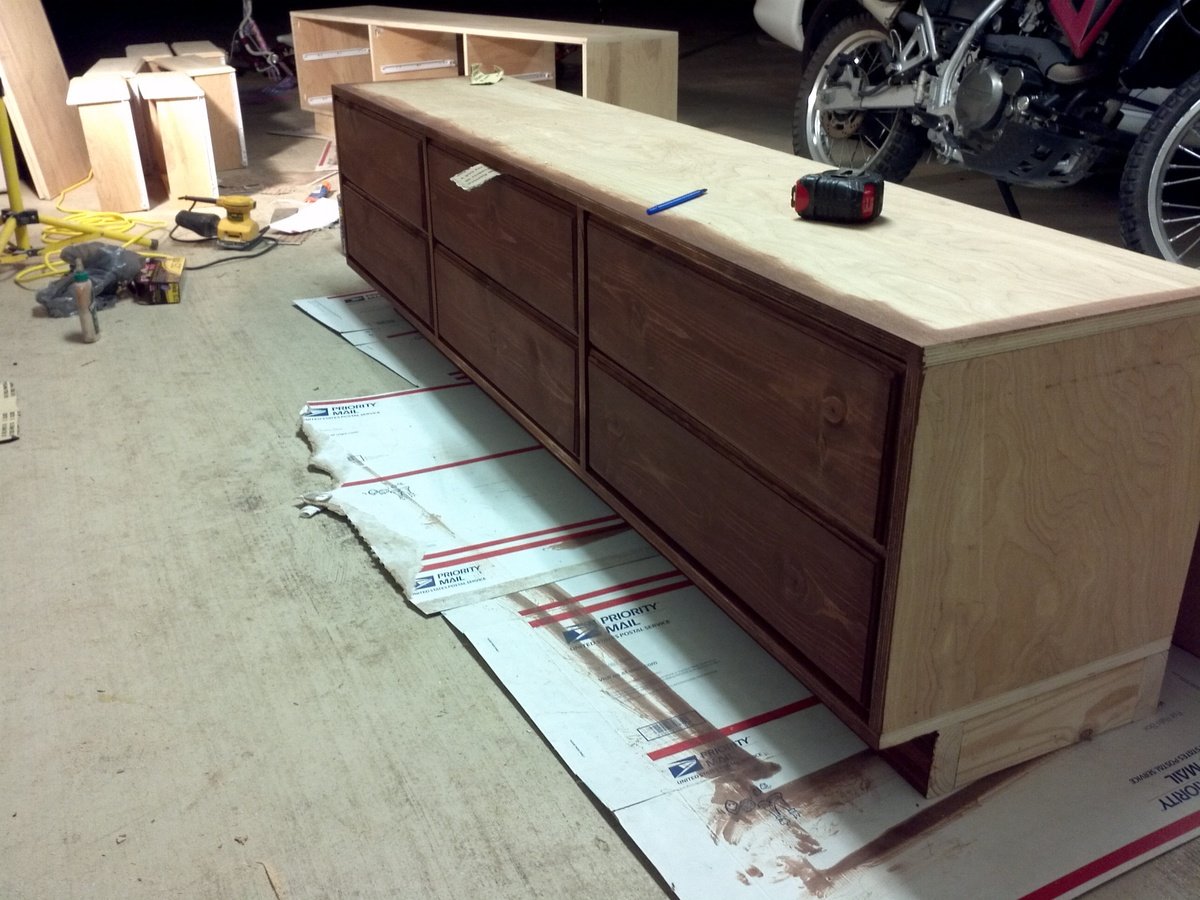
DIY Farmhouse Bed
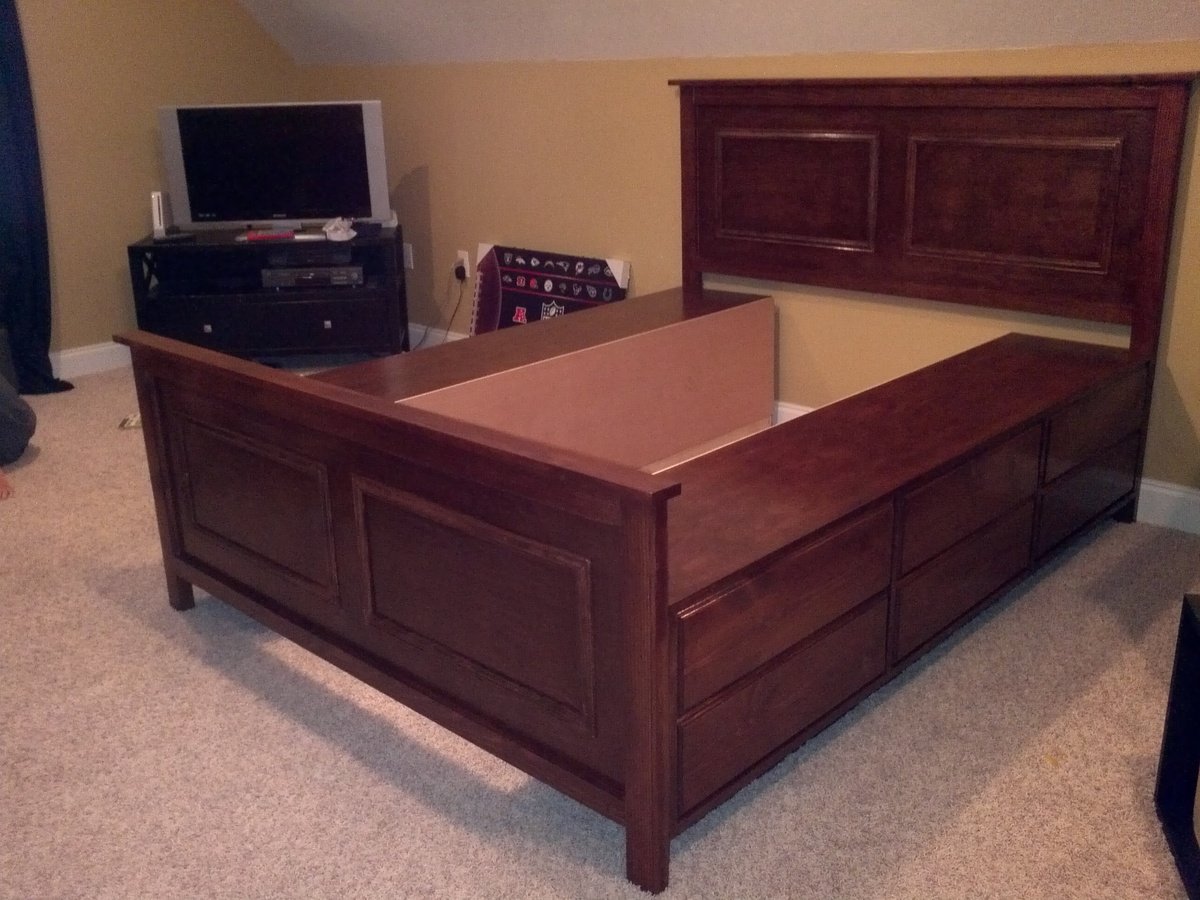
This was a BIG project for me. I learned a lot along the way. I modified the plans from the fillman storage bed (twin size to queen size). For the most part the main changes I made were in the Headboard and footboard. I added the width to make them queen size. The bases for the drawers I kept the same size for the most part. I have all of my dimensions and notes written down and will come back and add those.
I shortened the height of both the headboard and footboard by a couple of inches which enabled me to get them both built using 1 sheet of wood. I used a combination of birch hardwood and pine.
This was my first time building anything with drawers... 12 drawers was a bit daunting too! But with much sweat and love I worked thru this. This was built for my son and he loves it! I did add knobs to the drawers and need to update a picture!
Overall I spent about $200 on my wood. $100 on the drawer slides. and I got 25 wood knobs that I stained to match online for about $1 each.
My son loved the bed. I did not permenately attach all the bed supports instead did the top middle and end pieces. the others just lay in place and can be removed easily and large totes can be stored beneath.
My son was moved into the bonus room and as you can see the ceilings are low. This bed eliminated the need for a dresser and as a bonus no toys can get under it!
I have more pix on my blog.
I spent about 10 days from start to finish. a few of those days I worked a lot, in between I had to tend to 3 kids and life and rest my sore arms LOL

Wed, 09/05/2012 - 23:21
wow. that is beautiful. You did a really good job. Were the drawers tricky?
Sun, 02/10/2013 - 10:32
I am also wondering if you have gotten a chance to put up your dimentions for the queen bed. I would love to make one of these.
Fri, 03/01/2013 - 08:14
I would like the plan for the Fillman storage bed
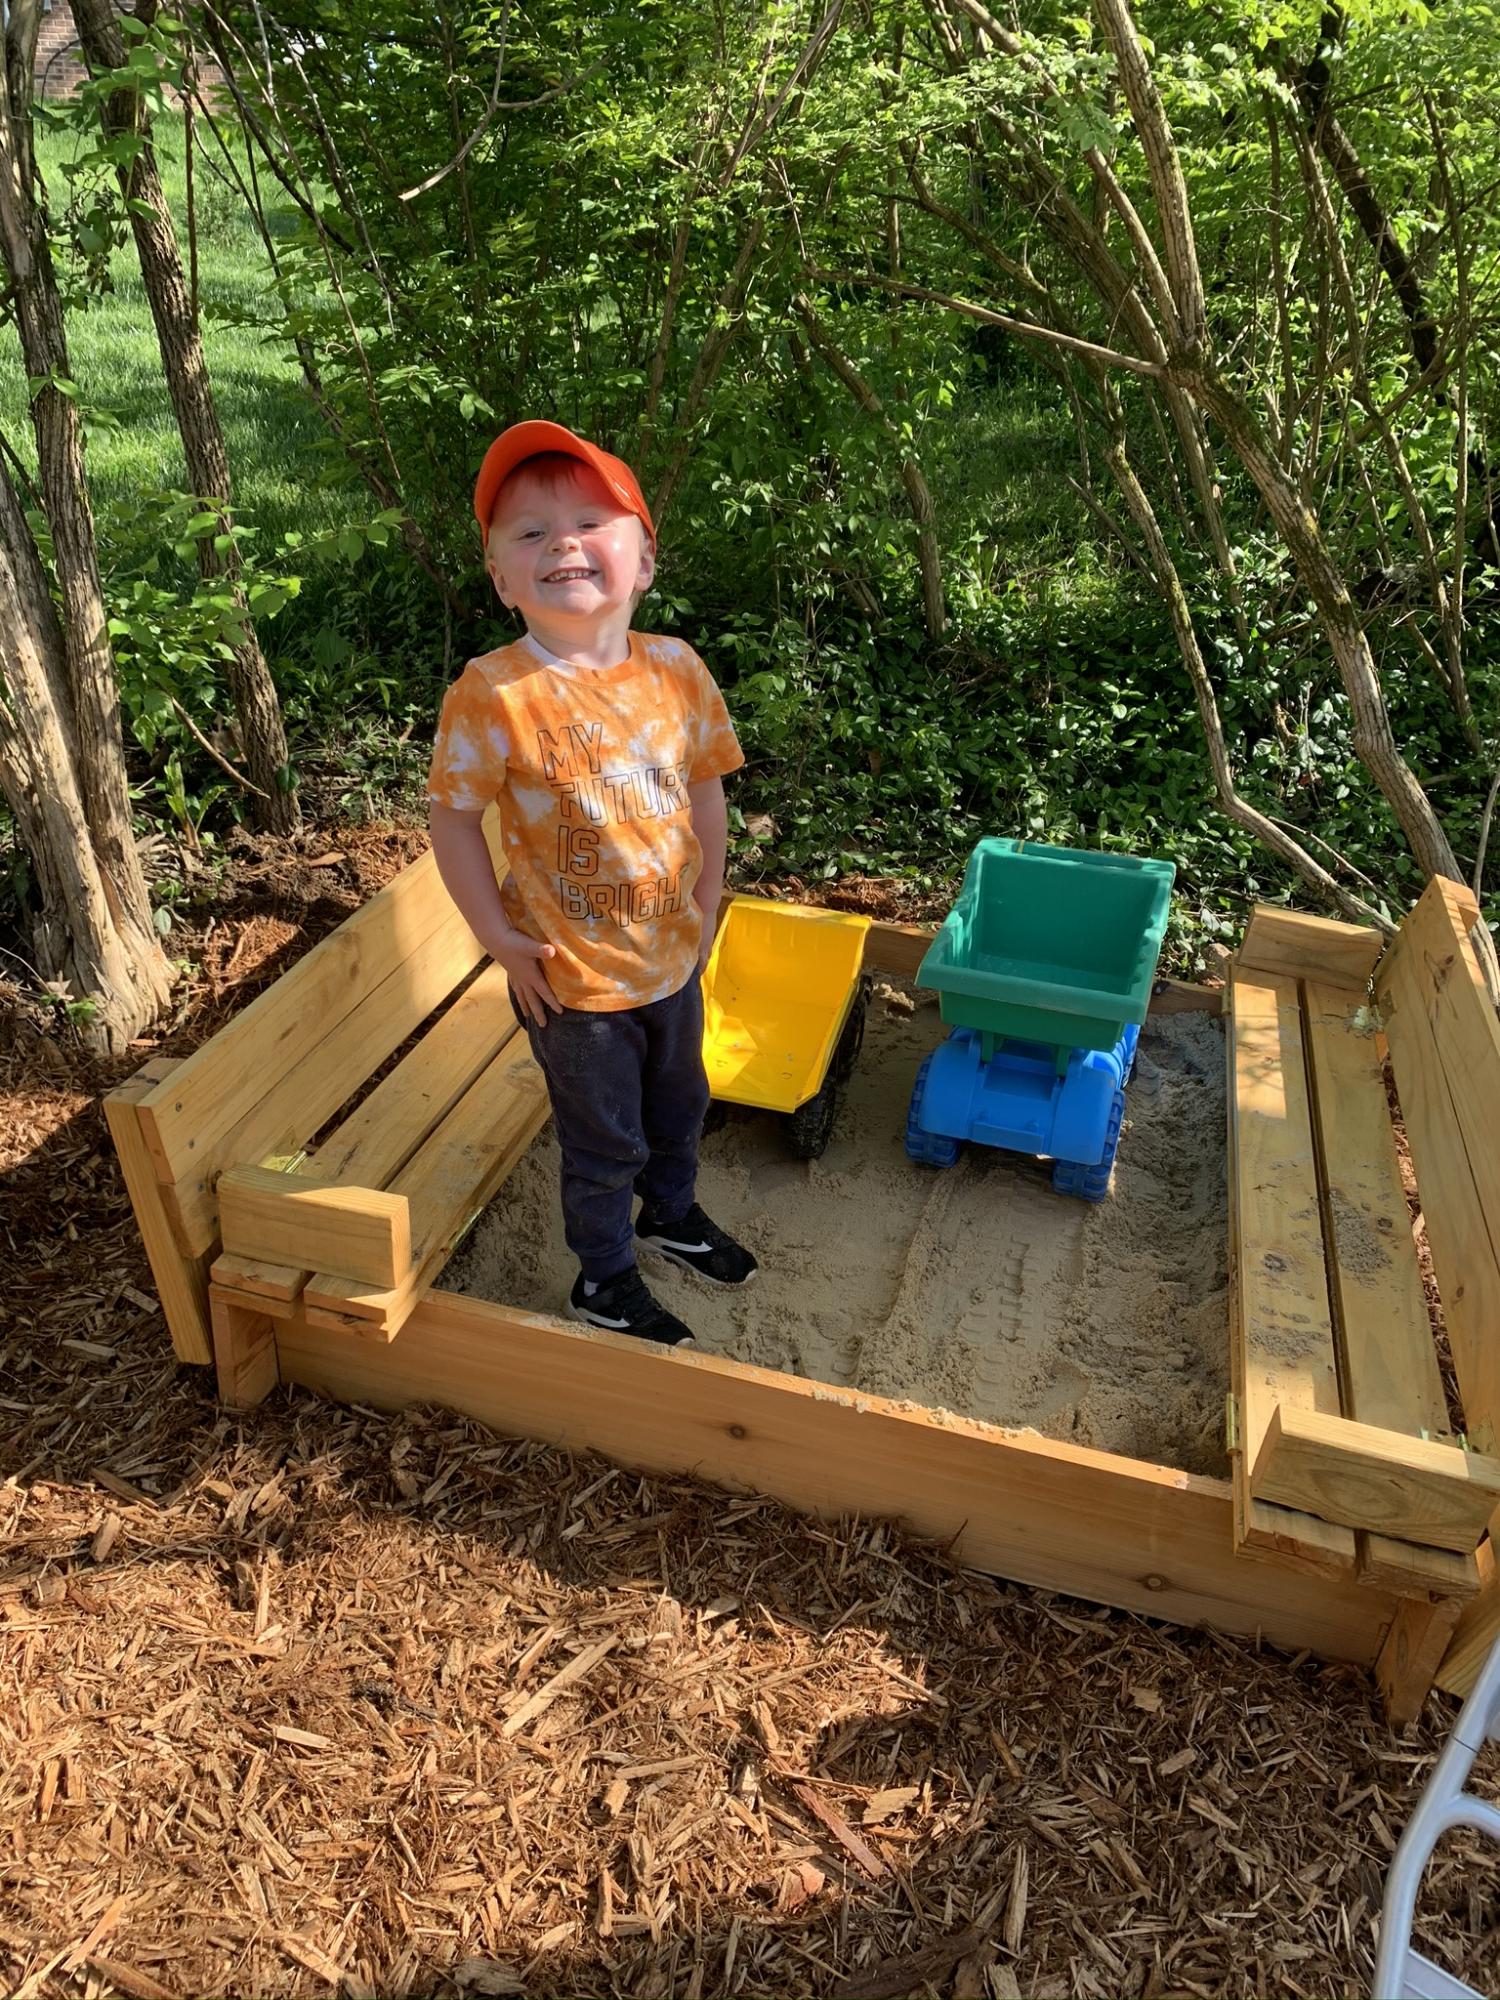
Awesome sandbox !!
I’ve made a couple of these . One thing to save you money that I switched to on my second one is making the frame from 2x material vs 1x. Looks better too and is more sturdy .
Loved how easy to follow along the instructions were for my first ever project.
Christina
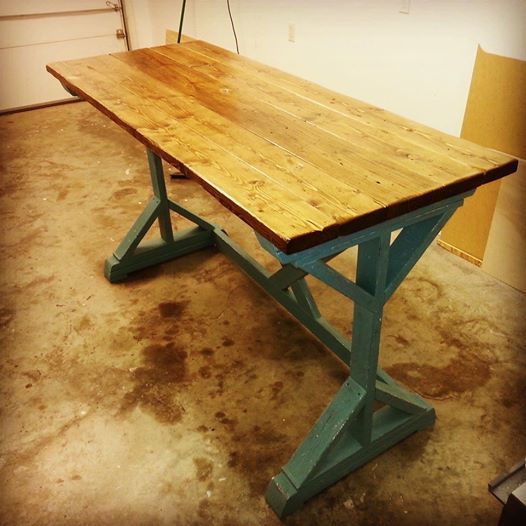
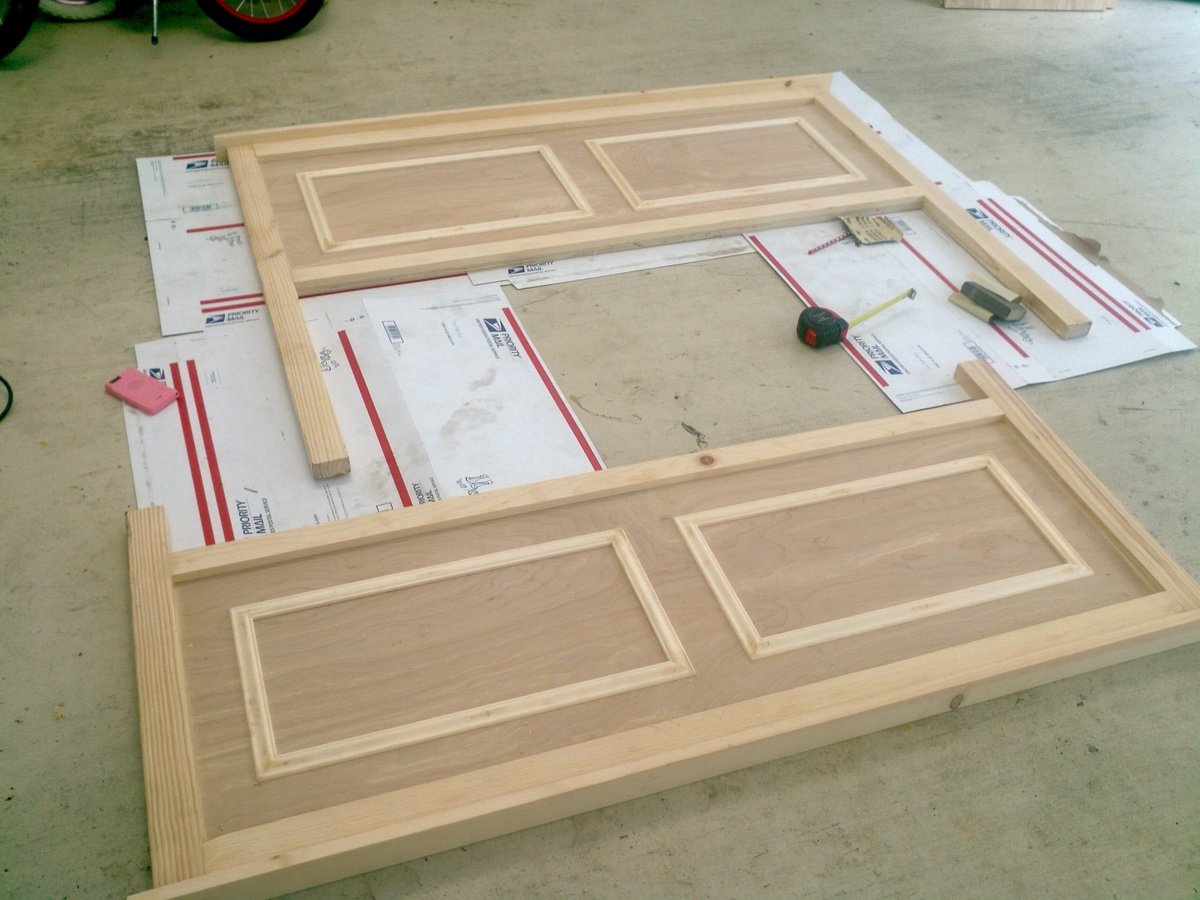
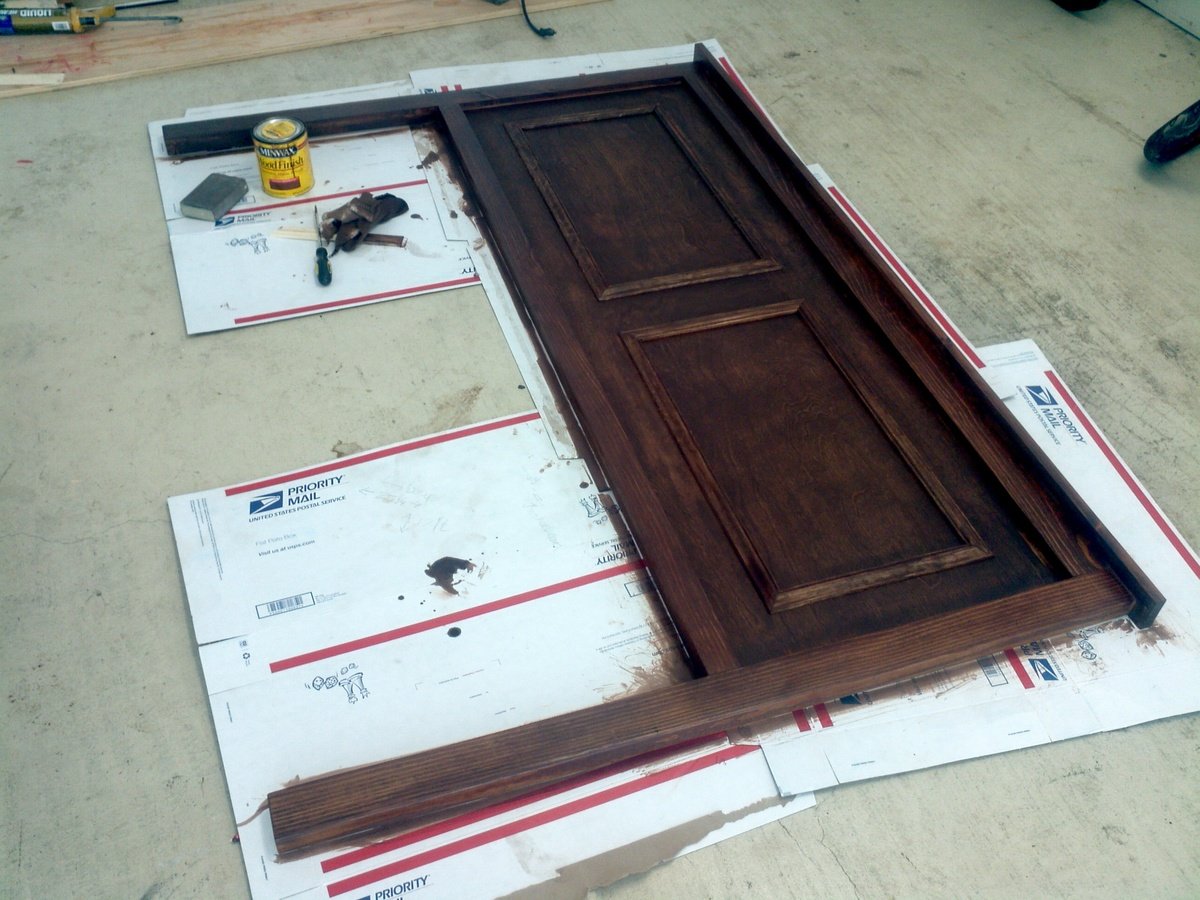
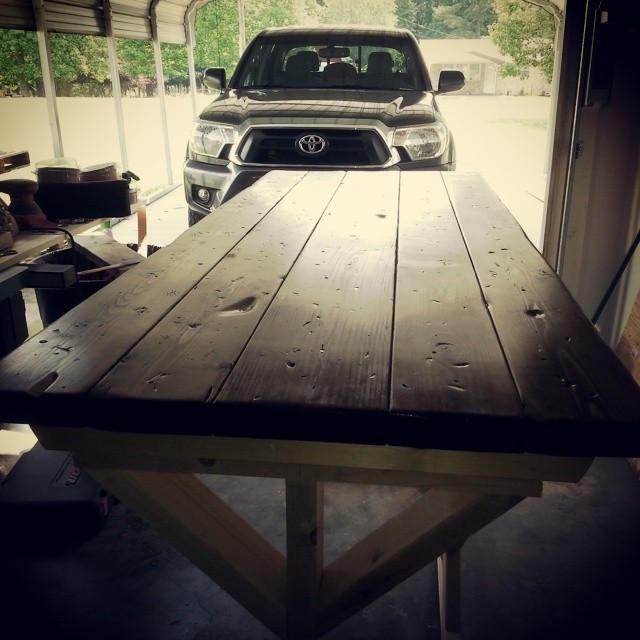
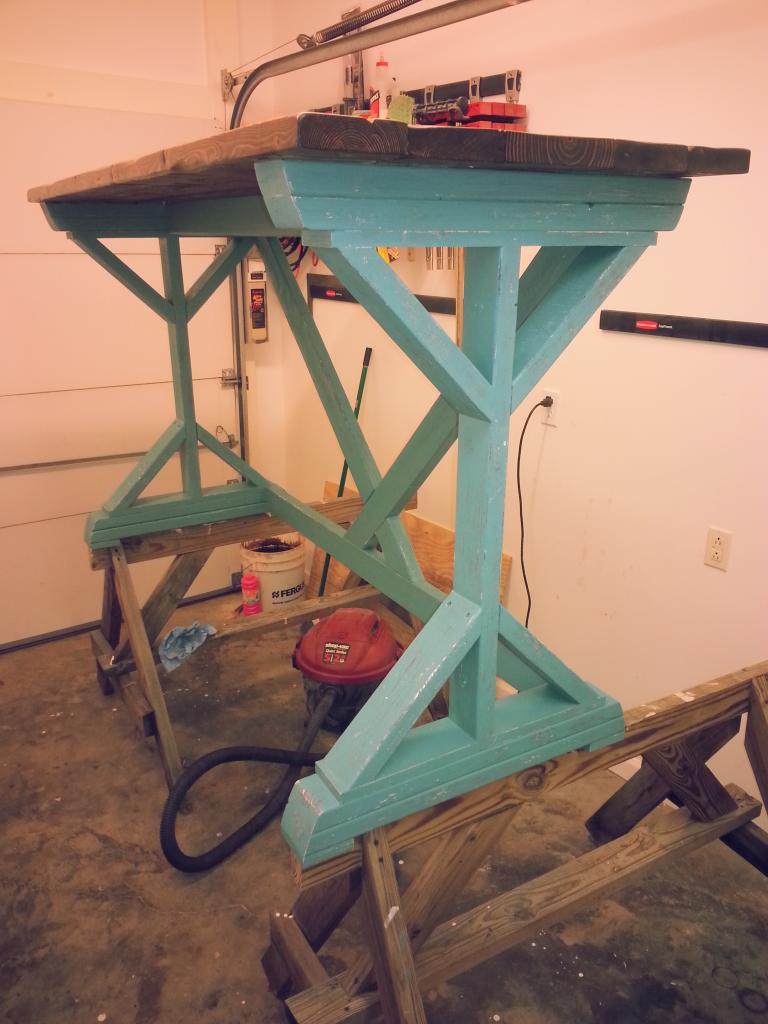
I built this bar for my mom to use i her dining room. I altered the plans for the X Style Desk to build this at bar height. This was my first time distressing anything and was pleased with the outcome. i used one coat of Minwax Dark Walnut stain and two coats of Minwax clear satin finish. White shellac Based primer, brown egg shell paint and Green egg shell paint for the base and sanded for the distressed look. I used dimensional pine lumber from the home center to build this with.
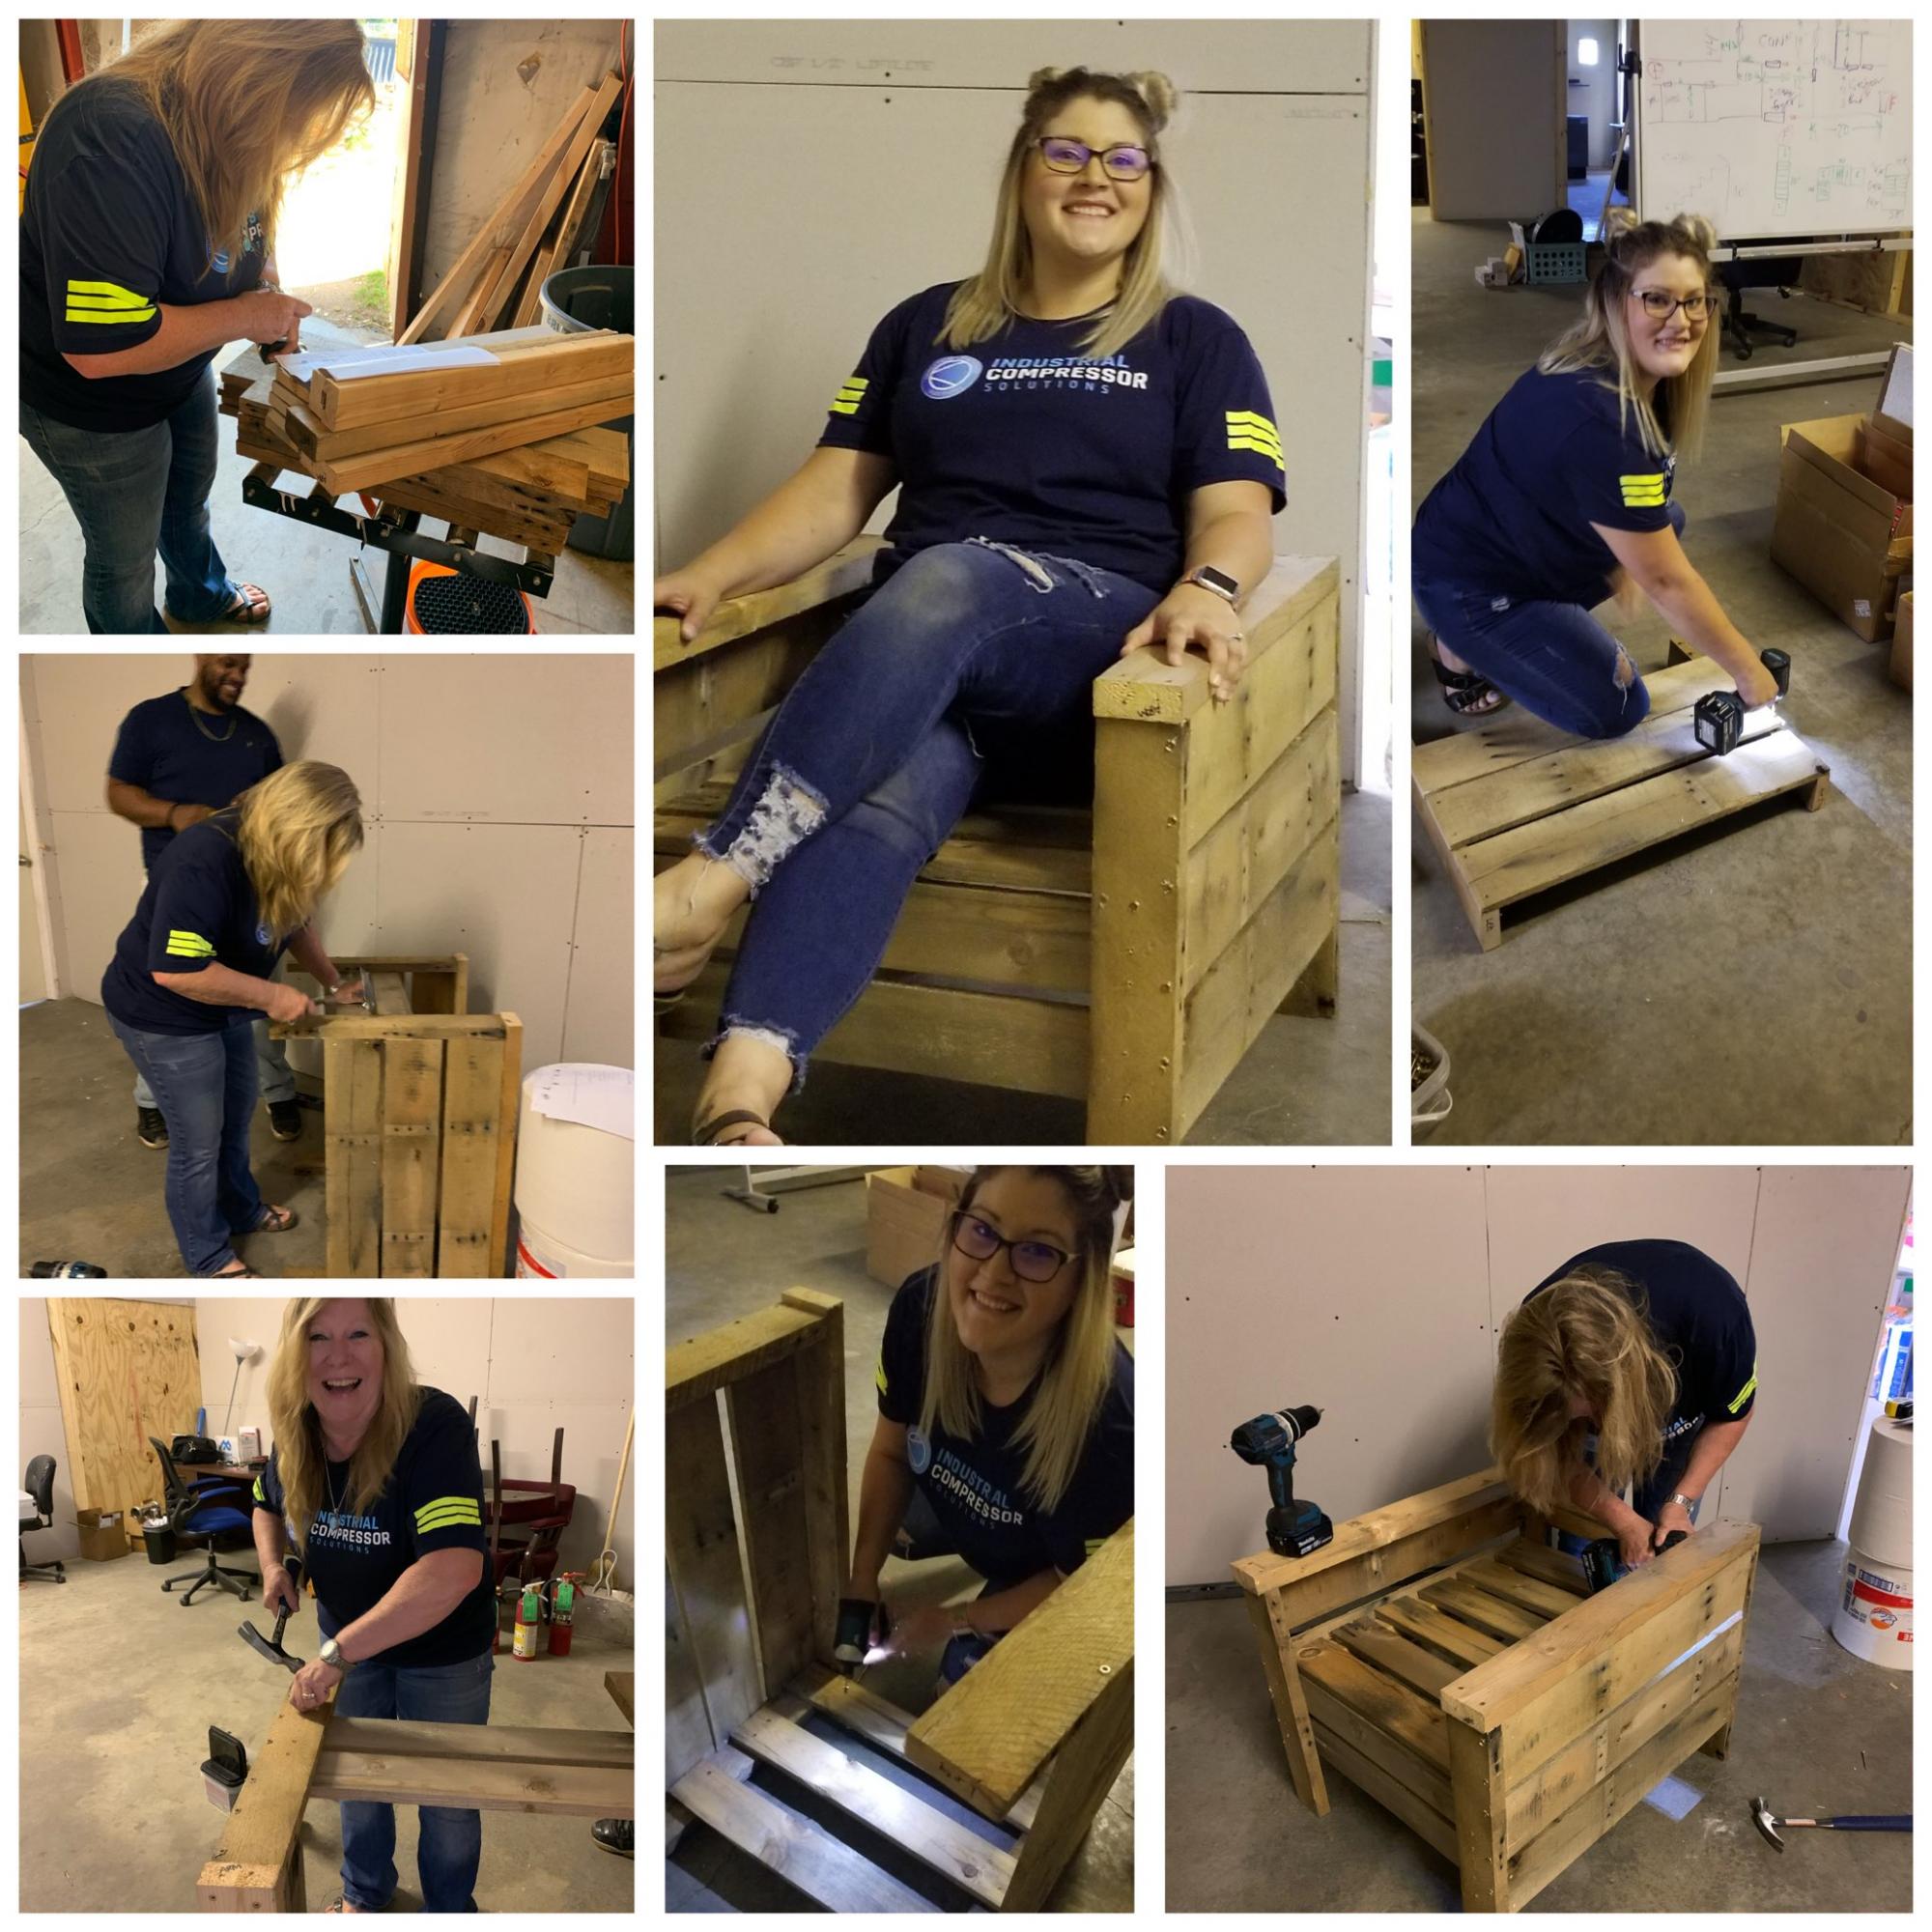
It's a Friyay! and we have a bunch of used pallets at work the boss is wanting to get rid of. Well he is on vacay so ....
We (me and my office manager) had to alter the directions a bit but the end result is great. This was our first project and tools were very limited. Even so its a win win and we will be making more. Thank you Ana!
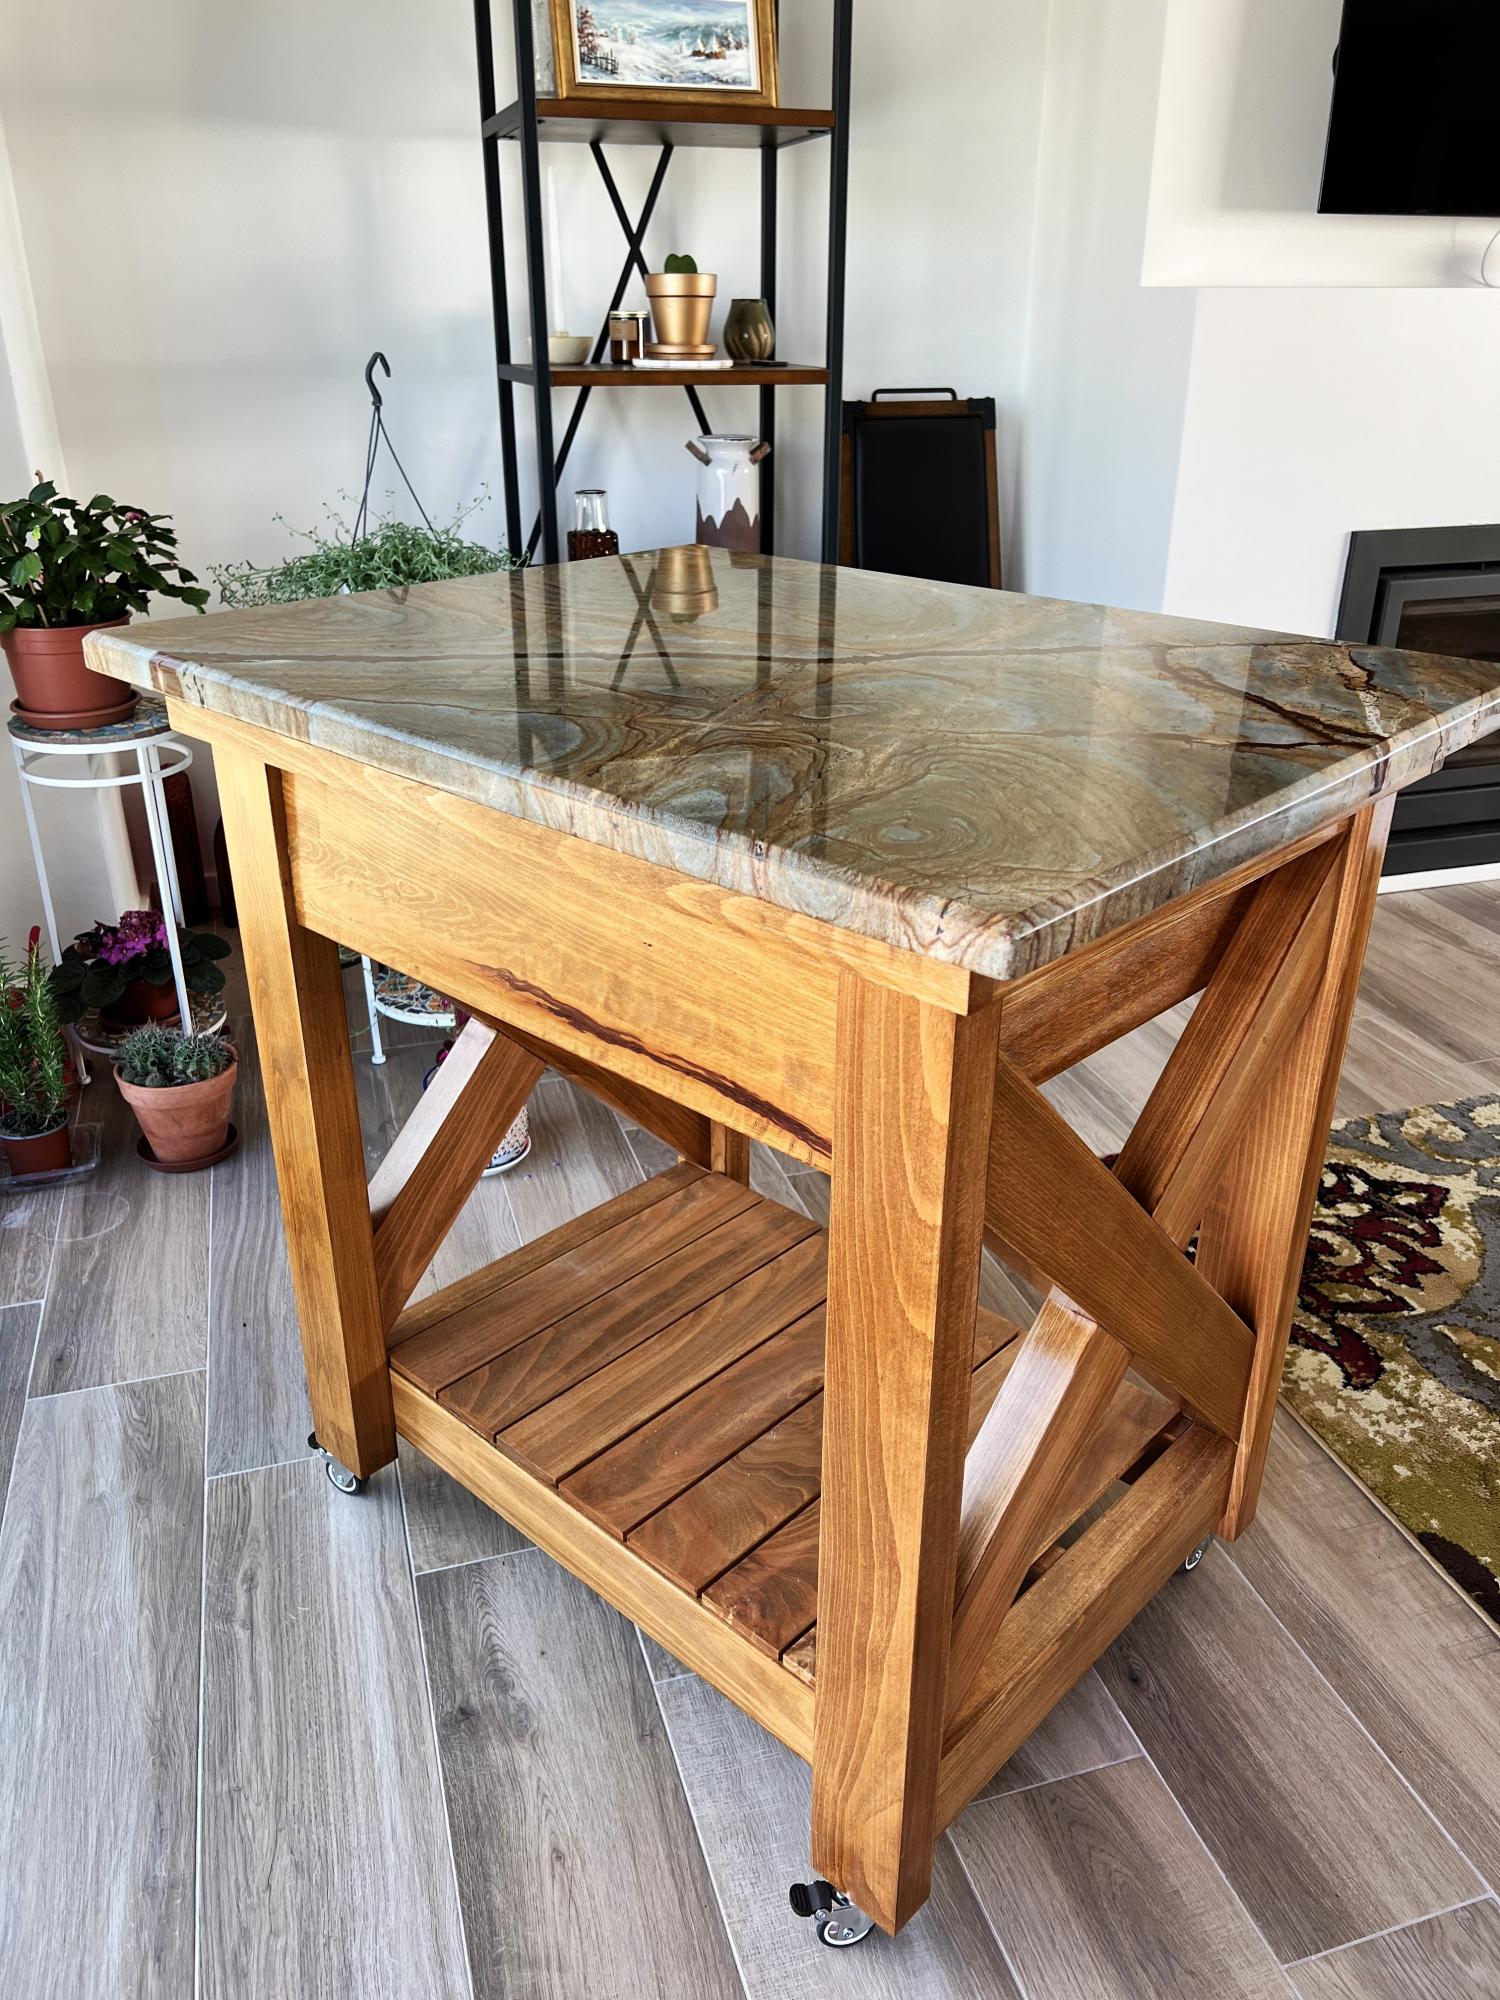
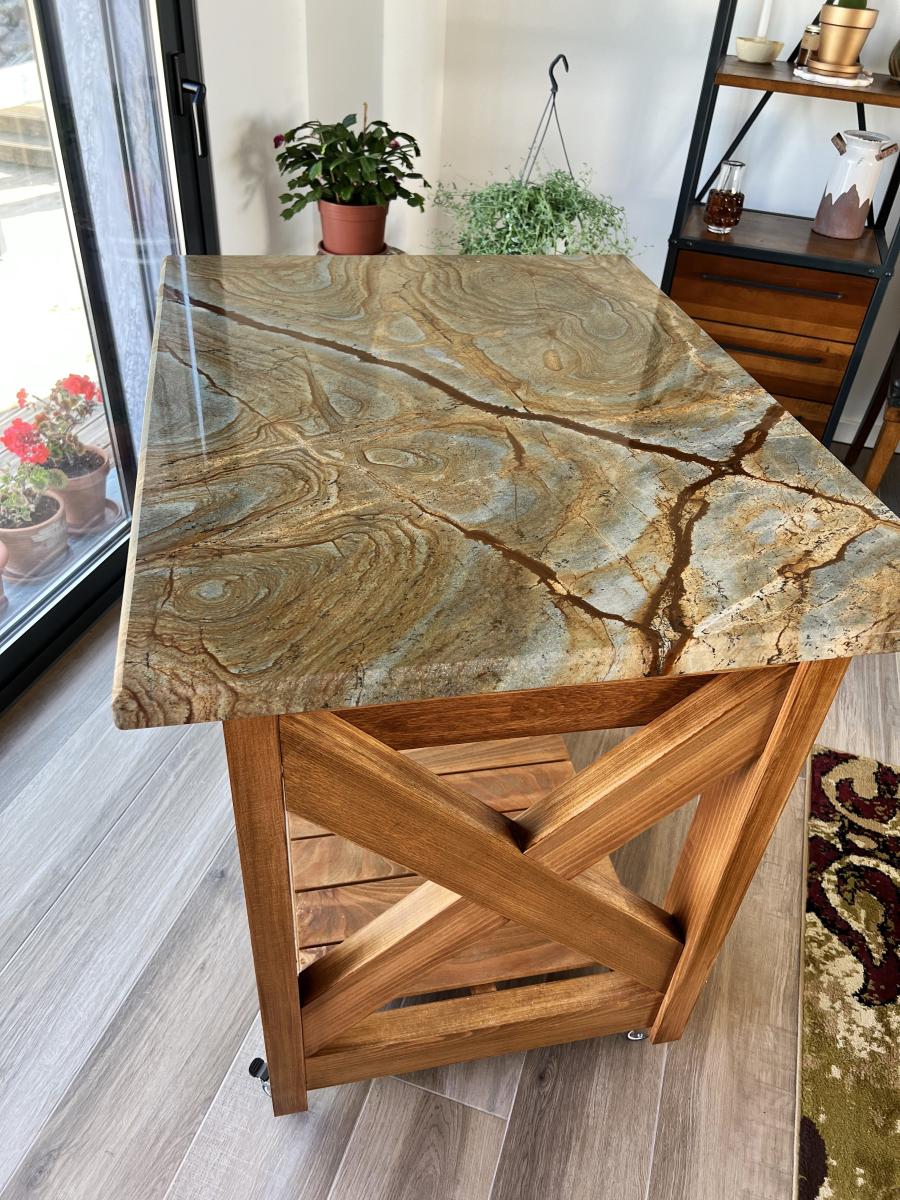
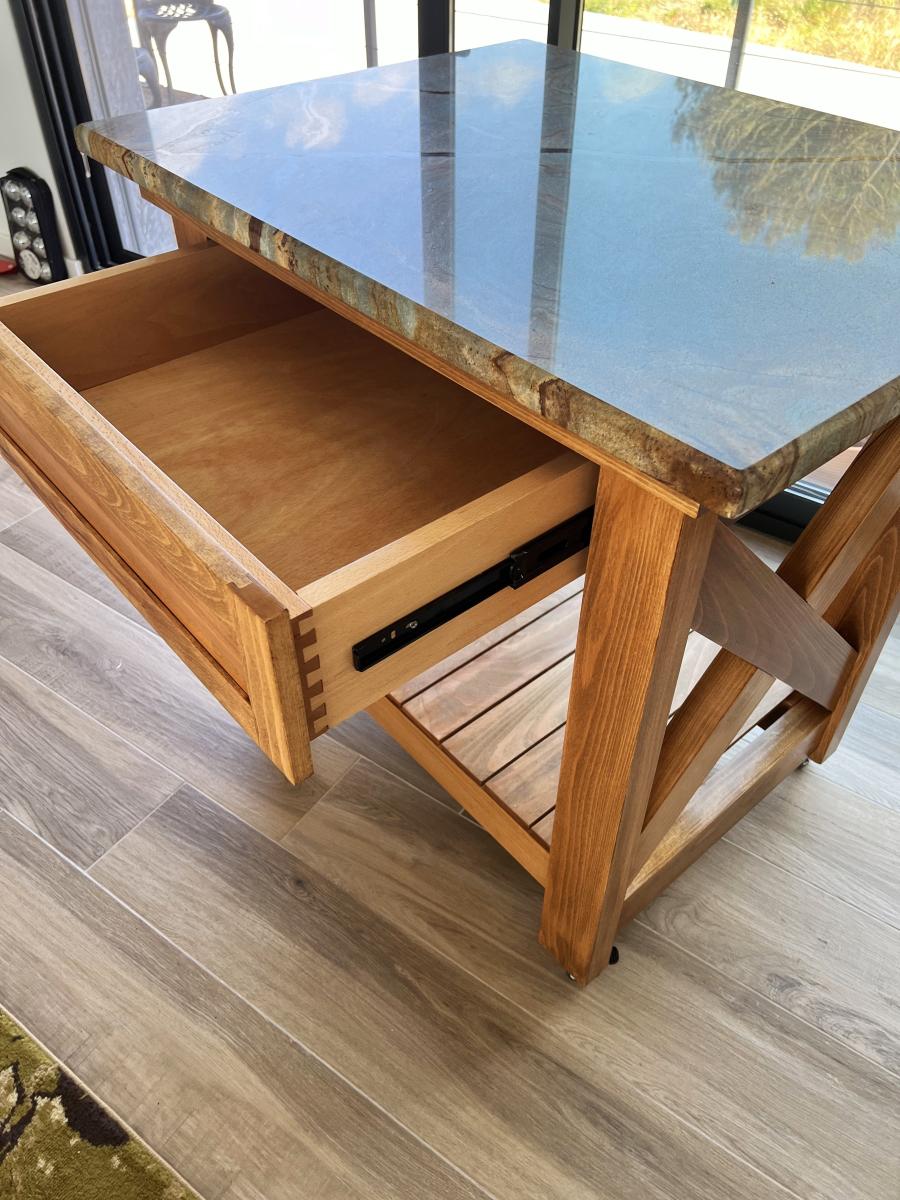
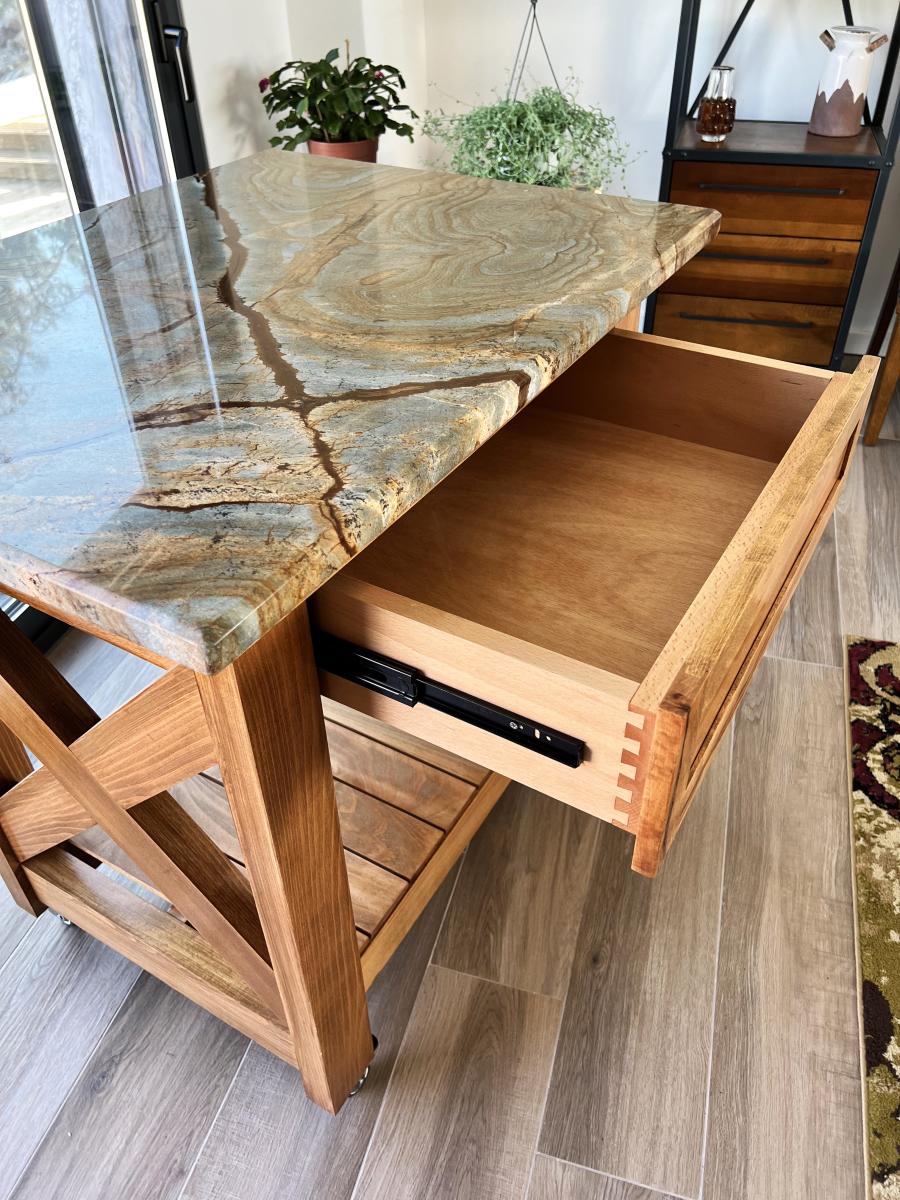
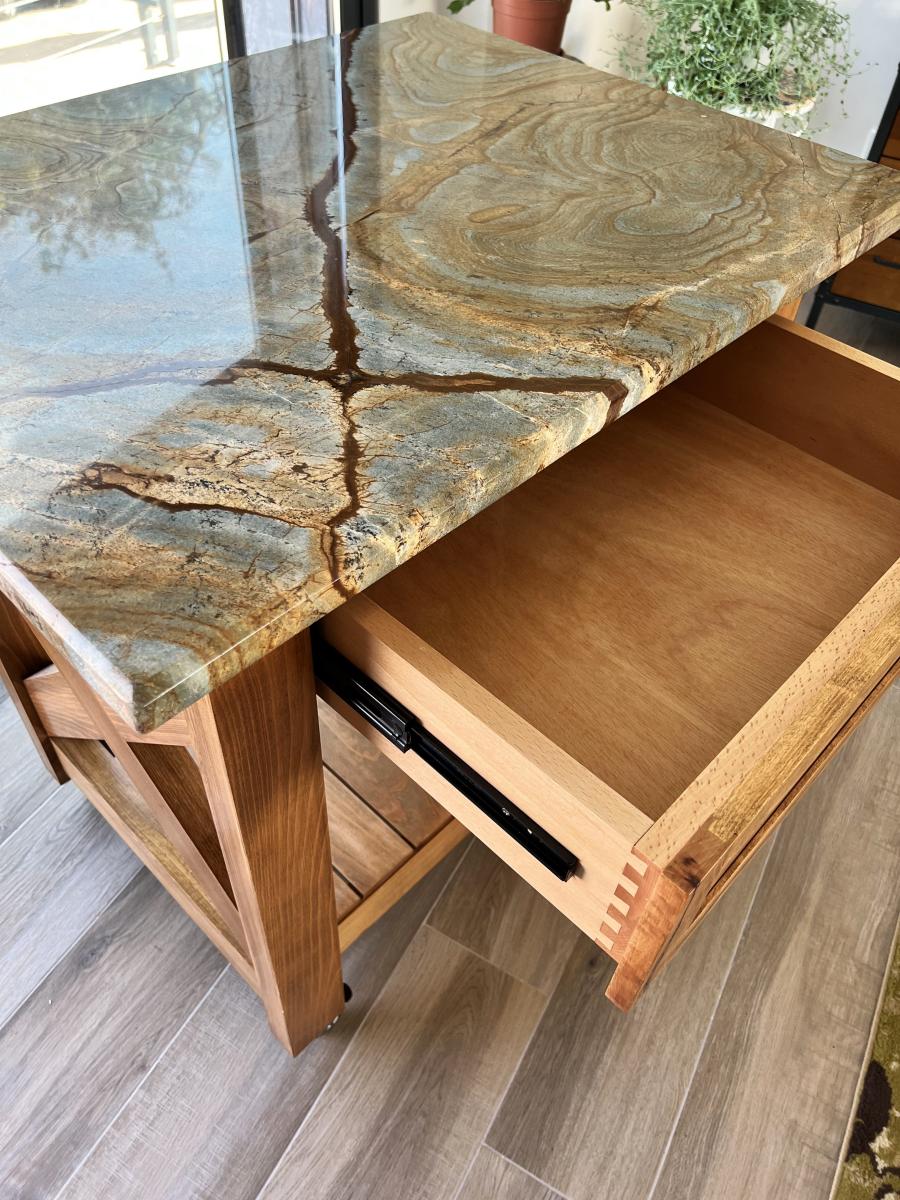
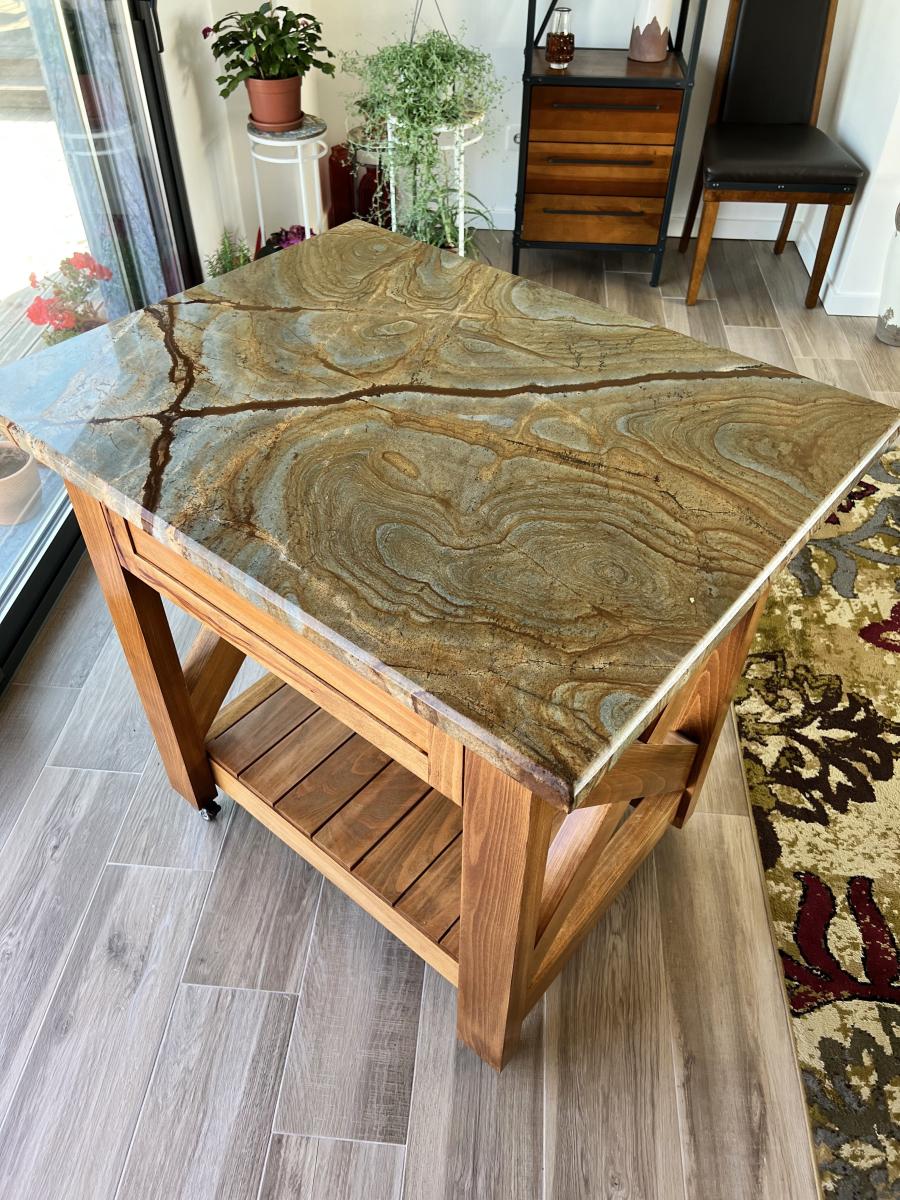
I made a few changes to the original plans for this island. I had to convert all measurements to metric to begin with. I live in Portugal and standard size woods, such as 2x4s are simply not available. I found a lumber yard that had some extremely nice German Oak which was a pleasure to work with. Although, this did add some weight to the finished project. All wood needed to be jointed and planed to ensure straightness. The "X" cross braces are full length. I used my router to remove half the thickness where they intersect so that they interlock with each other.
The granite top was a remnant we brought with us when we moved here and was sized and shaped previously. Instead of using pocket screws to join pieces together I opted for doweling all pieces and did not use screws at all, except when attaching the tracks for the drawer.
Fortunately, the overall plans did not require much alteration to accommodate the granite.
I would have liked larger wheels but these allowed for the island to match the countertop height in our kitchen.
Christopher Mathrusse

I Love this plan! I had to modify mine a little form Ana's because the reclaimed wood I got was already cut in small pieces. I love how it turned out! I ended up giving it as a gift and made several more for the same purpose. You can see those on my blog!
Thanks Ana for another awesome plan!
This was my second project from Ana White and it turned out just as well as the Tryde Side Tables. The finish used was exactly the same as the side tables; however, just regular Cedar was used instead of Red Oak.
This was a fairly easy build, but the hardware was a challenge. Very exciting that it actually worked. Followed hardware instructions linked in comments
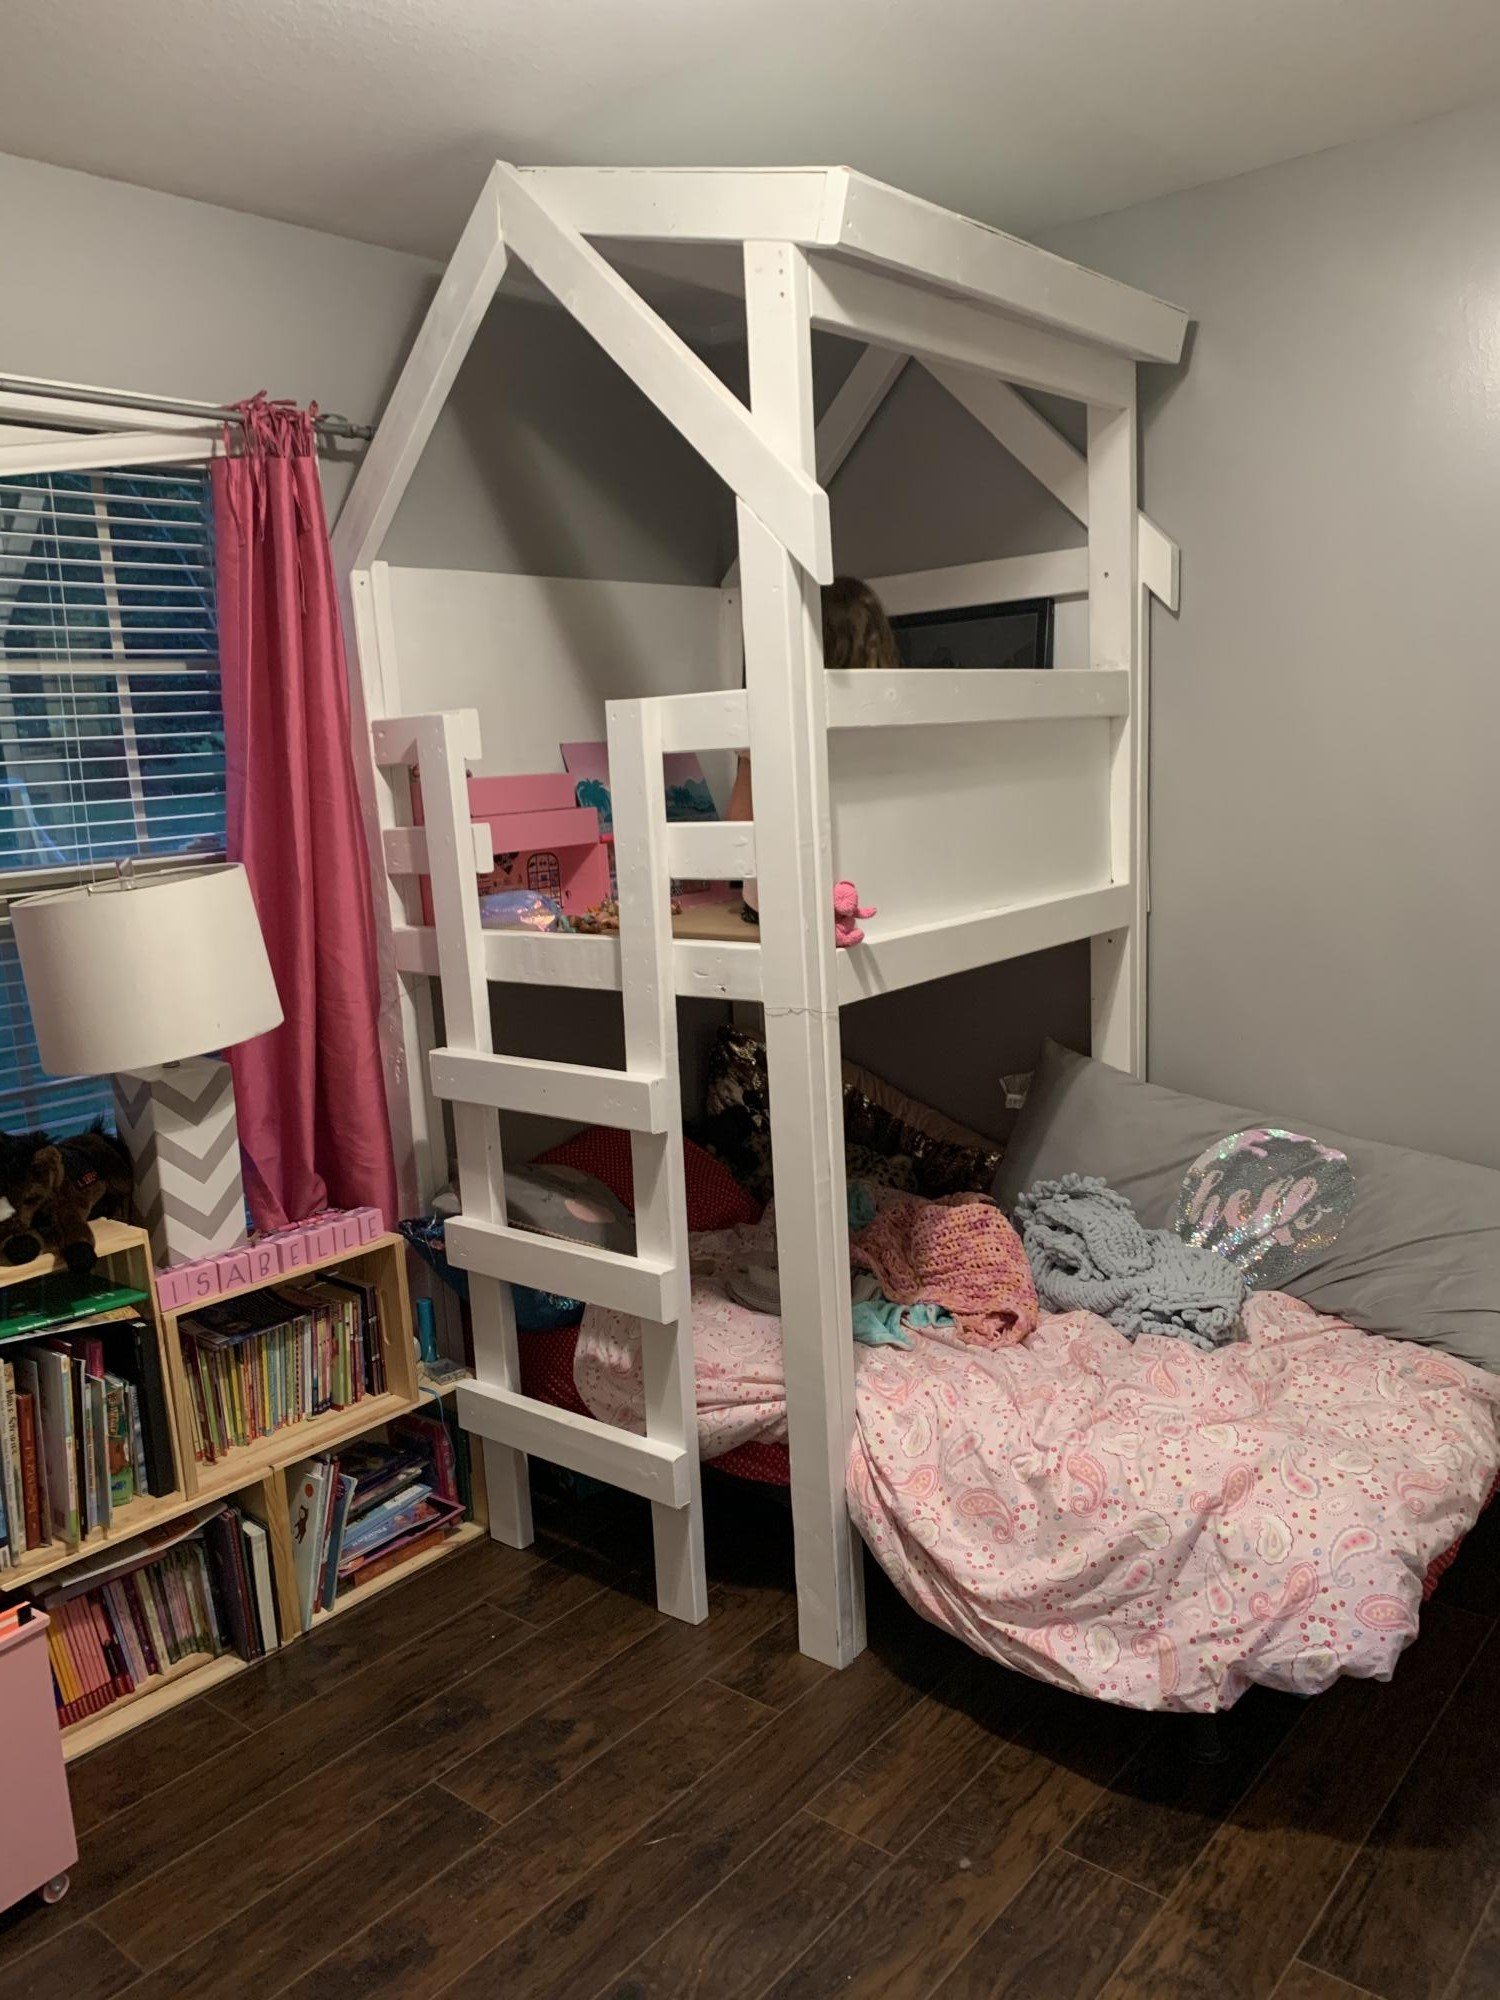
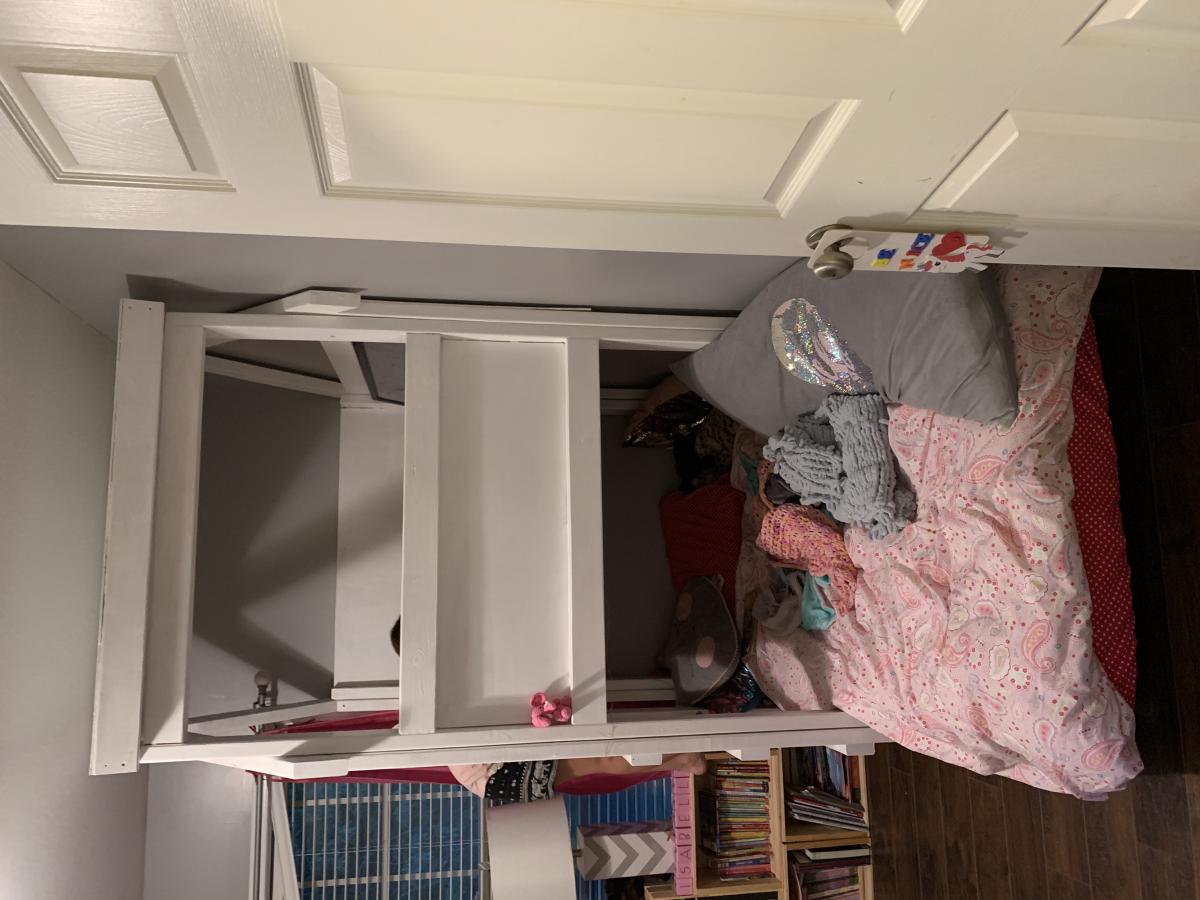
Indoor playhouse above twin bed. Cost about $190. Took two full days. Built using the plans off this site. The inside play area is 42in by 39in. The plans have the mattress on the ground. I have a dog that sheds like crazy so I have her mattress on a metal frame but plant to build a low to the ground platform bed.
My first time building anything. Came out great. Thanks for the great instructions!
Annie K

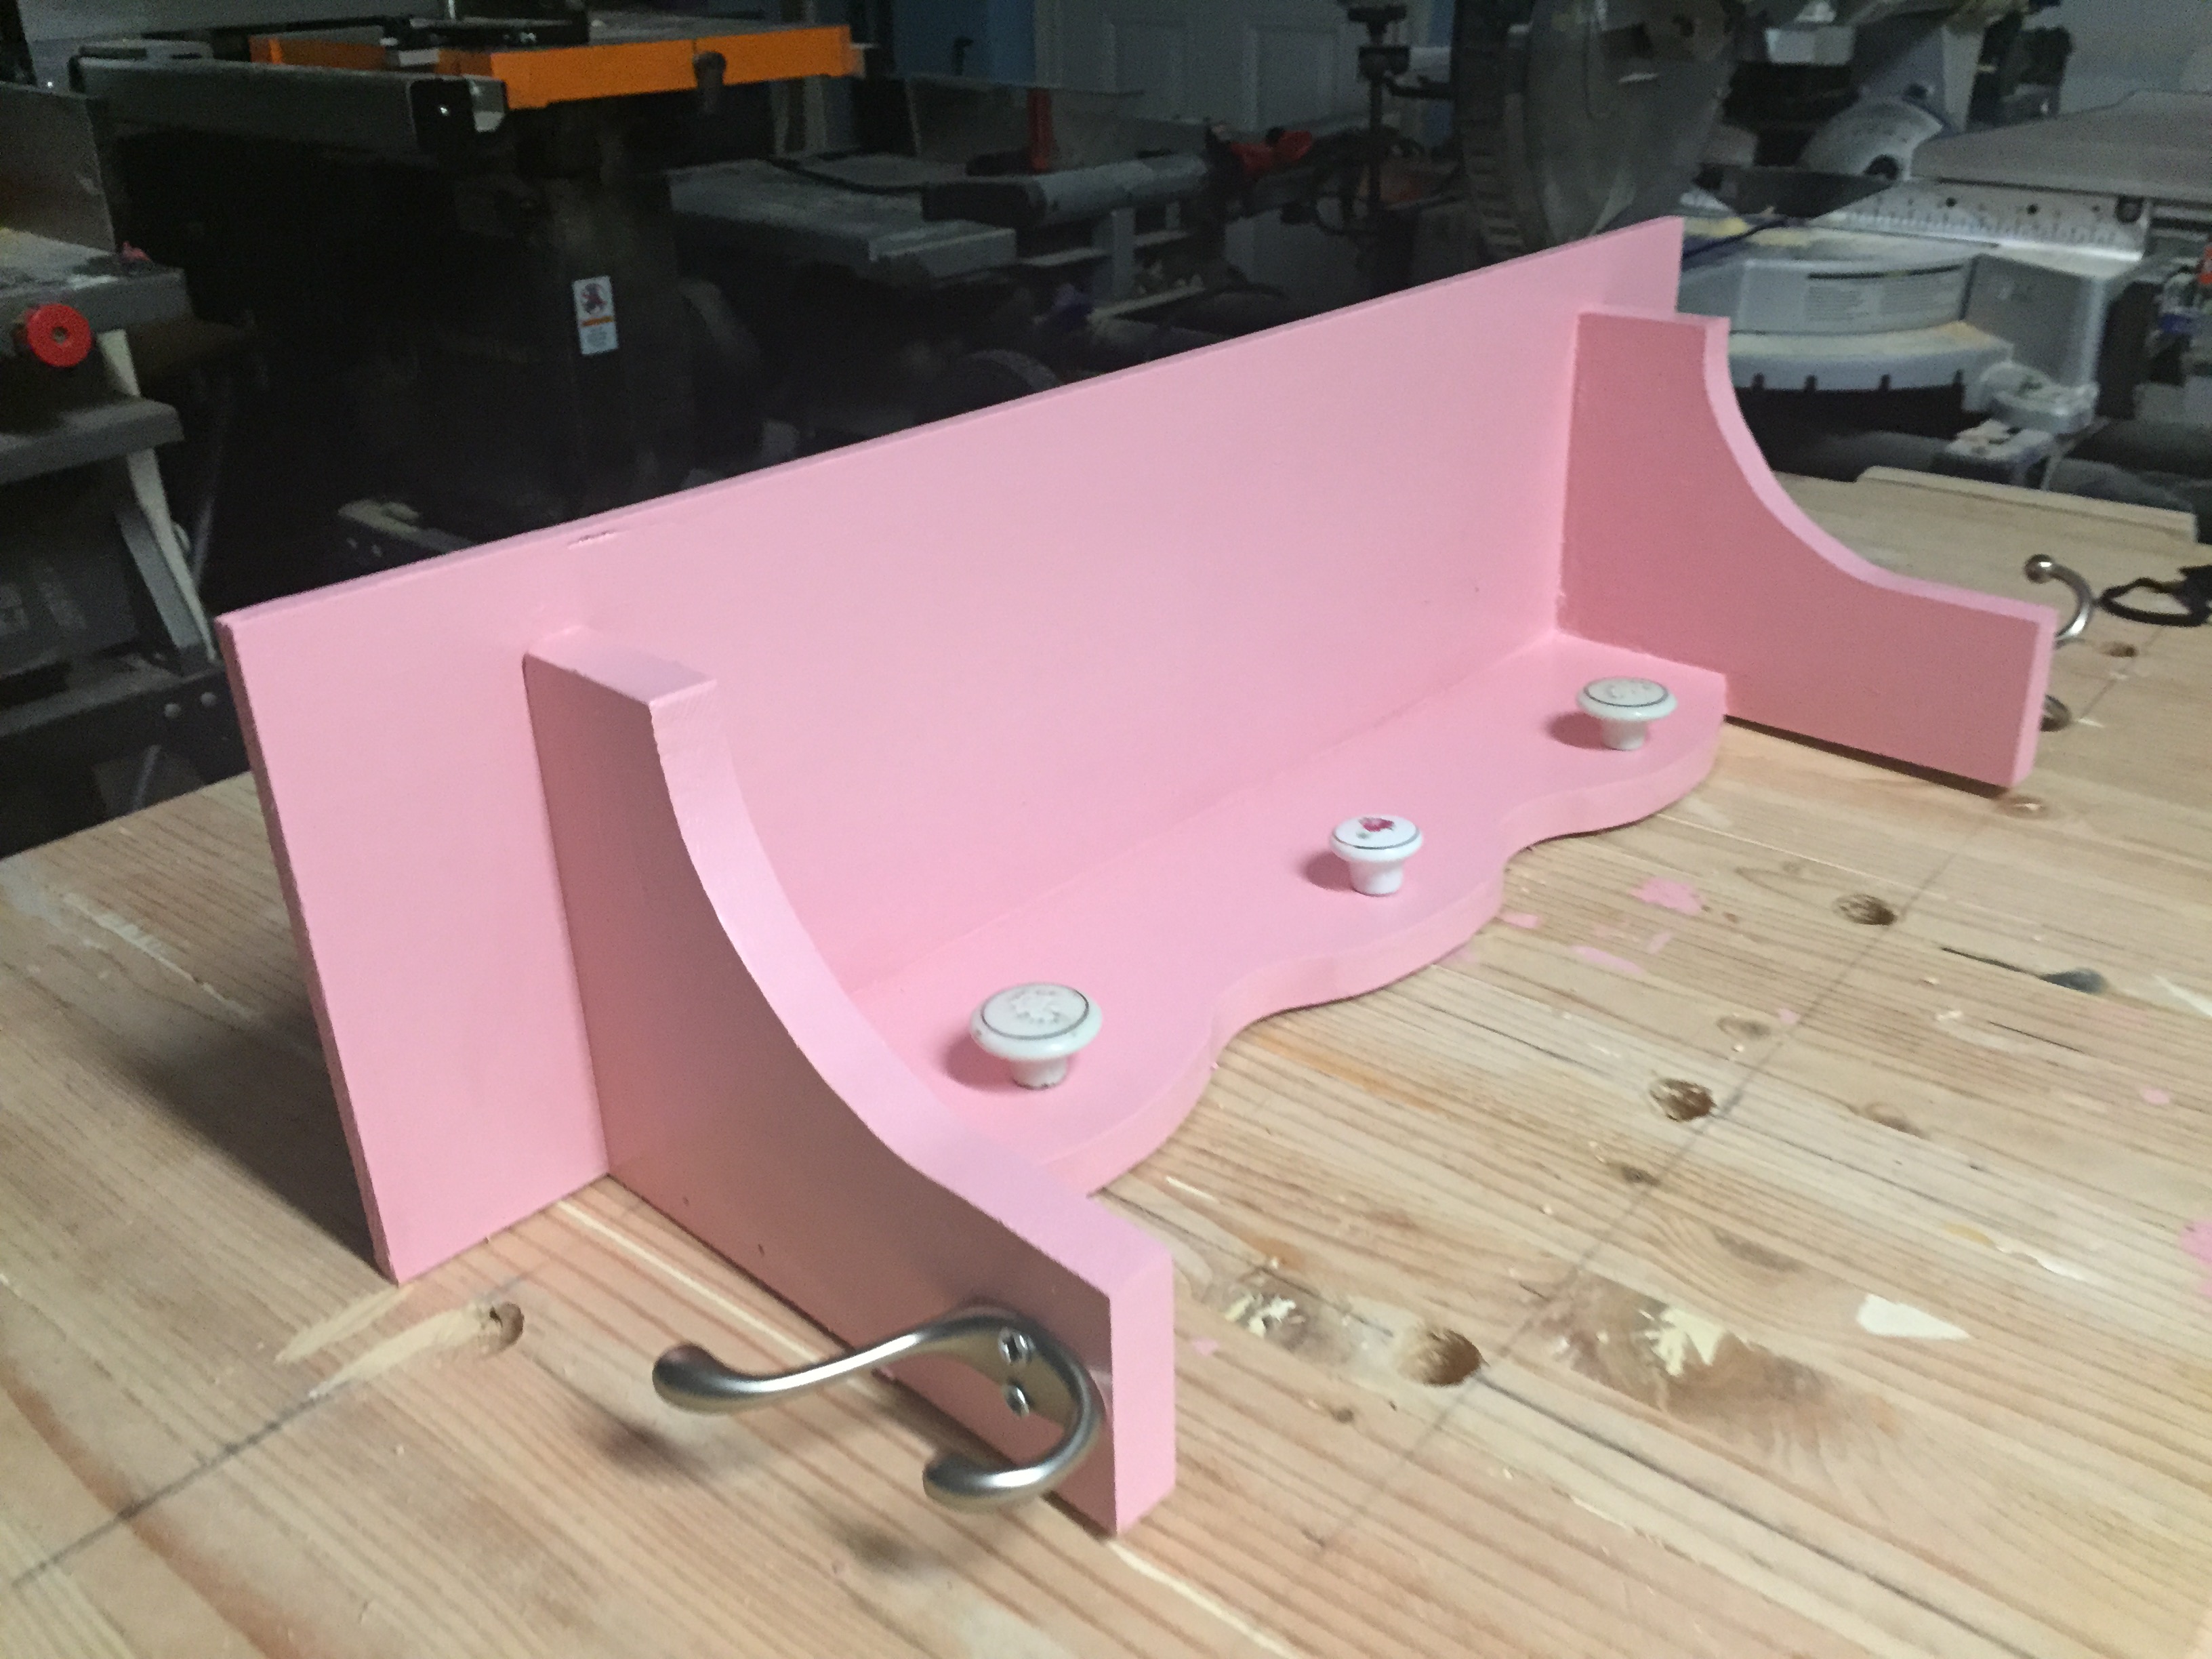
I suppose this is the simpliest shelf stand ever :) Pls note that side boards should stand on bottom board (in order to provide tensile strength). Also pay attention that the construction shown will not be safety standing near the wall. You should screw it to the wall. Well, that's all. The top valance is made of floor plinth. PS. Sorry, English is not my native language, but I hope you can understand my post. Blog link leads to russian language page.


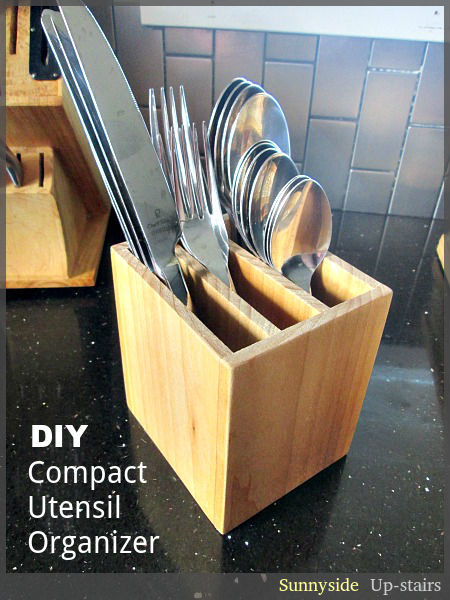
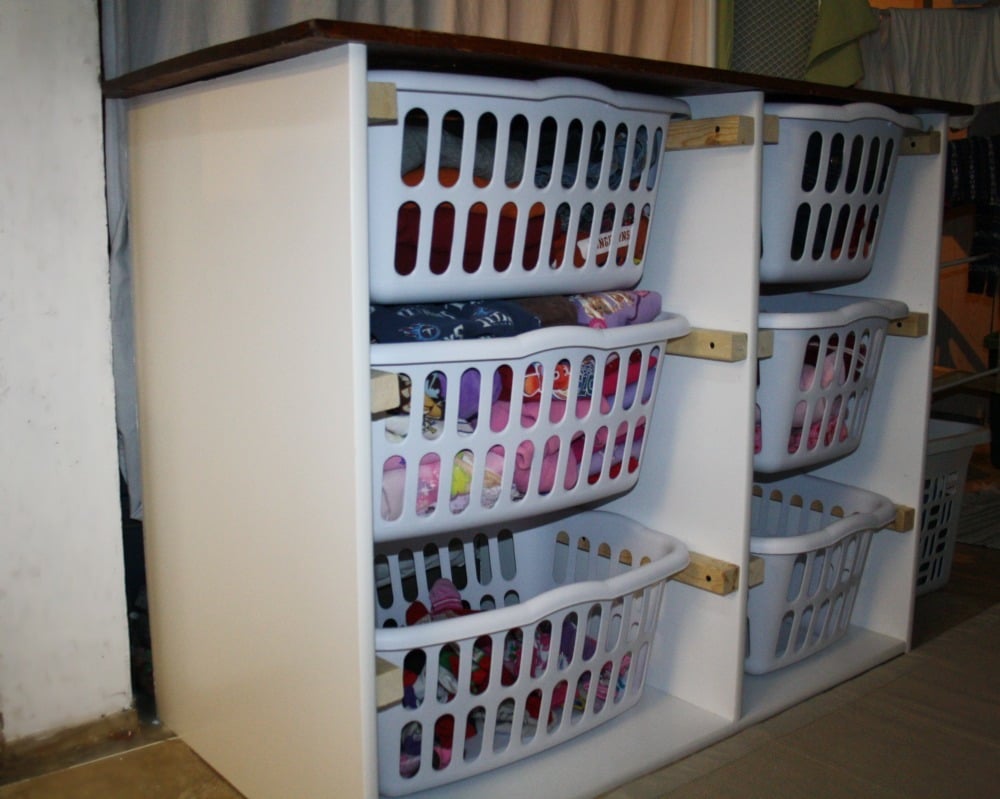
I made a counter top utensil organizer for our little kitchen and love how it solved a few utensil difficulties for us. I wish I could post plans, but all I can offer for now are photos and a brief explanation on my little blog: http://sunnysideup-stairs.blogspot.com/2014/07/compact-utensil-organize…
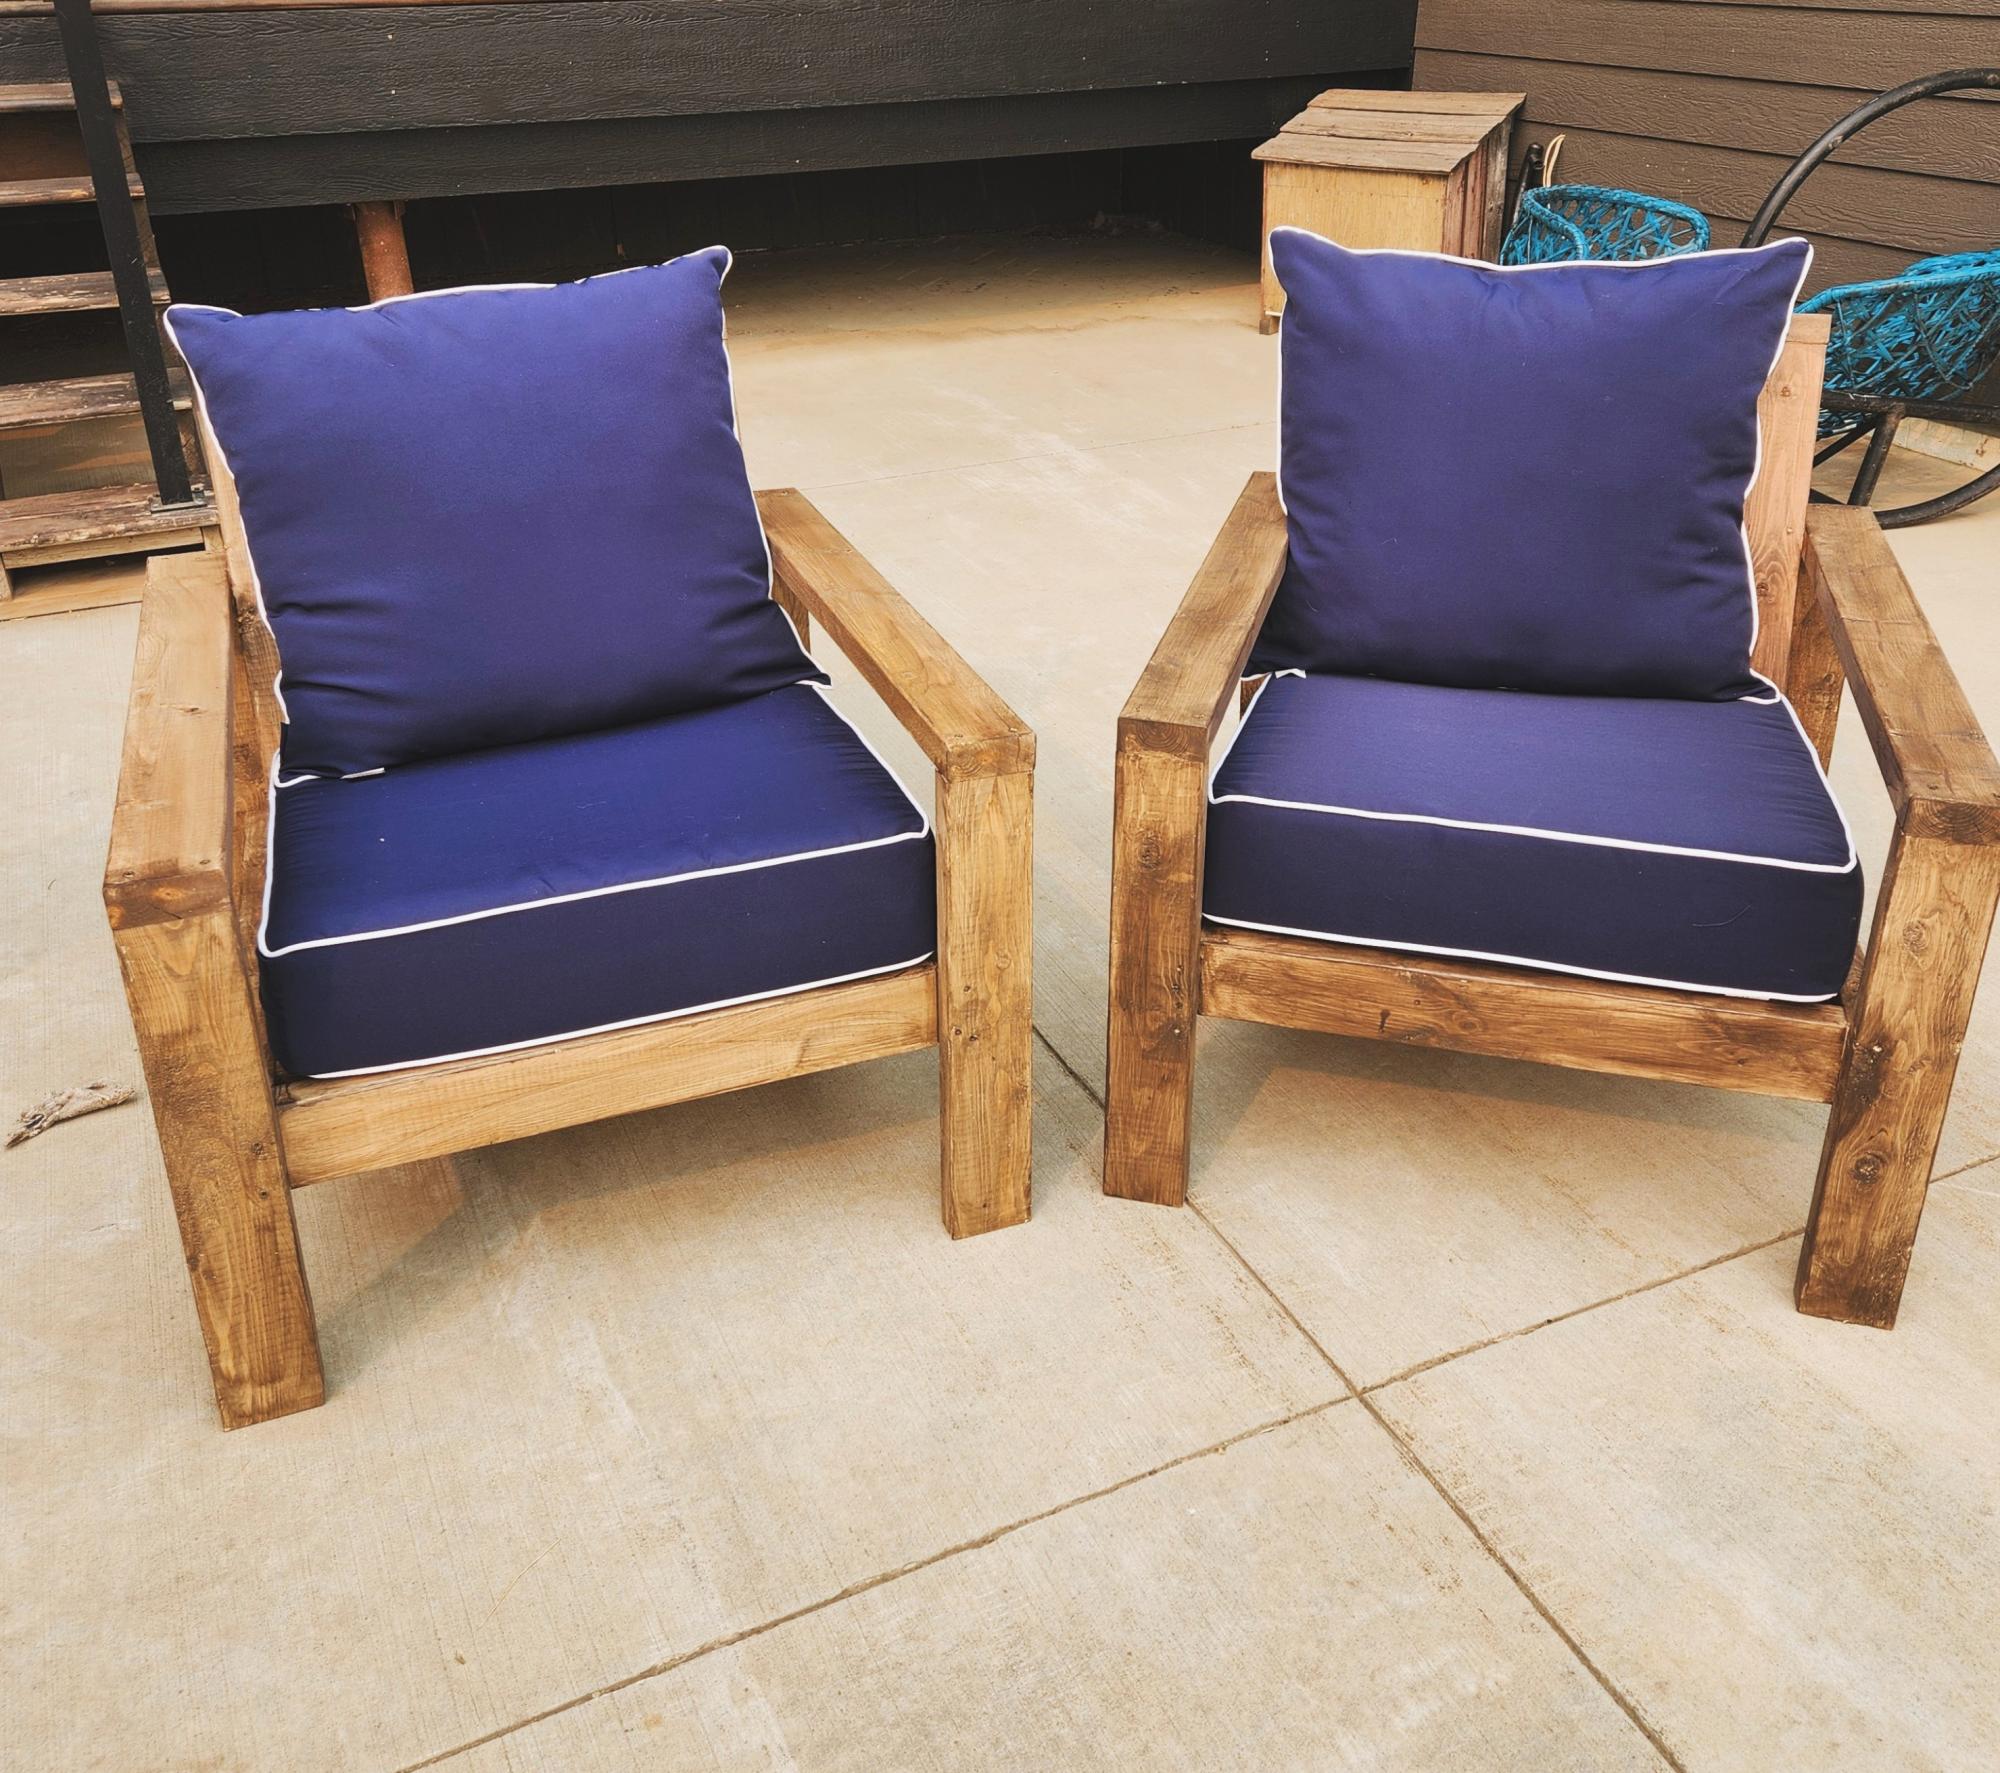
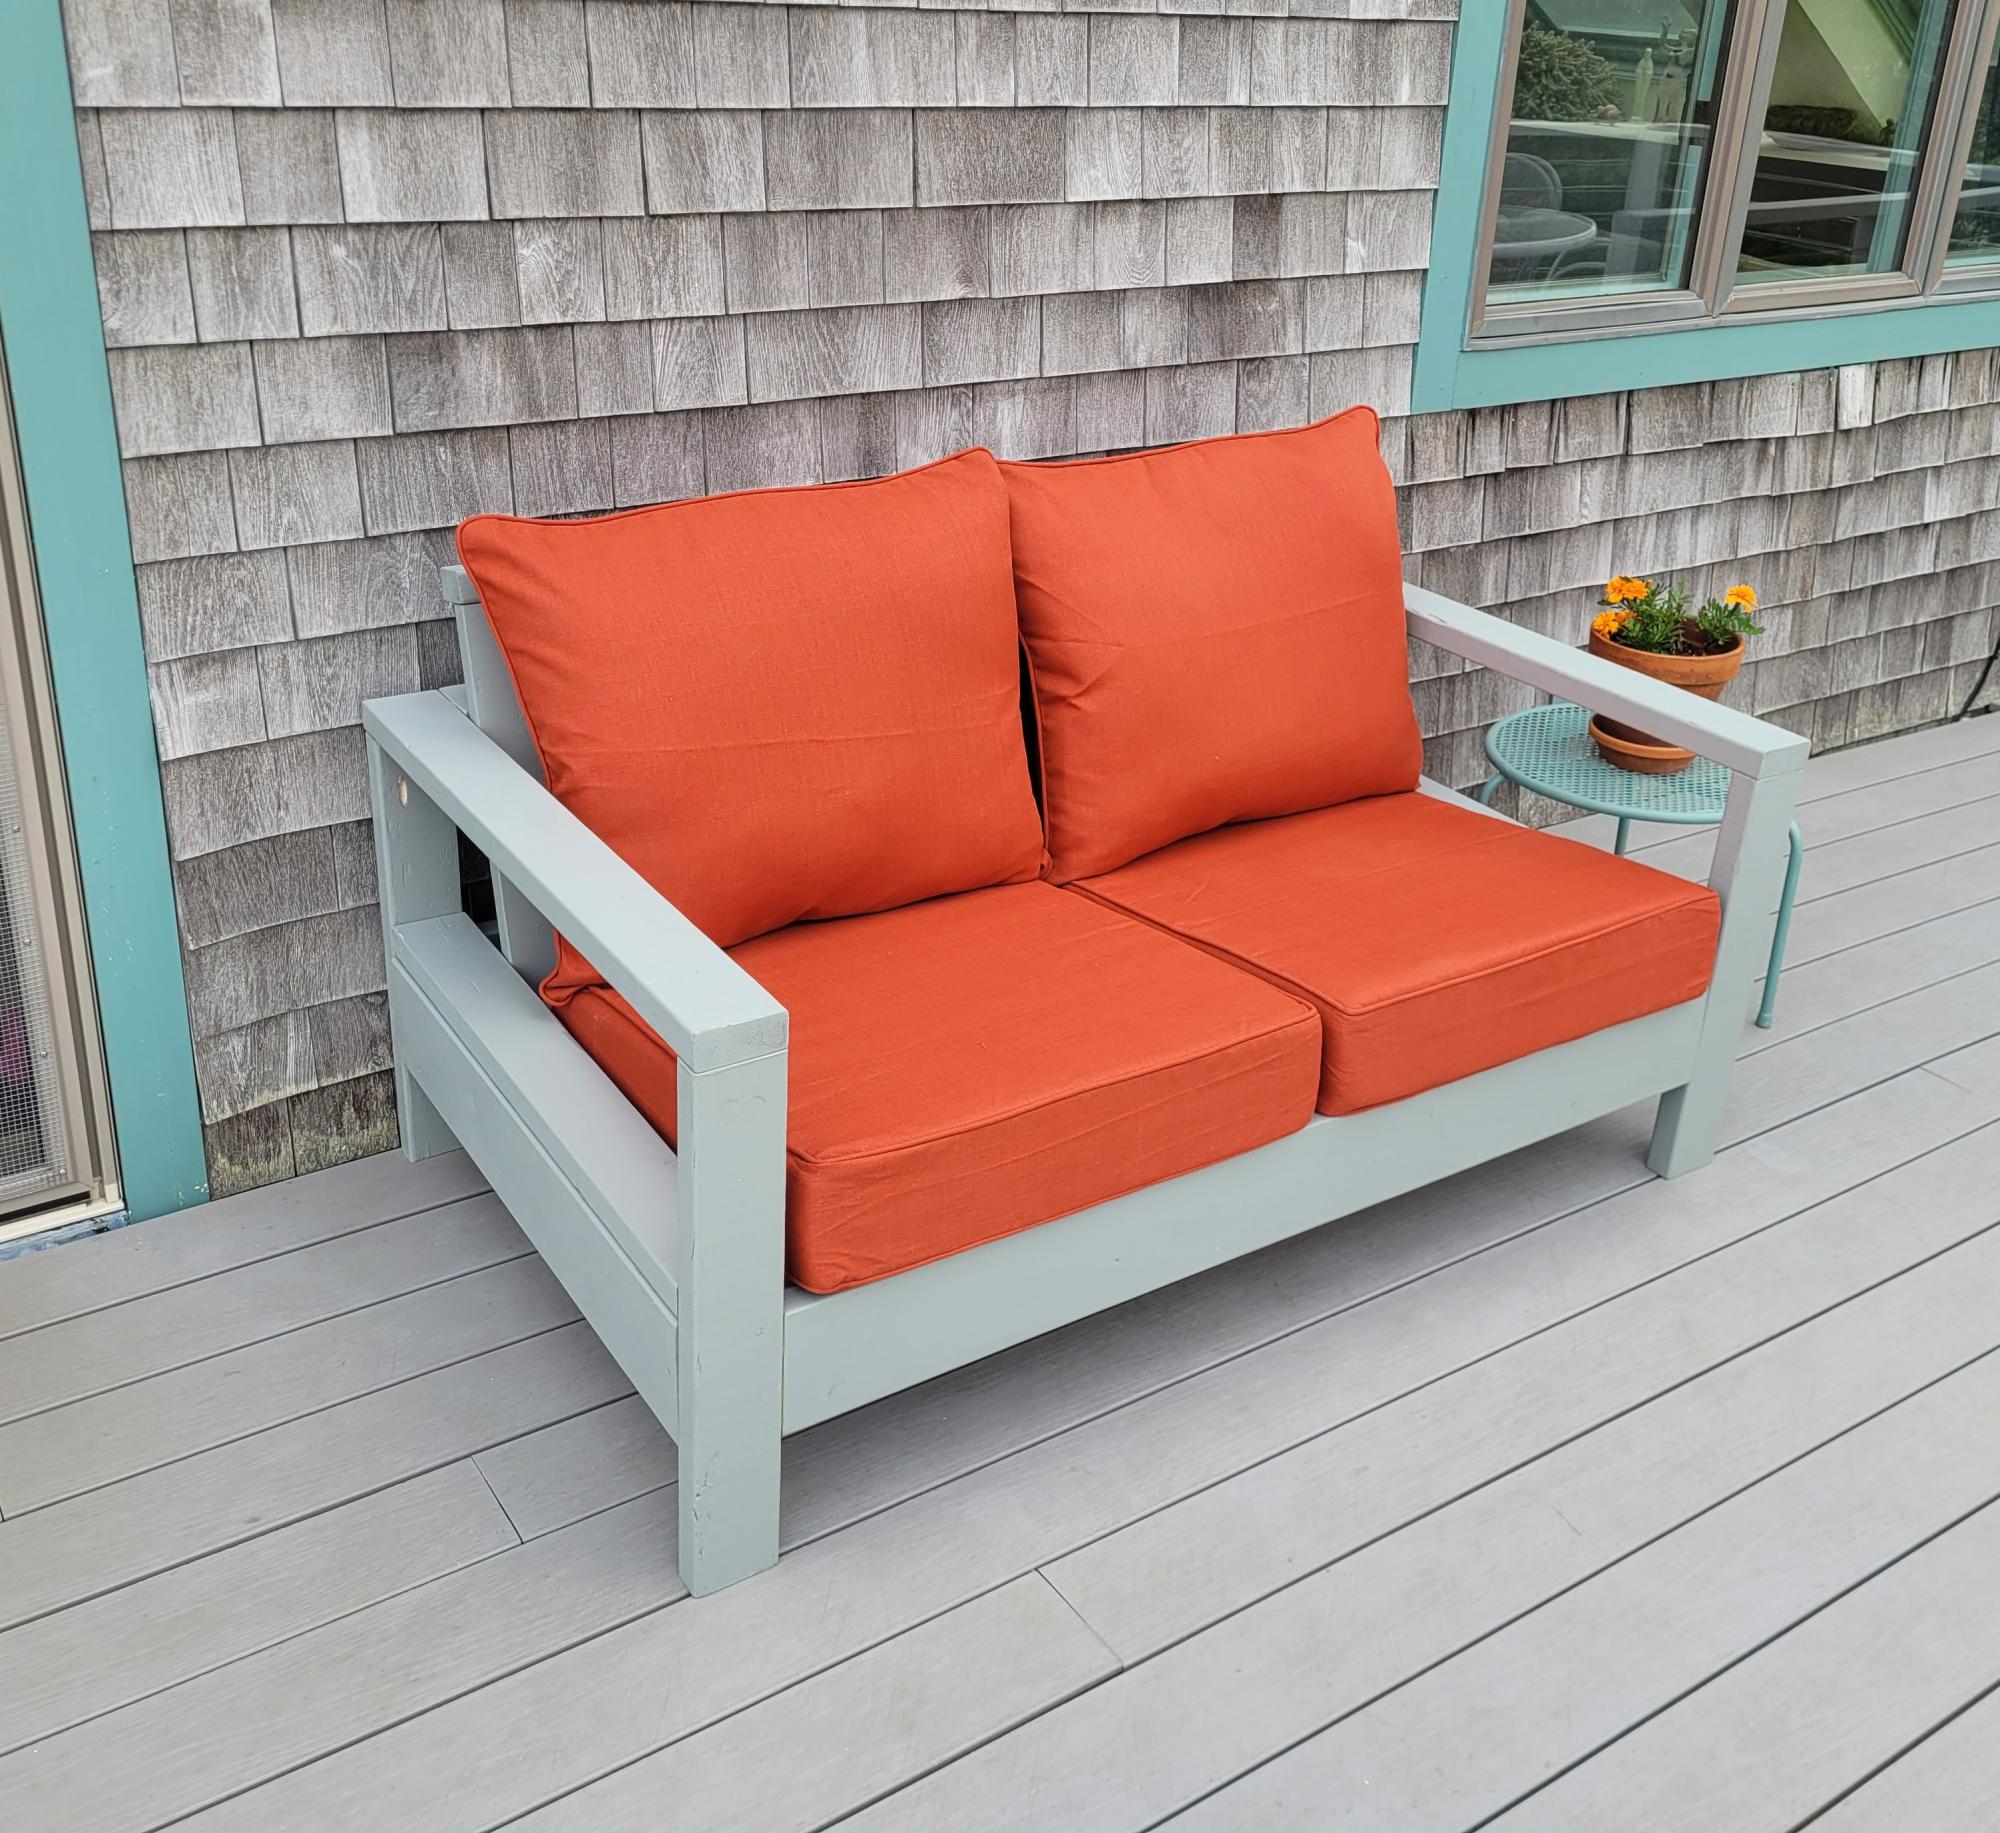
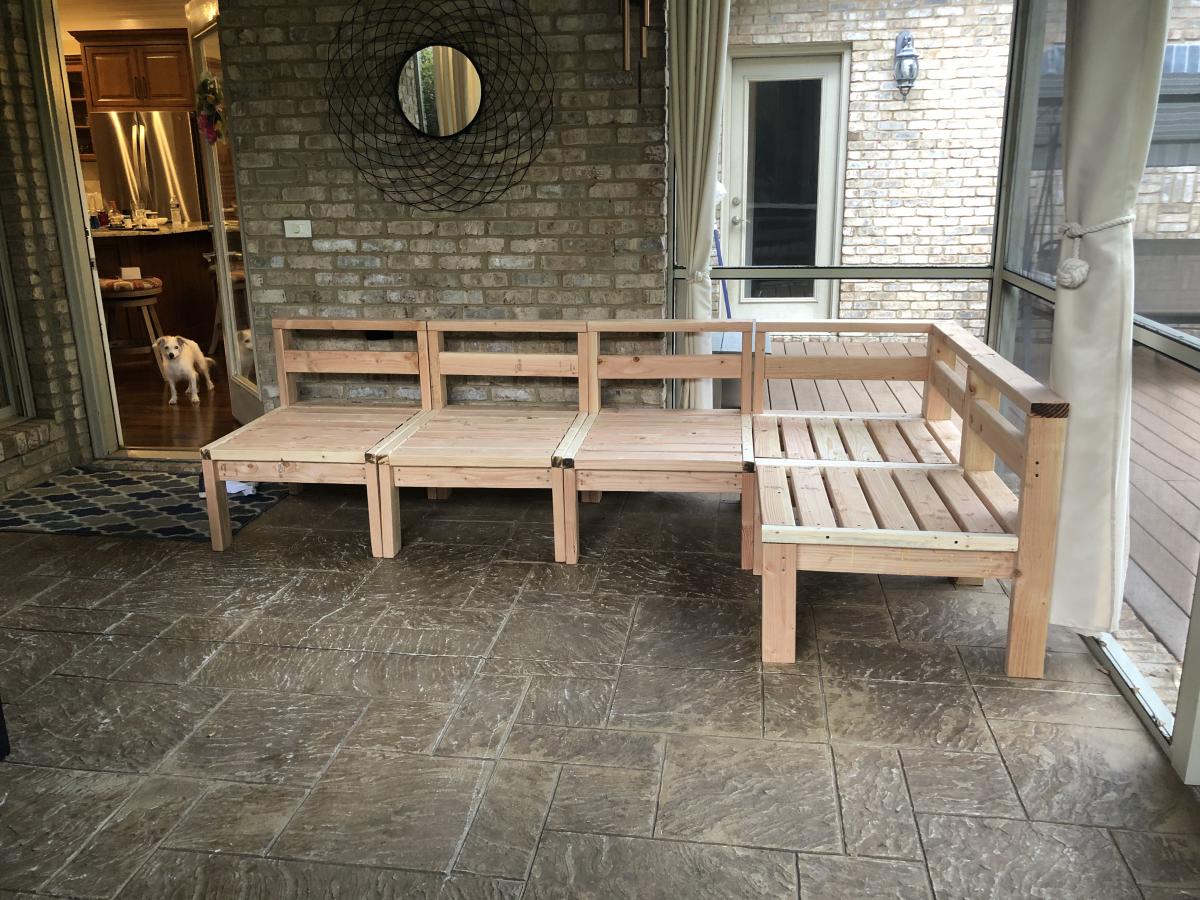
Ten-day project (construction plus sewing) that concluded with exactly what we needed for our space. No big issues with the plan and really pleased with the result. Making the cushions was only possible through upholstery sewing experience. Thank you Ana White!
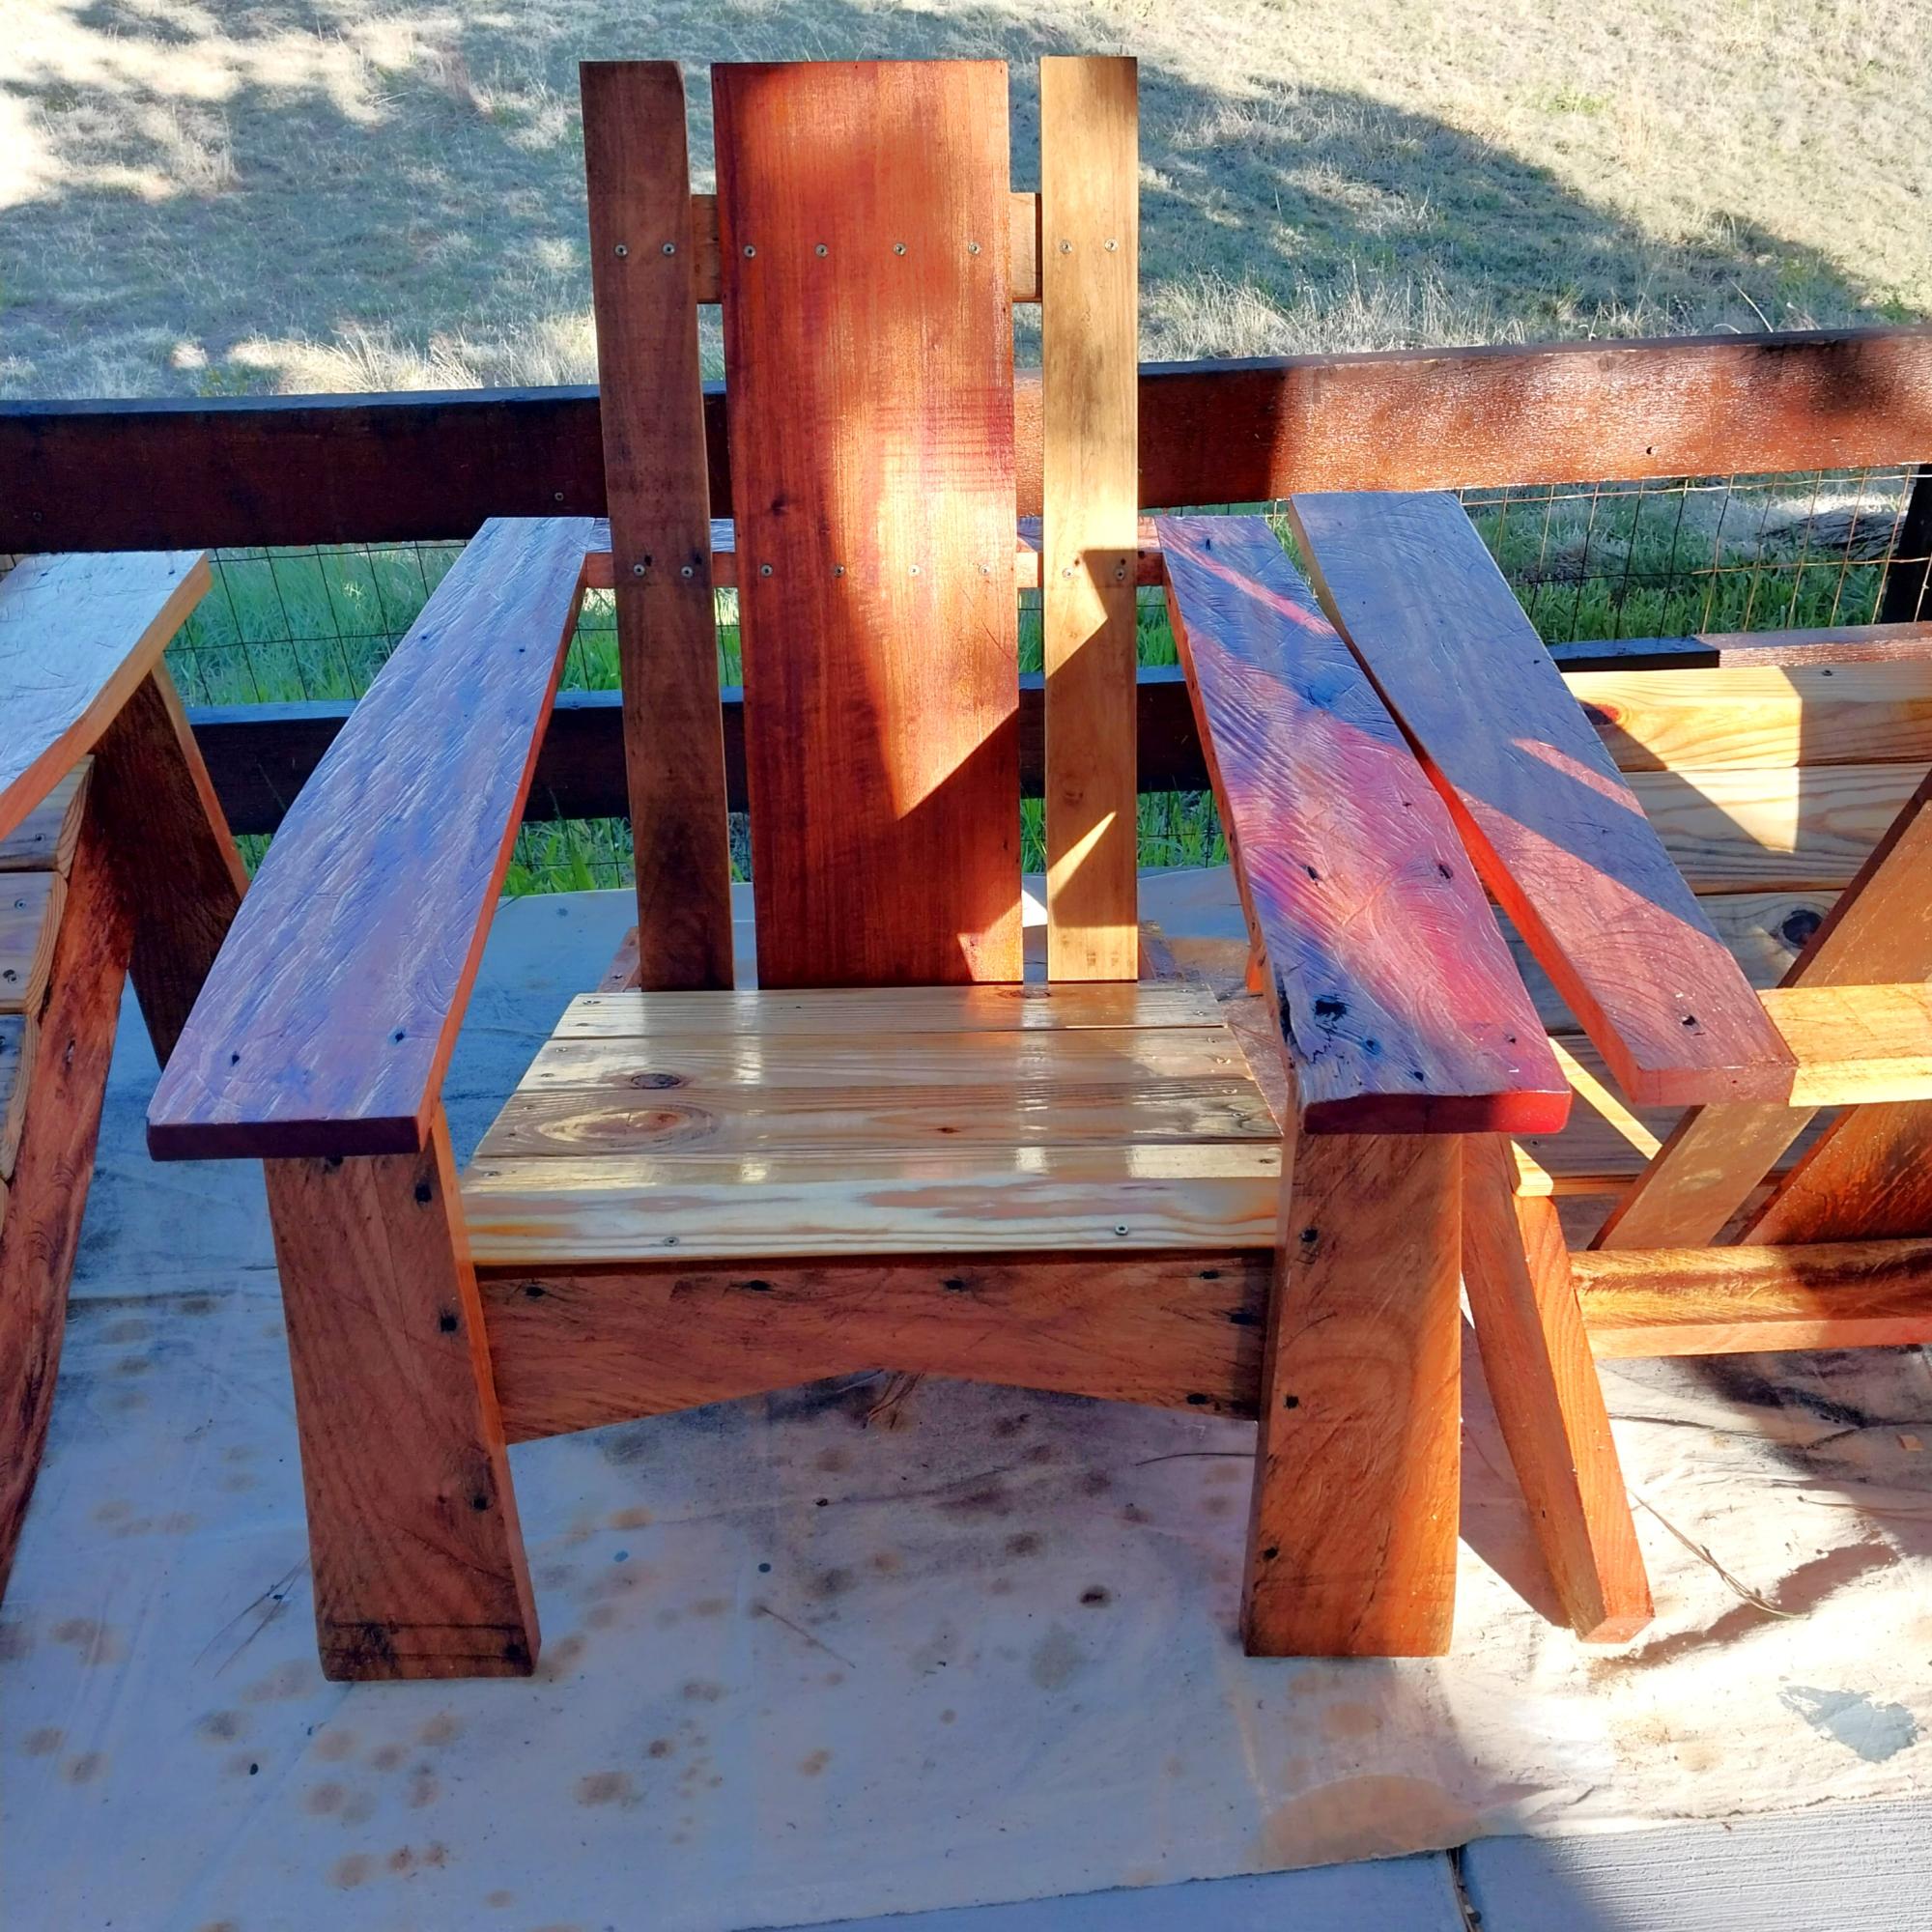
I have followed Anna for several years and really liked the Adirondack chairs so I finally got around to making mine, the plans are the same but I made some modification so I could use as much of the recycled mahogany I had. The wood came to me from South America in the form a crates, I kept as much of the original patina as I could as well as the chainsaw kerf marks. The seat was the only part where I used a different wood and that is kiln dried beetle kill pine.
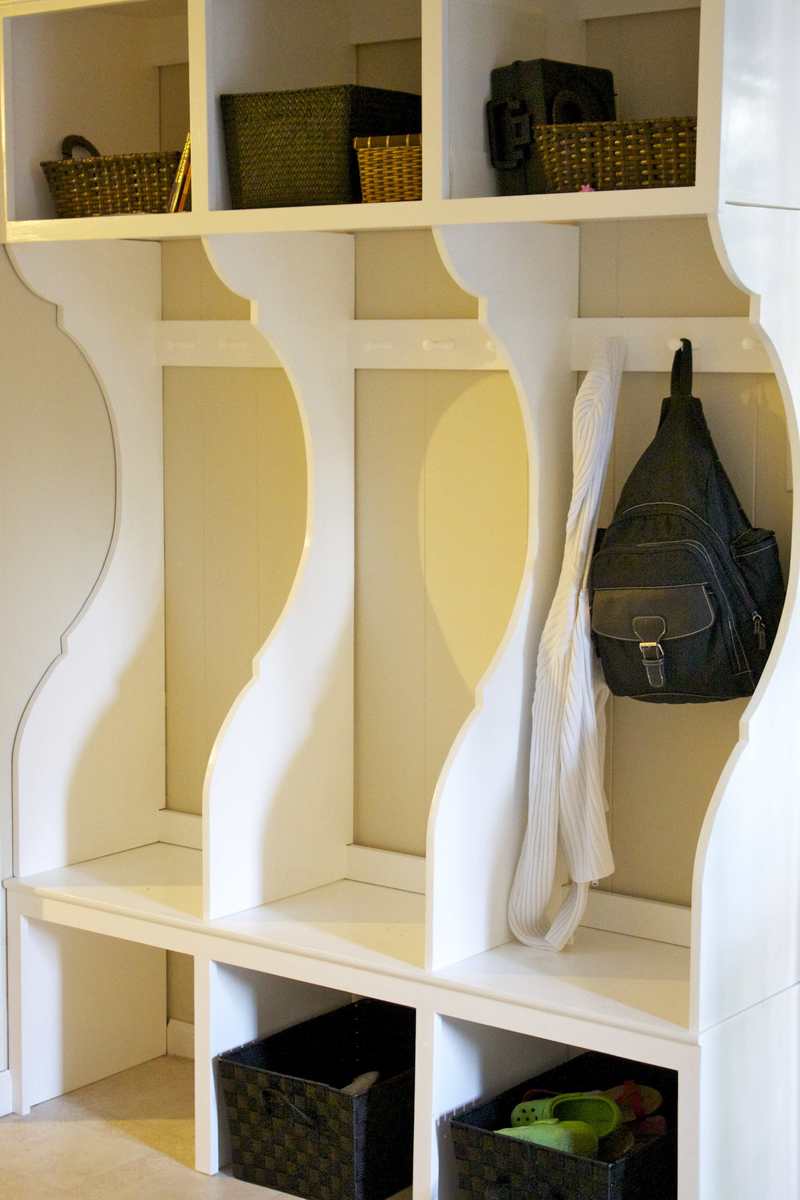
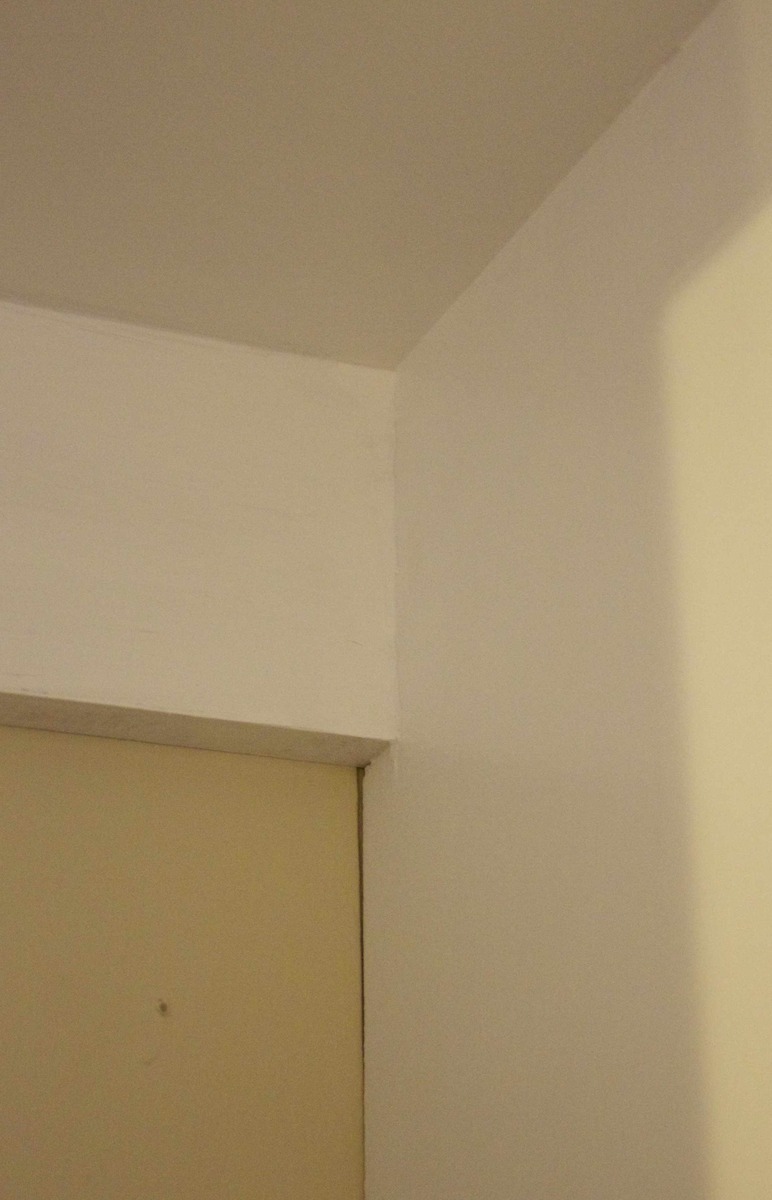
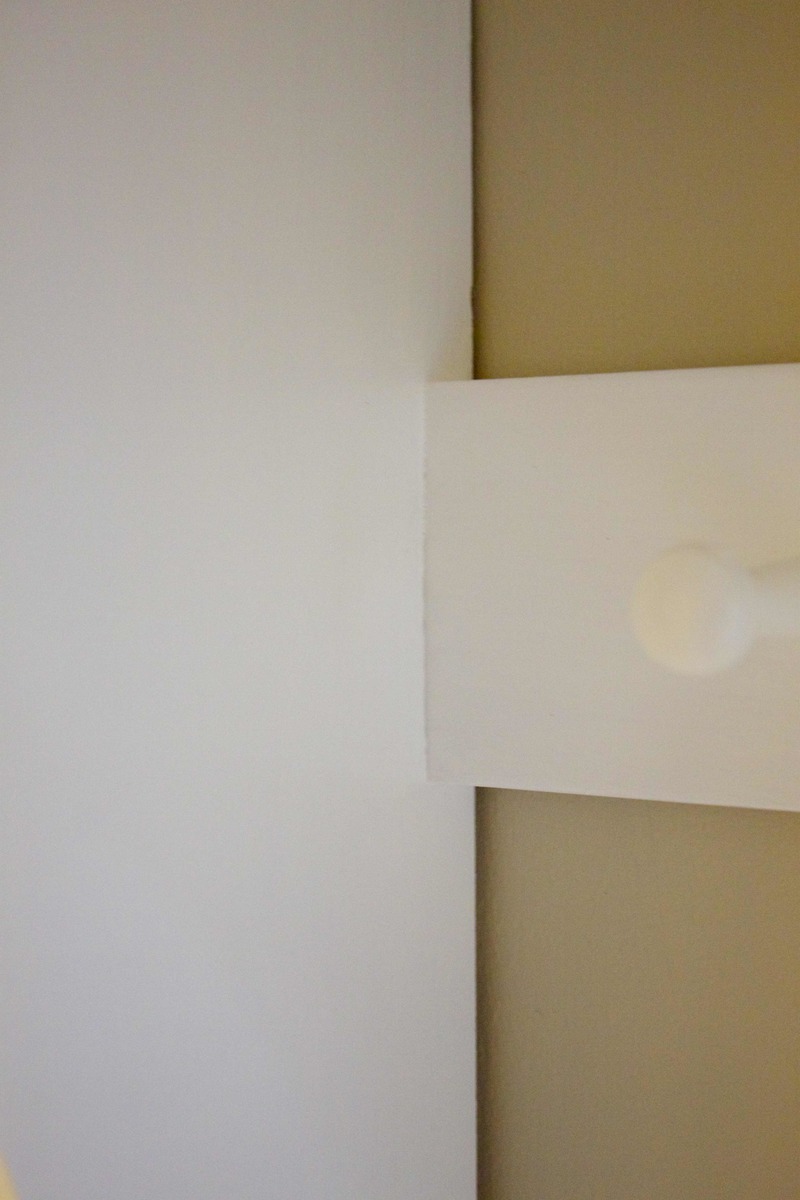
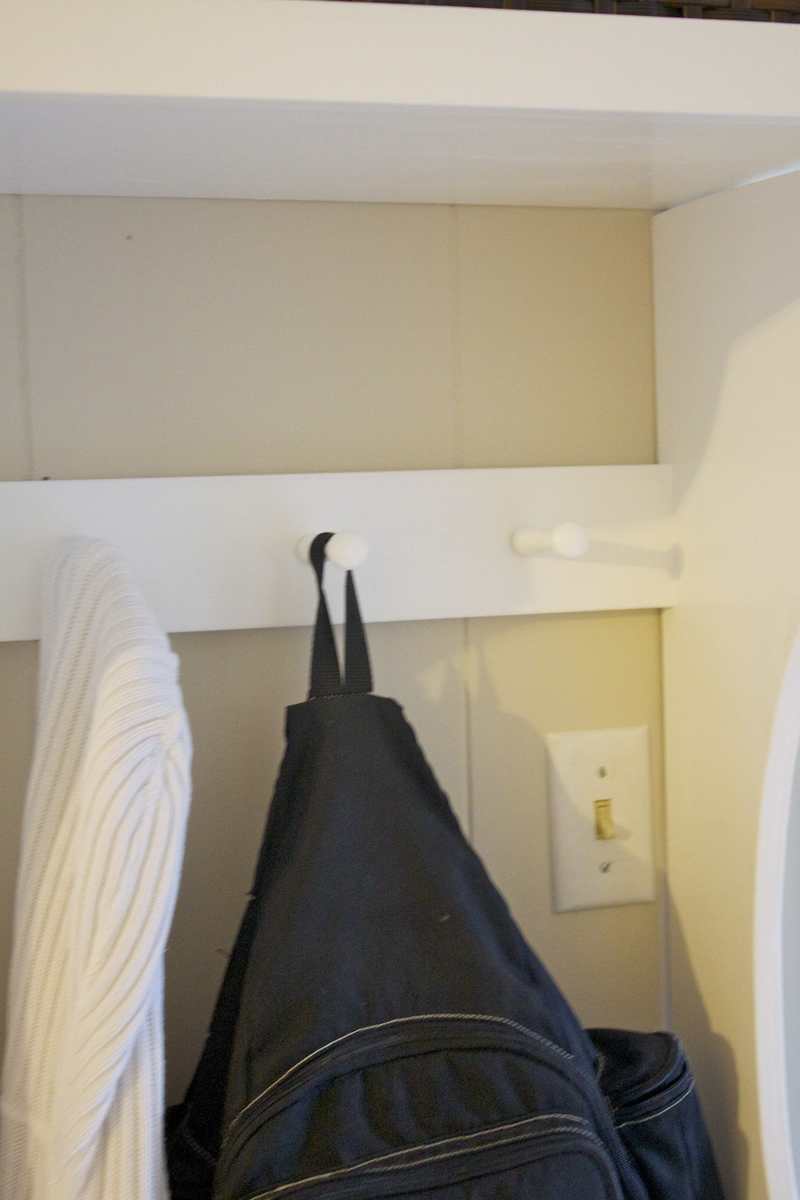
Such a useful and attractive way to keep the mudroom area organized. Especially needed in our house which has no dedicated mudroom--just an area carved out by the kitchen door where we need to stash our coming and going type stuff. Loved the plans!
I made a few alterations to the originals to customize the plans to our particular needs, which are outlined in the blog post on our site, http://littlehouseinthesuburbs.com/2012/09/my-ana-white-mudroom.html.
Sun, 09/23/2012 - 15:47
I love it! It is beautiful. Makes my boring mudroom frown! :D

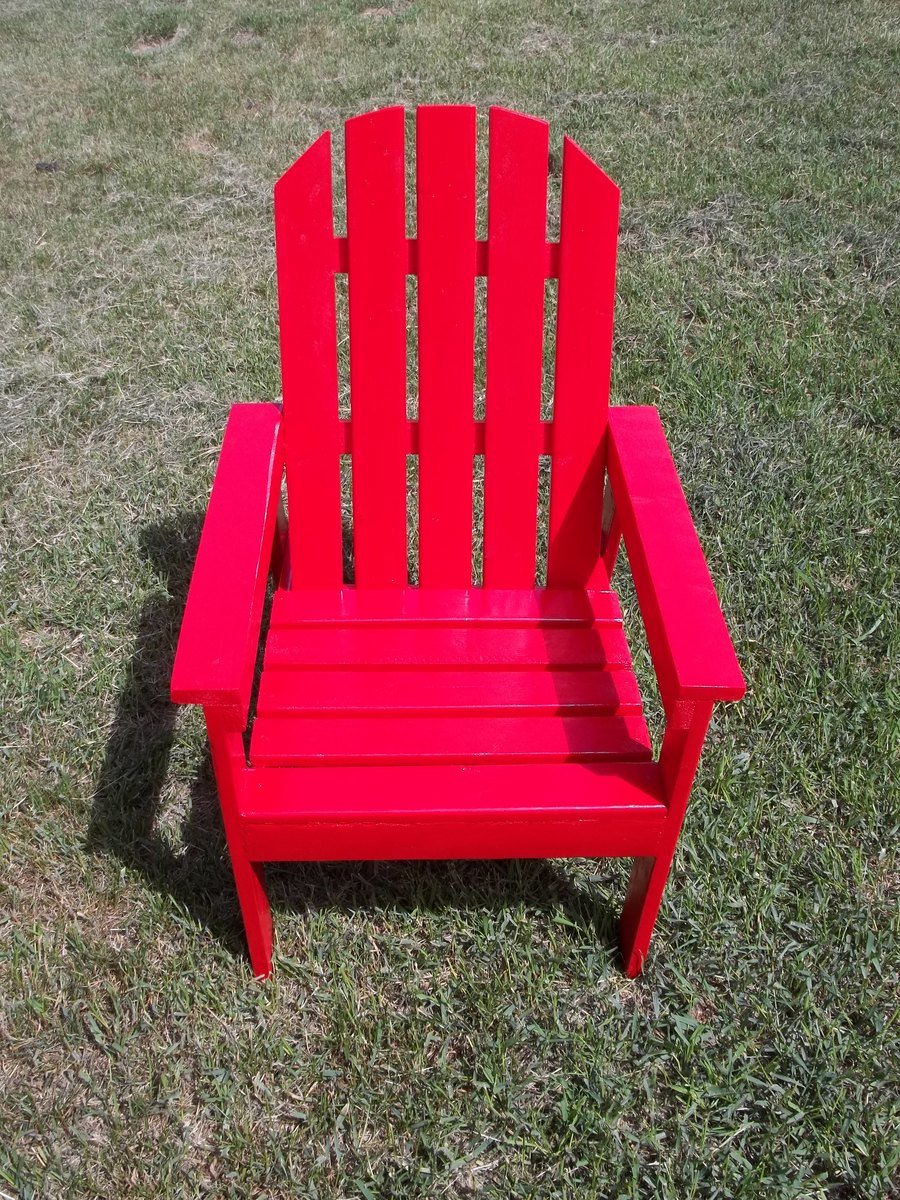
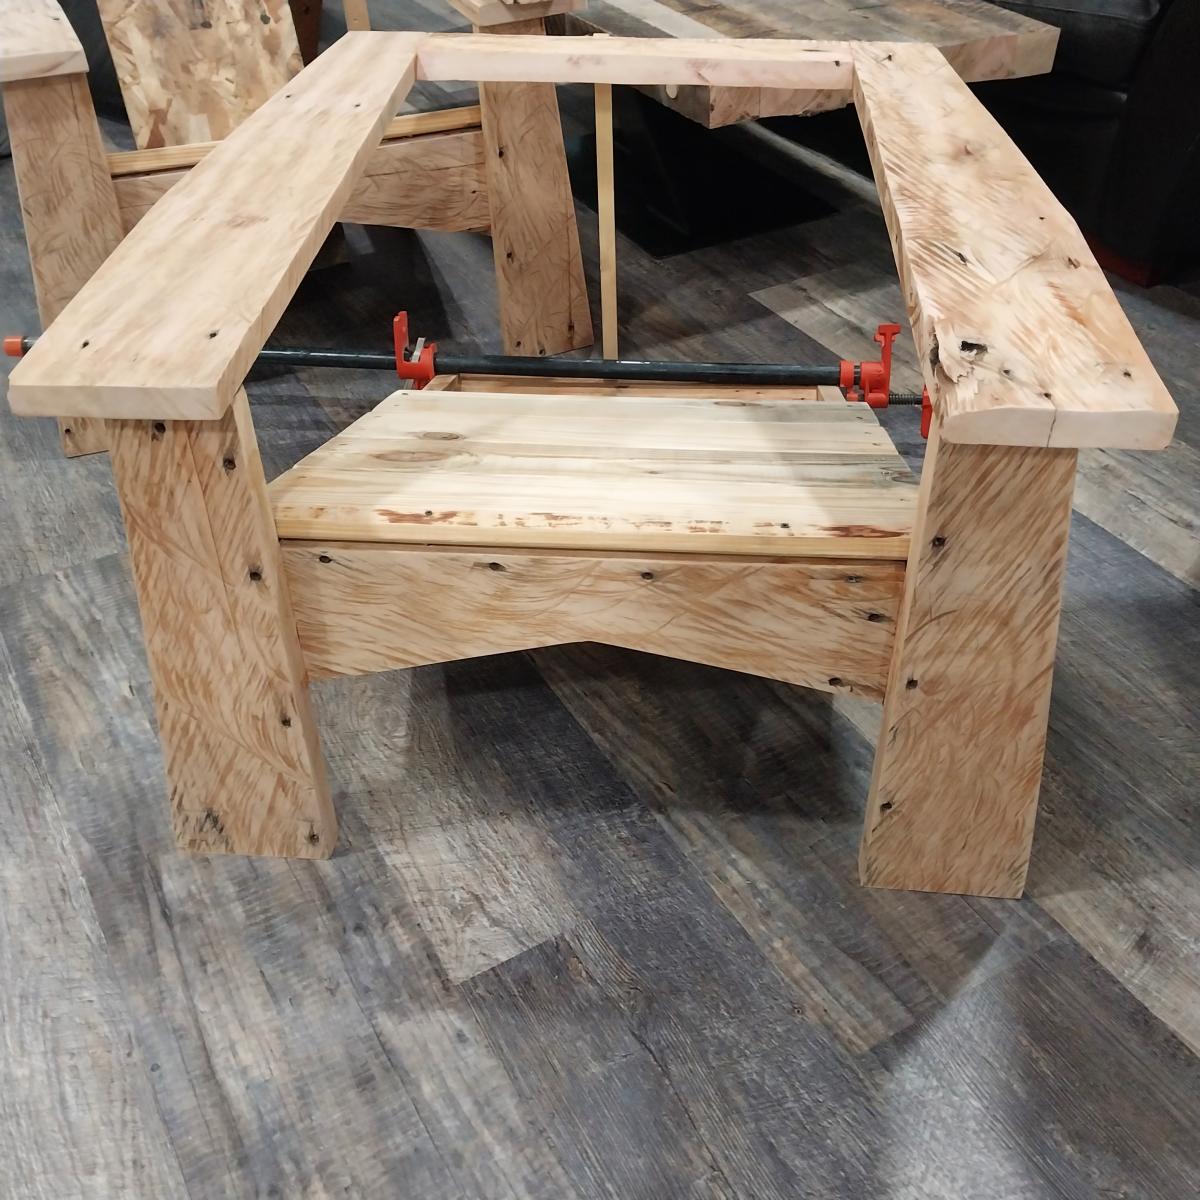
I made this cute kid-sized Adirondack chair to be auctioned off for charity. The pattern I used for this can be found in Ana's book, The Handbuilt Home.
This chair costs less than $5 for the wood!
If you want to see more details and pictures about how I built it, check out my blog post.