Easy Outdoor Planter
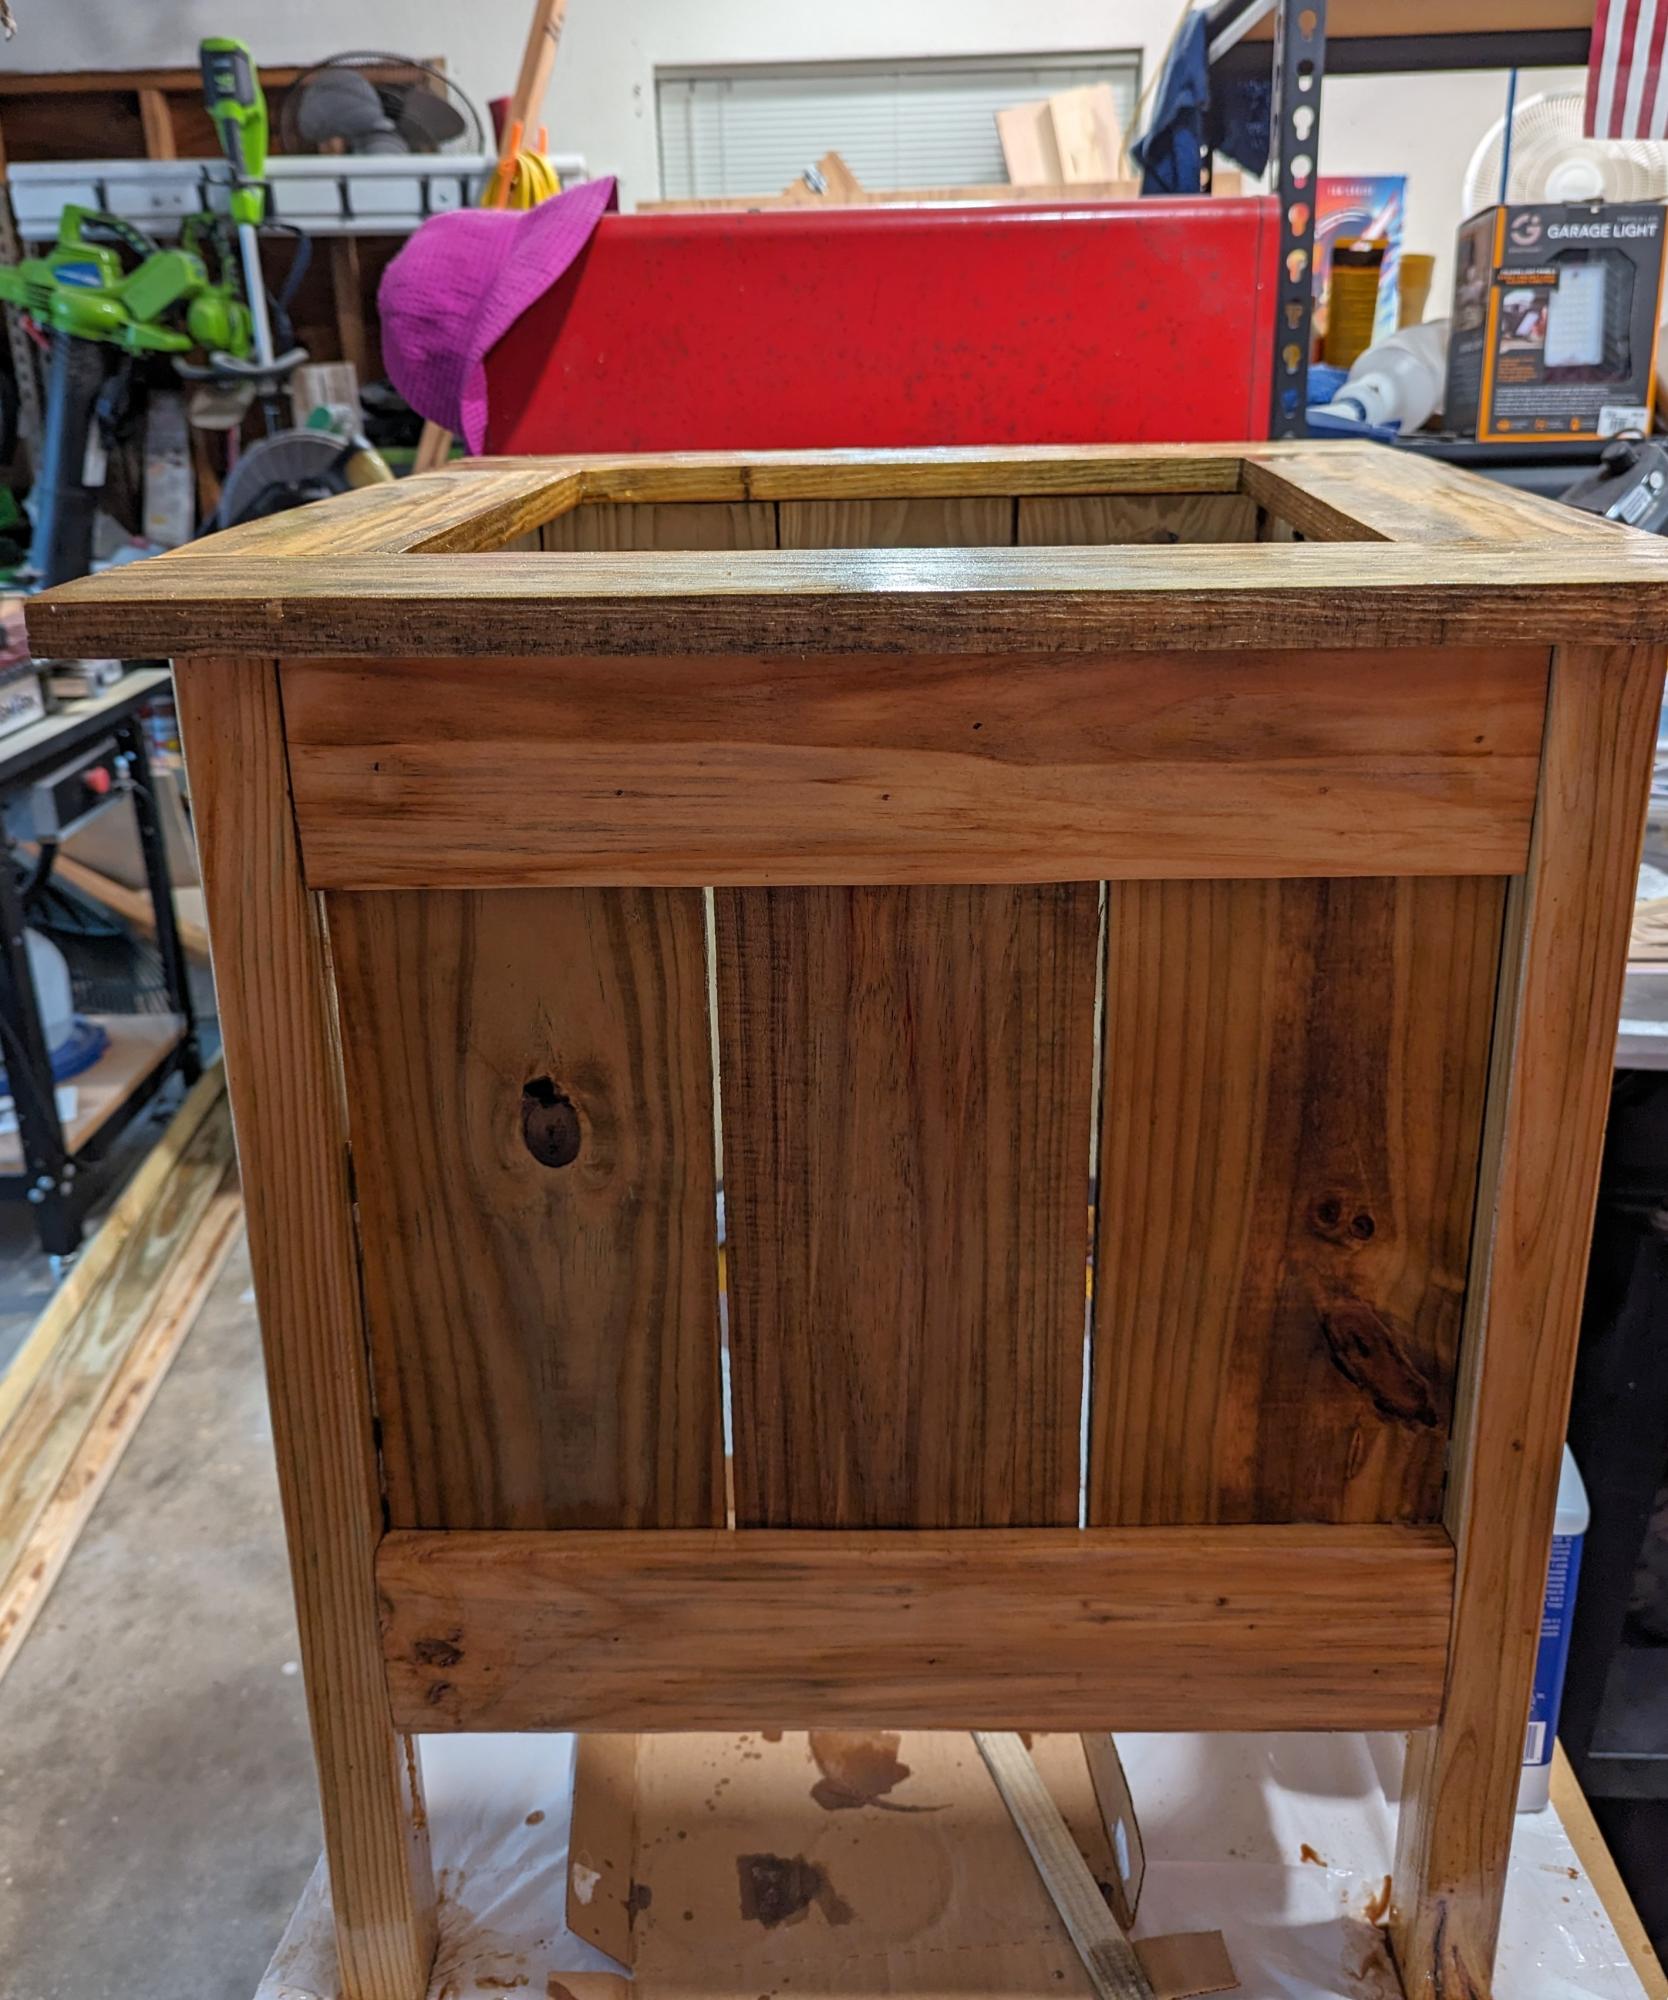
I built 4 planter stands, for Christmas. I finished the planter with a monlding on top.
From free Cummings workshop.
Built from Plan(s)
I built 4 planter stands, for Christmas. I finished the planter with a monlding on top.
From free Cummings workshop.
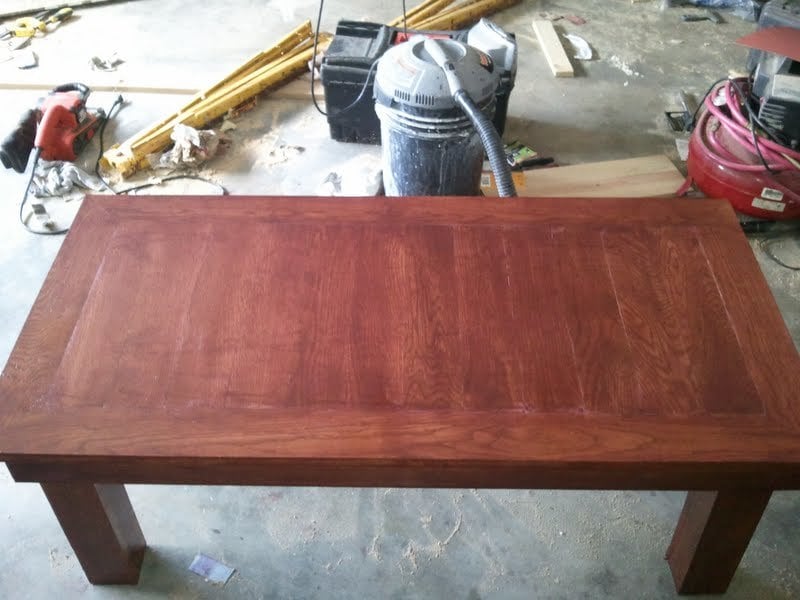
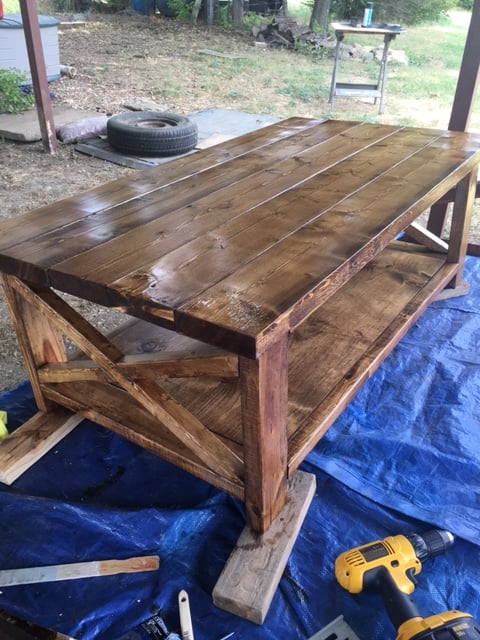
This is my first attempt at a coffe table. I used 1 5/8 inch screws, wood glue,and finish nails. I decided to use oak because someone gave it to me.
Mon, 07/09/2012 - 15:47
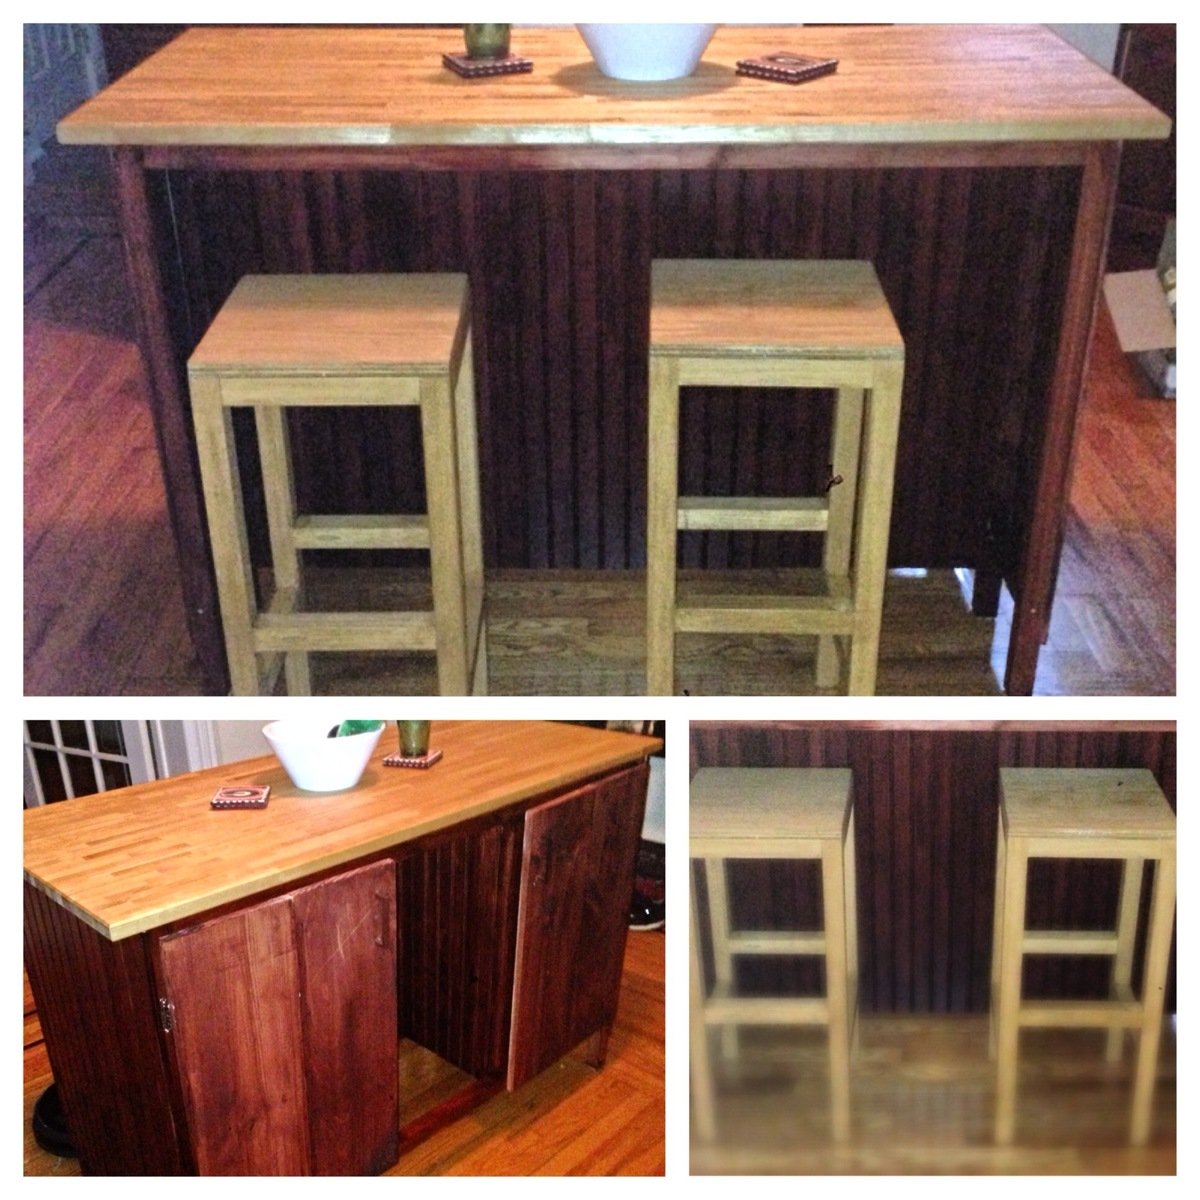
This is my first stained piece of furnature. I got the wood for free and didnt want to paint over the grain of the wood. This was also my Mother's Day gift to my mom so I wanted it to turn out perfect. She seemed to love it and I am pretty happy with how it turned out. Thanks Ana for all the great tips and ideas.
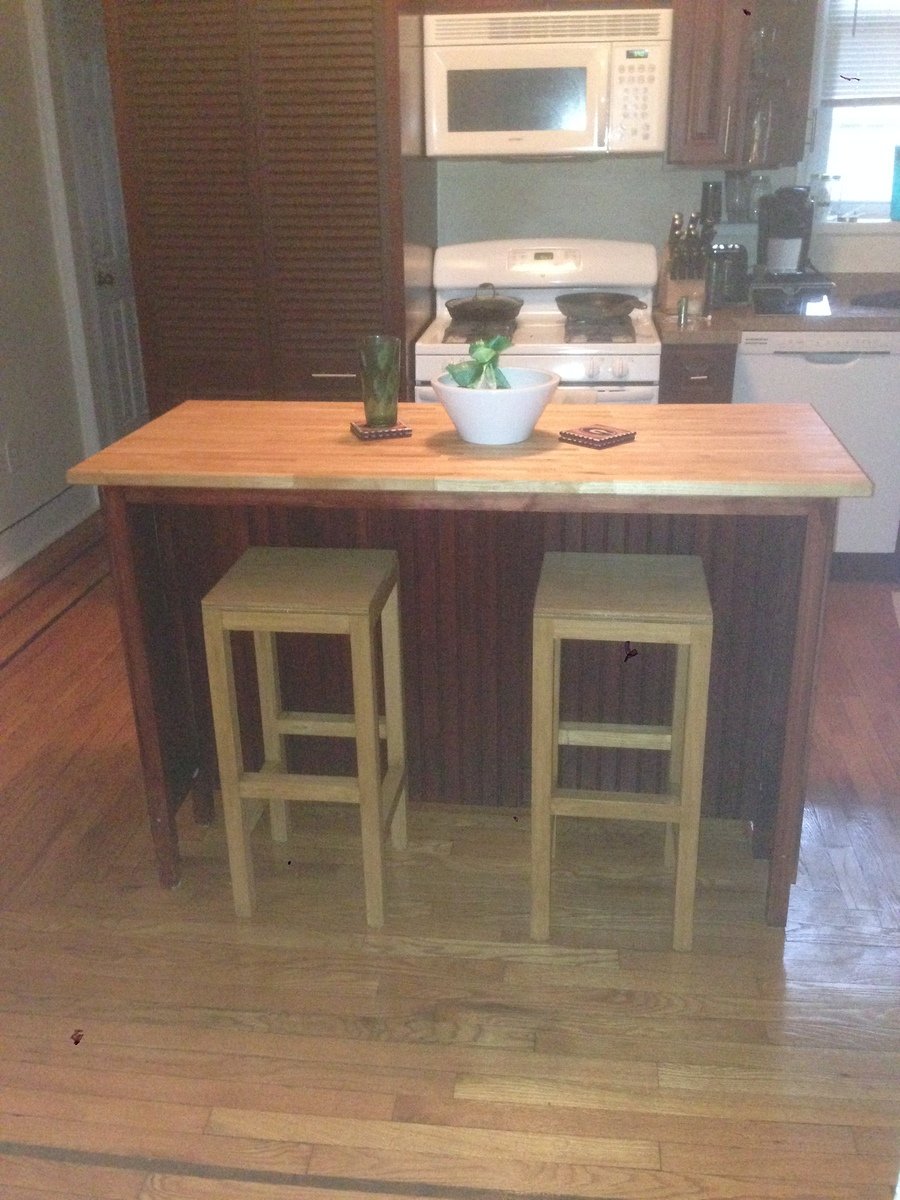
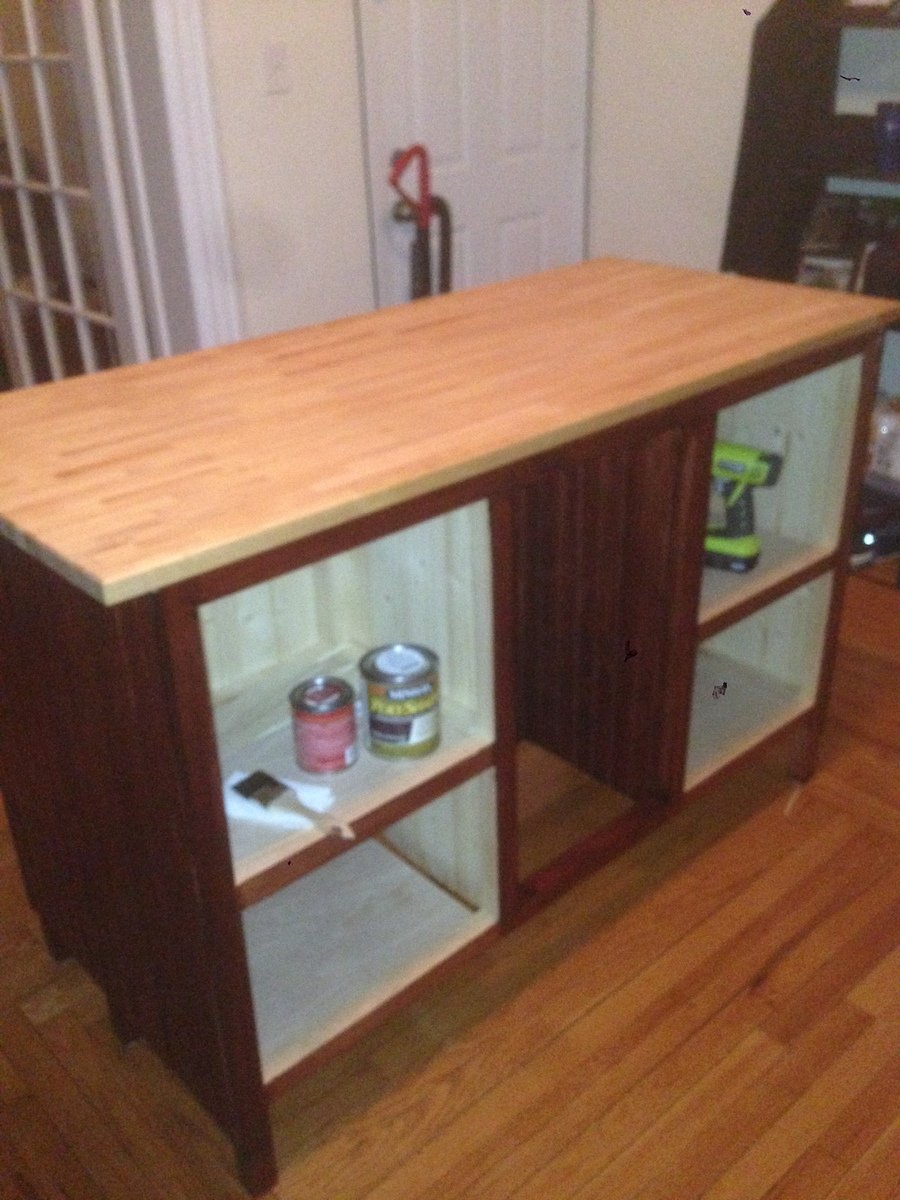
I used the Farmhouse Kitchen Island as inspiration as well as the Ikea Stenstorp Kitchen Island, but I designed the island to fit my kitchen and what I was looking for.
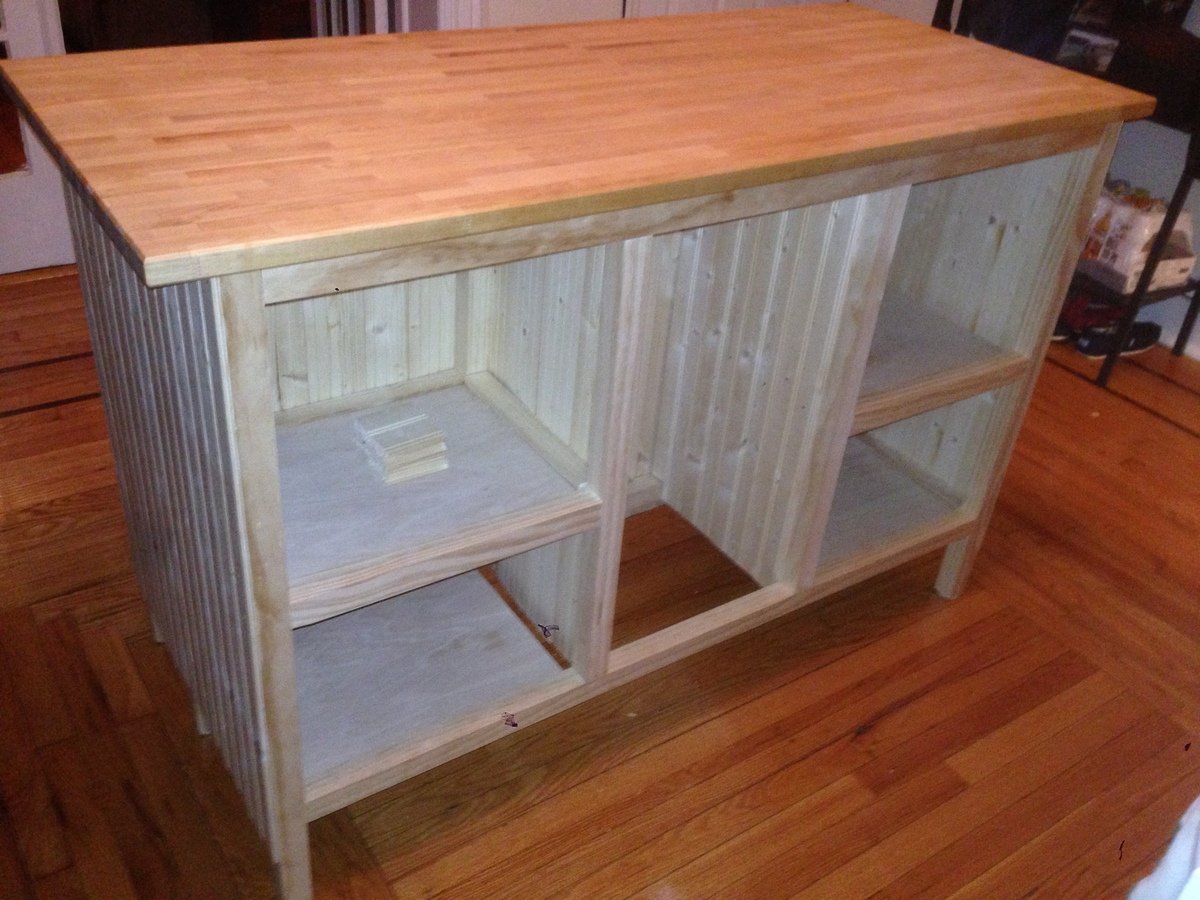
First purchase was the butcher block top from Ikea (Varde countertop, 57.5x25, birch, $80).
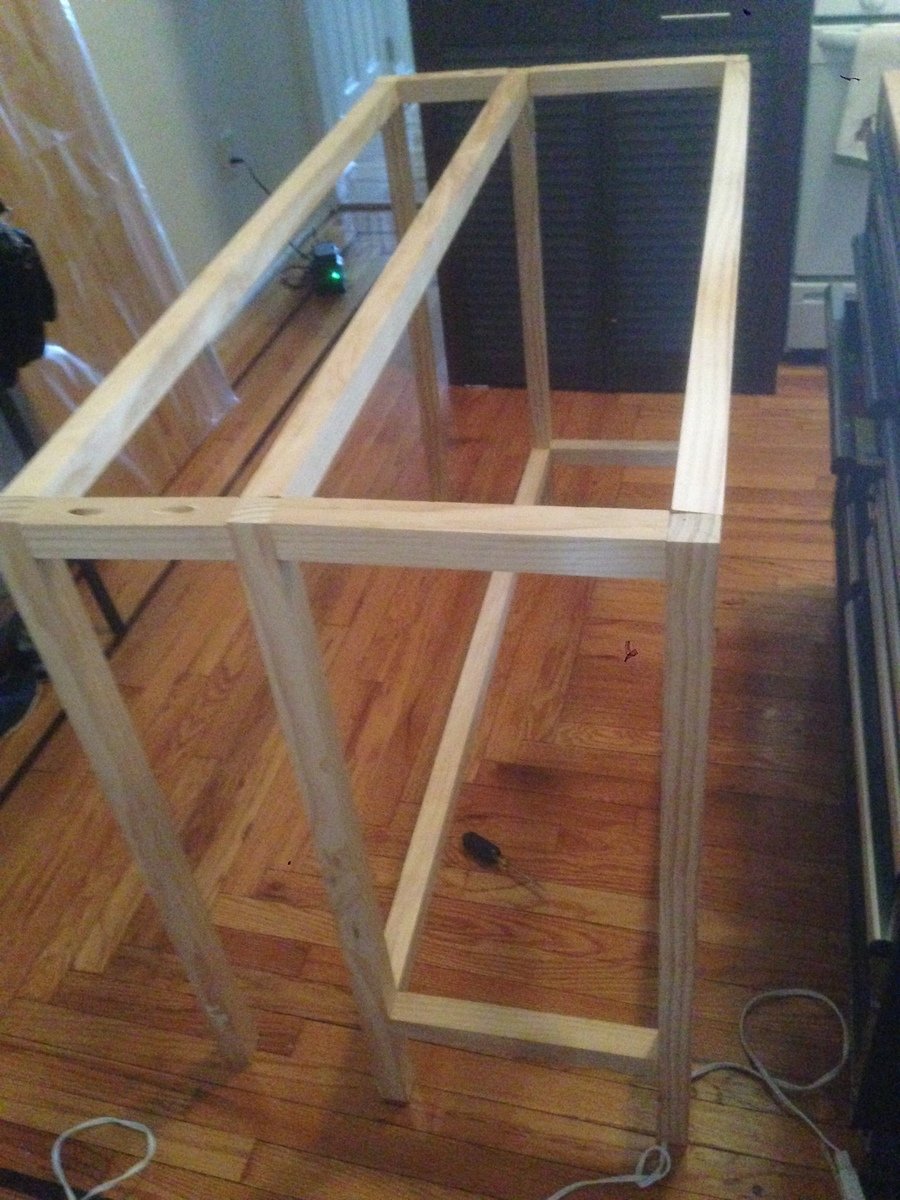
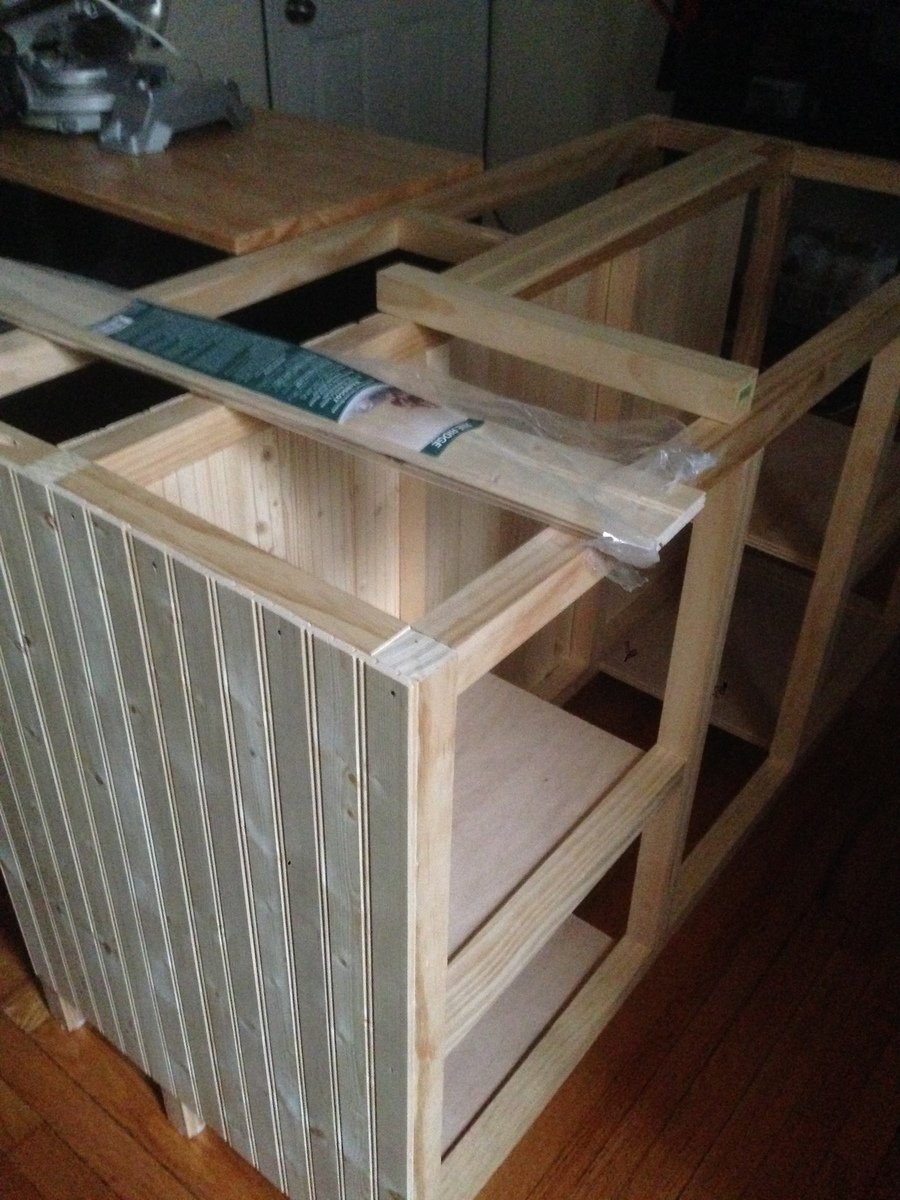
I built the frame using 2x2s, allowing for about 1/2 inch overhang of the countertop on all sides. Next installed the two shelves for each cabinet. I decided to use wood planking from Home Depot ("Knotty Pine" planking) to keep the weight of the island down. I liked the look of these planks and the ease of installation (nail to the frame, cut to fit). I built the cabinet doors using 2x12s. They are functional, but at some point I will probably make new doors using plywood.
Originally I wanted bar stools with the legs at a slight angle. I used the same 2x2s as used on the island frame. I cut the legs at a 4 degree angle but did not like the way the stools looked. Redesigned the stools to be straight and simple. The seat is a heavily sanded 2x12. The seats are slightly too tall since I forgot to account for the height of the furniture pads (the ones I use are about 1/2 inch each).
I used pocket holes for everything except for attaching the butcherblock to the island (just drilled underneath). Filled with plugs and sandable wood filler.

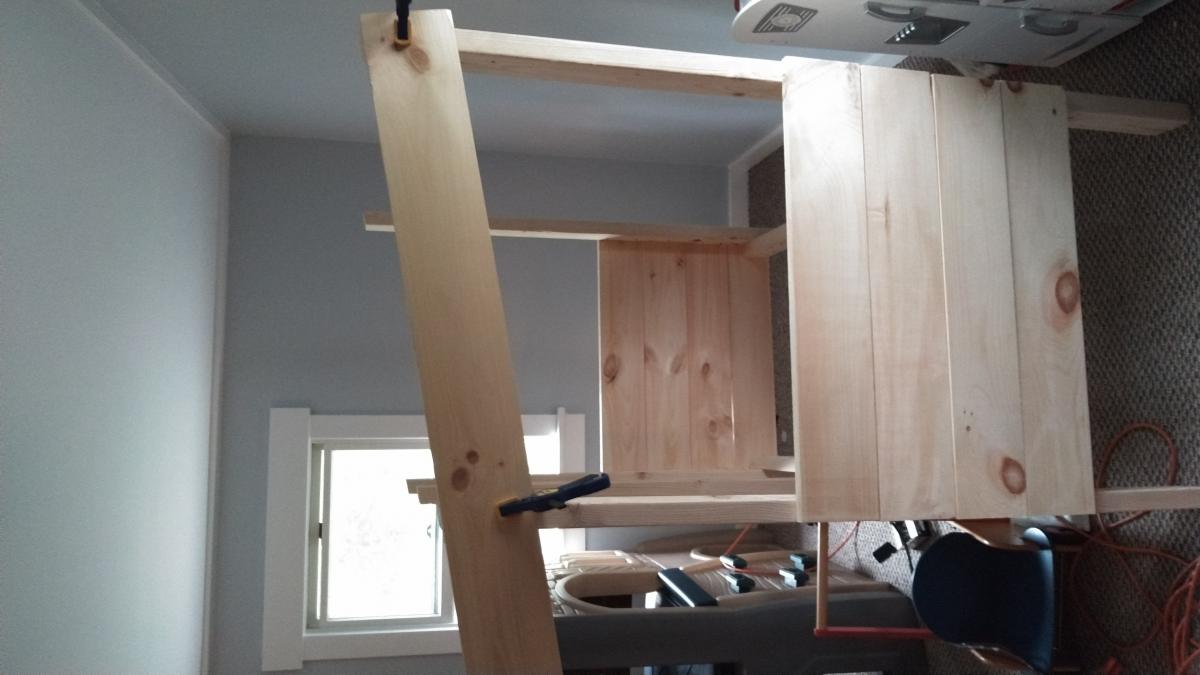
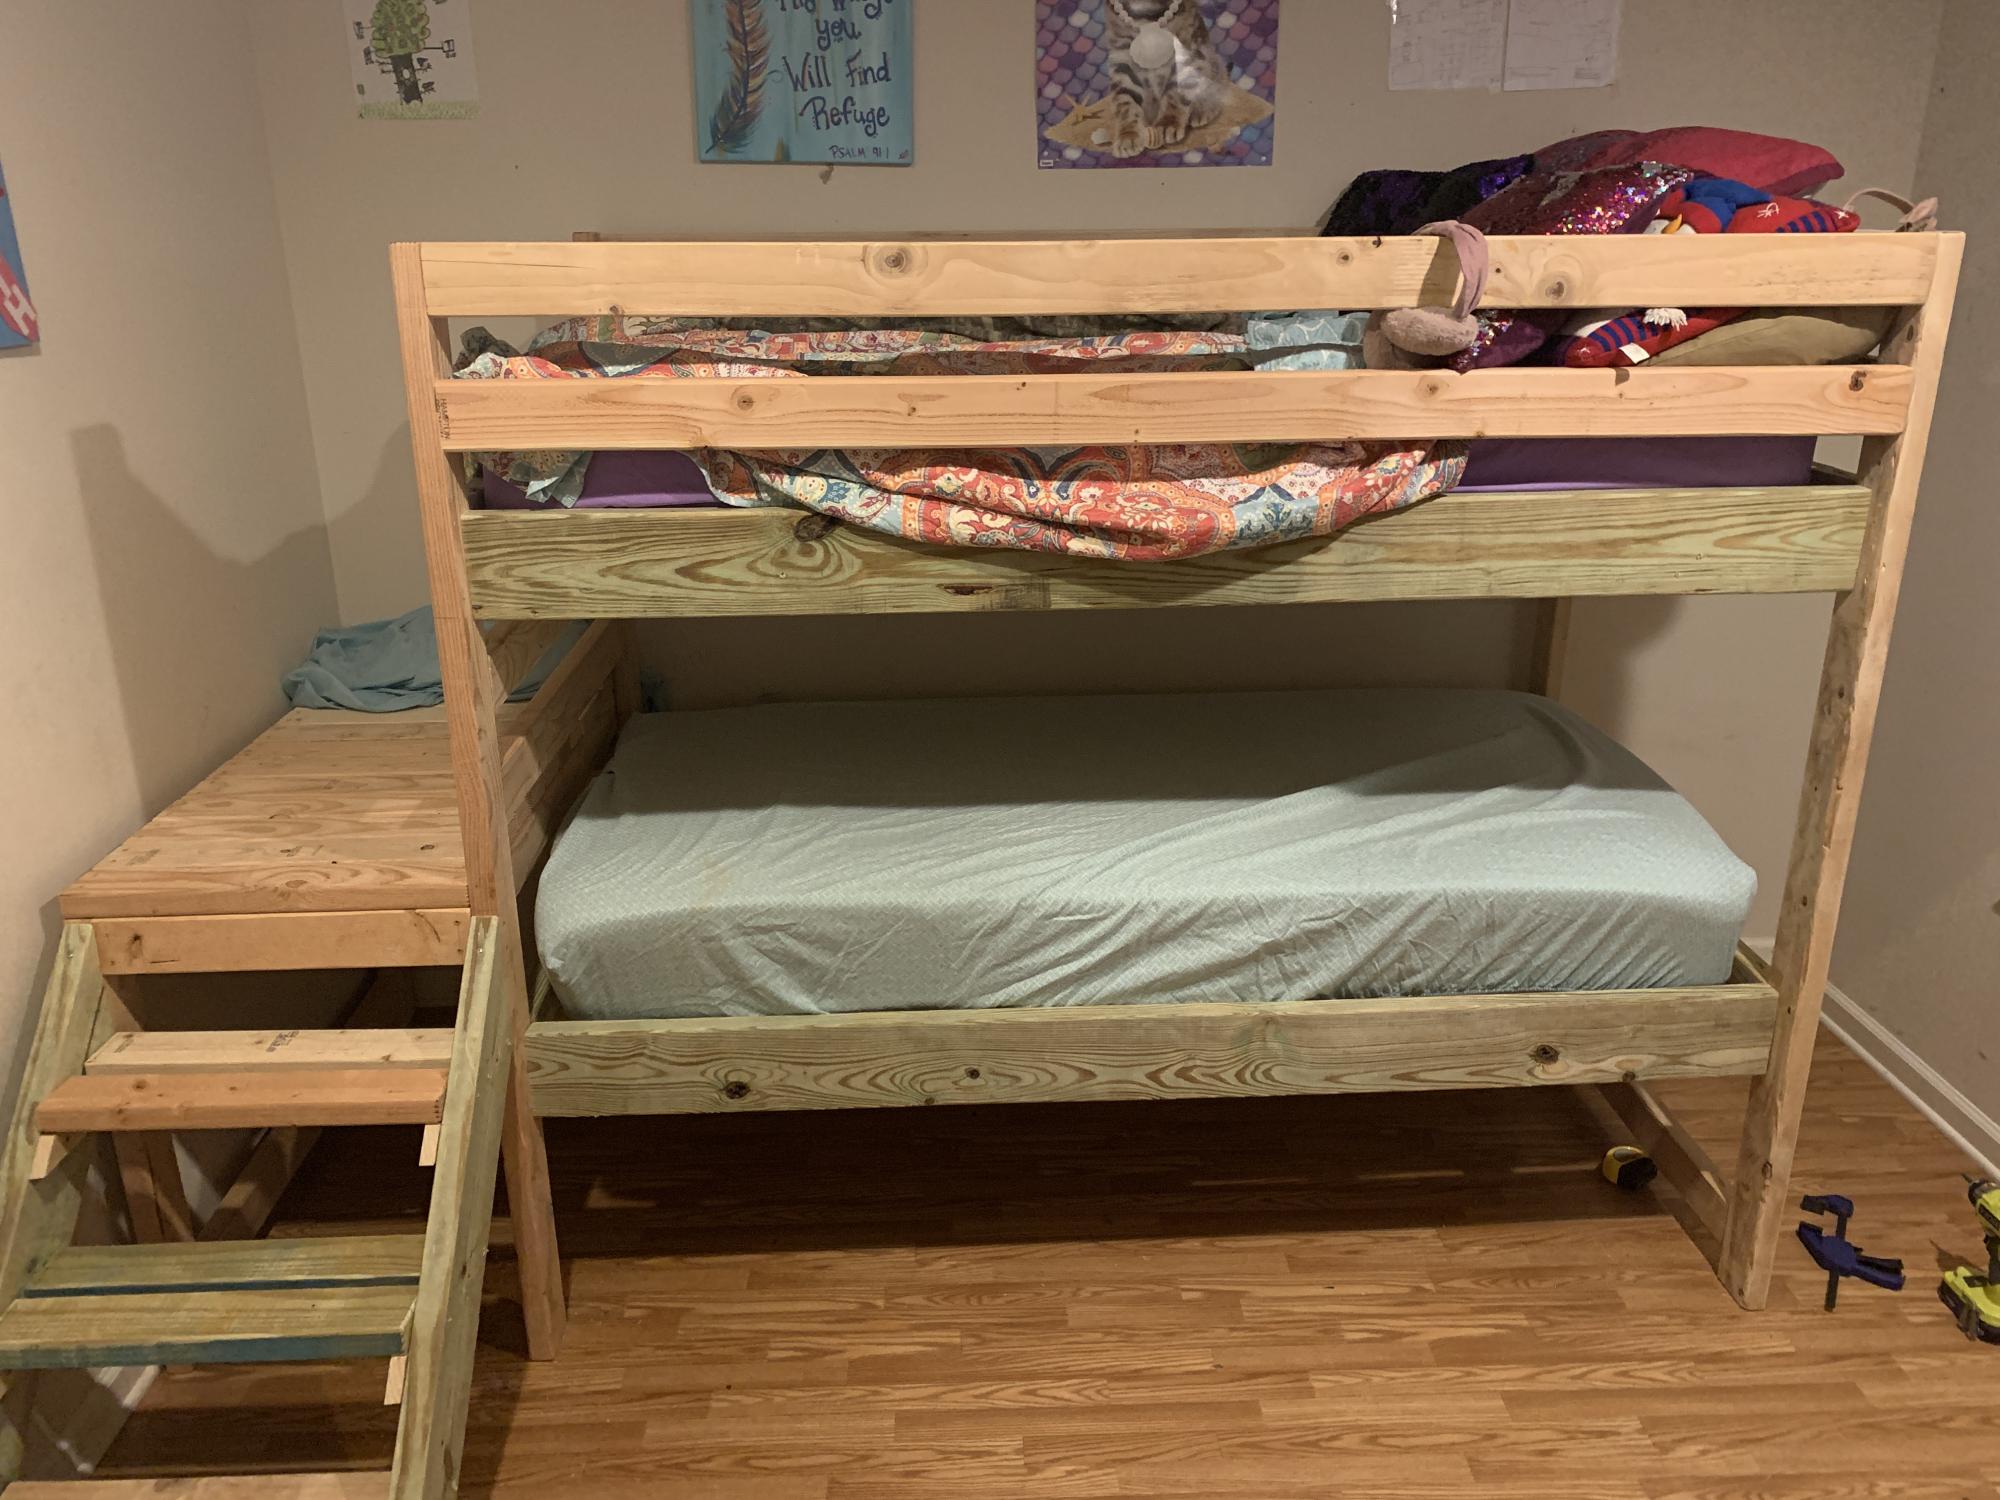
Made the Toddler Tree House bed. My little human was still a bit small for the ladder so I added a Ramp to it. It works great and my toddler has already made a permanent transition to it from the crib. My wife wanted to make it more of a beach shack this the colors. Im exploring putting some small bookshelves or a pull out to chest underneath to maximize storage.


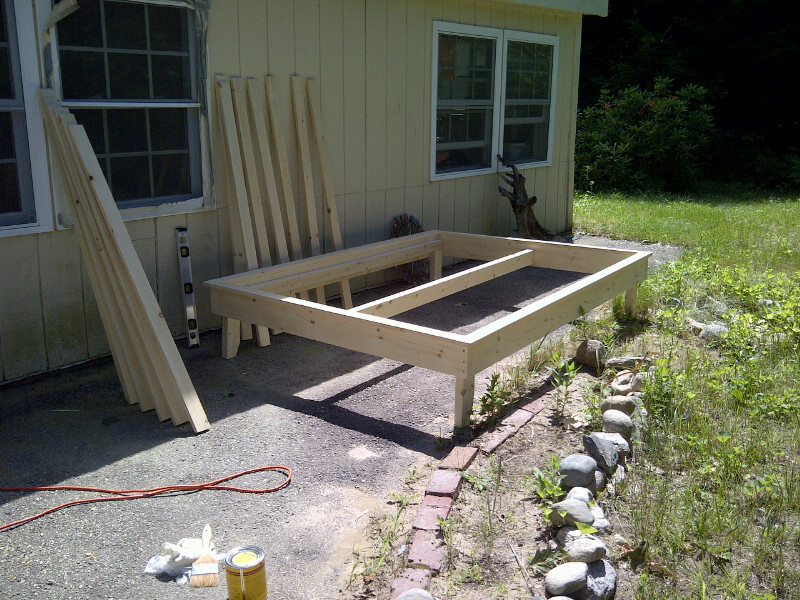
Since we moved 2 months ago, our bed has been a mattress on the floor. Being busy with other projects needed to make the house more liveable, I kept putting off this one until I just couldn't stand it any more.
So I spent the weekend getting over the fear of the people at my local lumbar supply store (the guys aren't always very nice, but I lucked out and got one of the ladies to help), buying the materials and building the bed. It took a good solid weekend. But by Sunday night, no more sleeping on the floor.
Finished with minwax ebony stain and lemon oil (my cats hate it, keeps them from clawing the pine to shreds)
Now hopefully I can get to the headboard...at least once all my kitchen cupboards have doors, haha.
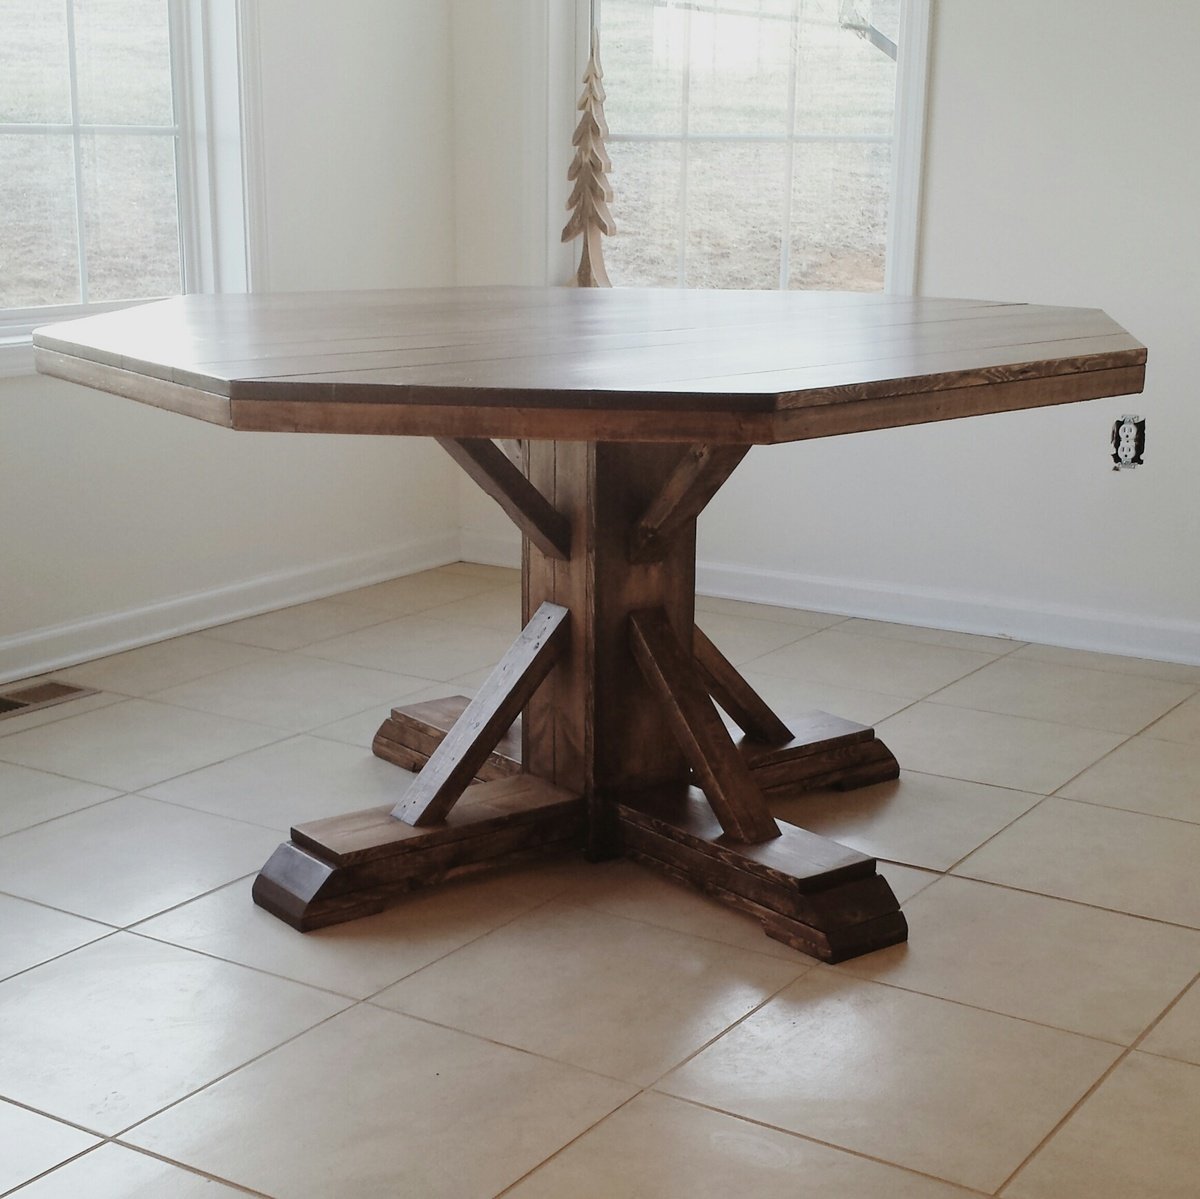
This table was my very first project and I am proud of myself! After getting married in January and closing on our house in February, I was overwhelmed with all the empty space! (Being 19 and buying a brand new house.. everything was foreign to me! We had NO furniture!) We needed a decent place to eat instead of using the borrowed barstools and my dad has all the tools I could ever need, so I figured I could try out building our own kitchen table! I think it went well! Since then I have made a media cabinet, a dining table and bench, storage cubbys for above the fridge, a mail holder, a towel holder and a wooden tray for our ottoman ALL from Anas plans! I'm just now getting around to posting my brags :)

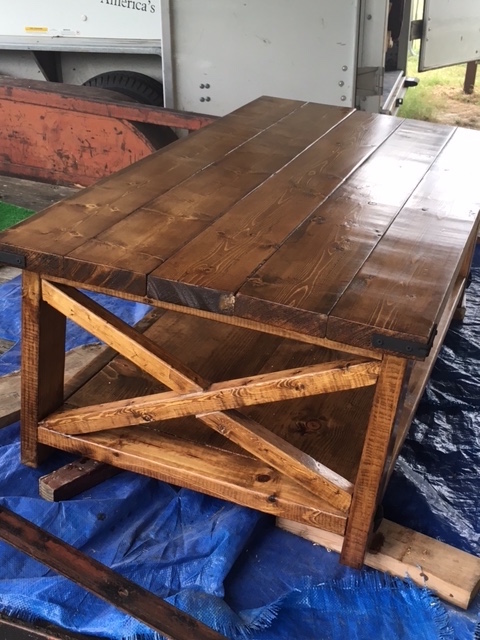
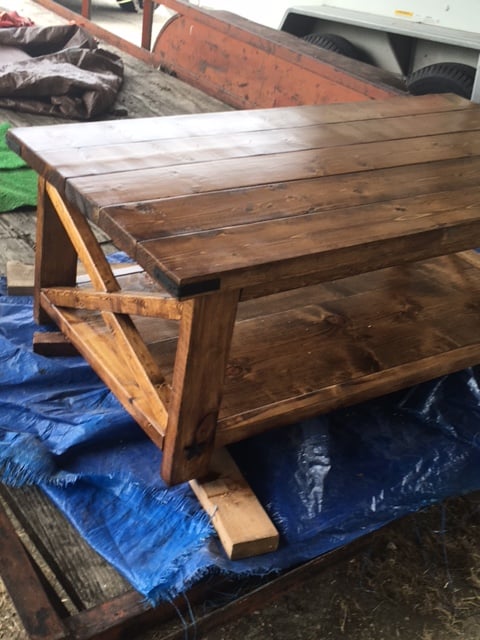
This was my first attempt to build furniture. Me and my daughter built this for her first house. This was very easy if you follow the plan instructions. I had an extra 2x2 to play with the angles till I got them right for the x. We didn't want the grey finish so we used one coat of Miniwax Early American with 2 coats of polyurethane satin finish. We used star nails instead of the bolts and used the angle brackets that we spray painted both black. It took a weekend but I plan on building the end tables next and it should go quickly since I have the hang of the plans now.

This was my first project to tackle from this website and I had some help from my Father in Law who is pretty good at carpentry. I have picked up a lot from this site as far as tips and such and this was the first of many projects for me.
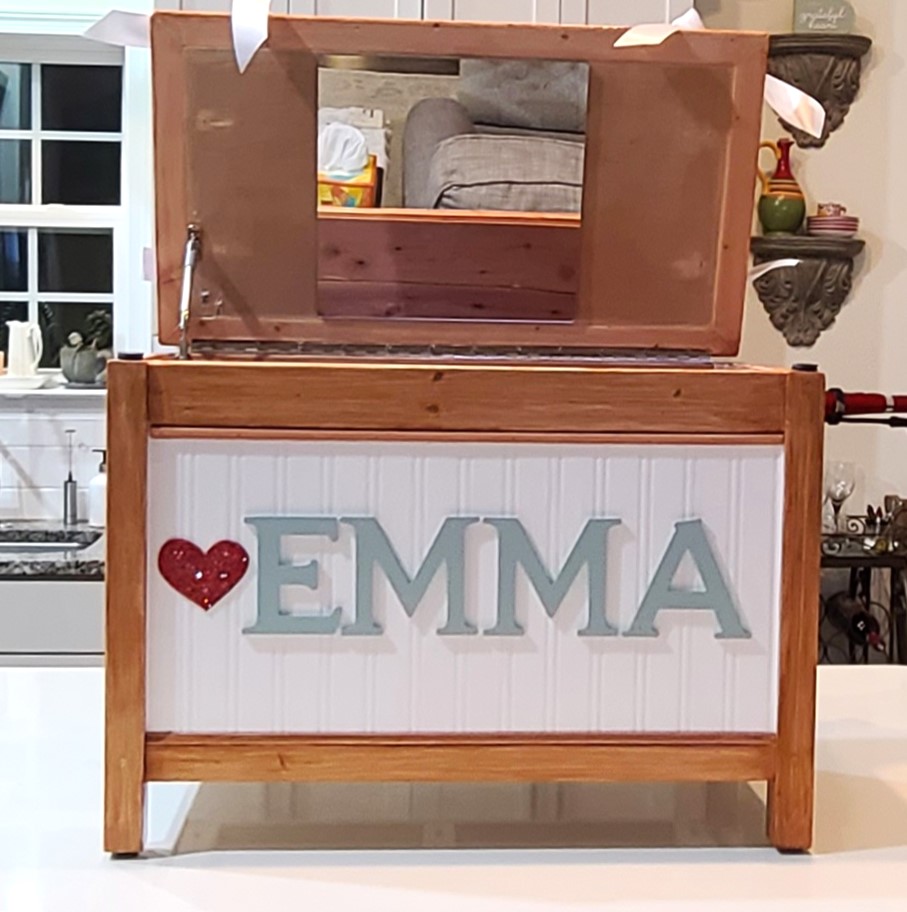
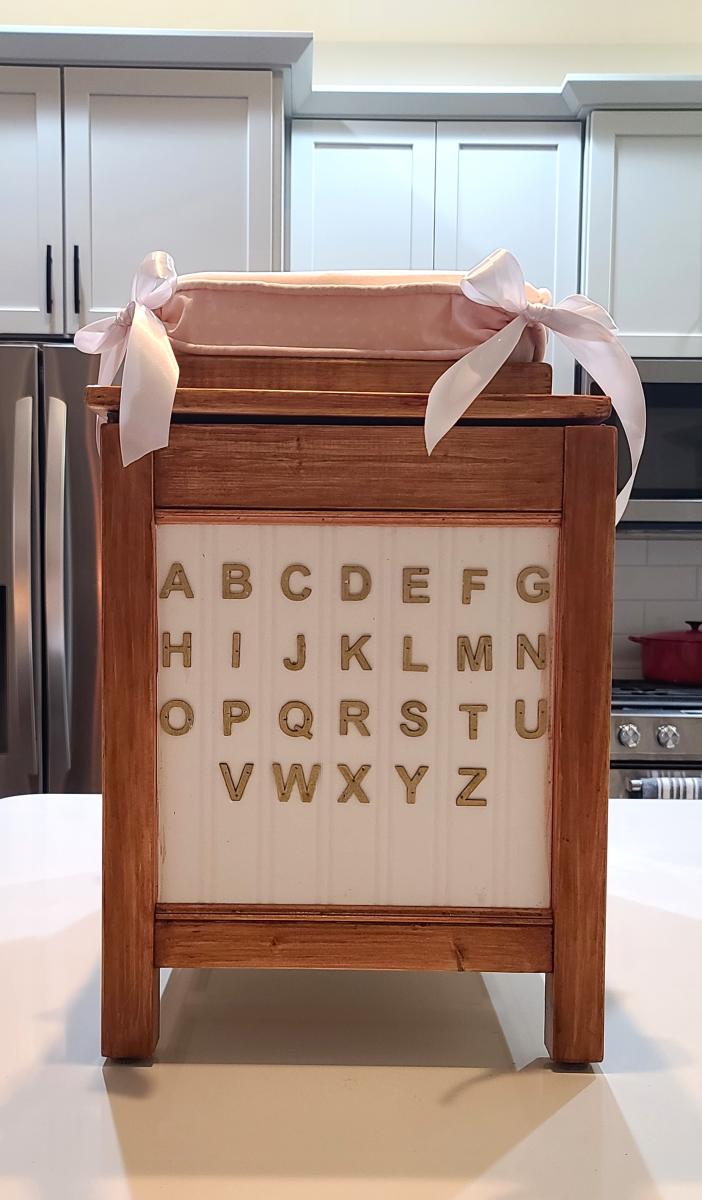
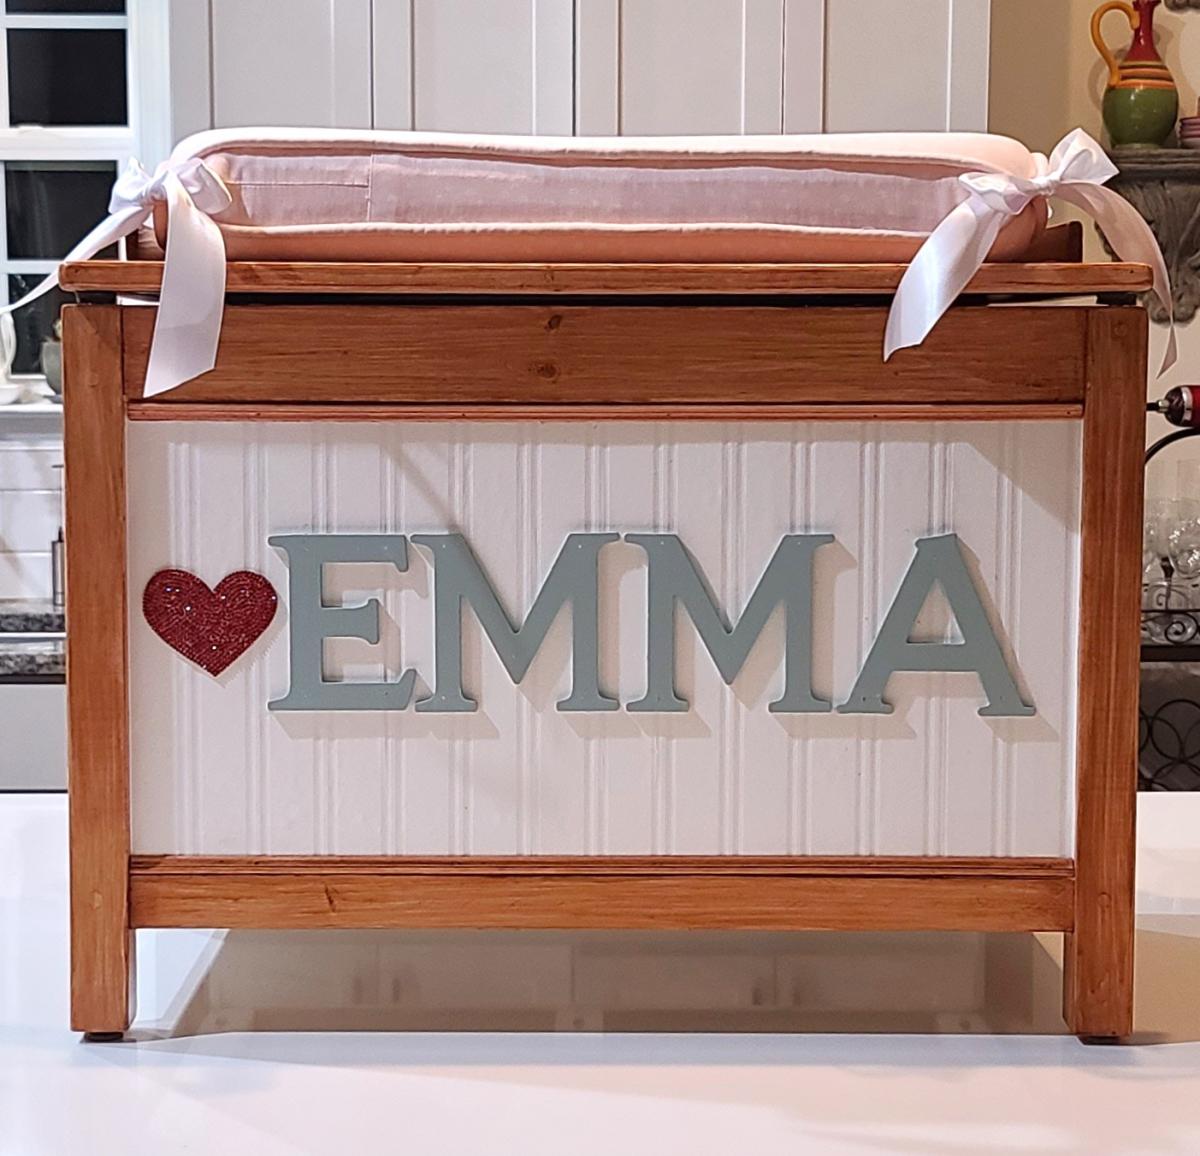
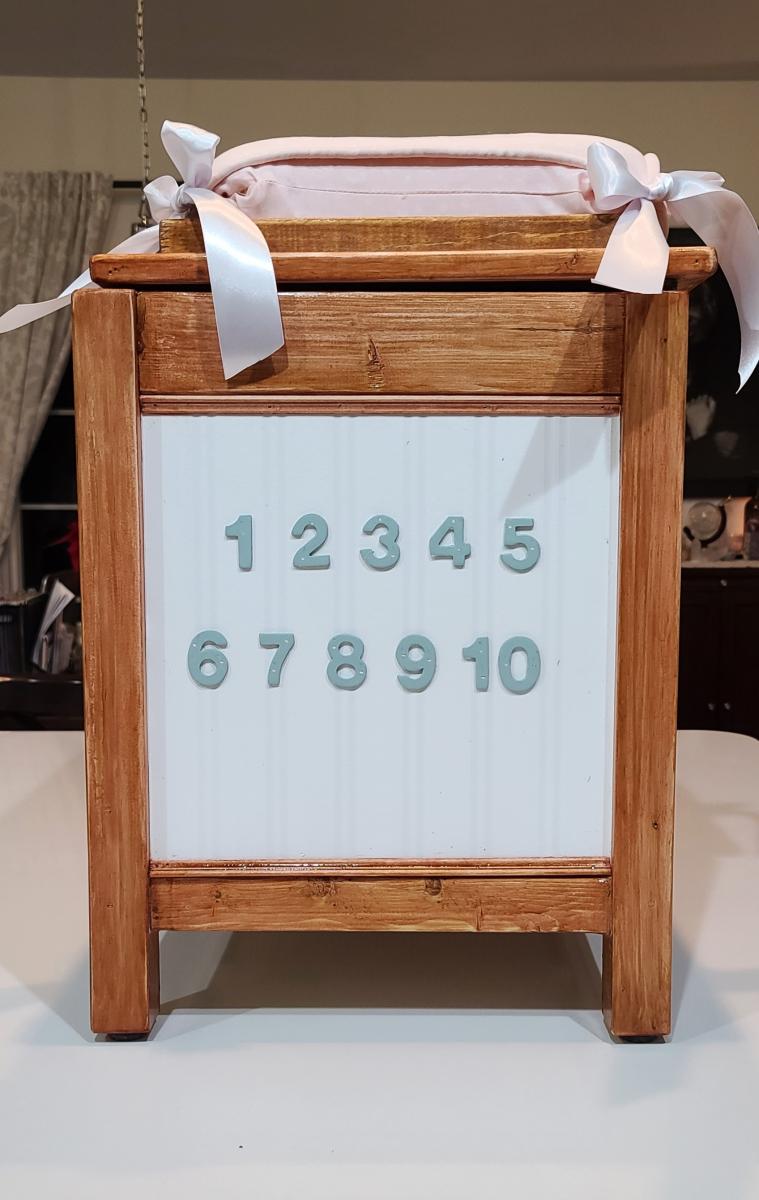
I made this "dress up box" for my granddaughter. She loves dress up and also likes to sit in boxes - lol... I lined it with cedar planks and added a cushion on top. I put a few coats of polyurethane over the glitter paint to reduce the chance of getting glitter everywhere. I made it a little smaller (24 inches wide instead of 37 because of space concerns). She loves sitting in it and looking at herself. (the mirror is unbreakable plastic of some sort). There is also a faux fur blanket (removable) in the bottom of it so she's comfortable sitting in there. Thank you so much Ana for all of your plans! It's so very kind of you to share them.
Kathy Taylor

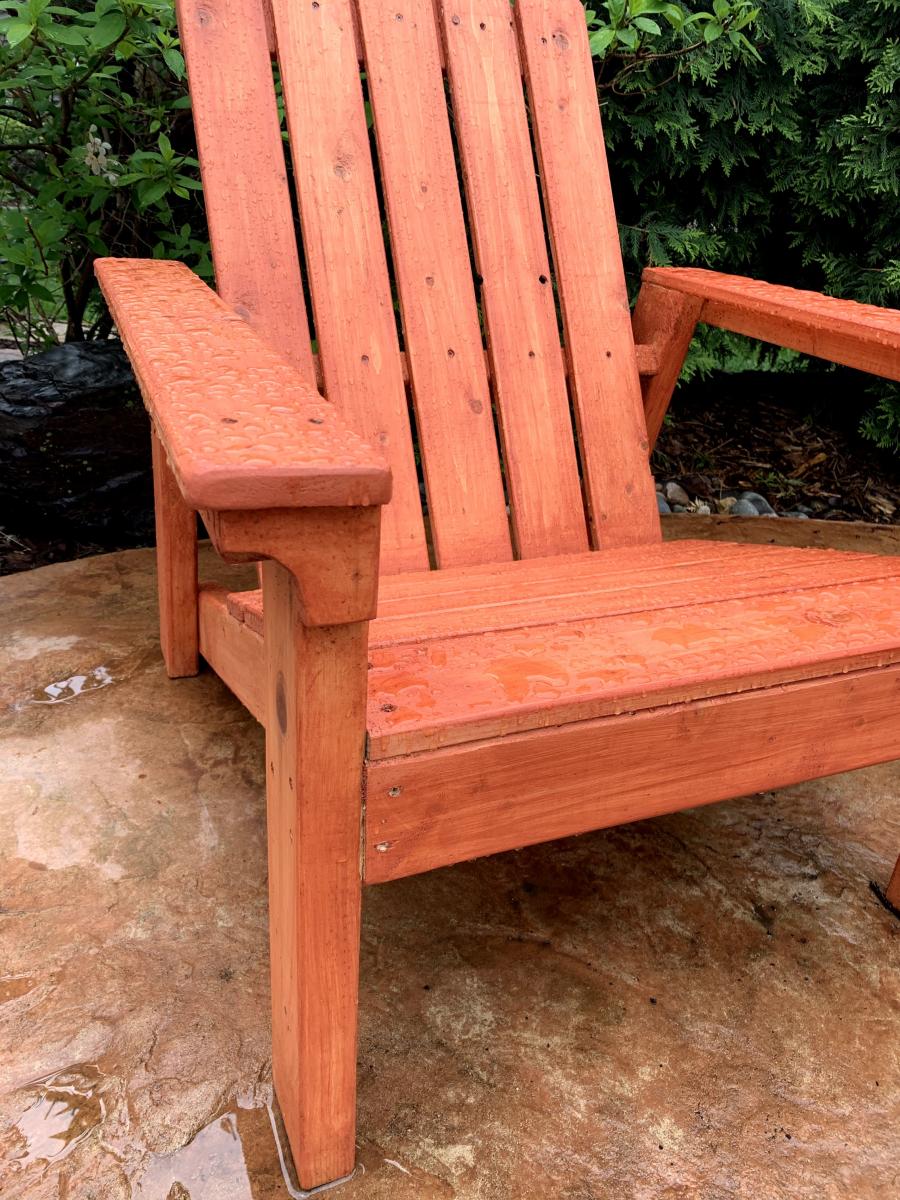
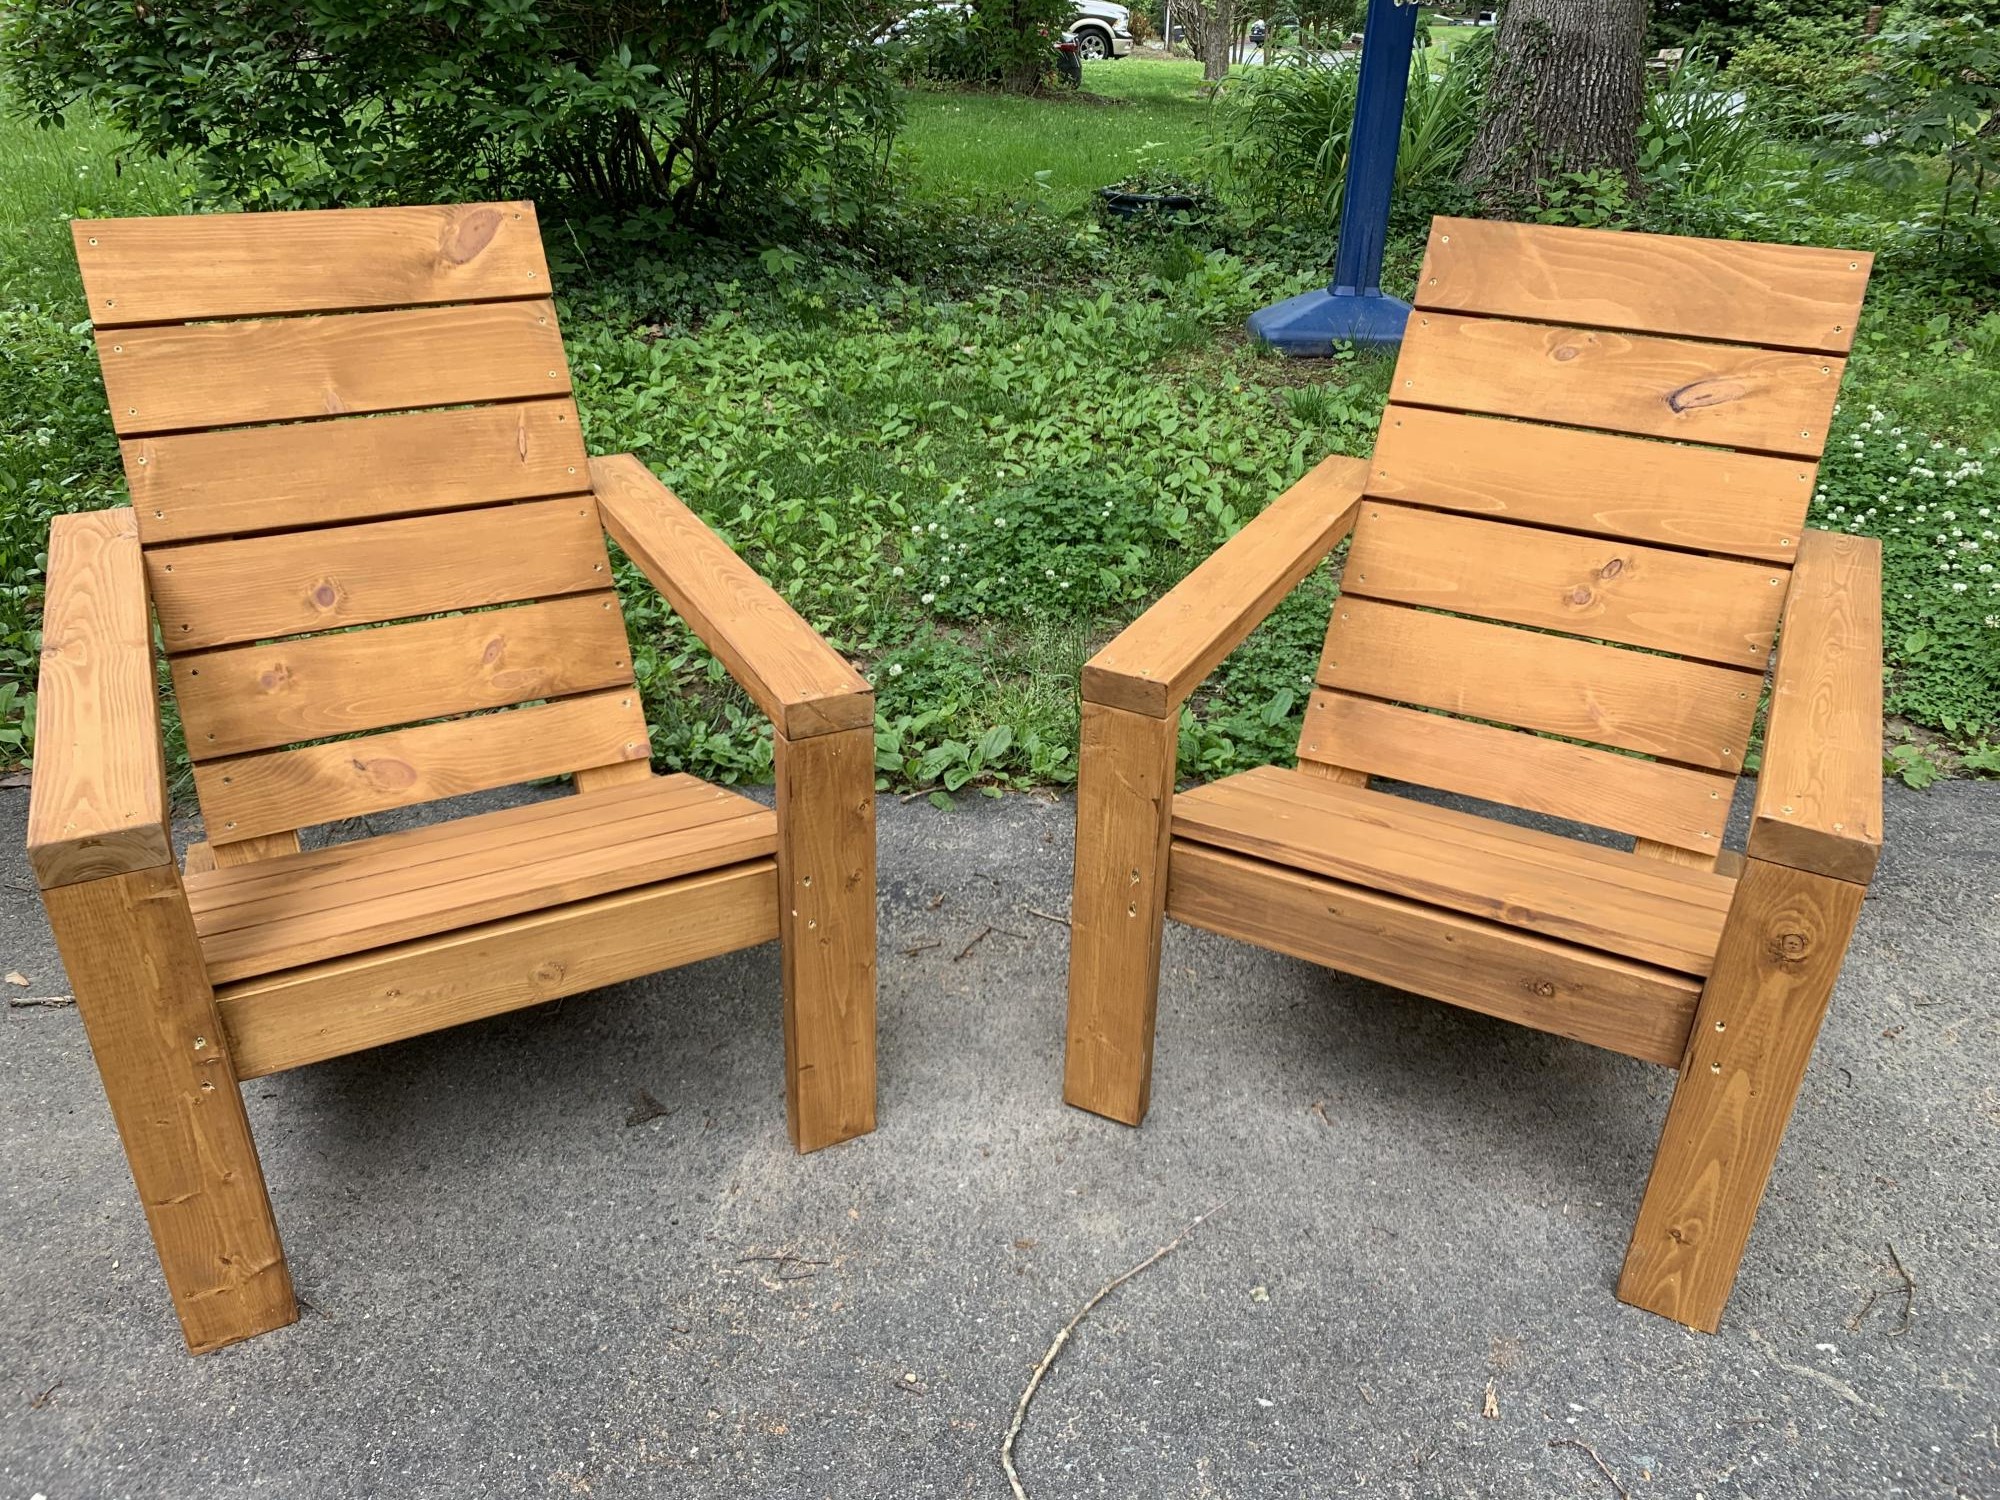
I had some leftover wood from building my daughters loft bed and after coming across this plan realized i had all the right lumber on had already so after a trip to the store to buy a few bolts i was ready to build. I built one chair following Ana's plans exactly, using 1x2's for the outside frames, the chair turned out awesome and I wanted another. For the second one, i didn't have enough 1x2's left so I used 2x2s for the outside frame. I kept the inside width (24") of the back frame the same and adjusted the rest of the dimensions to fit. While the 1x2 chair was great and very sturdy, the 2x2 chair is rock solid. I rounded all the edges of the boards with a 1/4" roundover bit and spray painted everything dark chocolate brown. The fabric slings are made of cotton duck cloth. I added a 1" foam pillow sewn onto the top of the sling because my head rests right on the top boards and I wanted a little padding.
All said, including wood, hardware, fabric and the foam for the pillow I think this chair cost about $40 to build and finish.
As my 3 daughters piled on my lap to read on night the 2x2 chair has been load tested to about 300 lbs!


Fri, 08/10/2012 - 14:22
What a great idea! I think I will sew together a wrap-around foam pillow with a velcro closure, so I could easily remove it if I decide to switch to a new fabric. Thank you for the inspiration! And thank you for mentioning how much sturdier the 2x2 wood is. I appreciate it!
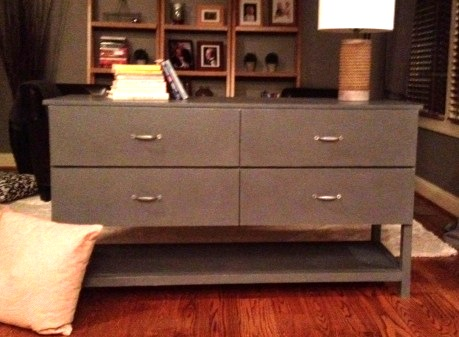
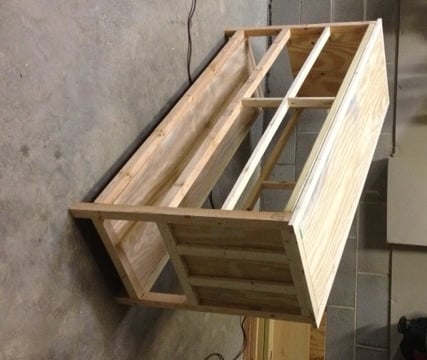
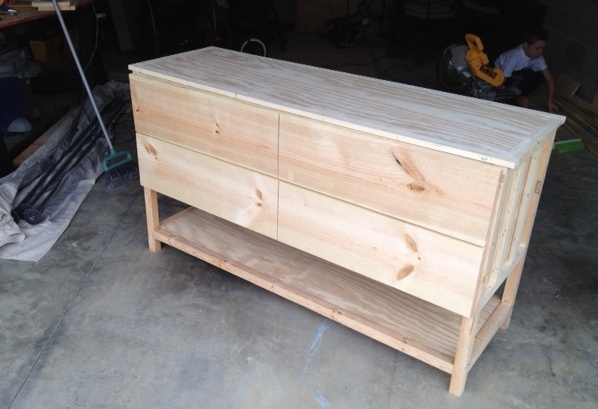
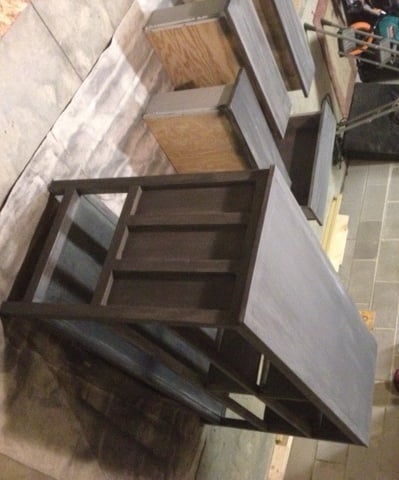
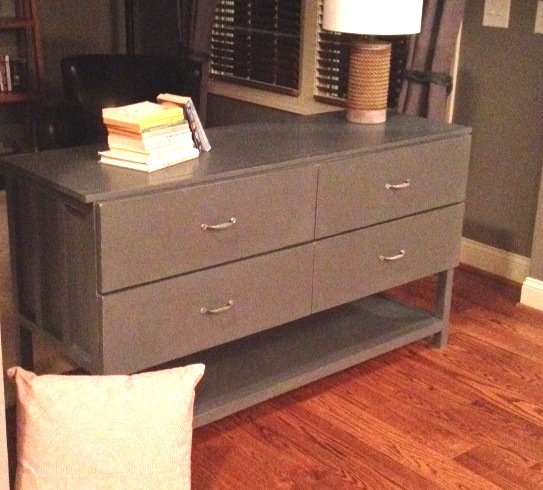
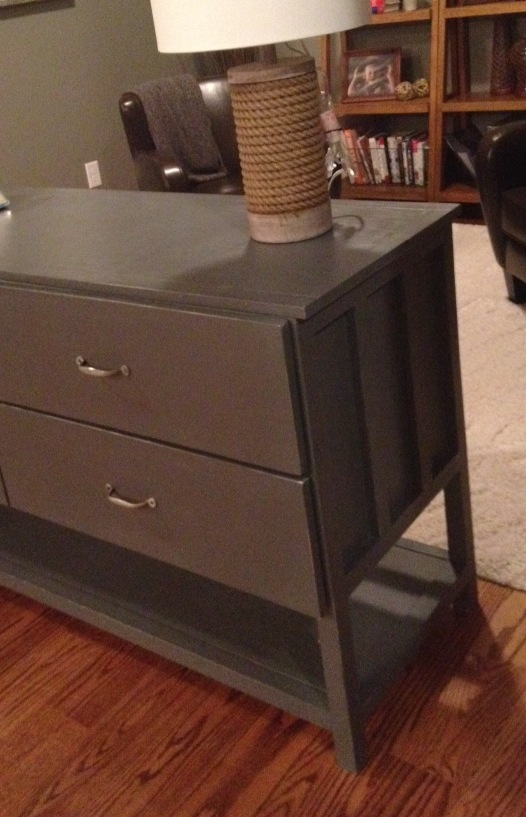
This dresser is for our 2-year-old, as part of his big-boy room. We'll also be making him a full-sized version of the twin cabin loft bed (just the bed on the floor with headboard/footboard - no loft).
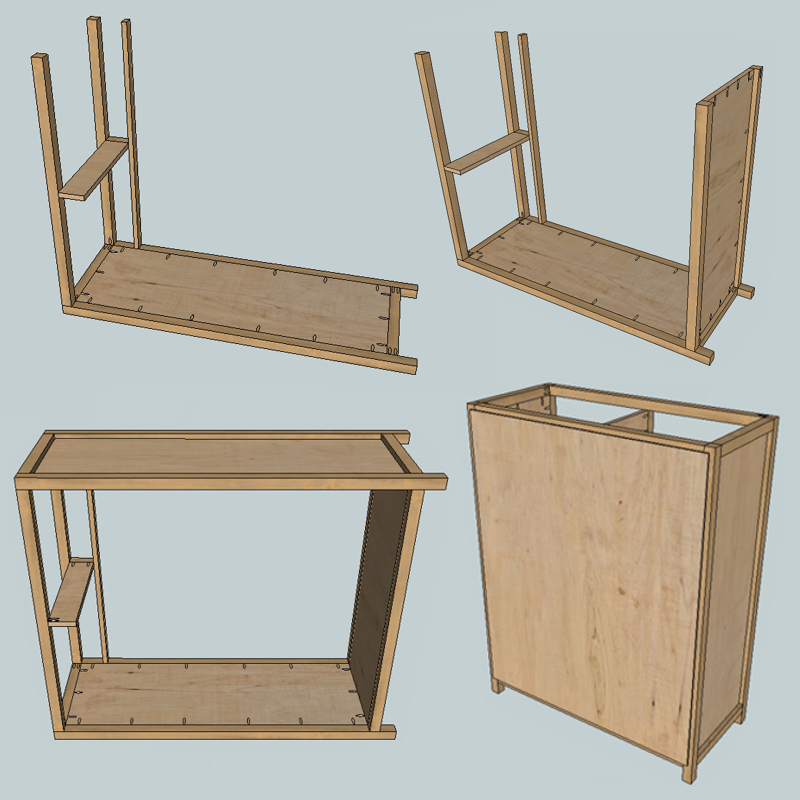
This was our first non-beginner project, as well as our first time making drawers.....and we definitely underestimated how difficult drawers can be, even when you're constantly making sure everything is square!
I loved the original plan, but my husband thought it might be a bit easier on us beginners to do 4 equal-sized drawers, instead of 5 drawers in 2 different sizes. However, due to a mistake we made in the frame (that we chose not to correct), we didn't have 4 equal holes for the drawers to slide into :-( ..... and therefore needed to put the drawer fronts on the outside of the dresser. I wasn't happy about that at first, but felt like we made it work in the end.
We knew we were going to paint instead of stain, so we used various types of wood. We initially had 2x2s of a different wood type for the legs, but ended up removing them, and replacing with ripped down 2x4s, which seemed to make it sturdier, and were less bowed.

Ever since I got a riding mower, I’ve been waiting for the chance to do something really cool with it (other than cut the lawn, of course). So what started off as a joke to bring a hayride farm experience to the backyard for my son became a real project to build a wagon for my riding mower. Not only do I use it to pull my son and his friends around the yard, but its such a timesaver for hauling things back and forth (like 10+ bags of grass clippings to the curb). Check out my blog post at JustMeasuringUp.com for all the details. I documented the project from beginning to end with lots of pics.


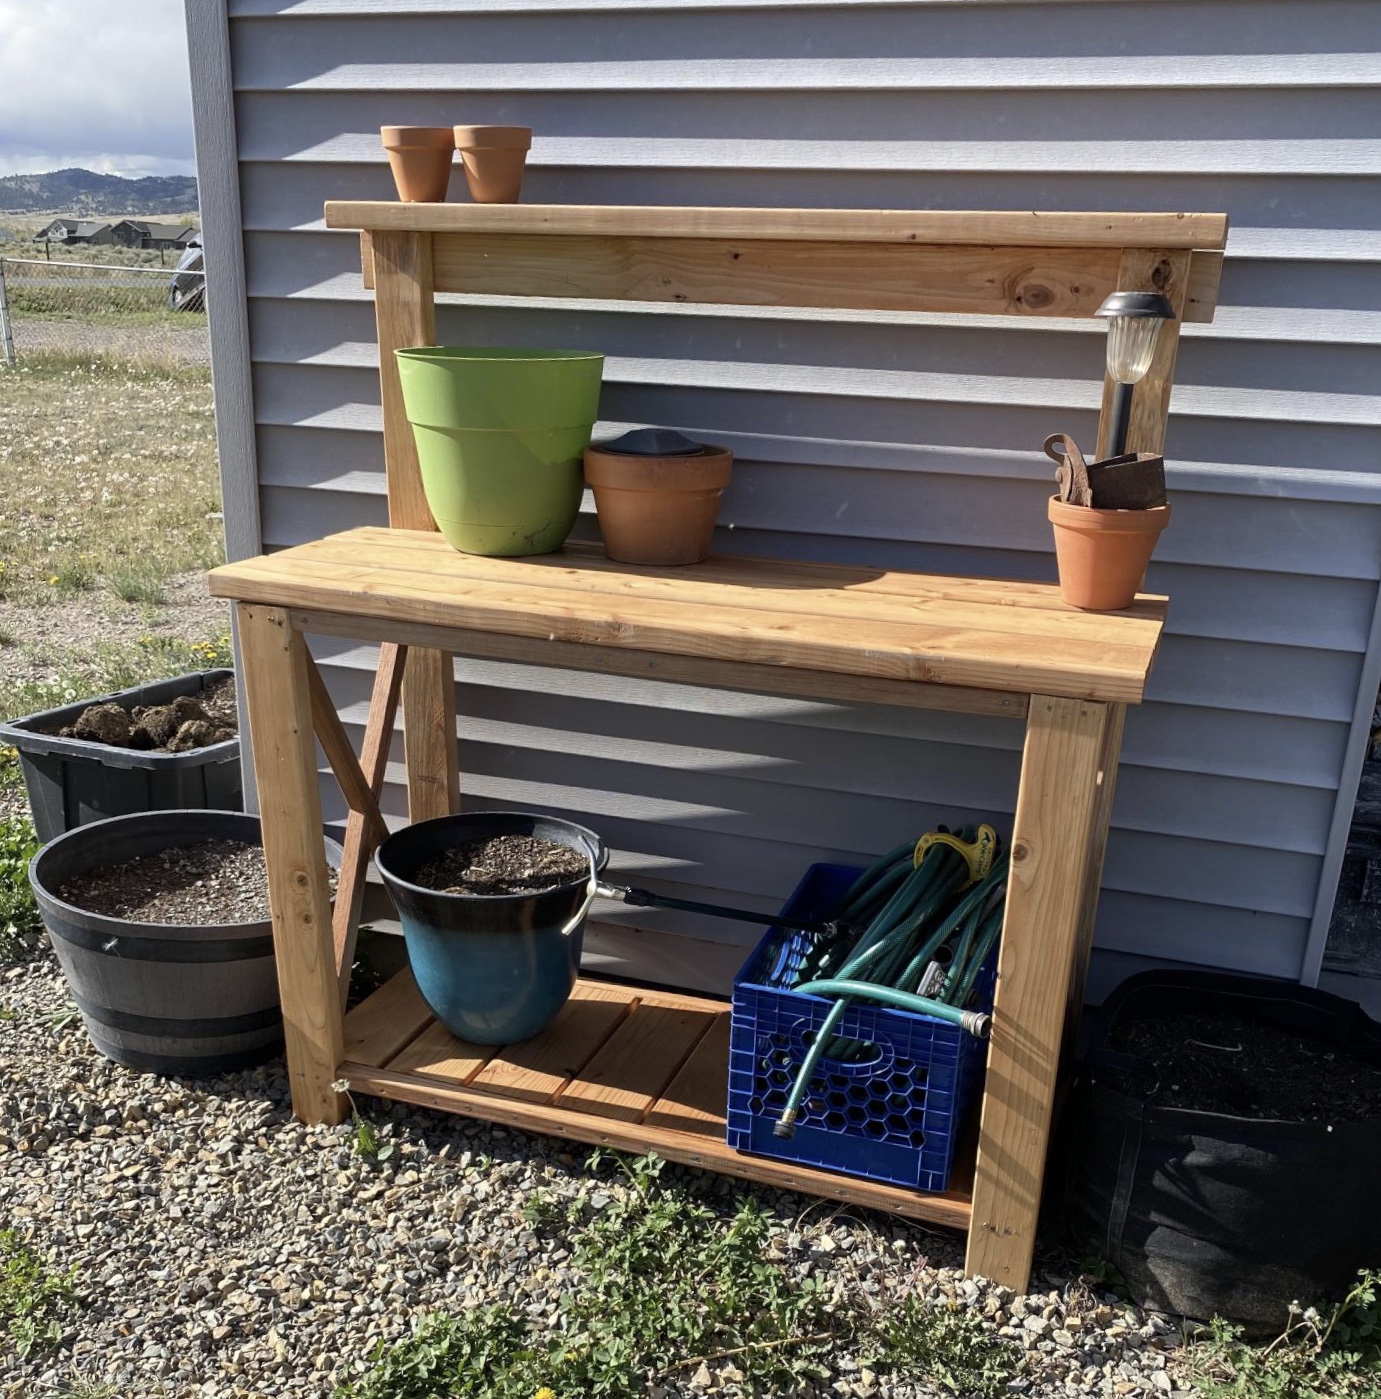
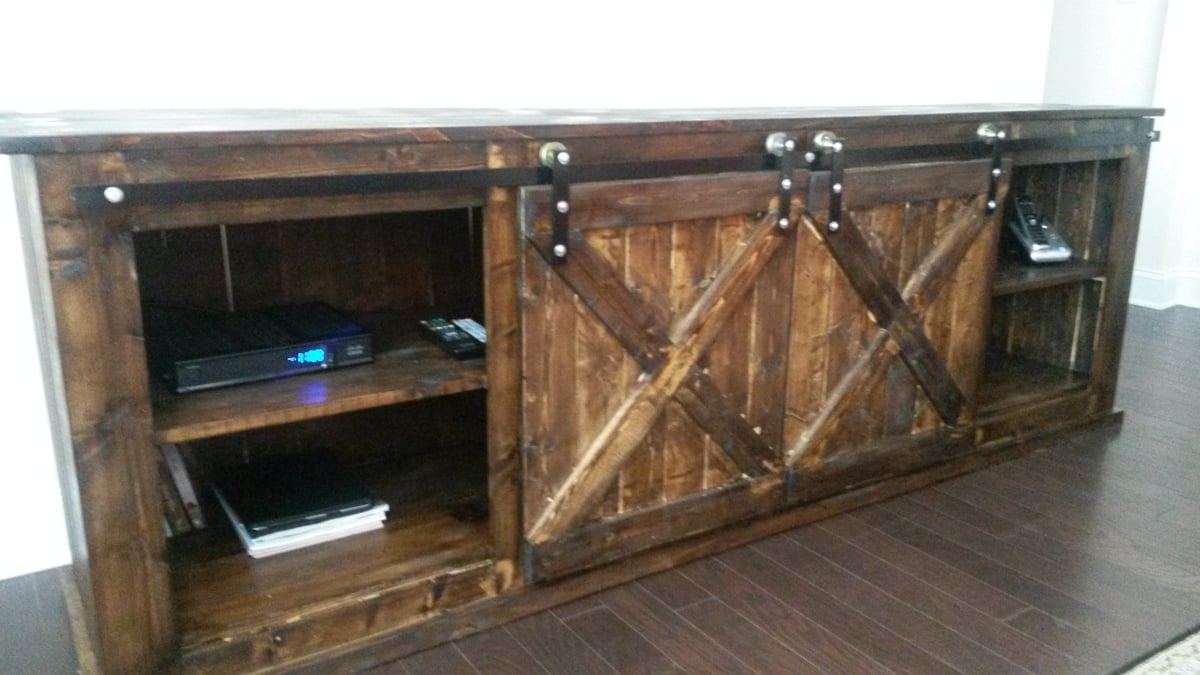
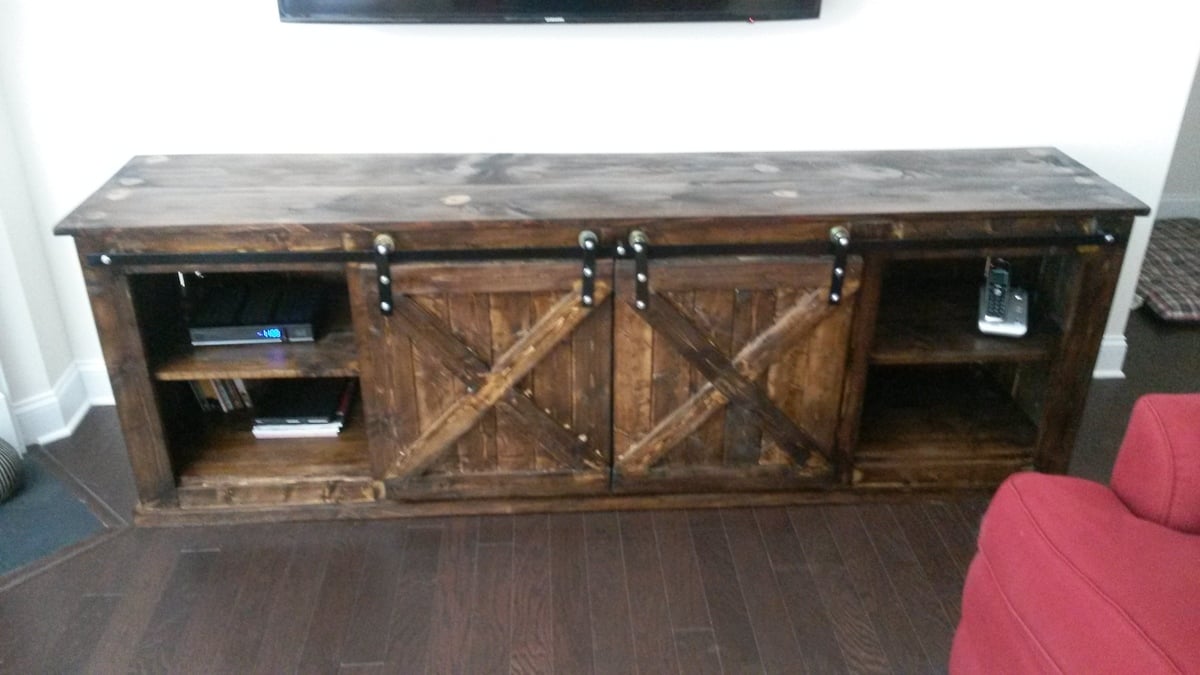
This was my first major wood working project! My fiancé did help (well he started showing me an easier way to cut with a circular saw) and cut the bottom slate. I think it turned out well!! The X feature was tough without a miter saw, but they turned out well!
I LOVE this so much!!!! I want to make another. One thing was I need to learn how to maximize my cuts. I didn’t follow the video, so I had to buy another board. That comes with time and I’m ok with it.

We have a lot of boots so I made 2 welly boot racks and it completely cleaned up our backdoor entrance!


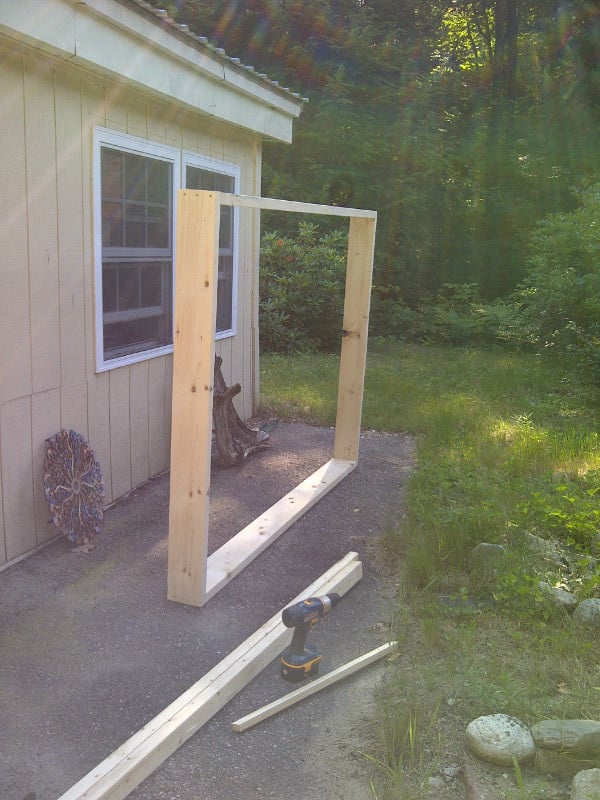
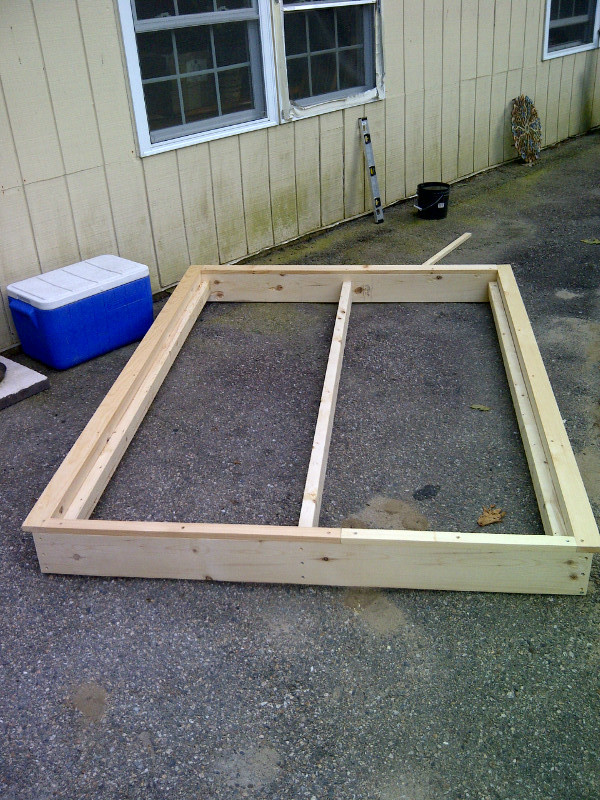
1000 dollars coat in materials. Payed neighbor 250 dollars to help me do the project. We have been known to have termites in the area so I laid a foundation of cinder block filled with concrete. I could not fin tin to match hers so we had to cut some sorrugated up to complete the project.


My first real furniture build. I think it came out great. Decided to use 1x5 instead of 1x10 for the seat and back. Really easy build. After I did the first one the second one went together quickly. I did sand and finish before assembly. Next time I’ll probably wait until after to finish it. I had to make several small adjustments durning assembly.
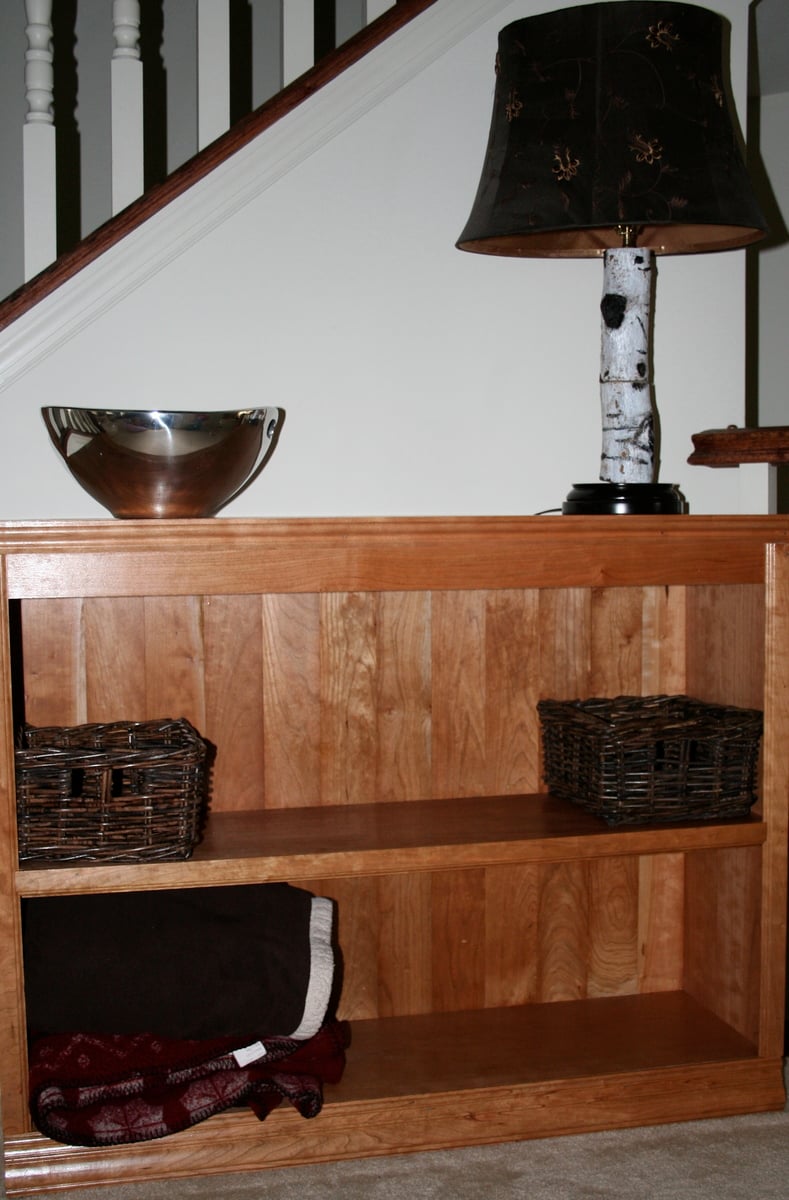
This is my second project I've done with Ana White's plans. I wanted something to fill this space in the town home I live in. It was empty and kind of dull. A lot of crap would collect on the floor and it drove me nuts!! So, I built this bookcase and I absolutely love it!! Thank you so much Ana White for the plan and inspiration.
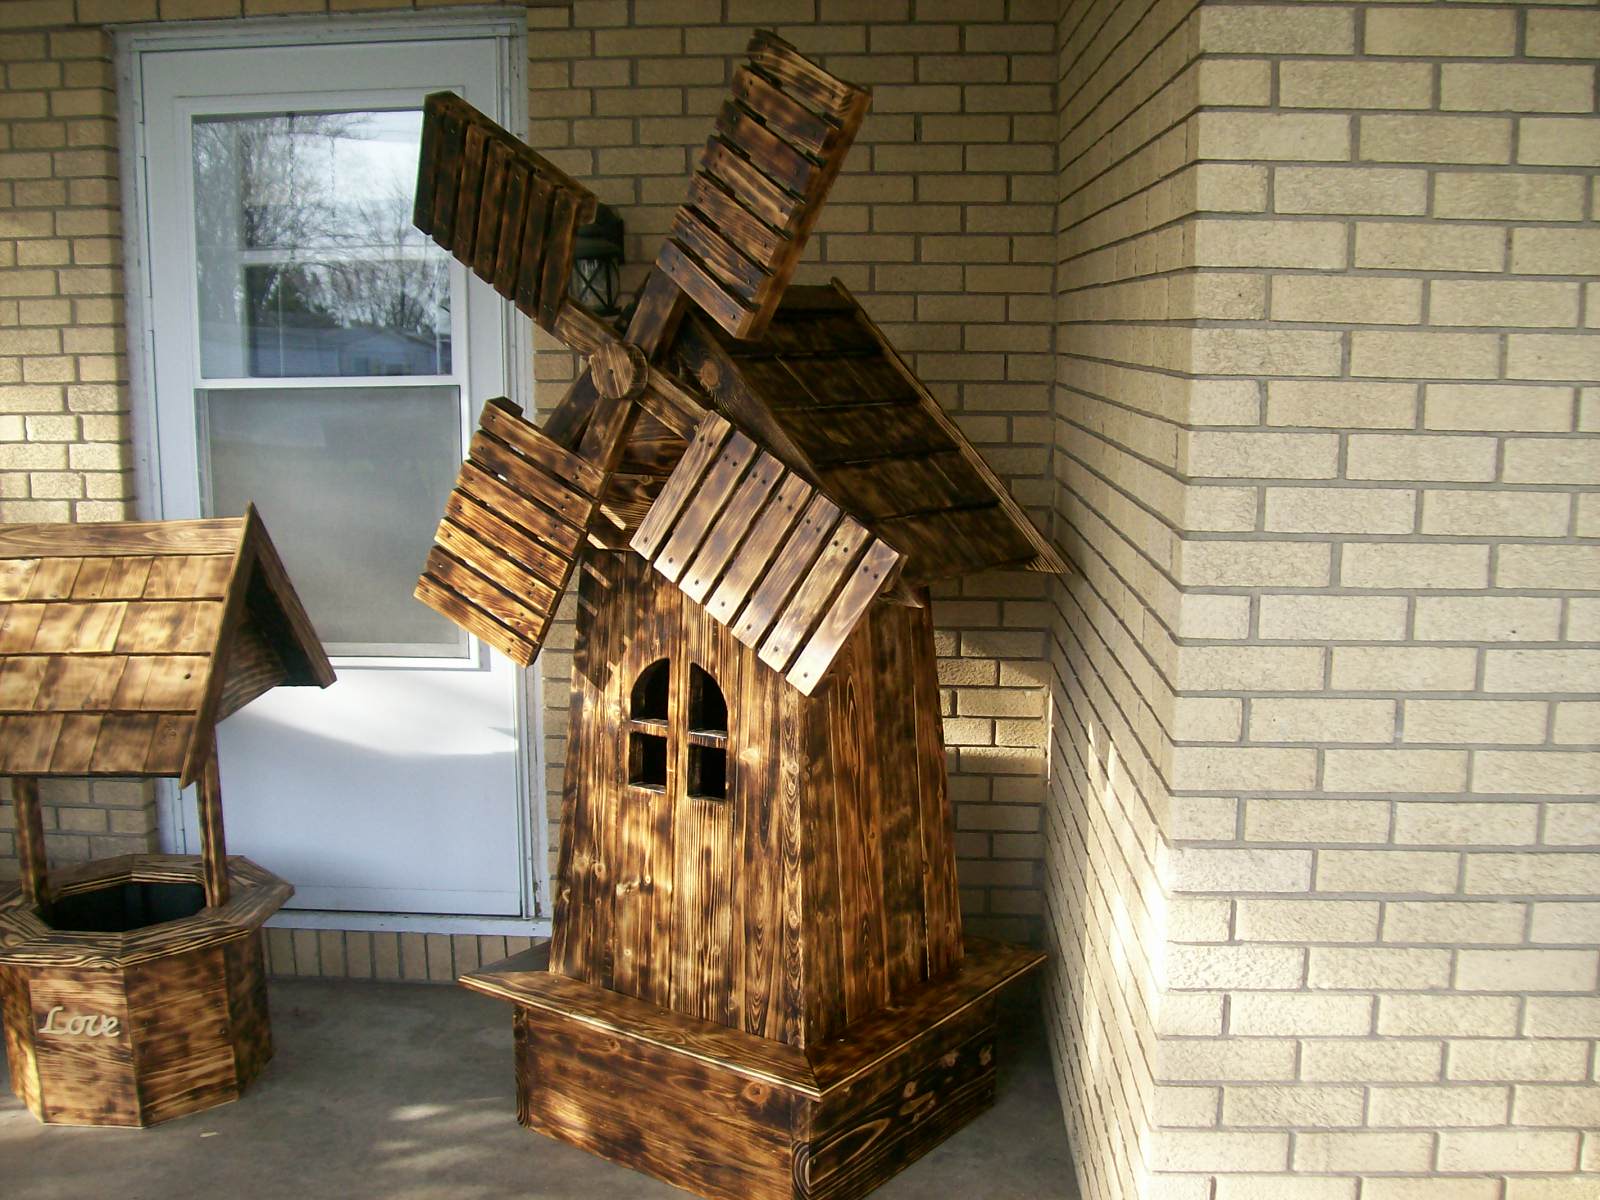
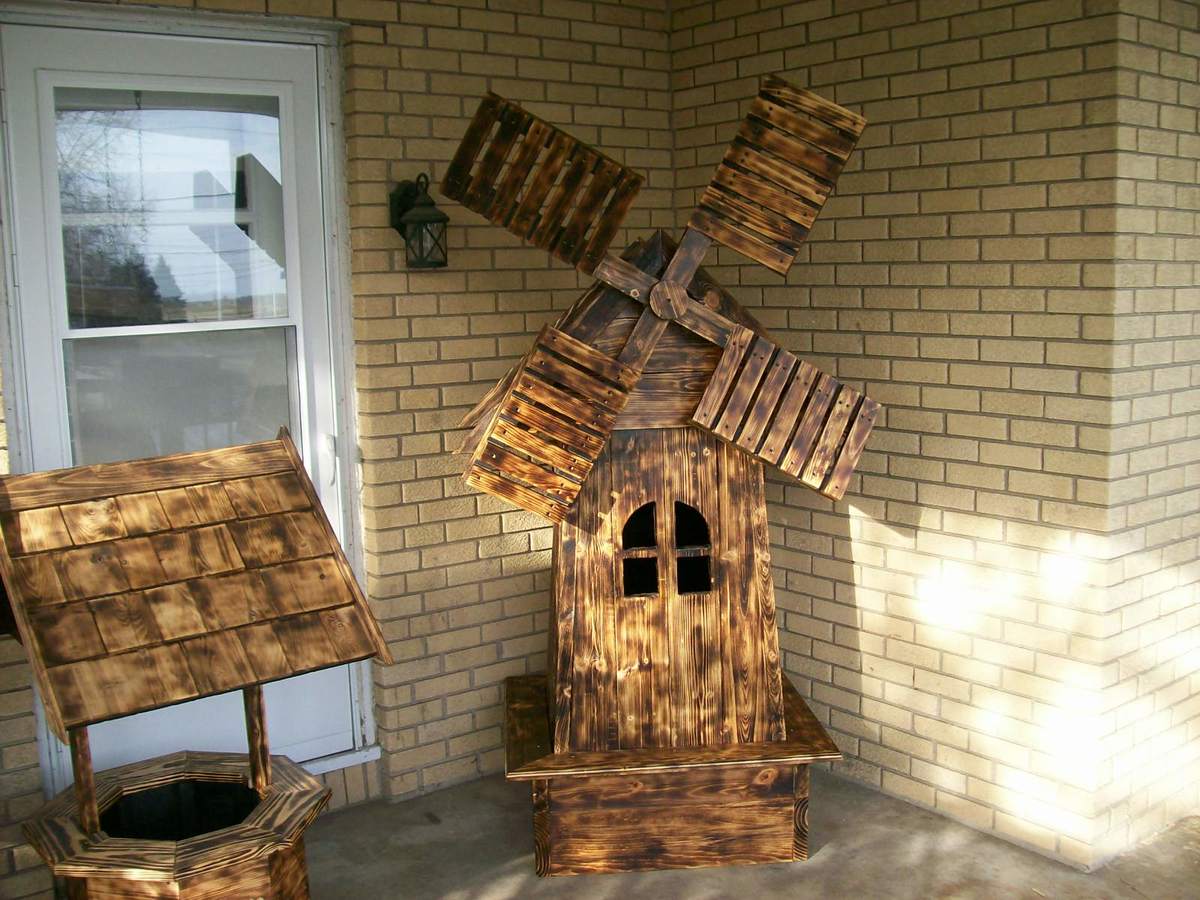
Made from a picture on the internet and made a few changes so it would more complete

Mon, 04/26/2021 - 07:34
I really like the way this windmill looks and would love to make one. Are there plans somewhere?
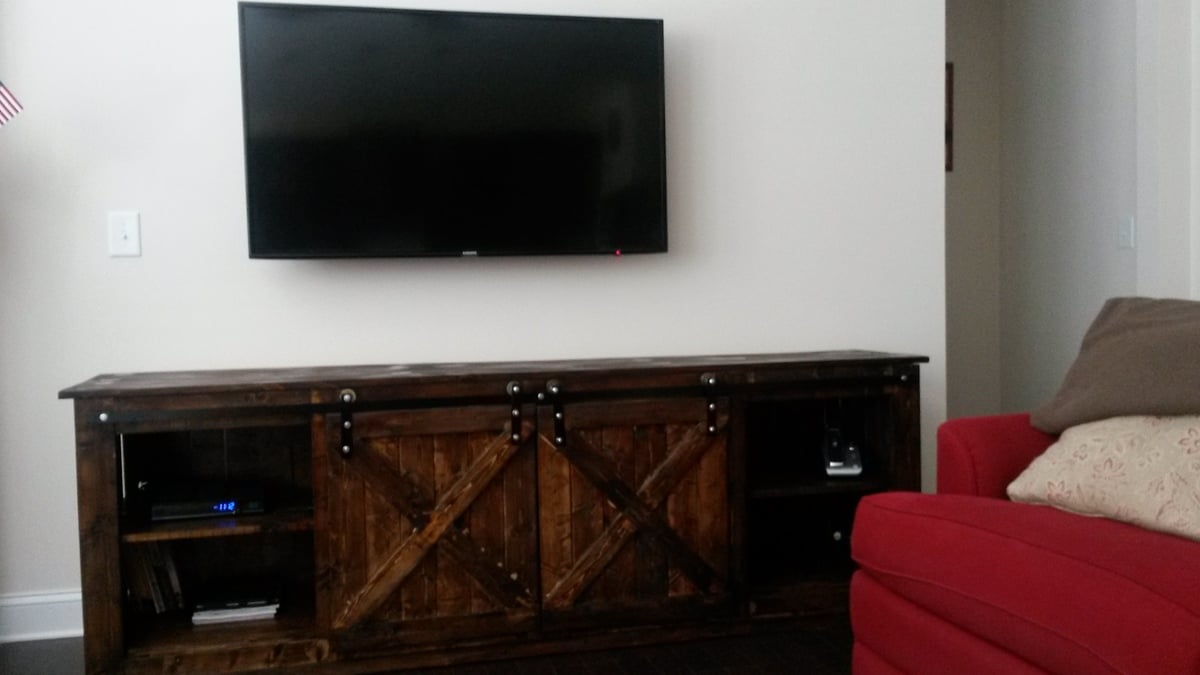
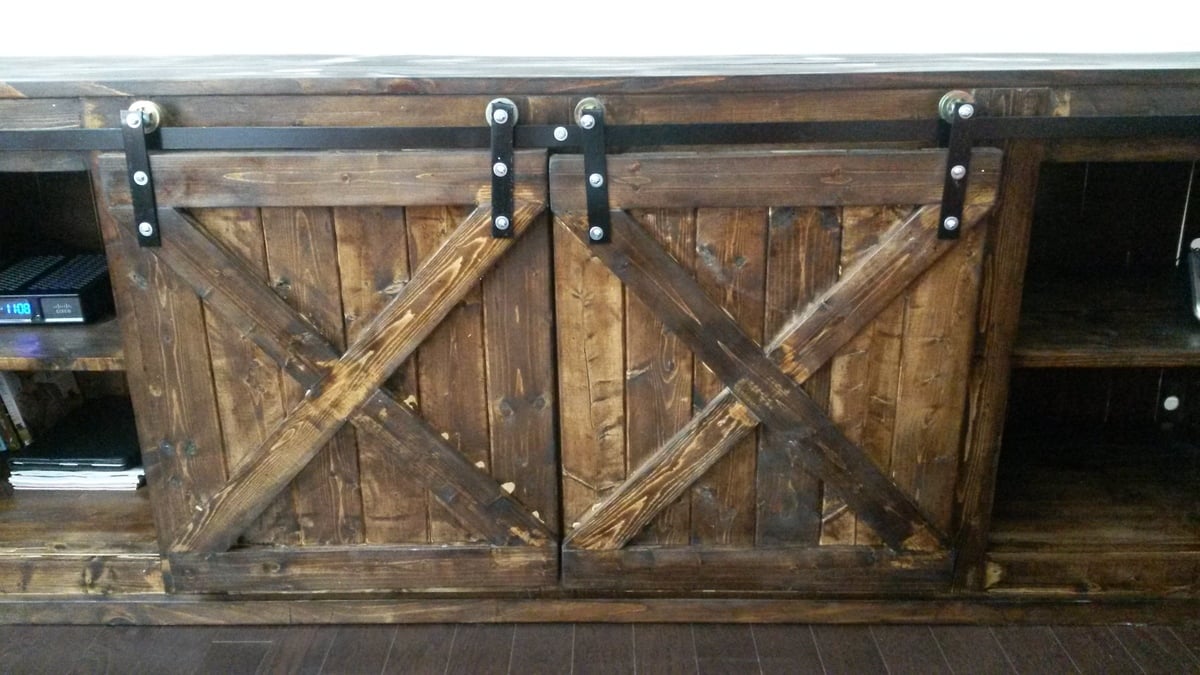
It took me two months to build as I only worked few hours over weekends. The most challenging part was the hardware. After a lot of trial and error figured out something that works.
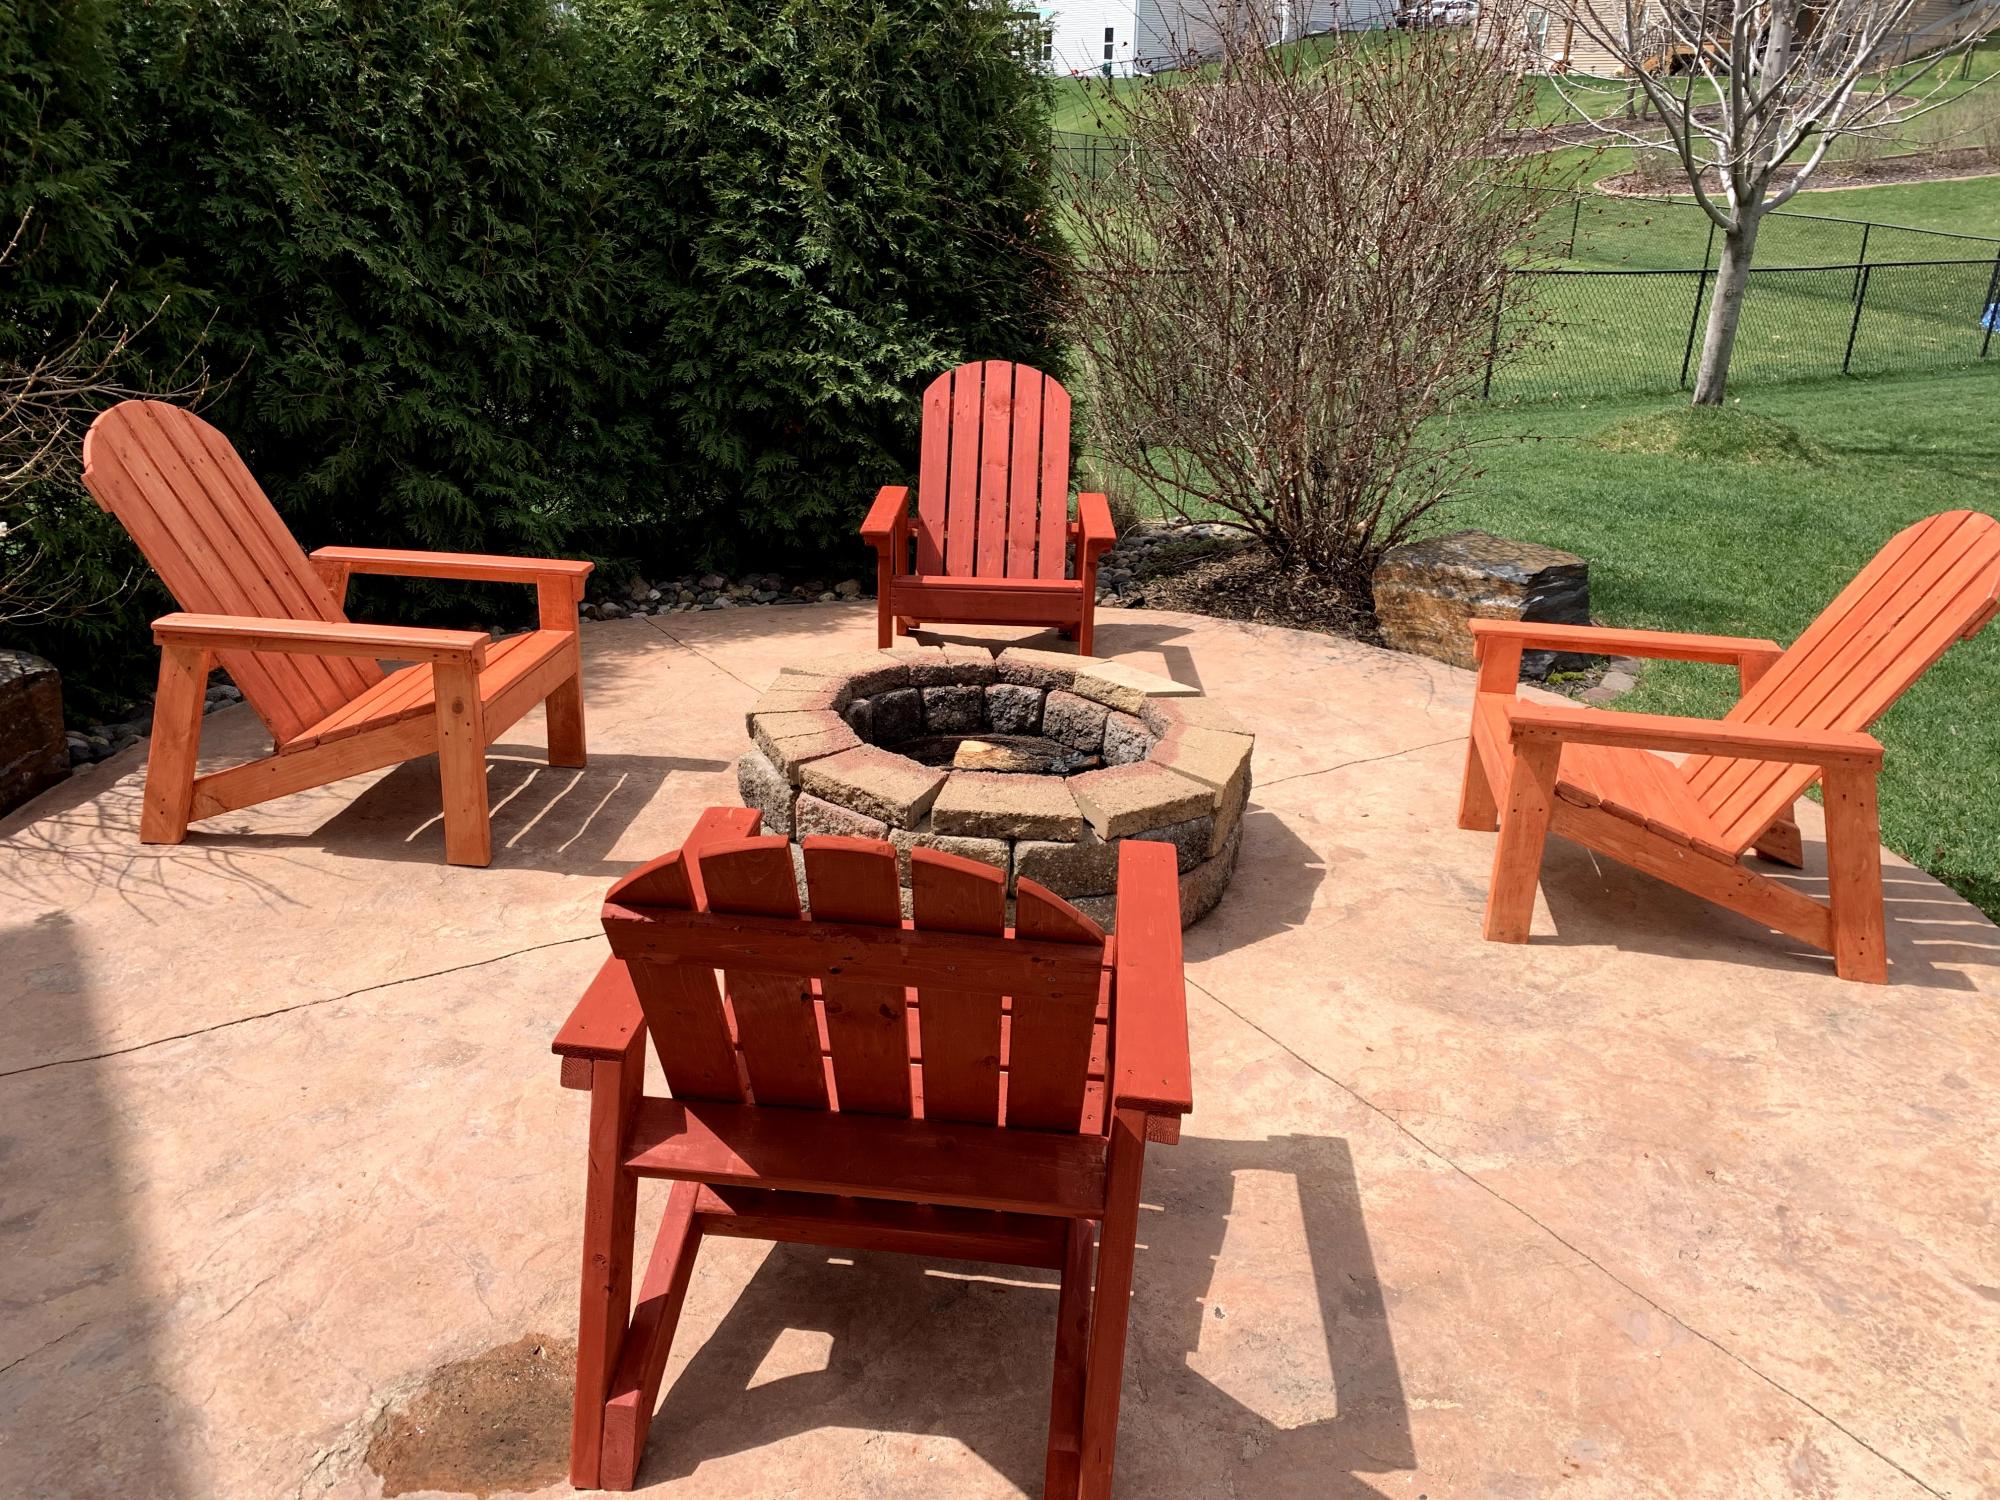
Great plans! Made 4 of these. Only modification was I added a little piece under the arm rests to help cover the front of the arm supports