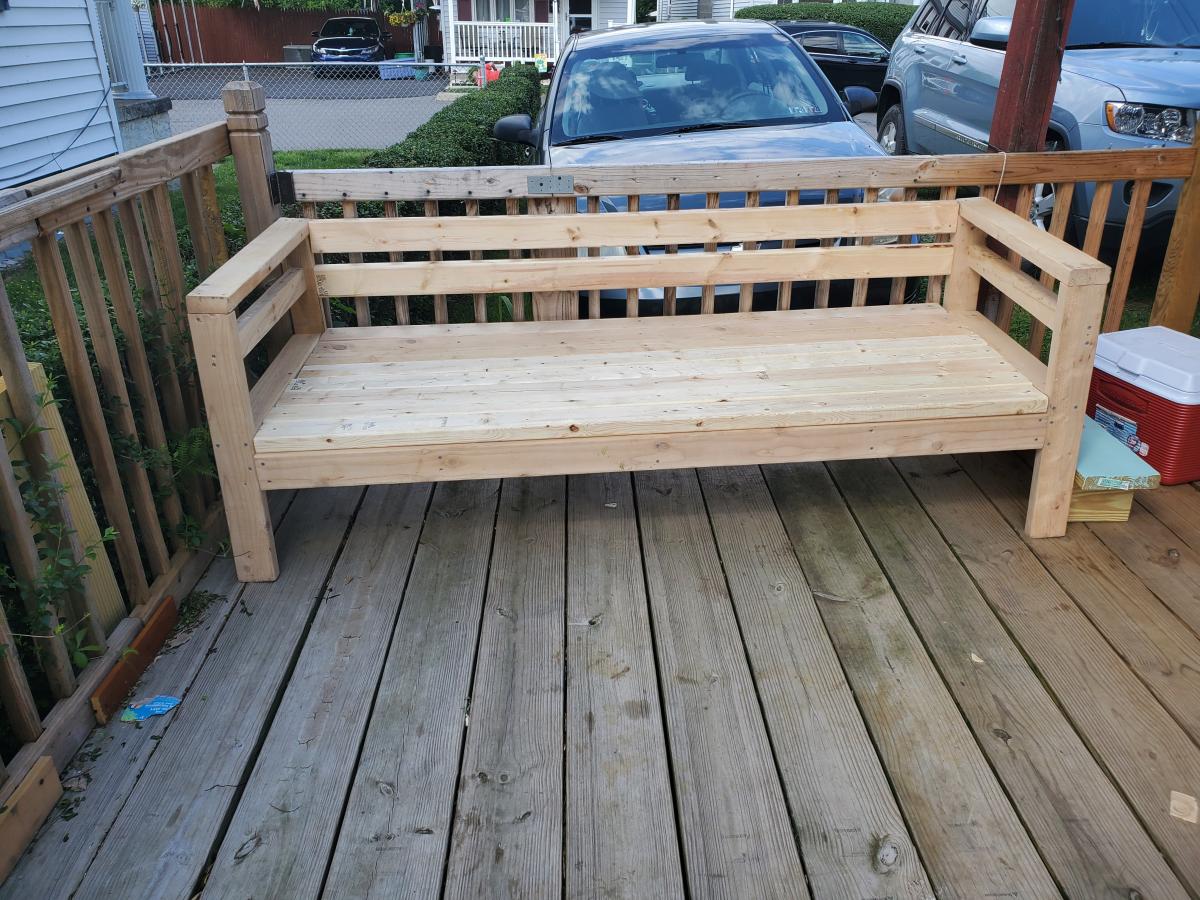
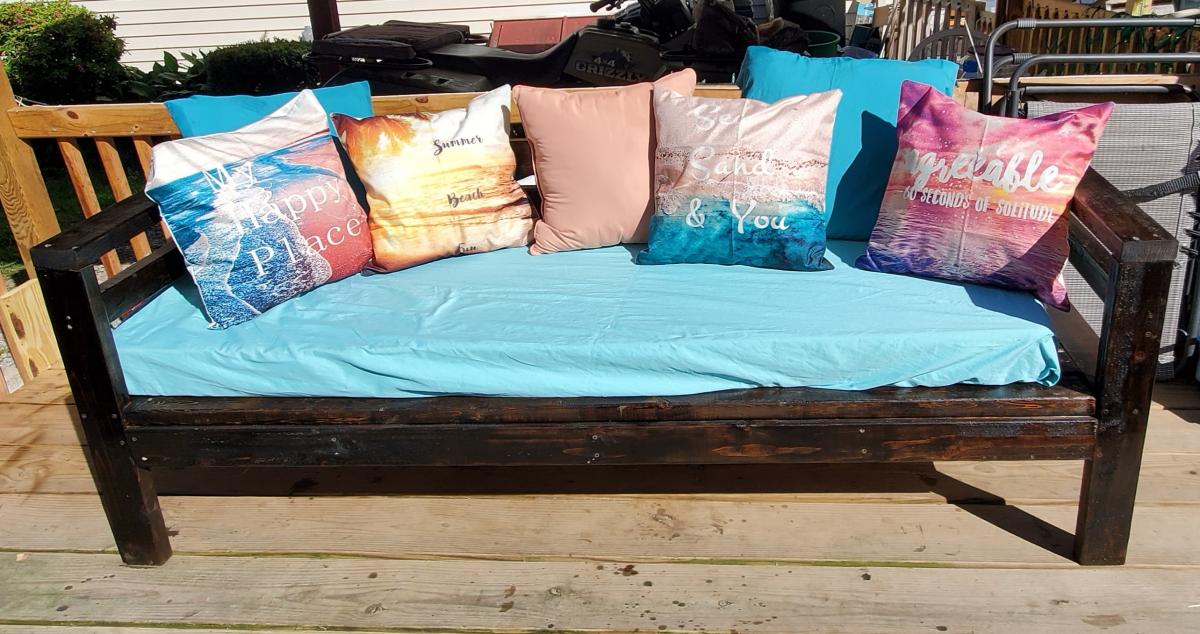
2x4 couch

My first big project. I'm pretty proud of it. I followed the plans for Ana's 2x4 couch.
Built from Plan(s)
My first big project. I'm pretty proud of it. I followed the plans for Ana's 2x4 couch.
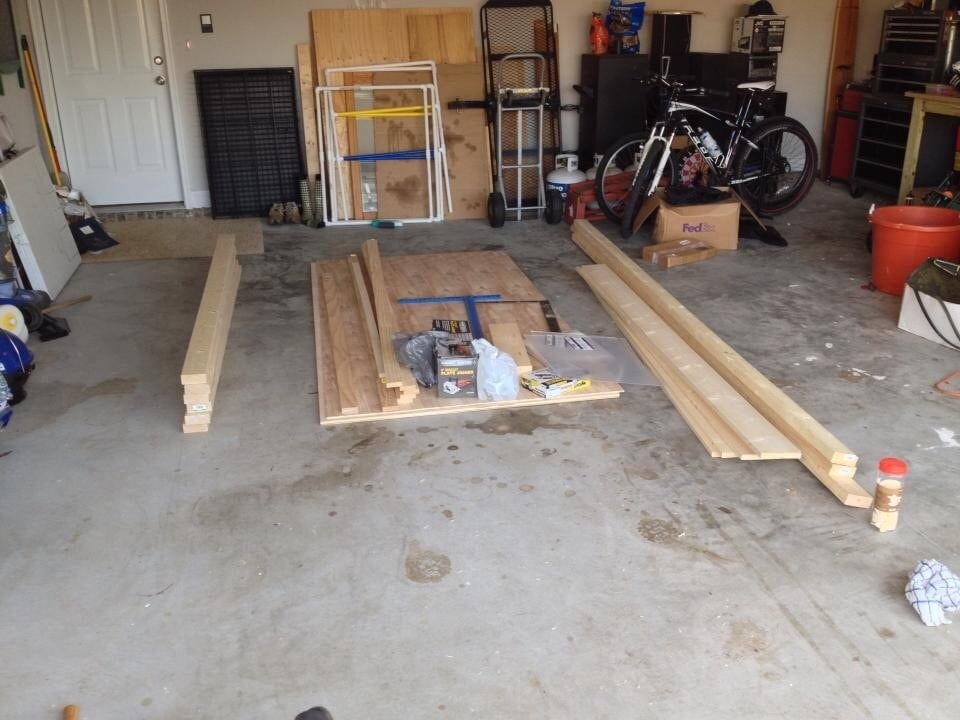
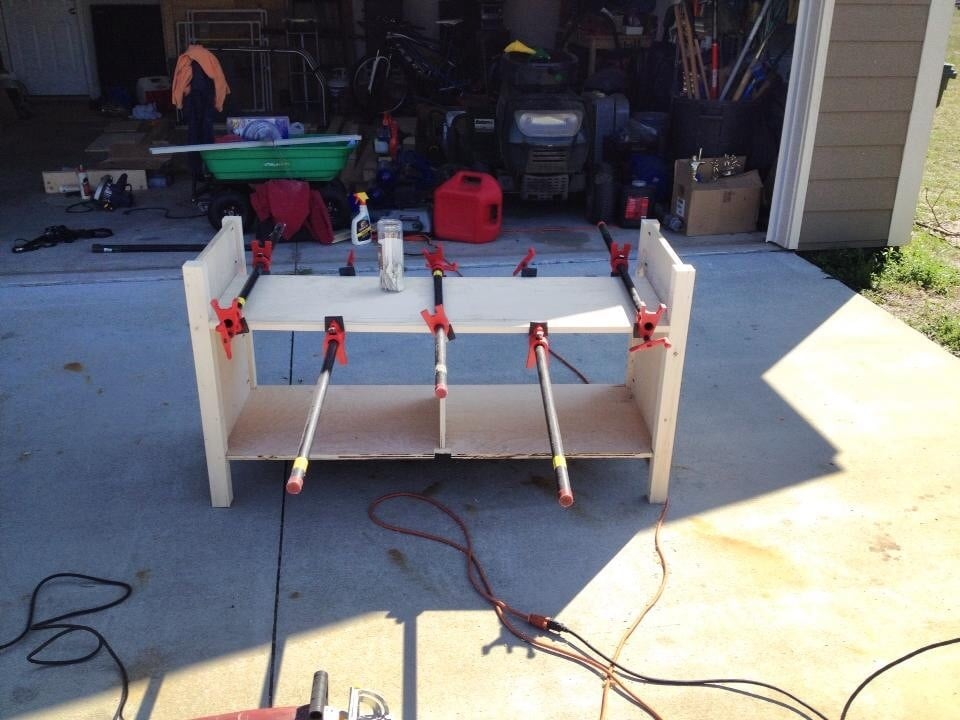
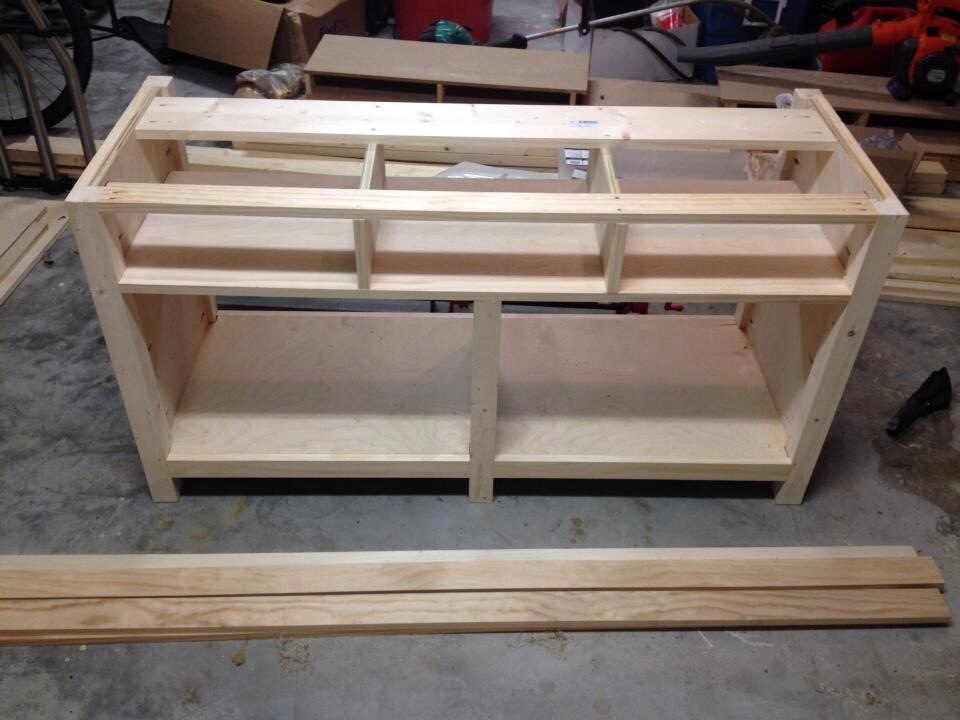
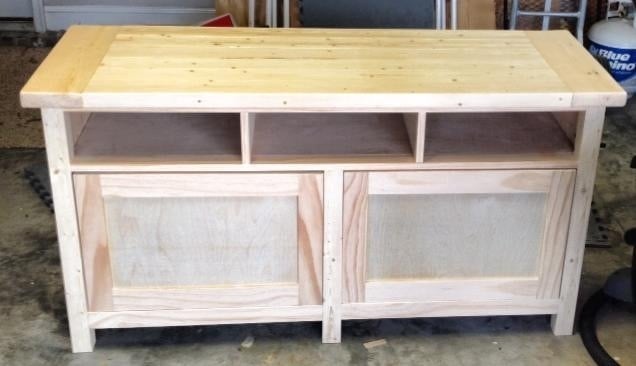
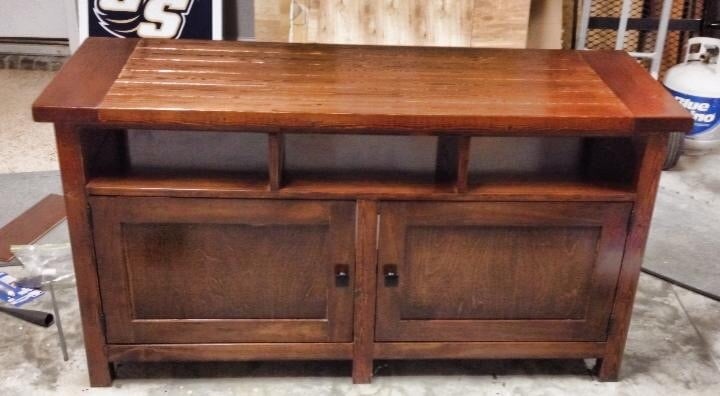
This project went pretty quick. I've learned how important it is to make super accurate cuts while making a carcass and inserts for it so I didn't have to "fix" as much along the way for this piece, yay for progress! The only amendment I made was adding drawer glides because this will be in my toddler's room so I didn't want the drawers to be able to come out all the way. I used mostly scrap wood I had that just needed to be ripped to the right size for all the framing pieces so all we actually had to buy was the 3/4" ply! And it cleaned up my scrap pile nicely too!
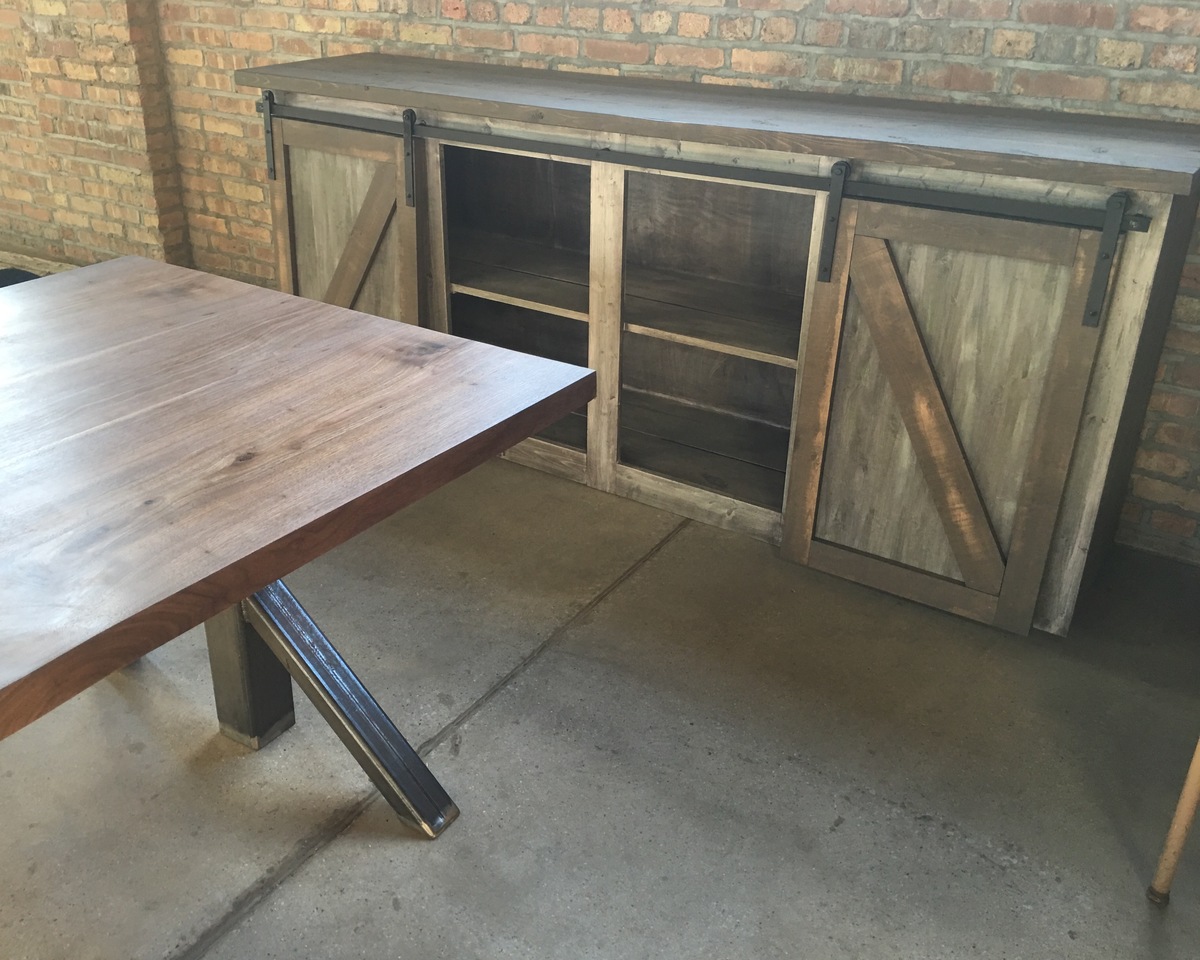
I built this off of the benchwright media console from PB and the benchmark media console plans and tweeted them slightly for my preferences
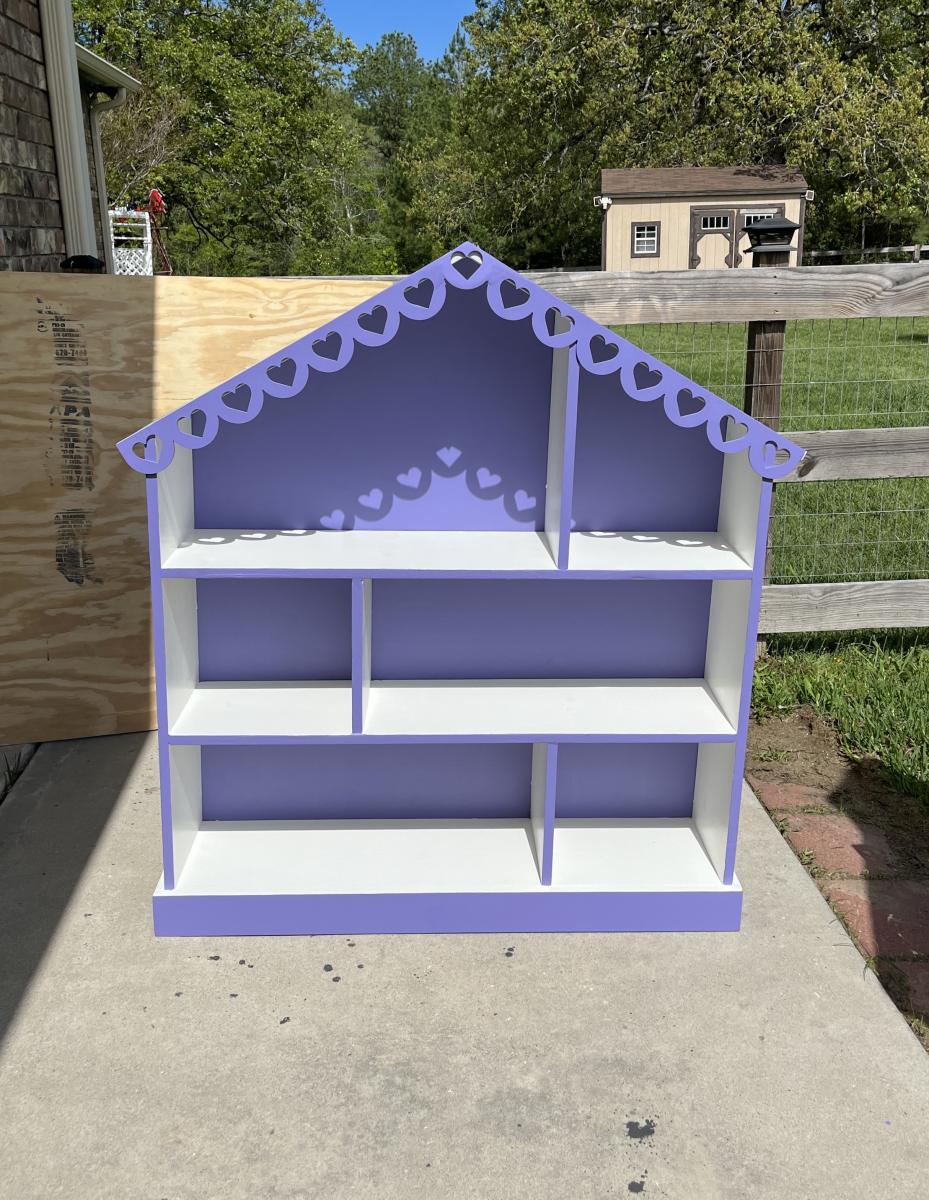
Loved the simple look and convertible design. Easy to visualize, hardest part was making sure of square
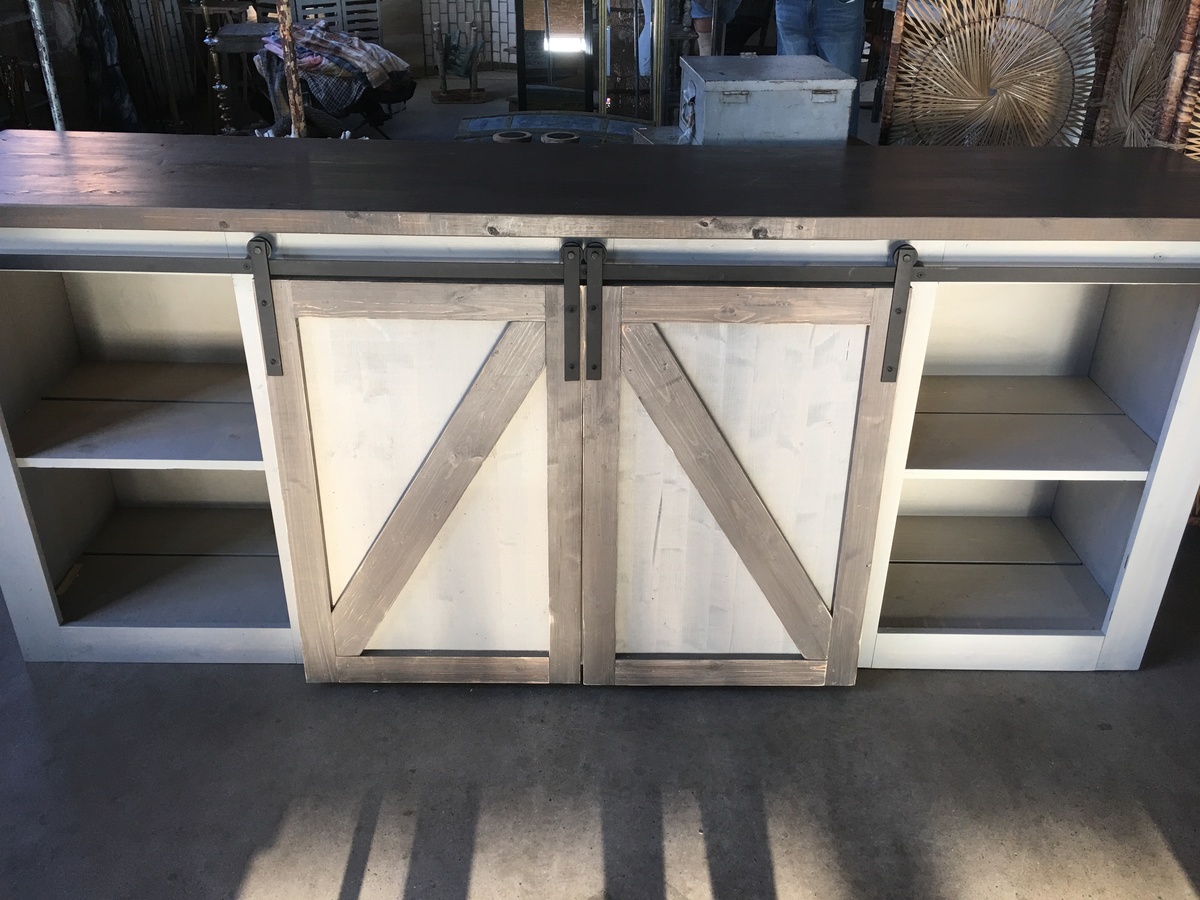
We did three at once and it was pretty hard.
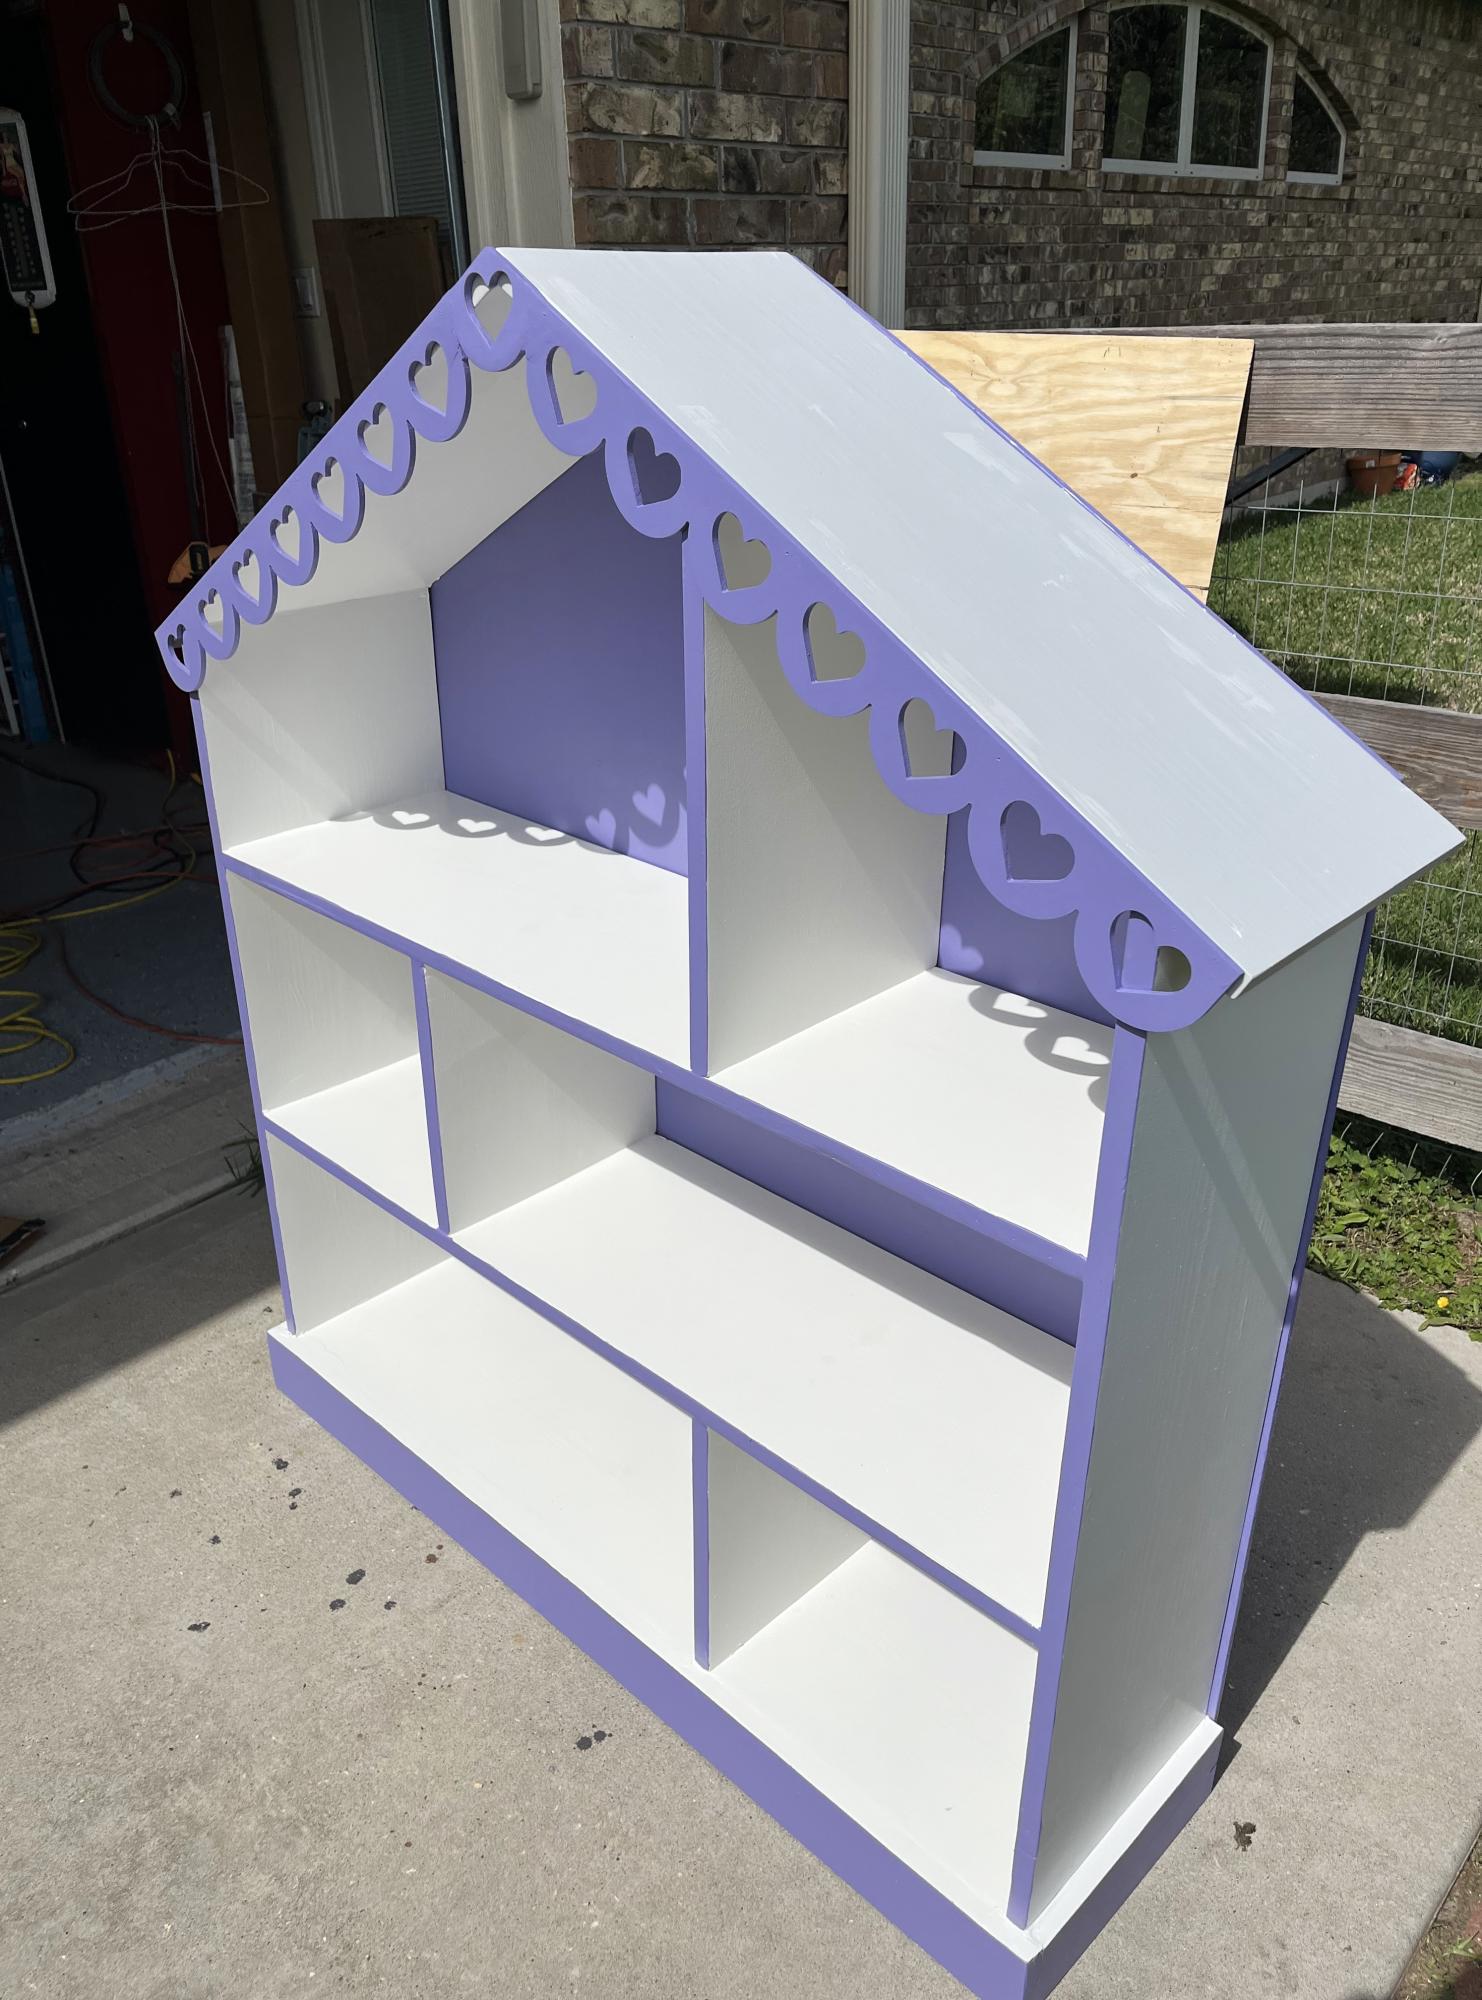
Built 2nd bookcase. This one for youngest granddaughter.
Mudbone1959
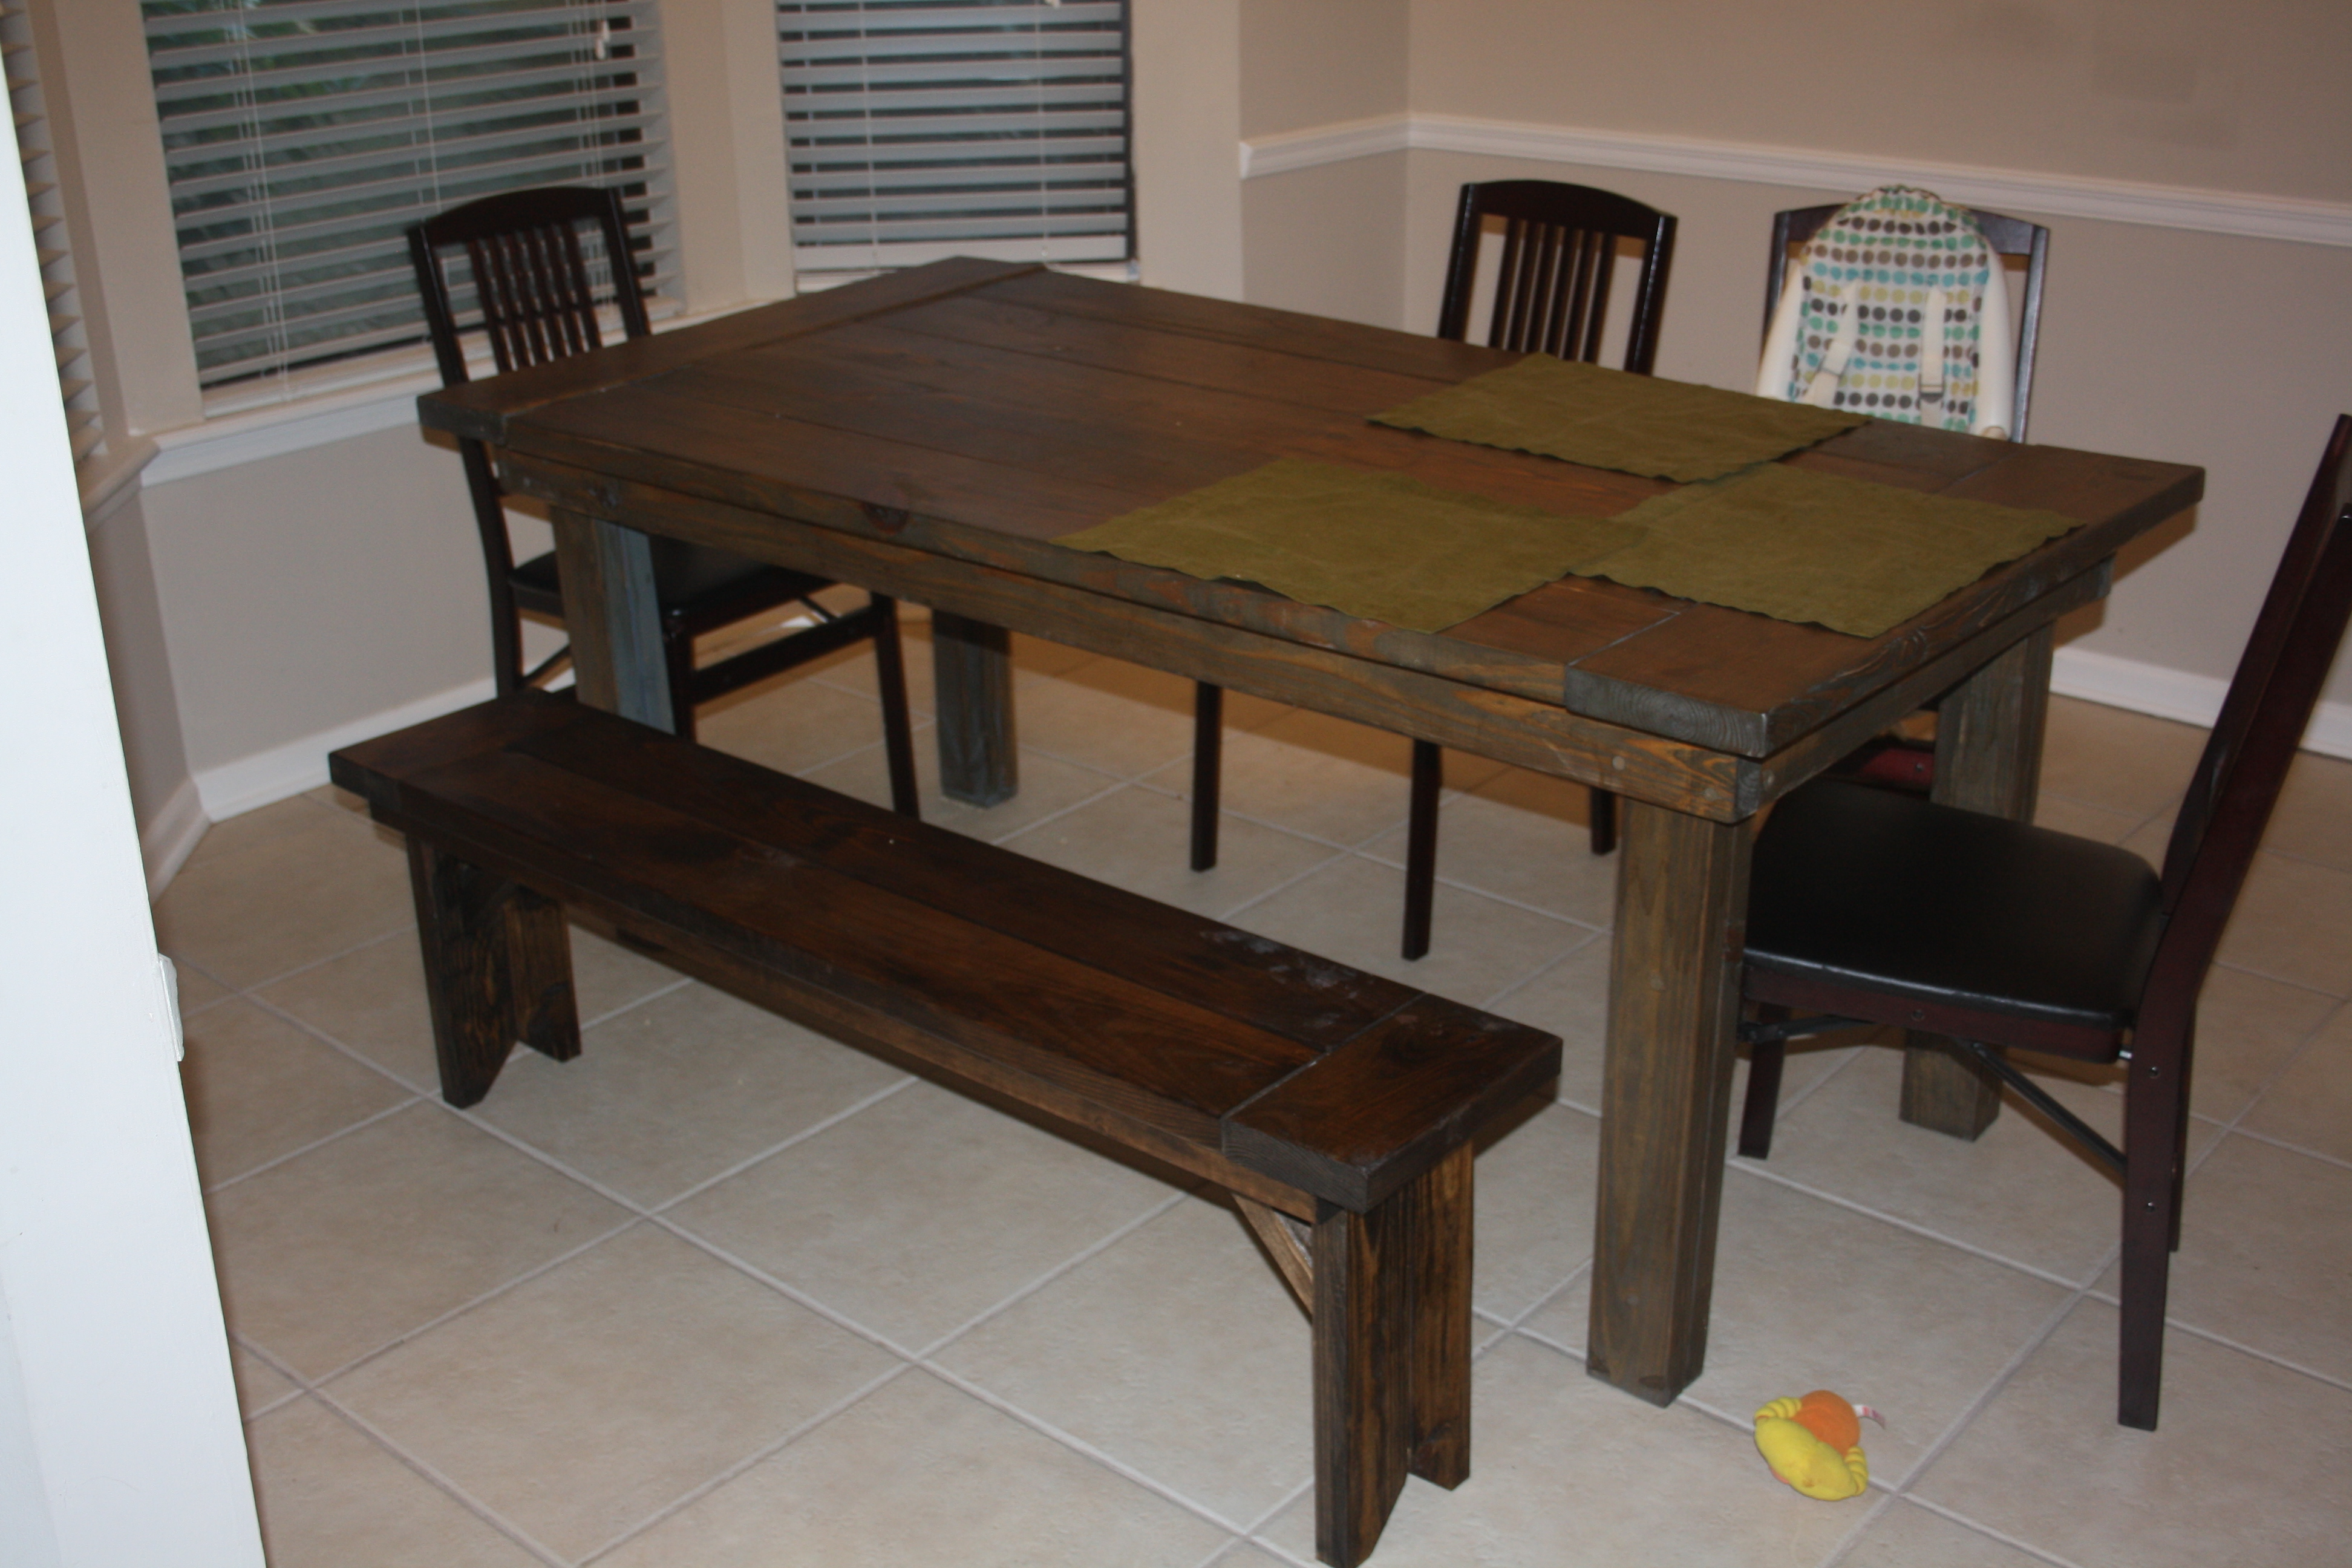
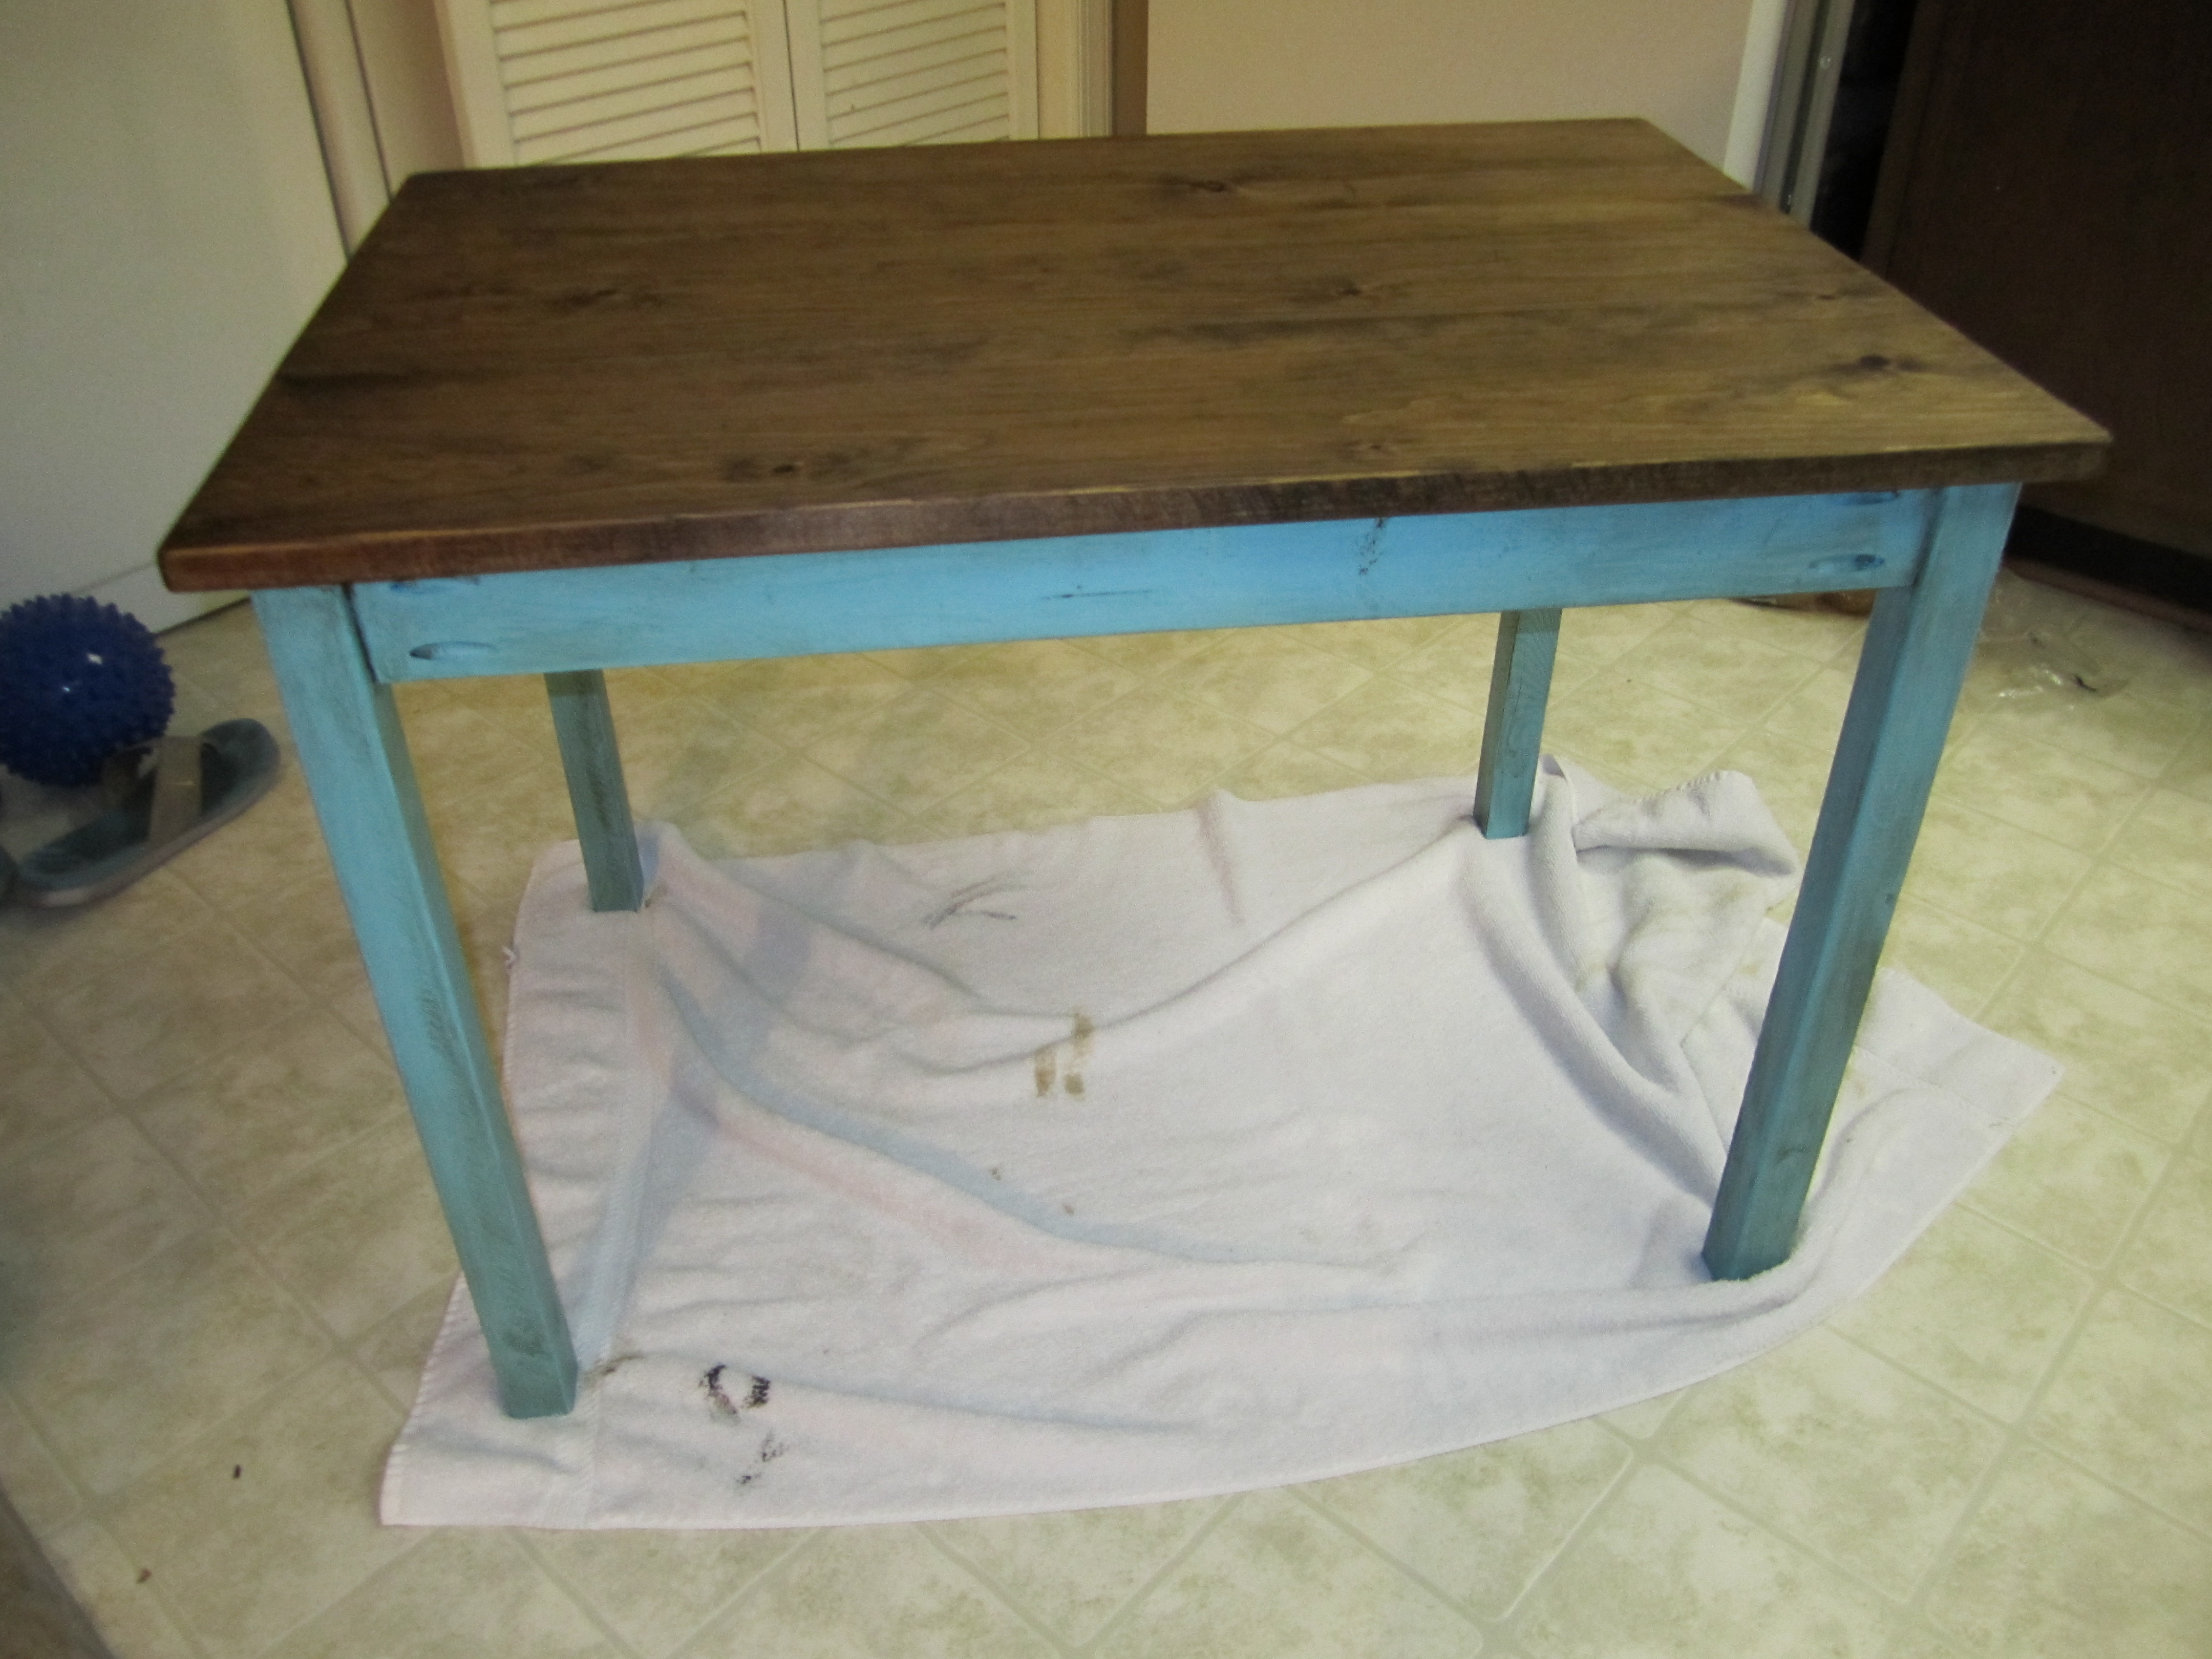
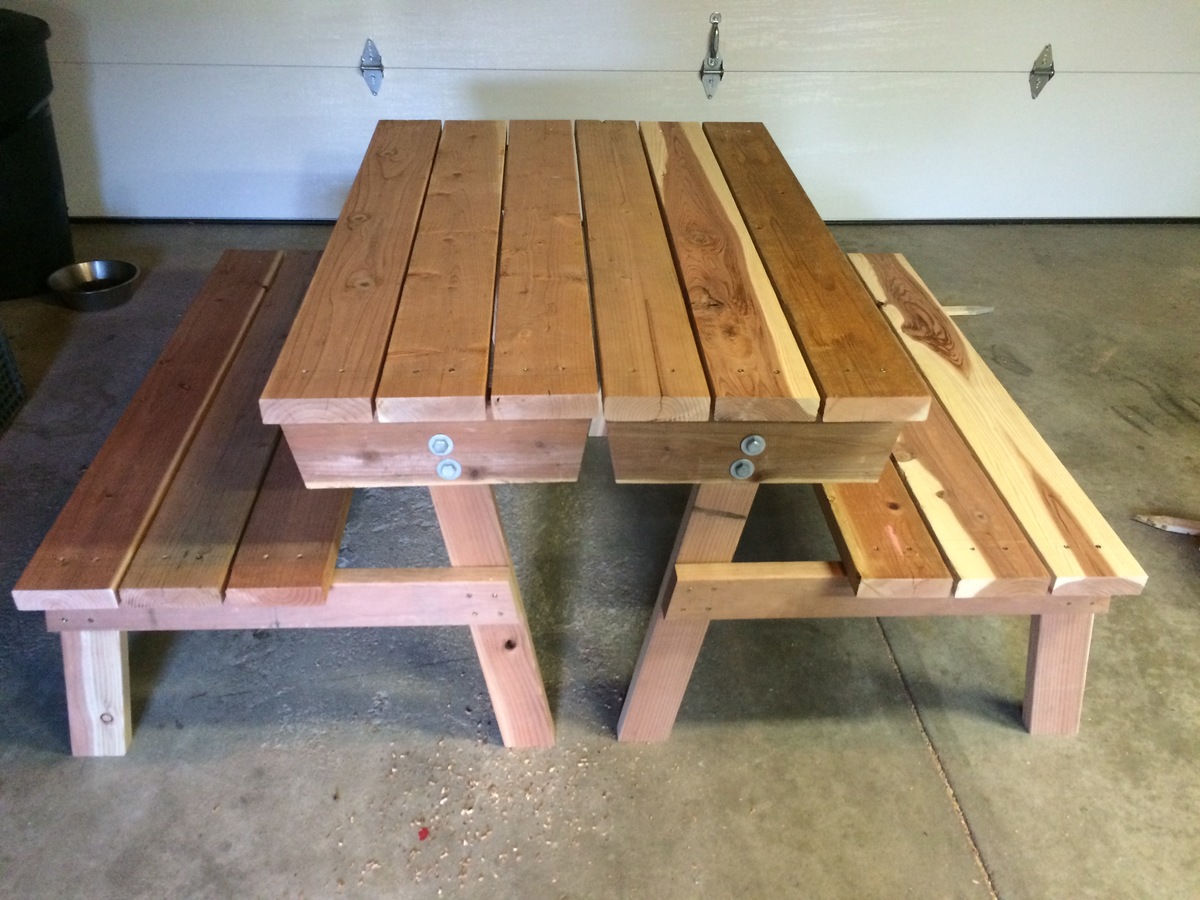
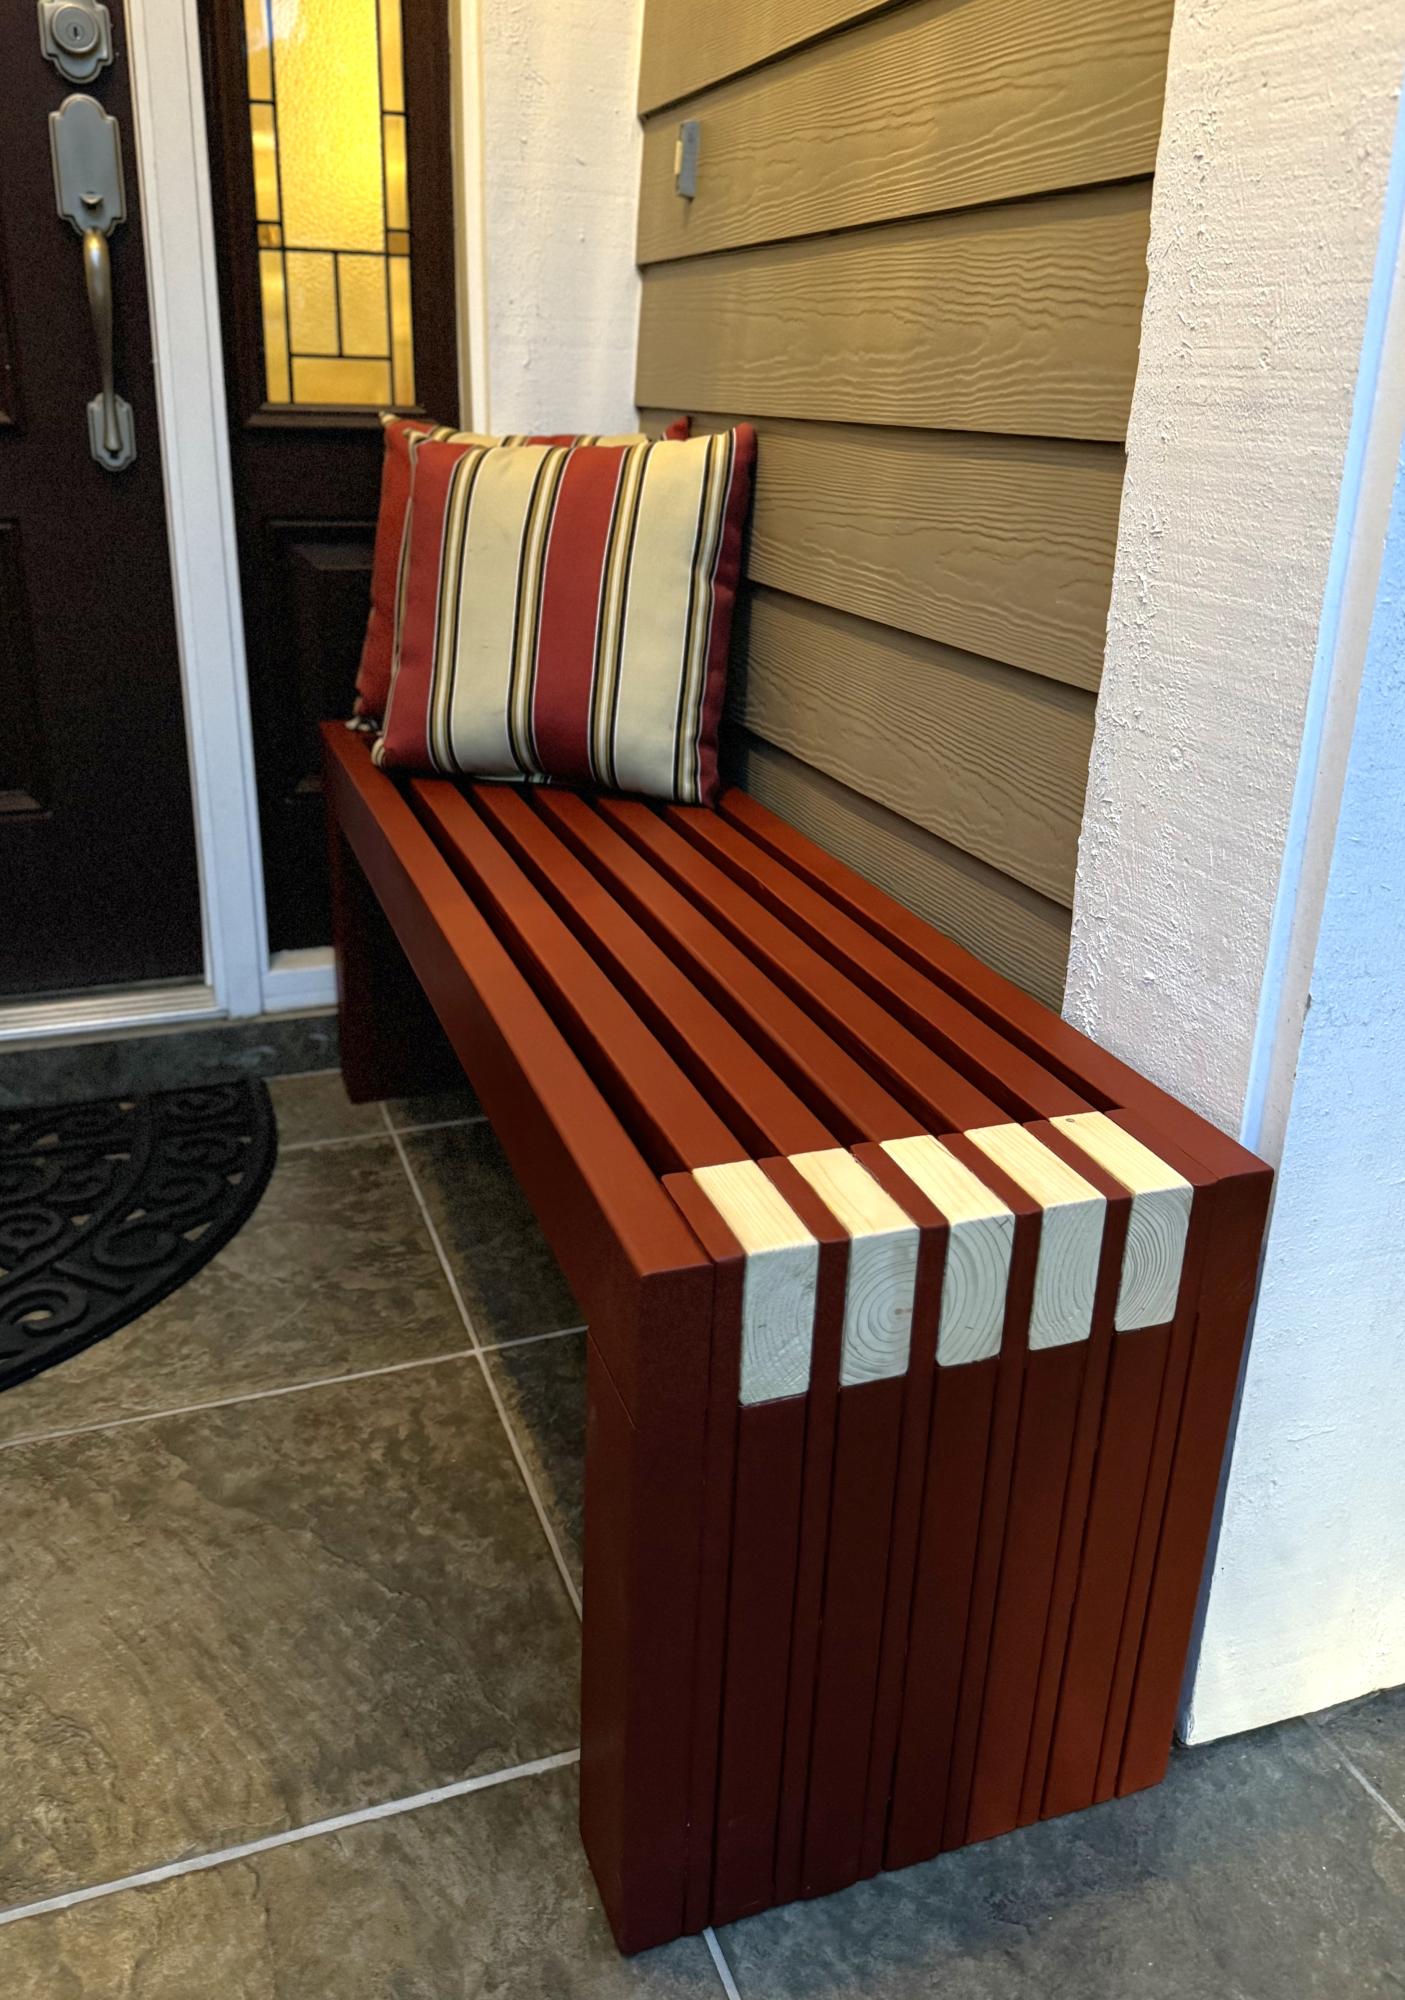
A couple of months ago I built a farmhouse table for our dining room. Now that we've moved into our house and have more space, I've put together the bench too. I used 2x6's for the top and 2x4's for the legs. When I put the legs on, it didn't feel sturdy enough so I added some 2x2 braces for support. I wasn't sure how they would look at first, but they really add a cool dimension to the bench.
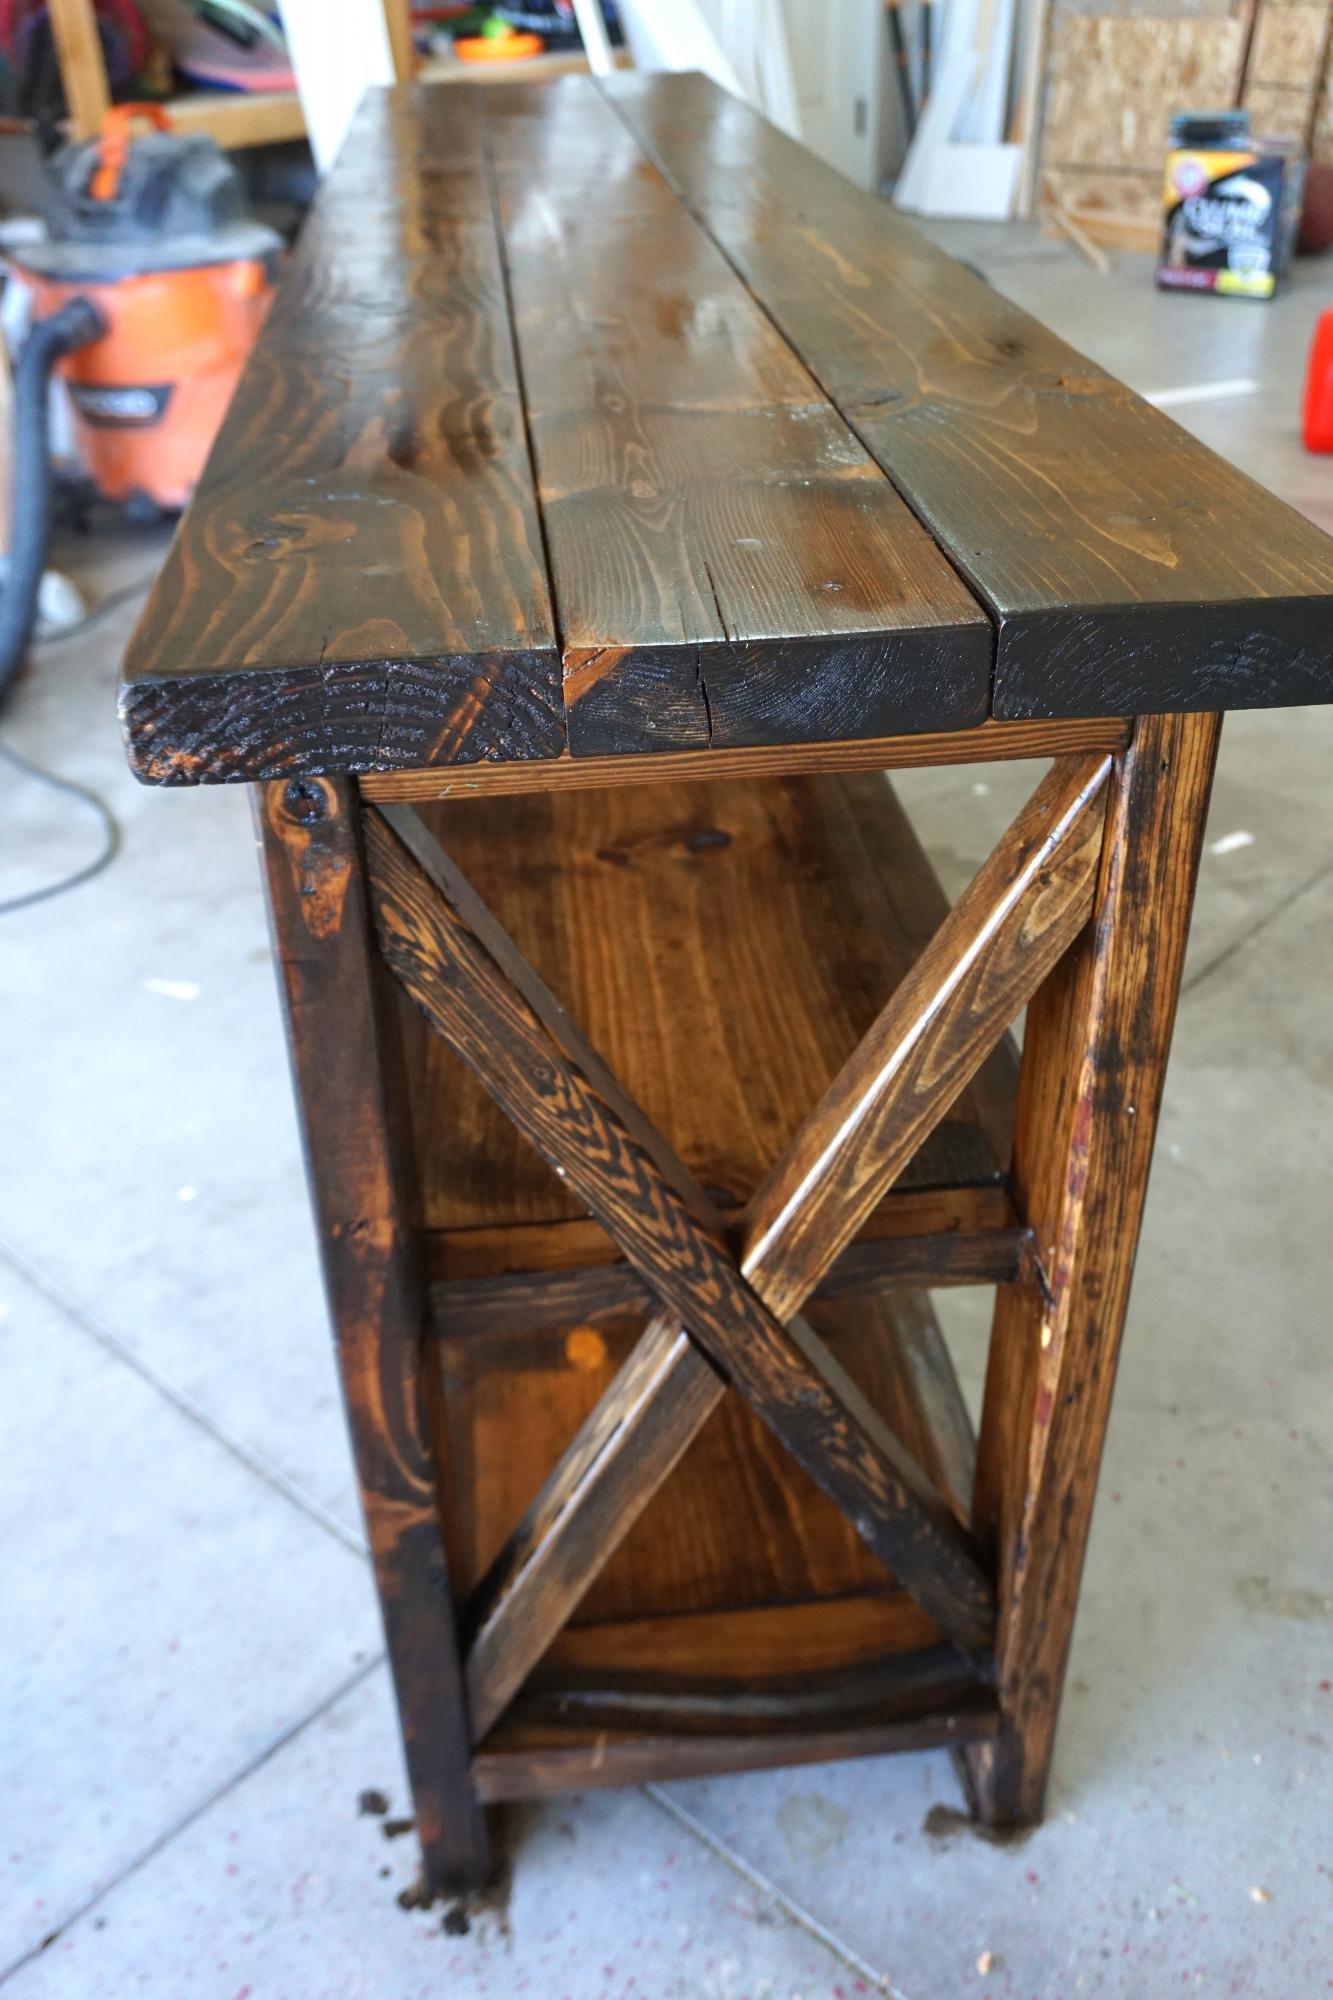
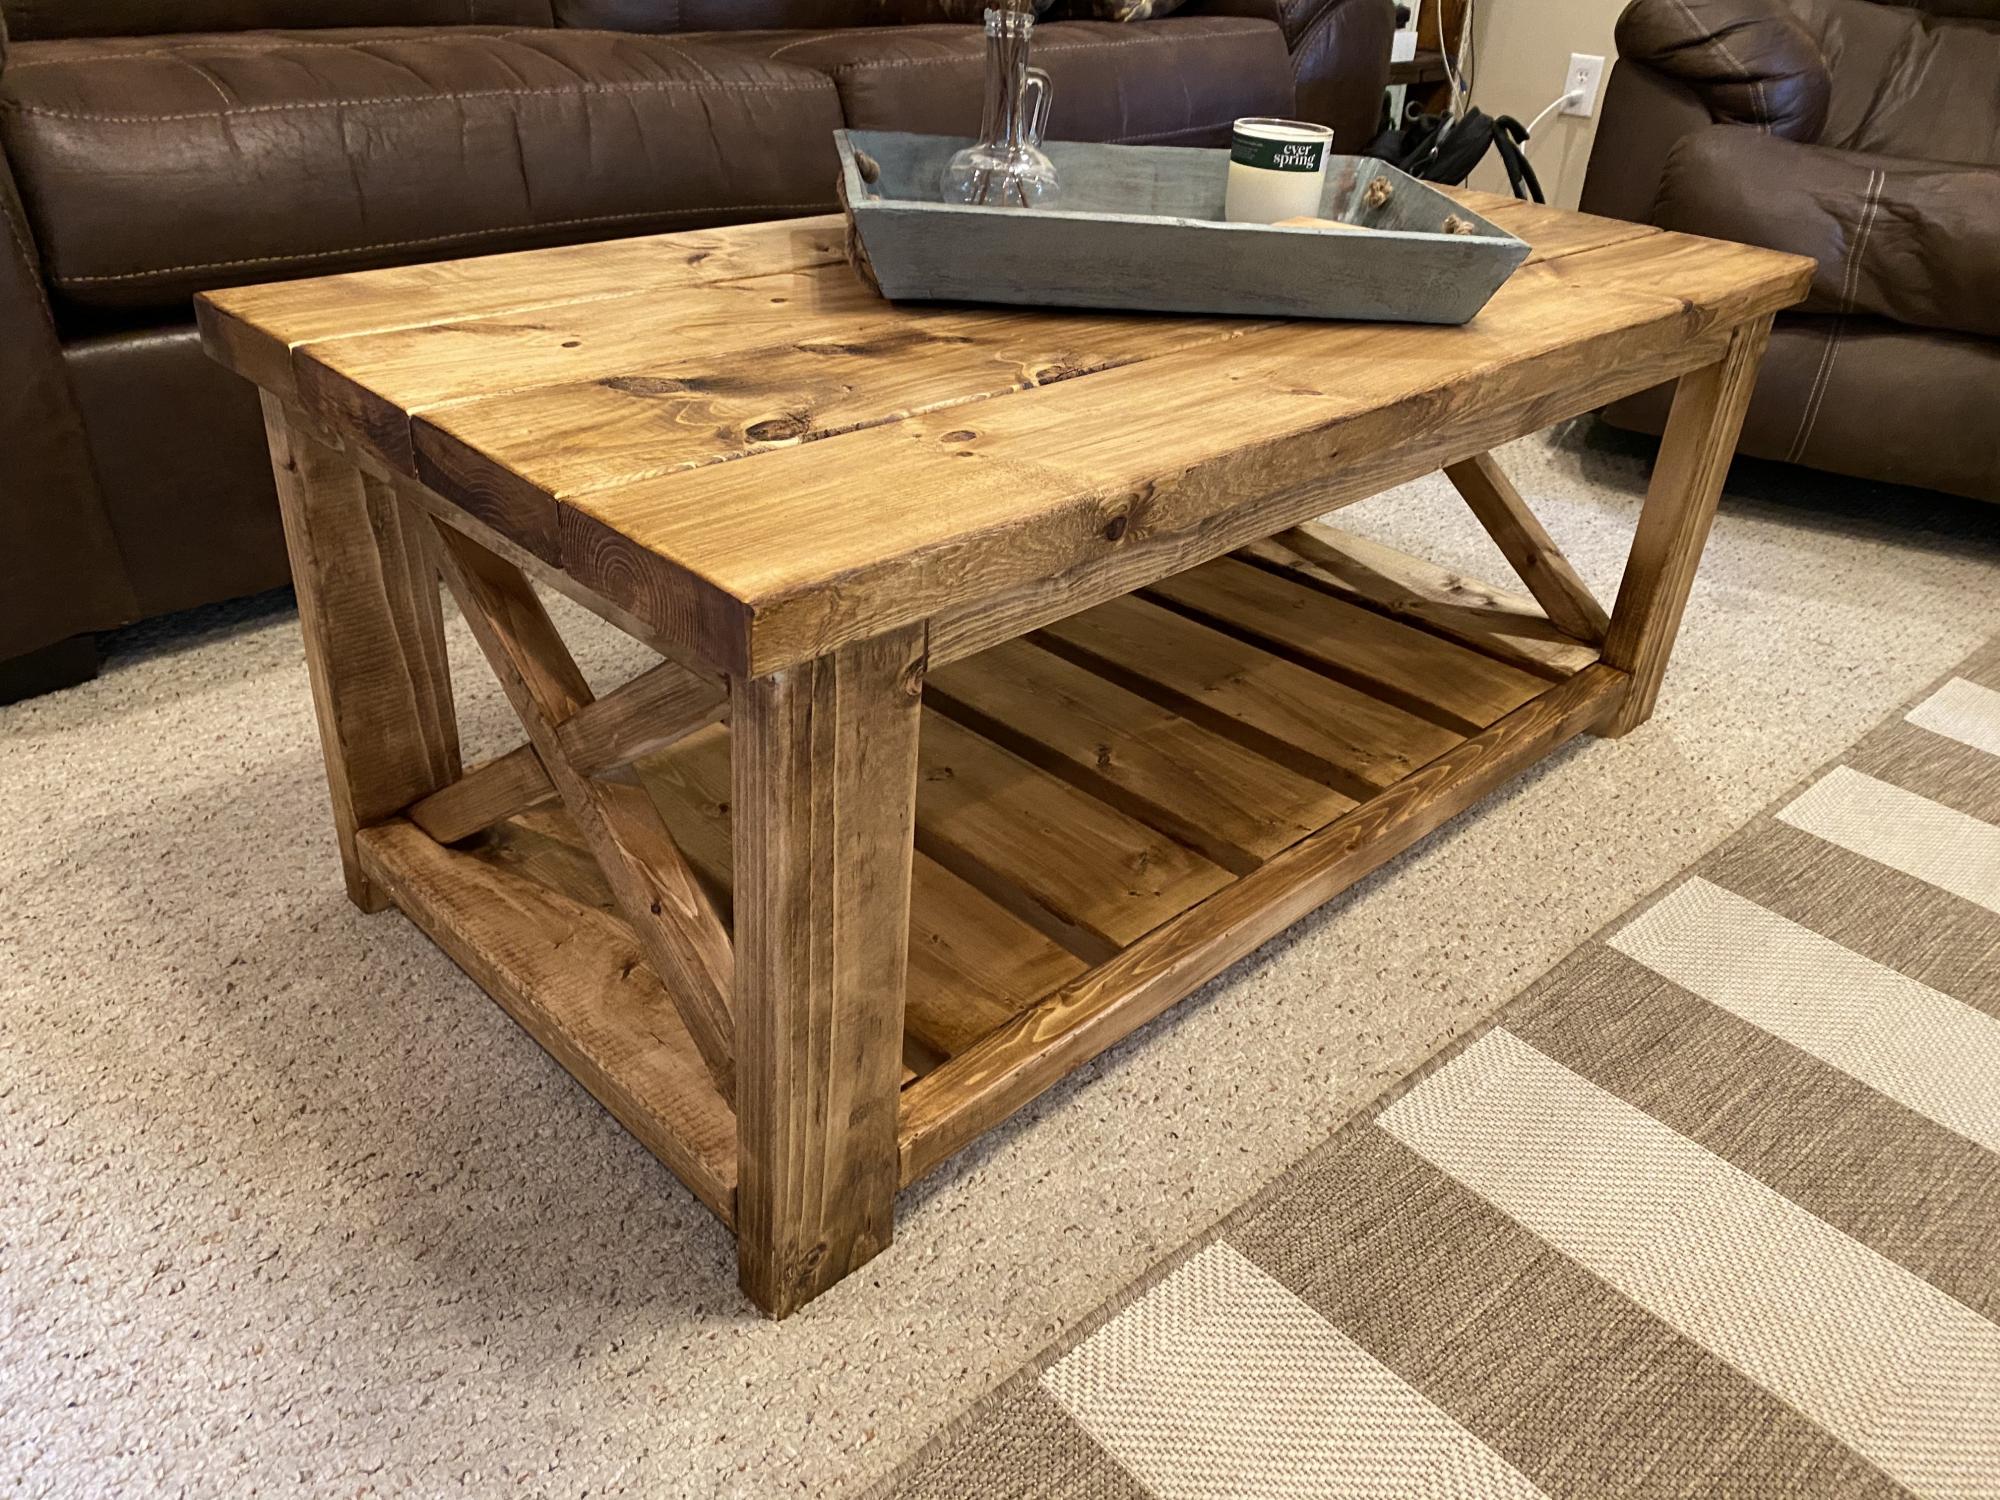
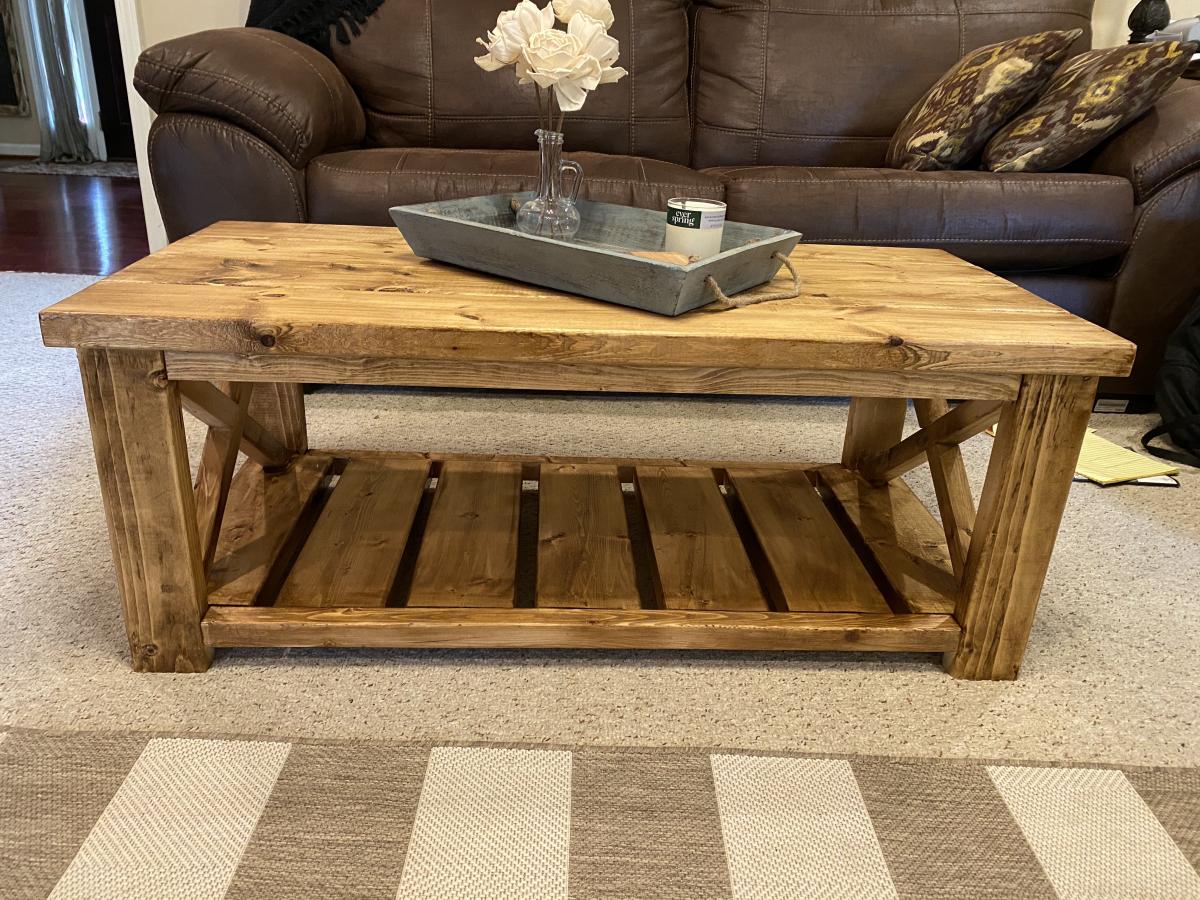
This is our second time building the Rustic X Console Table. It is such a fun project! I have all the details and more pictures on my blog.
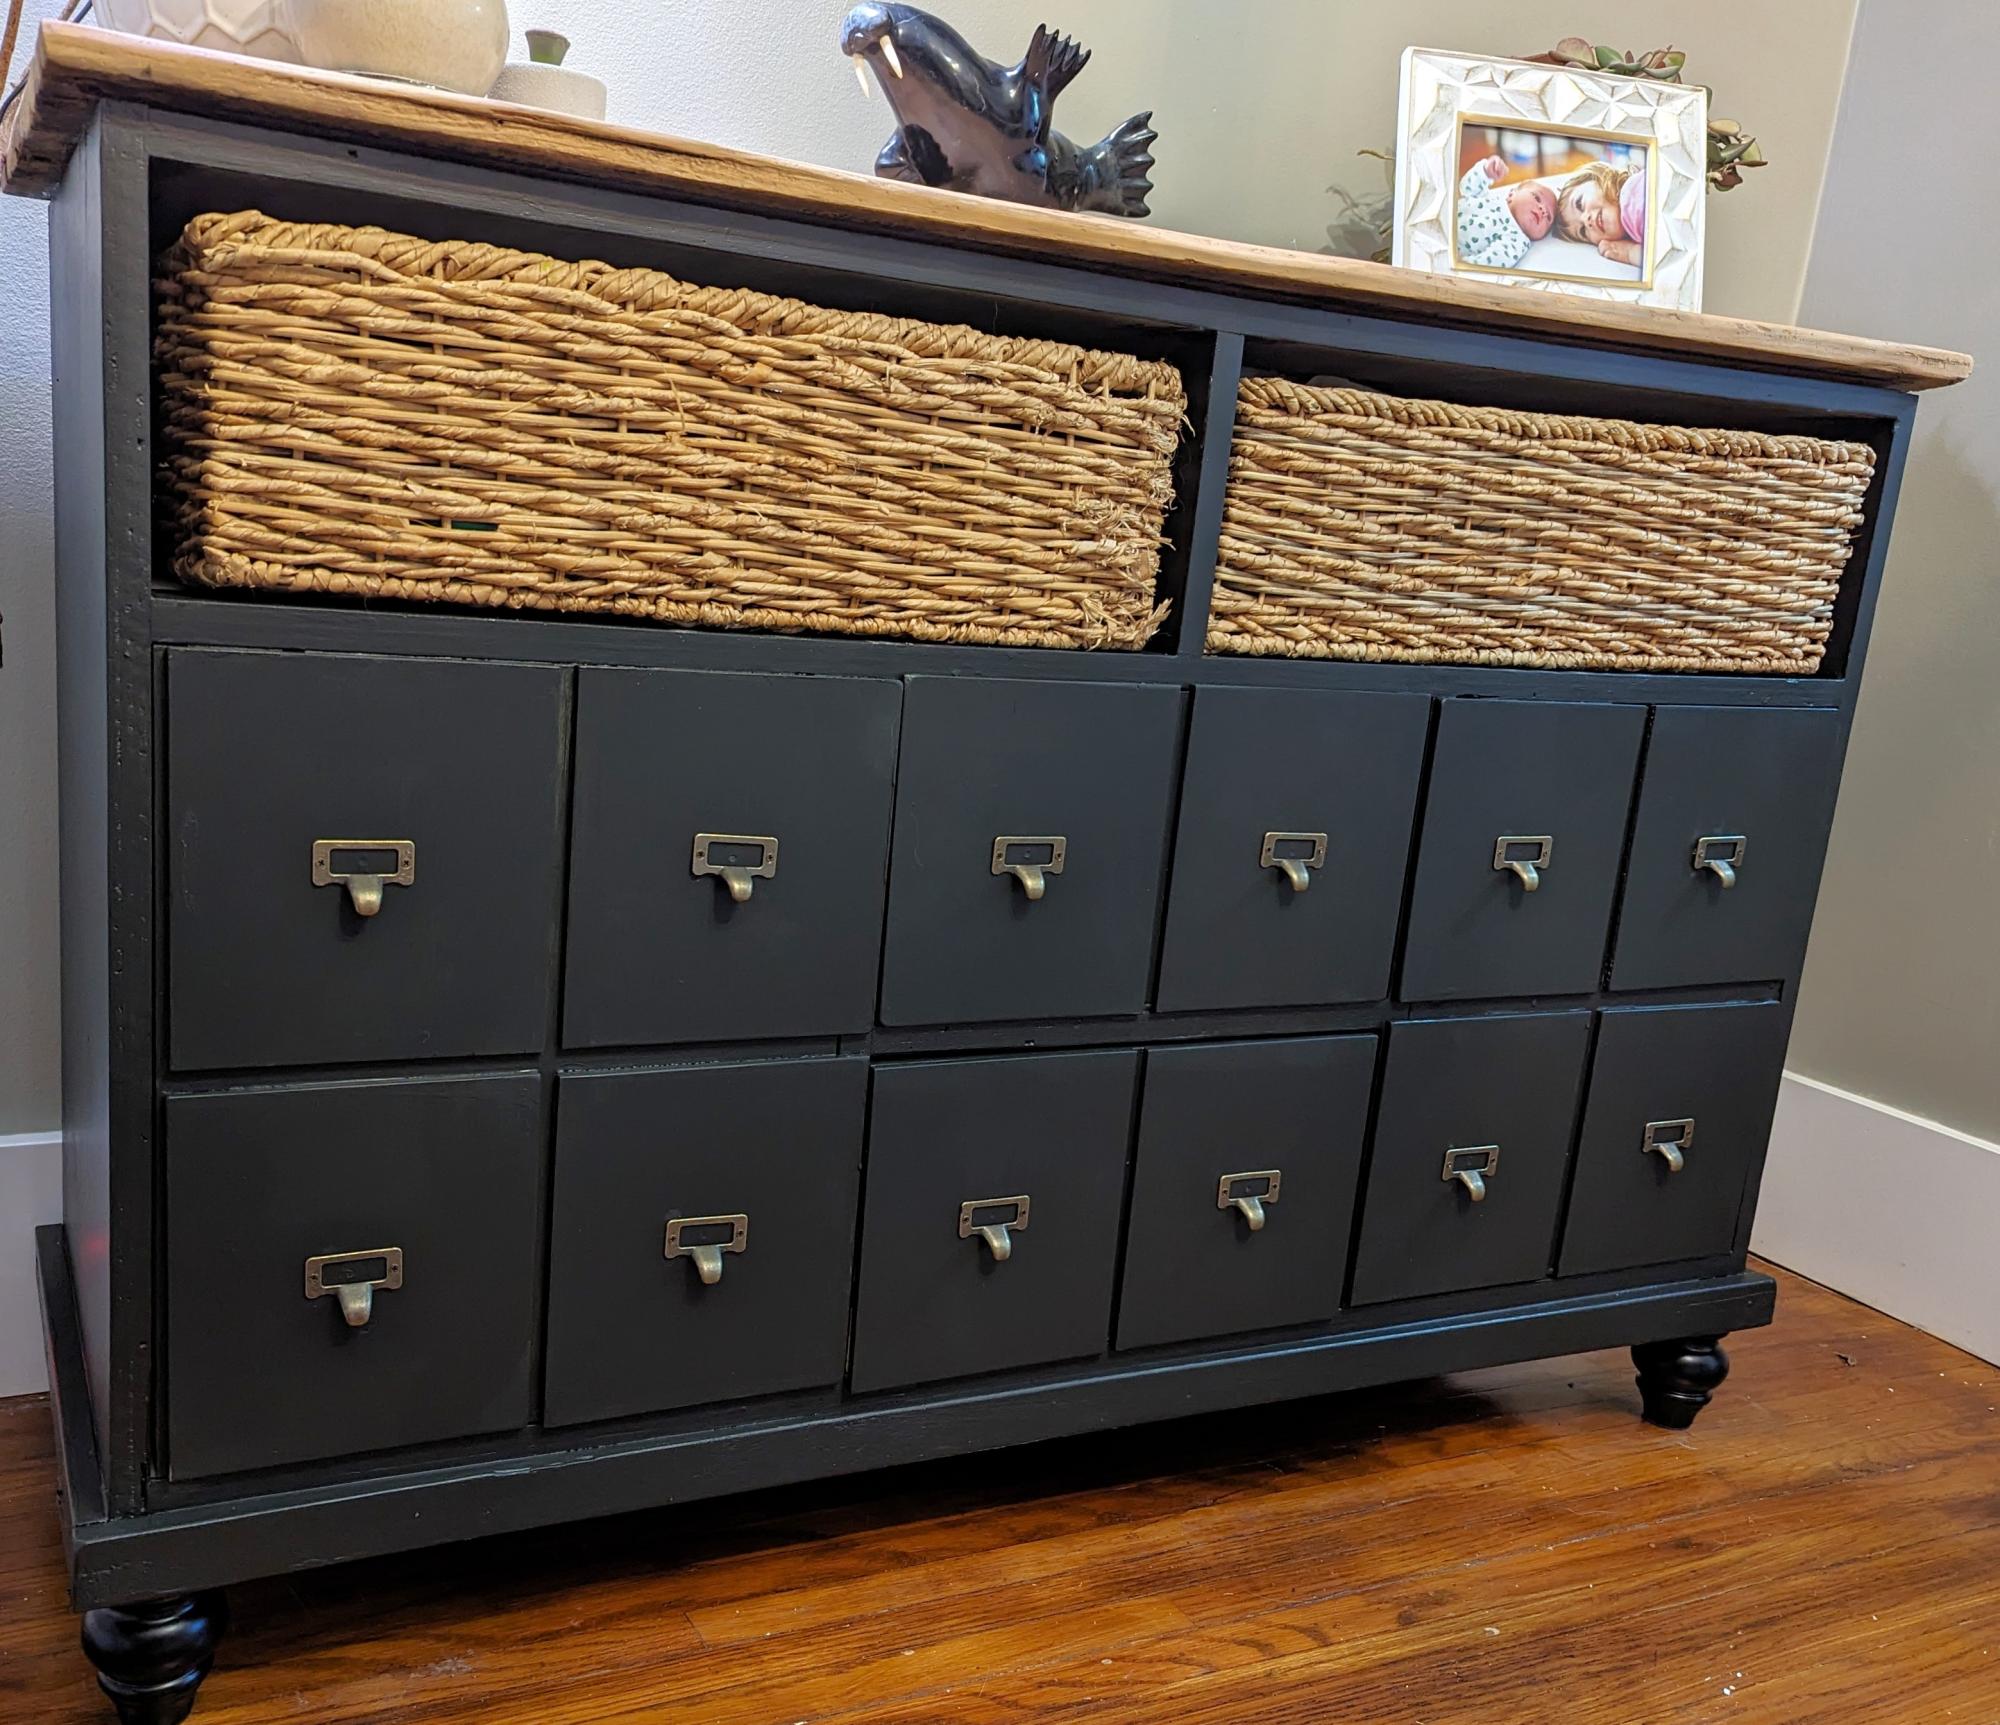
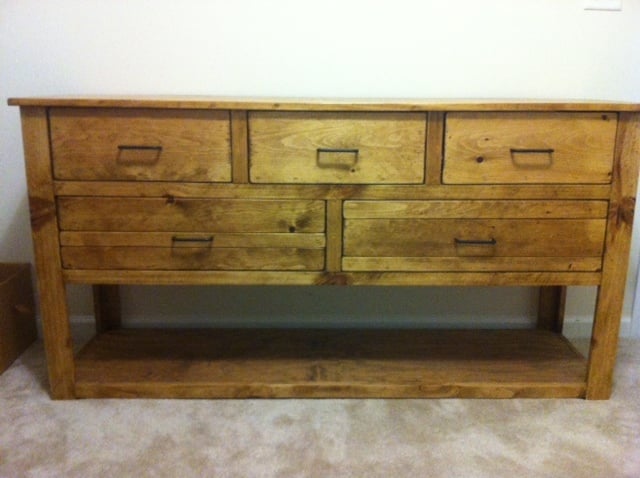
About 12 years ago we built the apothecary cabinet and painted it light blue/gray with a barn wood top. This year I decided to update it! It's now black with new hardware and feet added. I love the new look!
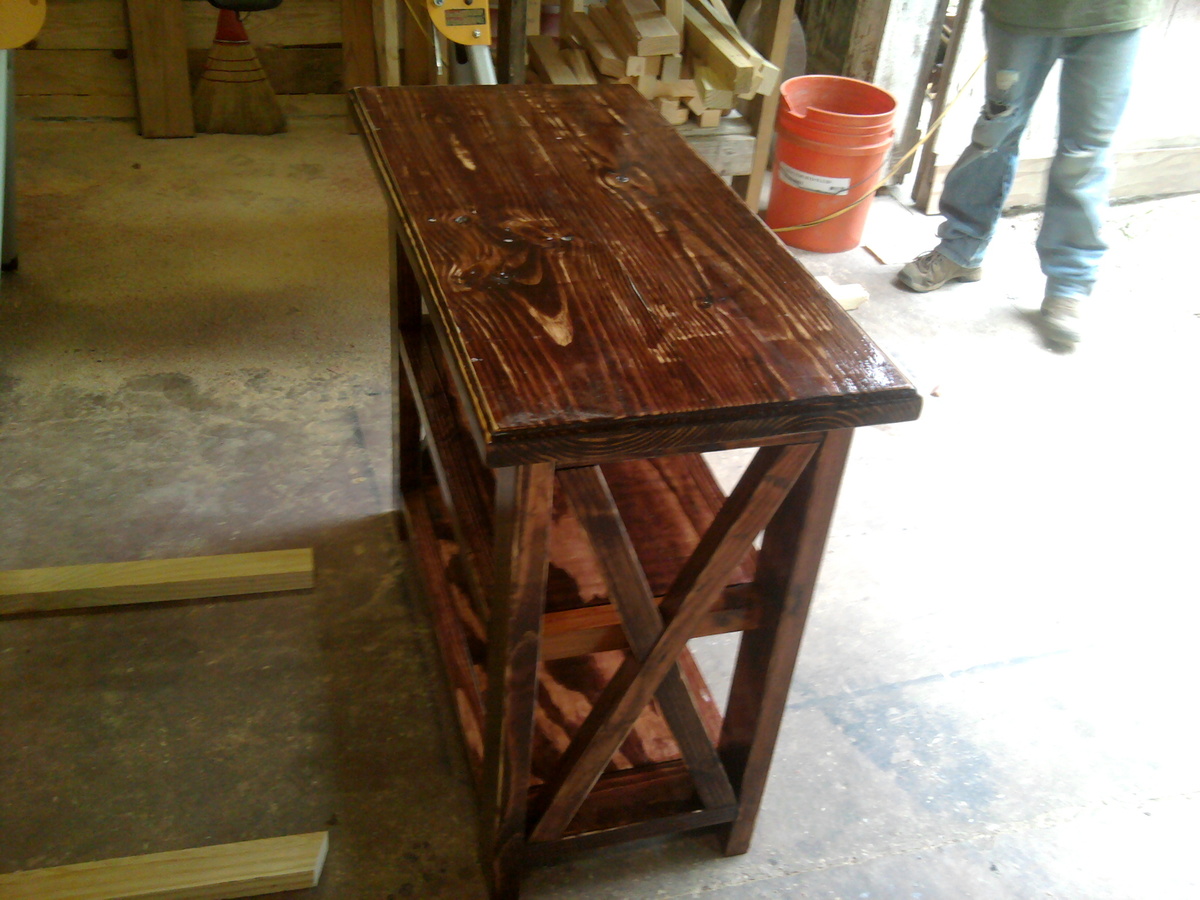
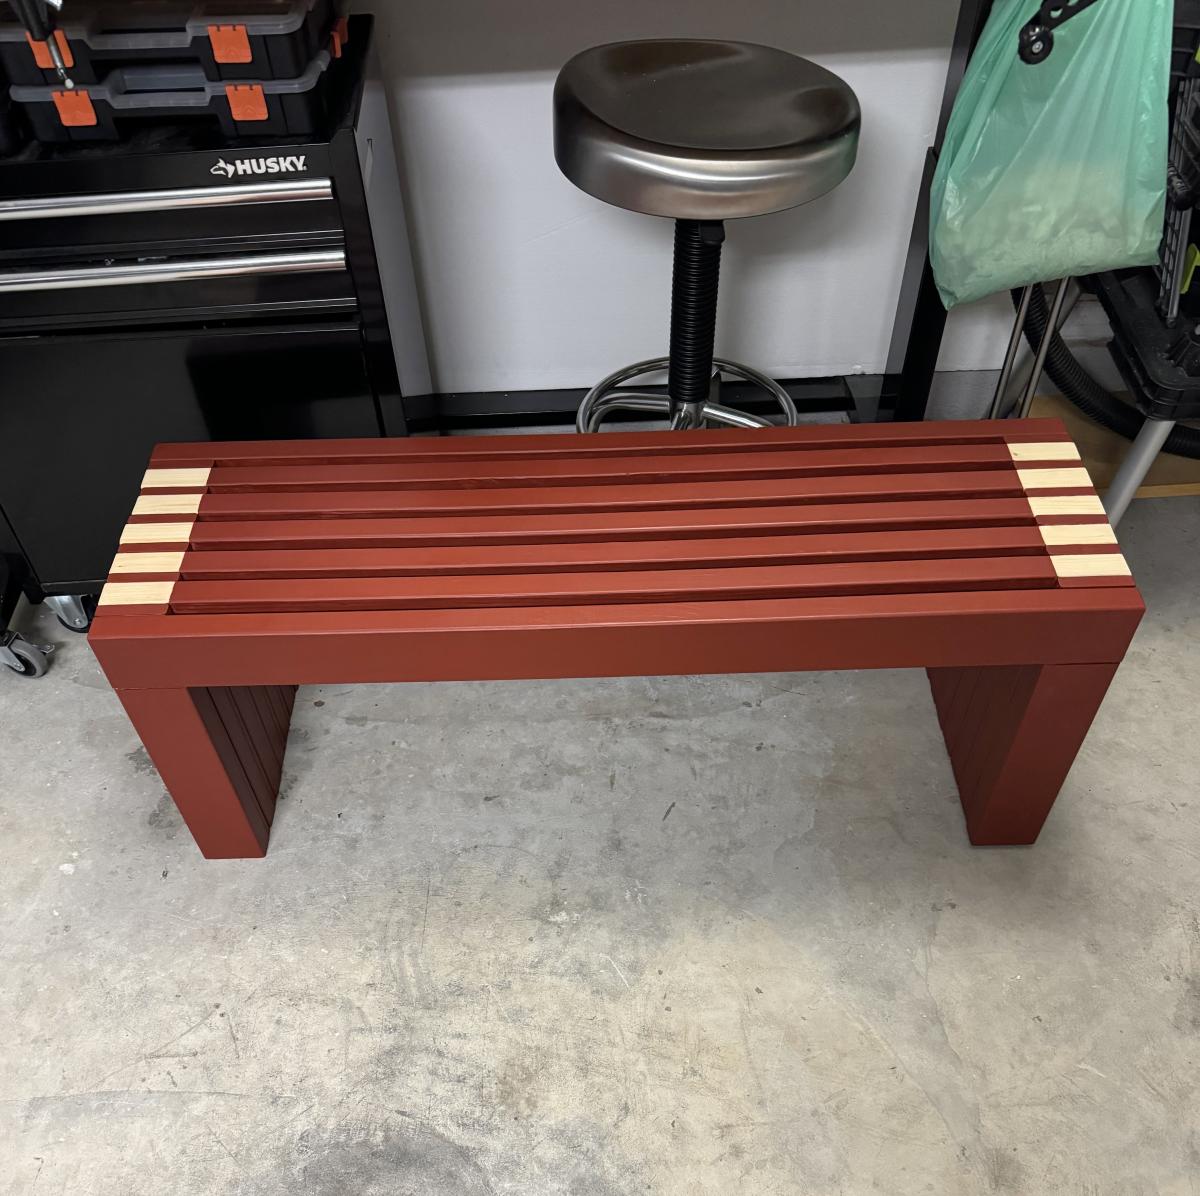
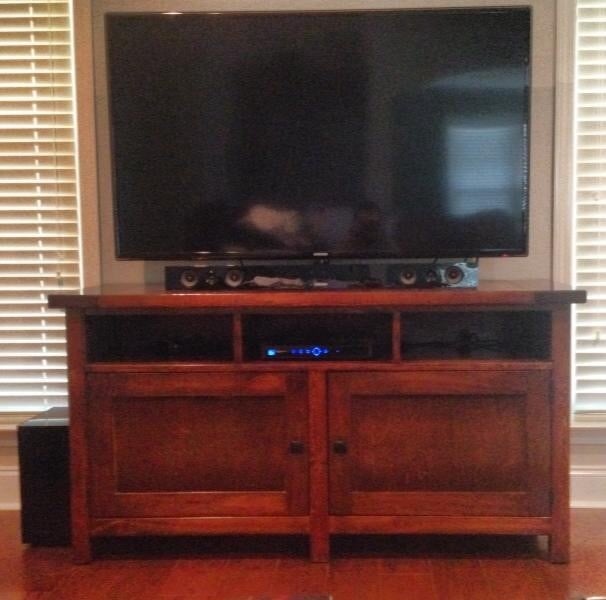
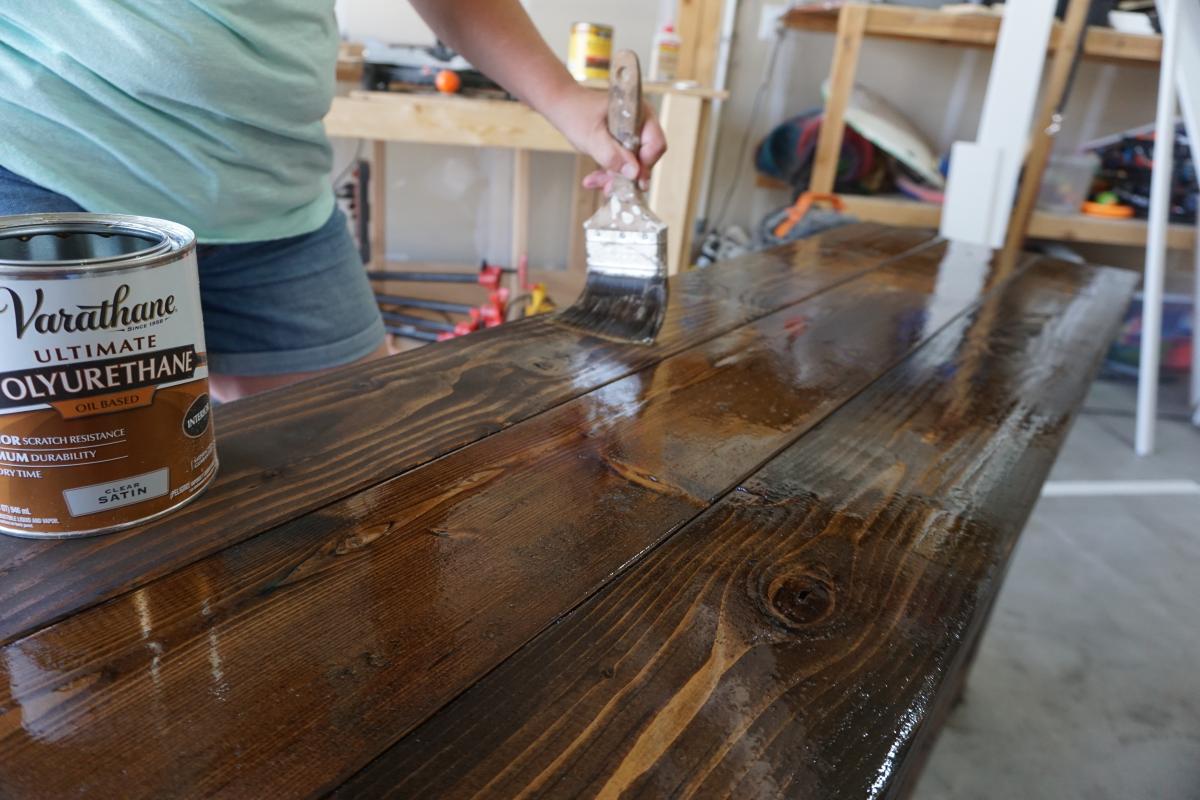
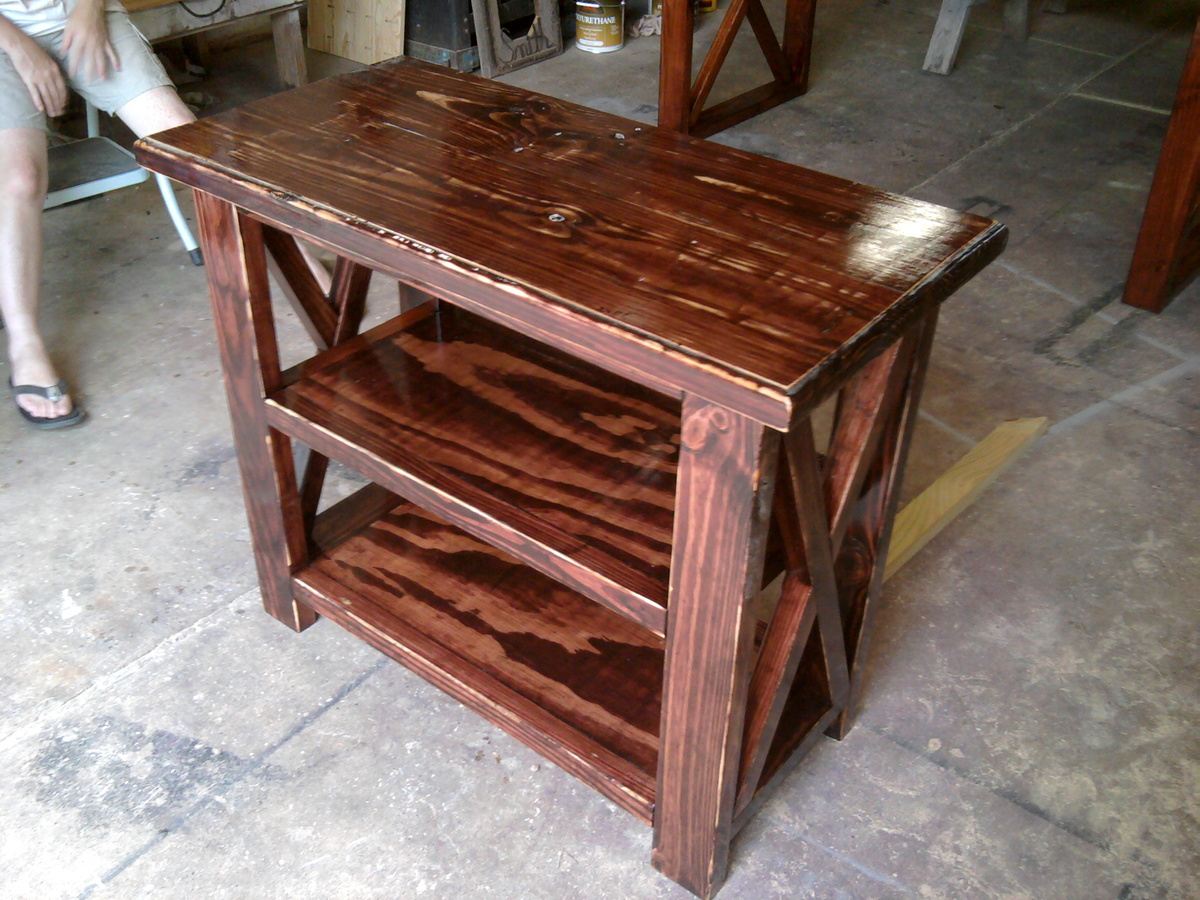
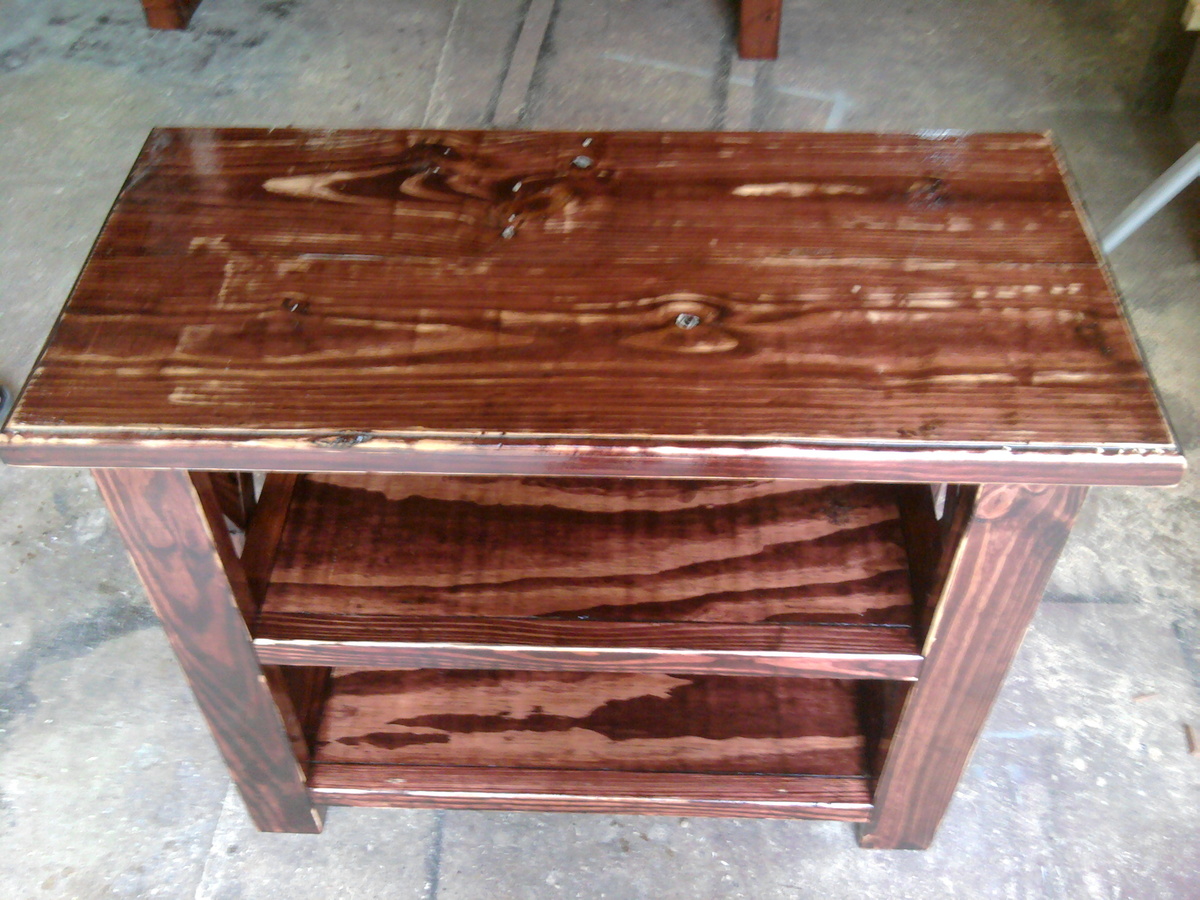
We took the rustic x console table plan and made it half the length and a bit narrower for the unity table at my daughters wedding. It is made of white pine 2x4's, white pine 2x10's for the top and the shelves are 3/4 pine plywood.It is stained minwax red mahogany and finished with 3 coats of ace brand gloss polyurethane. Lydia is using it for the TV in their apartment.Total cost was less than $25 so this was a bargain console.It only took a few hours to build and stain it. Due to the heat in Arkansas the finish was a chore . It dried too fast and had runs so I had to sand alot. It looked kinda rustic after I sanded so I just put 2 more coats on and eveyone loves it.
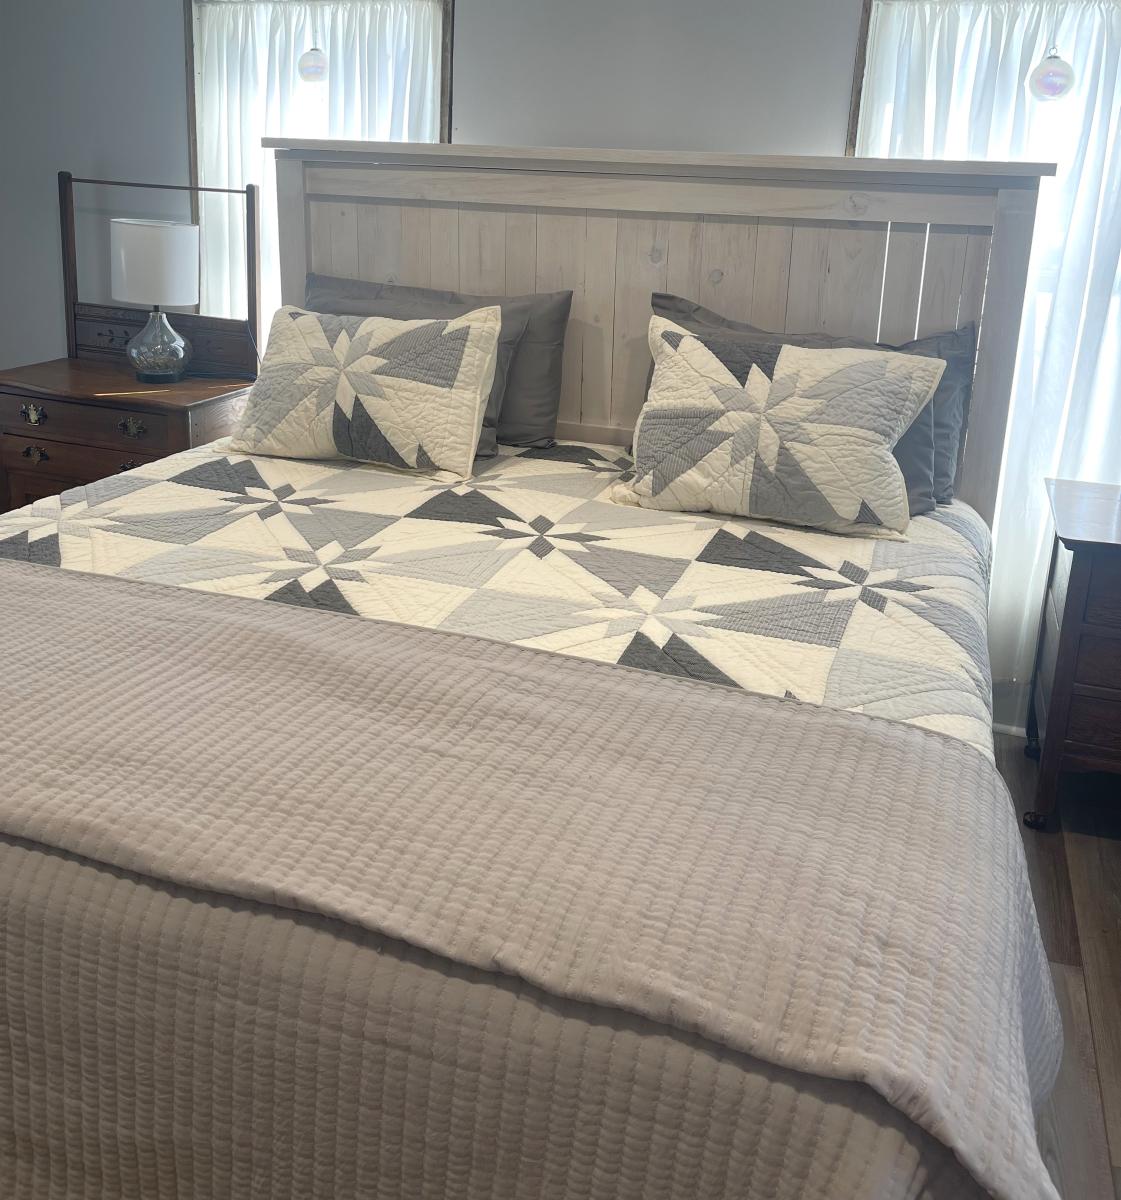
This was one of my first projects and I was thrilled with the way it turned out. The plans were great and easy to follow. It was also the first time I had stained anything. I was trying to really match a pallet wall in our den and Golden Oak color stain was absolutely perfect! Thanks Ana!
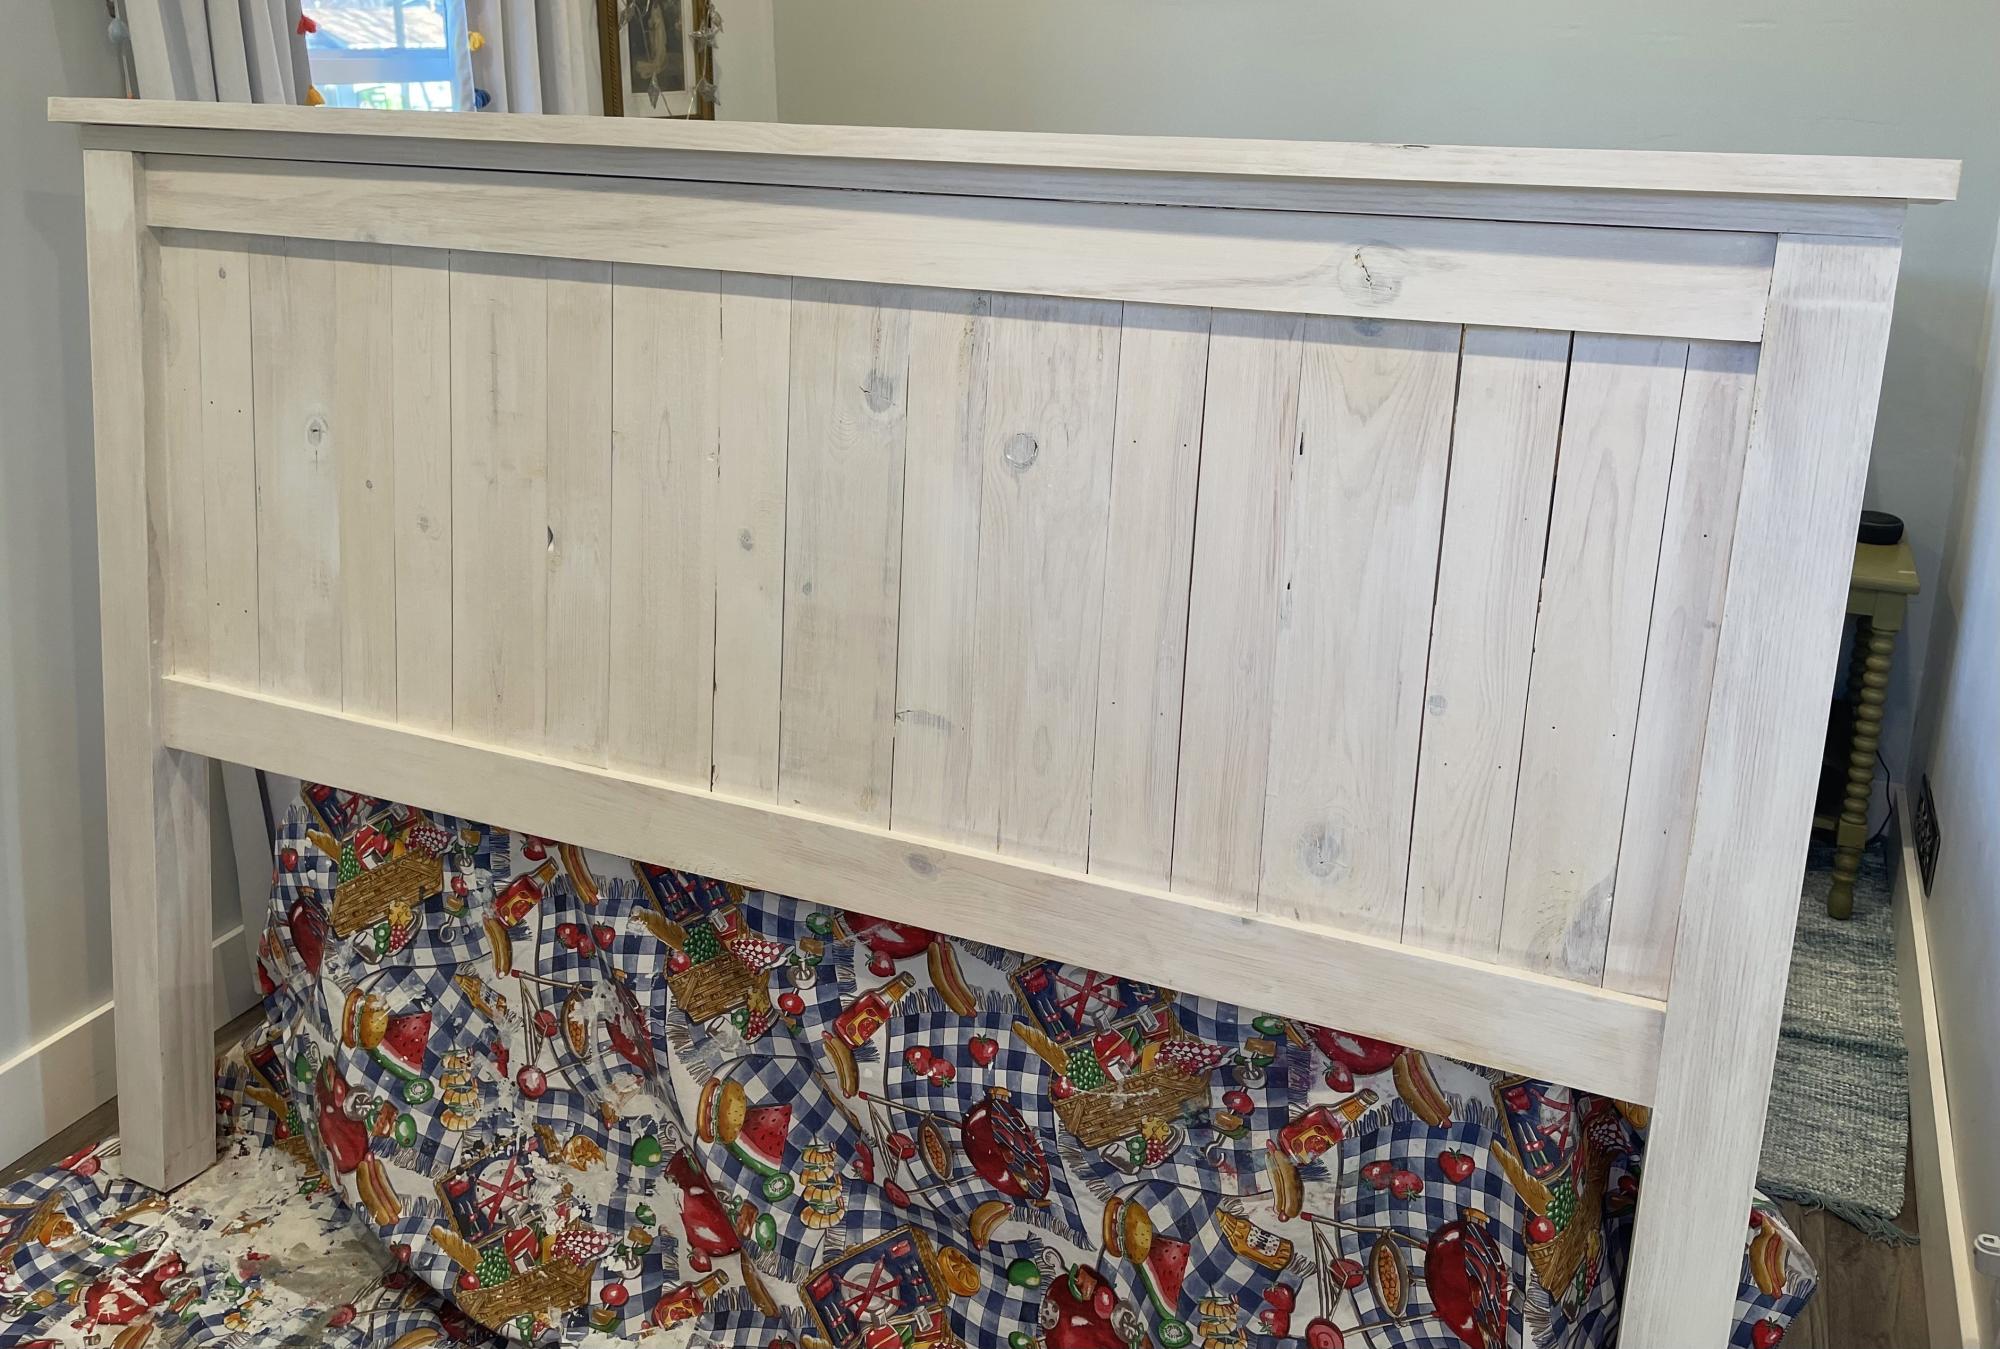
We decided to just make the headboard, king size.
Becky & Dimitri Lambiris
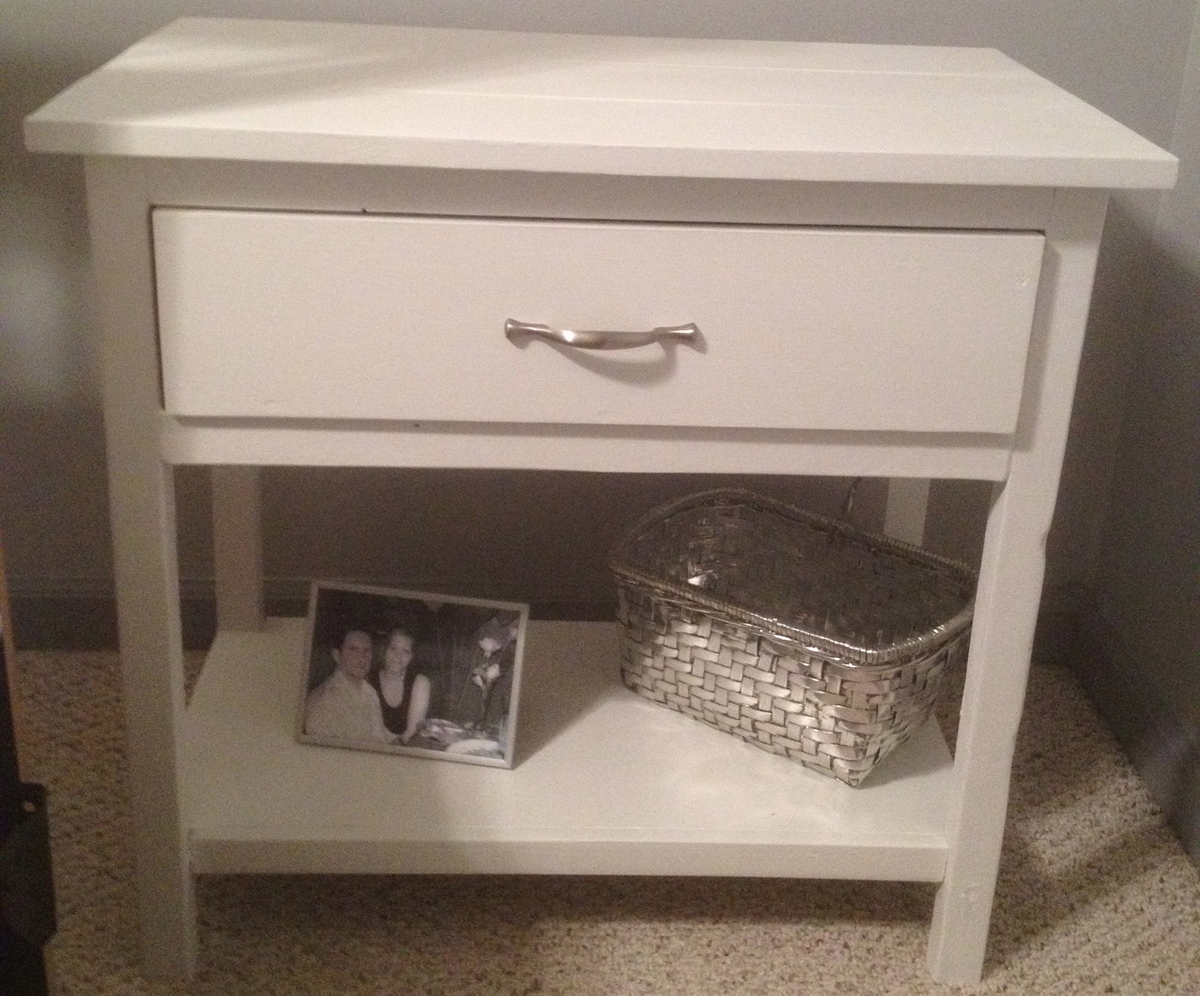
This nightstand was my fourth build, and it was so much fun! All of the measurements listed were accurate and it was super easy to build! Doing my second one right now!
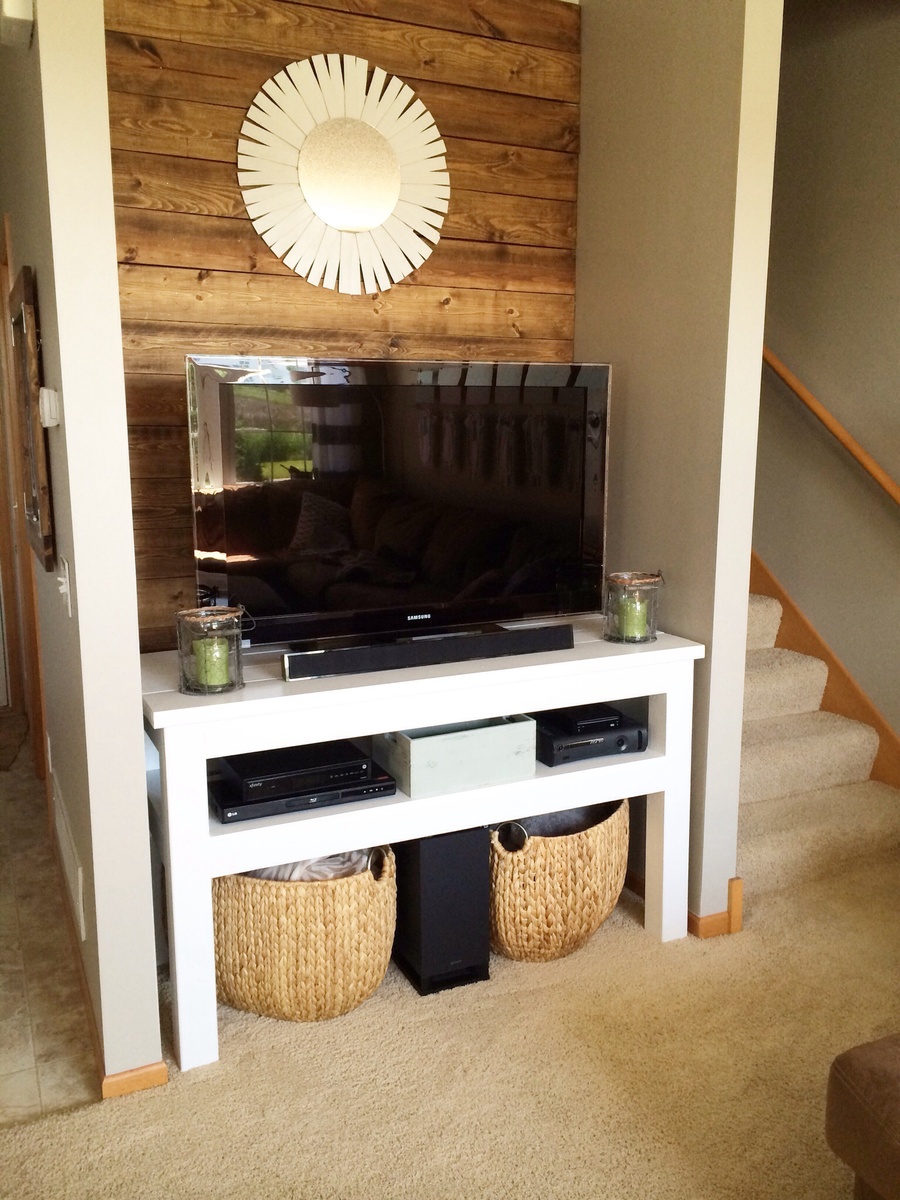
I needed something for my tv that would be high enough to accommodate our 18 inch sound bar sub so I modified the Taylor's Console plan to fit. Love the way it looks with my plank wall! Pretty happy with the first piece of furniture I built!
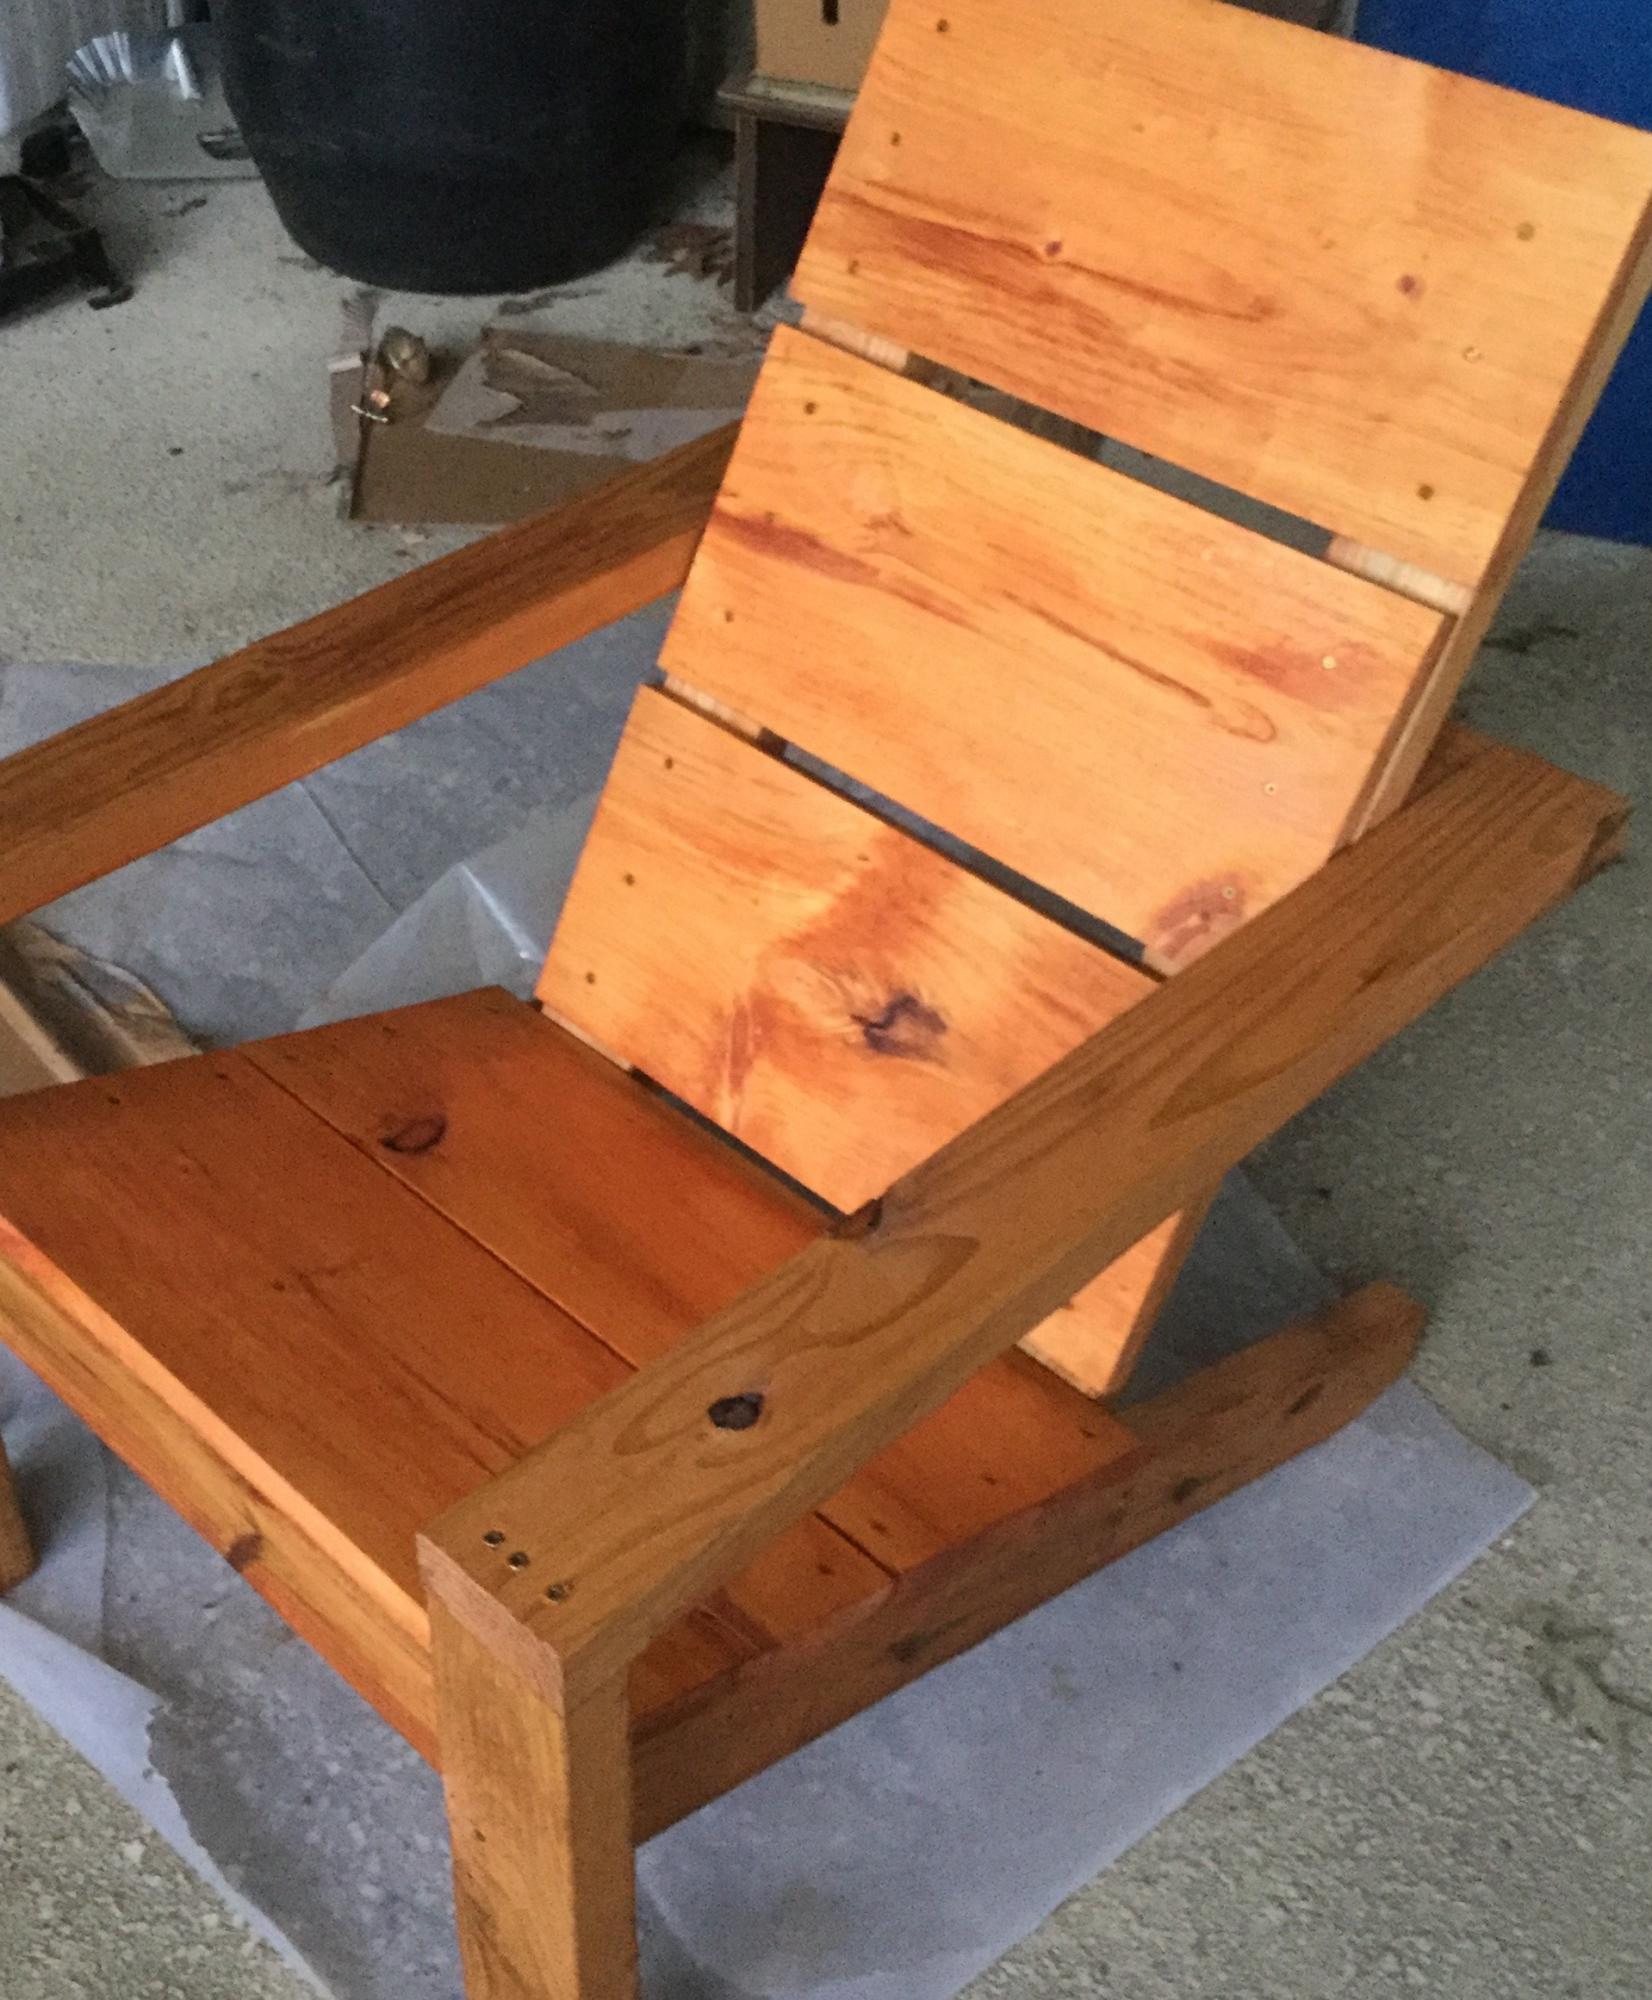
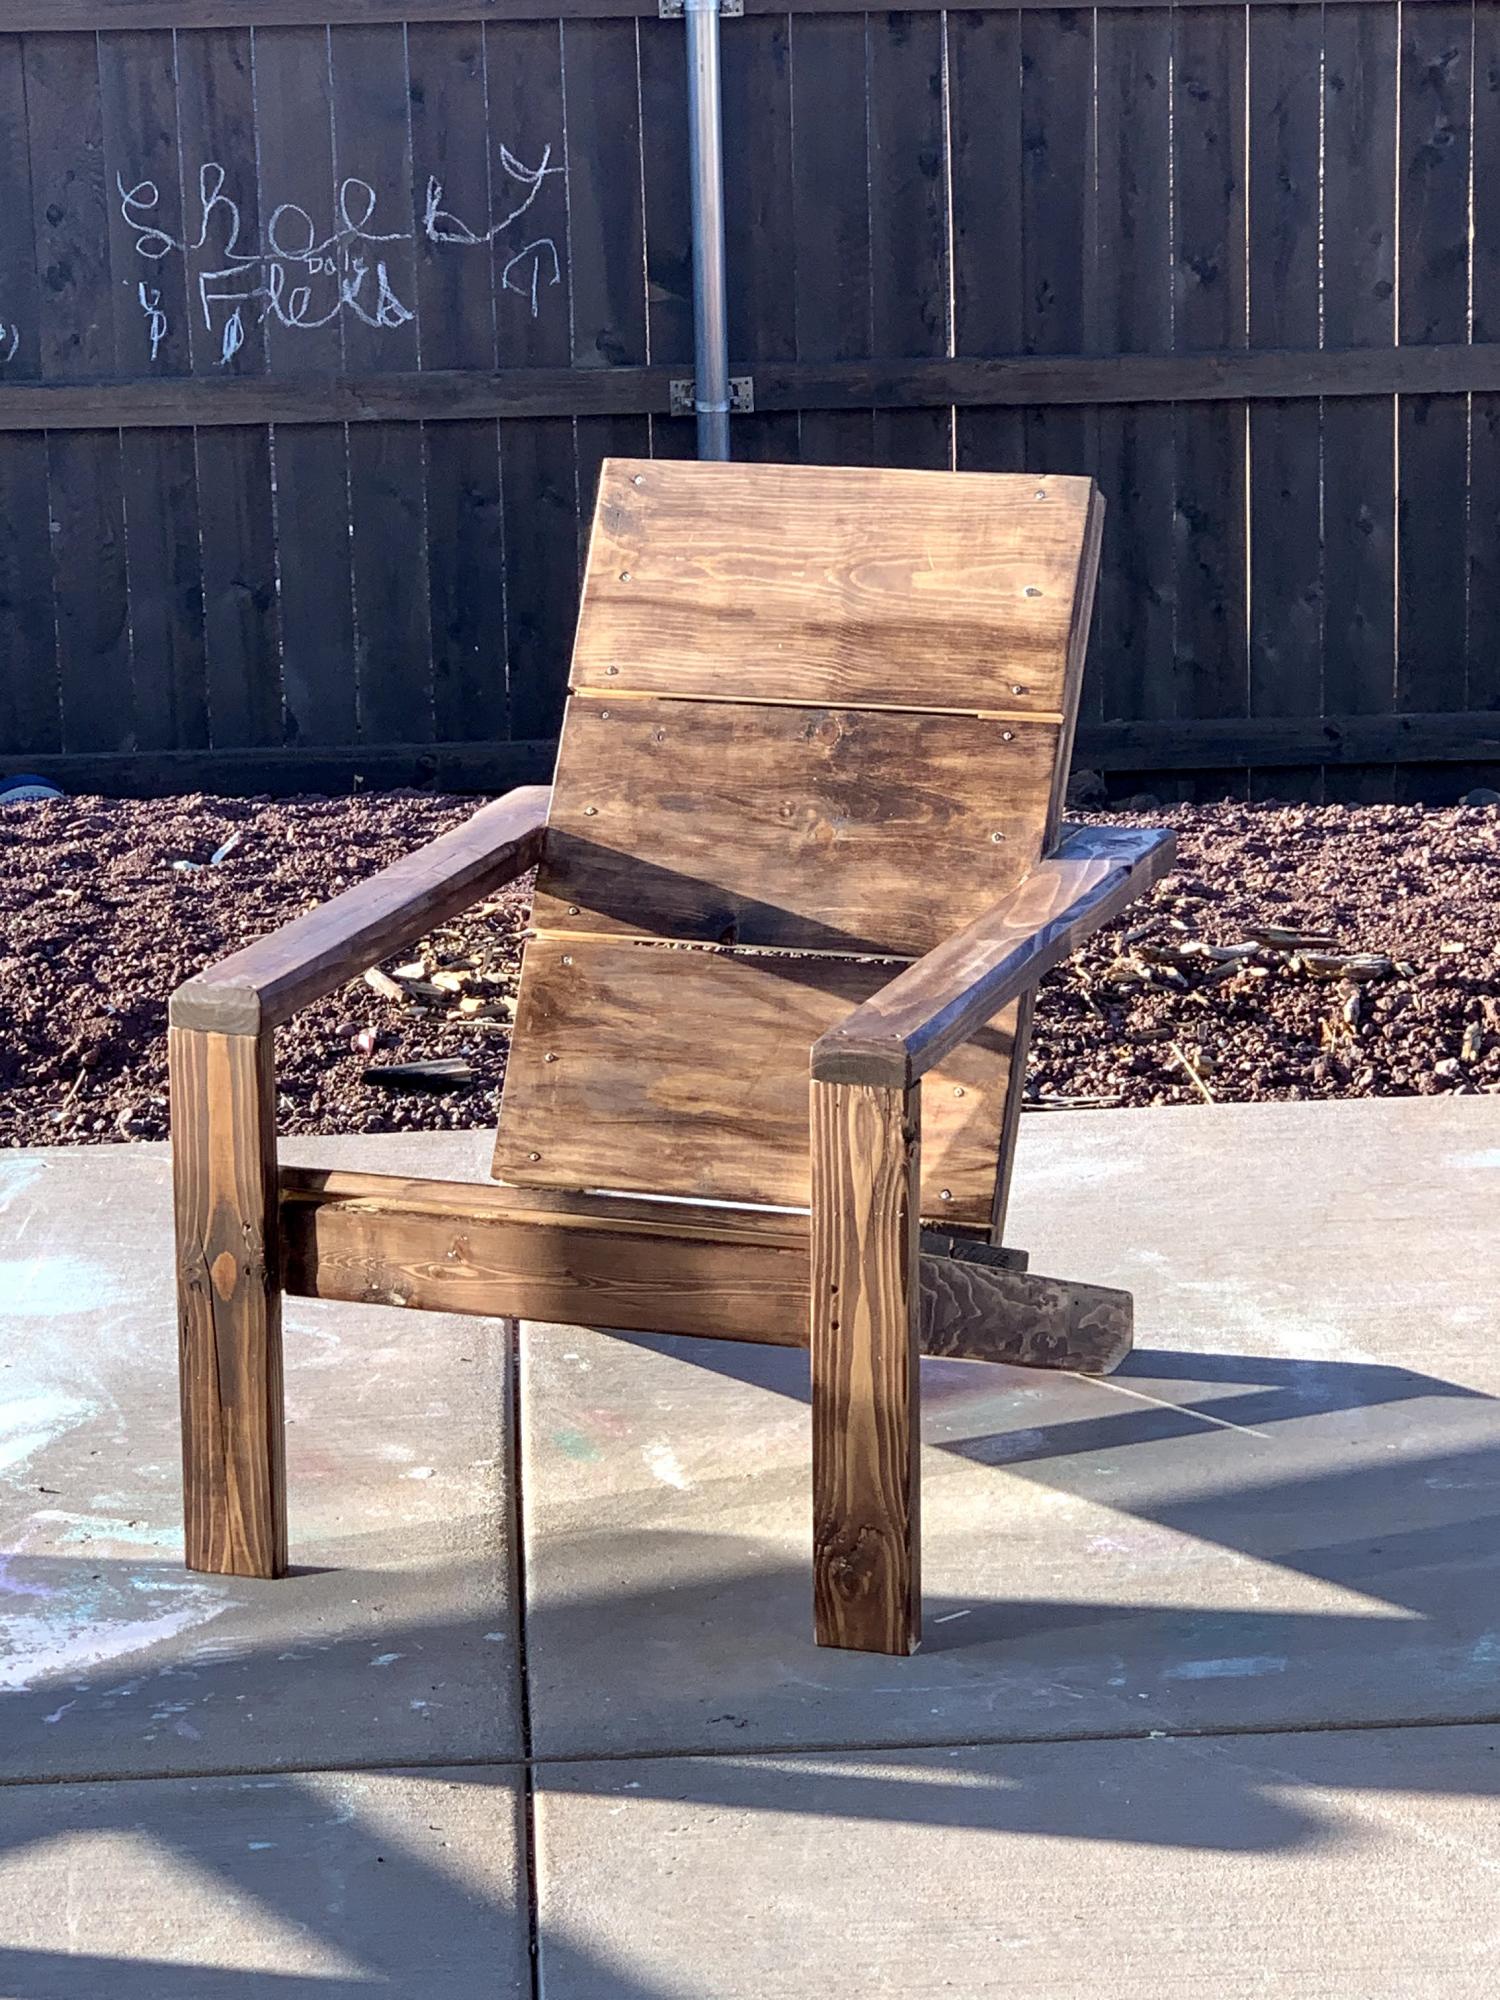
I really enjoyed making this. Notes: The board with 20 degree cuts needs to be cut at a longer length if cutting at 90 degrees and trimming later. The back support is a little low if you’re over 5’10”.
Recently identified this wonderful website. Thank you for the plan and really enjoying the process of building the furniture from scratch.