Community Brag Posts

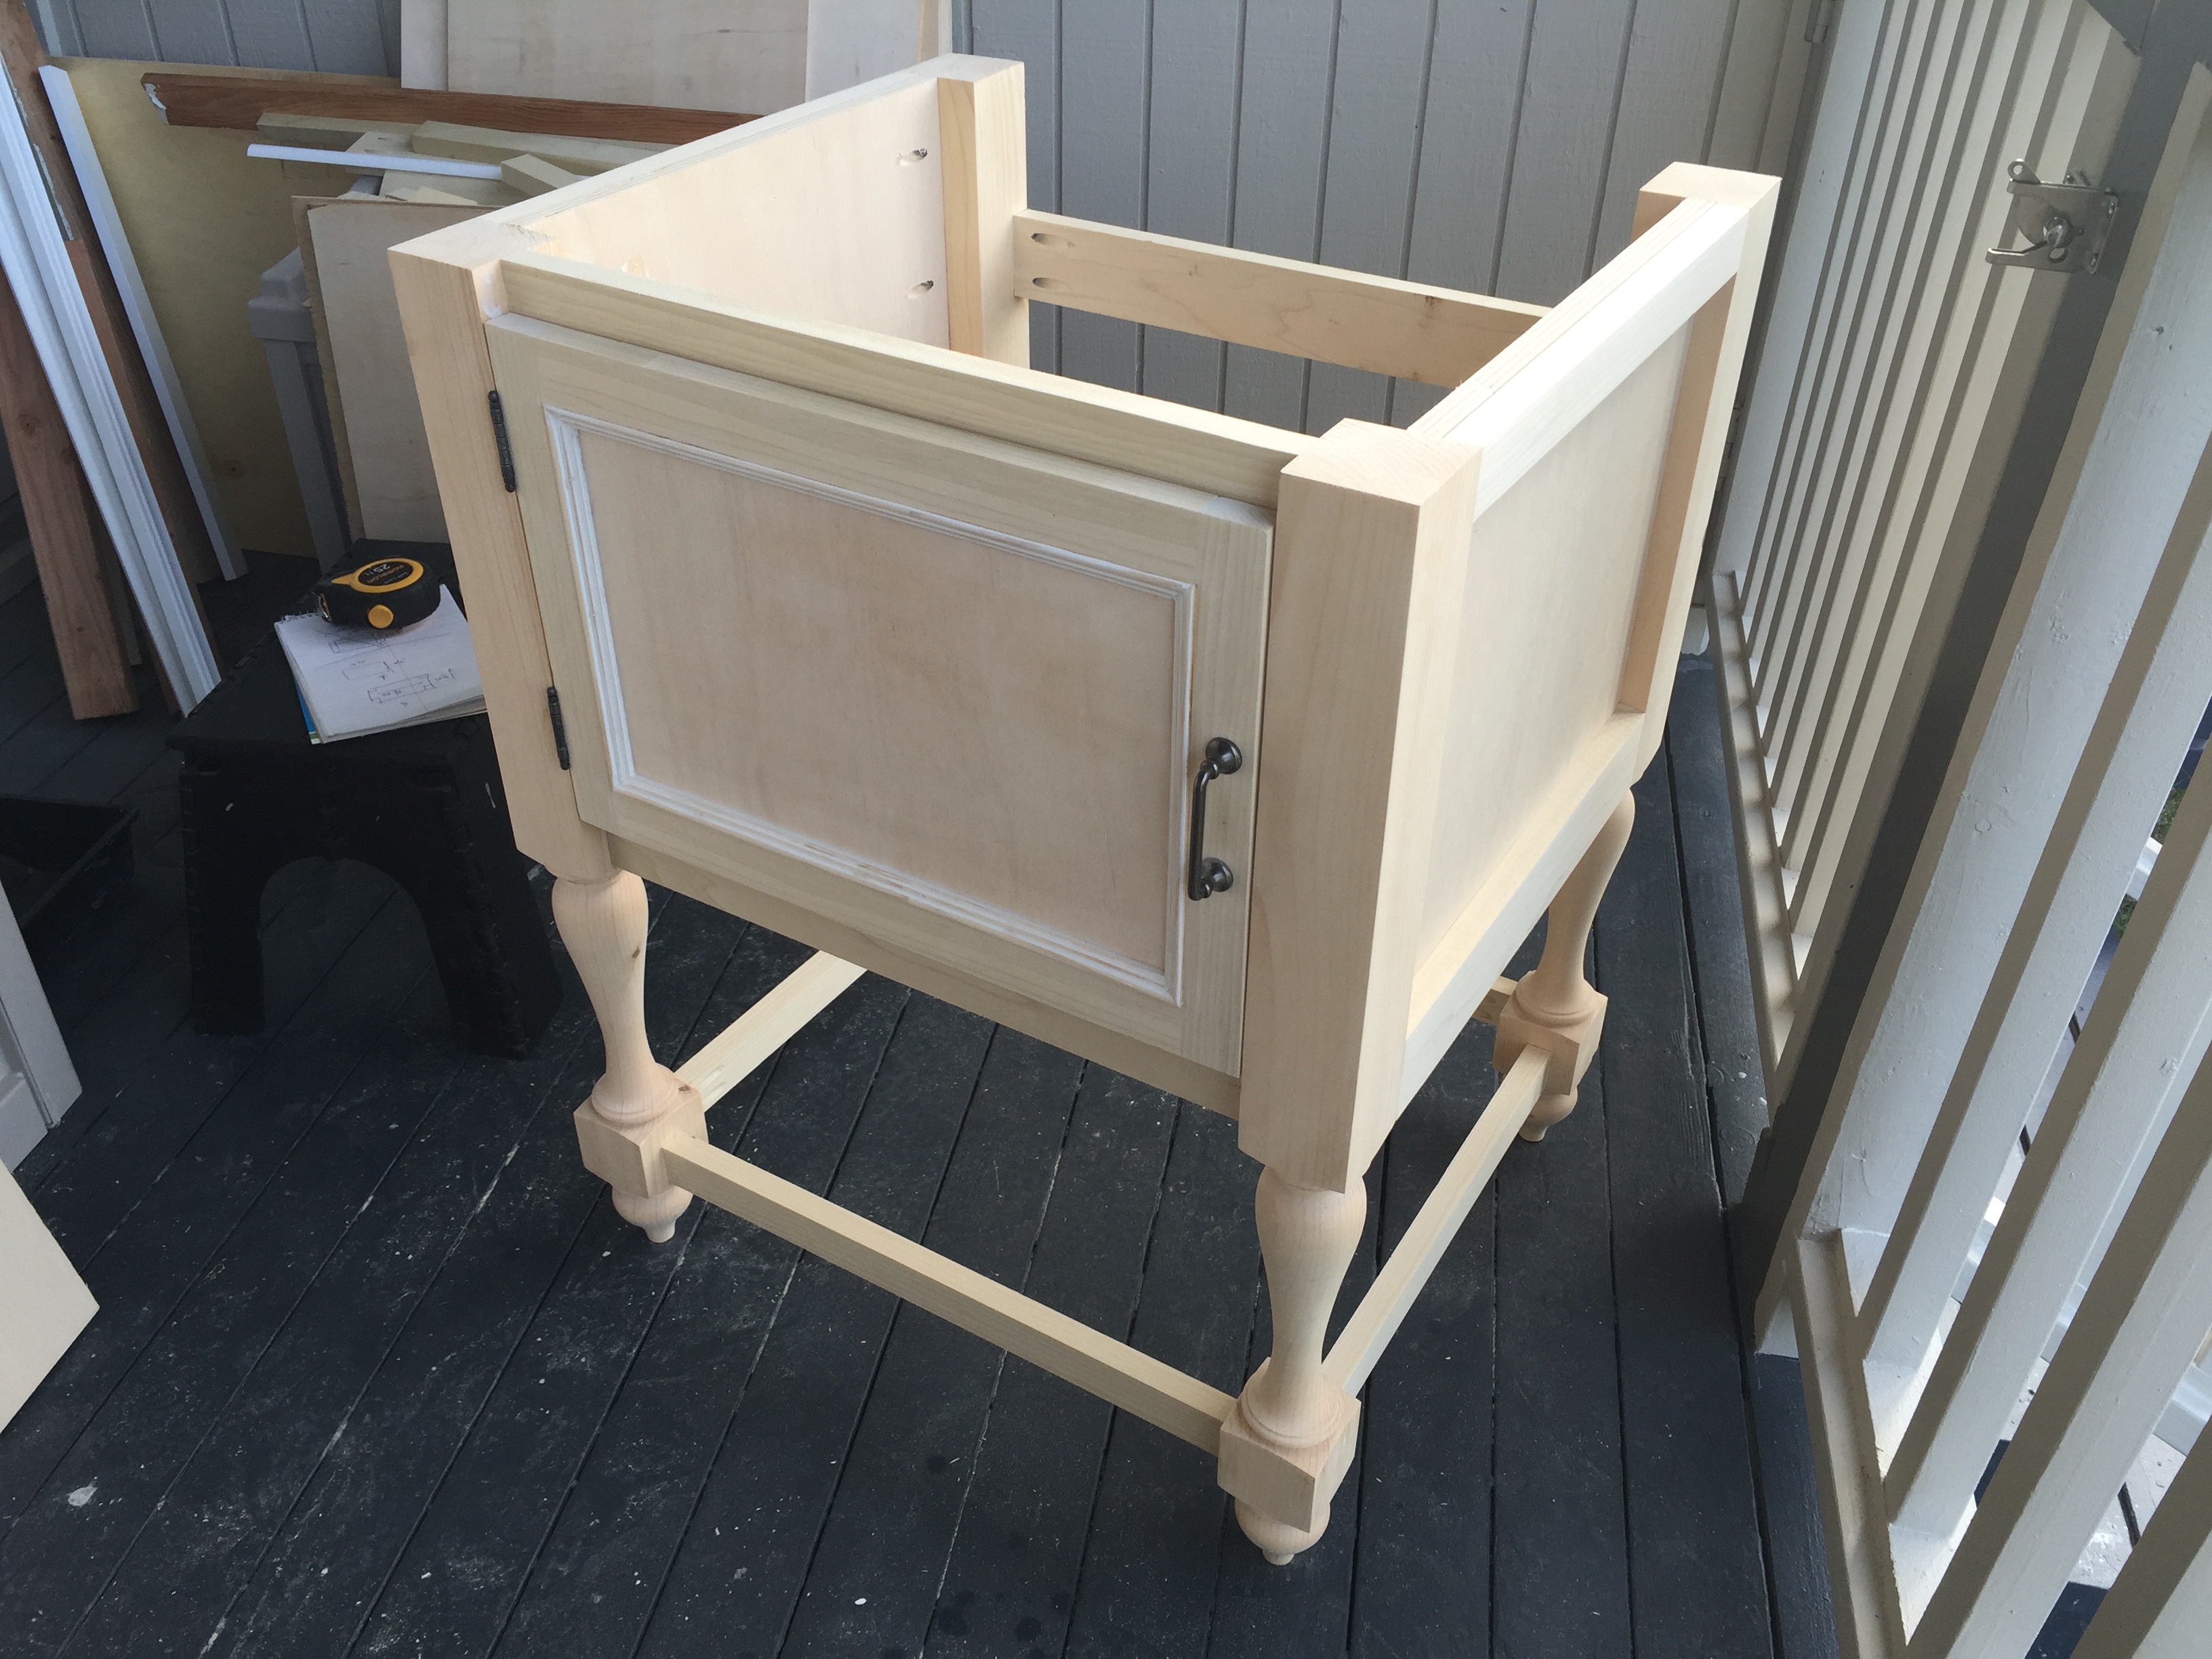
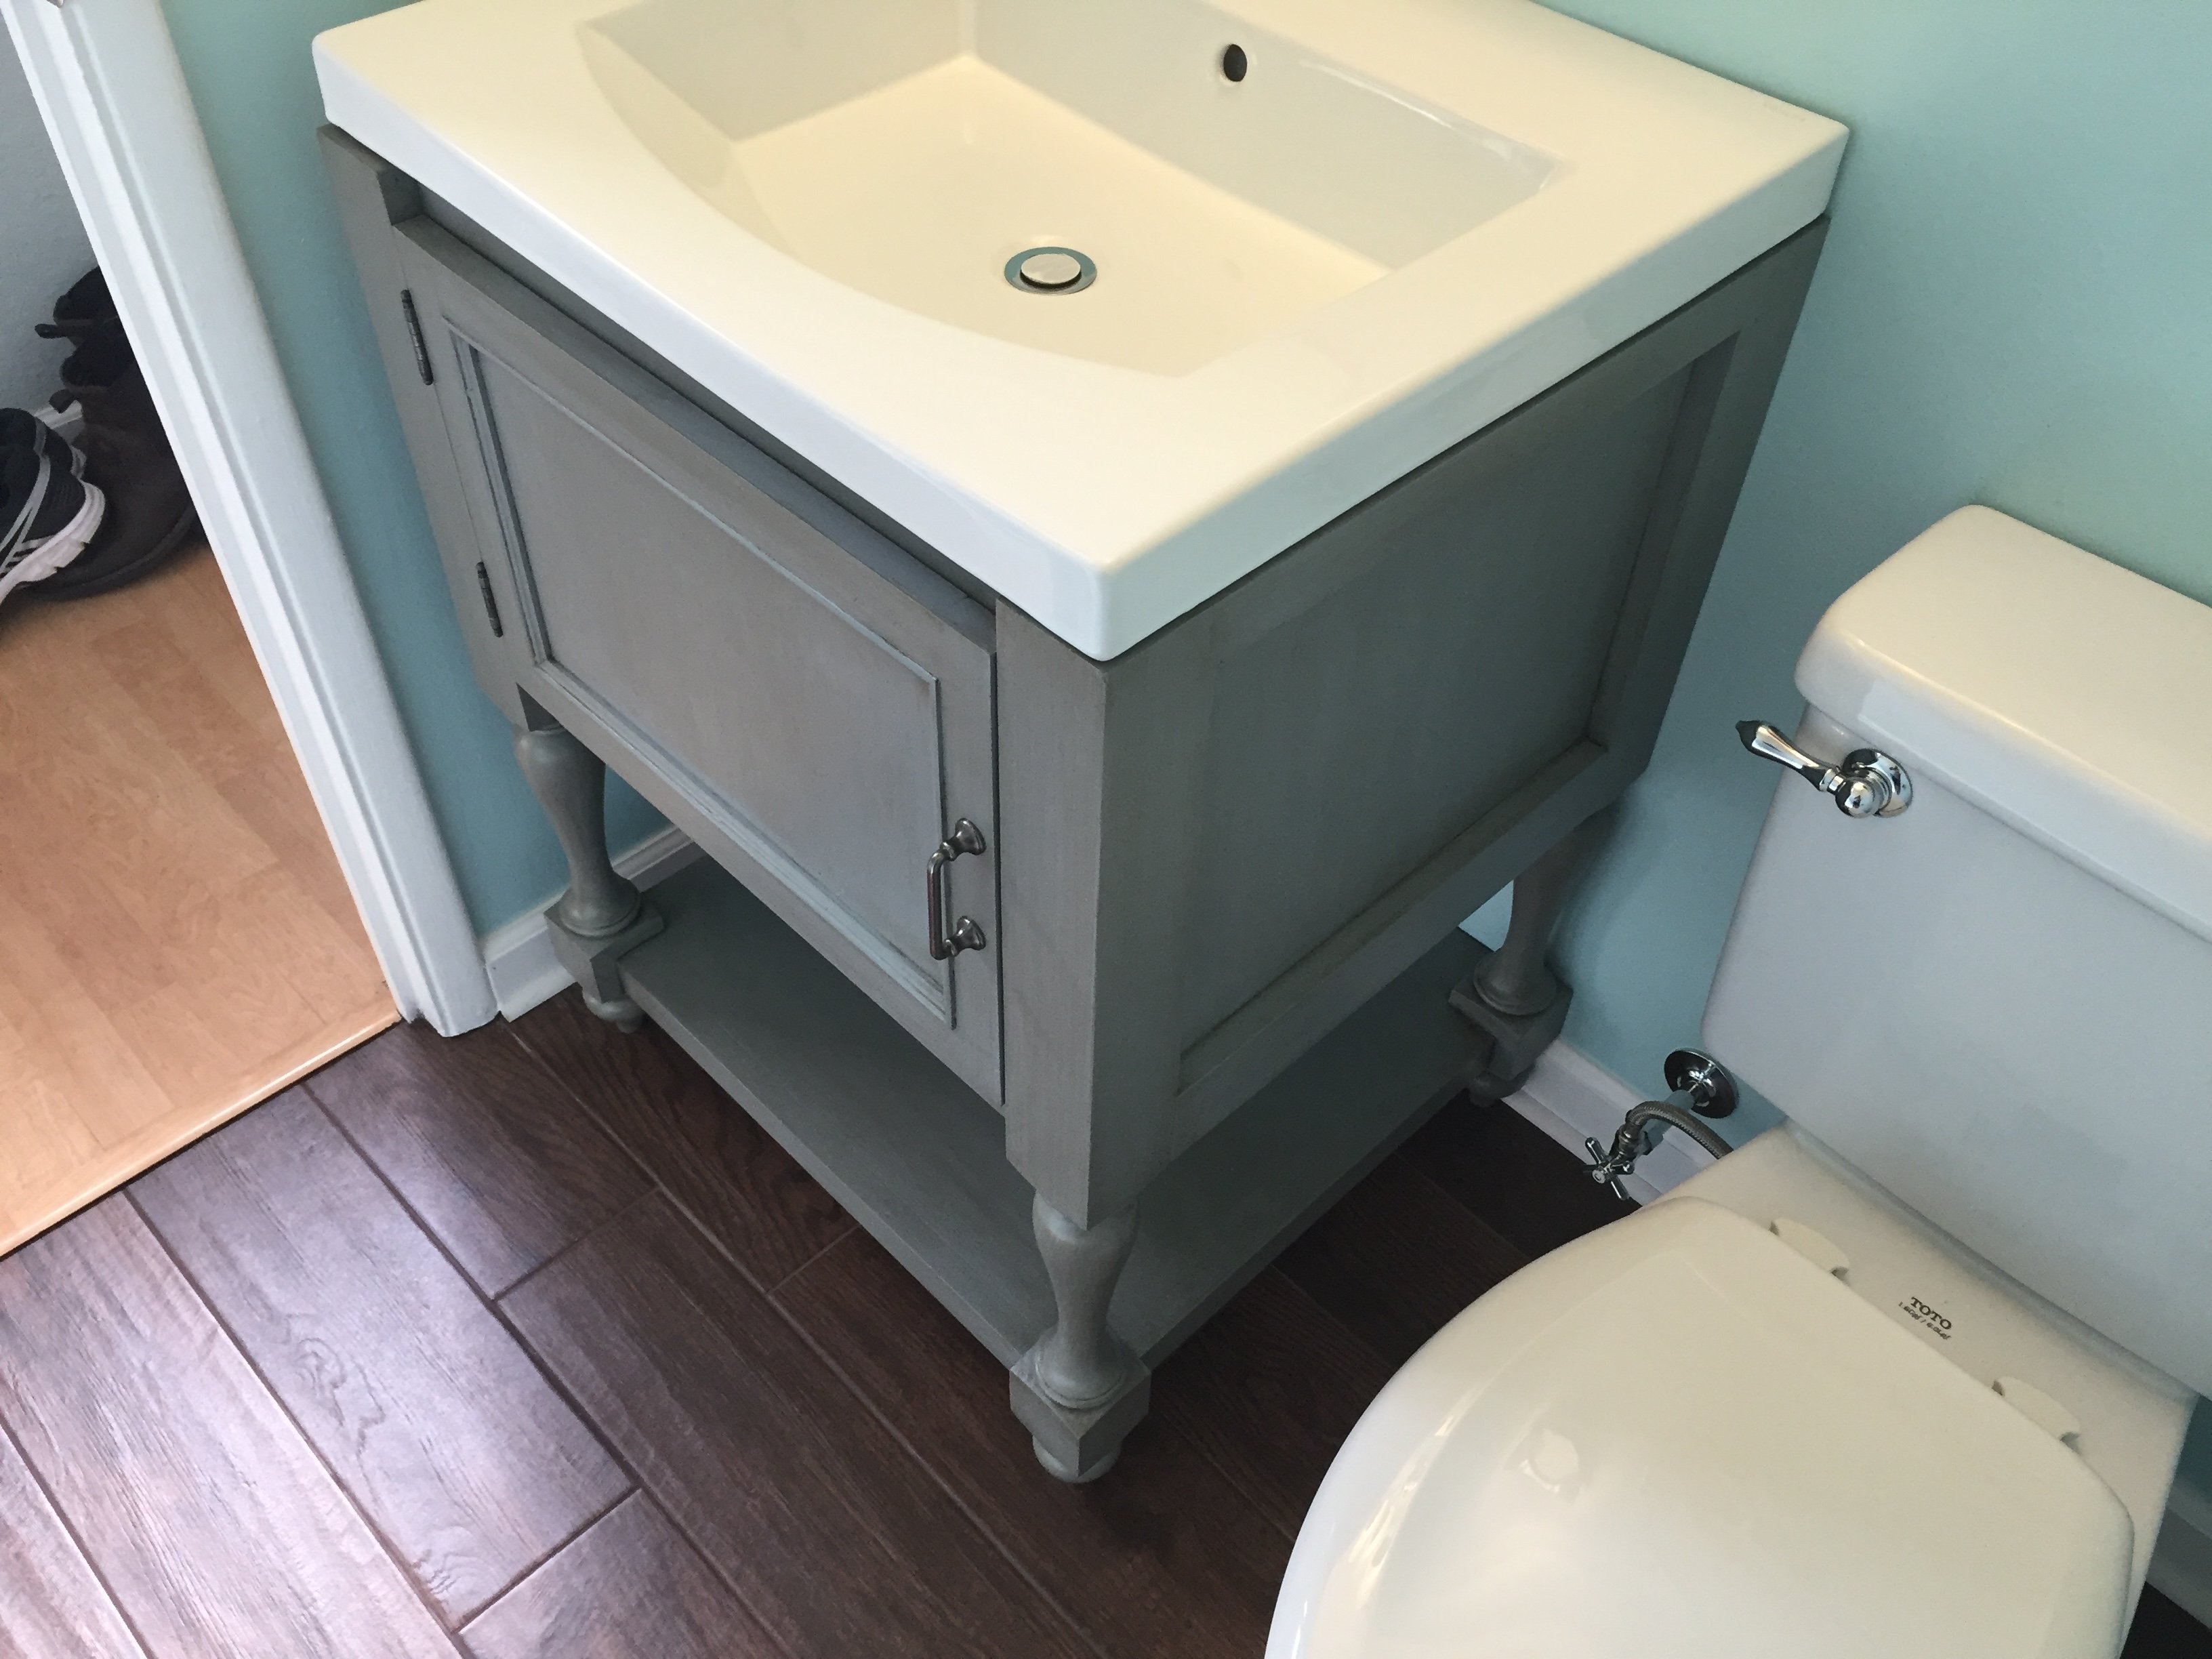
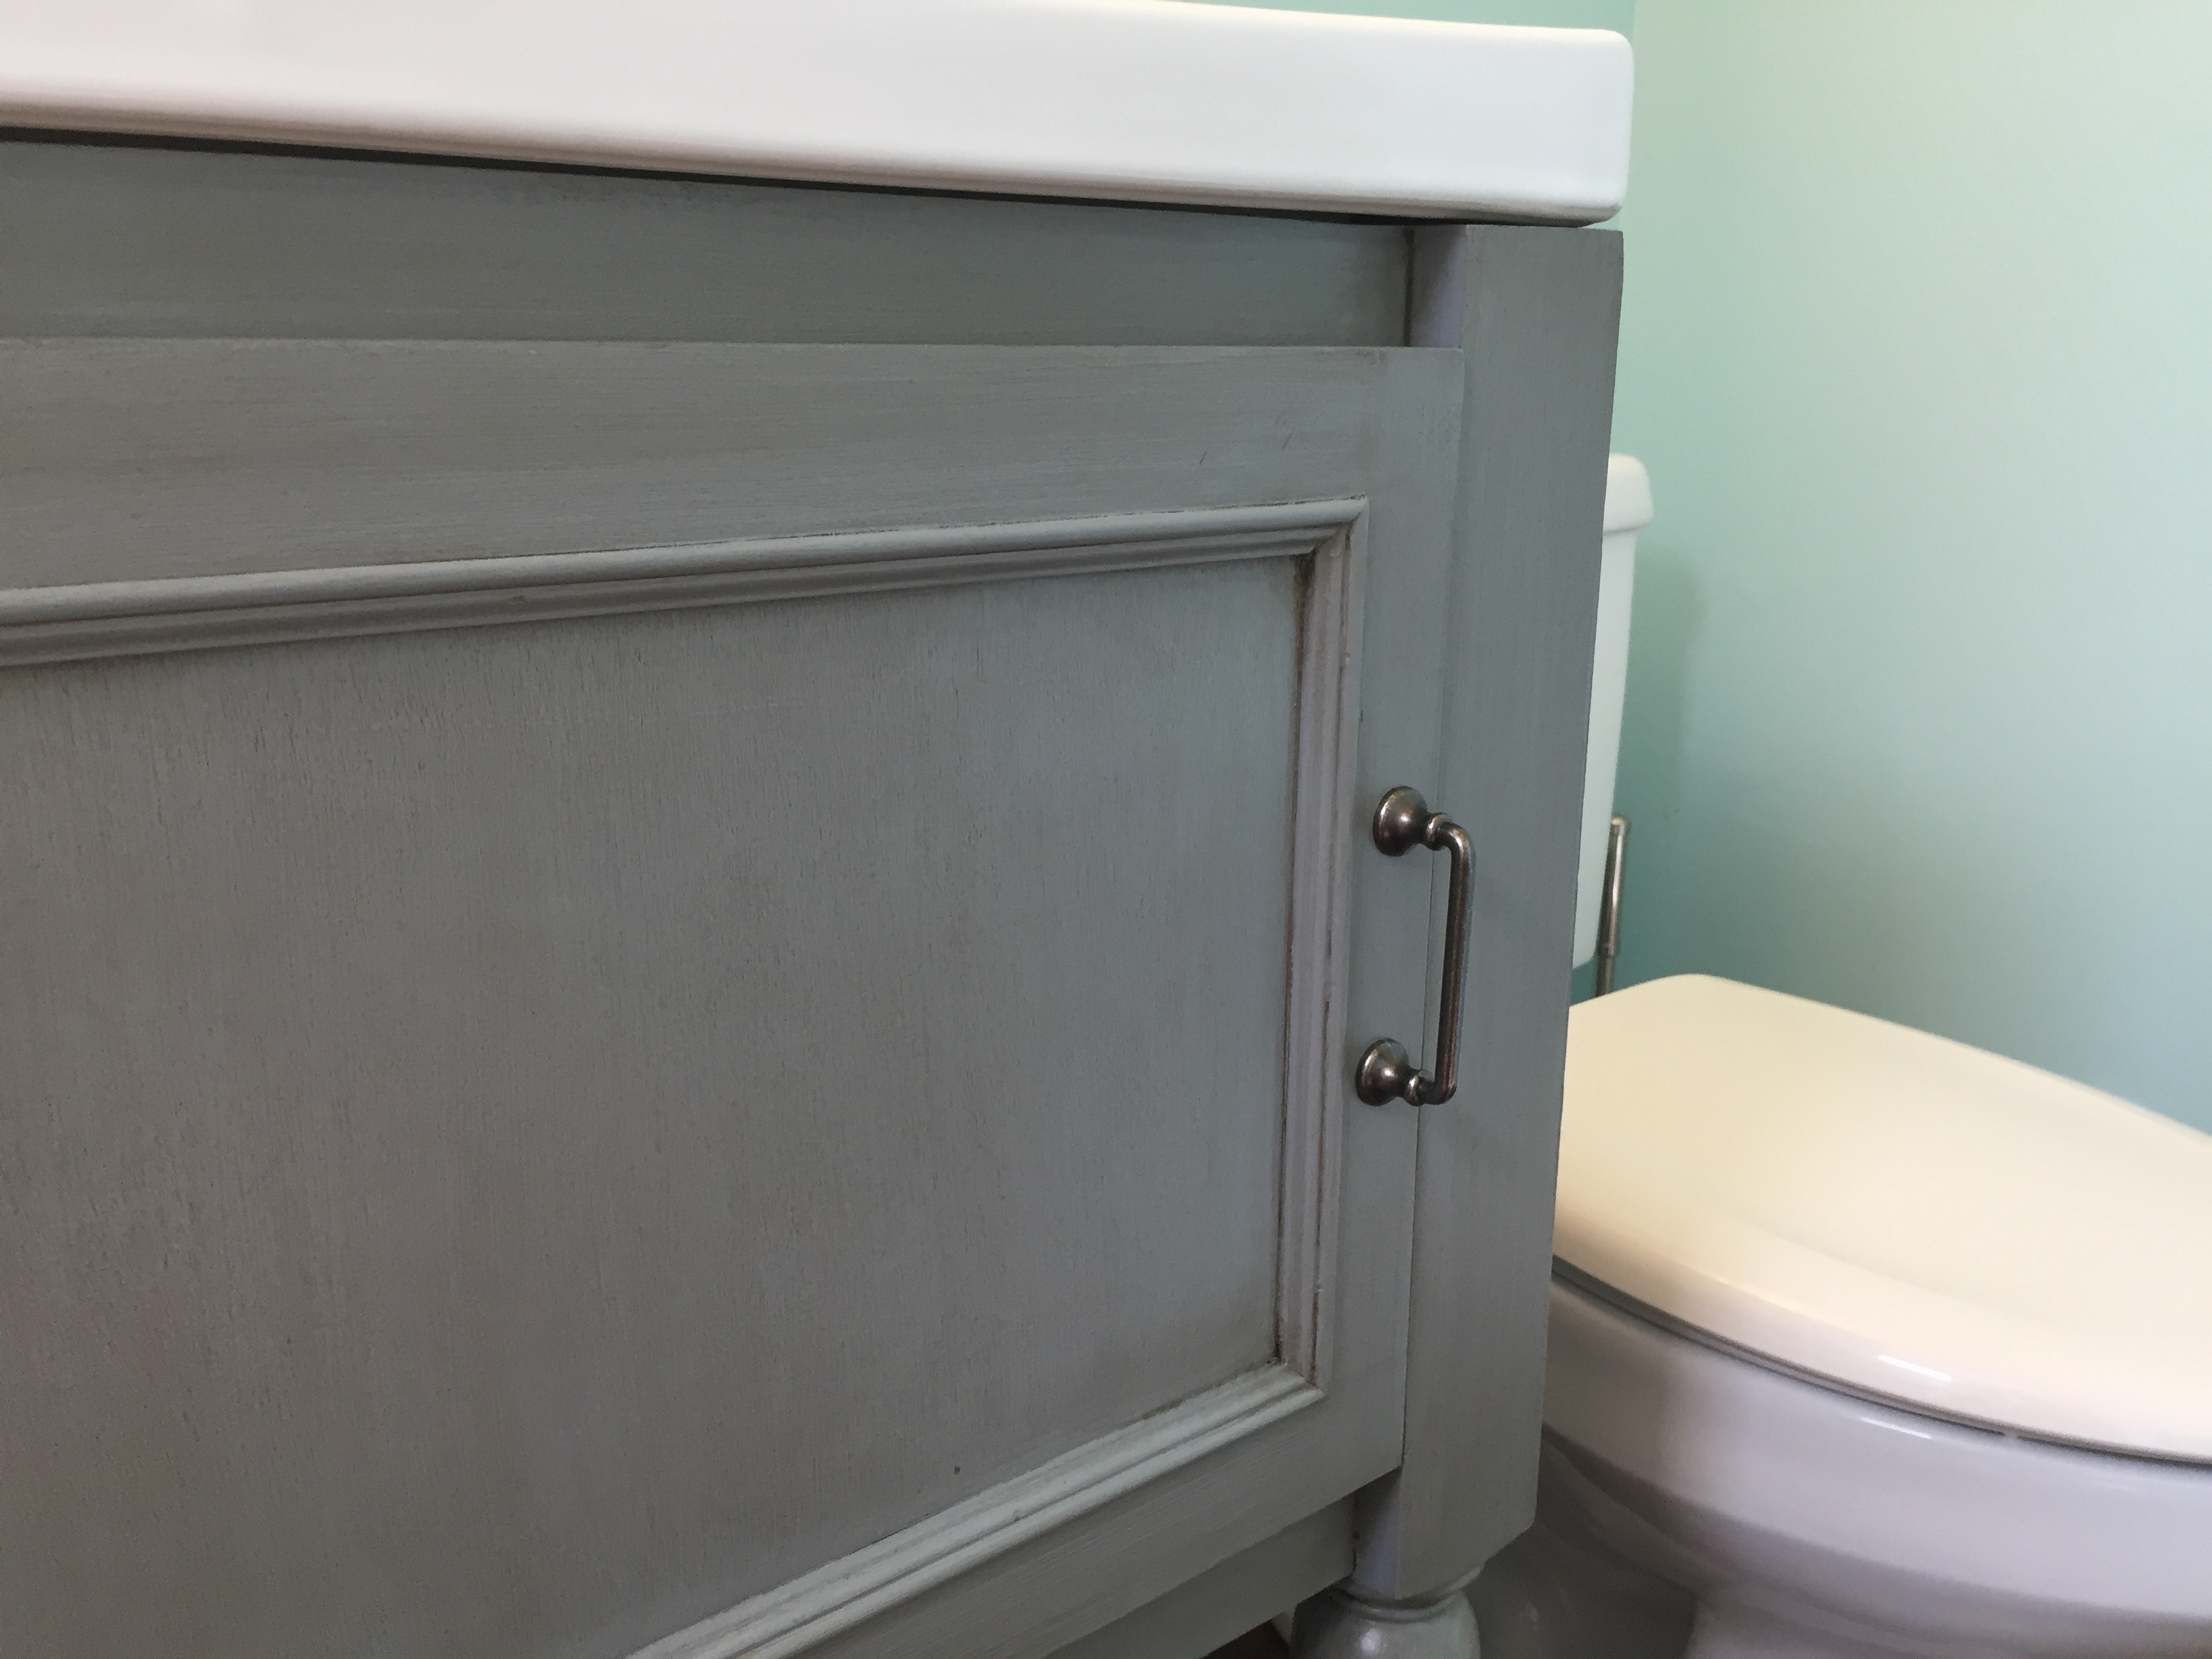
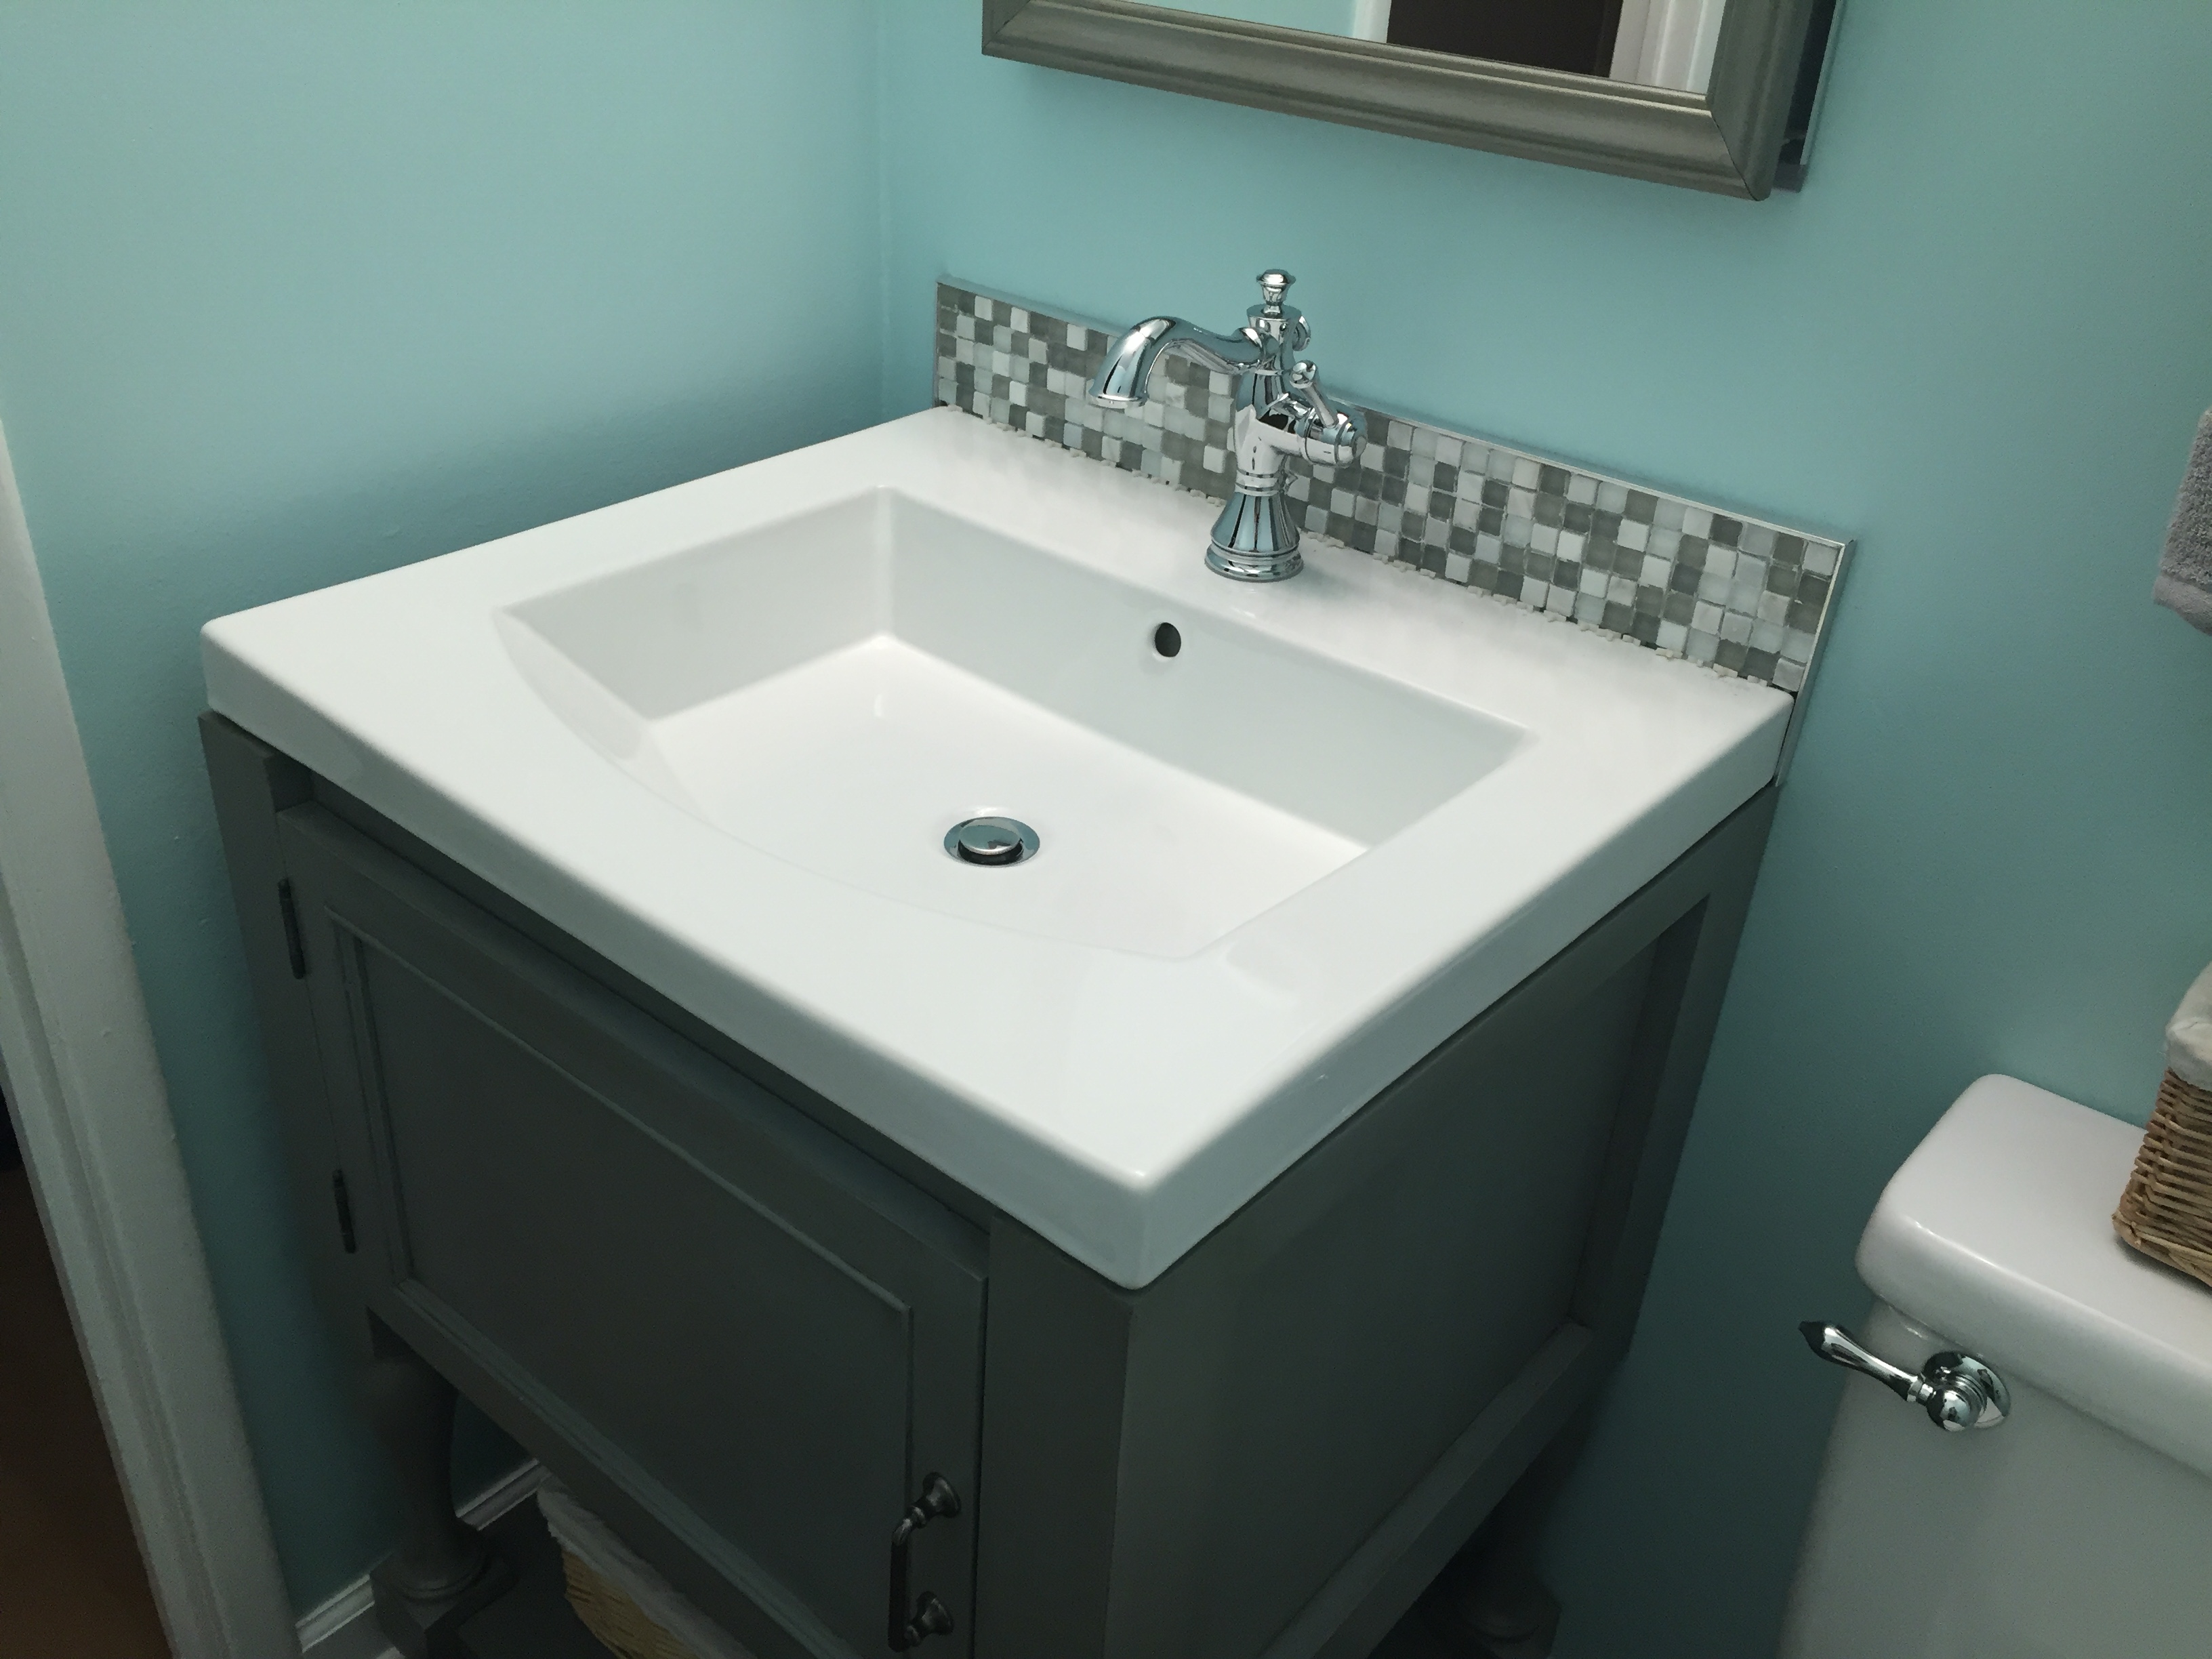
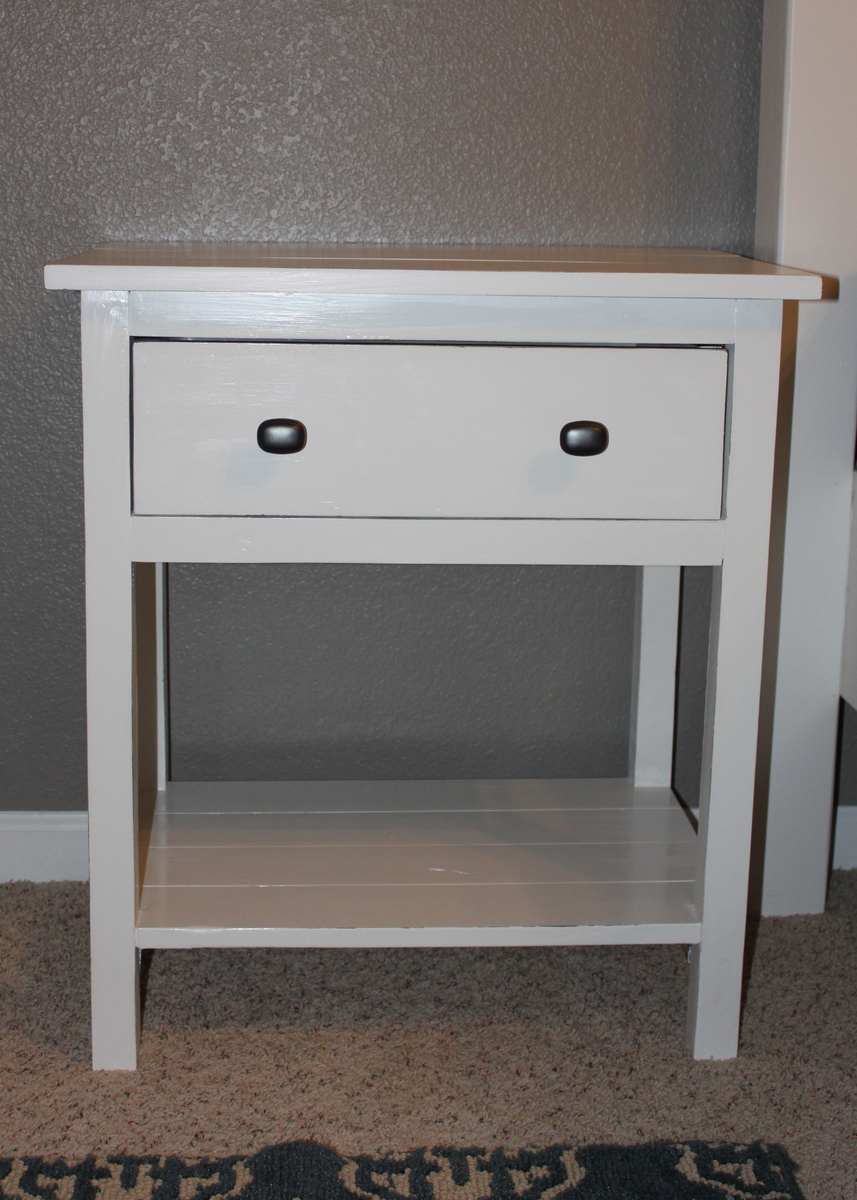
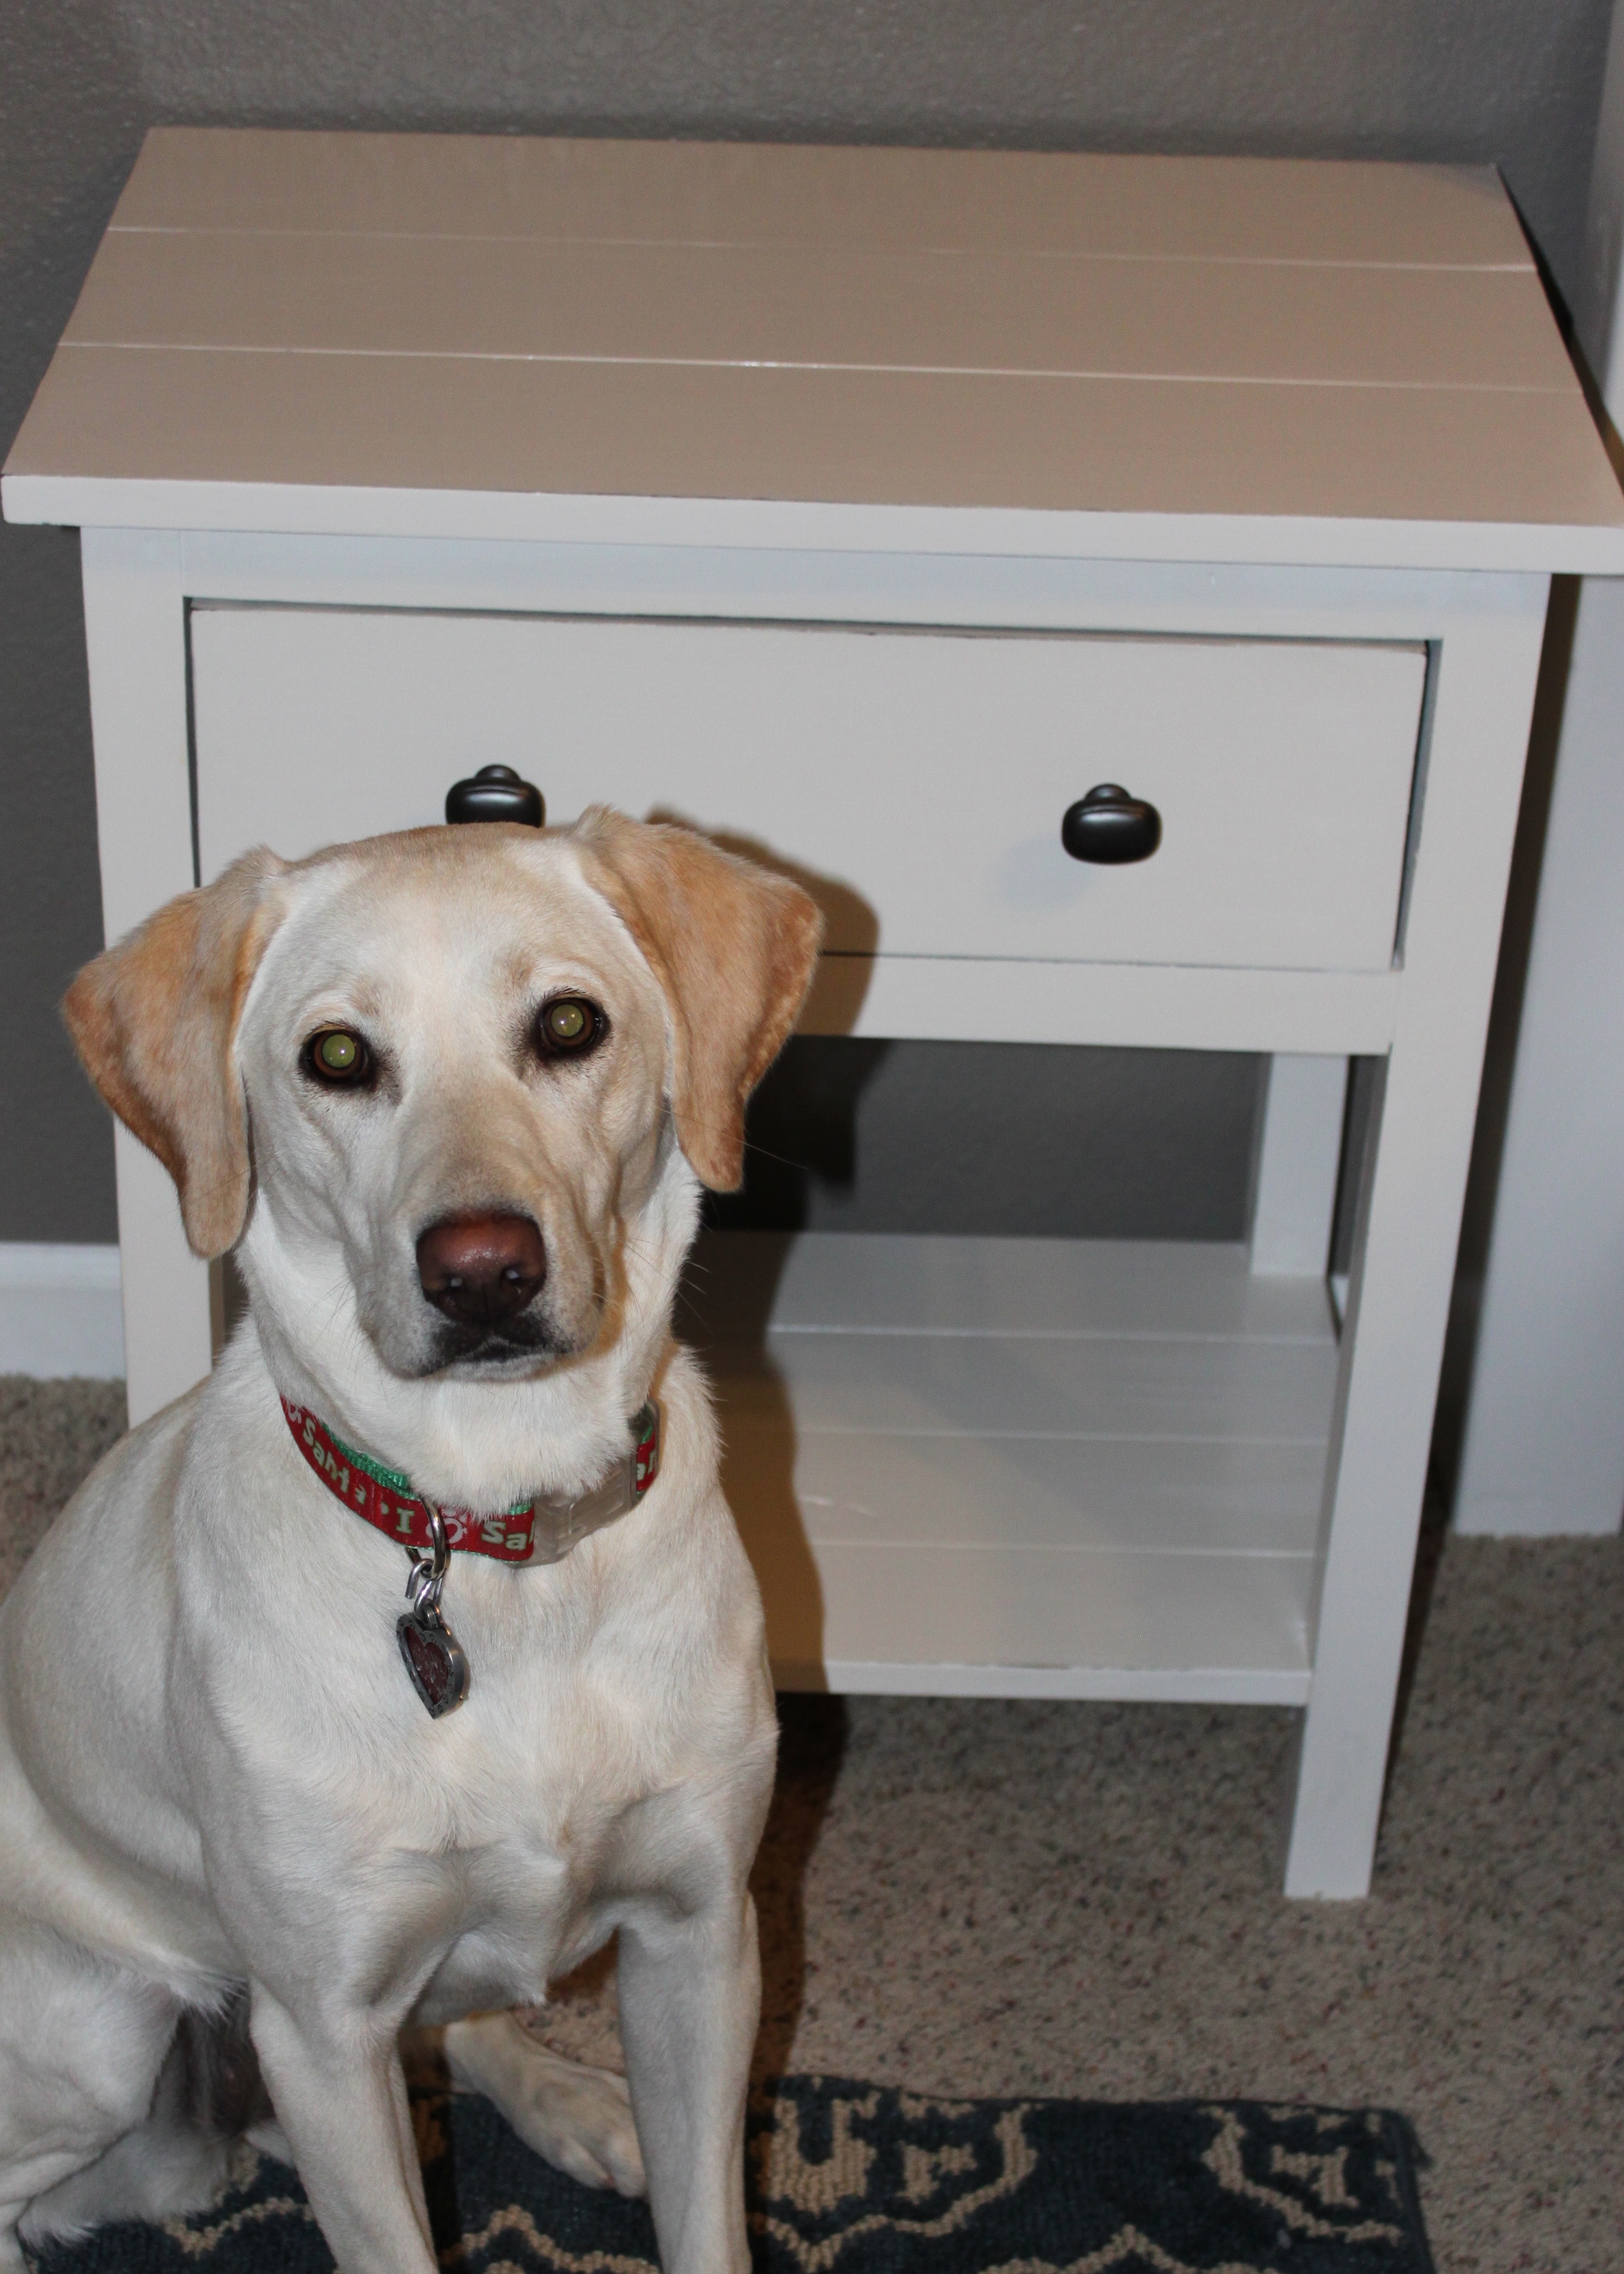
25" Turned leg bathroom vanity

Submitted by Anonymous (not verified) on Thu, 01/21/2016 - 02:01

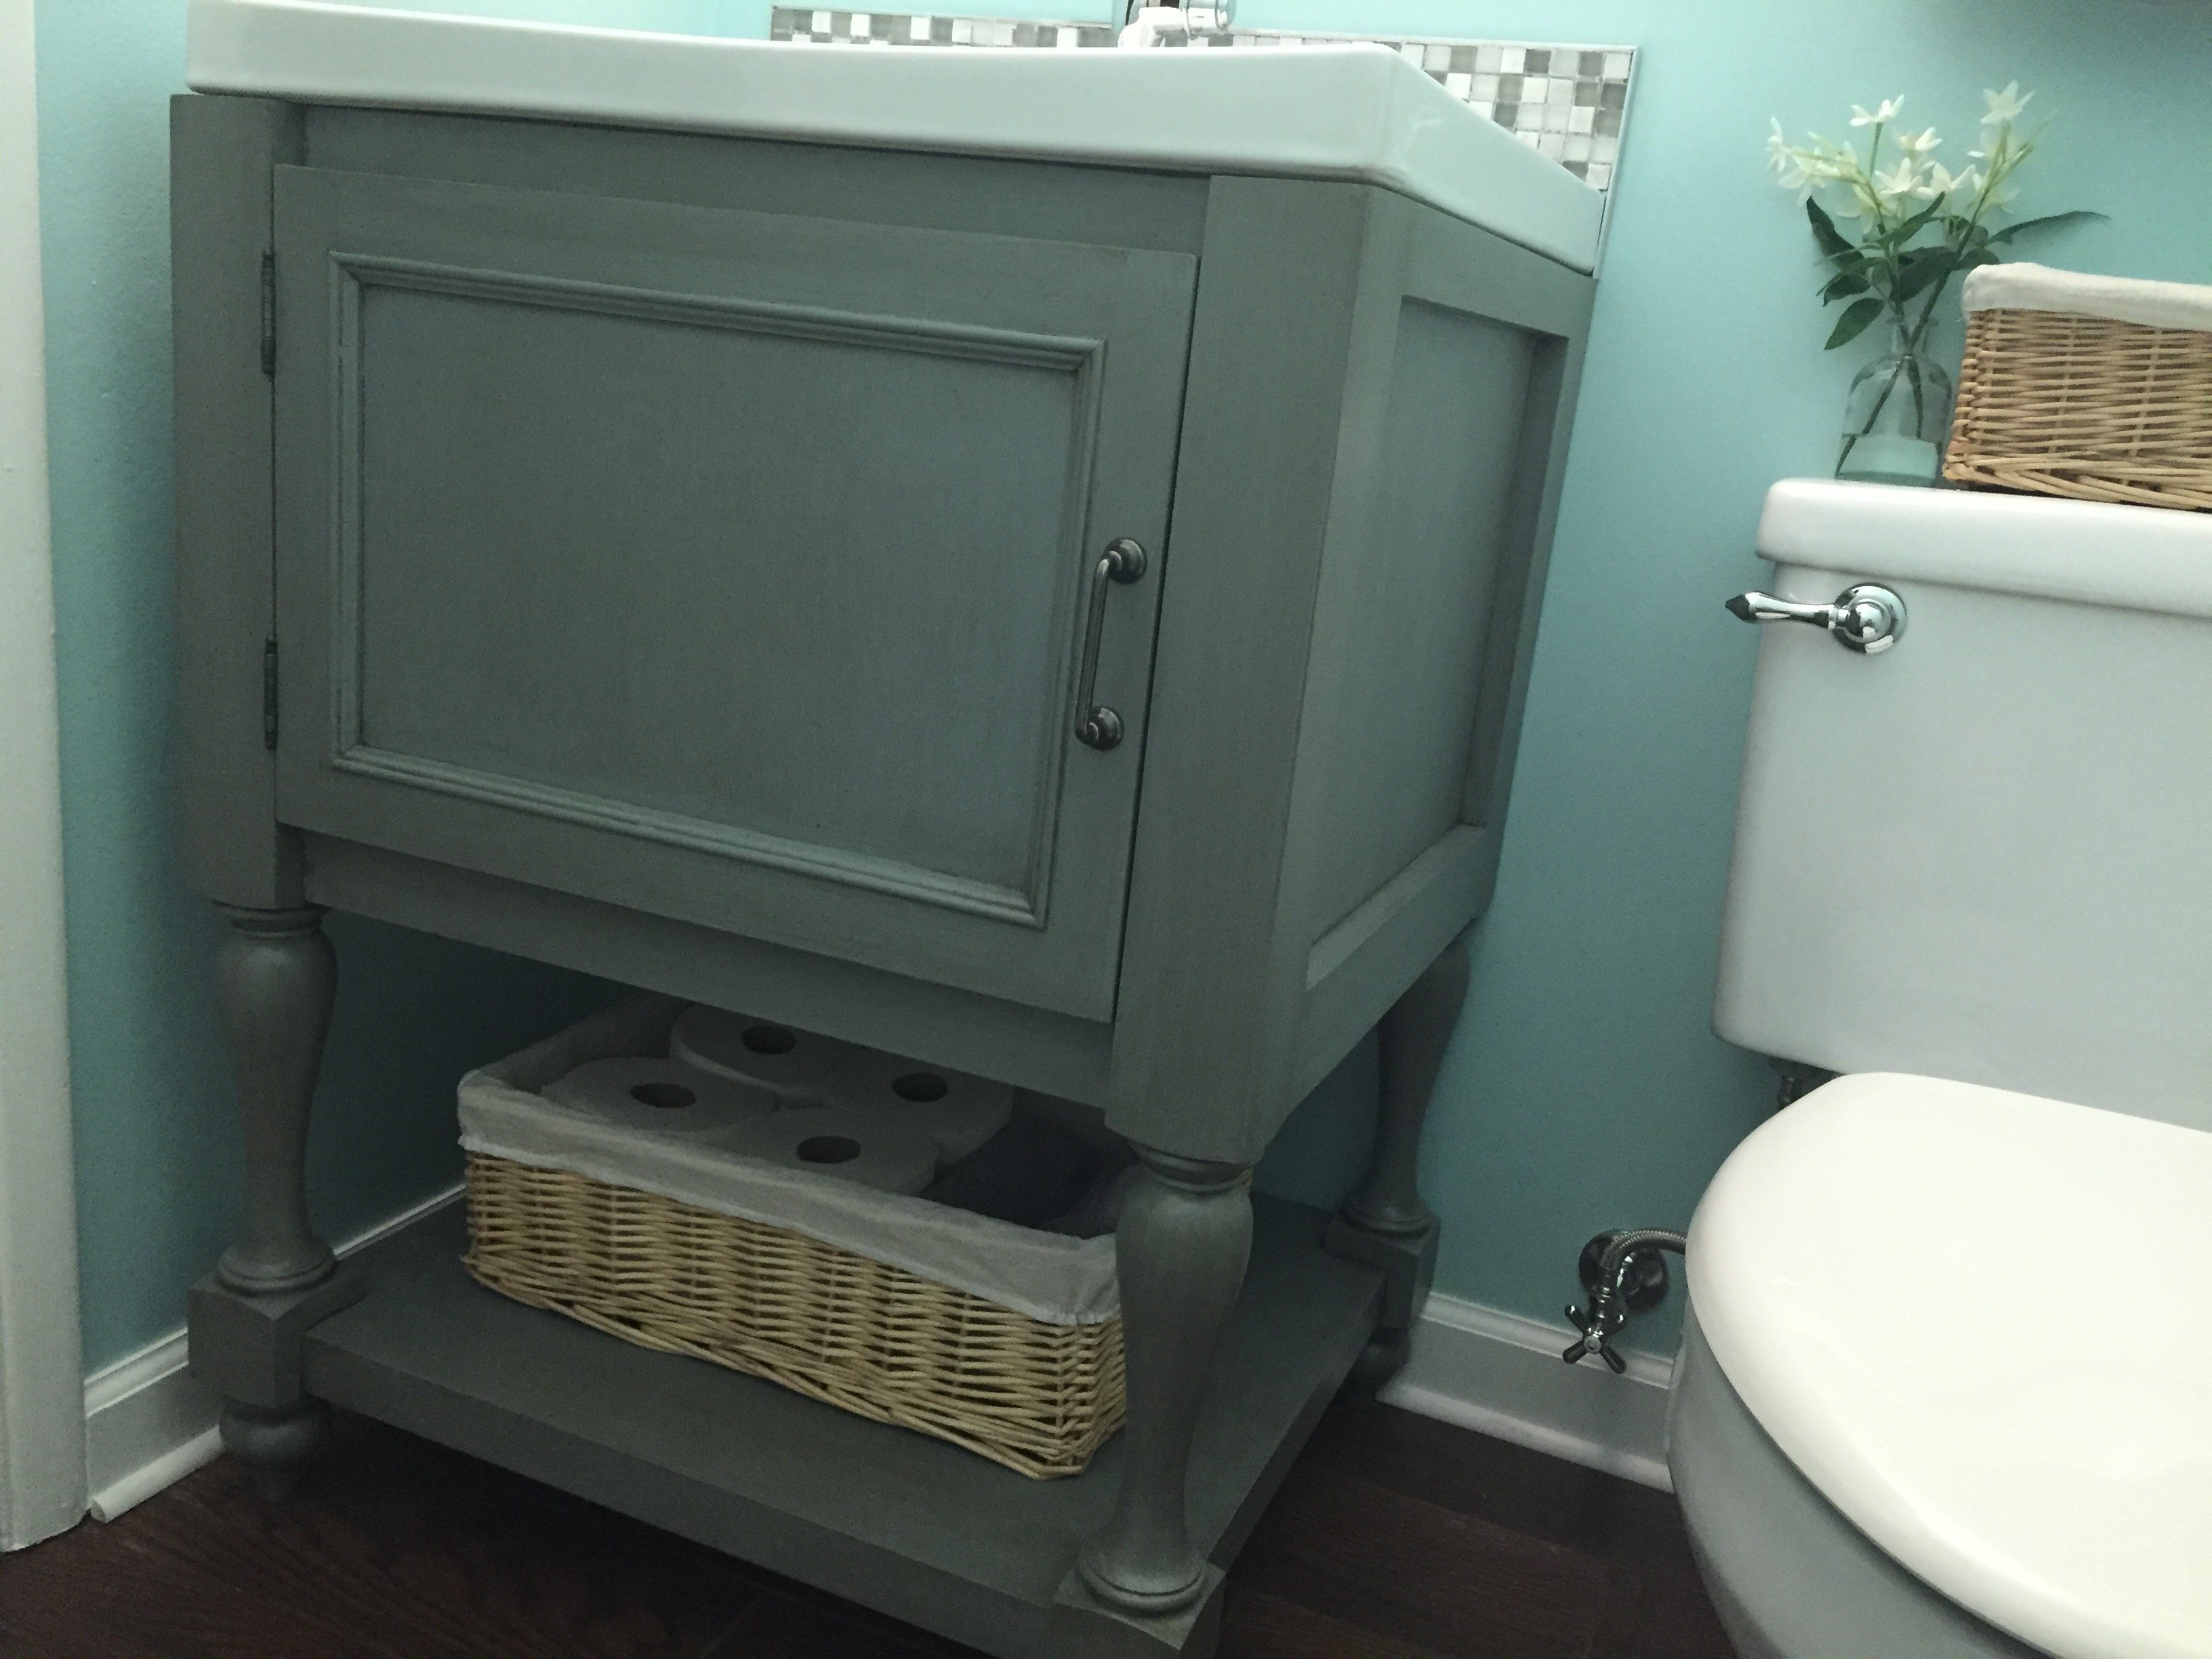
I created this 25" single door turned leg bathroom vanity for the powder room. I used a grey base coat, then glazed it with a dark brown coat and finally put on a coat of satin indoor polyurethane to finish. The sink is a Kohler Persuade single hole sink with a Delta Cassidy faucet.

Built from Plan(s)
Estimated Cost
$250
Estimated Time Investment
Weekend Project (10-20 Hours)
Finish Used
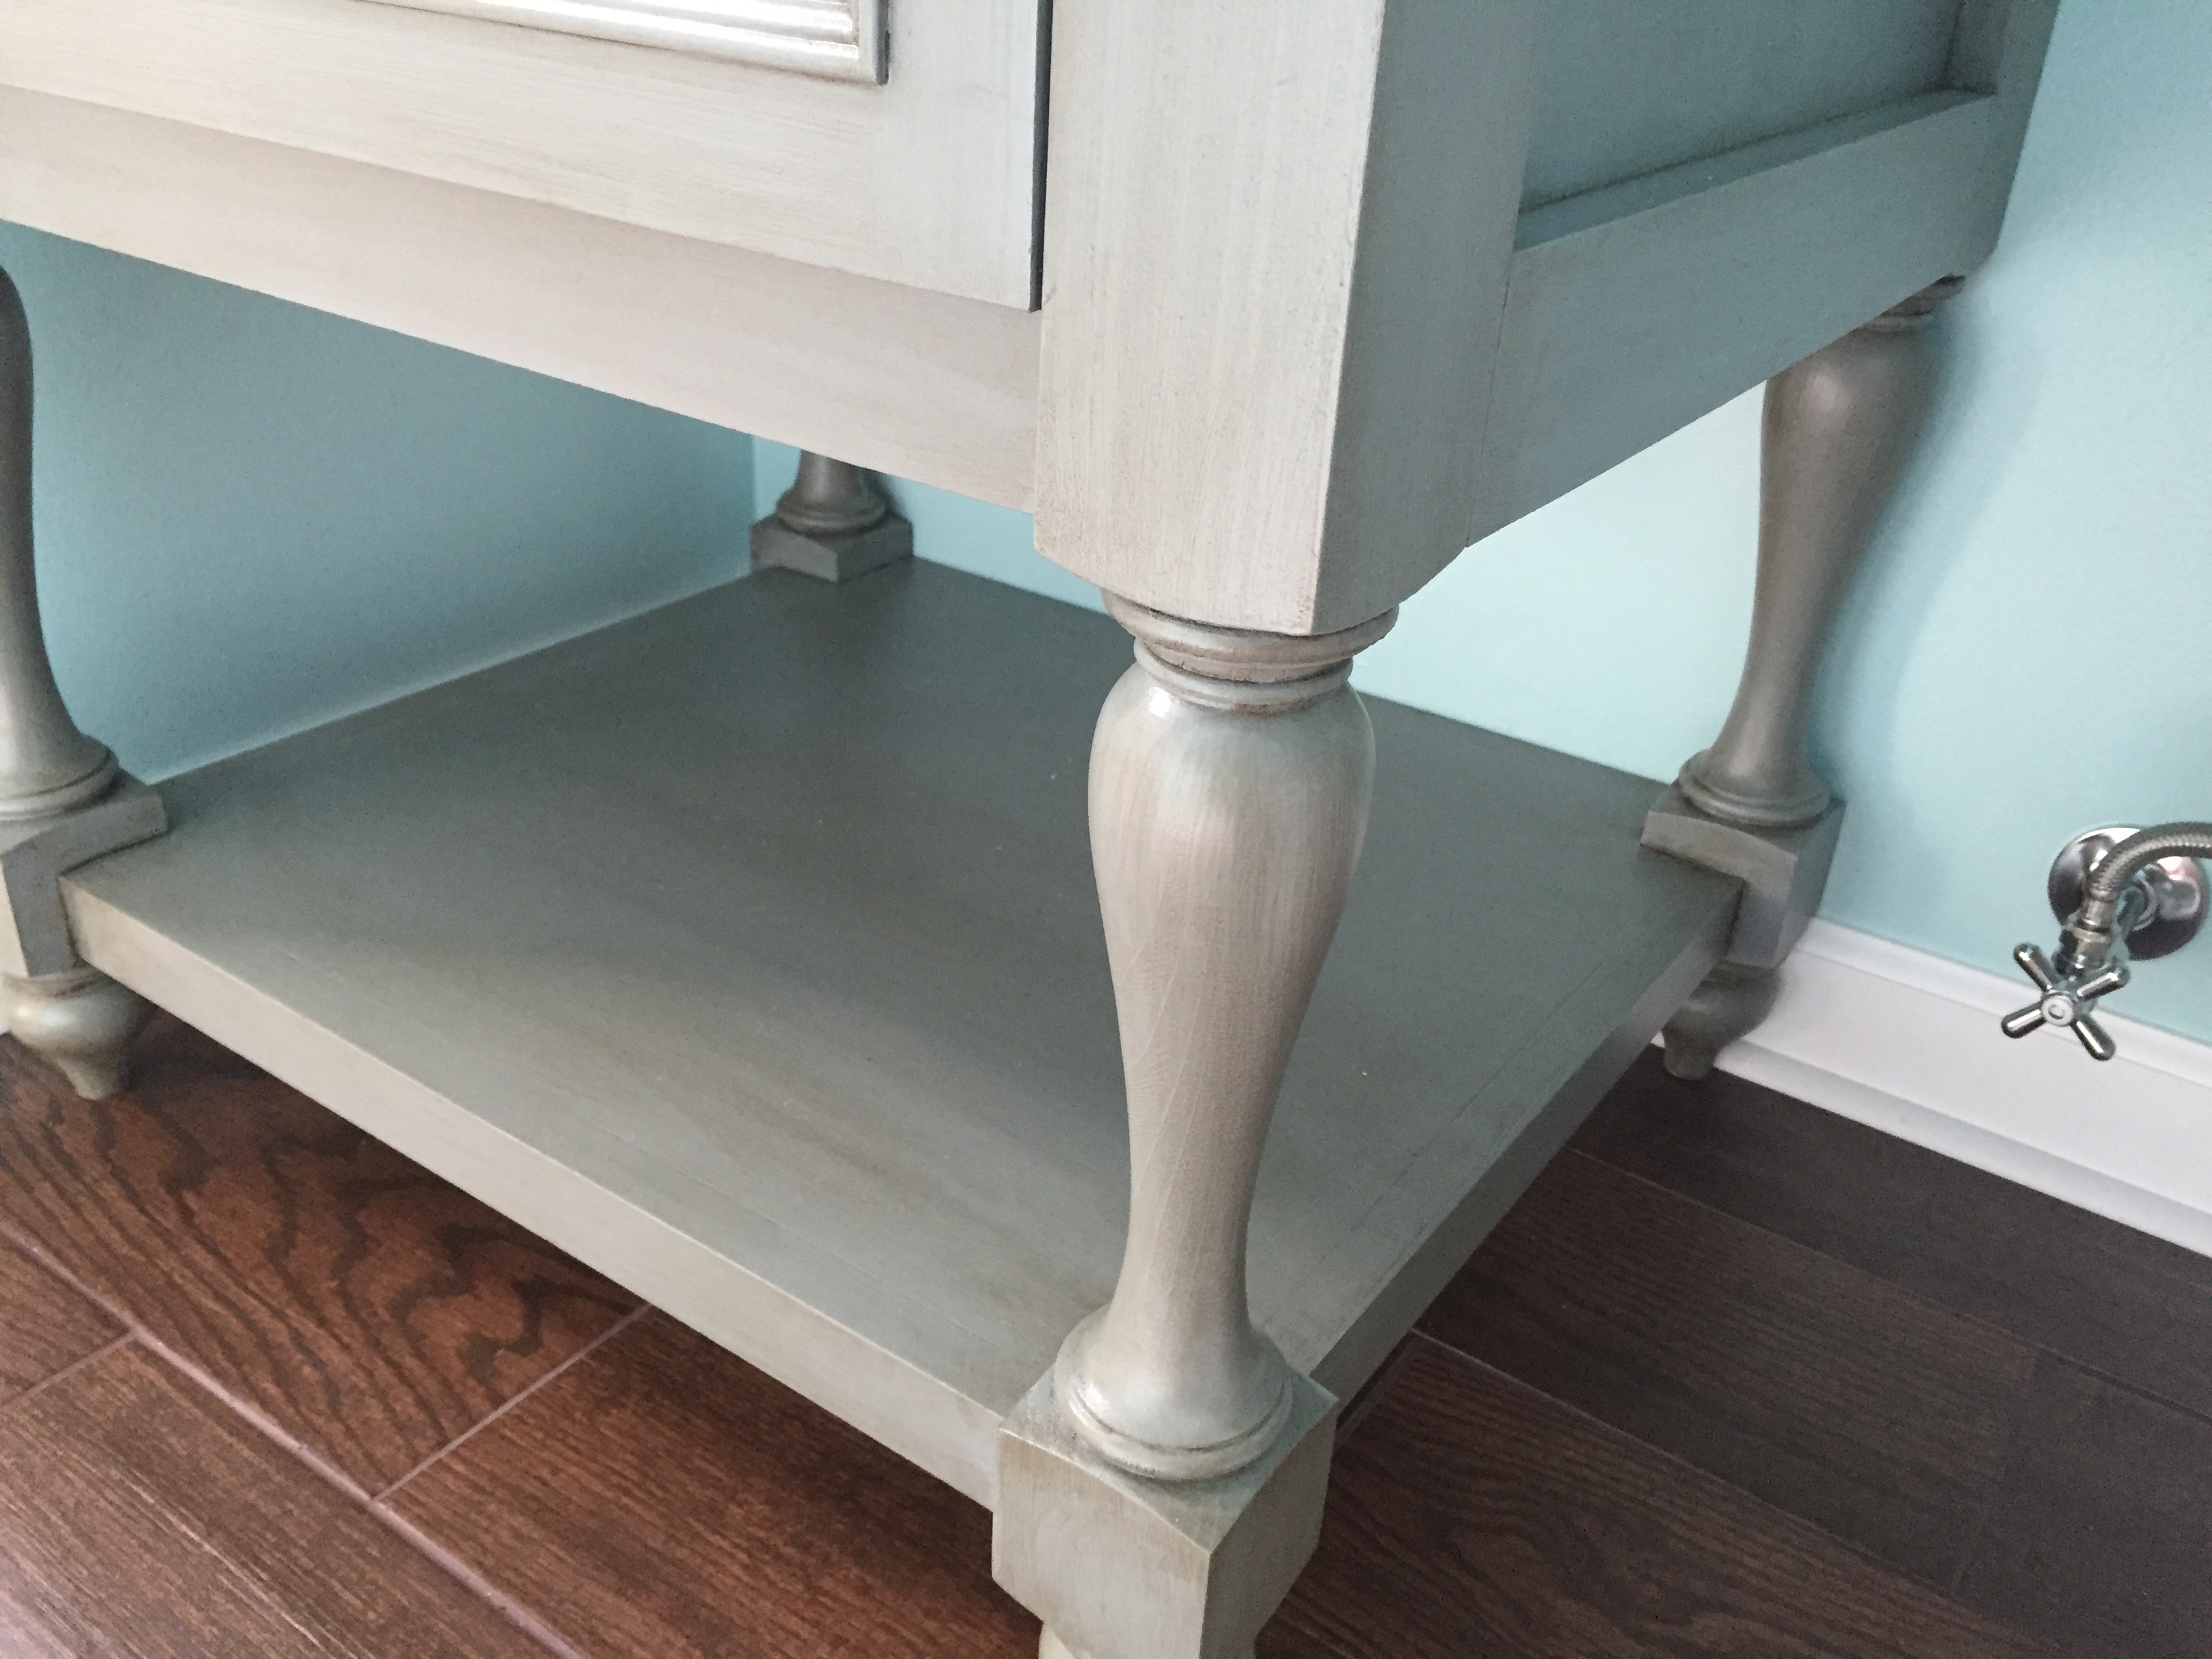
I painted it with a light grey base coat, glazed it with a dark brown glaze then coated it with polyurethane.
Recommended Skill Level
Intermediate

Comments

rely1129

Thu, 11/17/2016 - 08:32

It looks great!  Can you share what paint you used for this vanity? I love the color and wish to replicate it.

jo2max

Sat, 12/10/2016 - 22:26

Thanks!  I used Home Depots BEHR Marquee interior satin enamel base paint with primer  "Moonquake N450-4" (medium base 7454). Then I used Rust-Oleum transformations decorative glaze "java brown" to finish it off.

Adirondack Set

Submitted by JamieLynn on Mon, 06/24/2019 - 11:48

These were a labor of love!  I bought my first miter saw and decided this would be the project to try angles.  It wasn't easy but I figured it out.  

These were pretty easy otherwise to put together once you get past the stringers.  They aren't perfect but they are very sturdy.  I've had a few people ask me to make them one too!

Estimated Cost
$60 each
Scraps for the small table
Estimated Time Investment
Weekend Project (10-20 Hours)
Finish Used
Rustoleum Door Paint
Recommended Skill Level
Beginner

Blue Little Kids Picnic Table

This spring I was able to build the preschool picnic table for my son. Today we fully used it for a picnic breakfast with the cousins. It can easily fit up to four kids ages 2 to 7. (I also built the chairs in the fall)

Built from Plan(s)

Comments

Super Easy Bookshelf

Submitted by lbrown on Sat, 12/17/2011 - 02:44

I made this bookshelf for my living room using old bifold doors and bricks. There isn't any building required (just assembly) but it is a piece of DIY furniture so I thought I would share.

For details: http://www.homeandawaywithlisa.com/blog/2011/12/16/making-the-easiest-b…

Estimated Cost
$35
Estimated Time Investment
An Hour or Two (0-2 Hours)
Finish Used
I used spray paint on the bricks
Recommended Skill Level
Starter Project

Craft Table

Submitted by Anonymous (not verified) on Fri, 01/22/2016 - 19:34

This was a fun project to get my feet wet again in woodworking. We adjusted the plans slightly. Our table is 80" x 40". It is supported and bordered with a 2x4 frame that ties it all together. As my friend said, you can stand on that thing. Lots of fun, and can't wait for my wife to enjoy it.

Built from Plan(s)
Estimated Cost
$200-$250
Estimated Time Investment
Weekend Project (10-20 Hours)
Finish Used
Flat Behr Paint. Flat White (Shelves) and Sparrow (Top)
Recommended Skill Level
Intermediate

Work Bench

Submitted by kyounghome on Sun, 07/07/2019 - 08:36

Got tired of working on the floor so built this.  Took me about 6 hours.  Was in no hurry.  Happy it is done and all my tools are organized.

Estimated Cost
Cost approximately $120.00
Estimated Time Investment
Afternoon Project (3-6 Hours)
Recommended Skill Level
Beginner

Comments

porcupine

Sat, 03/20/2021 - 12:38

I love this with the shelves at the back. I want something like this I can attach my hand crank flour mill to as well as have a place to store all my jarred grains and flour. Do you have plans for this?

Simple Bed Bunks

Ok, to start off with I am a guy and I love to build things, but I'm not some techincally savvy dude. I need simple plans and this was an awesome build! I love it, my kids love it, and most importantly my wife loves it. As others have said, It is BIG. but small things I did saved some space. For instance I cut the 3" off of the tops of the headboards to save 6" of linear space. Little things went wrong along the way, but they always do... finished in about 4 days workings sporadically. I've got about 350$ in it, and couldnt be more pleased. I will definately build more things from your plans. IF anyone is thinking of building it DO IT! Definatley need the KREG Jig. I should have bought that thing a long time ago. would have made several projects easier.

Farmhouse Night Stand

Submitted by danie386 on Mon, 12/19/2011 - 19:40

My husband and I re-created the farmhouse bed night stand from Ana White!! I tried to stain it first but didn't have much luck and decided to paint it to match our farmhouse bed.

We didn't follow the plans exactly. Since our bed was higher we made our own measurements for this project.

Built from Plan(s)
Estimated Cost
100
Estimated Time Investment
Weekend Project (10-20 Hours)
Finish Used
Behr Ultra Premium White
Recommended Skill Level
Beginner

Redwood Step Stool

Submitted by klshively on Sun, 11/10/2013 - 14:57

I gave these plans to our neighbor and he made this beautiful step stool for my boys. It is the perfect size and I love the beautiful grain and color of the redwood. Because he used redwood it is quite heavy, but also very sturdy! We plan on having in the family for a very long time.

Built from Plan(s)
Estimated Cost
$28 for the wood
Recommended Skill Level
Beginner

Comments

Rustic X Coffee and End Tables

Really enjoyed building these tables. The plans are great and easy to follow! I aged the wood before staining it, then finished them with 3 coats of poly! Best thing is my wife loves her new “Pottery Barn” like tables!

Estimated Cost
$250 for coffee table and 2 end tables
Estimated Time Investment
Weekend Project (10-20 Hours)
Recommended Skill Level
Beginner

Step Stool for Niece

Submitted by Anonymous (not verified) on Sat, 04/15/2023 - 11:58

My niece is turning 6 soon and I built this step stool for her birthday. I used the design for the Simple Step Stool but angled the legs in more because I thought it looked better. To help personalize it, I carved my niece’s name into the front using a v-groove carving tool. I hope this will be a gift she holds onto for many years to come.

Comments

Floating Shelves

Submitted by sraper2 on Tue, 11/12/2013 - 09:47

I built two of the floating shelves and they came out great! I will be building some more of these hopefully soon! I put some of my step by step photos on my blog. Thanks again for the amazing plans!

Built from Plan(s)
Estimated Time Investment
An Hour or Two (0-2 Hours)
Recommended Skill Level
Beginner

Adirondack Chair

Submitted by HeidiT on Sat, 01/30/2016 - 04:42

The directions were SO easy to follow! I made one chair for my husband for Father's Day, and ended up making two more. My plan to to have four total. The only mod I made was to use 1x5's for the arm rests instead of 1x4's. Painted with Sherwin Williams Duration Satin in Ethereal Mood.

Estimated Cost
~$50 with paint
Estimated Time Investment
Afternoon Project (3-6 Hours)
Finish Used
Sherwin Williams Duration Satin in Ethereal Mood
Recommended Skill Level
Beginner

DIY Cedar Bird Feeder

Submitted by JamieLynn on Fri, 07/19/2019 - 12:48

Took some liberties on this one. Used paint stirrer sticks for the roof.

Built from Plan(s)
Estimated Cost
Used all scraps and paint that I had laying around
Estimated Time Investment
An Hour or Two (0-2 Hours)
Finish Used
Random paints
Recommended Skill Level
Starter Project
Seasonal And Holiday

Coffee Bar

Submitted by Anonymous (not verified) on Fri, 04/21/2023 - 10:41

Our wine fridge died, and we didn't really need to replace it. Since we can always use more storage space in the kitchen, the hubby made me this coffee bar as adapted from a coffee bar brag post that was adapted from Michela's Kitchen Island plan. He was able to make it with all 2x4s and created the 4x4 legs by gluing 2 boards together. Put it on some caster wheels and we have a perfect coffee bar!!

Built from Plan(s)

Comments

Laundry Pedestal

Submitted by jerfer on Mon, 12/26/2011 - 18:00

I modified Sausha's design, taking out the bottom shelf, adding a back brace, and putting fascia boards on. I also put in a 2x4 between the underframe and each back leg at a forty-five degree angle as braces. My legs are a bit different too. I used three 2x4's. The first leg piece goes from the plywood top to the ground. I put four screws between it and the frame. Then I took two 2x4's and placed them butted at a ninety degree angle around it flush with the frame above.

Estimated Time Investment
Weekend Project (10-20 Hours)
Finish Used
Mini-wax Bombay Mahogany
Recommended Skill Level
Beginner

Comments

moonhopping

Mon, 01/23/2012 - 13:08

I have been drooling over the original pedestal plans since they posted. When I showed them to my dad the first thing has said we could have more clearance without the bottom plat form. I am going to copy your plans this week end thank you very much.
I did want to ask do you have any vibration issue without the bottom plat form?

Thank you for sharing, great sketch –up!

Dave C (not verified)

Wed, 03/21/2012 - 14:00

Did you have any issues with machine vibration?

Joli bedroom project

Submitted by MaryMurray on Sat, 11/16/2013 - 09:58

I built all the furniture for this room using Anna's plans.

Built from Plan(s)
Estimated Time Investment
Week Long Project (20 Hours or More)
Recommended Skill Level
Intermediate

Comments

JoanneS

Sat, 11/16/2013 - 16:24

This room is just darling! You did a beautiful job, congratulations on an awesome room!

Queen Size Farmhouse Bed with Storage

Submitted by Anonymous (not verified) on Tue, 02/02/2016 - 10:42

Using Ana's original plans, I made this farmhouse storage bed with almost no modifications. It was a Christmas gift to my fiancée. To give the board on top of the footboard/headboard just a little bit of an upgrade, I used my router with a cove bit along the edges. The drawers weren't that hard to make, they just took some time and ensuring that they were square. I used plywood and MDF for the drawers as opposed to solid wood planks to save money. There is one drawer that has trouble opening and closing. I think it might be just a hair too wide for the opening ... someday I'll fix it! I also added a few blocks (leftover from my 4x4 posts) underneath the bed to support it; otherwise, it was lifted only by screws. I tried using lag bolts to connect the boxes to the posts, but then realized the bolts would stick out and hit the drawers when I slid them back in, so I just used regular screws to attach. This thing is heavyyyyy, but solid as a rock! Love having additional storage in our 1930s house.

Estimated Cost
$250
Estimated Time Investment
Week Long Project (20 Hours or More)
Finish Used
primer, white paint, weathered oak stain;

I primed and painted the entire bed first, then sanded by hand to get the distressed look. After that, I wiped the stain on the exposed wood to darken it, as well as over parts of the paint to darken parts of the white paint.

If I had to do it over again, I probably would have painted the wood a darker color first and then the white over that. I think it would have made the distressing process a little easier, and allowed the other color to show through better. All in all, I still like how it turned out!
Recommended Skill Level
Intermediate

Another Ana White project complete!

Submitted by AKMan279 on Tue, 07/23/2019 - 21:14

This was an easy weekend project building the night stand to go with the Ana White bed that we built.  Looks great.  I used a round over bit on my router and rounded the top.  Additionally, I think if I were to build another one, I would simply attach the top to the base using pocket holes and screwing in from underneath rather than using 1 1/4” brad nails through the top.  Very hard to blend in wood filler when staining a lighter color stain.

Estimated Time Investment
Weekend Project (10-20 Hours)
Finish Used
Minwax poly/stain
Recommended Skill Level
Intermediate

Comments

Cute Ladder Plant Stand

Submitted by Cheryl on Fri, 12/30/2011 - 20:37

This is my first project from Ana's plans. I found a big pile of old wood left by the previous home owner. It looked like it was from old fencing. We used some for fire wood, some for fence repairs and still had a big pile. I was looking at it one day after finding Ana and thought it would make a really cute plant stand for my yard. My first project turned out great!

Estimated Time Investment
An Hour or Two (0-2 Hours)
Recommended Skill Level
Beginner

Comments

Carmen O (not verified)

Mon, 06/04/2012 - 05:37

I went to Lowes to get some plant stands and thought to myself, I am not paying $25 for that!!! I came across this blog while looking for ideas for diy plant stands and so glad I did! We made this stand yesterday and it turned out great! my husband had a ton of wood left over from prior house projects and we got pretty oops paint from Lowes for $3 dollars. Can't bit that! I am hoping to make another two before the week ends. Thank you!