Community Brag Posts


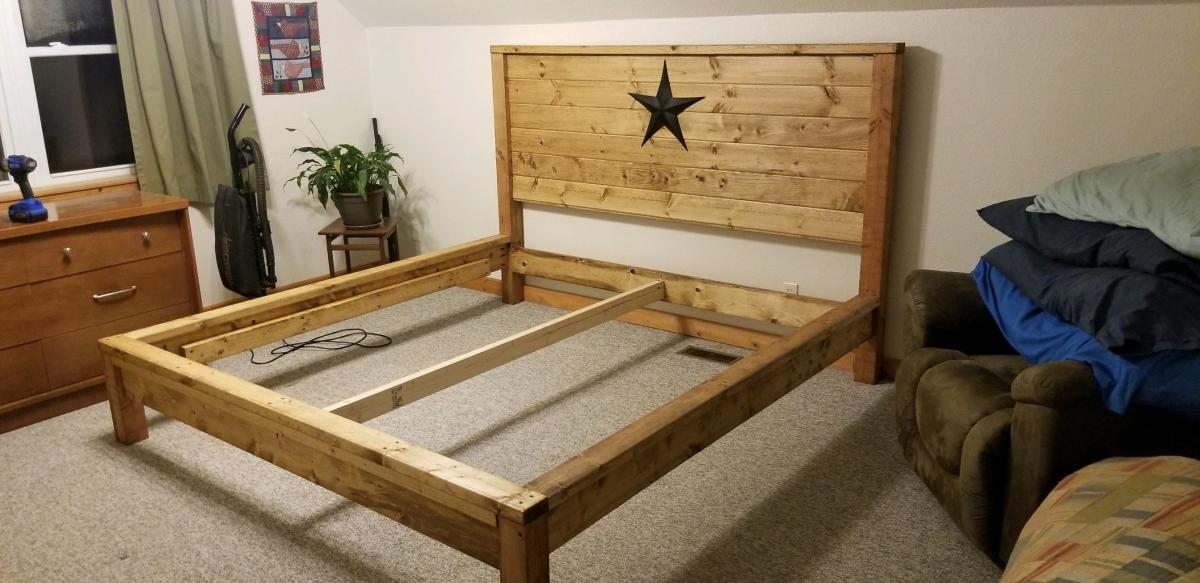
Farmhouse platform bed. 1st furniture build.
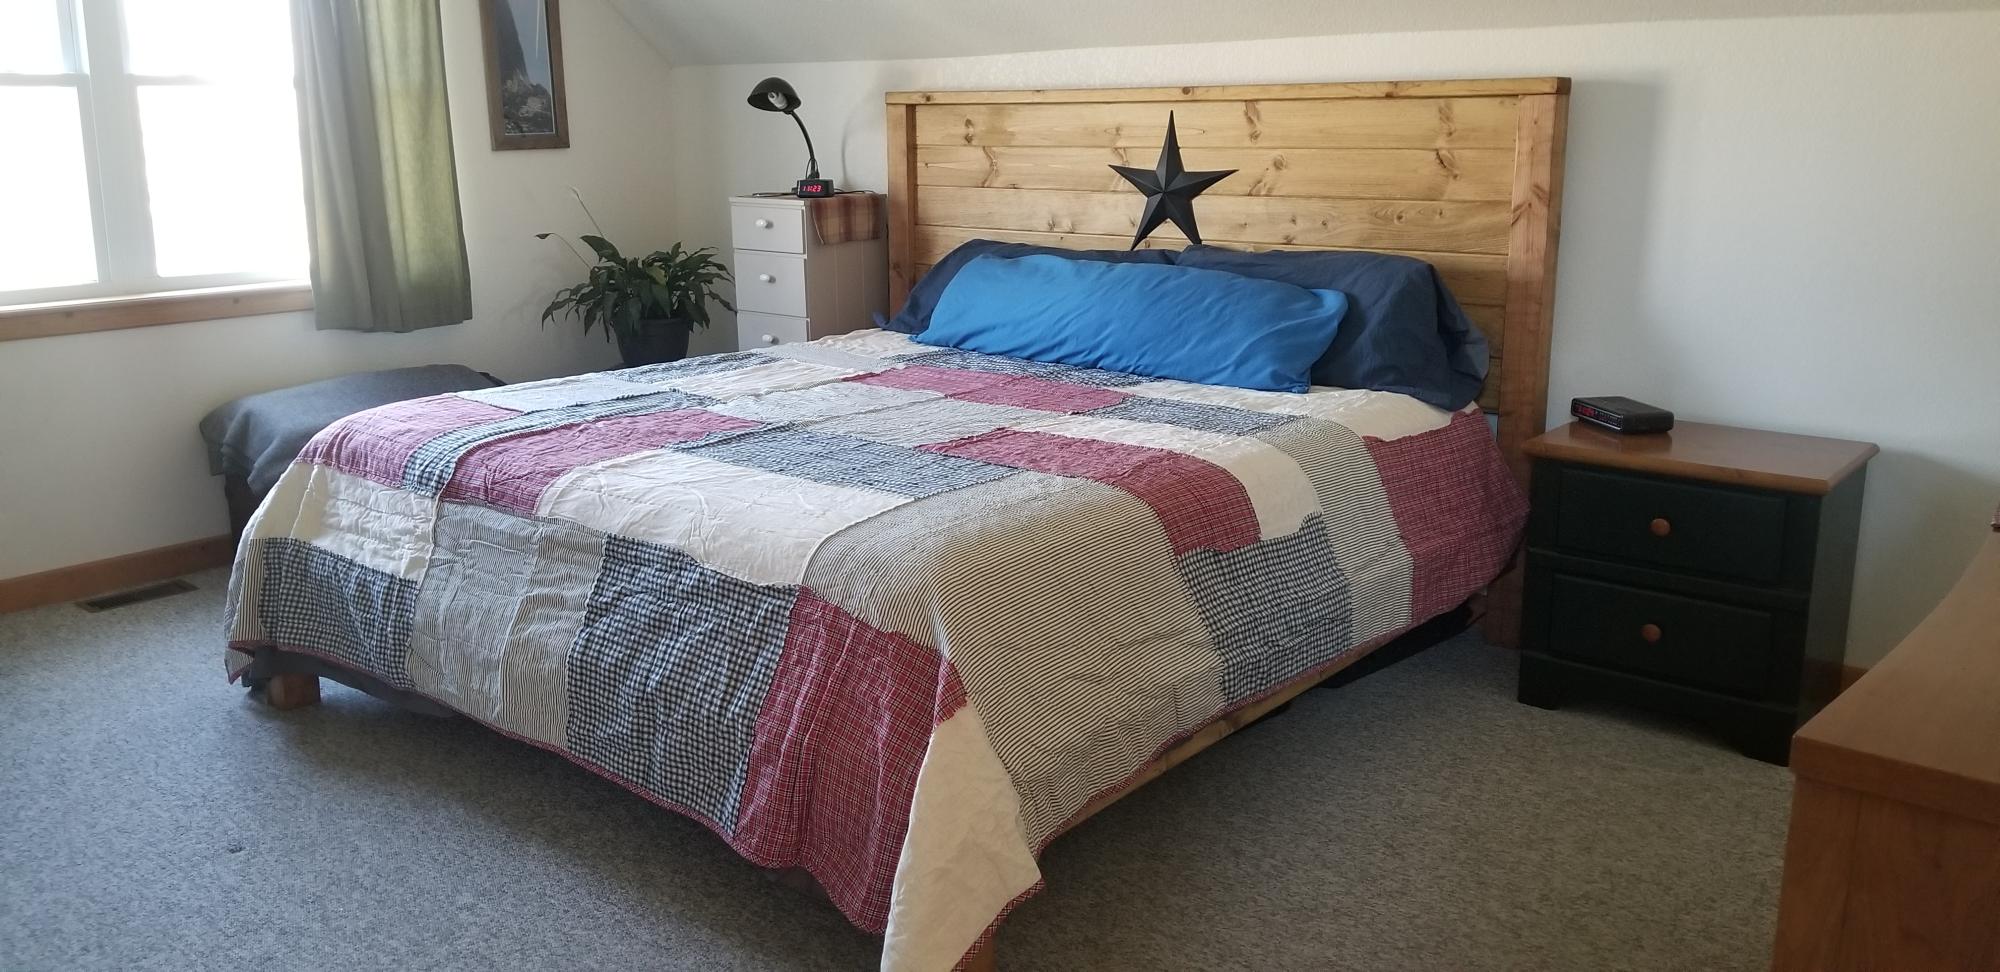
My husband thought I was joking when I suggested I could build this bed instead of purchasing one. Was my first time building furniture but won't be the last.
Built from Plan(s)
Comments
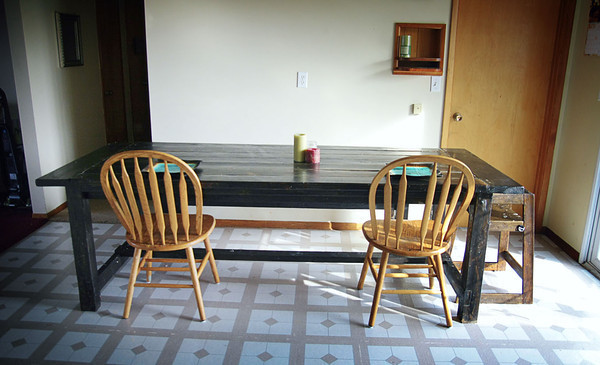
Farmhouse table, bench and high chair
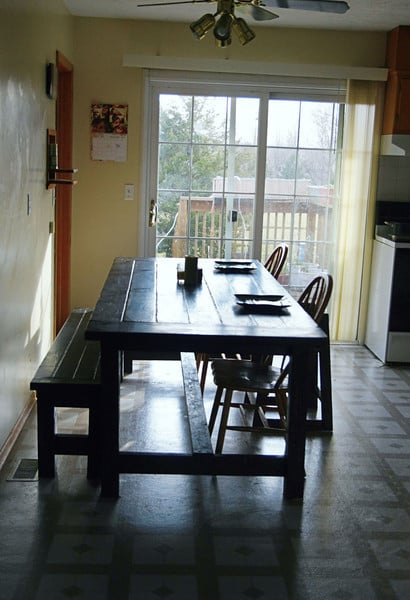
I love our table and bench (and high chair). It's working well for our family and I had a lot of fun building and finishing it. Thanks for the plans, Ana!
I don't think I made any modifications to the table or bench, but I used 1x3s for the high chair instead of 1x2s.

Built from Plan(s)
Estimated Cost
$100
Estimated Time Investment
Weekend Project (10-20 Hours)
Finish Used
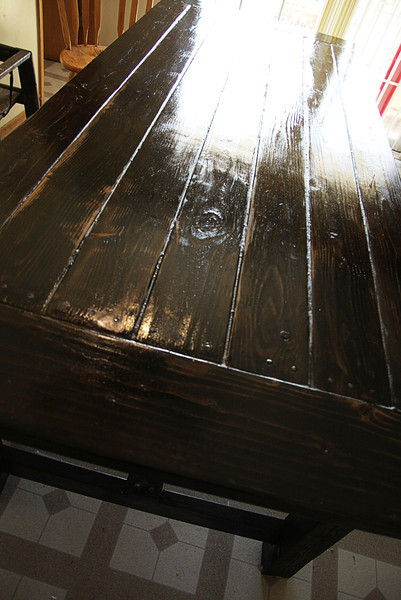
I like the natural stain over ebony look like I used in the mom's lego table, so I went for the same finish here. With lots of coats of gloss over the table surface.
Recommended Skill Level
Beginner
Comments
Sat, 09/01/2012 - 19:57
Farmhouse table
Like to know how to build a farmhouse dinner table. Do u have plans for one or know where I can get one at. I love the country look and that what I looking for. Thank you
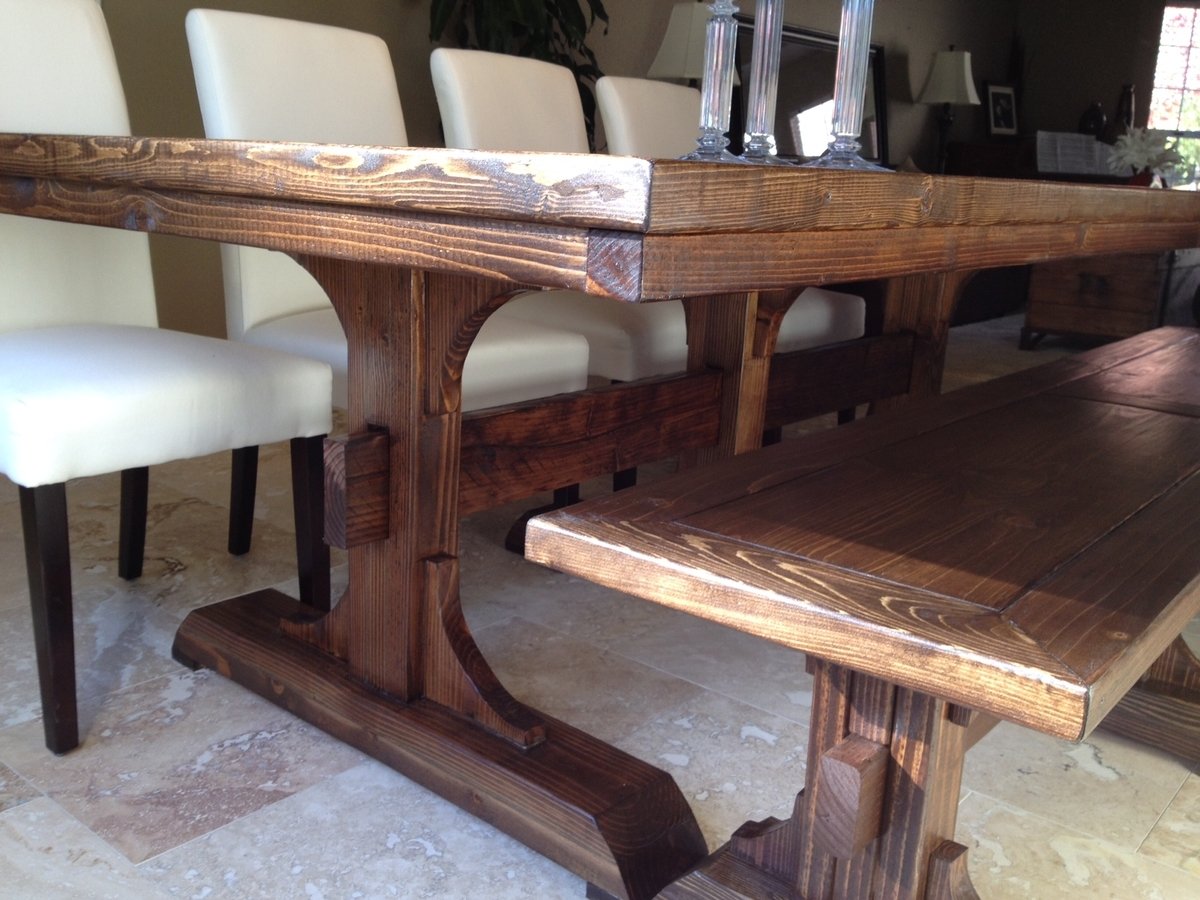
Triple Pedestal Farmhouse Table and Bench
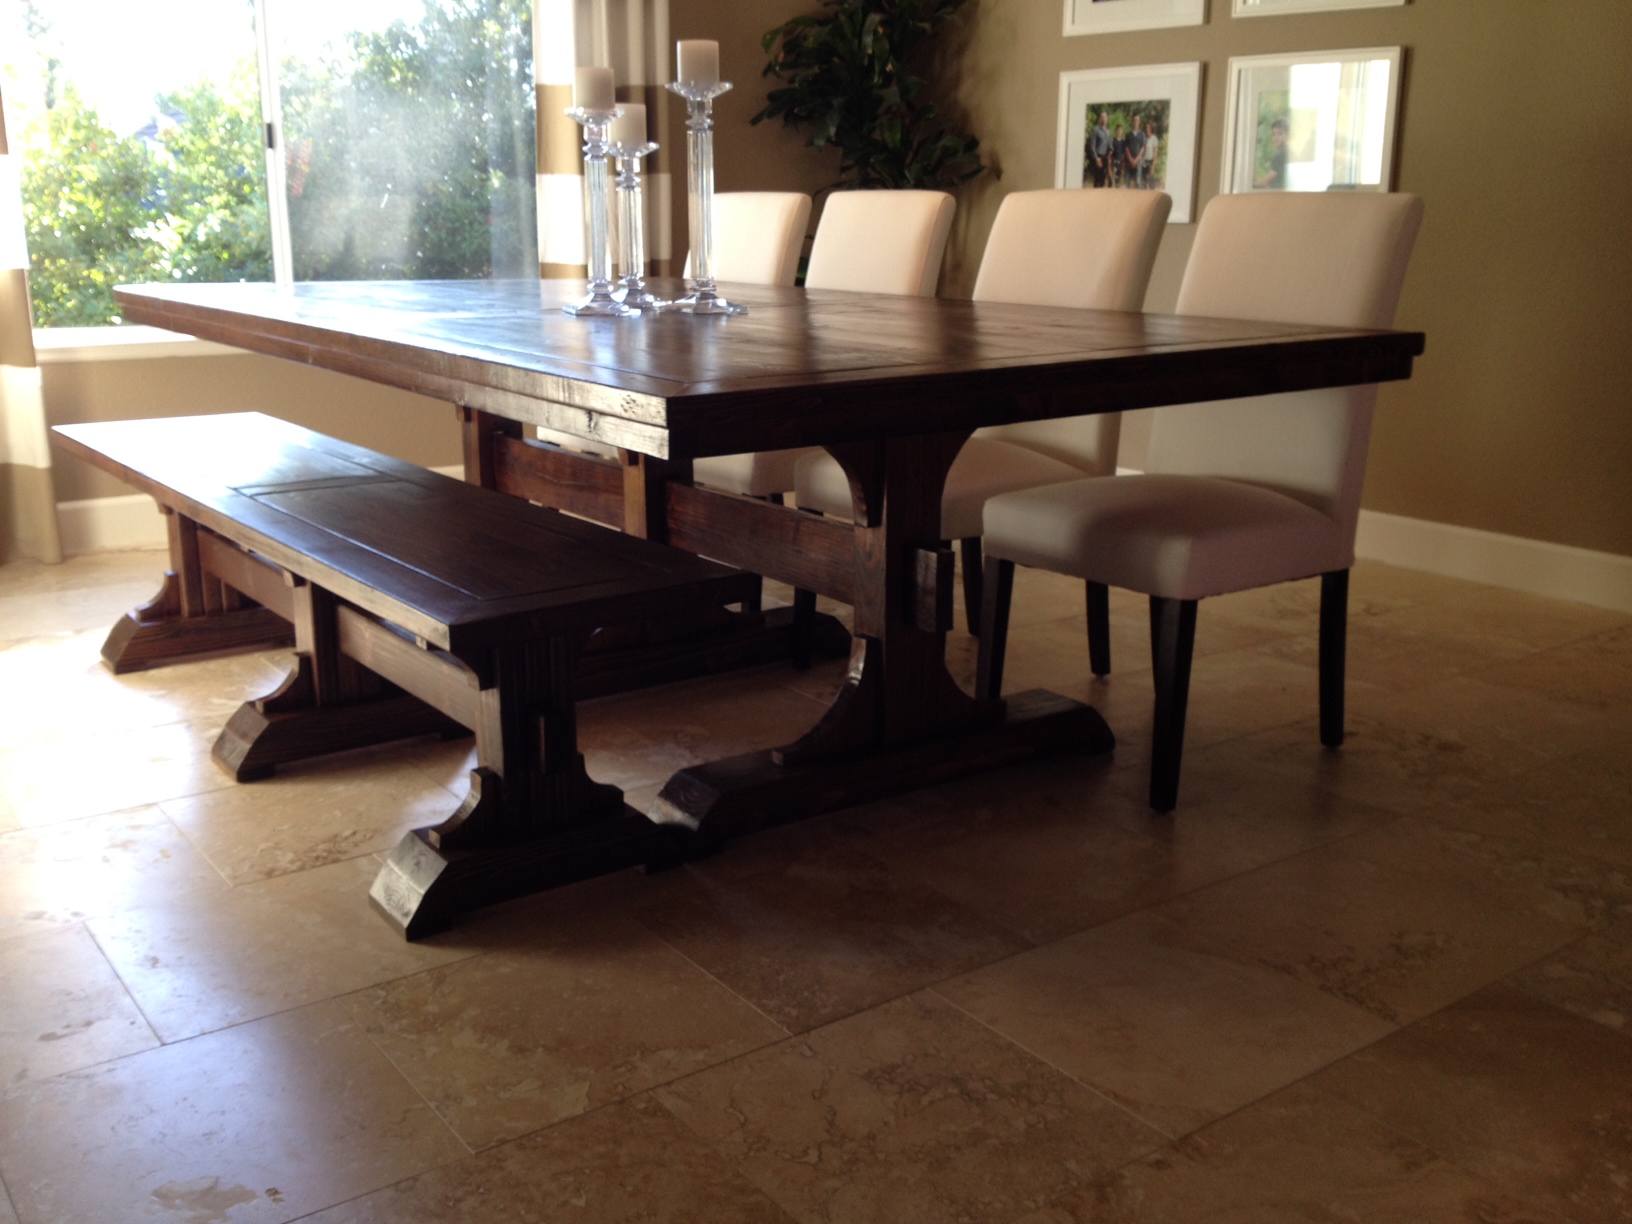
I'm so in love with this table! We altered the plans slightly by making the table wider. Enough to put 2 chairs on the end. The table will hold 12 people pretty comfortably with a lot of room in the middle for food. We added a 2x2 under the 2x4 frame instead of the sandwich look. We also mitered the corners for a more finished look. I finished with Minwax Special Walnut and applied 2 coats of oil based poly with a light scrub on final coat with steel wool.

Built from Plan(s)
Estimated Time Investment
Week Long Project (20 Hours or More)
Recommended Skill Level
Starter Project
Comments

Wed, 12/18/2013 - 09:04
Going to build this!
Hi - I love this and we are planning on building it over the Christmas holidays. I really like your modifications of the mitered edge, the elimination of the "sandwich edge", and the wider table. What was the finish dimensions of your table? Did you just add an additional (or 2) 1x6 to the tabletop? Also, it doesn't look like you changed the legs at all to support the wider top - is this true? We have 4 kids who are always hanging on our furniture so I need something nice and sturdy but also big enough to seat us all plus the many guests we have in our house!
Wed, 12/18/2013 - 11:10
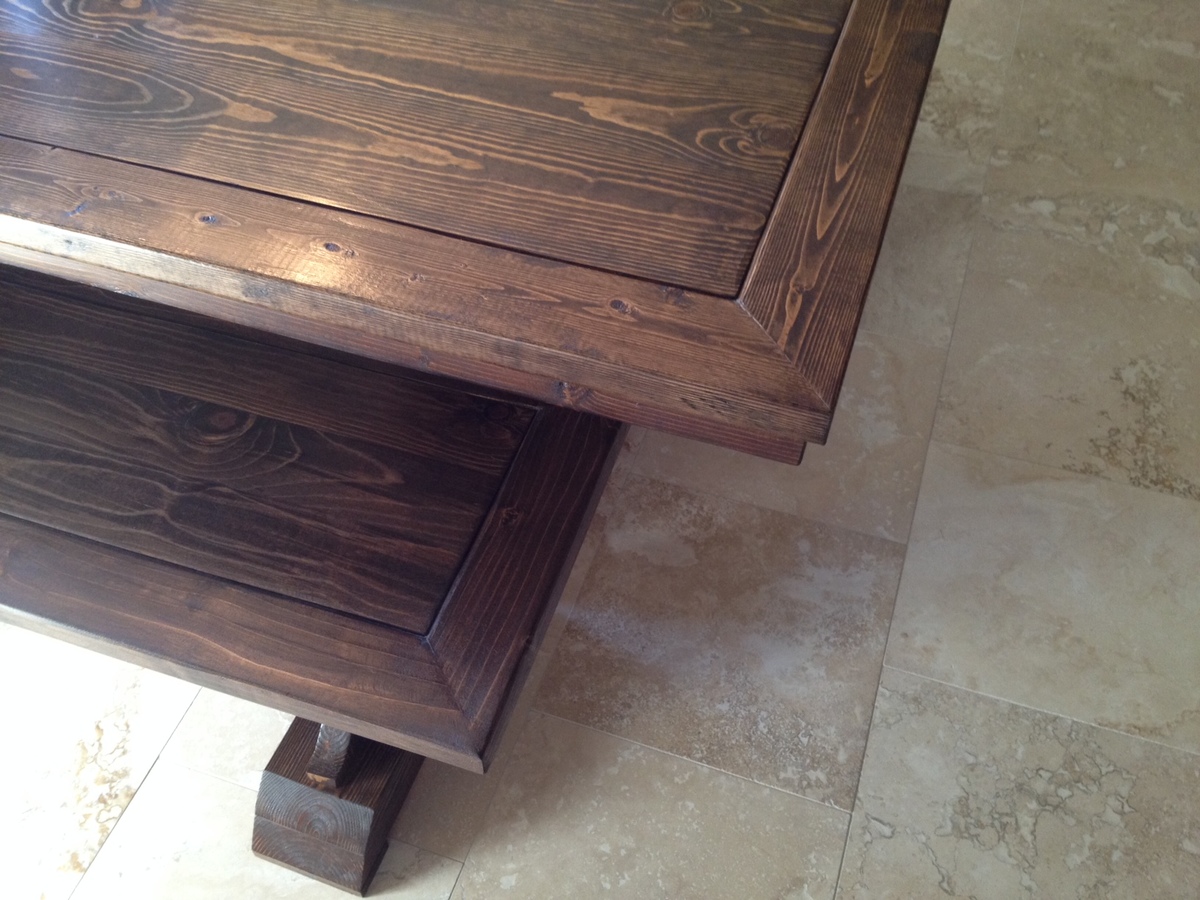
The finished table dimensions
The finished table dimensions are approx 8 ft long and 4 1/2 wide. There's 9 1x6 boards inside the 2x4 frame. We didn't alter the pedestals at all. We added a longer 2x4 between the table and the top of the pedestals for extra table support. The bottom of the pedestals are plenty wide enough to accommodate the extra table width.
It's a darn lovely awesome table. Sat 12 people comfortably at Thanksgiving with enough room for all the turkey dinner fixings.
It's also become the favorite homework station during the week. So much room to spread out books and papers.
Good luck!!!
Sun, 12/22/2013 - 13:21
tabletop finish
Did you plane the edges of your 1x6 boards so that they would be nice and tight? I'm concerned about where the boards meet together - that crumbs, milk spills, etc will get caught down in the grooves! Did you do something special on the finish to fill in any grooves? What kind of wood did you use?
Sun, 12/22/2013 - 14:34
1x6
1x's are already square. They aren't like 2x's with the rounded edges. We just used a kreg jig to attach them together. There are no gaps at all. We didn't plane the 2x4 frame and there is a tiny gap there. You might want to plane the inside edge of the 2x4 frame to avoid food crumbs in the gaps, but it's sorta hard to keep everything square unless you have a super nice table saw. Ours is cheapo. I used some wood filler on a test piece and hated the look after the finish! The nooks and crannies are what make this table rustic and lovely. Use place mats ;)
The wood is just regular old lumber from Home Depot. There are no choices on different type of wood. Everything we got was kiln dried except a few pieces, but don't be fooled, those warp after you buy them too.
Sun, 04/06/2014 - 10:41
Attaching the pedestals
In the original plans, the top 2x6 on the pedestals are 36 1/2", which means they can be drilled into the 2x4 frame. On your modifications, the original pedestals wouldn't be long enough to reach the 2x4 frame, so did you just make the top 2x6 on the pedestal longer? I'm sorry I'm confused, but I like the wider table and am just trying to see how you attached the pedestals to the top.
It might be explained by "We added a longer 2x4 between the table and the top of the pedestals for extra table support." but I'm still not 100% understanding how it's attached.
Thanks for any help!
Sun, 04/06/2014 - 16:14
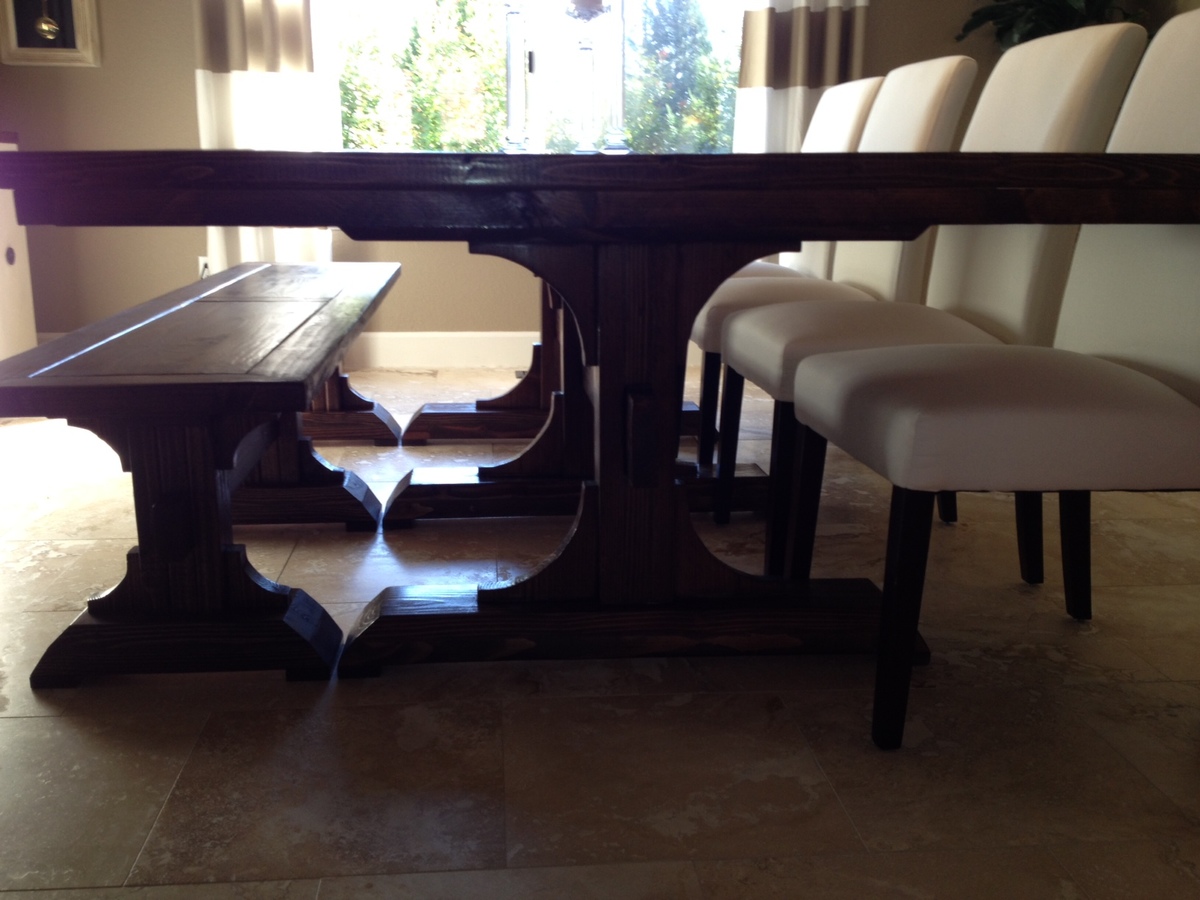
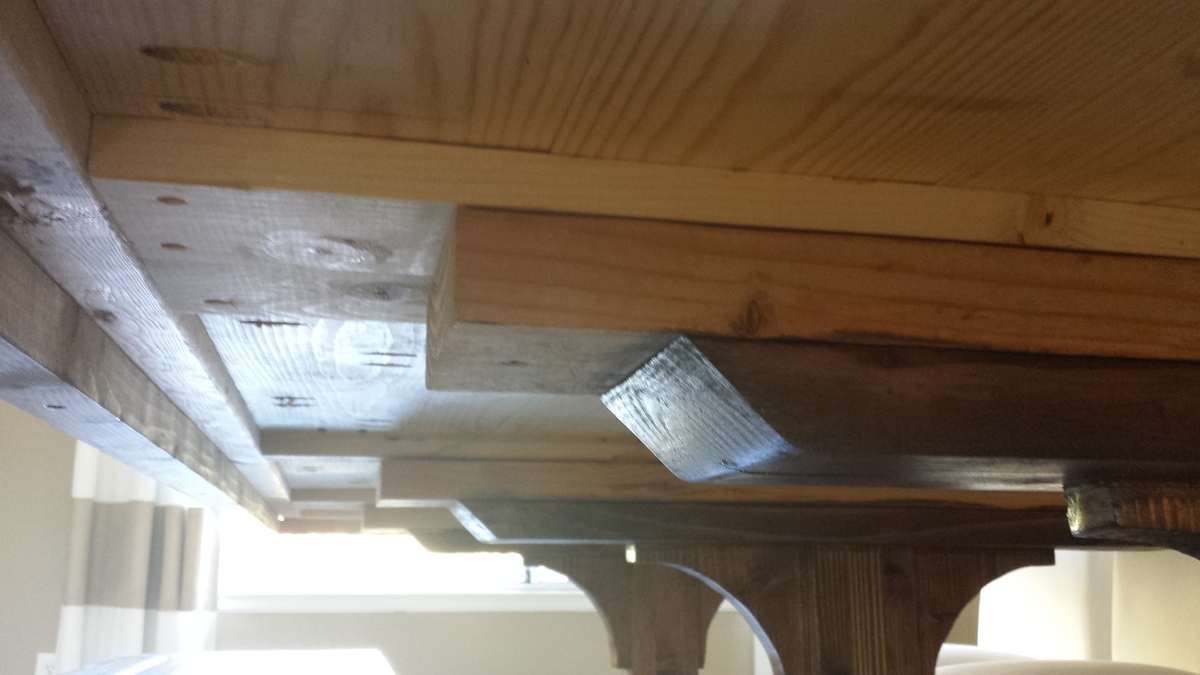
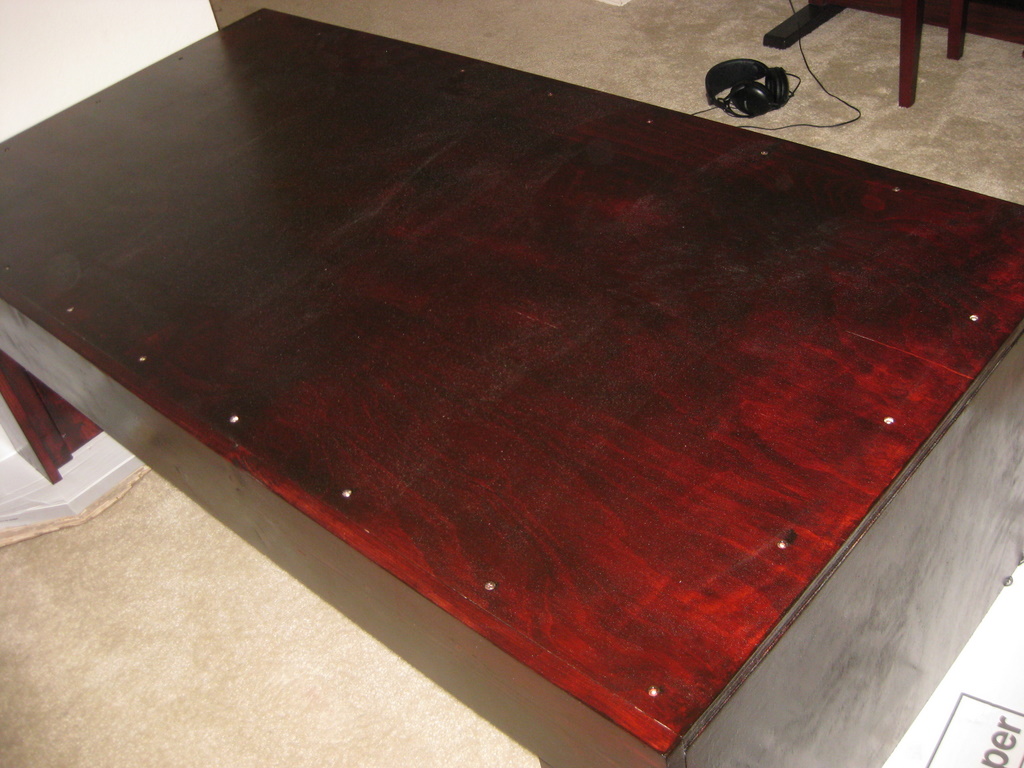
new picture
I added another picture of the underside of the table to clear up any confusion. hope this helps.
Mon, 12/15/2014 - 07:50
question about benches
Are your benches the same dimensions as the original plans?
Thanks!
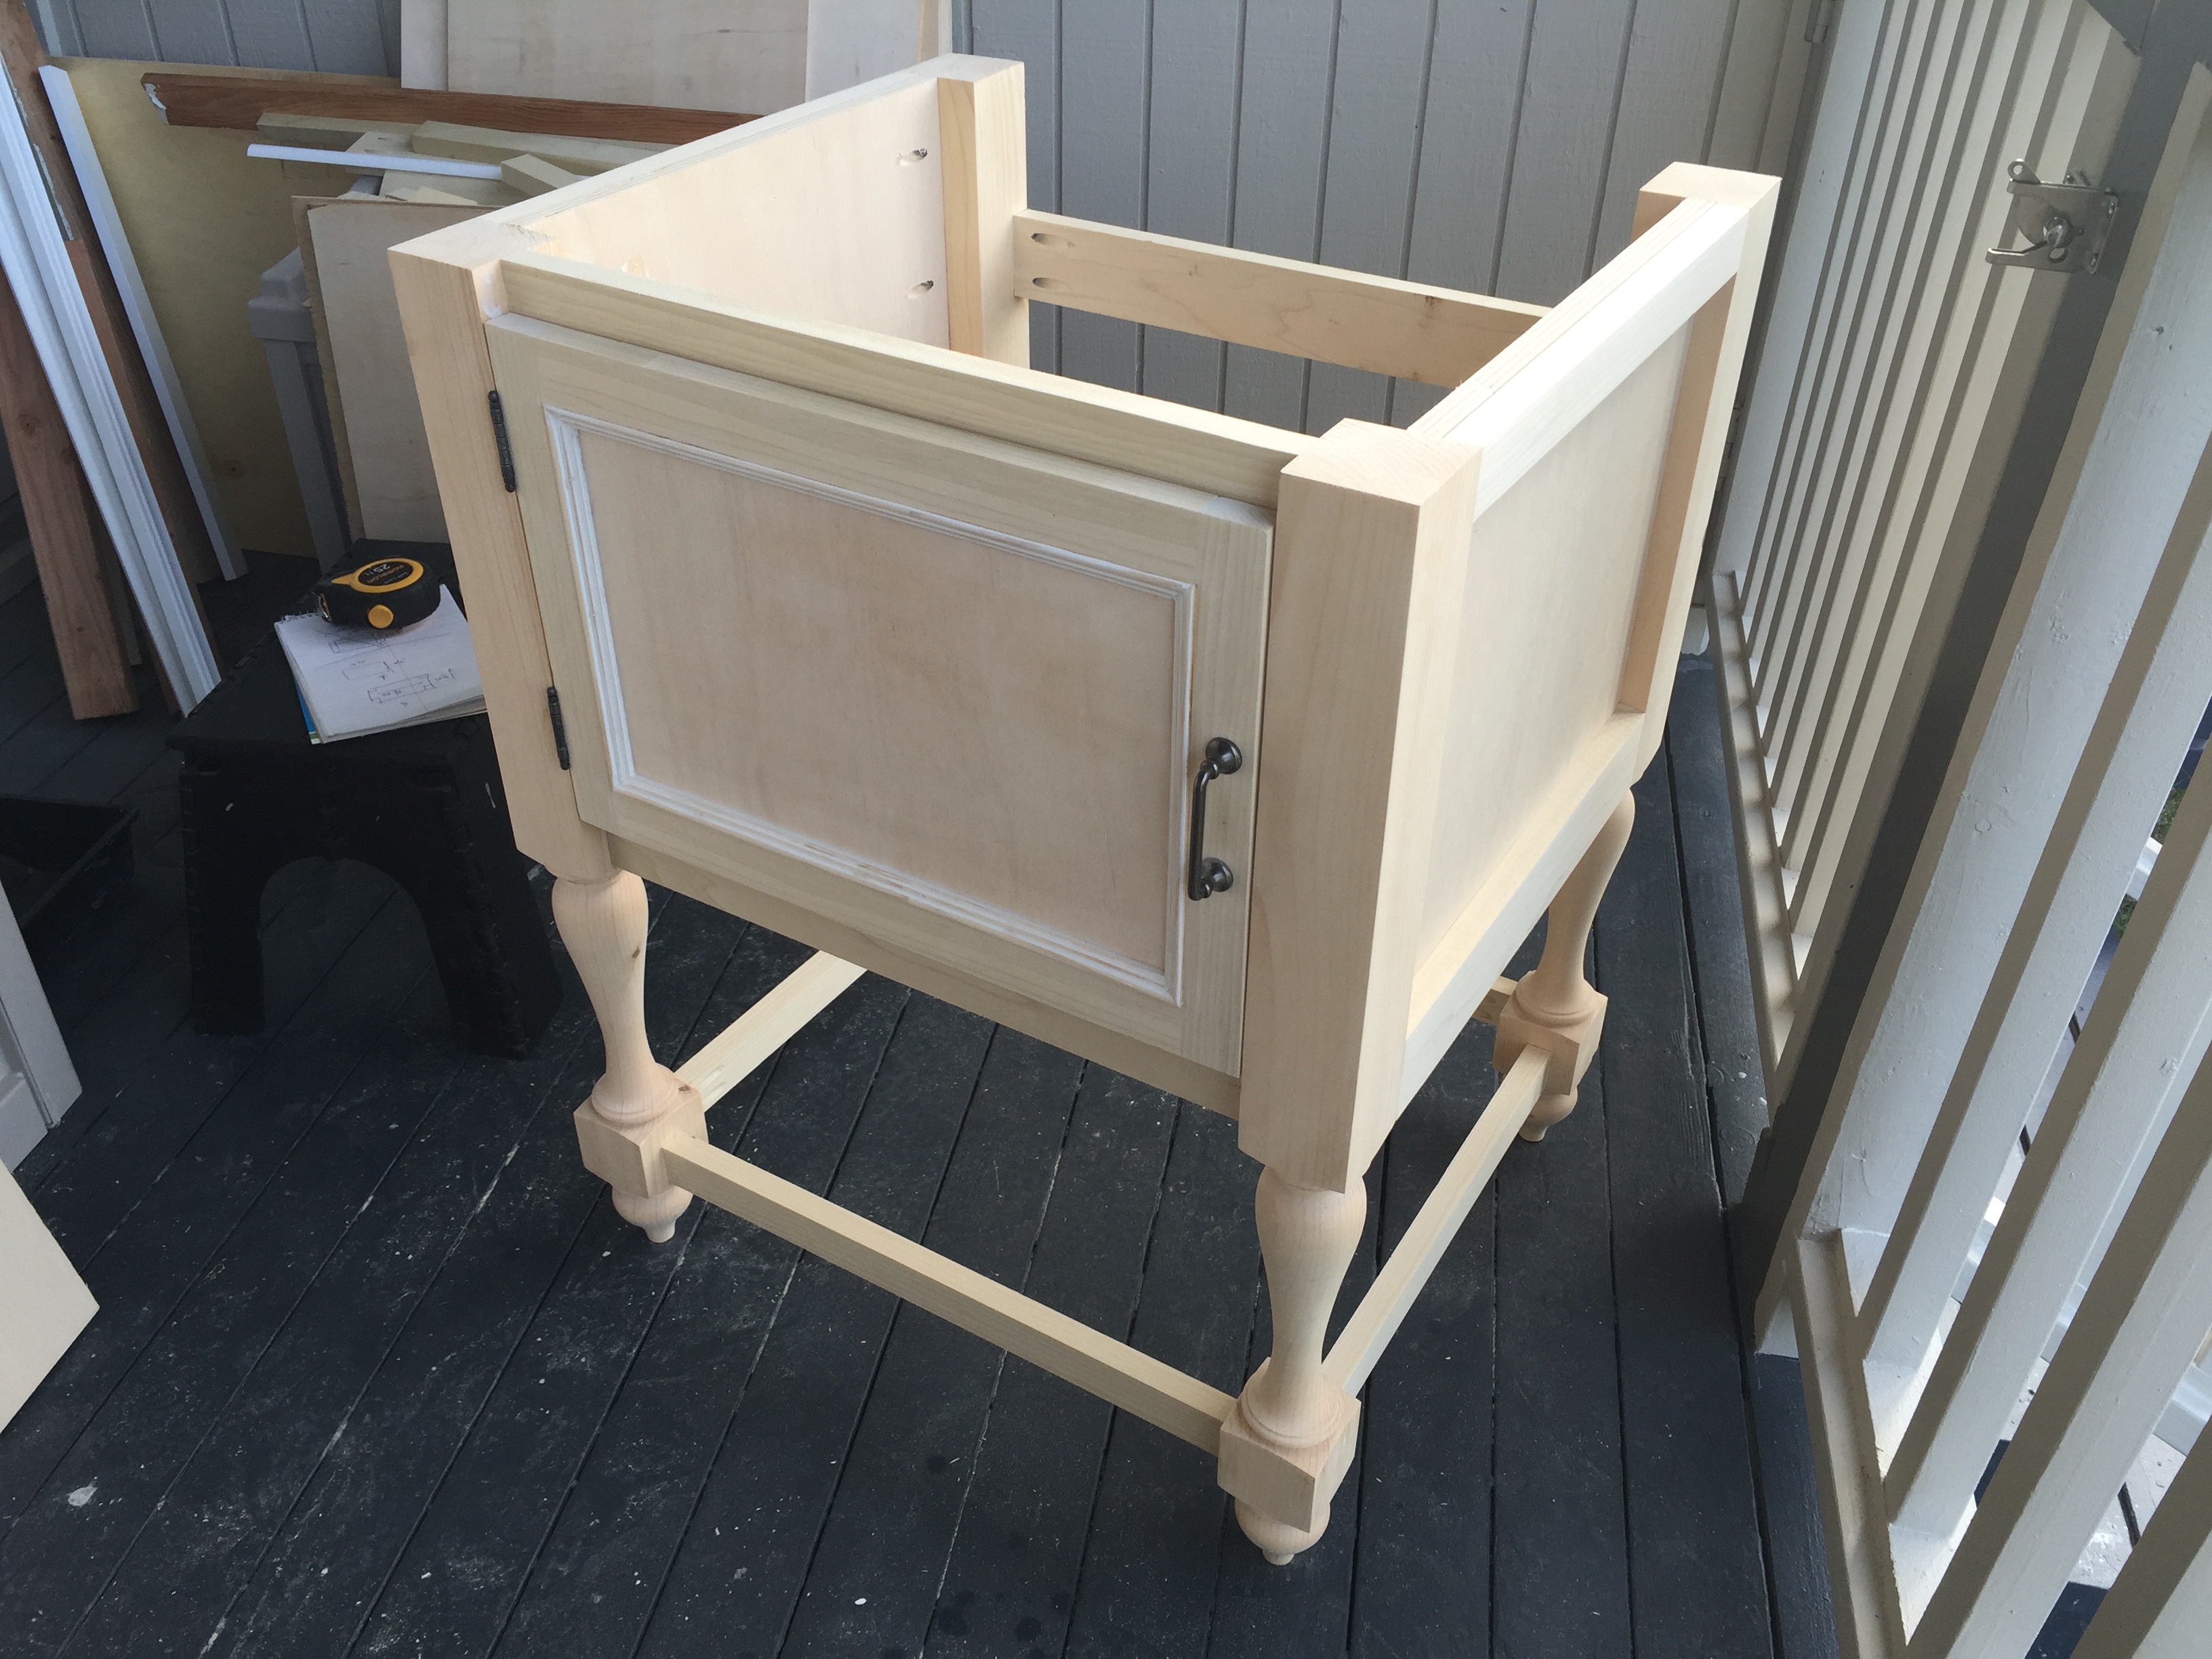
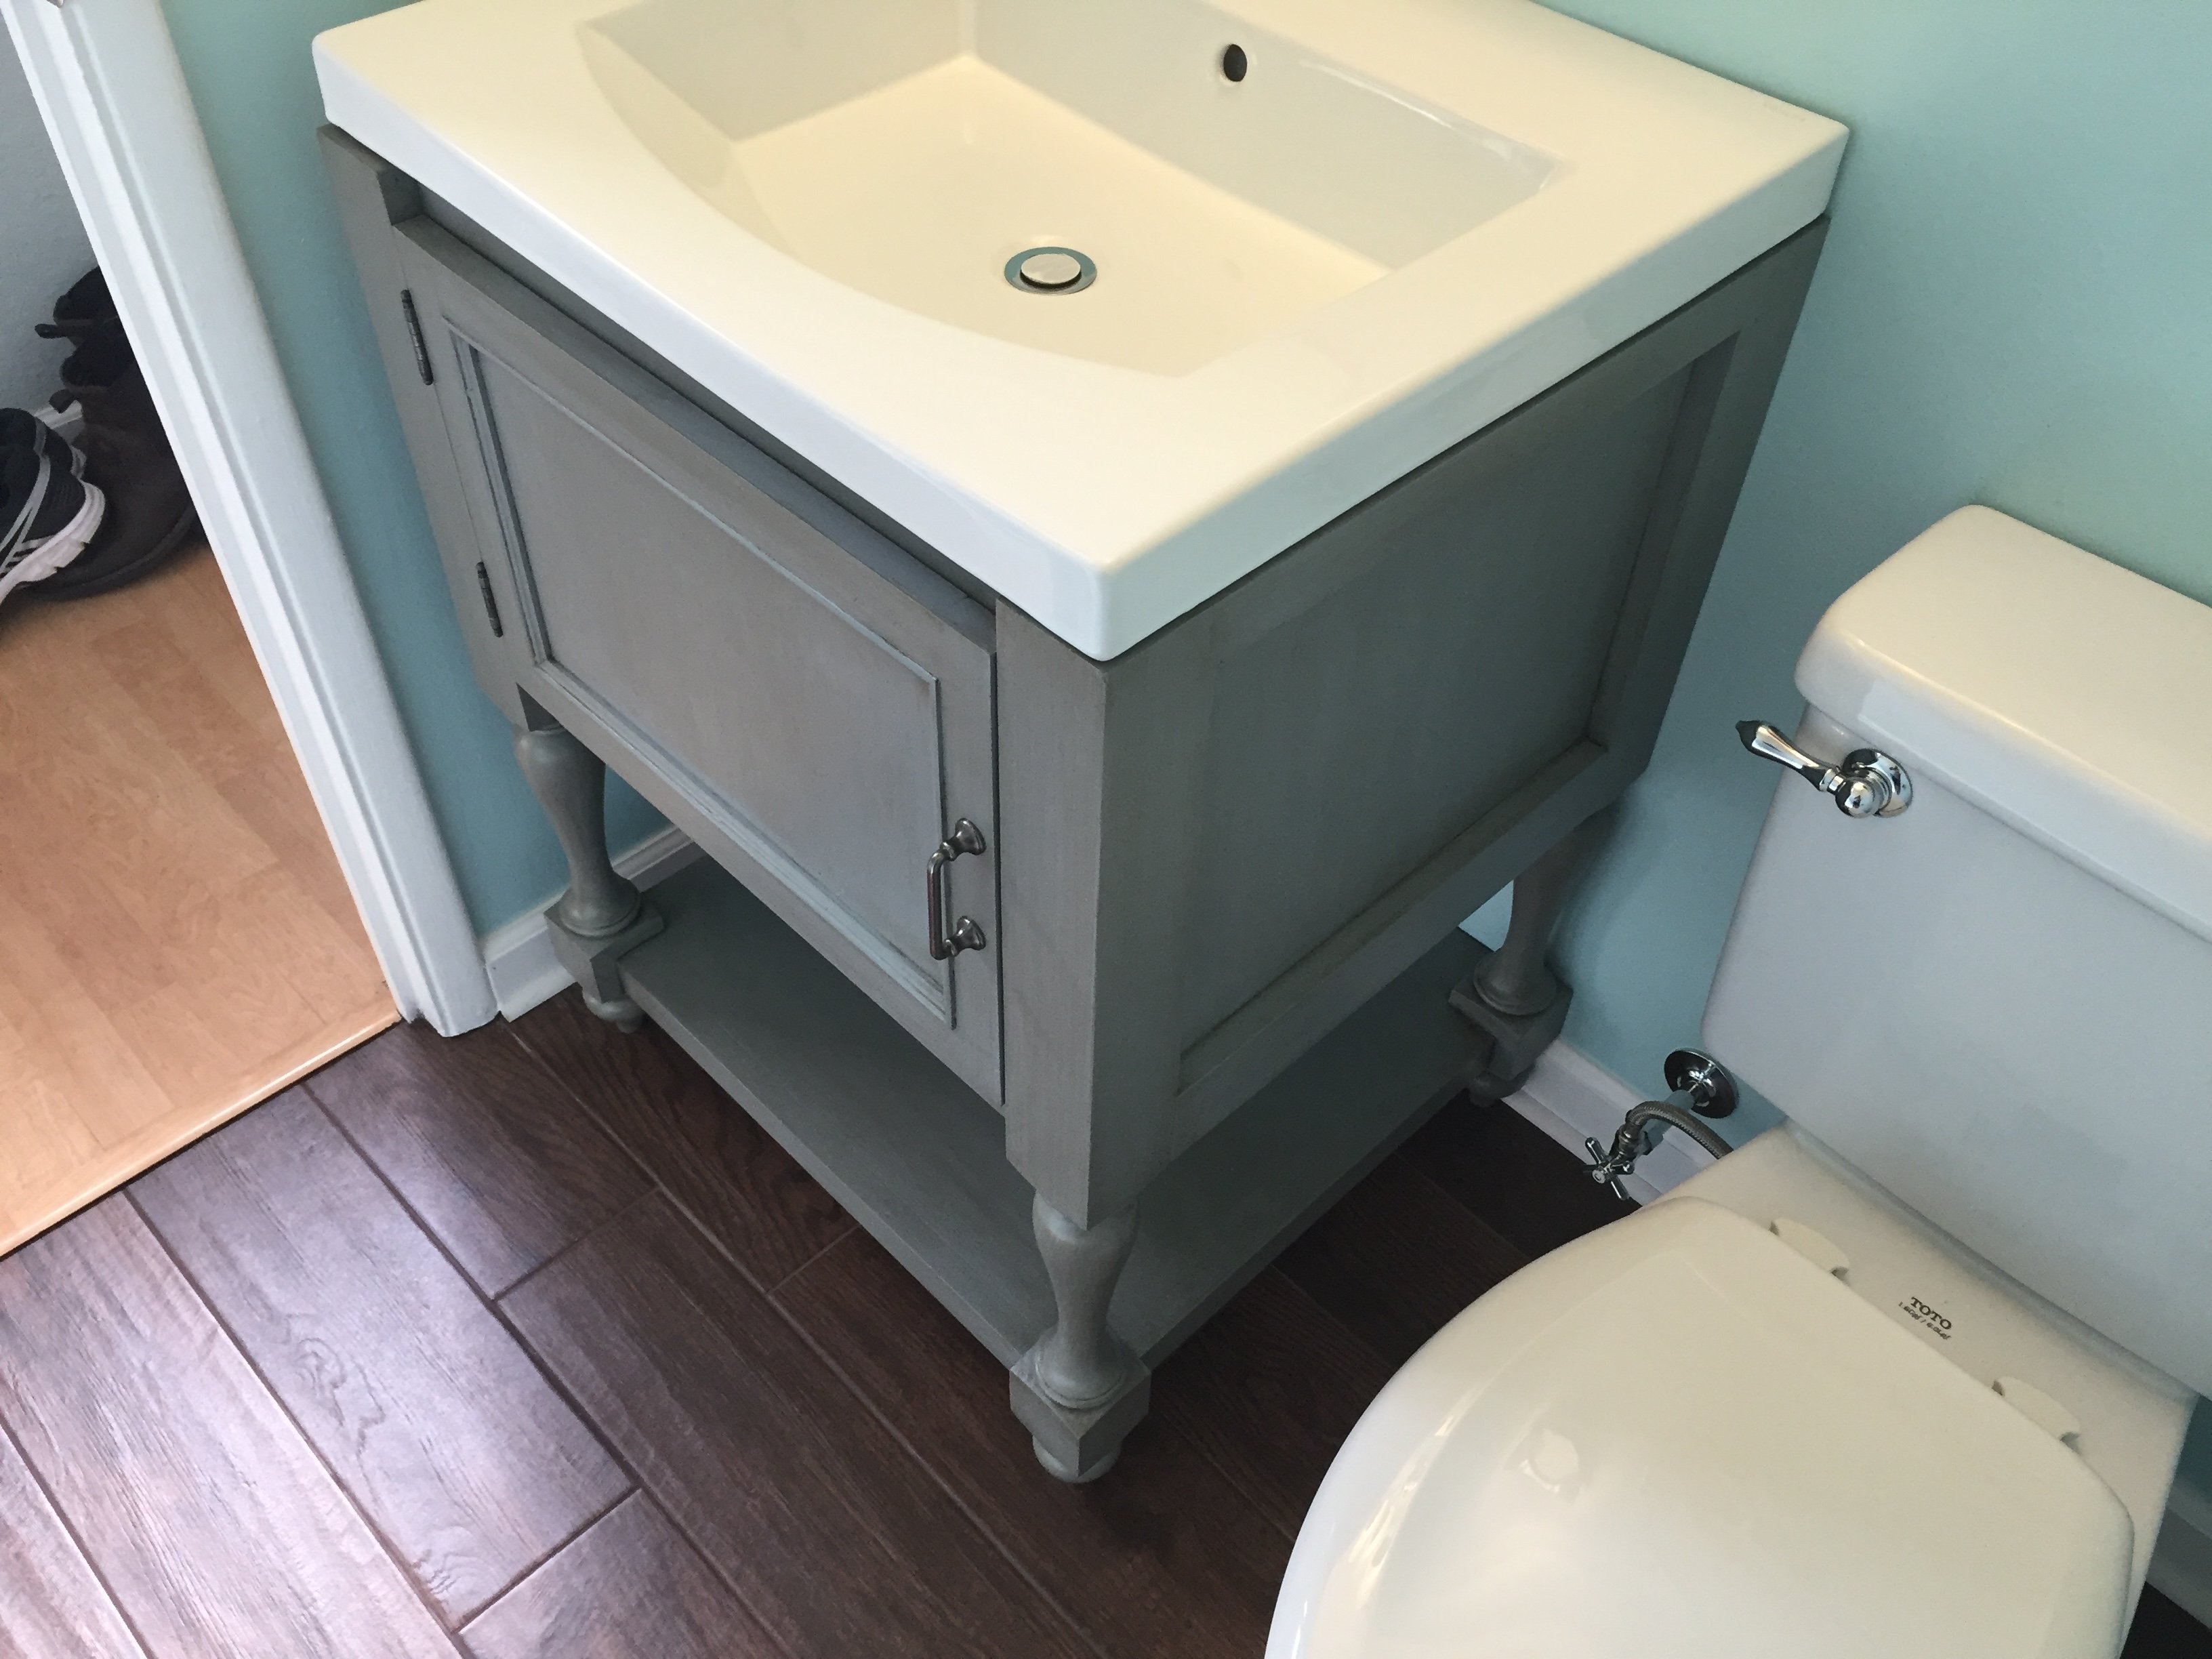
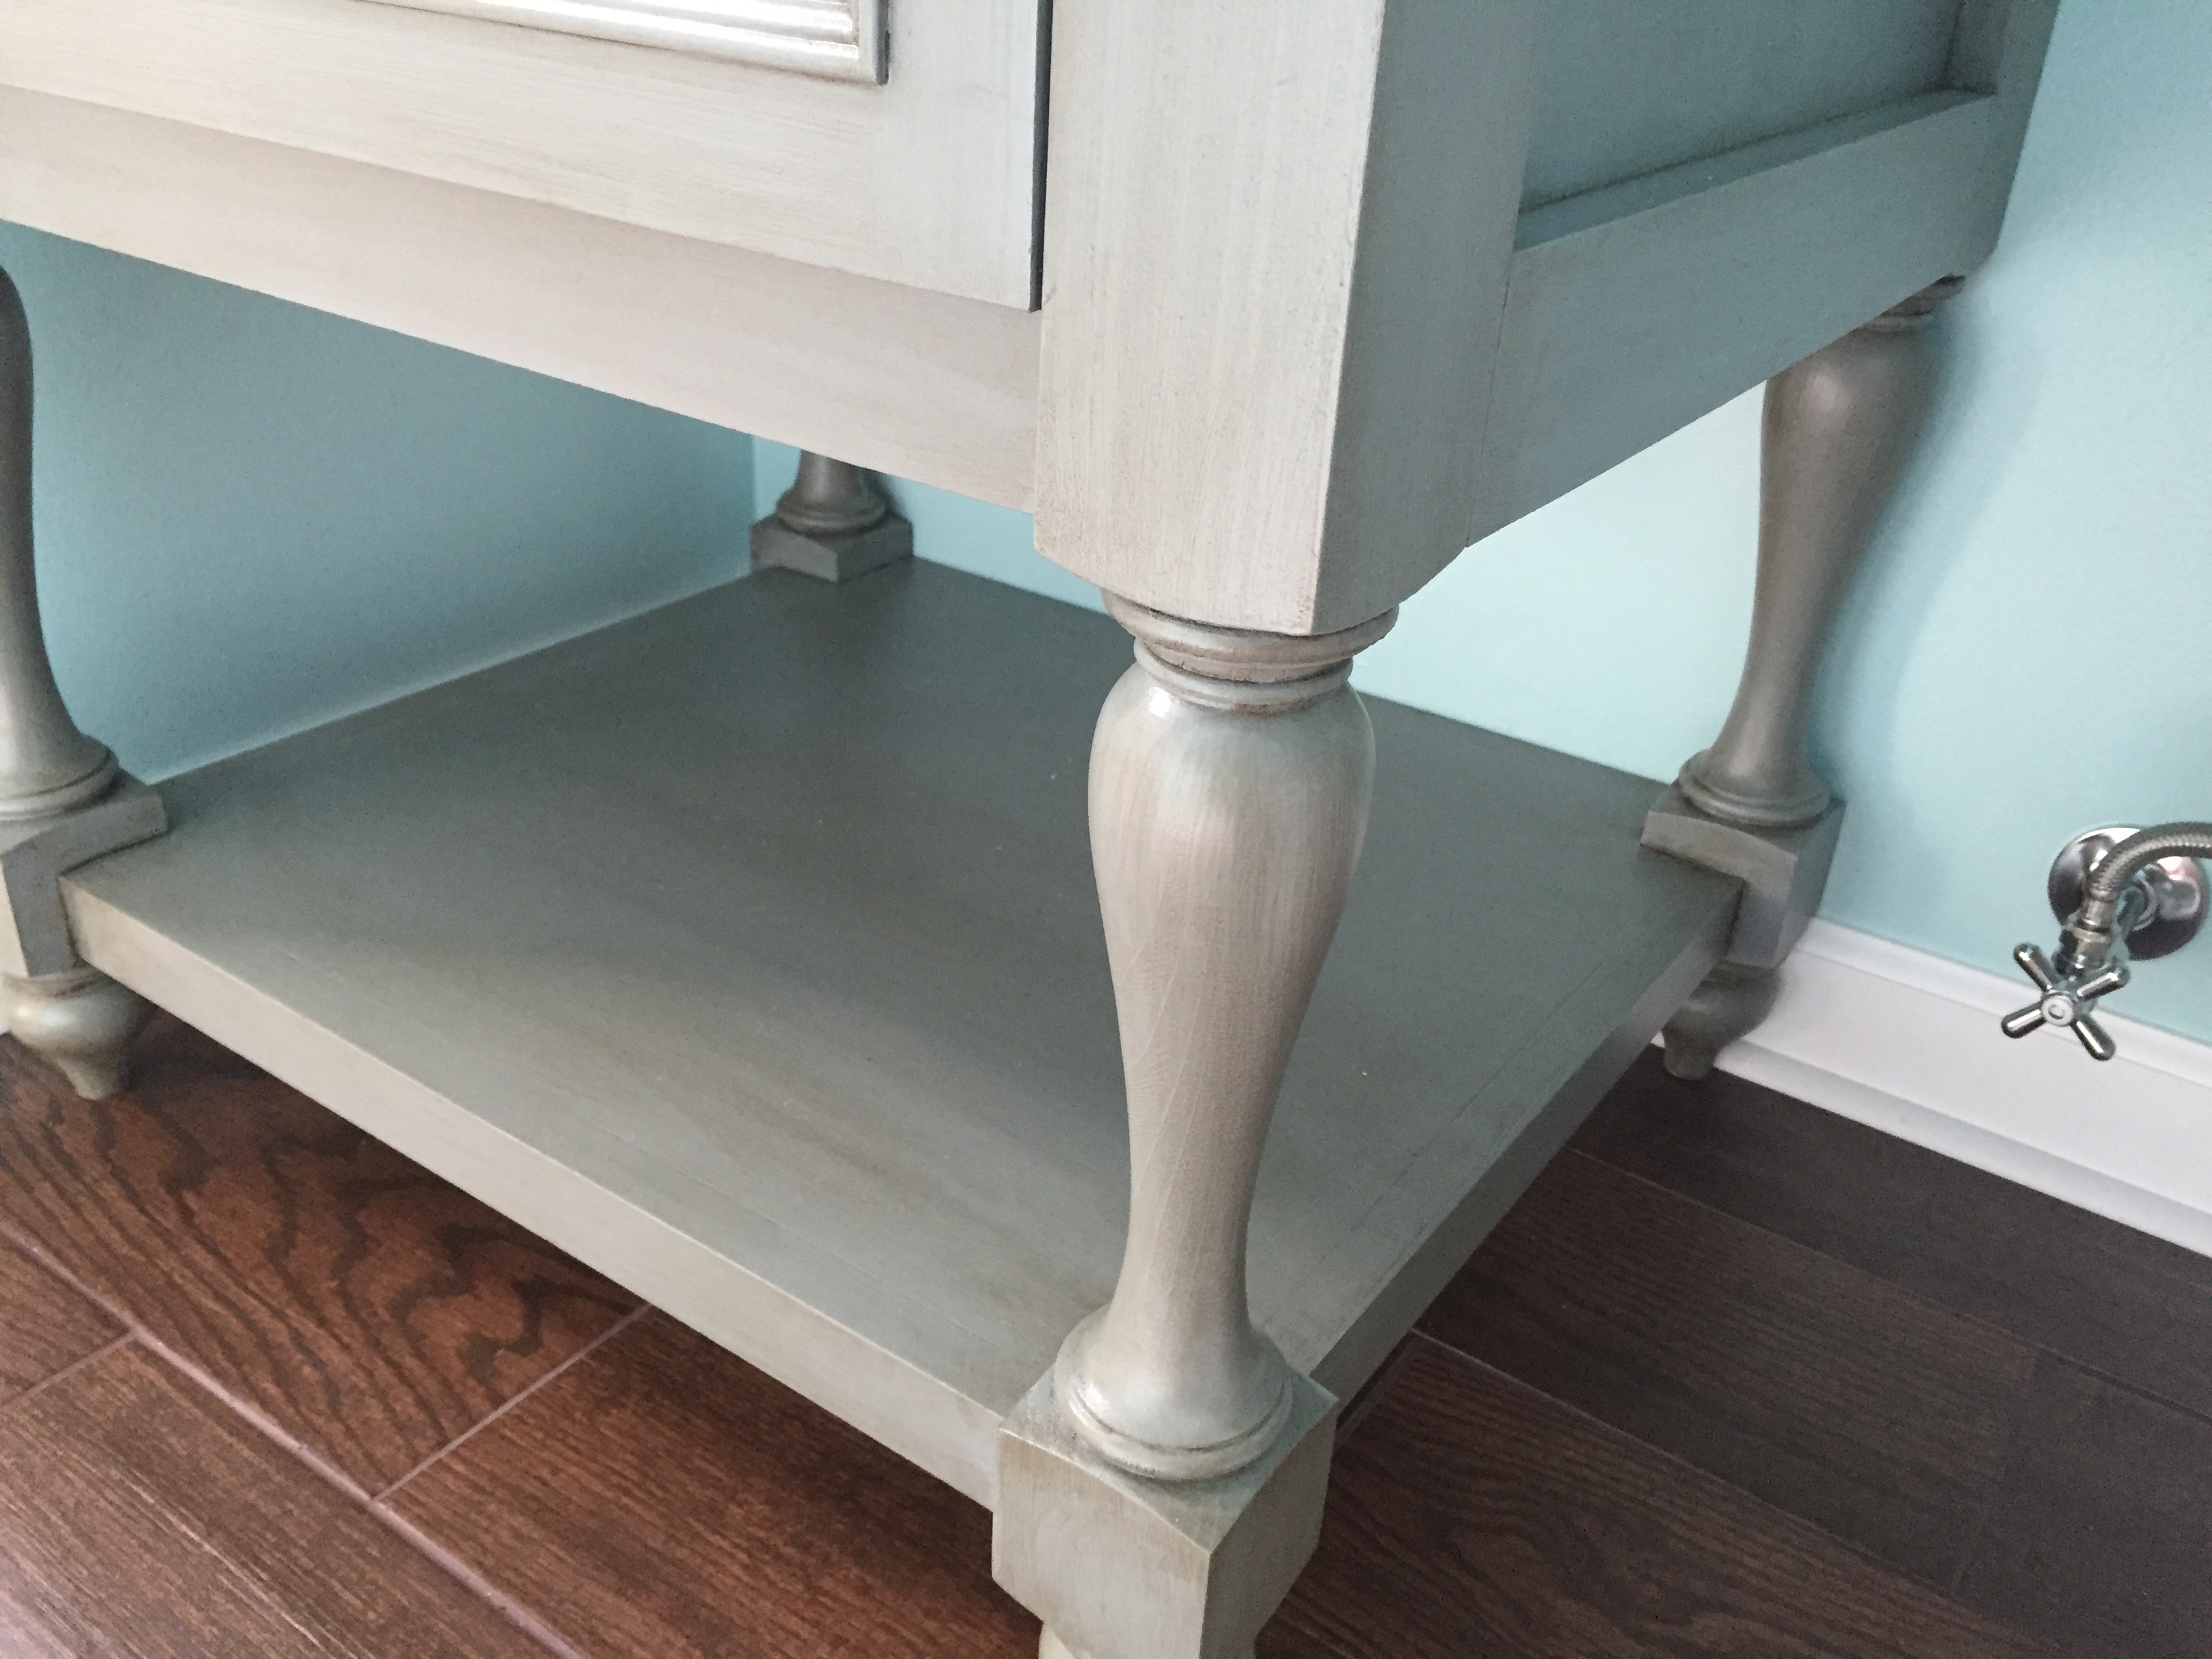
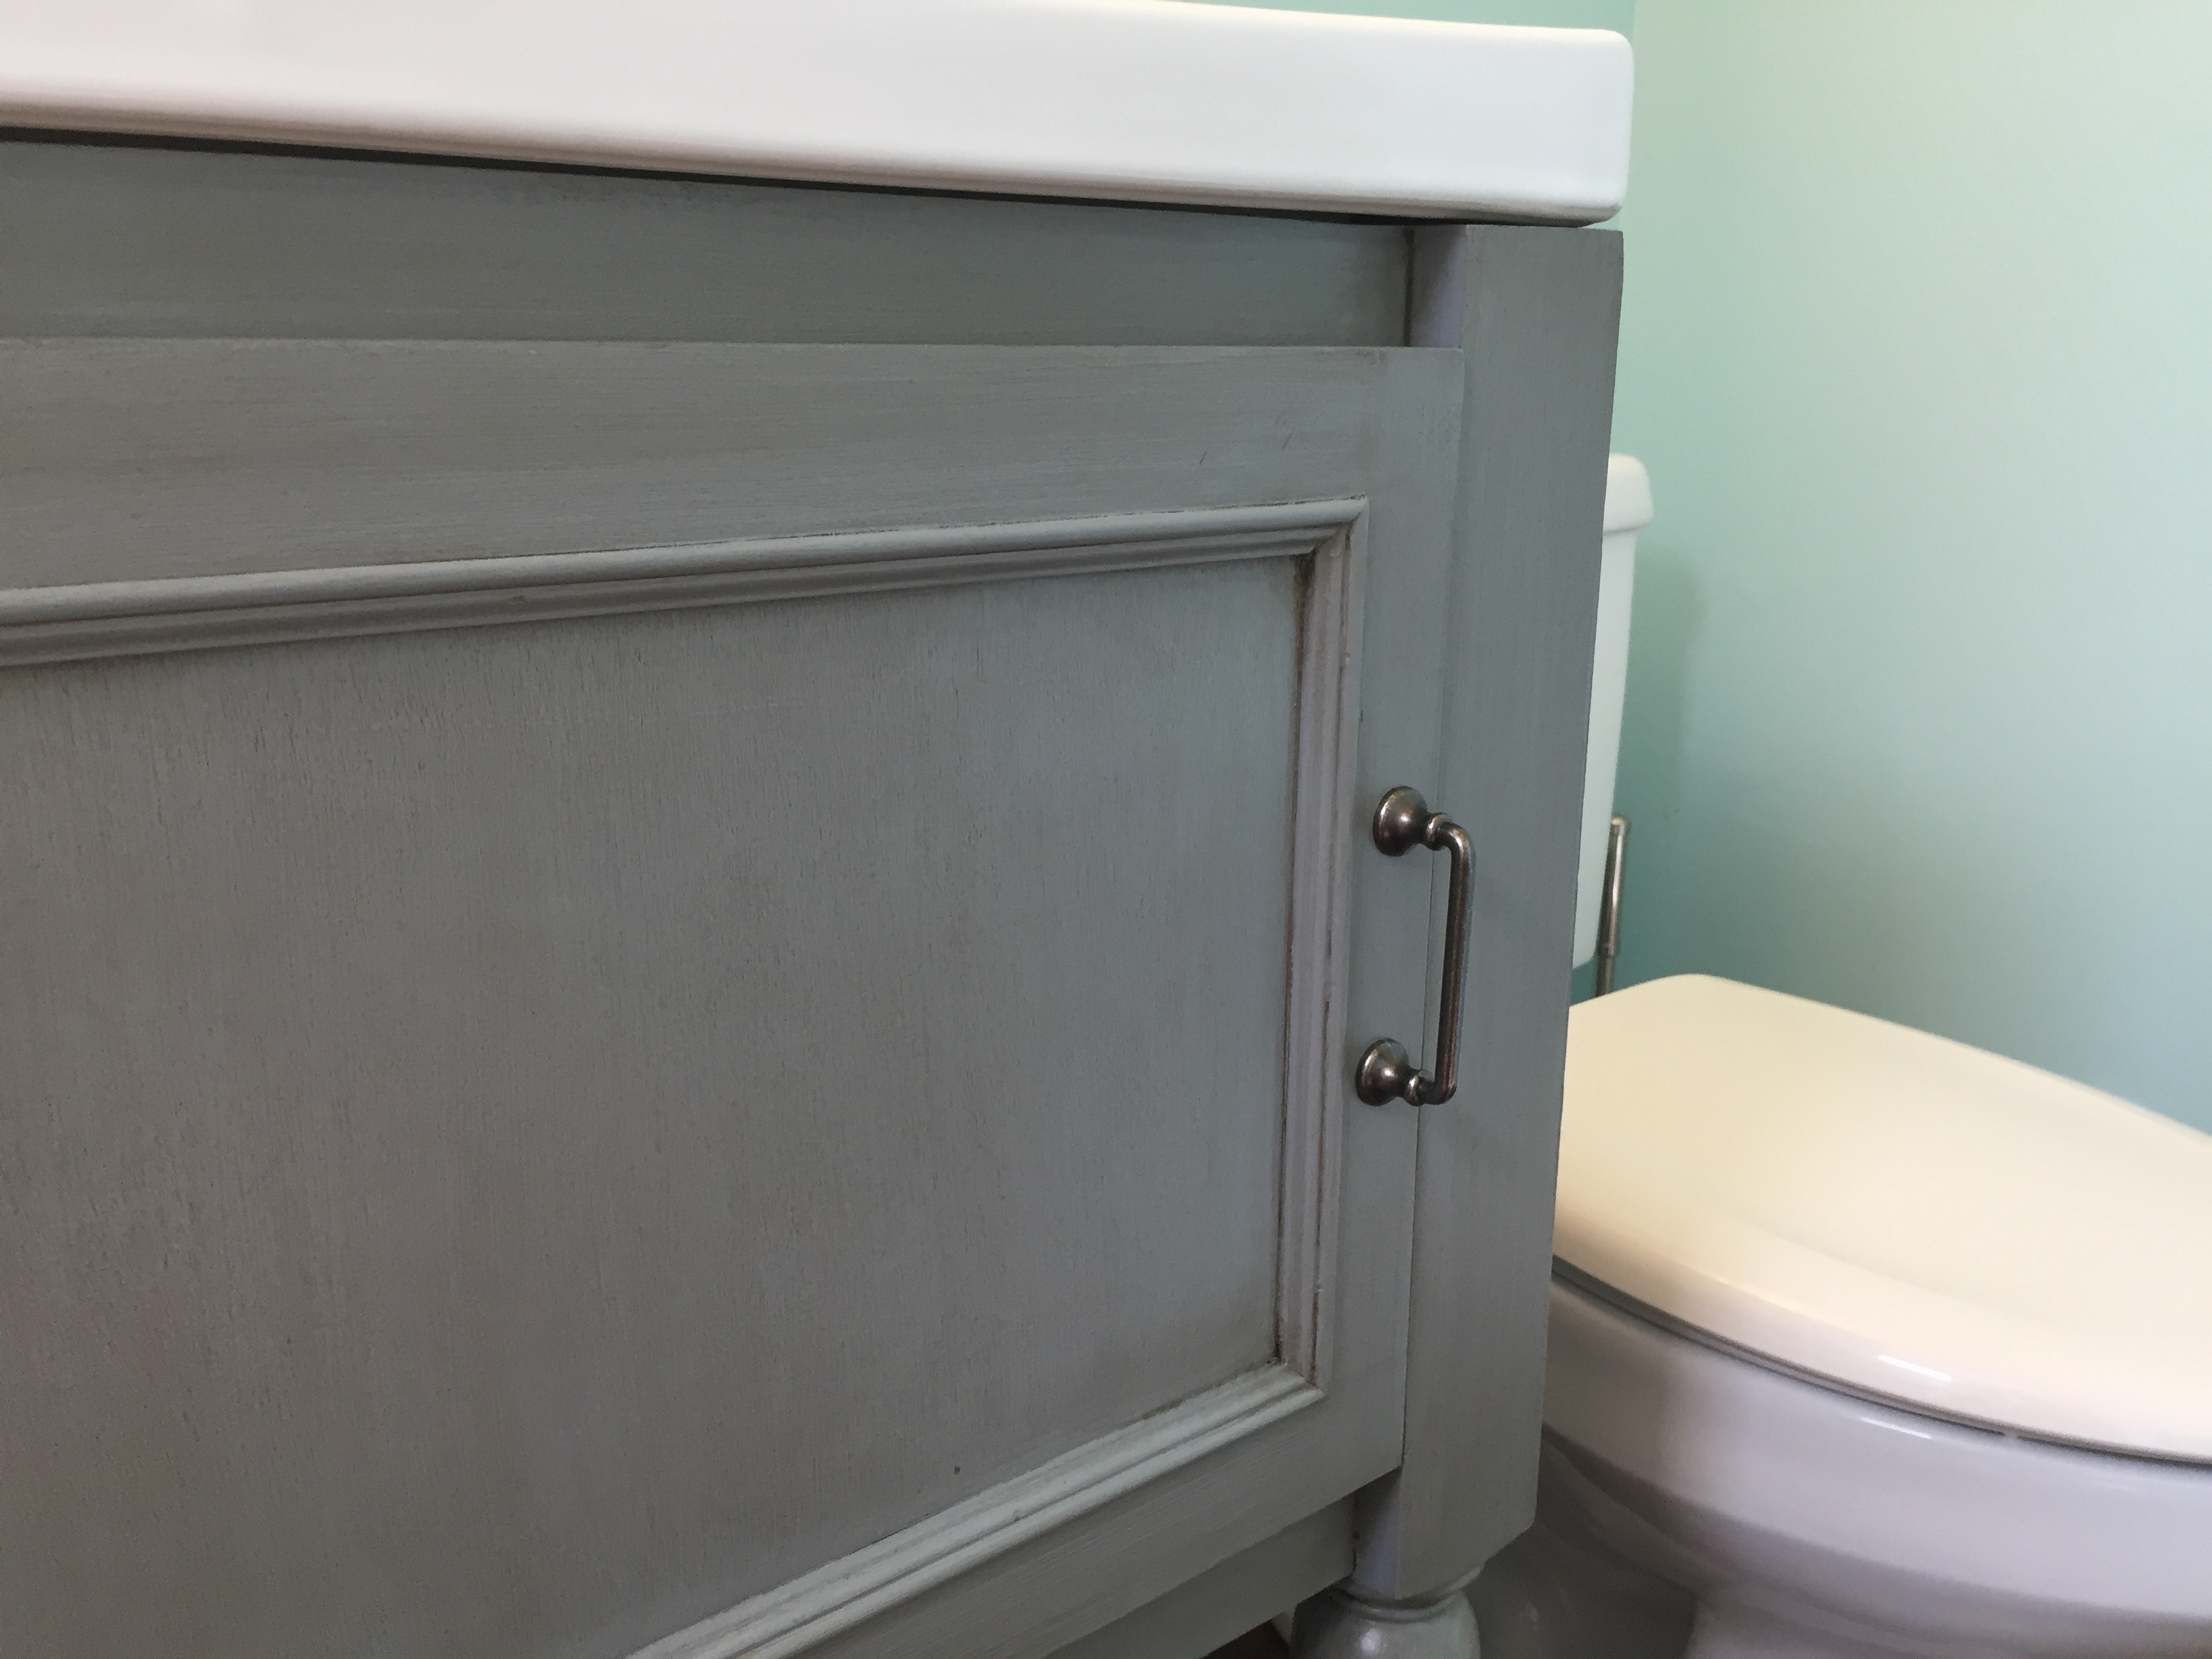
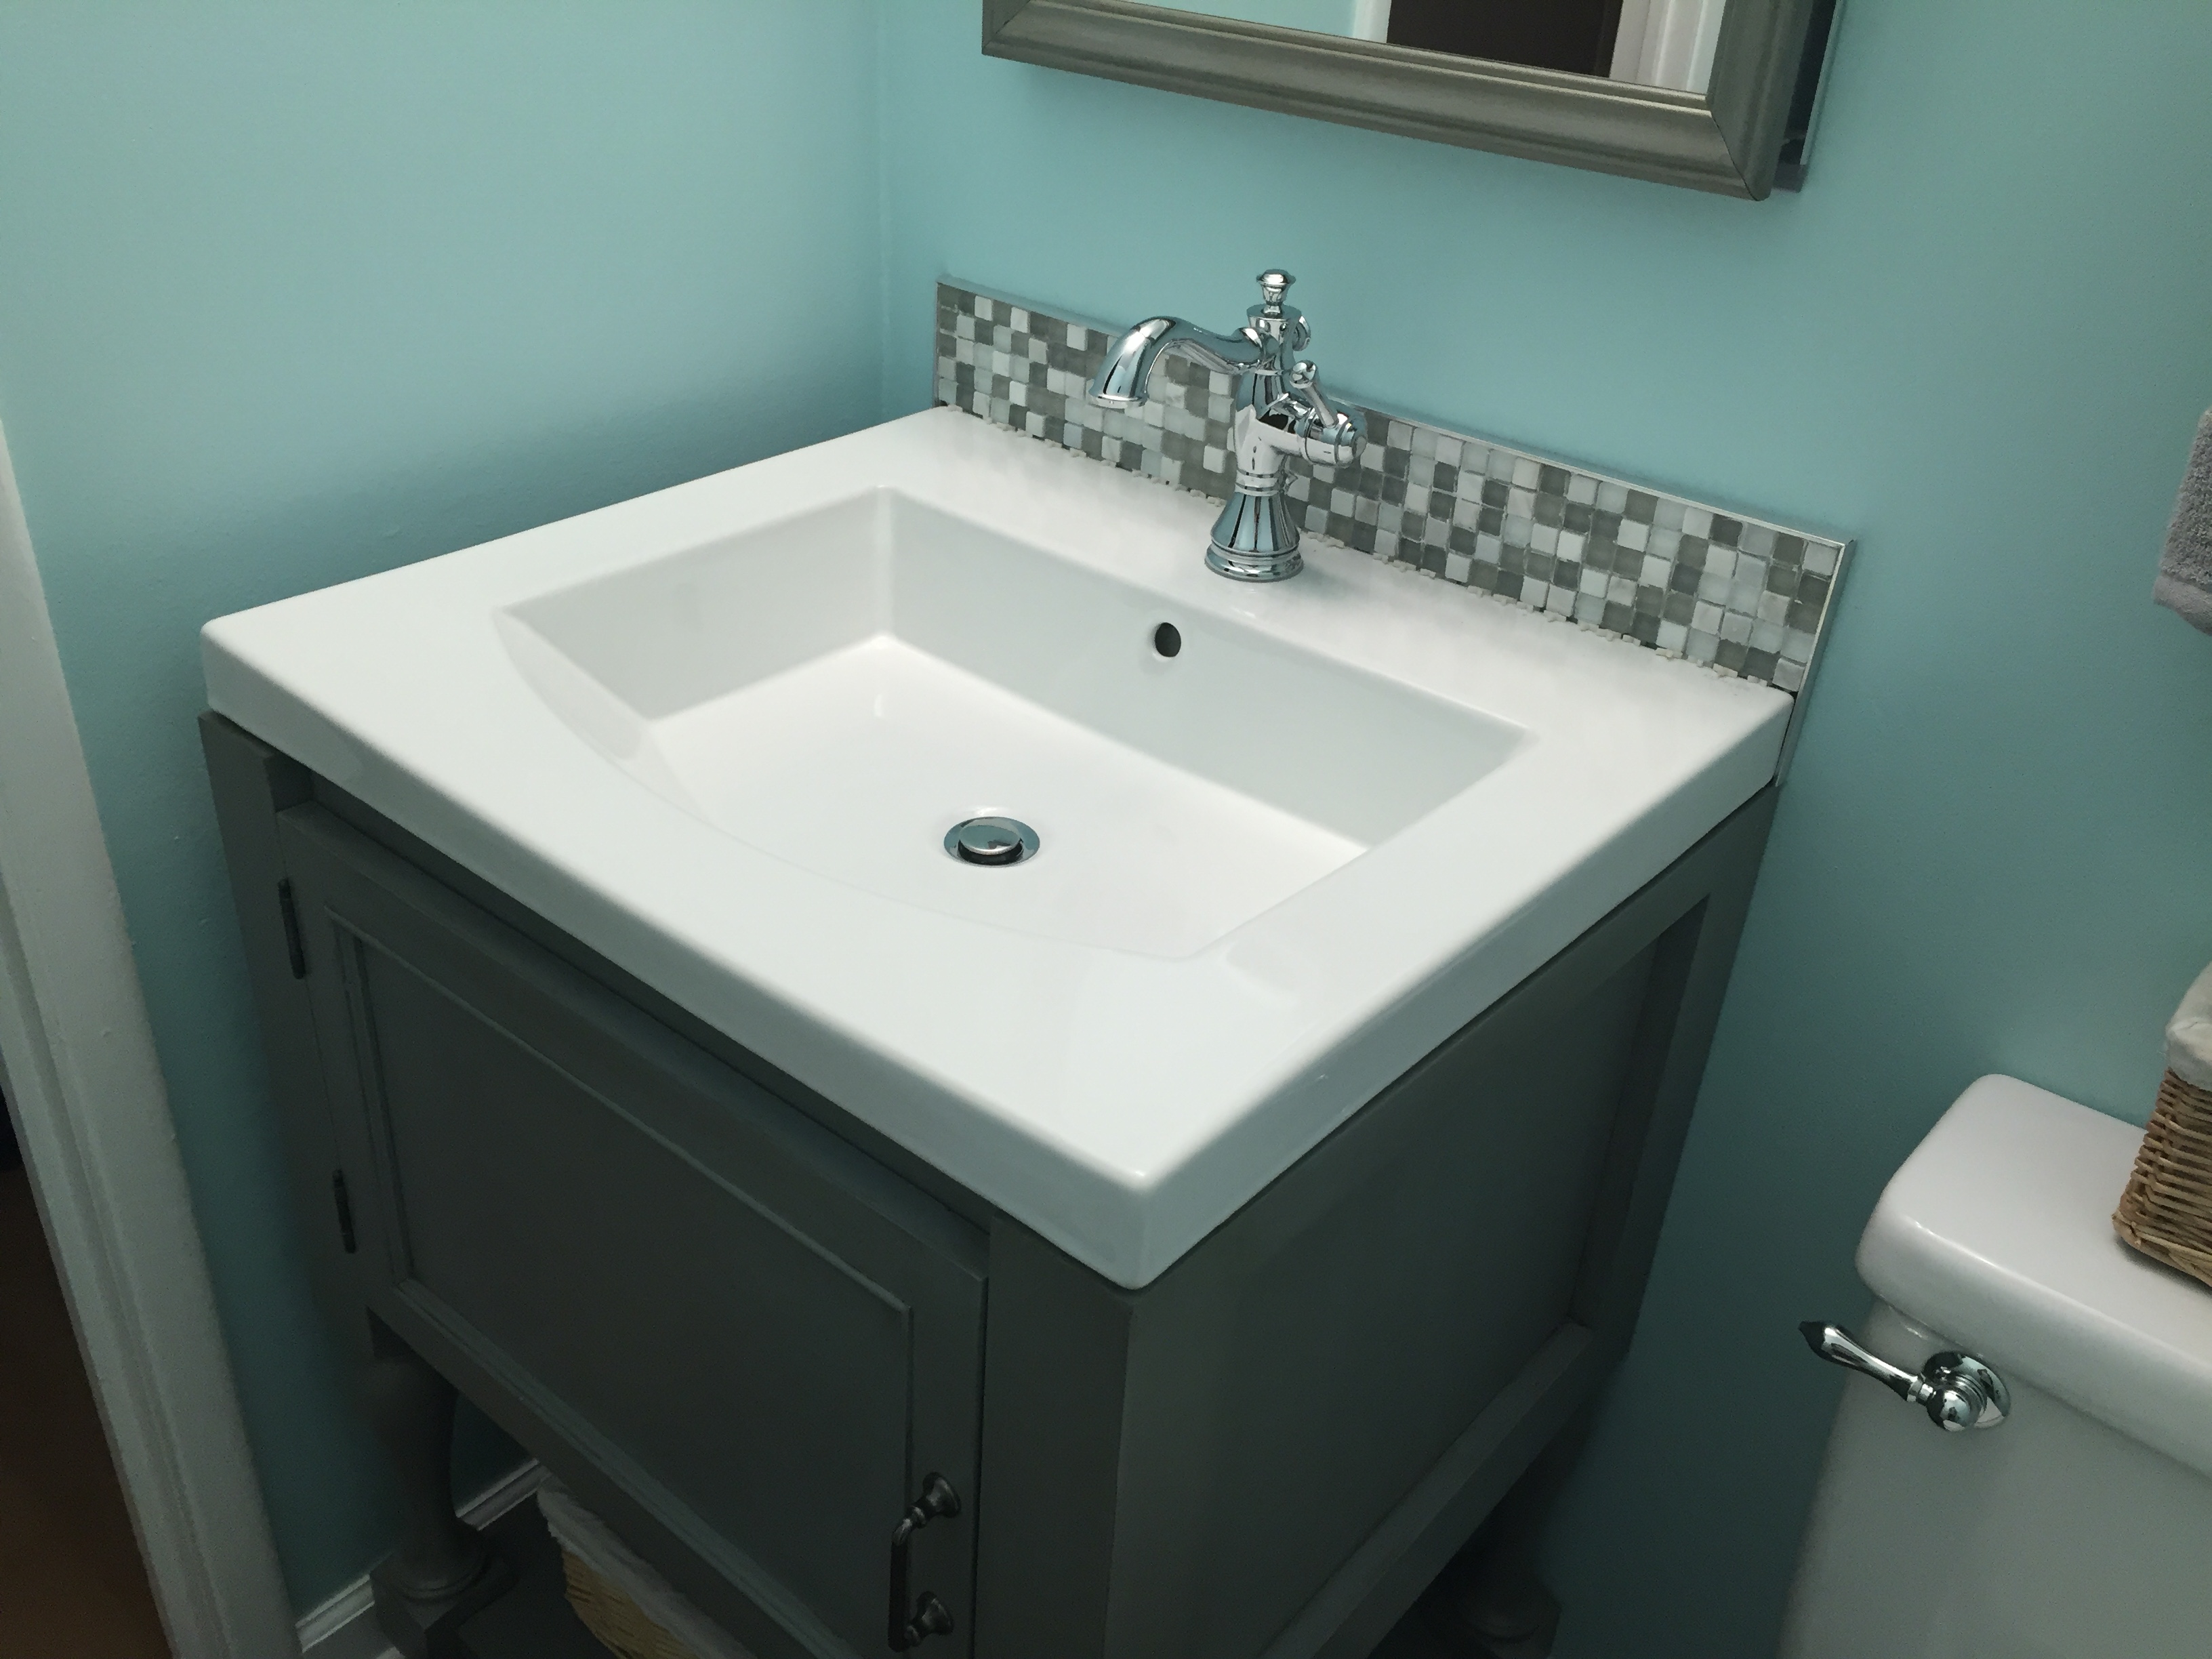
25" Turned leg bathroom vanity
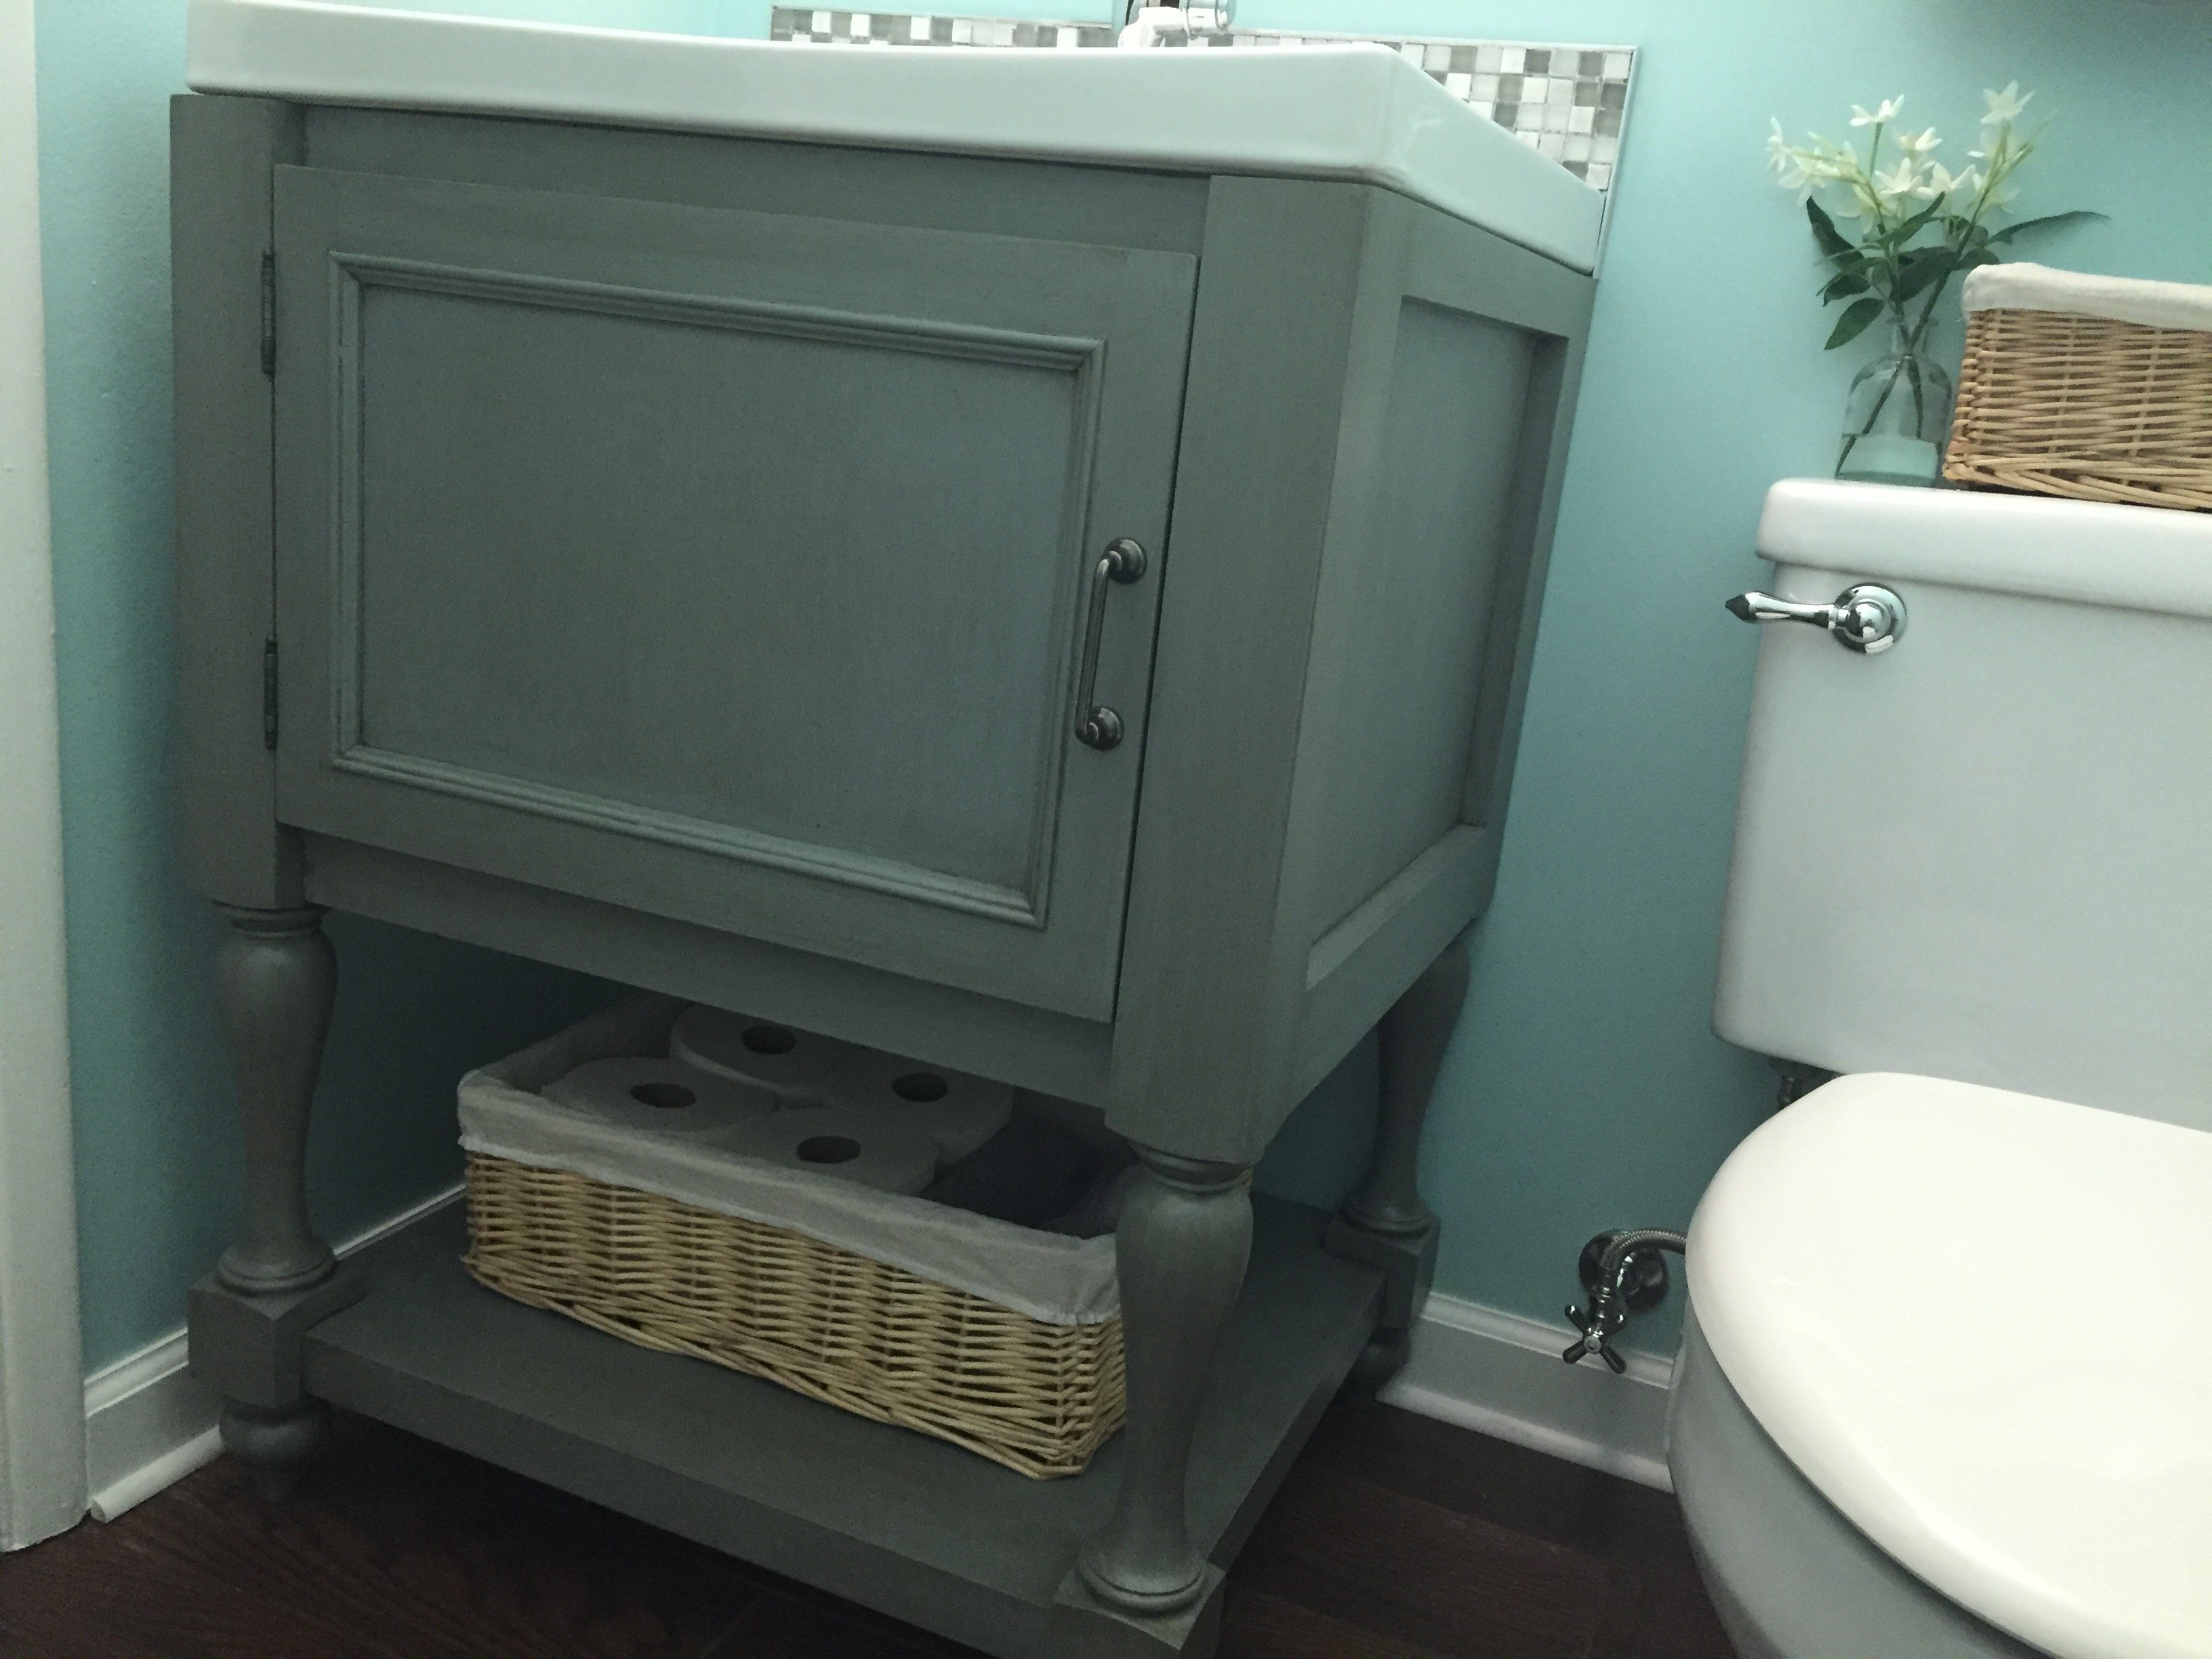
I created this 25" single door turned leg bathroom vanity for the powder room. I used a grey base coat, then glazed it with a dark brown coat and finally put on a coat of satin indoor polyurethane to finish. The sink is a Kohler Persuade single hole sink with a Delta Cassidy faucet.
Built from Plan(s)
Estimated Cost
$250
Estimated Time Investment
Weekend Project (10-20 Hours)
Finish Used
I painted it with a light grey base coat, glazed it with a dark brown glaze then coated it with polyurethane.
Recommended Skill Level
Intermediate
Comments
Sat, 12/10/2016 - 22:26
PAINT REPLY
Thanks! I used Home Depots BEHR Marquee interior satin enamel base paint with primer "Moonquake N450-4" (medium base 7454). Then I used Rust-Oleum transformations decorative glaze "java brown" to finish it off.
Adirondack Set
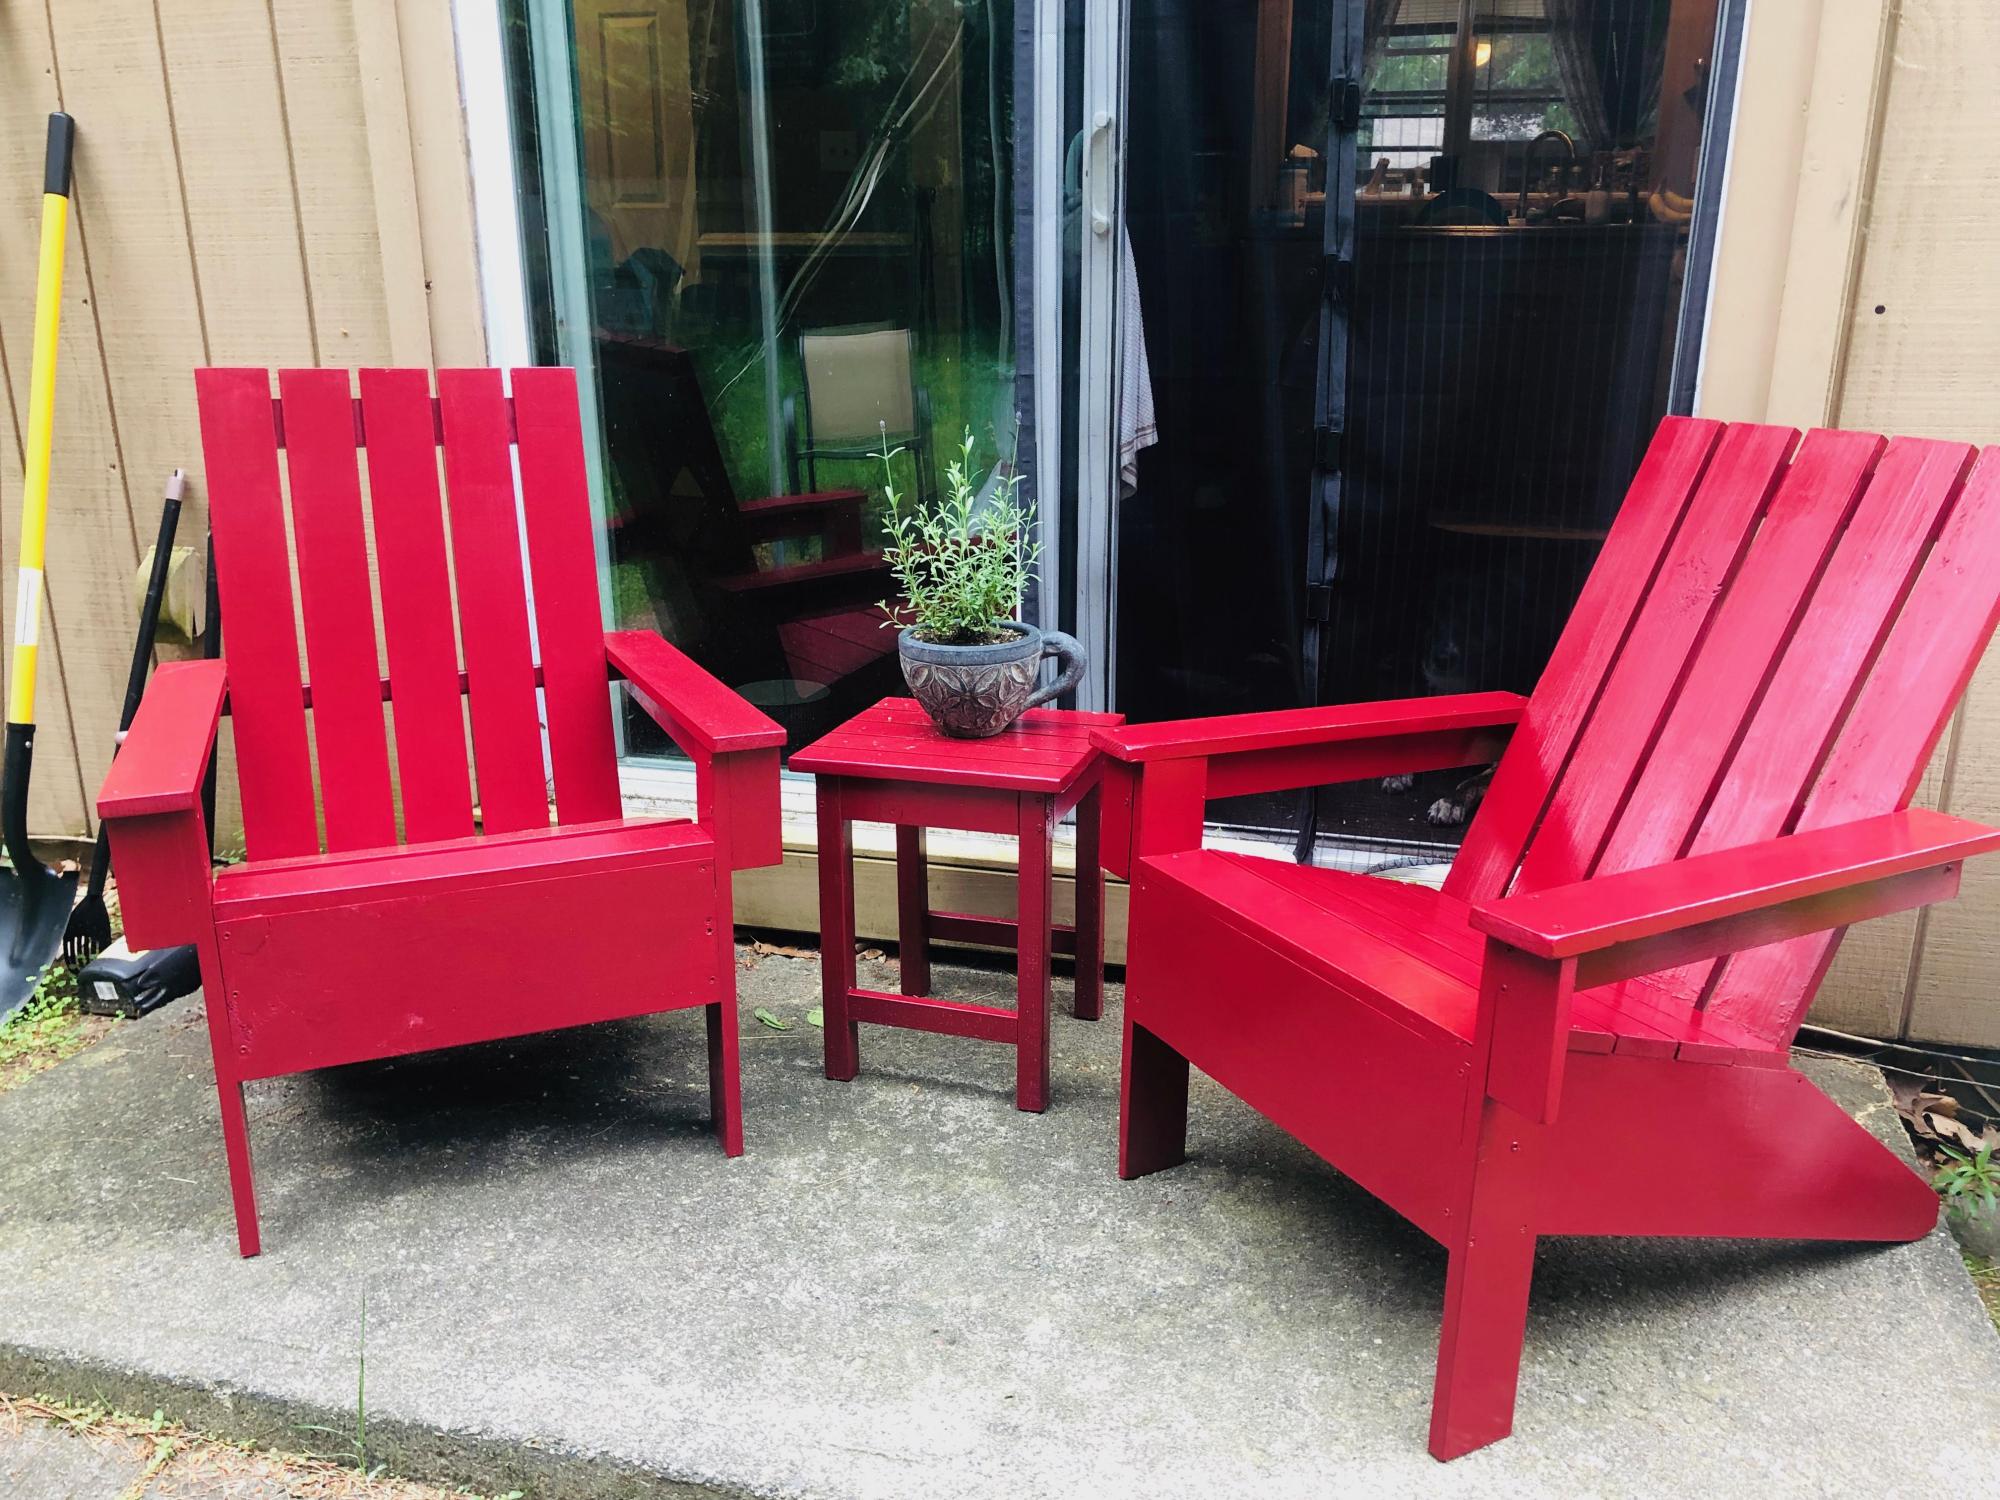
These were a labor of love! I bought my first miter saw and decided this would be the project to try angles. It wasn't easy but I figured it out.
These were pretty easy otherwise to put together once you get past the stringers. They aren't perfect but they are very sturdy. I've had a few people ask me to make them one too!
Built from Plan(s)
Estimated Cost
$60 each
Scraps for the small table
Scraps for the small table
Estimated Time Investment
Weekend Project (10-20 Hours)
Finish Used
Rustoleum Door Paint
Recommended Skill Level
Beginner
Blue Little Kids Picnic Table
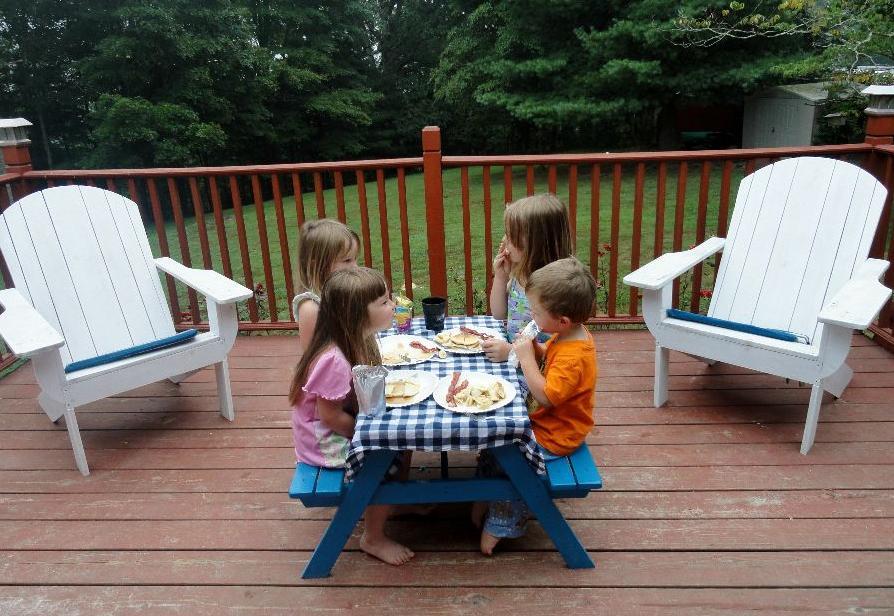
This spring I was able to build the preschool picnic table for my son. Today we fully used it for a picnic breakfast with the cousins. It can easily fit up to four kids ages 2 to 7. (I also built the chairs in the fall)
Built from Plan(s)
Comments
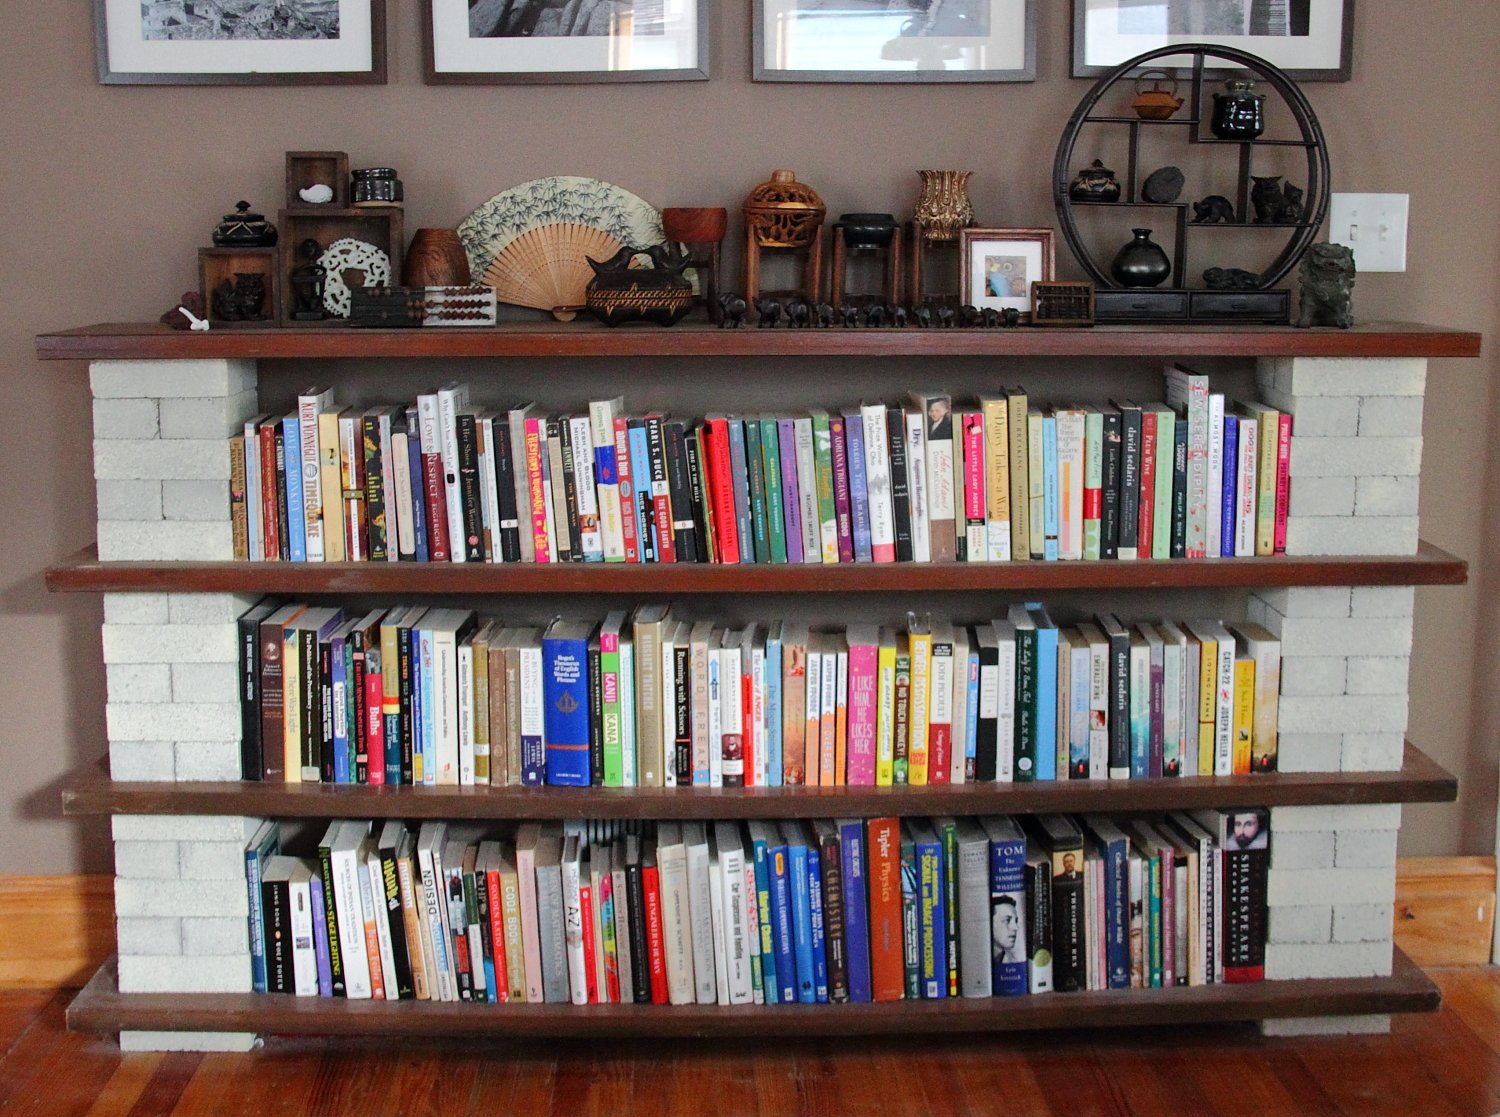
Super Easy Bookshelf

I made this bookshelf for my living room using old bifold doors and bricks. There isn't any building required (just assembly) but it is a piece of DIY furniture so I thought I would share.
For details: http://www.homeandawaywithlisa.com/blog/2011/12/16/making-the-easiest-b…
Estimated Cost
$35
Estimated Time Investment
An Hour or Two (0-2 Hours)
Finish Used
I used spray paint on the bricks
Recommended Skill Level
Starter Project
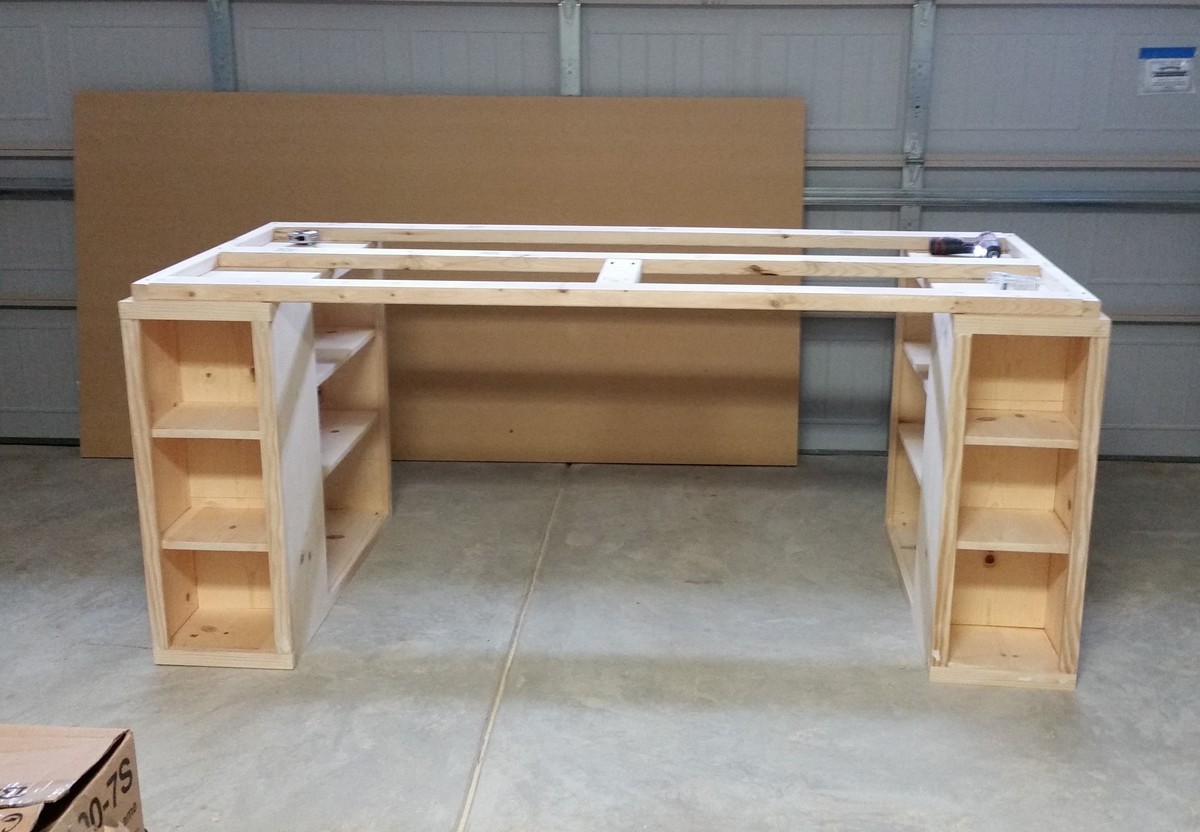
Craft Table
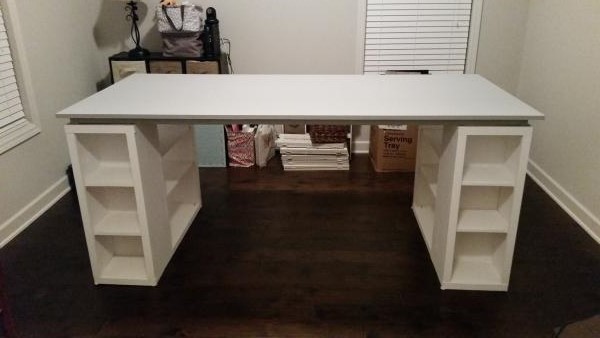
This was a fun project to get my feet wet again in woodworking. We adjusted the plans slightly. Our table is 80" x 40". It is supported and bordered with a 2x4 frame that ties it all together. As my friend said, you can stand on that thing. Lots of fun, and can't wait for my wife to enjoy it.
Built from Plan(s)
Estimated Cost
$200-$250
Estimated Time Investment
Weekend Project (10-20 Hours)
Finish Used
Flat Behr Paint. Flat White (Shelves) and Sparrow (Top)
Recommended Skill Level
Intermediate
Work Bench

Got tired of working on the floor so built this. Took me about 6 hours. Was in no hurry. Happy it is done and all my tools are organized.
Estimated Cost
Cost approximately $120.00
Estimated Time Investment
Afternoon Project (3-6 Hours)
Recommended Skill Level
Beginner
Comments
Sat, 03/20/2021 - 12:38
Everything in one place
I love this with the shelves at the back. I want something like this I can attach my hand crank flour mill to as well as have a place to store all my jarred grains and flour. Do you have plans for this?
Simple Bed Bunks
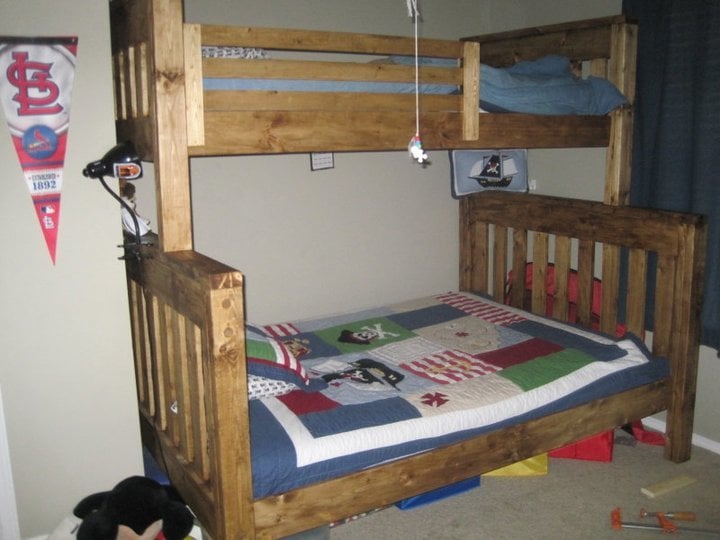
Ok, to start off with I am a guy and I love to build things, but I'm not some techincally savvy dude. I need simple plans and this was an awesome build! I love it, my kids love it, and most importantly my wife loves it. As others have said, It is BIG. but small things I did saved some space. For instance I cut the 3" off of the tops of the headboards to save 6" of linear space. Little things went wrong along the way, but they always do... finished in about 4 days workings sporadically. I've got about 350$ in it, and couldnt be more pleased. I will definately build more things from your plans. IF anyone is thinking of building it DO IT! Definatley need the KREG Jig. I should have bought that thing a long time ago. would have made several projects easier.
Built from Plan(s)
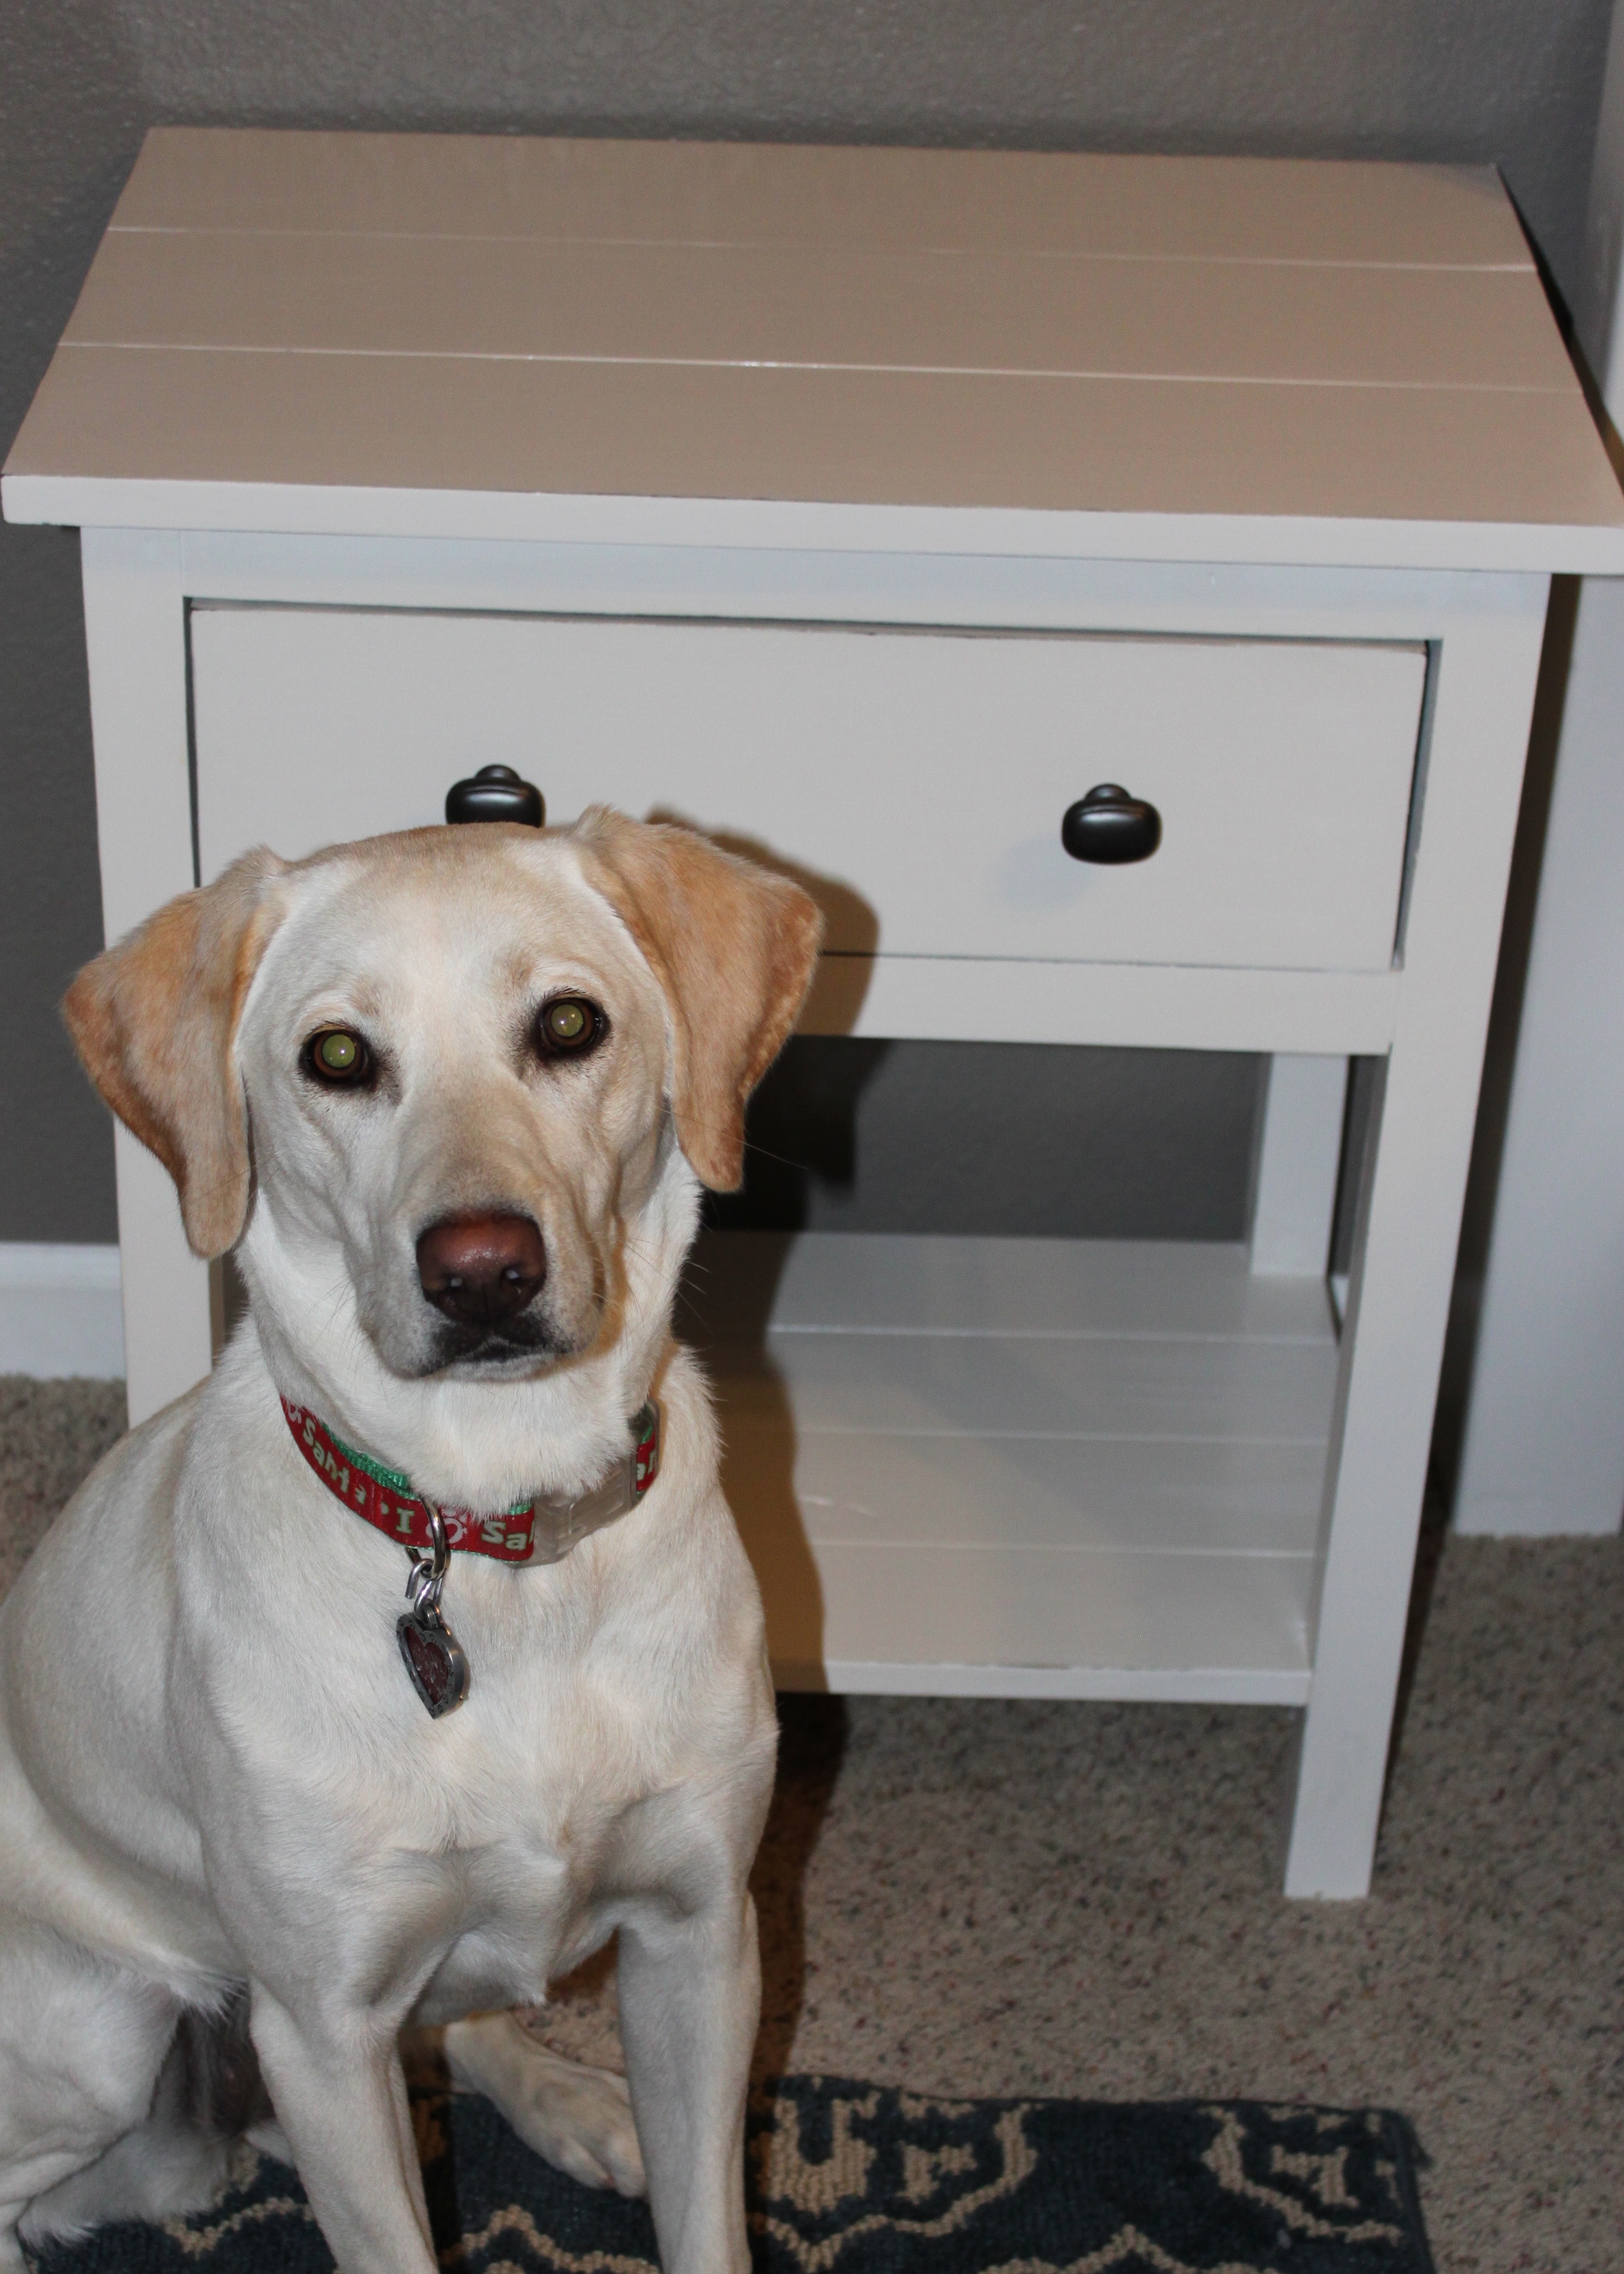
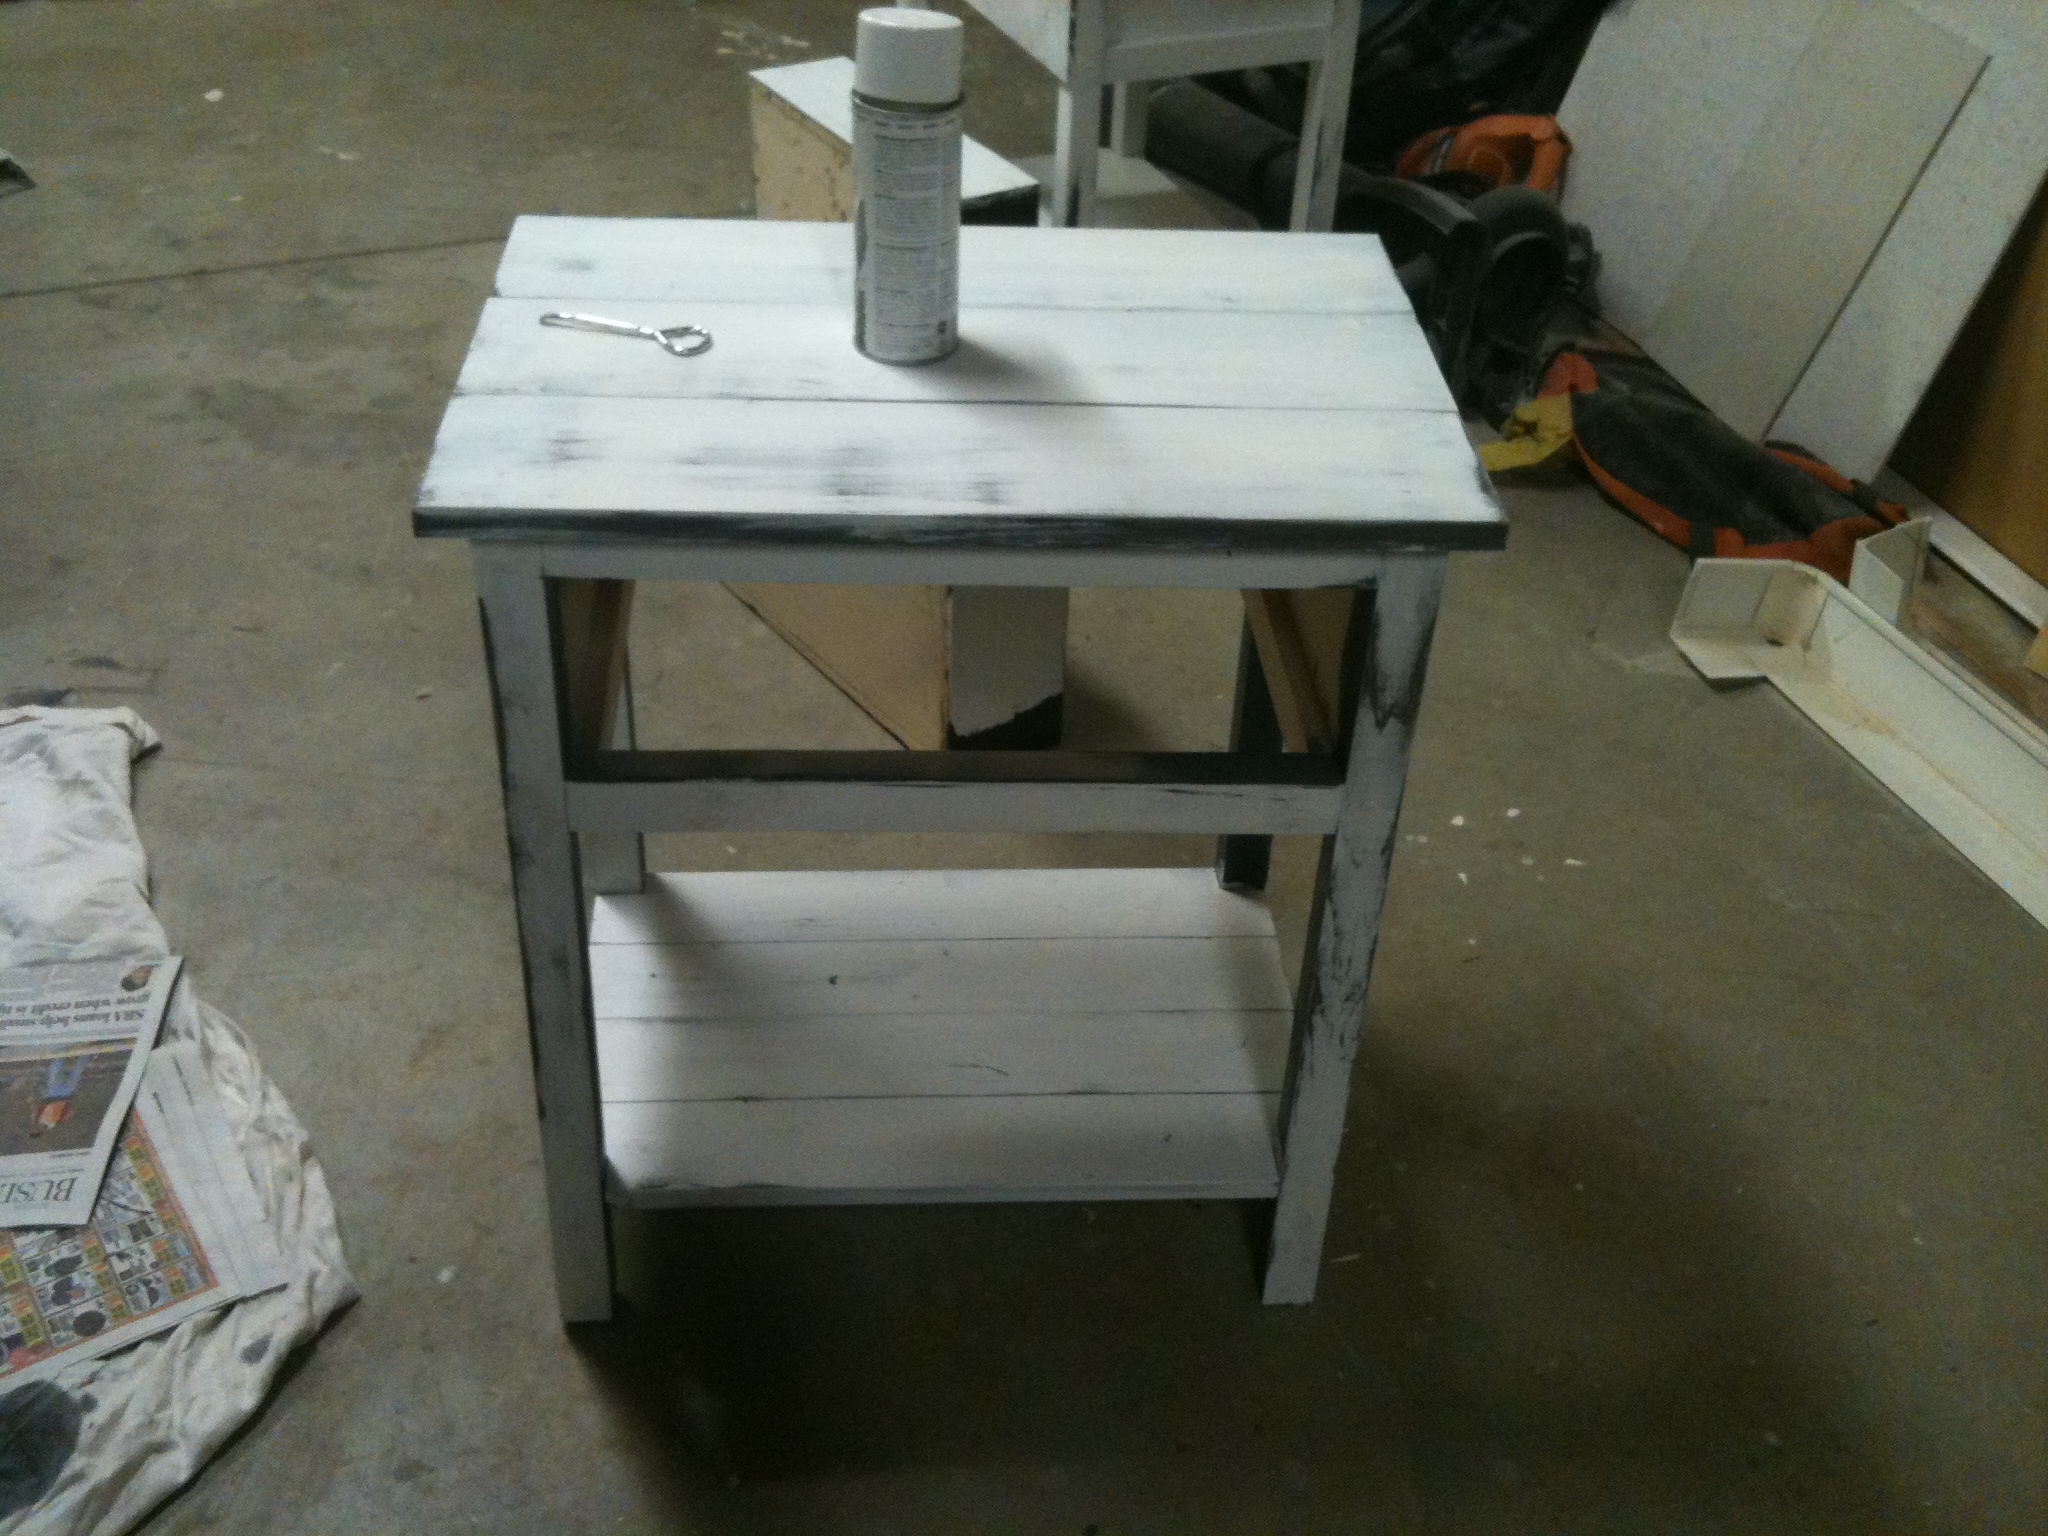
Farmhouse Night Stand
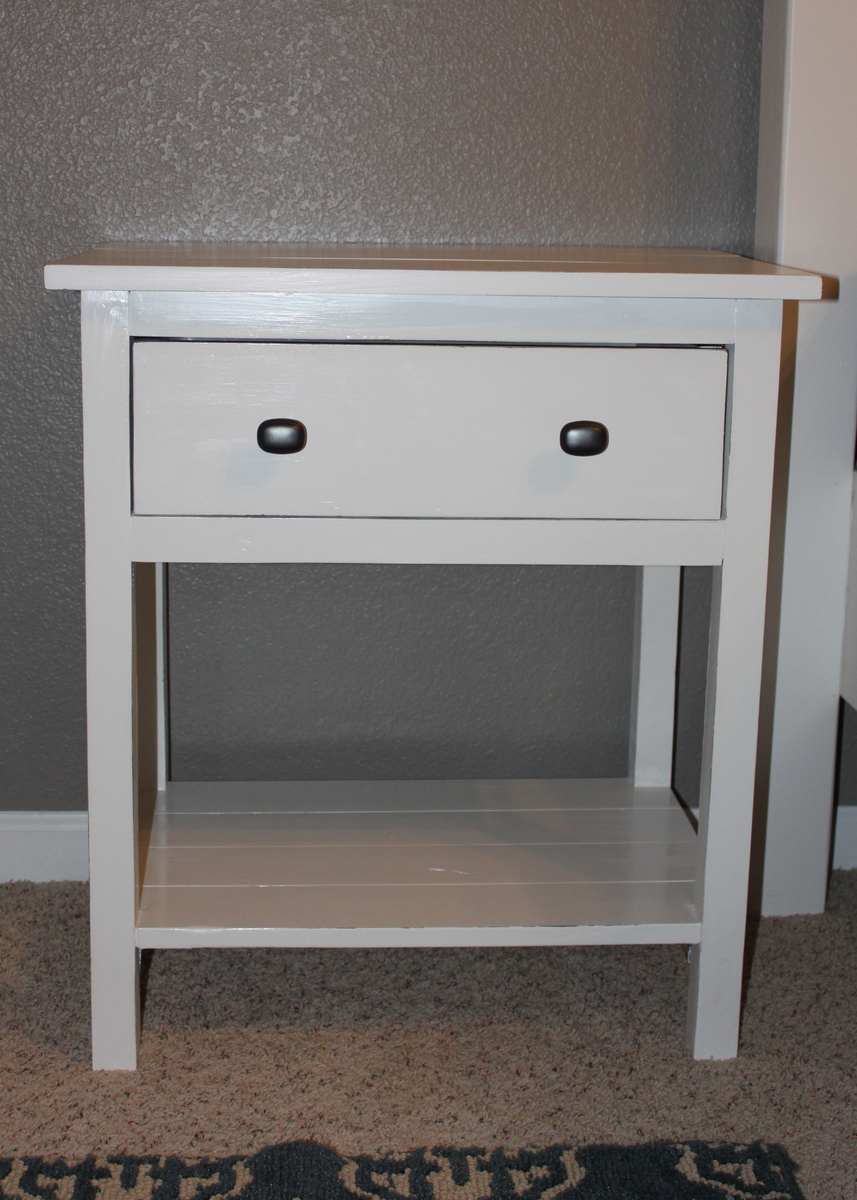
My husband and I re-created the farmhouse bed night stand from Ana White!! I tried to stain it first but didn't have much luck and decided to paint it to match our farmhouse bed.
We didn't follow the plans exactly. Since our bed was higher we made our own measurements for this project.
Built from Plan(s)
Estimated Cost
100
Estimated Time Investment
Weekend Project (10-20 Hours)
Finish Used
Behr Ultra Premium White
Recommended Skill Level
Beginner
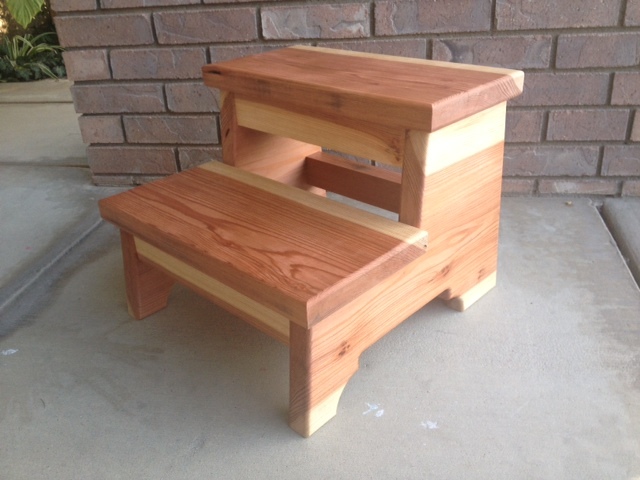
Redwood Step Stool
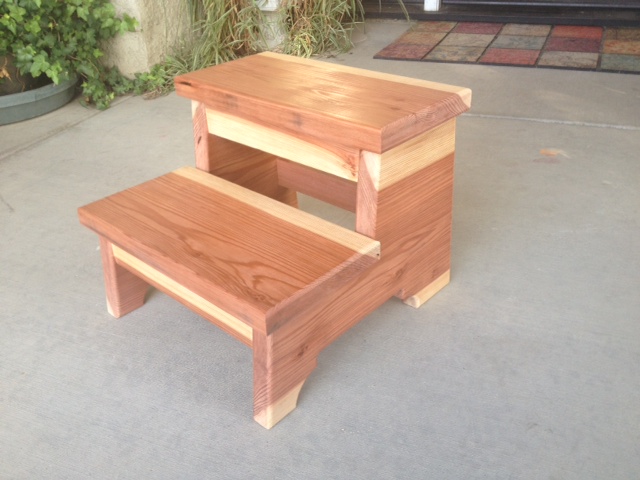
I gave these plans to our neighbor and he made this beautiful step stool for my boys. It is the perfect size and I love the beautiful grain and color of the redwood. Because he used redwood it is quite heavy, but also very sturdy! We plan on having in the family for a very long time.

Built from Plan(s)
Estimated Cost
$28 for the wood
Recommended Skill Level
Beginner
Comments

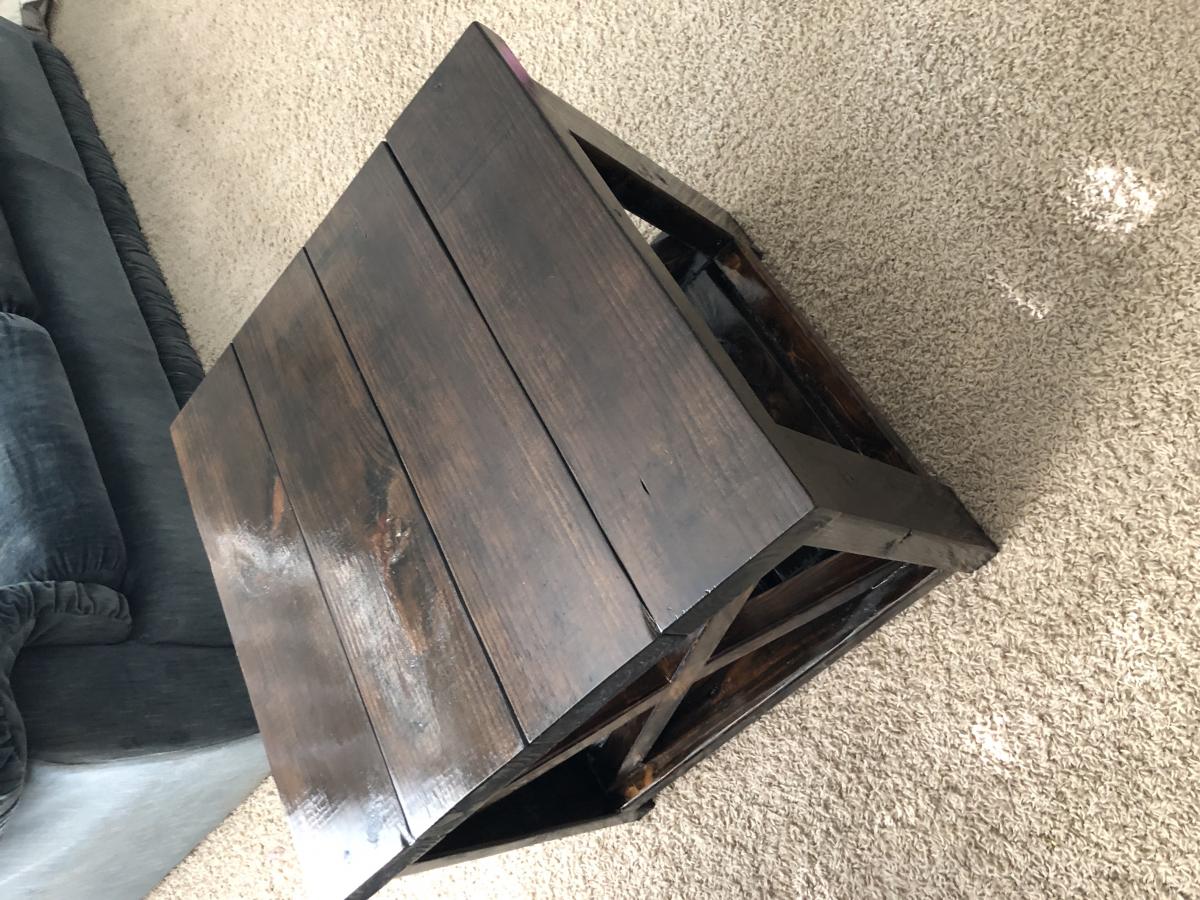
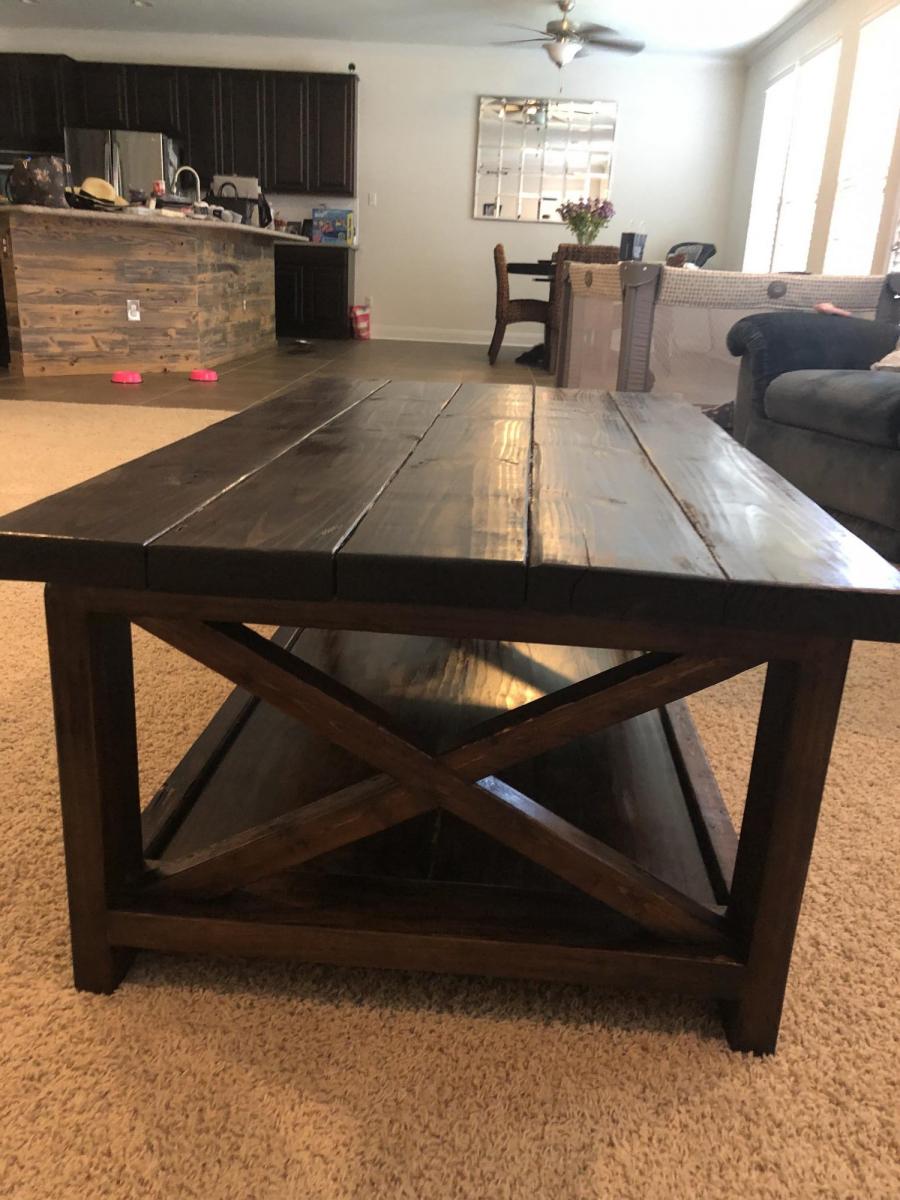
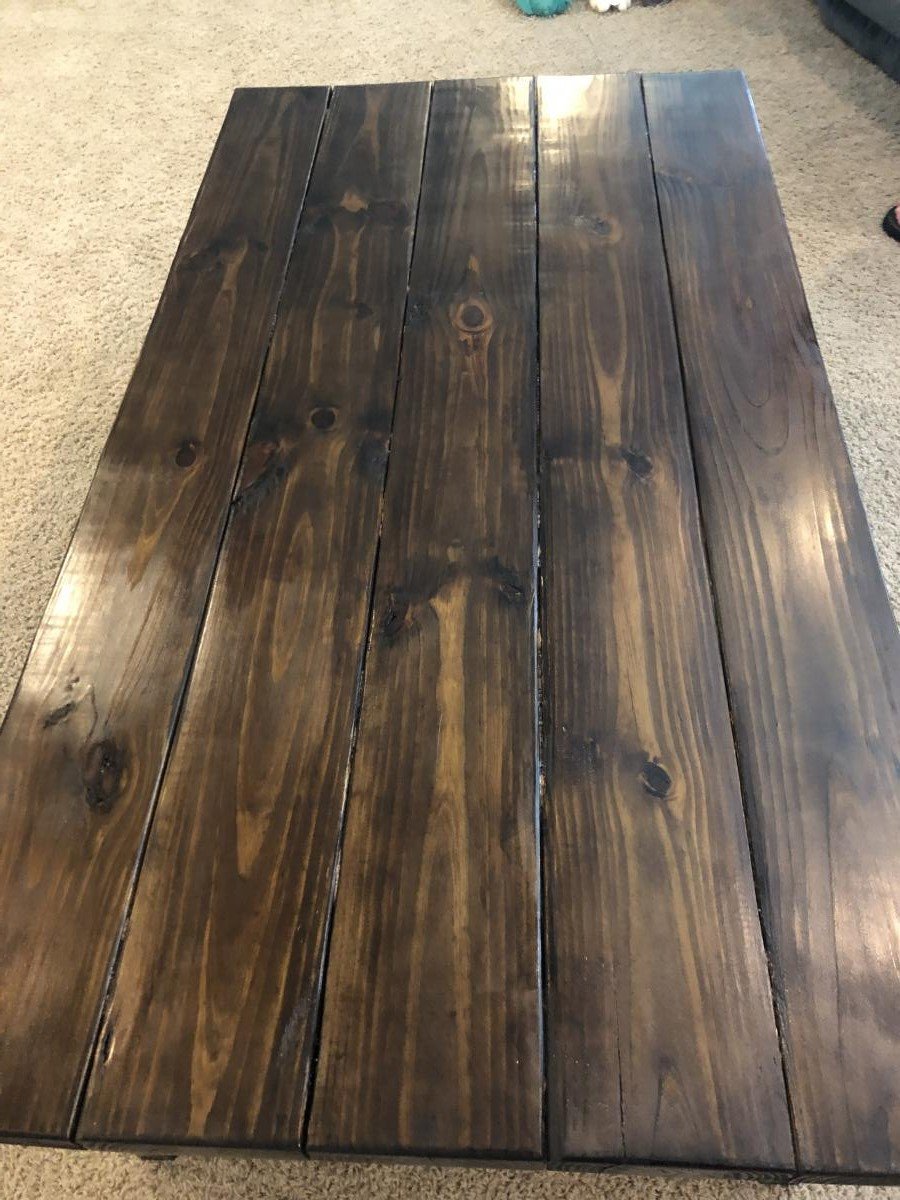
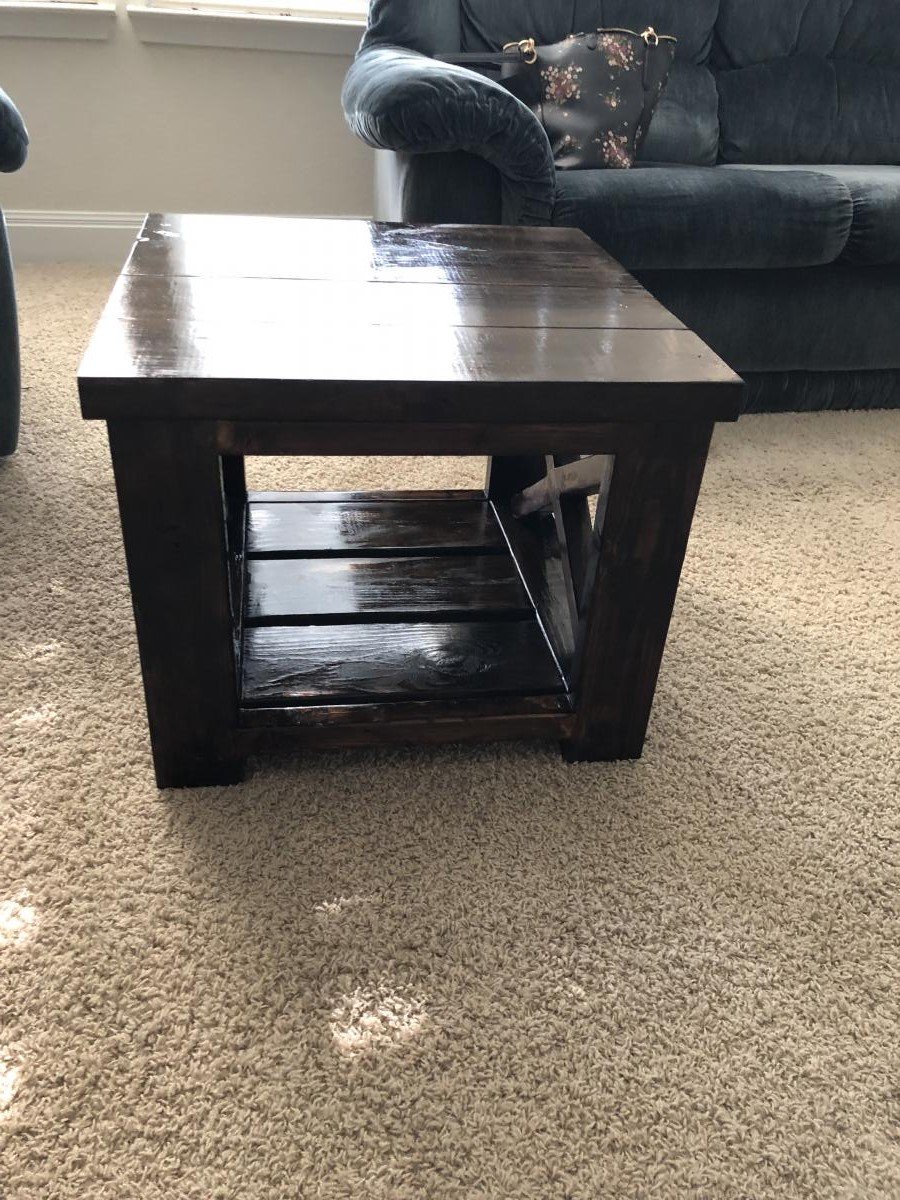
Rustic X Coffee and End Tables
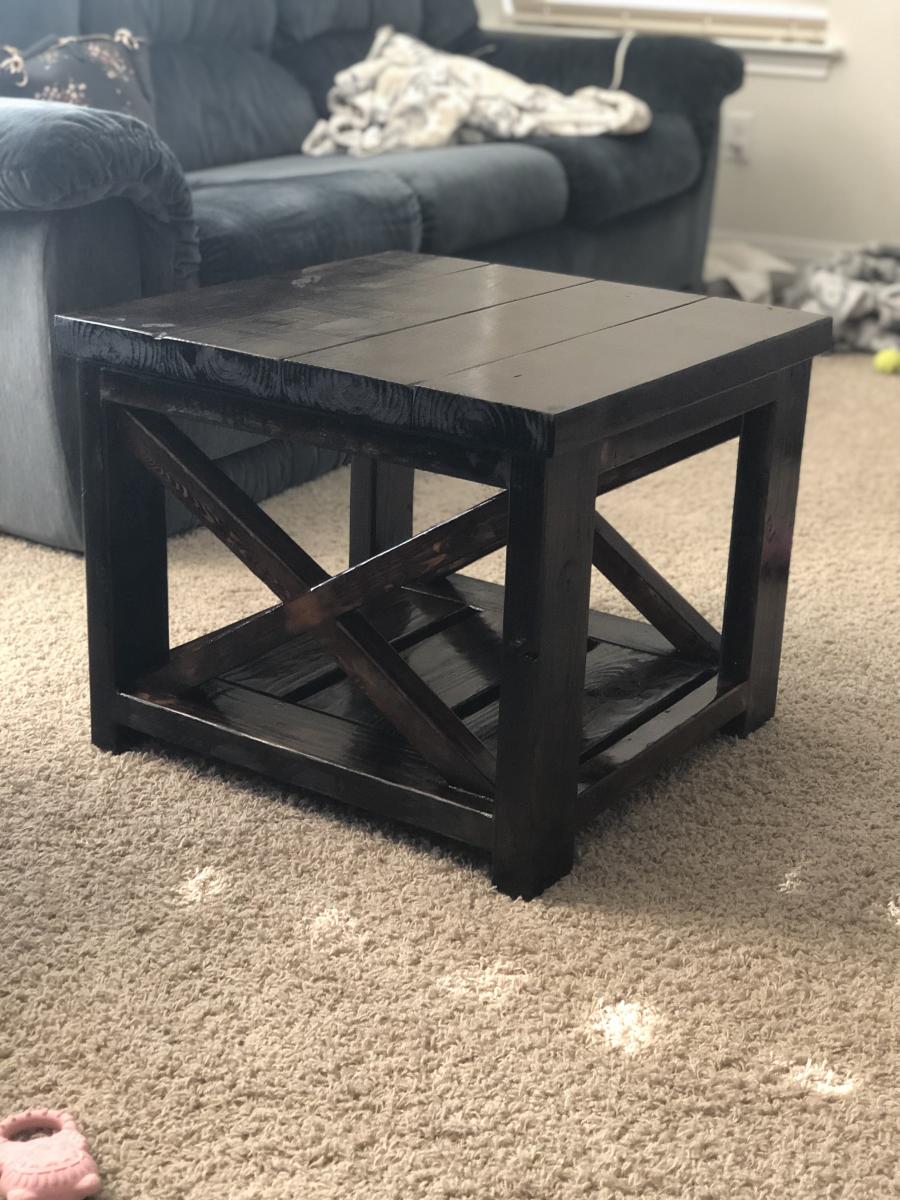
Really enjoyed building these tables. The plans are great and easy to follow! I aged the wood before staining it, then finished them with 3 coats of poly! Best thing is my wife loves her new “Pottery Barn” like tables!

Built from Plan(s)
Estimated Cost
$250 for coffee table and 2 end tables
Estimated Time Investment
Weekend Project (10-20 Hours)
Recommended Skill Level
Beginner
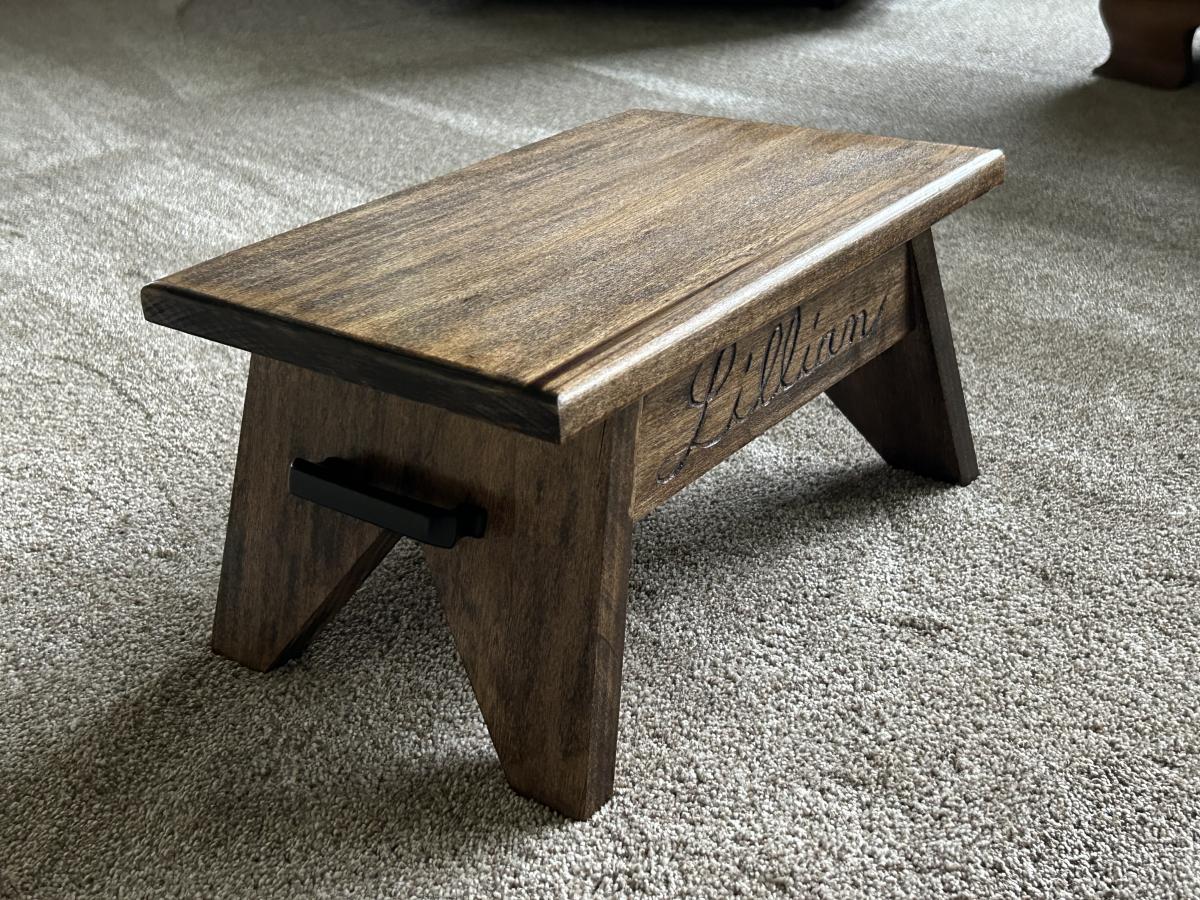
Step Stool for Niece
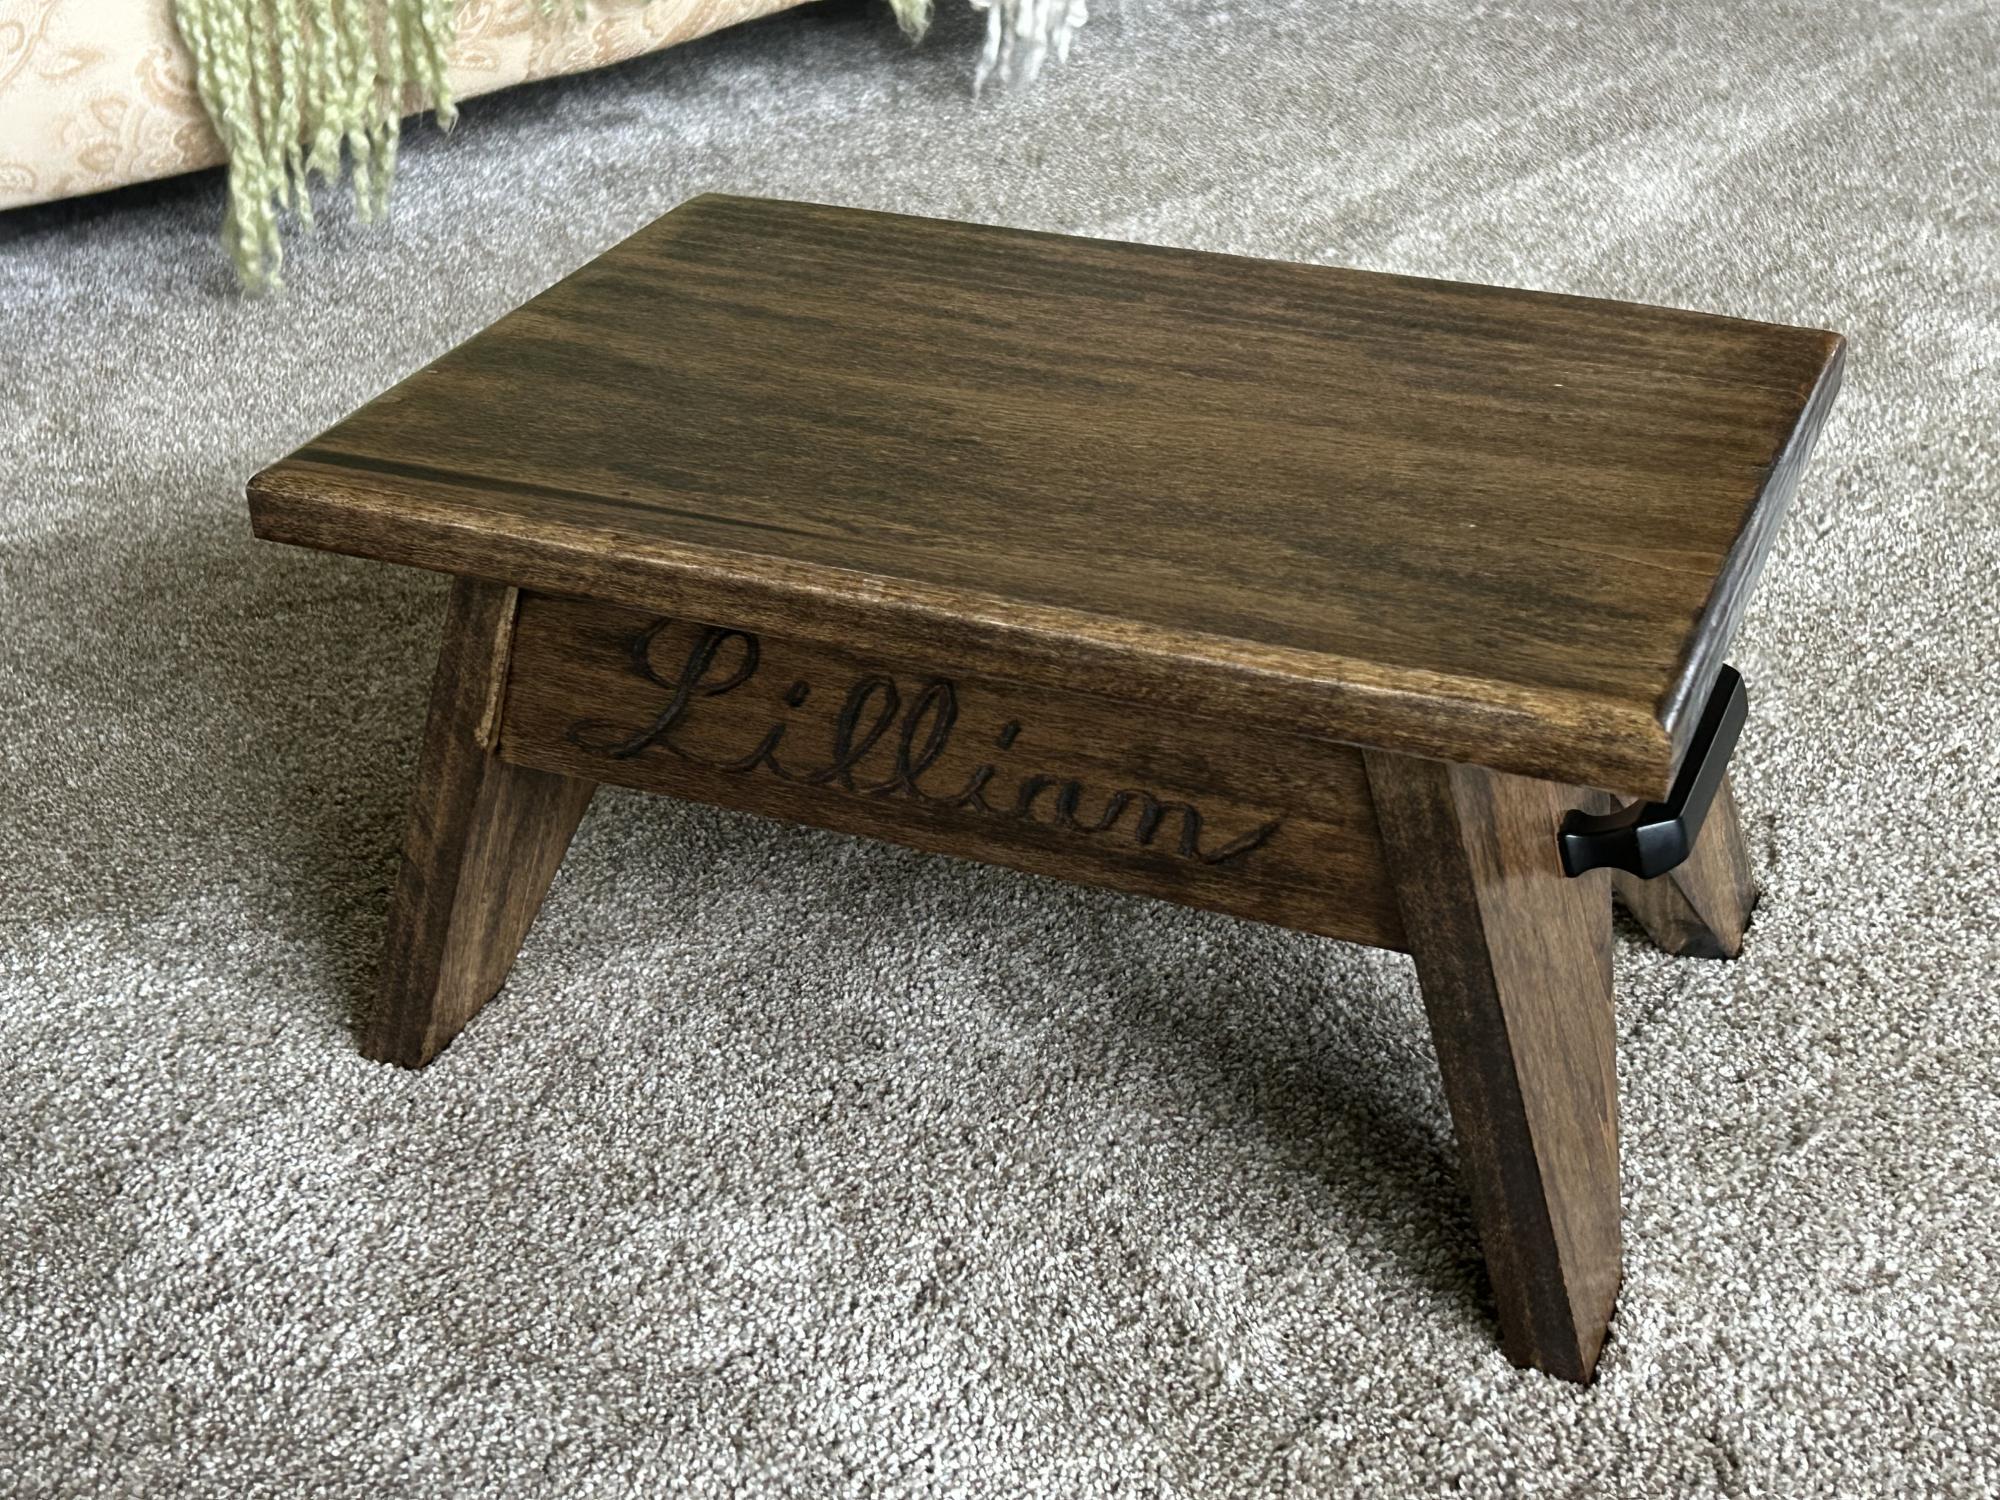
My niece is turning 6 soon and I built this step stool for her birthday. I used the design for the Simple Step Stool but angled the legs in more because I thought it looked better. To help personalize it, I carved my niece’s name into the front using a v-groove carving tool. I hope this will be a gift she holds onto for many years to come.
Built from Plan(s)
Comments
My first furniture ever built, round adirondak table

this.was my first attempt at making furniture. Using Ana's plans.were straightforward and couldnt have done without them. thanks Ana!

Built from Plan(s)
Estimated Cost
$30
Estimated Time Investment
Day Project (6-9 Hours)
Finish Used
painted tropical blue, exterior paint
Recommended Skill Level
Beginner
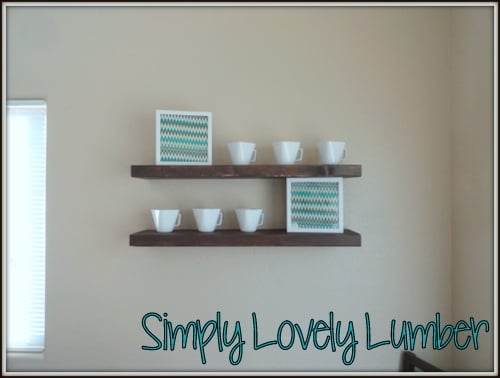
Floating Shelves
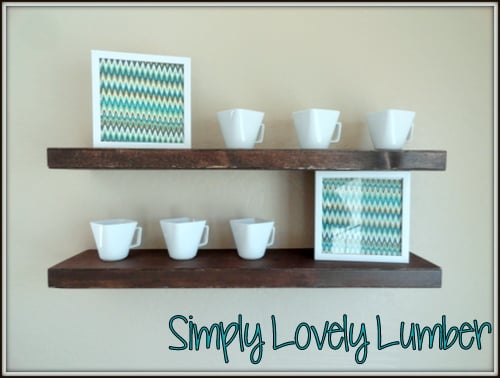
I built two of the floating shelves and they came out great! I will be building some more of these hopefully soon! I put some of my step by step photos on my blog. Thanks again for the amazing plans!
Built from Plan(s)
Estimated Time Investment
An Hour or Two (0-2 Hours)
Recommended Skill Level
Beginner
Adirondack Chair
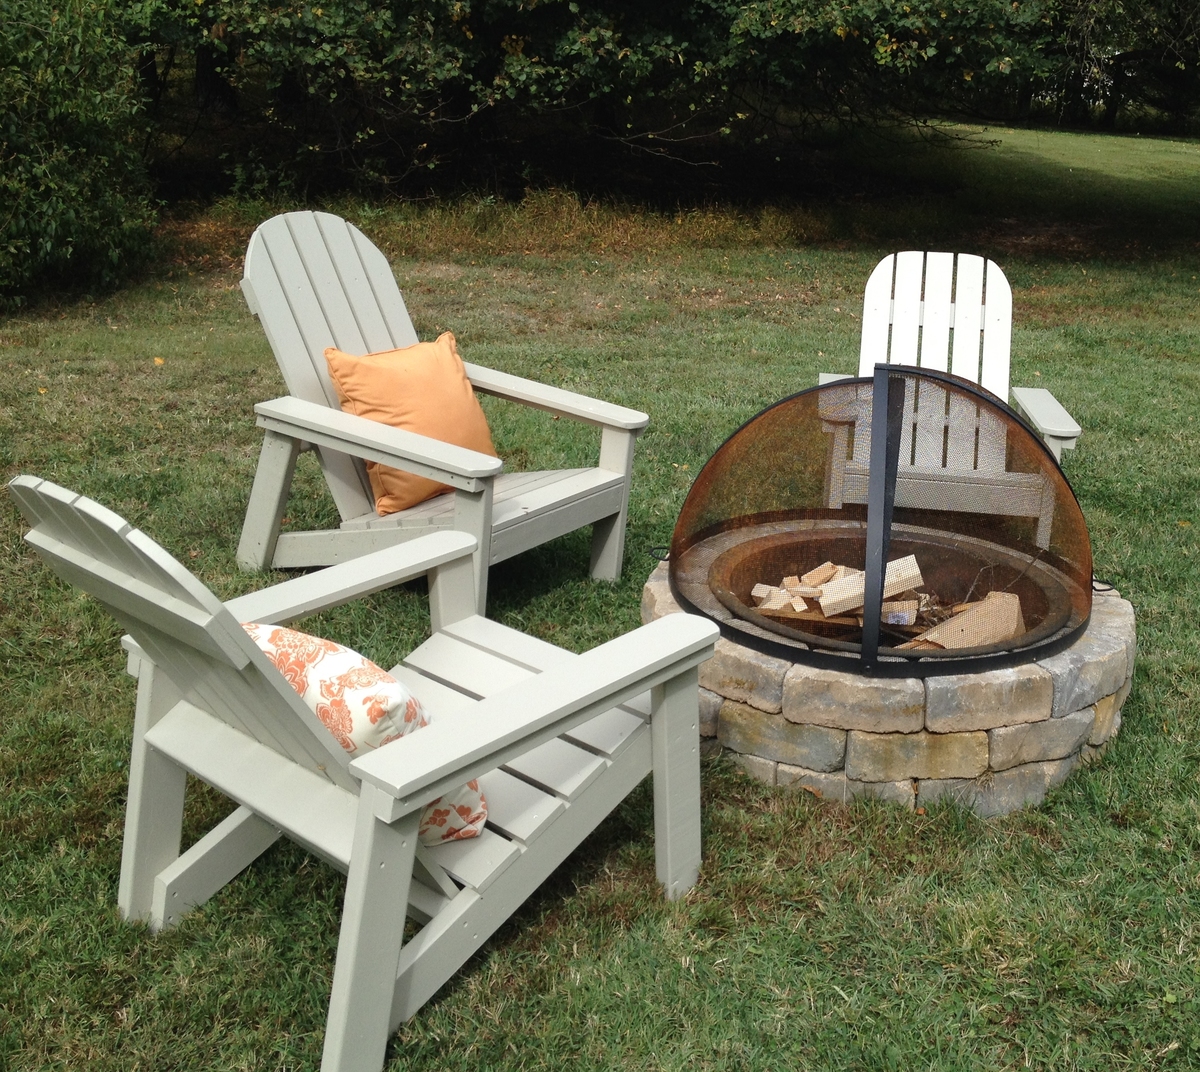
The directions were SO easy to follow! I made one chair for my husband for Father's Day, and ended up making two more. My plan to to have four total. The only mod I made was to use 1x5's for the arm rests instead of 1x4's. Painted with Sherwin Williams Duration Satin in Ethereal Mood.
Built from Plan(s)
Estimated Cost
~$50 with paint
Estimated Time Investment
Afternoon Project (3-6 Hours)
Finish Used
Sherwin Williams Duration Satin in Ethereal Mood
Recommended Skill Level
Beginner
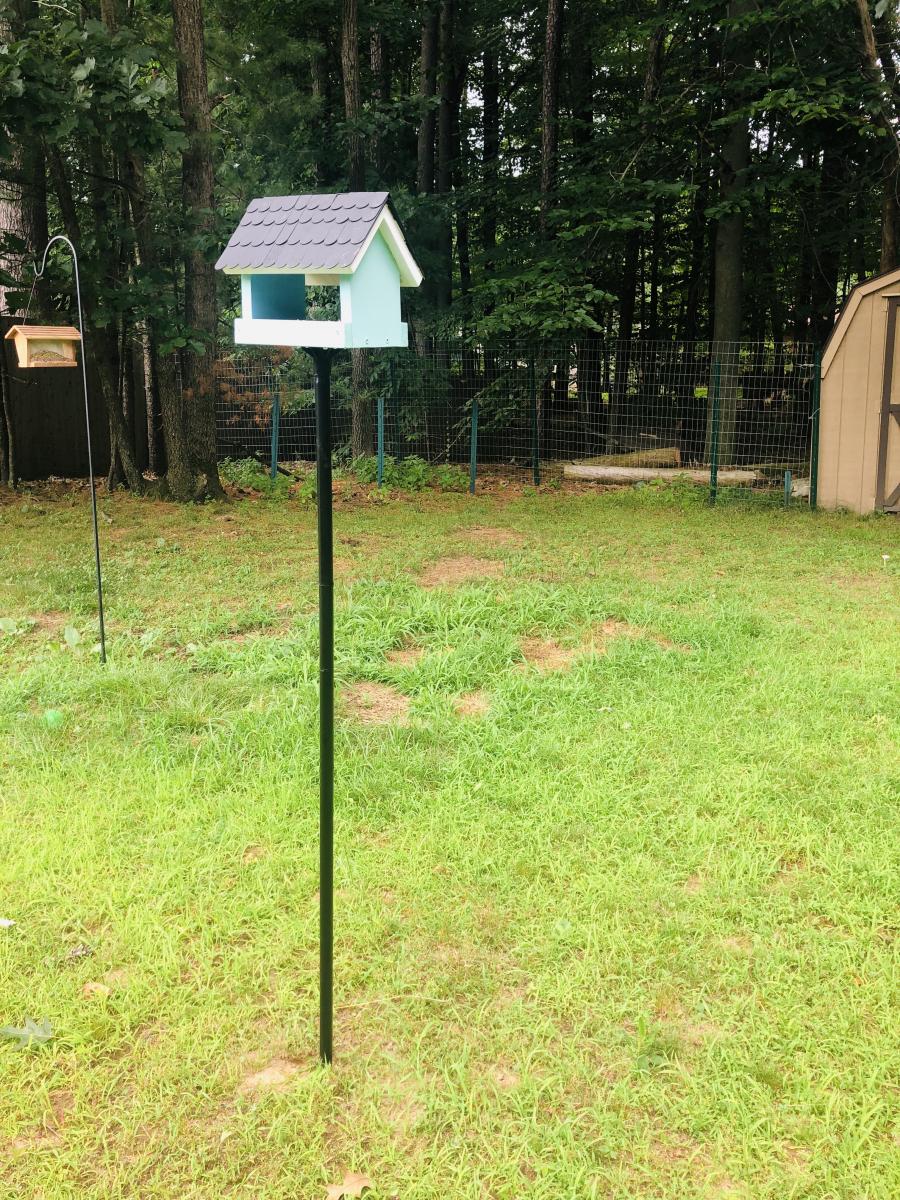
DIY Cedar Bird Feeder
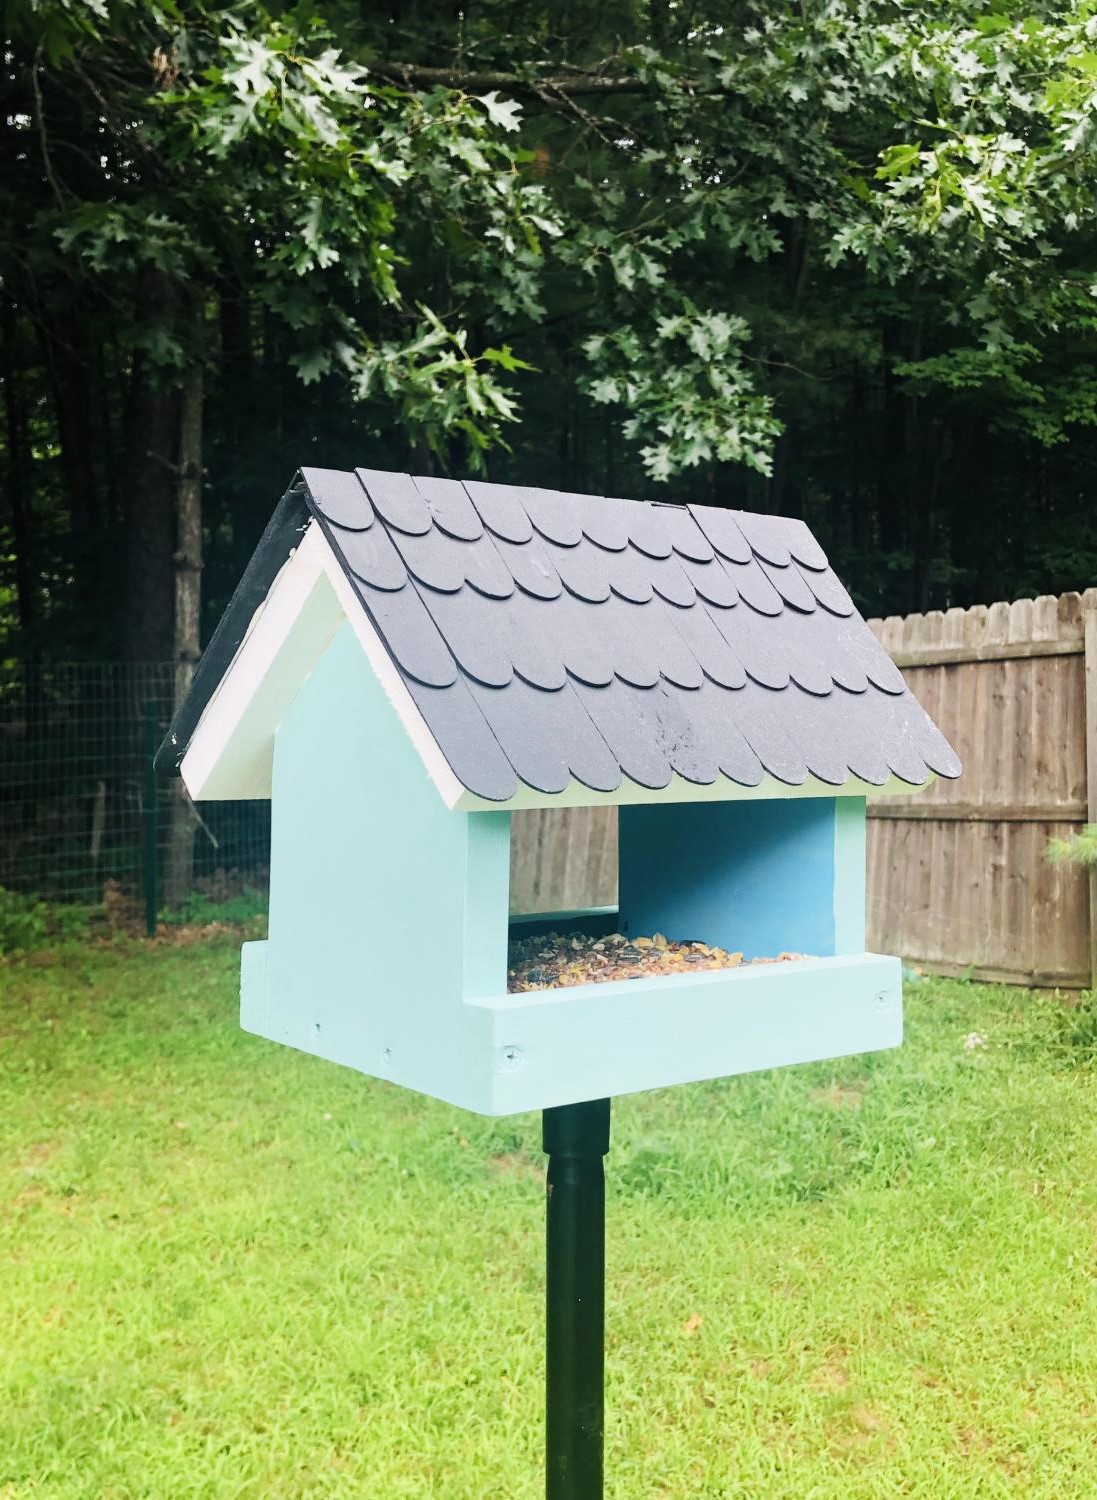
Took some liberties on this one. Used paint stirrer sticks for the roof.
Built from Plan(s)
Estimated Cost
Used all scraps and paint that I had laying around
Estimated Time Investment
An Hour or Two (0-2 Hours)
Finish Used
Random paints
Recommended Skill Level
Starter Project
Coffee Bar

Our wine fridge died, and we didn't really need to replace it. Since we can always use more storage space in the kitchen, the hubby made me this coffee bar as adapted from a coffee bar brag post that was adapted from Michela's Kitchen Island plan. He was able to make it with all 2x4s and created the 4x4 legs by gluing 2 boards together. Put it on some caster wheels and we have a perfect coffee bar!!
Built from Plan(s)
Comments
Laundry Pedestal
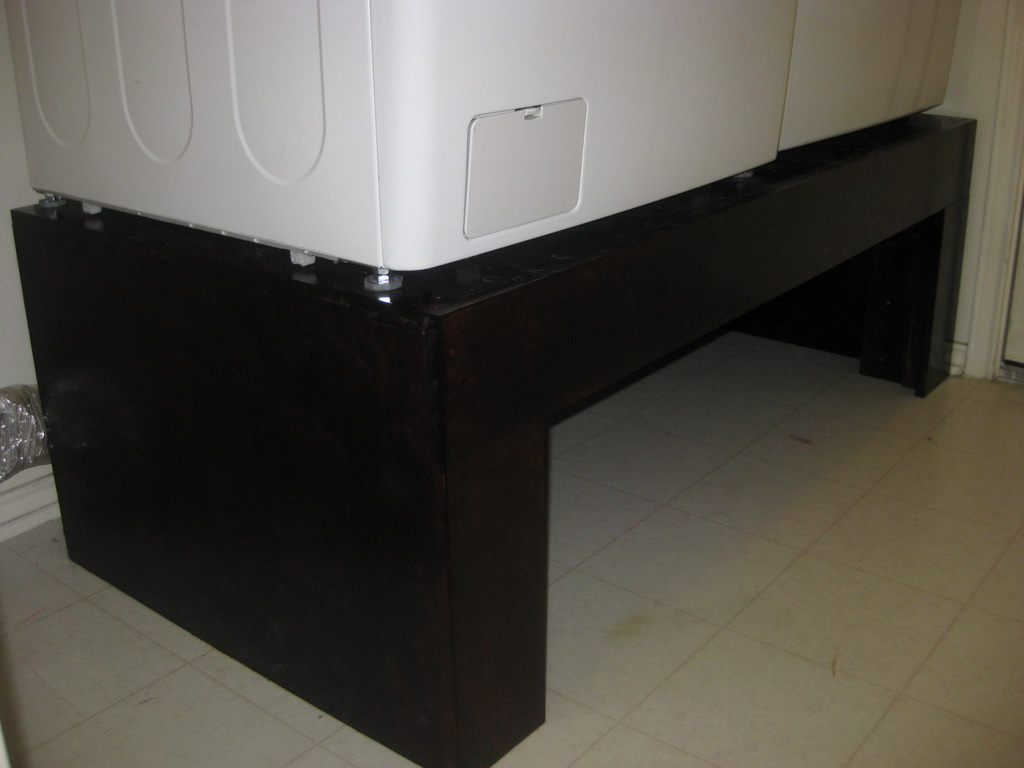
I modified Sausha's design, taking out the bottom shelf, adding a back brace, and putting fascia boards on. I also put in a 2x4 between the underframe and each back leg at a forty-five degree angle as braces. My legs are a bit different too. I used three 2x4's. The first leg piece goes from the plywood top to the ground. I put four screws between it and the frame. Then I took two 2x4's and placed them butted at a ninety degree angle around it flush with the frame above.
Estimated Time Investment
Weekend Project (10-20 Hours)
Finish Used
Mini-wax Bombay Mahogany
Recommended Skill Level
Beginner
Comments
Mon, 01/23/2012 - 13:08
Love it!
I have been drooling over the original pedestal plans since they posted. When I showed them to my dad the first thing has said we could have more clearance without the bottom plat form. I am going to copy your plans this week end thank you very much.
I did want to ask do you have any vibration issue without the bottom plat form?
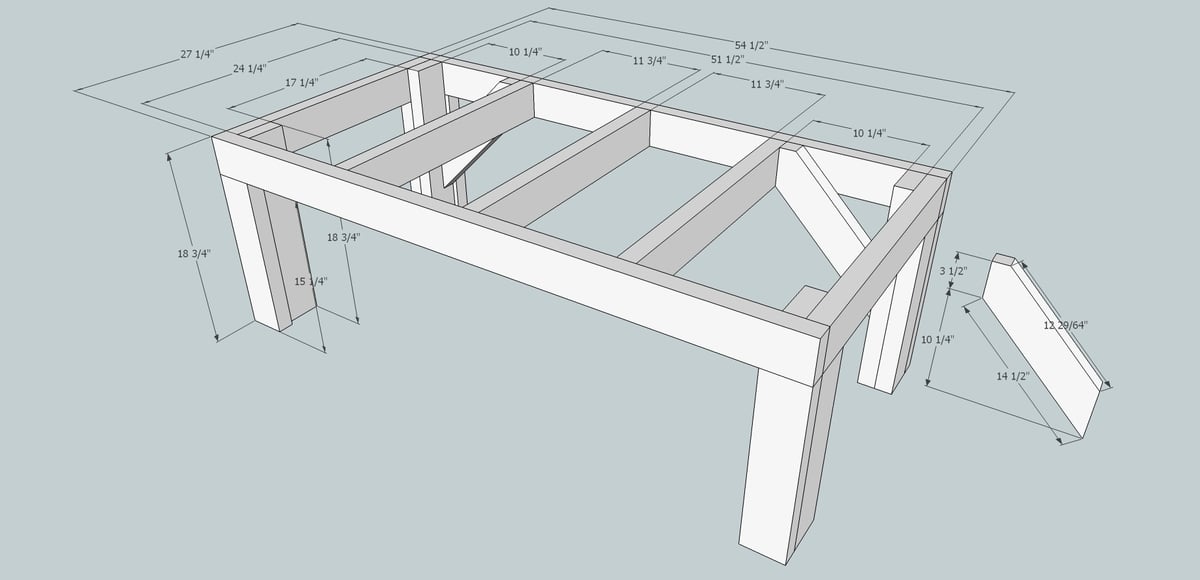
Thank you for sharing, great sketch –up!