Community Brag Posts


Retro play kitchen
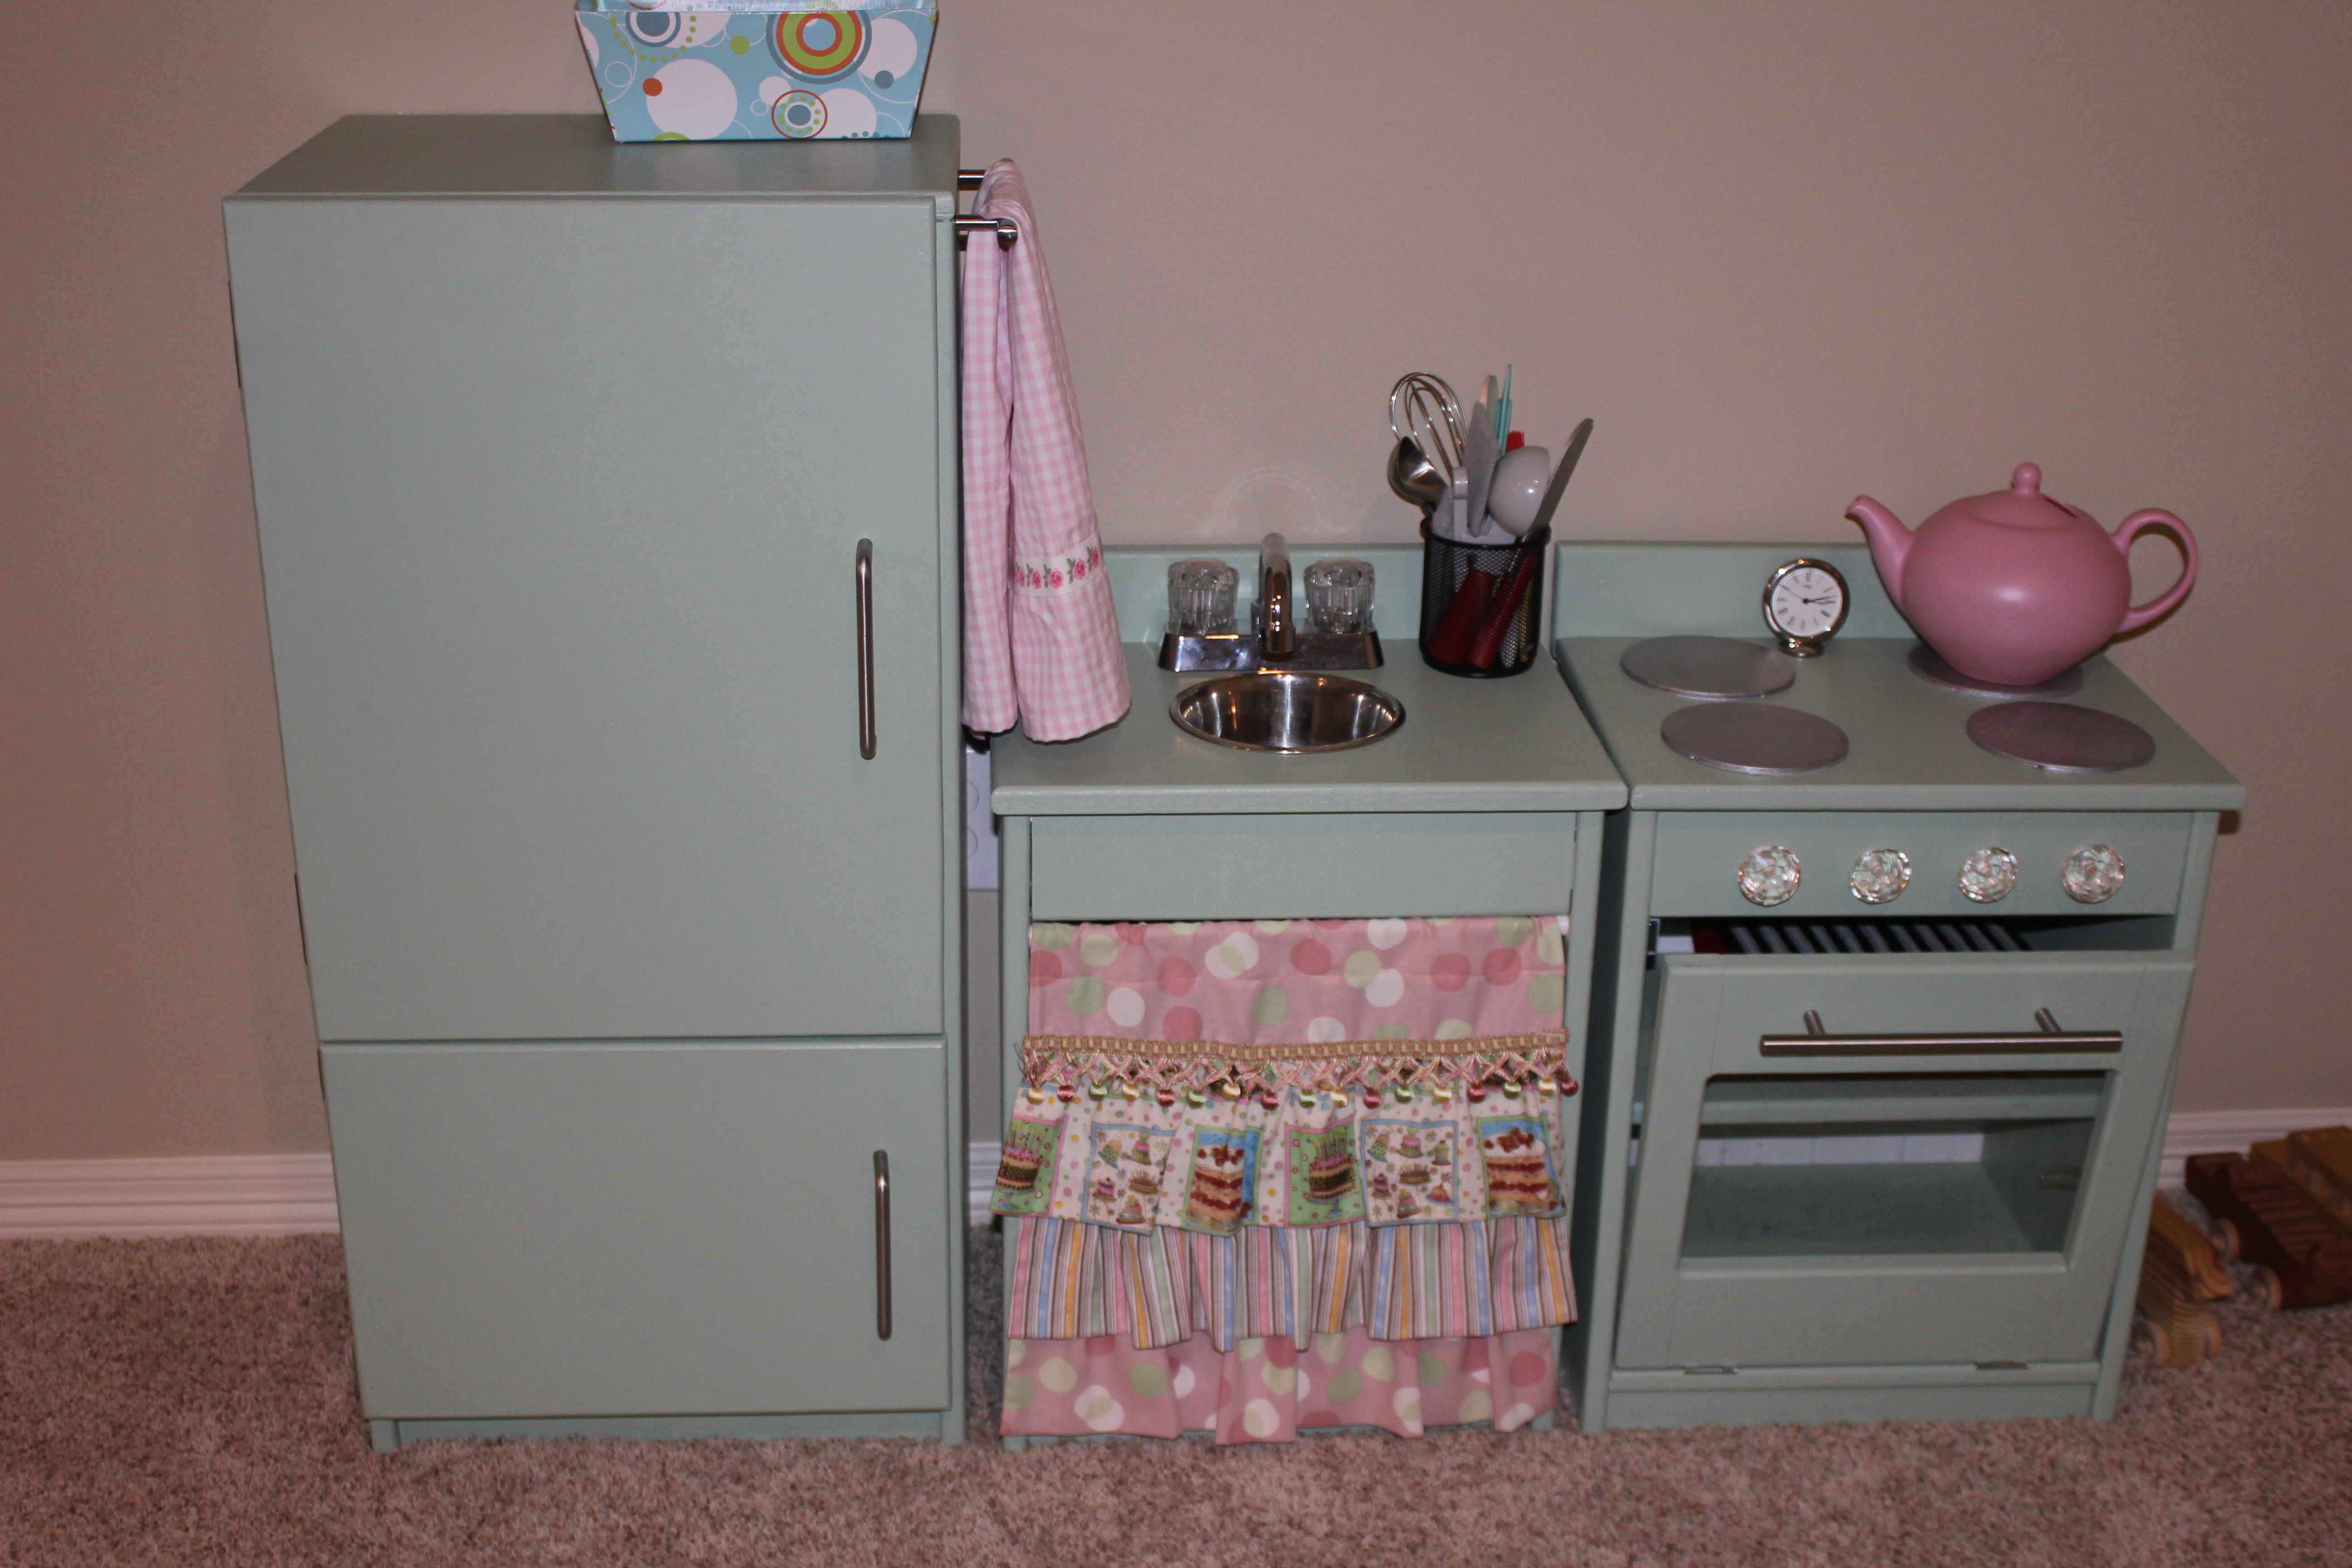
My husband and I built this play kitchen for our 3-year-old daughter. It was only our second project, and we couldn't be prouder of it! We modified the fridge and freezer doors to look more like the "real" one, and used a router on all the edges. My mother-in-law sewed the cute curtain from the plans at http://thecraftingchicks.com/2010/04/giveaway-2-custom-photo-backdrop-a…
We now have plans to add a microwave and dish shelf, and an oven light in the oven. Our daughter and son love playing with it!
Built from Plan(s)
Estimated Cost
$143
Estimated Time Investment
Weekend Project (10-20 Hours)
Recommended Skill Level
Intermediate
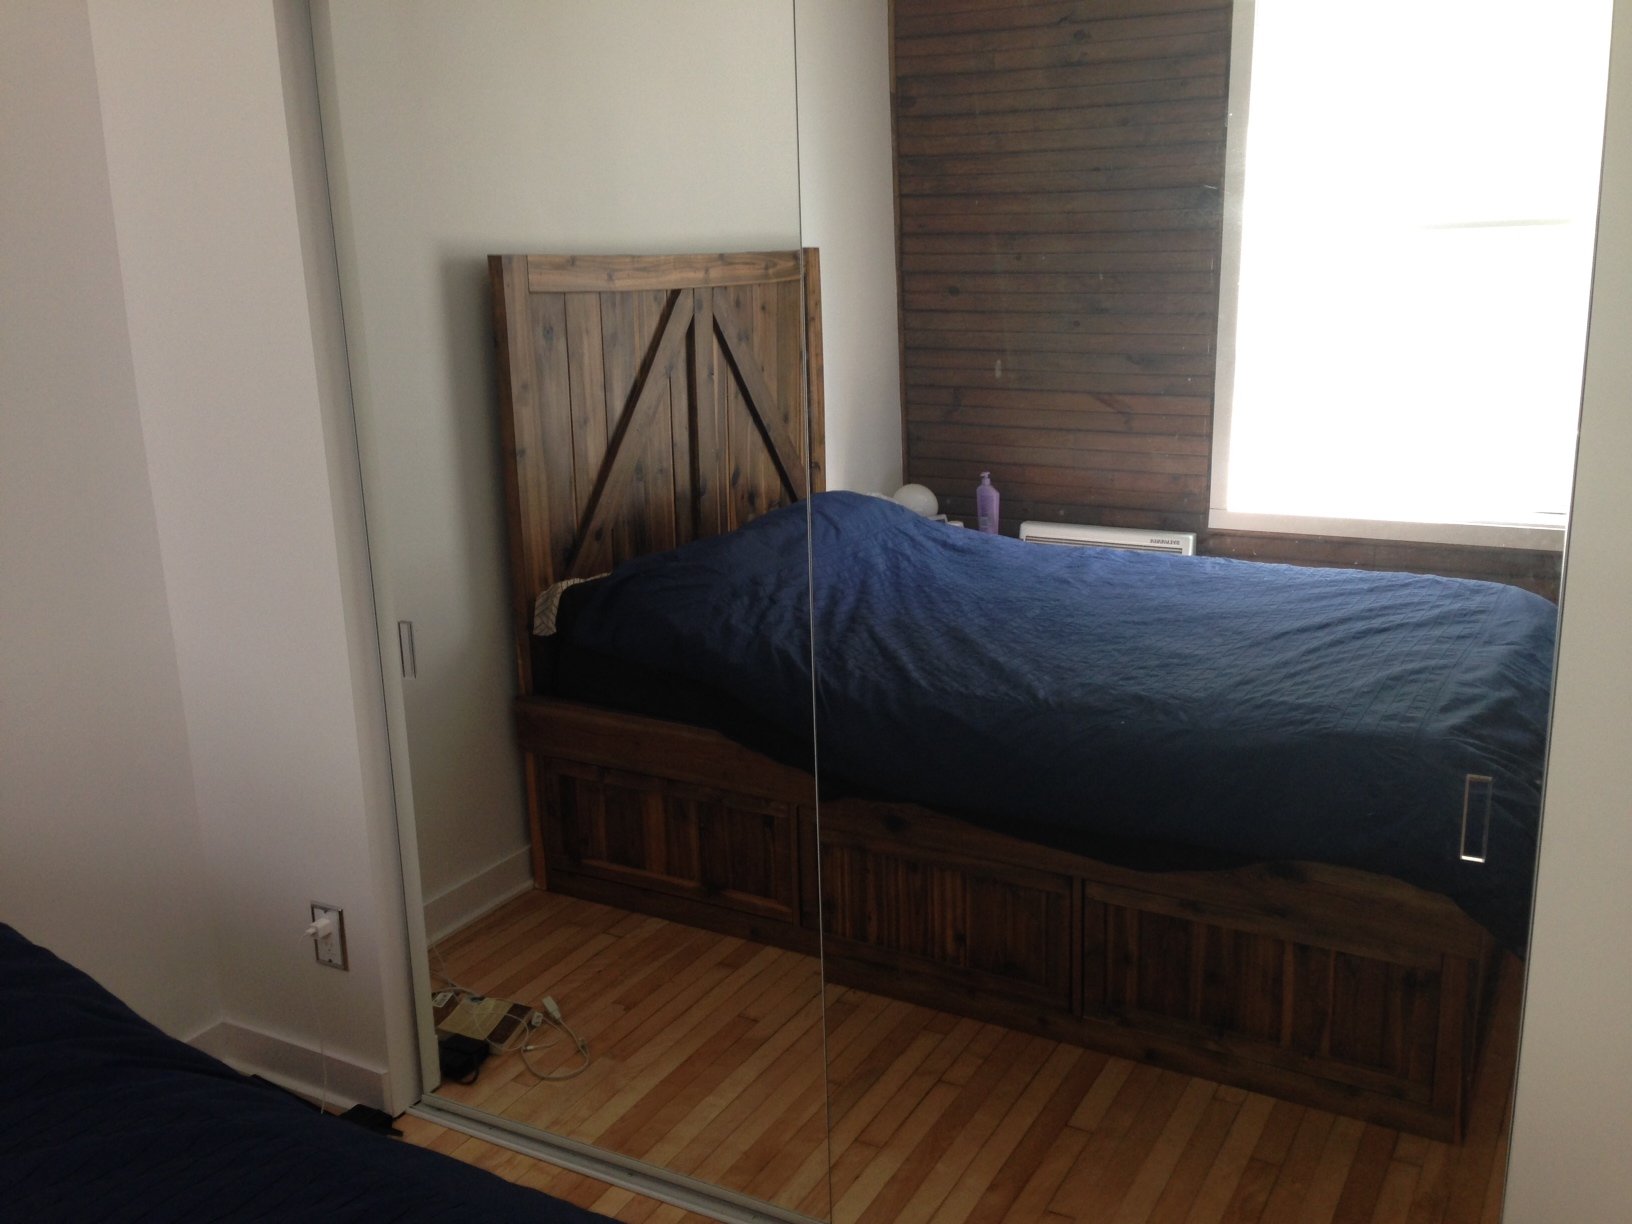
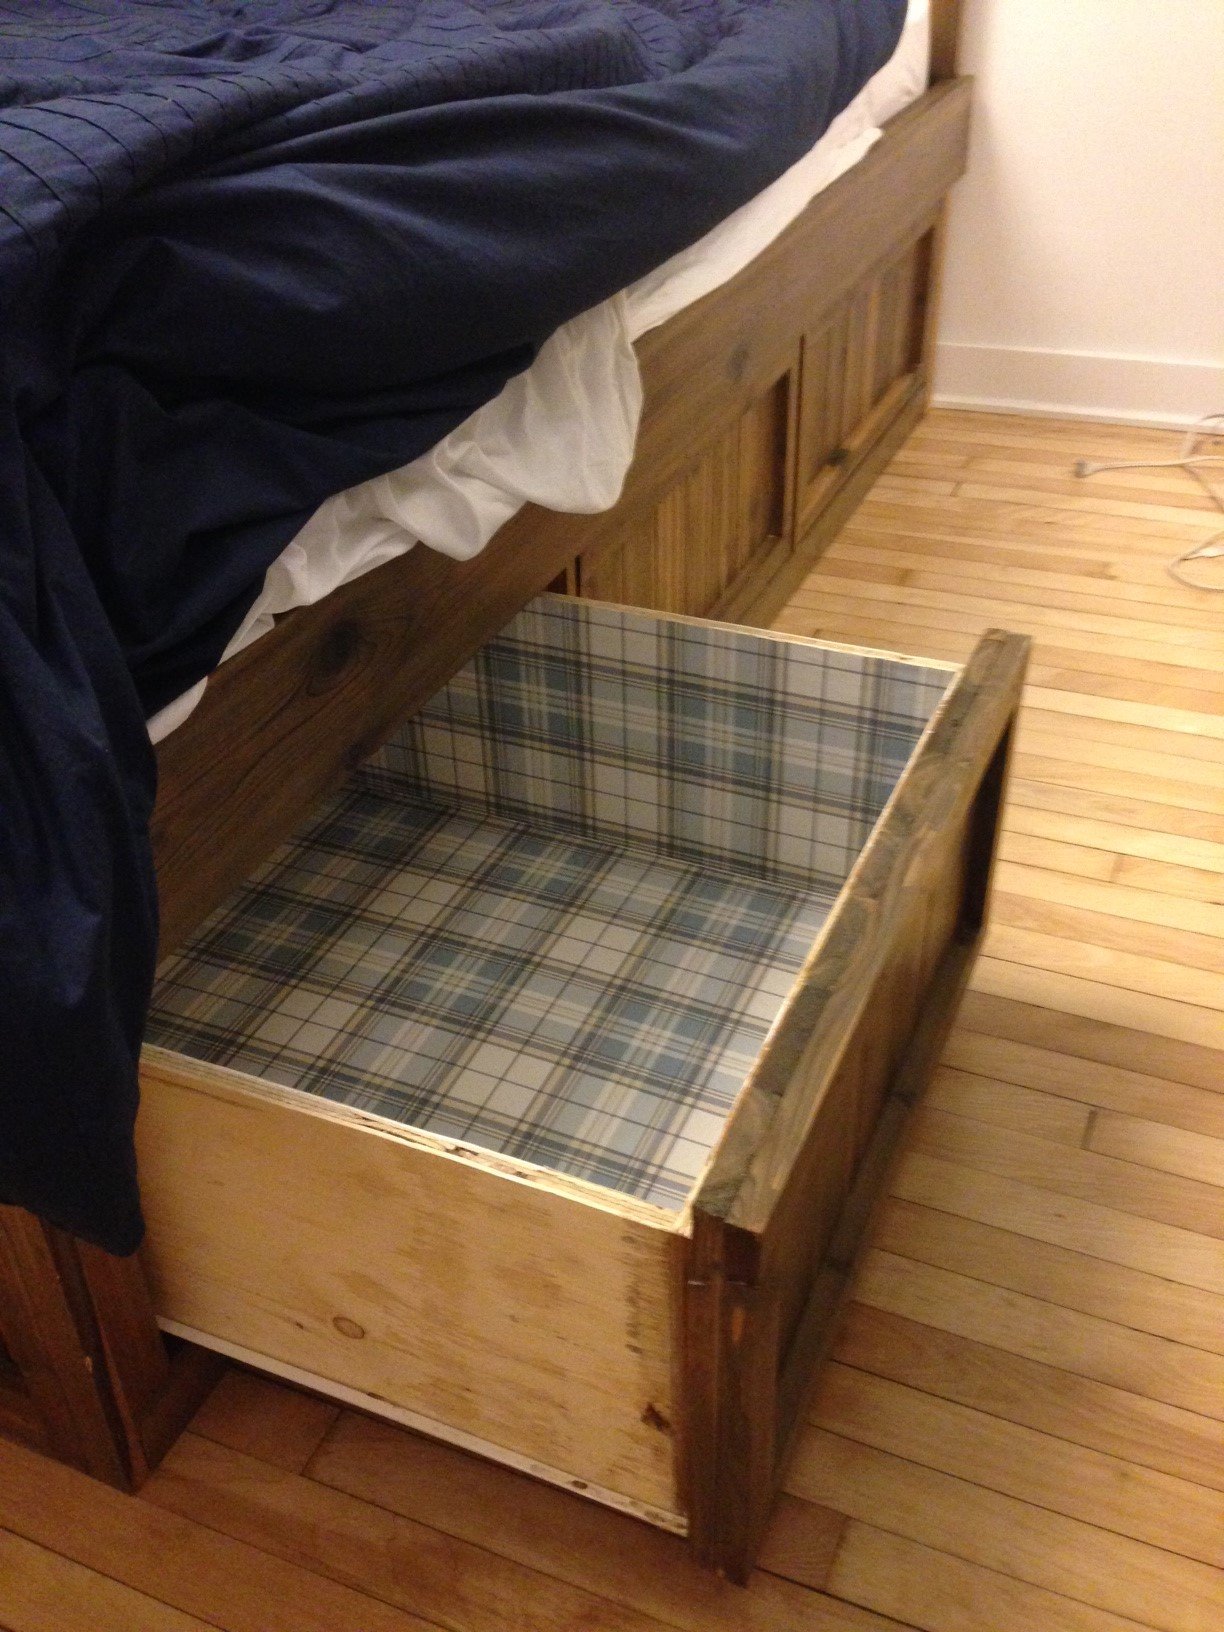
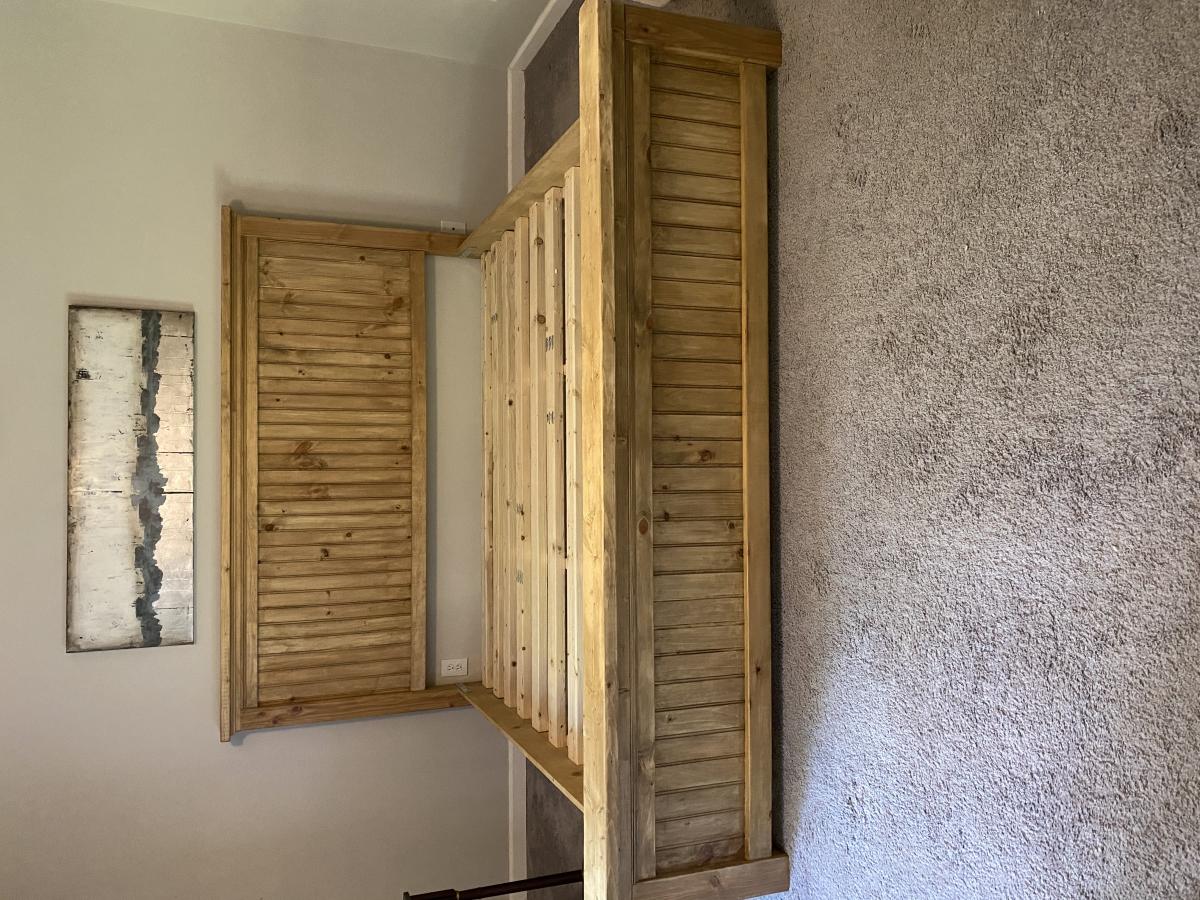
Brookstone storage bed with storage drawers
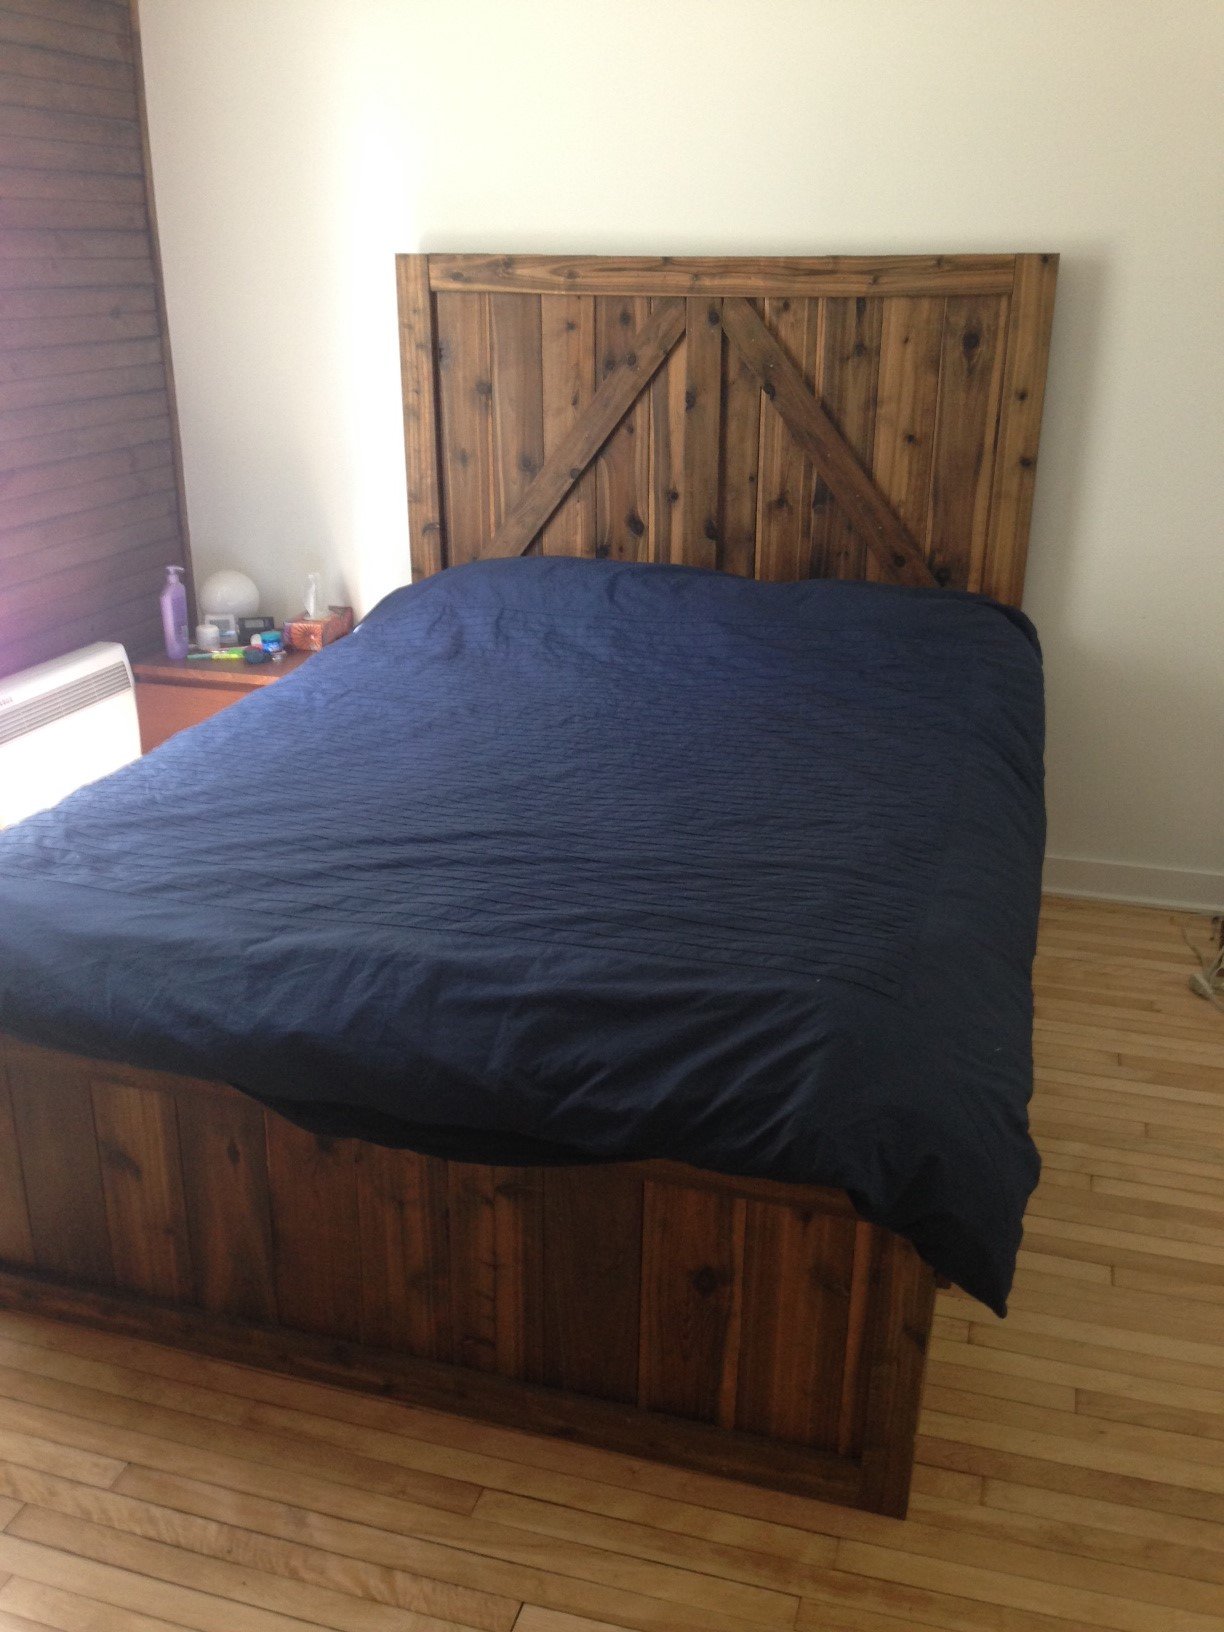
Inspired by two different plans because we wanted storage and the barn-look of the headboard. Cedar wood has been stained with a woolsteel/vinegar mix plus few cats of black tea.
Pretty happy with the result. Only drawback: very heavy bed, hard to move with two people even without the headboard.
Built from Plan(s)
Estimated Time Investment
Week Long Project (20 Hours or More)
Recommended Skill Level
Intermediate
American Girl Doll Bed
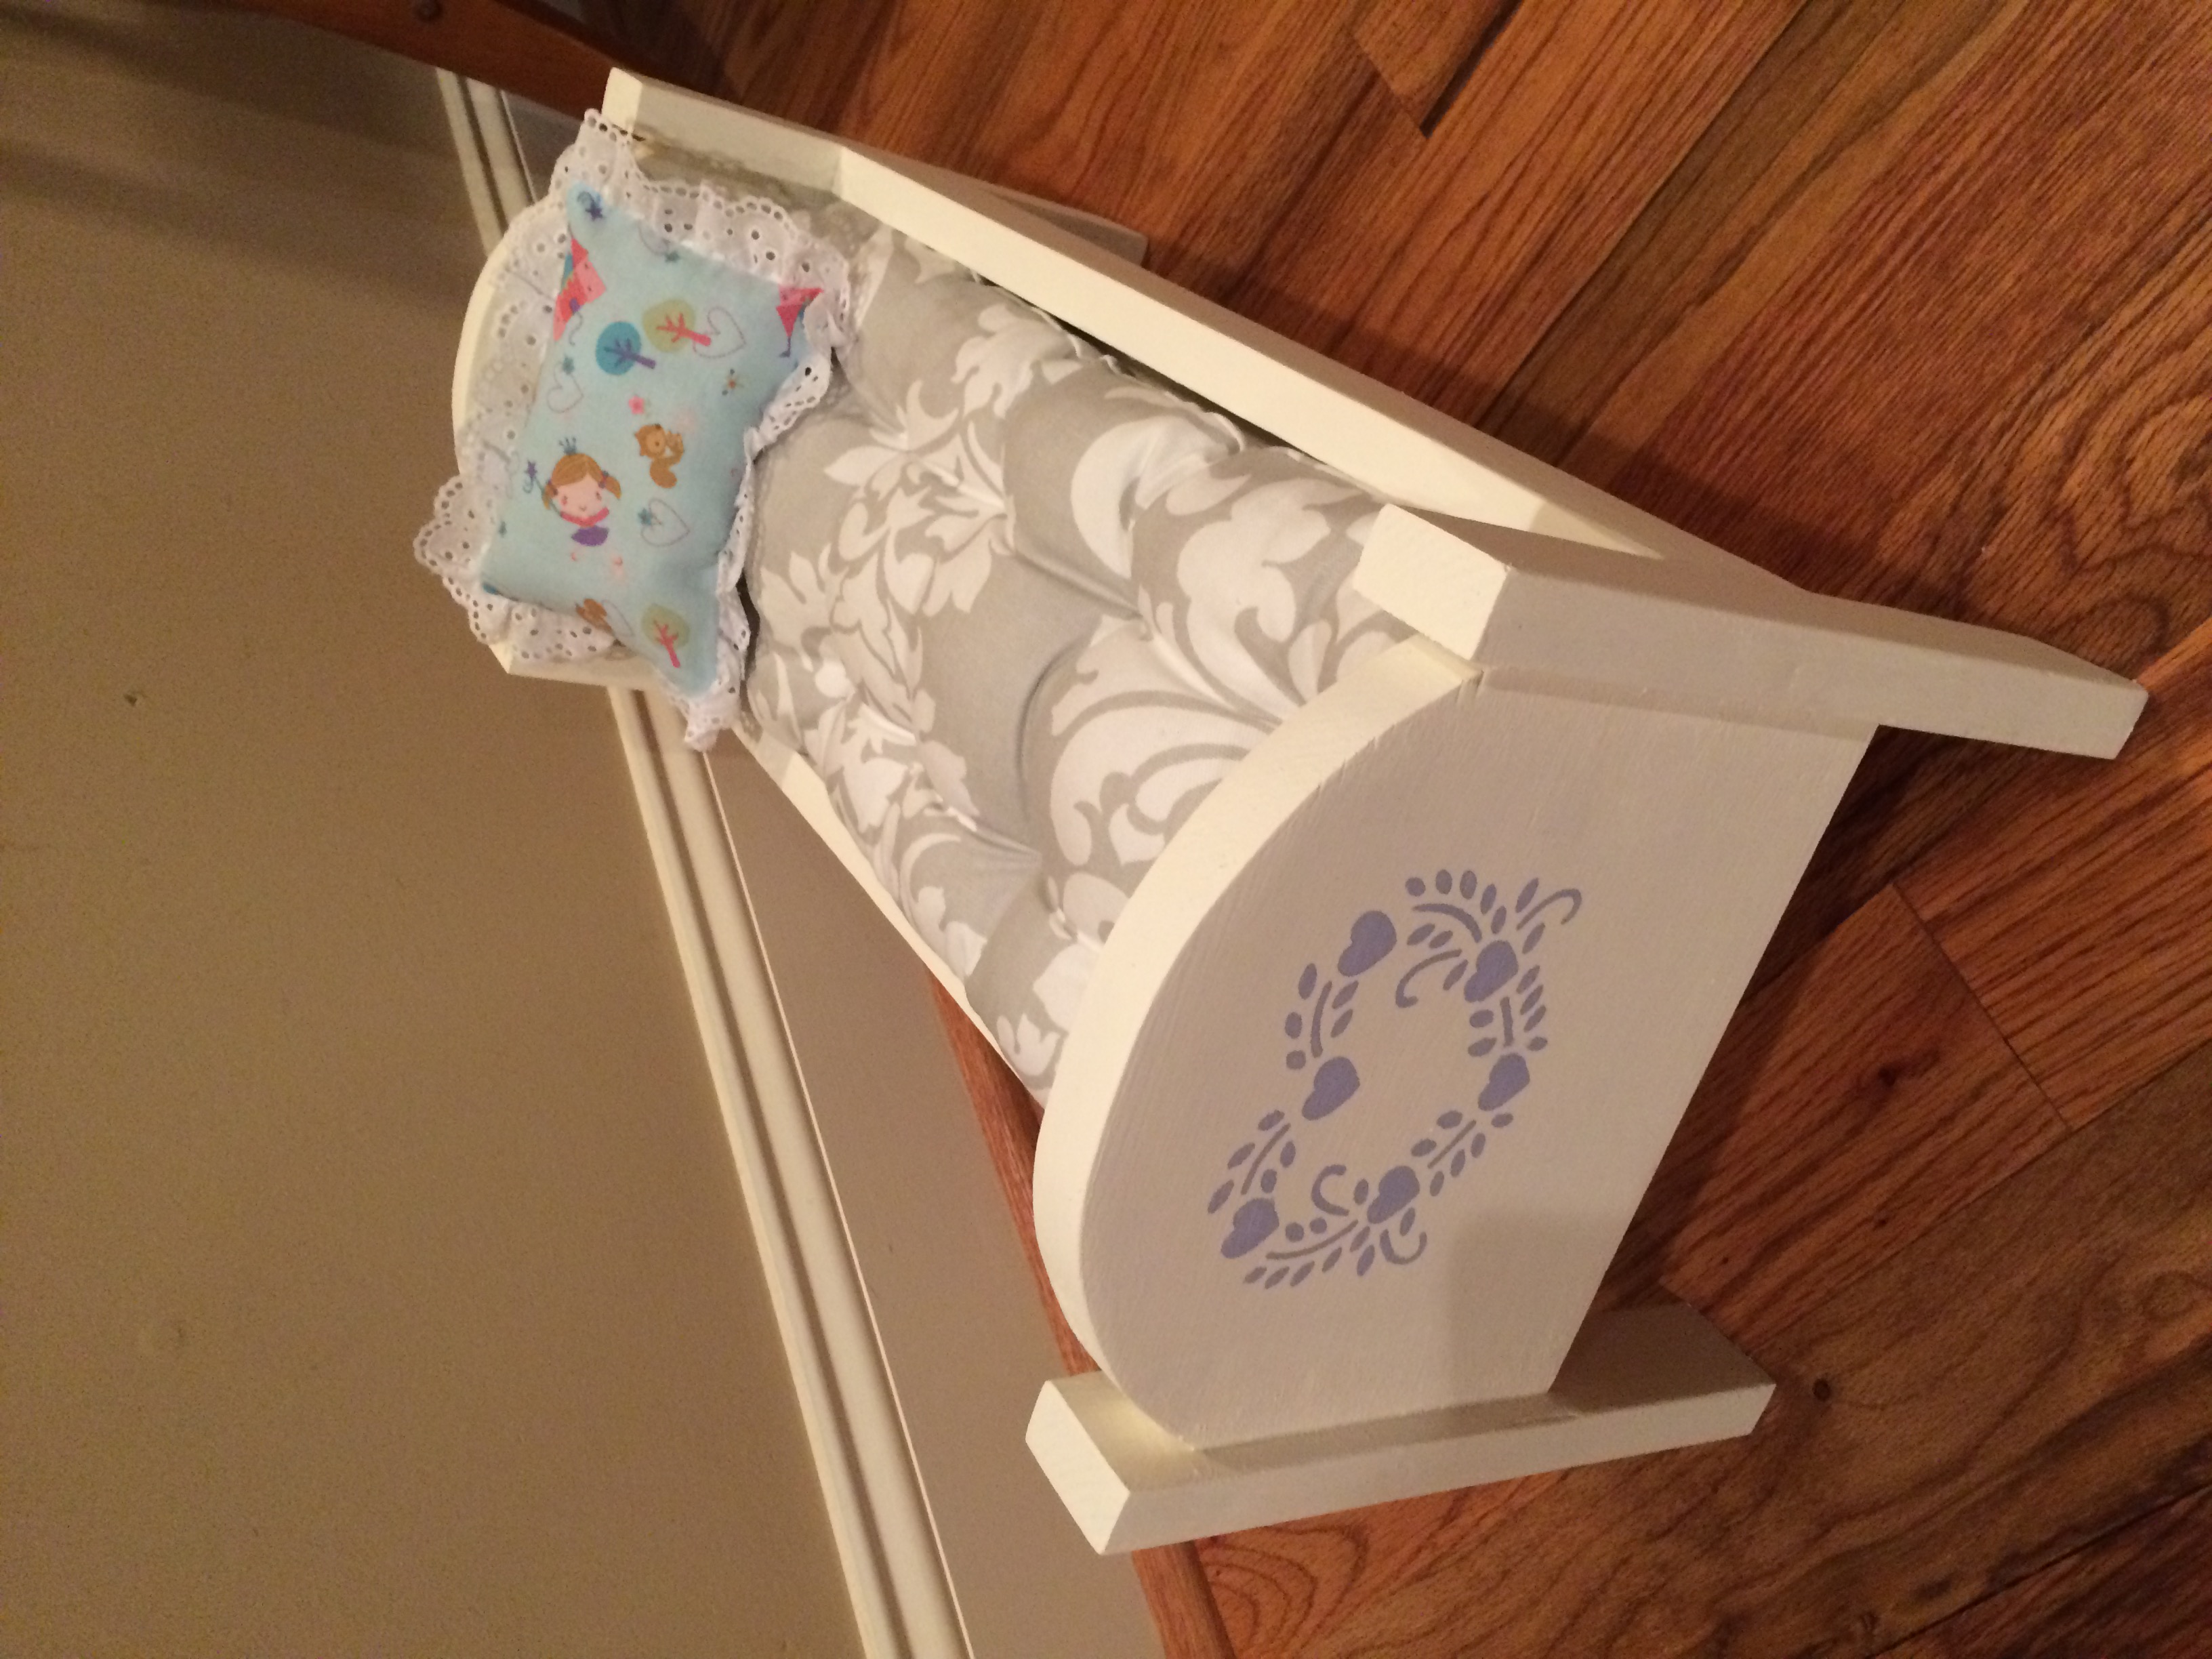
I made this project with my son to give to his friend who is getting an American Girl Doll for her birthday. This was an easy project that came together quickly. I'd say it's an all day project considering the painting and sewing time. I modified the project as suggested with a larger piece of wood for the headboard and footboard, and I used Ana's tutorial for the mattress. I built this bed with scraps I had on hand.
Estimated Cost
Free plus cost of paint
Estimated Time Investment
Day Project (6-9 Hours)
Finish Used
Chalky finish paint in "lace" and stenciling in "soft cornflower" acrylic, finished with clear satin varnish (pic was taken before varnish added).
Recommended Skill Level
Starter Project
King farmhouse bed

I am a 67 year old gramma with little woodworking experience. The instructions were clear. I used bead board and it’s really pretty! Cut the legs down 4”. This bed is Solid!!!Love it.! Pretty proud!
Built from Plan(s)
Estimated Cost
$250
Estimated Time Investment
Week Long Project (20 Hours or More)
Finish Used
Thinned down min wax special oak and satin poly.
Recommended Skill Level
Intermediate
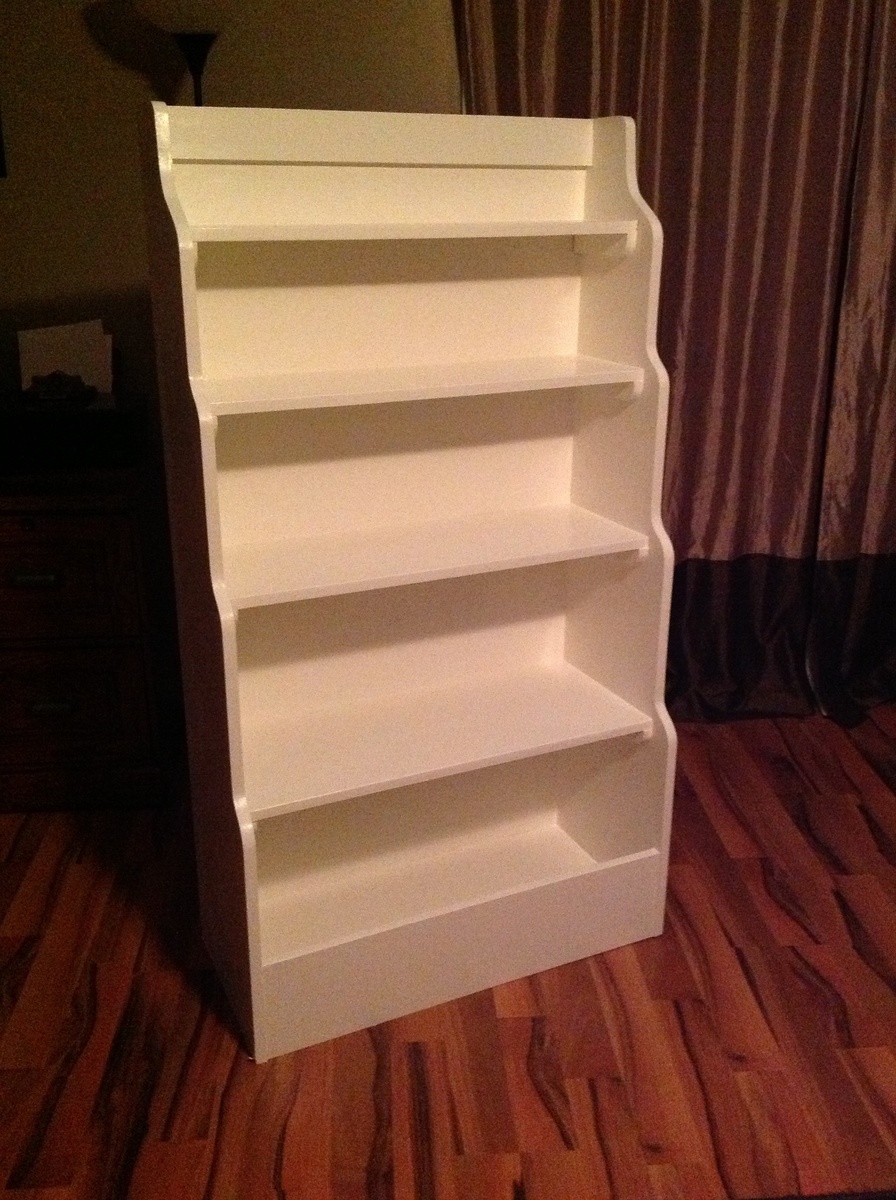
Banker's Bookcase
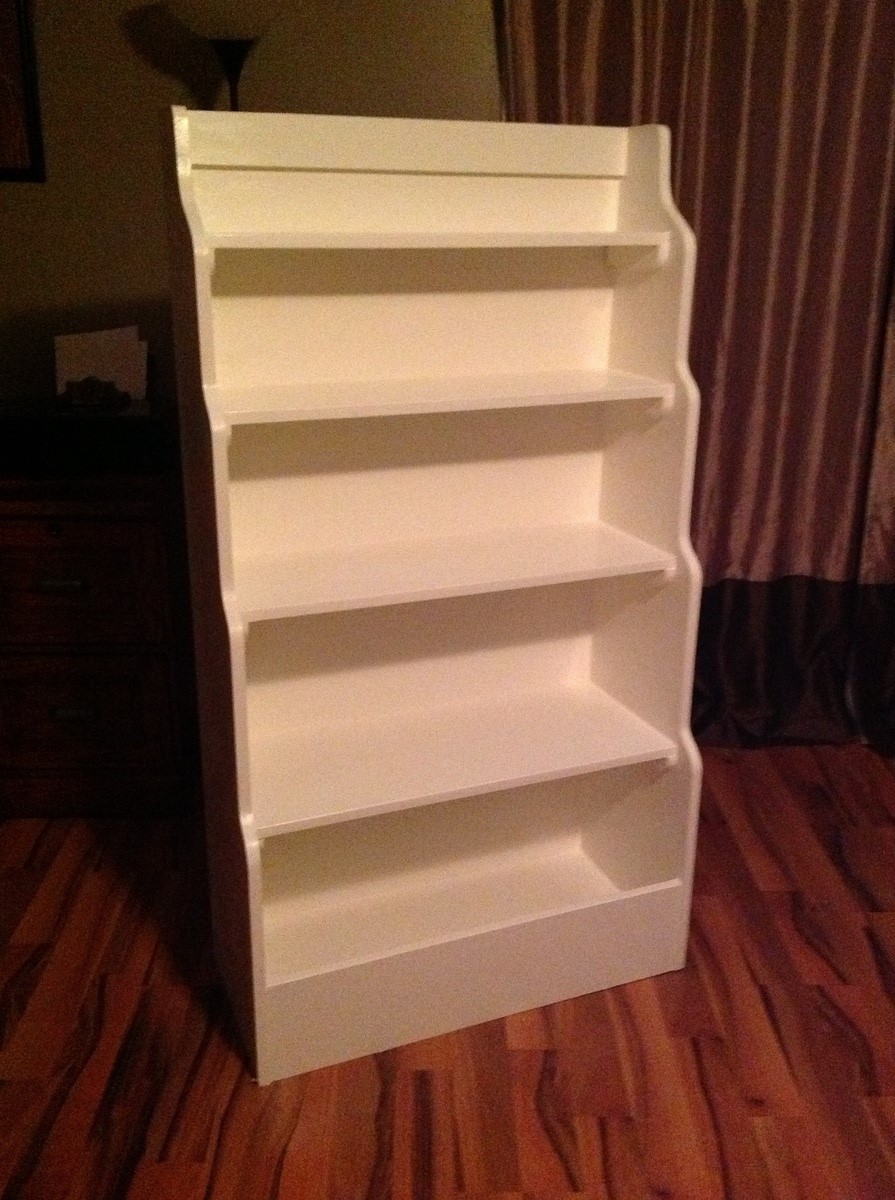
I made this bookcase for my nephews, based on the Bankers Bookcase plans and pictures. The rounded corners were made by tracing an aluminum can.
Built from Plan(s)
Estimated Cost
80
Estimated Time Investment
Weekend Project (10-20 Hours)
Finish Used
Two layers of flat paint with primer and two layers of semi-gloss paint. (One quart of each.)
Recommended Skill Level
Starter Project
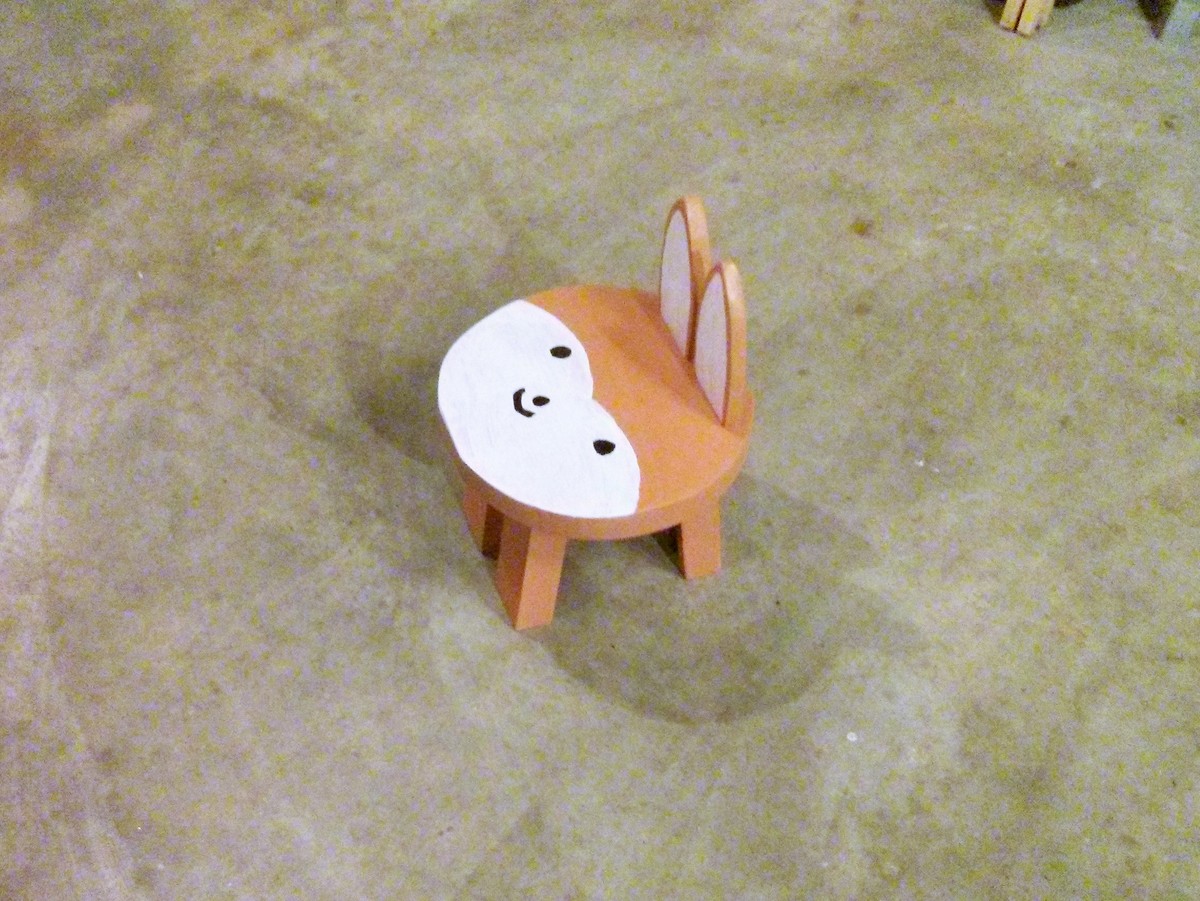
Fox Chair
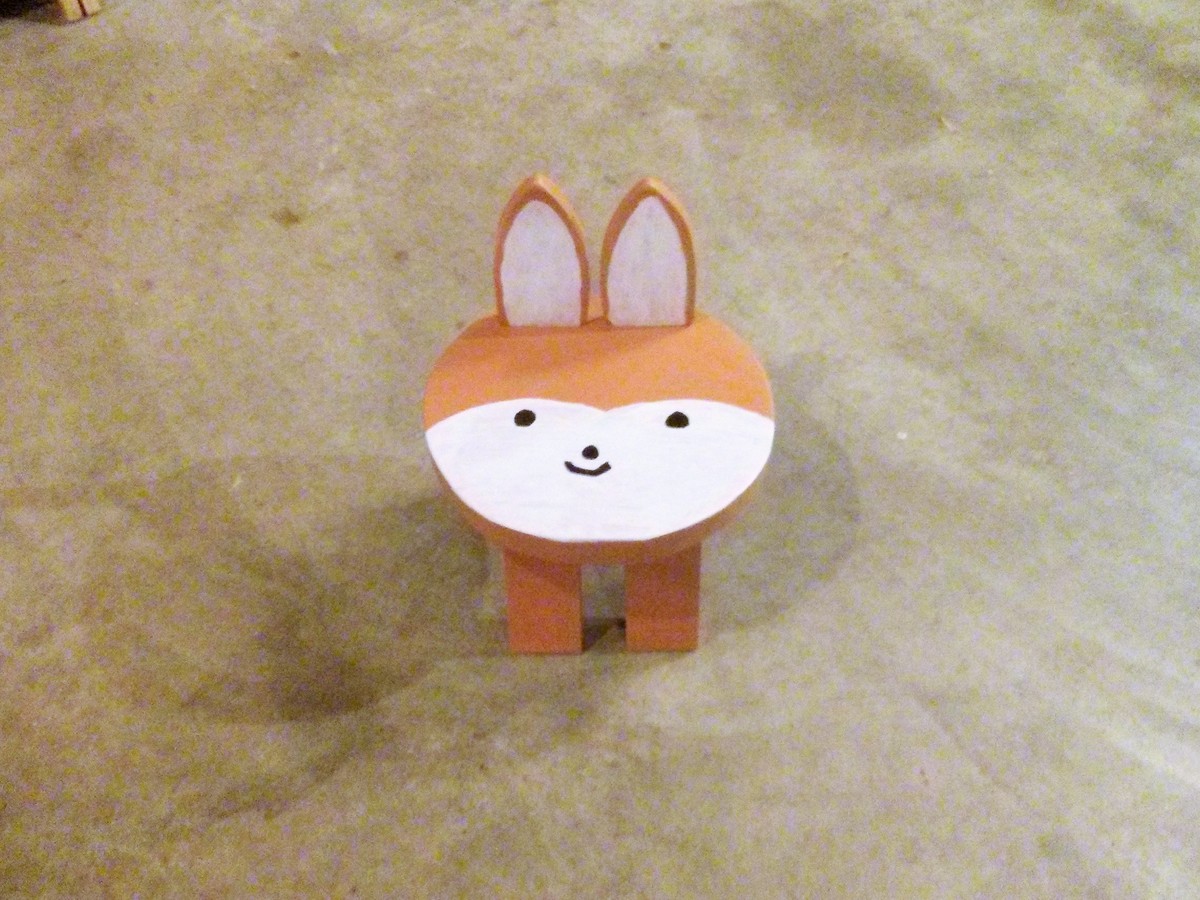
I just used up some pallet wood and scrap wood for this. My painting skills obviously need to be tuned but it came out adorable anyway! Thanks Ana and Killer B!
Estimated Cost
A couple bucks
Estimated Time Investment
Afternoon Project (3-6 Hours)
Recommended Skill Level
Starter Project
Comments
Sat, 10/04/2014 - 12:16
Soo adorable! And your
Soo adorable! And your painting skills look great to me!
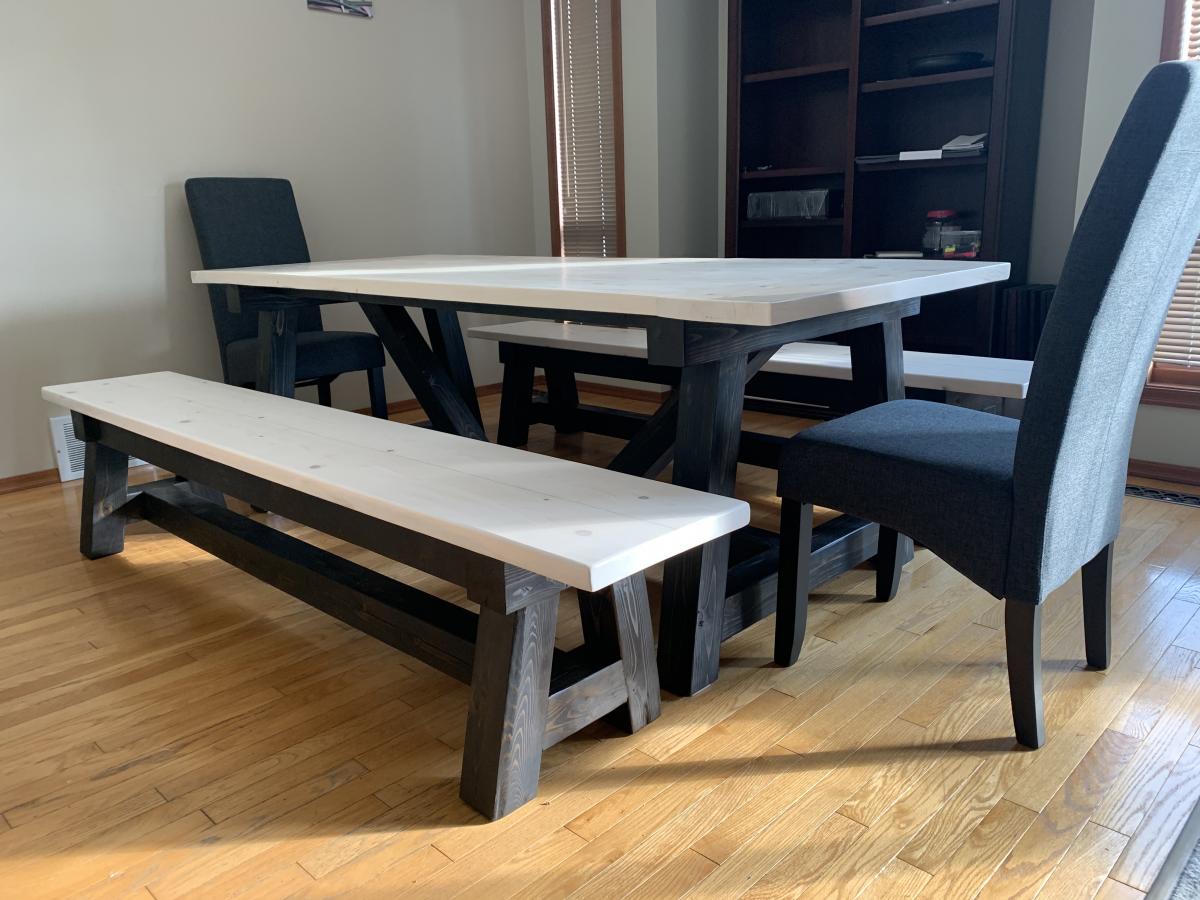
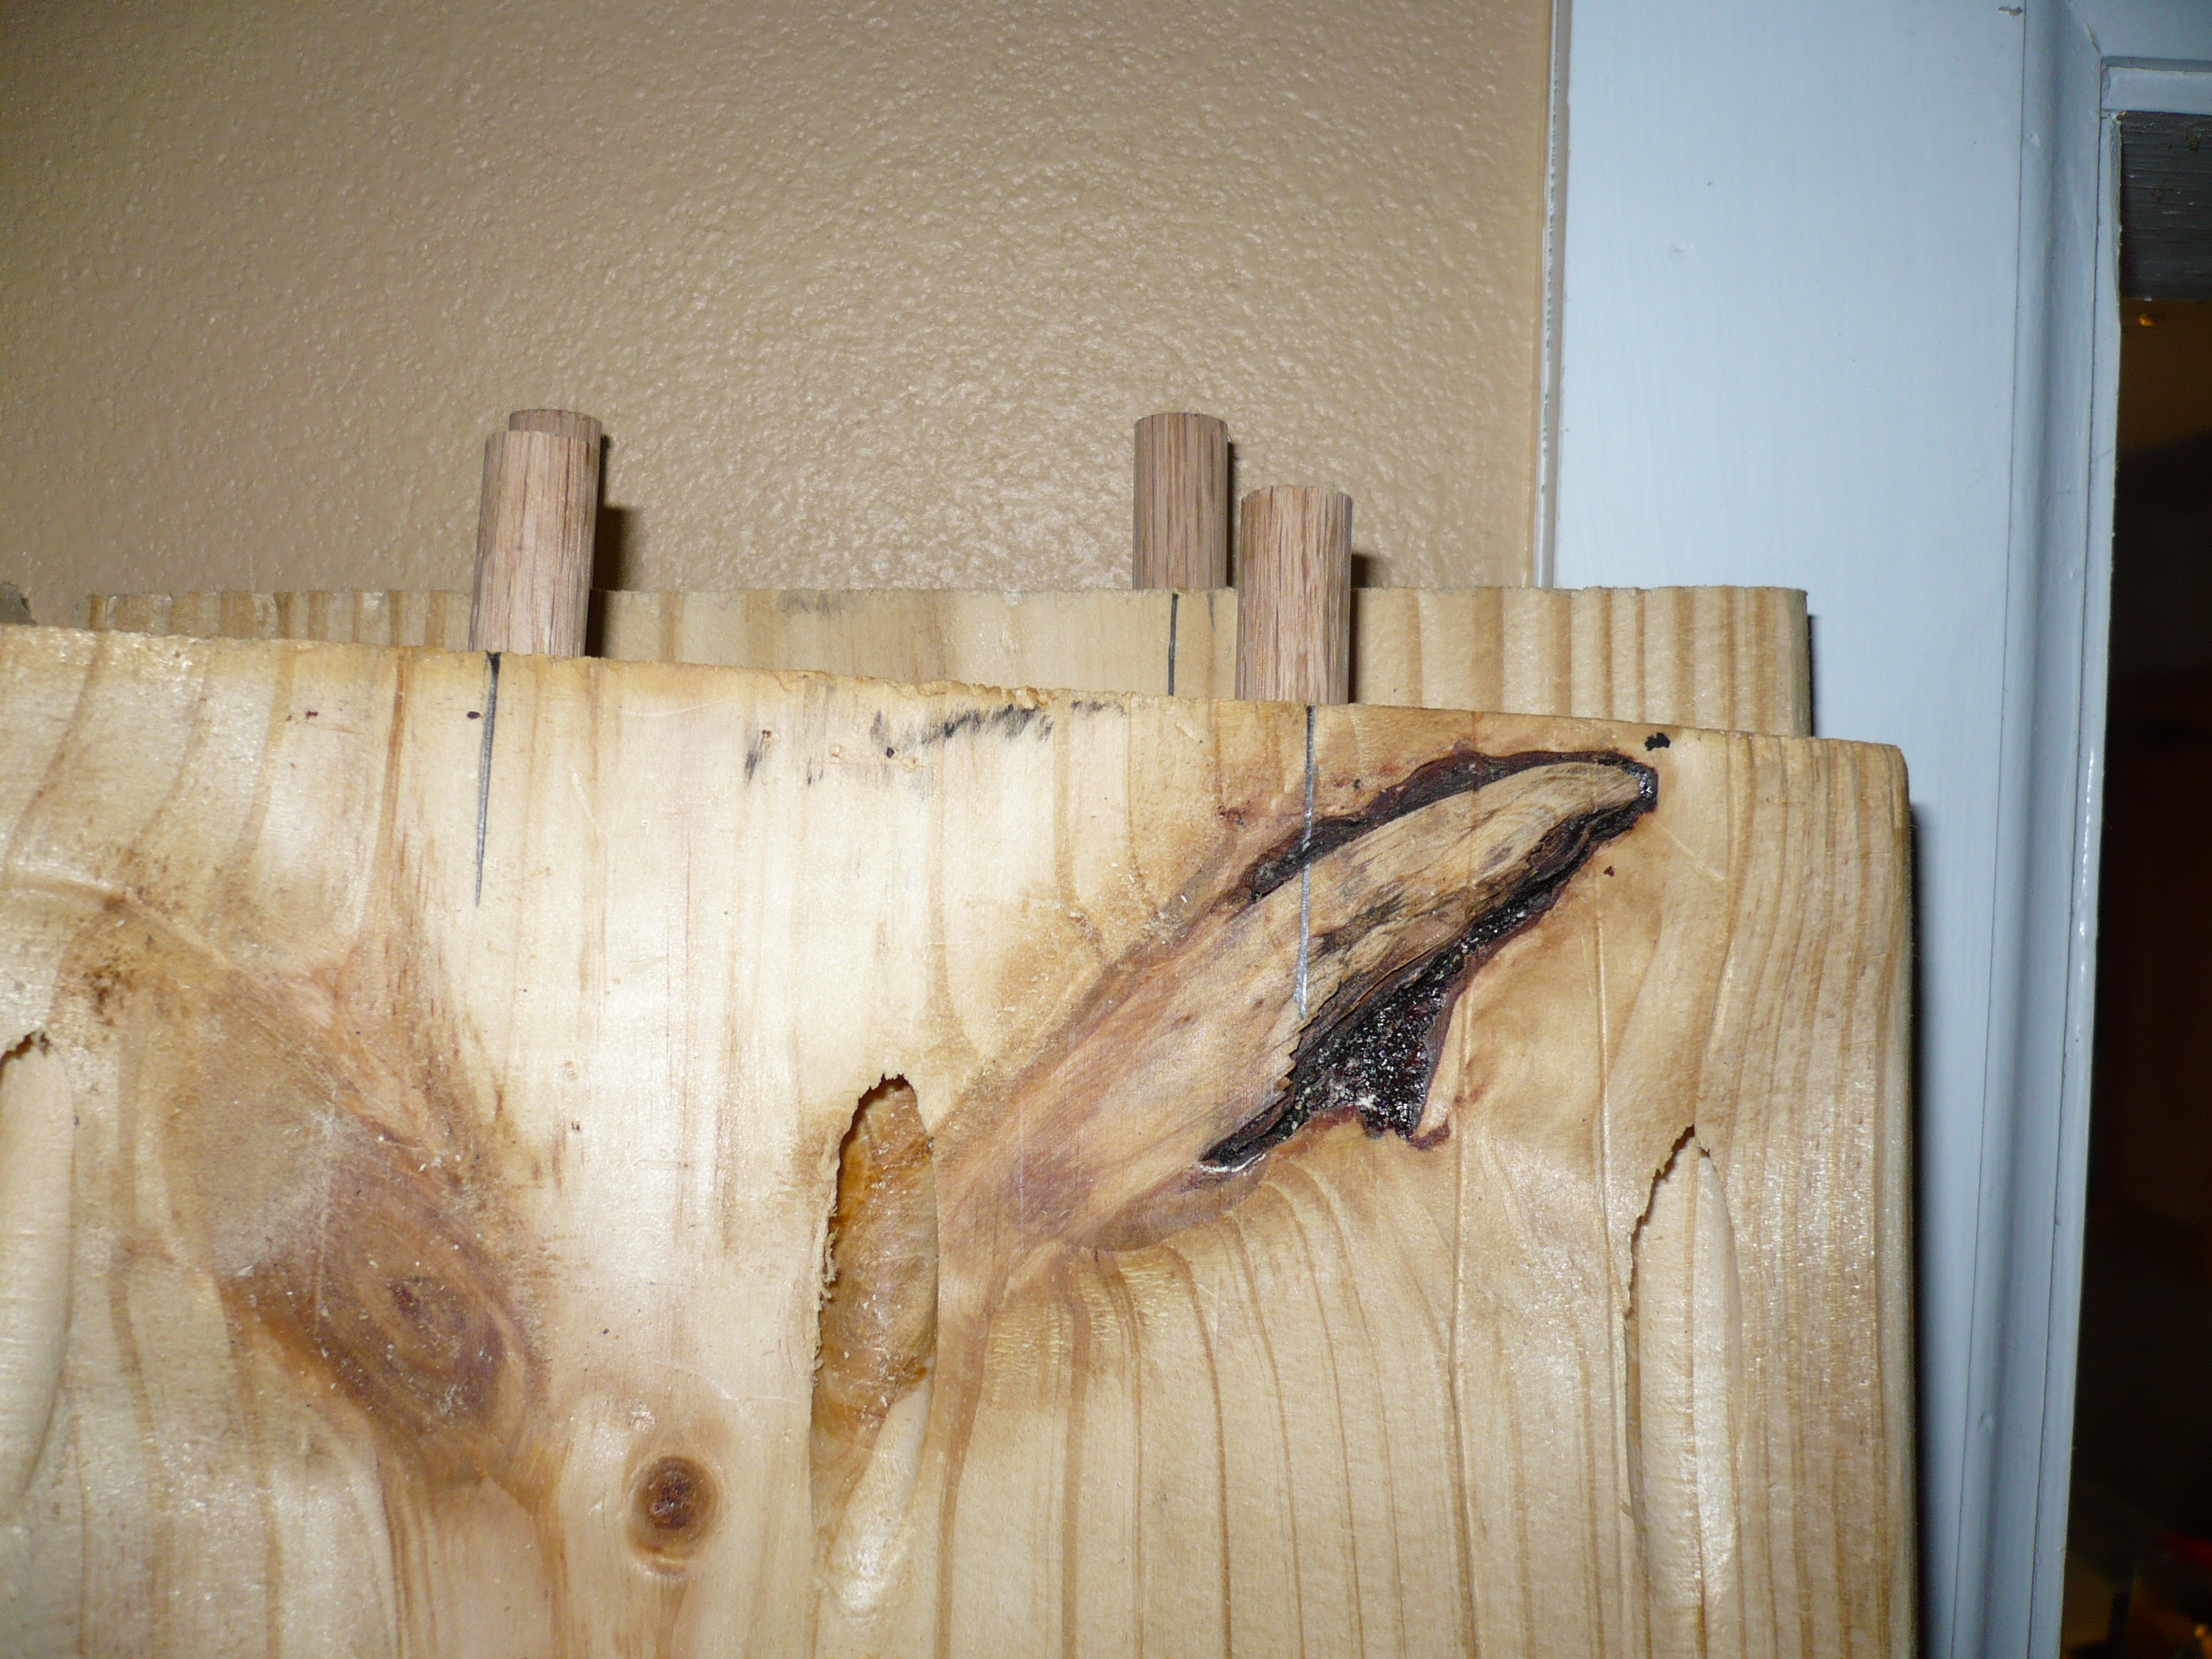
4x4 Truss Table with Benches
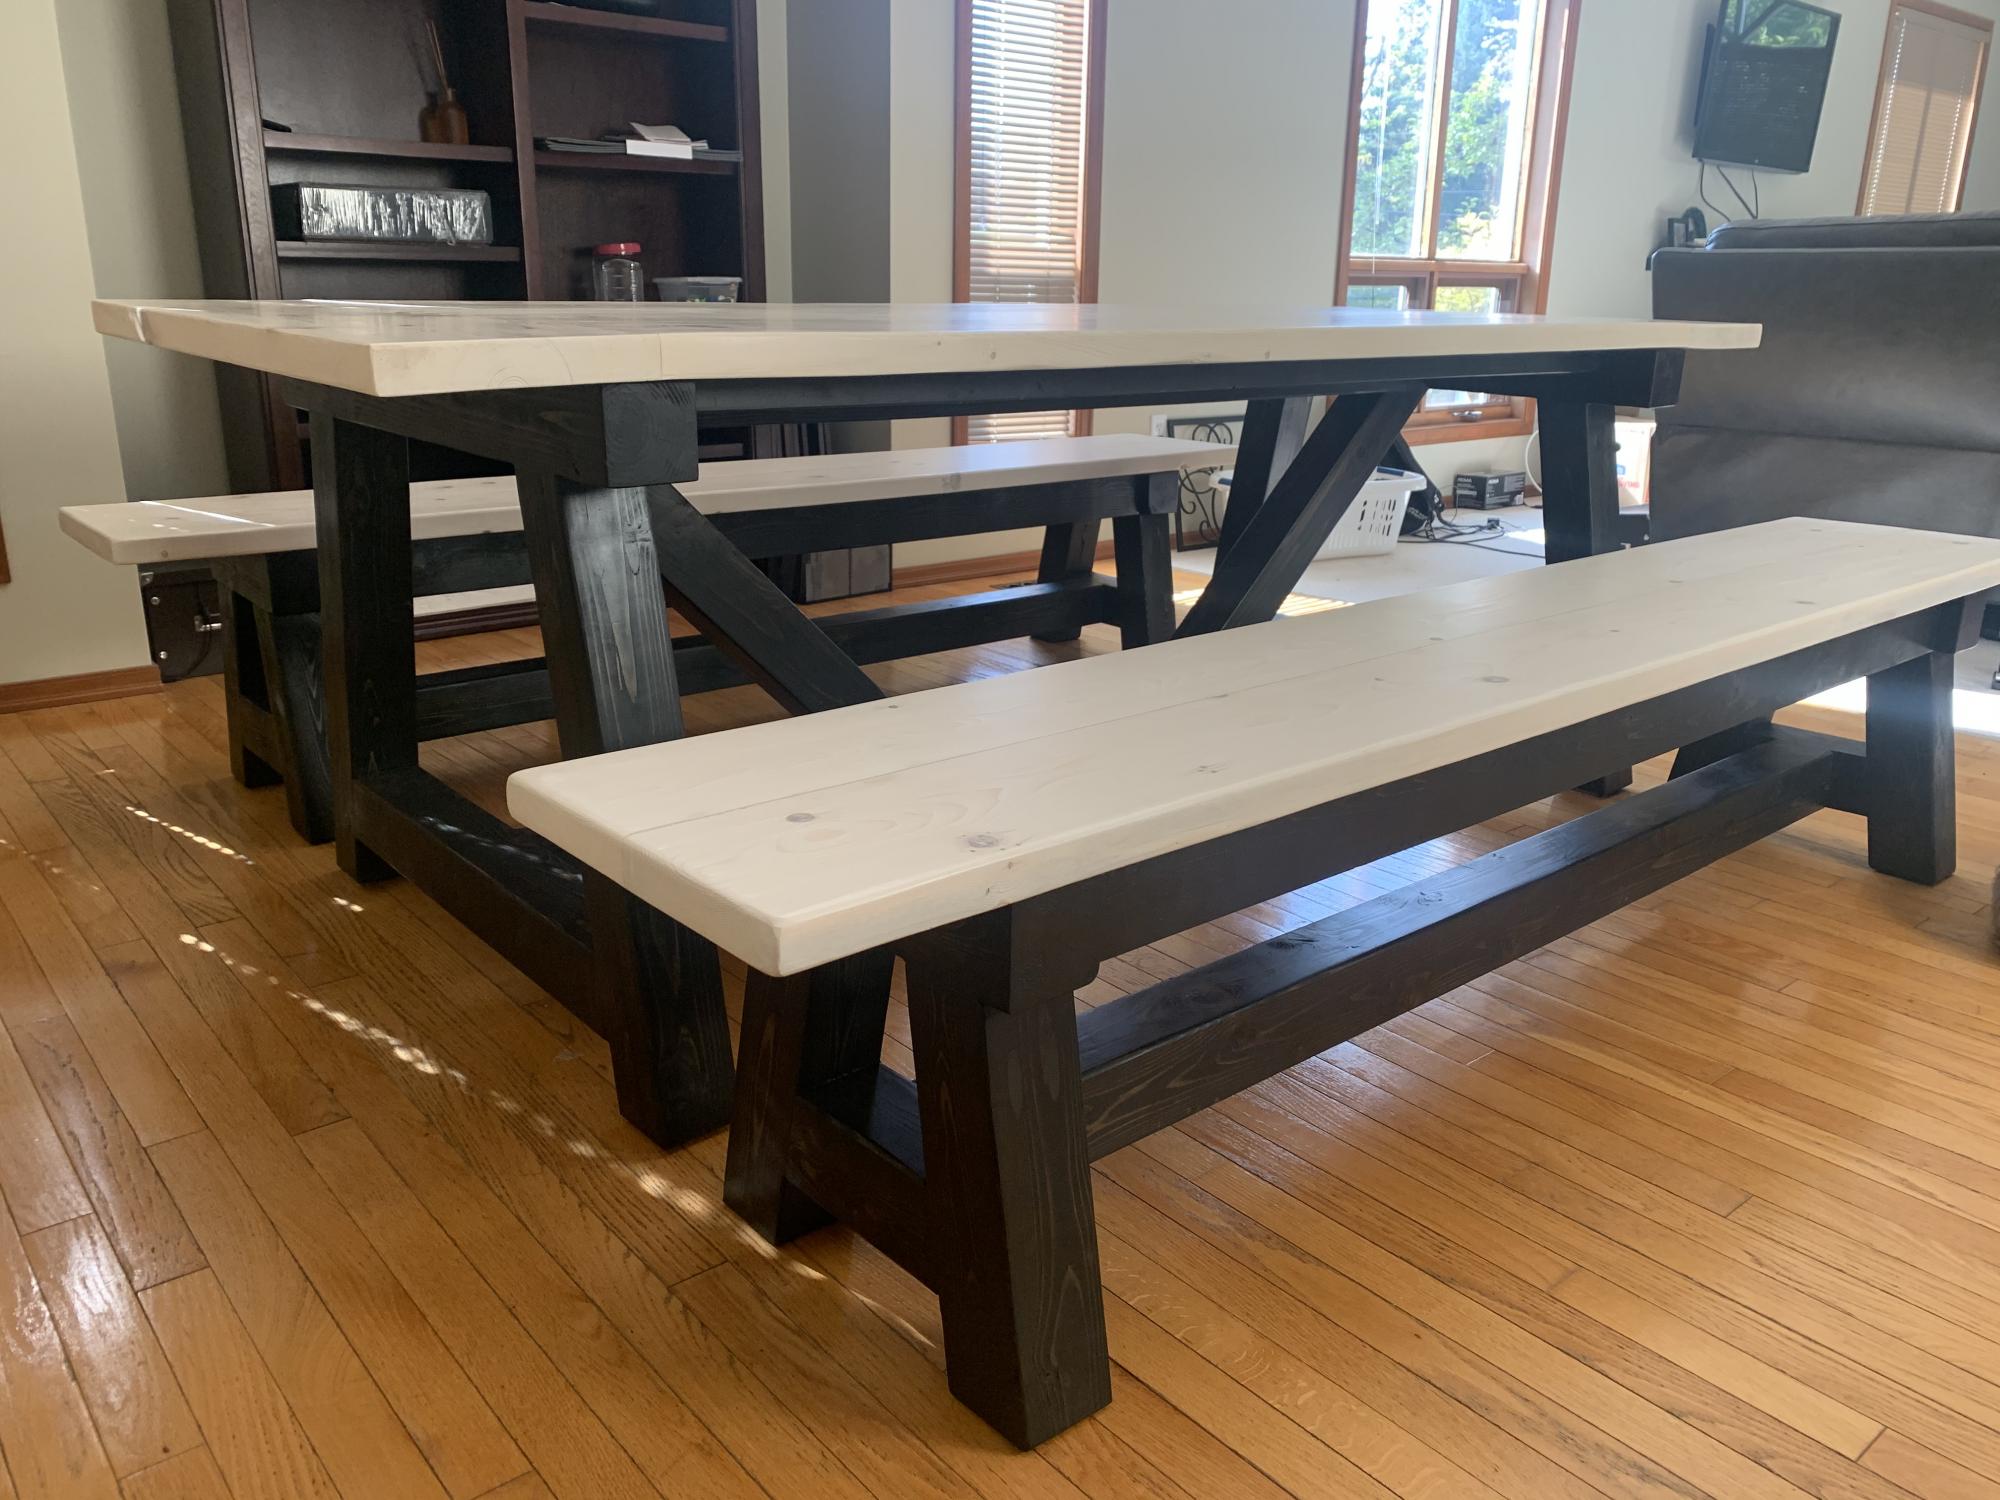
My first furniture project. Made the 4x4 Truss table and matching benches. I used cedar for the 4x4’s as they are the only kind of untreated 4x4’s available here other than knotty pine for $9 a foot. The rest is spruce as that’s what most dimensional lumber here is. The only changes I made were to the pocket holes. I didn’t feel 2 on 1 side would be a tight enough joint so for the table I put them where the plans called for them and then 2 more on the opposite side. I filled in the visible pocket holes with 1/2 dowels and sawed them off flush
Built from Plan(s)
Estimated Time Investment
Week Long Project (20 Hours or More)
Finish Used
For the bases I used Varathane Ultimate Ebony stain and minwax fast drying polyurethane spray in satin.
For the tops I use Varathane Ultimate White Linen stain and Varathane Diamond Finish Soft Touch polyurethane in matte. I applied polyurethane with a brush. Very light sanding with 220 between coats to remove any dust particles that settled and with 400 after last coat. Final sanding was very very light. Just ran the rubber block sander over with the grain to remove any imperfections. This product really is aptly named. The matte finish is beautifully soft to touch.
I believe in the US the Varathane stains I used are branded Rust-Oleum.
Recommended Skill Level
Intermediate
Comments

My Unique first Bed Build and finish, Built form vision,no plans!
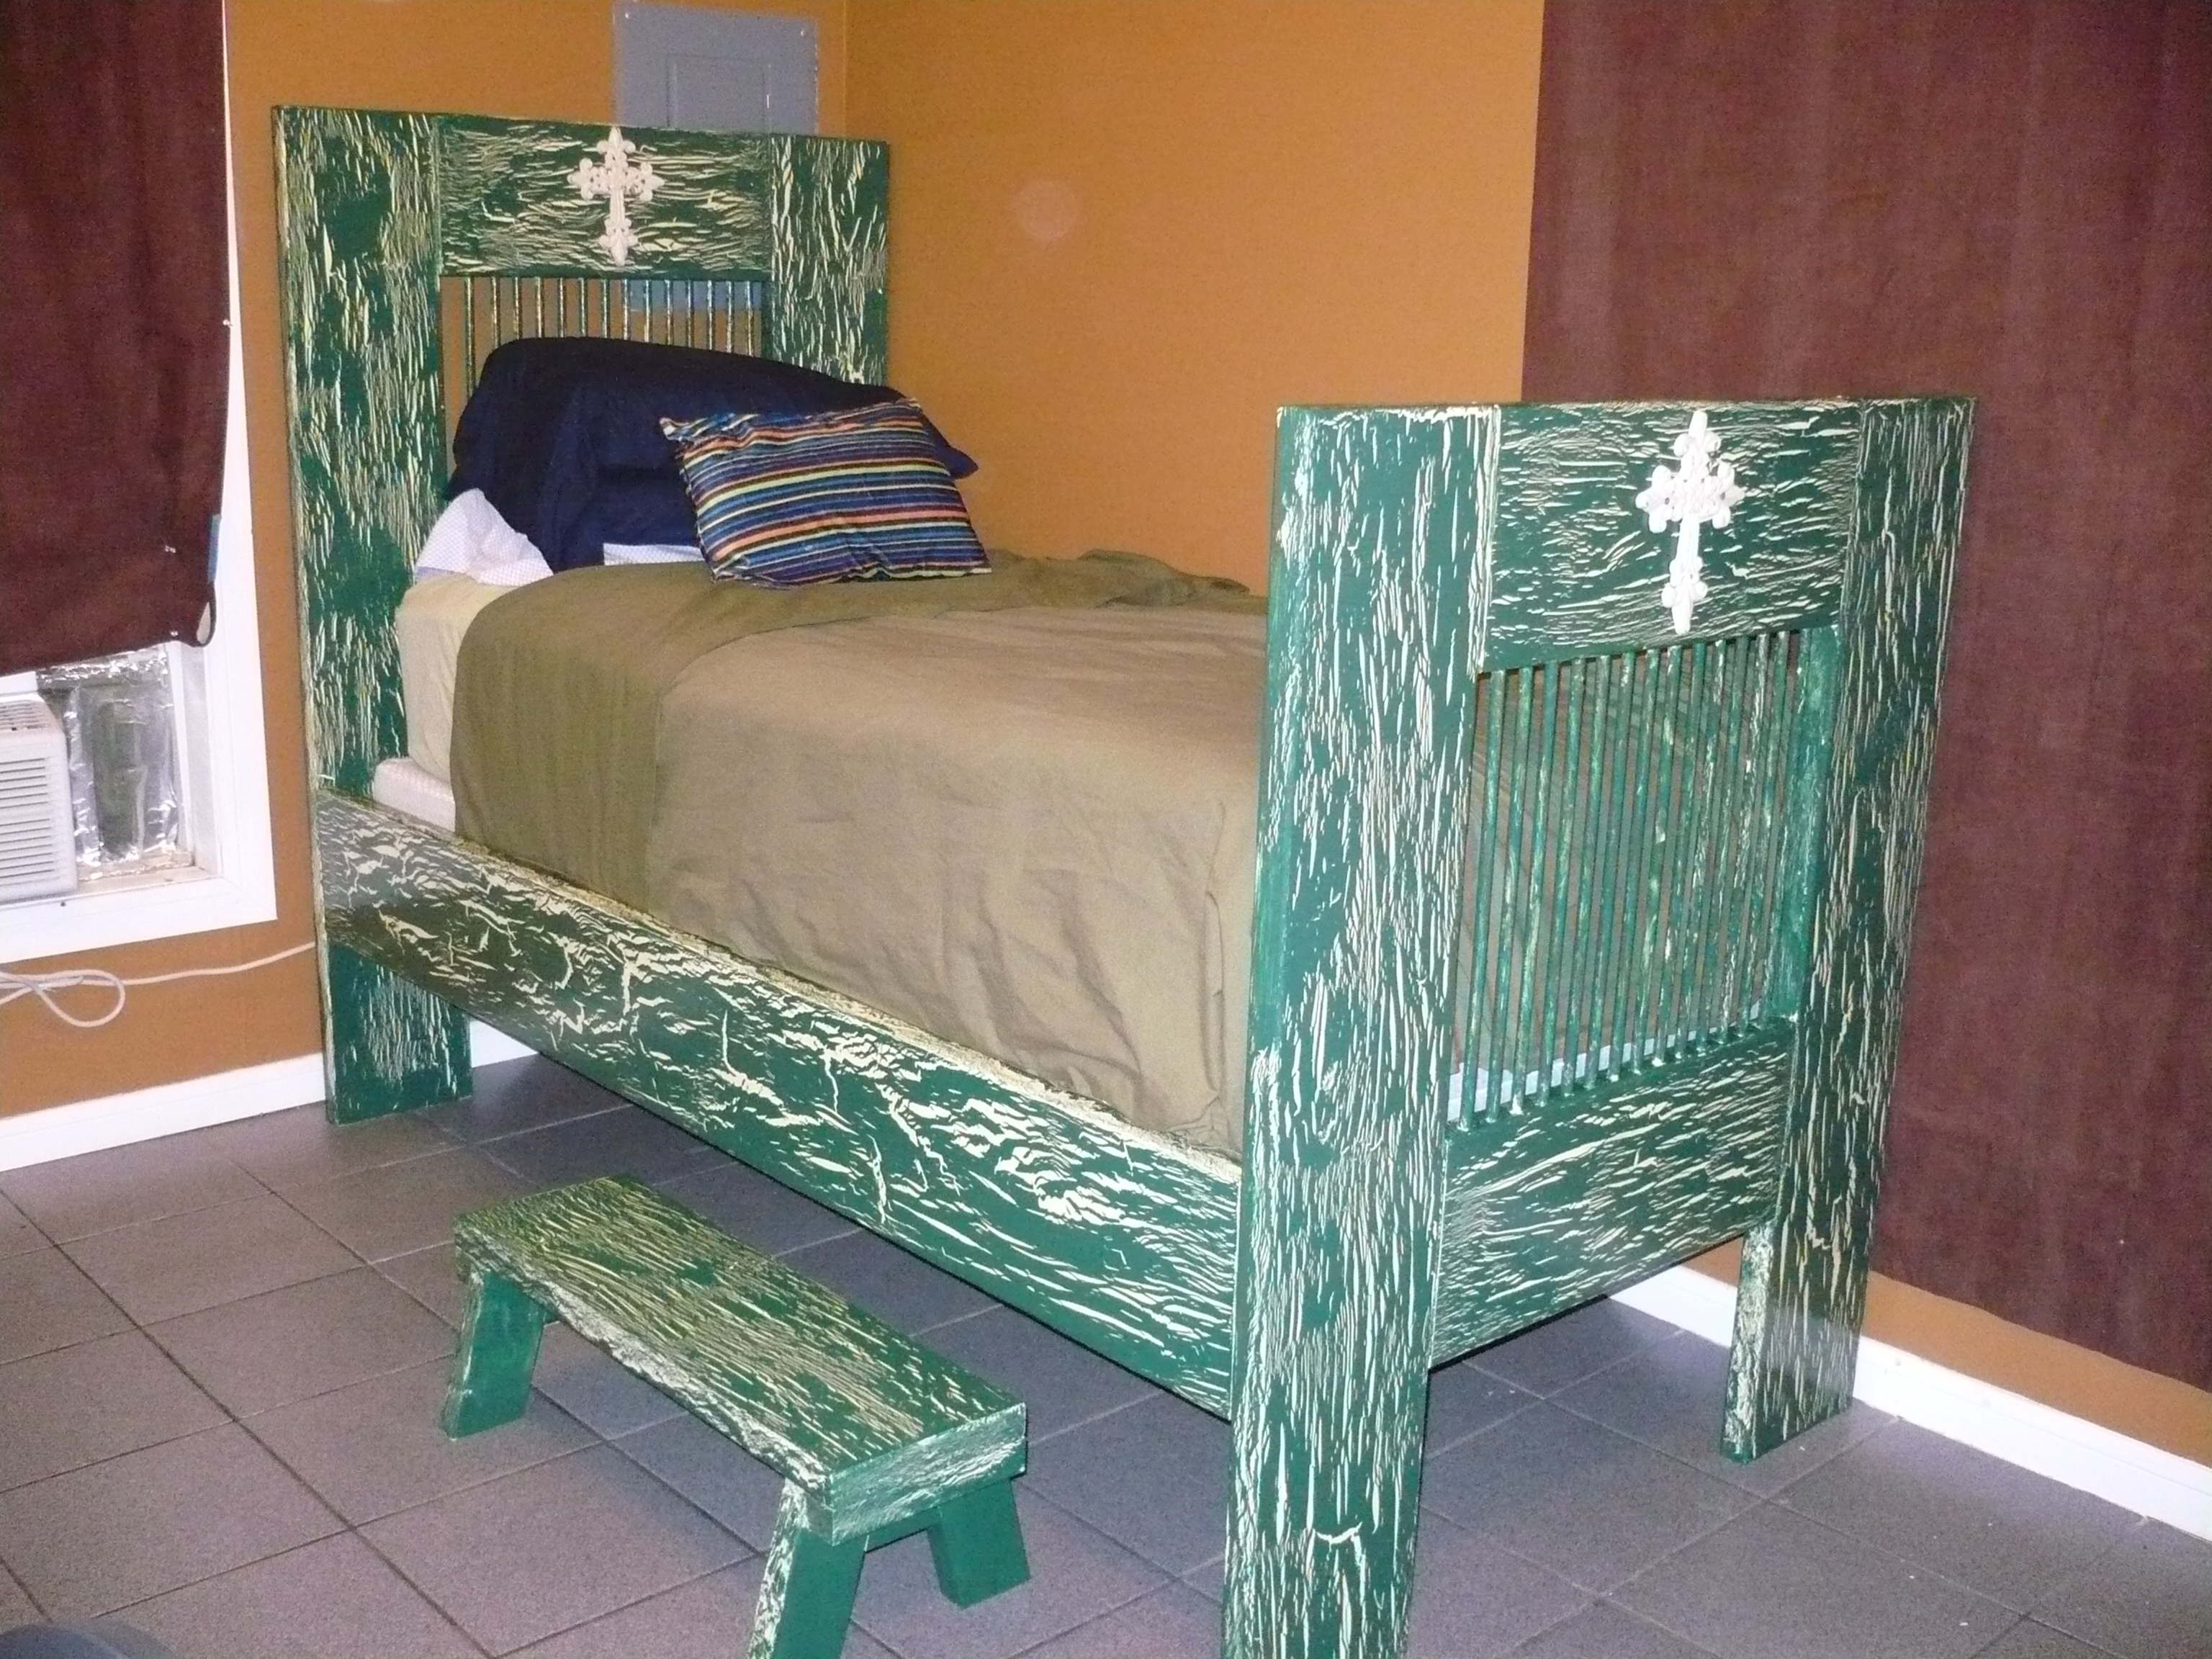
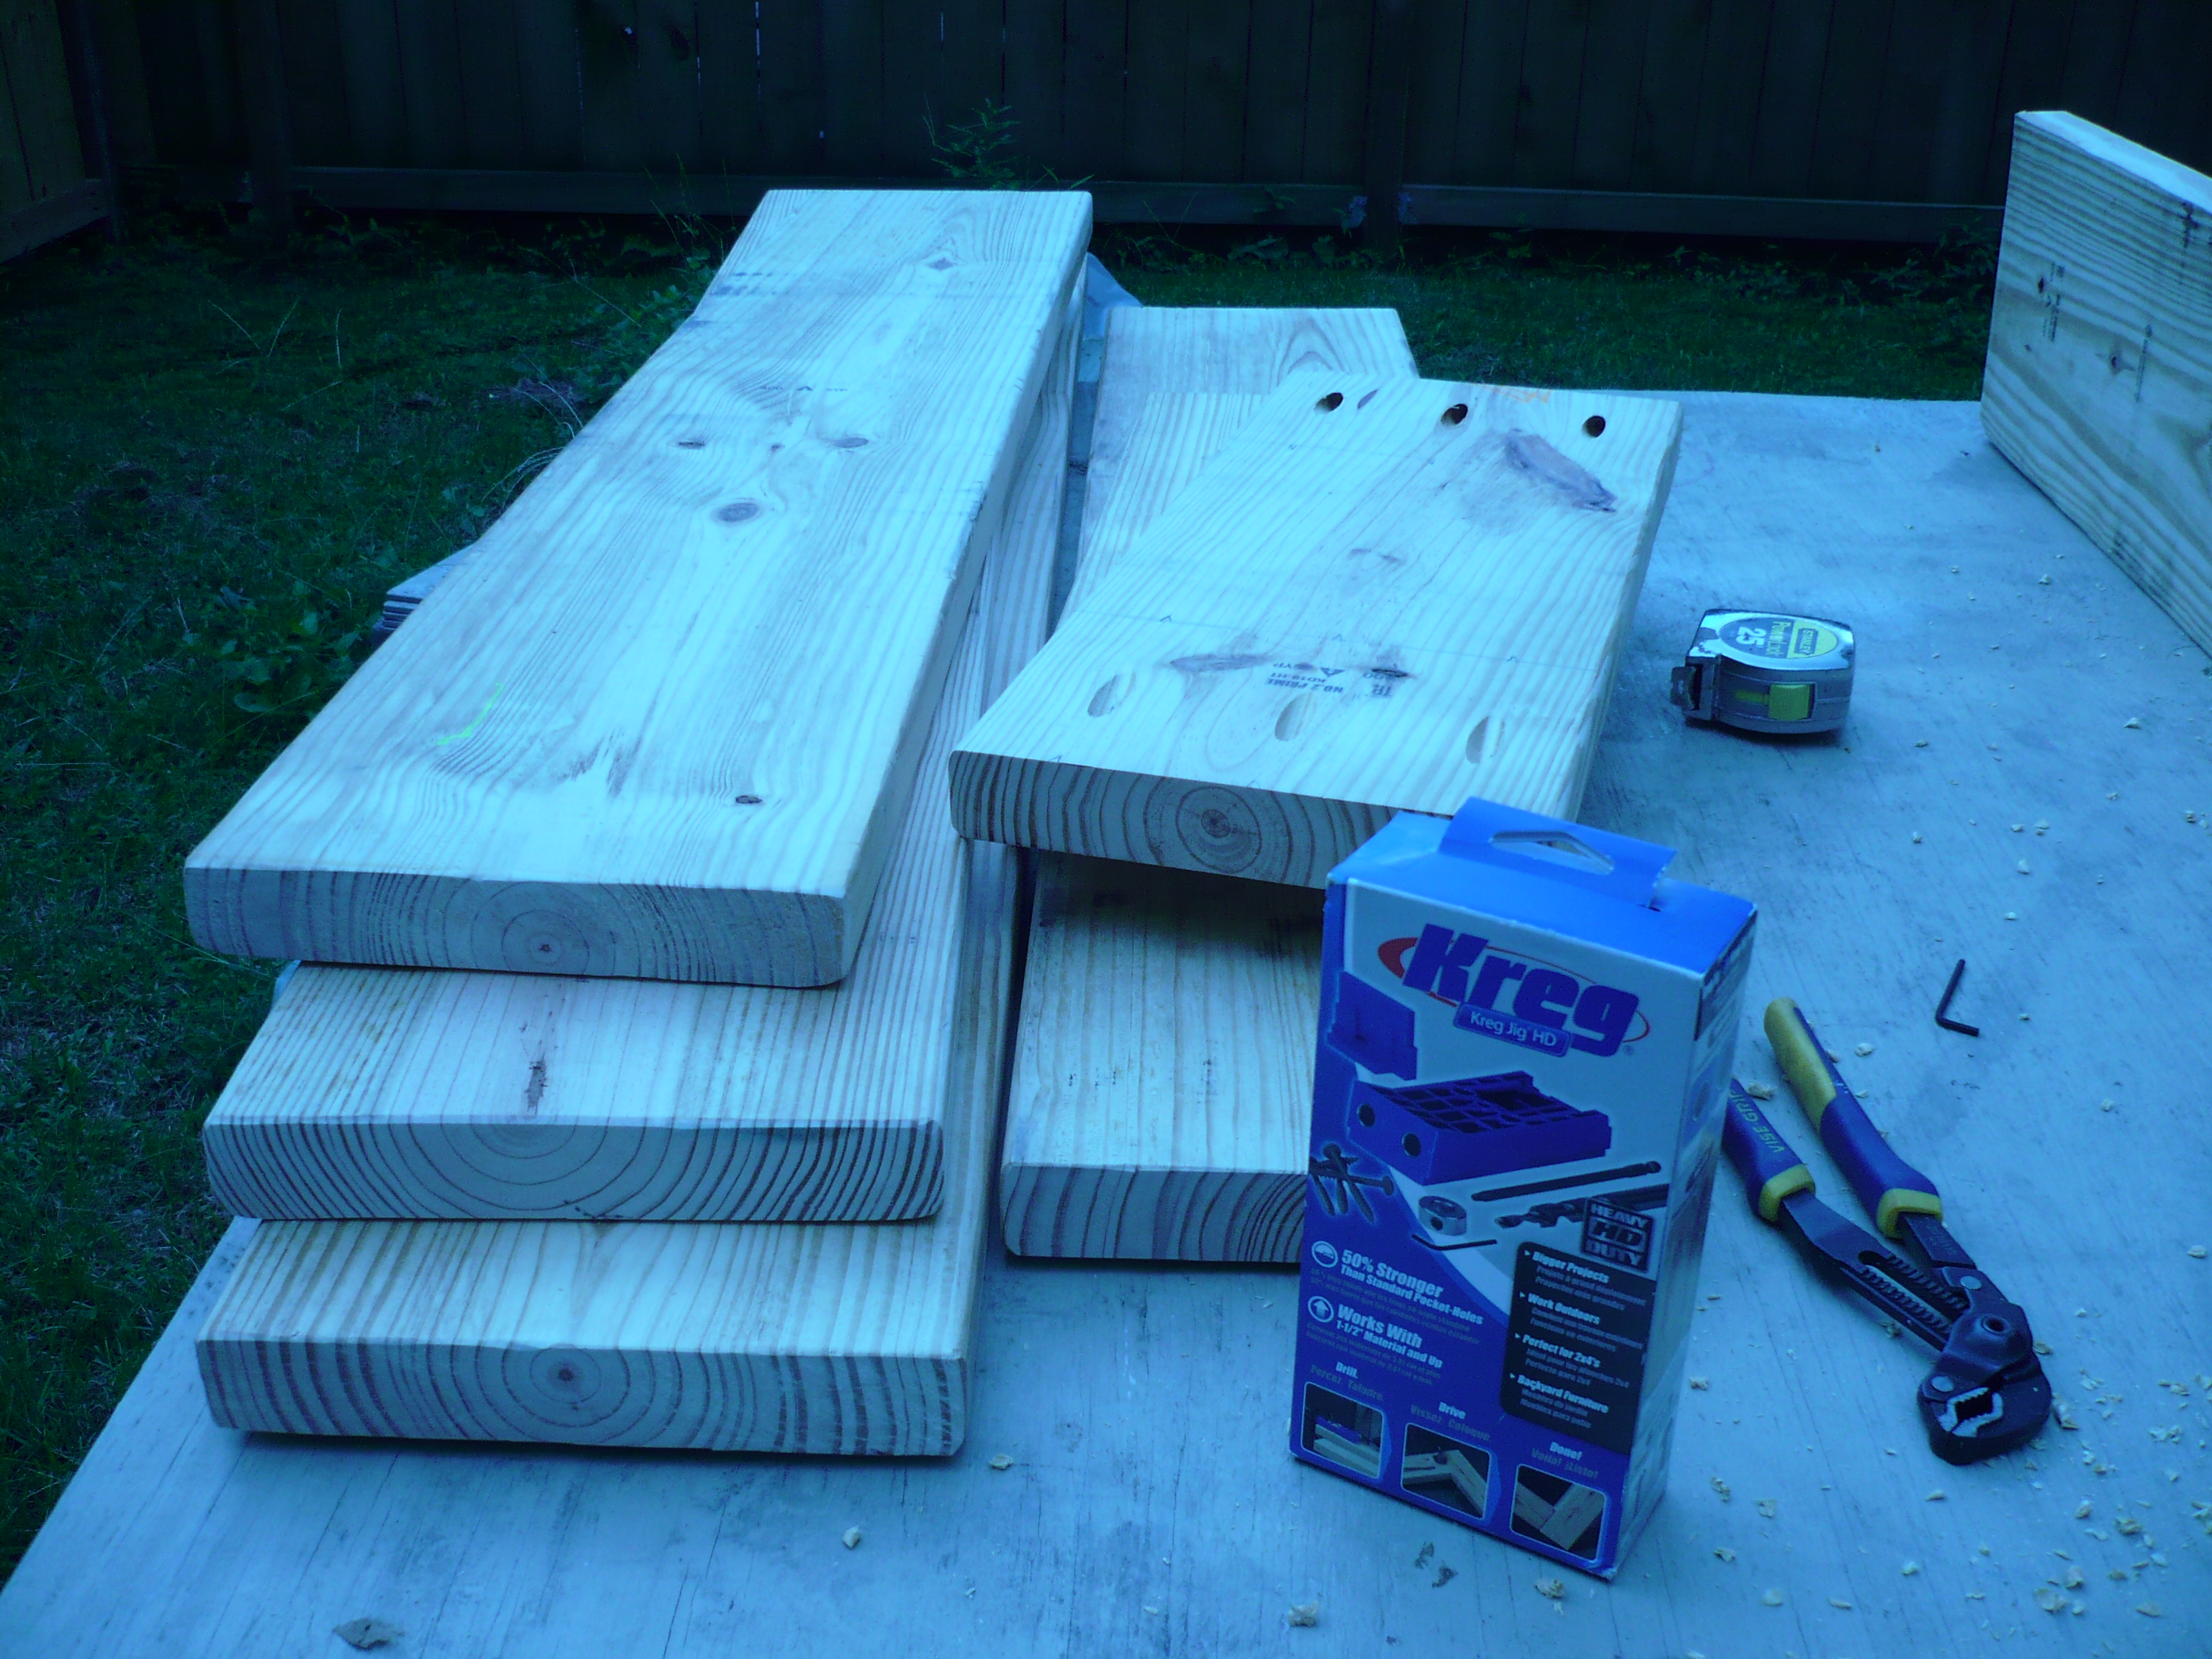
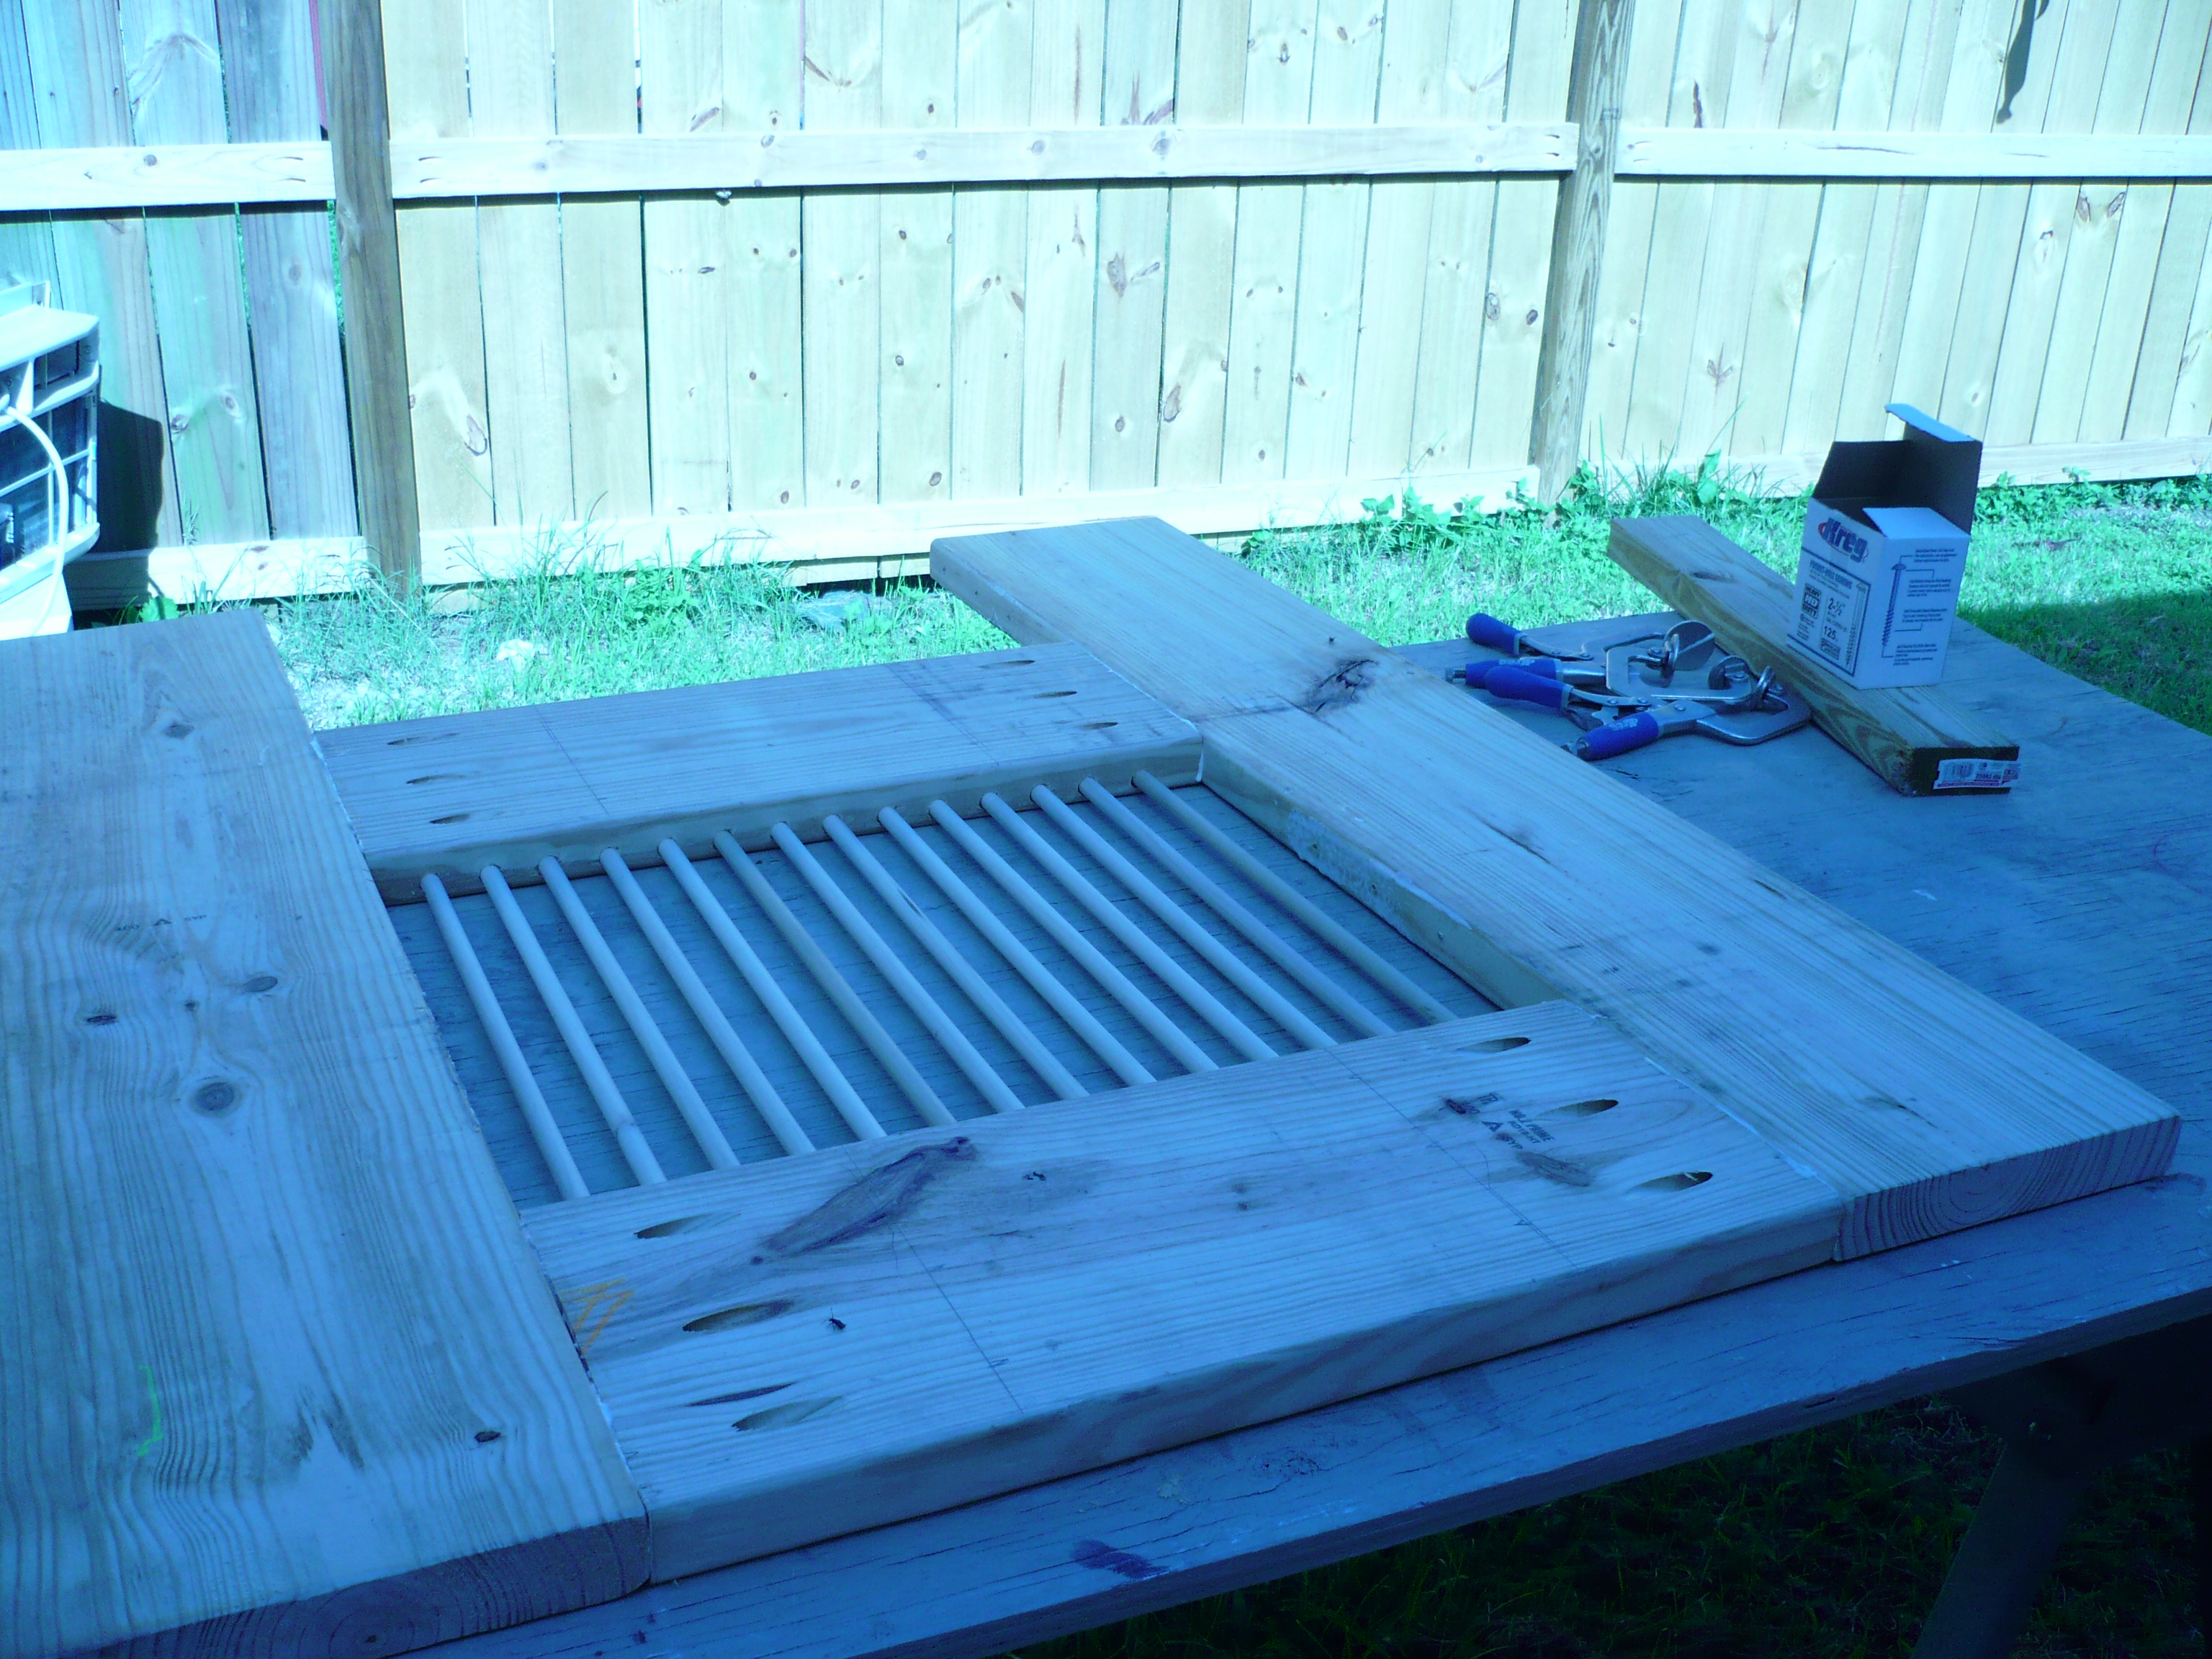
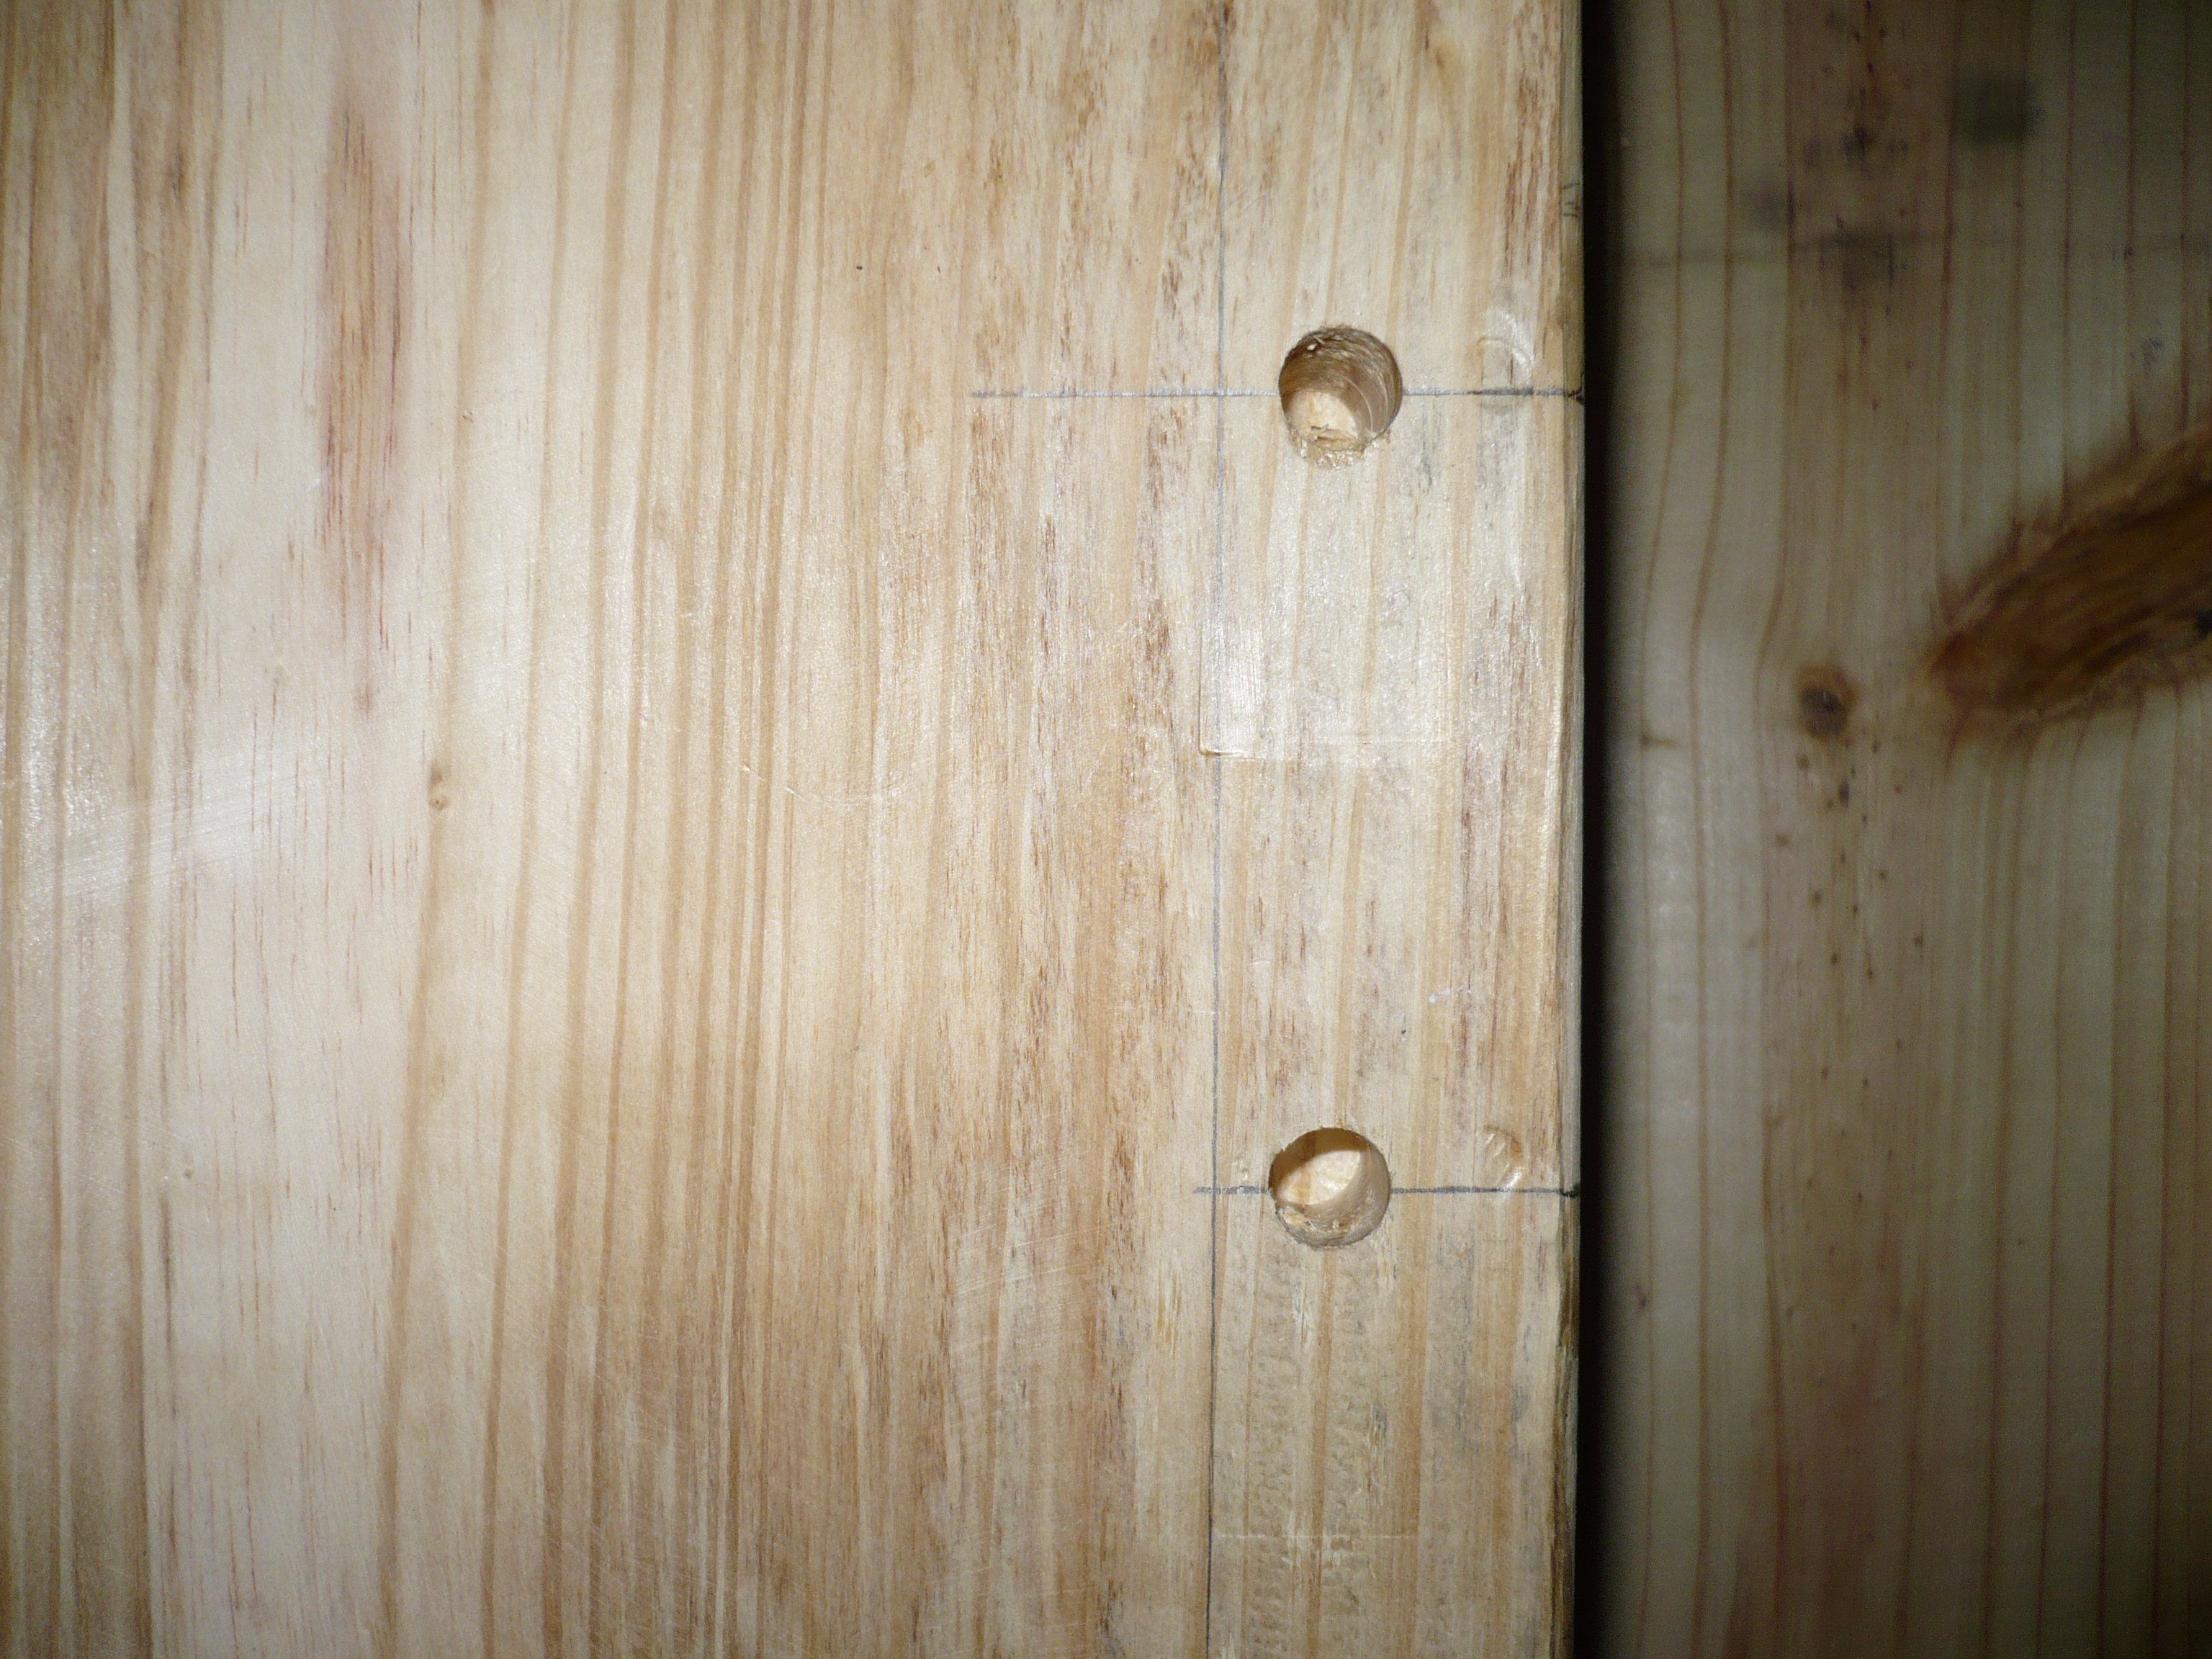
My first furniture build using my Kreg HD jig, 3/8 Rockler Dow jig and my imagination as I went along. I was making a twin bed frame so I got the dimensions form the box spring and went form there. I made it 3 inches wider then the box spring and 3 inches longer. I glued to the runners a 2X2 and screwd it down with my Kreg 2 1/2 decking screws which made it nice and solid. I used the dowling jig for the headboard and footboard to give it a distinctive look. I cut the dows to the length I desired and then glued one side in. Now making the otherside line up is a bit of a task. I found angling the final piece and lining one are two at a time and working my way to the opposite side worked best. When you get the last dow lined up take a rubber mallet and give it several good wacks to take out your fruststions (LOL) and sinc the down in until they are bottomed out. I use 3 Kreg HD screws on each side of the rails along with Oak dows to mount the headboard and footboard to the runners. Workd out just great! The bed is solid and dows not creak in the least. It's as if the bed were carved out of one piece of wood.
The paint I used a base coat of Creamy Oat. Then I painted Elmers glue over the base coat and let it get tacky. Then I drenched it with the green top coat and sat back and watched it crack. It was awesome to watch it crack! Don't worry about it running are dripping you can come back after and take a razor blade and gently remove the drips keeping the razor flat against the finish and not angling it in to the paint. Remember it's supposed to look old and weathered. You can also use the cheapest throw away brrushes you can find. Be sloopy! No worries at all. The thicker you add the glue the wider the cracks will be. Practice on a few scraps to get the feel. I let it cure for 3 days because of the thickness of the paint then covered it with 3 coats of Rust-Oleum's water based Ultimate Polyurethane semi gloss.
I am so proud of this build. Came out better then I ever thought and I love the unique paint as well. Time comsuming but well worth it!

Estimated Cost
$175
Estimated Time Investment
Week Long Project (20 Hours or More)
Finish Used
Described in post above.
Recommended Skill Level
Intermediate
Comments
Wed, 10/08/2014 - 13:18
Build4life
Sorry about the typo's. I should have proof read everything before I posted. Any questions please feel free to ask.
Wed, 10/08/2014 - 15:18
More about the build
I used 2X10's for the rails, headboard and footboard. Also I used Poplar and Oak dows on this build. Poplar was use on the headboard and footboard and the Oak was use on the rials to line them up and also for extra support along with 3 Kreg HD screws on each rail support end.
When using the painting method above make sure you keep the surface flat are you will see a significant sag in the paint. As it dries it will want to run off because of the thickness of the glue and paint combined.
Sat, 10/11/2014 - 16:49
Unique Painting Method
I tried the paint method suggested, however, It did not turn out as it does in the picture of the bed. Can you tell me what kind of paint and glue you used? How long did you wait until you found the glue to be "tacky"?
Thanks for any input you can suggest!
Tue, 10/21/2014 - 14:43
Hi Indykj
Hi sorry it took me so long to answer. The base coat I used Valspar Signature Egshell Creamy Oat. Then I used Elmers Glue-All putting it on with and old throw away brush and alternated between thick and thinner areas on the surface of the 2X10's. Let the brush get saturated with glue and use pressure when applying to have the thinner areas and less pressure for the heavy areas. The heavy areas will produce the larger cracks. I let the glue sit for 5 minutes. I bought the glue by the gallon from either Sam's Club are Walmart online and they have free shipping so it runs about $16 per gallon. The top coat I use Olympic Premium that was so old I was not sure it would cure.
The trick is keeping the wood flat for about 1 day because the process is so thick the thickness of the glue and top coat will sag like crazy. The sides of the 2X10's are way different form the front and back. The paint process wanted to run off and I had to let it dry and thgen just use a razor blade to trim the drippings off. I hope this helps. If you leave it lay flat you'll get the effect I got. I'll tell you the picture does it no justice at all. Take care!
Mike
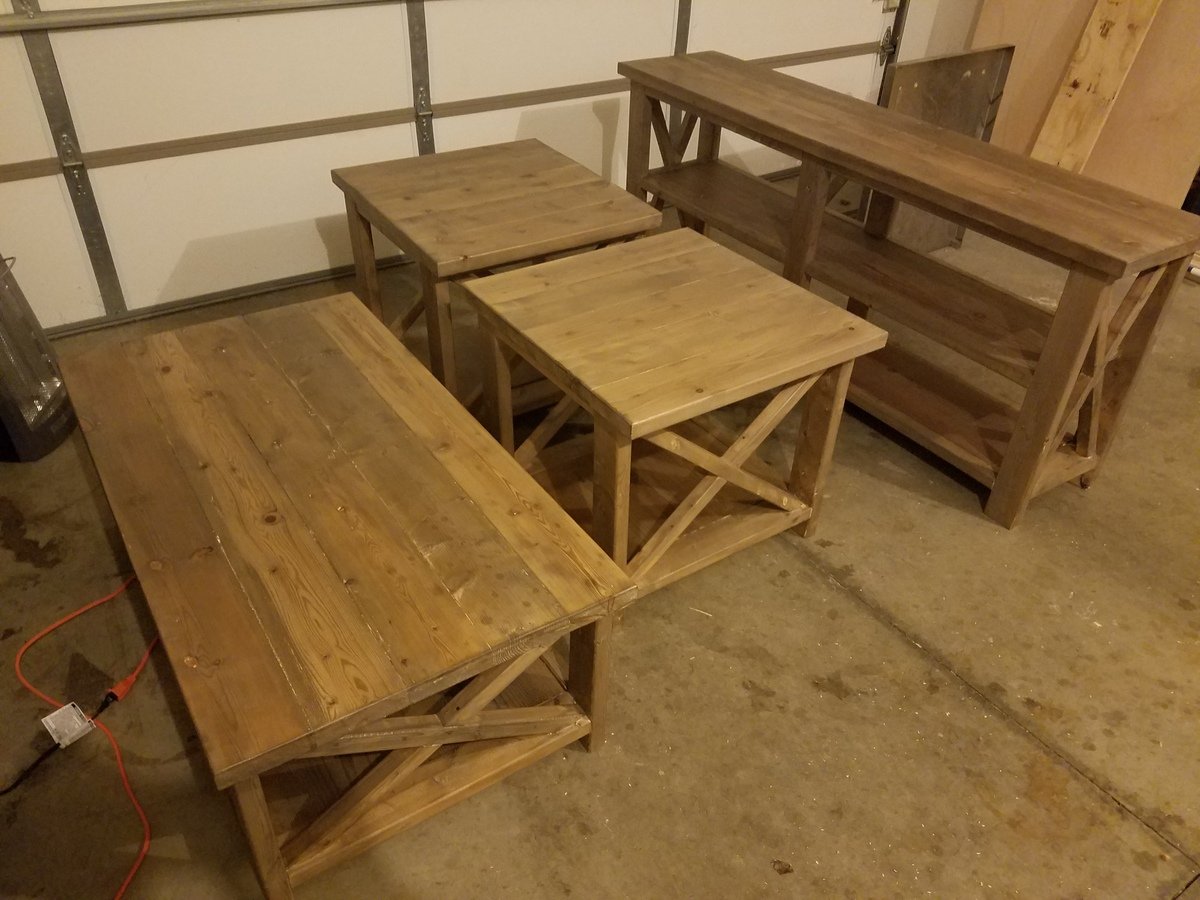
Rustic X Coffee Table

Made the 3-table set with 2 Rustic X end Tables and a Rustic X Coffee Table. These are my first woodworking projects ever and I'm so excited to do more!

Built from Plan(s)
Estimated Cost
$50-$75
Estimated Time Investment
Day Project (6-9 Hours)
Finish Used
Minwax Early American, Minwax Satin Polyurethane, Rustoleum Flat White Paint
Recommended Skill Level
Beginner
Comments

Sun, 01/22/2017 - 16:46
Really nice job! Can't wait
Really nice job! Can't wait to see more projects from you!
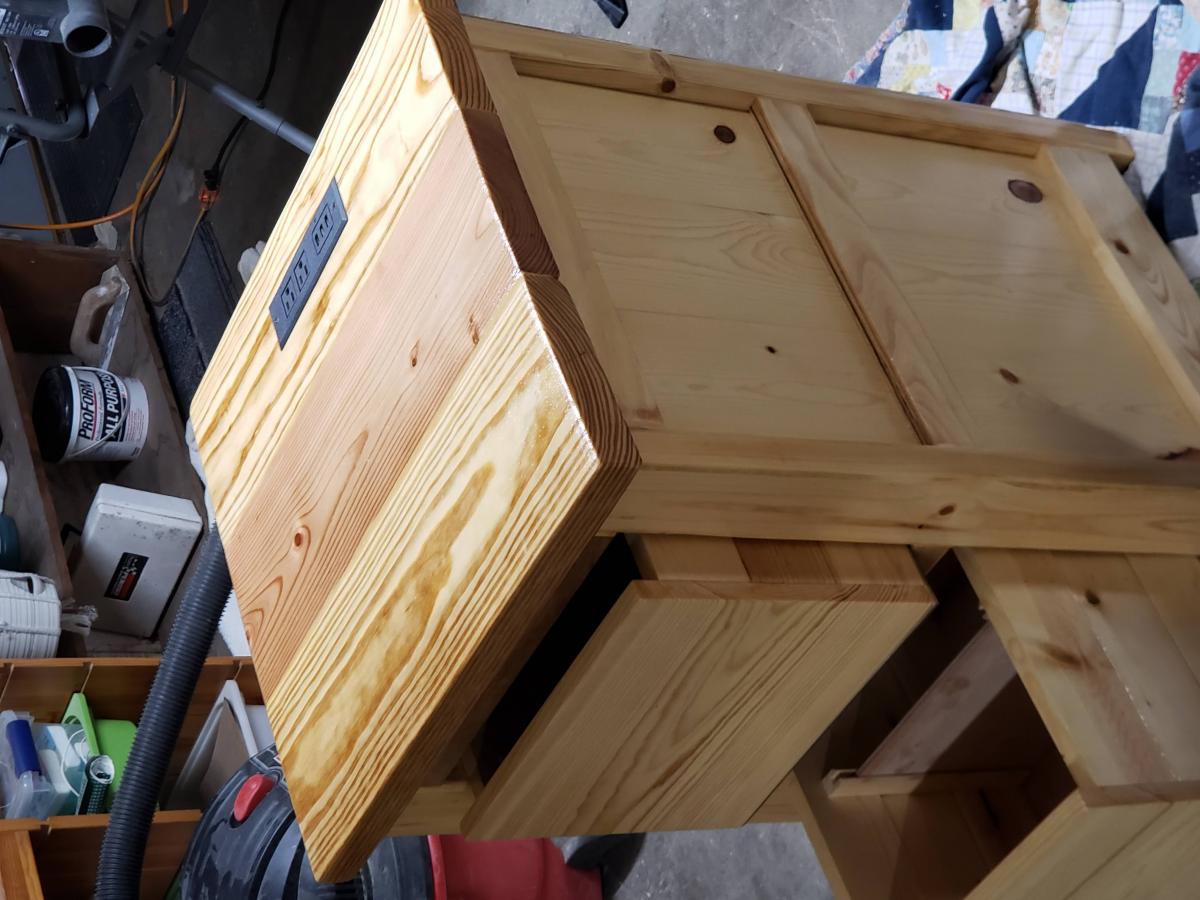
I made a mini Dumpster Dresser
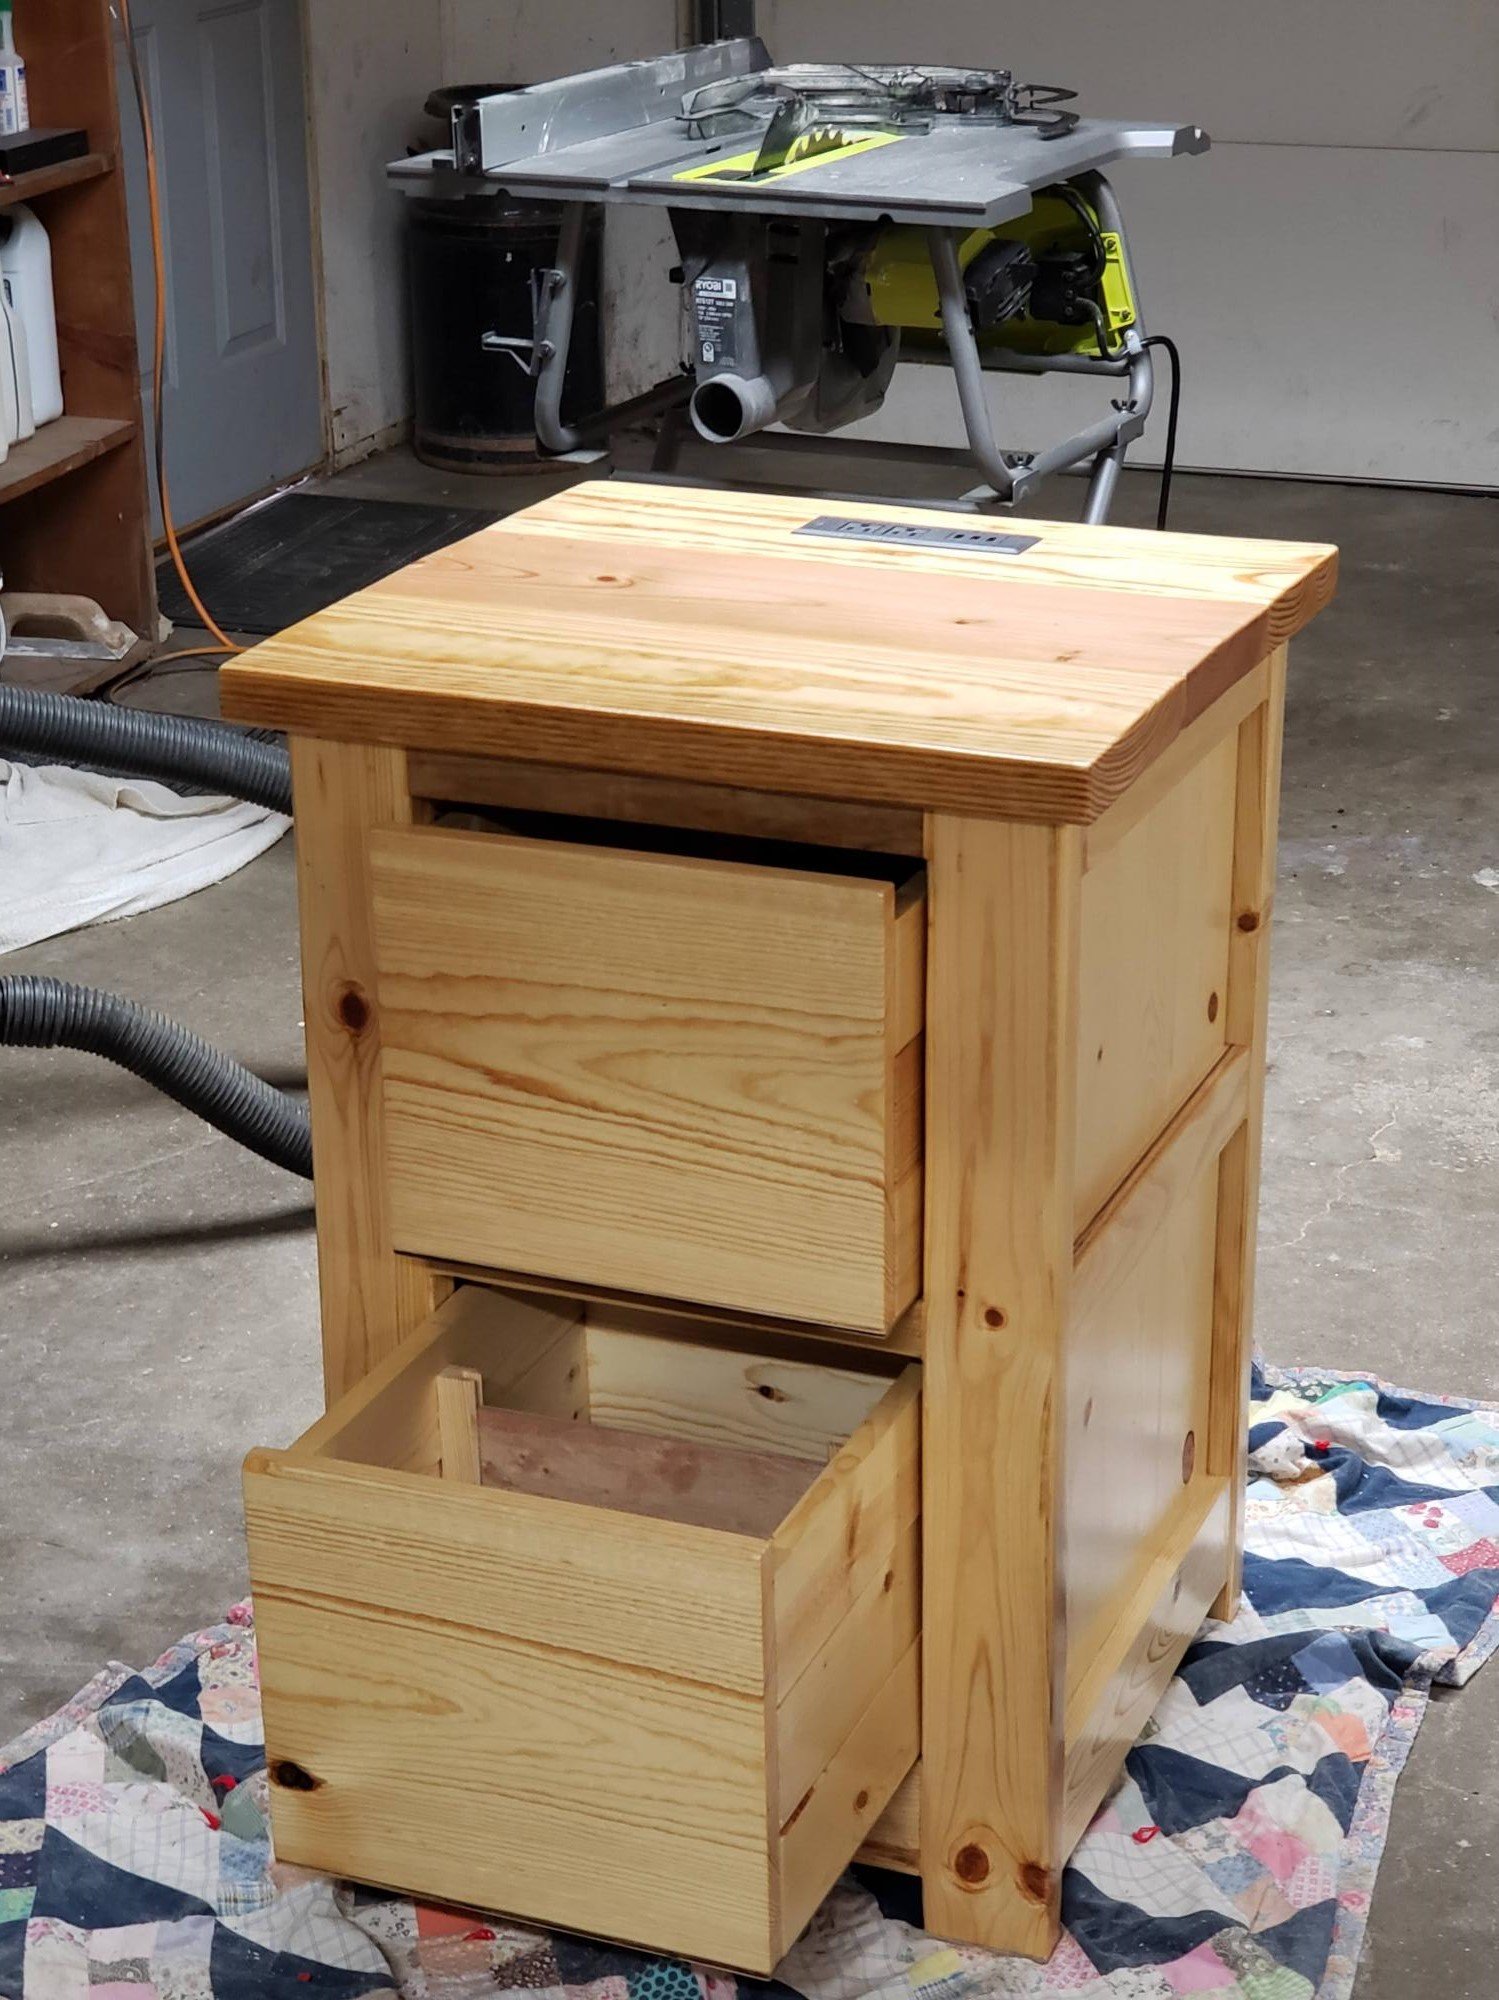
I made this mini dumpster dresser to add to my collection I had added Conference Recessed Power Strip Socket with USB Ports,Table Power Strip,Desktop Charging Station with 2-Outlets and 3 USB Ports(Max 3A) Return eligible through Oct 30, 2020 $16.49 at Amazon
Built from Plan(s)
Estimated Time Investment
Day Project (6-9 Hours)
Finish Used
I used a natural wood stain from Minwax and polyurethane 2 or 3 coats your choice
Recommended Skill Level
Beginner
Comments

In reply to Love the added power strip! by Ana White Admin
Tue, 01/05/2021 - 06:45
Thank you,
Thank you for your reply. If it wasn't for your website I wouldn't have made the furniture Dumpster Dresser. I also made a bench to go along with the dressers it has two drawers/
Hendrix desk
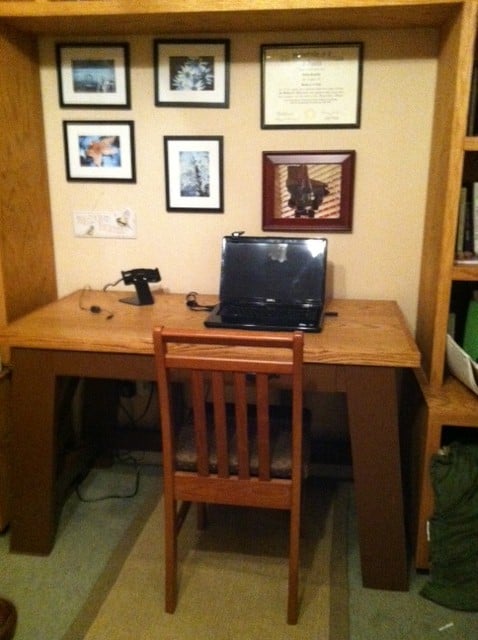
Built this desk for my parents to fit in their office space. It is made to look like the Hendrix desk except smaller. I sandwiched together 2 pieces of plywood to make the desktop thick and sturdy.
Estimated Cost
$85.00
Estimated Time Investment
Weekend Project (10-20 Hours)
Finish Used
Minwax Golden oak on the top and Sherwin Williams paint for the legs.
Recommended Skill Level
Intermediate
Rustic X Console Table
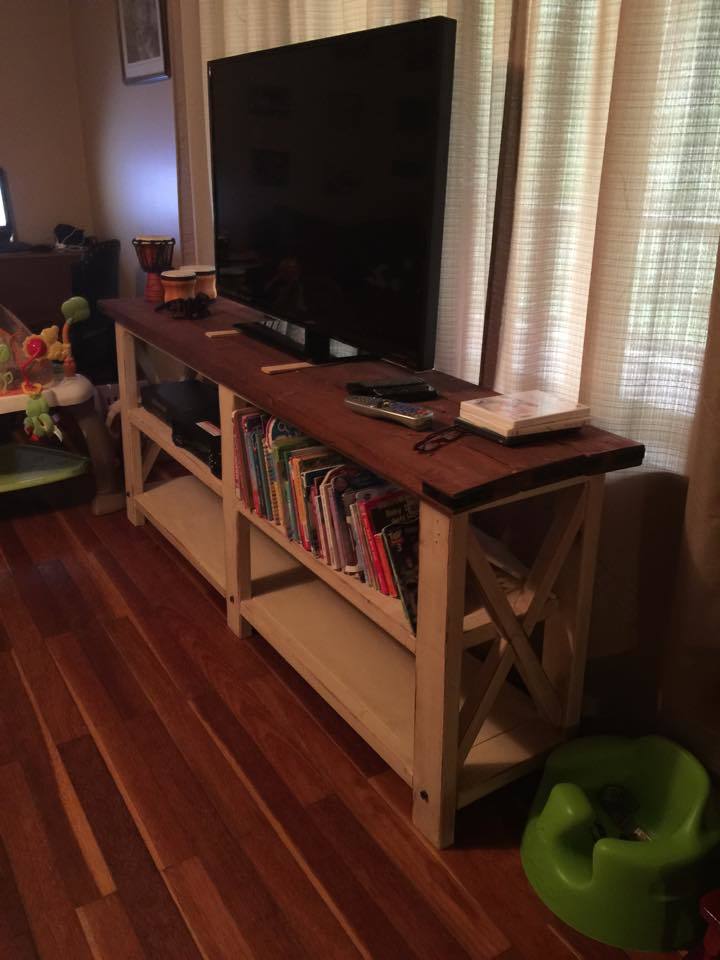
easy build
Built from Plan(s)
Estimated Cost
75
Estimated Time Investment
Weekend Project (10-20 Hours)
Recommended Skill Level
Beginner
Living Room Set RusticX
RusticX living room set with a tea/steel wool-vinegar treatment and a paste wax finish.
Built from Plan(s)
Estimated Time Investment
Week Long Project (20 Hours or More)
Finish Used
Minwax Natural Paste Wax Finish
Recommended Skill Level
Beginner
Simple Modern Outdoor Sectional

Loved the simplicity of this design. It turned out beautiful. My sectional is 6'X10'X10'.
Built from Plan(s)
Estimated Cost
400.00 not including the cushions
Estimated Time Investment
Week Long Project (20 Hours or More)
Finish Used
I havent decided on a finish yet but i will post more pictures when i do.
Recommended Skill Level
Intermediate
Comments
Wonderful plans!
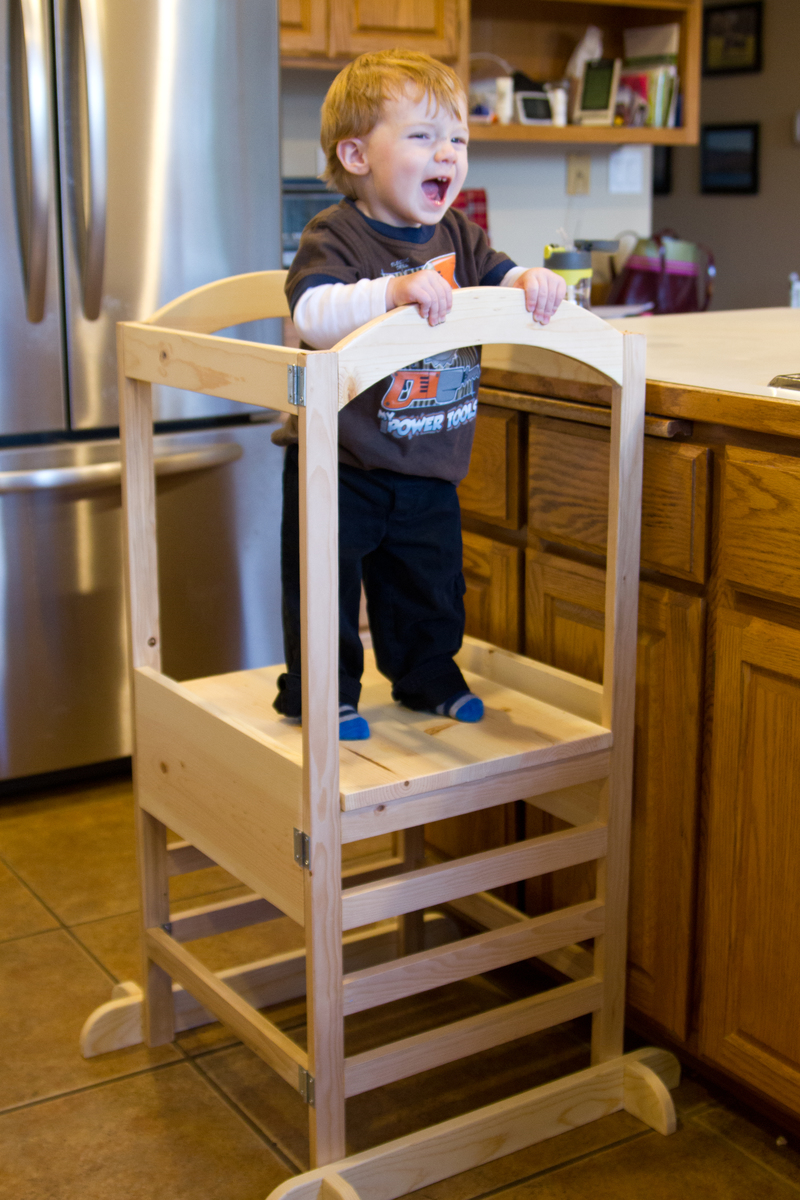
My son is getting to the age where he wants to see everything we are doing whether it's in the kitchen or at the workbench out in the garage. This tower is PERFECT! We were eyeballing a $200 tower on Amazon but I was thrilled to find these plans. Even with the hingest I think I came in under $40. He immediately figured out how to climb up by himself and the top rung is a good height for him. This is going to get a lot of use! The build itself was an easy afternoon but of course the multiple coats of polyurethane took a few days since they had to dry. Thank you the wonderful plans!
Built from Plan(s)
Estimated Cost
$40
Estimated Time Investment
Afternoon Project (3-6 Hours)
Finish Used
Sanding with 80, 120 and 220 then three coats of polyurethane sanded with 220 grit in between each coat.
Recommended Skill Level
Beginner
Farmhouse entry table - 4' by Dennis Larson
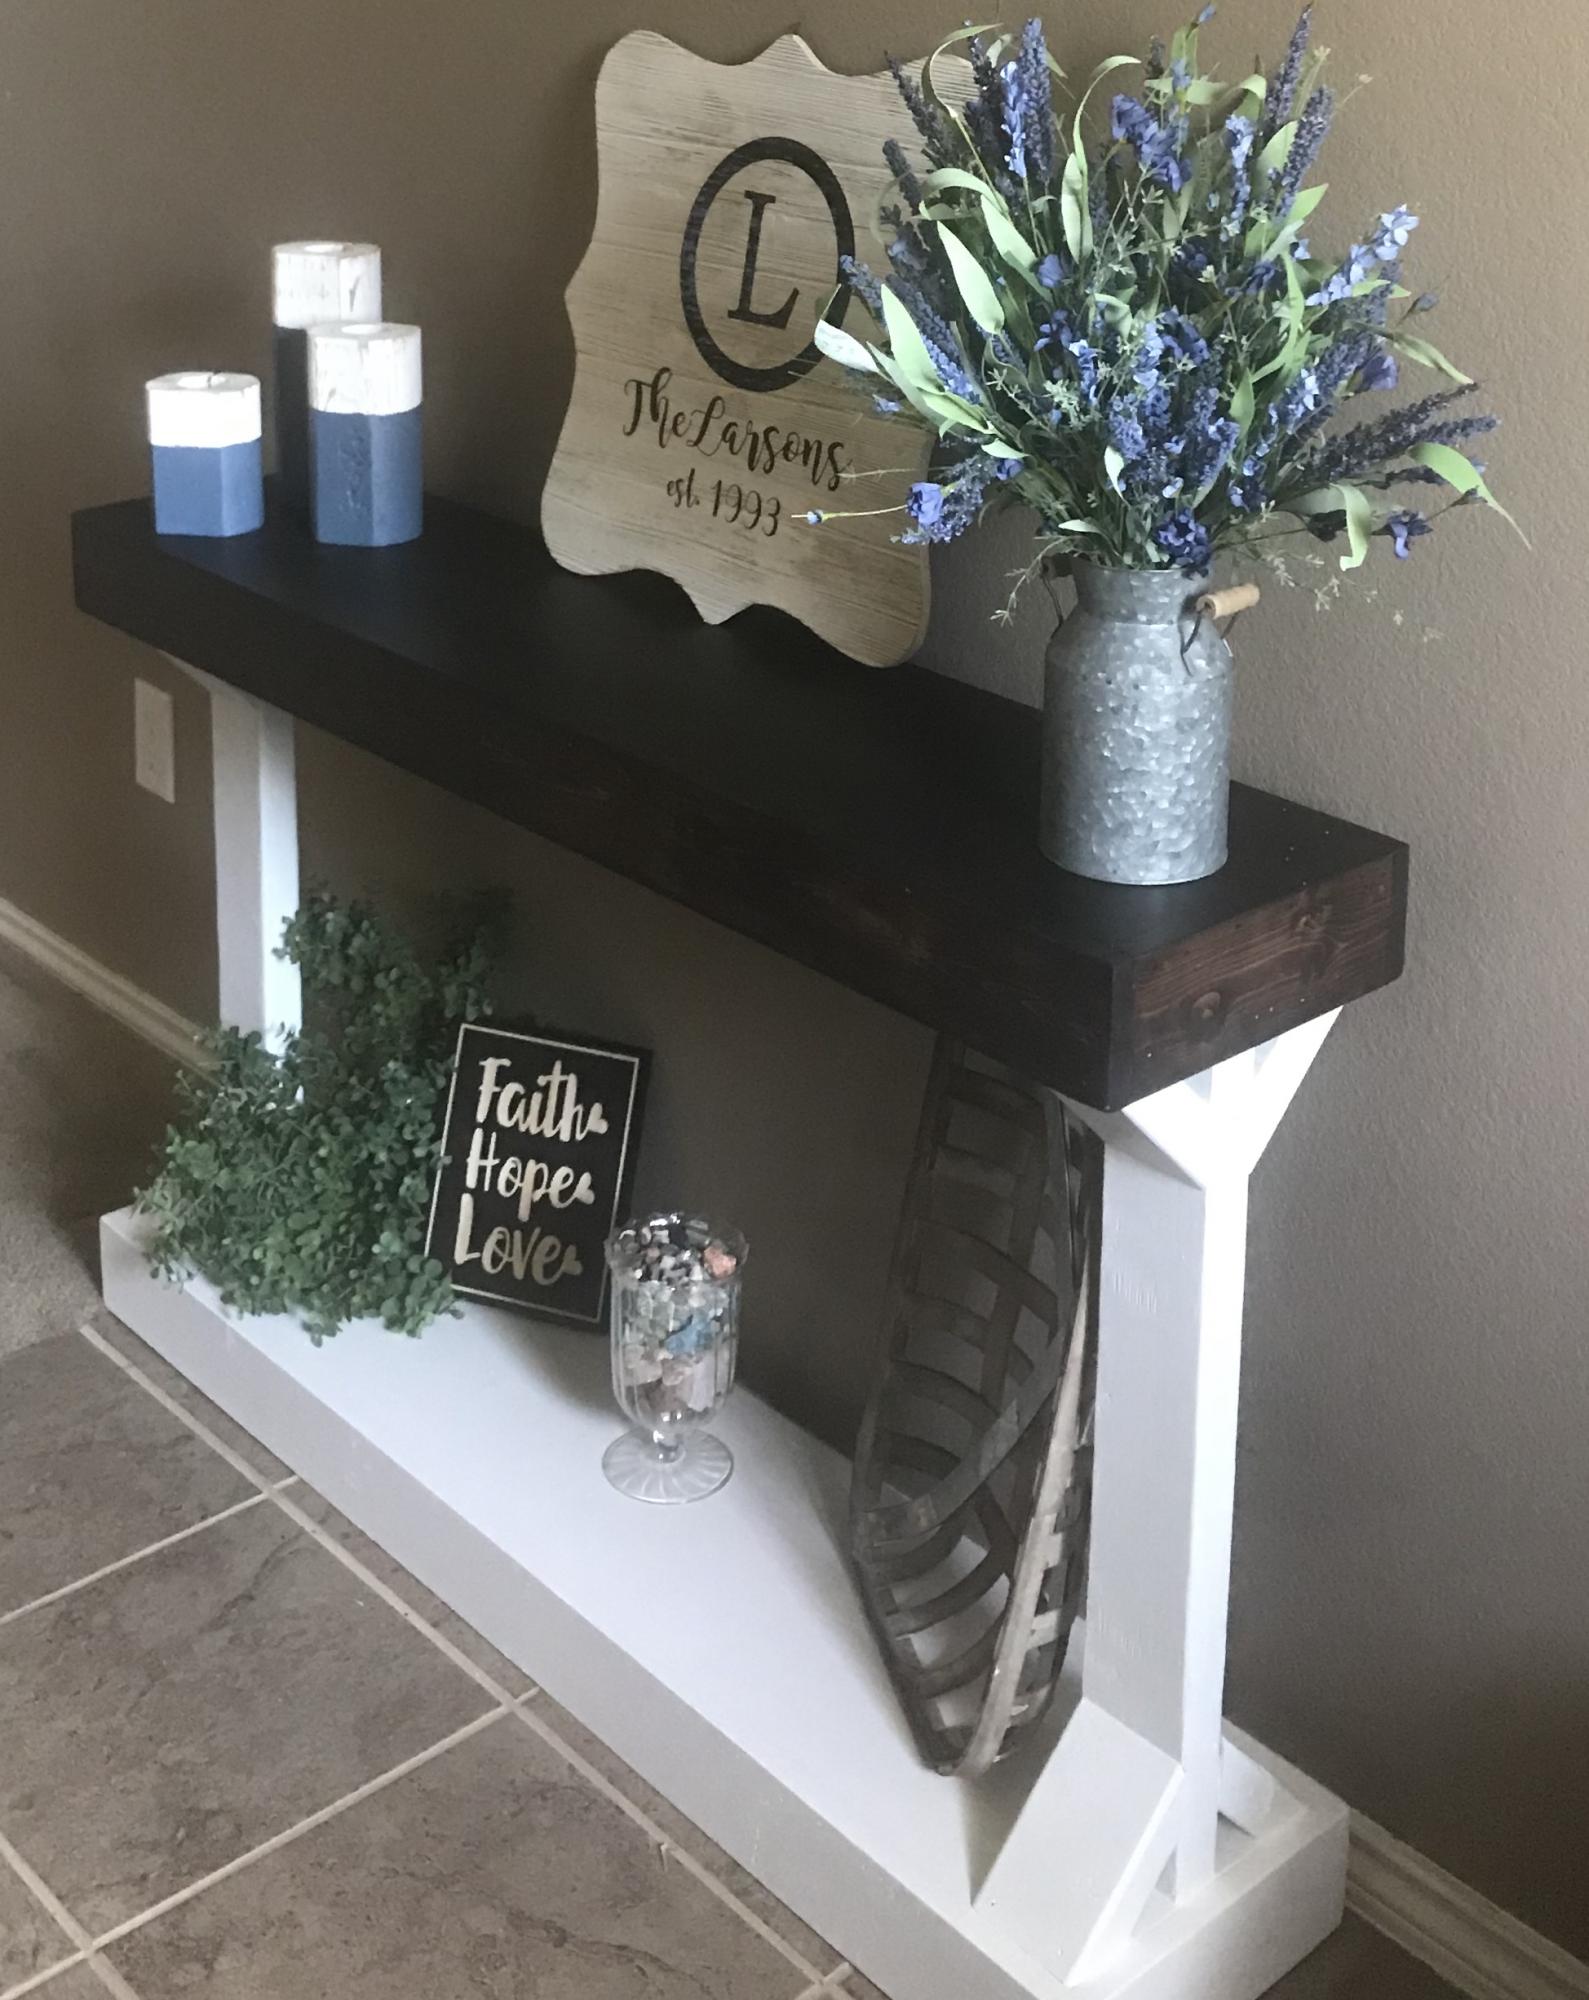
Fun weekend project for an entry redo. Adjusted plan to 4' length to fit the space.
Built from Plan(s)
Estimated Cost
$100
Estimated Time Investment
Day Project (6-9 Hours)
Finish Used
General Finishes oil based gel stain (Java) for top, white Kilz paint
Recommended Skill Level
Beginner
Tryde Coffee Table

I made this for a good friend of mine who just moved into a new house. I used all reclaimed wood and made my own stain for it. The legs are made from 100+ year old oak and the side aprons are from vintage walnut. The only wood that isn't vintage was the pine on top, I wanted a rustic look so I used pine boards that separated masonite boards and laid a towel on top and bumped it a few times with a hammer and dropped a few things. The boards weren't long enough for the table I cut some in half to make the table longer. I also added corner brackets to fit the look of the house.
Estimated Time Investment
Day Project (6-9 Hours)
Finish Used
I made a stain with vinegar, tea and steel wool. I let it sit in a jar for about 3 weeks and did two coats. That made the wood a grayish black, then I added two coats of a satin polyurethane.
Recommended Skill Level
Beginner
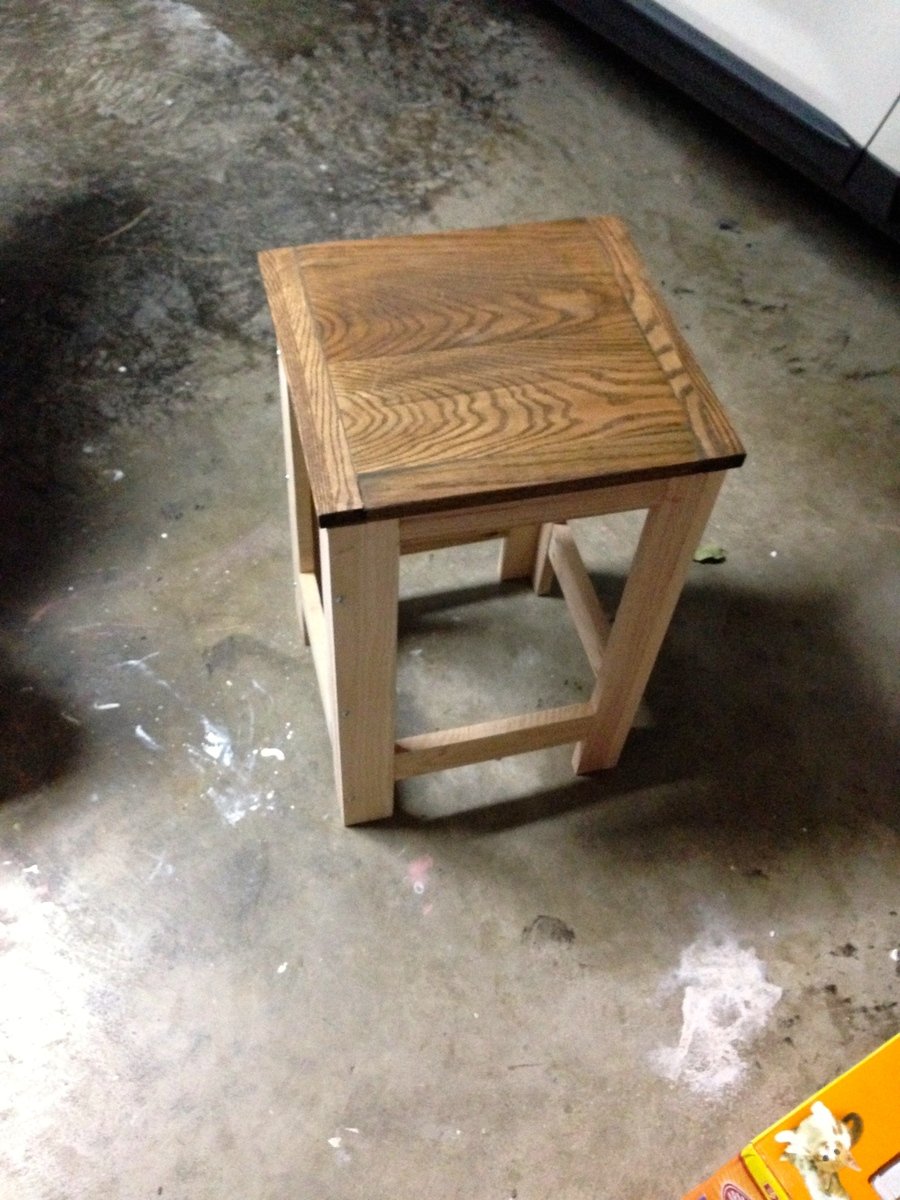
Garage Stool
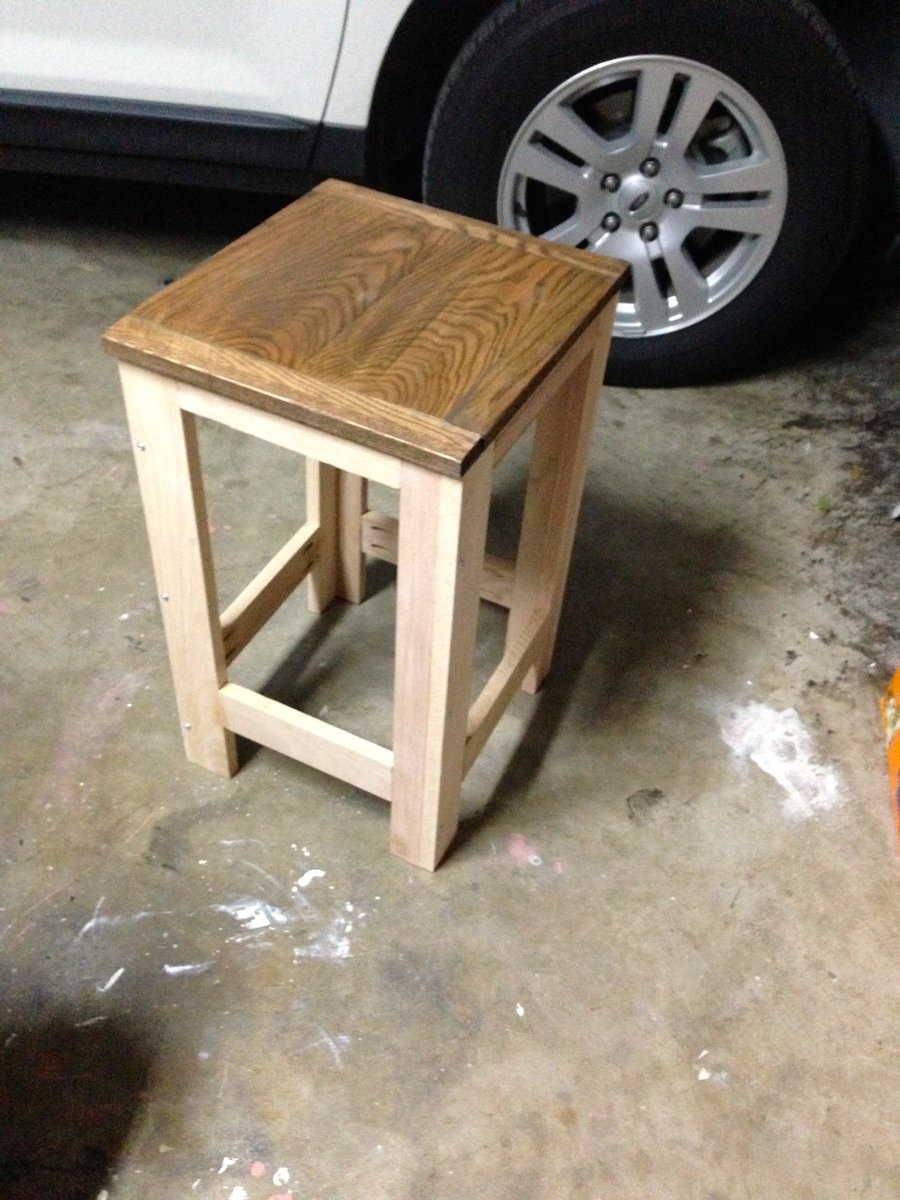
Took about 8 Hrs total. Used the Kreg jig except on the sides. Left the screws exposed for a more industrial look
Built from Plan(s)
Estimated Cost
$40.00
Estimated Time Investment
Day Project (6-9 Hours)
Recommended Skill Level
Beginner