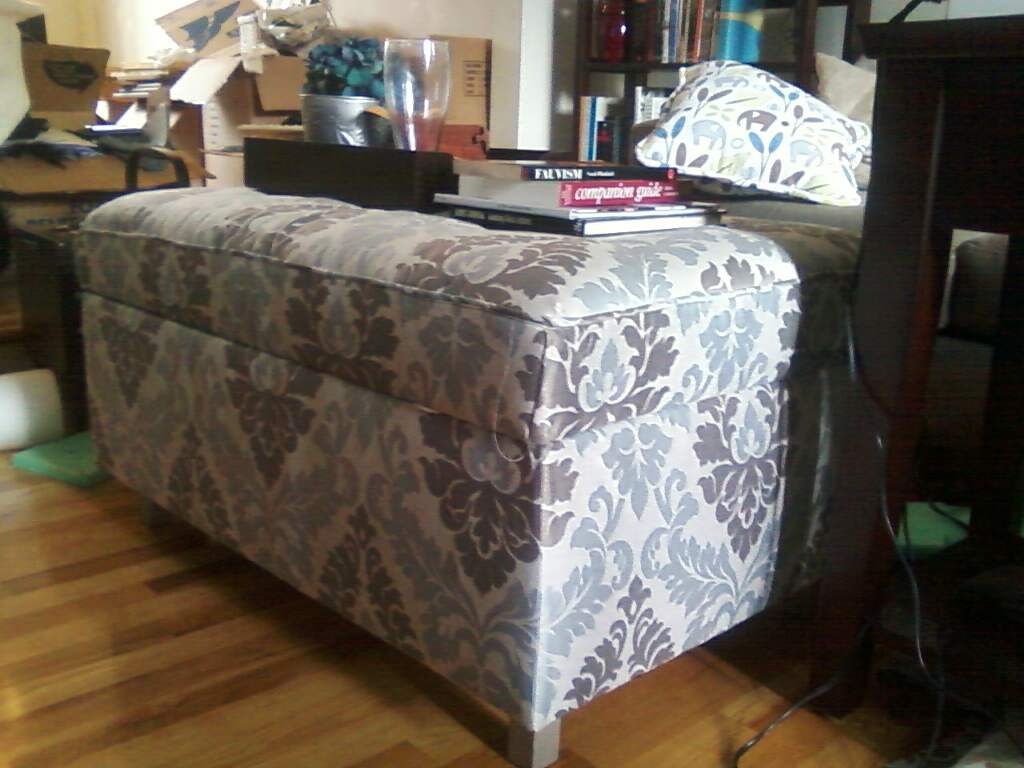
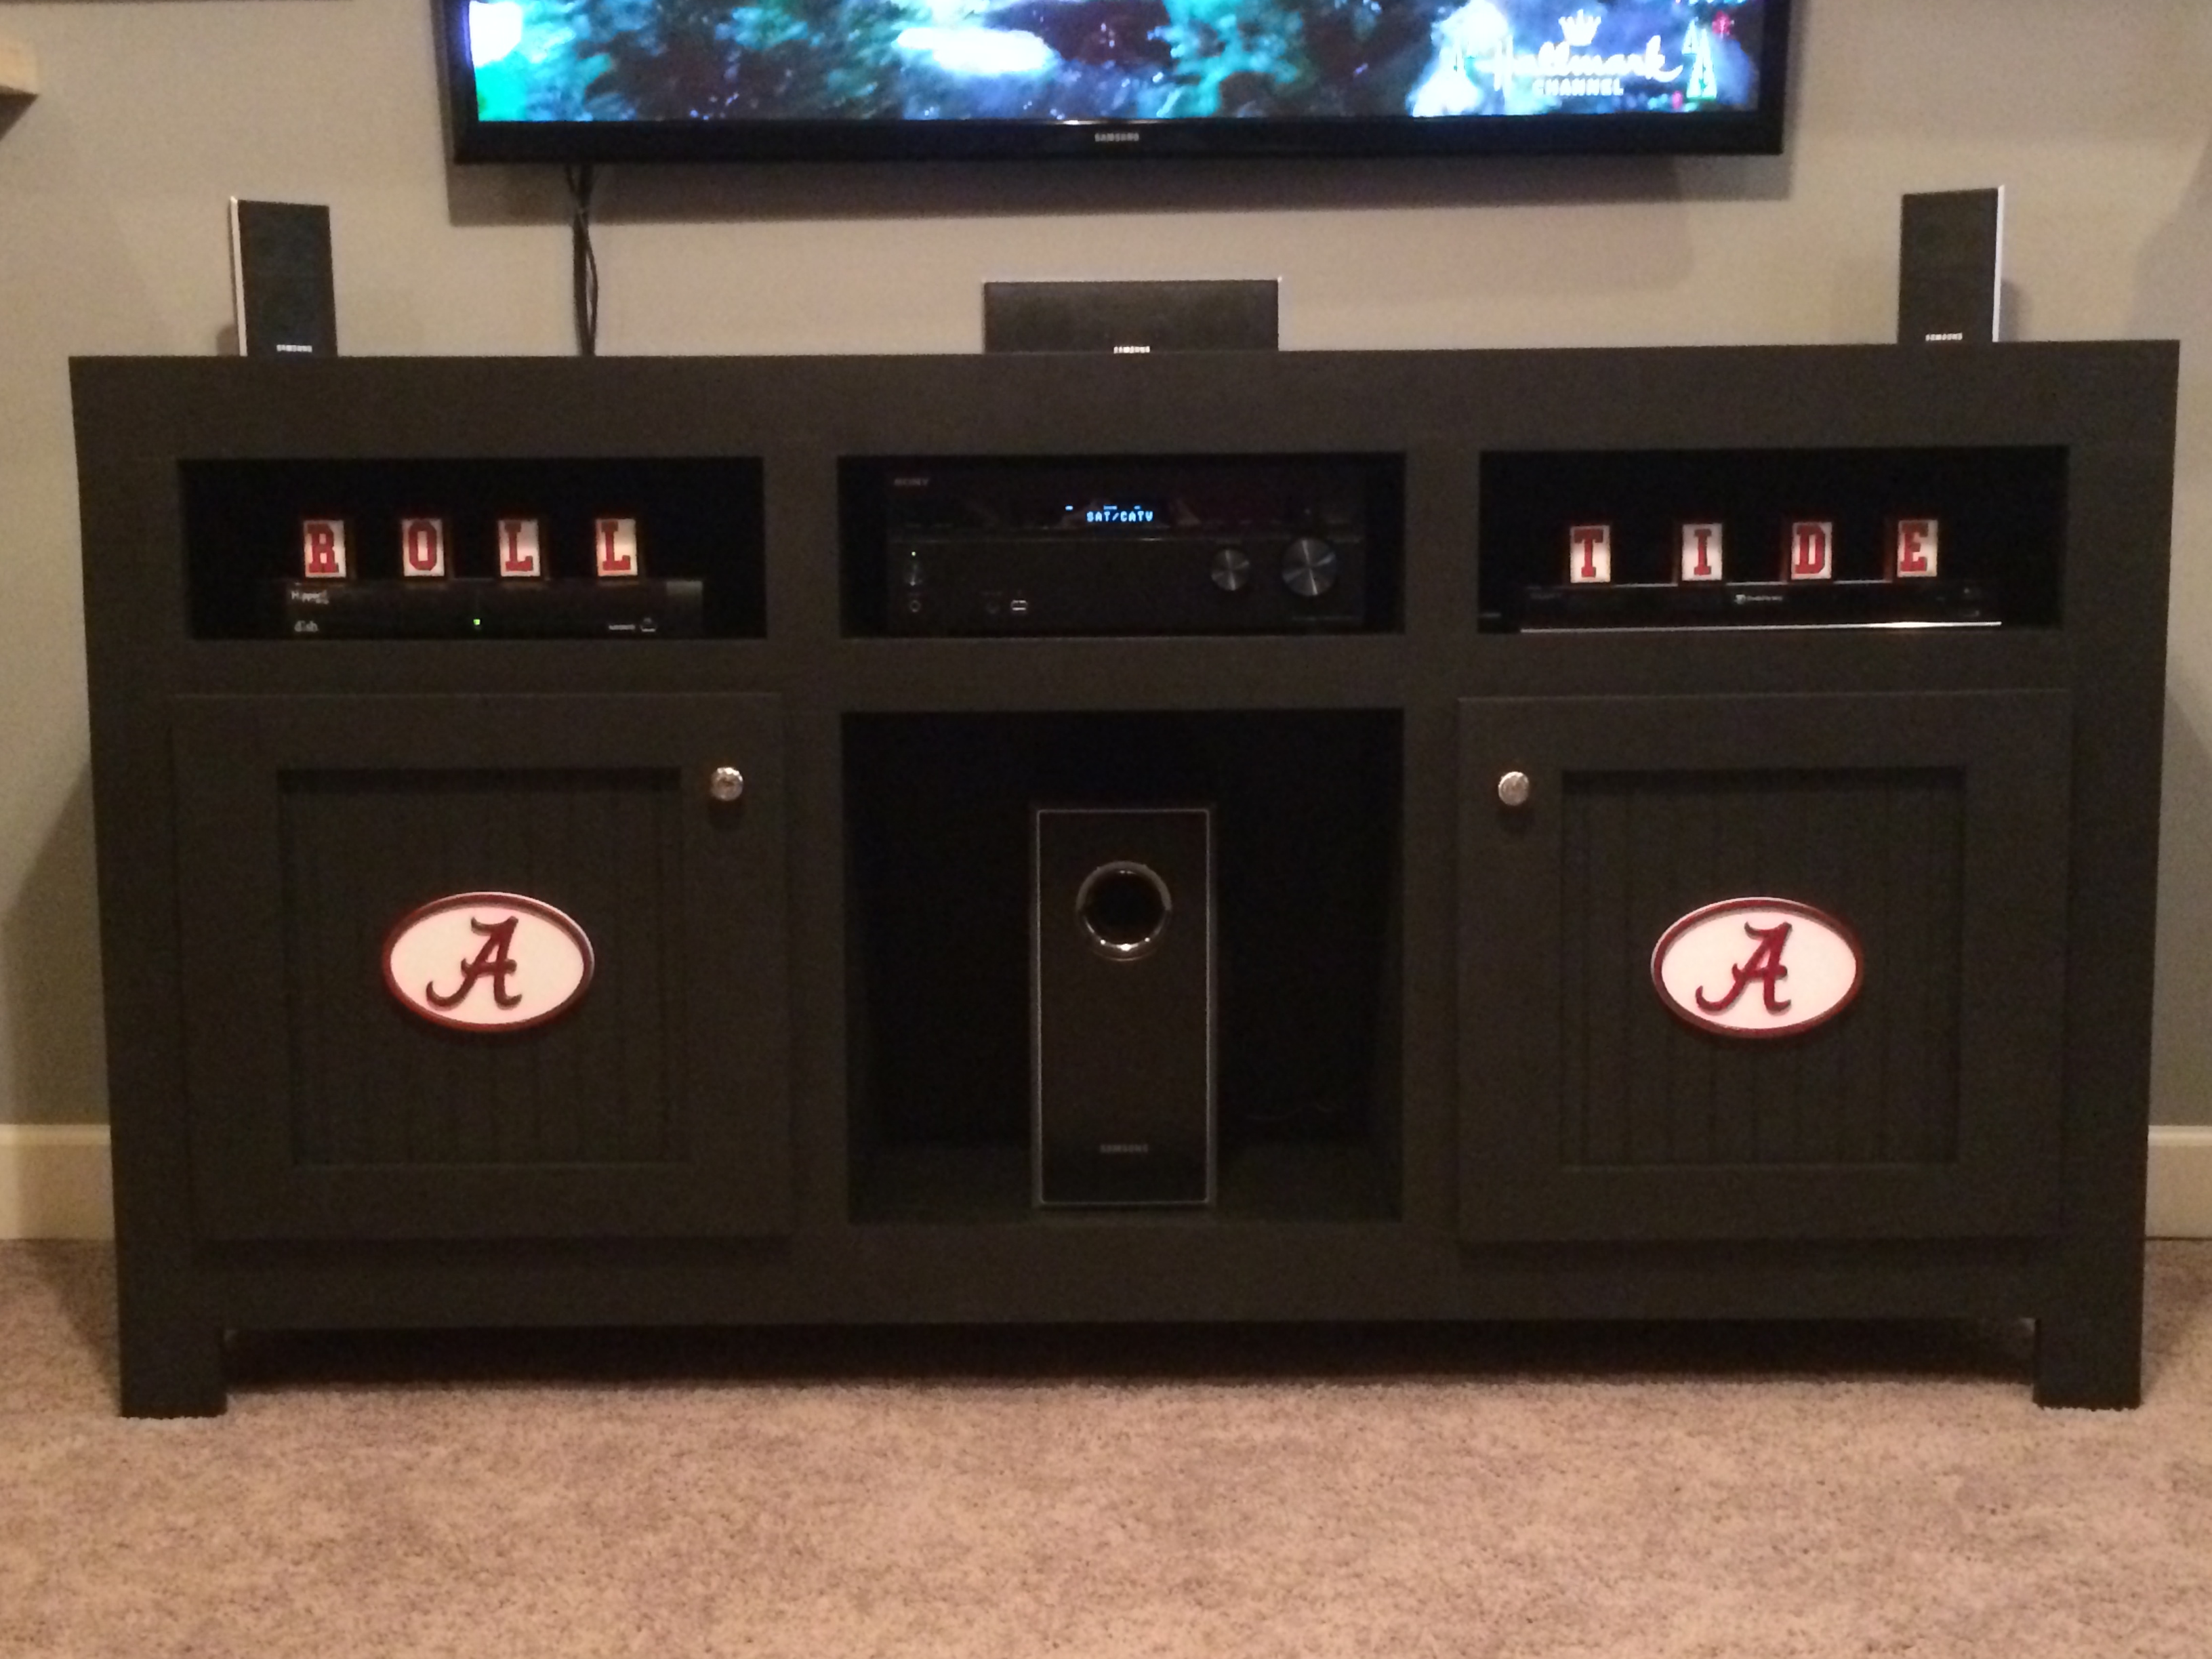
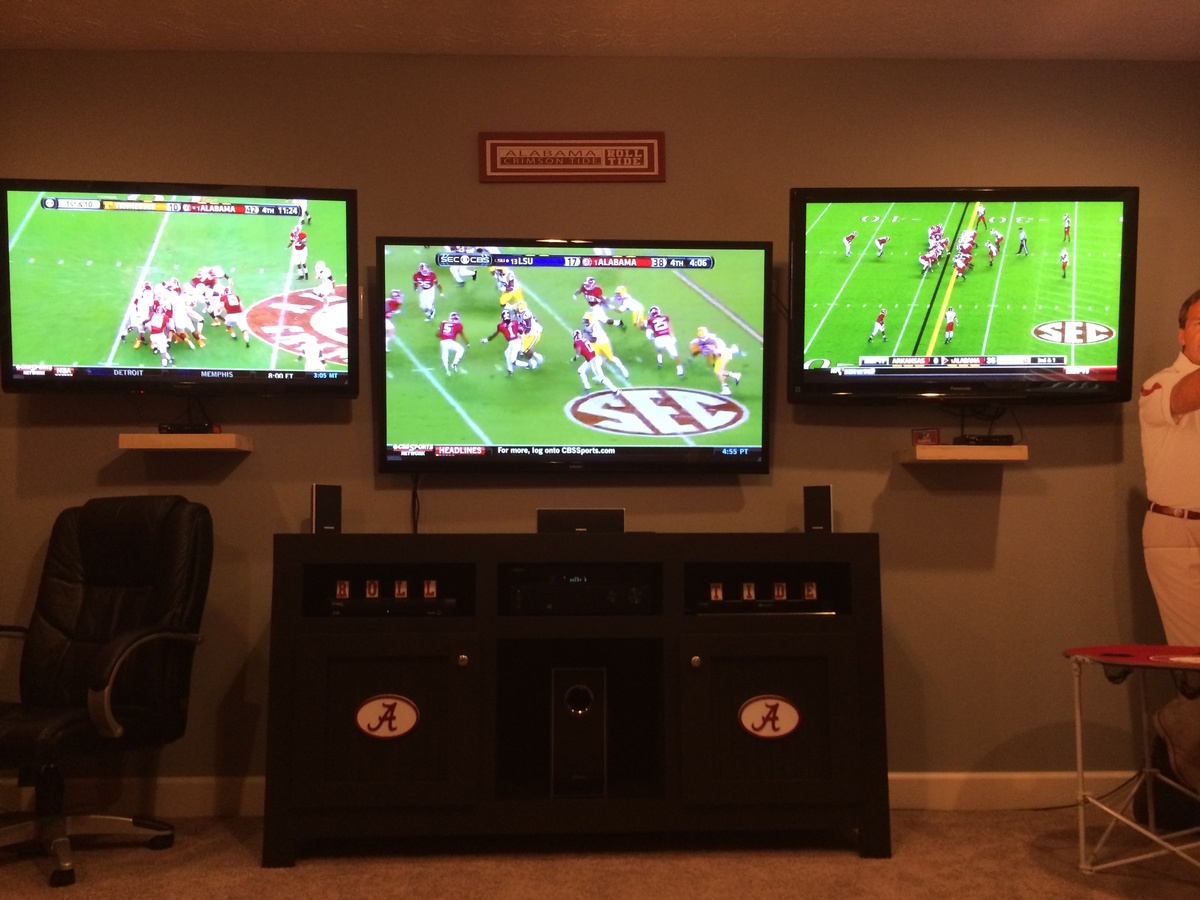
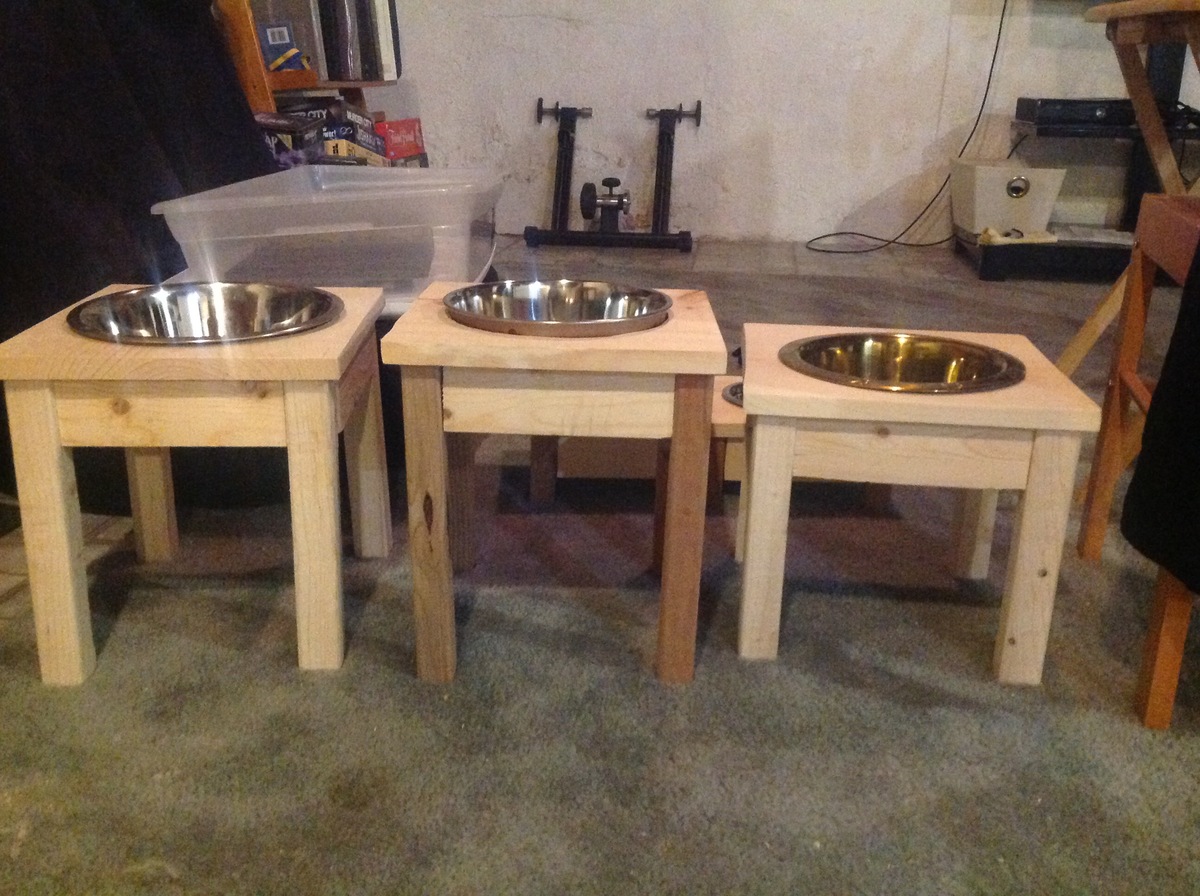
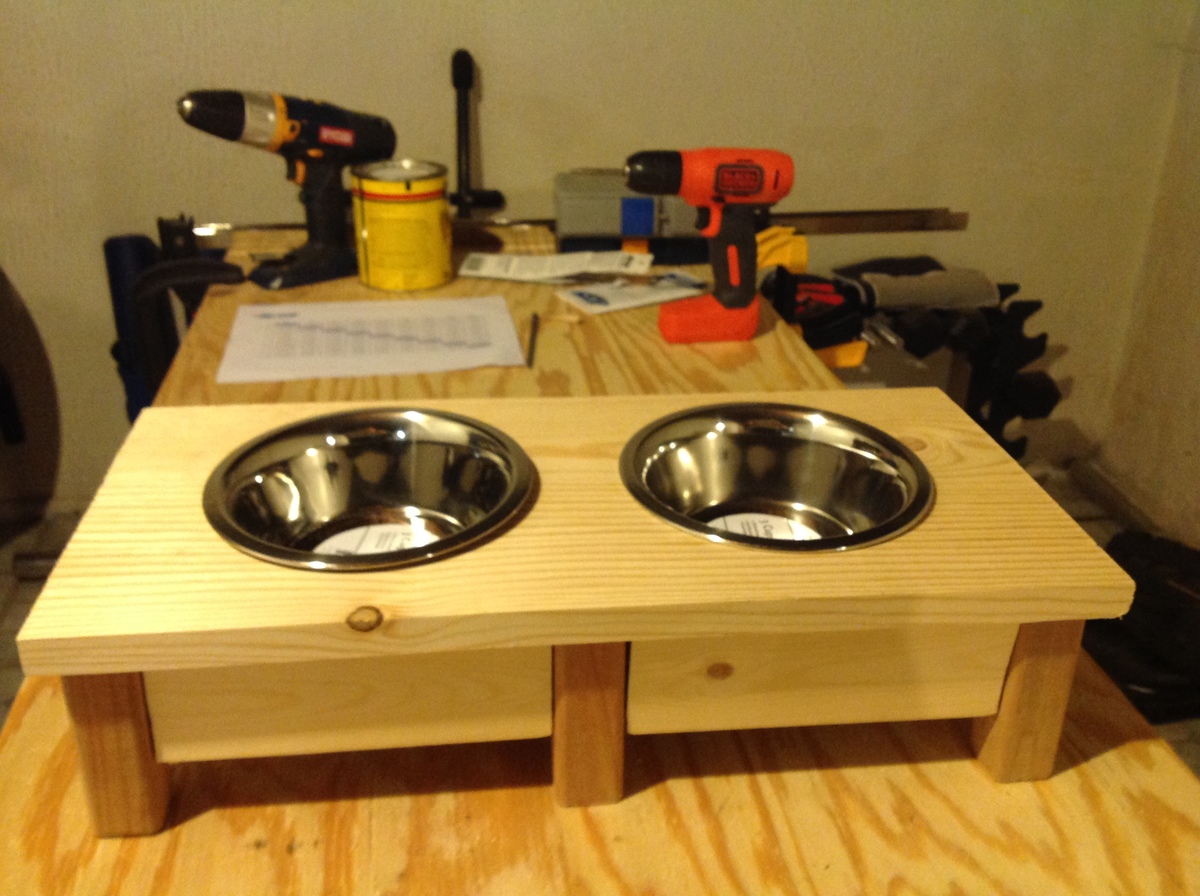
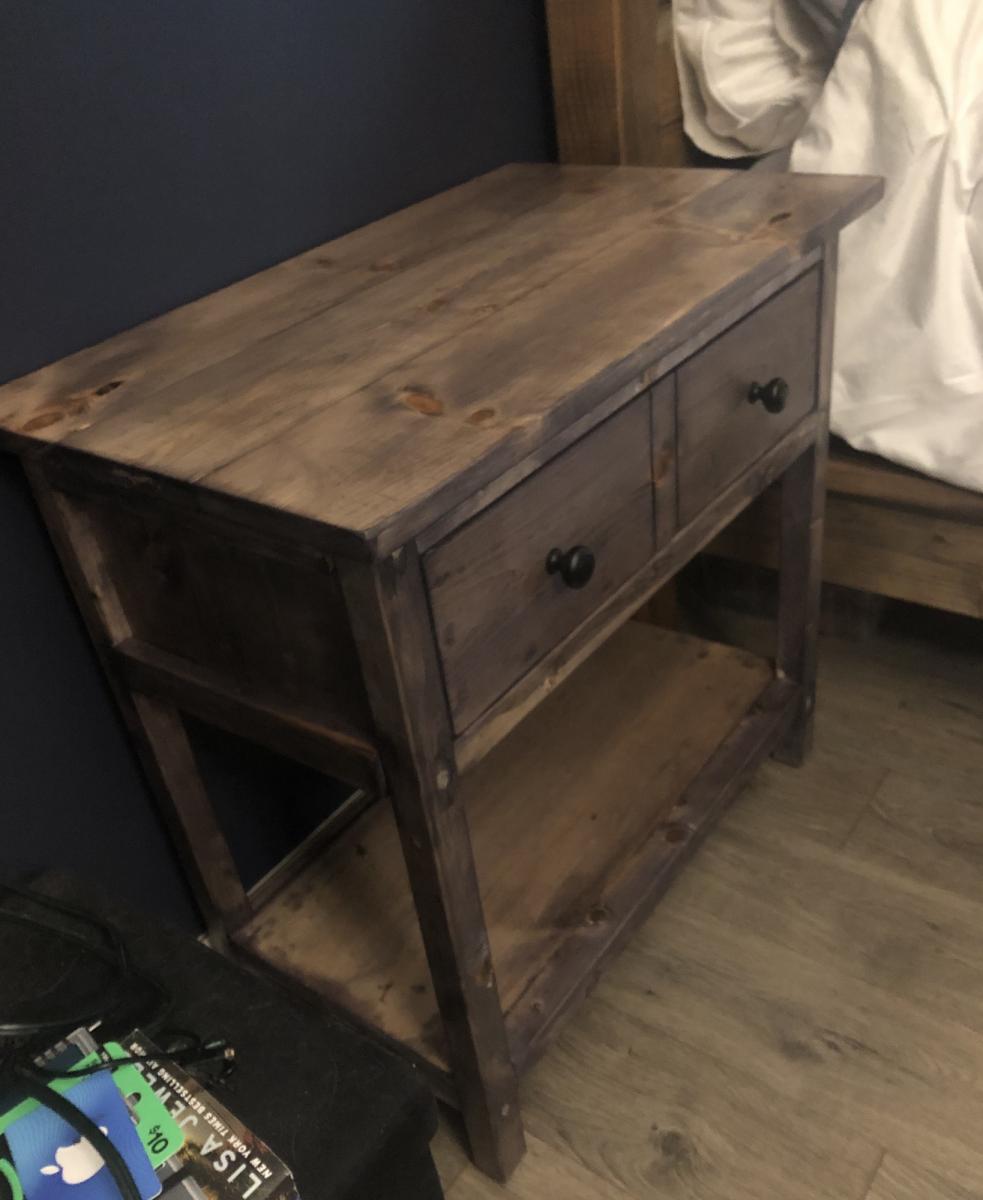
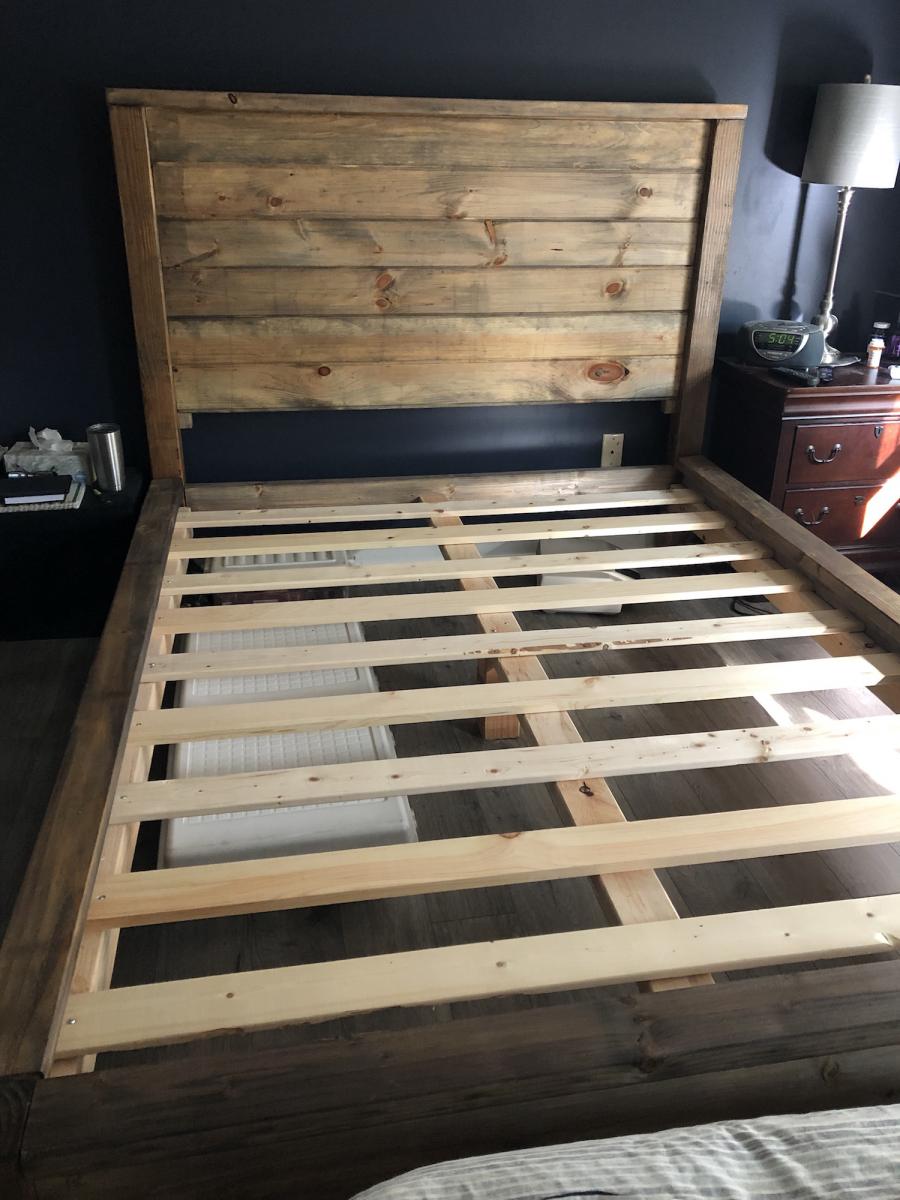
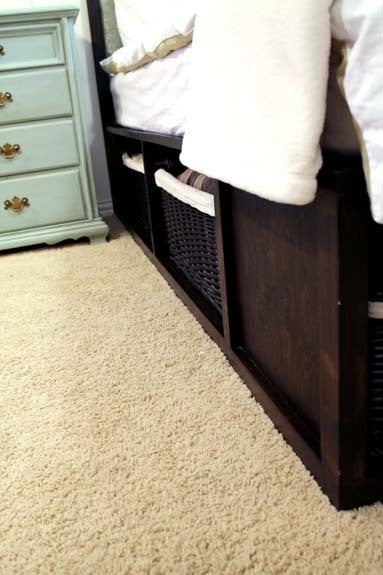
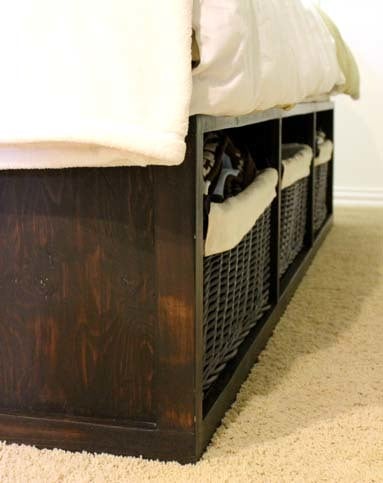
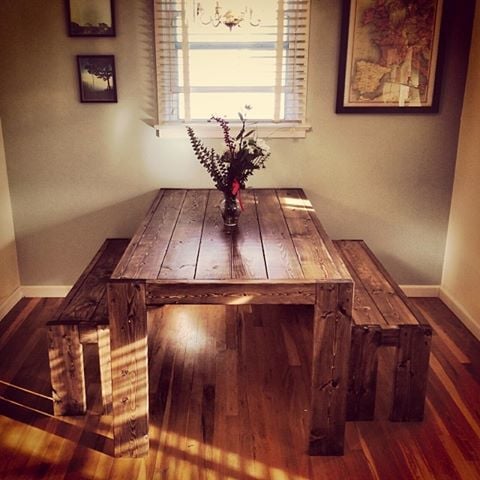
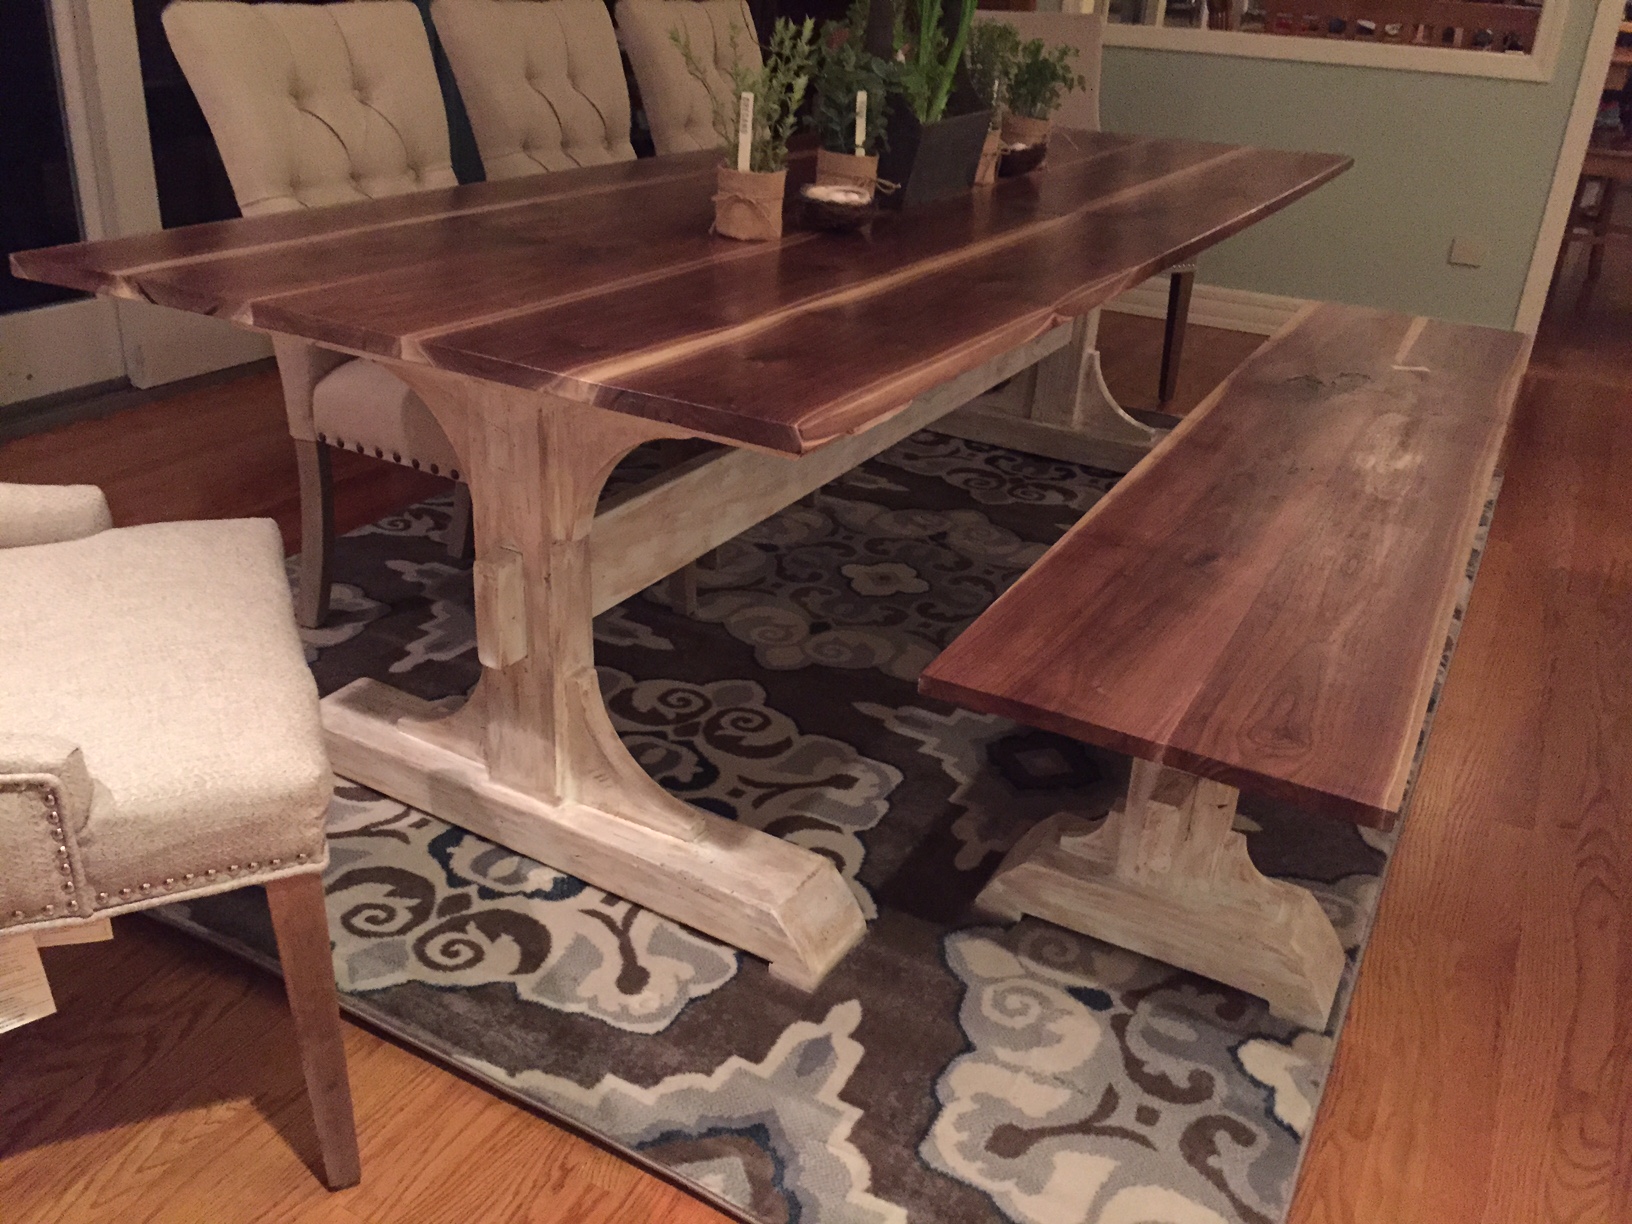
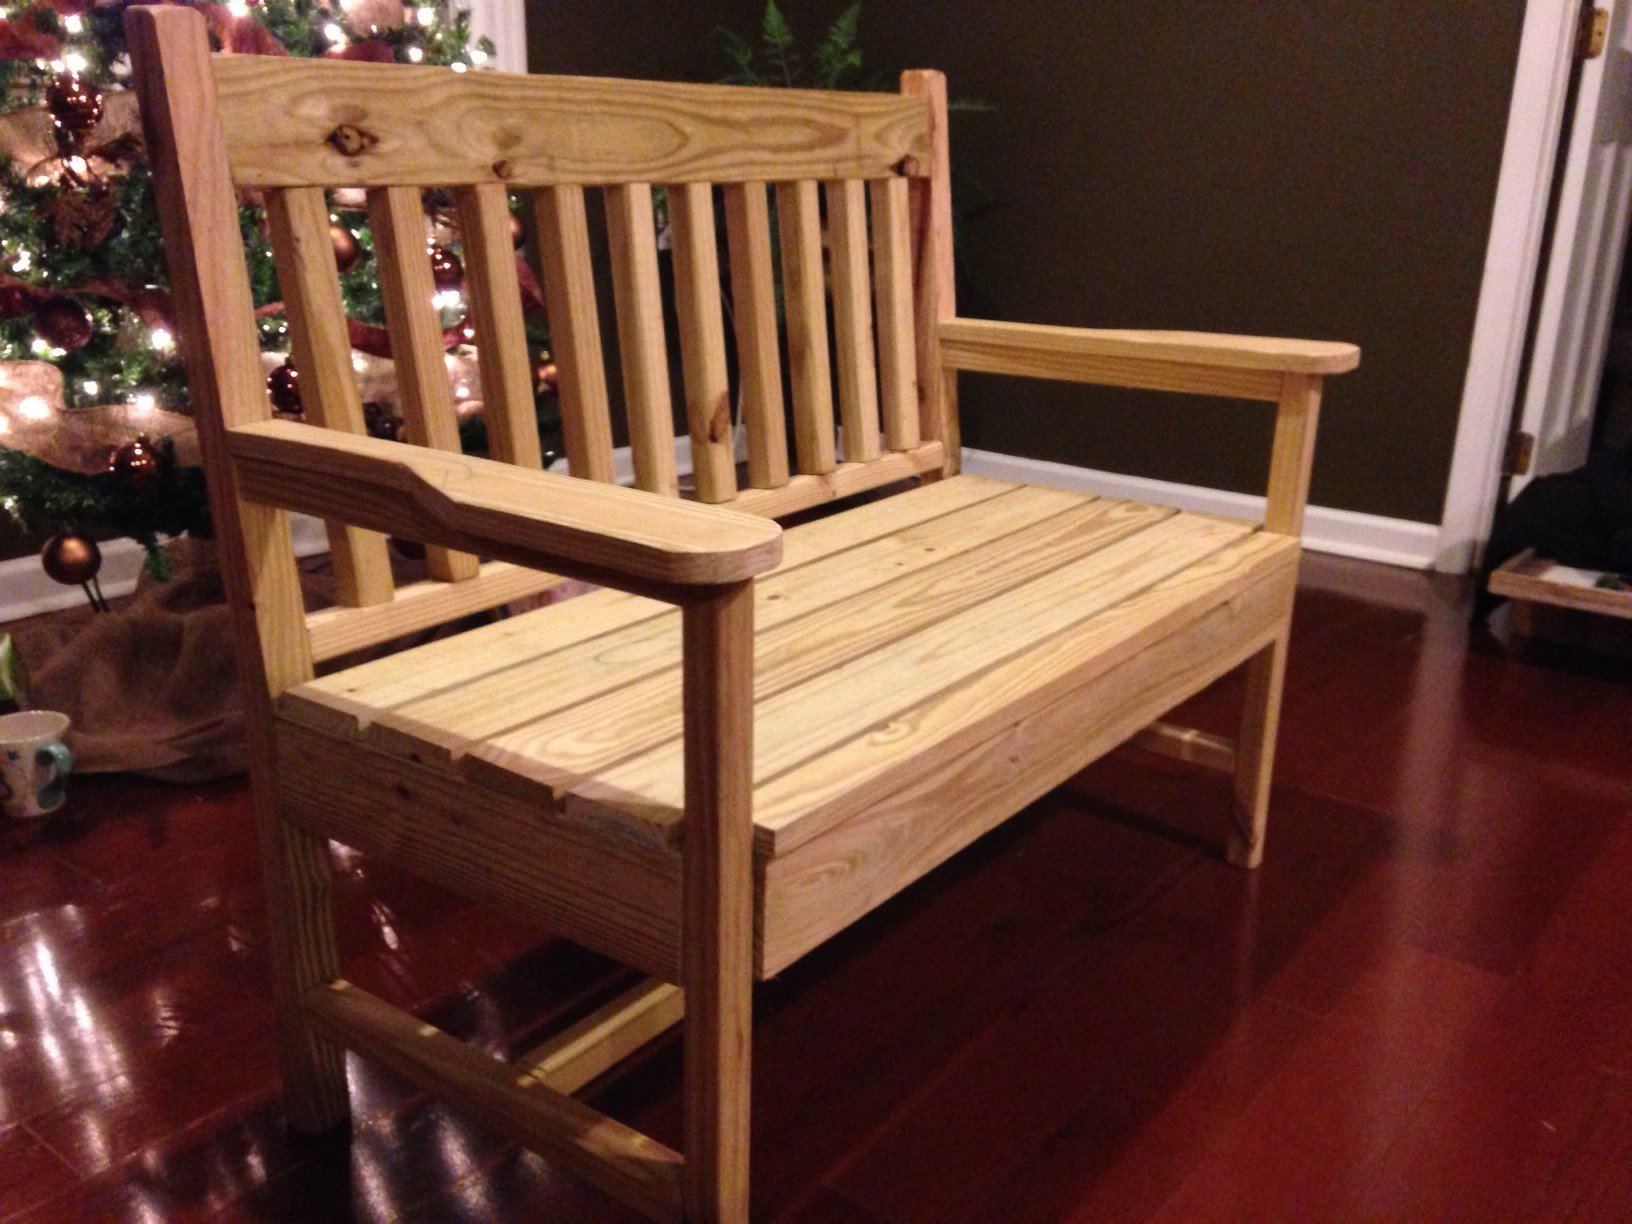
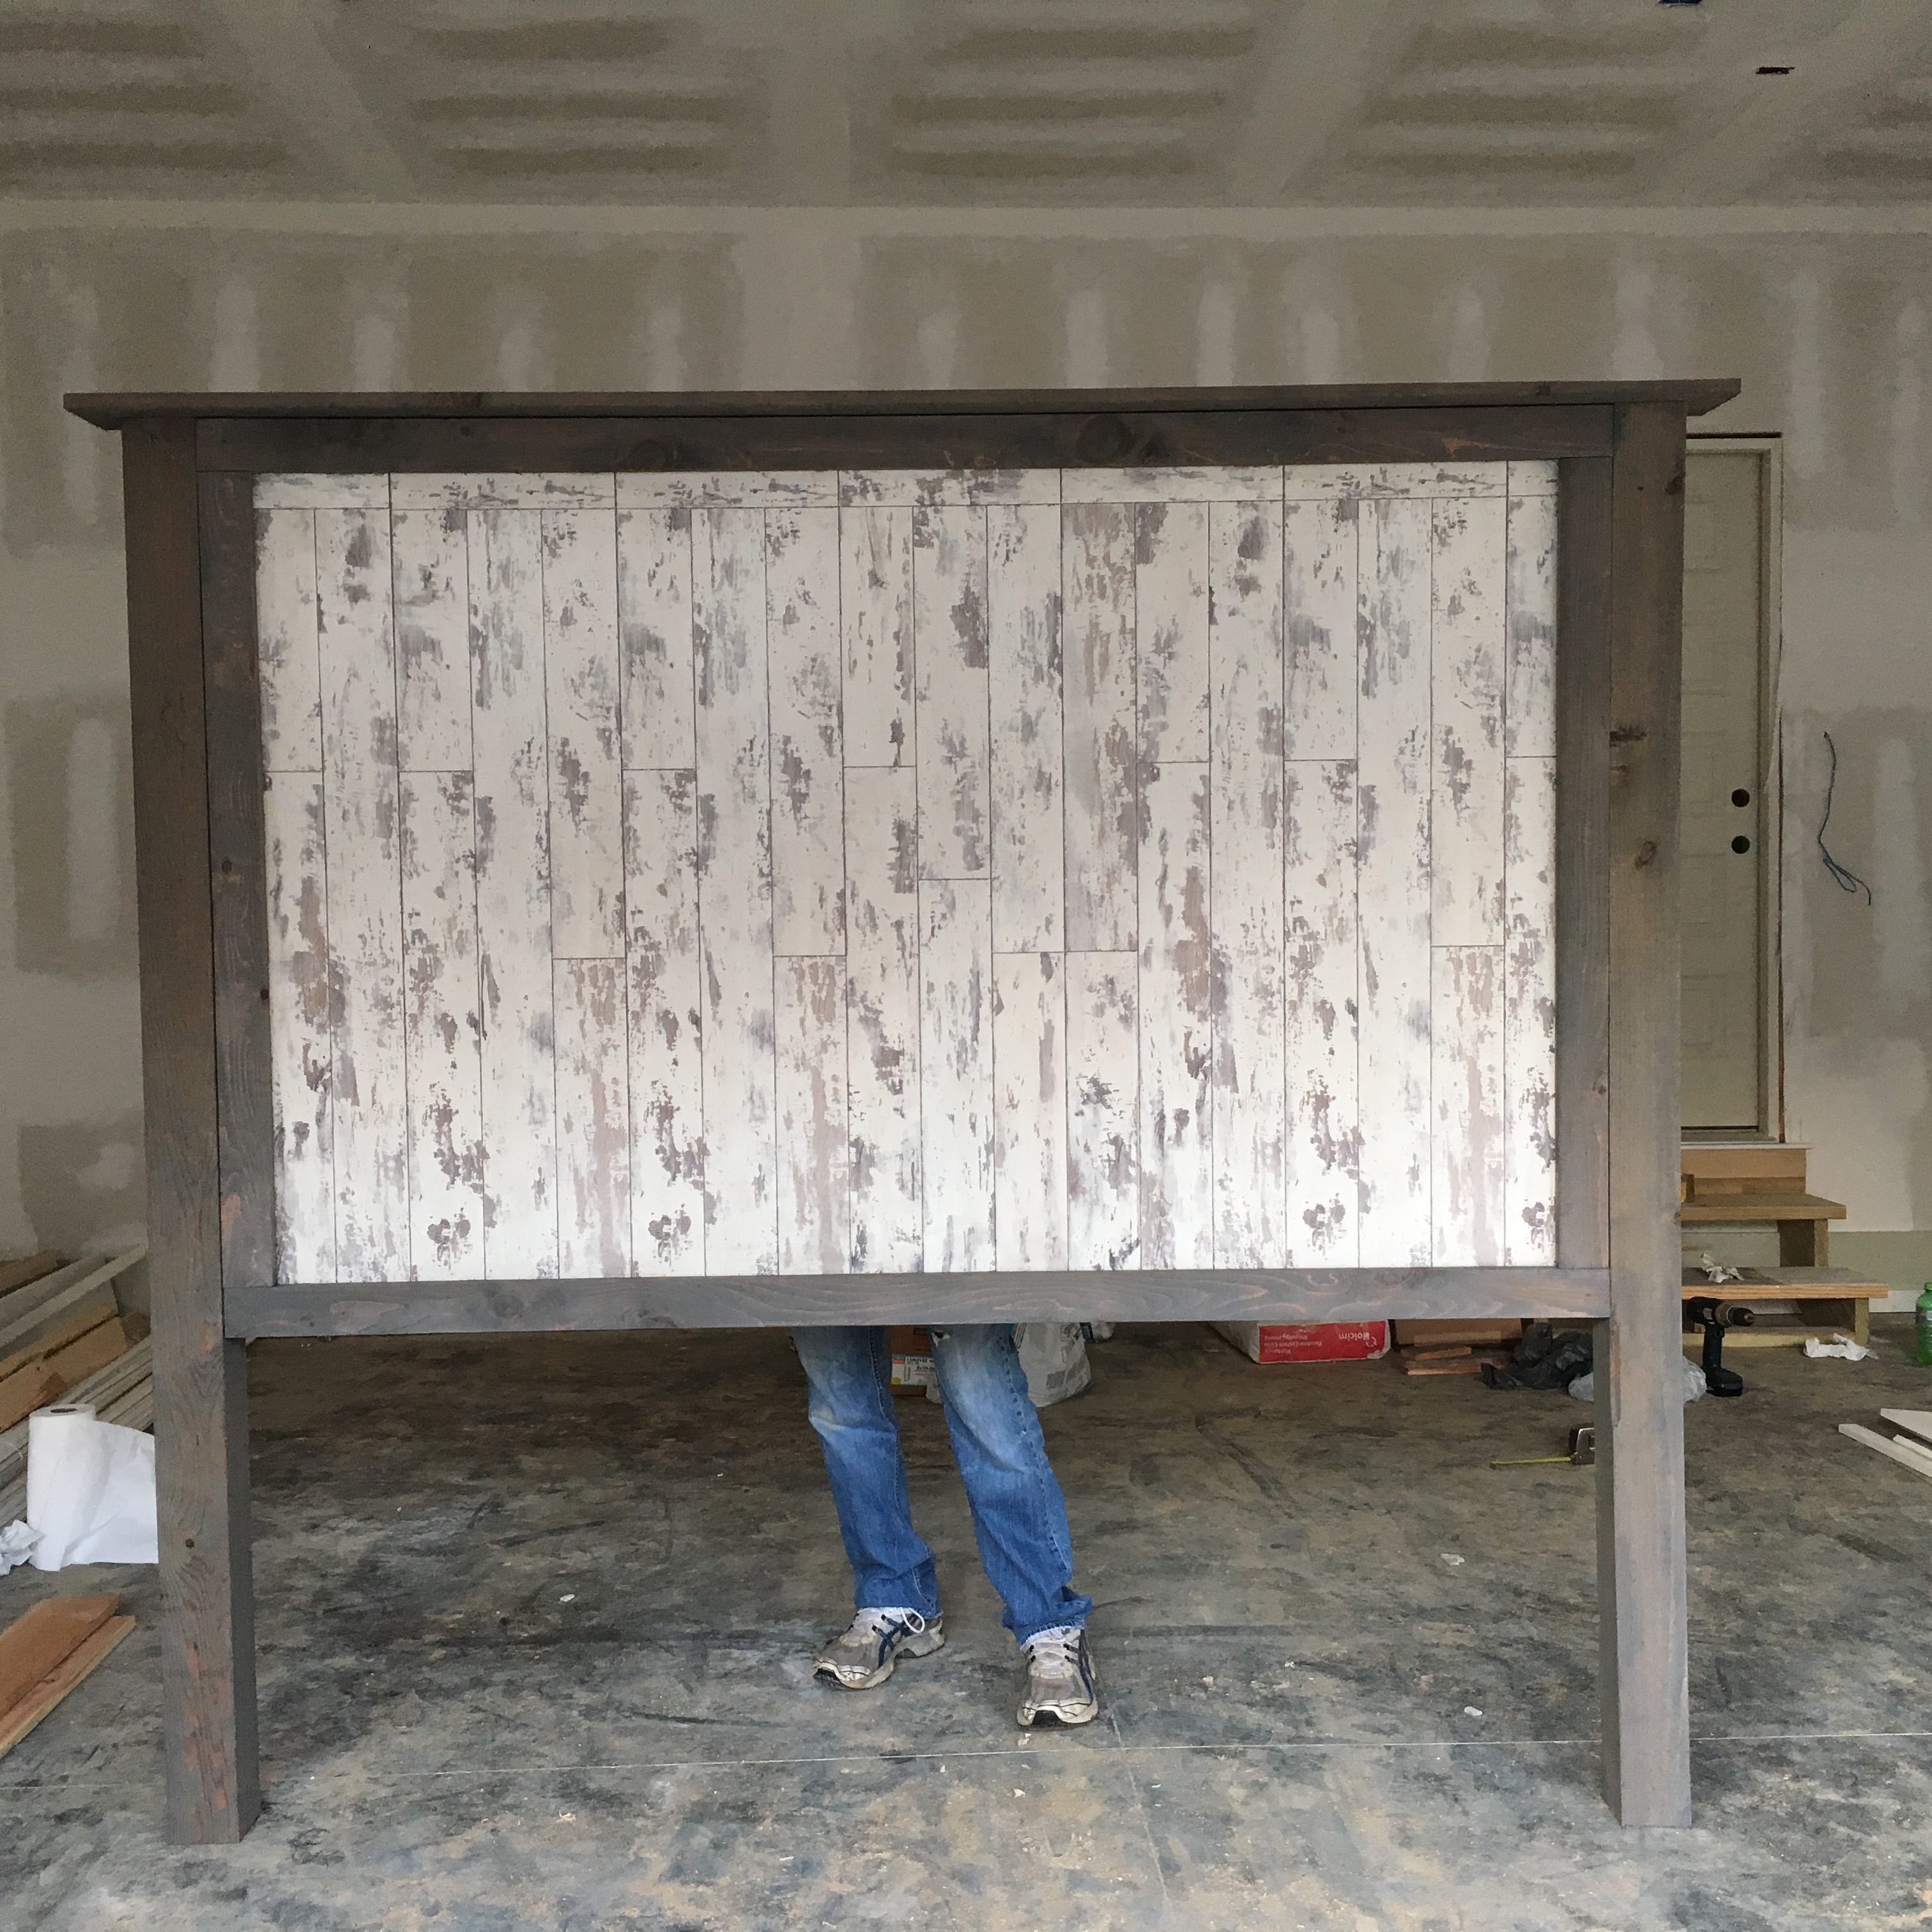
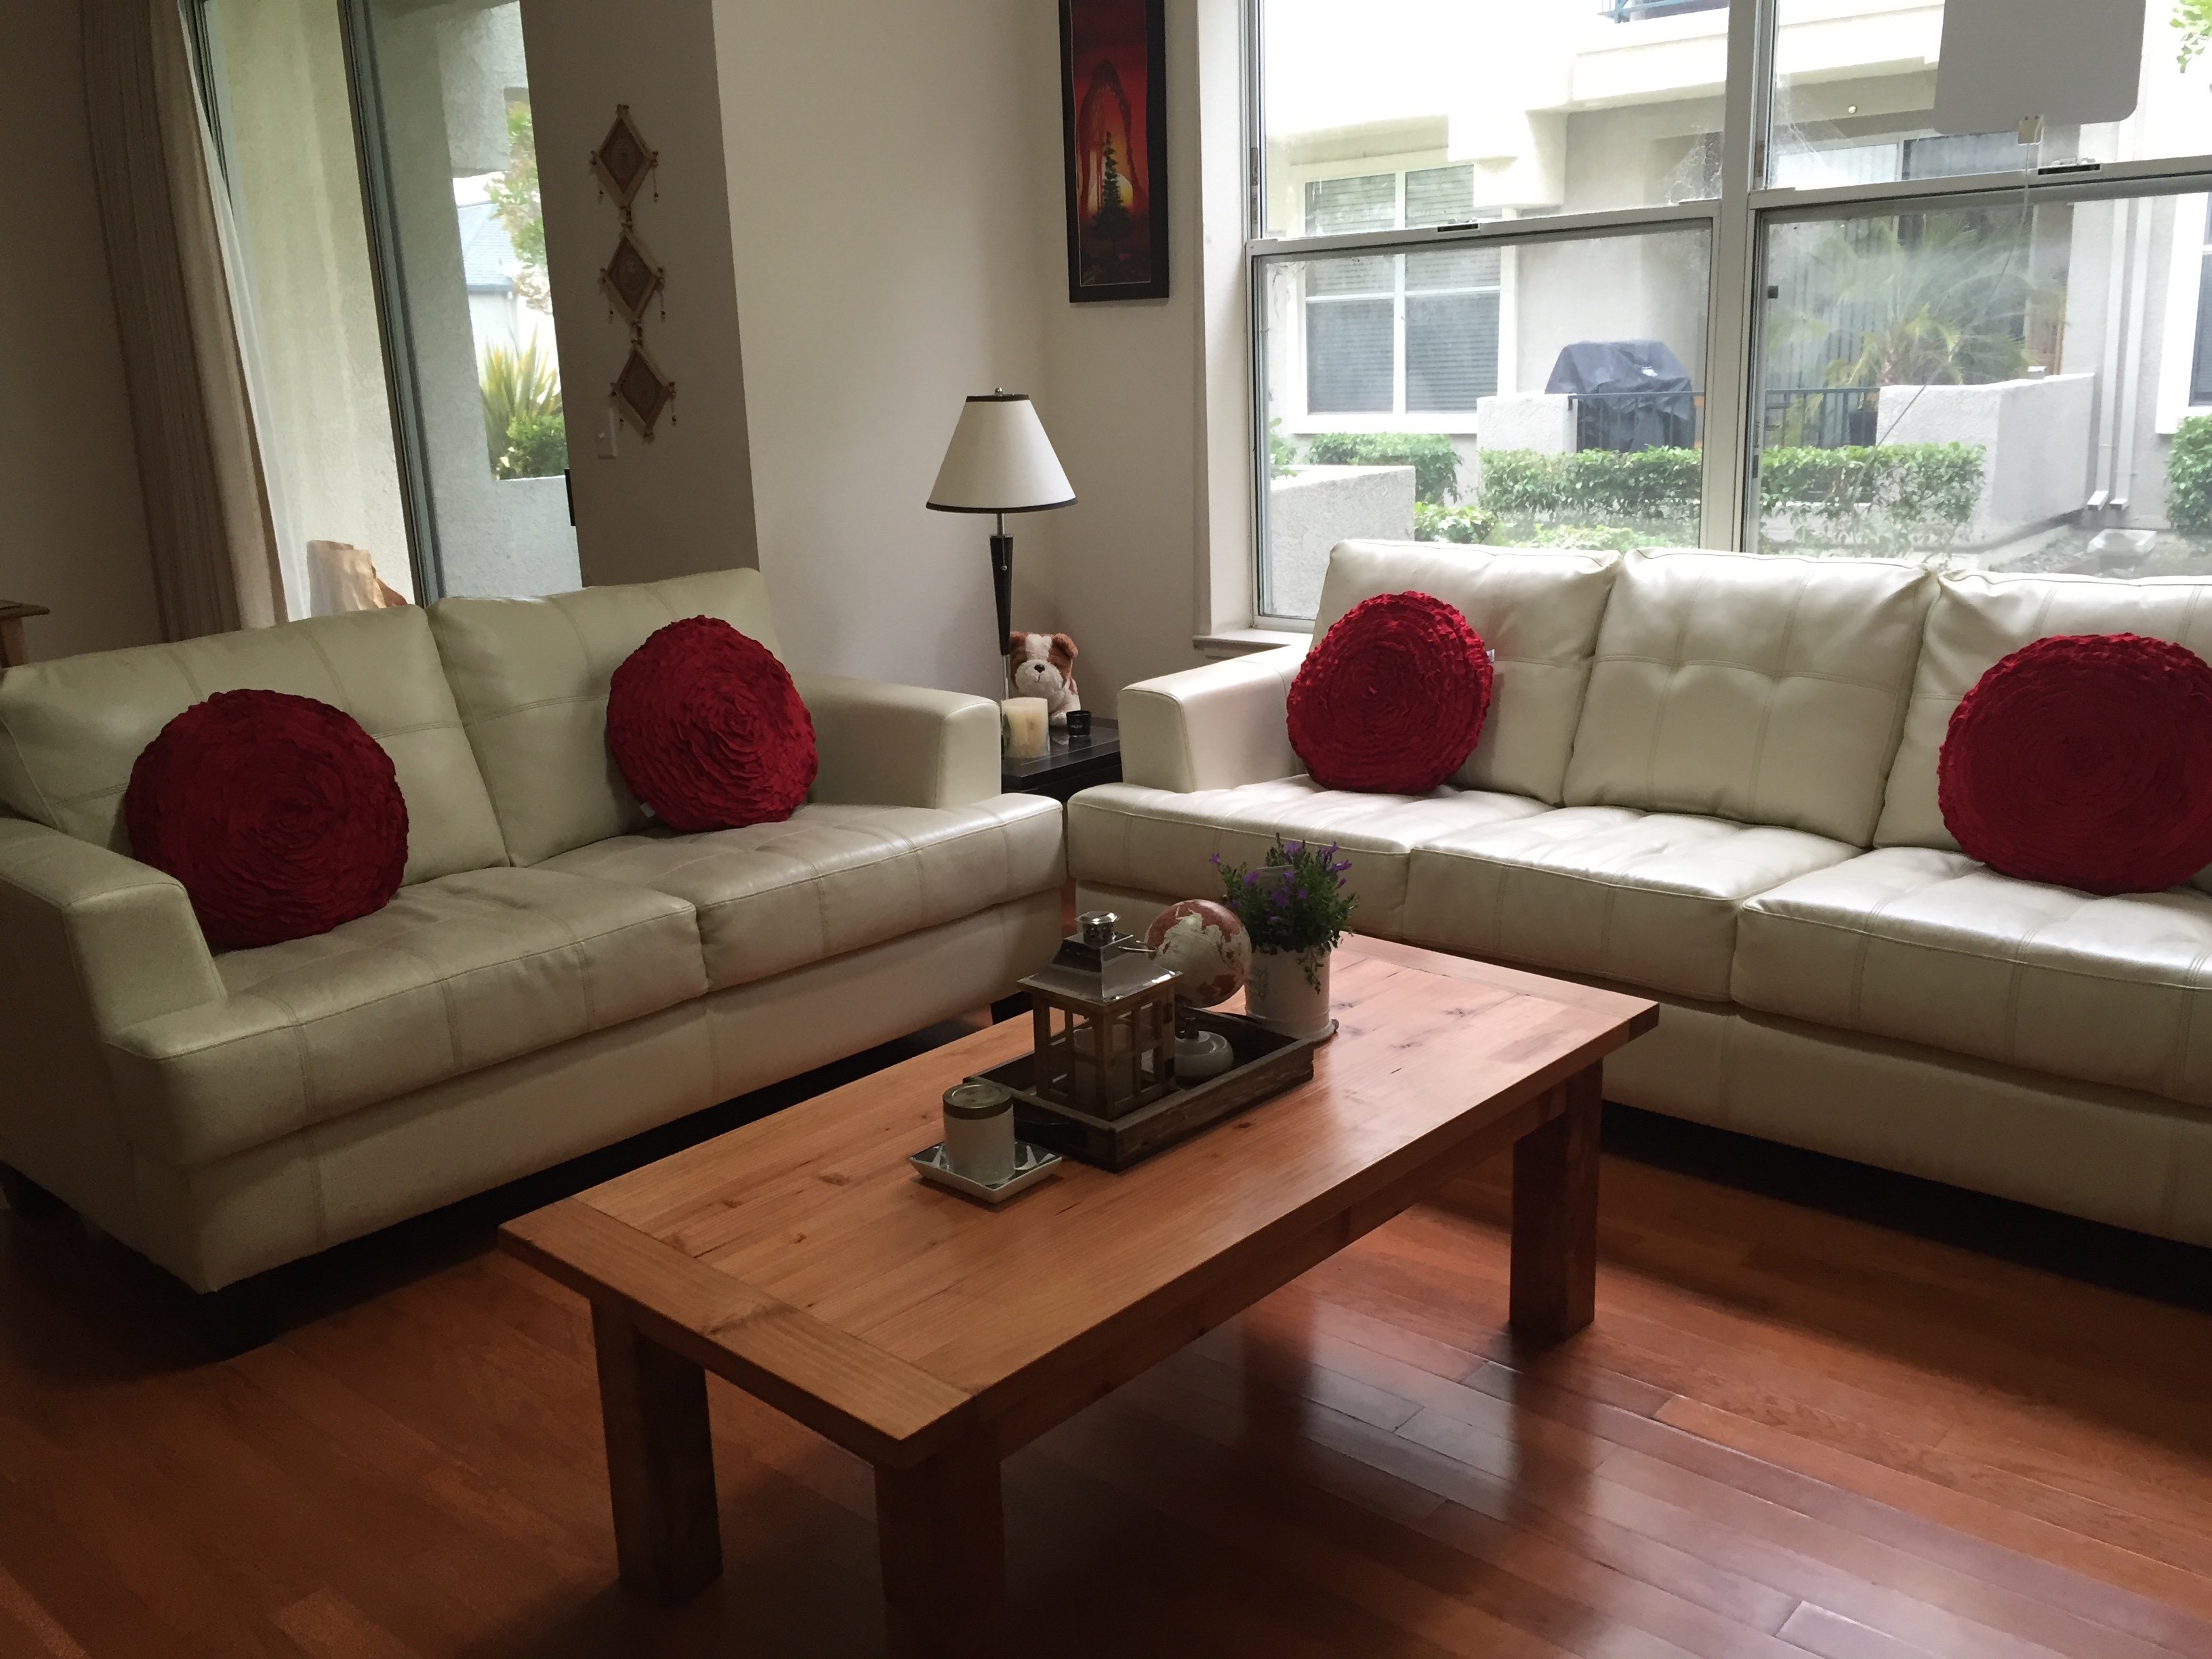
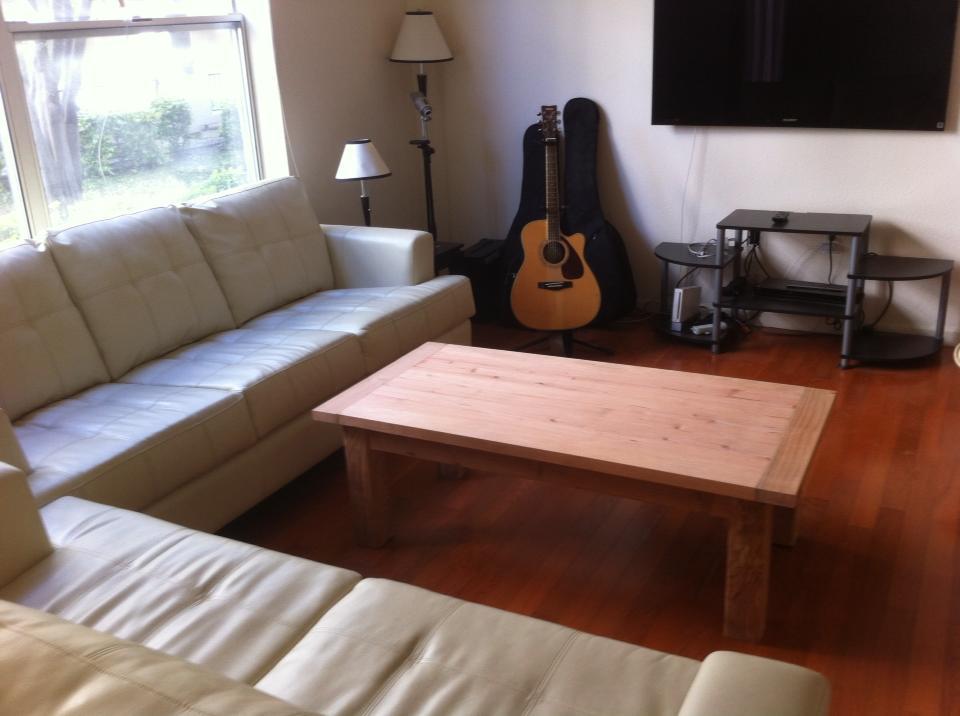
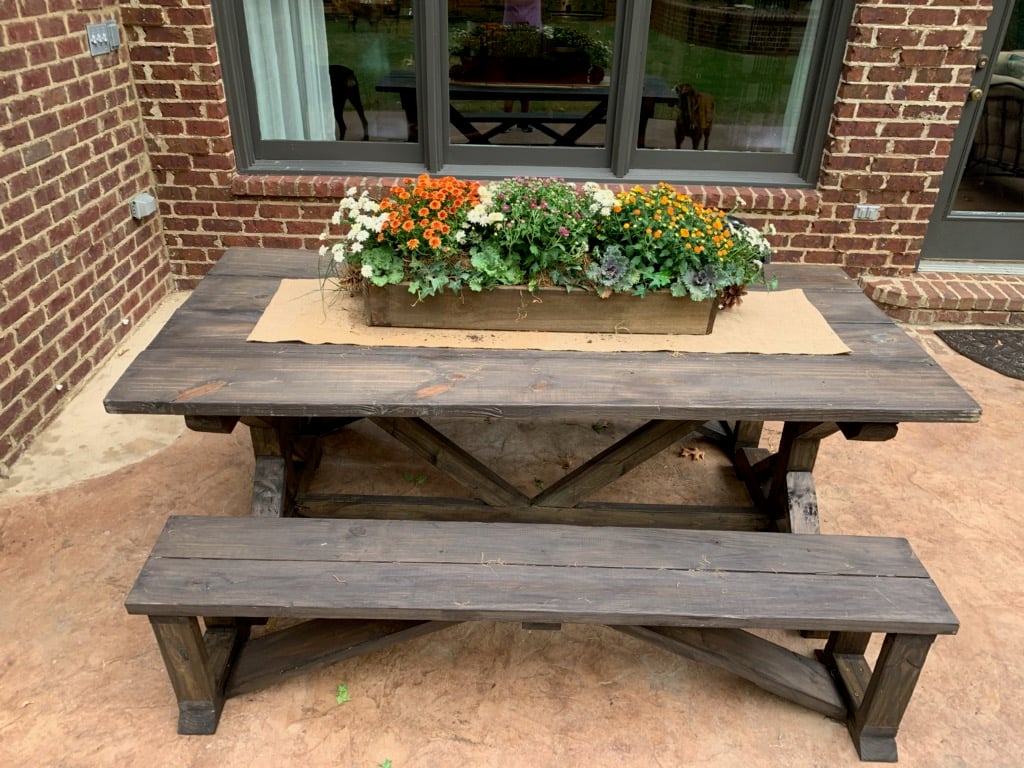
Made it! Thanks Ana White for the easy to read plans!
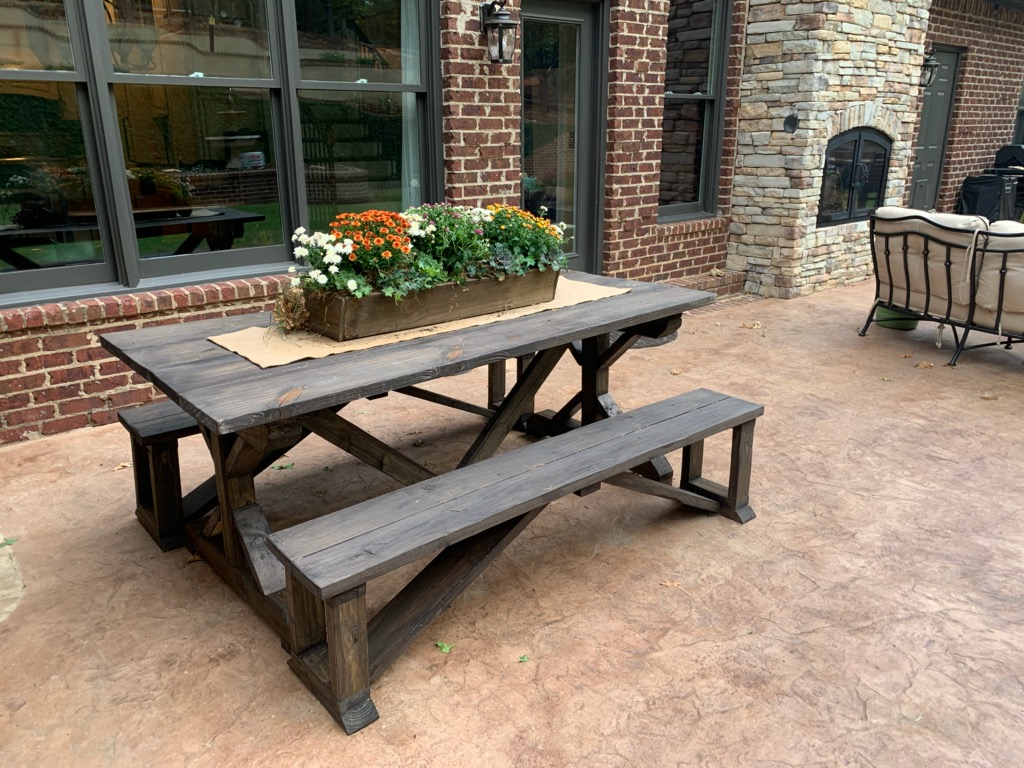
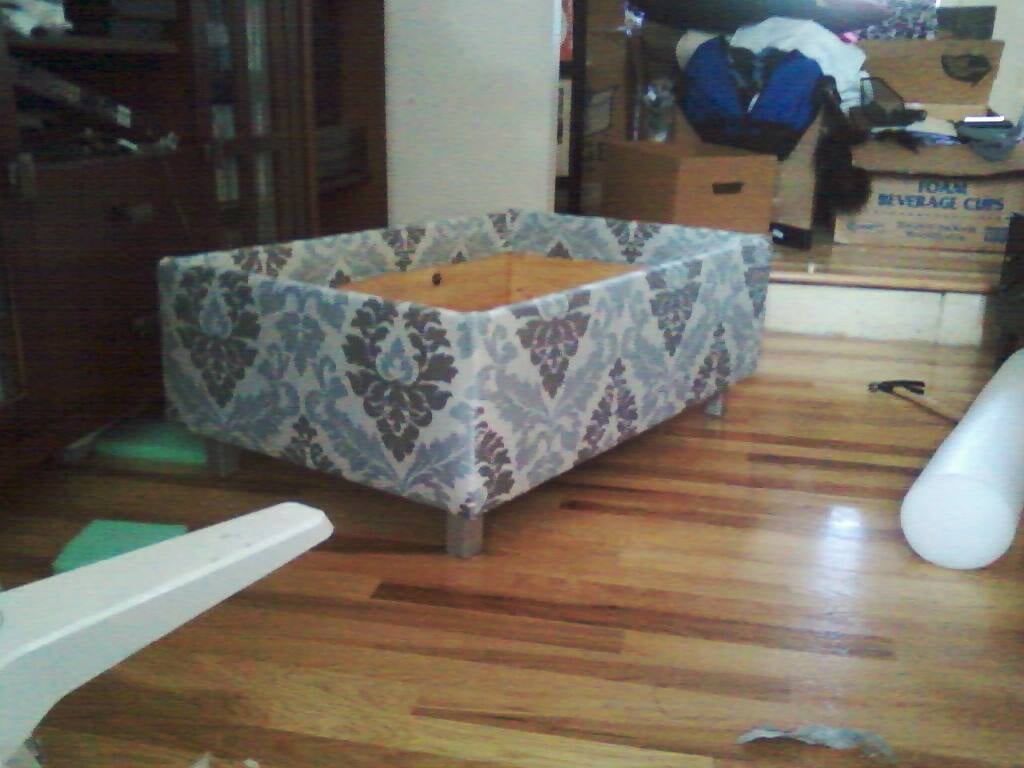
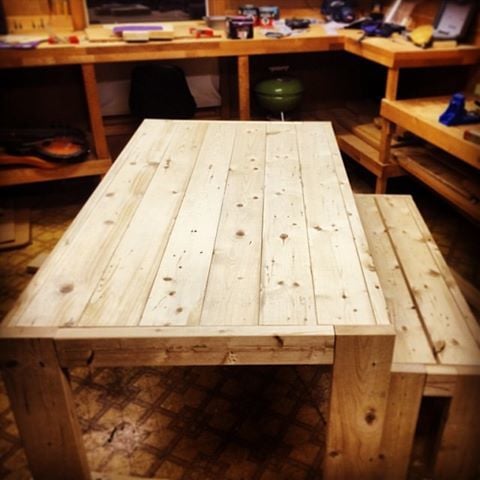
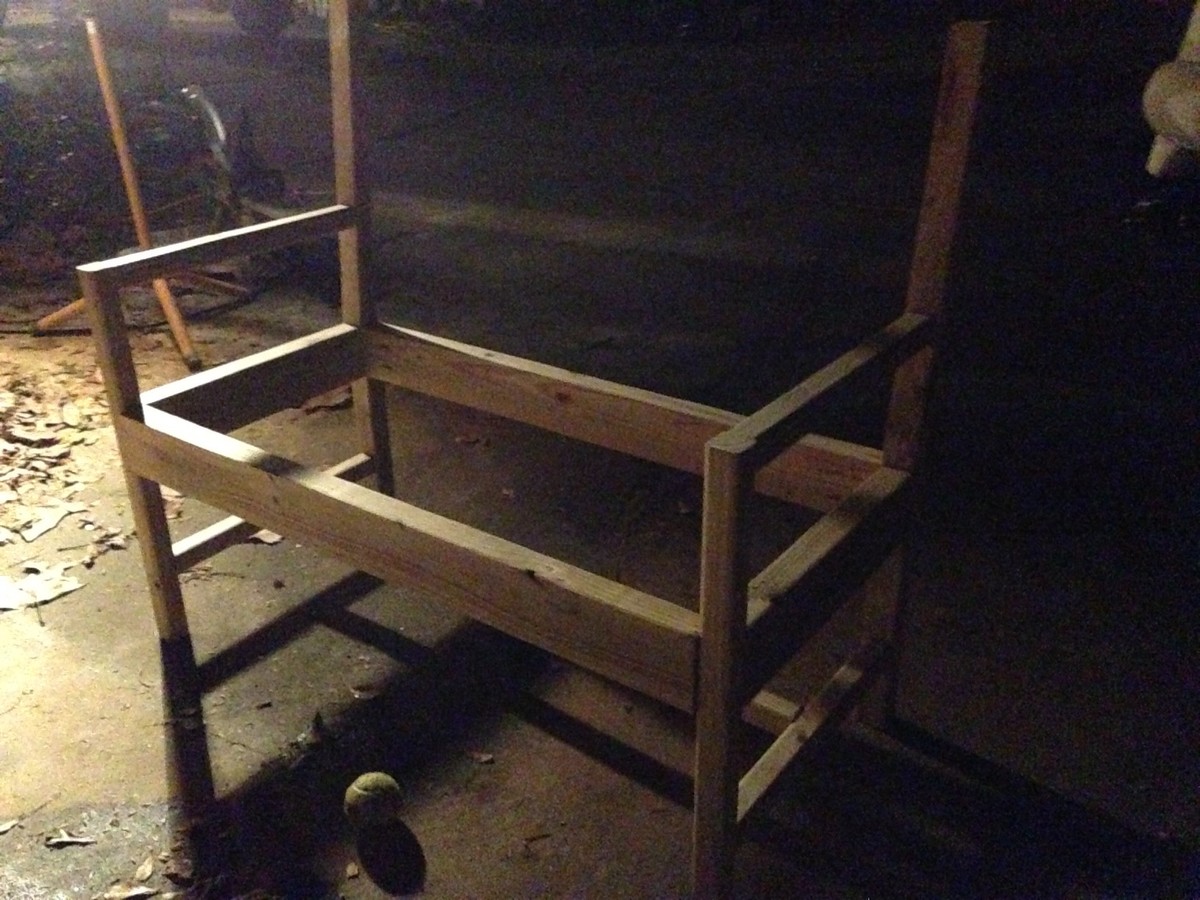
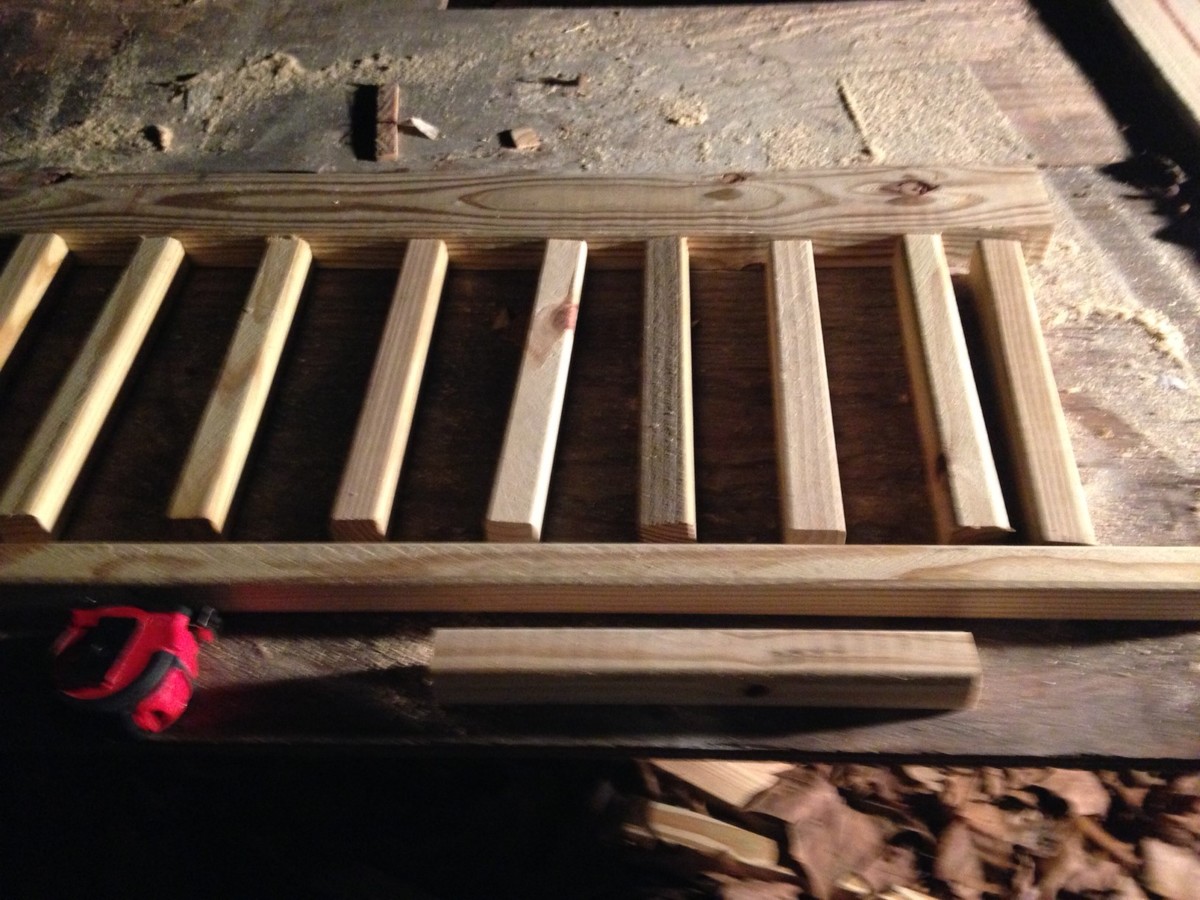
I used Ana's plans for the idea but used all reclaimed wood that I had or found in the dumpster at construction sites.
Built from Plan(s)
Estimated Cost
$25 for the screws and glue
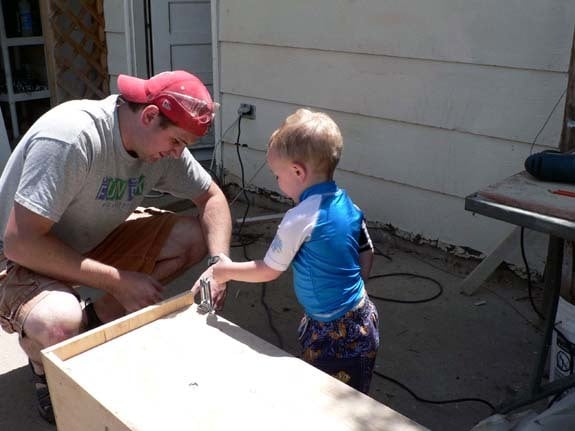
Estimated Time Investment
Day Project (6-9 Hours)
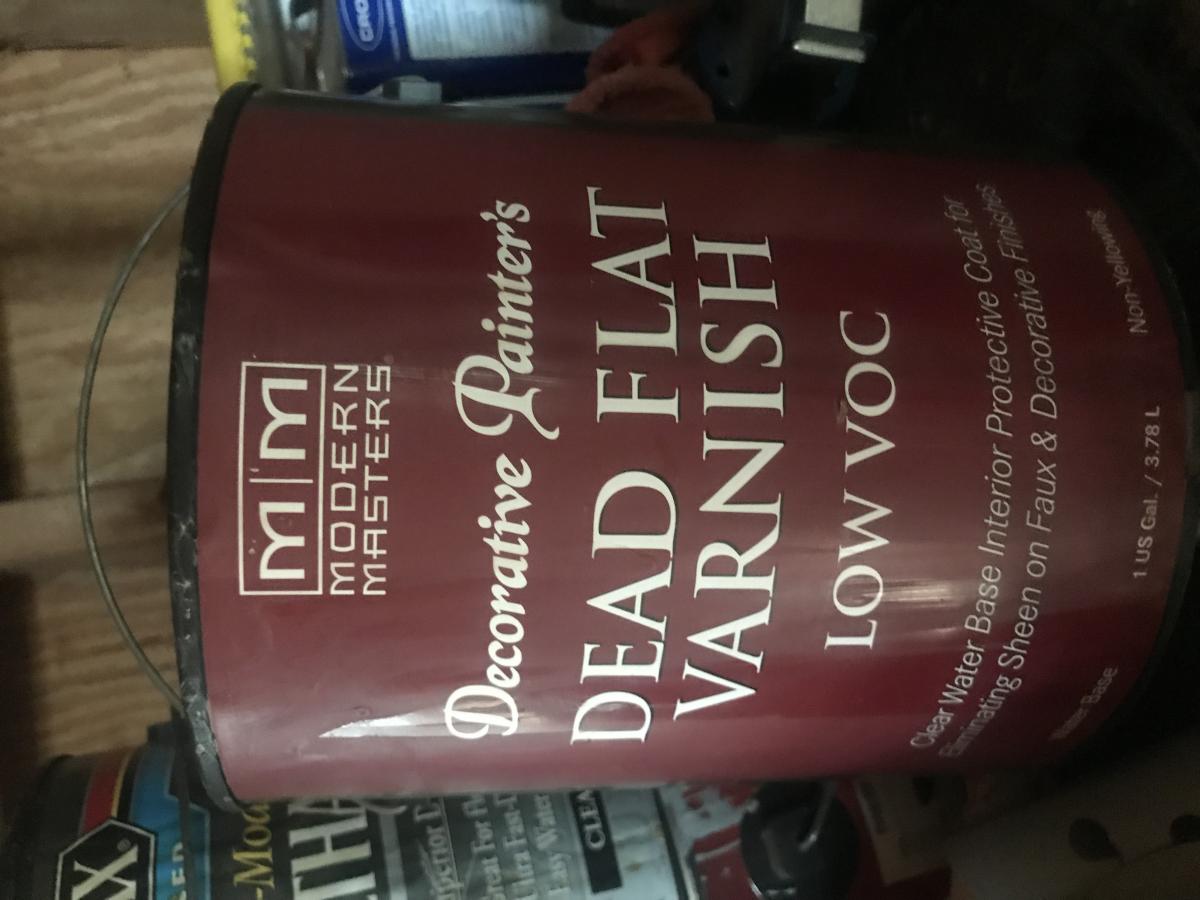
Finish Used
Wood stain
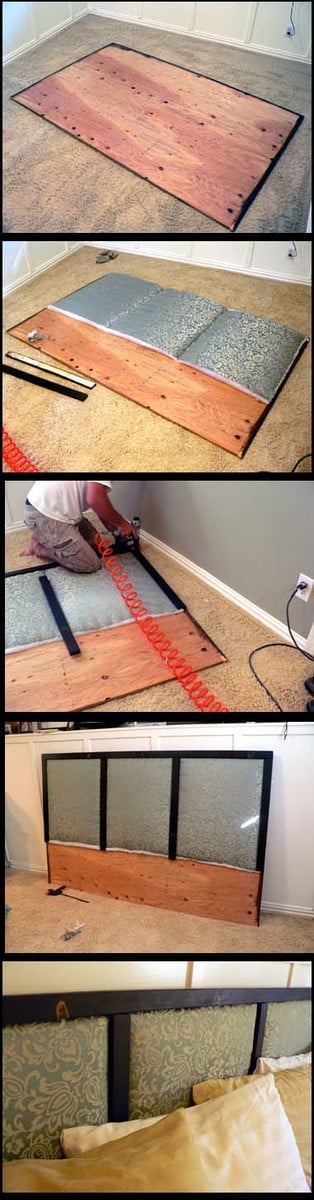
Recommended Skill Level
Intermediate