Community Brag Posts

Farmhouse Craftsman Table

Submitted by Monique on Fri, 05/22/2020 - 20:55

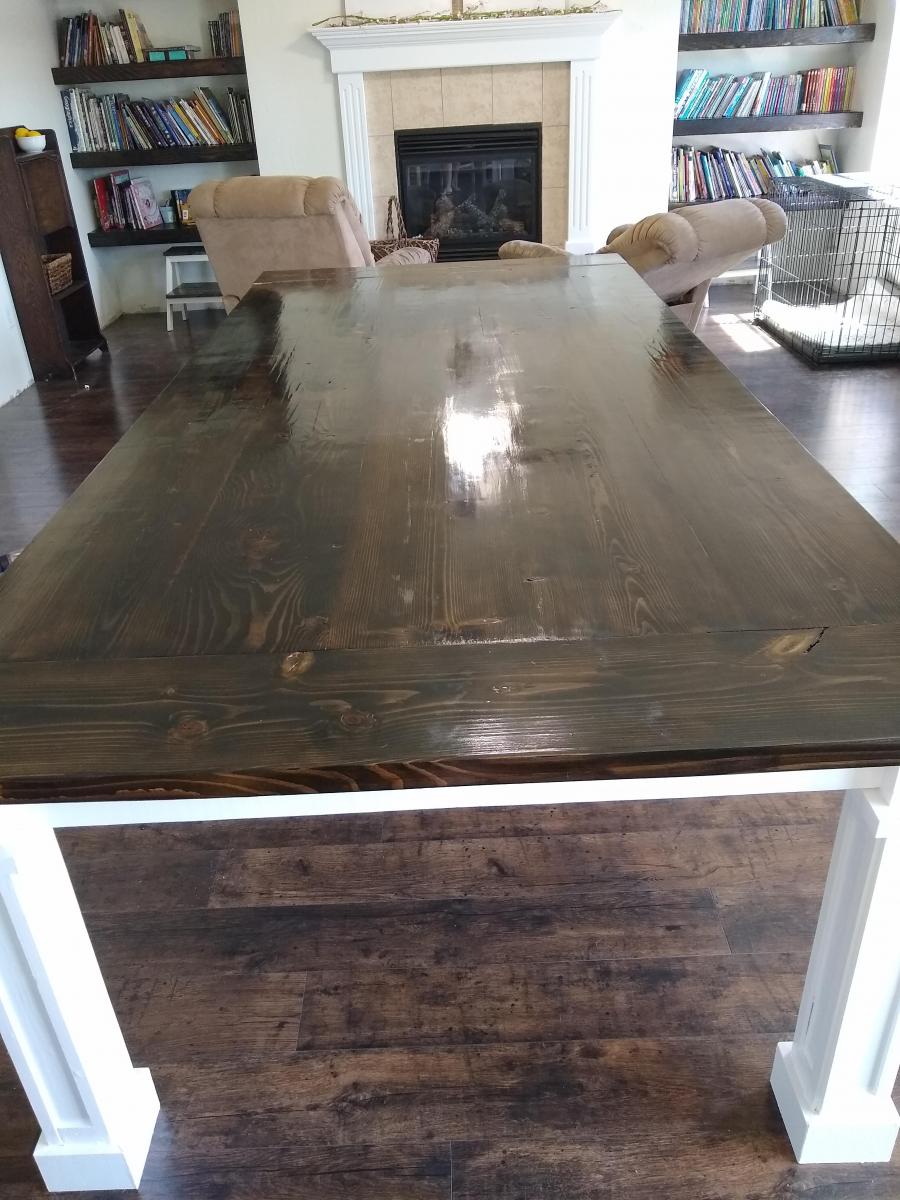
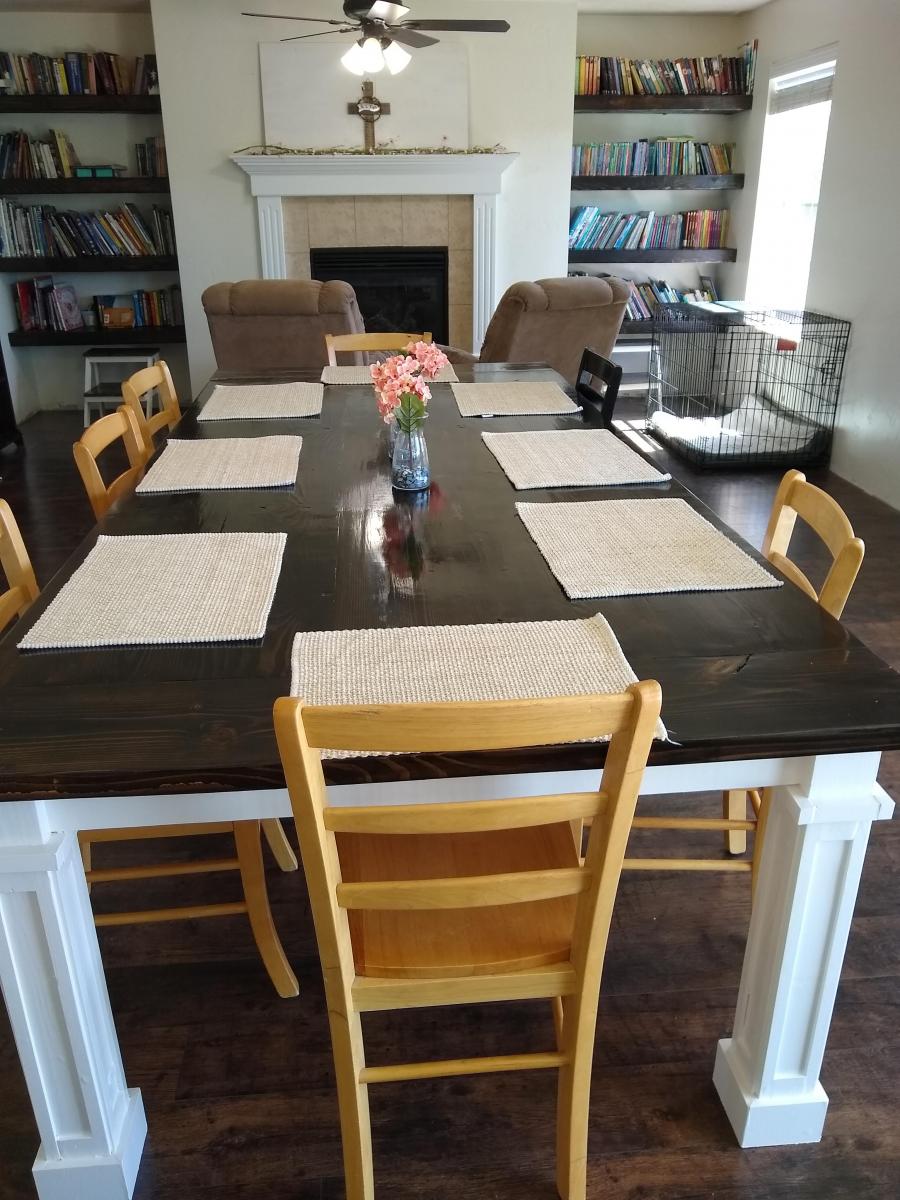
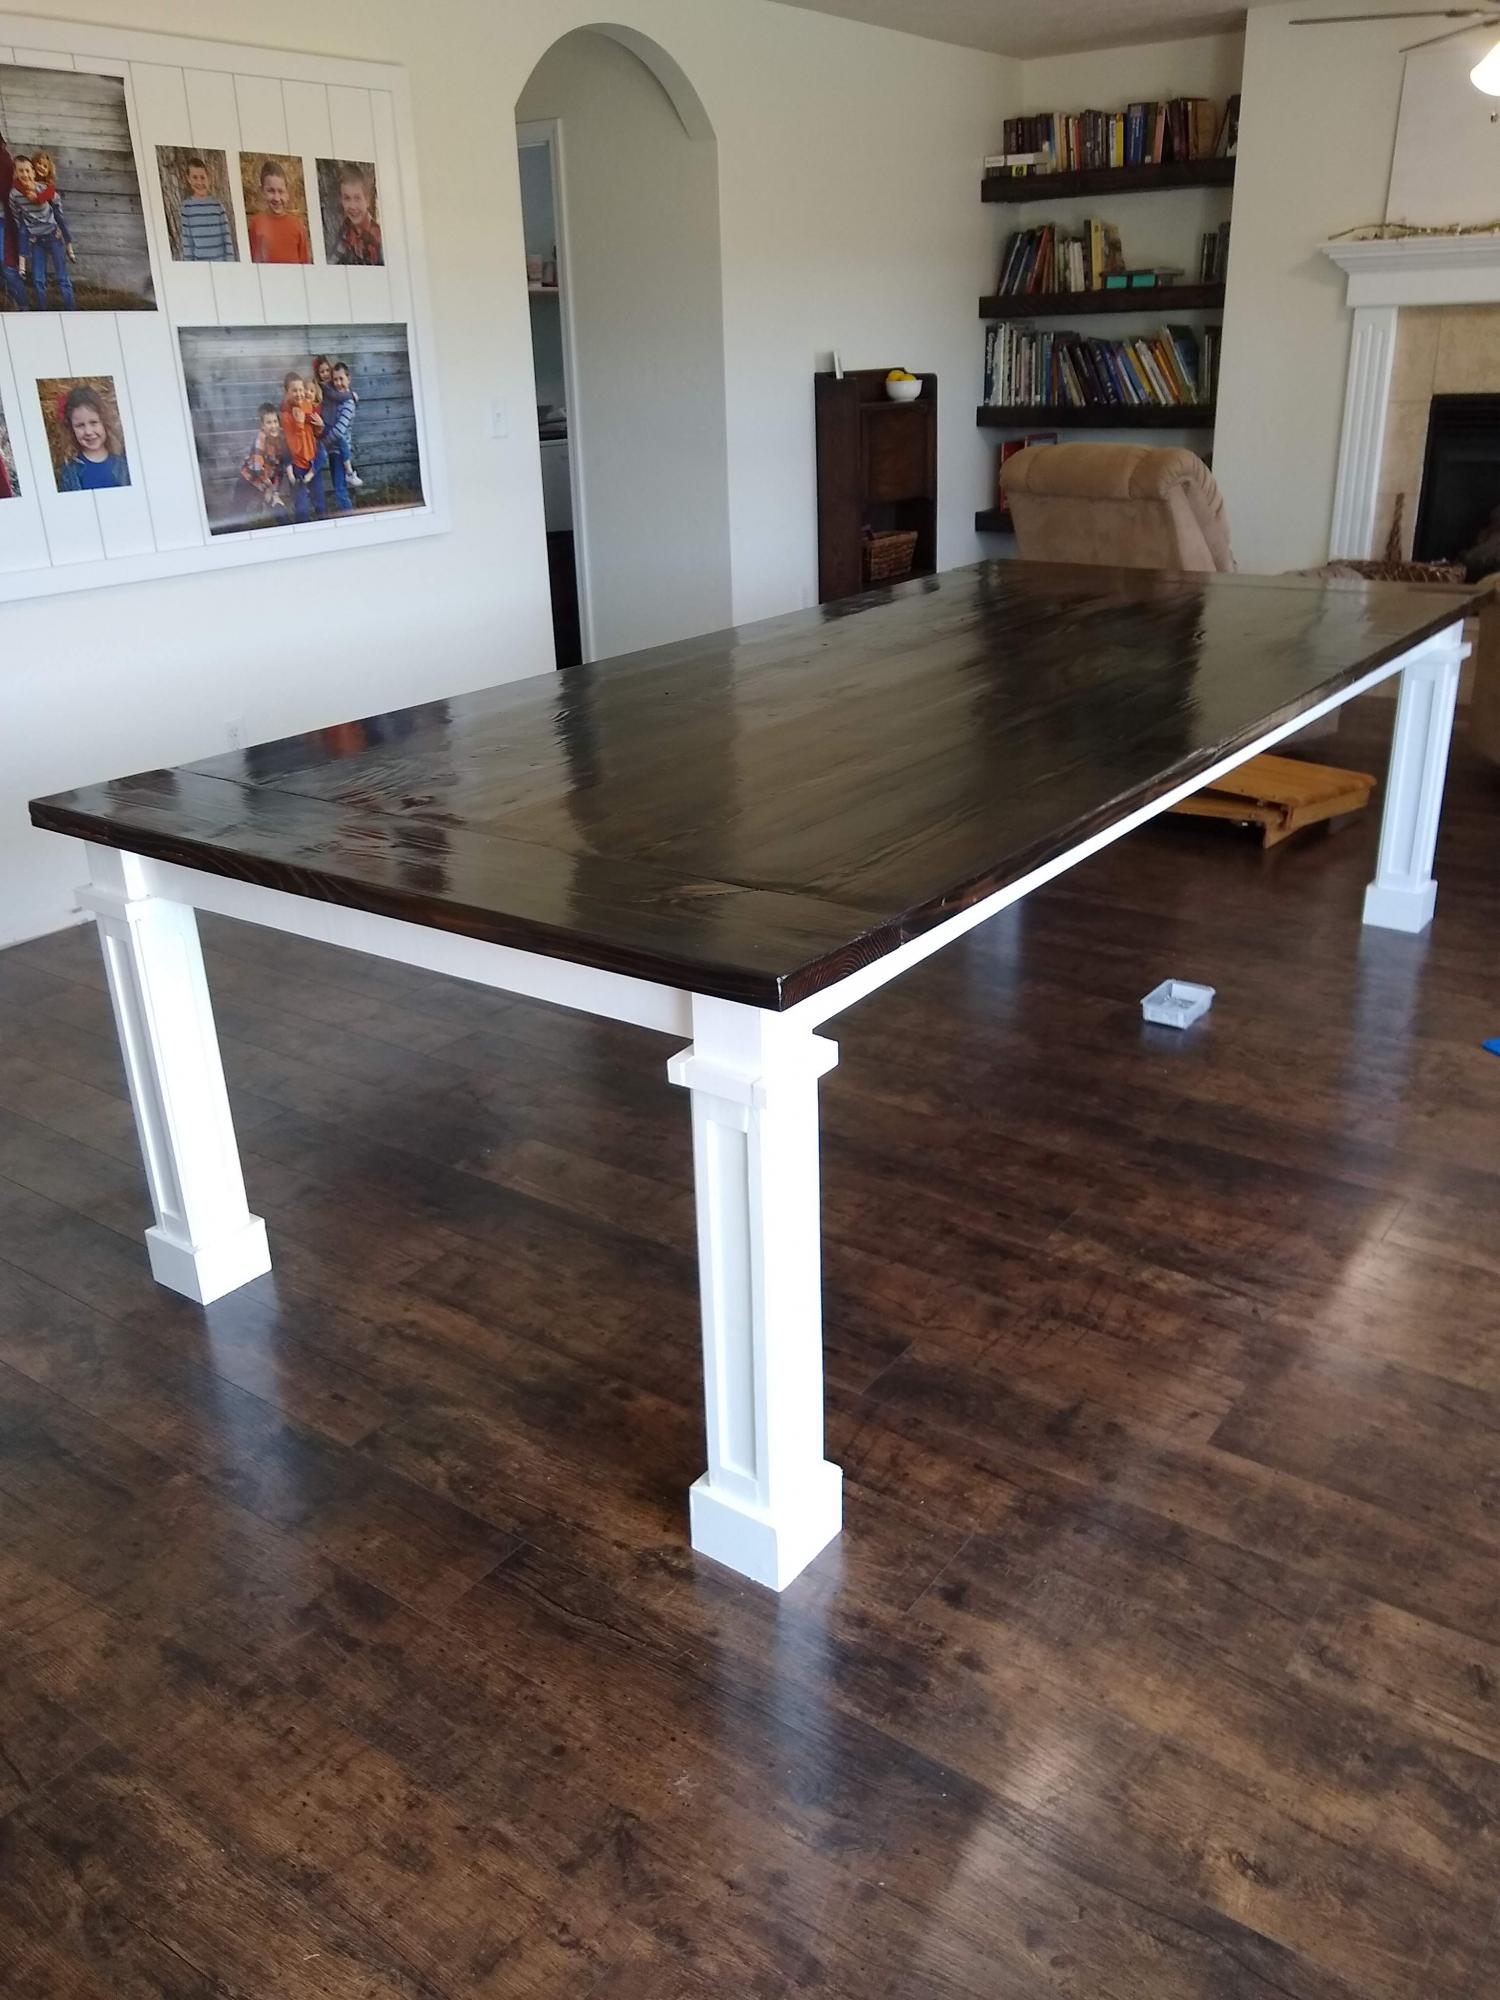
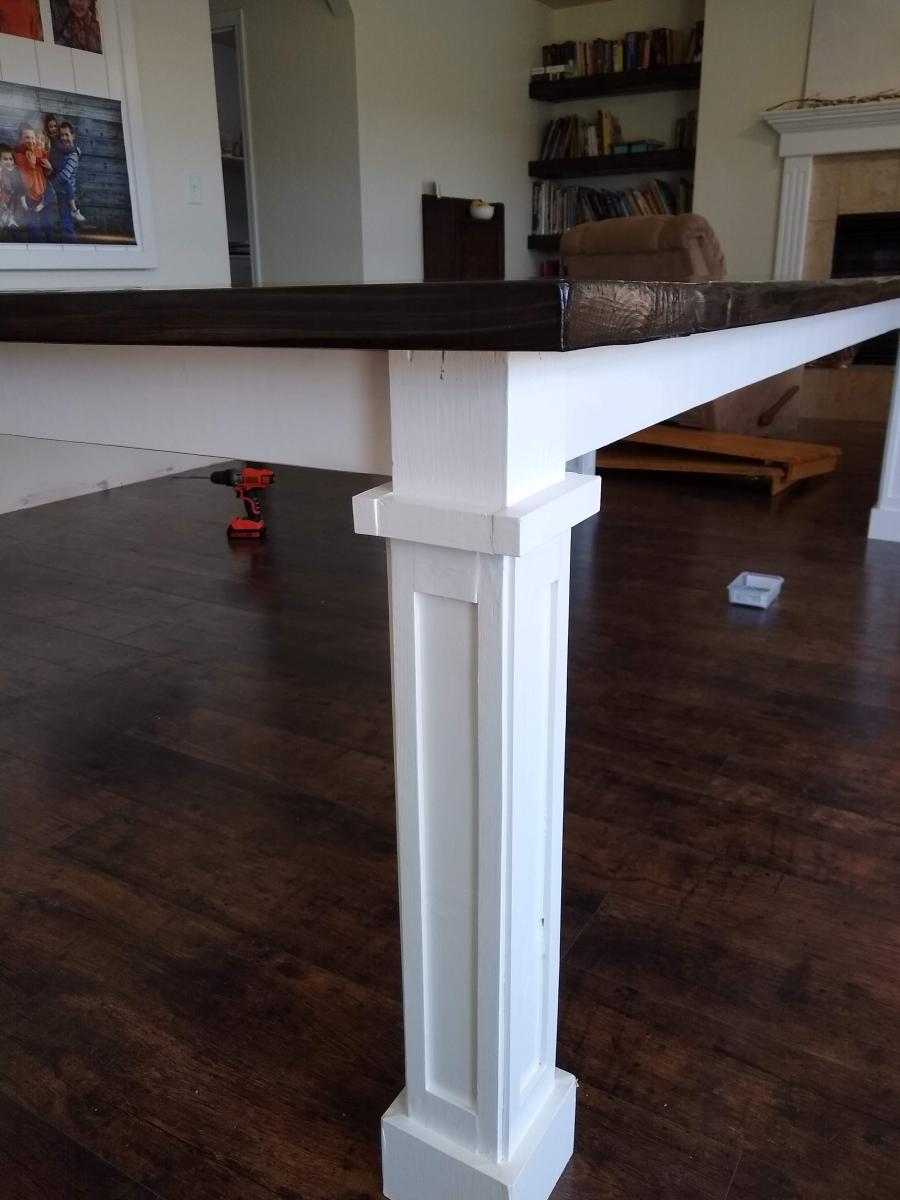
This was such a fun project! We changed up the dimensions, removed the stretcher so that we could put chairs on the ends, and added these fun craftsman removable table legs! I put tons of information of my blog!

Estimated Cost
150
Estimated Time Investment
Weekend Project (10-20 Hours)
Finish Used
Minwax Ebony
Minwax Polyurethane in Satin
Recommended Skill Level
Beginner

2x4 Shelving Used as a Wood Storage Rack

Submitted by Ana White on Tue, 01/30/2024 - 15:31

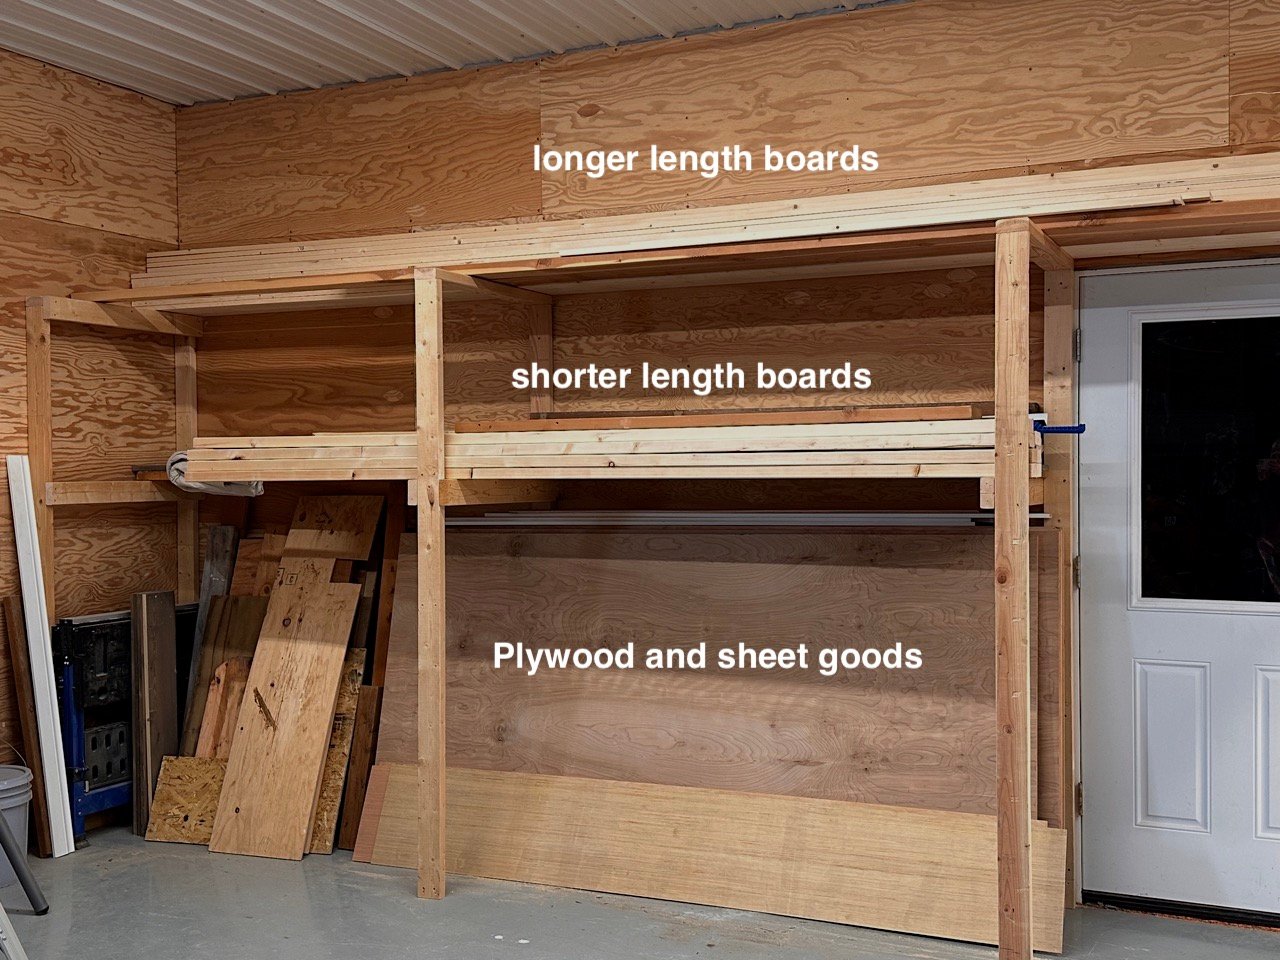
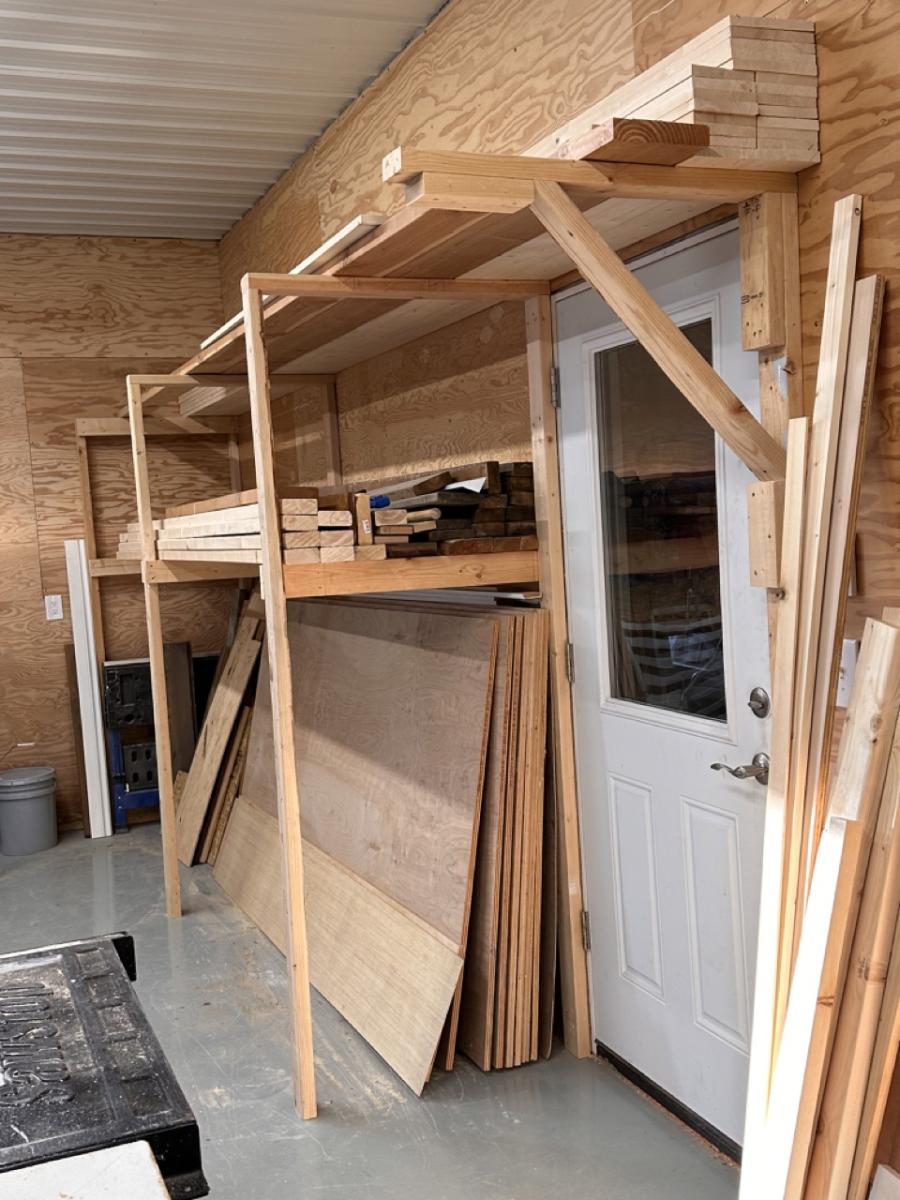
We needed to store 16' long lumber as well as plywood and shorter lengths of lumber, but didn't have 16' feet of wall.  So we used the 2x4 garage shelving plan to create the frame for a lumber rack.  We did screw the "ladder" parts of the shelving to the wall.  This is working really good for us and was inexpensive and easy to make.

anthropologie farmhouse table

Submitted by chershbine on Mon, 07/16/2012 - 07:28

this was a relatively easy project. I used a very old saw for this project so my cuts were less precise than I would have liked.

Estimated Time Investment
Afternoon Project (3-6 Hours)
Finish Used
dark stain with polyurethane finish for outdoor use
Recommended Skill Level
Intermediate

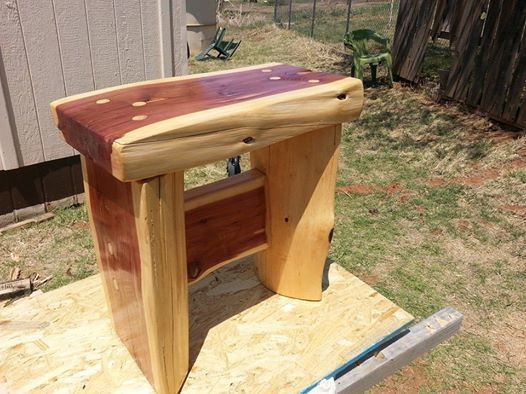
Western Red Cedar Stool

I made this for my wife. It is a simply design but she loves it and I think it turned out very nicely. I had an 18" inch long western red cedar log laying around that I sat on sometimes and wondered how I could make it more comfortable to sit on, and this is what I came up with. I peeled the bark with a draw knife. and then marked out a 3" thick slab out of the middle lengthwise and carefully ripped it out using a chainsaw. I used the two end pieces as the base by turning the outer sides in while using the slab for the top. Out of a smaller log I cut the cross member about an 1 1/2" thick sized to fit between the legs. After lots of sanding I was able to get the marks from the chainsaw out and assembled the pieces using 5 1/2" x 1/4" hex head screws countersunk and holes plugged with 3/4" poplar dowels. After a final sanding I applied 3 coats of Spar-Urethane. The red parts of the cedar turn a rusty color quickly after sanding so a finish needs to be applied rather quickly. I hope you like it.

Estimated Time Investment
Day Project (6-9 Hours)
Finish Used
Spar-Urethane
Recommended Skill Level
Intermediate

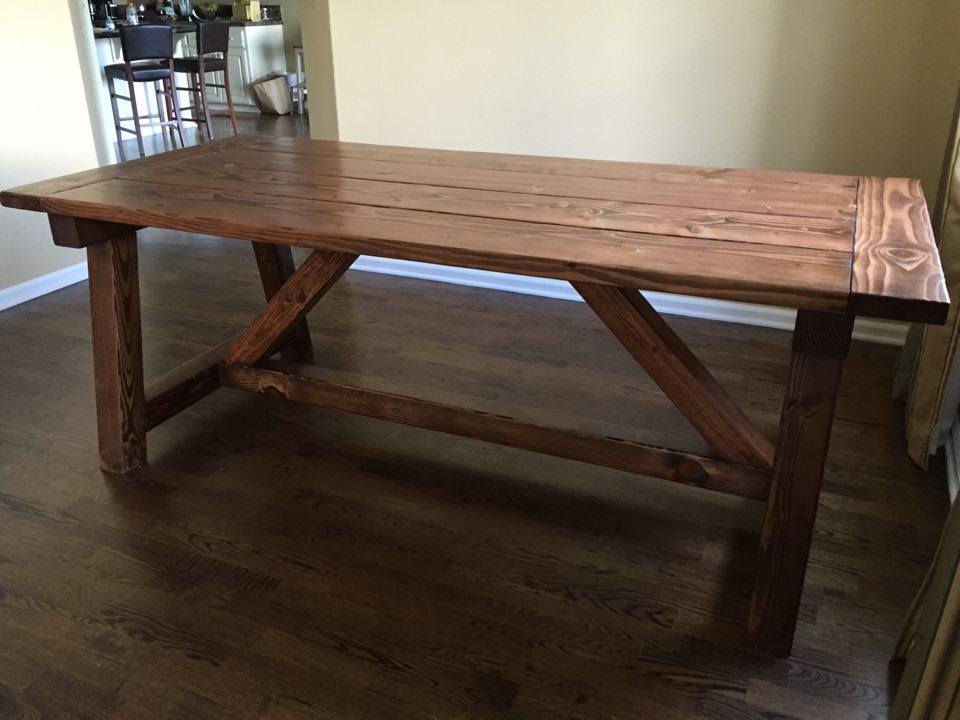
4x4 Truss Beam table

Submitted by jsutton78 on Wed, 08/03/2016 - 09:45

I went pretty much according to the plan on this one.  Went with the special walnut stain and gloss poly.  Love the look!

Built from Plan(s)
Estimated Cost
$200
Estimated Time Investment
Day Project (6-9 Hours)
Finish Used
Special Walnut stain, poly gloss
Recommended Skill Level
Intermediate

Camp loft bed and twin

Submitted by derekvonk on Sun, 05/24/2020 - 13:29

Built this camp loft bed and twin for my two daughters they love them and this wasn’t that hard to build. Thank you Ana for these great plans. Adjusted the height of both to accommodate for the ceiling fan.

Estimated Cost
$200
Estimated Time Investment
Weekend Project (10-20 Hours)
Finish Used
Paint and poly
Recommended Skill Level
Beginner

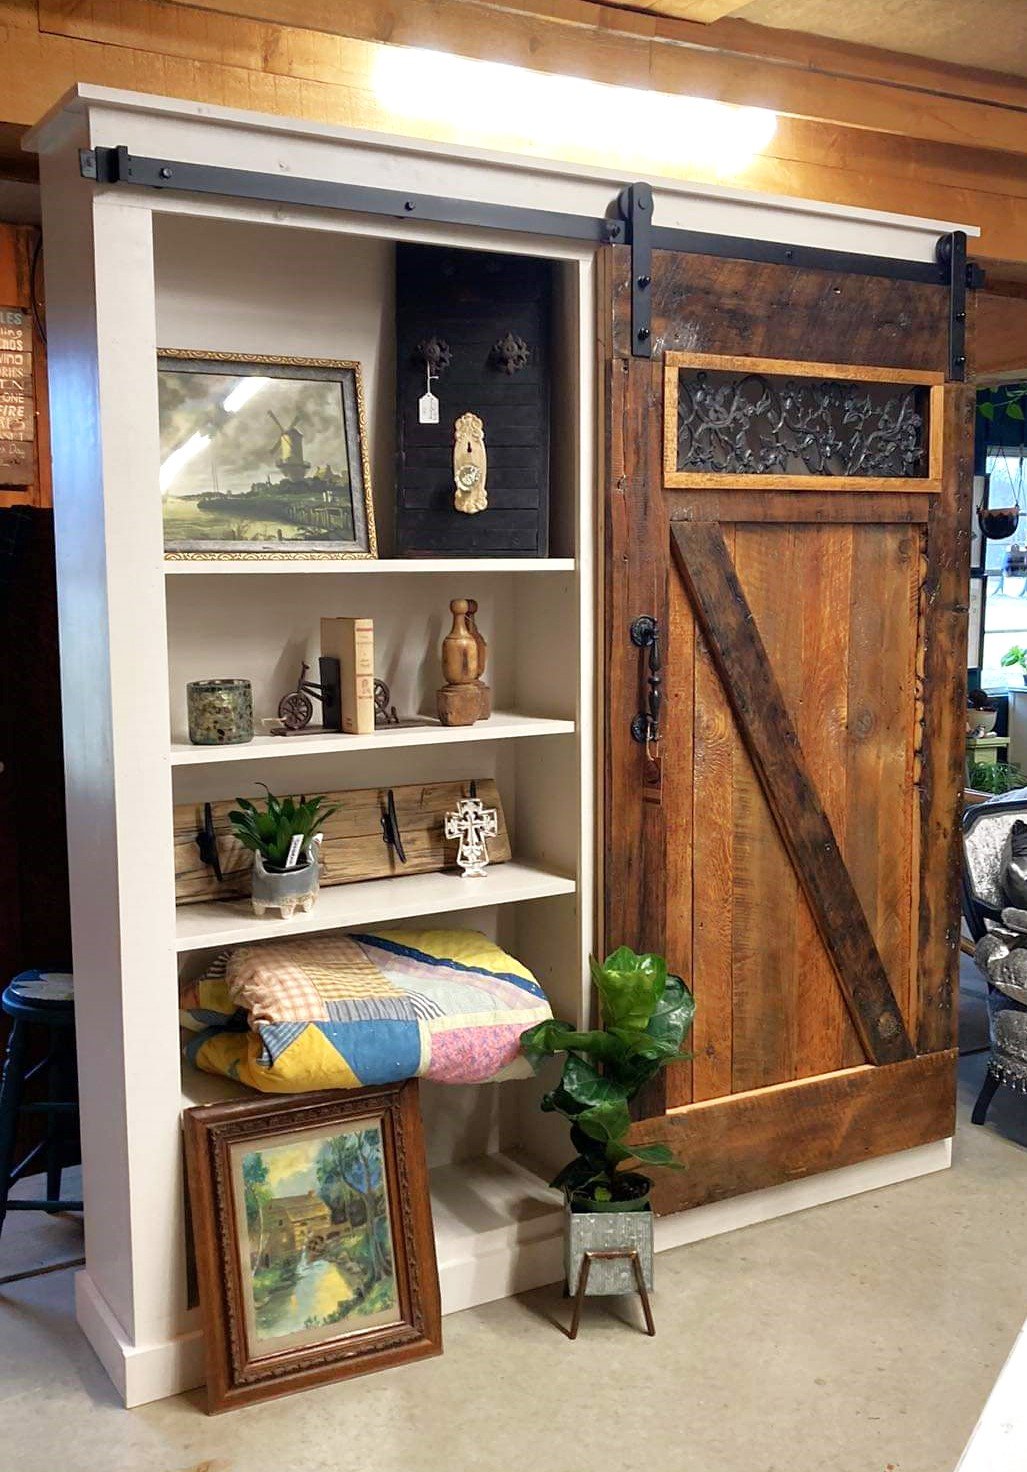
Authentic Barn Door Bookshelf

Submitted by Anonymous (not verified) on Mon, 02/05/2024 - 09:08

I built a couple of the barn door pantries before, but this time I had some wood from my brother's barn. I had purchased a metal grate at a flea market some years earlier, but could never decide what to do with it. With my husband's help, I integrated it into the door. It turned out to be a beautiful piece.

Built from Plan(s)

Reclaimed TV Console

Submitted by EndGrain on Wed, 07/18/2012 - 09:52

I based this console off of the Rhyan's coffee table plans. It about 6 1/2 feet long and just under 2 feet for both height and depth. The frame is reclaimed pine off of a barn, the shelving, the sides and the drawer fronts are irregular cedar planks and the drawers themselves i believe are actual 1 in thick white pine boards that were rough milled. Hopefully the pictures can answer any questions you have about this build but feel free to contact me if you have any questions. I was very pleased with how this project turned out since I was making so much of it up as I went.

Built from Plan(s)
Estimated Cost
$150-$200
Estimated Time Investment
Week Long Project (20 Hours or More)
Finish Used
1 Coat of Linseed Oil, 3 coats of Teak Oil
Recommended Skill Level
Intermediate

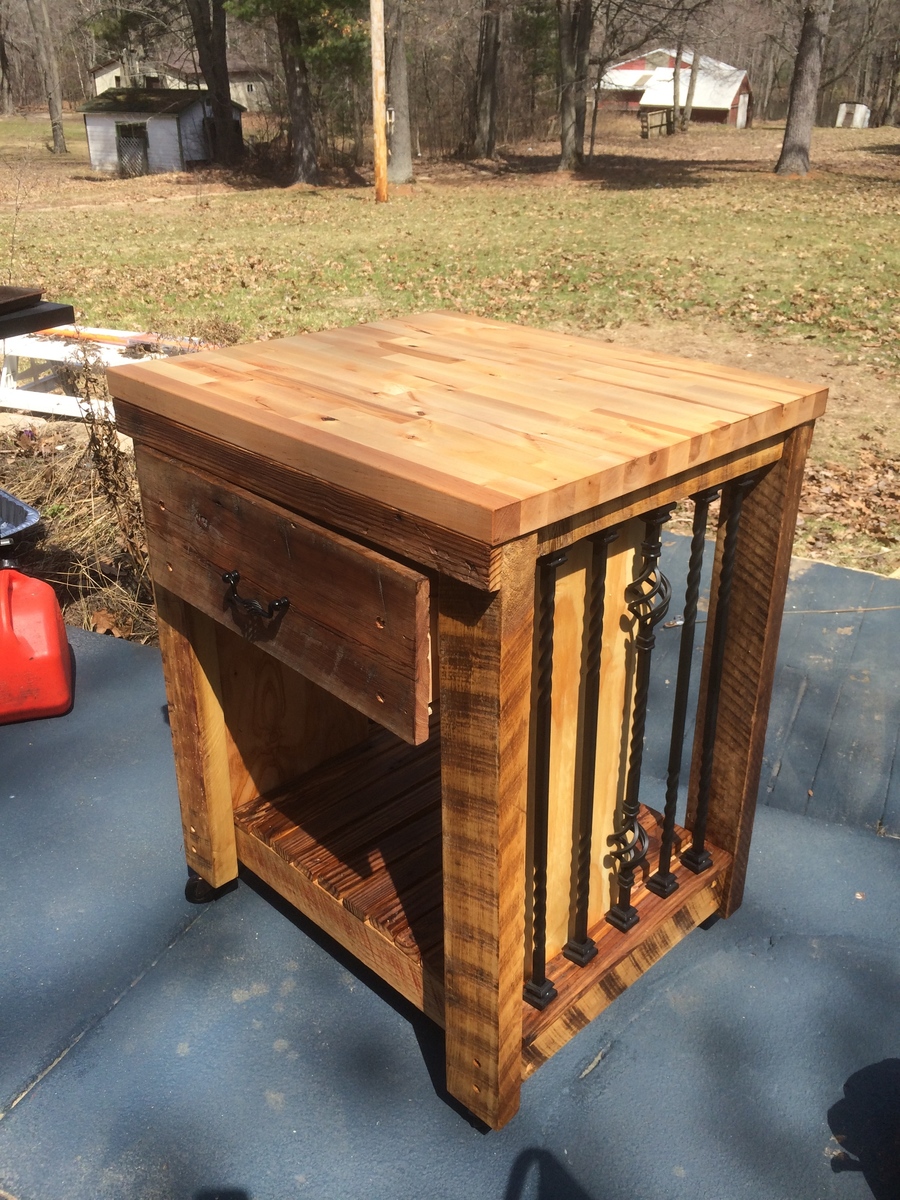
Barn wood island

Submitted by rherlein on Wed, 05/07/2014 - 18:26

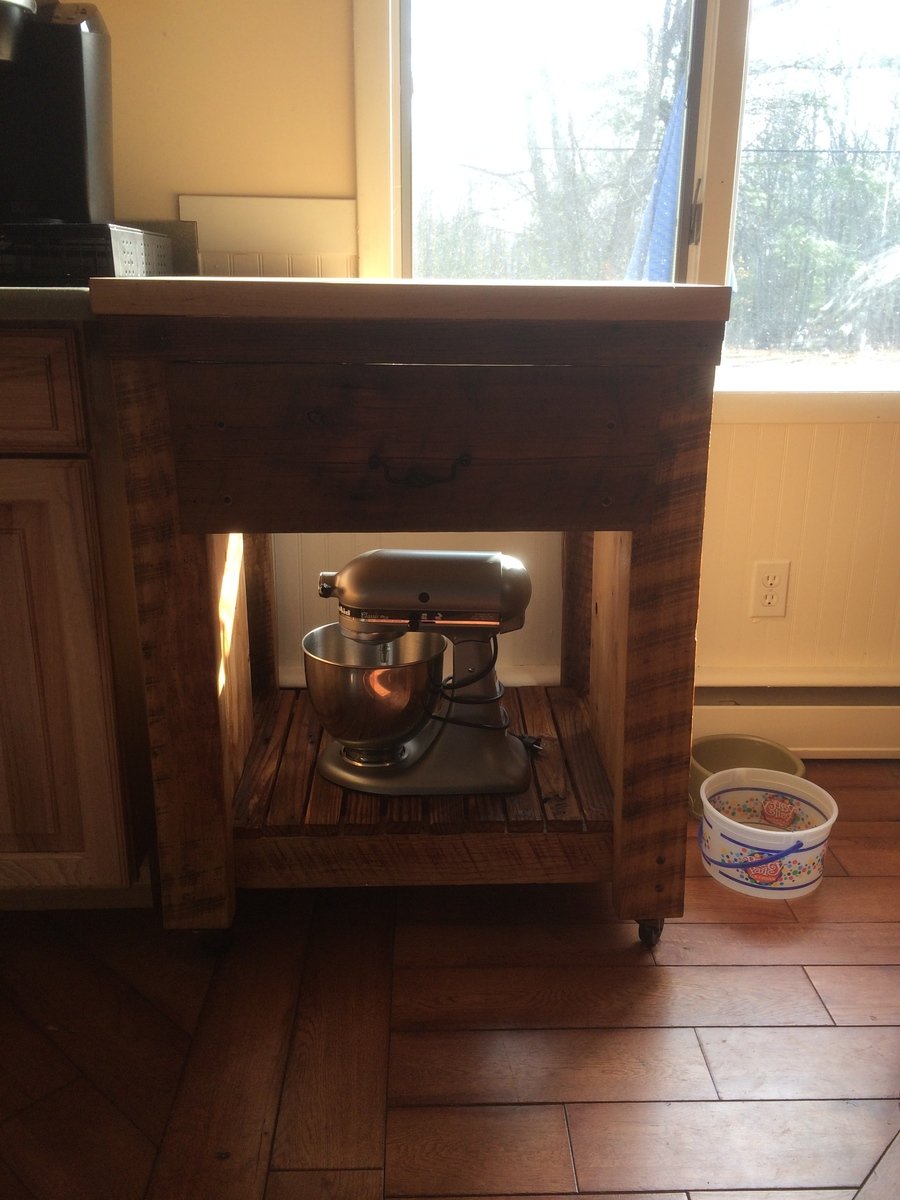
I started using the basic dimensions and cut list from this plan. I decided to use as much repurposed barn wood as I could (80%) in this project. I tried to keep the rough cut weathered look. On the sides I used wrought iron balusters in place of the wood X pattern specified in the plan. I used matching wrought iron drawer hardware and topped it off with a butcher block table top. This is my very first piece of furniture that I have ever made and I'm very happy with the way it turned out!

Estimated Time Investment
Weekend Project (10-20 Hours)
Finish Used
I used Minwax stain/polyurethane all in one in oak finish
Recommended Skill Level
Beginner

Comments

earthbybike

Wed, 05/07/2014 - 20:56

I really like the use of balusters. The visual space it takes up is much less than if you would have made the side from solid wood. Nice Job!

Mimi's faux mantle with shelves

Submitted by Anonymous (not verified) on Mon, 08/08/2016 - 09:43

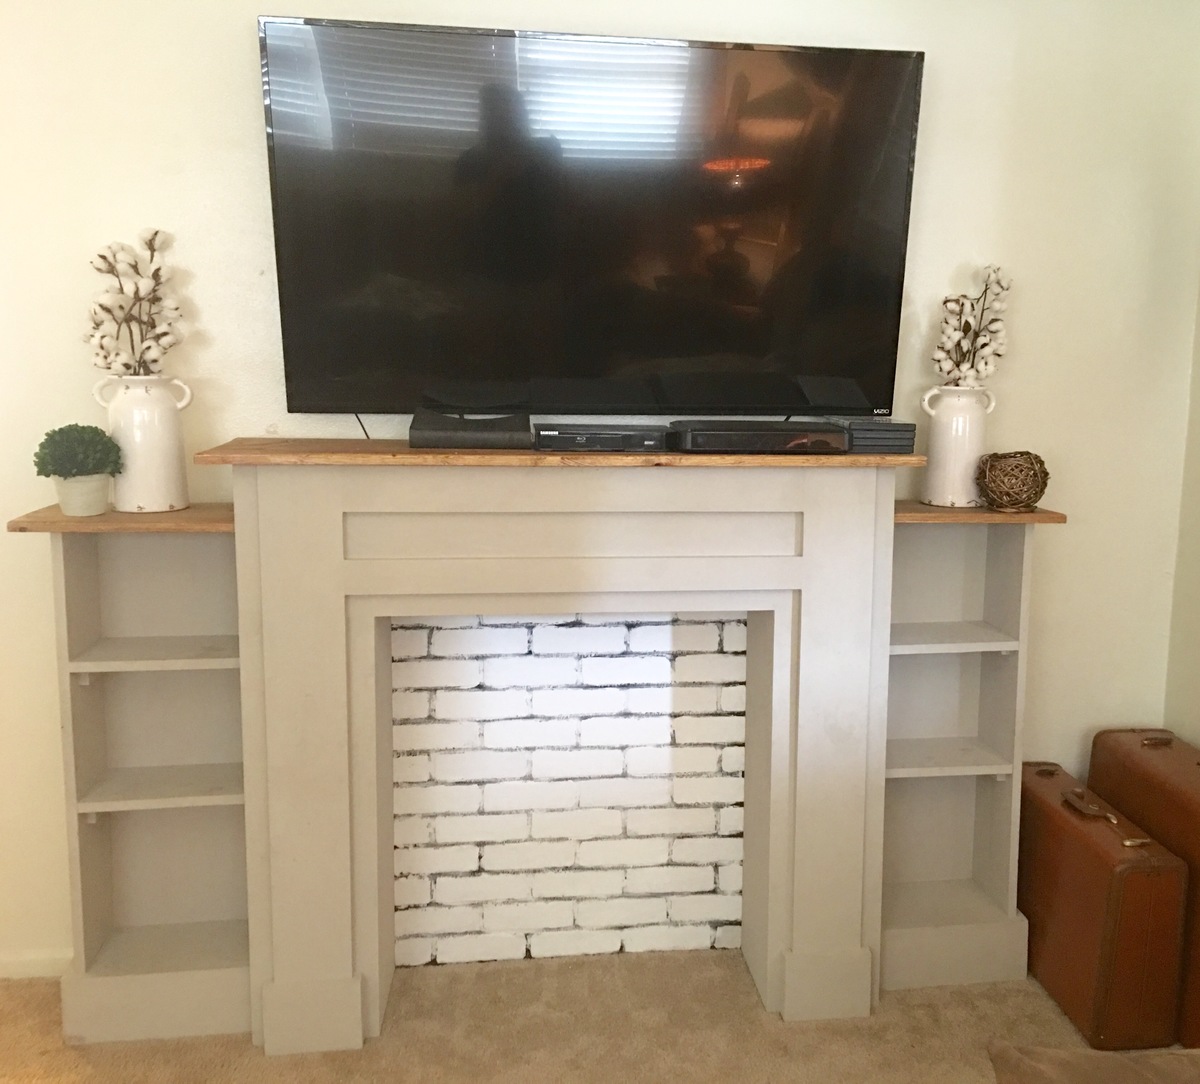
After seeing someone else's version of Mimi's faux mantle with shelves, we decided to make our own! We followed the plans for the mantle & made a few adjustments & made our own plans for the side shelves. Stained the top with special walnut, light grey chalk painted with wax, & used faux brick siding from lowe's & painted the bricks white. Wasn't too hard & love the final product. 

Estimated Cost
175.00
Estimated Time Investment
Afternoon Project (3-6 Hours)
Recommended Skill Level
Starter Project

Kid Helper Tower

Submitted by Anonymous (not verified) on Mon, 02/12/2024 - 09:22

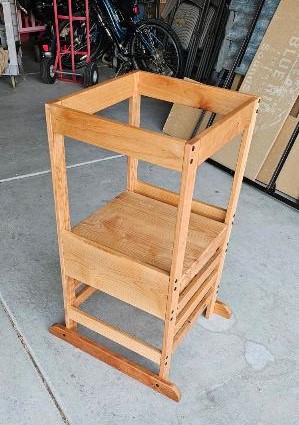
I had some cherry wood left over from a different Ana White project and used that to make this "Kid Tower" for my one year old great niece. I used dowels for the two ladder sides and furniture connectors for the other two sides. I finished it with Rubio's.

Steve B

Built from Plan(s)

small closet renovation

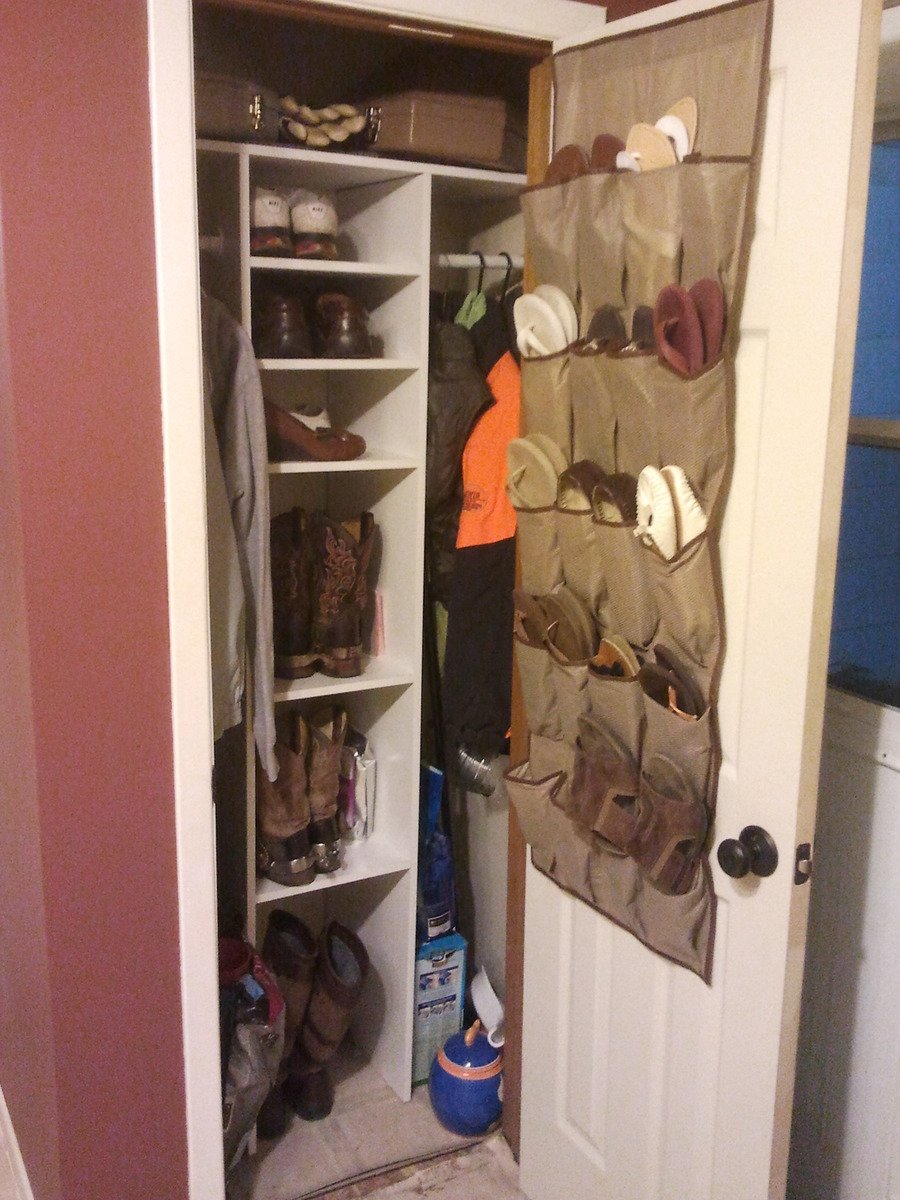
Our back door entrance closet was cluttered with shoes, boots, pet food and more. Strategically scattered at the bottom.

Originally the closet had a flat panel door with a poorly patched hole from a neighboring door, unpainted interior, one shelf with a hockey stick closet bar. A complete eye sore.

Solution:

Constructed a 5 shelf "simple closet organizer" with dimensions of 72"H x 13"W x 16"D. The material was four 72" x 16" particle board shelves purchased from HD for $10 each and a 100 particle board screws with painted white heads. I already had the closet rod with the hardware ($5 each) to hang the rods.

The new closet has a six panel door (used the door jig purchased for the doggy door) updated hinges and knob ($25) to match the rest of the house.

We painted the interior of the closet with left over wall paint.

Problem solved.

I like many on here, I hate particle board but the better half didn't want to paint the shelves, so the compromise was reached and we got the particle board haha. Nice on the pocket book and didn't pay extra for the crappy ready to go stuff plus I got to play with my tools.

Built from Plan(s)
Estimated Cost
$40 simple closet organizer + $50 door & know = $90
Estimated Time Investment
Day Project (6-9 Hours)
Finish Used
factory :(
Recommended Skill Level
Beginner

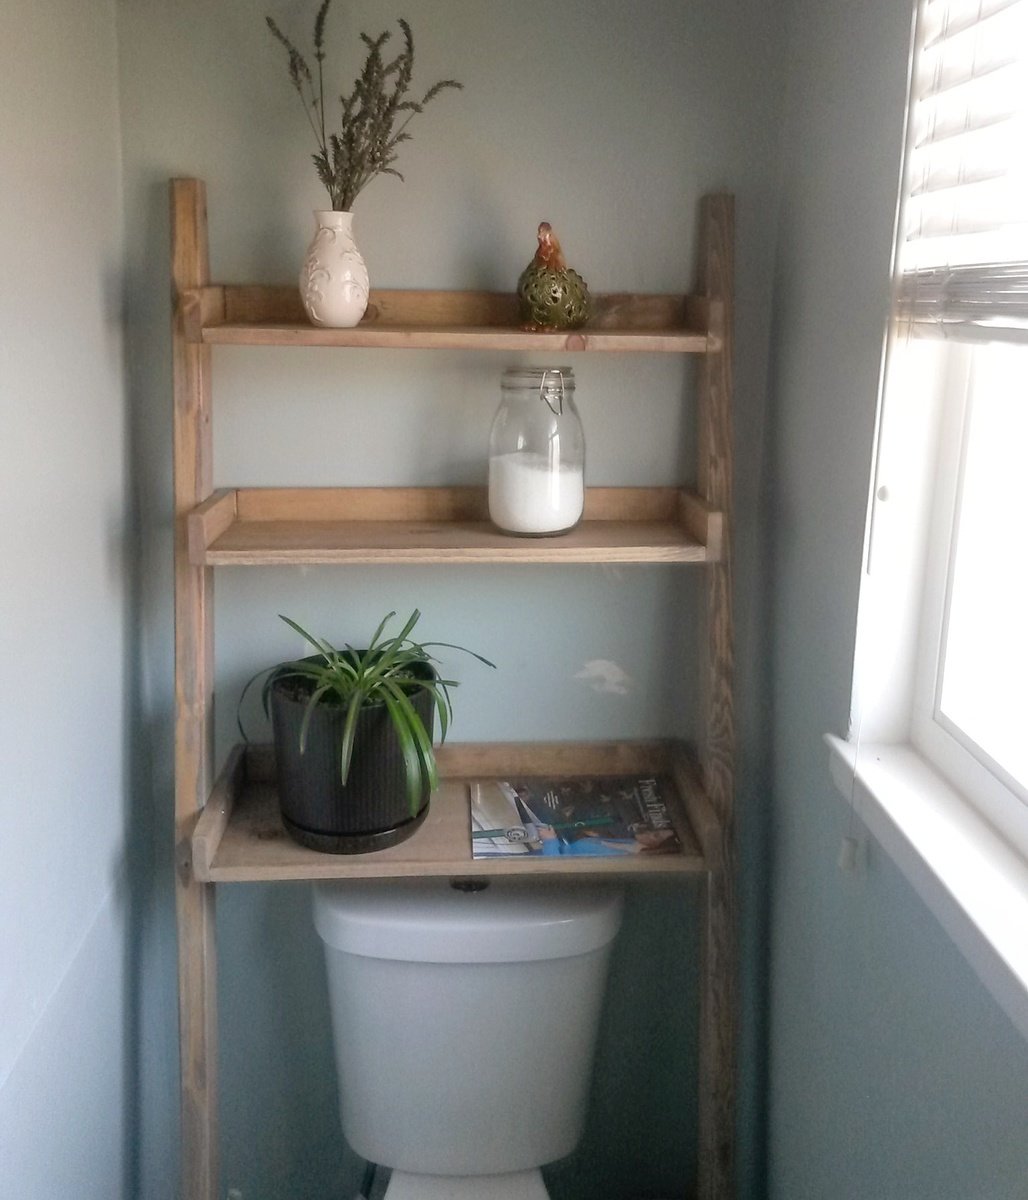
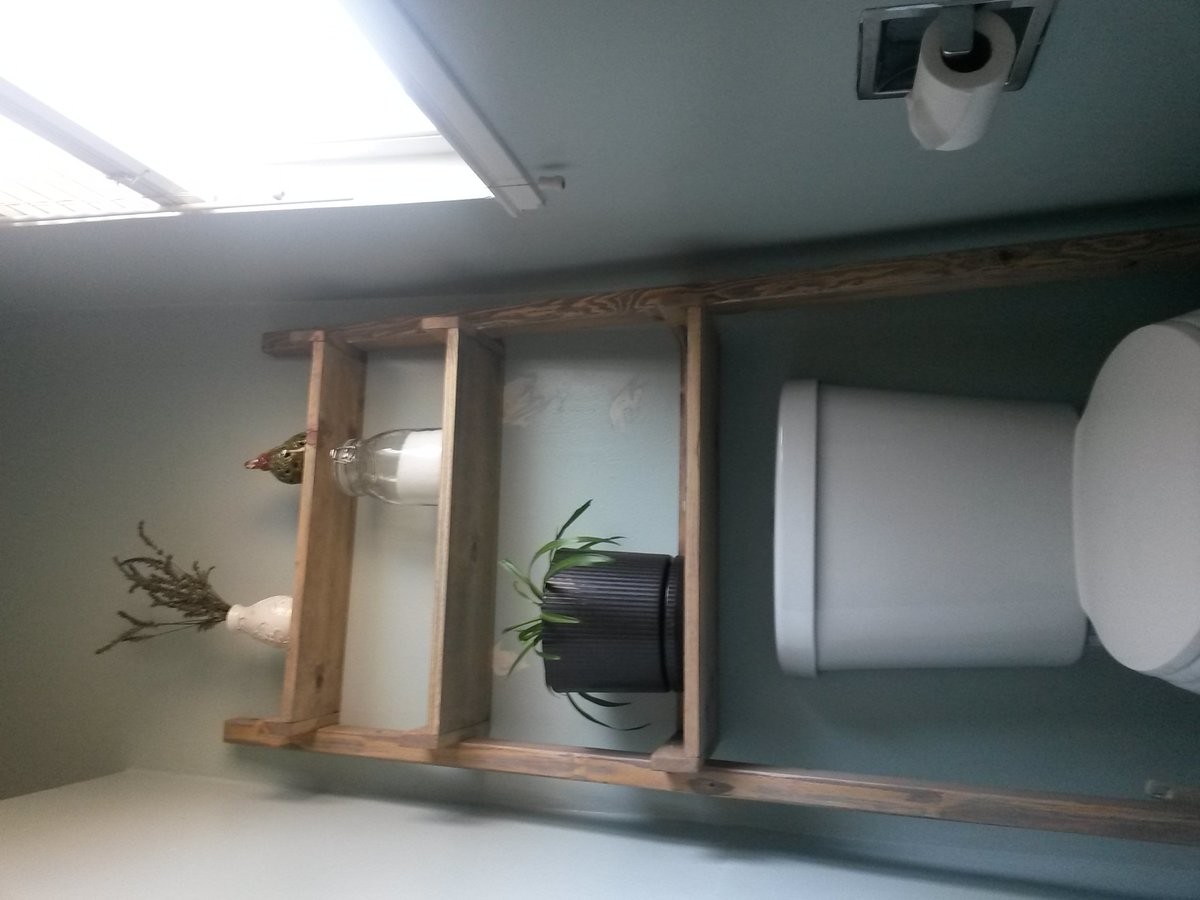
Storage ladder

Submitted by Anonymous (not verified) on Fri, 08/12/2016 - 13:07

This was a very simple build. I was able to finish in a few hours by myself with 2 young children hanging around my ankles! 

The supply list allows enough extra to make 2 or 3, making it fairly inexpensive! 

Estimated Cost
20-30
Estimated Time Investment
Afternoon Project (3-6 Hours)
Finish Used
Weathered Oak and Special Walnut
Recommended Skill Level
Starter Project

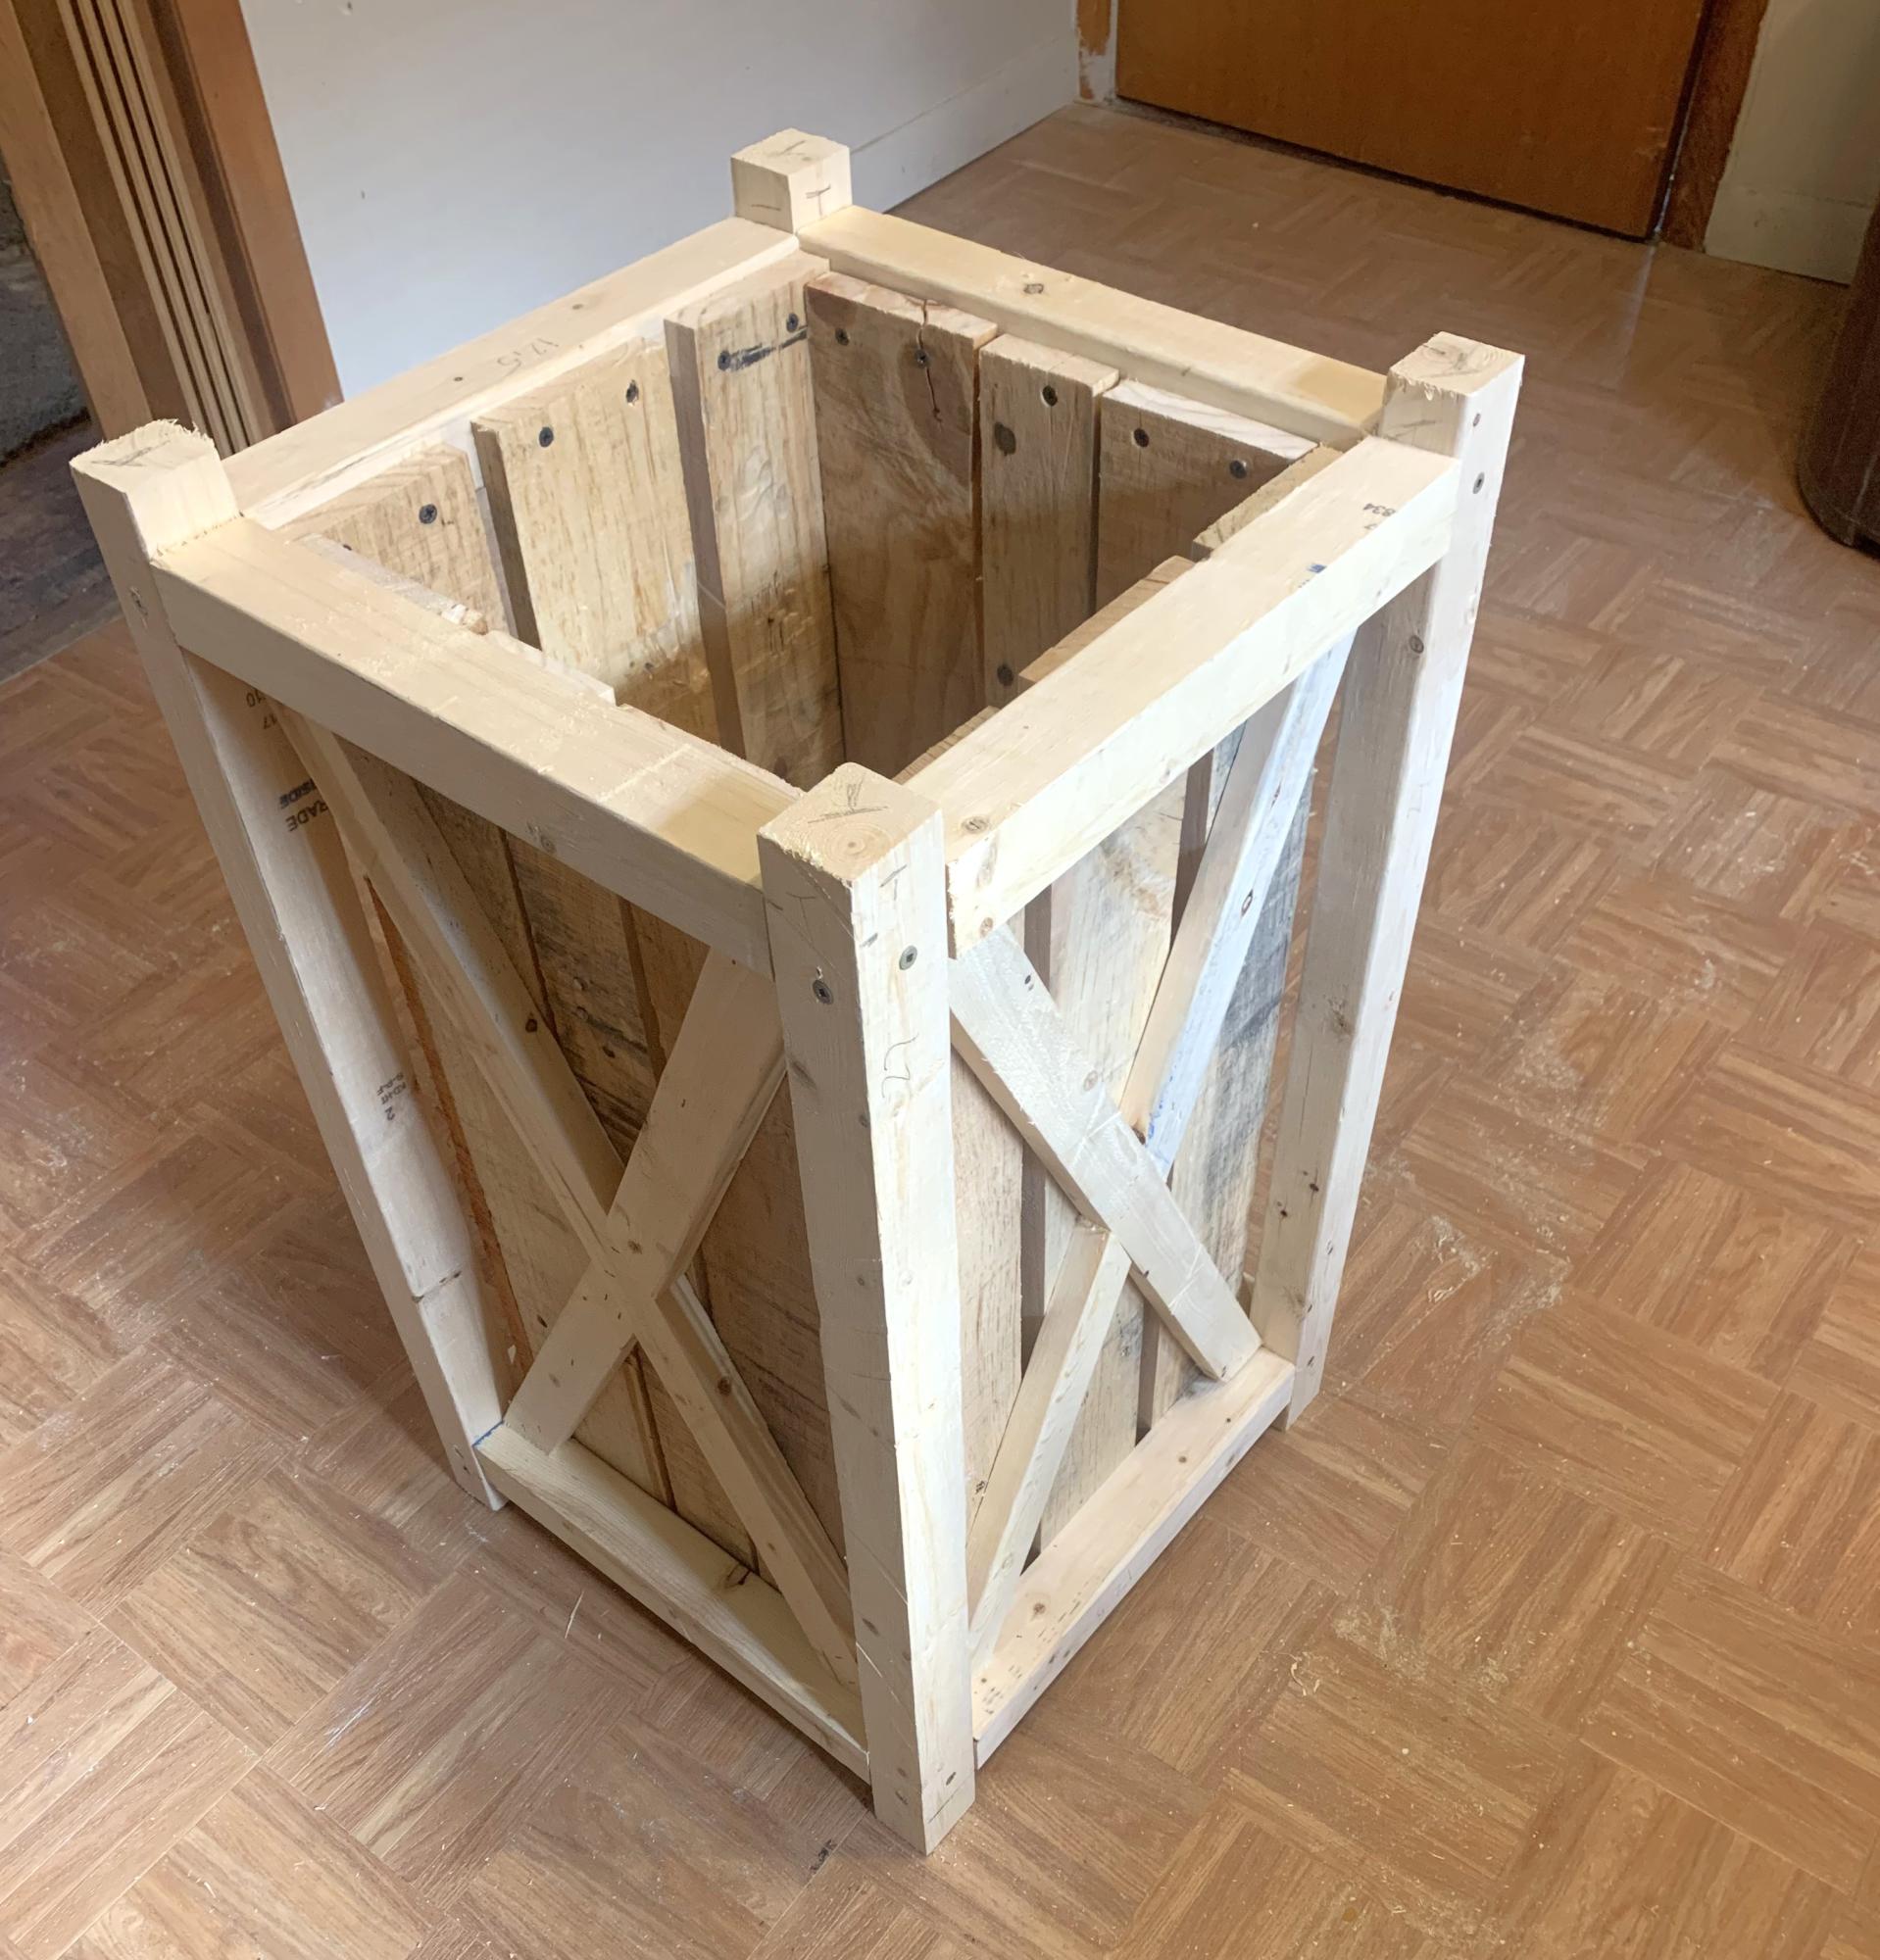
Tall Pallet Planter

Submitted by Anonymous (not verified) on Tue, 02/13/2024 - 13:02

Planter box for mums or small x mas tree made from pallet.

Led

Farmhouse Headboard

Submitted by jladin on Sun, 07/22/2012 - 19:00

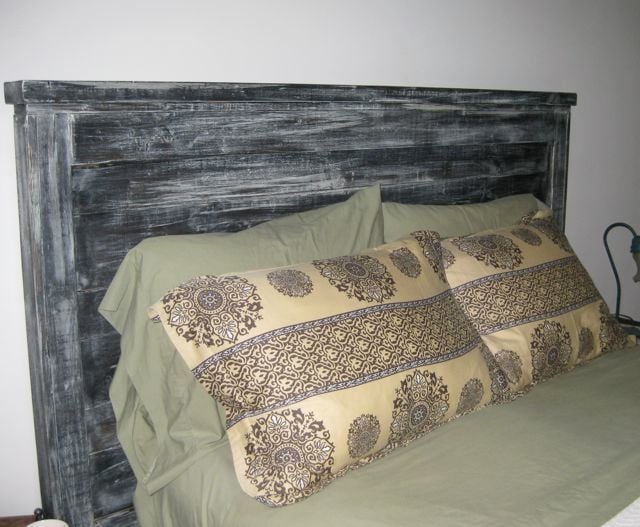
I followed this plan (http://ana-white.com/2010/03/plans-mason-headboard-its-all-in-finish.ht…) and my headboard turned out beautifully!

I chose to stain my headboard prior to dry brushing with paint.

While a beginner can complete the headboard, distress it, and stain it in a few hours, the stain needs to dry at least 24-48 hours prior to distressing/painting. And then the paint needs to dry at least 24 hours prior to wiping on the poly finish. I'd give yourself one week from start to moving it into your room.

Estimated Cost
$75
Estimated Time Investment
Afternoon Project (3-6 Hours)
Finish Used
Minwax woodstain in Espresso
Behr semi gloss paint in Swiss Coffee
Minwax wipe-on polyurethane
Recommended Skill Level
Beginner

Mother's Day Planter Caddy

Submitted by skaishadow on Tue, 05/13/2014 - 15:55

Fun to build, good skill level assessment. Time estimate on point. I decided not to apply a finish so my wife could choose what she liked. Re: materials, I found a set of four 1 5/8" casters @ HD for 5 bucks. Not sure if as good, better or not as good as what is recommended by the plan details, but they are working so far. The sizing was perfect for our big round IKEA pots. I will make 2 more for the other two pots. Keep up the good work.

Built from Plan(s)
Estimated Cost
$15
Estimated Time Investment
Day Project (6-9 Hours)
Finish Used
None yet
Recommended Skill Level
Intermediate

Genell Goodman

Submitted by Anonymous (not verified) on Mon, 08/15/2016 - 14:16

I was excited when I seen Ana's diy sofa and could not get it out of my mind. I ended up making a copy of her instructions and figured out how I could do it at as little cost as possible. I downloaded JAF app on my phone. Signed up for JAF with my email, which got me an additional 20% off my total purchase, and then I printed up a 50% coupon from JAF website. I was able to use all of my coupons after waiting until no one was in line and telling the clerk that if she didn't let me check everything out seperately in order to use my coupons, I wouldn't be able to afford it, and they would have to put everything back, and that would really be sad.

Yea!! Out of the goodness of her heart, or the annoyance of my begging, she did it! God Bless Her.

I ended up using

2 50% off coupons

1 40% off coupon

1 20% off coupon

My beautiful material was already on sale for 50% off which made me feel like the sun was shinning really bright on me that day. It rained the next day.


I went to homedepot with my plans and asked them to cut the pieces of wood out for me because I didn't feel like arguing with my husband about using his saw again. He bought me my own but it's not a nice table saw like his. He thinks I'm stupid. He bought me a jig saw.... Crazy!!!

Then he tried to lock me out of his tools, but I just put every combo I could think of into his big lock and Pop goes the Weasel!!! I did lose one of his bits, though. I'm very sorry about that and I hope he don't notice. I've been praying on that part.

I used 3 & 5 Density Foam. The foam is where you will need to use your coupons because it can get really expensive. I would have ended up paying about $100 more if I didn't use my JoAnn coupons.


Estimated Cost
$160
Estimated Time Investment
Day Project (6-9 Hours)
Finish Used
Printed Paris fabric.

I would suggest painting the feet before building the sofa. I know that's logical thinking but I was to excited to think very logical at the time. I'll use my common sense the next time because I'm sure I'll be a little more calm, unless I find some drop dead gorgeous fabric. I lose my mind at the fabric store sometimes.
Recommended Skill Level
Beginner

Custom Rustic Hall Tree w/Bench

Submitted by Anonymous (not verified) on Sat, 05/30/2020 - 10:39

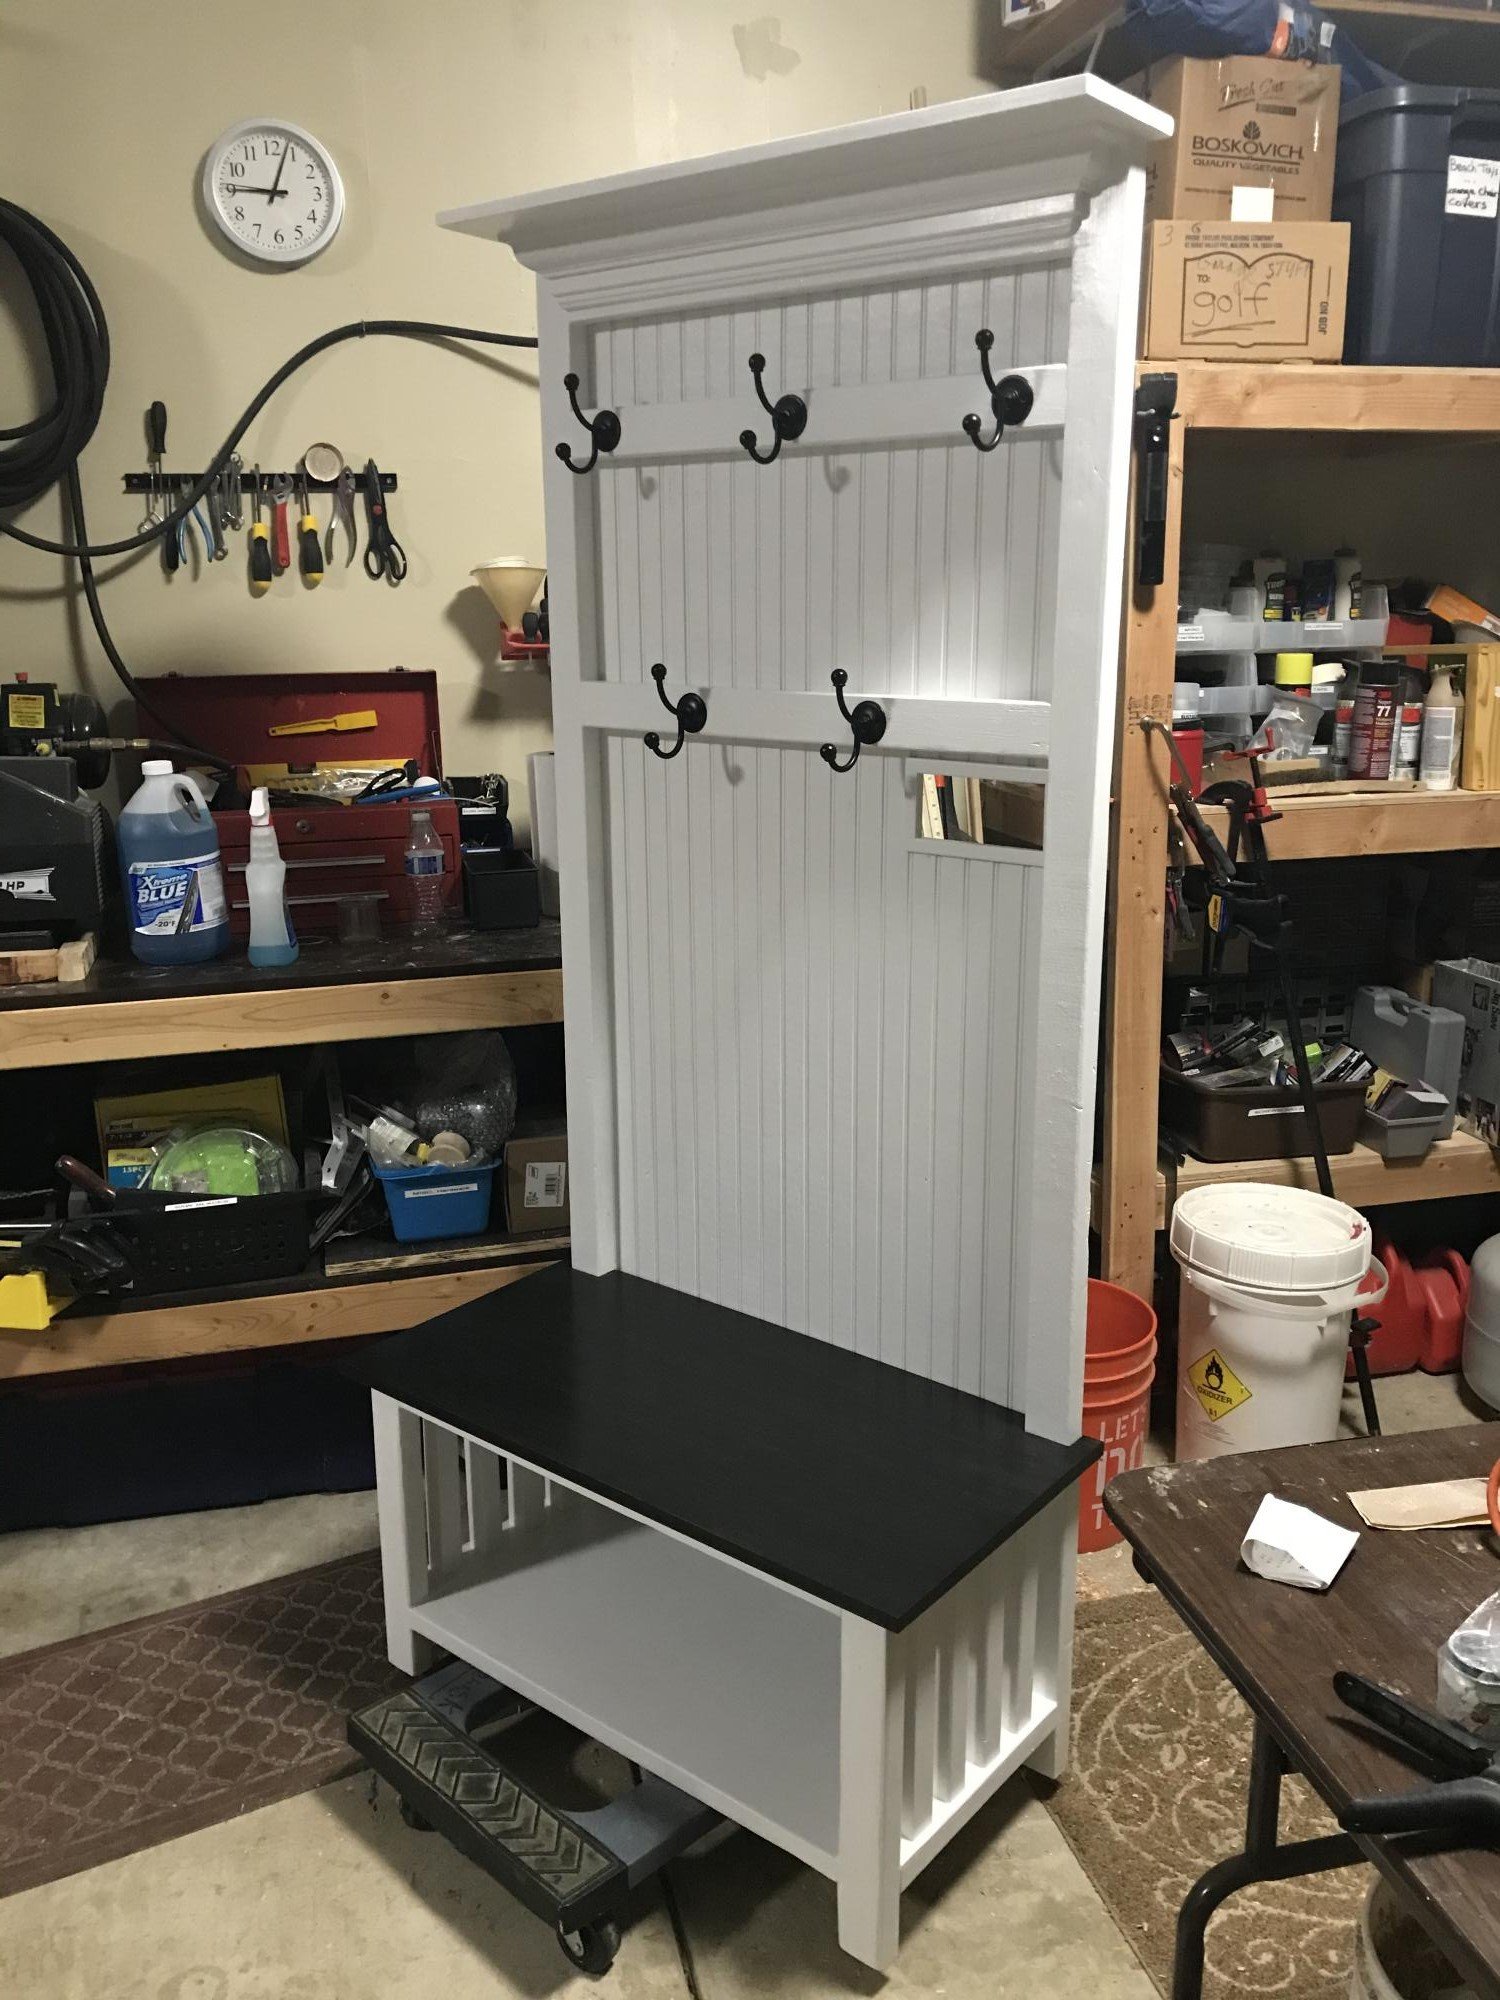
Thanks for the inspiration Ana! My daughter wanted a custom size hall tree and bench with a light switch cut out - basically your plans with an ebony stained poplar seat and bead board backing (to match her wainscoting). I had a little crown left from another project so I added a little detail to the top shelf.....And a Couple of lower level Hooks for the grandkids coats! She loved it and it was fun to make!! Mike in Columbus, OH

Built from Plan(s)
Estimated Cost
$98.00
Estimated Time Investment
Weekend Project (10-20 Hours)
Finish Used
Ebony varathane stain(seat) with varathane ultimate polyurethane oil based semi gloss Interior finish on seat(4coats)

Kilz2 primer/stain blocker interior white

Finish paint Behr marquee Semi gloss custom white to match room color.

Seat sanded to 400 all other areas to 220 before paint. Between seat coats of ur at hand used 0000 steal wool lightly with soapy water mixture.
Recommended Skill Level
Intermediate
Back