Community Brag Posts

Kitchen Console Table

Submitted by DentDiva on Thu, 06/23/2016 - 13:53

I needed a skinny table for the kitchen.  I build this with dog dishes built in to make life easier.  It's an all purpose table that looks nice too. Custom plans made from ideas from other plans.

Built from Plan(s)
Estimated Cost
$75
Estimated Time Investment
Afternoon Project (3-6 Hours)
Finish Used
White paint for bottom, stain for top
Recommended Skill Level
Beginner

Chunky farmhouse trestle table

Submitted by FStrat68 on Mon, 04/20/2020 - 17:47

Built this for my daughter and son-in-law! It is 72"L x 42"W x 31"T per her request! I'm making 2 benches to accompany it! In part, I used ana's plans with some tweaking and adjusting for the 4x4's in the bases! I'm doing the same for the benches!

Estimated Cost
$165
Estimated Time Investment
Weekend Project (10-20 Hours)
Finish Used
I used "Dead flat white" on the base and varathane red oak stain distressed then covered over with carbon gray stain (wipe on and right off) and matte polyurethane for the top!
Recommended Skill Level
Intermediate

Train Table

Submitted by Josh on Wed, 06/06/2012 - 13:10

Train Table with removeable top.

Built from Plan(s)
Estimated Cost
$150 - $200
Estimated Time Investment
Day Project (6-9 Hours)
Finish Used
Rockler General Finishes Espresso
Recommended Skill Level
Beginner

Comments

Jay (not verified)

Thu, 06/07/2012 - 07:52

that is a beautiful solution to beeing taken over by the toy monster! Great job!

My version of the large wood pet kennel end table

I made this from scrap plywood in our garage for my step-daughter's five-month-old new boxer/lab mix Marley. I used my Kreg rip-cut and pocket hole jig. I even drilled pocket holes to put the four sides together.

That, however, is not Marley in the picture. That is our older Catahoula Leopard Dog Oreo. Marley's owner and her mom chose the color scheme and painted and afterwards, I hung the hardware back on.

The only change I made was to use 1x3 for the entire door rather than 1x2s for the sides.

Thanks for the plan Ana. You are great.

Built from Plan(s)
Estimated Cost
$10
Estimated Time Investment
Day Project (6-9 Hours)
Finish Used
Flat Behr paint.
Recommended Skill Level
Beginner

Bookshelf for my little ones

Submitted by ladybug'13 on Wed, 04/22/2020 - 17:18

I made this out of wood I had from previous projects so it was made entirely out of what I had on hand. It's a perfect size for my kids to keep their books in and keep them very accessible to them. I made it based on what I had, the sides are 24" tall and the shelves are 18" wide. I did this because I had a 3 ft piece and a 6 ft piece so I had to plan carefully.

Estimated Time Investment
Afternoon Project (3-6 Hours)
Finish Used
Dark walnut stain and poly
Recommended Skill Level
Beginner

Doll Crib Gift

Submitted by Anonymous (not verified) on Tue, 12/05/2023 - 07:38

I built this doll crib for a girl we are helping make Christmas special for this year. It's all materials I had on hand (thanks scrap pile!). I love how it turned out. Loosely based on the fancy doll crib plans.

Built from Plan(s)

Calif King Bed with Matching Nightstands

Submitted by abaxter0 on Sat, 04/05/2014 - 14:43

The next few months are going to be crazy! My fiancee and I will both be graduating in May. Our wedding will be be just over a month later in June. Sometime in the middle of all that craziness, we will be moving. I'll start a new job and she will be starting a graduate program.

With all this coming up, I had been looking forward to my last spring break as a college student to go "home" and relax by working on a couple Ana White projects that I had picked out. I ended up working from about 9 or 10 am to about 10 pm every day for 8 days to get everything finished! just sitting in the garage working and running back and forth to Lowes was so refreshing. The time flew by and I ended up with two great pieces that my fiancee and I will enjoy for a very ling time.

I spent a bit more than expected after ordering the cheapest ($20) kreg jig from Amazon and other small things like paint but the value for for what I created is still great!
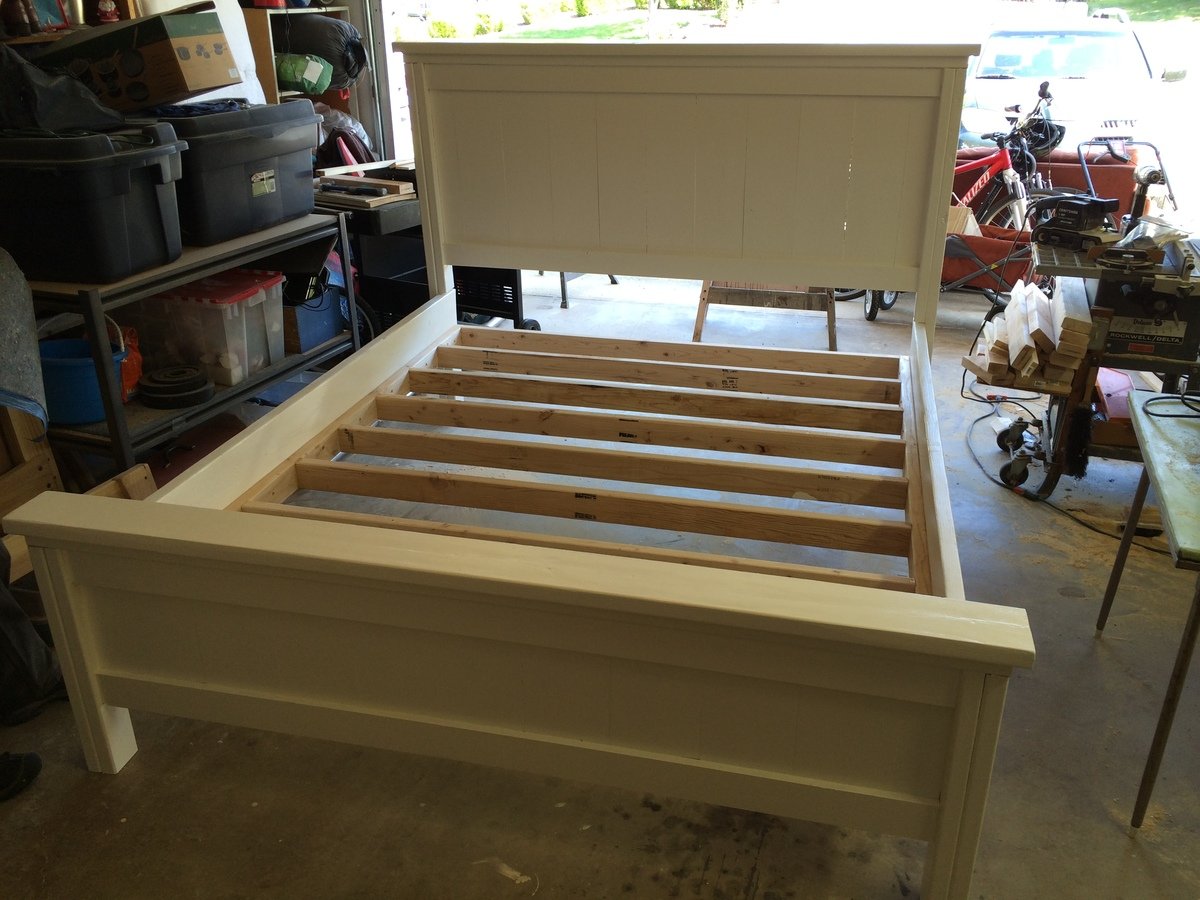
Bedframe:

I love learning how to do new things but I had relatively little experience with wood before this project. I picked up a miter saw a year ago when it was on sale at Lowes and hadn't used it except for cutting laminate flooring so I was excited to be able to use it finally! I had a table saw that was picked up at a garage sale that hadn't been used either which came in handy! My uncle brought over some other tools that were indispensable like a belt sander and finish nailer.

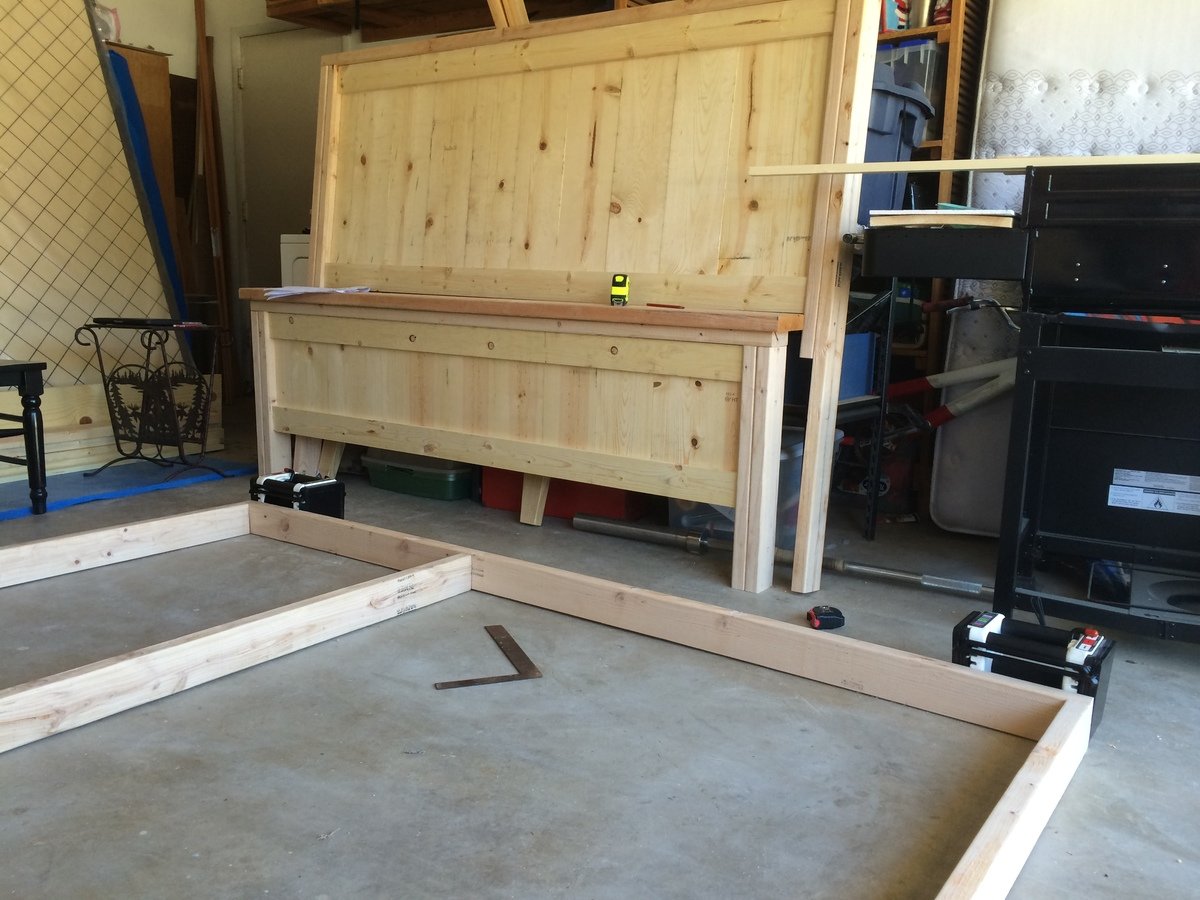
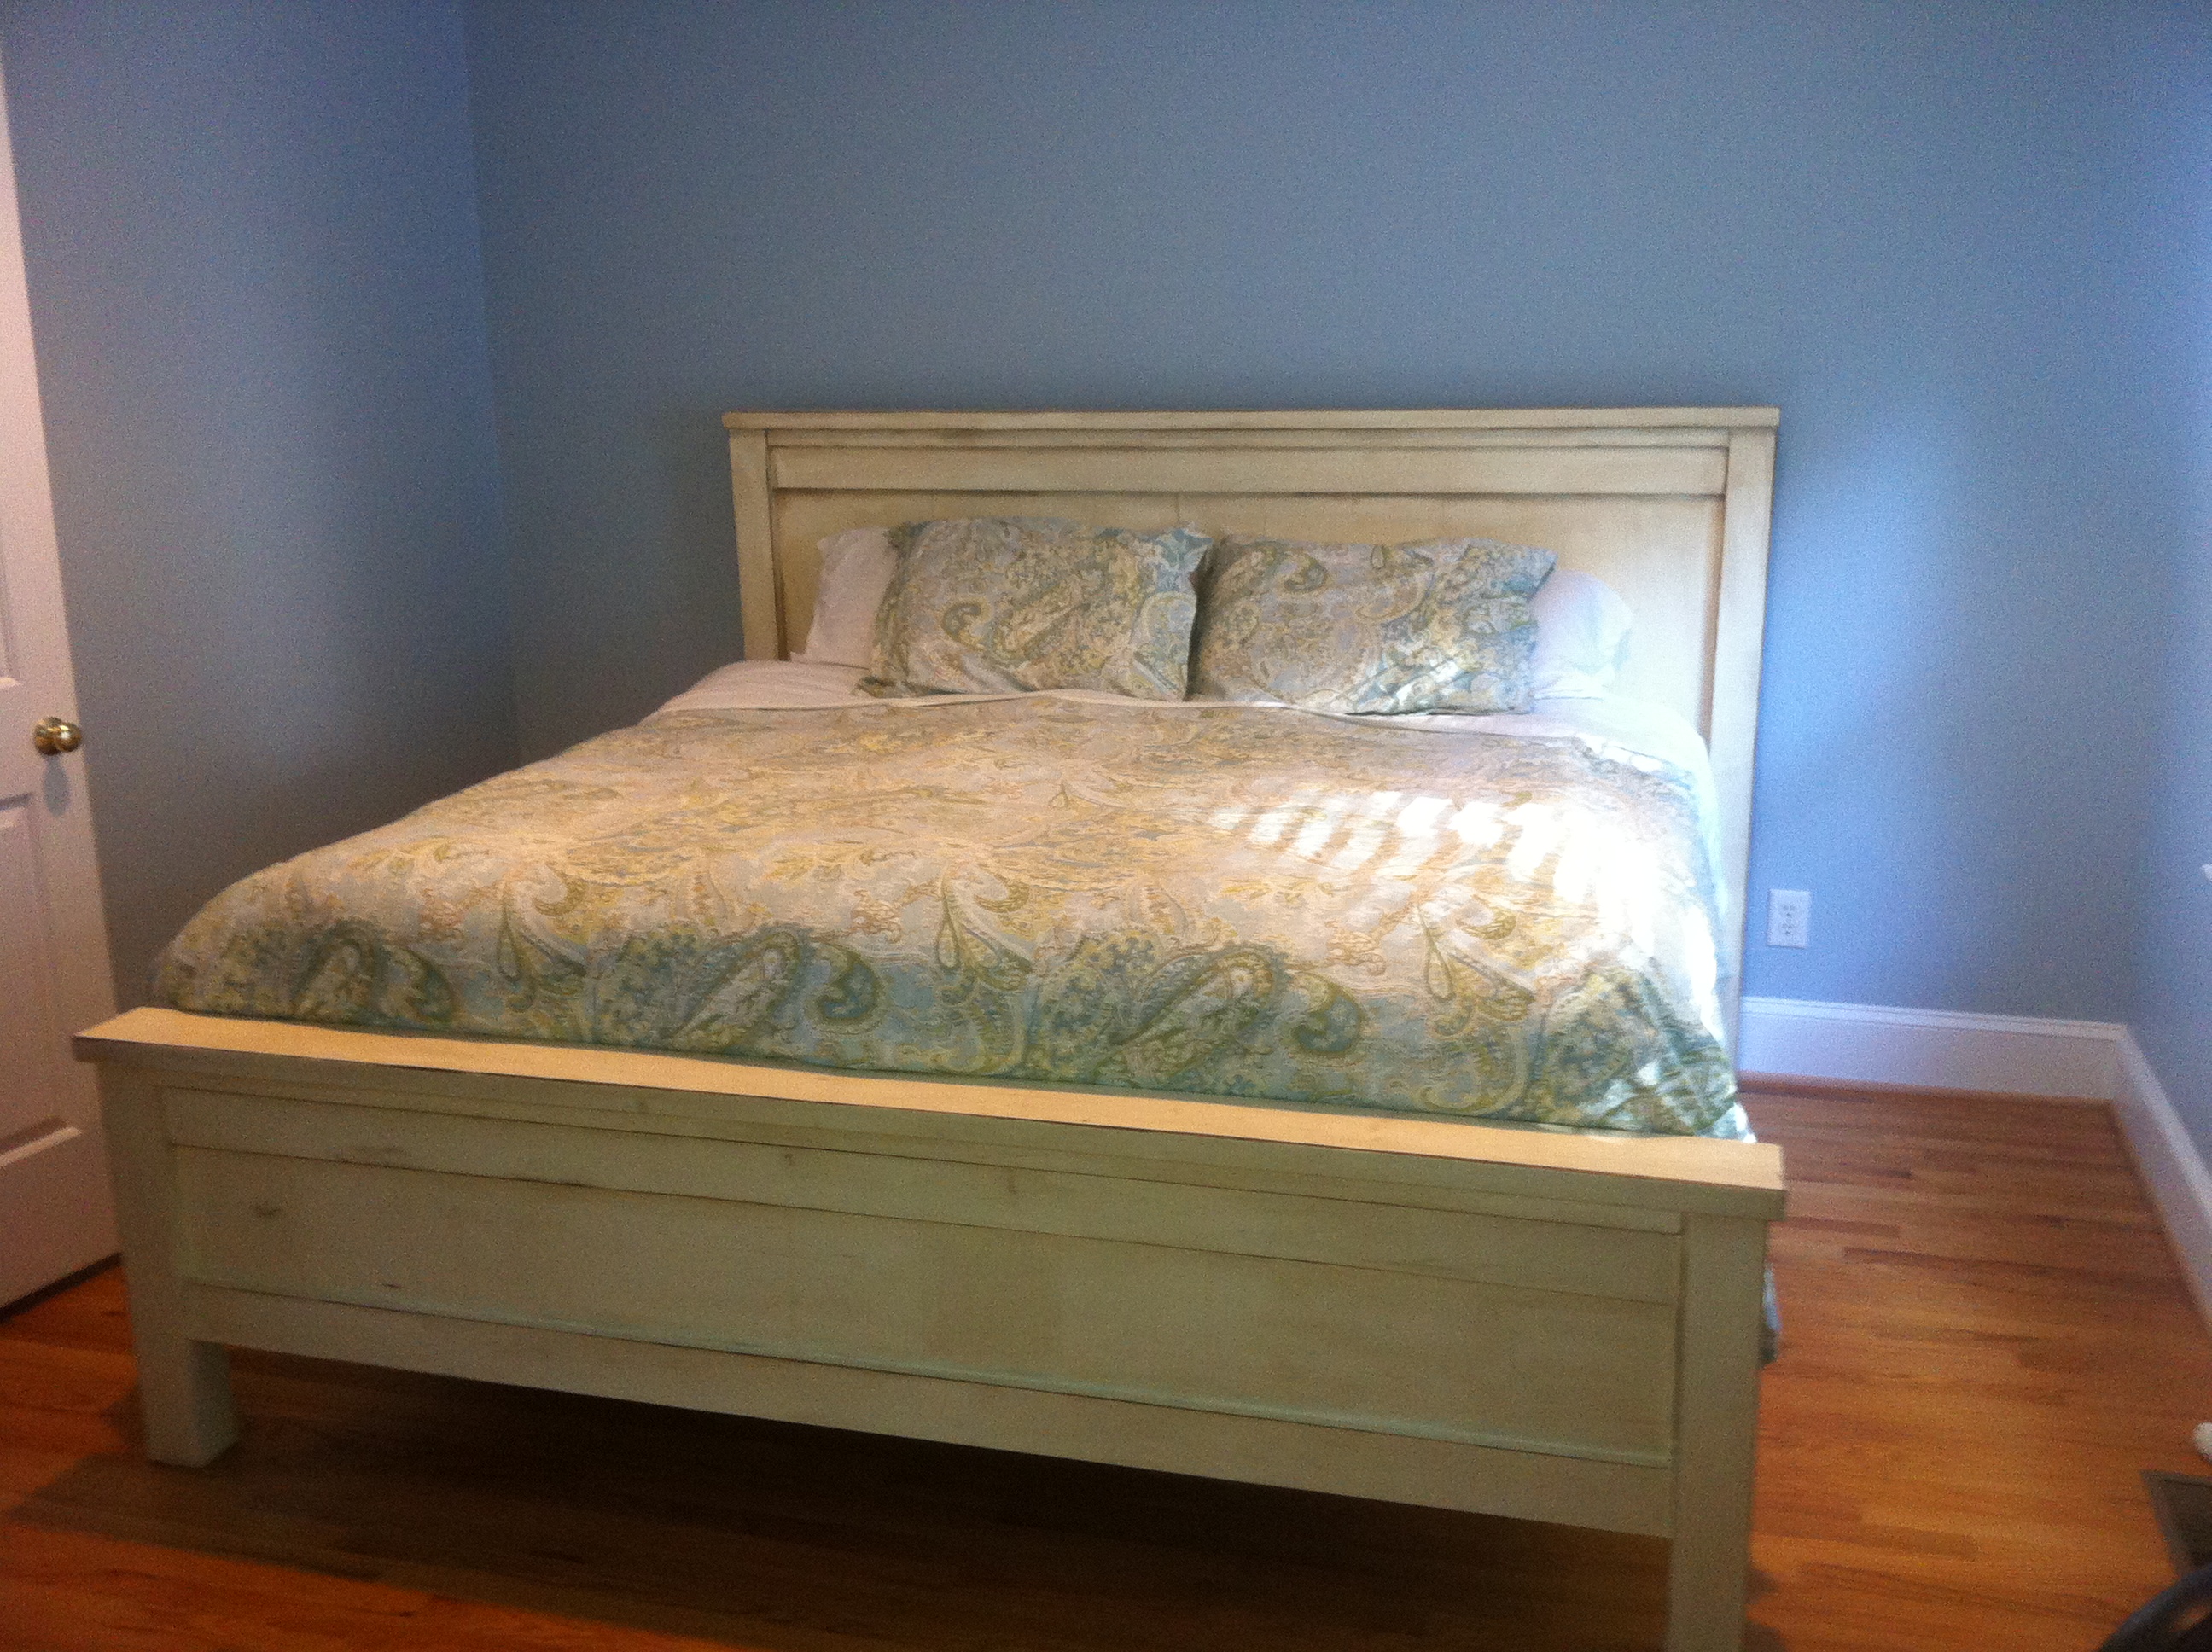
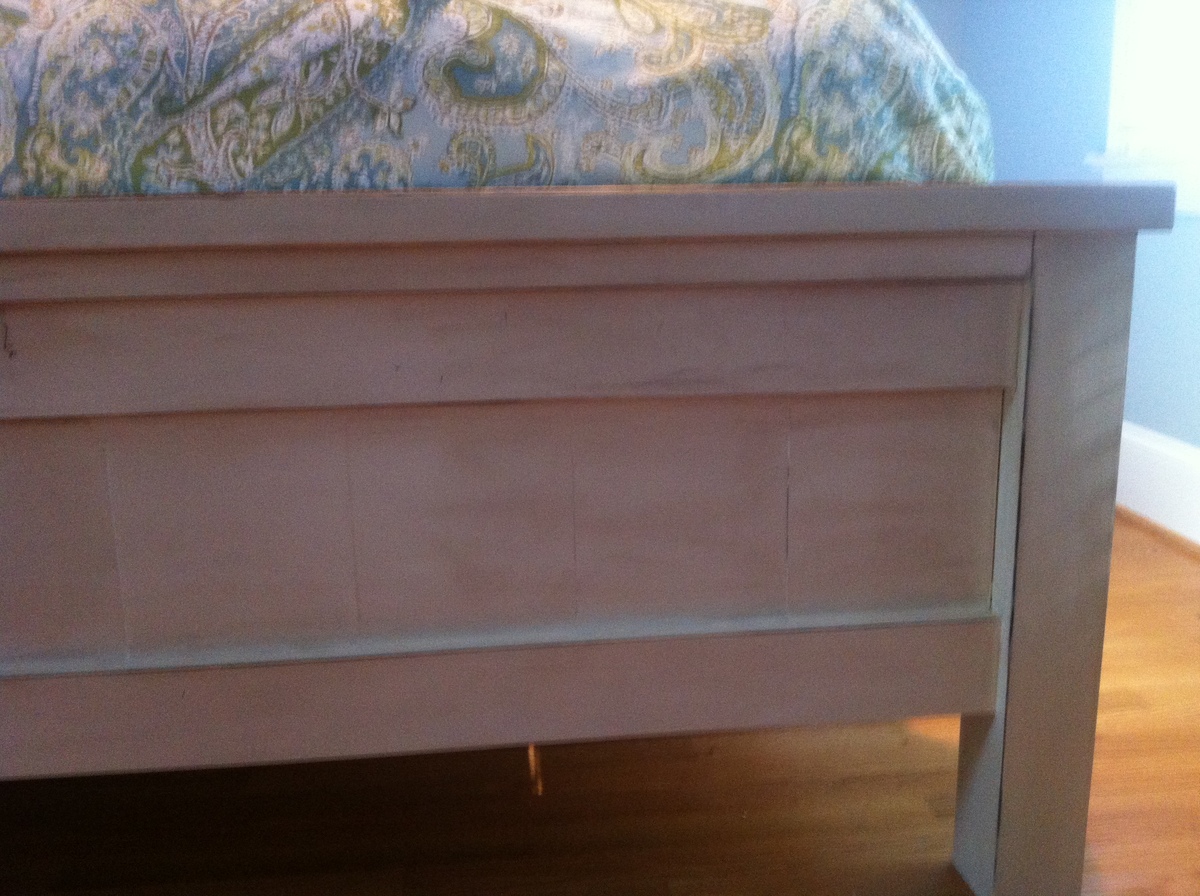
Everything went pretty smooth. The only advice I have is to make sure that you measure EVERYTHING. For example, the slats used in the headboard and footboard need to be the correct width when glued together. Mine came out a little short due to the dimensions of the wood. It was an easy fix for me: use 1x4s on each end instead of 1x3s. I found that when I finished the main three pieces (footboard, frame, headboard), the frame was slightly too big to fit into the footboard and headboard. That's where the belt sander came in handy! Just be careful... the belt sander works FAST.

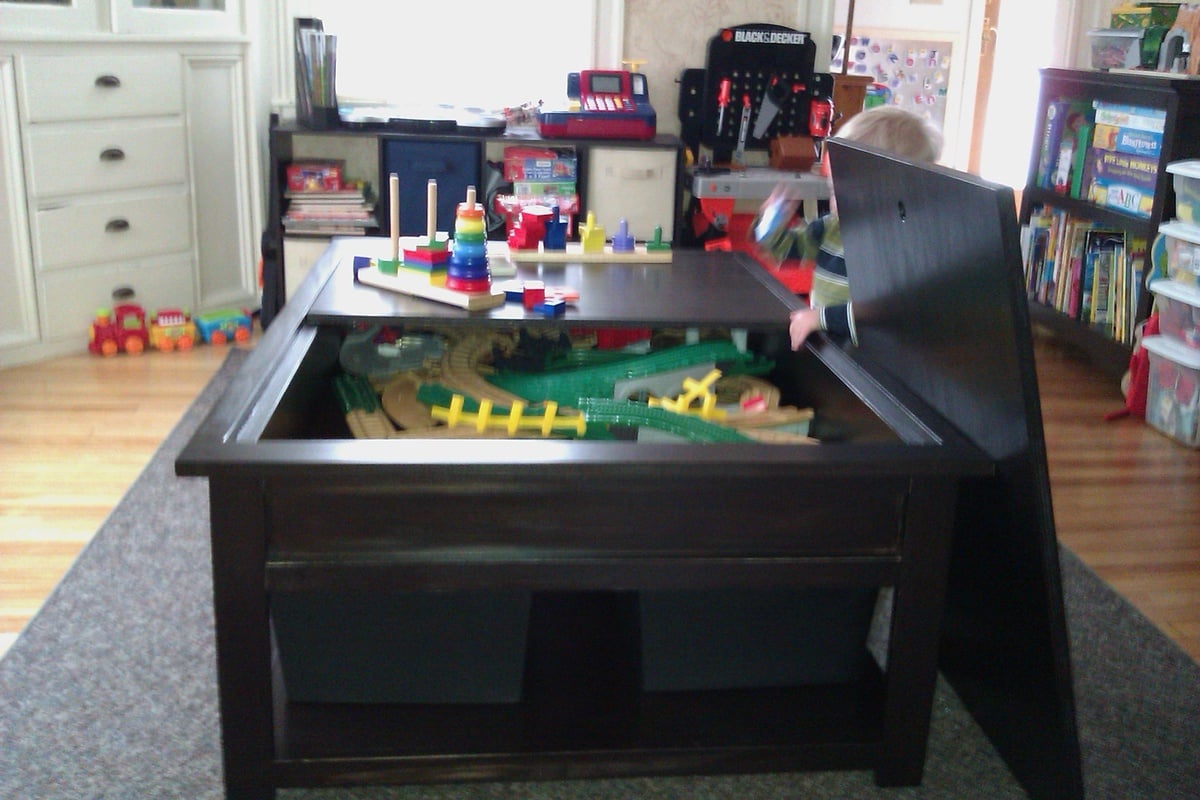
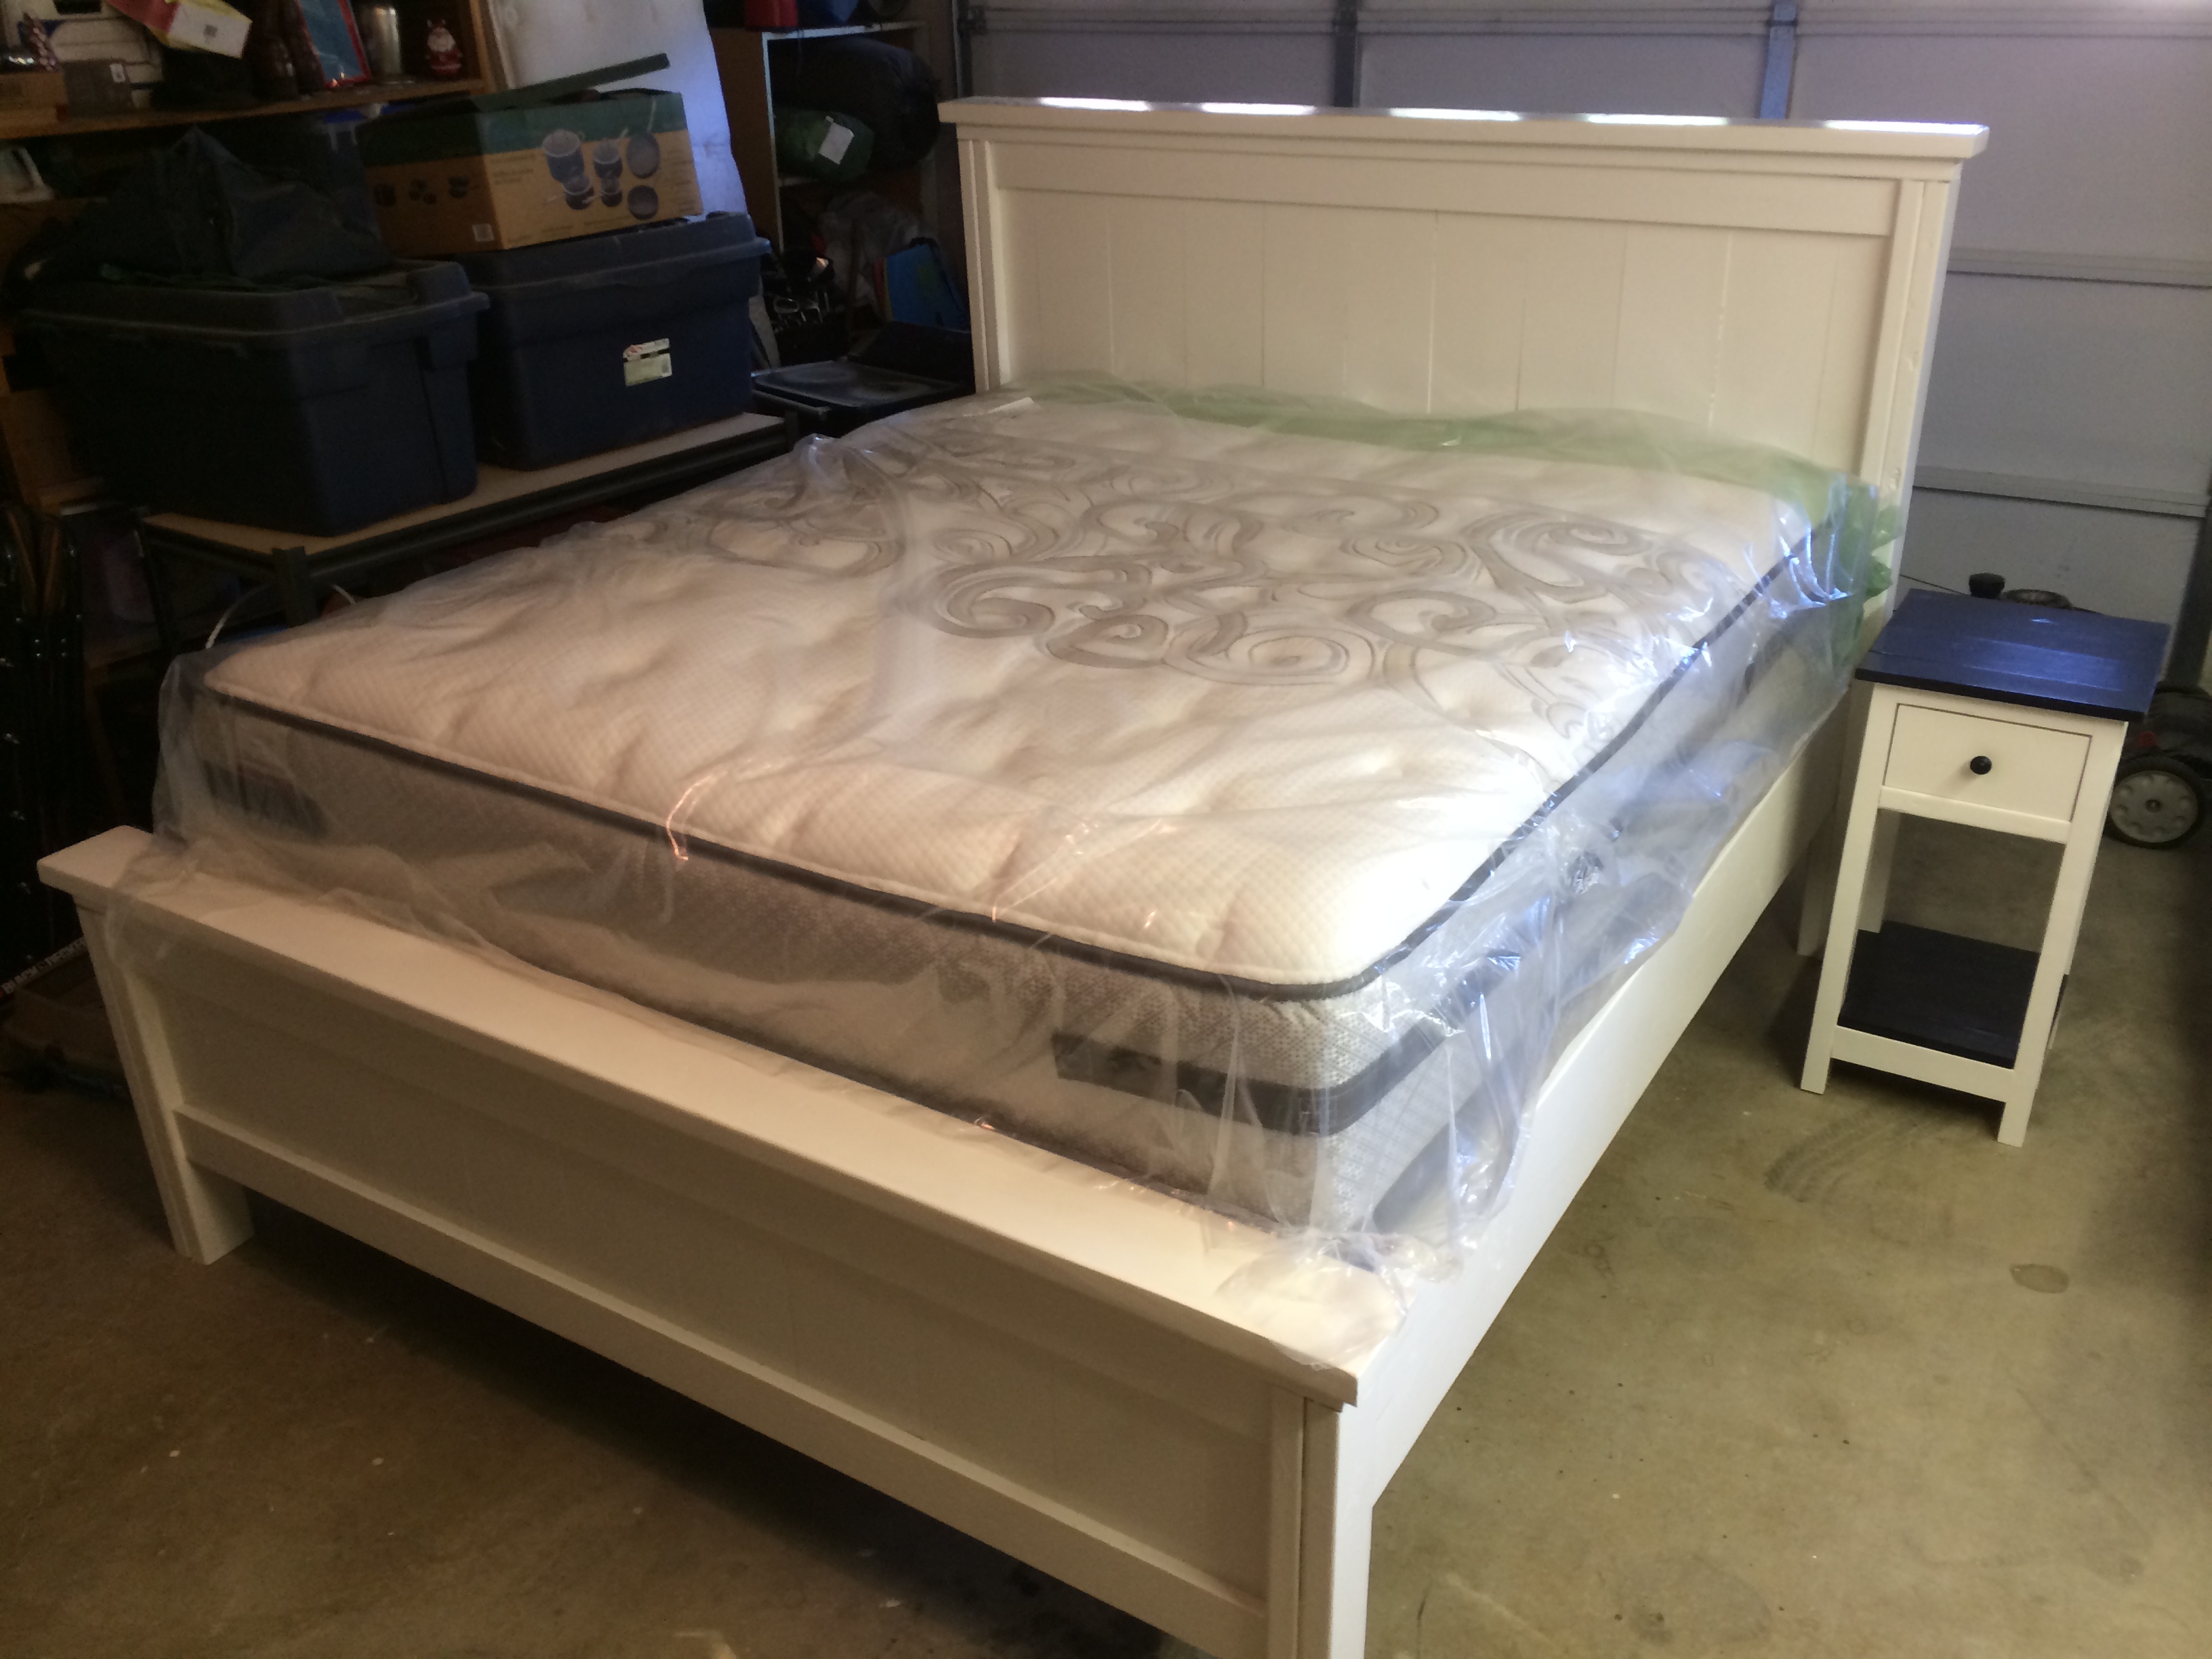
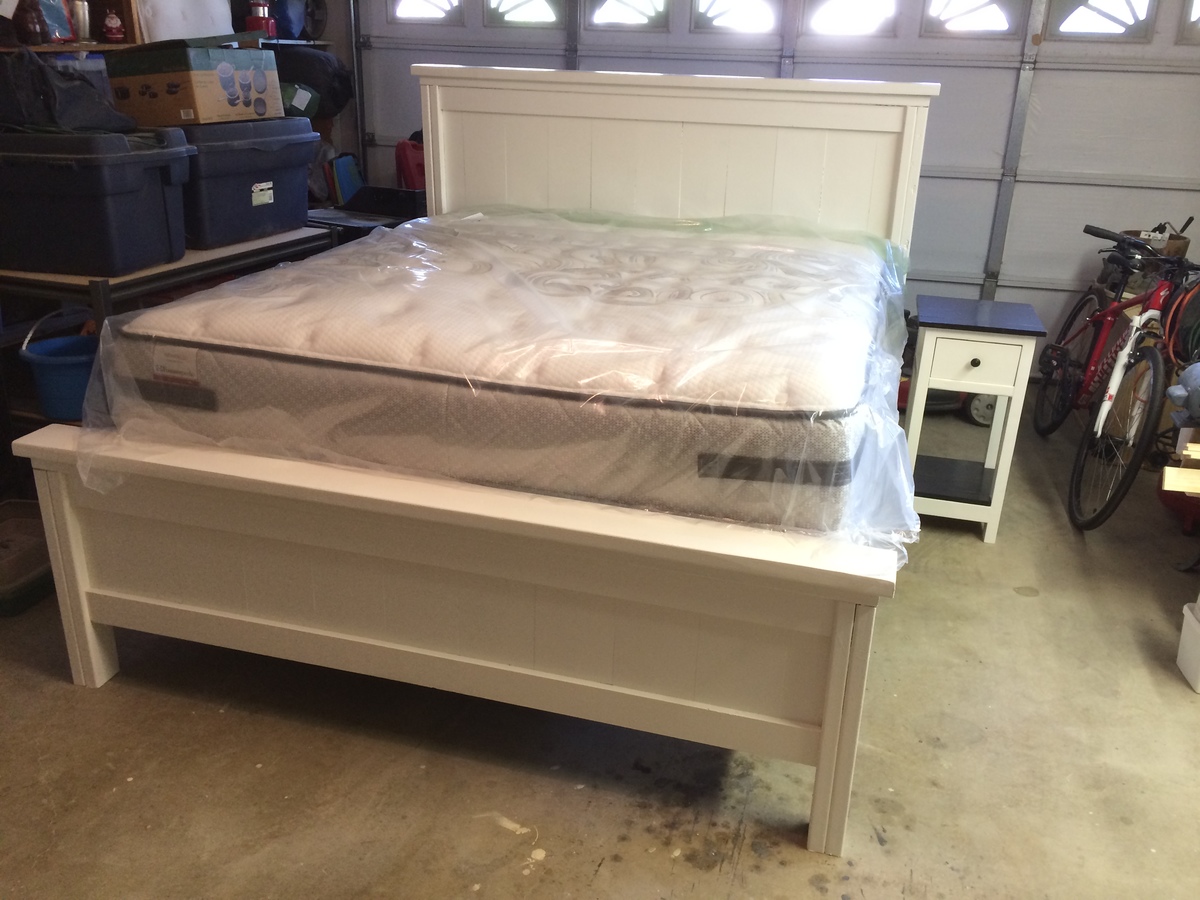
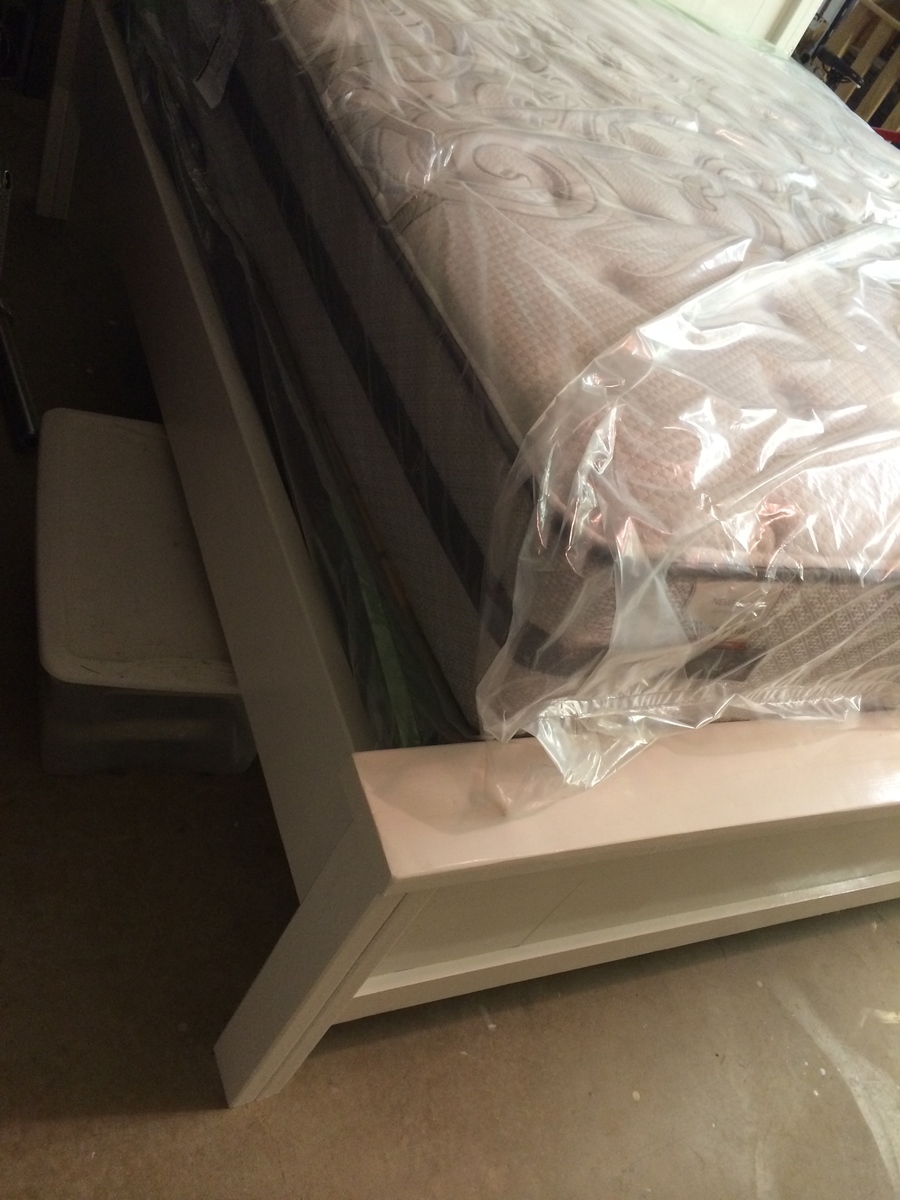
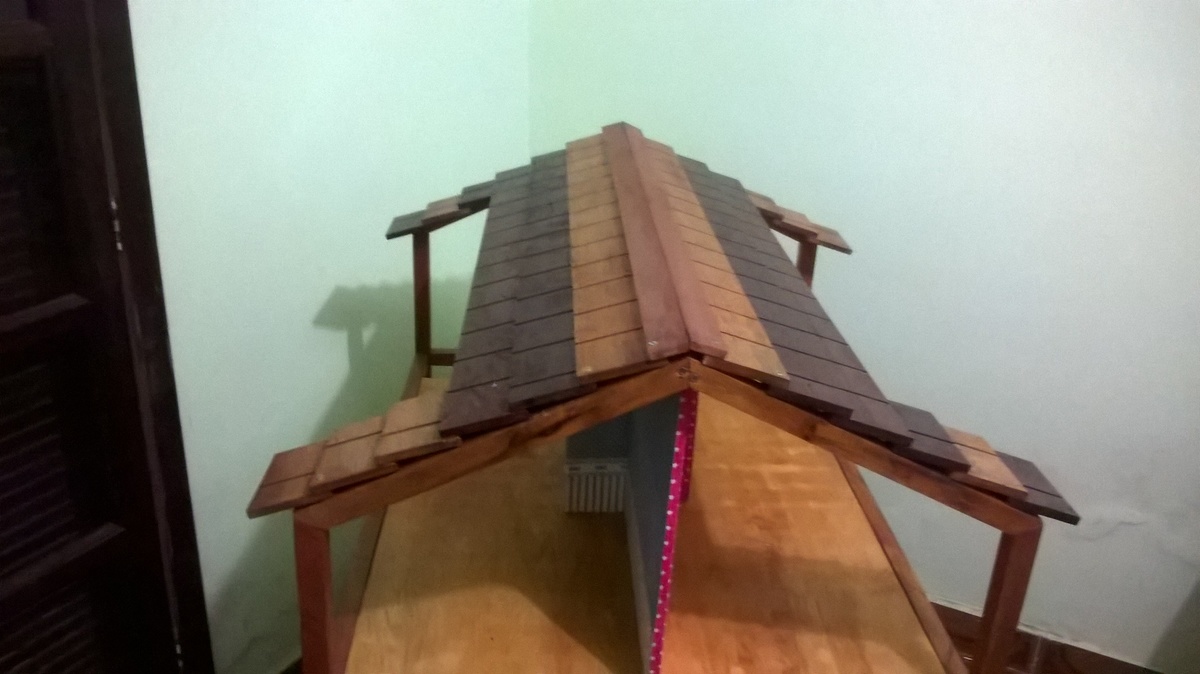
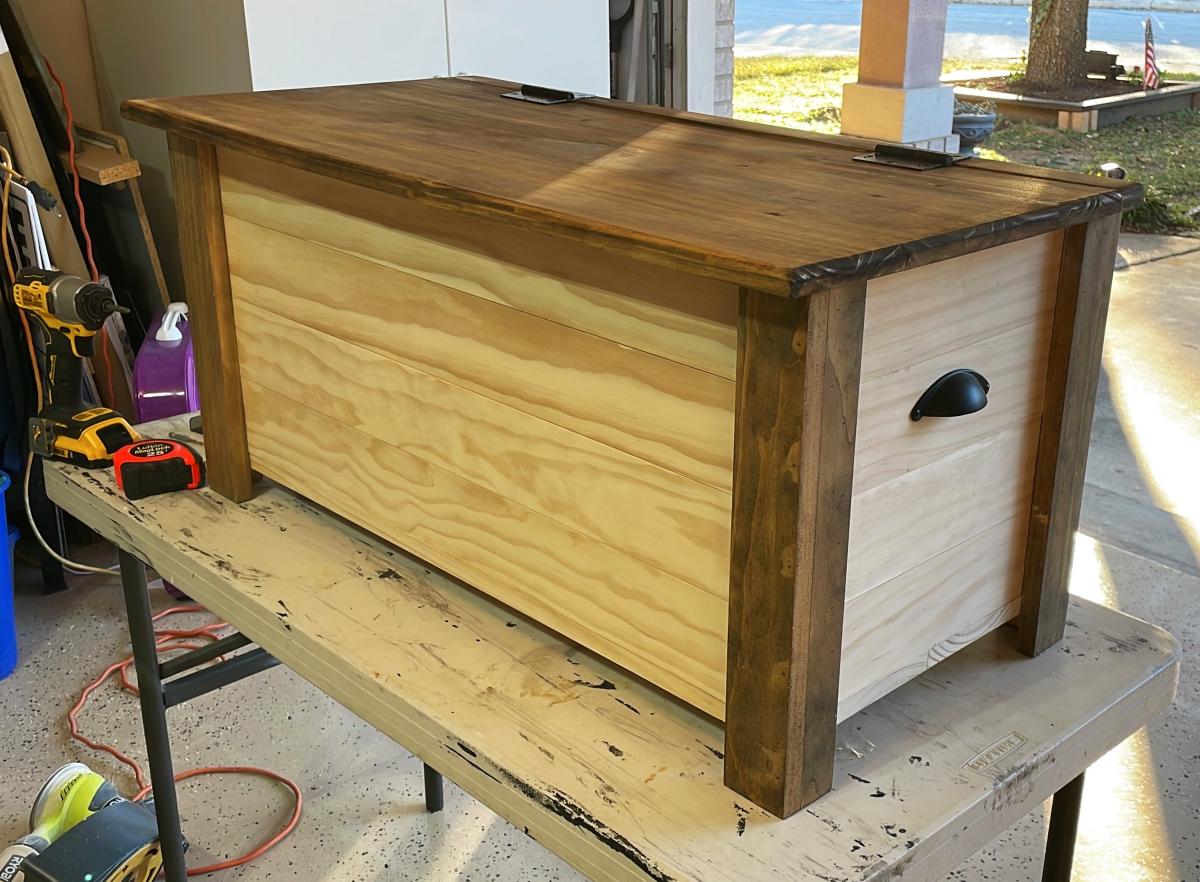
One change I made to the bedframe plan was that I added 3 inches to the legs. My fiancee and I are very tall so I thought this would be a good idea. I like how it came out but I will warn you... this bed is TALL. Especially with a mattress and box springs! One huge positive aspect of making the bed taller is that a 12" storage box fits perfectly under the bed (see picture). I didn't do this on purpose but it's going to be nice to have all that usable storage space!

My final note on the bedframe is that it is huge. I'm not looking forward to moving it (although I think it can be done). I used kiln dried wood from Lowes for everything which worked fine. The only pieces that are not dry are the two 2x10 side panels on the frame. These make the frame SUPER HEAVY. Just a warning.
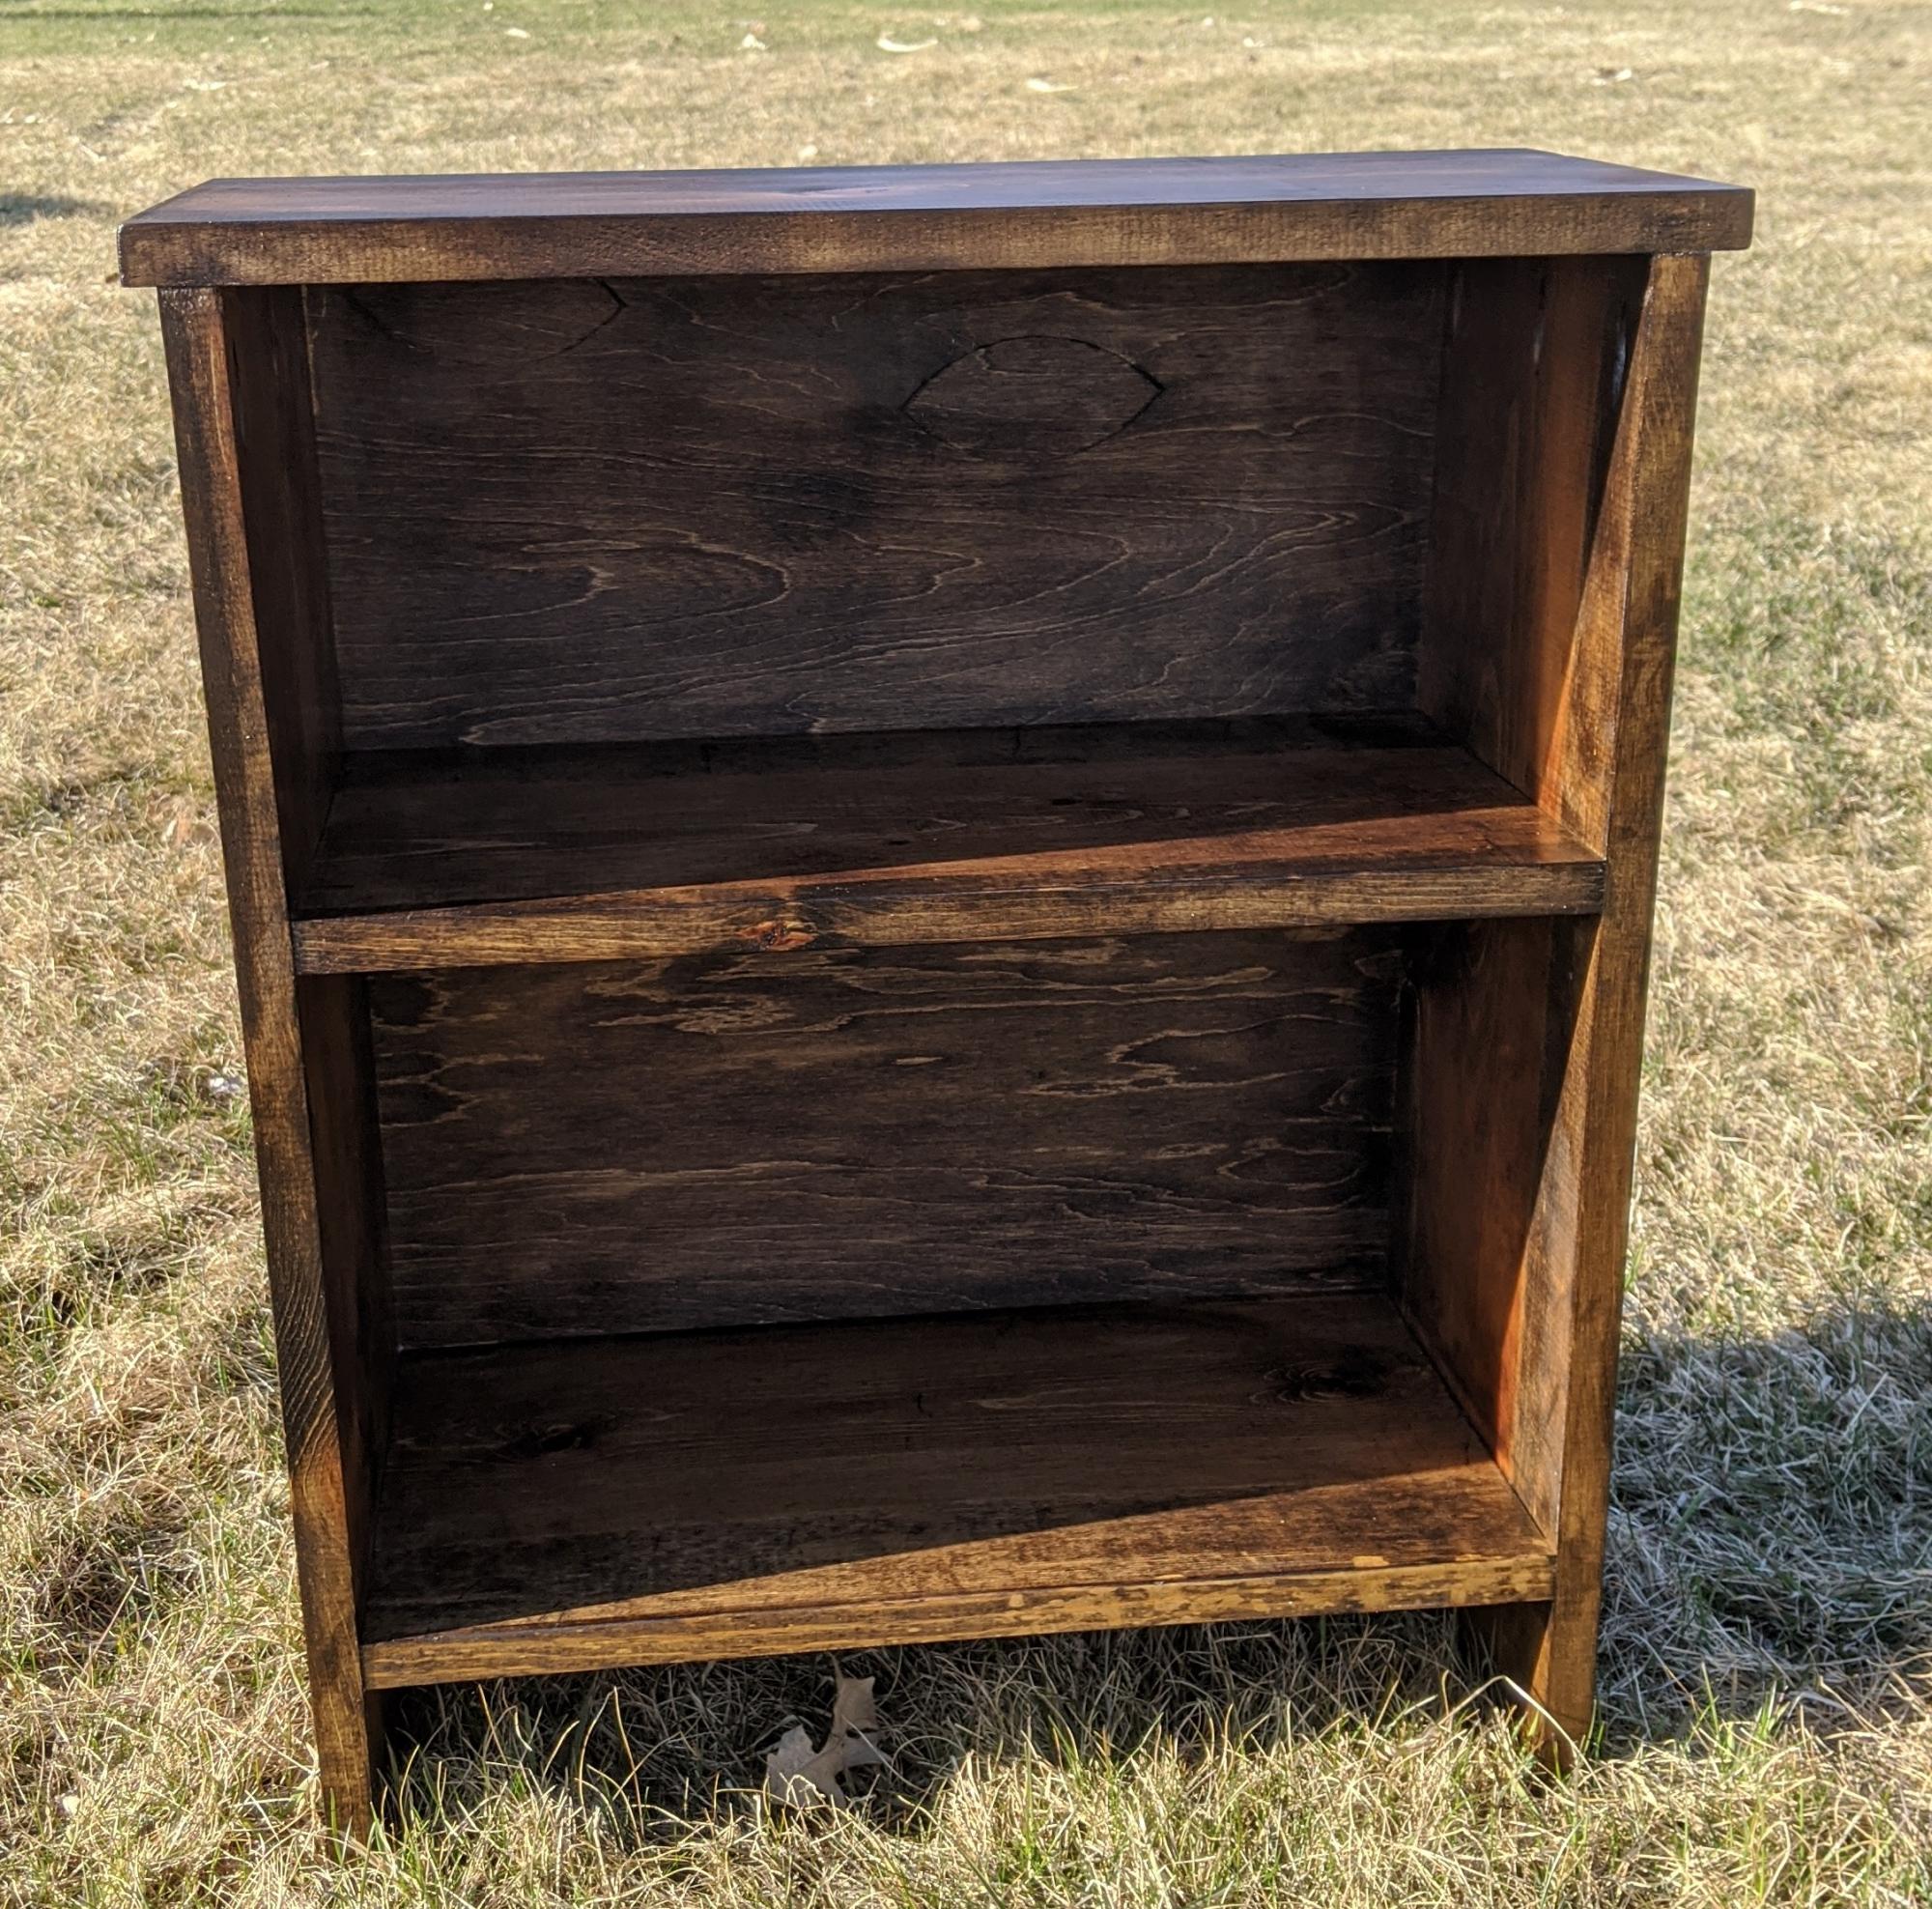
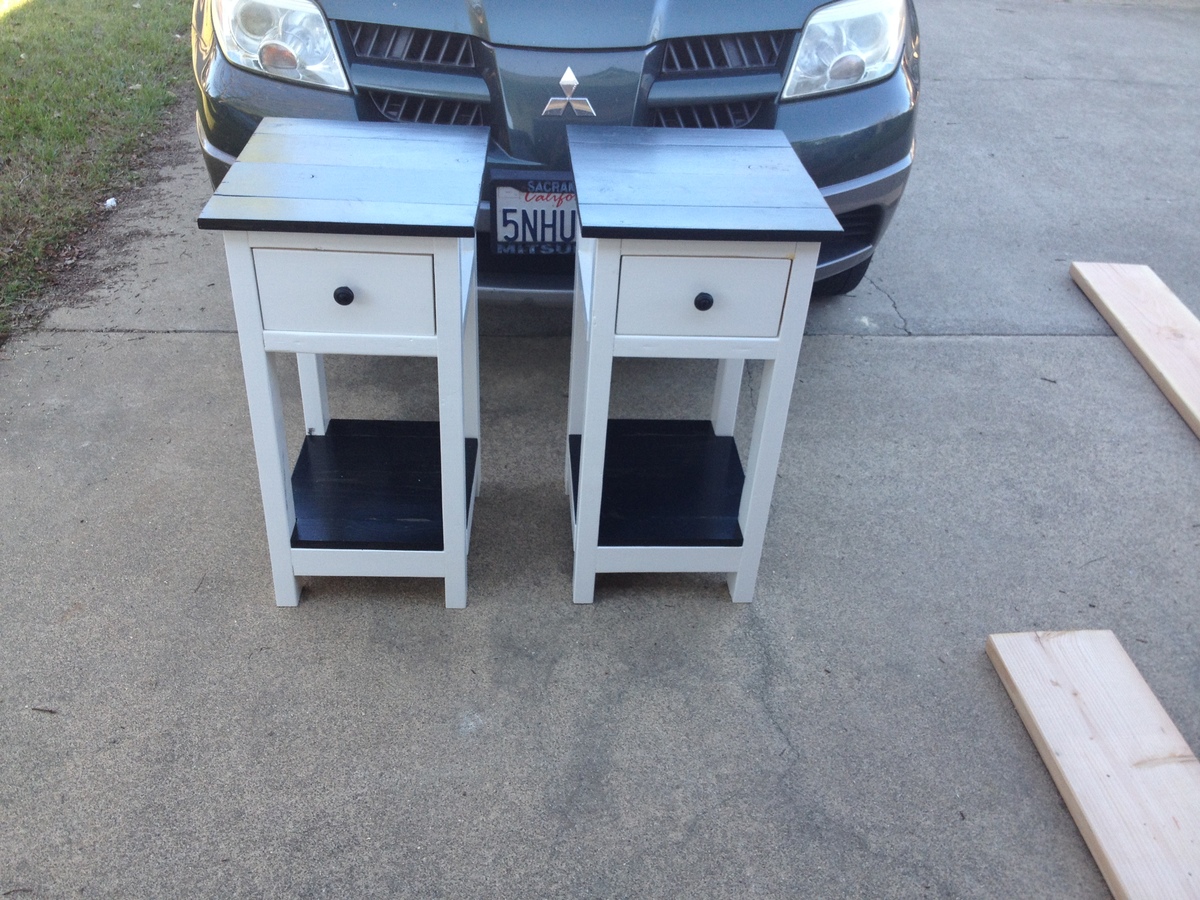
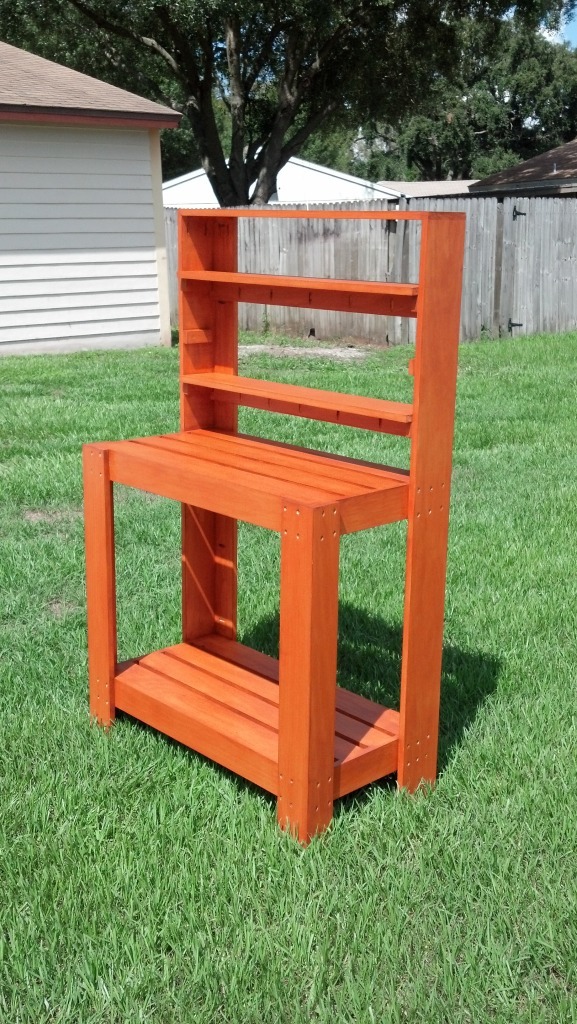
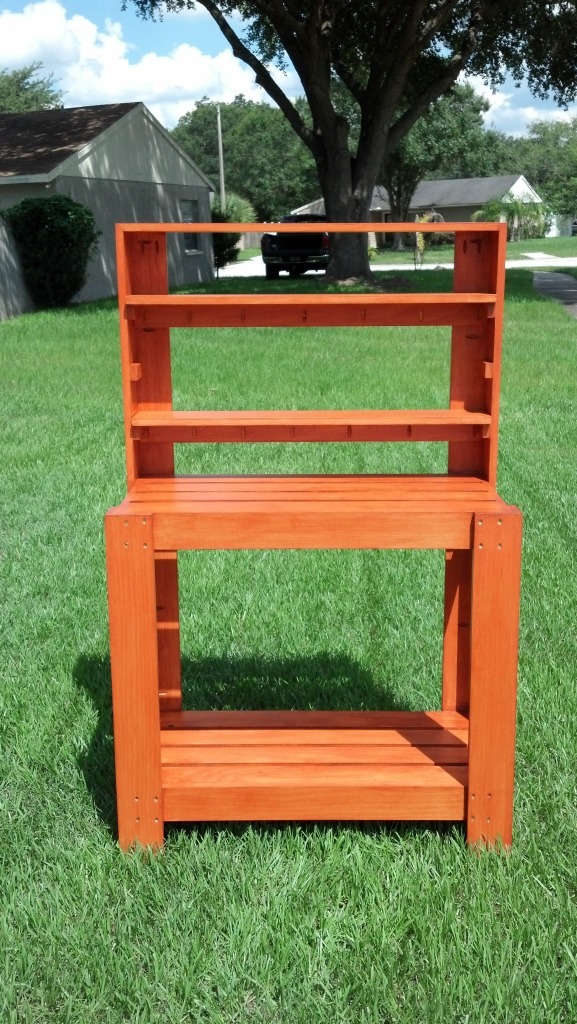
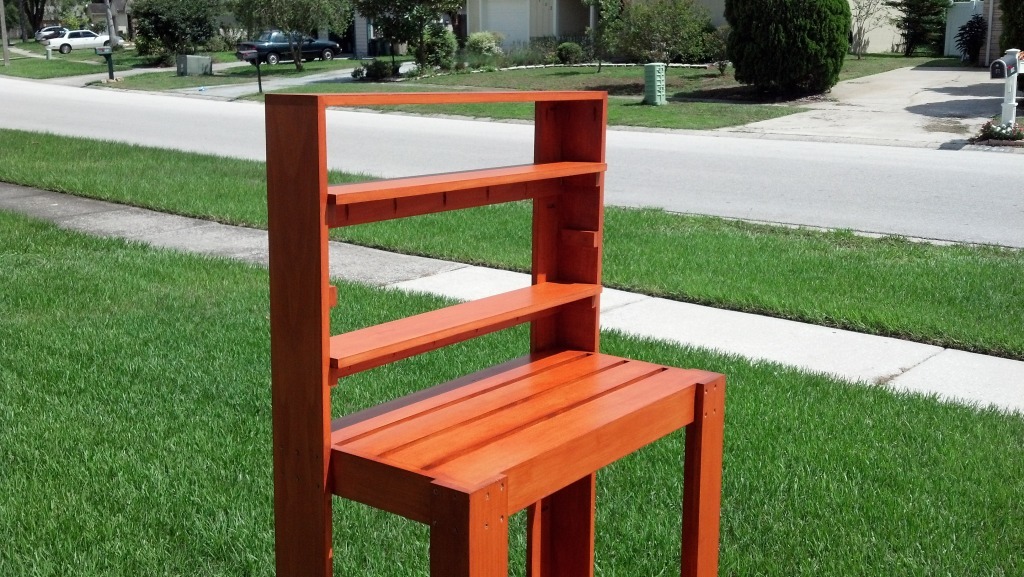
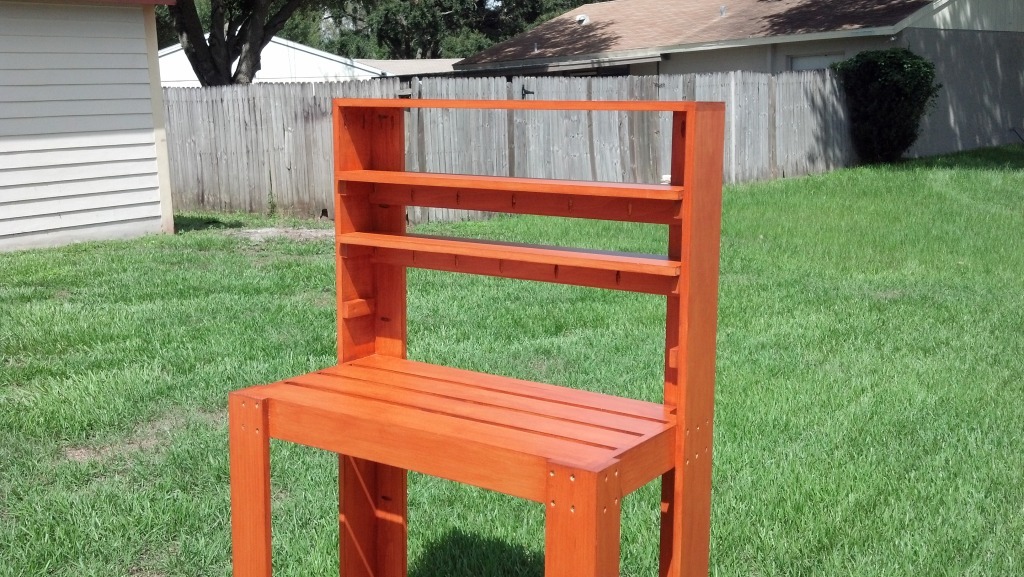
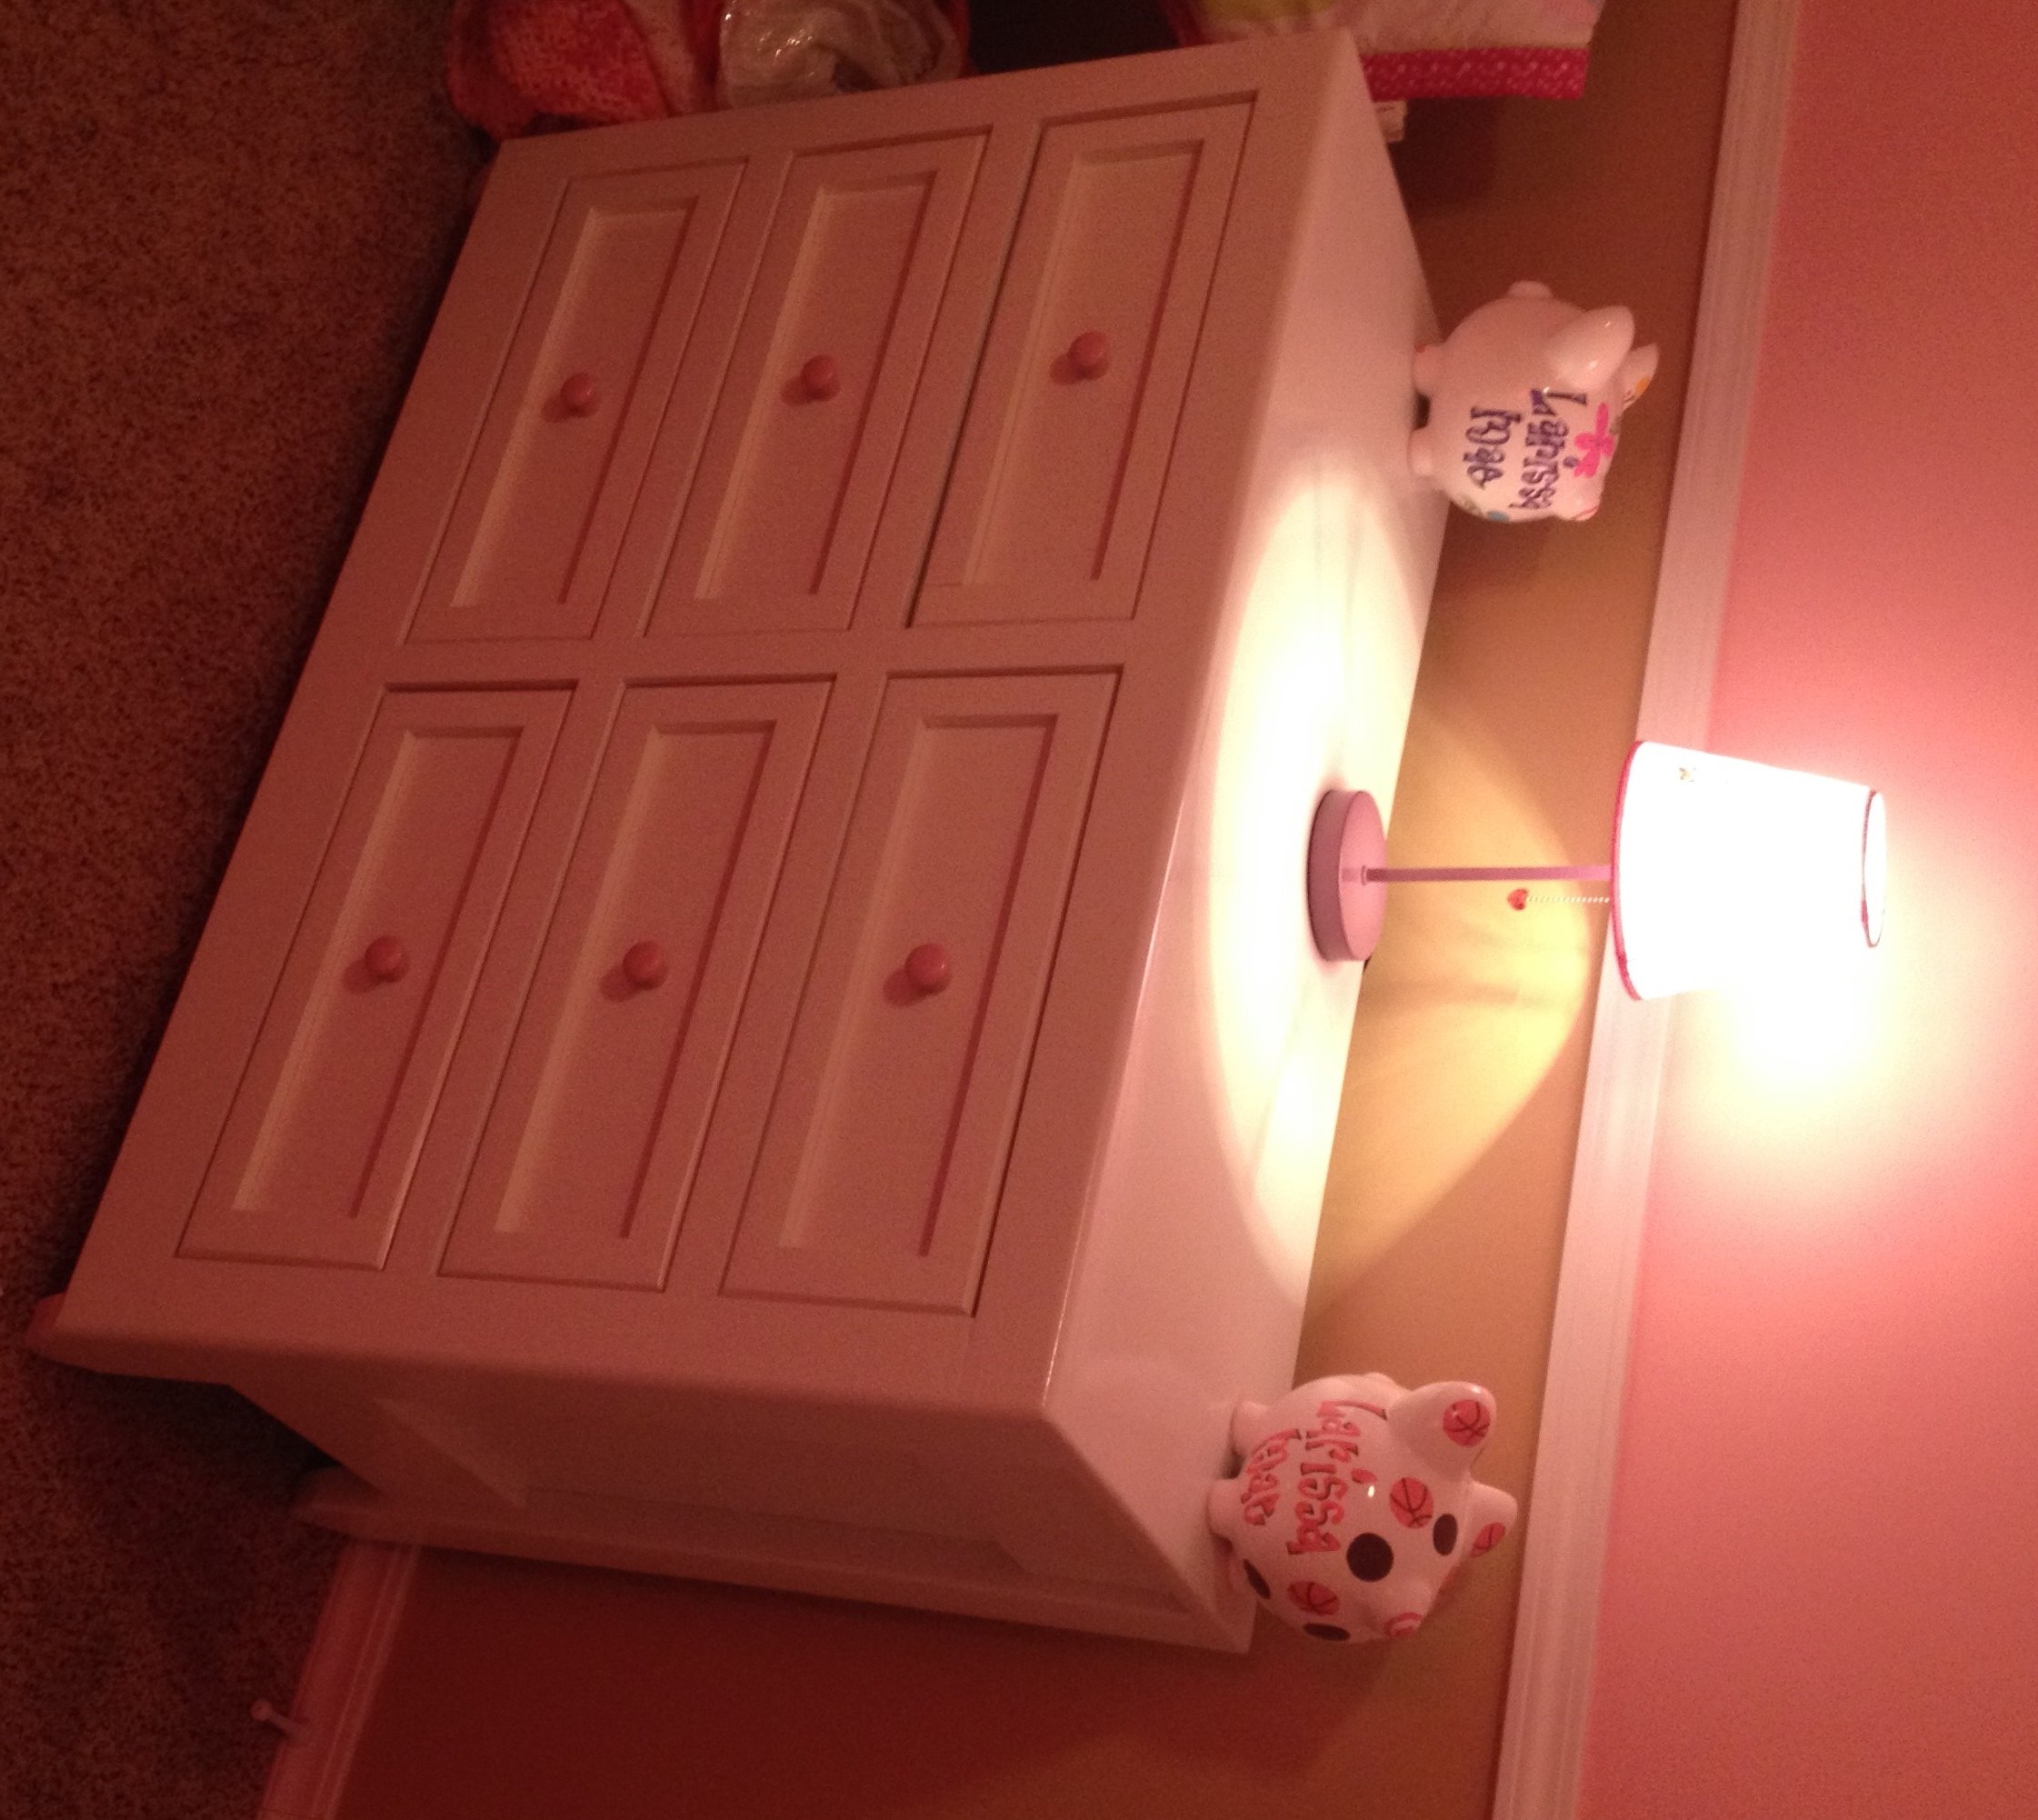
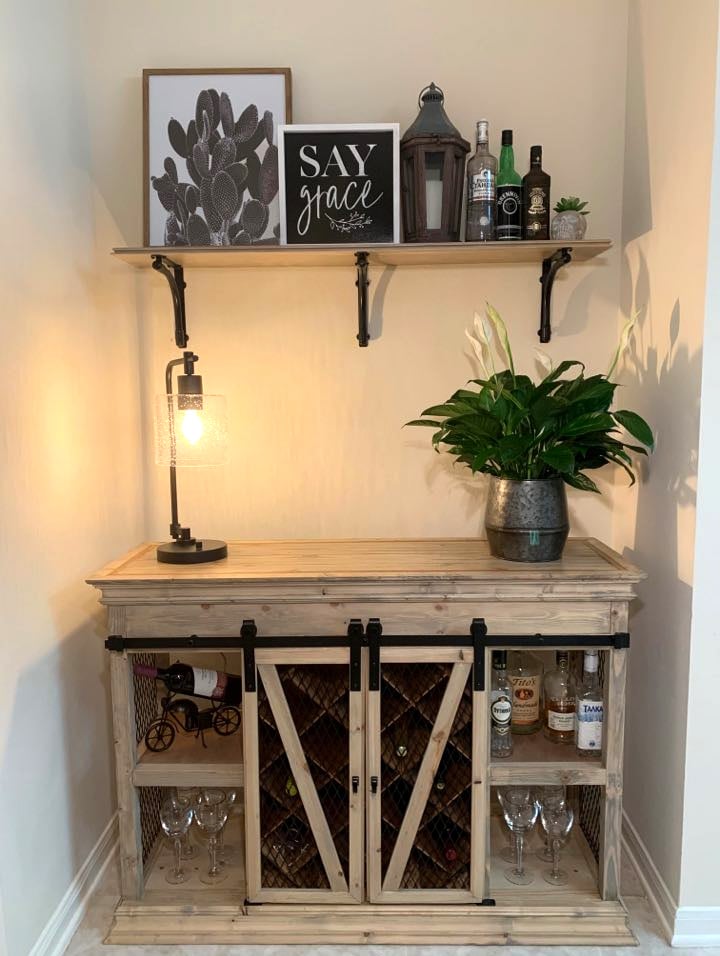
Nightstands:

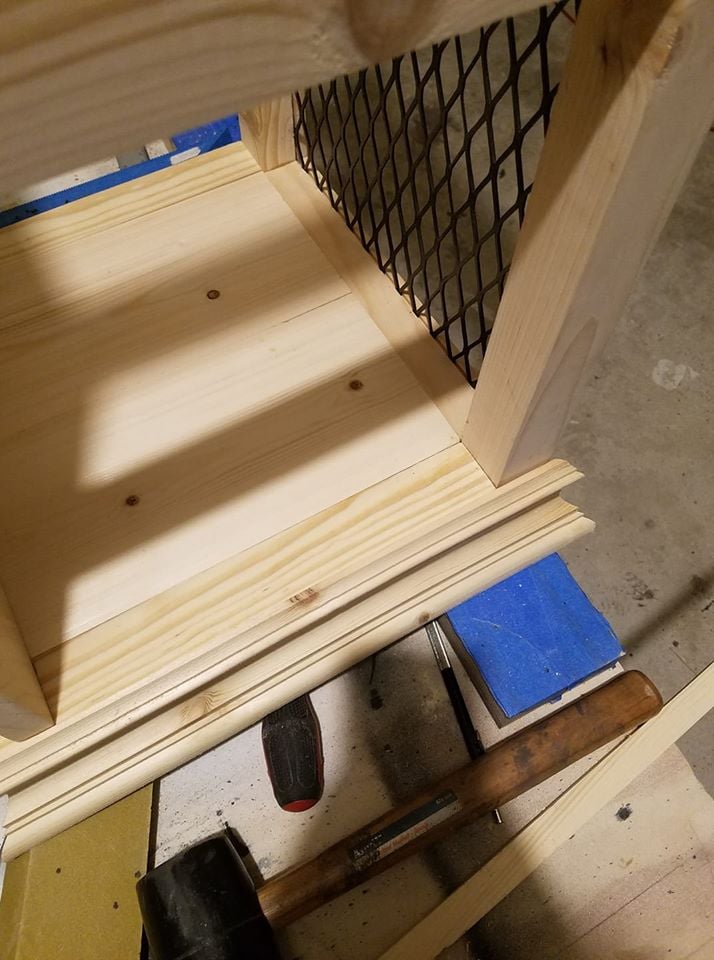
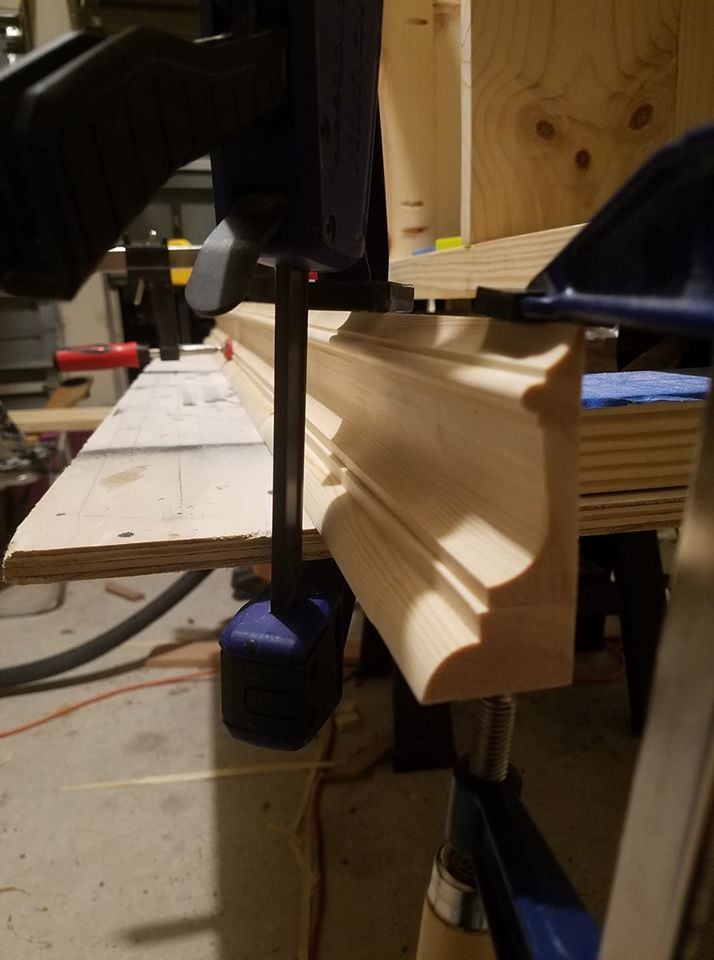
The nightstands were so much fun to make. I used the Kreg jig for everything on it and I highly recommend it. I would not even try to build these without a kreg jig. Besides, the Kreg jig is so awesome to use (I also highly recommend the Kreg screws and the Kreg brand clamp).

I used 2x3 instead of 2x2 for the legs (2x3 at lowes was like $1.50 in stud length compared to like $8 or something ridiculous for 2x2s). I had to be careful with the plans by using 2x3s and get creative in a couple areas but it worked pretty well and made it so much cheaper. I spent under $50 total for two nightstands!

Finish:

I know that these pieces are going to have to be moved so I wanted to finish them with protection being the number one priority. With that in mind, I used a semi-gloss Valspar paint + primer from Lowes and then several coats of semi-gloss poly. I could have done a better job finishing (for example, I only applied one coat to the back of the headboard where no one will ever see) but time was an issue as I only had a week to finish everything before heading back to school. I also probably should have waited a bit longer between coats of poly but whatever.

I stained the tops of the nightstands with an ebony stain and used the same Swiss Coffee Valspar Paint + Primer from Lowes as I used for the bedframe.

Estimated Cost
$200 - $250 for Bedframe, $50 for Nightstands (2)
Estimated Time Investment
Week Long Project (20 Hours or More)
Finish Used
Semi-Gloss Valspar Swiss Coffee Paint + Primer (1-2 coats, depending on whether or not it will be a visible part of the project)
Brush on Semi-Gloss Poly (3-4 coats)
Ebony Stain

One gallon of paint was plenty for all three pieces.
Recommended Skill Level
Beginner

Comments

Sliding Door Console

Submitted by Anonymous (not verified) on Fri, 07/01/2016 - 09:20

This was my first huge project!  I am so happy it turned out.  We ordered barndoor hardware and it was too big.  We had to switch to using plumbing pipe.

Built from Plan(s)
Estimated Time Investment
Week Long Project (20 Hours or More)
Finish Used
Early American
Recommended Skill Level
Intermediate

24in Back Ana White design

Submitted by Anonymous (not verified) on Mon, 04/27/2020 - 06:05

As soon as I watch the video I knew I needed to try this one. I built it out of excess material from previous projects. I did not have the 1x10 so I used 5/4 x6 red cedar and decided that since we are of the wider sort that I needed to change the width for us. It worked out great. I kept all the other dimensions and did the math for the positions of the seat back positions from what Ana used. She is correct. Very comfortable chair with the angles and height.

Estimated Time Investment
An Hour or Two (0-2 Hours)
Finish Used
Will be sanded and finished in future. Unfinished right now.

Comments

Potting Bench

Submitted by beansurfin on Wed, 06/13/2012 - 15:13

I made this potting bench as a plant rack/stand for my wife for the back porch. She has had the plants on the ground and now this will give her some place to put them on as well as not having to work on the ground. I changed the dimensions to fit our space as well as used 1x4's mostly since it is what I had. I used 1x6 for part of the back legs so as to have a deeper shelf. I also made it to have additional shelves that are a bit adjustable to (3) different levels. I also changed the front a bit so it is closed in. Thankfully you can't tell in the pictures much but this was my first time trying to stain something. Definitely not my forte. Hopefully will get better with time and experience. Thank you for posting the plans for to build from.

Built from Plan(s)
Estimated Cost
<$100
Estimated Time Investment
Weekend Project (10-20 Hours)
Finish Used
Stain as well Helmsman Urethane.
Recommended Skill Level
Beginner

Comments

Toddler Dresser

I had built the "Traditional Toddler Bed" for our first daughter a while back. Since then we have had our second daughter and a house of 3 girls (and not knowing how many more were coming) we needed another dresser. So i designed and built this dresser to match the toddler bed. It was made from 2x4 studs, b grade pine plywood, b grade pine and wainscoting. Though it required extra sanding and finishing work it was well worth the savings.

Built from Plan(s)
Estimated Cost
< $150
Estimated Time Investment
Week Long Project (20 Hours or More)
Finish Used
Glidden High Edurance Semi-Gloss White Paint (4-5 coats)
Rustoleum Clear Coat Semi-Gloss (4 coats)

Gradually sand to 400 grit sandpaper before painting. In between coats use 800 grit sandpaper or higher to create a glassy smooth surface.

I used a Wagner Control Max HVLP Sprayer, which I had to thin the paint down before use. For the clear coat I simply purchased 3 aerosol cans. Always use chemical grade respirator when spraying finish!!
Recommended Skill Level
Intermediate

Comments

kristen

Mon, 04/07/2014 - 15:03

Your dresser turned out fantastic! I love the finish you can get with a spray gun, but I always get a fine mist overspray on everything in the garage when I use mine, even with a make shift spray booth. I'd use it more often if it weren't for that!

Doll house from Brazil

Submitted by Anonymous (not verified) on Mon, 07/04/2016 - 16:35

Dream dollhouse made with the Ana's plan. So proud to say I did it myself! Thank's from Brazil, Ana!

Estimated Time Investment
Week Long Project (20 Hours or More)
Recommended Skill Level
Intermediate

Barn Door Wine Rack

Submitted by JElliottTX on Tue, 04/28/2020 - 23:03

We had this cheapy wine rack from an old apartment, but the new house required an upgrade. This is all pine boards and 2x4s milled down at home, sans the the top surface inlay which is red oak. The inlay is a design element but is also the load-bearing square from the rest of the surface boards and attachment to the base. The center wine rack is 1/4" fiber board cut to size and pieced together with some clever geometry (though I think I'm going to save myself the grief in the future by making slots instead). The molding is custom made, it's milled furring strips and white boards ran through a few different router bits, cut on the table saw, then glued back together. The negative spaces on the doors and sides are filled with expandable steel grating cut to size with an cut away wheel, and then painted. The hardware for the rail and shelf mounts are store-bought.

Built from Plan(s)
Estimated Cost
$500
Estimated Time Investment
Week Long Project (20 Hours or More)
Finish Used
Minwax Weathered Oak
Varathane Satin Poly (Water Based)
Recommended Skill Level
Advanced

Custom Toy Boxes

Submitted by Anonymous (not verified) on Tue, 12/26/2023 - 11:15

I made these toy boxes for my two grandsons for Christmas. They have been laser etched with their names and a special note on the inside of the top lid. "Always remember you are braver than you believe, Stronger than you seem, Smarter than you think and Loved more than you will ever know. Love Papa and Lita.

Jim Greaves https://www.facebook.com/jim.greaves.180

Built from Plan(s)

King Farmhouse Bed

Submitted by pkniland on Sun, 06/17/2012 - 17:58

Used Fir for the posts, side rails, and top 2x6, pine for everything else.

Built from Plan(s)
Estimated Cost
400
Estimated Time Investment
Weekend Project (10-20 Hours)
Finish Used
Antique white and Dark Walnut Stain
Recommended Skill Level
Intermediate

Comments

pkniland

Mon, 06/18/2012 - 05:50

Thanks,

The Duvet is the Sienna Paisley from Pottery Barn and the sheets are Bamboo Dreams by Yala.

Square X Base Breakfast Nook Table

Submitted by chrisr on Fri, 04/11/2014 - 06:07

Our new home has a corner area of the kitchen with enough room for a table, so we figured this one would be perfect!

Estimated Time Investment
Weekend Project (10-20 Hours)
Finish Used
Rustoleum Dark Walnut stain
General Finishes - High Performance Water Based Topcoat (satin)
Recommended Skill Level
Intermediate

Comments

pde00311

Fri, 04/11/2014 - 13:14

I agree with JoanneS's comment above. When you stained, how did you achieve the high contrast effect on the woodgrain?

pde00311

Fri, 04/11/2014 - 13:14

I agree with JoanneS's comment above. When you stained, how did you achieve the high contrast effect on the woodgrain?

chrisr

Tue, 04/15/2014 - 06:23

I just sanded to 220, applied the stain with a rag, let stand for 15 minutes, and rubbed it down really, really well with a clean rag. I didn't use a sanding sealer or any type of pre-stain coating, so I'll just chalk it up to dumb luck and good lumber.

Rustic/distressed console. Paint/stain technique

Submitted by rebelrob on Thu, 07/07/2016 - 12:36

Rustic console table- distressed.  Made this one wider and taller. Used 2x8s for top and shelves. Increased height by 2". 

Distressed wood with a good beating and also metal hardware. Paint/sand distress for top. 

Built from Plan(s)
Estimated Time Investment
Week Long Project (20 Hours or More)
Finish Used
Minwax stain and paint
Recommended Skill Level
Intermediate
Back