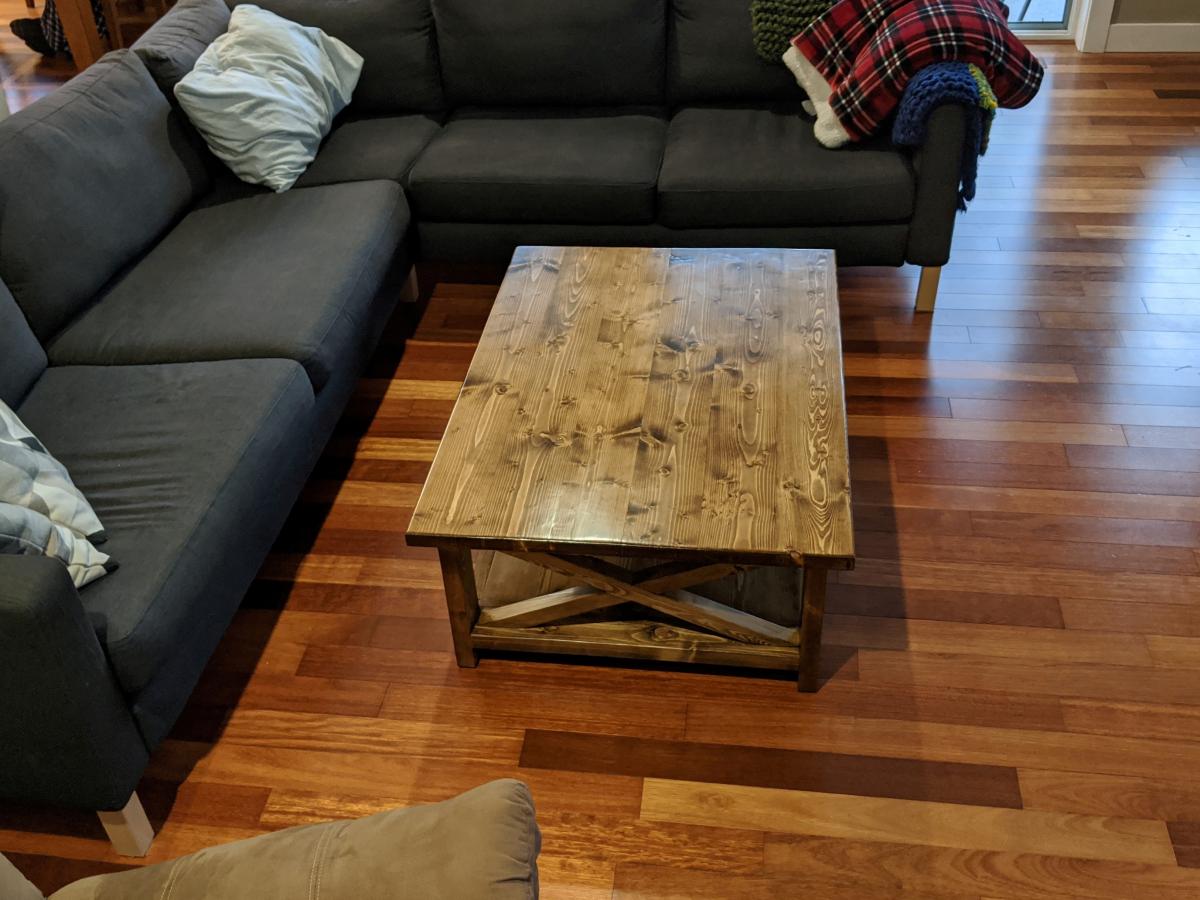
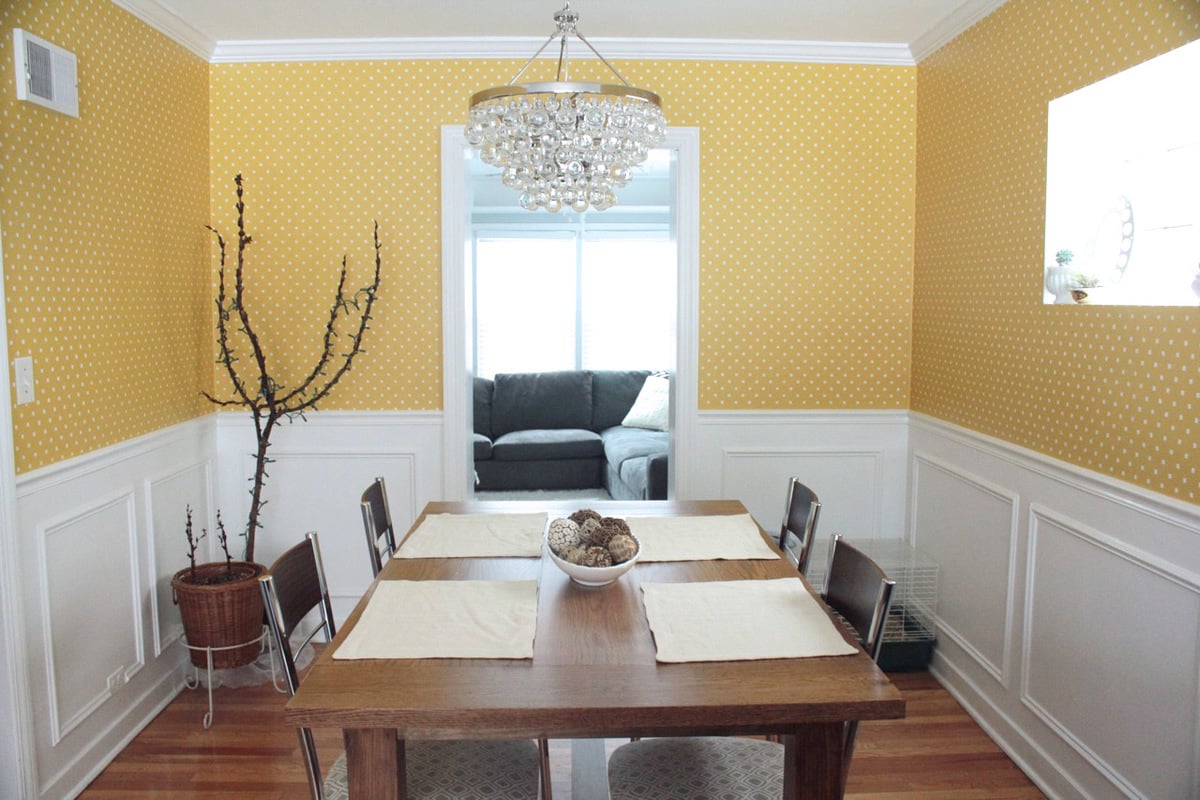
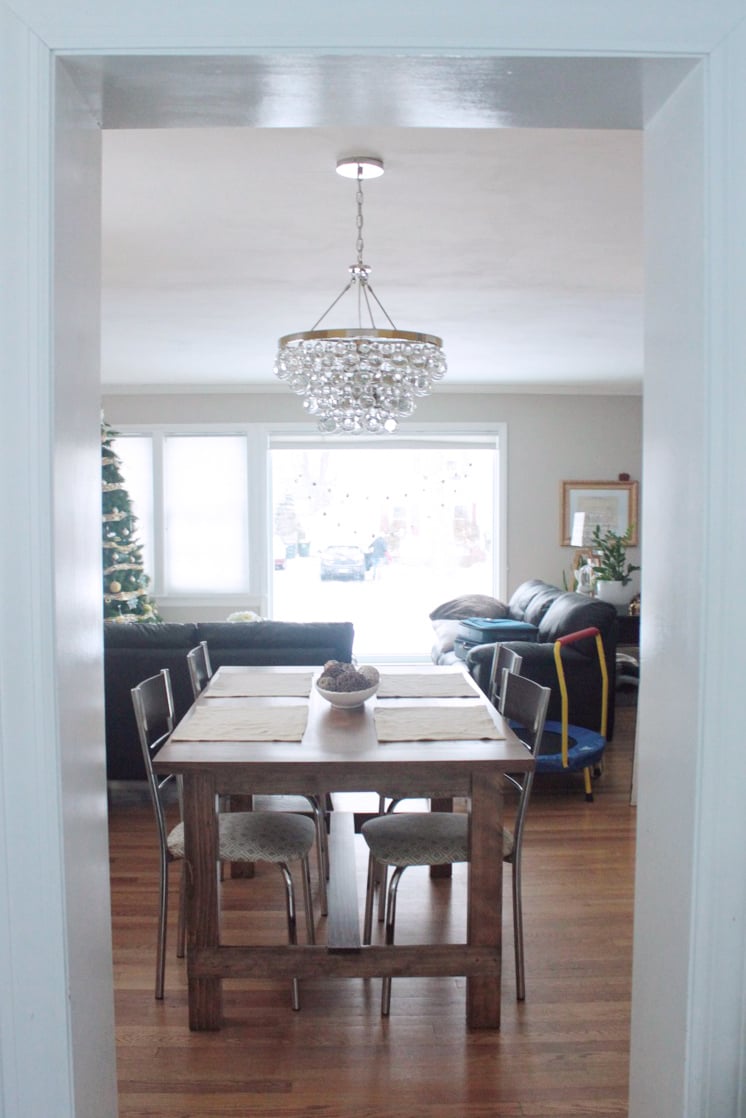
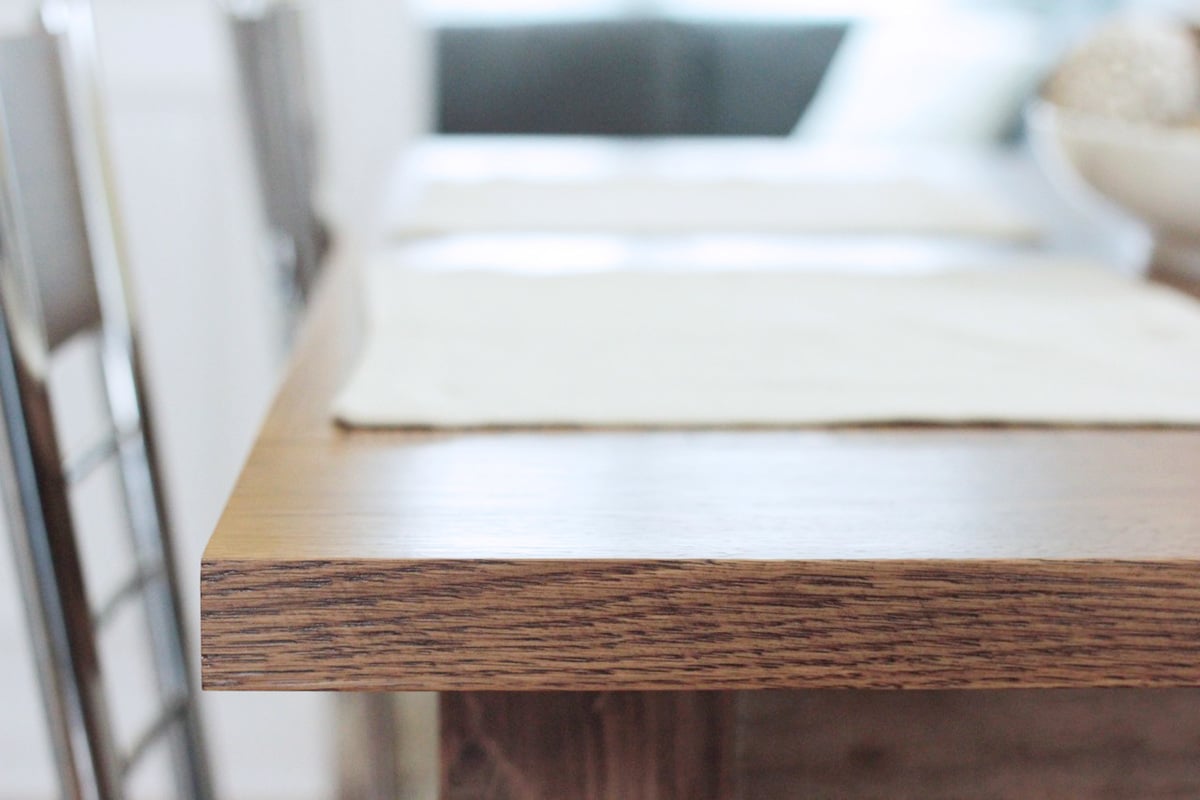
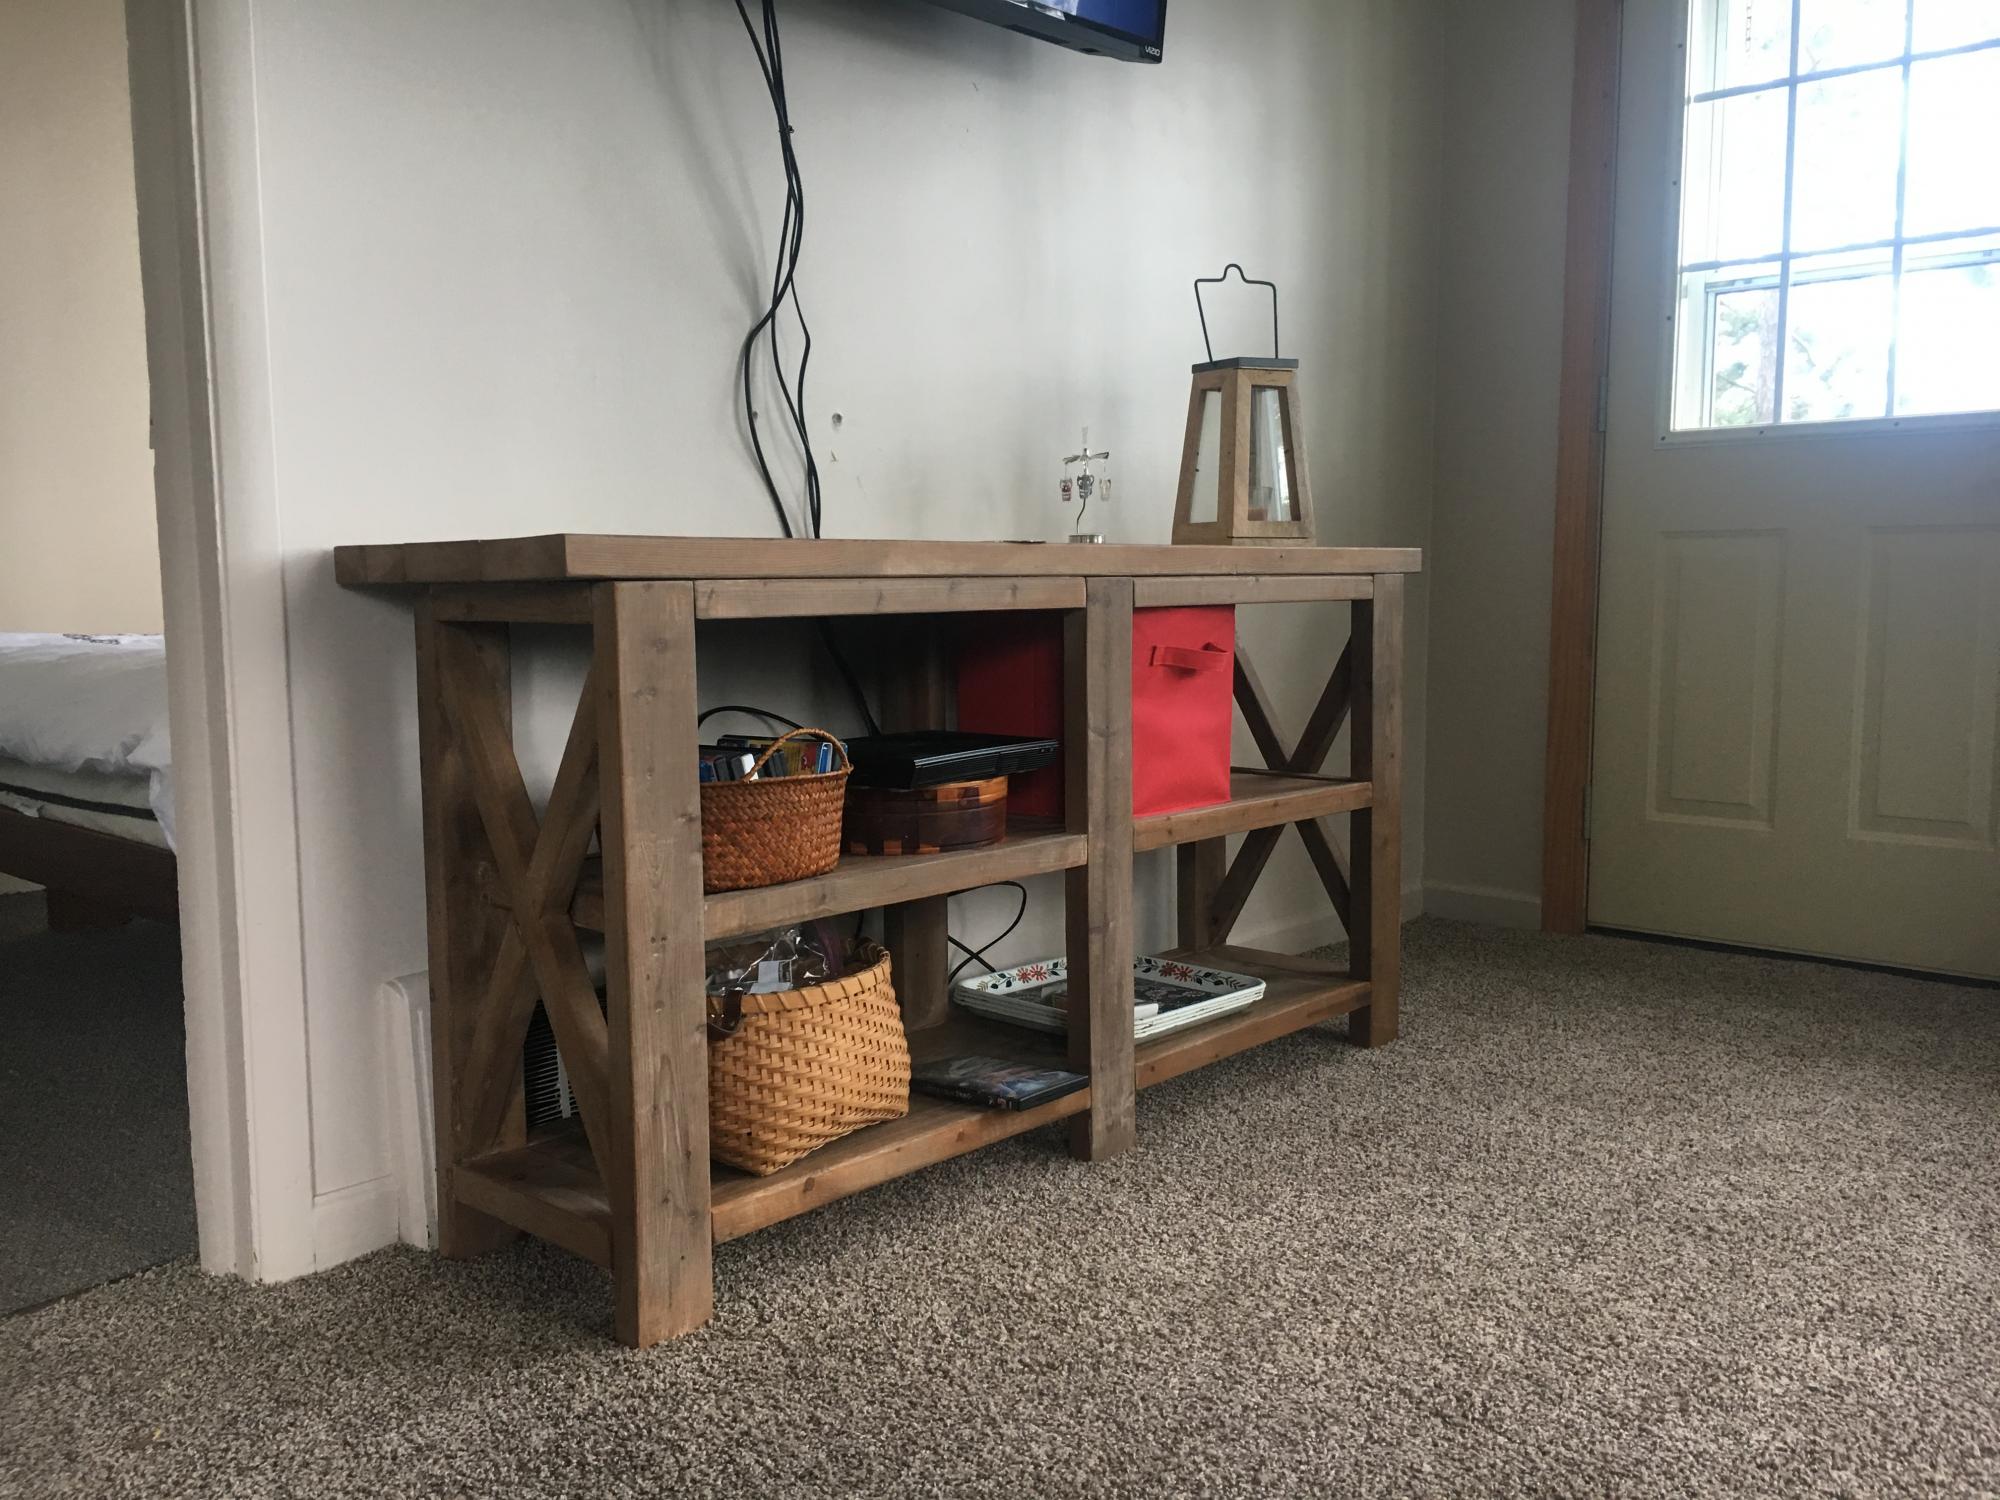
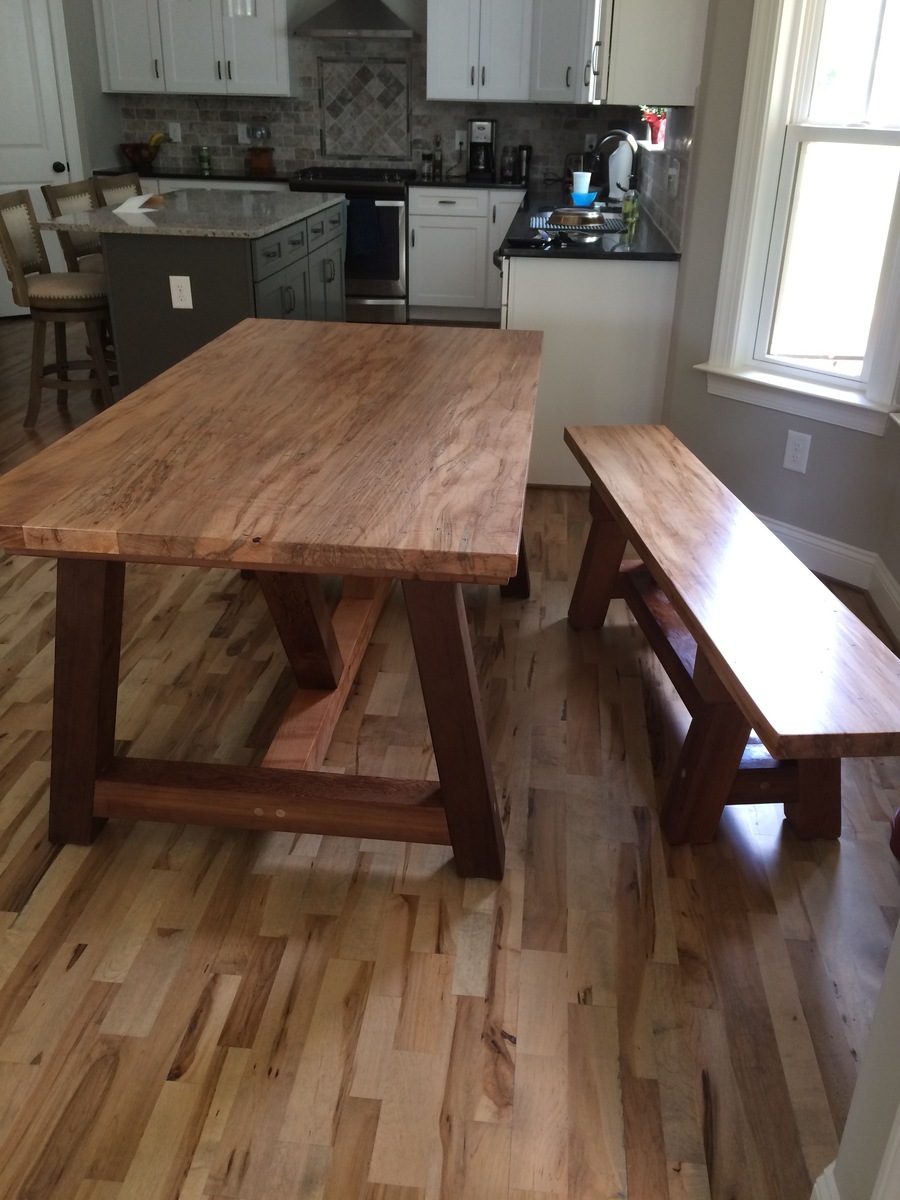
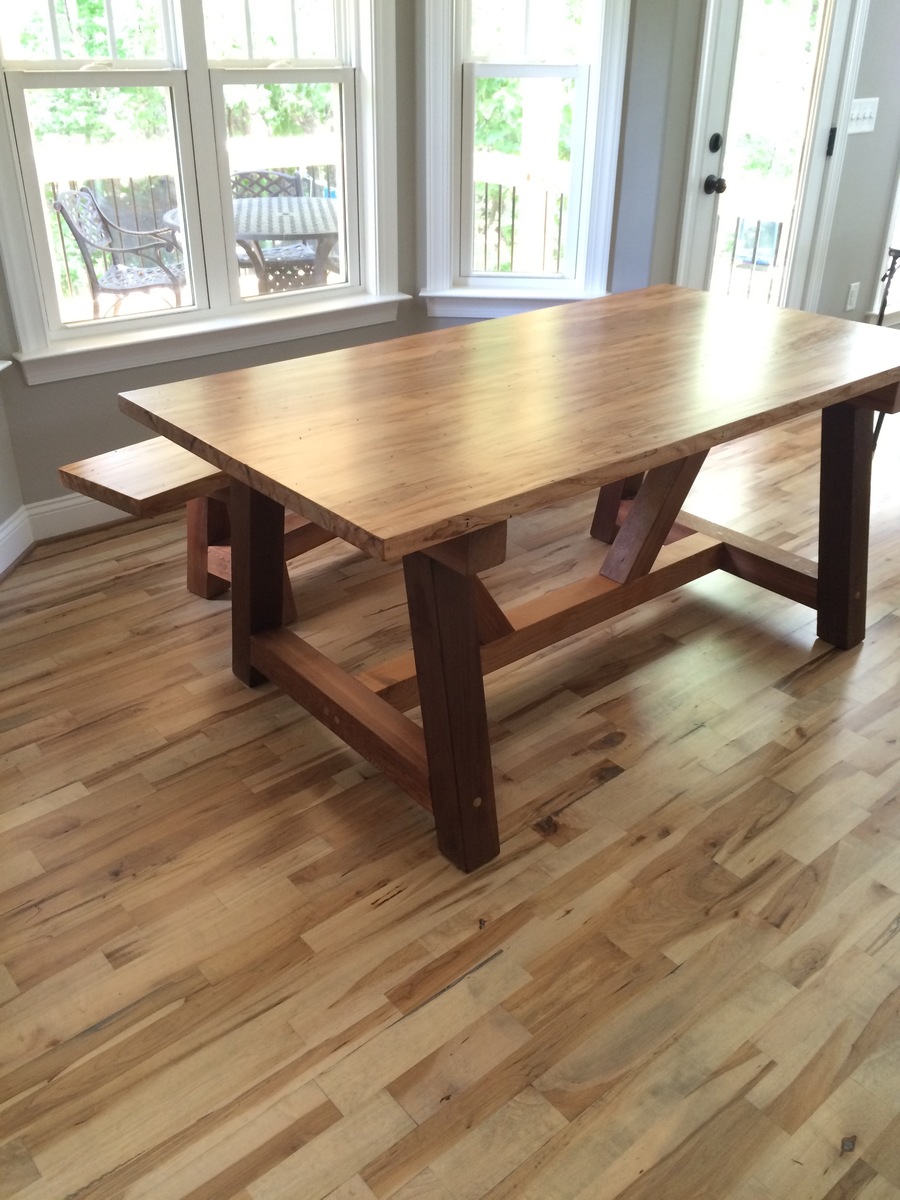
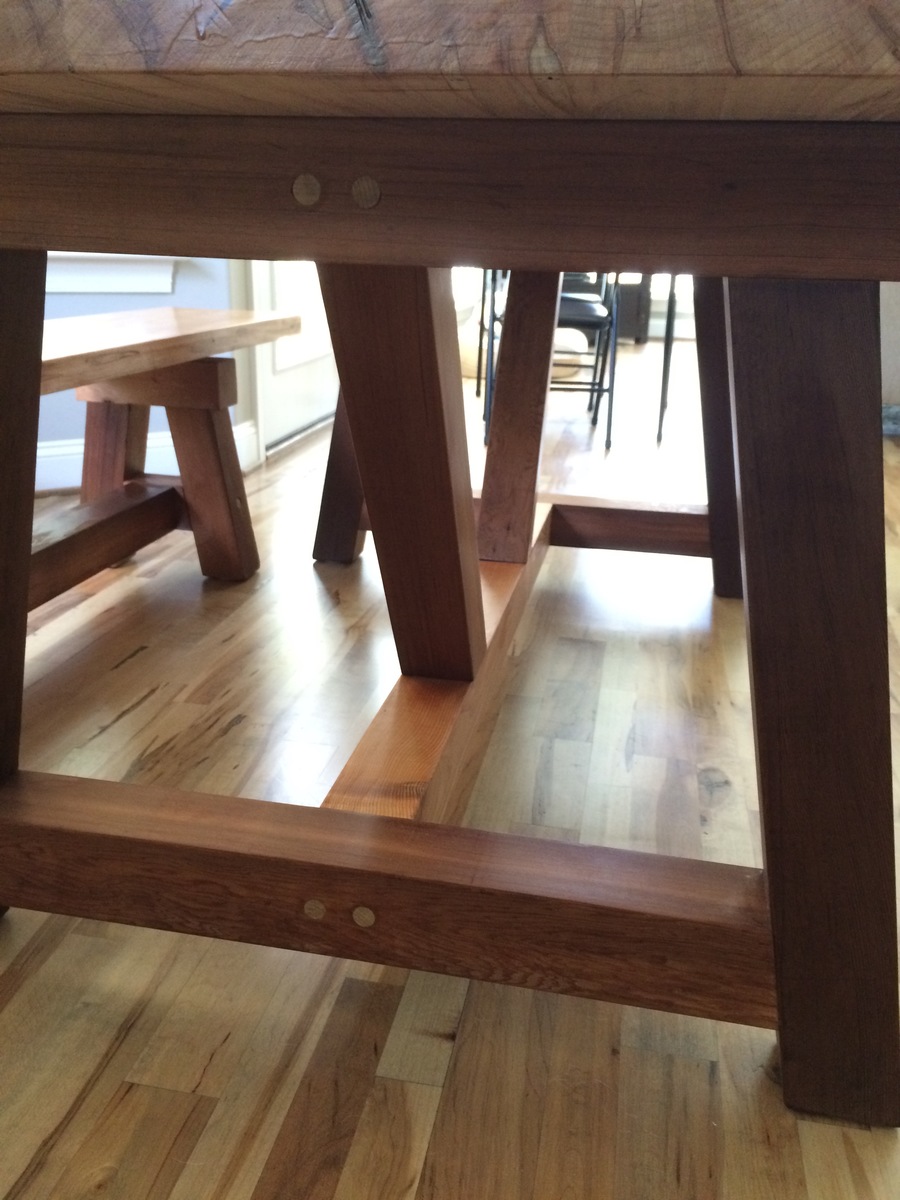
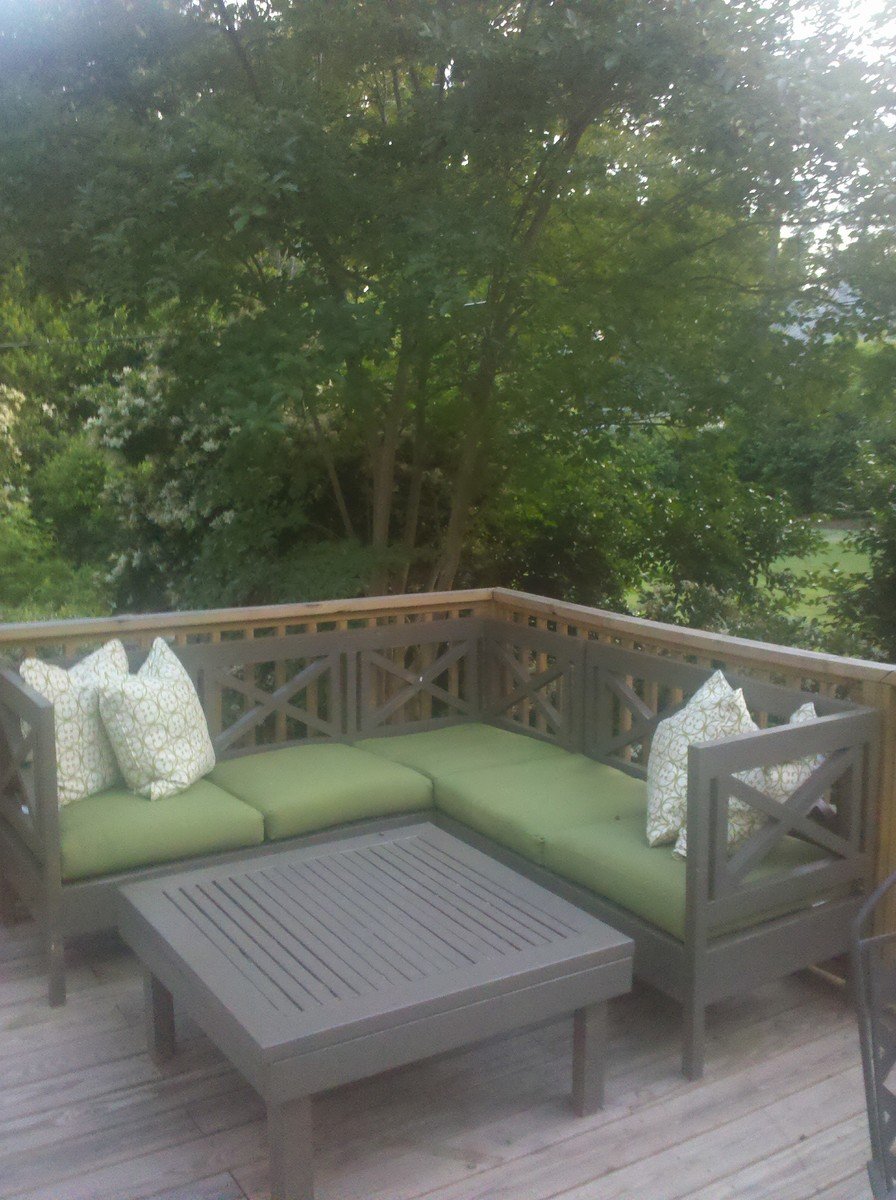
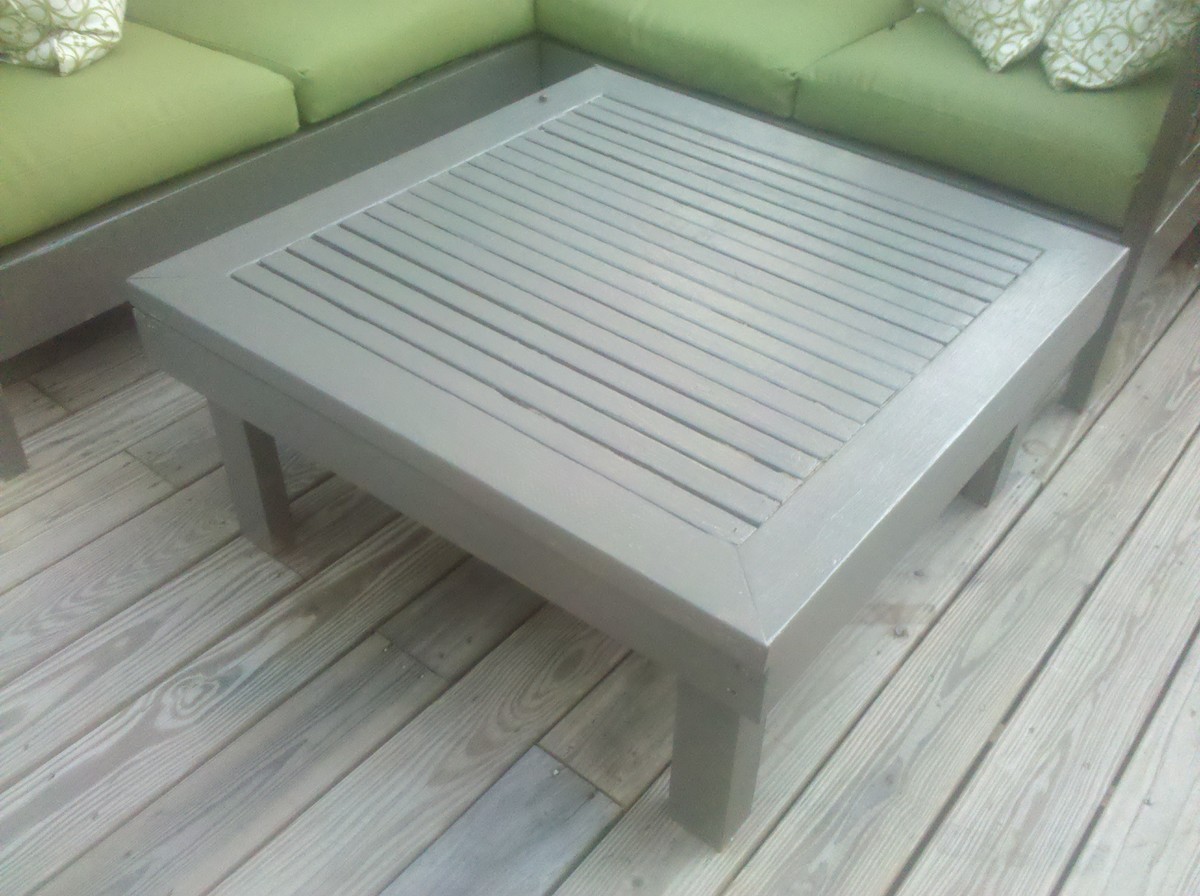
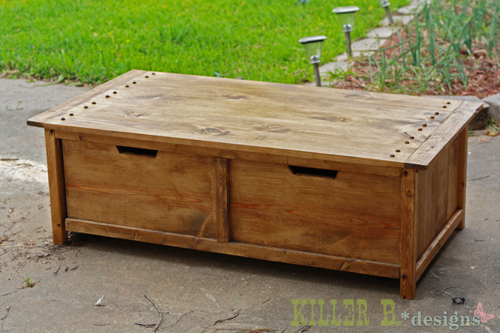
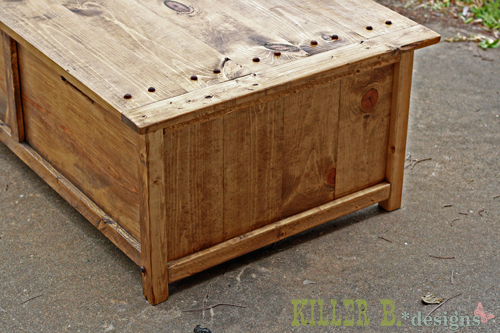
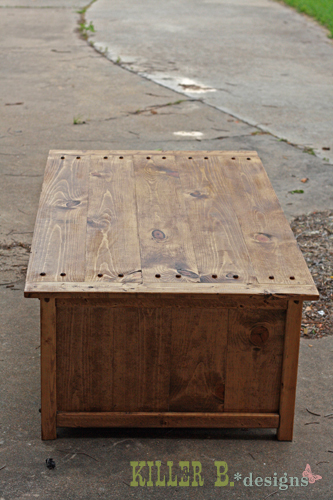
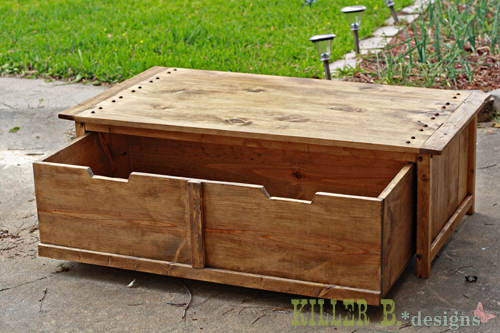
Community Brag Posts

Coffee Table

Submitted by Anonymous (not verified) on Fri, 01/10/2020 - 12:21

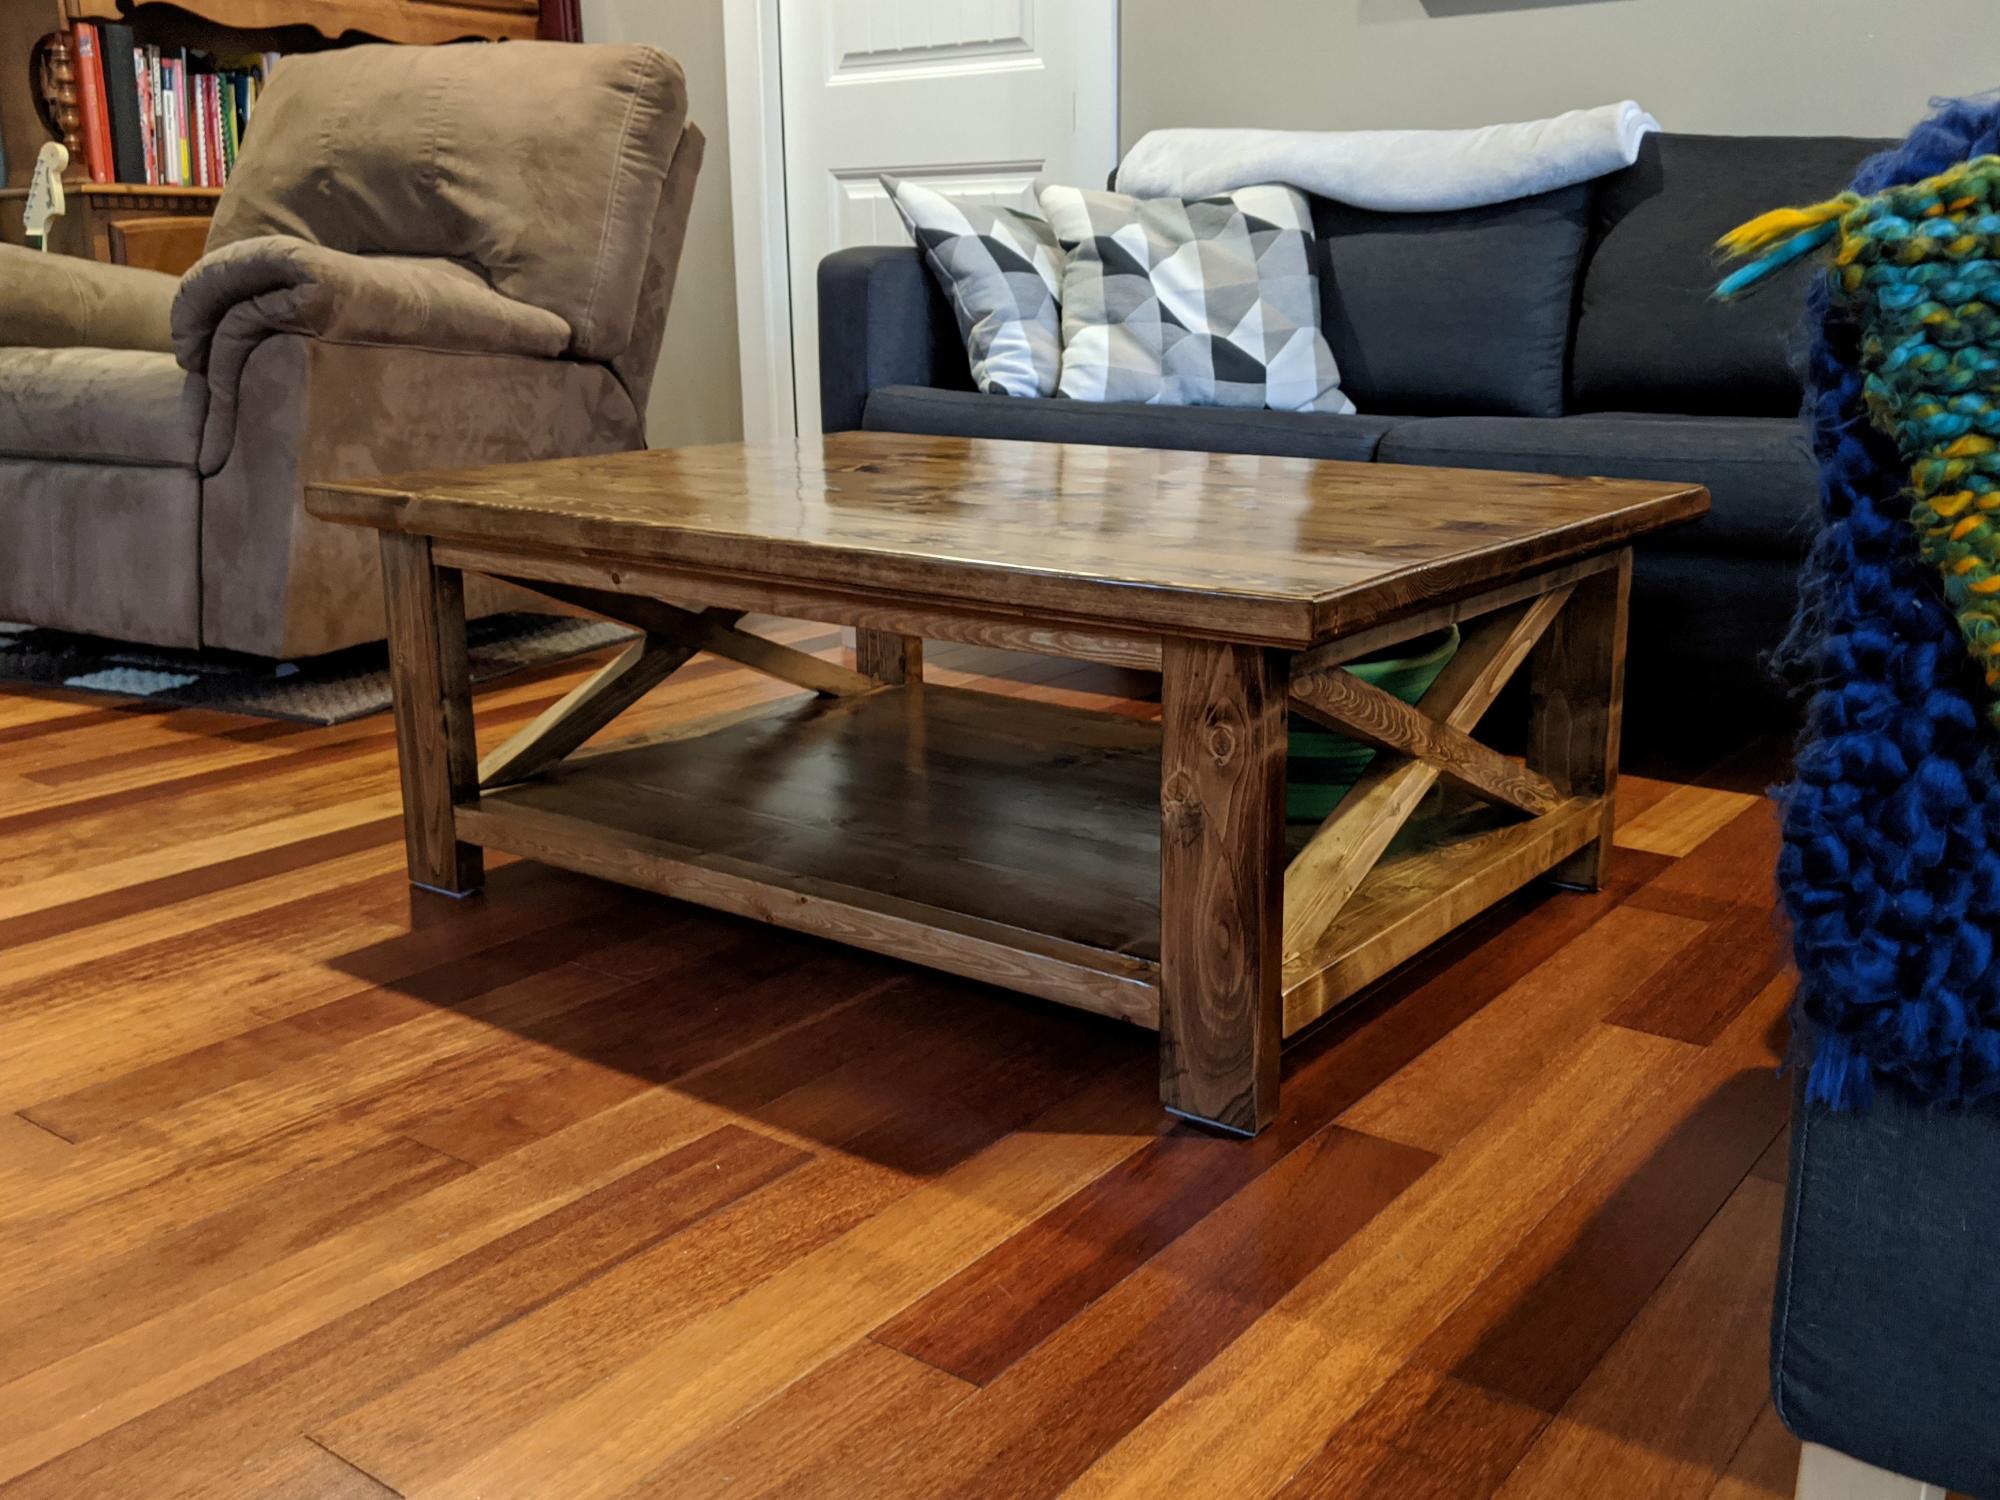
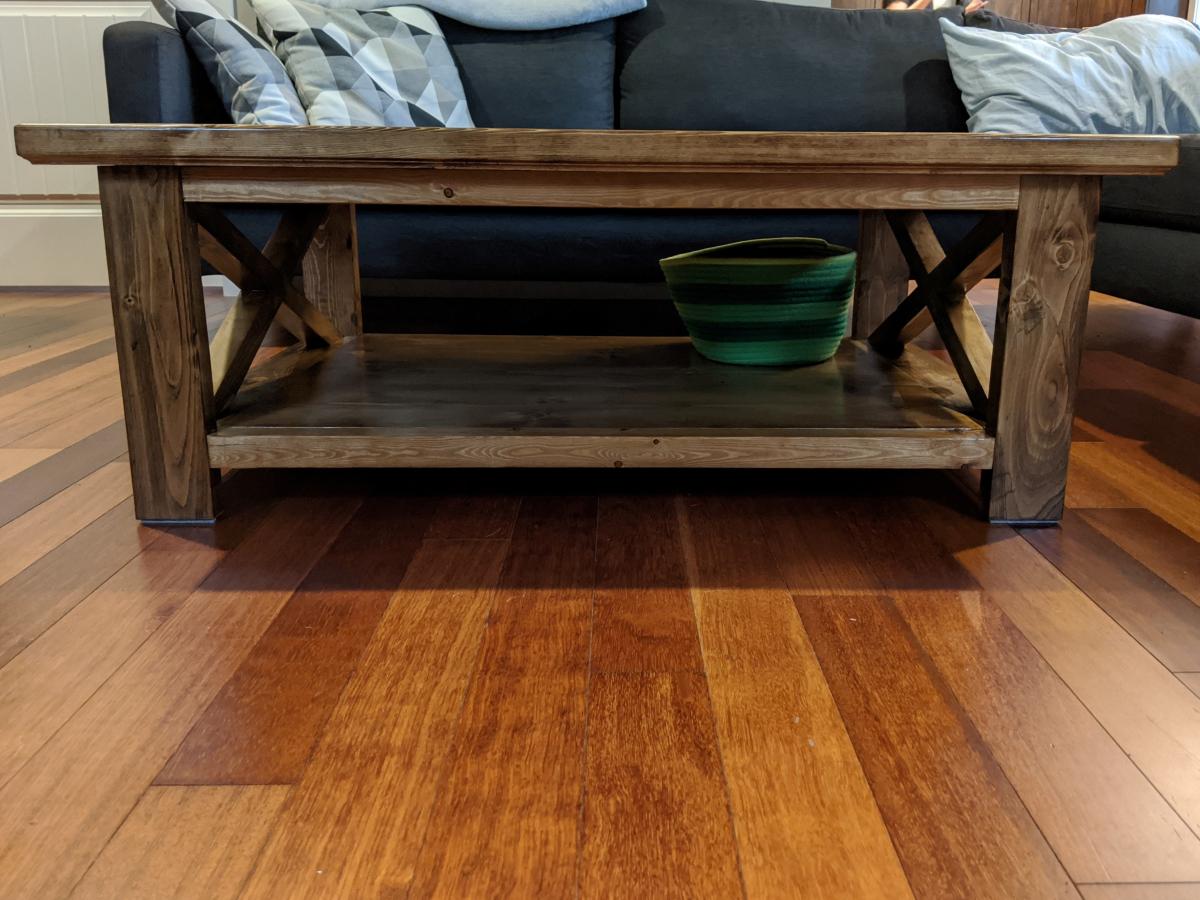
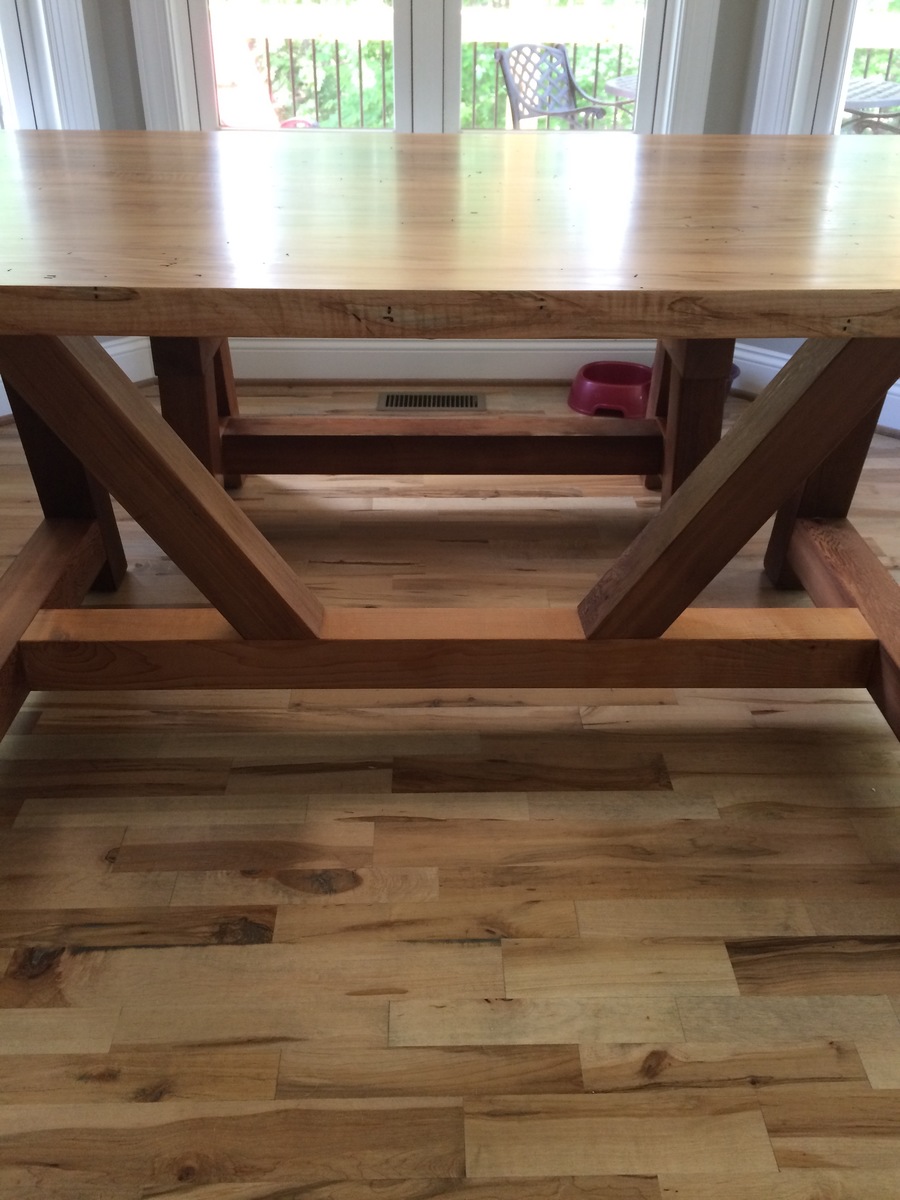
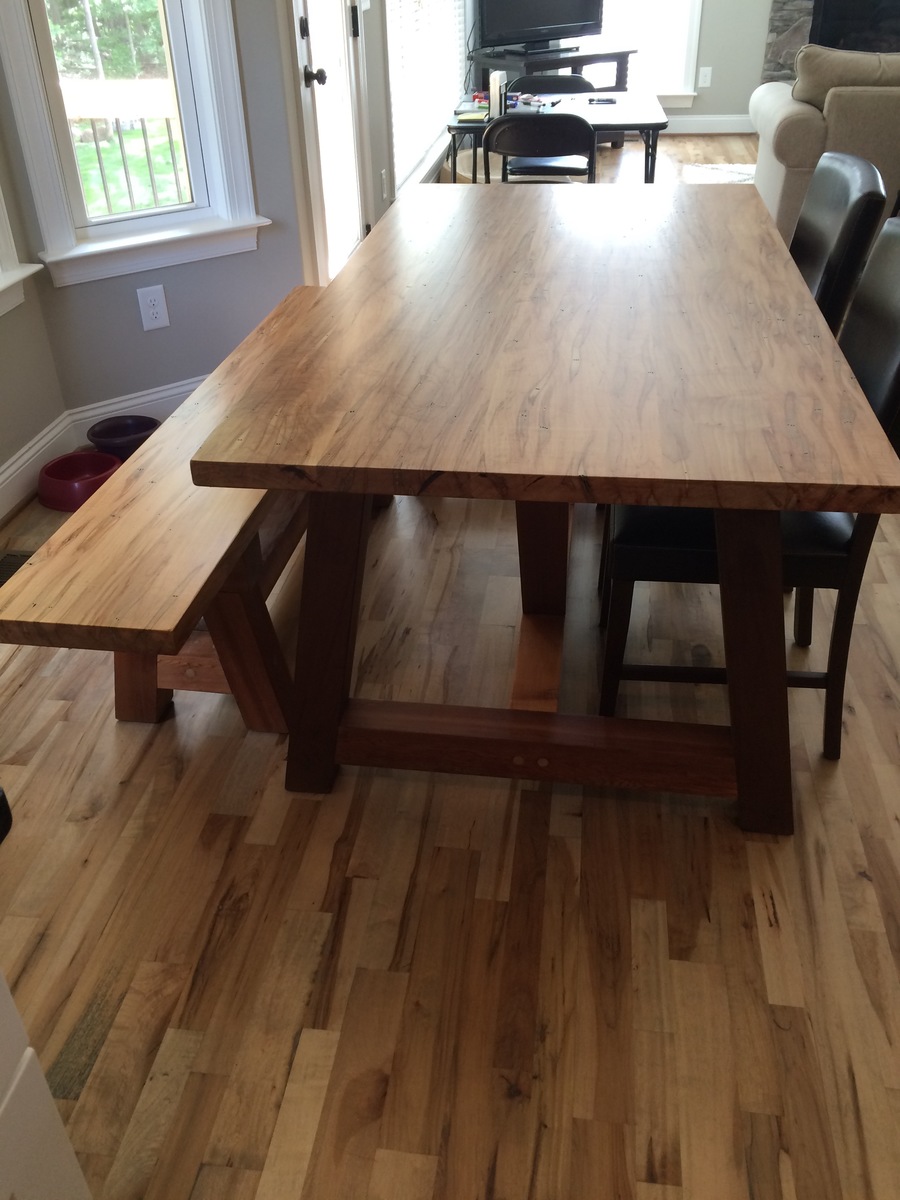
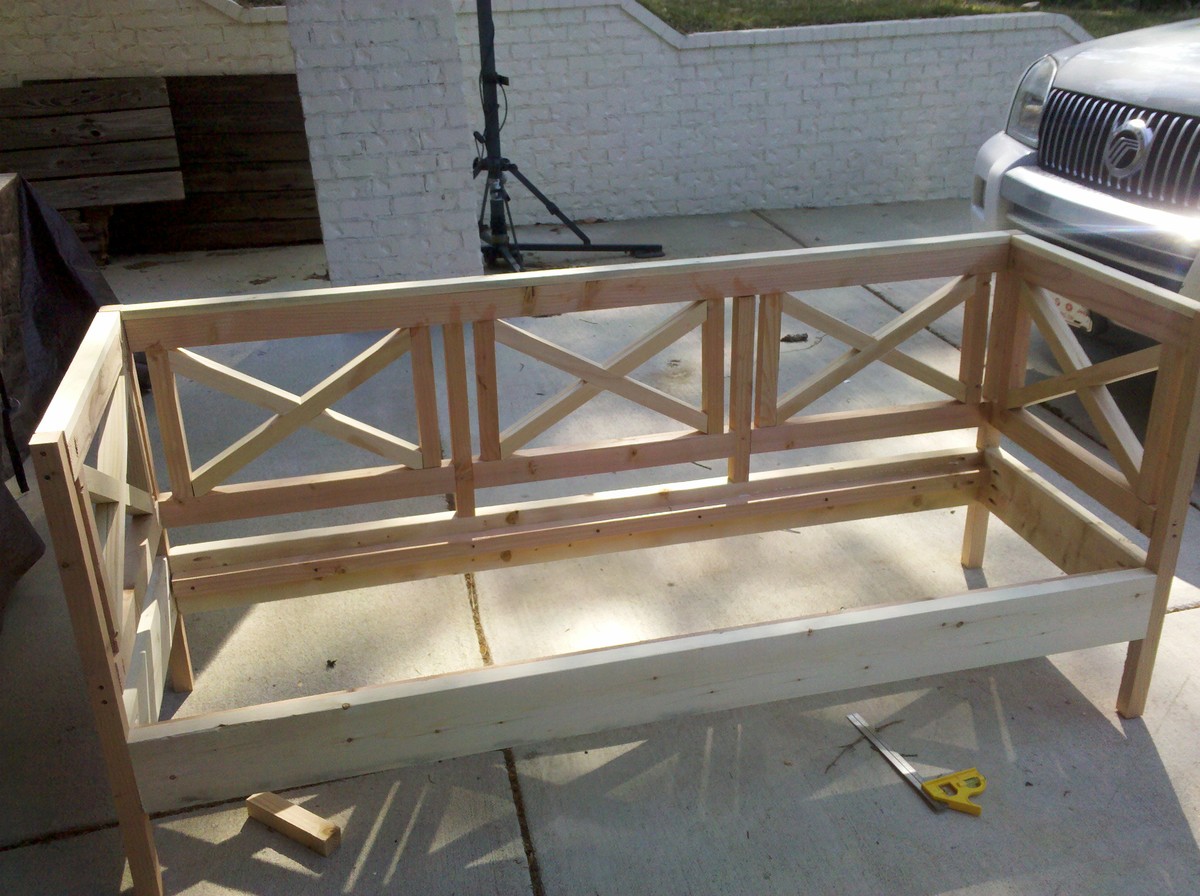
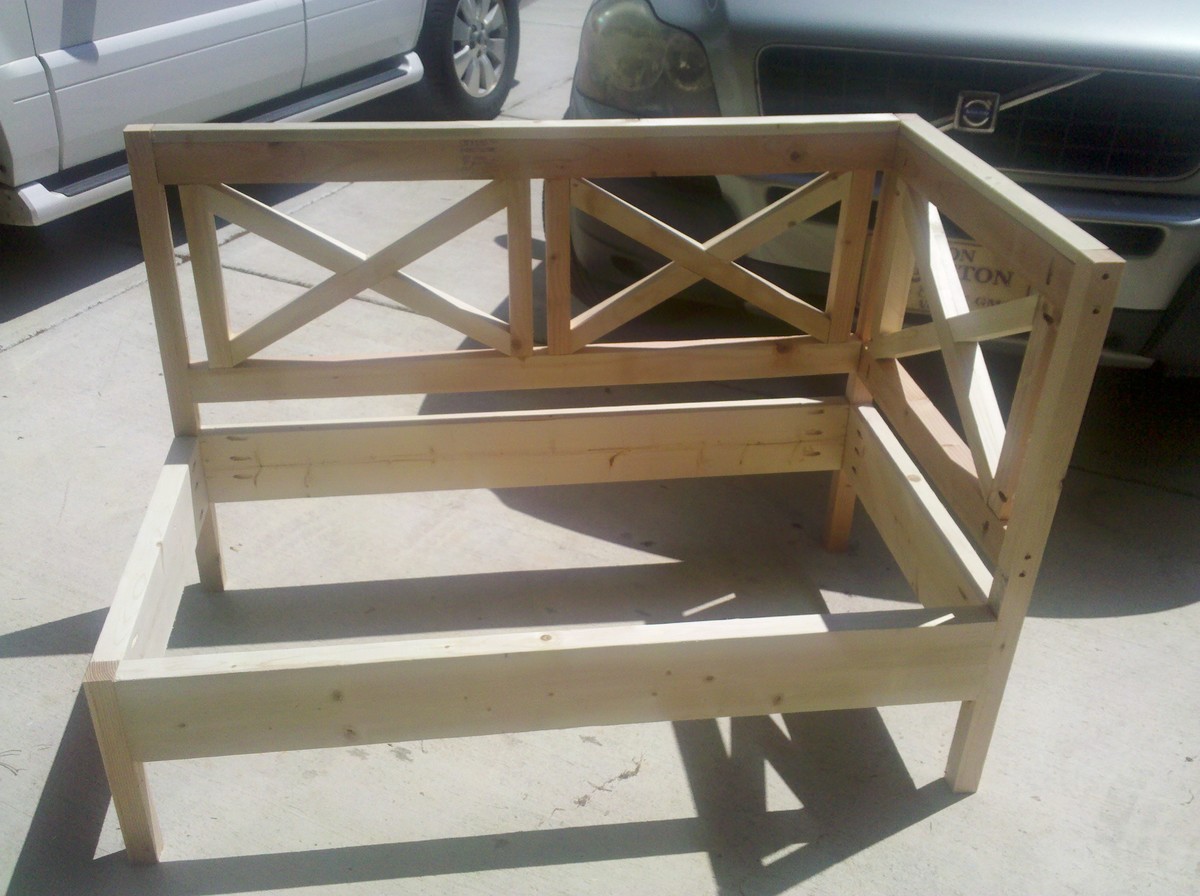
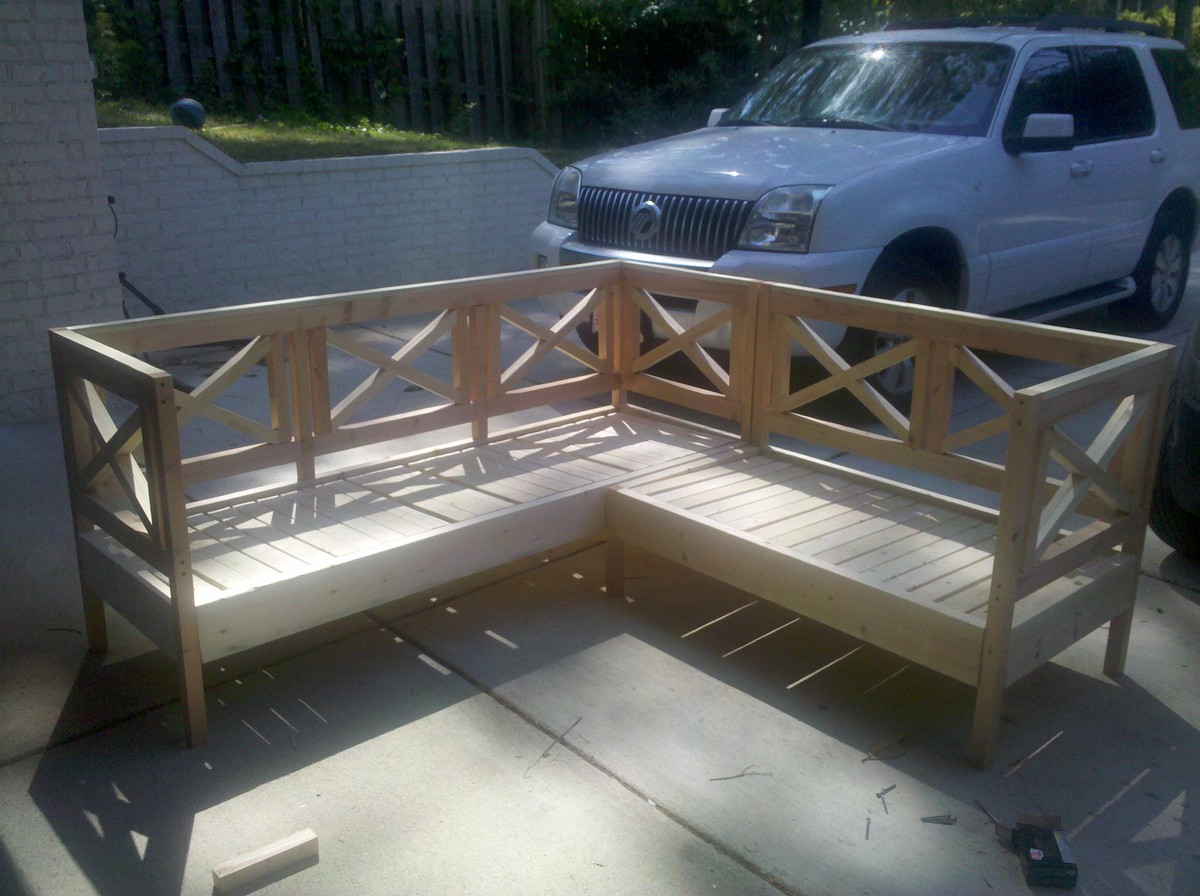
I used my router a lot on this project - routed the edges of the 2x6s so there was no dip/groove between the boards and used a roundover on the top edges and an classical on the bottom edges of the table top. A few hanges I made to the plans - the Xs are 2 lengths of 2x2 with a cross cut in the middle so they slot together, the table is wider and shorter so I adjusted the end x's to accomodate the new measurements, and I had to use 2 1x10s and a 1x8 for the bottom shelf for the wider table. Overall this was a great learning project for me! Really took me back to grade 12 math class with the angles :D

Built from Plan(s)
Estimated Cost
wood - $50-$60
screws - $10
stain - I had some sitting around from previous projects that I used
Top coat - $25
Estimated Time Investment
Weekend Project (10-20 Hours)
Finish Used
Table - Minwax Provincial stain (oil based)
- I use an unmatched sock and wipe on the stain. I don't like how the can states I should do it (leave stain on for 5 minutes, wipe off), I find it makes it way too dark for me. If the stain looks lighter that I want I will go back and wipe over again.
Top coat - Varathane Professional 1100 satin finish (clear finish, oil based)
- using a brush I did 3 coats on the bottom shelf, legs, Xs and supports
- table top has 4 coats. Lightly sanded when previous coat dried, used a tack cloth to remove all dust. Repeat until desire finished is achieved!
Recommended Skill Level
Intermediate

Comments

Clothesline Frame

Submitted by bhammond on Tue, 01/28/2014 - 20:57

This is huge and fits perfectly in my previously lonely naked hallway.
I also made a smaller one as a Christmas present and it has received many compliments!

Recommended Skill Level
Beginner

Media Console and Side Shelves

Edited dimensions of the Benchmark Media Console to build this beauty for the Wife. Stained the shelves to give it a little something extra. Plan on building matching end tables with stained tops and possibly replacing the console top with a stained version. 

Estimated Time Investment
Week Long Project (20 Hours or More)
Finish Used
Satin Polycrylic
Recommended Skill Level
Advanced

Comments

Farmhouse Dining Table

Fish made the tabletop from white oak and the base is pine. We still need to build a bench for one side and purchase new chairs, but we are IN LOVE with this table...and it somehow has allowed us to dine as a family more.

Estimated Cost
$300
Estimated Time Investment
Week Long Project (20 Hours or More)
Finish Used
Minwax Special Walnut, two coats
Recommended Skill Level
Intermediate

Comments

American Girl and other 18" Doll Living Room Set

Submitted by Anonymous (not verified) on Fri, 04/29/2016 - 10:05

I made this American Girl living room set with pine wood.  It is painted white and 2 coats of polyurethane are applied.  The cushions and pillows were sewn by myself using high density foam and fibre fill.  I have made 5 sets and am really enjoying making them that I have opened up my own etsy shop!

Estimated Time Investment
Day Project (6-9 Hours)
Finish Used
White semi gloss paint and 2 coats of polyurethane.
Recommended Skill Level
Intermediate

Rustic X Console

Rustic X Console, I attempted the suggested finish and may just stick to stain next time! 

Built from Plan(s)
Estimated Cost
100
Estimated Time Investment
Day Project (6-9 Hours)
Finish Used
Black Tea + Steel wool and vinegar. A lot of time was spent waiting for the wood to dry.
Recommended Skill Level
Beginner

DIY Wooden Cooler Stand - Vintage Look

Got this idea from the blue cooler project - but decided to deck it out with vintage trimmings. Everyone who has seen it loves it! Very fun project.

Estimated Cost
70.00
Estimated Time Investment
Weekend Project (10-20 Hours)
Finish Used
Minwax Summer Oak - followed with polycryllc and johnson's furniture wax.
Recommended Skill Level
Intermediate

Comments

DIY everything

Tue, 02/04/2014 - 21:32

I'm in the process of building one out of this plan too except I'm trying to use pallet wood. I love how your cooler turned out so I hope you don't mind that I use the same Coke sign. Awesome job!

Secretary's Desk Turned Shoe Cabinet

Submitted by sraper2 on Mon, 05/02/2016 - 11:36

I need some shoe storage near my front door that would hide all of our shoes.  I used the plans from the book for the secretary's desk and added an extra shelf.  Check out my blog post for step by step pictures.

Estimated Cost
$100
Estimated Time Investment
Day Project (6-9 Hours)
Finish Used
Paint
Recommended Skill Level
Intermediate

Farmhouse Bed Headboard

Submitted by Anonymous (not verified) on Mon, 01/27/2020 - 14:26

I only needed a headboard for the full size bed in my guest room. I attached it to the existing metal frame with carriage bolts. I built matching nightstands from plans found elsewhere on this site.

Built from Plan(s)
Estimated Cost
$35
Estimated Time Investment
Afternoon Project (3-6 Hours)
Finish Used
Honey Oak Stain
Water based polyurethane
Recommended Skill Level
Starter Project

Easiest hanging daybed

Submitted by Mrs. Baker on Mon, 04/23/2012 - 20:02

This was the first woodworking project I have undertaken from this site and it is simply wonderful!
very easy to follow plans, and easy assembly.
I have this daybed hanging from my back deck across from my hot tub and it is the most wonderful creation I've ever attempted!
I included a twin sized bunk-bed mattress instead of a traditional twin so that it would be thinner.
I zipped a vinyl cover over the mattress and then added sheets, decorative pillows, a throw blanket, and some lanterns to the platform.
I plan to hang a canopy that will drape over the ends.
The backdrop in the picture is comprised of two cloth shower curtains that hang from eyelets along the edge of our deck.

Built from Plan(s)
Estimated Cost
150.00
Estimated Time Investment
Weekend Project (10-20 Hours)
Finish Used
I have so far left my bed unfinished, but as soon as I pick a stain for my deck, I will add the same one to my daybed.
Recommended Skill Level
Starter Project

Alexia Bench

Submitted by jgriffin on Fri, 02/07/2014 - 10:55

My very first furniture build! Followed the construction plans and my bench turned out great! Thank you for helping others enjoy this craft!!

Built from Plan(s)
Estimated Cost
140.00
Estimated Time Investment
Day Project (6-9 Hours)
Finish Used
Primed, painted with Heirloom white, sanded edges with a cat sander, then painted American Chestnut stain on the whole bench and wiped off. Finished it off with a coat of matte poly.
Recommended Skill Level
Beginner

Solid Maple top, Clear Cedar legs

Submitted by Anonymous (not verified) on Wed, 05/04/2016 - 14:57

Solid Wormy Maple Top, "clear" grade, no knot westerd red cedar 4 x 4 legs, 4 inch lags (no Kreg Jig), Spar Urethane on top (clear satin, 3 coats), and Danish Oil on legs (one coat to keep "dry look").  Wormy maple boards, S4S, joined and plained.  Bench is one solid piece of wormy maple, same top coat as table top.

Estimated Cost
Top: $320, legs/assembly: $350, materials +_$200.
Estimated Time Investment
Week Long Project (20 Hours or More)
Finish Used
Clear Satin Spar Urethane (3 coats, 220 sanding between coats) and Danish Oil (Natural) on legs. Table attached with table top fasterners (z shaped) with oak strips and single kerf.
Recommended Skill Level
Intermediate

MY version 18 inch doll horse stable

This is my version of the horse stable. I used wood I had laying around in the shop. As a result I tweeked the plans slightly. I use 1x material for the roof and floor. This made is  much stronger. I put stops in for the door added hook and eye latch and toped it with gree and brown paint. My Granddaughter loved it.

Estimated Cost
45
Finish Used
spray paint
Recommended Skill Level
Intermediate

Weatherly Sectional

Submitted by margjack on Wed, 04/25/2012 - 18:13

We have really been enjoying our new Weatherly Sectional that I built with Ana's fabulous plans! I love the way it fits perfectly in the little corner of our deck.

I only made a few simple modifications:
1. I added an arm to the loveseat, as we wanted an "L" configuration and not a "U"
2. I added at least twice as many 1x3's for the seat slats, as I wanted to be able to sit on the furniture when the cushions were stored inside. I put about a 3/4" space between the slats for water drainage.

I made a 36" x 36" ottoman/coffee table out of scraps & it fits perfectly.

I bought the cushions from the Improvements catalog and they fit great. They are not as nice as the ones from RH, but they were about $40 each and were 20% off with free shipping. Here is the link: http://www.improvementscatalog.com/deep-seat-chair-cushion-24-1-2f2-22x…

Estimated Cost
About $175 (not including cushions & paint)
Estimated Time Investment
Weekend Project (10-20 Hours)
Finish Used
Benjamin Moore Oil-Based Penetrating primer; Benjamin Moore Latex exterior paint in semigloss (custom color)
Recommended Skill Level
Intermediate

Comments

Corner Headboard Storage for Twin Beds

Submitted by Anonymous (not verified) on Sun, 05/08/2016 - 18:27

Corner unit for kids bedroom. Added fabric boxes from ikea. The fit perfectly 

Estimated Cost
$200.00. All the materials are from the Home Depot
Estimated Time Investment
Day Project (6-9 Hours)
Finish Used
Behr. Polar bear white
Recommended Skill Level
Beginner

Floating entertainment Shelf

Loved this floating shelf. First time no Ana white and to woodworking. Thanks for the inspiration Ana white. Plans are from Best floating shelf. I used dark walnut stain. And just left the plywood off of the bottom. Low enough so no one can notice it

Built from Plan(s)
Estimated Cost
20 including stain
Estimated Time Investment
Afternoon Project (3-6 Hours)
Finish Used
Dark walnut
Recommended Skill Level
Starter Project

Christine's Trundle Coffee Table

After posting about my 20 Second Tidy Up table I built on my blog, a local reader commissioned me to build one for her too! I used a Kreg jig for the top and sides, as well as the 2x2 frame supports. I also added some L-brackets to the sides for added stability. This thing is solid! Since Lowe's doesn't carry fixed-wheel 1 5/8" casters I used an epoxy putty on them so they only roll in one direction. It keeps the trundle from bumping into the sides and being hard to open. Love the table, and so does Christine!

Estimated Cost
$80
Estimated Time Investment
Day Project (6-9 Hours)
Finish Used
Rustoleum's Ultimate Stain in Golden Oak followed by polycrylic
Recommended Skill Level
Intermediate

Comments

Bunnie1978

Sat, 04/28/2012 - 17:46

This is great, once again. Just curious... how much did you charge to build it? I am embarking on a furniture making to help pay the bills adventure right now. Working on my second piece. :)

brookifer86

Sun, 04/29/2012 - 20:12

I've only built a couple of things for sale, and came up with a basic pricing method that I'm happy with right now. I start with cost of all materials, then charge $10/hr for how long it takes me to build, sand & finish. Cost was $80, and it took 7 hours from start to dried poly.

GuitarEng

Mon, 10/05/2015 - 20:48

Christine, could you elaborate on how you fixed the wheels so they wont swivel. Also what size L-brakets you used for the legs, and did you made the trundle any shorter to accomodate for the brackets?

Back