I can’t believe I did this! Thanks Ana!
My first “real” build! I’m thrilled with how it turned out! Thanks Anna for giving me the confidence to give it a try.

Built from Plan(s)
My first “real” build! I’m thrilled with how it turned out! Thanks Anna for giving me the confidence to give it a try.
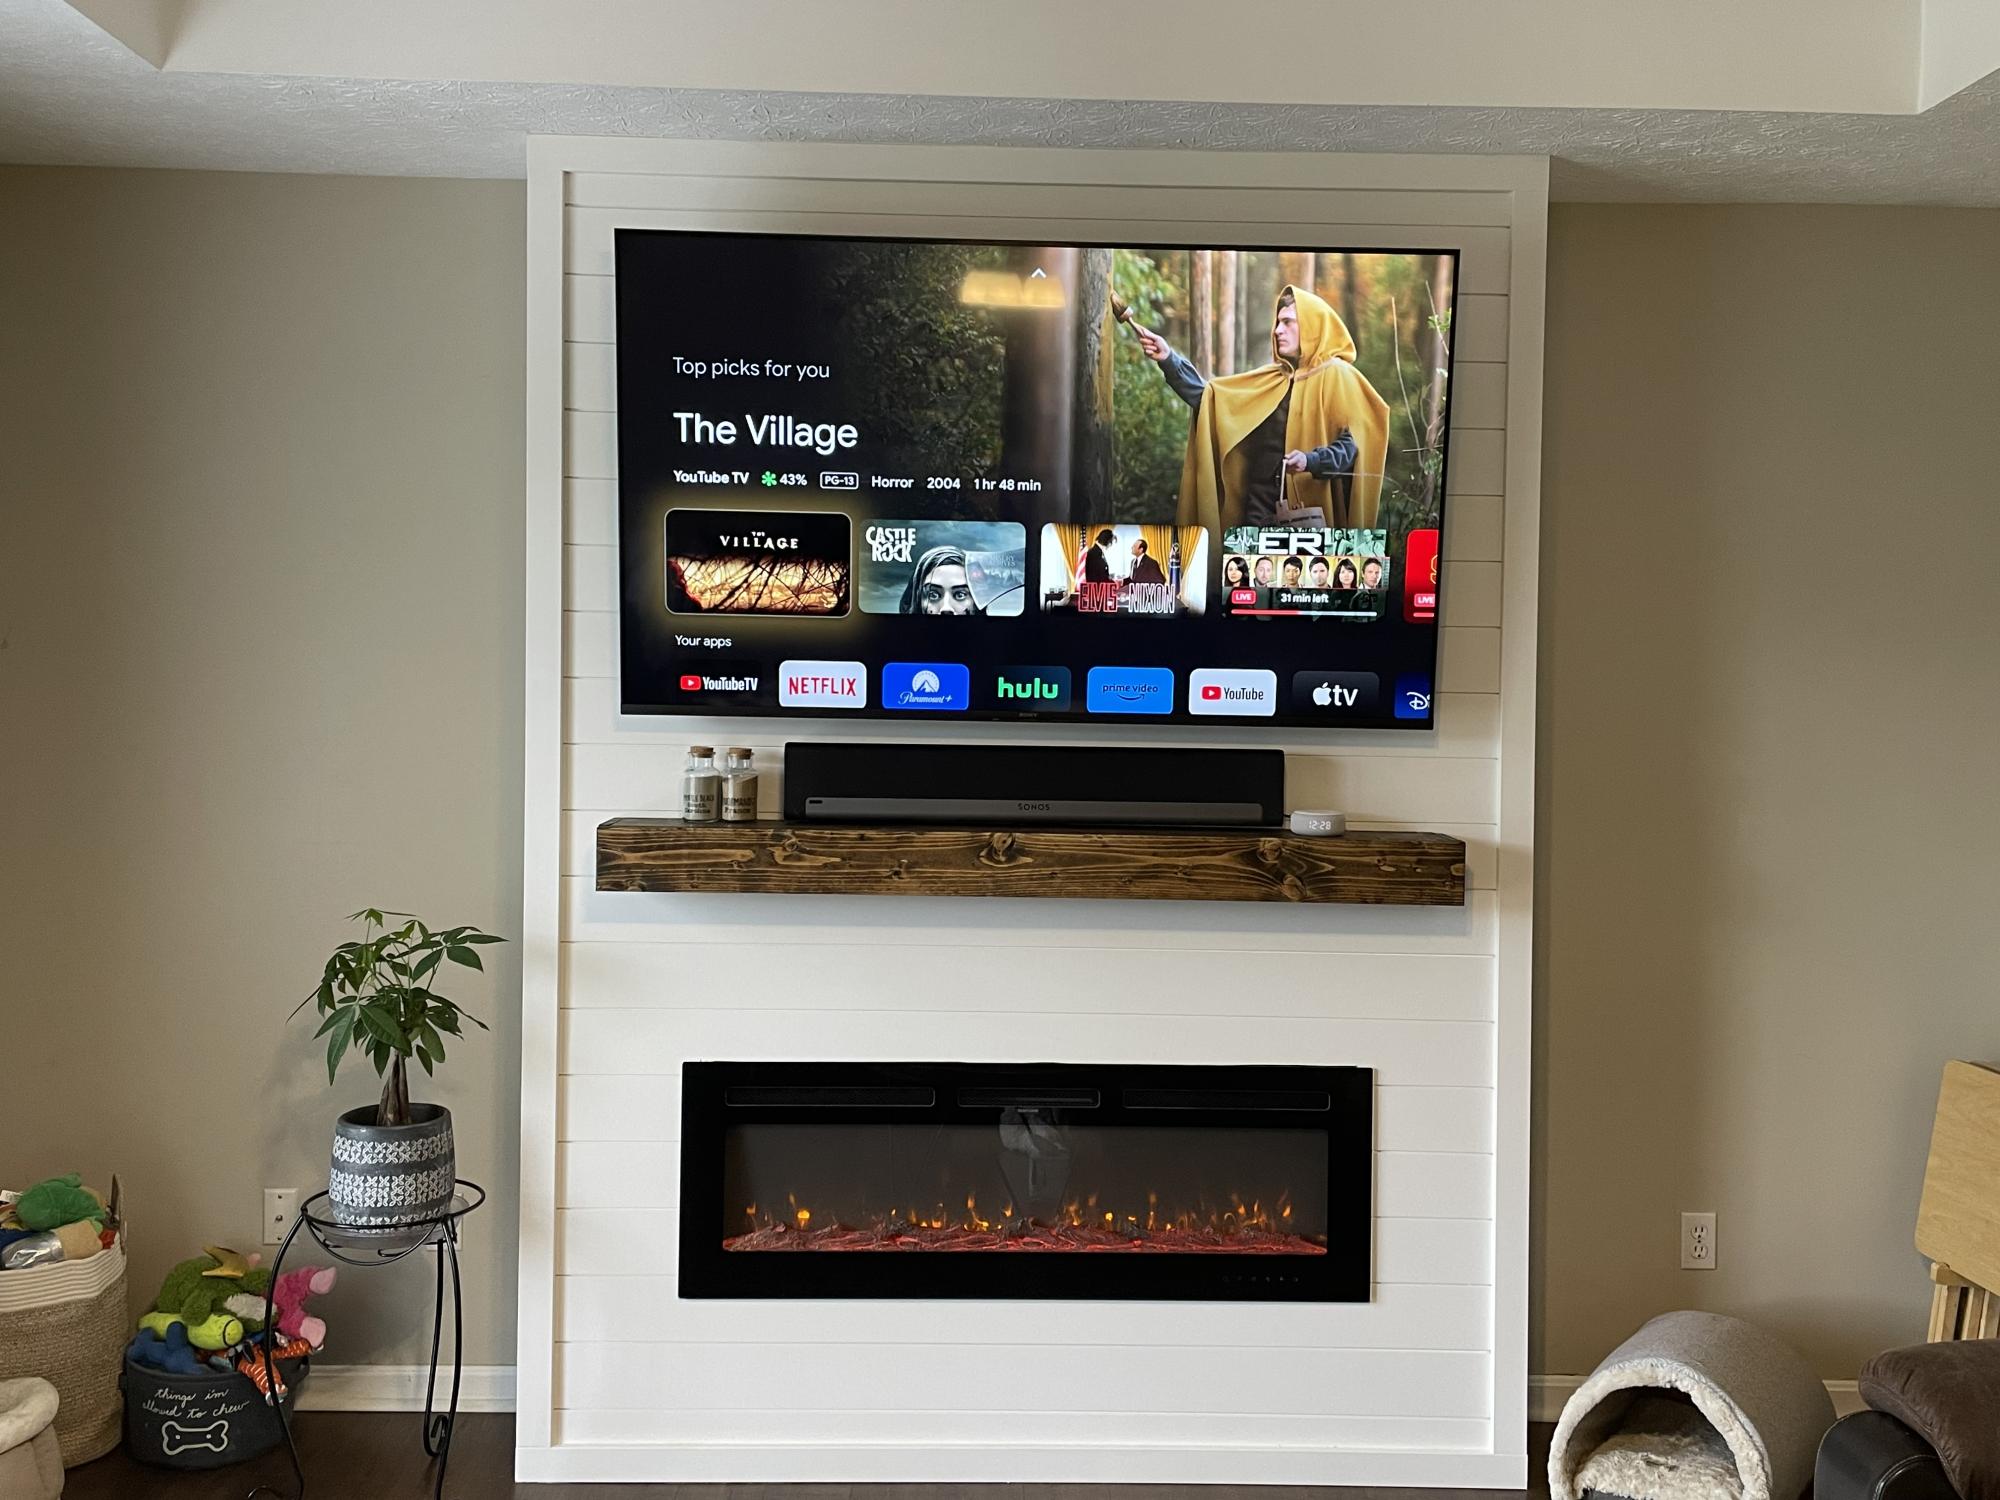
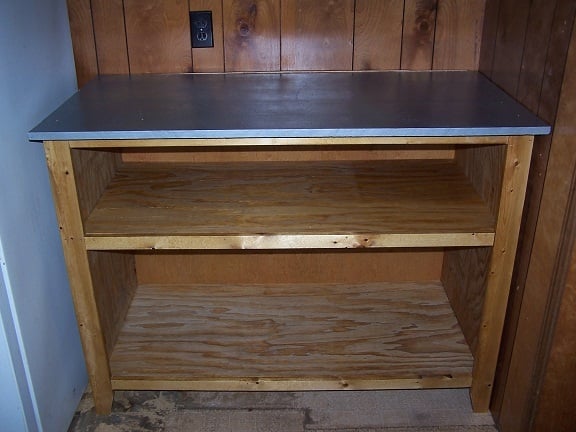
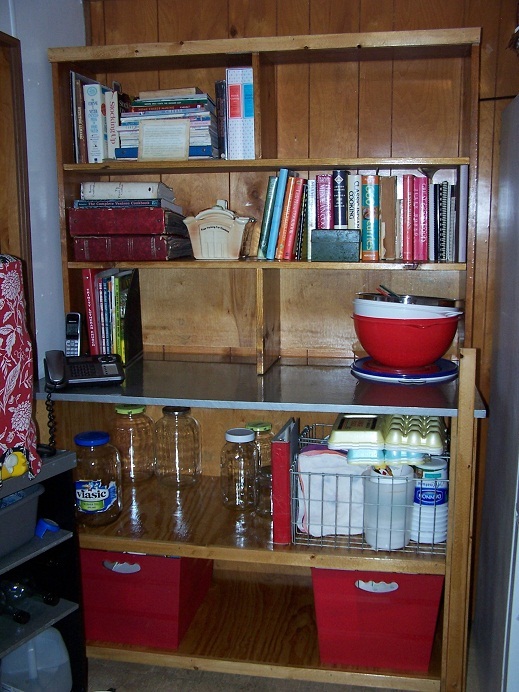
this is the Markham Workbench Console and Rustic Hutch, a little modified
"I had a great time building these chairs."
Peter
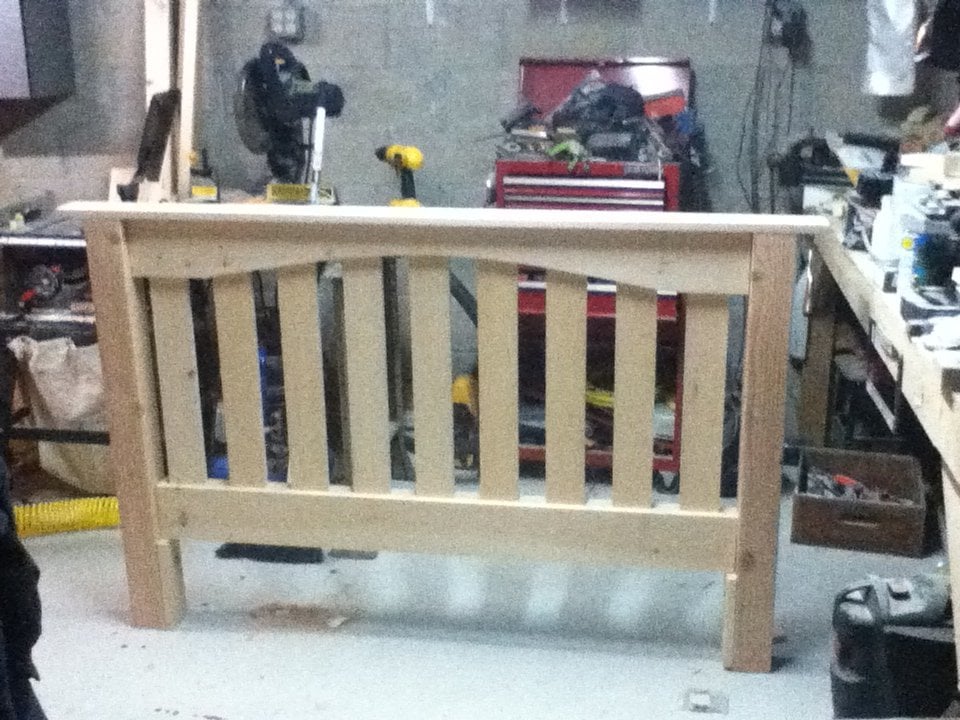
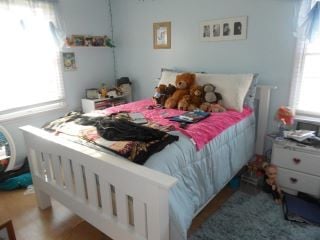
I'm building new beds for my daughters for Christmas. My oldest wants a bigger bed, so she's getting the full size simple bed. My baby bear needs a little more space in her room, so she gets the loft bed. The loft bed is finished but no pic's yet, as I can't assemble it till Christmas. For the full bed, I combined the Simple Full Bed with the Simple Bed with Arch. It's not quite finished yet, but here is a picture of the headboard. I'll add more pics when I'm done. I want to thank Ana for the hard work she puts into this website. To go out and buy similar beds to the ones I'm building would have probably cost me a couple thousand dollars, and would have been made of flake board. Because of Ana's plans, both my children will sleep on good quality, solid wood furniture for under five hundred dollars. Thanx Ana!
Fri, 12/30/2011 - 18:00
Just added a picture of the finished product. Family and friends are putting in orders. Looks like I'm gonna be busy for a while!
Fri, 10/24/2014 - 06:13
Not sure why but I likeyour arch version so much better. I can't tell what the difference is between yours and the original, perhaps more subtle arch? Very nice.
Can you post some pics of what it looks like today??
Check out thepaisleypeanut.com for more details, but we just loved this plan, so we tweaked it a little, but it's perfect!!
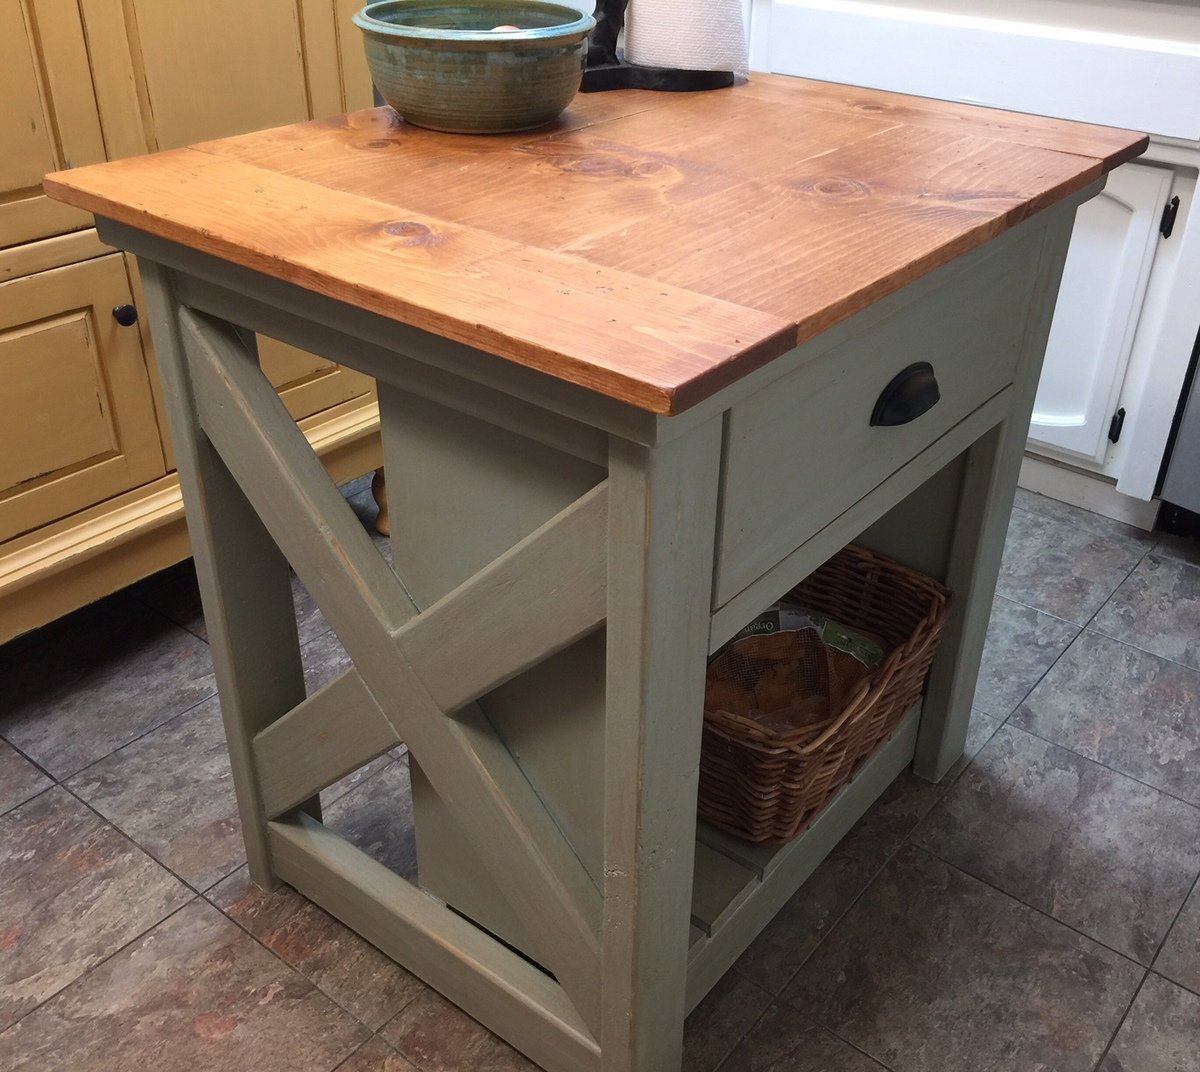
This was my husband's first furniture build and he really enjoyed it. The whole project took about three or four hours to build. He changed the top to a plank style with Douglas fir pine planks which I then beat up with a hammer and a screwdriver to look old. The top was then stained with five layers of Minwax Ipswich Pine and sealed with two coats of satin polyurethane. The base of the island was chalk painted, then distressed. I then took the Minwax furniture stain and wiped it on over the chalk paint and immediately wiped it off to age it and darken the chalk paint. I then sealed it with Rustoleum Chalked Matte Clear. We love our new kitchen island and it really fits in with our little cottage!
This is a simple project that requires very few tools and a beginners level took about a hour to make:)
Mon, 03/27/2023 - 15:35
This looks fantastic, thank you for sharing!
I needed a guest room, pronto, so I made this bed in an afternoon. I used lots of glue and my cordless finish nailer. I'm very happy with the outcome and thinking about my next project. Thank you, Ana.
Tue, 12/13/2011 - 11:07
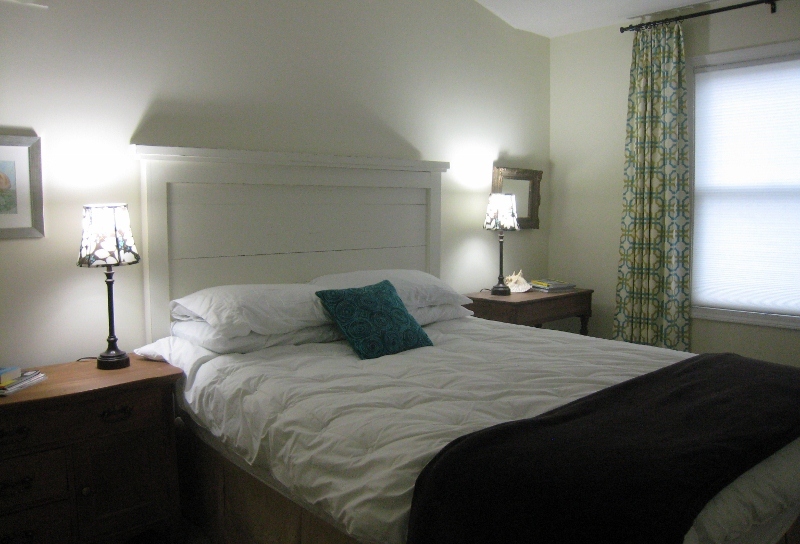
Very nice! This headboard is my favorite.
Great job! I like the bedside lamps too.
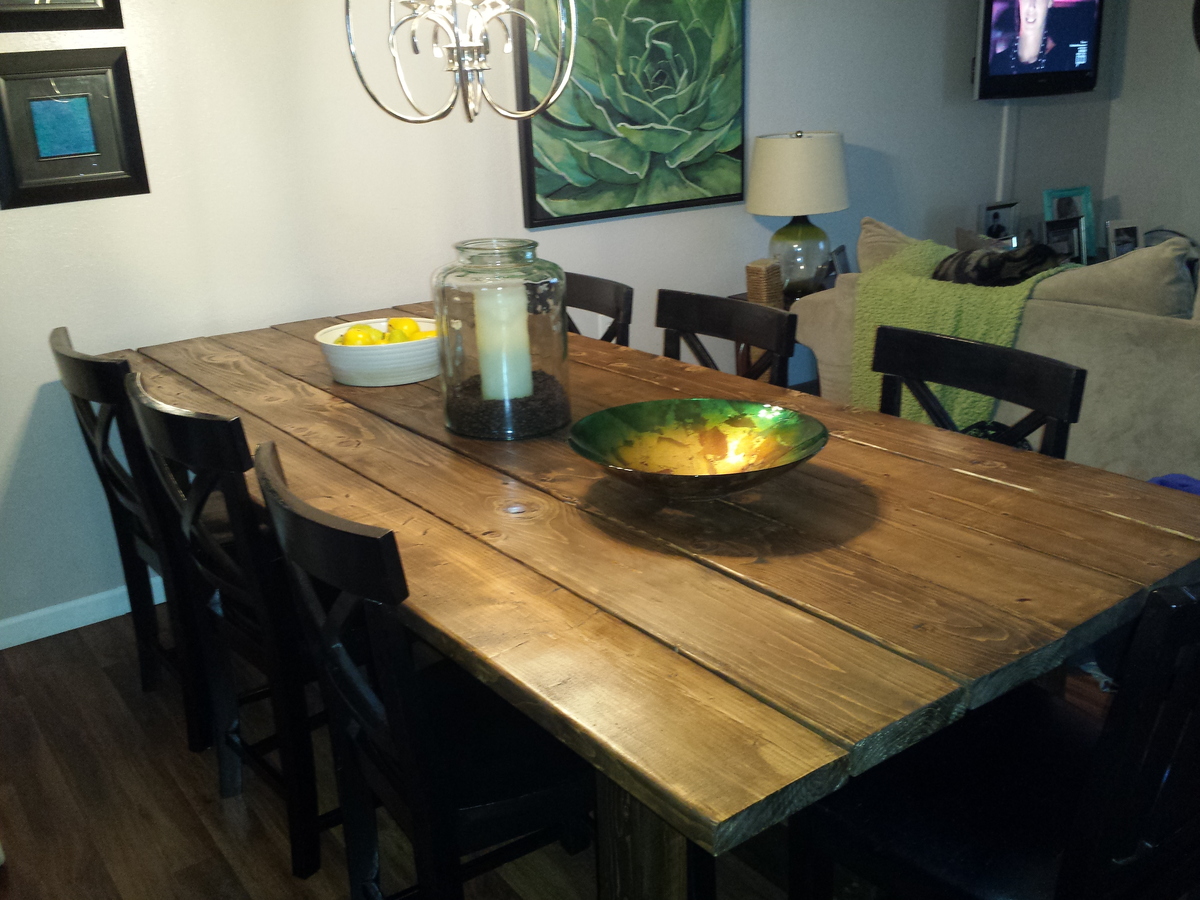
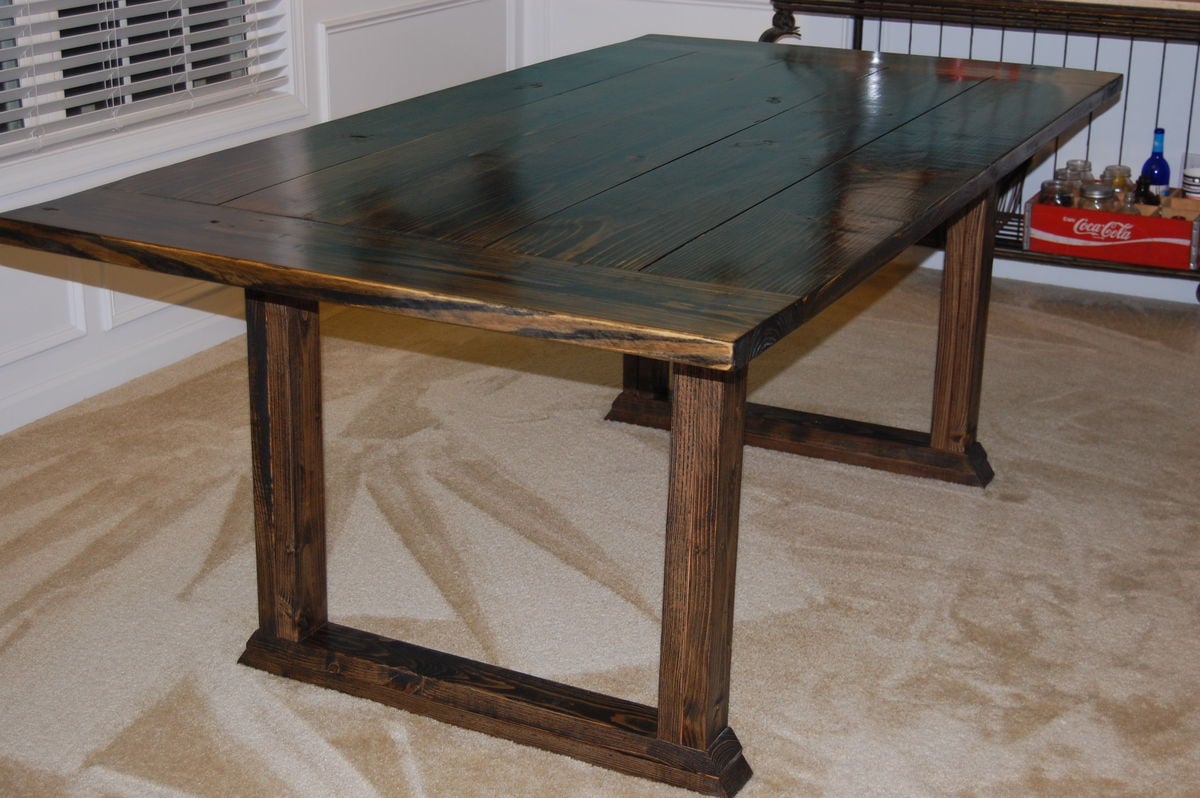
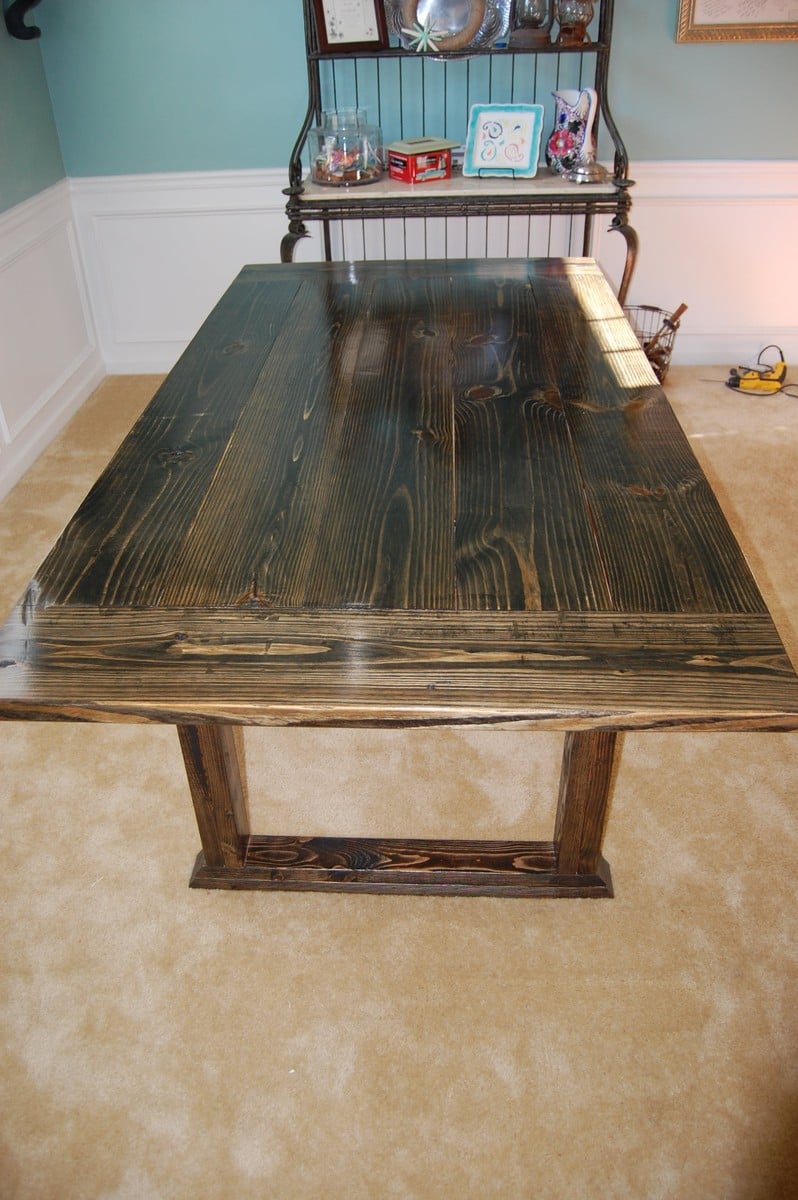
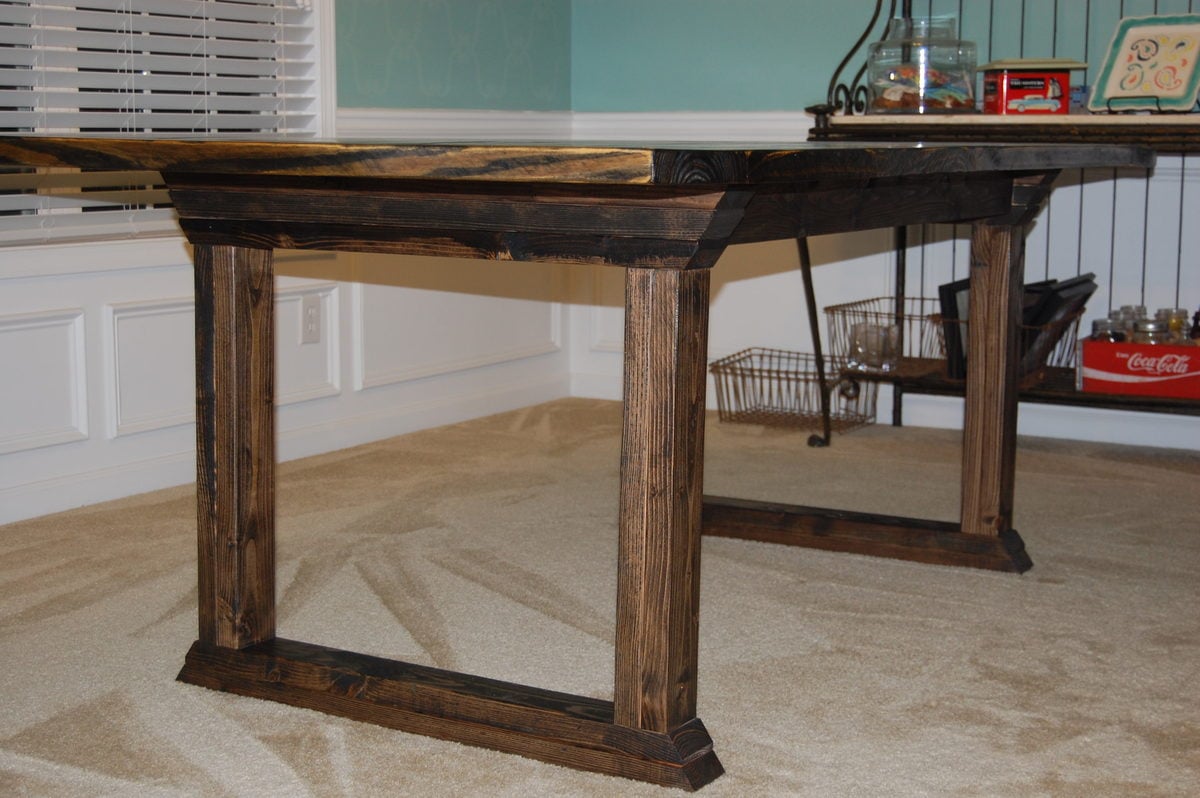
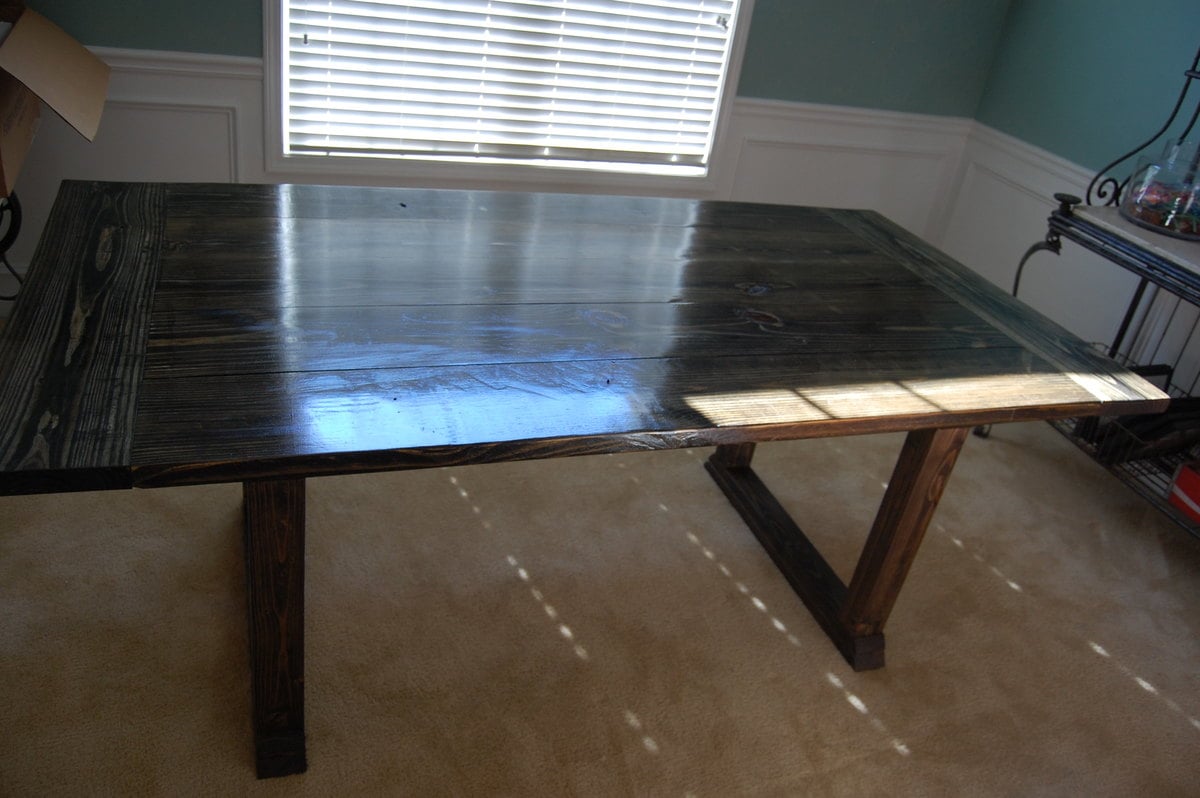
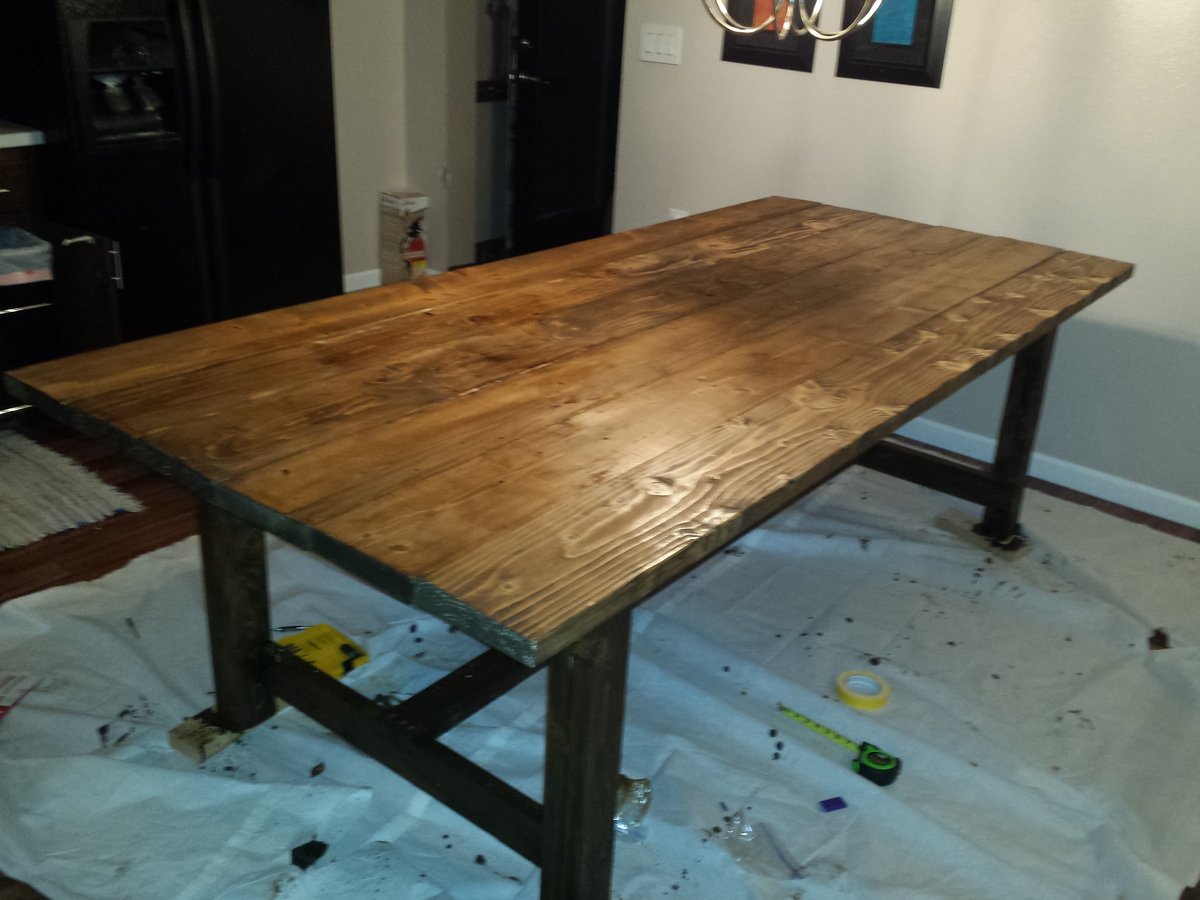
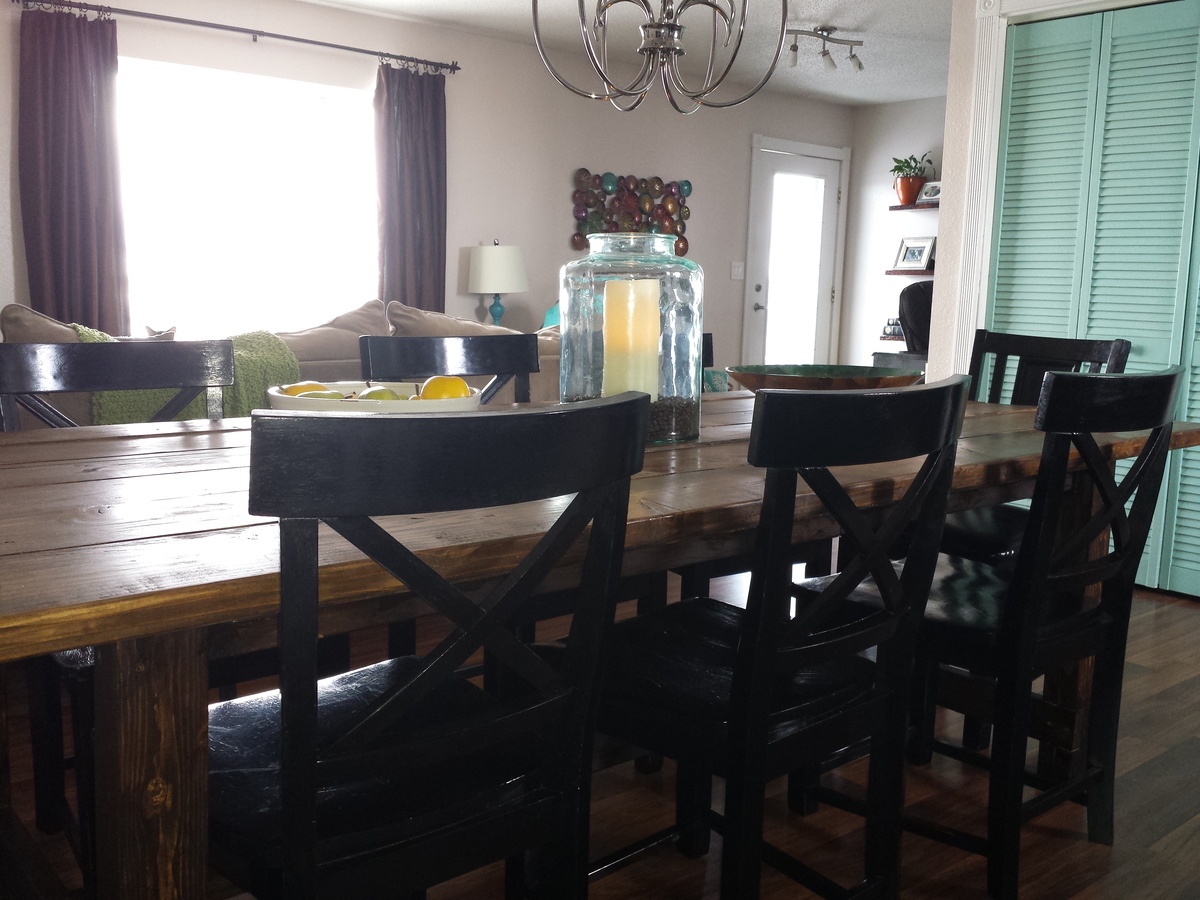
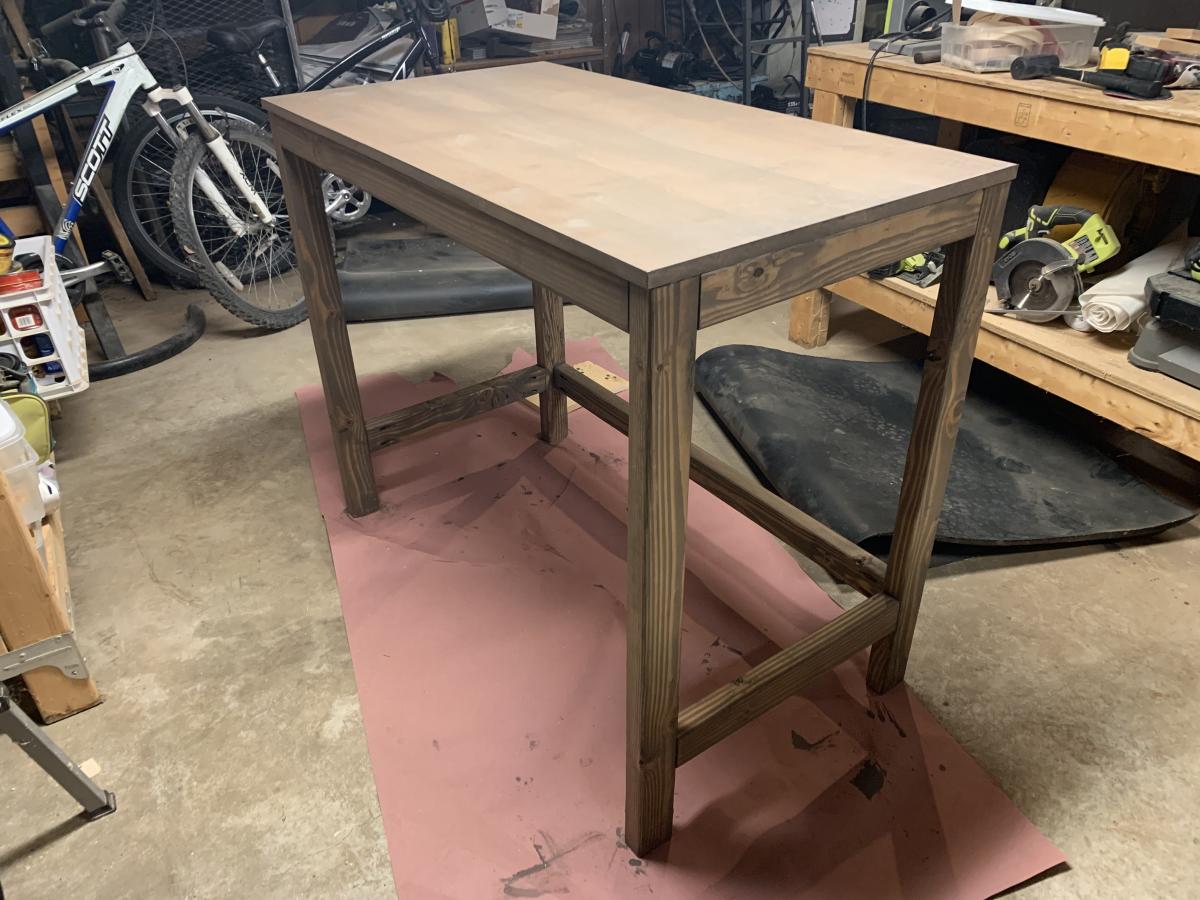
We originally re-sized these plans smaller to make a worktable for my office. Once that was built and we realized that we actually could make a table, we decided to make the full sized version. It turned out beautifully! A couple of clients have actually asked if they could pay us to make them one! Thank you, Ana, for the plans. :-)
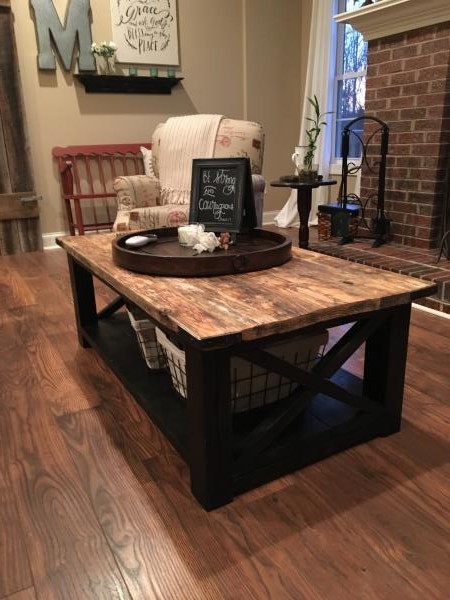
I used pallet wood on the top and regular 2x4's on the bottom section.
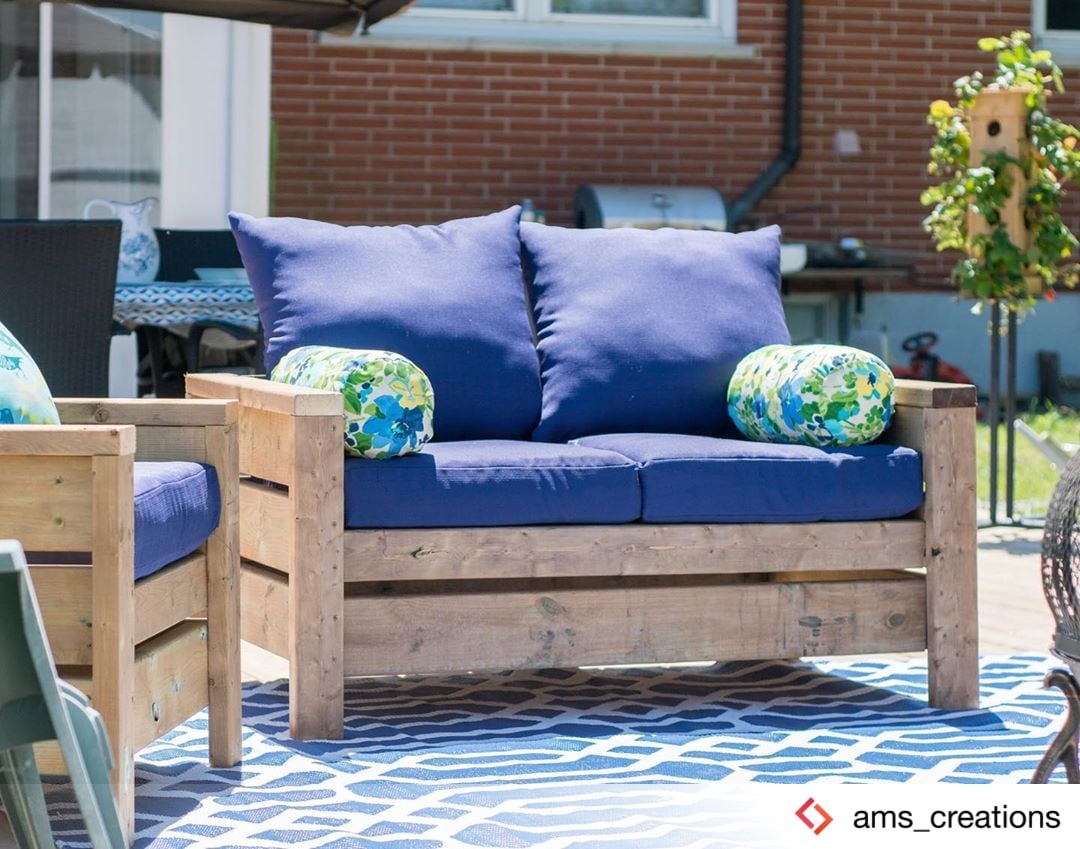
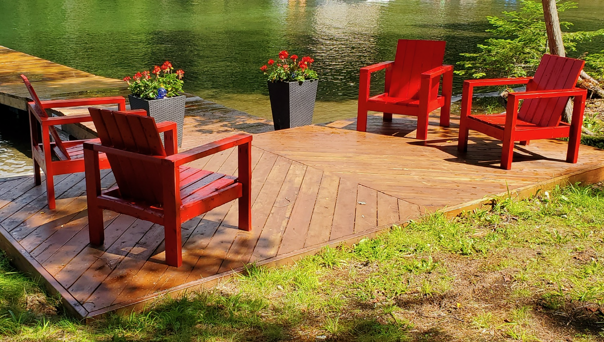
Modern outdoor loveseat to match the chairs! See more photos and comments here.
After thinking about it for 2 weeks, going over and over in my head of the sizes to cut and remembering the video of what went where, I put it to action. Took me about 2.5 hrs to build and modify where I needed to.

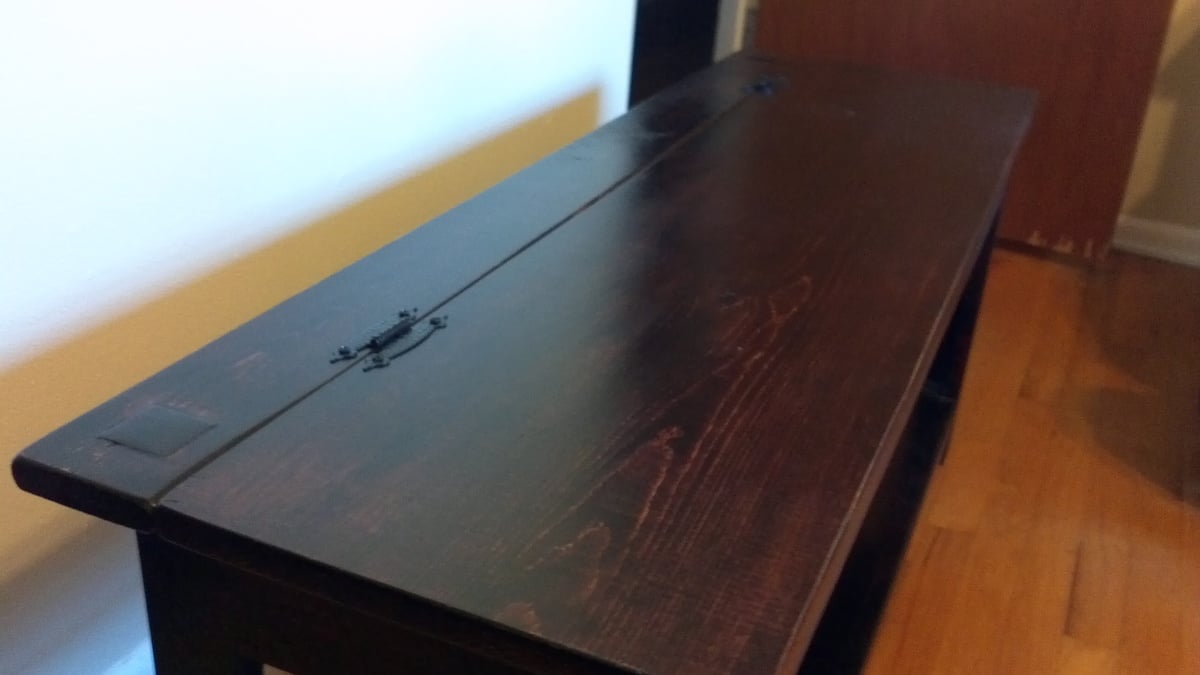
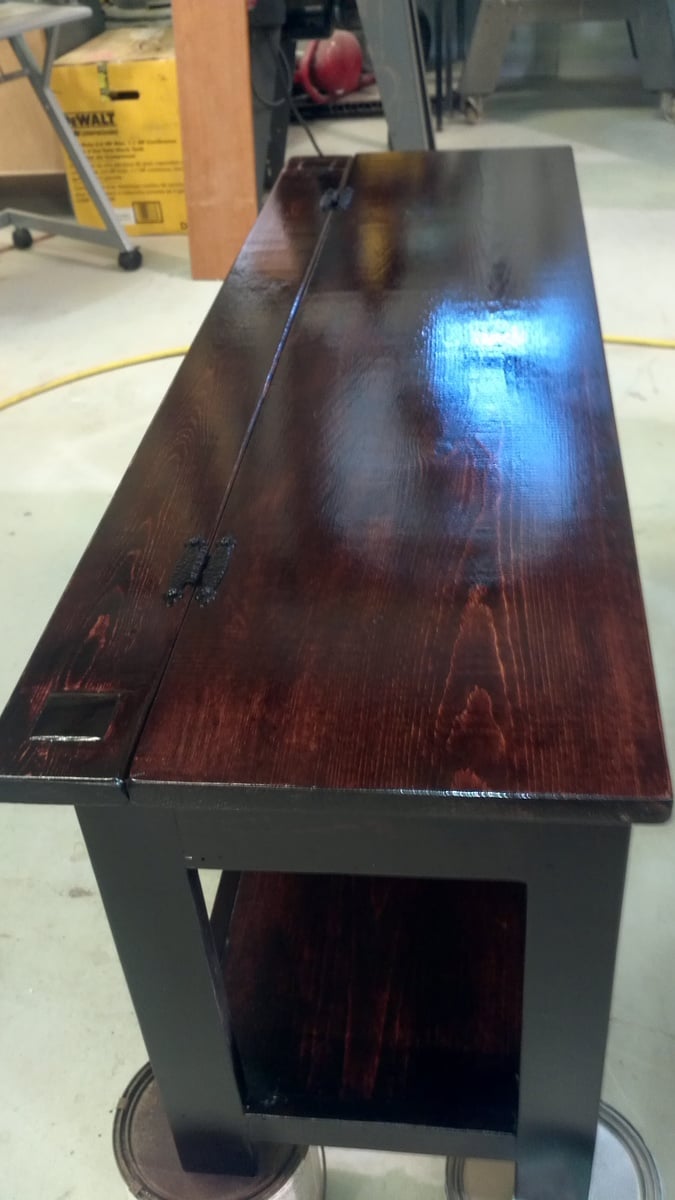
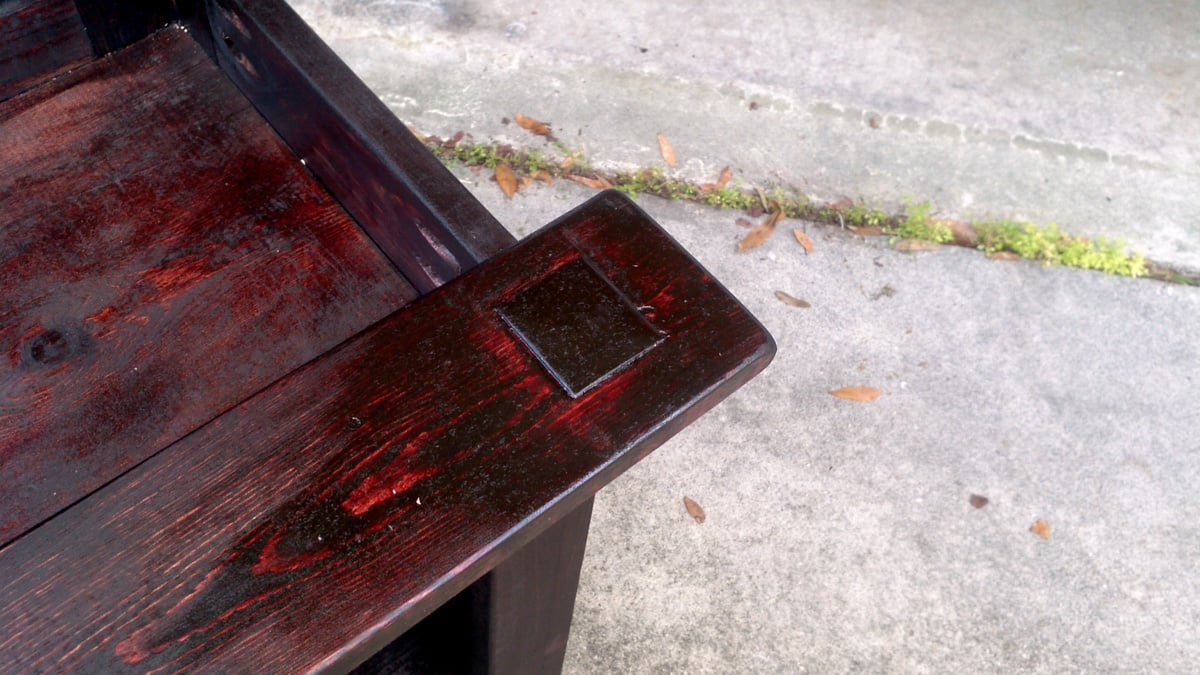
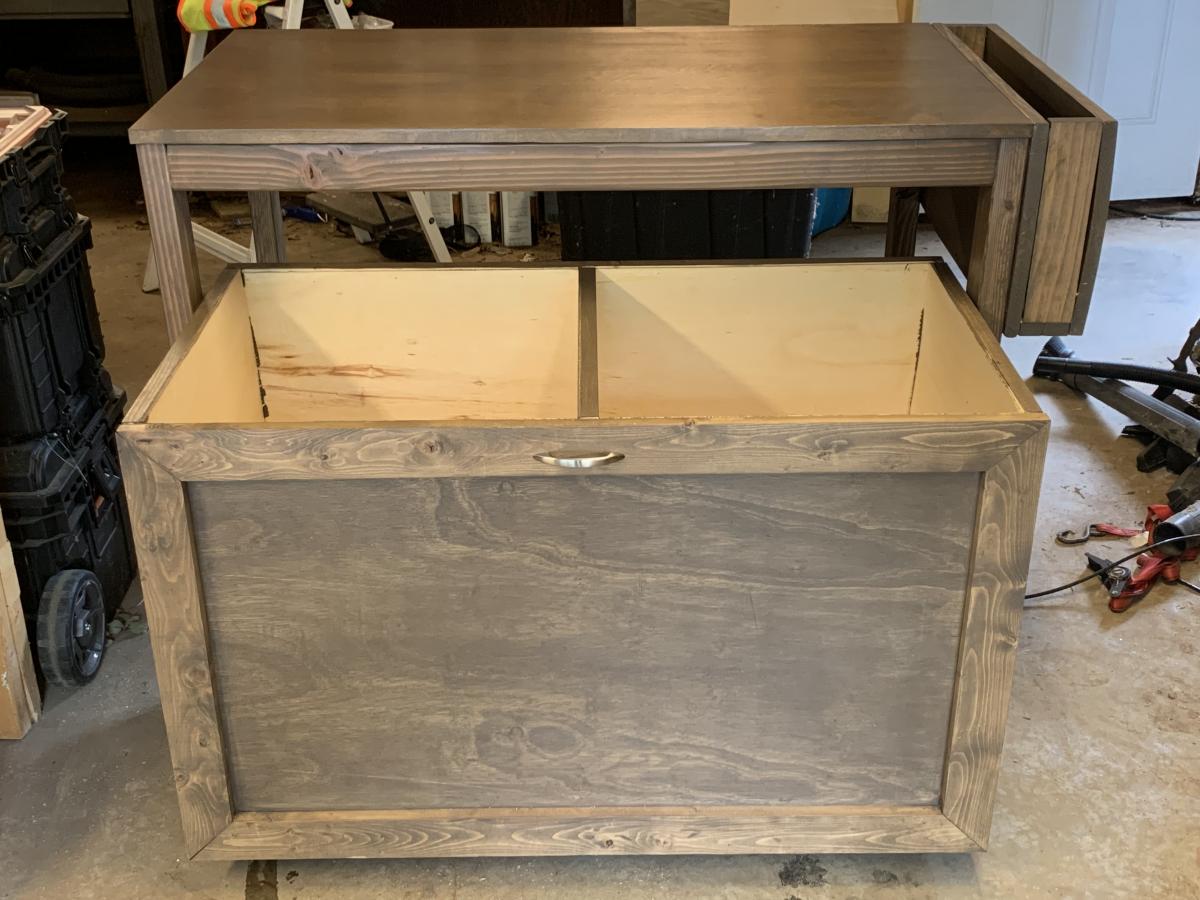
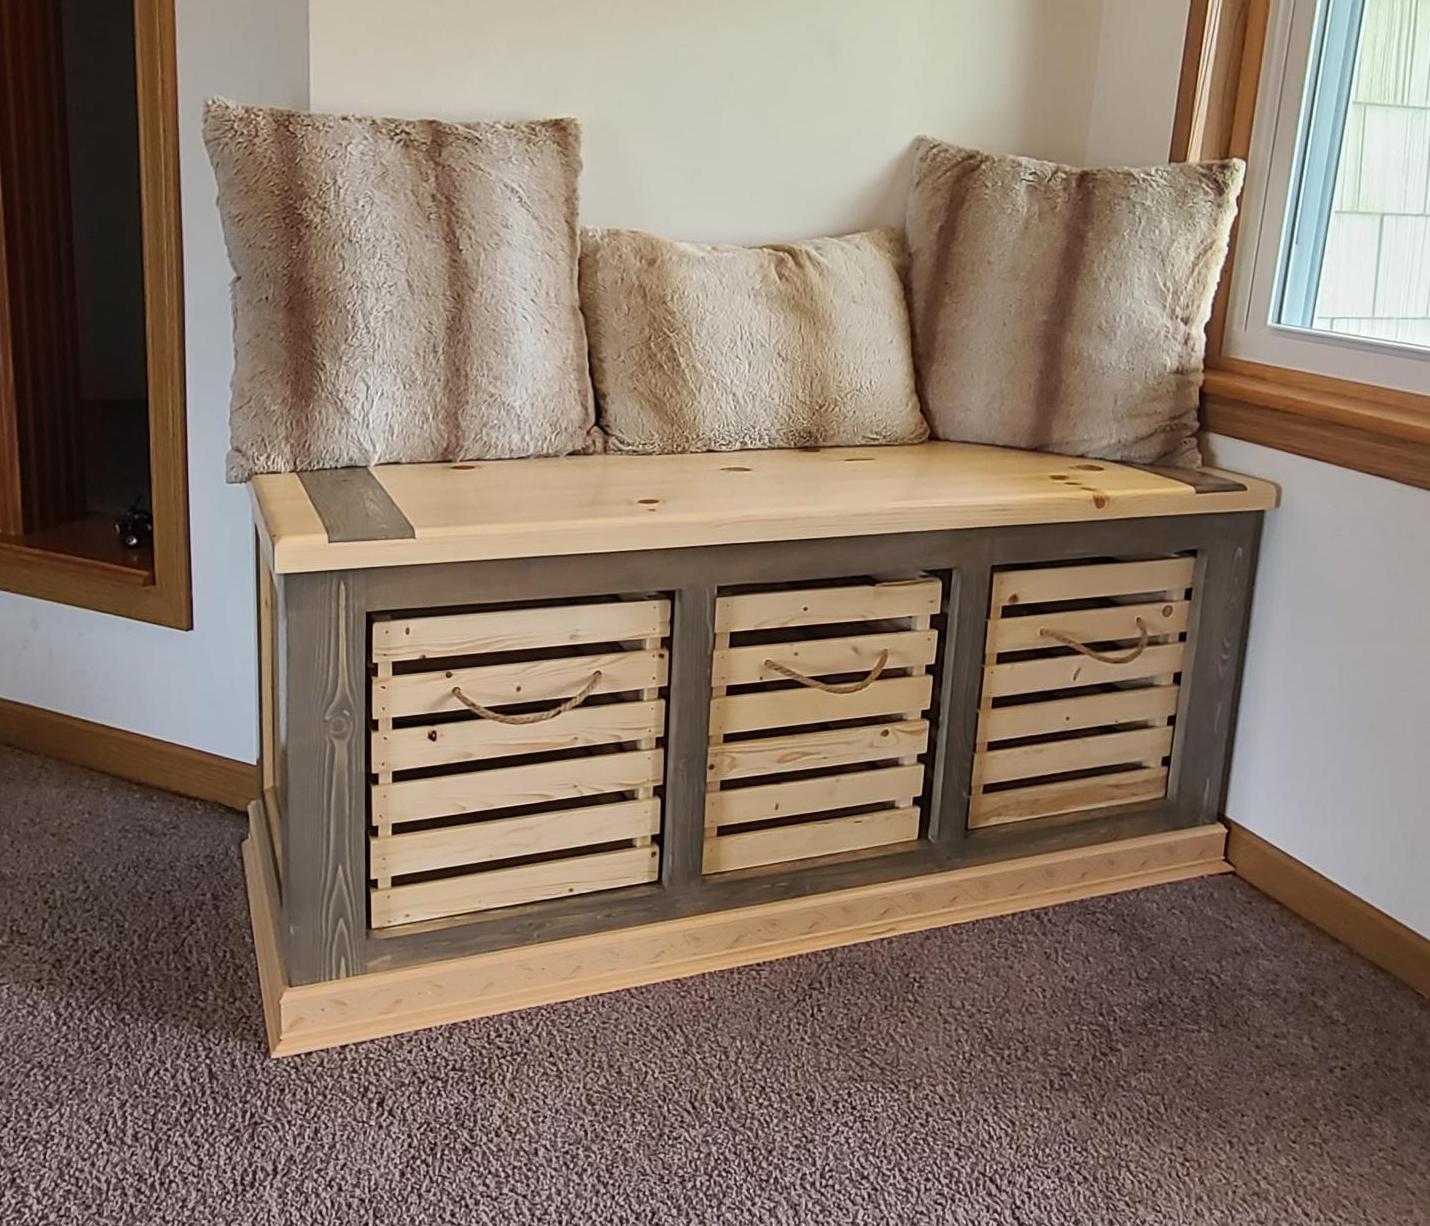
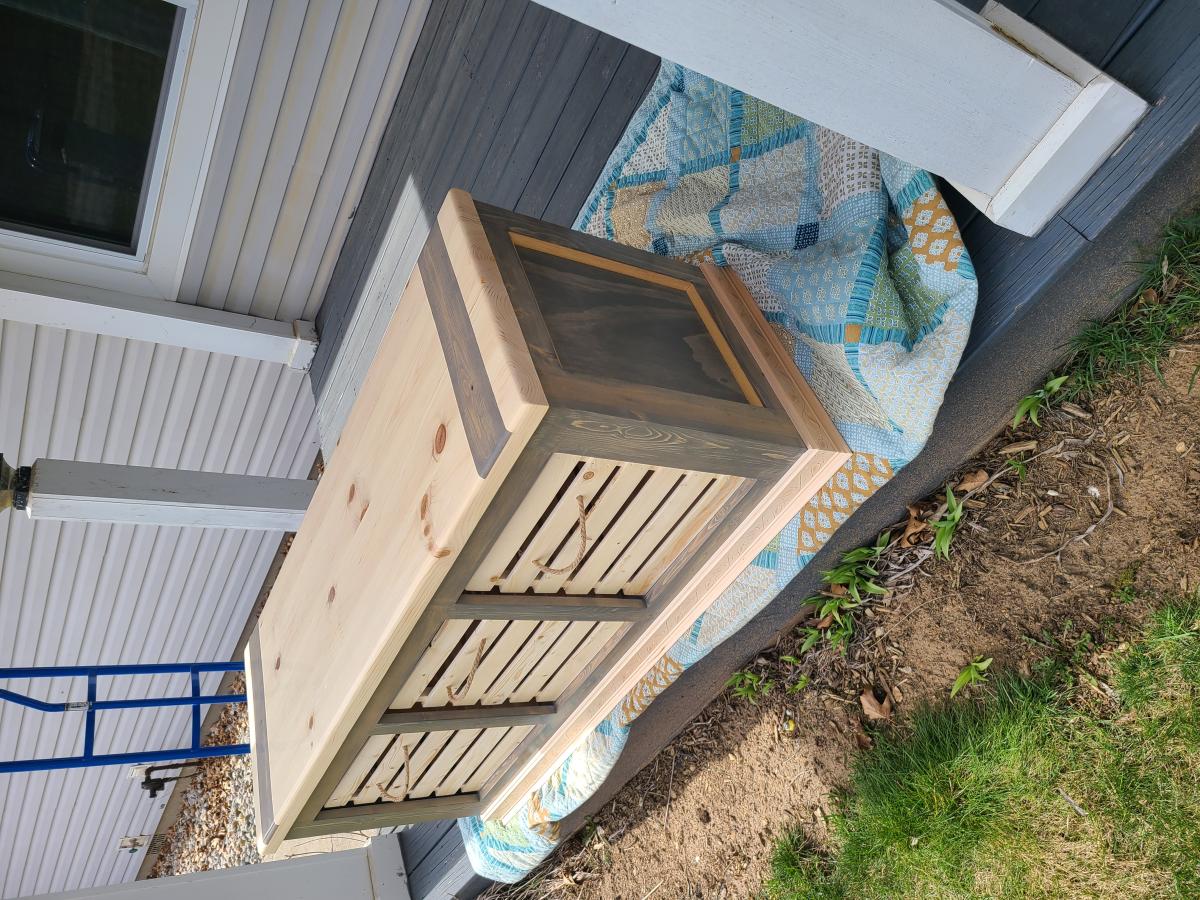
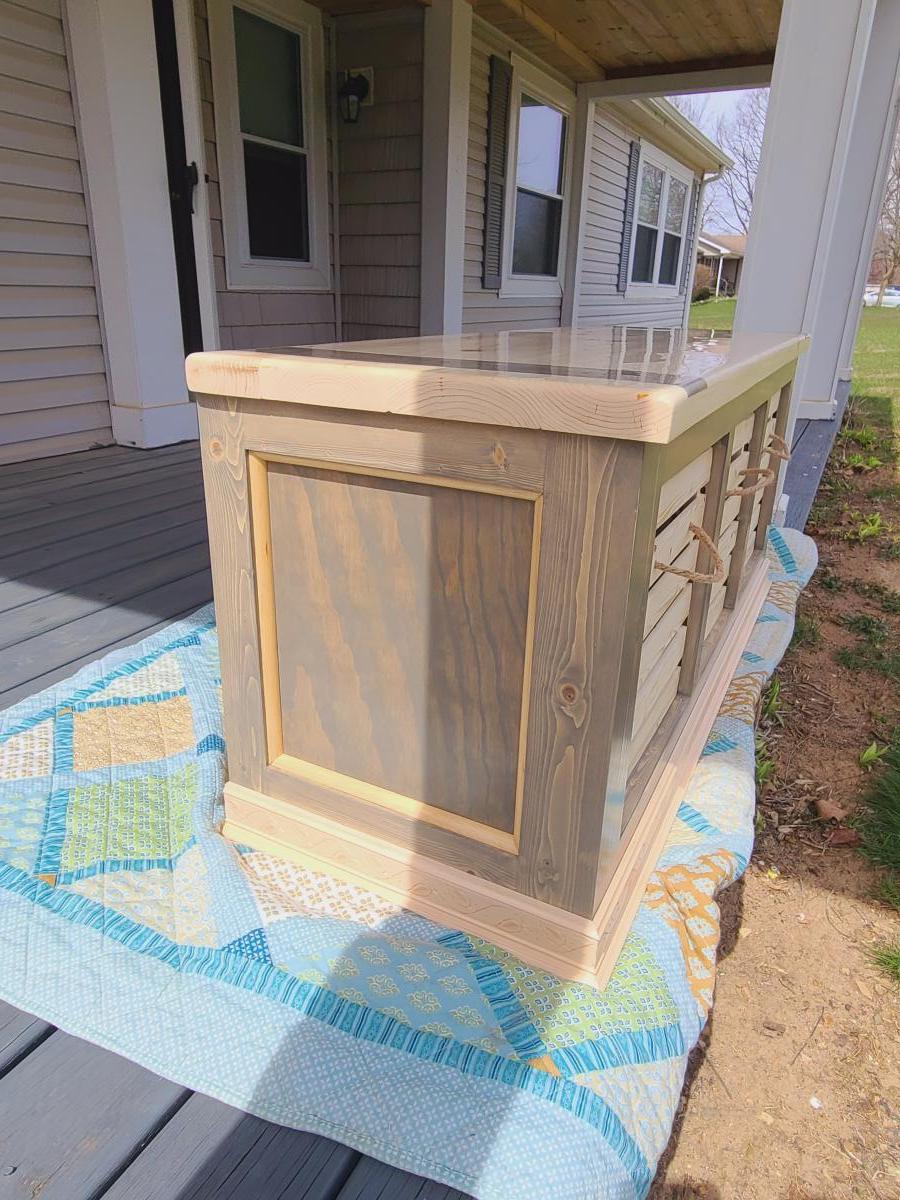
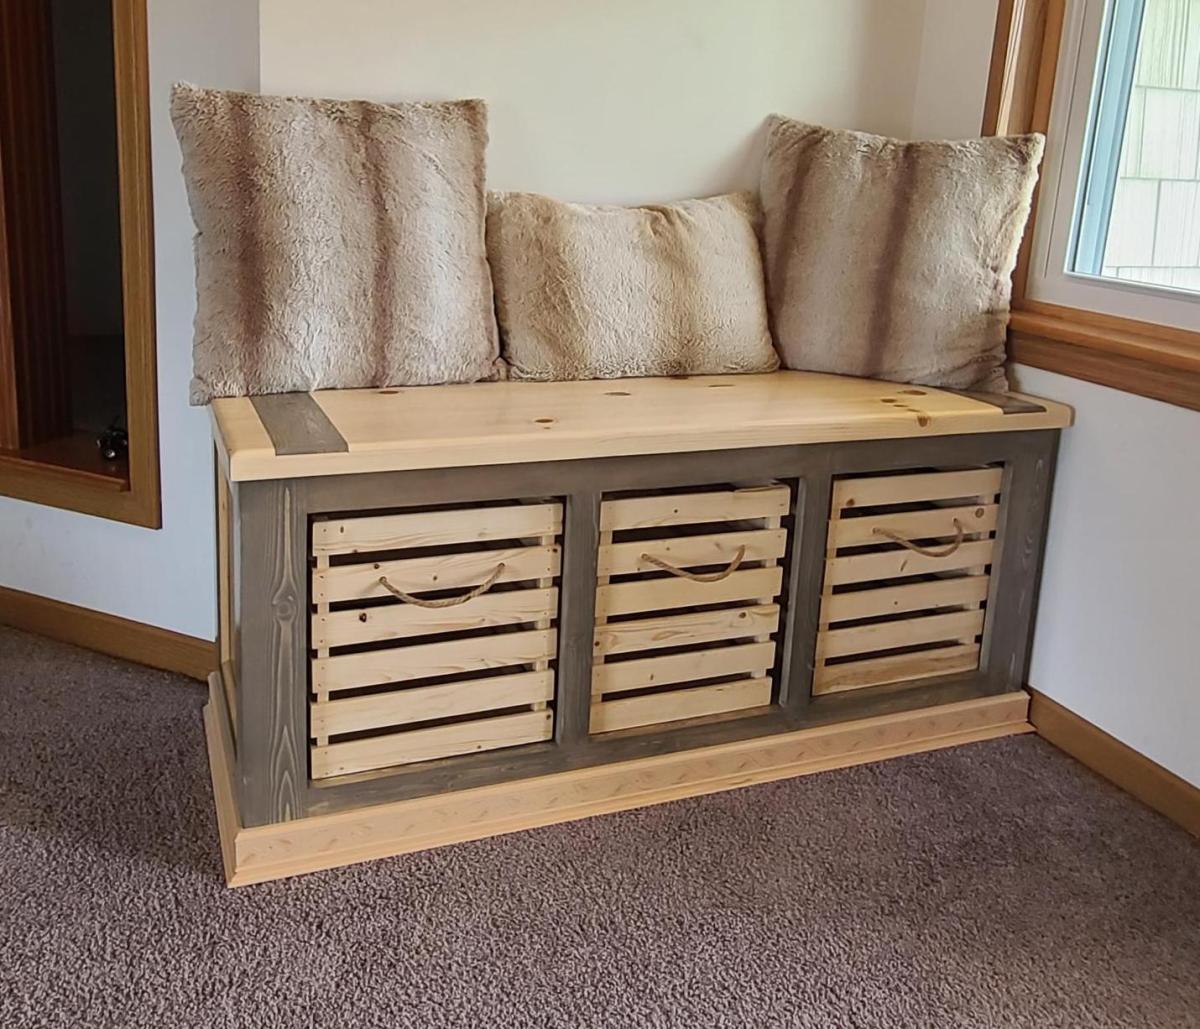
I came across Ana's website while searching for bench ideas and I liked her Flip Top Storage Bench a lot. I like the idea of wood lap joints which can add an antique effect, so I added two wooden squares in the corners of the top 1 x 4.
I still haven't put the lacquer finish on yet but will upload finished photos soon.
Tue, 02/21/2012 - 18:51
You did a great job with this! I love the finish.
I'm actually in the process of making it as my very first building project, and I have a question for you. My bench is kind of wobbly so far. I attached the shelves with one pocket hole in each corner (all that would fit) and I think that's the reason. I think I'm going to need to attach L brackets underneath the bottom shelf for support. How did you attach the shelf, and is your bench sturdy? Thanks! - Victoria
Tue, 04/24/2012 - 08:13
Victoria,
For the top shelf, I put two pocket screws in each board, in each corner (so 4 per corner).
For the bottom, I put one pocket screw underneath the 1x12 in the corners (total of 4 screws), then the 1x2 or 1x3 strip i nailed into the 1x12.
Everytime board touches board I use glue also. Mine is holding up pretty good and sturdy. I know this stuff is hard to explain so if you send a photo that might be easier to explain.
Trevor
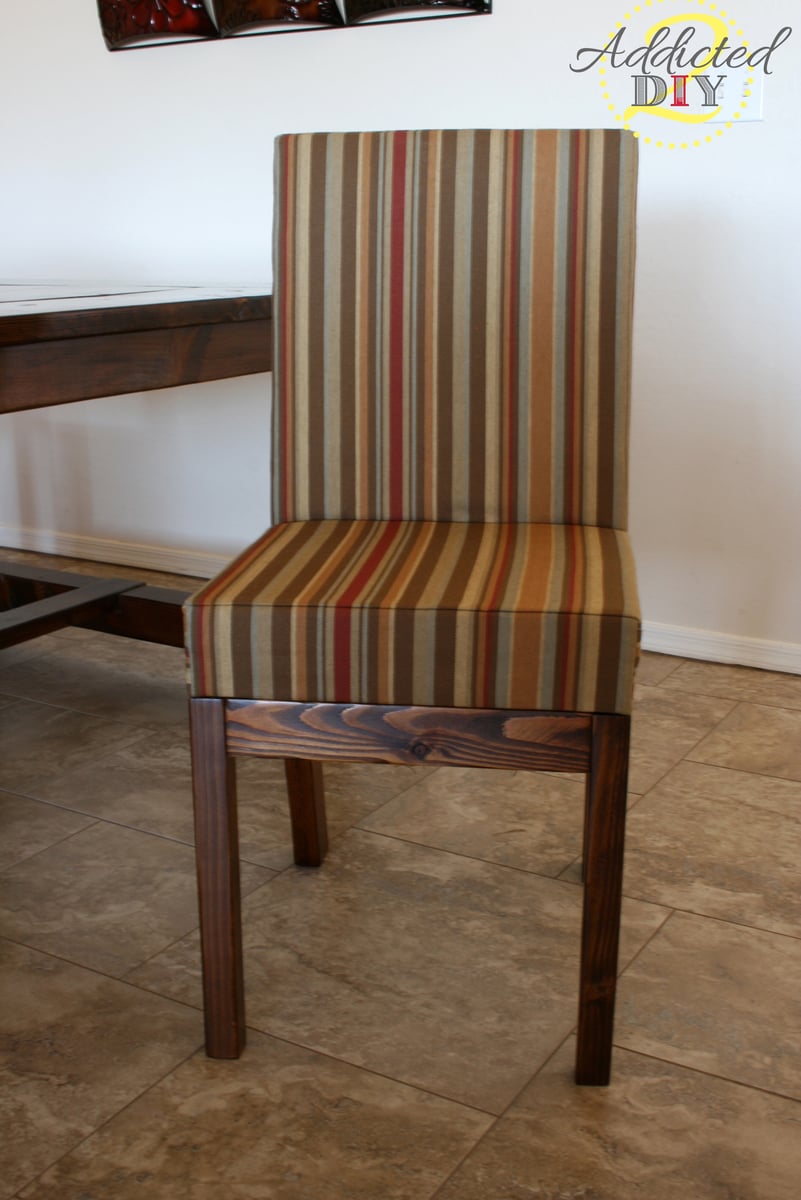
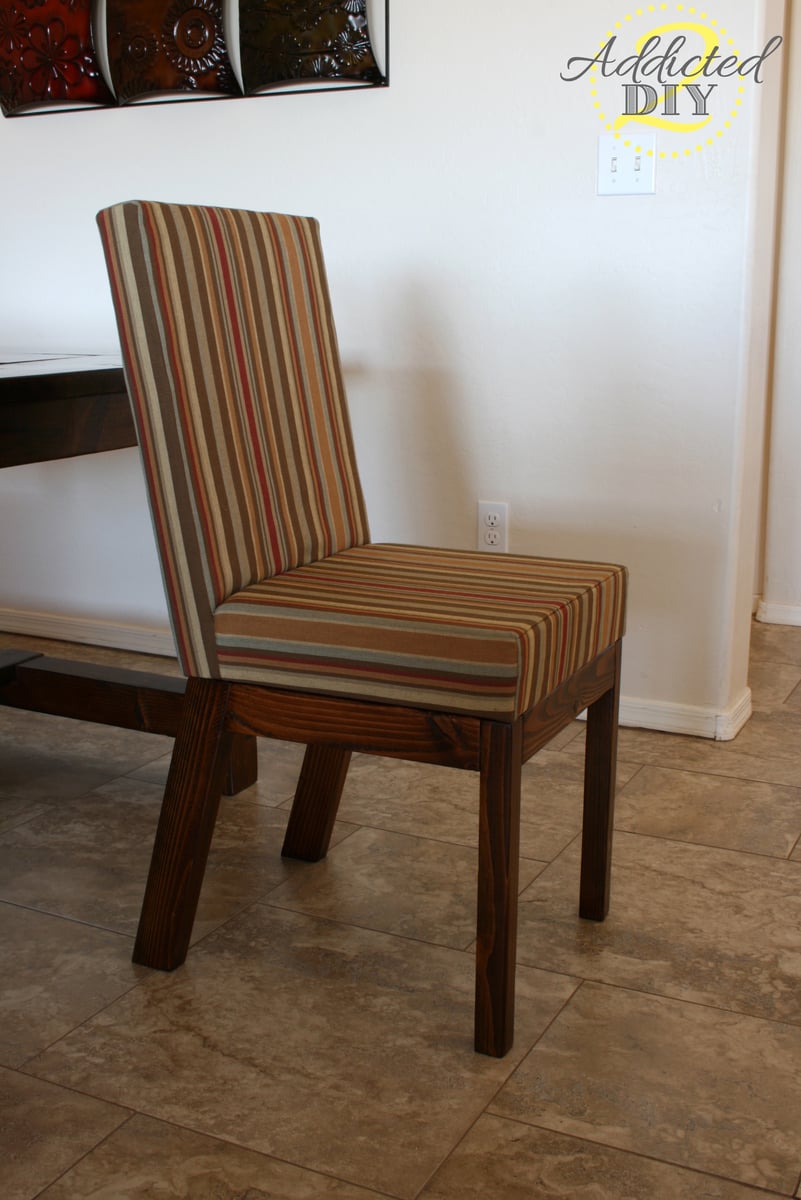
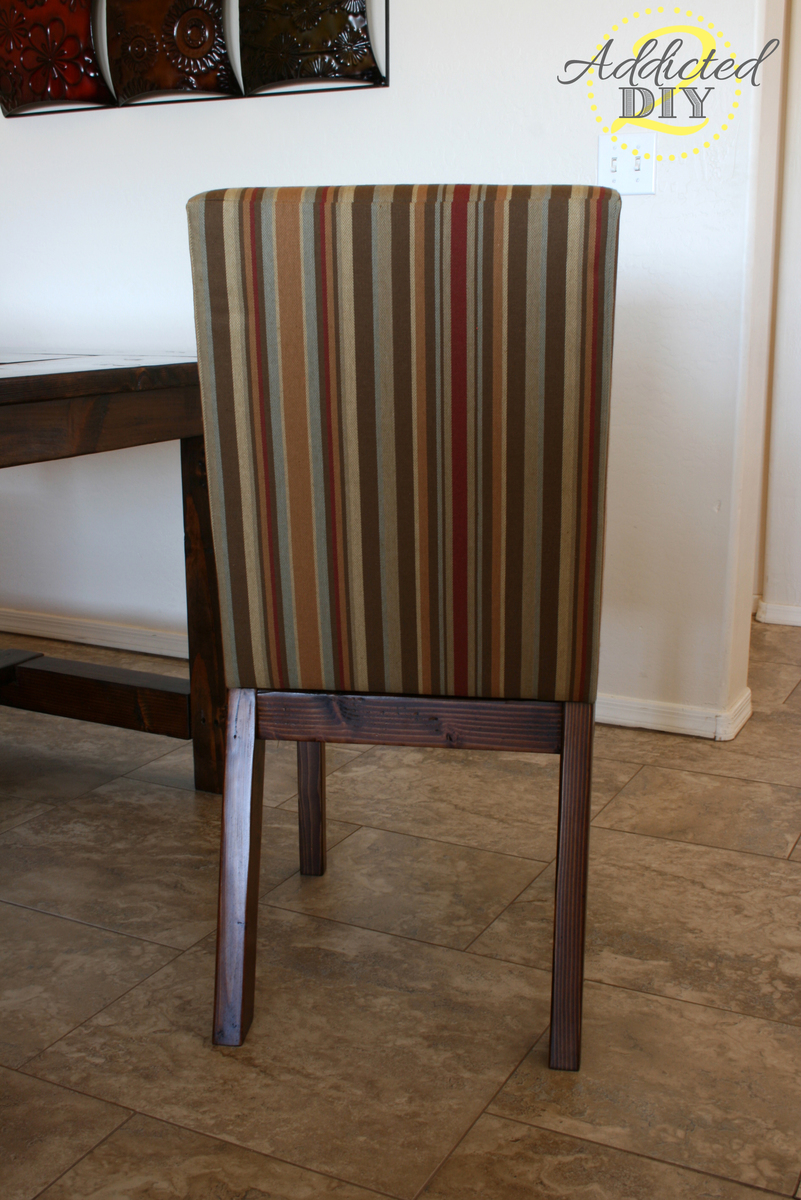
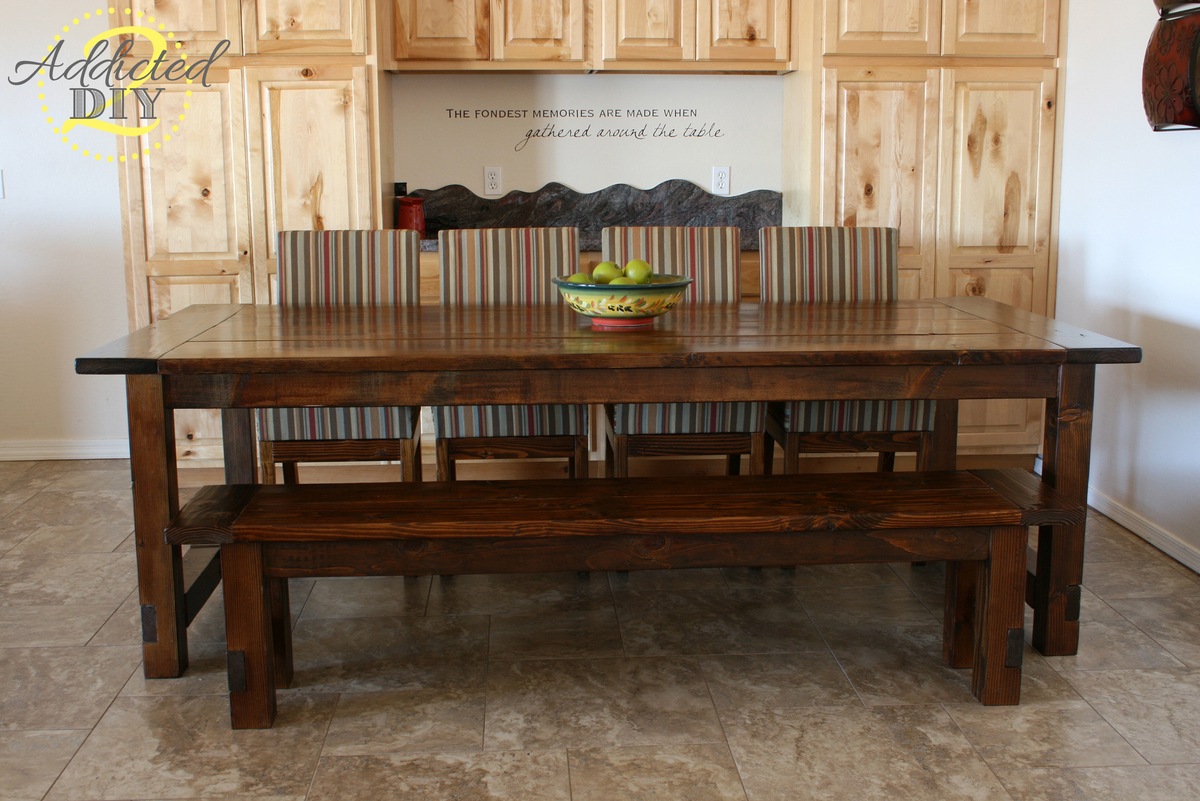
We built these Parson chairs to go with our farmhouse table. We wanted to save some money as well as have chairs that matched our table perfectly. We absolutely love them! I modified the plans a bit, so please check my blog post to see how I made these to fit our table.

Fri, 11/08/2013 - 17:00
Your chairs look awesome! Beautifully done and the upholstery looks very professional. The finish and colors look perfect with your table. Great build!

We have two girls of drawing age so we made this one a double desk, so each of them could have there own paper roll. We used eye hole fastness on the top and elbow brackets on the bottom to secure to the wall.


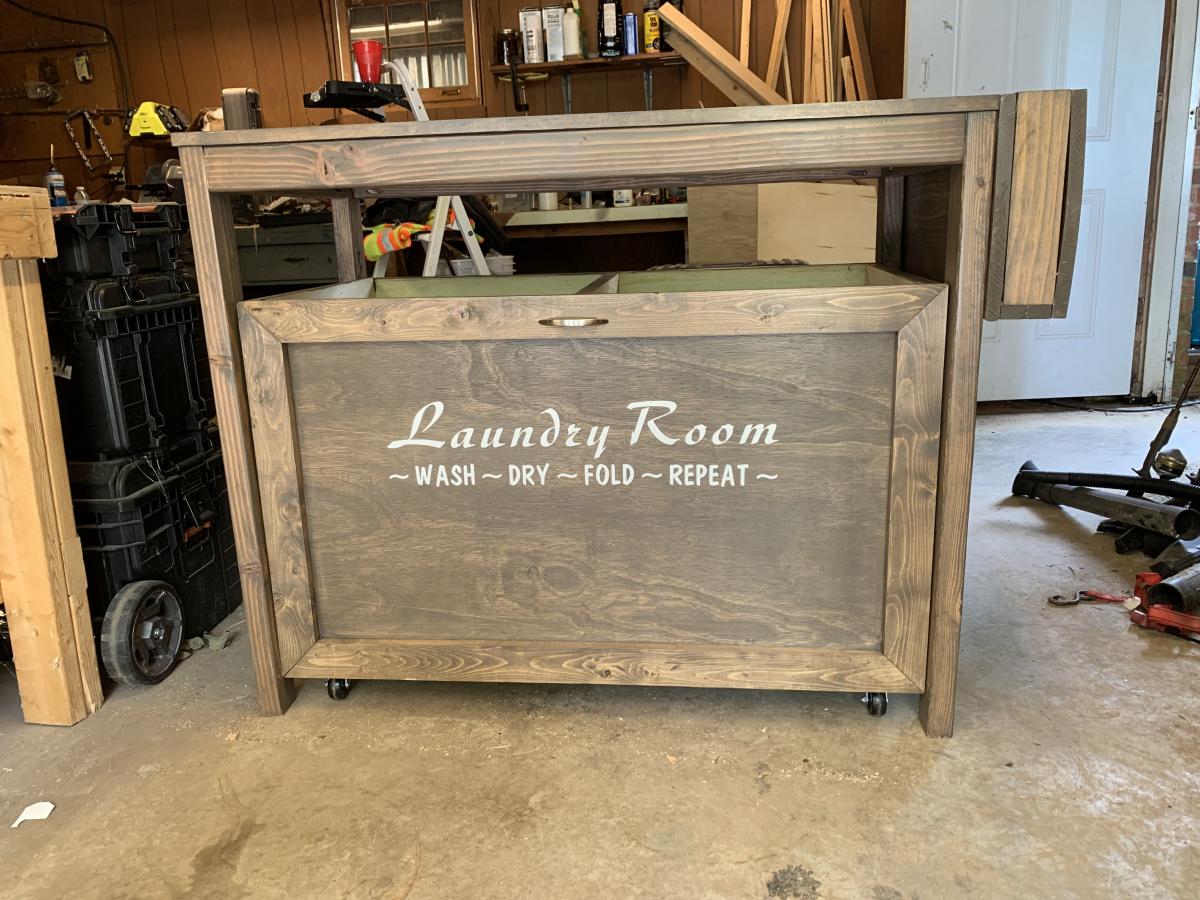
A laundry room remodel is on the to-do list but by using the laundry station pattern as a base I made a few adjustments to complete my station.
Stain is Varathane Briarsmoke. Absolutely love the color!!
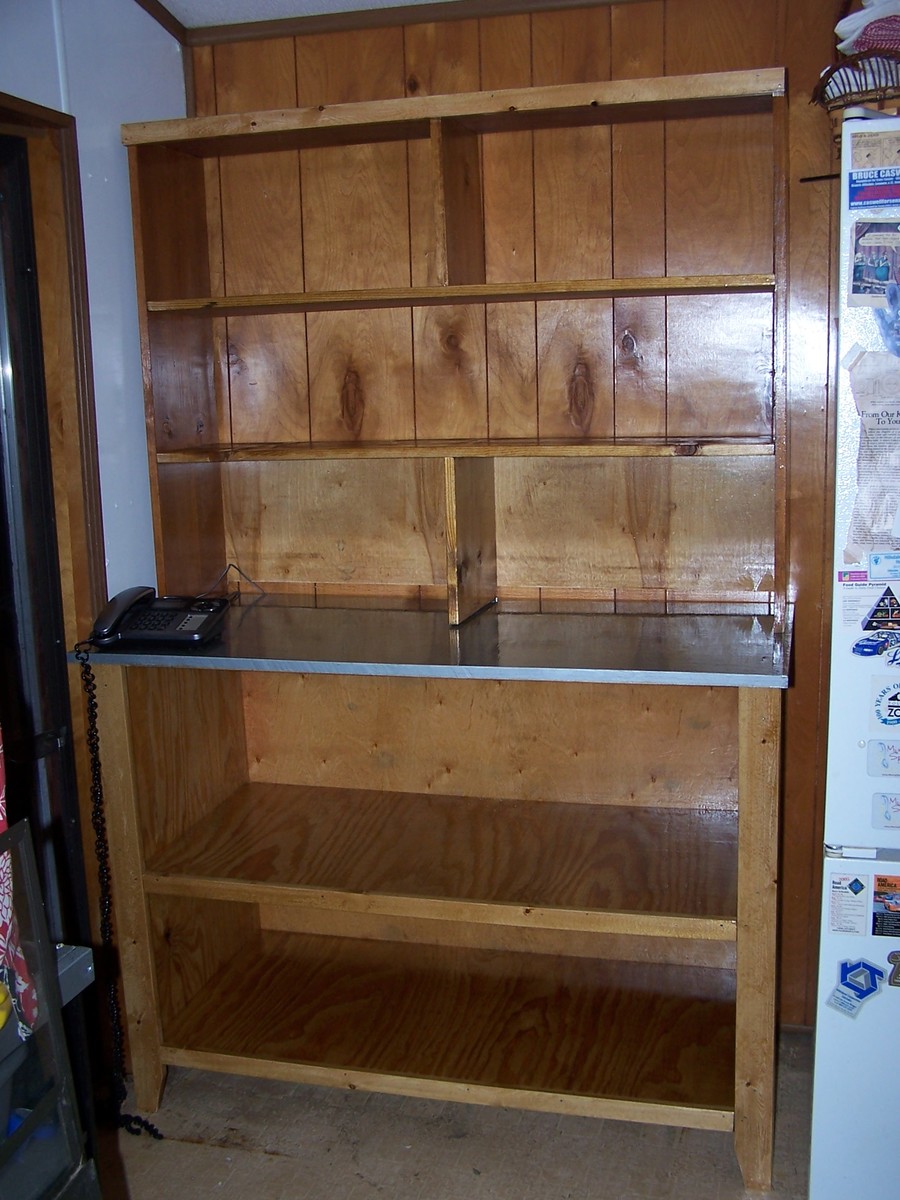
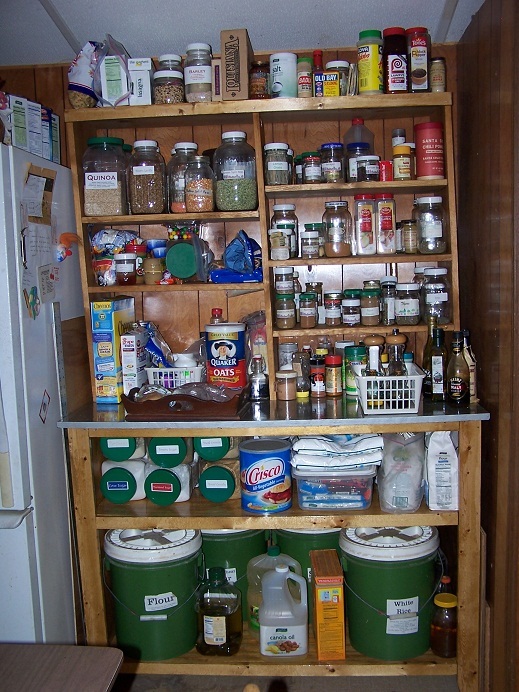
My kitchen cabinets were deep, dark and disorganized. Trying to find things was like cave exploring. When we began remodeling our kitchen I knew those cabinets had to go and be replaced with some open shelving where I could see things without a flashlight.
I love how these turned out! Now I can see what I need and don't have to spend 20 minutes with a flashlight digging through a cabinet.
I plan on making curtains to cover up the stuff on the bottom shelves so my kitchen doesn't look quite so busy.
Thanks Ana!

Tue, 12/20/2011 - 06:57
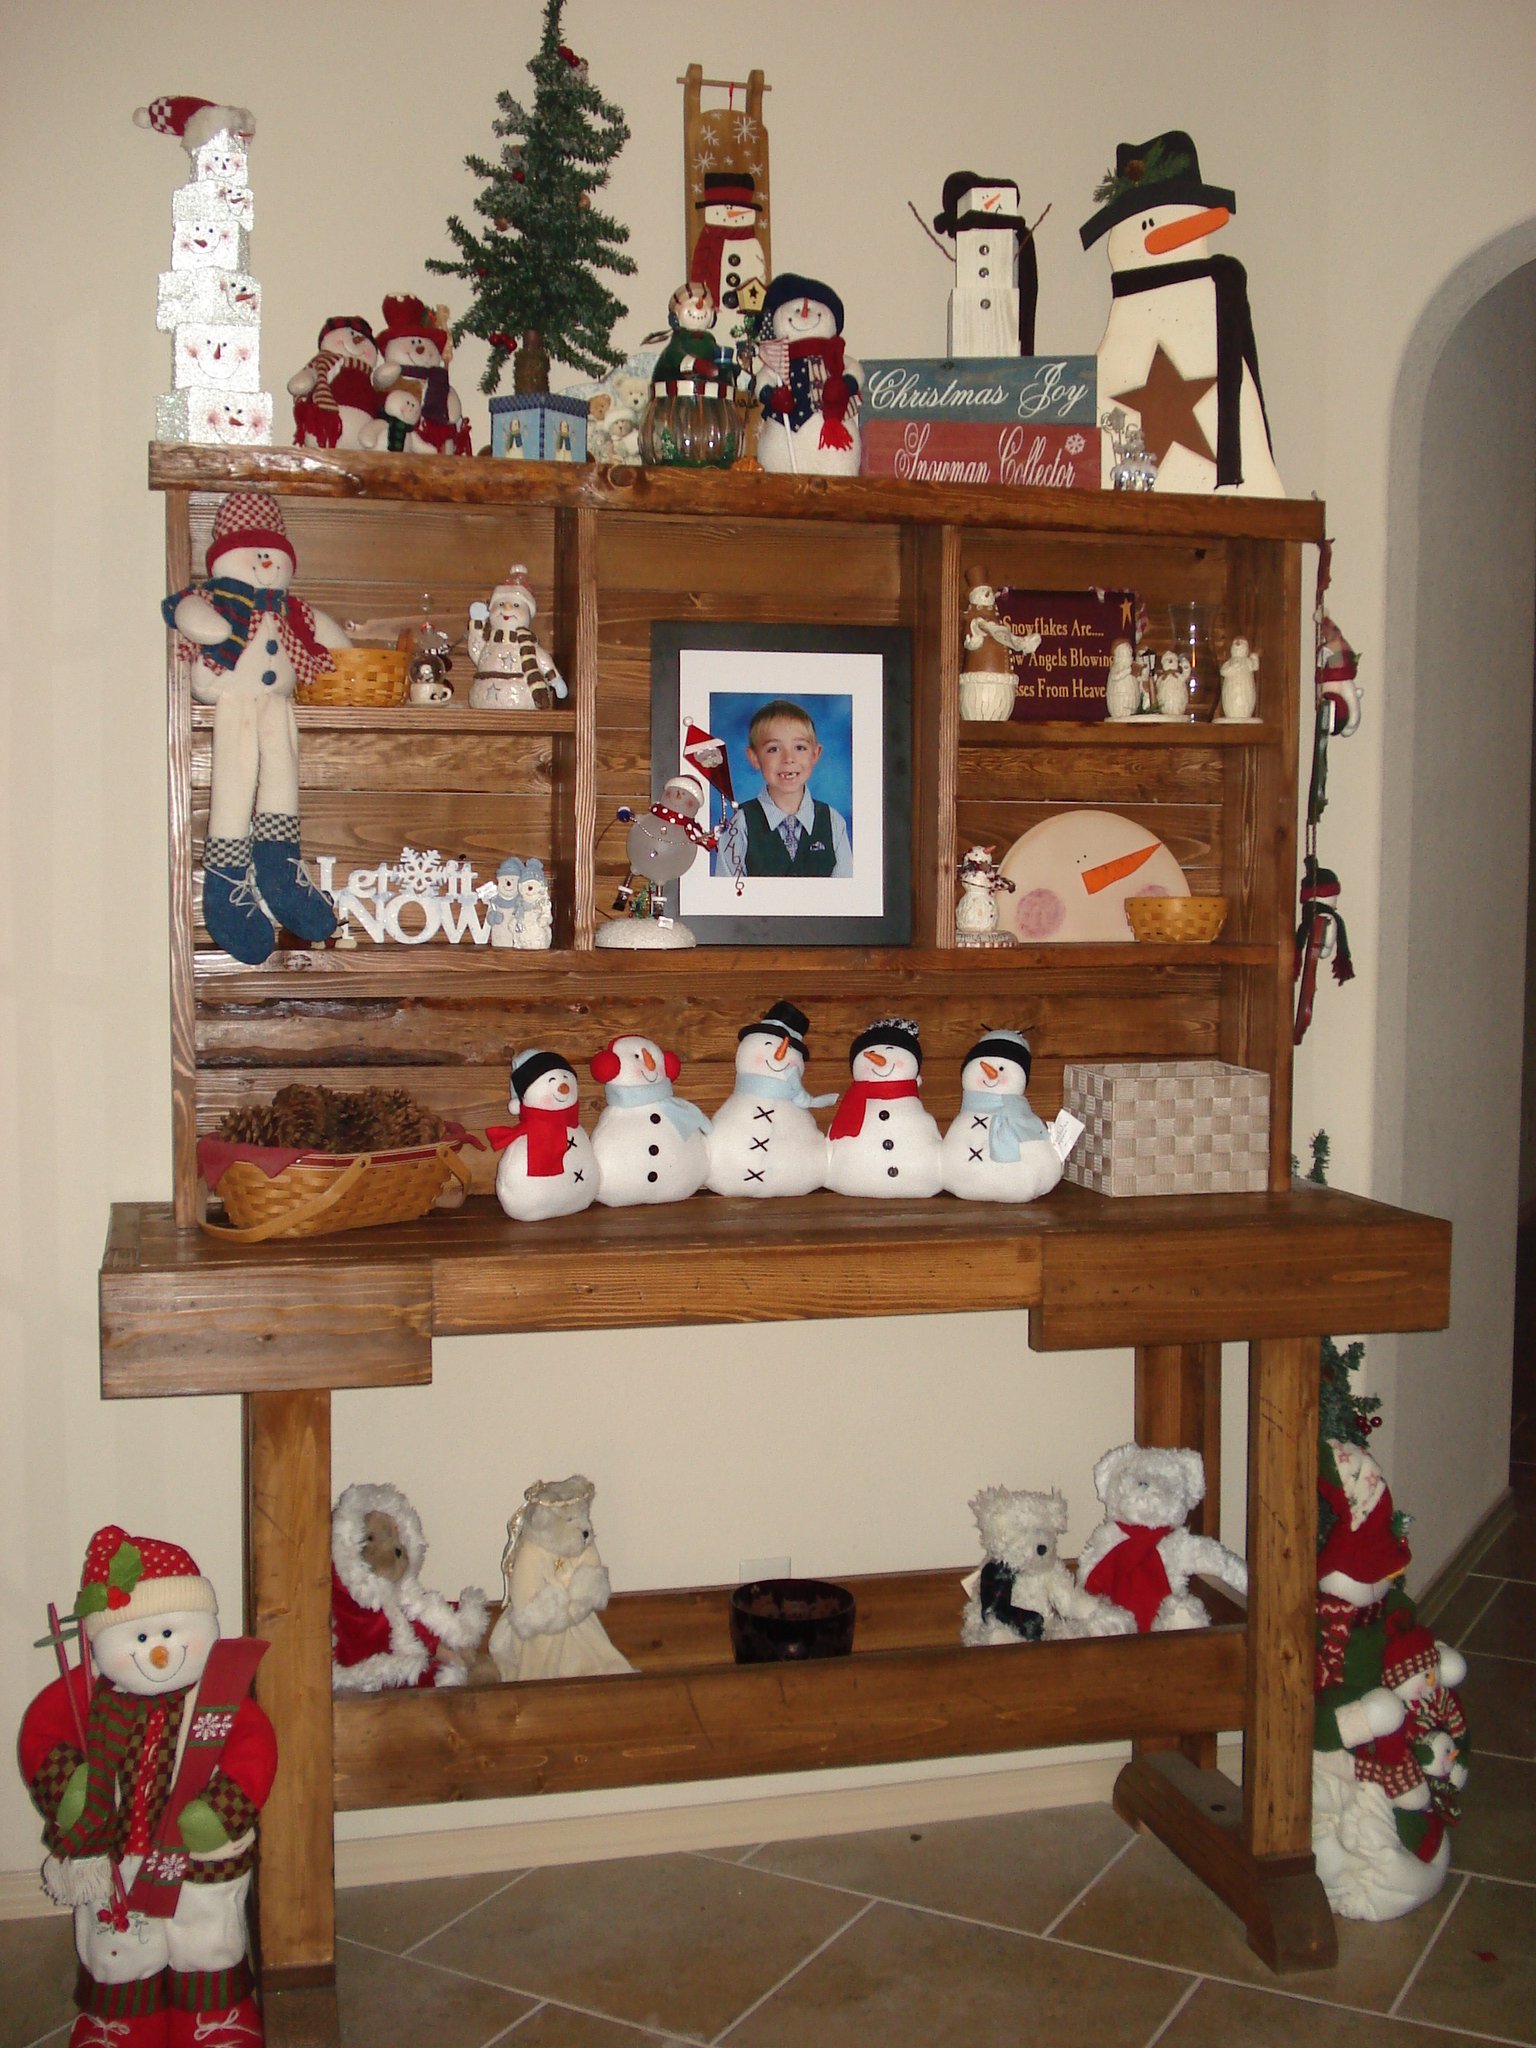
It looks like the one hutch is leaning, but it's square. I live in a mobile home and have found that NOTHING is square in my tin-can home! At least the furniture that I've built is square.
Tue, 12/20/2011 - 15:11
Pam I love your hutch and the new use of space. I would love to see more plans for Mobile/manufactured homes, small homes, and apartments. Love anything that is multi-use or space conservative like built-ins.
Wed, 12/21/2011 - 09:30
Thanks, Viola. Our place is only 900 sq ft so I'm always trying to find ways to make things more efficient around here. I have been amazed at how much these hutches hold. I think my next project is going to be an entertainment center for our living room that will also have space for all our chargers.
Mon, 07/09/2012 - 15:52
I love the hutch. My wife and I also live in a small house with very little cabinet space. I like your open space idea and your hutch looks great.
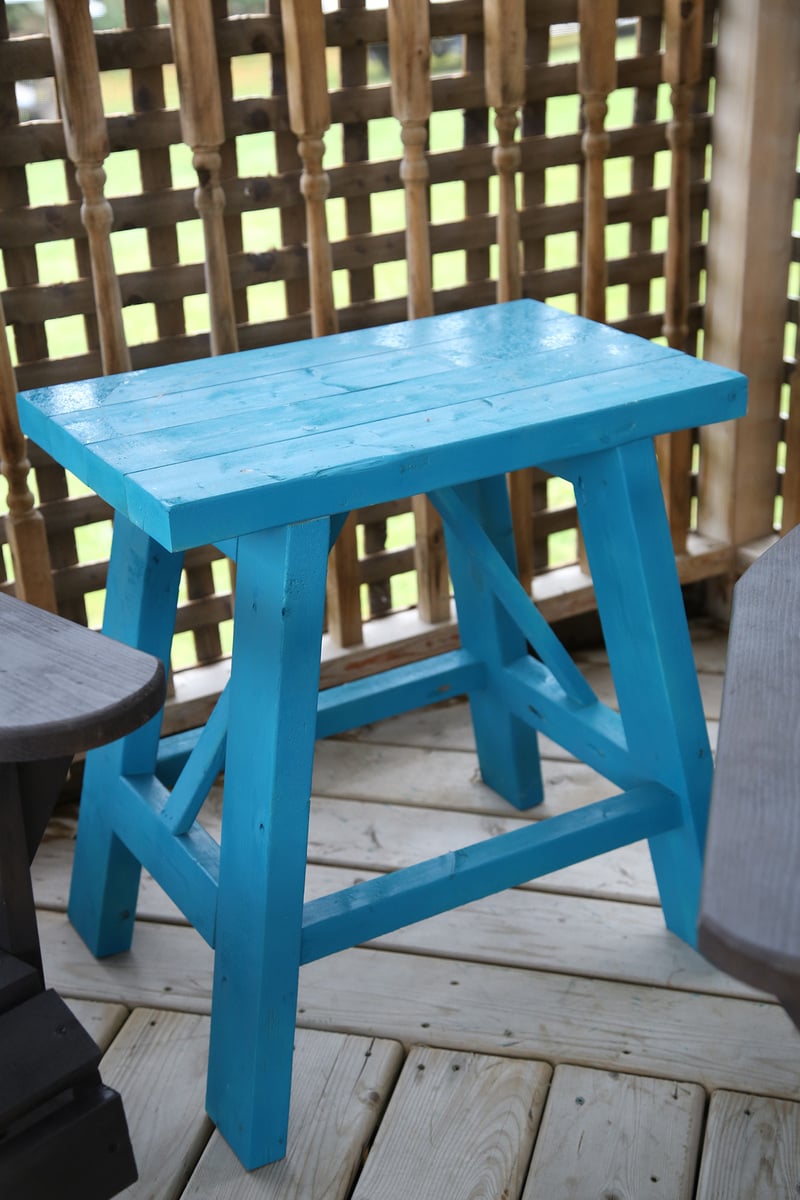
I adjusted the size of this table for the space between the chairs in our screened in porch. It's a cute little addition, it it was a cheap, fast project.


I needed something to control the shoe situation by the front door. After looking at several Ana White plans, I knew the Spa Bench would be perfect. I modified it just a little, and you can get more details in my blog post.
Comments
Ana White Admin
Fri, 03/17/2023 - 19:46
You did it!
Beautful job, thank you so much for sharing!