3 Tier Planter
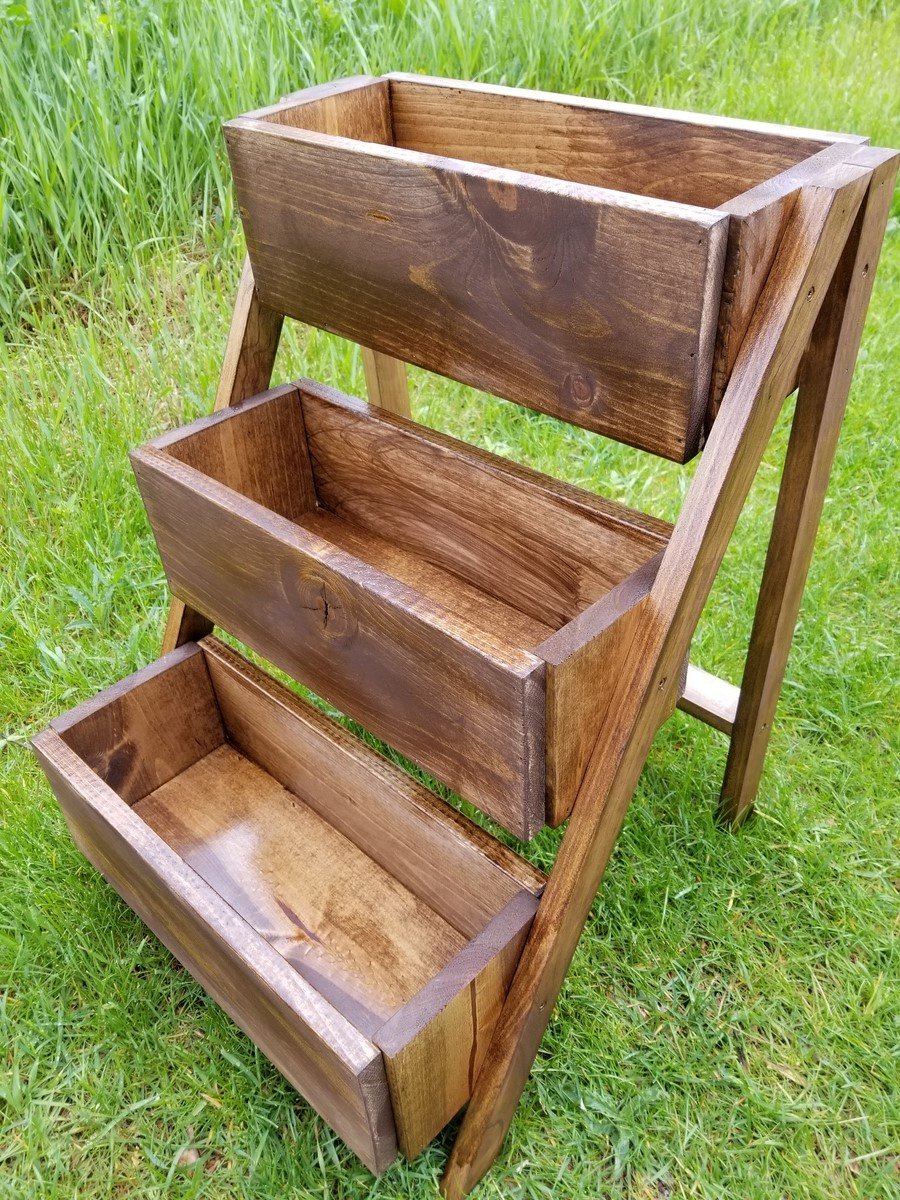
Love this planter. Used quality pine. Perfect size for the balcony! I use it for fresh herbs... i have have other people wanting one too!
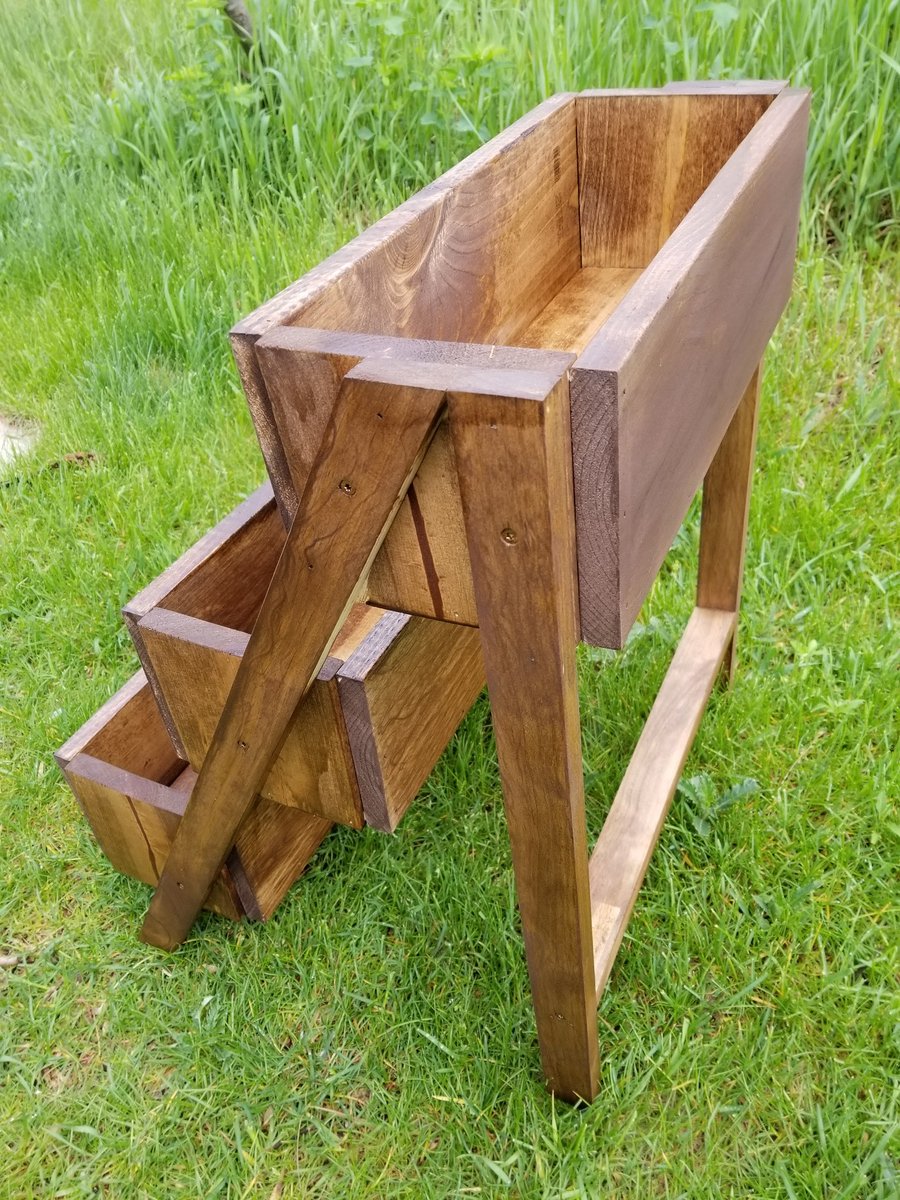

Love this planter. Used quality pine. Perfect size for the balcony! I use it for fresh herbs... i have have other people wanting one too!

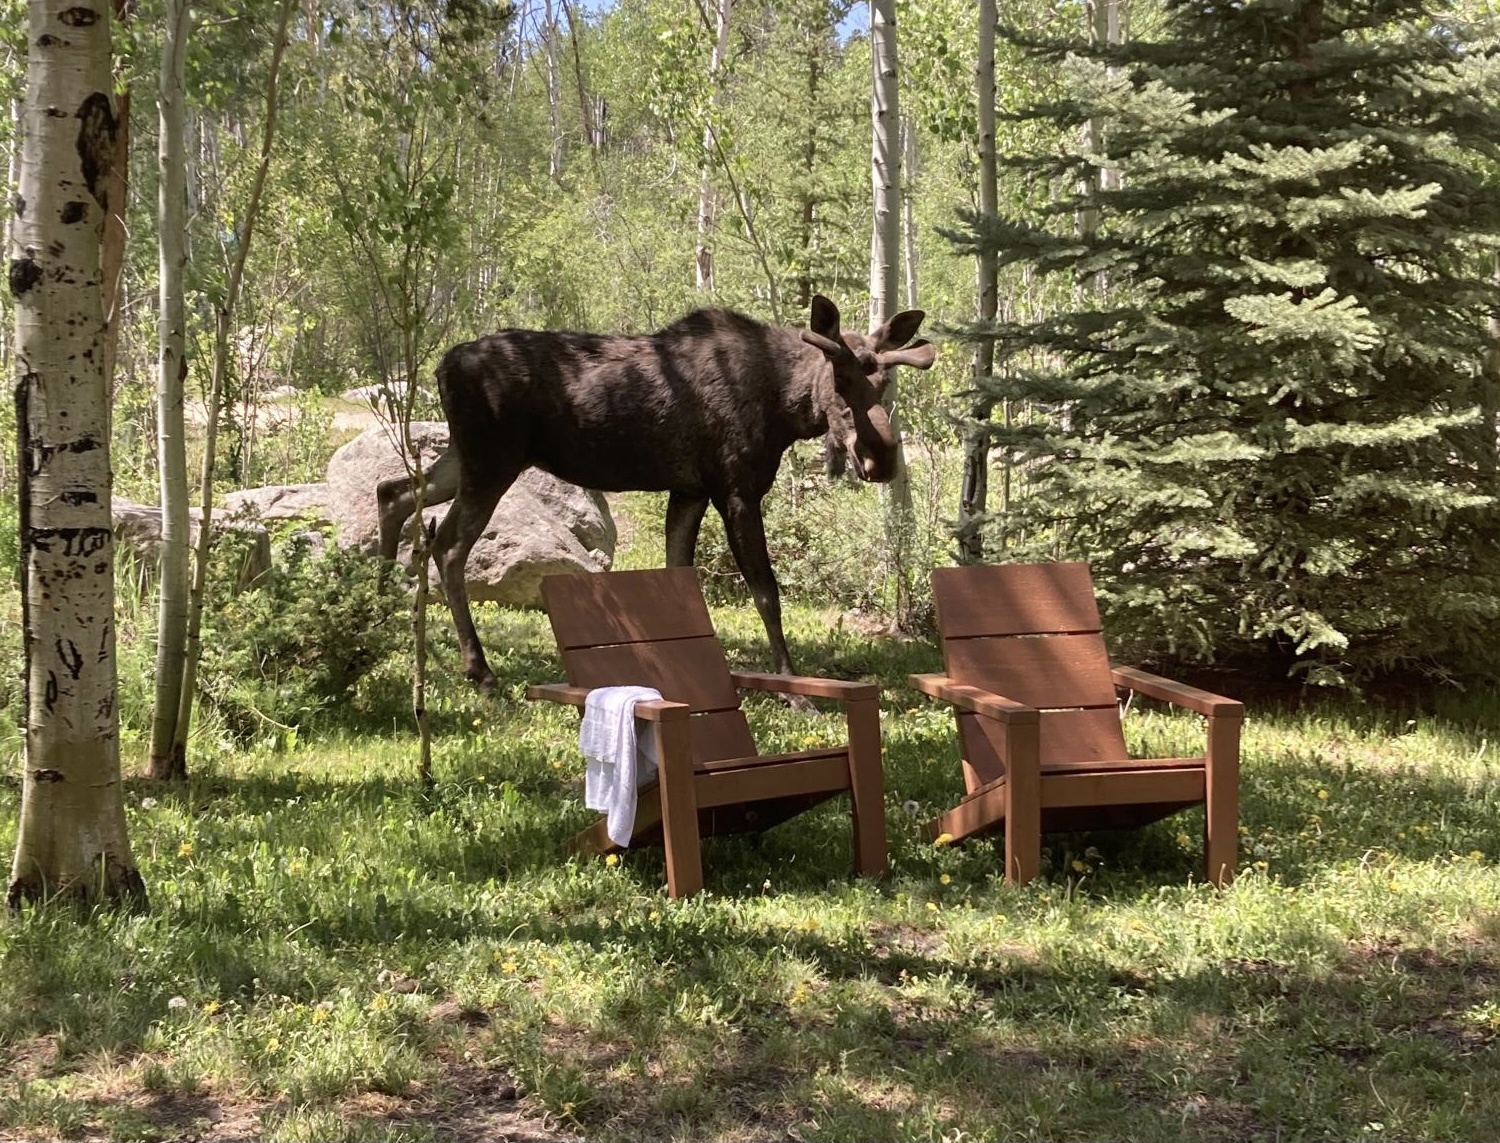
We have a wonderful rental cabin in Grand Lake, CO. I wanted to add some special seating outside. These chairs are perfect, comfortable, and even the moose came by to see them. They agree too that Ana’s design is wonderful. My daughter and I worked on these together, from beginning to end. We cut, sanded, stained, and finally put it all together. These are so comfortable, even my husband agrees!! Thank you Ana for the plans and video. I will be adding the table to go with them too. Jennifer
Wed, 07/07/2021 - 10:18
You and your daughter did a fabulous job, thank you for sharing! #mooseapproved :)
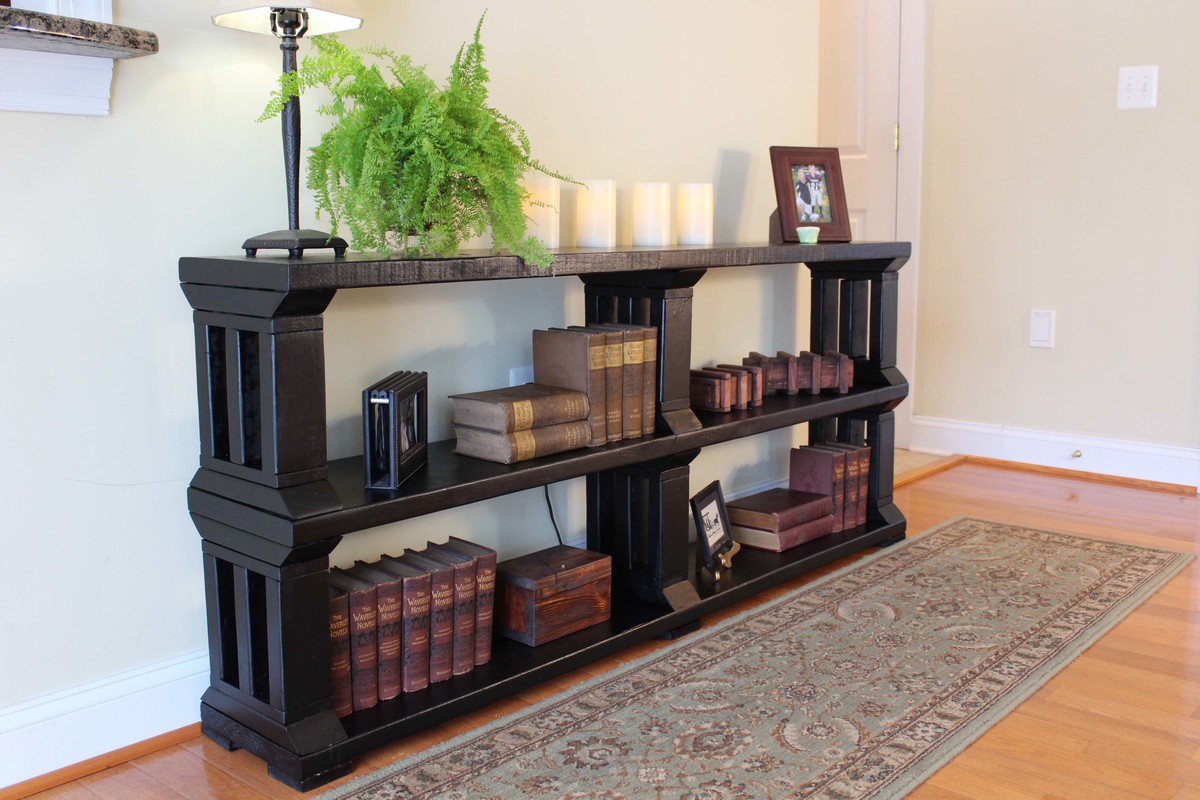
This is a matching book shelf to the 55-fancy-x-desk.
Build Instructions:
http://www.instructables.com/id/Rustic-Book-Shelf-or-TV-stand/
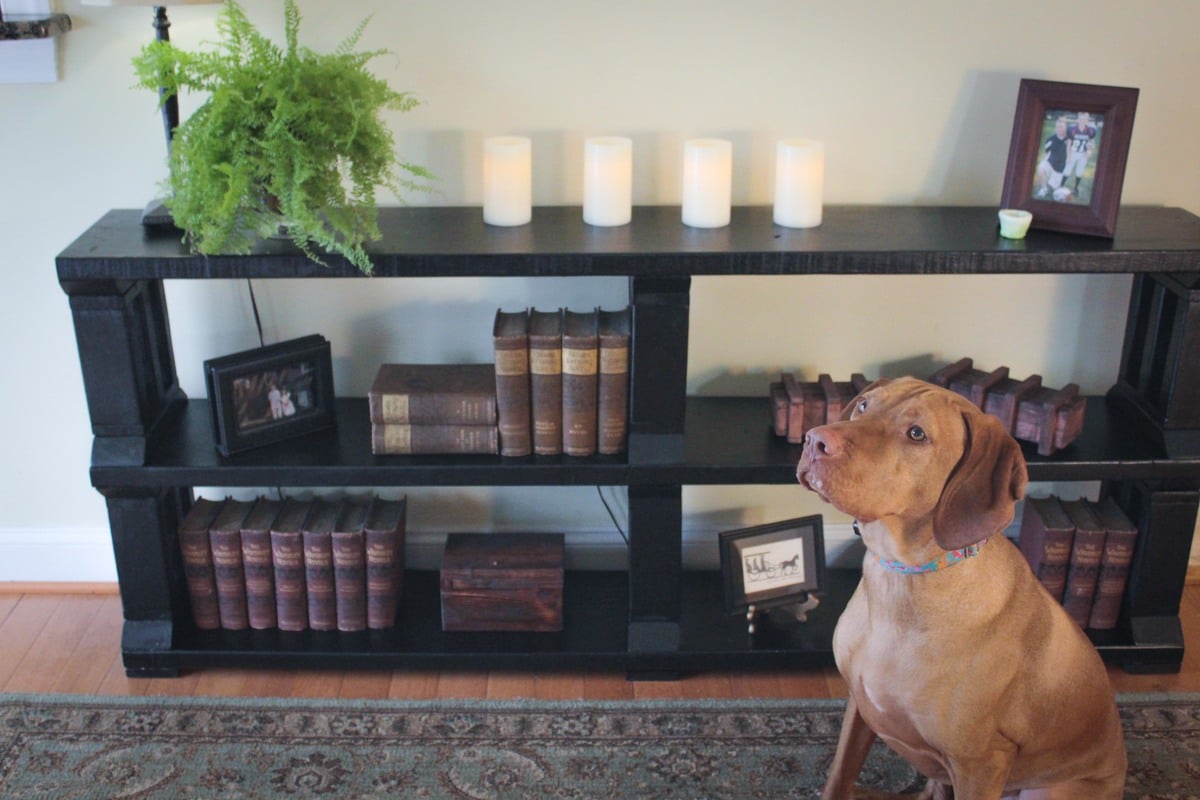
Sat, 03/07/2015 - 13:58
I included a picture of the fancy desk above. My son and I are working on a matching end table next.
In reply to Beautiful! by Ana White
Wed, 03/11/2015 - 14:02
Thank you. We tried to match the look of the fancy desk which my teenage son made about a year ago. He is currently working on a matching night stand.
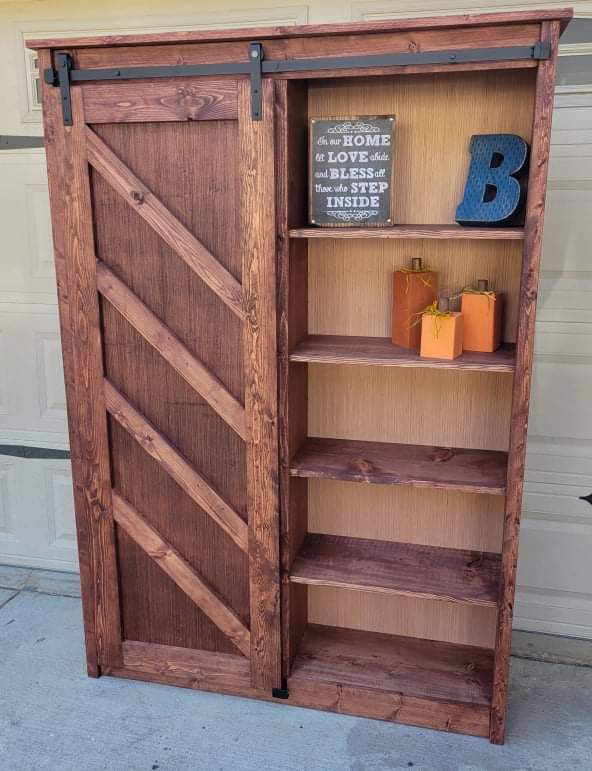
My wife and I built a TV stand for ourselves with double barn doors a few months ago..
in the process,, we accidentally ordered a 4 foot single barndoor hardware kit.. we saved it hoping to use it for something in the future..
We saw this build, and just had to go for it. We made a couple modifications. Instead of buying all those 1x12s (lumber prices are through the roof here) we got a sheet of birch plywood for $60. We had it ripped down to 11.25" and made the sides, middle wall, and top out of those. (All of those pieces are faced out, so you can't see the plywood lines). This saved us about $100. If you do this, you will still need 2-1x12x10s for your shelves. We used this savings and bought an extra sheet of 1/4 plywood to put backs on both sides of the cabinet. (Suggestions on how to do that are in the comments of the original build plans posted by Ana.)
Lastly we had leftover 1x4s from a previous project to make everything except the diagonal slats on the doors. So, we used leftover 1x3s for those.
Varathane honey stain used on finish
All in all, we absolutely love this piece. And now, our neighbors are already eyeballing it and want to know if we can make them one.
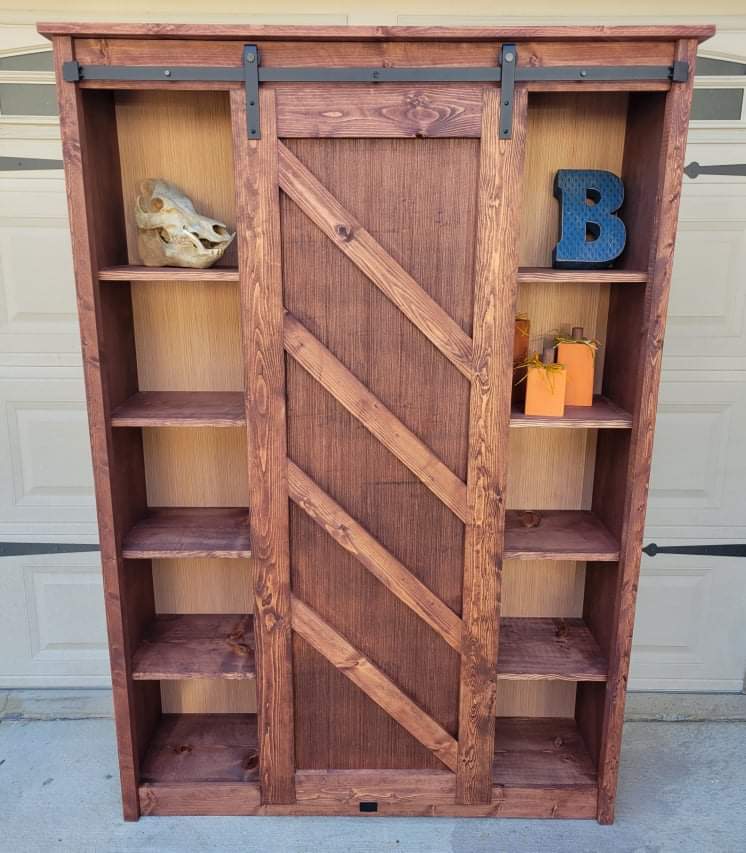
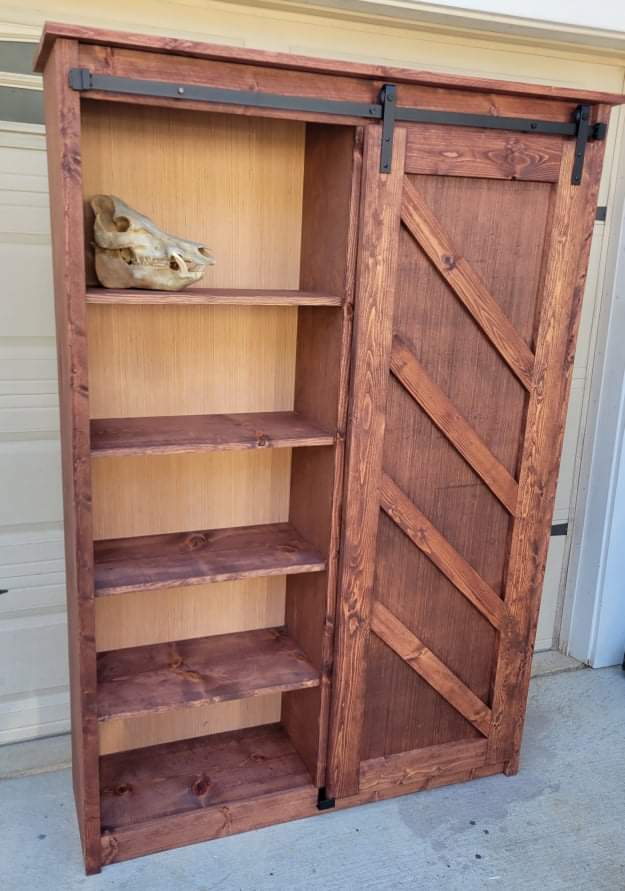
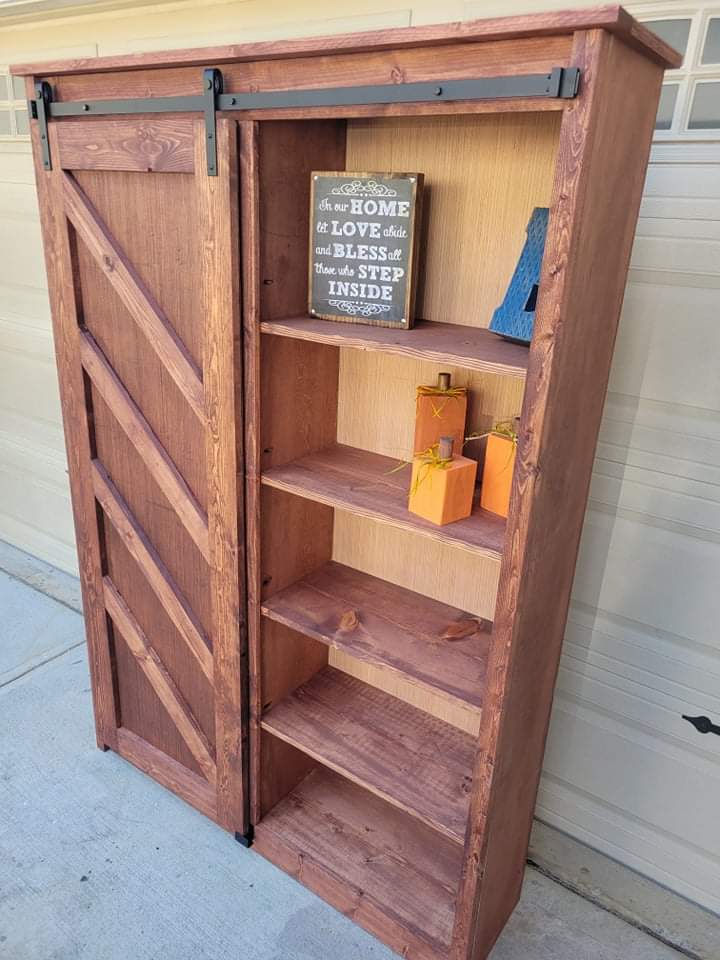
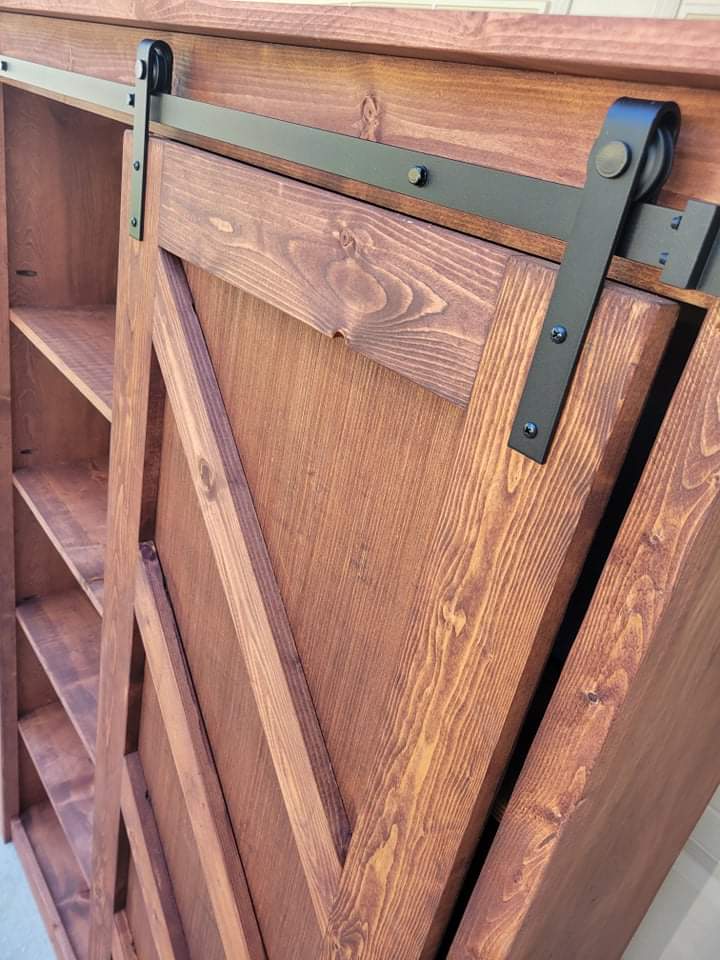
Sun, 09/05/2021 - 11:05
Gorgeous piece, love the finish and you process to save some money!
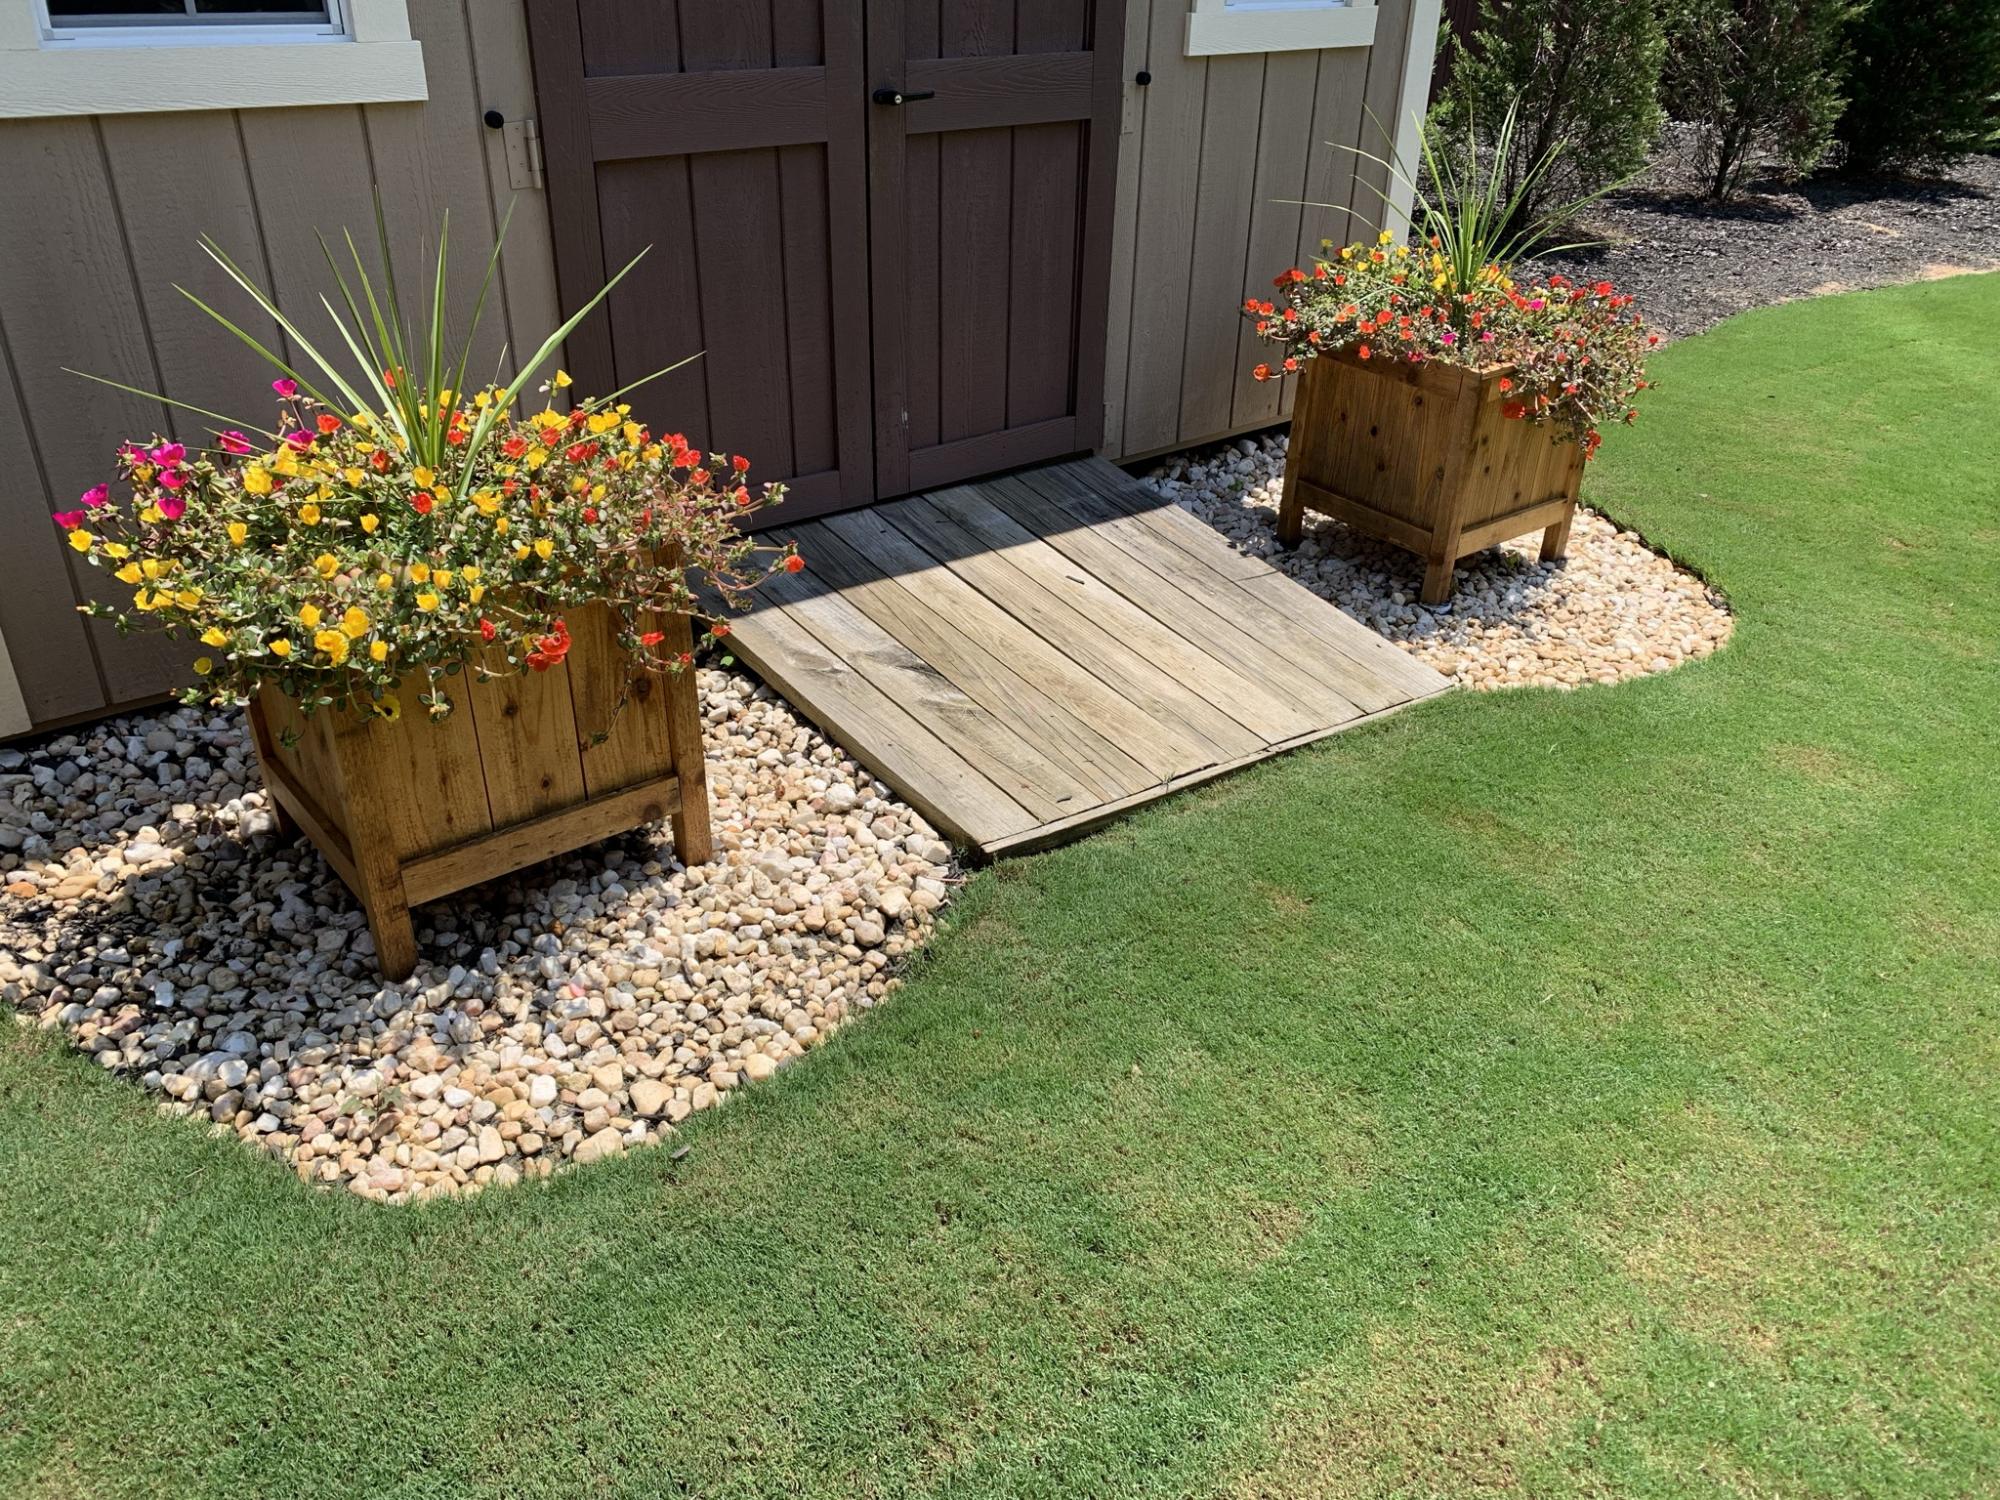
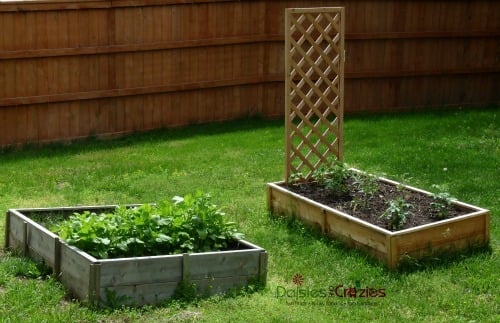
Cedar planter boxes made largely from fence pickets.
Tue, 10/05/2021 - 11:09
Wonderful way to dress up the yard, those look amazing, thank you for sharing!
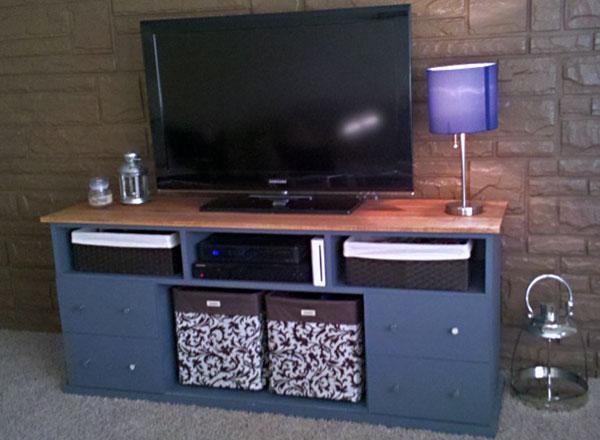
We started this project when Young House Love agreed that I should paint the old, dated brick wall. Then we bought new couches. Then we needed a TV stand, and a coffee table to match.
This started out a project for me. I was in love with those 16 little drawers. My husband .. not so much. I saw a way to secure all my stuff from my soon to be crawling little one. Hubs saw 16 little blocks. So, after it was all done, we tore off the drawer faces, and started over.
I decided to not to do the doors. I was too worried about baby smashing her fingers, or me tripping over them and breaking the hinges, so we went with bins. They have a metal frame for durability, but are wrapped in a durable canvas to make them safe for baby. They’re a perfect fit for the center, and the feet side effortlessly across the paint. (There’s no polyurethane on mine yet!)
Extra Info:
The smaller baskets are from Target. ($12 for both)
The large baskets are from the Container Store. ($20 each)
Lumber was from Lowes of Streetboro, OH. (About $80)
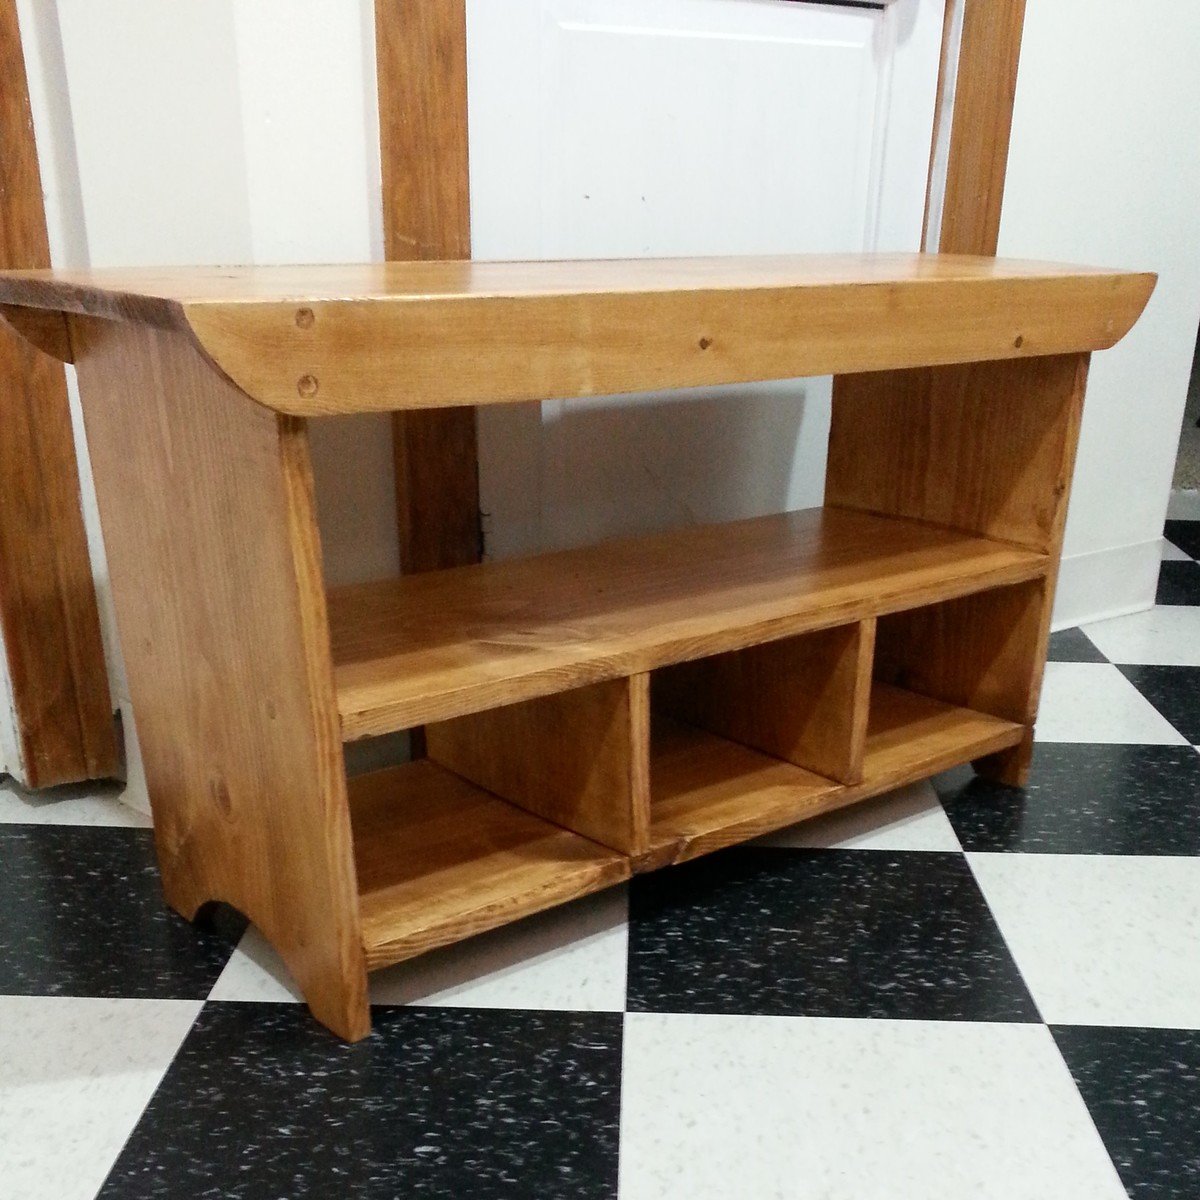
This was my first building project from scratch! I have modified some thrift store finds, but this was the first from lumber. I learned to countersink! I was amazed at how easy this was, and I'm so excited that this bench will sit by our front door for my three boys to perch on when they put on or take off their shoes. I went with 3 cubbies to hold three pairs of shoes. It also works great for a couple of kids to sit on at the table for when we have guests and need some spare seating.
I modified the dimensions slightly and opted to not mount the fold down doors as I figured they would always be open anyway. I built this mostly from solid red oak save for the bottom panel and the middle panel, which are plywood. I crafted the top out of 5 pieces tongue and grooved with mitred corners on the front. I also tongue and grooved the doors with glass insets. I finished it in Minwax red cedar under poly.
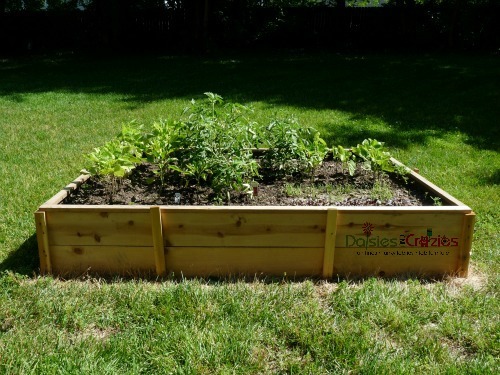
This was an easy project that should help provide us with fresh, pesticide-free produce for many years to come. Thanks, Ana! xo
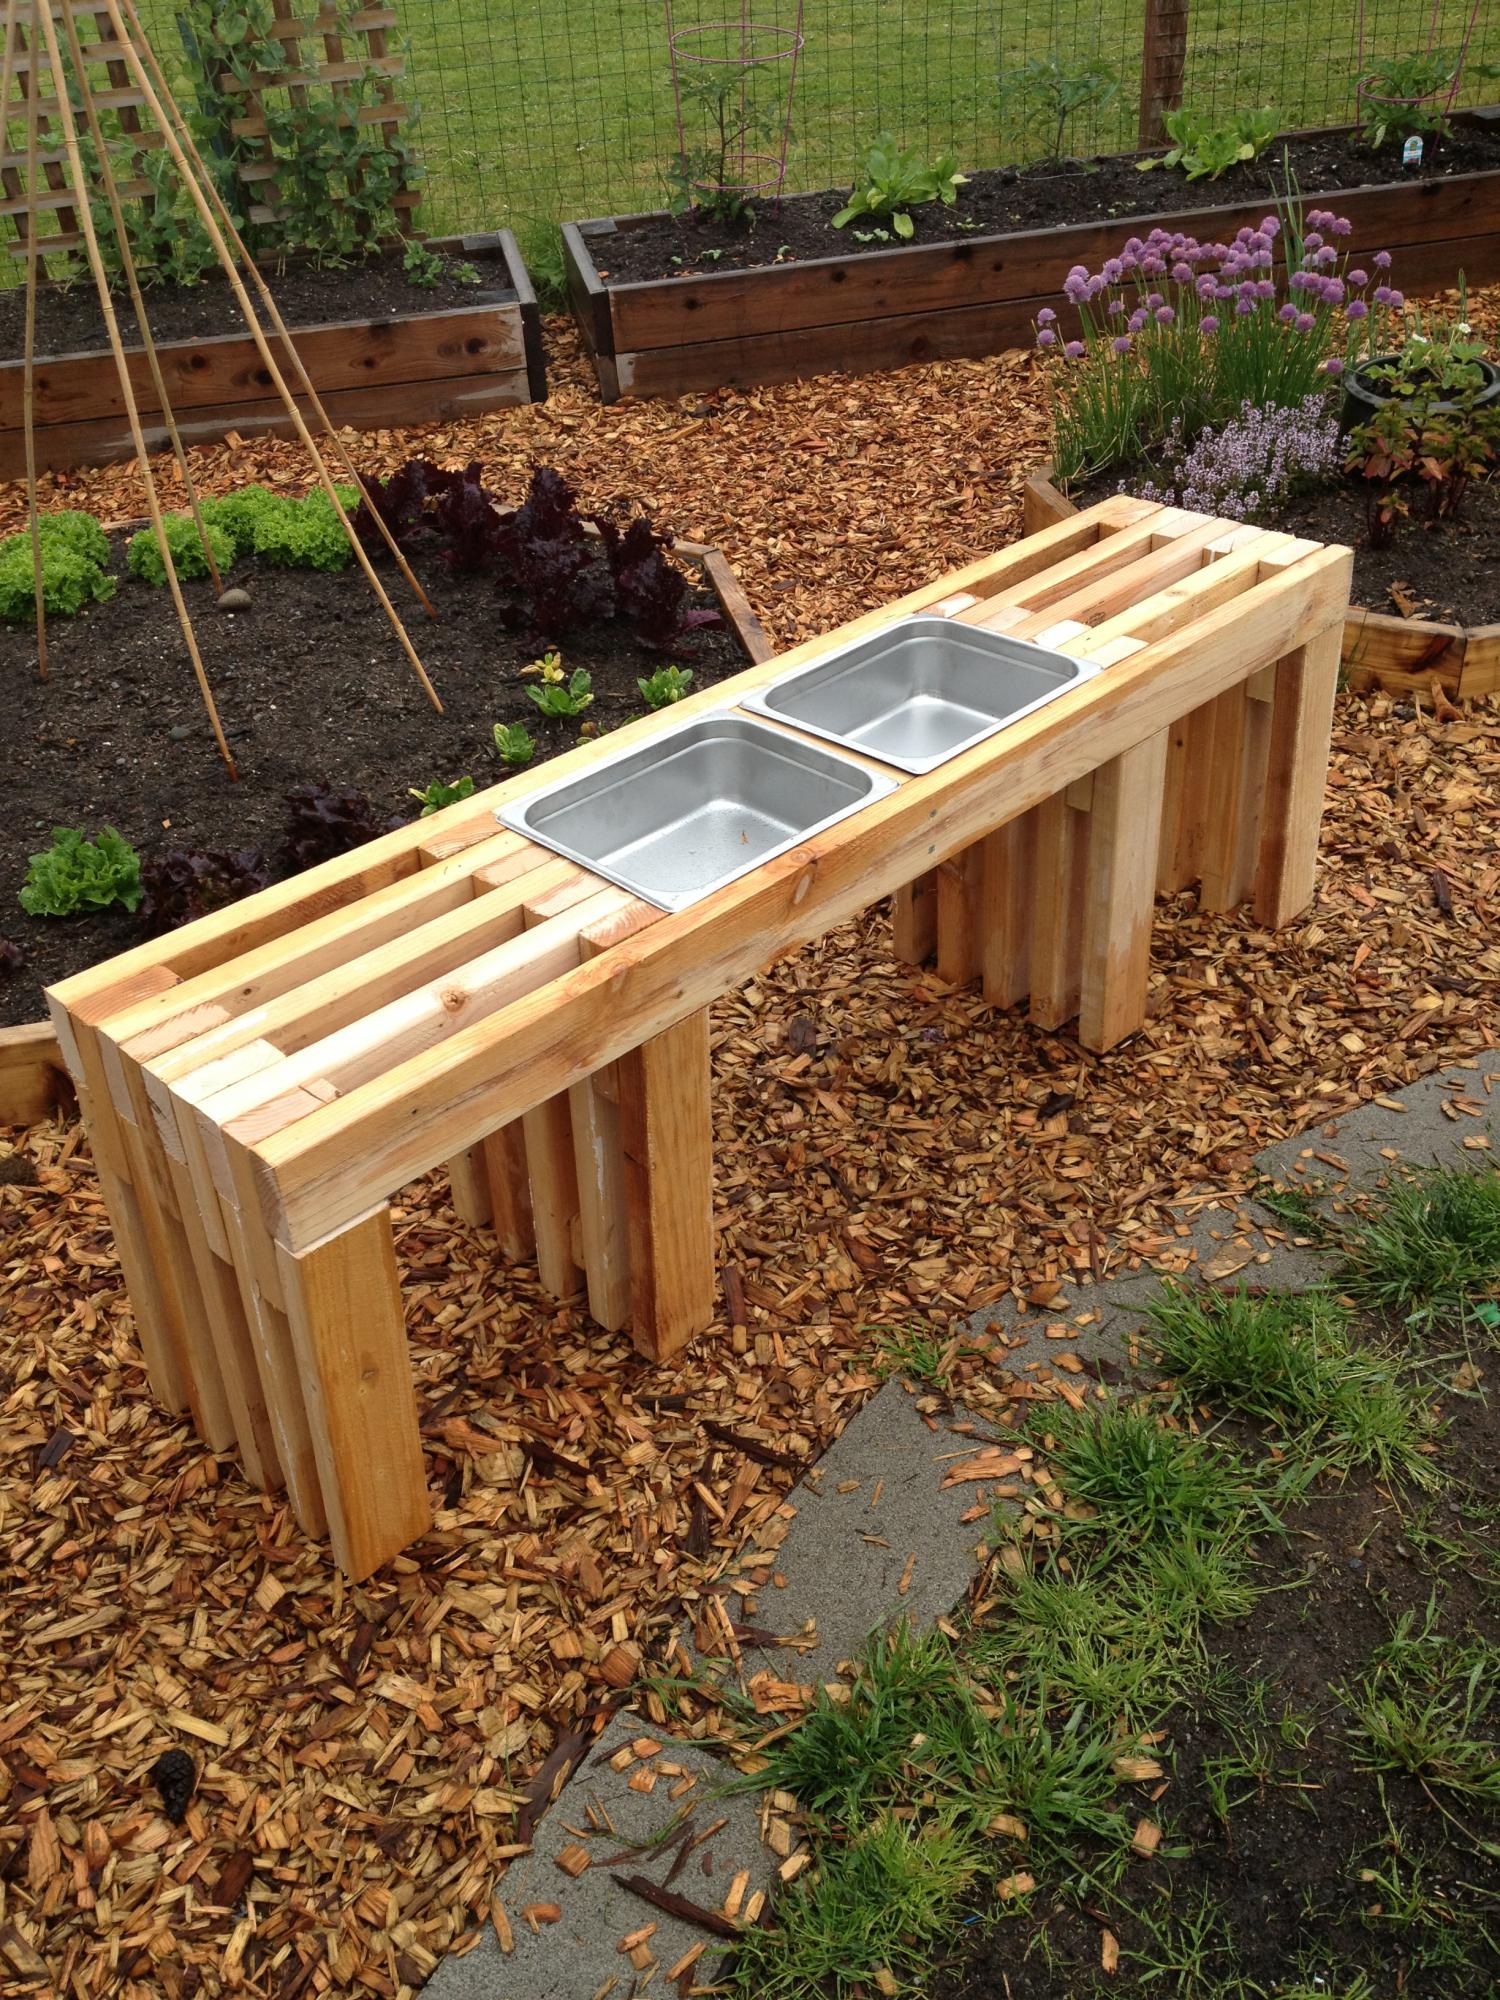
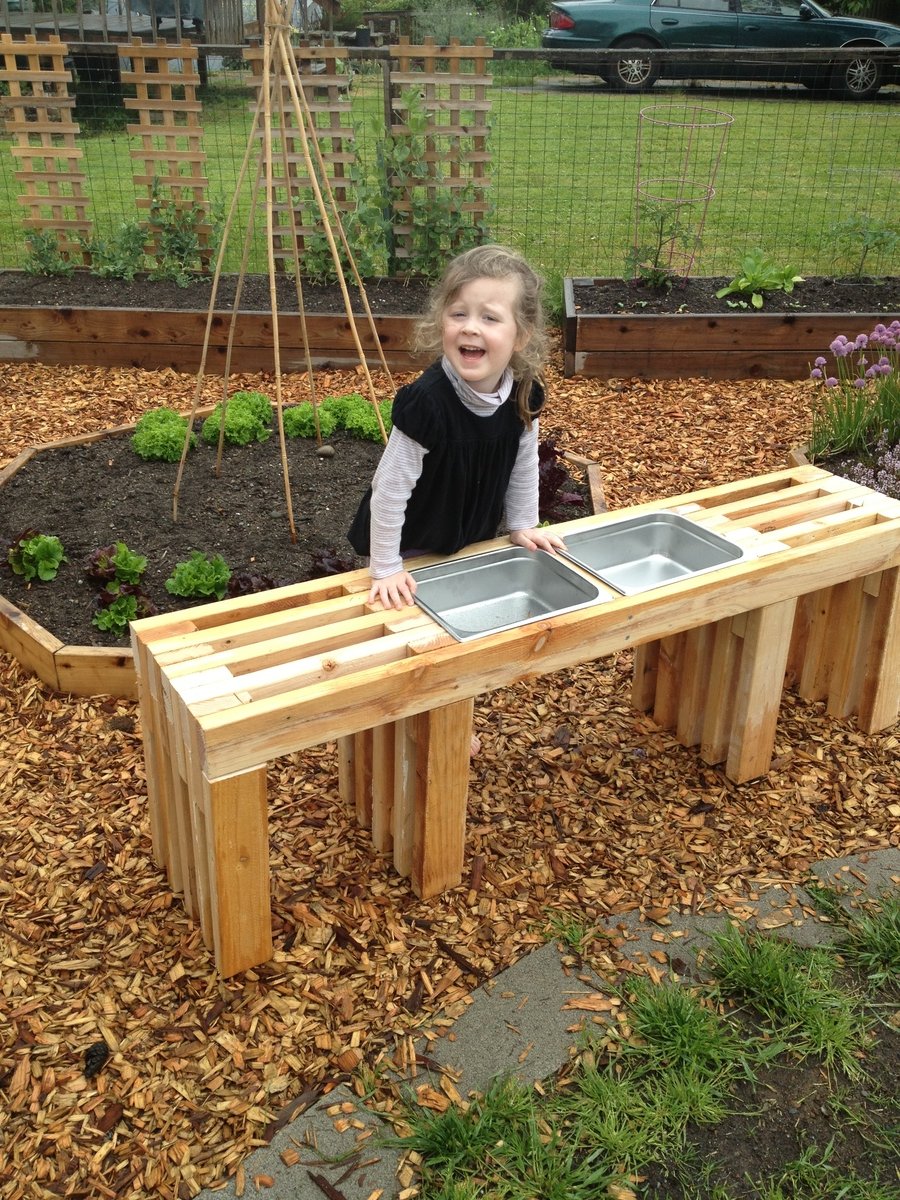
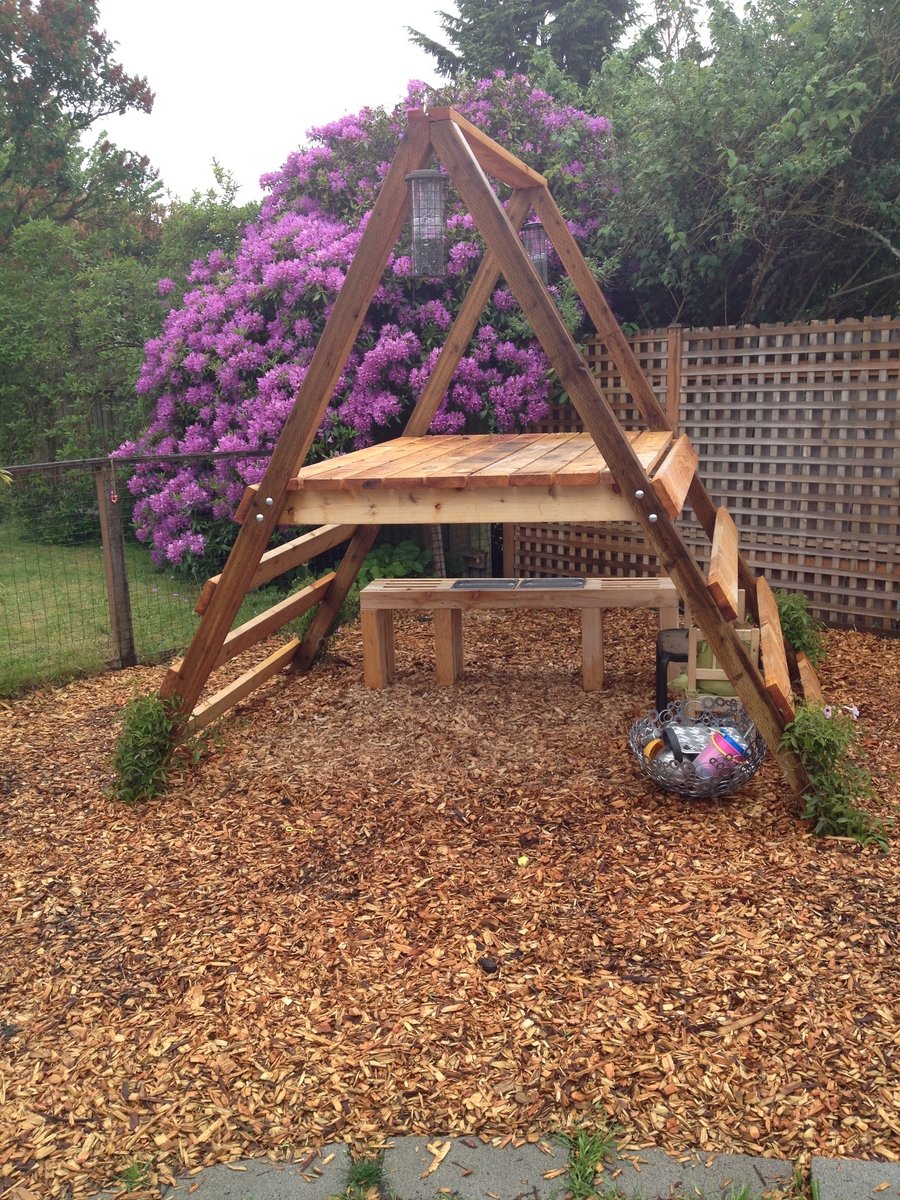
I've been looking for a simple design for a consol table that I could easily modify to fit in my kids' club house. This one fit the bill perfectly! I also happen to have a pile of 2x4s left over from a closet demo, so I wanted to use those up. I basically built 2 of the consol tables, letting the 2 outer-most horizontal beams extend across and 25.5 inch space and connect the two consols. Then I put in a middle beam and that created the perfect space to set some catering pans in it. Also, I only had 2x4s so I used those for all the pieces, making the gaps a little wider than the original design. And lastly, because I didn't quite have enough wood, I shortened the vertical beams. If you look at the picture, all of this will make more sense! Thanks for the inspiration and direction! ps - I have no idea how to rotate the photos. Sorry!
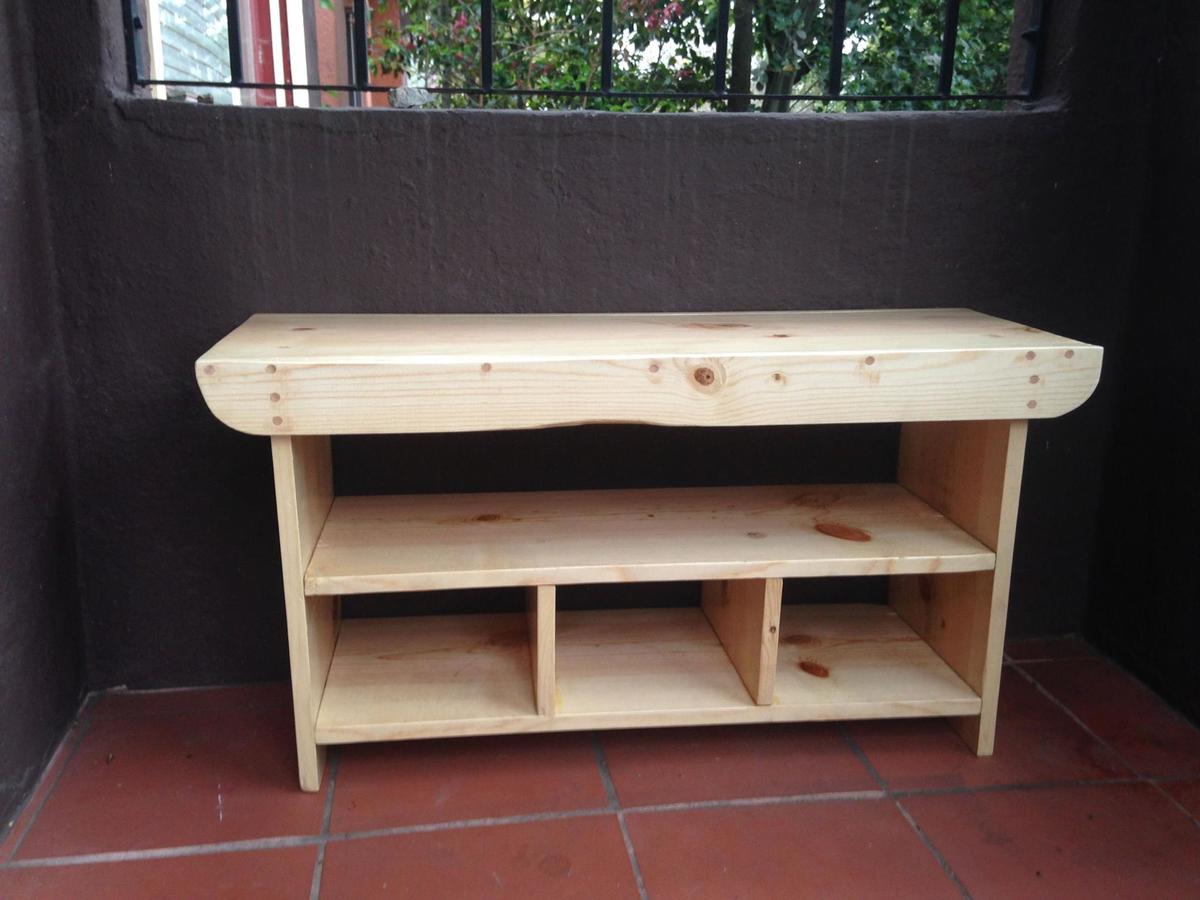
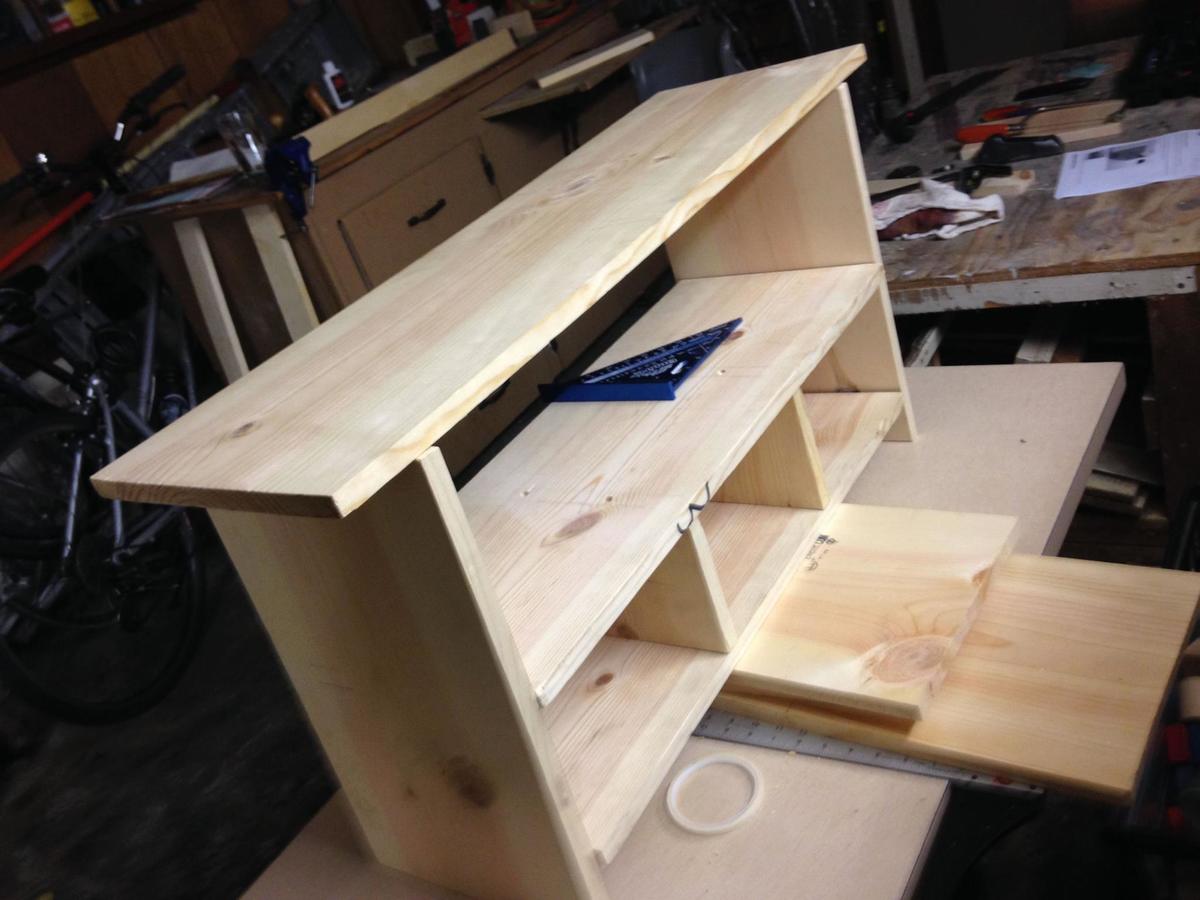
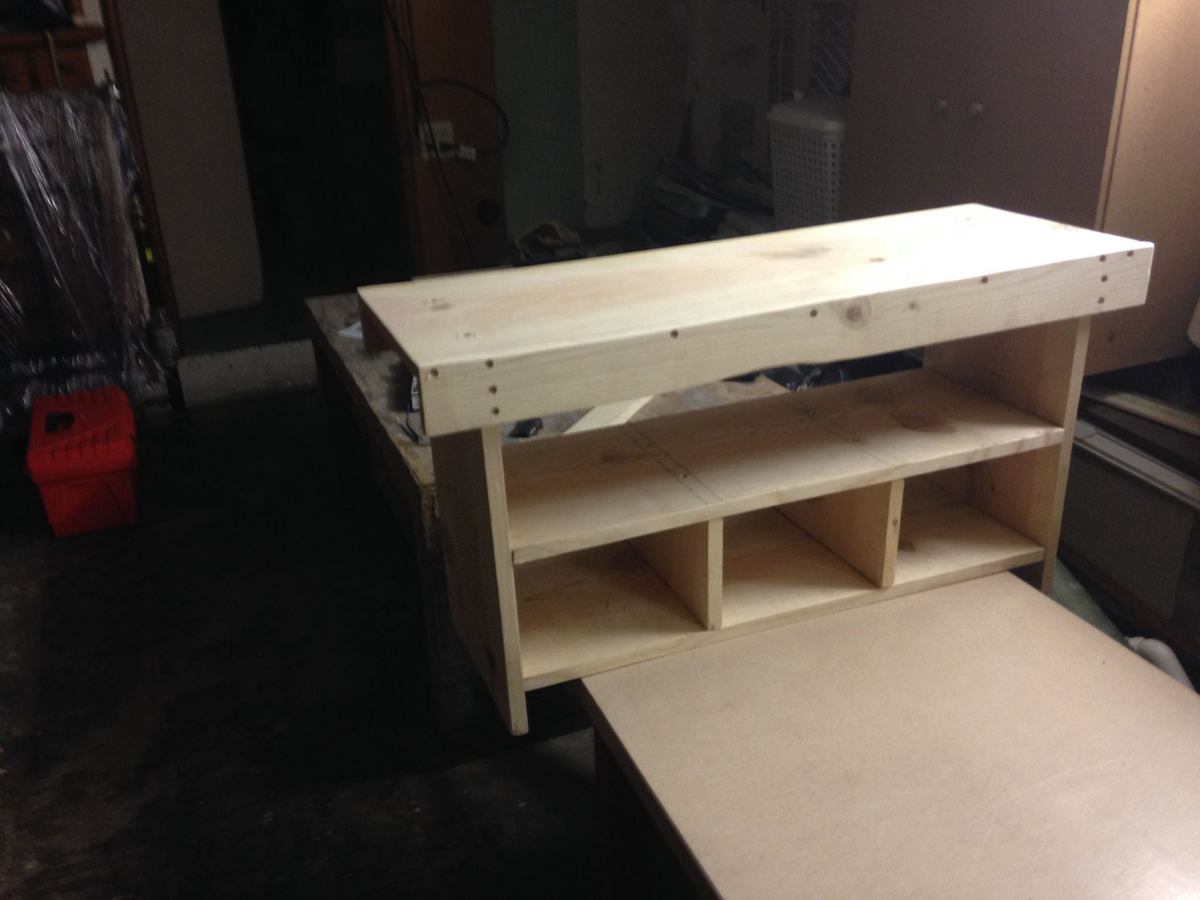
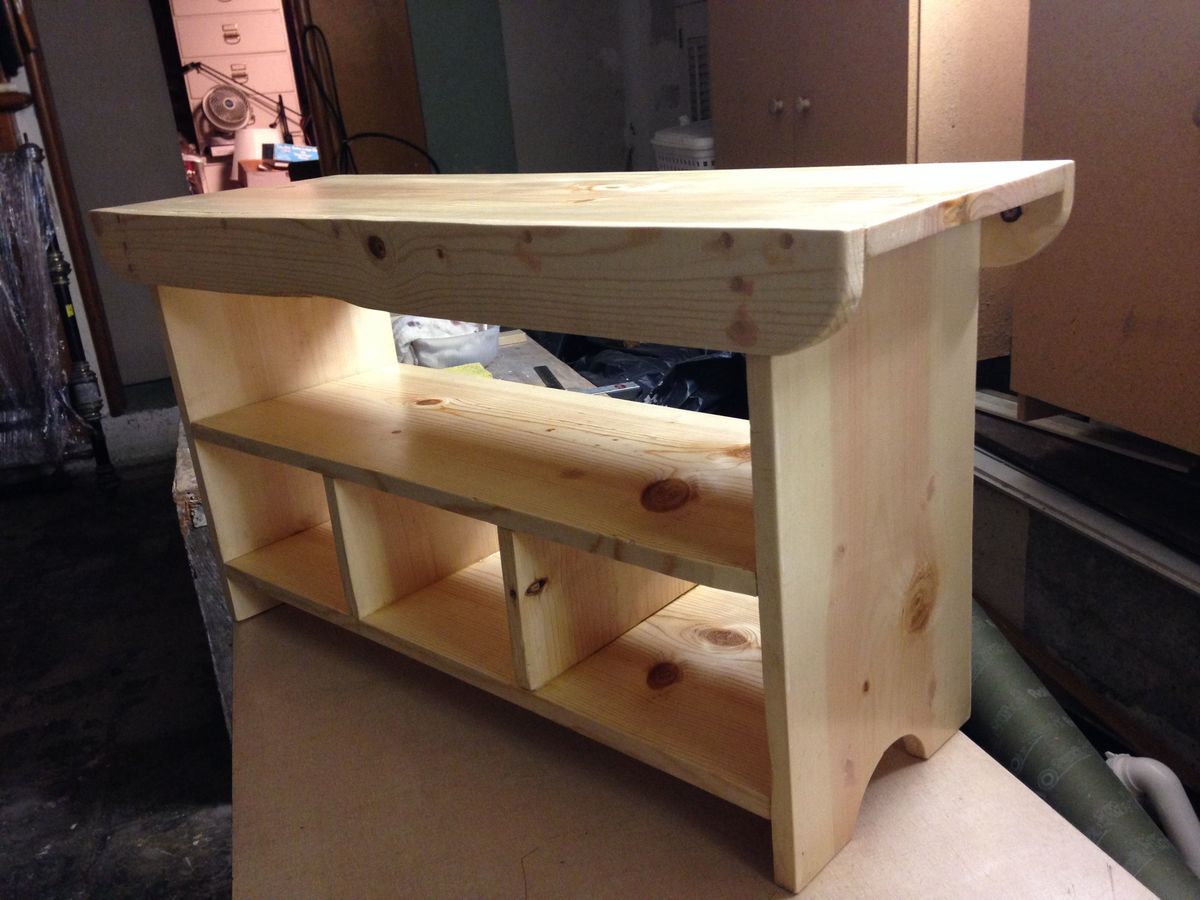
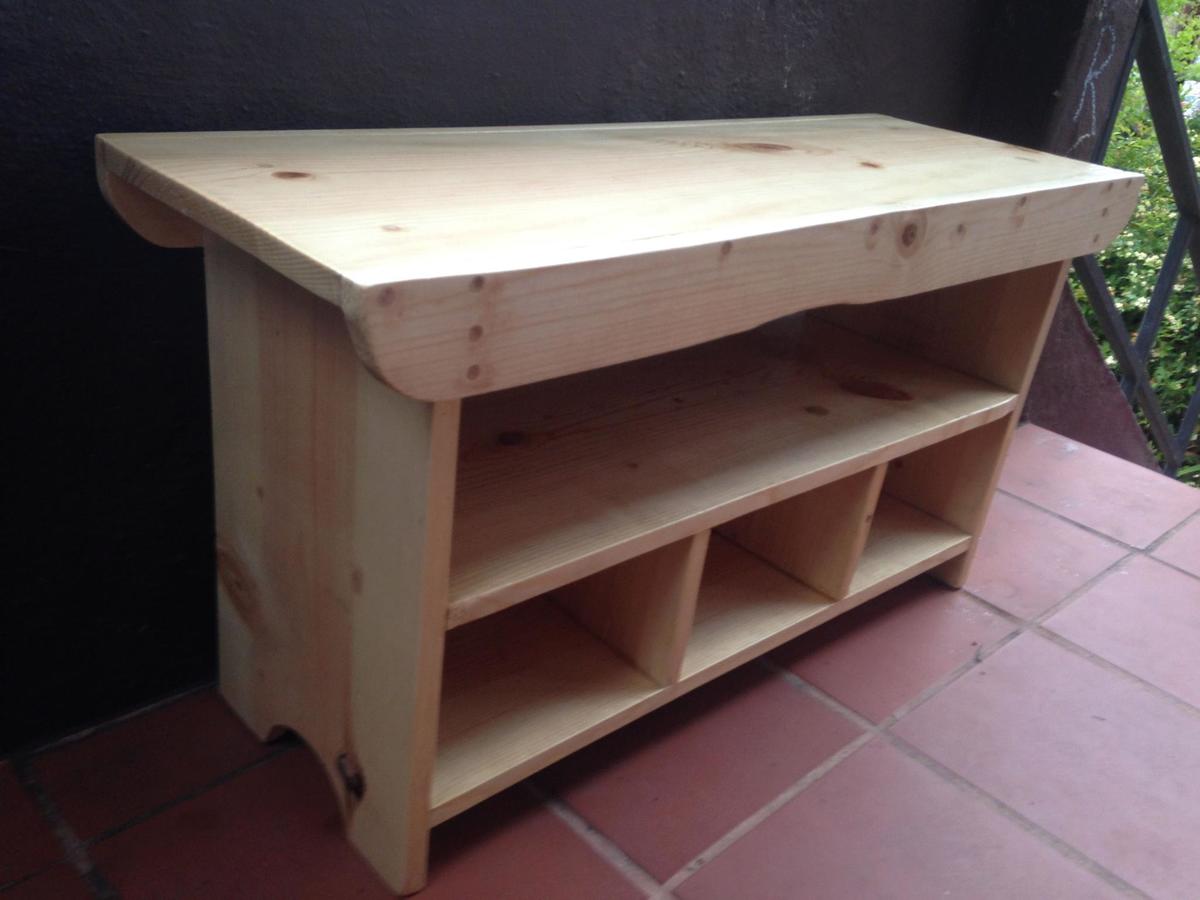
We wanted a bench for our daughter for our front porch, both for sitting and for storage of her rain boots, outdoor toys, etc. I'm definitely a beginner woodworker so I wanted something easy I could tackle in a couple of days with only basic tools, so I chose the Kids' Country Bench project. I liked the version posted here by a user named Jenny Anne, who modified the bench to make three cubbies rather than two on the bottom shelf, so I did the same thing.
It was easy, and the bench turned out great! I used no power tools except for a cordless drill to do the 40+ pilot holes & woodscrews. I don't own a jigsaw and I want to learn hand tools anyway, so I used a coping saw (a kind of miniature hacksaw) to do the curved cuts on the trim & the legs, and used heavy-grit sandpaper to smooth out the wobbles (there were a lot of wobbles).
For the rest of the cuts I used a Japanese-style pull saw (a cheap one from Ace Hardware). Cutting all the boards to length with a handsaw was probably the hardest part, and I had a tough time truing the edges. Next time I would probably use a miter box and miter saw to get perfect 90-degree angles, but I got better as I went along, and was able to finish the edges pretty well with a wood file and sandpaper.
I wanted to stain it a deep red color, but my better half insisted on a clear stain, so I used clear Polycrylic, four coats on the top & outsides, and three coats on the inner & undersides.
The bench feels pretty sturdy and is definitely strong enough to take my 3-year-old's weight. The trim on the front and back acts as a brace, so it's got some structural integrity. I don't know that I would trust it to hold an adult's full weight for very long -- I probably won't be dancing on it or using it as a stepstool or anything, but for a kid's bench it's solid and level.
The whole build probably took me four sessions in my "workshop" (i.e. my basement), at probably 2-3 hours per session. With woodworking it's definitely true that you learn by doing -- I gained confidence as I went along and am excited to try some more advanced projects!
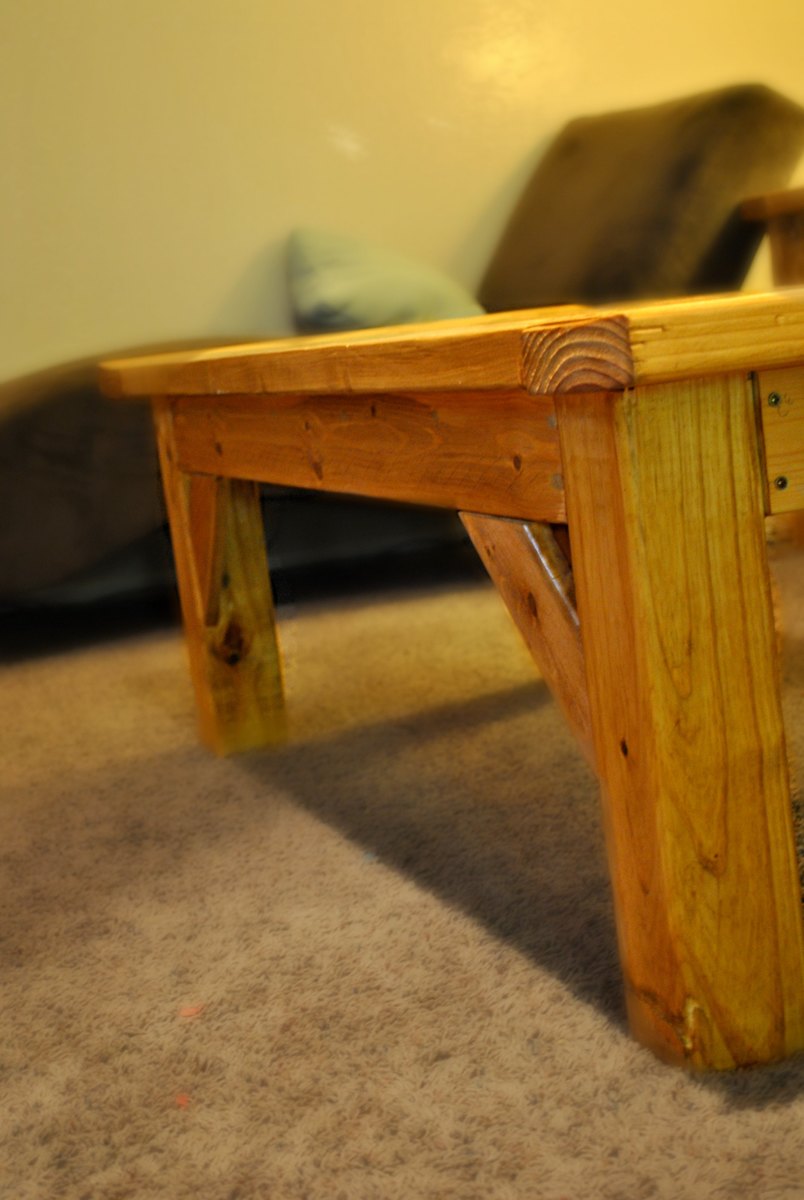
I left for work one morning, and came home to a coffee table and two end tables that my husband made while I was gone. They are absolutely beautiful and complete my living room. He found the plans easy to read and the projects themselves not hard at all.
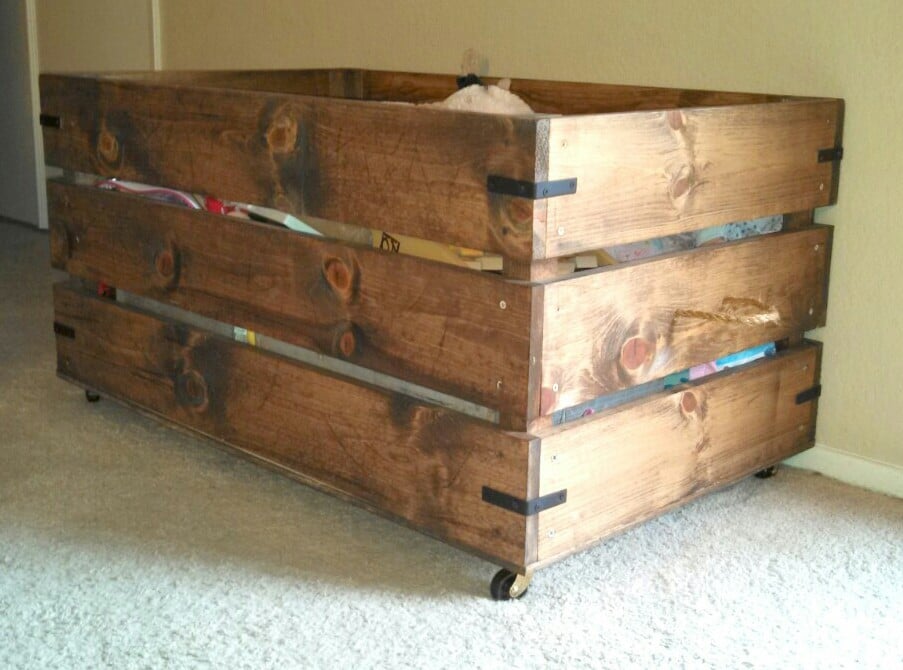
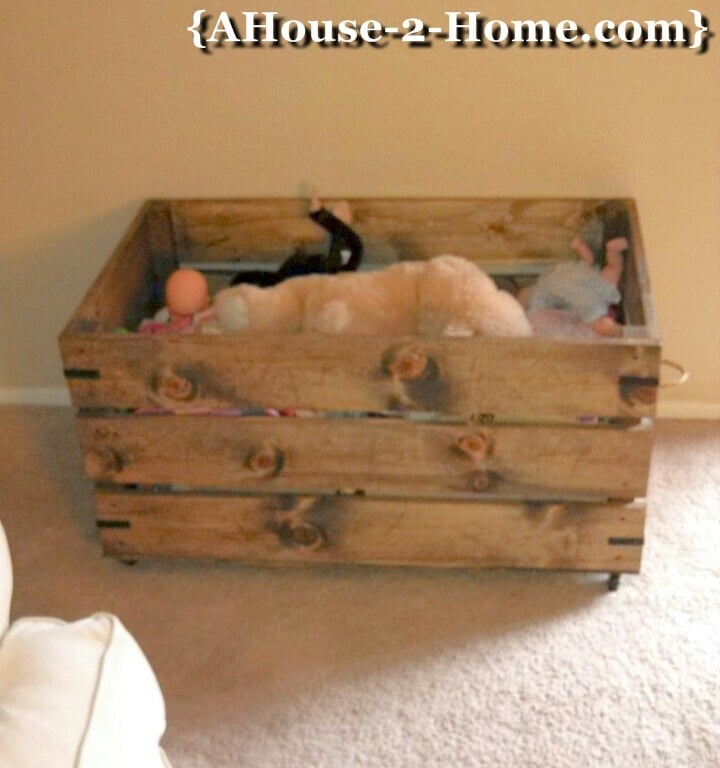
This is a great beginners project. I wanted something that would match my living room and still be functional for my daughter to get her toys out . We have a full tutorial at our blog.... www.Ahouse-2-Home.com Also , if you have any questions please feel free to leave us a comment! Thanks!
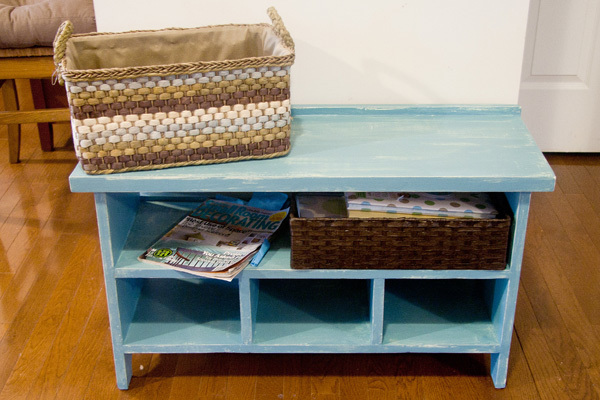
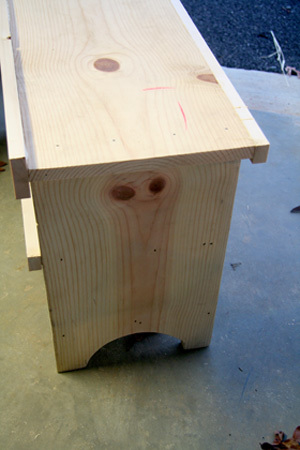
My husband and I put this together to fit a spot that was just slightly off of what standard furniture would accomodate. Looking for something simple as a first build, we went with the Kids Country Bench and made some changes along the way.
We made 3 cubbies on the bottom shelf for extra storage and a little extra stability, since our boards were more bowed than we preferred. We also removed the front and back aprons. In the front we just attached a 1x2 that we ripped into a 1x1 as a trim piece. In the back, we centered a 1x2 to give a slight lip in the back.
I don't have a jigsaw, so we used my FIL's Scroll Saw. That was interesting ... but the sides turned out ok. Not perfect, but ok.
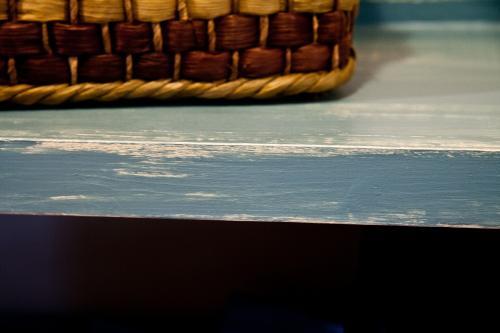
I was hoping to finish this with a high gloss product, but since the boards we ended up with more 'rustic' than I anticipated, I decided to embrace that and go with a distressed finish. I used a spray primer, and then one coat of Sherwin Williams yellow, covered with a dry brush of Sherwin Williams blue. I then sanded the corners and edges and finished with a spray top coat.
We had lots of fun, although it took us a long time. We were only working in small shifts, in between naps. If we had managed to get, say, 3 straight hours to build, I think we could have finished in in that time period.
This was a great starter project, and it's nice to know that we can make MINOR modifications to a plan and not have it fall apart on us :)
Thanks for the inspiration Ana!
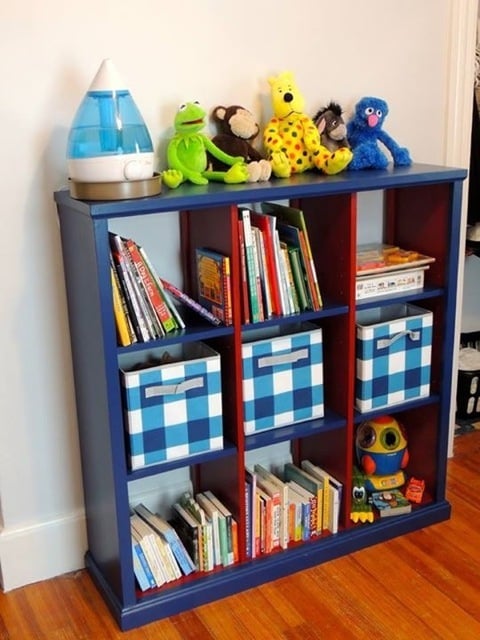
I wanted a bookcase for my son's room that would add some color and be a functional storage unit for his books and toys. I did not buy the highest grade of pine because it would have doubled the project cost and I knew I was going to paint it. The only trouble I had was that the boards were a little cupped so the shelves don't have an invisible fit. I used stock moulding and cut down the base trim to fit. In hind sight, I would have not done the adjustable shelves. I like the symmetrical look of this and can't see myself moving them. I did make a cleat to attach it securely to the wall so that a busy climbing boy wouldn't pull it down on himself.
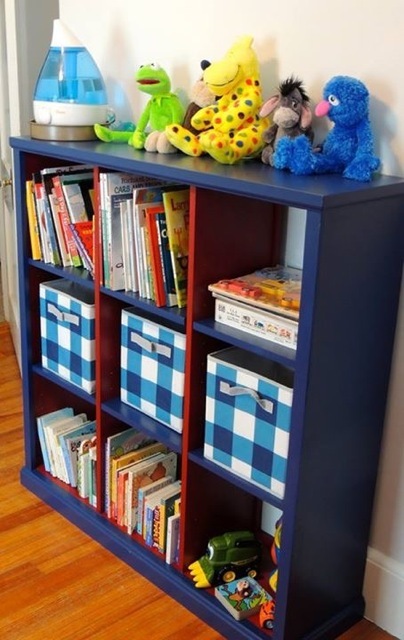
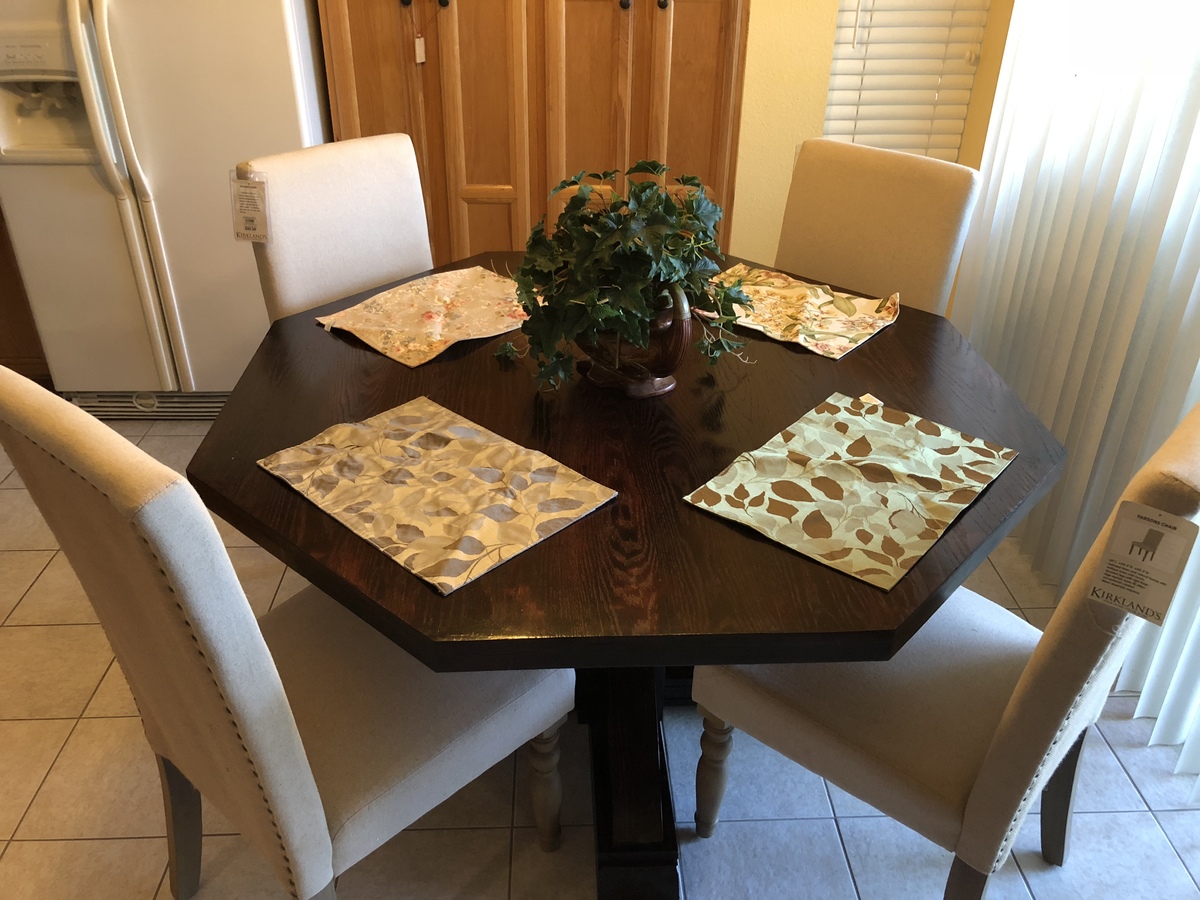
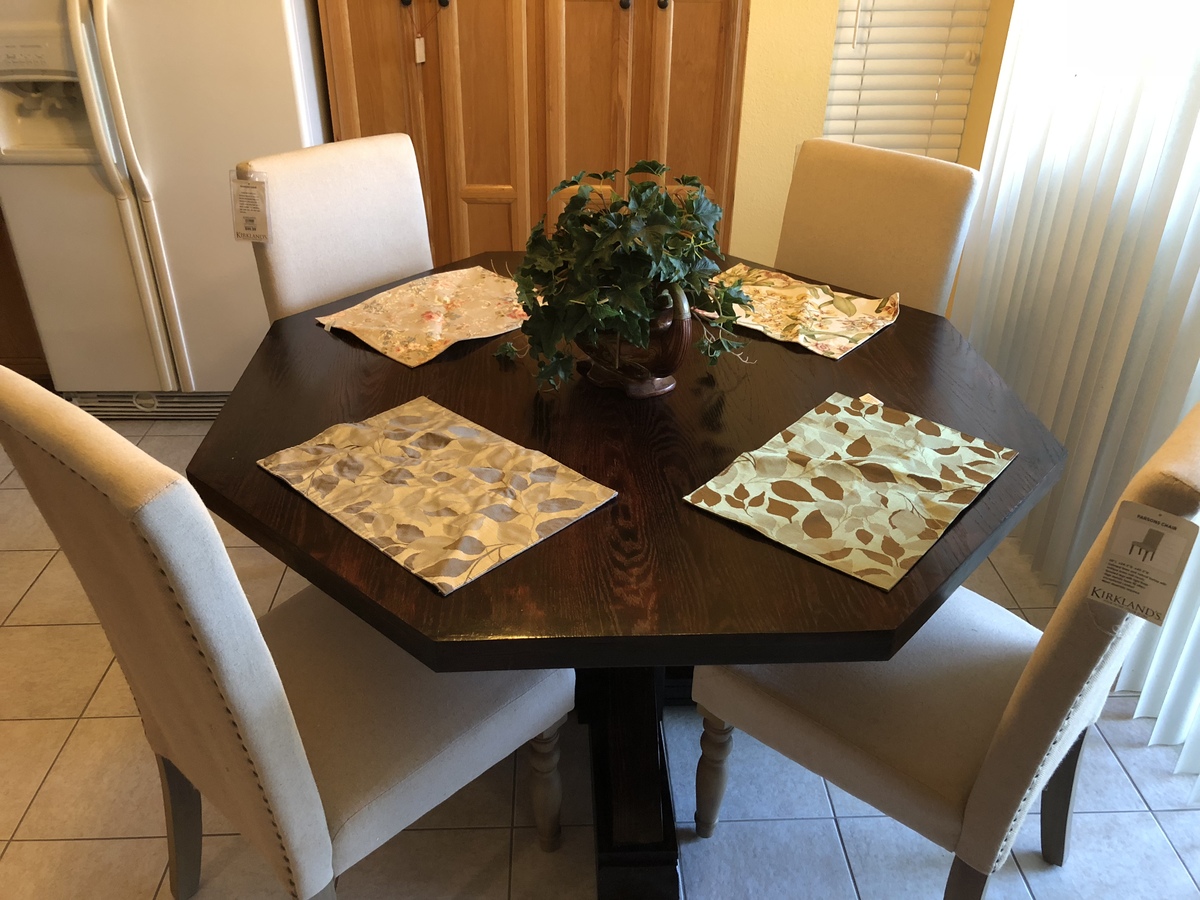
Took about 1 week to finish the project. I like the overall result.
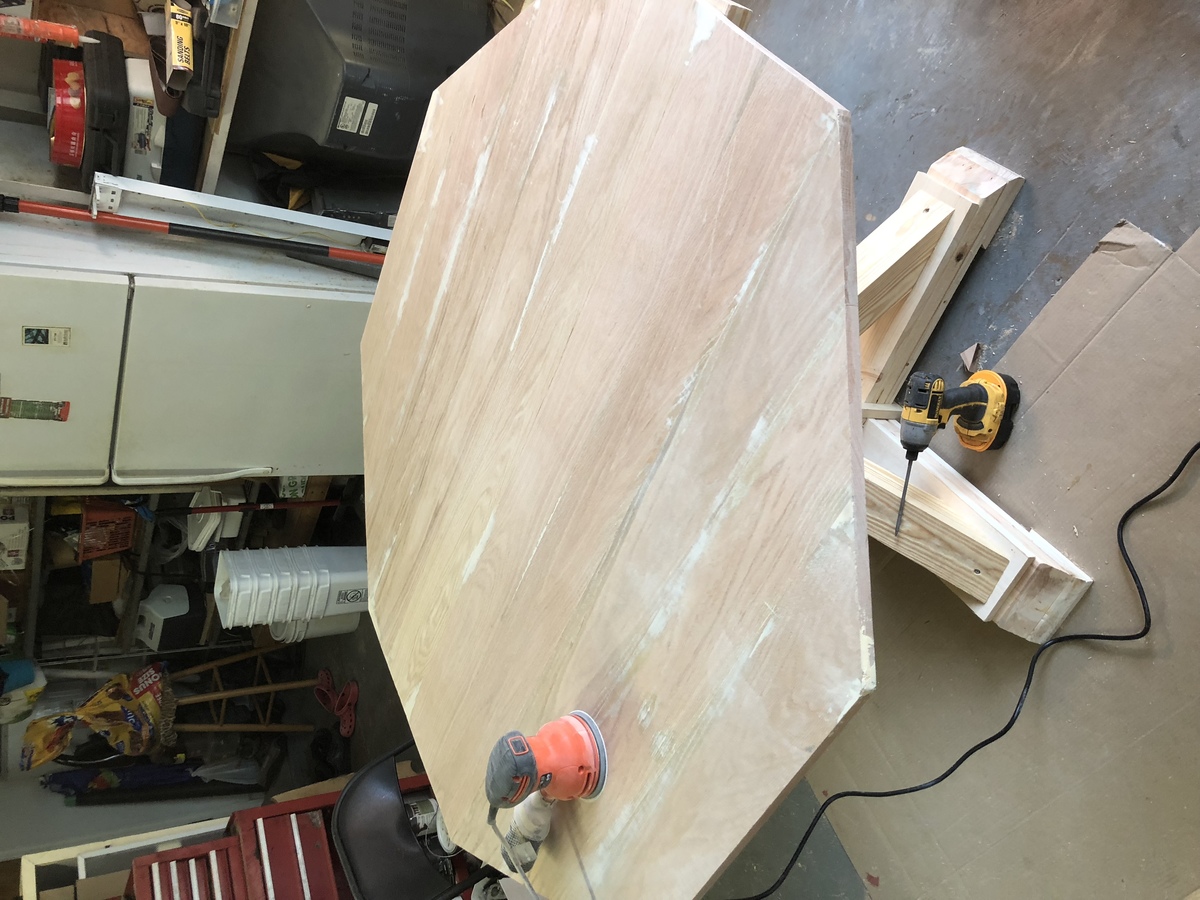
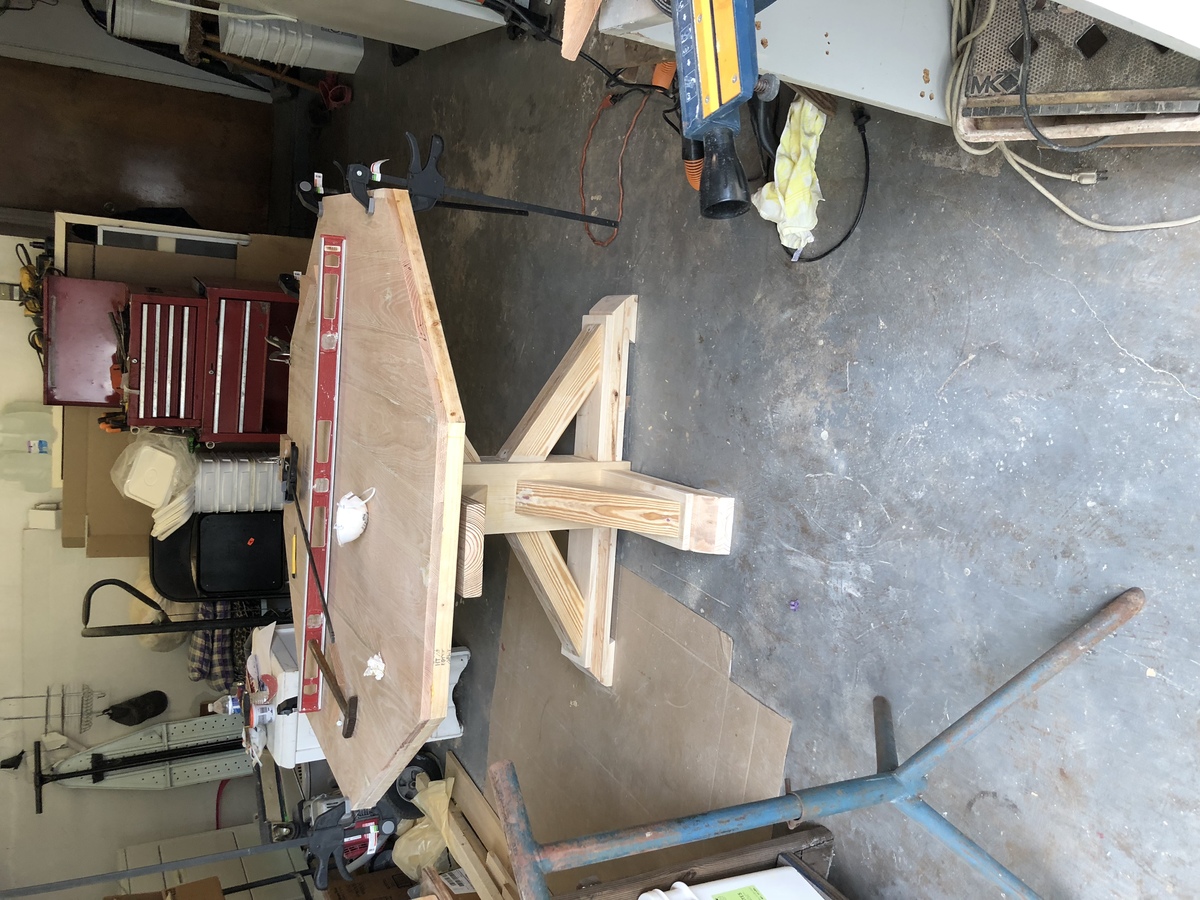
Instead of using pocket hole to join the top, I use dowel and glue to join the board together. Clamp the top in sections then combine 2 large piece together.
using the speed squre to create the 45 degree angle and use the circular saw to cut out the angled section.
I used the table saw to cut off the round edge on 2x2 to create smooth Table apron.
Use wood filer to fill all the crack and hole from brad nail/joint.
apply 2 layer of stain. allow it to dry overnight. Then Thin out poly with minaral Spirit to wipe on 4-5 layers.
sand finish in between with 330 grit paper
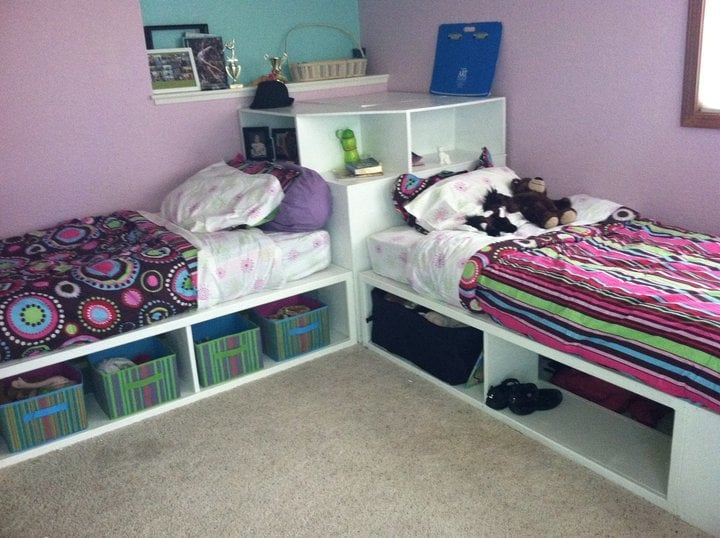
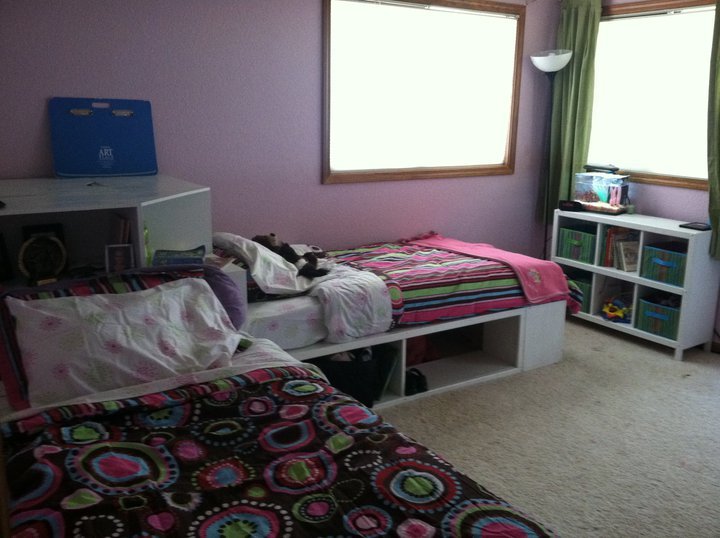
We made these beds for my daughters, who were ready to pass on the bunkbeds to their little sisters. We have 4 girls in one room, so use of space is crucial! I originally wanted the hutch as well, but as you can see in the picture, we had to work around a wall cut out, so we modified the corner unit to have a larger shelf area to fit the space. We also left the sides open to be able to slide containers in to store out of season clothes and blankets, though the ends have a backing.
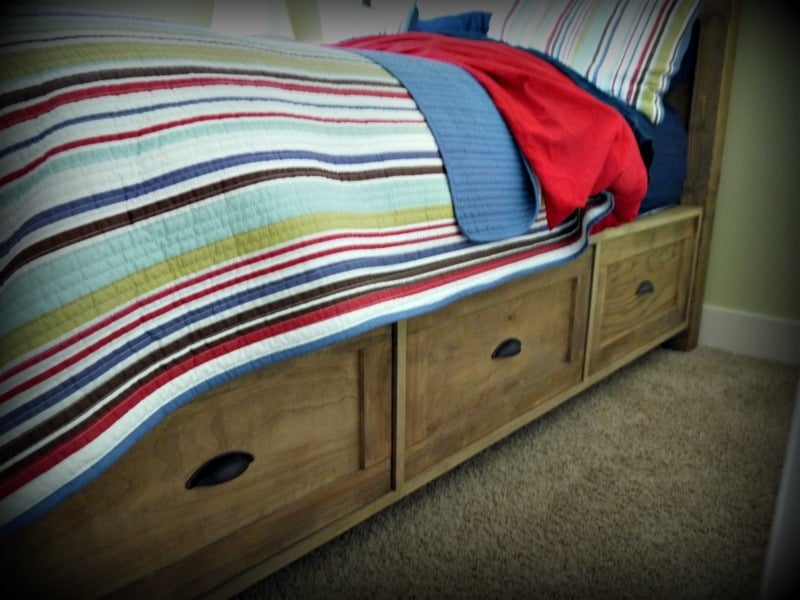
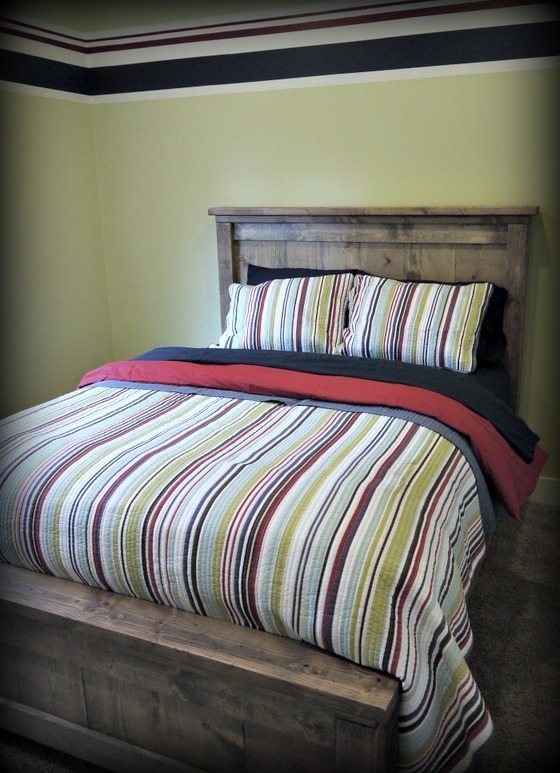
I made the Farmhouse Storage bed for my son's room, which also has to double as the guest room. It has a planked headbord and footboard. I made the slats in removable sections under the mattress to access the storage between the drawer boxes. Also modified the drawers somewhat to use less wood (basically they don't have a double-thickness front). I also used 1/2" plywood to cut down on the weight of the drawers, and they seem to work great! I used iron-on veneer to cover up the raw edges of the plywood on the drawer boxes. More information and pictures on my blog! http://redhenhome.blogspot.com/2013/06/the-handbuilt-bedroom-pt-4-bed.h… http://redhenhome.blogspot.com/2013/07/the-handbuilt-bedroom-pt-6-drawe…
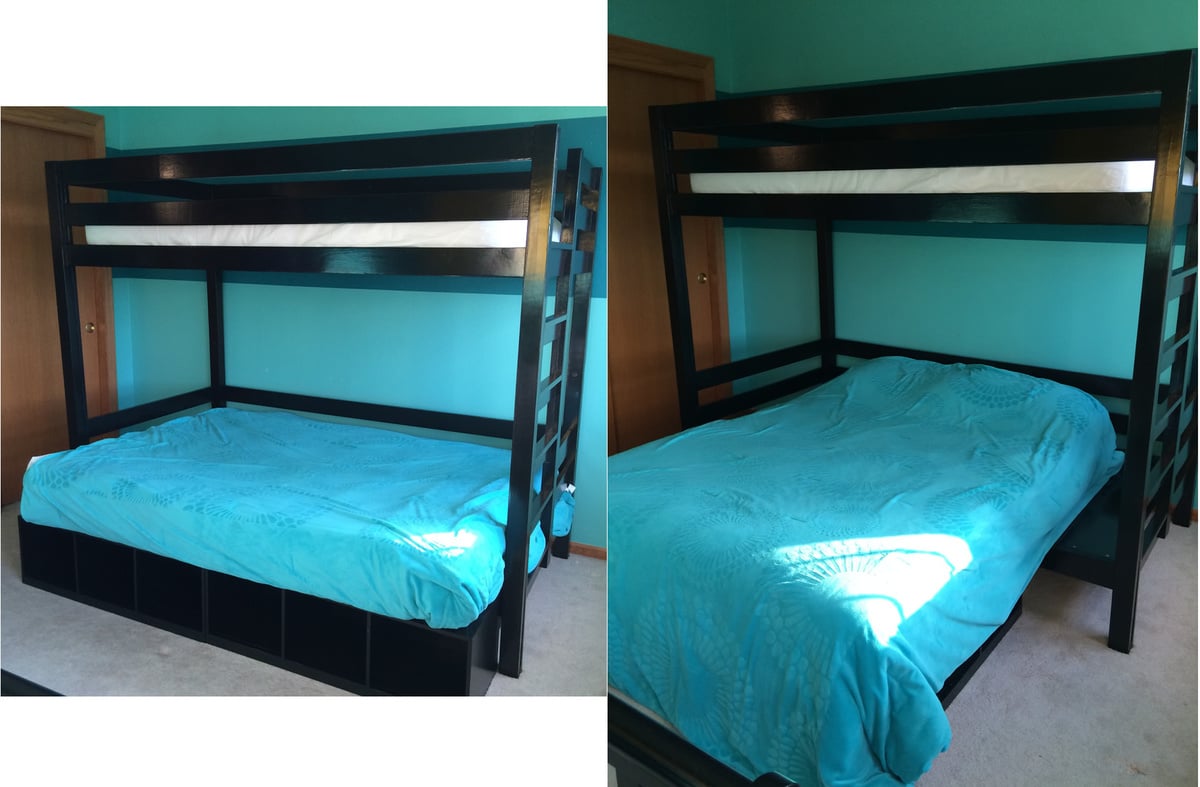
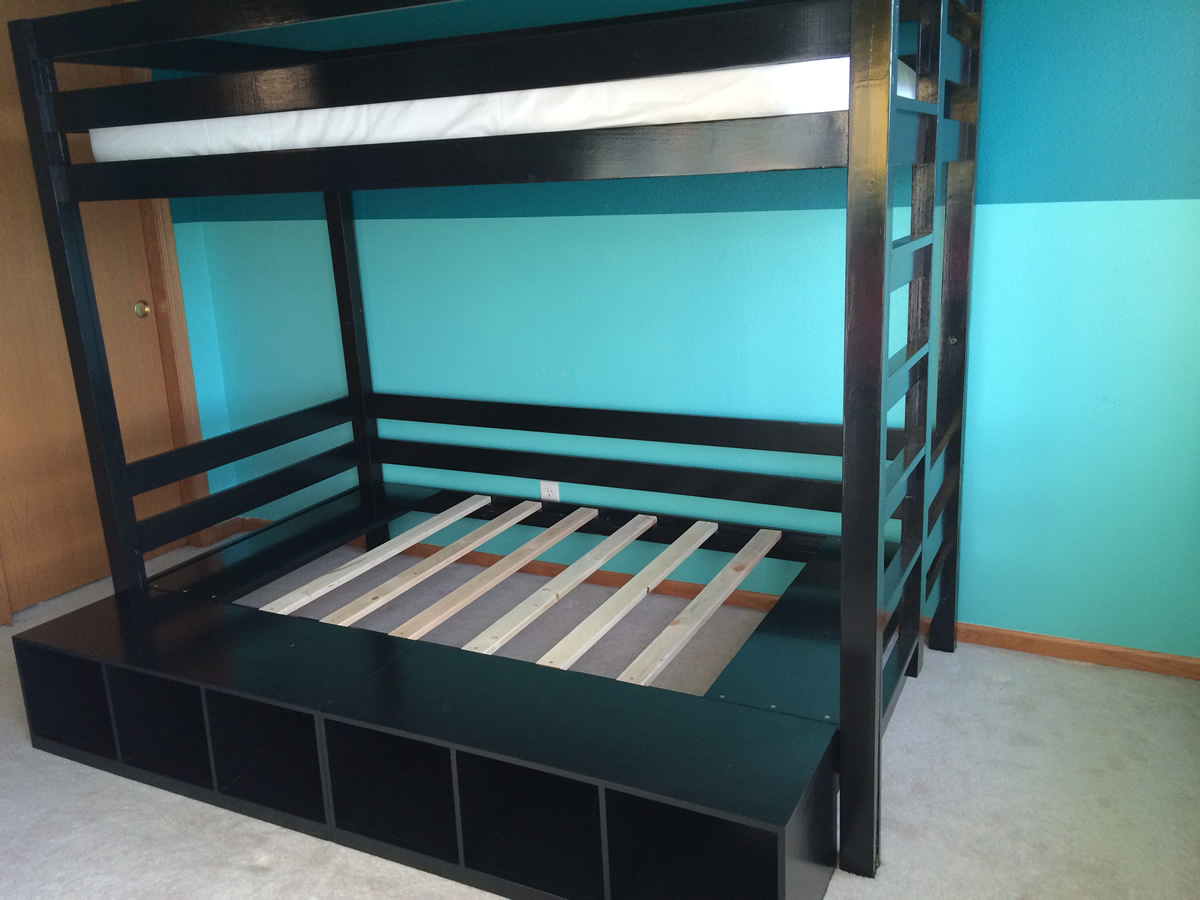
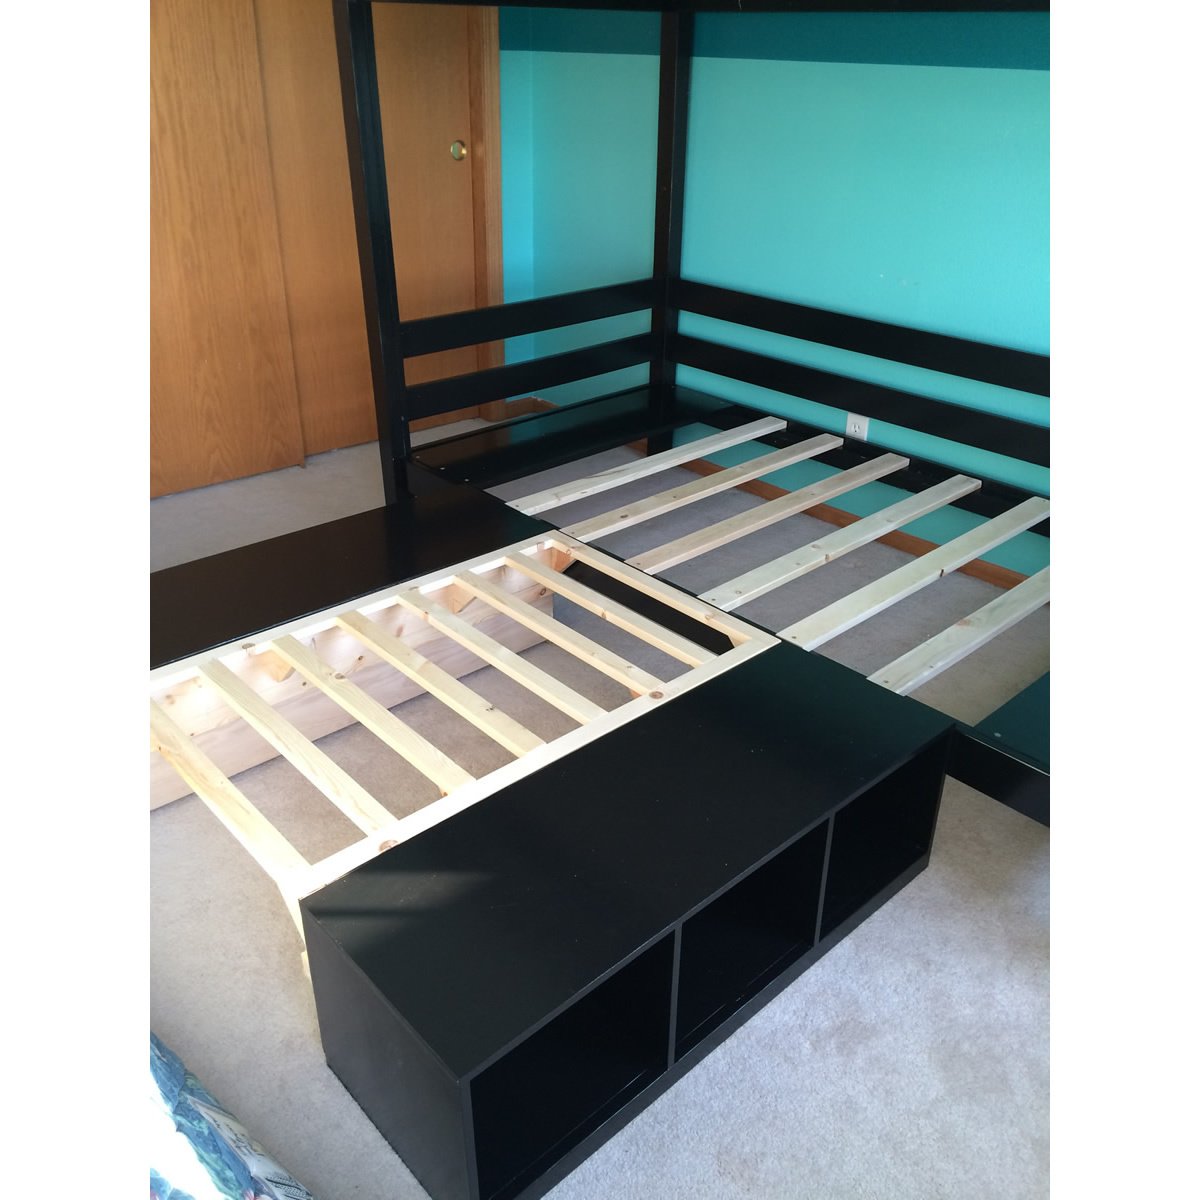
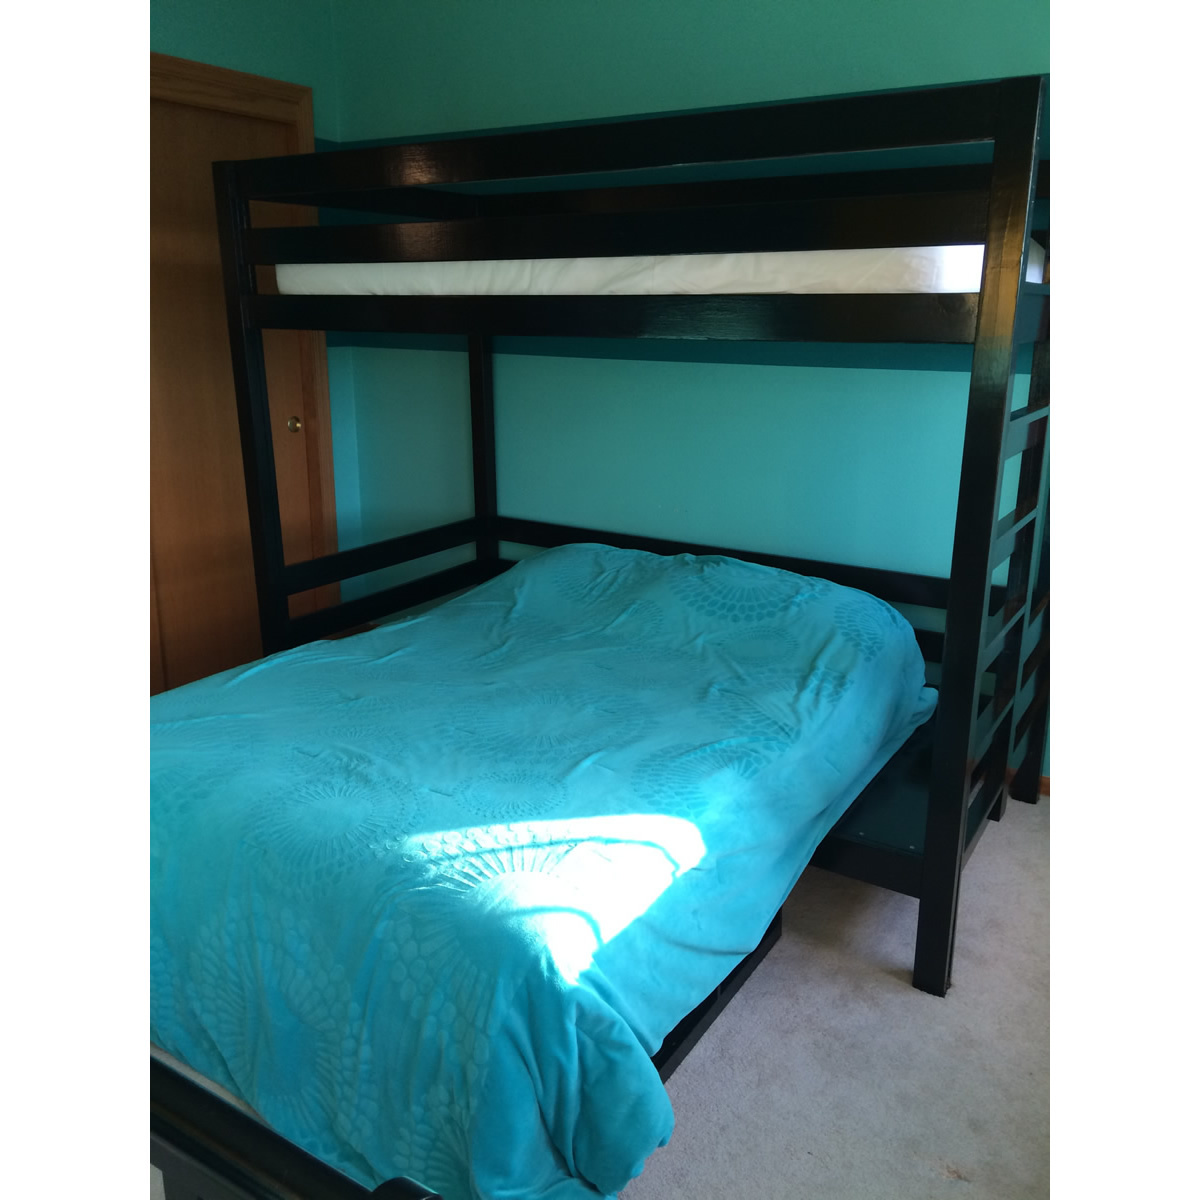
I modifed the Classic Bunk Bed and Cubby designs to create a convertible twin over full bunk bed. The bottom full-sized bunk can be rotated to be parallel to the wall (when my son sleeps there) or perpendicular to the wall (for when we have guests so they don't have to climb over one another). Changes I made were:
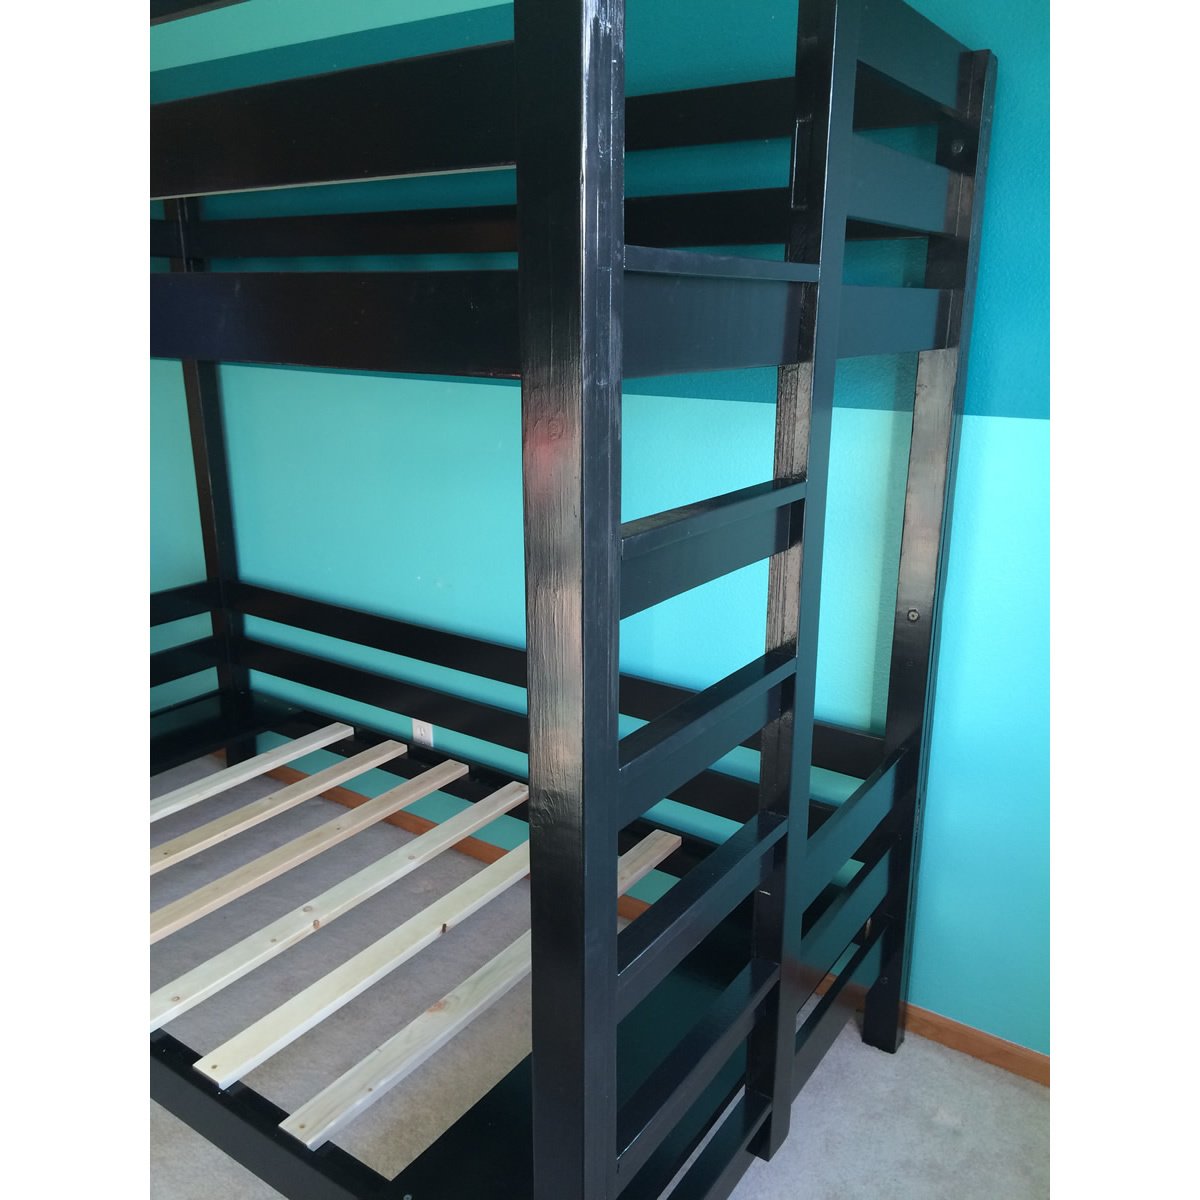
- I moved the ladder to the end of the bed to make room for the full-sized mattress.
- I added 1x2 treads to the ladder to make it easier on the feet.
- I raised the height of the top bunk. Finished height of the bed is 68" to add head room on the bottom bunk for taller people.
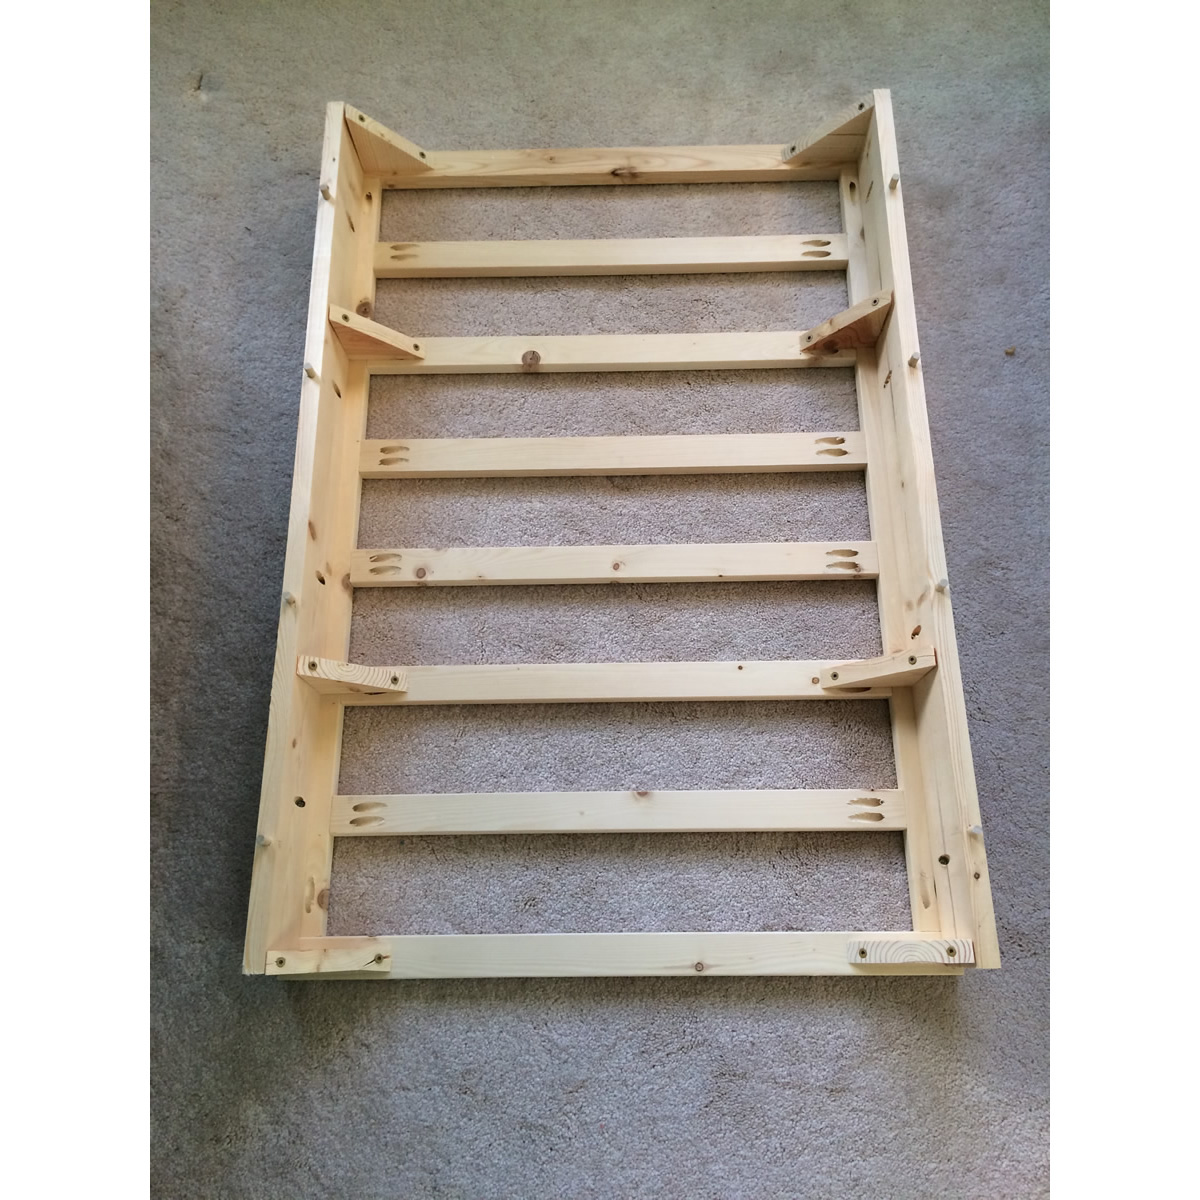
- I built 2 custom cubbies (full dimensions of each 37.5" x ~13.5" x 11.5") to support the added width of the full-sized bottom bunk. These cubbies can also be rotated to support the mattress in the perpendicular position for use as a guest bed (see pictures).
- I built an additional support that fits onto the back of each of the cubbies when they are turned to support the perpendicular guest bed (see pictures).
- I changed the end support rails for the bottom bunk to 1x12s that I painted to match the bed to be used as night stands when the bed is rotated to be a guest bed (see pictures).
- I used wood thread inserts and 1/4"-20 connector bolts (from Fastenal) to assemble the bed, so it would be easy to disassemble and reassemble.
Funny story - When we went to move it to the second story bedroom from the garage where I had finished it, the long sides wouldn't fit up our stairs!!! Our stairs have a tight 90 degree turn partway up. After all the hours I put in building and finishing it, I almost cried! Fortunately after using a straight edge blade to carefully cut through the paint, we unscrewed the upper most rail and were able to just barely get it up our stairs. I was so thankful I hadn't glued those boards on!
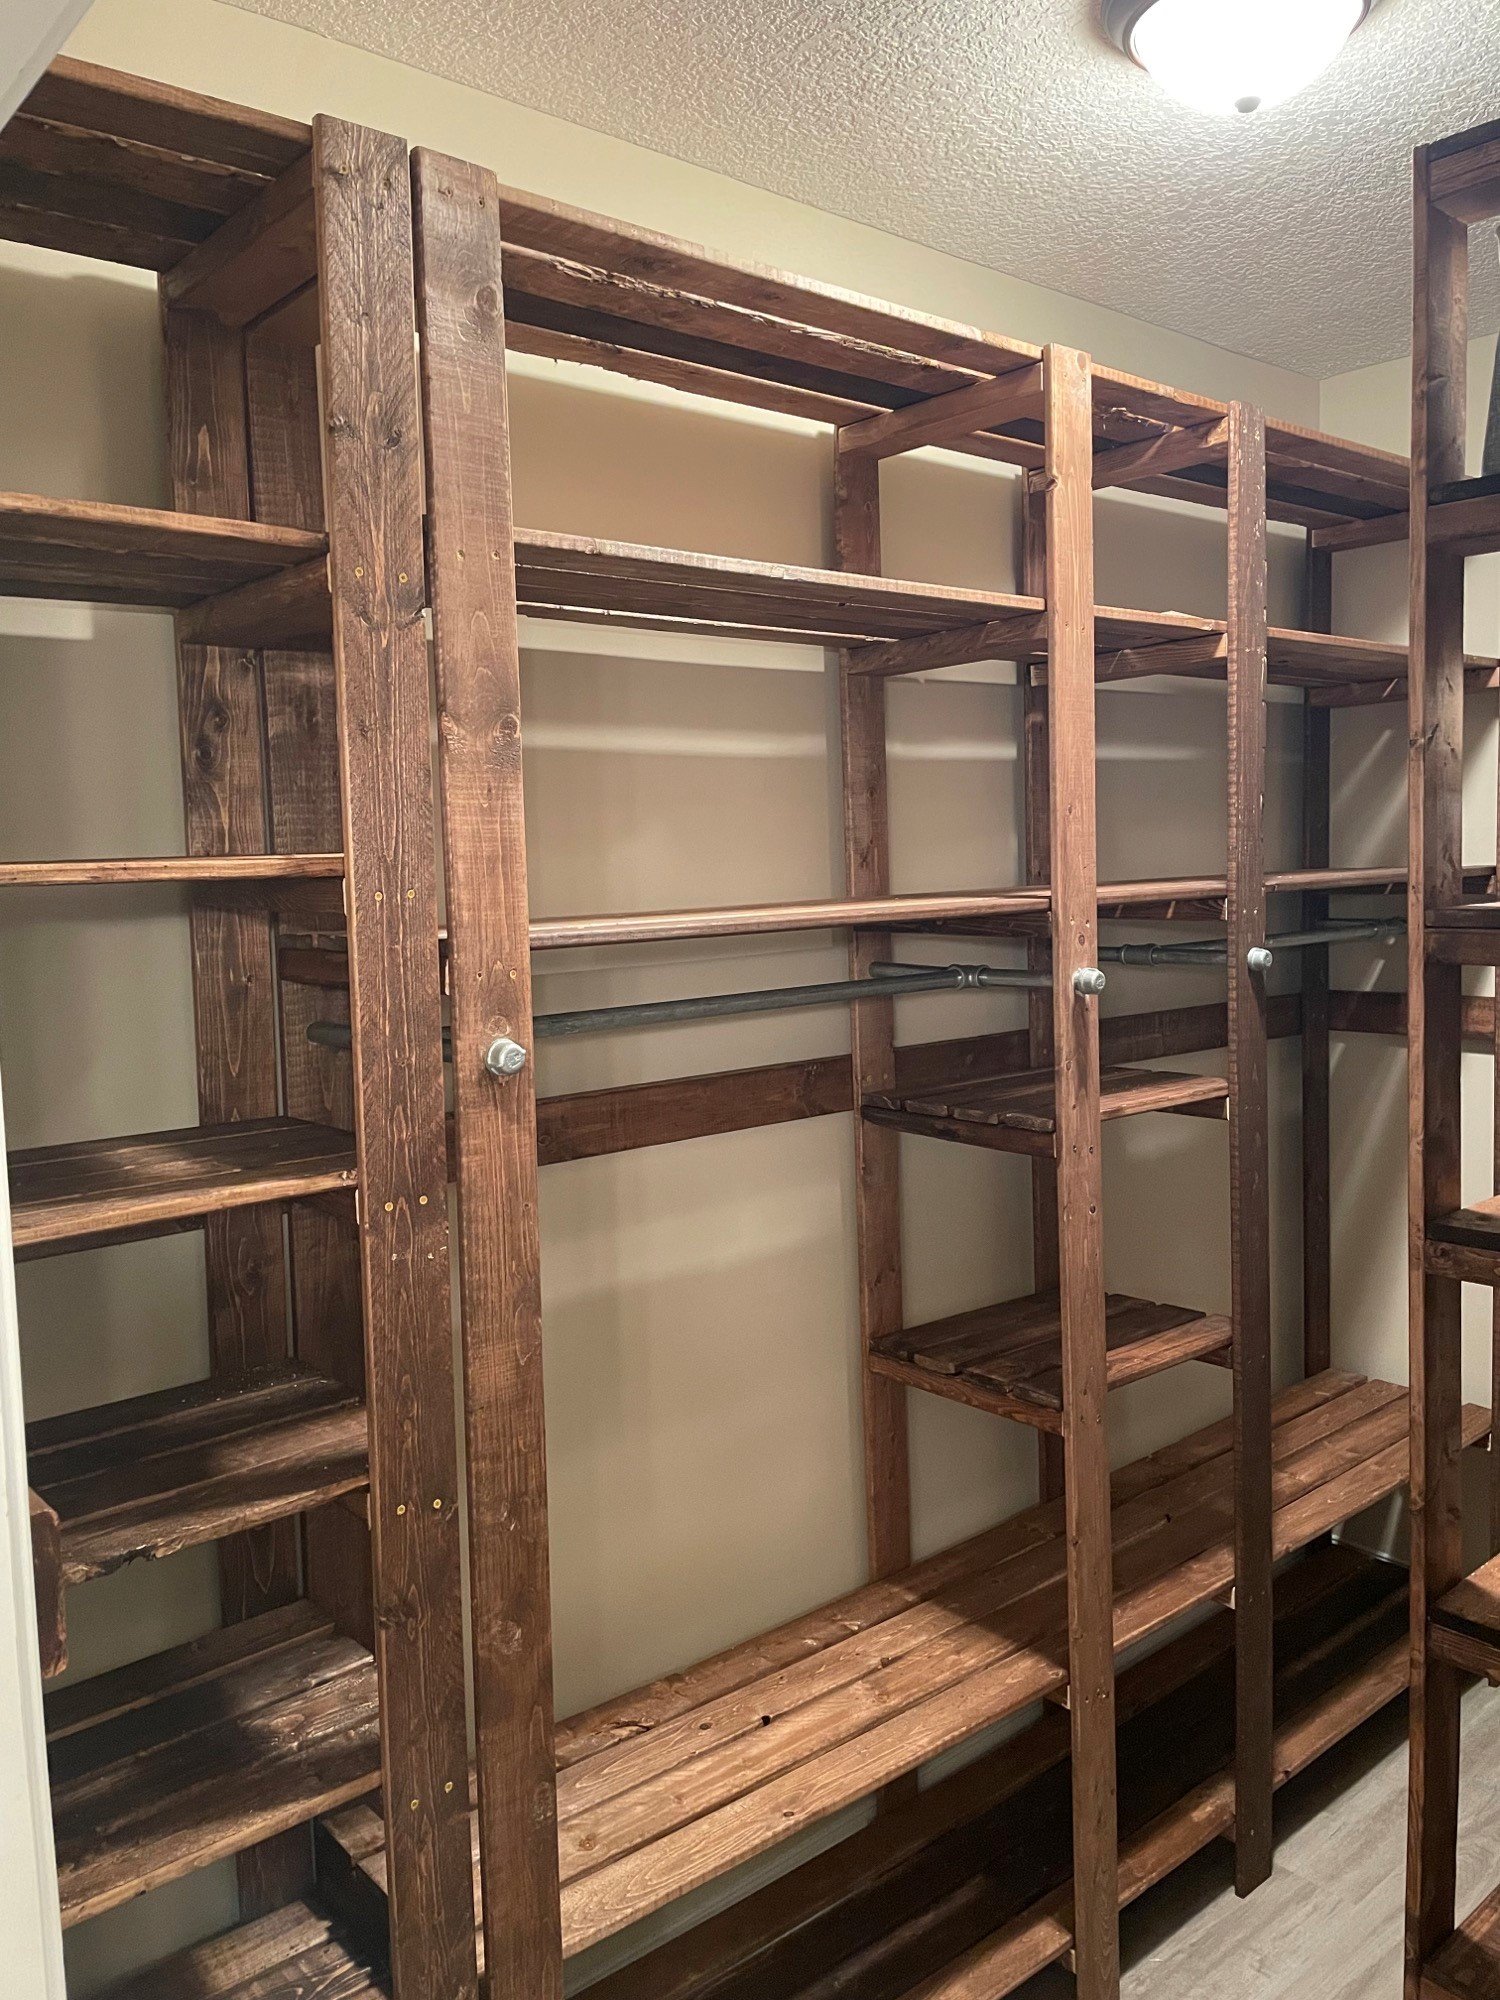
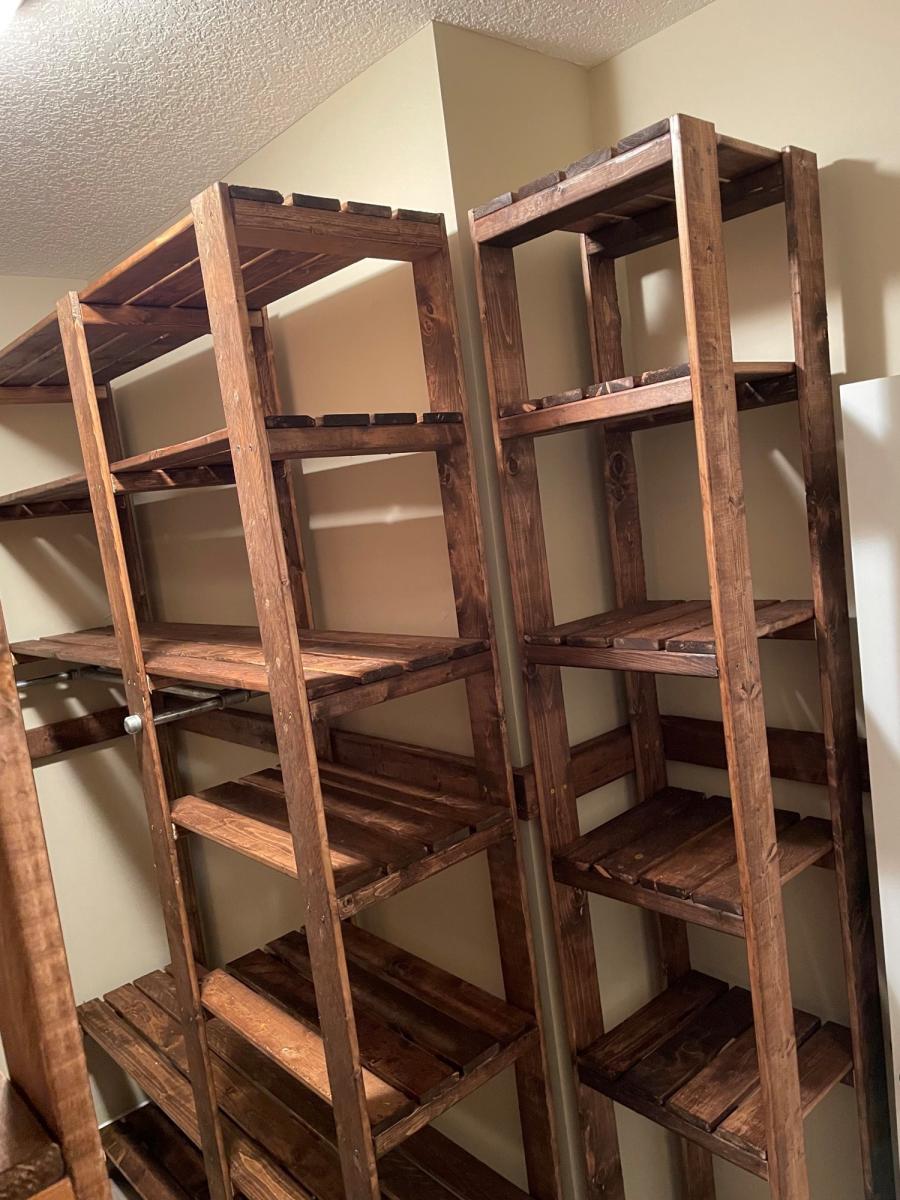
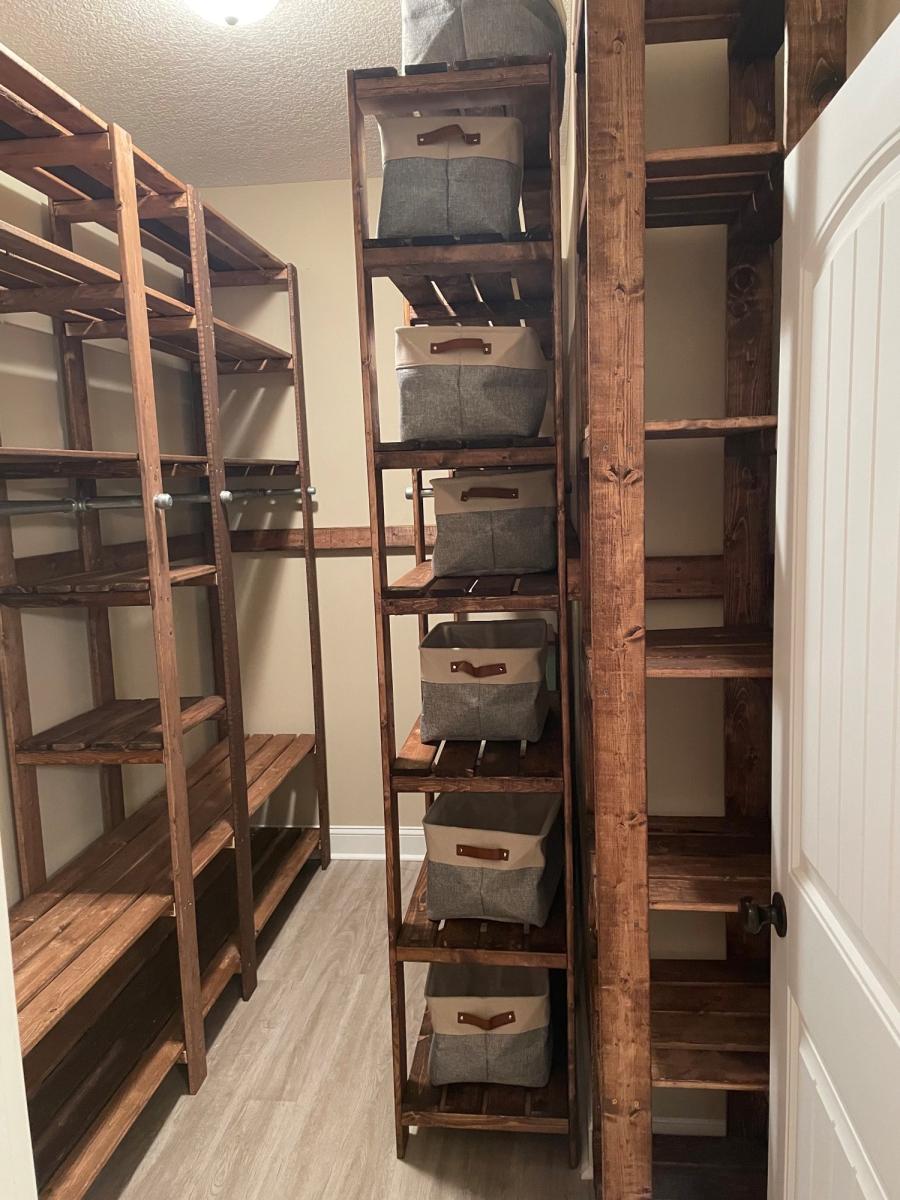
My closet system is four separate units that I butted up together and attached to the wall with a "decorative" 2x4 railing around the entirety of the closet. The main unit looks the closest to the real design but is 8 feet long and 8 feet tall to avoid extra cutting of boards. The smaller unit only has one area for hanging up clothes and is around 5 feet long which is just the length of the wall. I also built a unit for holding sheets and towels and another for my wife's shoes.
The plans are really easy to follow but I would suggest a few things:
-Do stain and boards before cutting; this would have been a nightmare otherwise.
-If you use the metal clothing rods (if I could go back in time I would have used wooden dowels) make sure that you put those in before you attach any boards between the support structures. I ended up having a 35 inch gap instead of a 36 inch gap and it killed my momentum.
-I made mine 8 feet tall because it was less to cut and then re-stain; time wise it probably was a scratch cause I had to build it in place and at the end it was very tight to work in the space.
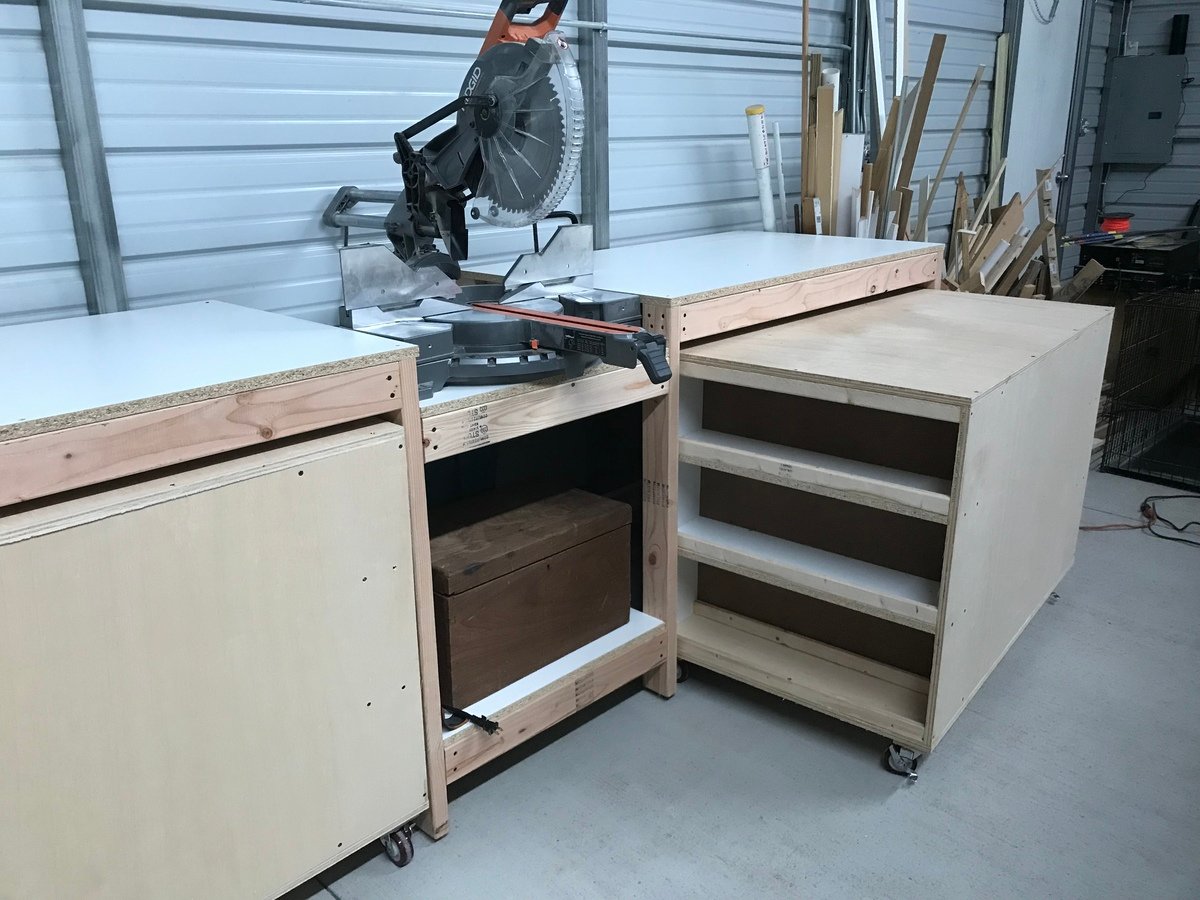
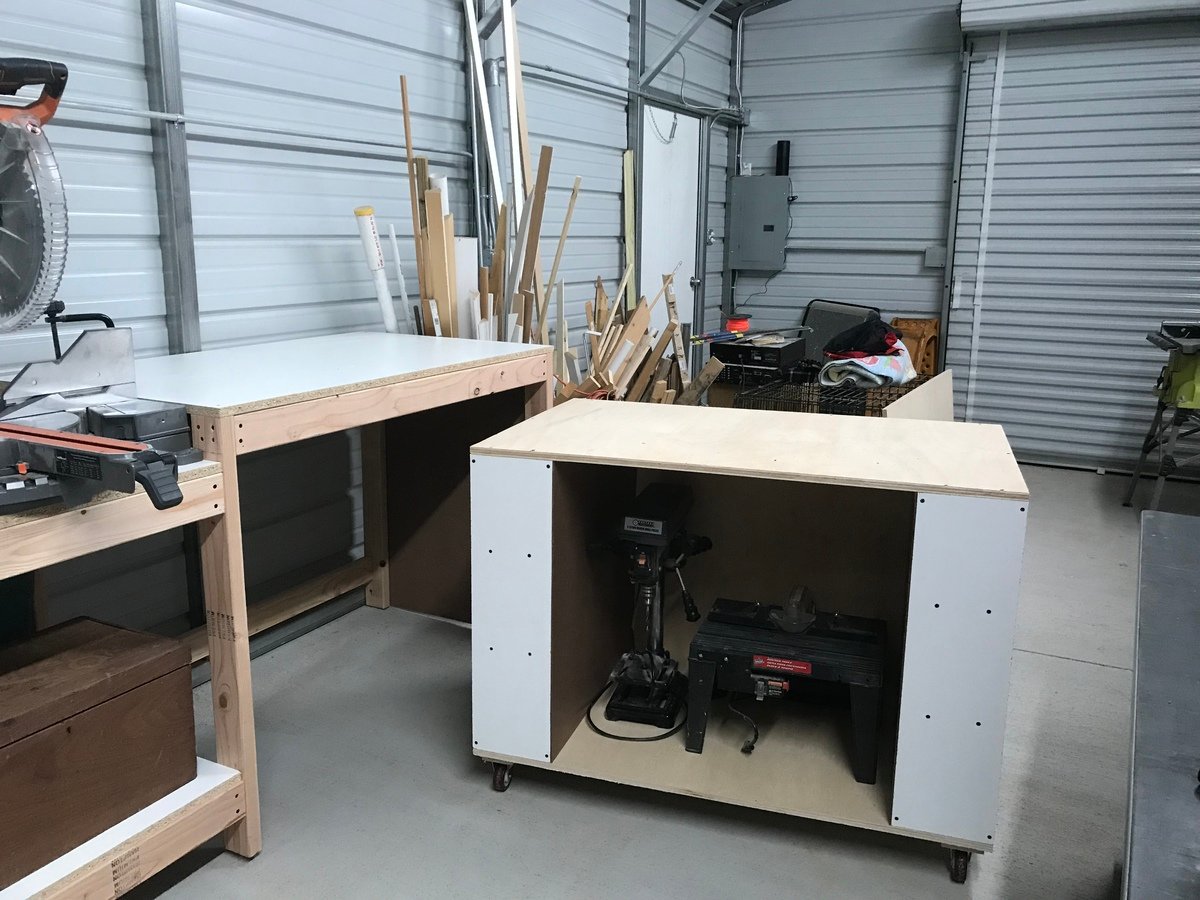
Easy instructions and simple design. One cart houses table saw, and the other I plan to make a router table. I did make a slight modification in design by adding T-nuts and 5/16” bolts for feet. (My shop floor is crowned). I also used 3/4” melamine white panels for table tops. Difficult to work with but cheaper and has a smooth surface. (Be careful using for structural parts due to glue not impregnating through melamine)
