Community Brag Posts

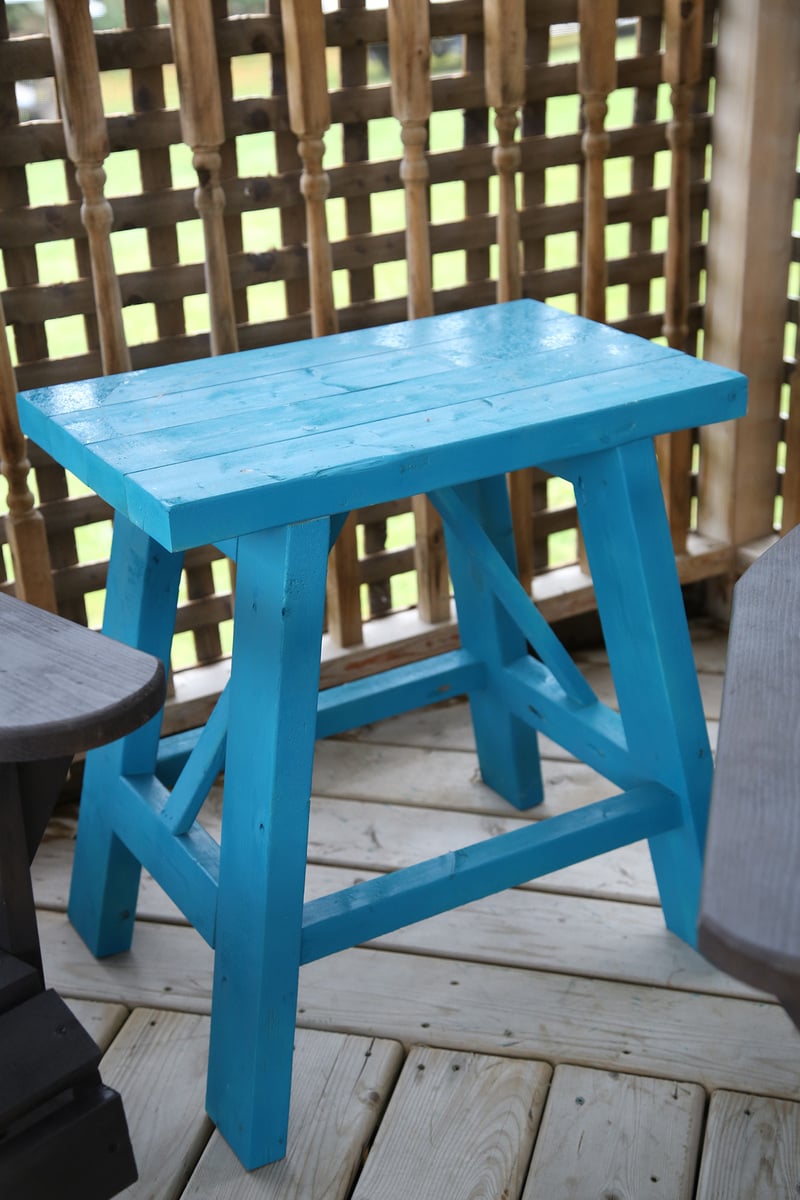
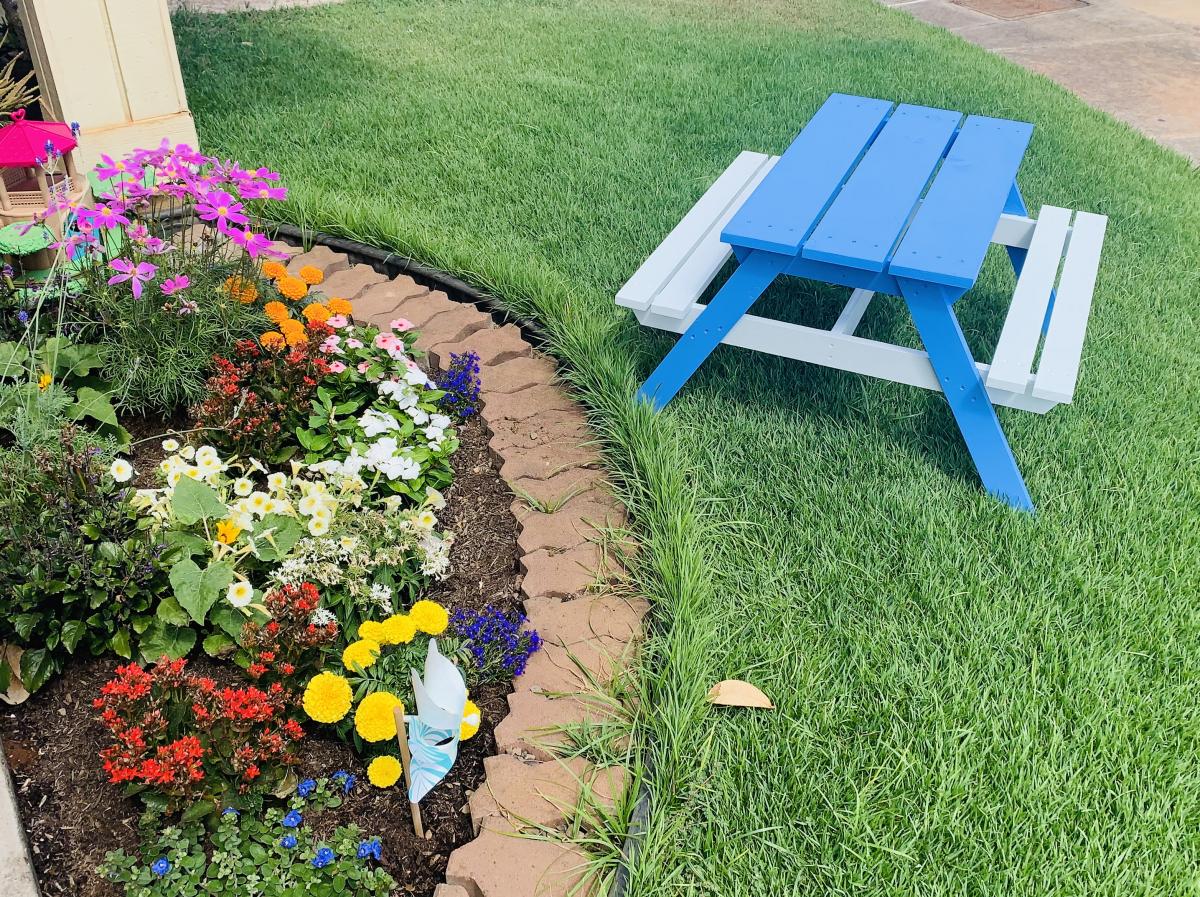
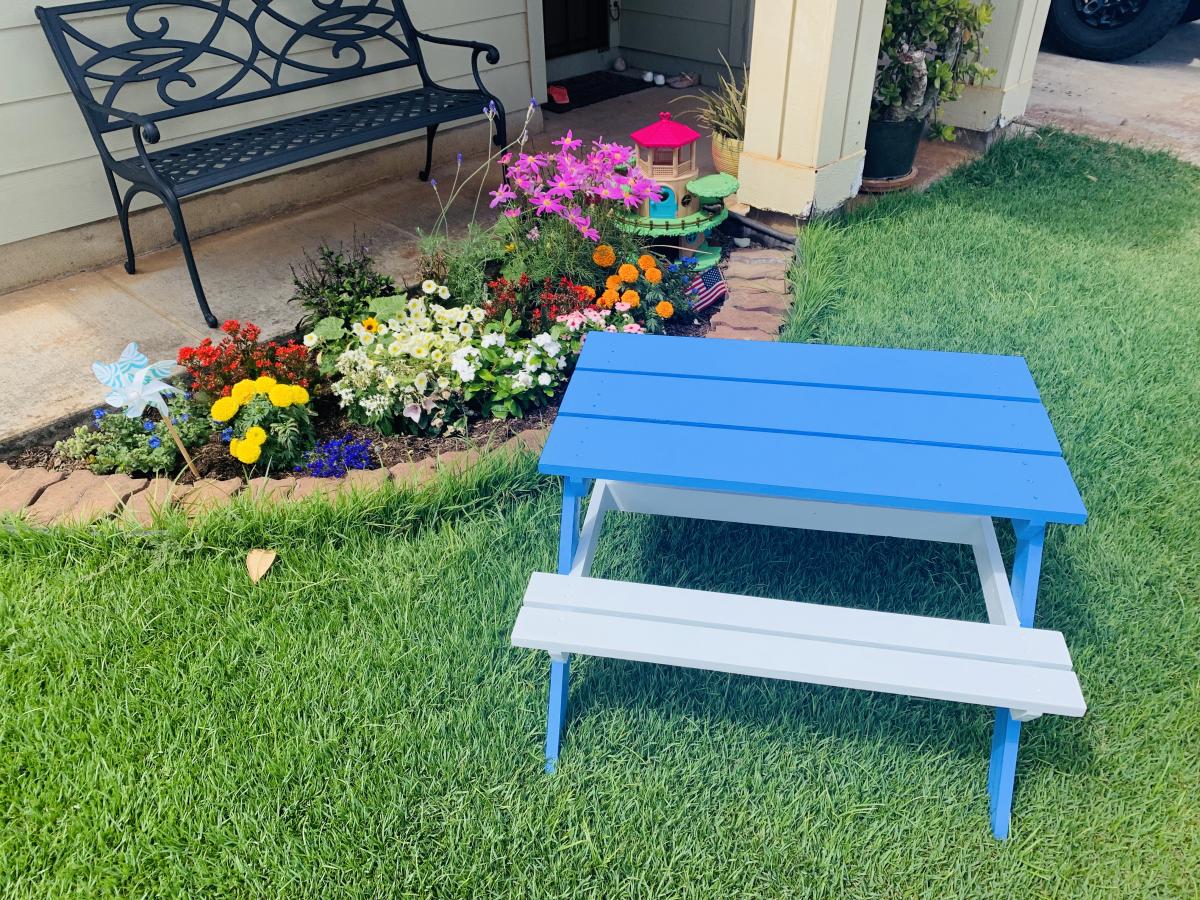
Little Kids picnic table

Submitted by nkukona on Wed, 06/12/2019 - 14:23

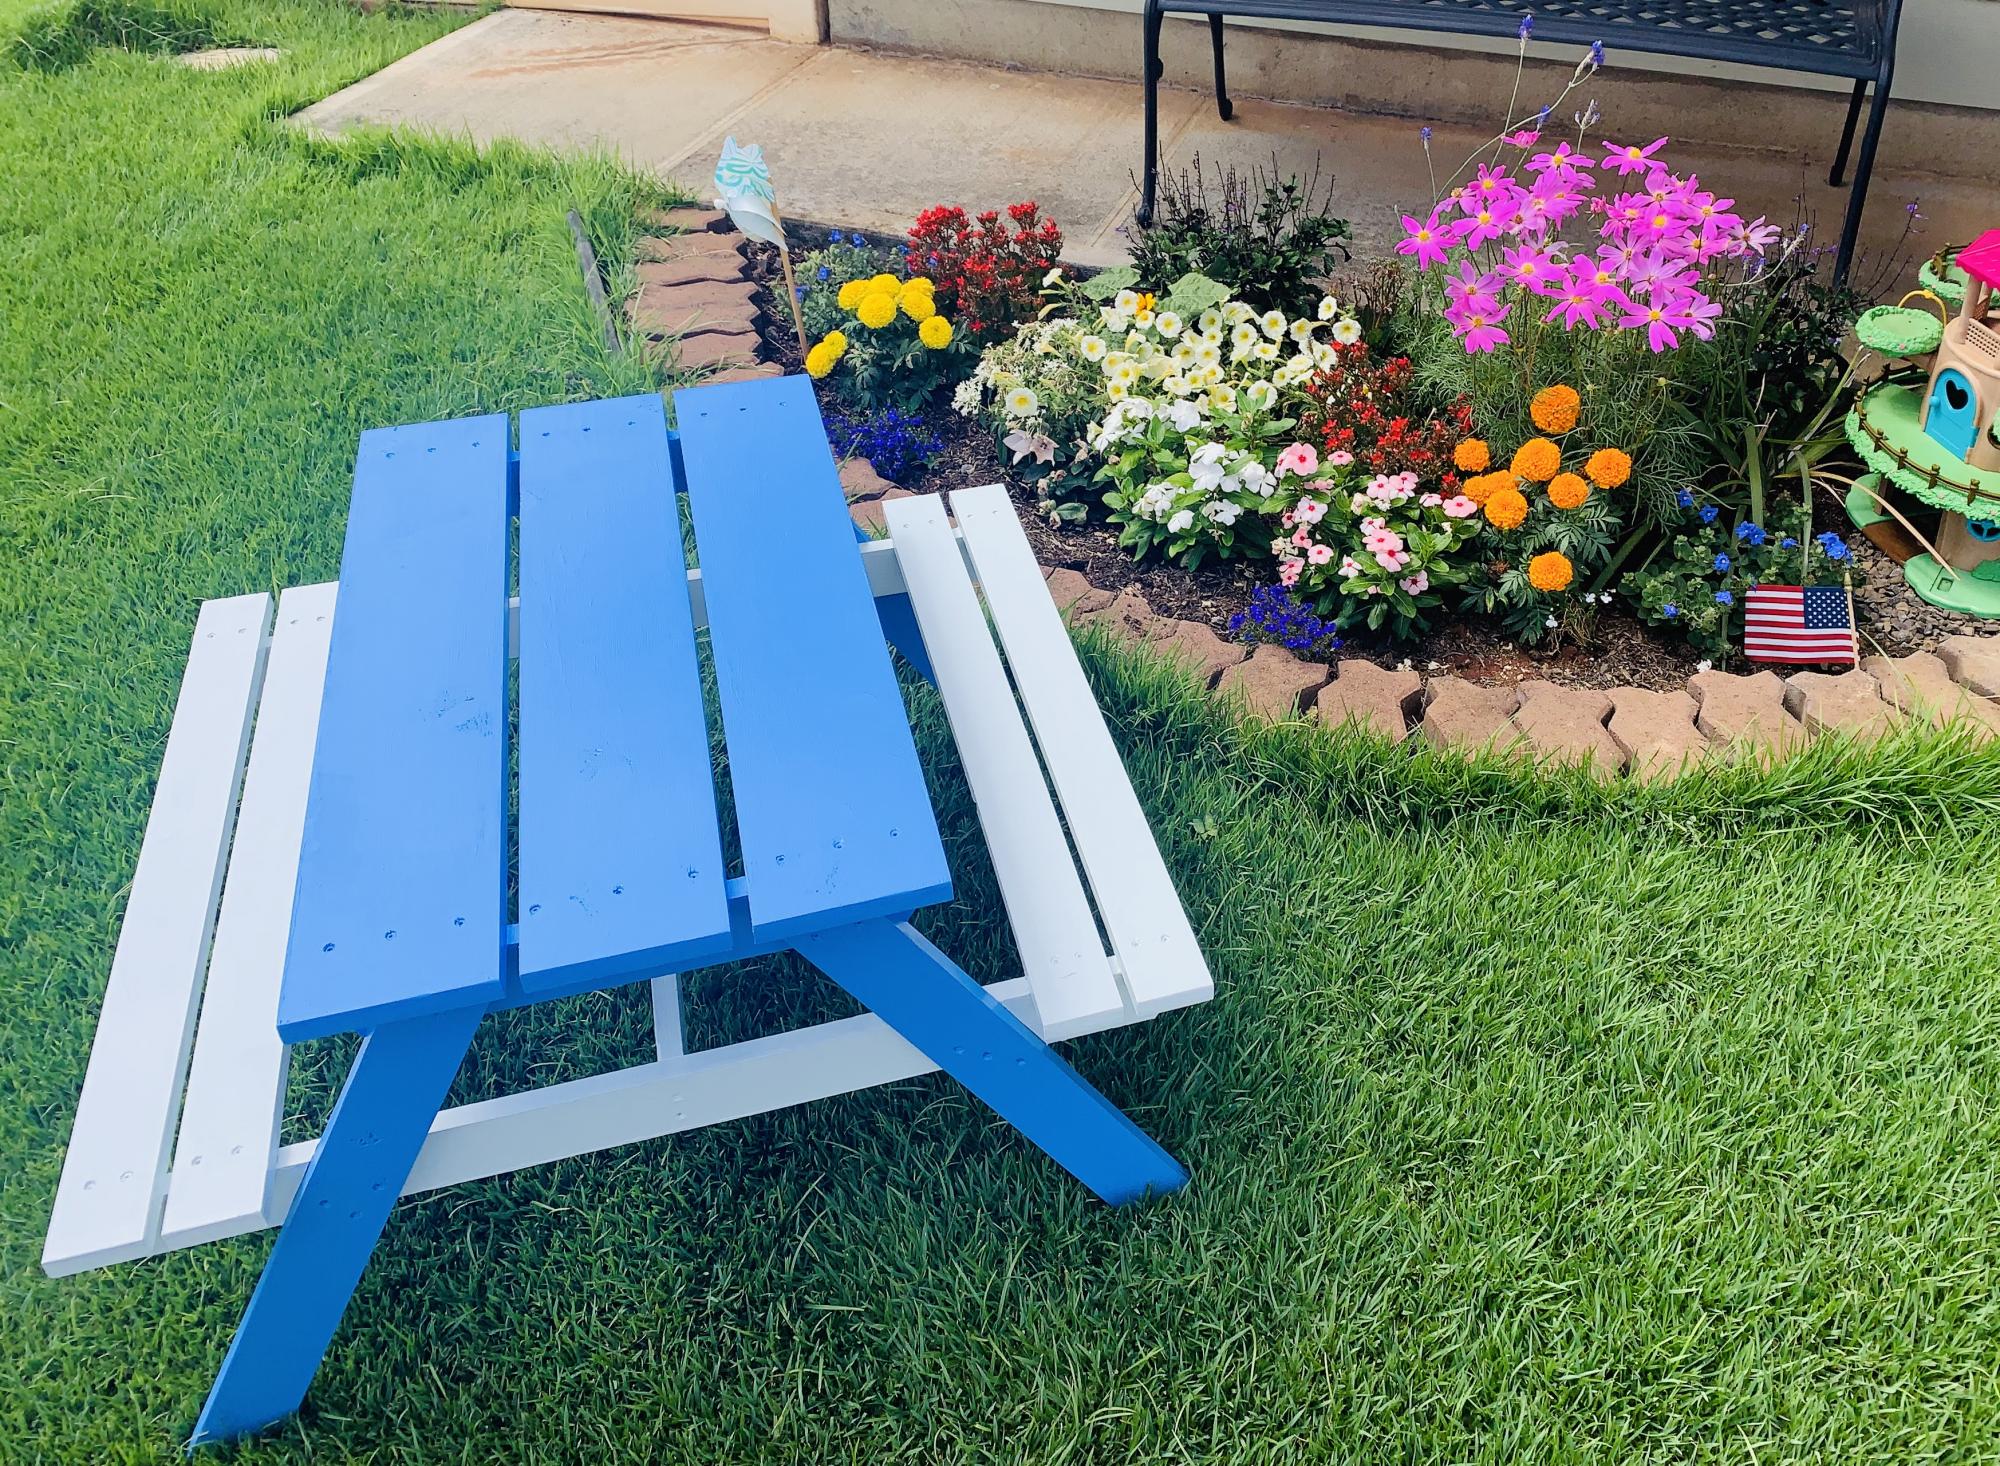
Preschool picnic table from plans posted on Ana White. Thanks for sharing the plans. My kids and family love the table. Doesn’t take long to make, but painting with two colors added some extra time.

Built from Plan(s)
Estimated Time Investment
Afternoon Project (3-6 Hours)
Finish Used
Paint
Recommended Skill Level
Beginner

Farmhouse Mirror

Submitted by Anonymous (not verified) on Mon, 03/27/2023 - 09:26

This is a simple project that requires very few tools and a beginners level took about a hour to make:)

Comments

headboard, queensize

Submitted by elainefour on Tue, 12/13/2011 - 08:34

I needed a guest room, pronto, so I made this bed in an afternoon. I used lots of glue and my cordless finish nailer. I'm very happy with the outcome and thinking about my next project. Thank you, Ana.

Estimated Cost
$200
Estimated Time Investment
Afternoon Project (3-6 Hours)
Finish Used
dark walnut stain painted over with antique white milk paint, then distressed around the edges.
Recommended Skill Level
Beginner

Comments

Farmhouse table

Submitted by TCrilly on Tue, 11/05/2013 - 17:29

We originally re-sized these plans smaller to make a worktable for my office. Once that was built and we realized that we actually could make a table, we decided to make the full sized version. It turned out beautifully! A couple of clients have actually asked if they could pay us to make them one! Thank you, Ana, for the plans. :-)

Estimated Cost
$110
Estimated Time Investment
Weekend Project (10-20 Hours)
Finish Used
Cabot walnut with semi-gloss poly
Recommended Skill Level
Starter Project

Rustic coffee table

Submitted by Anonymous (not verified) on Thu, 01/21/2016 - 04:18

I used pallet wood on the top and regular 2x4's on the bottom section.

Built from Plan(s)
Estimated Time Investment
Day Project (6-9 Hours)
Finish Used
Polyurethane on the top, and black paint below
Recommended Skill Level
Beginner

Comments

Outdoors couch

Submitted by Anonymous (not verified) on Tue, 04/04/2023 - 18:12

After thinking about it for 2 weeks, going over and over in my head of the sizes to cut and remembering the video of what went where, I put it to action. Took me about 2.5 hrs to build and modify where I needed to.

Comments

Flip Top Storage Bench

Submitted by trev88 on Sat, 12/17/2011 - 13:43

I came across Ana's website while searching for bench ideas and I liked her Flip Top Storage Bench a lot. I like the idea of wood lap joints which can add an antique effect, so I added two wooden squares in the corners of the top 1 x 4.

I still haven't put the lacquer finish on yet but will upload finished photos soon.

Estimated Cost
$50 (minus the finish)
Estimated Time Investment
Weekend Project (10-20 Hours)
Finish Used
Minwax conditioner, Stained with Minwax Red Mahogany and will be finished with Sherwin Williams Vinyl Sealer then S-W Gloss lacquer.
Recommended Skill Level
Intermediate

Comments

Victoria Marie (not verified)

Tue, 02/21/2012 - 18:51

You did a great job with this! I love the finish.

I'm actually in the process of making it as my very first building project, and I have a question for you. My bench is kind of wobbly so far. I attached the shelves with one pocket hole in each corner (all that would fit) and I think that's the reason. I think I'm going to need to attach L brackets underneath the bottom shelf for support. How did you attach the shelf, and is your bench sturdy? Thanks! - Victoria

trev88

Tue, 04/24/2012 - 08:13

Victoria,

For the top shelf, I put two pocket screws in each board, in each corner (so 4 per corner).

For the bottom, I put one pocket screw underneath the 1x12 in the corners (total of 4 screws), then the 1x2 or 1x3 strip i nailed into the 1x12.

Everytime board touches board I use glue also. Mine is holding up pretty good and sturdy. I know this stuff is hard to explain so if you send a photo that might be easier to explain.

Trevor

DIY Upholstered Dining Chairs

Submitted by katie0910 on Fri, 11/08/2013 - 08:35

We built these Parson chairs to go with our farmhouse table. We wanted to save some money as well as have chairs that matched our table perfectly. We absolutely love them! I modified the plans a bit, so please check my blog post to see how I made these to fit our table.

Built from Plan(s)
Estimated Cost
$40 each
Estimated Time Investment
Weekend Project (10-20 Hours)
Finish Used
Minwax Provencial
Minwax Polycrylic
Wood conditioner
Recommended Skill Level
Beginner

Comments

JoanneS

Fri, 11/08/2013 - 17:00

Your chairs look awesome! Beautifully done and the upholstery looks very professional. The finish and colors look perfect with your table. Great build!

Double art desk

We have two girls of drawing age so we made this one a double desk, so each of them could have there own paper roll. We used eye hole fastness on the top and elbow brackets on the bottom to secure to the wall.

Recommended Skill Level
Intermediate

Comments

Laundry Sort/Fold Station

Submitted by Tbacks on Sun, 07/07/2019 - 19:26

A laundry room remodel is on the to-do list but by using the laundry station pattern as a base I made a few adjustments to complete my station.  

Stain is Varathane Briarsmoke.  Absolutely love the color!!

Built from Plan(s)
Estimated Cost
$100
Made from pine common board with a sanded birch tabletop.
Estimated Time Investment
Weekend Project (10-20 Hours)
Finish Used
Varathane Briarsmoke
Recommended Skill Level
Intermediate

Entryway Bench

Submitted by Anonymous (not verified) on Tue, 04/11/2023 - 19:22

48 in wide and 18 in deep. Love how it turned out.

Built from Plan(s)

Comments

Kitchen Hutches

My kitchen cabinets were deep, dark and disorganized. Trying to find things was like cave exploring. When we began remodeling our kitchen I knew those cabinets had to go and be replaced with some open shelving where I could see things without a flashlight.
I love how these turned out! Now I can see what I need and don't have to spend 20 minutes with a flashlight digging through a cabinet.
I plan on making curtains to cover up the stuff on the bottom shelves so my kitchen doesn't look quite so busy.
Thanks Ana!

Built from Plan(s)
Estimated Cost
$300. for two hutches approx. 7ft tall x 4 ft wide x 2 ft deep on bottom and 1 ft deep on top
Estimated Time Investment
Week Long Project (20 Hours or More)
Finish Used
MinWax Pre-Stain, MinWax Golden Oak stain for the main body
Zinsser 1-2-3 primer, Rustoleum Hammered Metal spray paint for the tops
Varathane polyurethane over everything
I was amazed at how much stain this wood soaked up even with using the pre-stain! Started out buying a small can and ended up going back to buy a 32 oz. and then having to buy another 32 oz and used half of that.
Also used about 6 cans of the Rustoleum. Learned that the trigger spray works much better than the regular spray for creating the textured finish.
Recommended Skill Level
Beginner

Comments

Pam the Goatherd

Tue, 12/20/2011 - 06:57

It looks like the one hutch is leaning, but it's square. I live in a mobile home and have found that NOTHING is square in my tin-can home! At least the furniture that I've built is square.

viola

Tue, 12/20/2011 - 15:11

Pam I love your hutch and the new use of space. I would love to see more plans for Mobile/manufactured homes, small homes, and apartments. Love anything that is multi-use or space conservative like built-ins.

Pam the Goatherd

Wed, 12/21/2011 - 09:30

Thanks, Viola. Our place is only 900 sq ft so I'm always trying to find ways to make things more efficient around here. I have been amazed at how much these hutches hold. I think my next project is going to be an entertainment center for our living room that will also have space for all our chargers.

JoshC

Mon, 07/09/2012 - 15:52

I love the hutch. My wife and I also live in a small house with very little cabinet space. I like your open space idea and your hutch looks great.

Outdoor Side Table

I adjusted the size of this table for the space between the chairs in our screened in porch. It's a cute little addition, it it was a cheap, fast project.

Built from Plan(s)
Estimated Cost
15
Estimated Time Investment
Afternoon Project (3-6 Hours)
Finish Used
I spray painted this in a fun bright blue.
Recommended Skill Level
Starter Project

Shoe Bench

Submitted by Anonymous (not verified) on Tue, 01/26/2016 - 19:31

I needed something to control the shoe situation by the front door. After looking at several Ana White plans, I knew the Spa Bench would be perfect. I modified it just a little, and you can get more details in my blog post.

Built from Plan(s)
Estimated Cost
$30 in wood
$10 finishing products
Estimated Time Investment
Day Project (6-9 Hours)
Finish Used
Paint (Behr marquee sample)
Stain (Minwax)
Polycrylic
Soft touch varnish
Recommended Skill Level
Beginner

Comments

2x4 outdoor sectionals, modified 2x4 coffee table

Submitted by damcow88 on Mon, 07/15/2019 - 06:09

I took the 2x4 outdoor sectional plans and built two complete sectionals, then I modified the 2x4 coffee table plans to accommodate a home made fire table. I built the burner and plumbed the system using an old stove top from an RV and some black iron pipe. To finish off the set, I used my tiger torch to burn the wood and sealed it all with spar varnish. I love it!

Estimated Cost
$200
Estimated Time Investment
Day Project (6-9 Hours)
Finish Used
Wood burning and spar varnish
Recommended Skill Level
Beginner

Comments

Outdoor Sectional with Slanted Back

Submitted by Anonymous (not verified) on Sun, 04/16/2023 - 11:28

Fun project! Started with rough western red cedar which I ran through a jointer and planer to get good lumber.

I made a few changes to the design. I used thinner seat boards and cut a leaning tilt in the backrests. I also added 2 boards on the back rests.

I used all pocket holes to hide the screws. Once they dry out I will seal the sectionals.

Got a full set of cushions on Amazon for $300. Total for this project was around $700. Not too bad!

Laptop Table Customization

Submitted by hapsap on Sun, 12/25/2011 - 06:08

Thanks for the laptop table idea. I added a shelf, used furniture sliders for the feet (on carpet), and did a plastic inlay on top to put pictures. I used primed white MDF and painted it black, then brown, and gave it a weathered look by sanding it. This was a Christmas present for my mom and she loves it.

Estimated Time Investment
Afternoon Project (3-6 Hours)
Finish Used
Interior paint
Recommended Skill Level
Beginner

Comments

Leslie in RI (not verified)

Sun, 12/25/2011 - 09:57

I built this shelf for my two pugs to hang their stockings for Christmas. As you can tell, they've been a little naughty lately. Actually, Lesterann, my three month old, has been the naughty one. Calvin, my 13 year old, is a prince. :)

I love this shelf and can't wait to use it in the kitchen as a reminder board.

Merry Christmas Everyone, and thank you Ana for all you do.

Apothecary style coffee table

Submitted by bhammond on Tue, 11/12/2013 - 12:12

Apothecary-style coffee table. I love it. And my family room is clean!

Estimated Cost
100
Estimated Time Investment
Weekend Project (10-20 Hours)
Finish Used
Old white paint I had stashed away, stained with coffee. I simply painted coffee over the white parts of my project, waited 20 minutes, then wiped it off.

Minwax english chestnut wood finish on table top. I also used a q-tip to apply this finish to sanded edges of false-drawers and corners.
Recommended Skill Level
Intermediate

Bird Houses

I love this pattern of Ana's! My husband and I made these together. We have 3 very tall pine trees close together, planted by my Mum 50 years ago; one for each child. Now a cedar bird house for each tree. An extra for our cottage in Garden of Eden, Nova Scotia.

Thank you for sharing this pattern Ana.

Darlene & Garry

Estimated Time Investment
Day Project (6-9 Hours)
Recommended Skill Level
Starter Project

Patio Couch

Submitted by Anonymous (not verified) on Sat, 04/22/2023 - 14:35

I have been asking my husband to help me build a patio couch with Ana’s plan. He just didn’t have the time. So yesterday I took about three hours, including the time to get the cedar, and built one with my sister. We had a great time and the plans were so easy. Bonus score… I found the great couch cushions on FB Marketplace super cheap. I love it!! It is perfect for our deck! Thank you Ana!!!

Built from Plan(s)

Comments