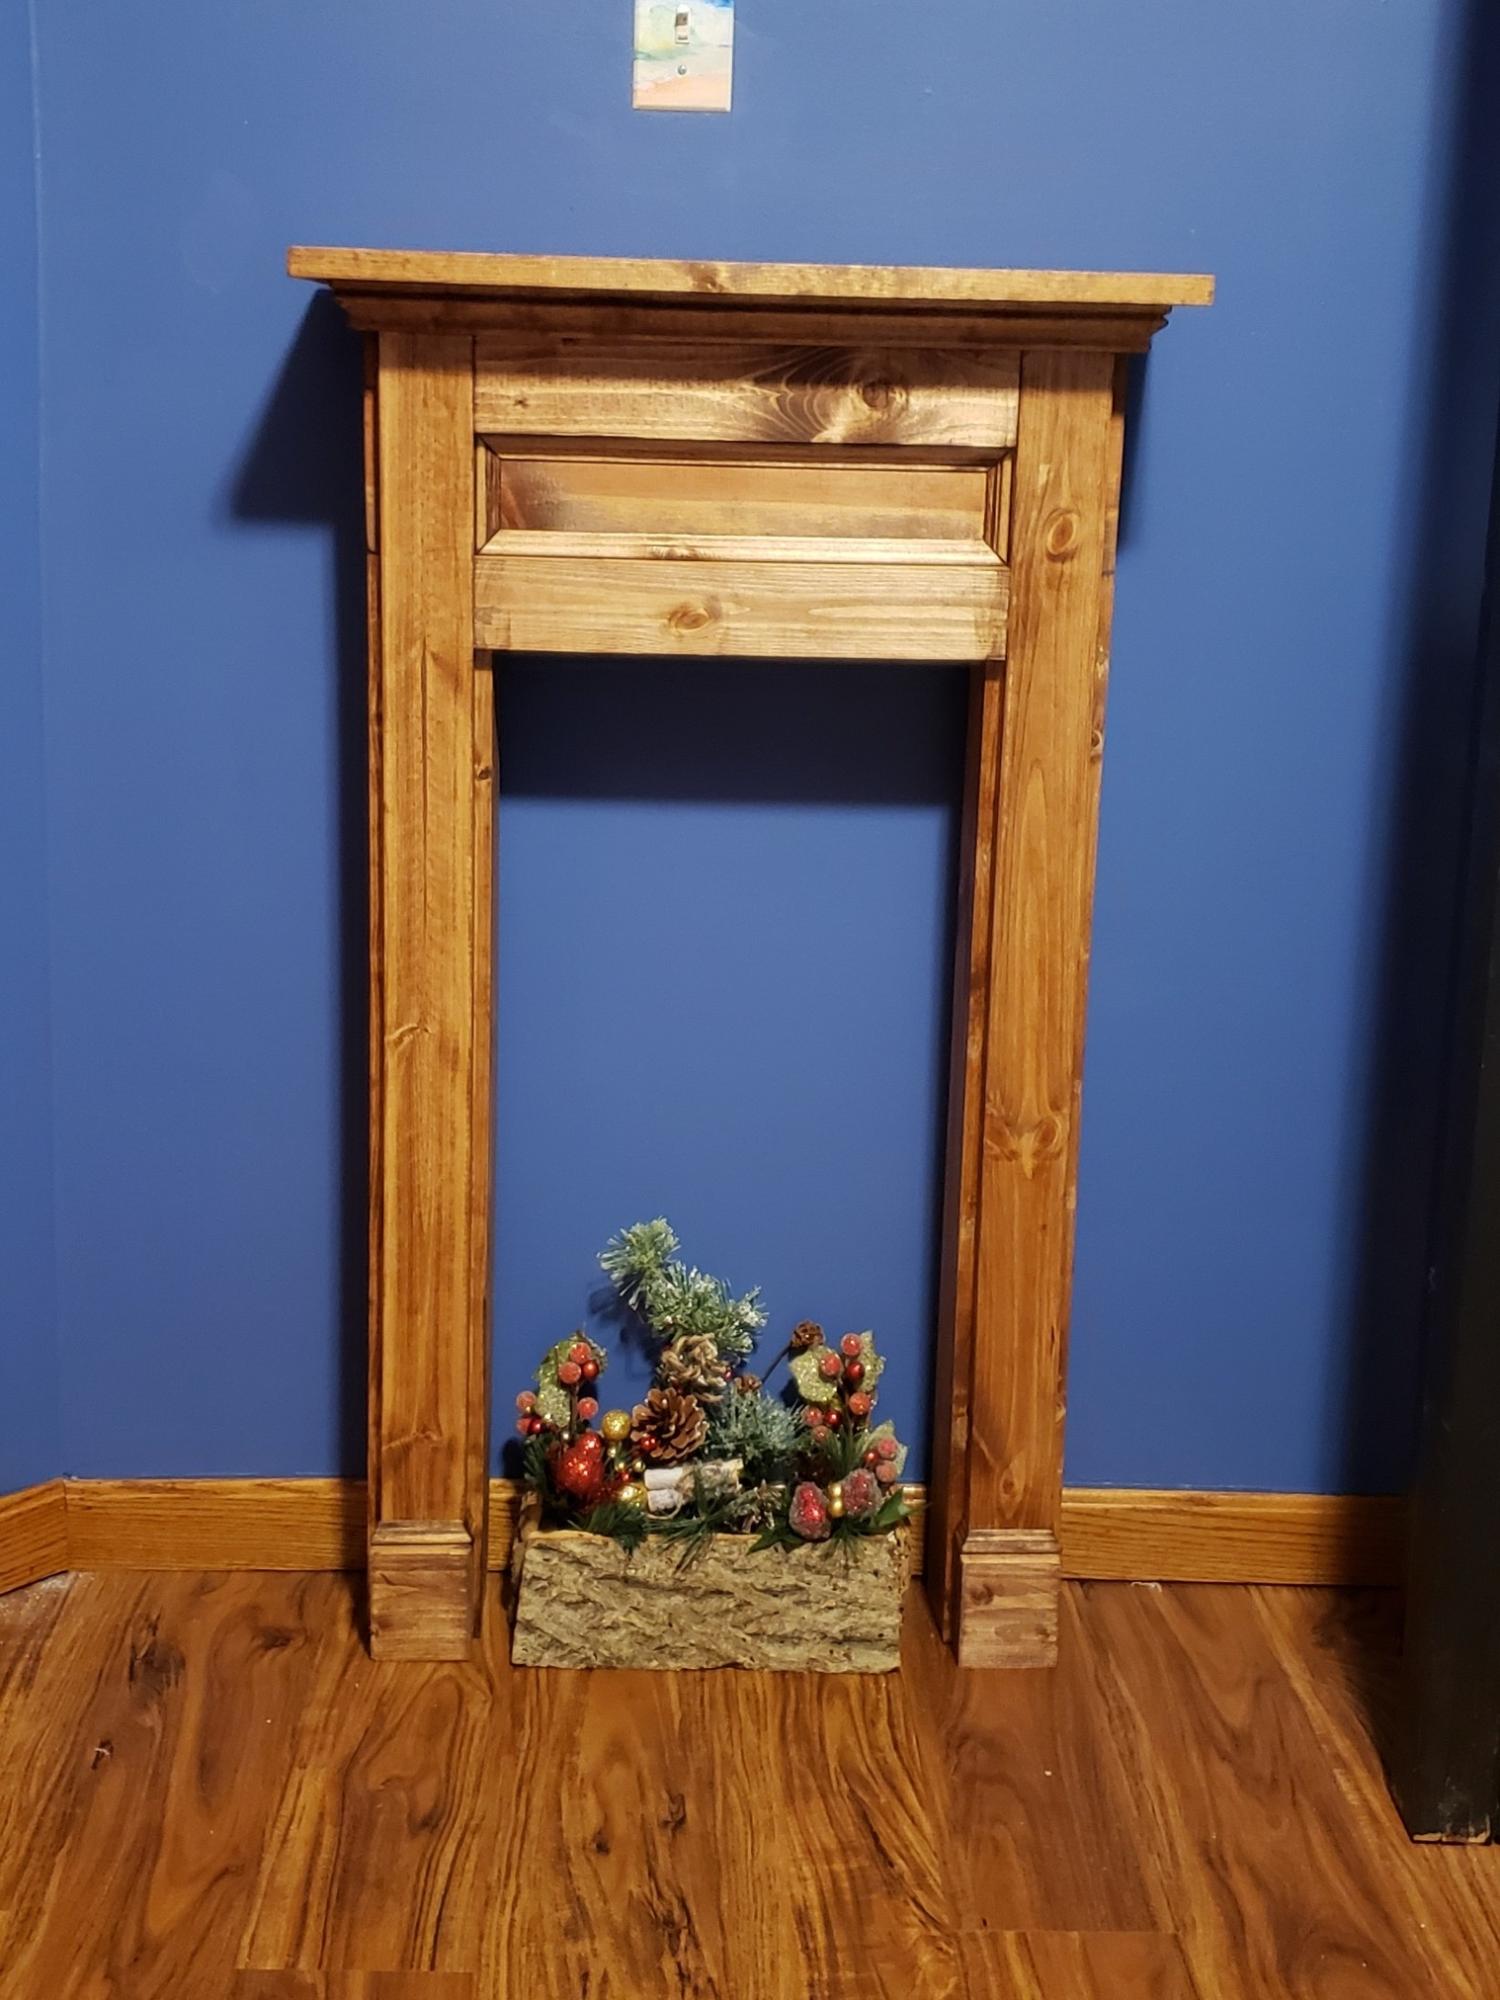
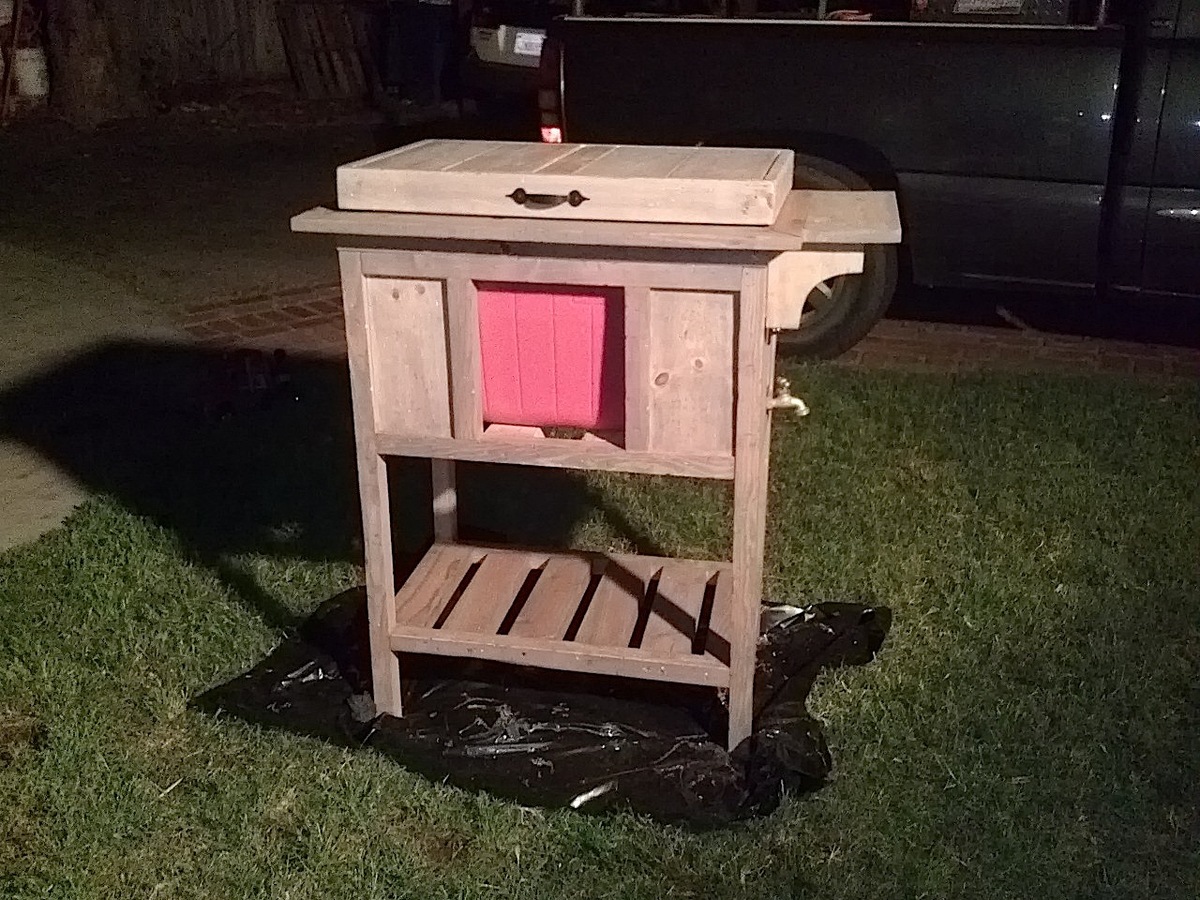
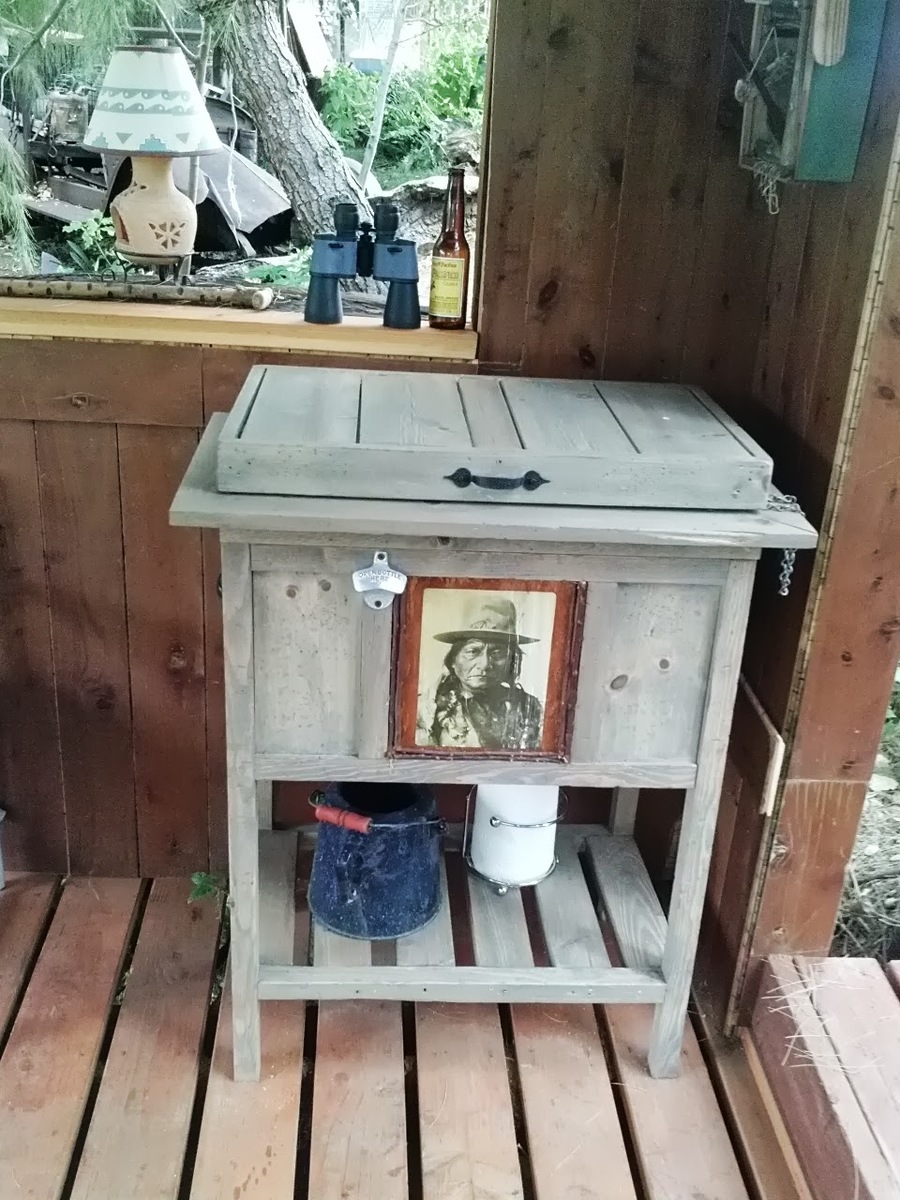
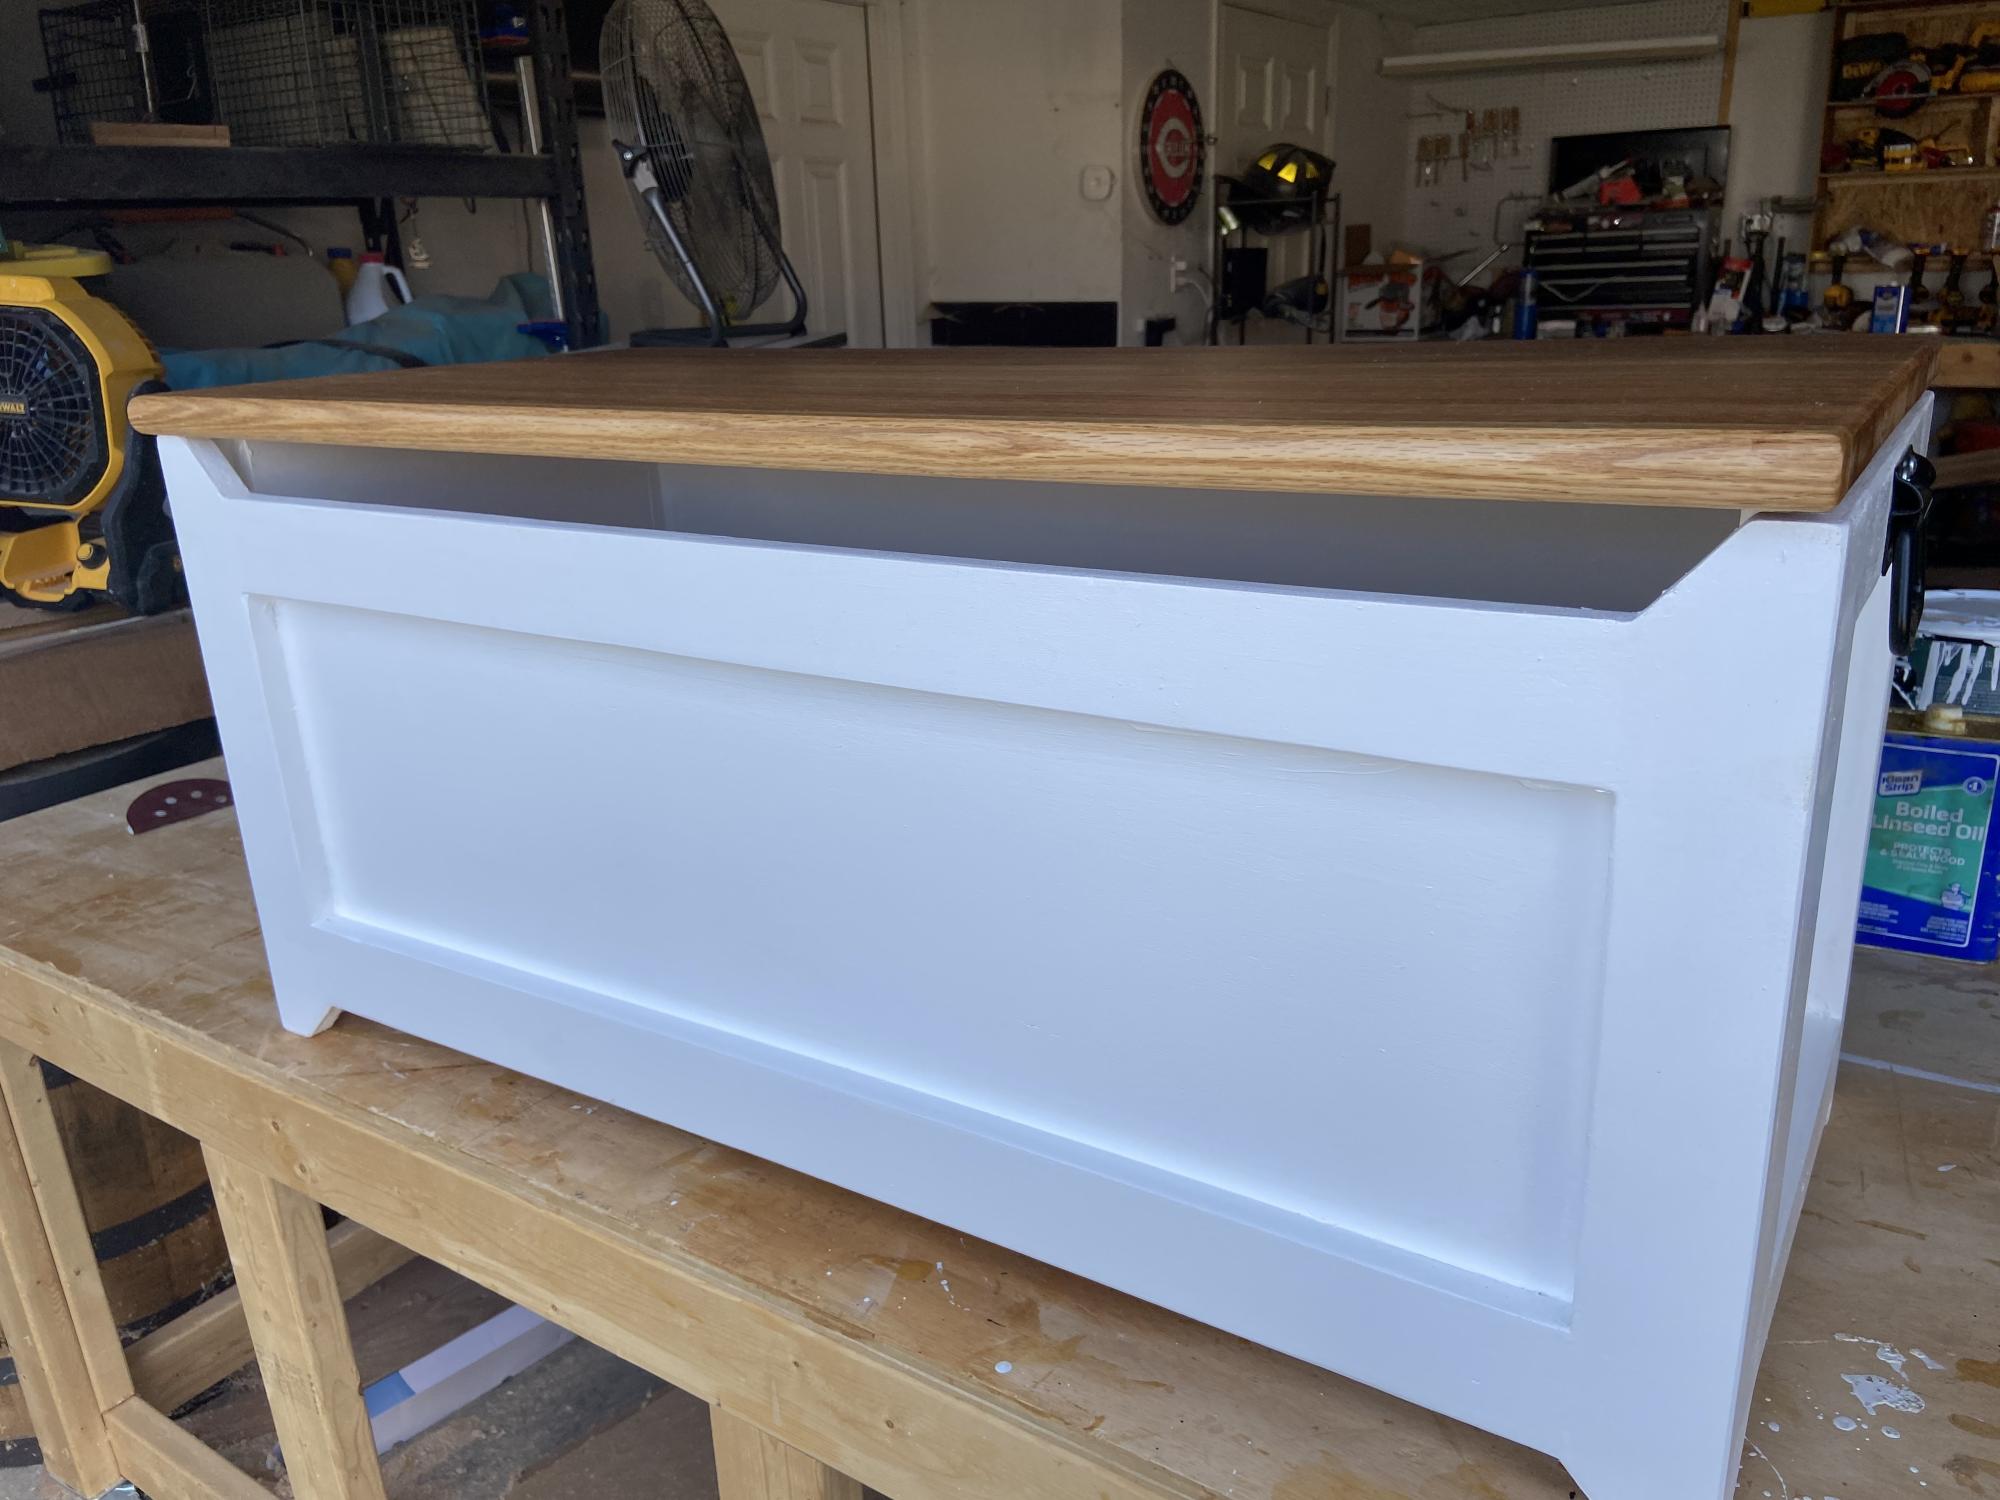
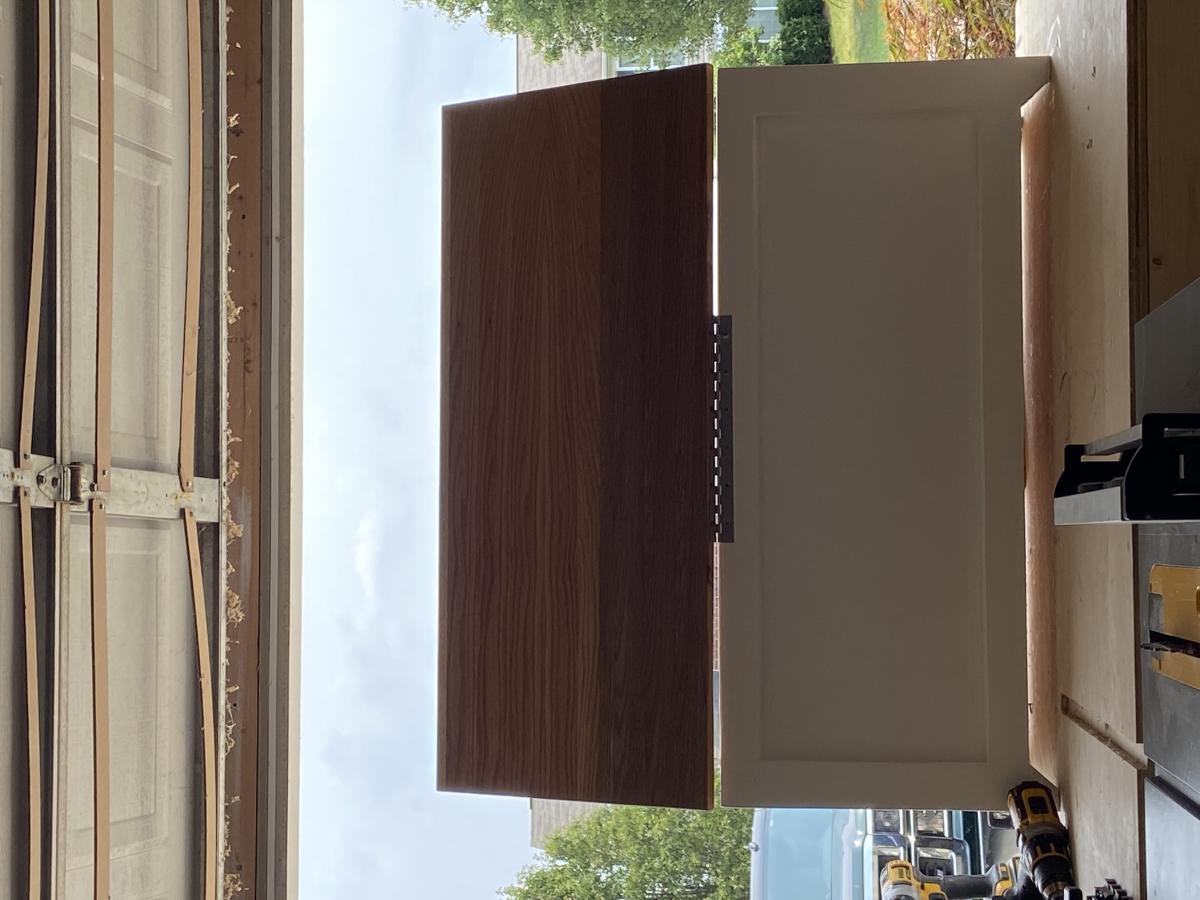
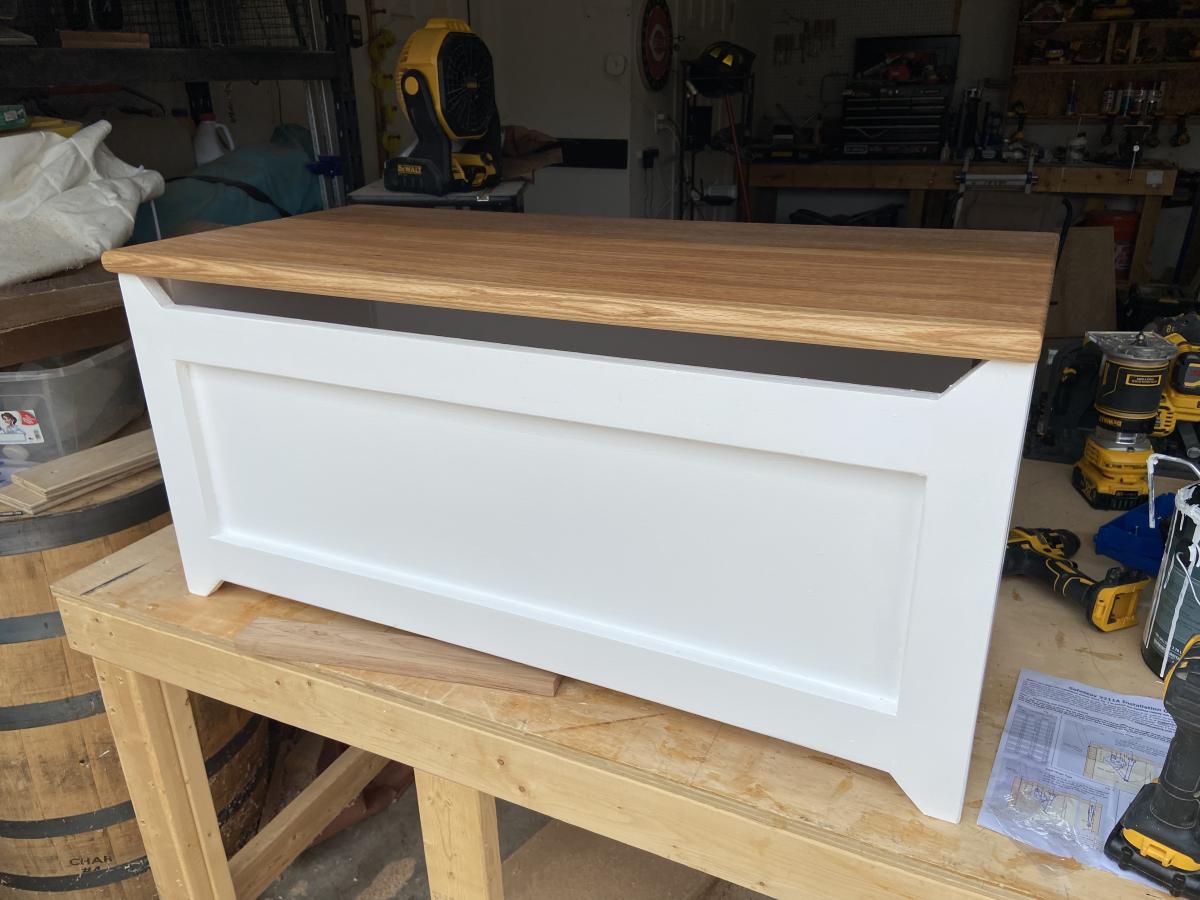
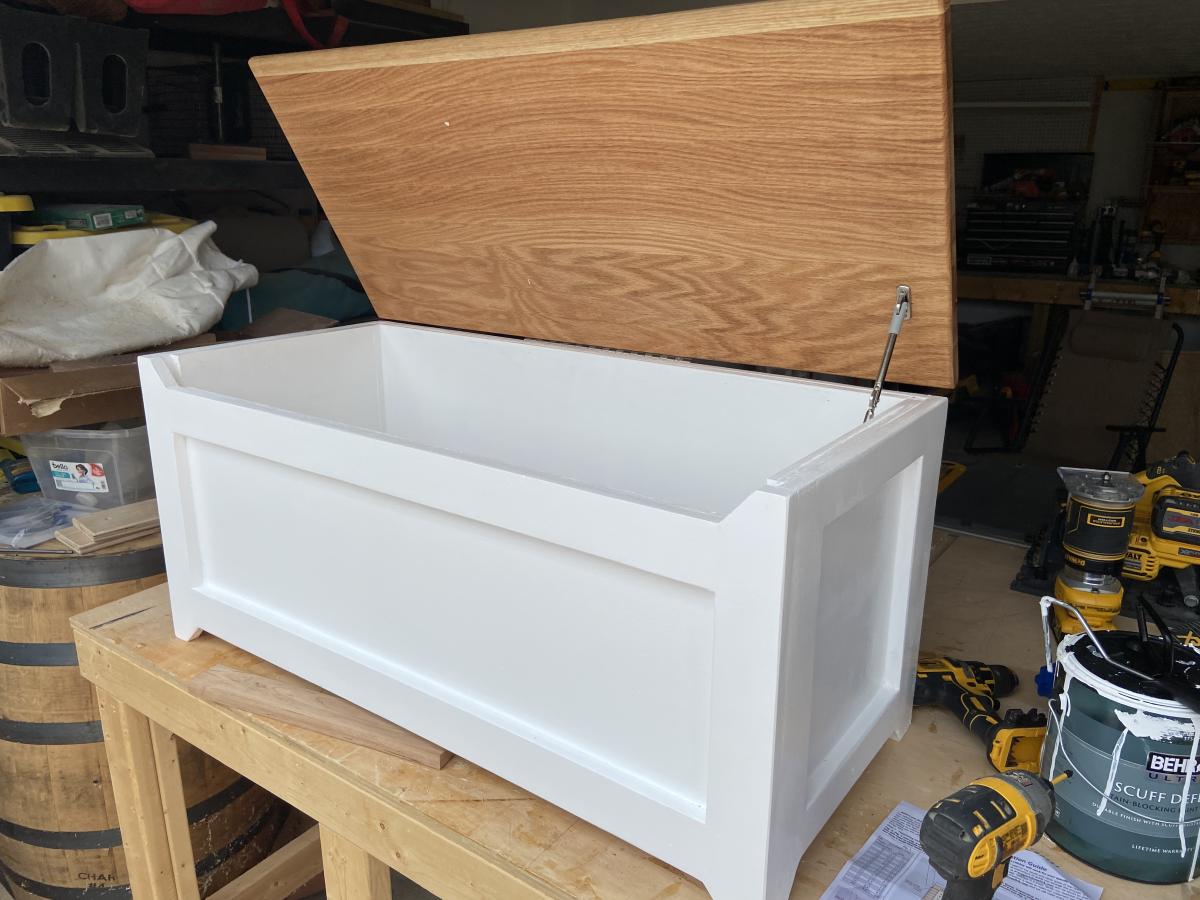
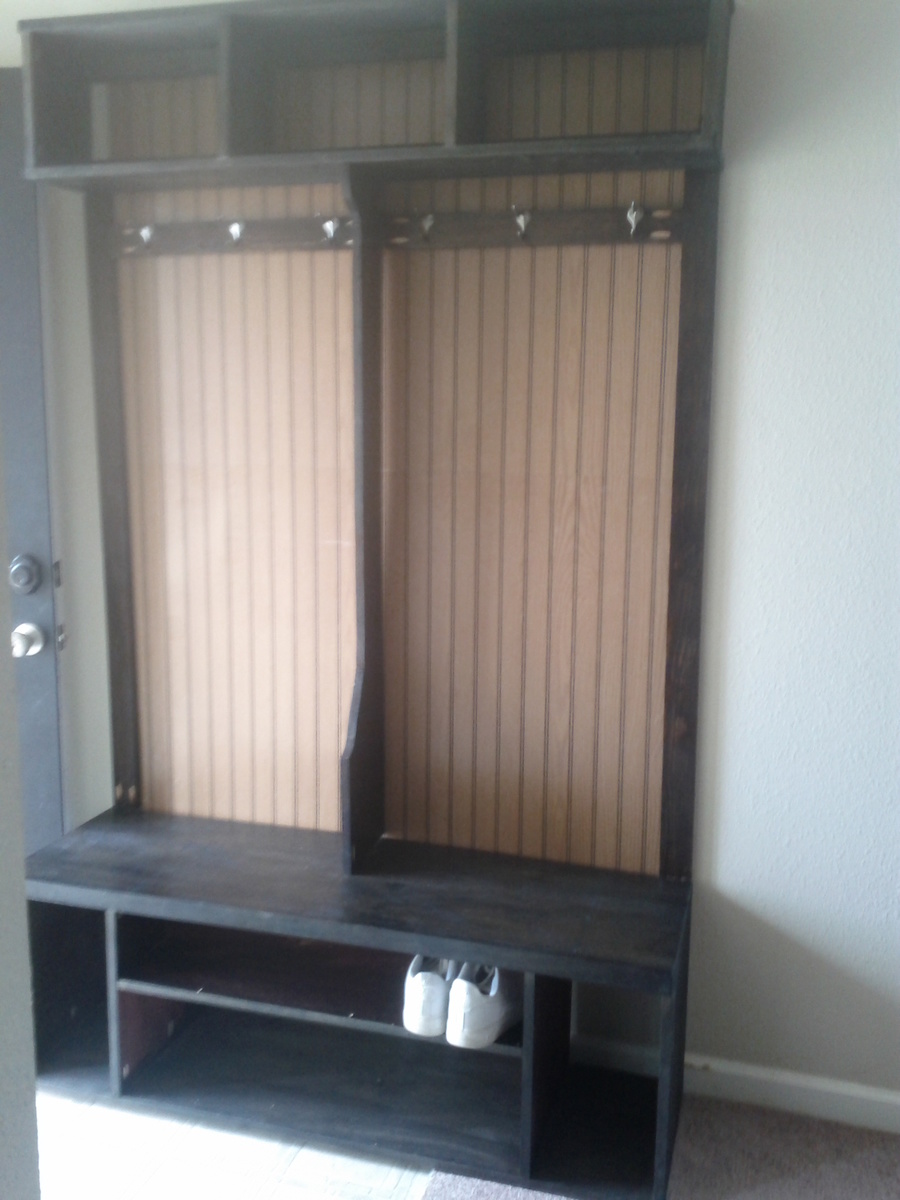
Mini-Mudroom hutch
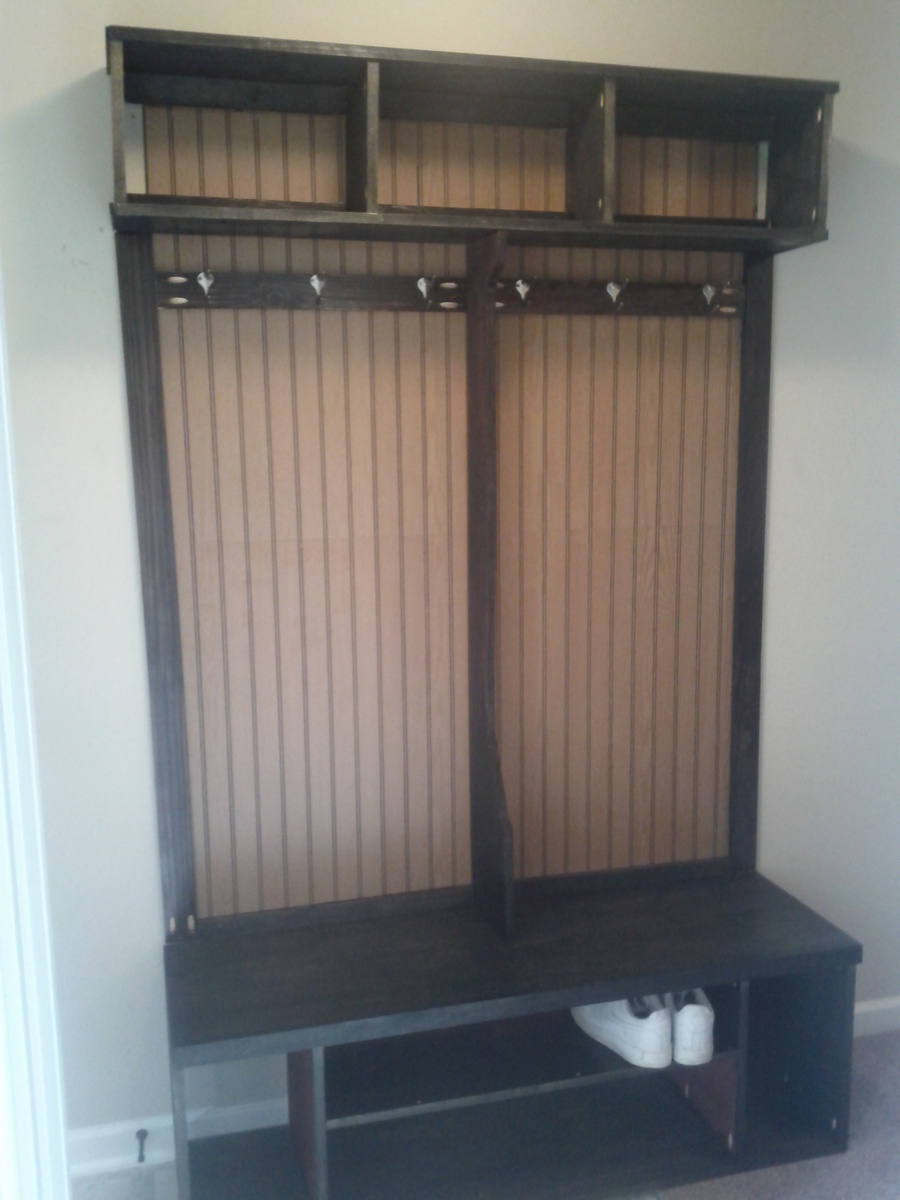
A simple mudroom hutch for my small entry way. Come on in take of your shoes, hang up your coat, and put away your hat. Make yourself tahome. This was inspired by the Yellow mudroom hutch I found on this site.
Estimated Cost
80.00
Estimated Time Investment
Weekend Project (10-20 Hours)
Finish Used
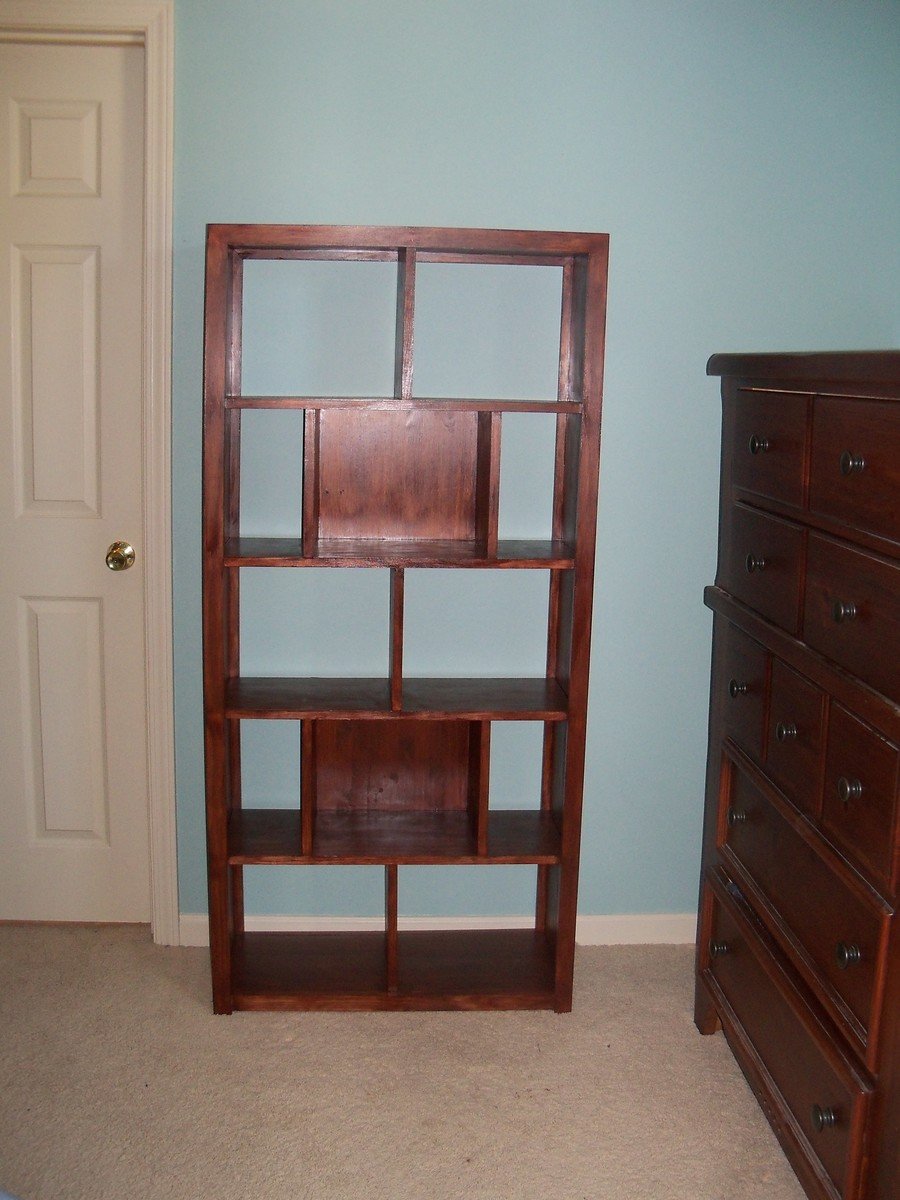
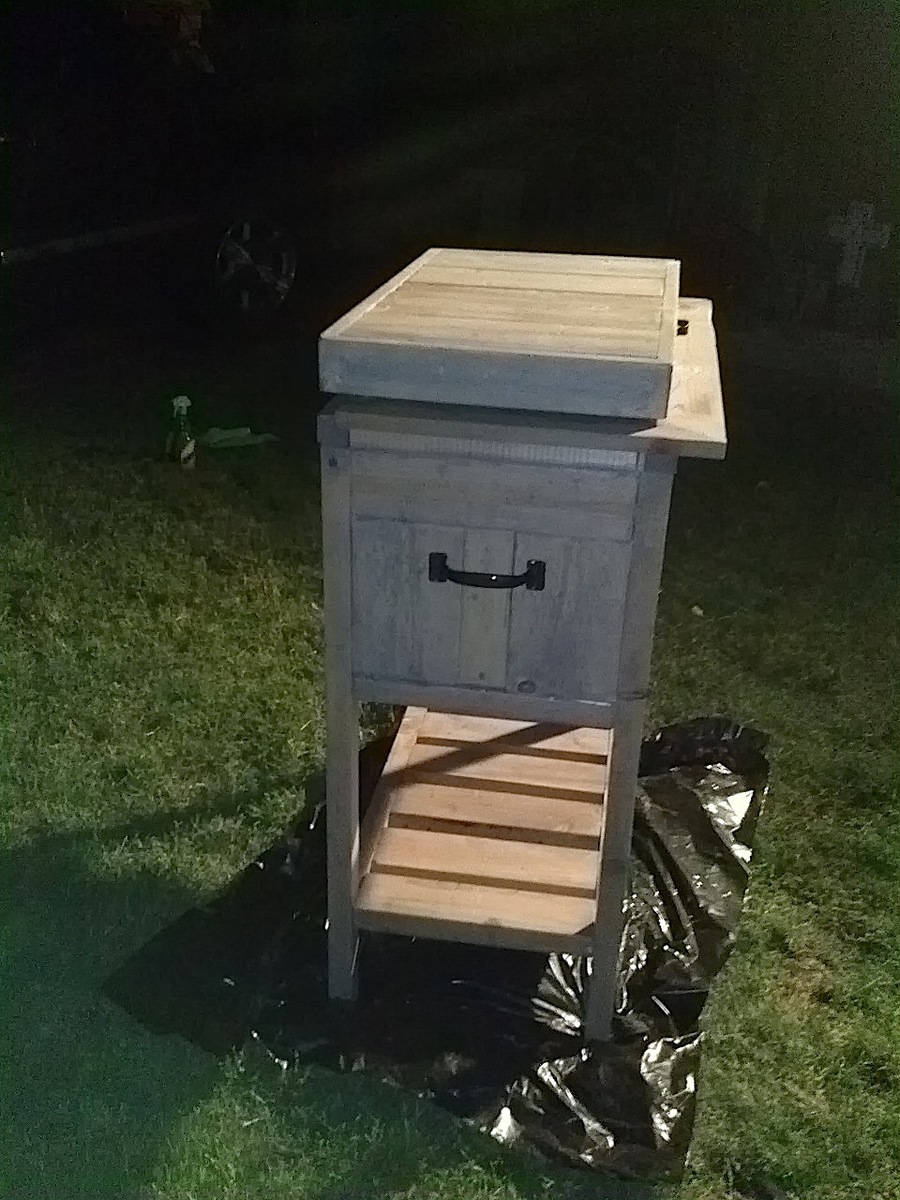
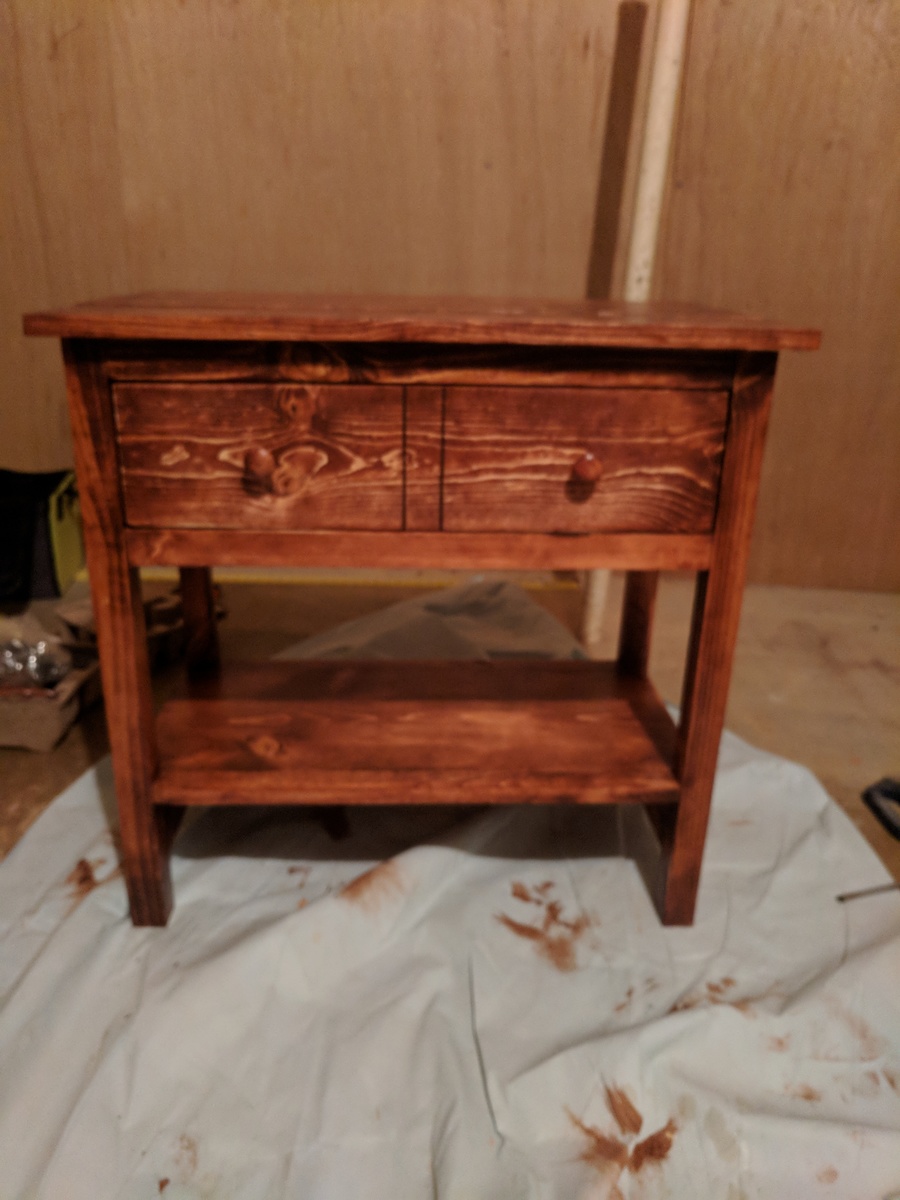
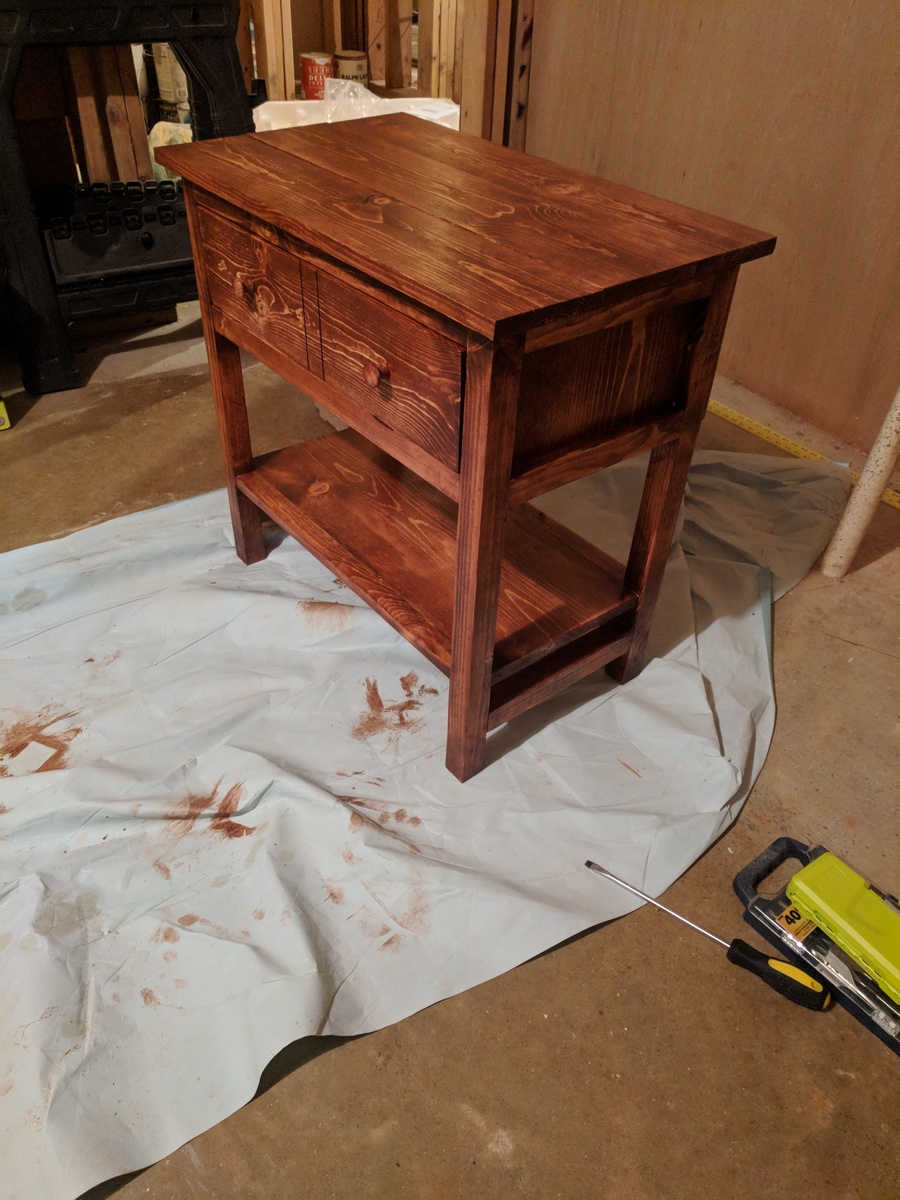
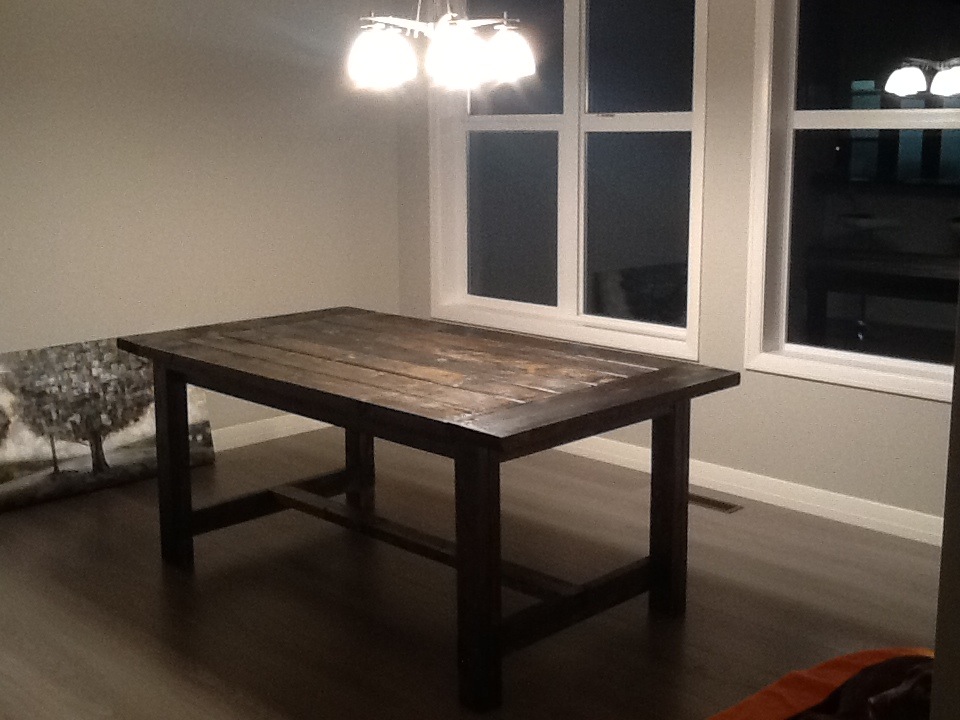
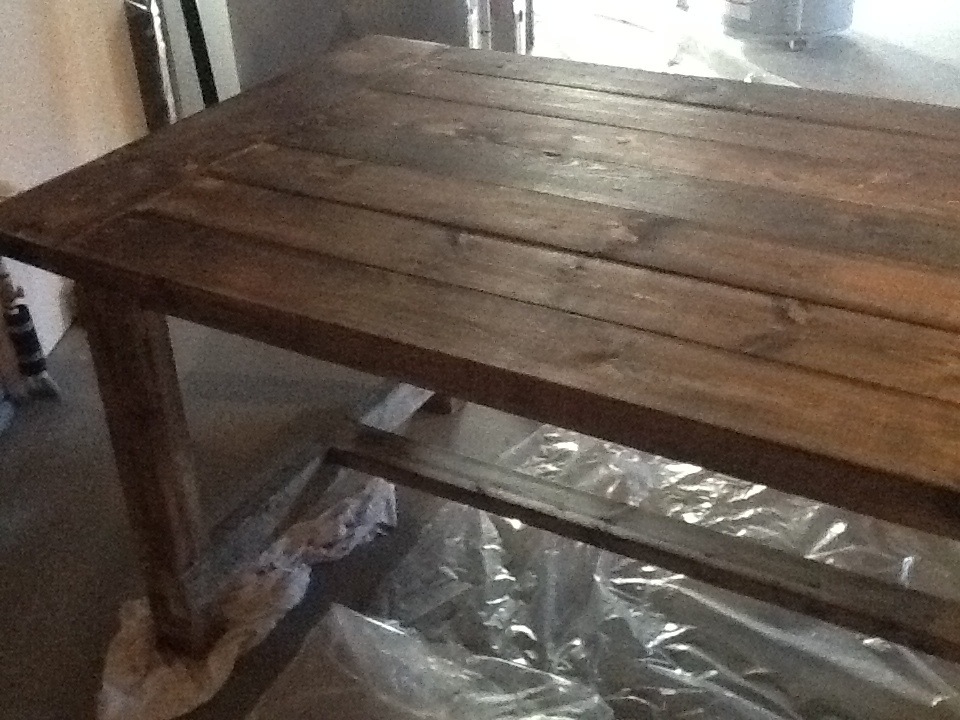
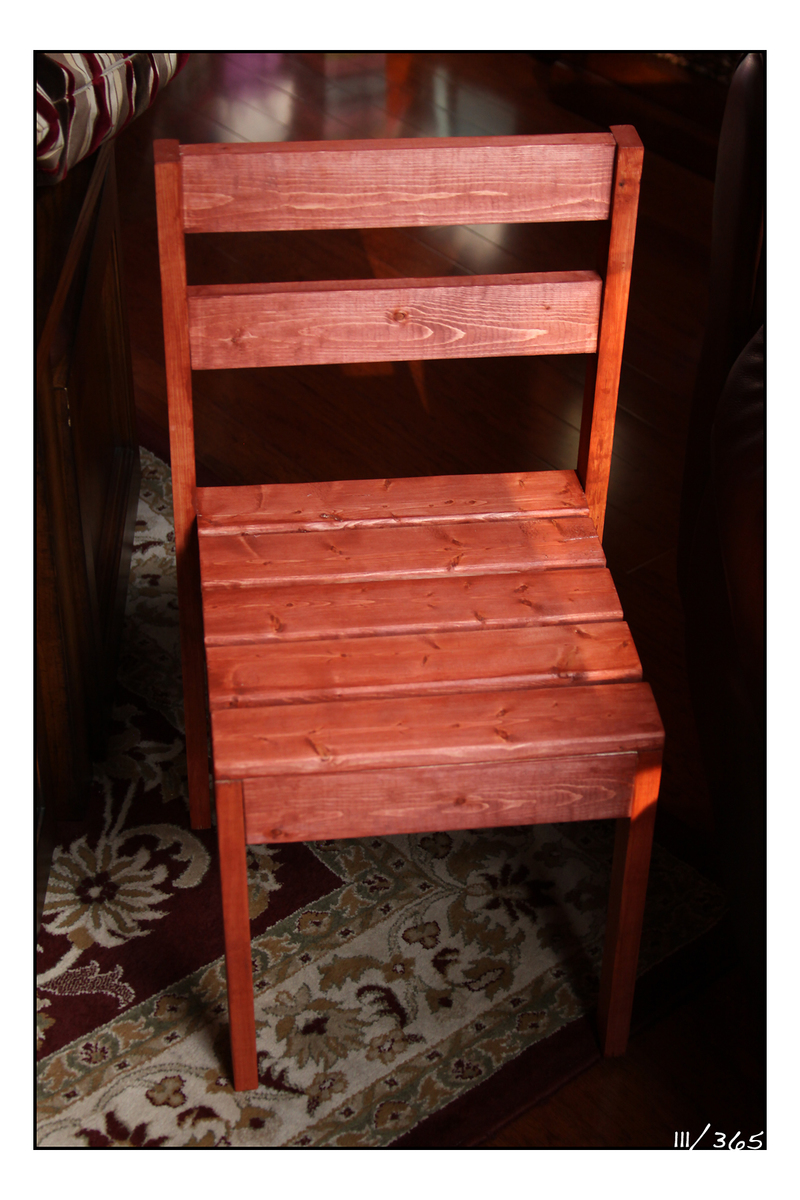
Mixed stain Minwax black and red. Mix to the shade you like and allow plenty of dry time.
Recommended Skill Level
Beginner