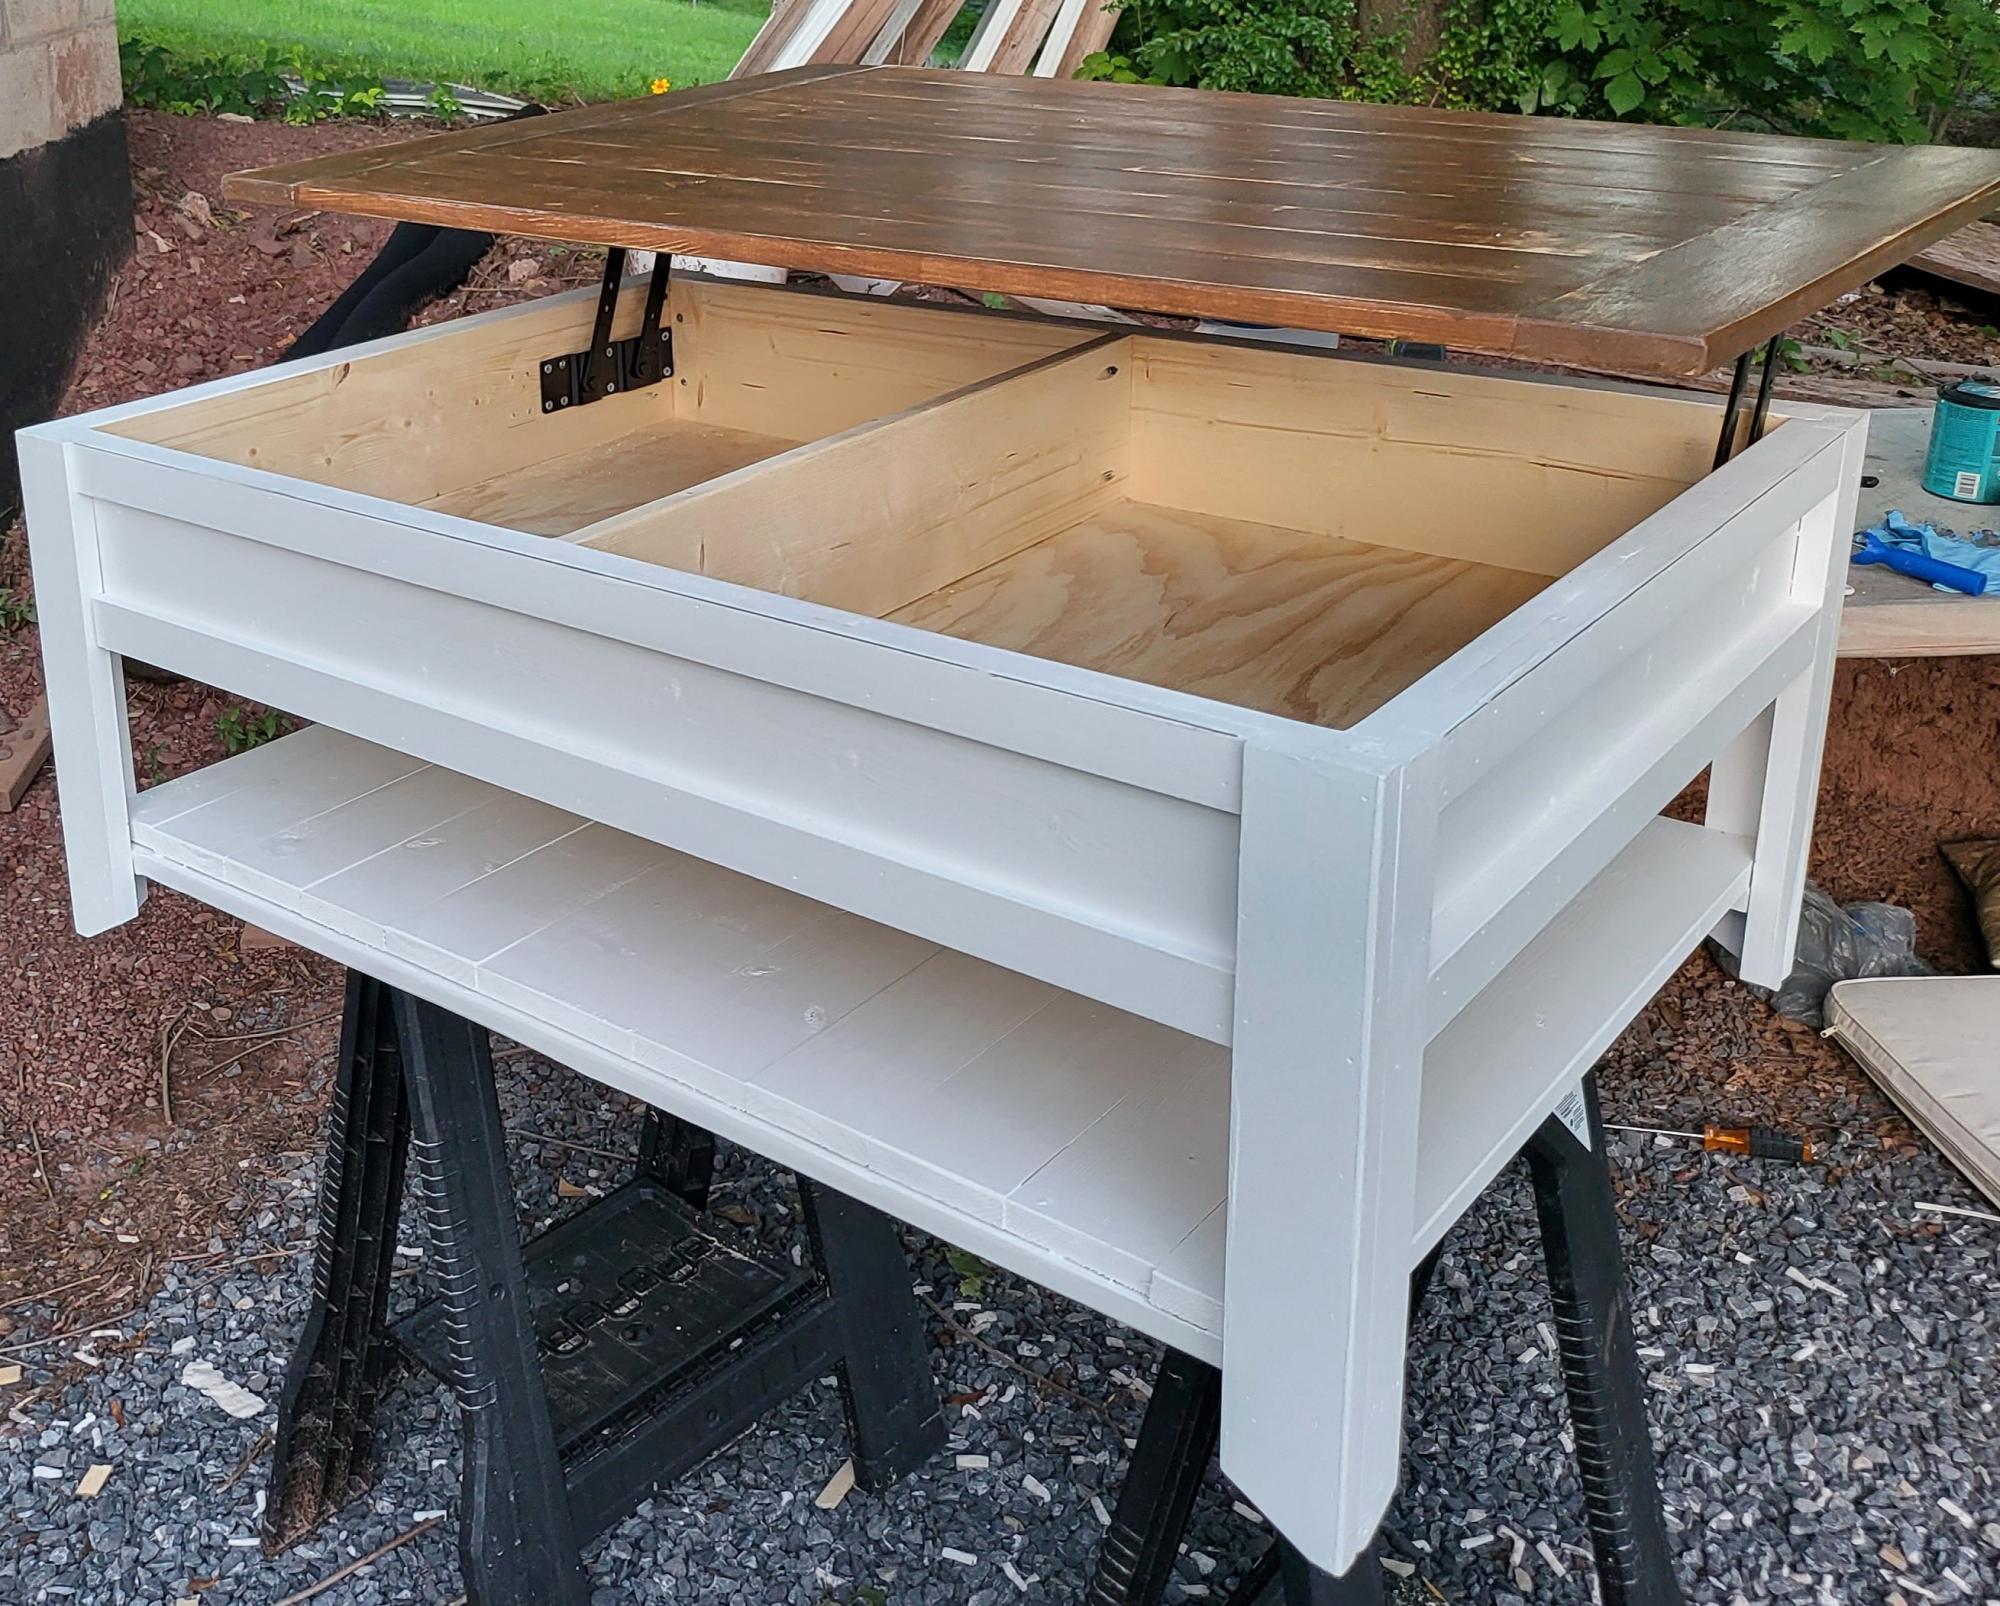
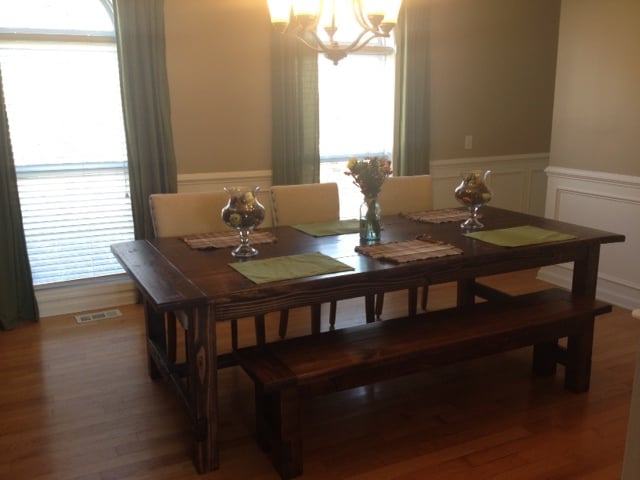
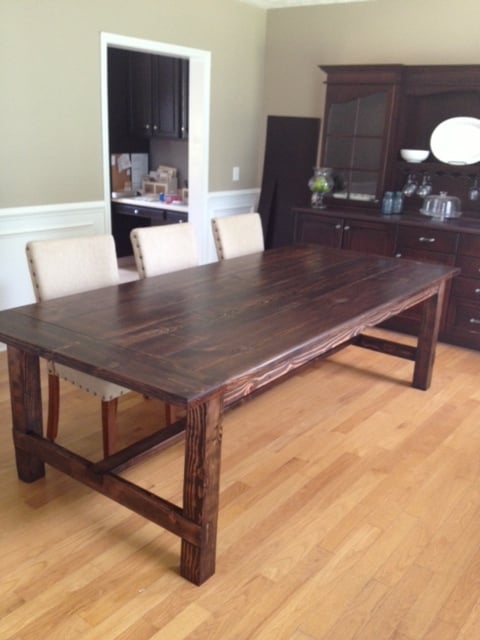
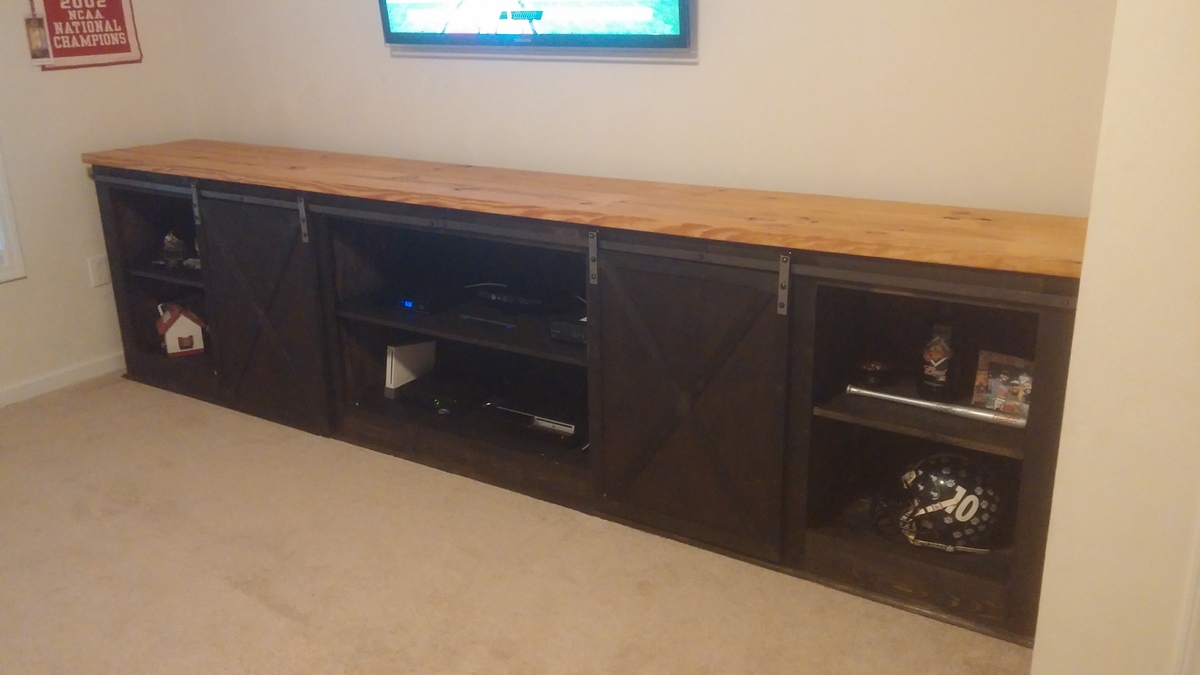
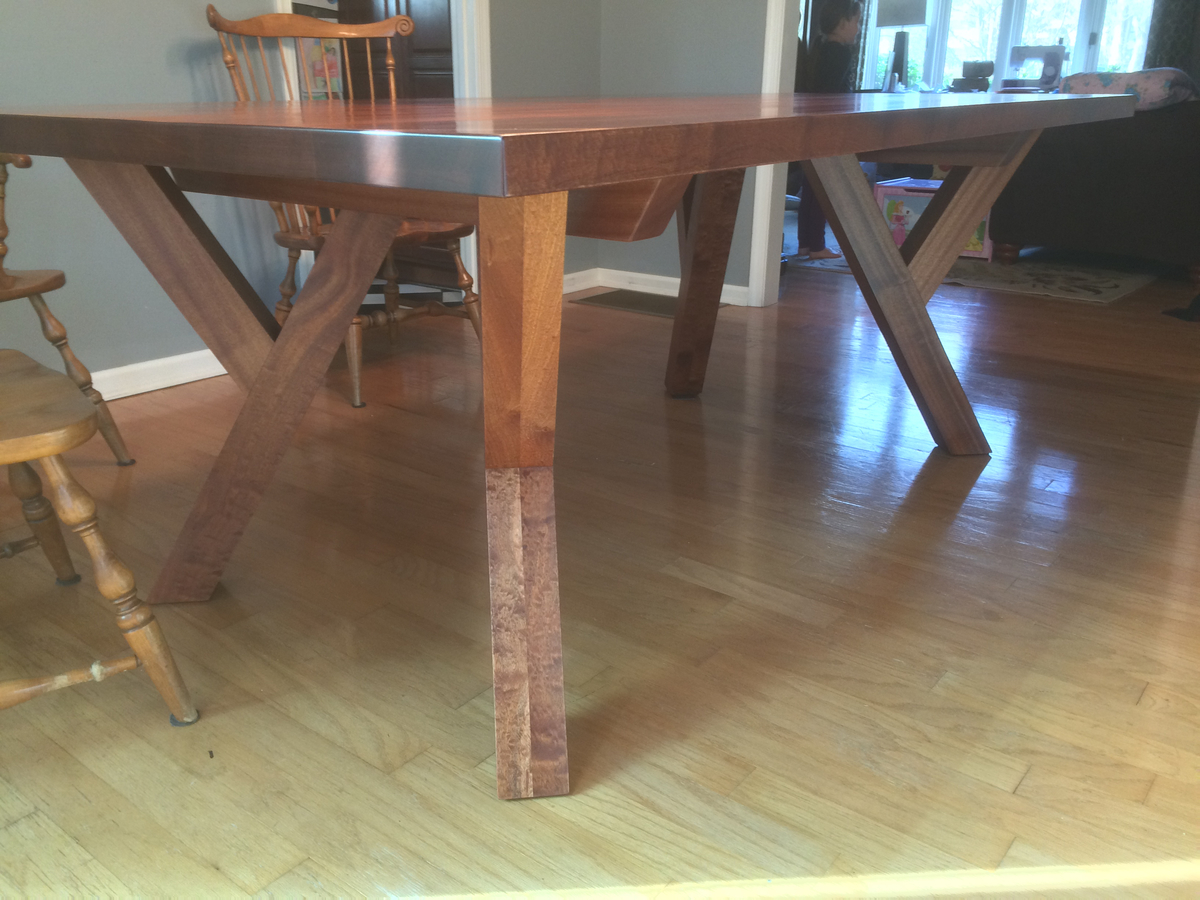
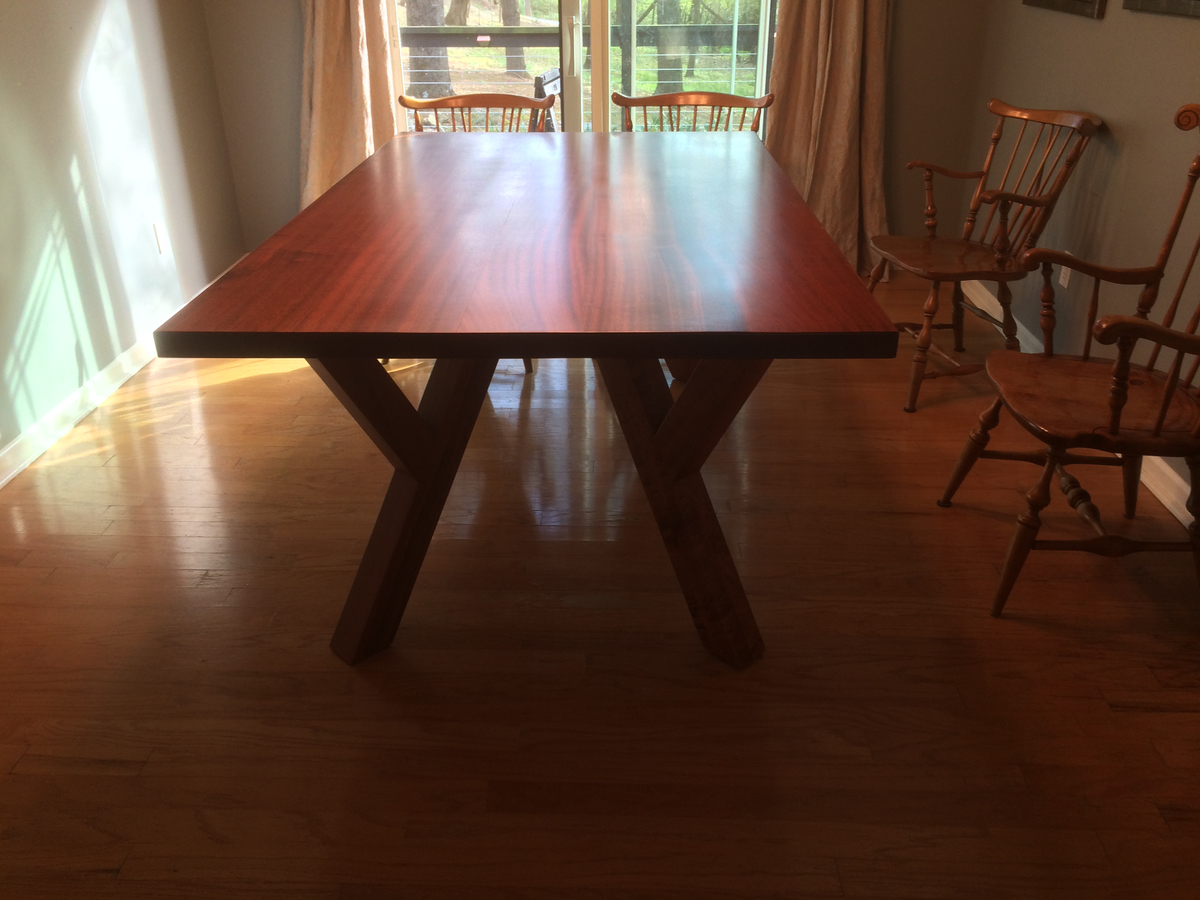
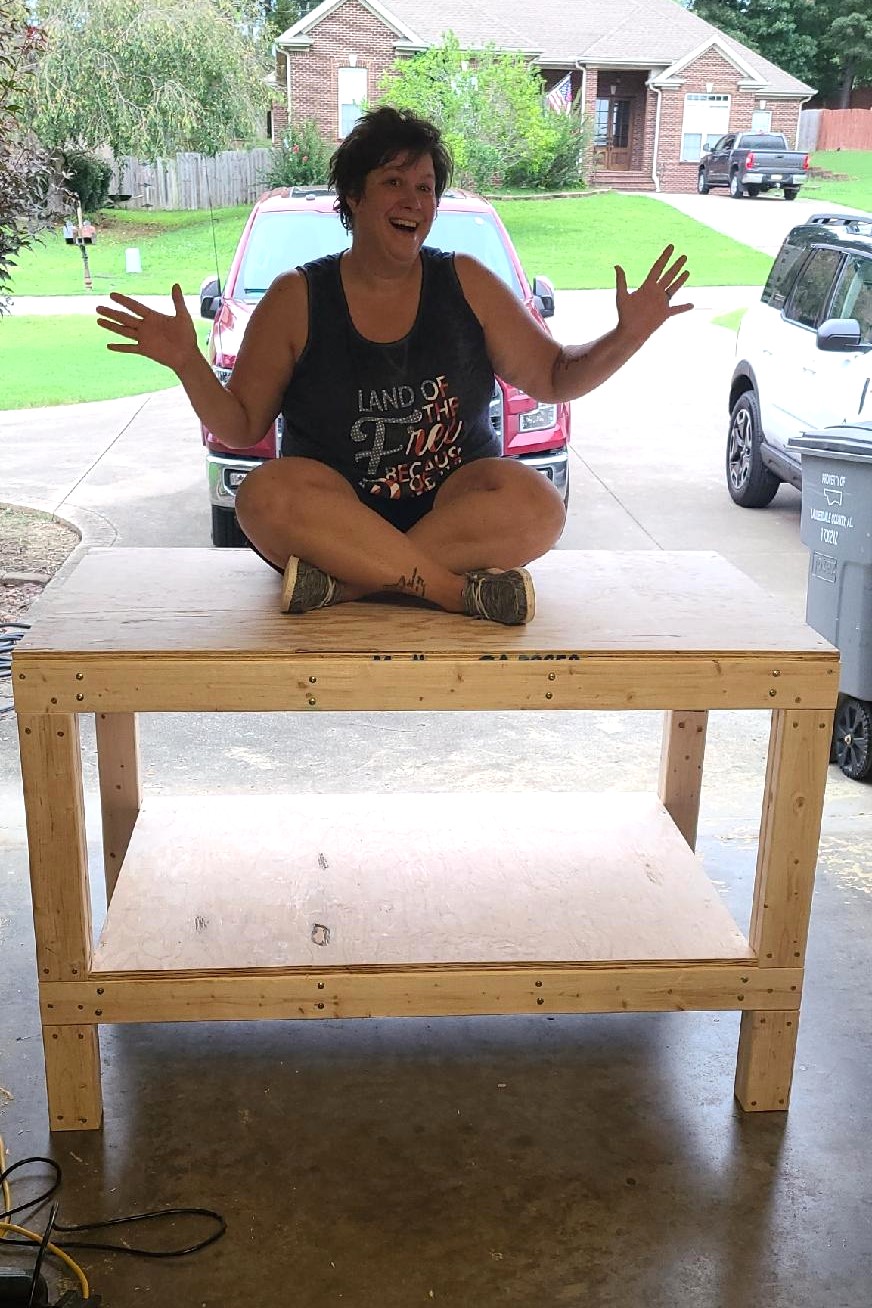
We used the farmhouse table plans from this website, and modified the length and width. The finished length is about 8 1/3' long (100") and 45" wide.
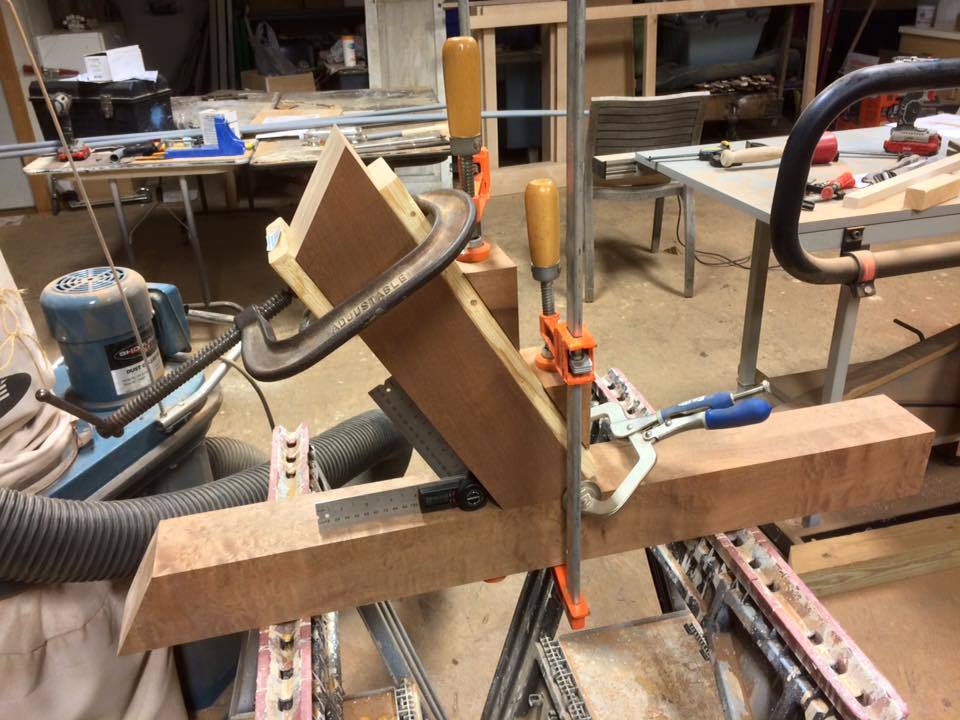
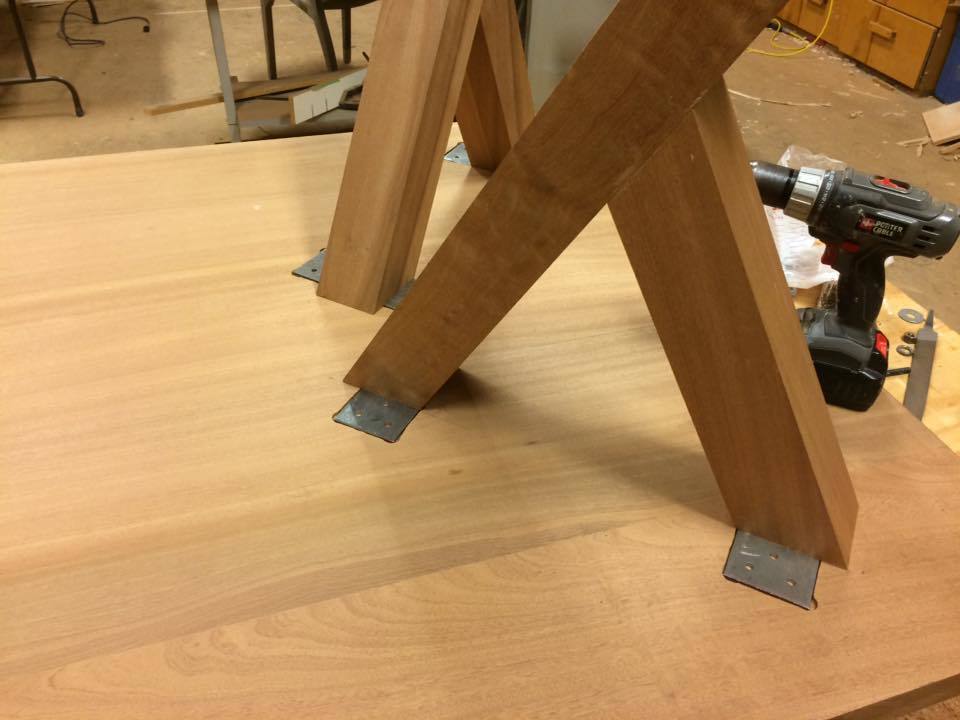
This was our first build and my husband and I learned a lot! We could not find untreated 4x4s ANYWHERE in our area. We searched for days and called probably 10-15 places. We were just going to build with 2x4s, but my husband's work ended up having some pallets that used 4x4s come in with a shipment. They were not in the best shape, but we wanted it to look rustic so we weren't too concerned. Also, our 2x6s were a little warped, so they bow down at the ends. We searched through piles and we didn't really notice until they were on (breadboards). We did buy a Kreg Jig Kit and are so glad we did! We have used it for other projects and can't wait to use it for more. Such a great purchase!
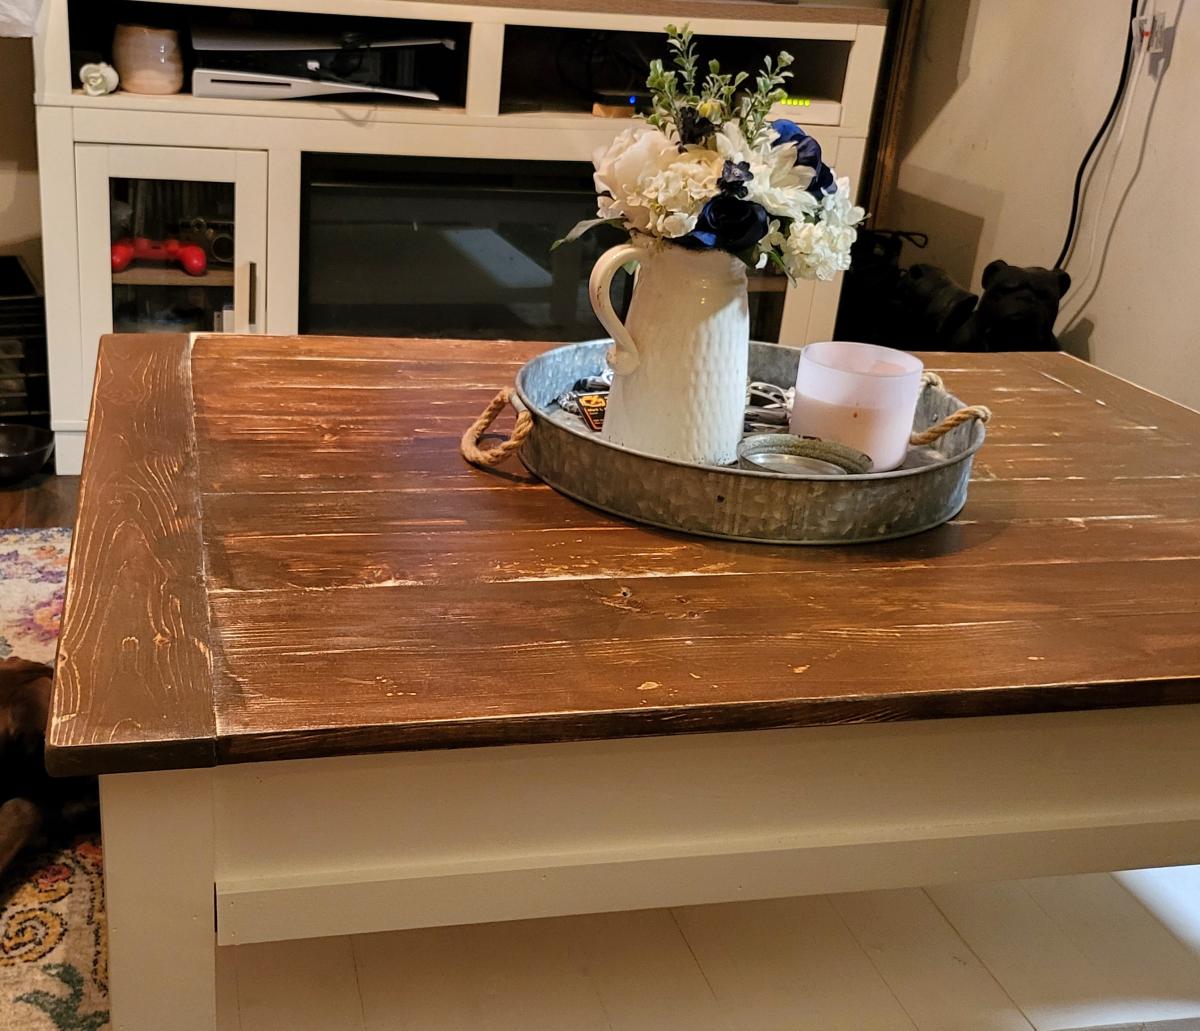
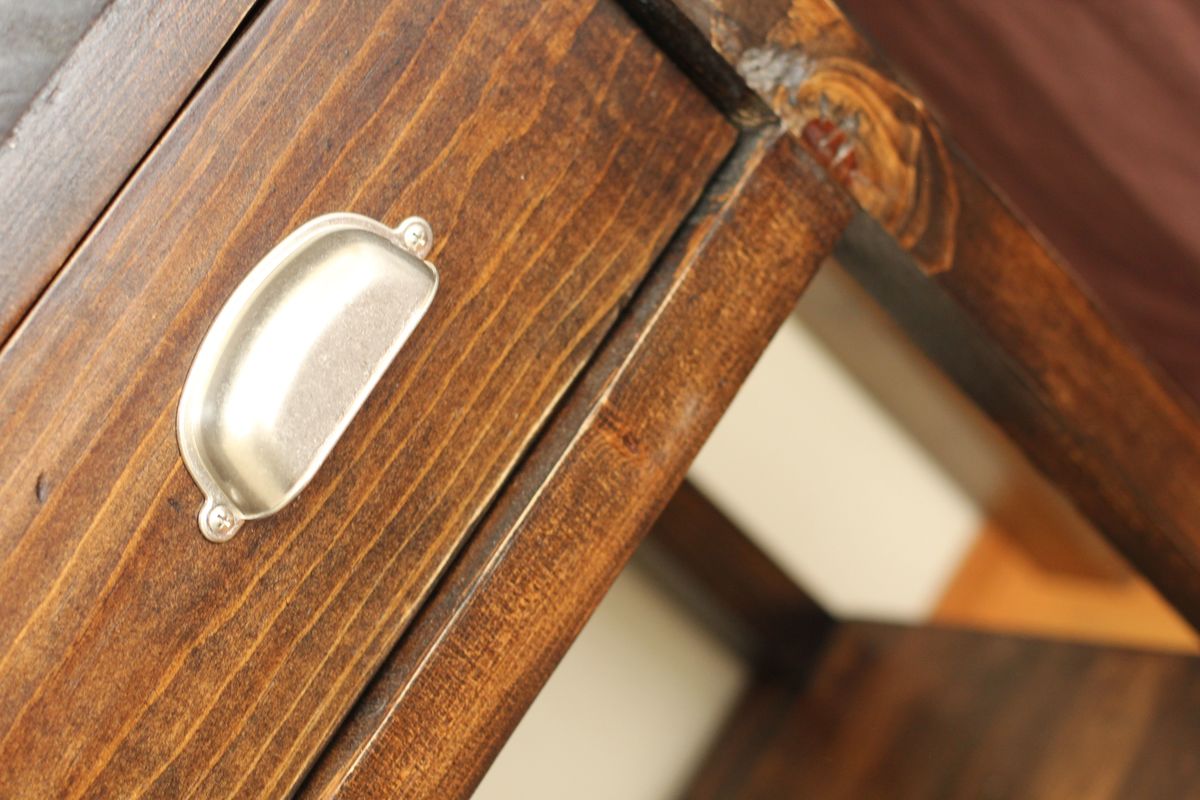
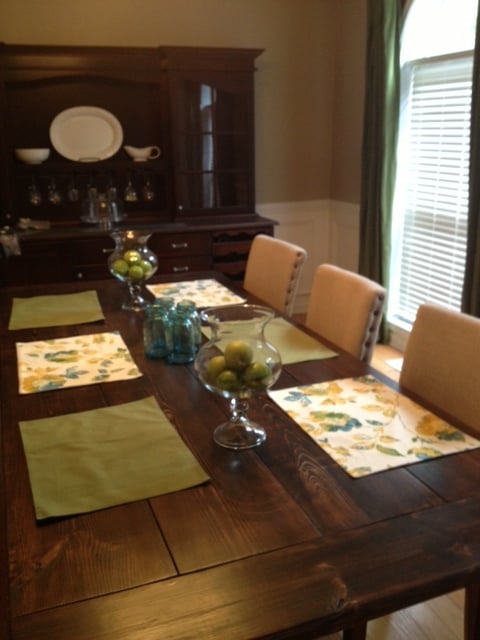
I learned to ALWAYS do a test piece of stain first. This was new to us. We stained it the first time, and then had it spray coated with polyurethane (my stepfather does cabinets). I hated the finish! So I ended up spending an entire day (from 8 in the morning until midnight) stripping the 3 coats of polyurethane and stain. We could not get it all out, but got most of it. We then re-stained it with a lighter color (custom stain left over from our kitchen) and finished it with Minwax Wipe-On Poly. I like the more natural finish much better. If I could talk my husband into it, I would build another one so I could get the stain right.
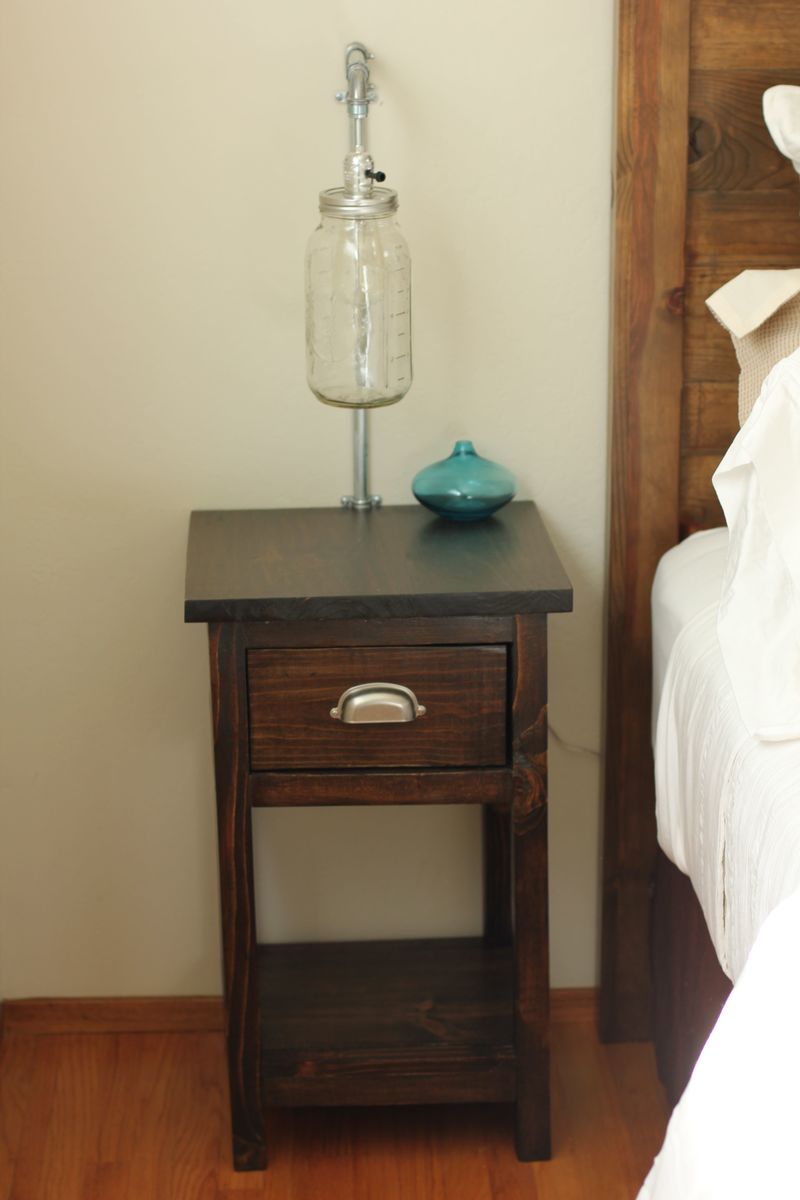
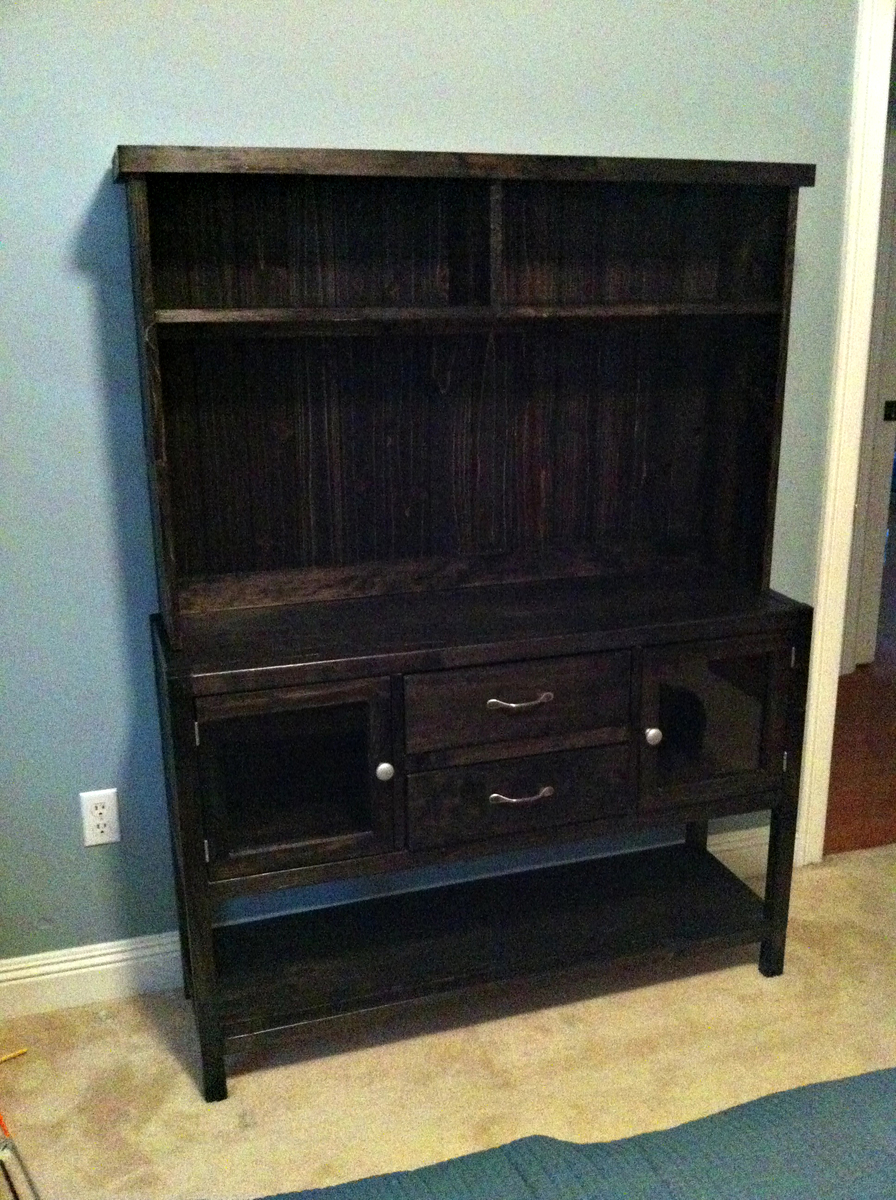
Overall, I'm pleased with how it came out! The plans were easy to follow, and not hard to modify using a little math.


Comments
Ana White
Mon, 03/19/2012 - 00:56
Oh ... Wow. This project is a
Oh ... Wow.
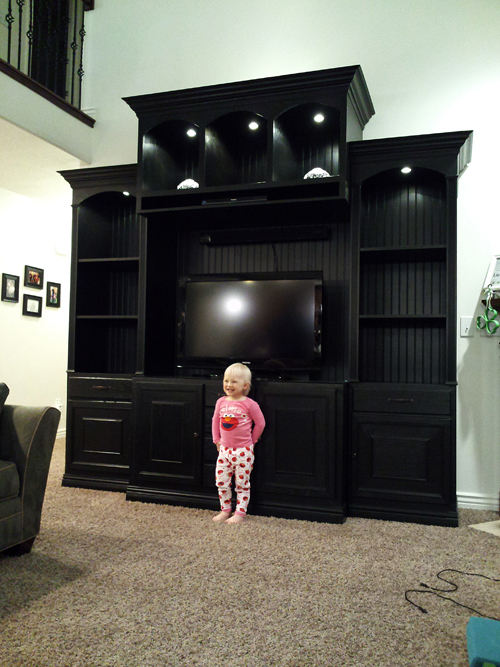
This project is a masterpiece! I love the arches, lights, and how well proportioned everything is! The crown is beautiful too! Amazing.
In reply to Oh ... Wow. This project is a by Ana White
a.mcdaniel
Wed, 03/21/2012 - 10:22
Thank you!
Thank you so much, Ana! That comment means a lot to my husband and I! He is so amazing at building things now and your website has been a major inspiration for him - THANK YOU! THANK YOU! THANK YOU! Now our new home is becoming more "ours."
In reply to Oh ... Wow. This project is a by Ana White
kristenlotz
Thu, 01/03/2013 - 10:21
Plans
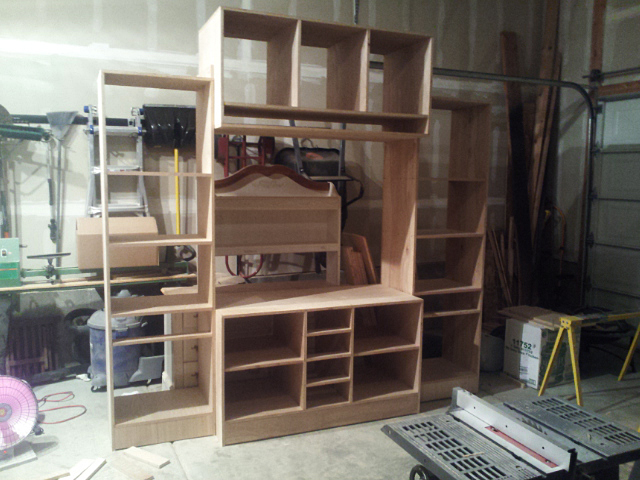
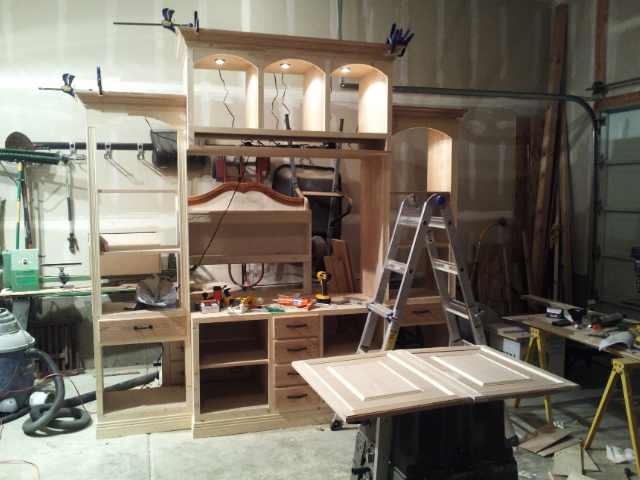
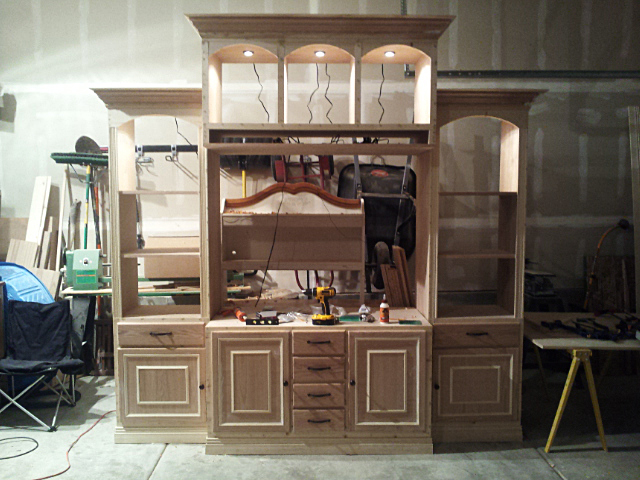
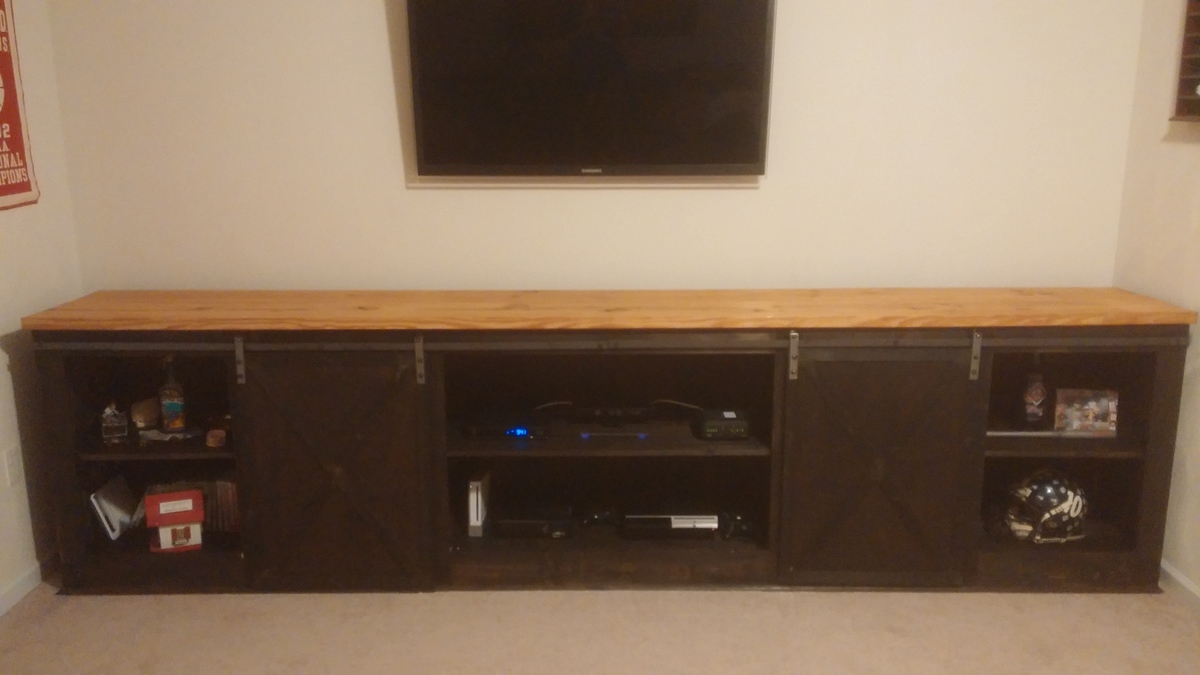
Hi, we built the original entertainment center that everyone got their inspiration from. Since everyone was requesting plans, my husband got to work and drew up some plans. Here's the link:
http://www.jrlwoodworking.com/2012/12/furniture-plans-custom-entertainm…
Good luck! Let us know if you build it!
Christie (not verified)
Thu, 07/26/2012 - 20:44
Ana Inspired Entertainment Center....SUPERB!
Both yours and Ana's centers are beautiful! I am a little more drawn to yours with the lighting and architectural touches you've added. Did you have a formal plan drawn for it? I would like to make an exact replica of it if possible. It is just stunning and exactly what I am looking for. GREAT JOB!!!
In reply to Ana Inspired Entertainment Center....SUPERB! by Christie (not verified)
kristenlotz
Thu, 01/03/2013 - 10:21
Plans
Hi, we built the original entertainment center that everyone got their inspiration from. Since everyone was requesting plans, my husband got to work and drew up some plans. Here's the link:
http://www.jrlwoodworking.com/2012/12/furniture-plans-custom-entertainm…
Good luck! Let us know if you build it!
kristenlotz
Wed, 12/19/2012 - 15:58
Love it!
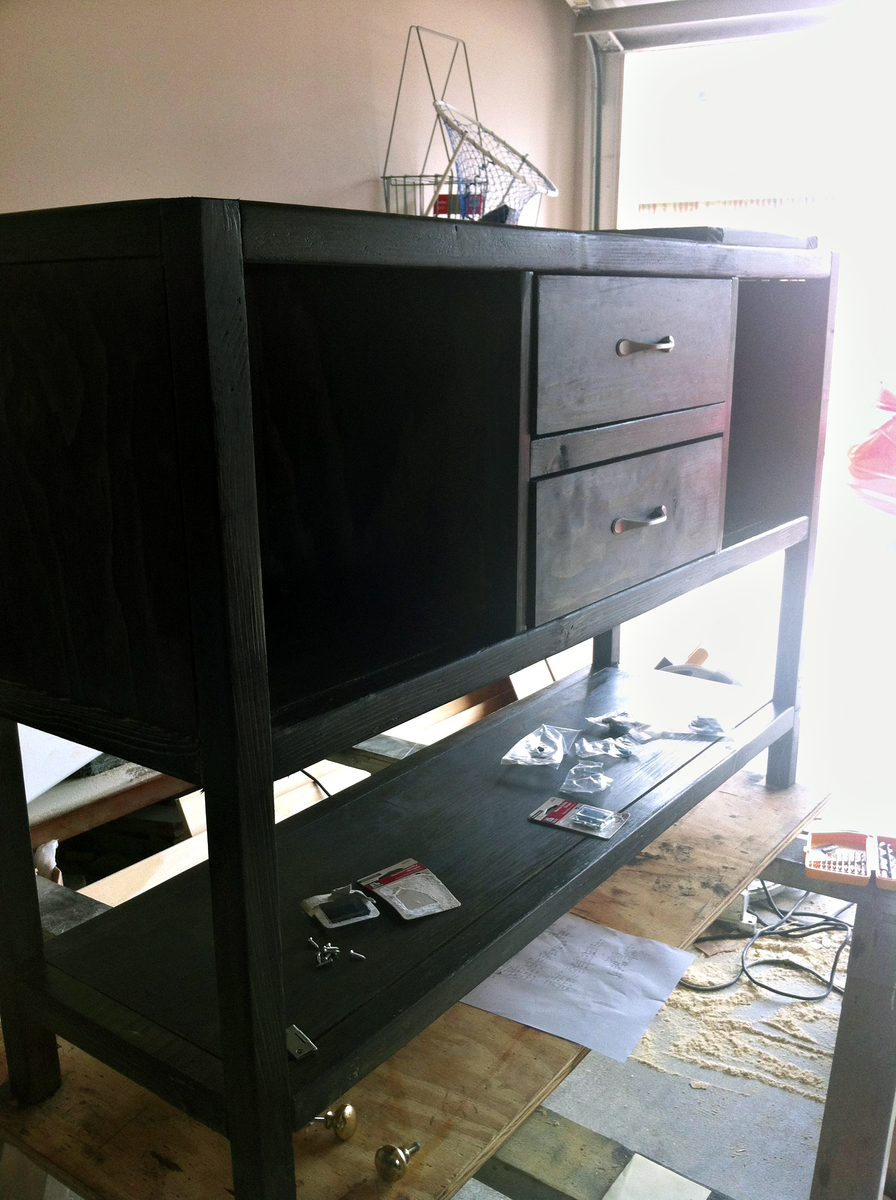
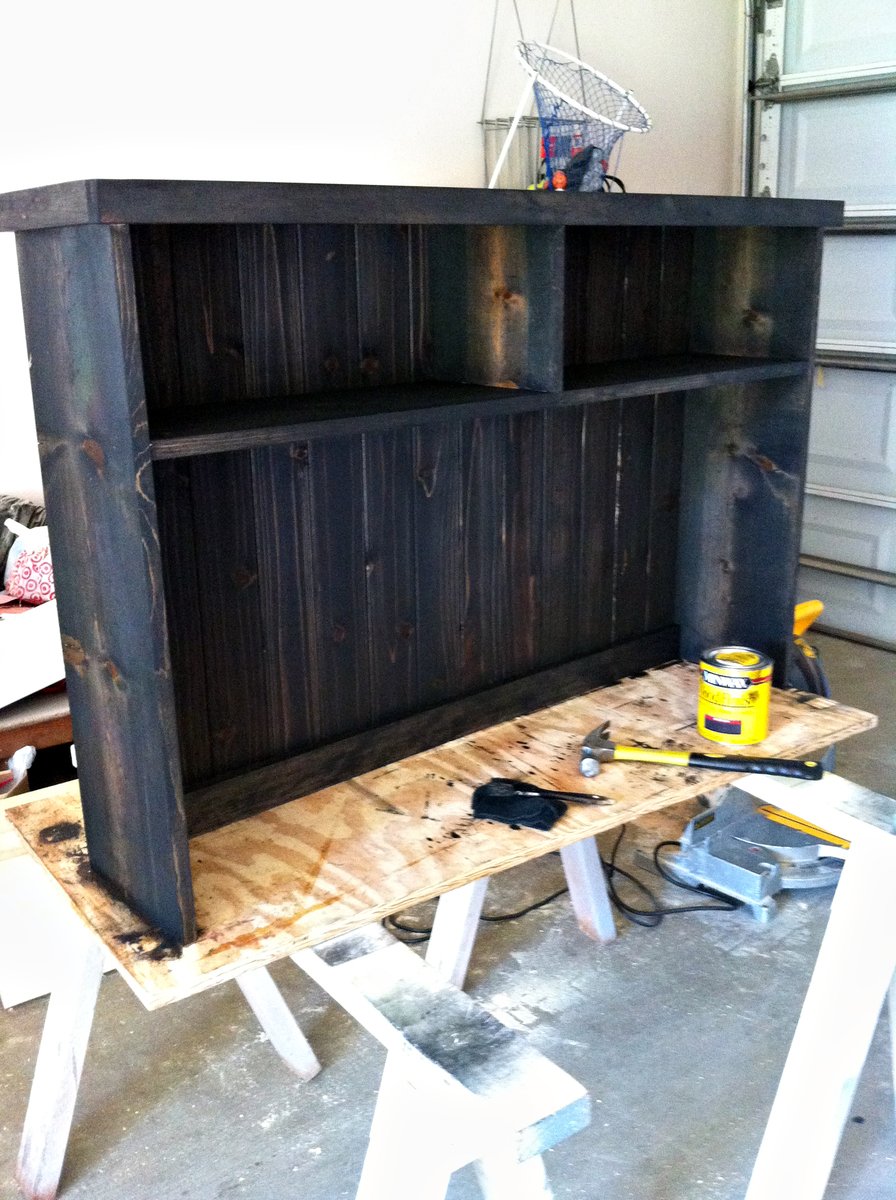
I love it. I am so glad our project inspired you to build this! You incorporated a lot of the things we considered during the build such as fluted stiles on the bookcases, downlights, and faux raised panel doors. Now, we just need to see pictures with it all decorated.
kristenlotz
Mon, 12/31/2012 - 14:42
Plans
I finally got around to making the plans for our entertainment center (well, actually my husband did it). It is very similar to yours with a few exceptions. Hopefully that helps those looking for plans for this beautiful entertainment center. I love finding brag posts of similar entertainment centers because they are absolutely beautiful at a fraction of the cost of buying one. And we love telling people that we built it!
http://www.jrlwoodworking.com/2012/12/furniture-plans-custom-entertainm…
Thanks,