Community Brag Posts

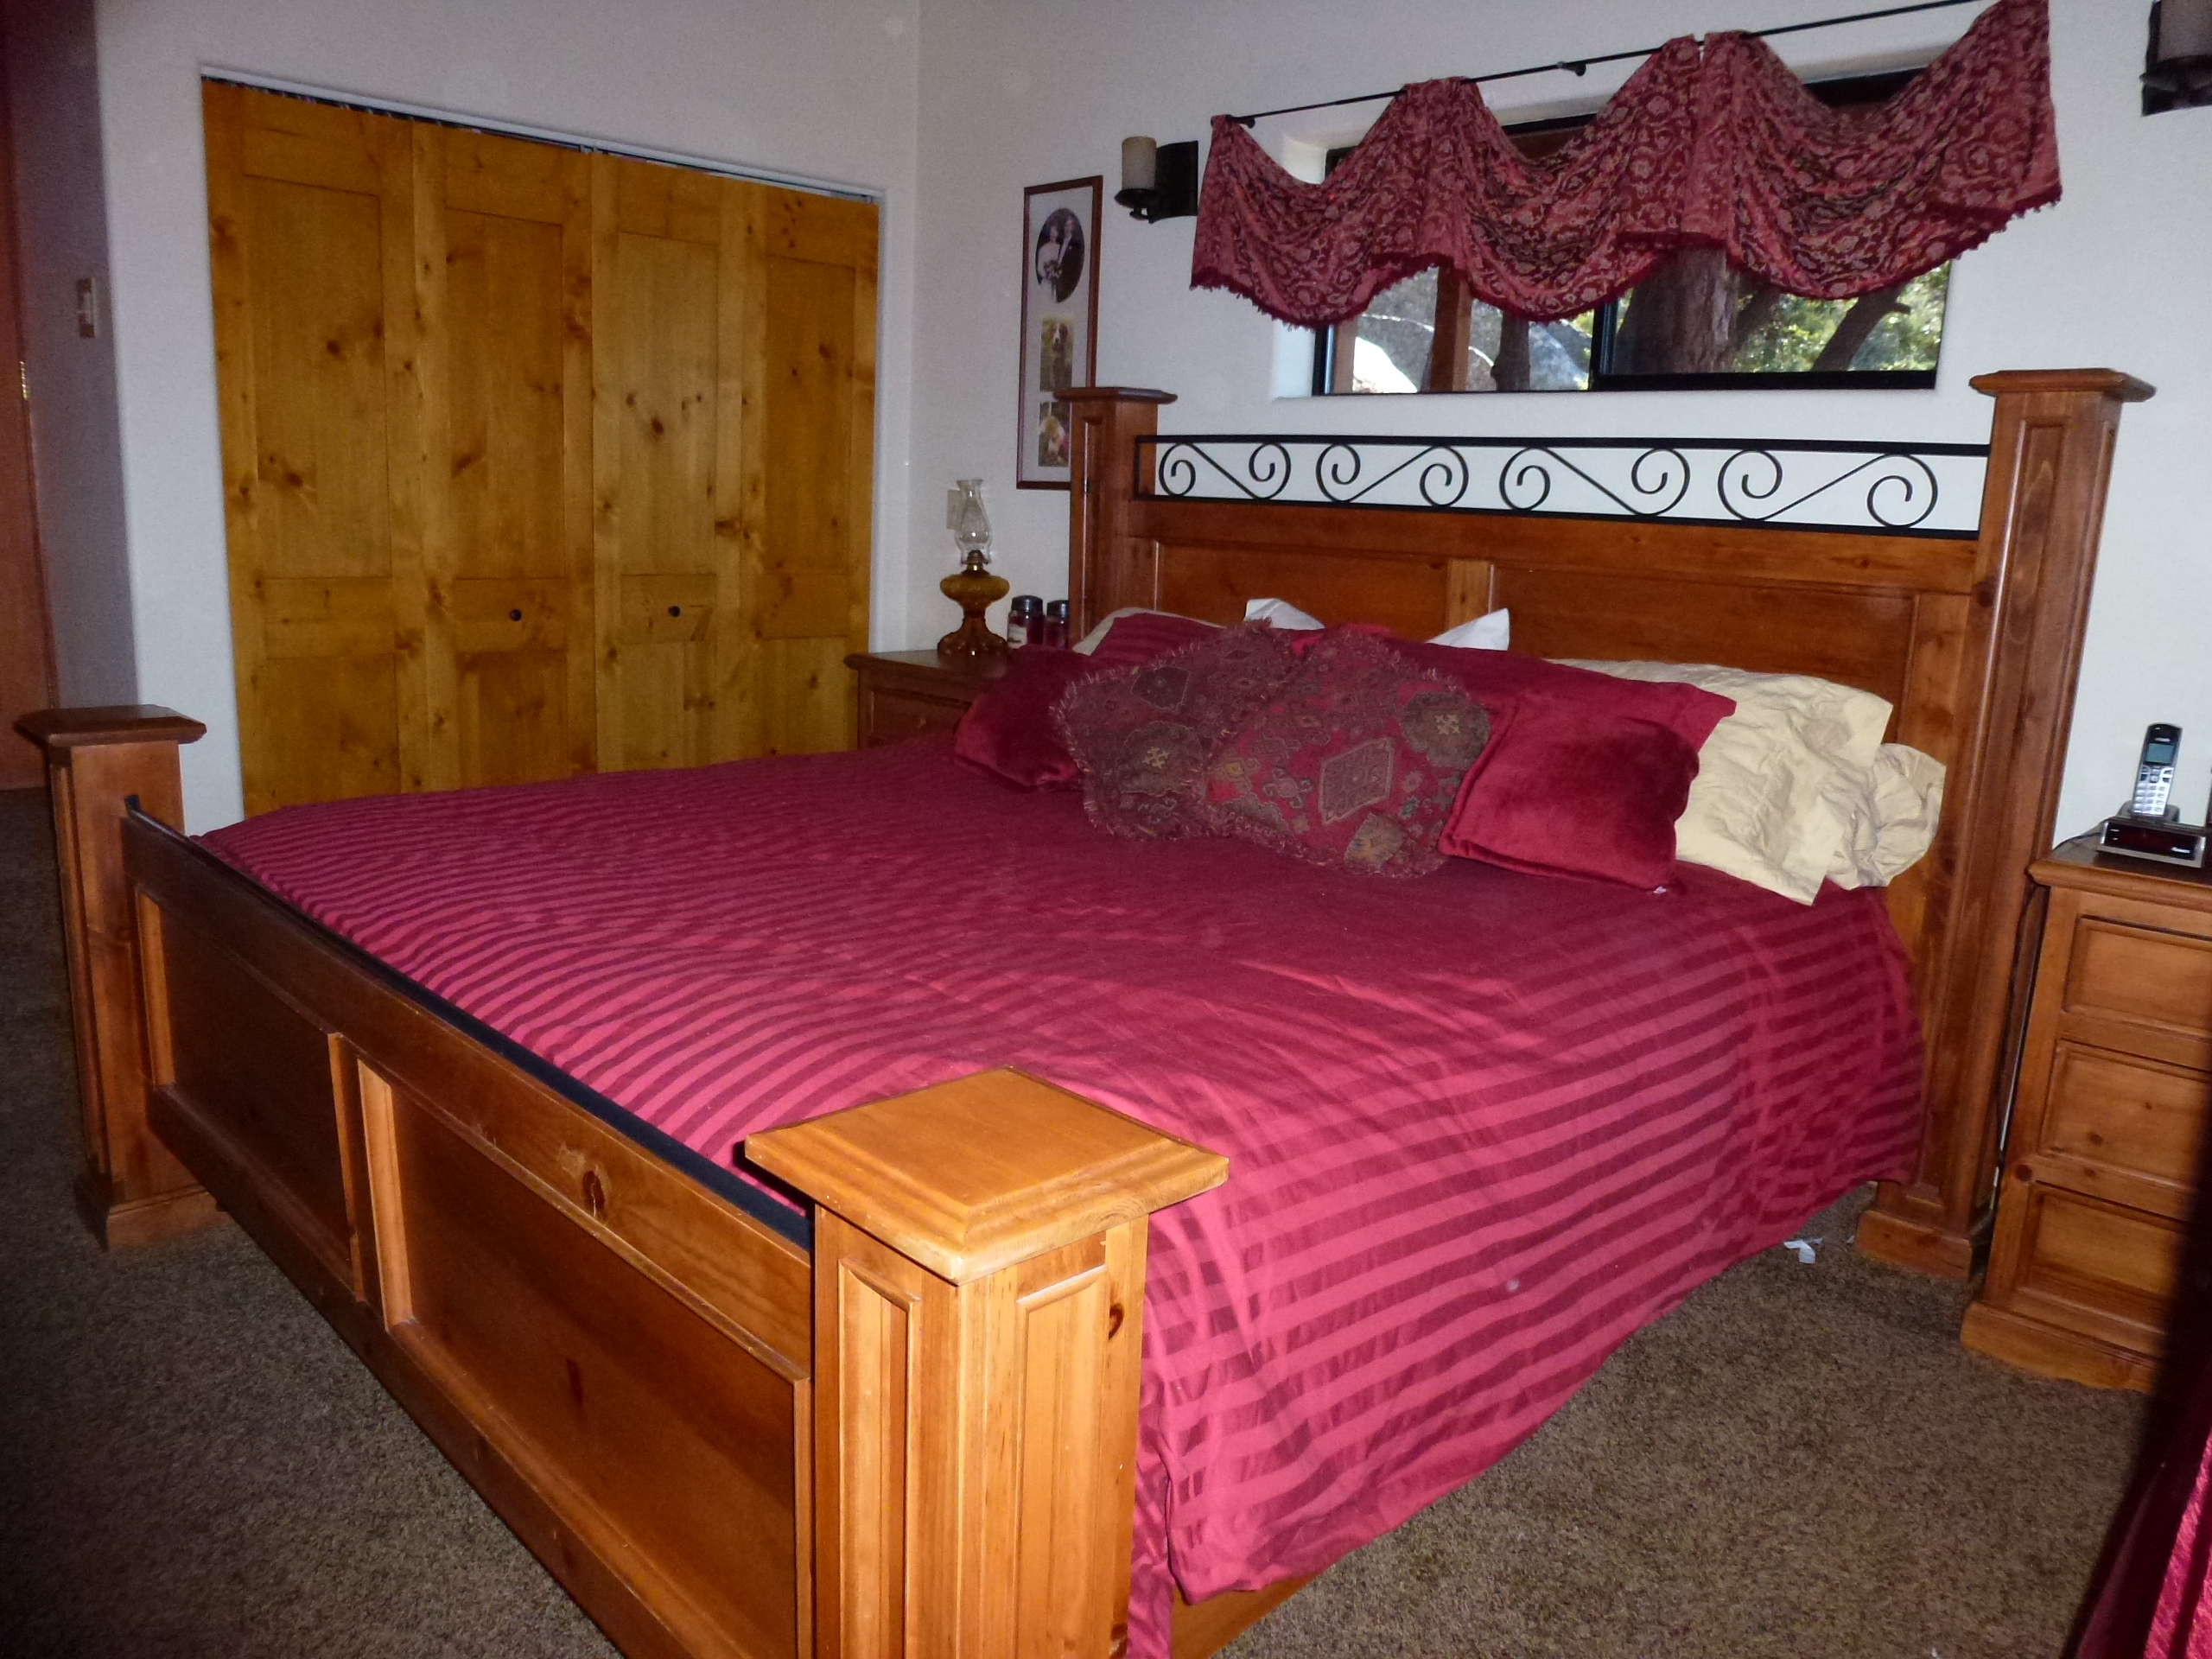
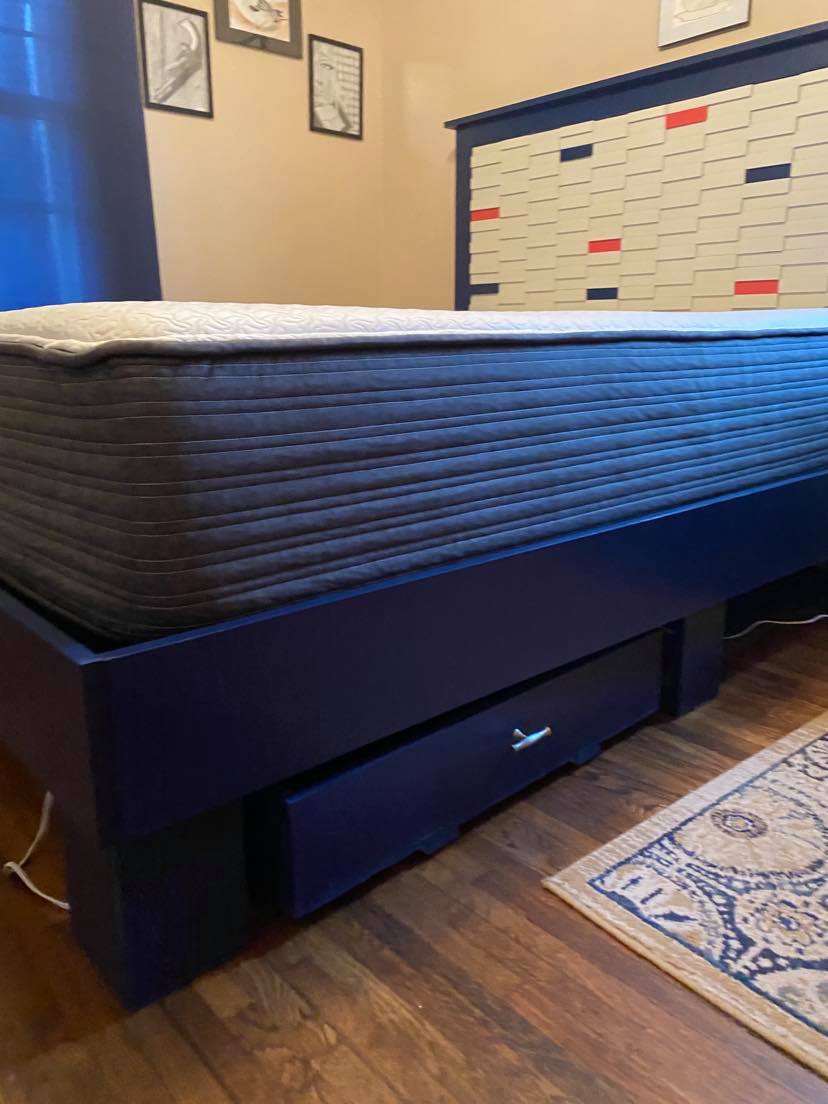
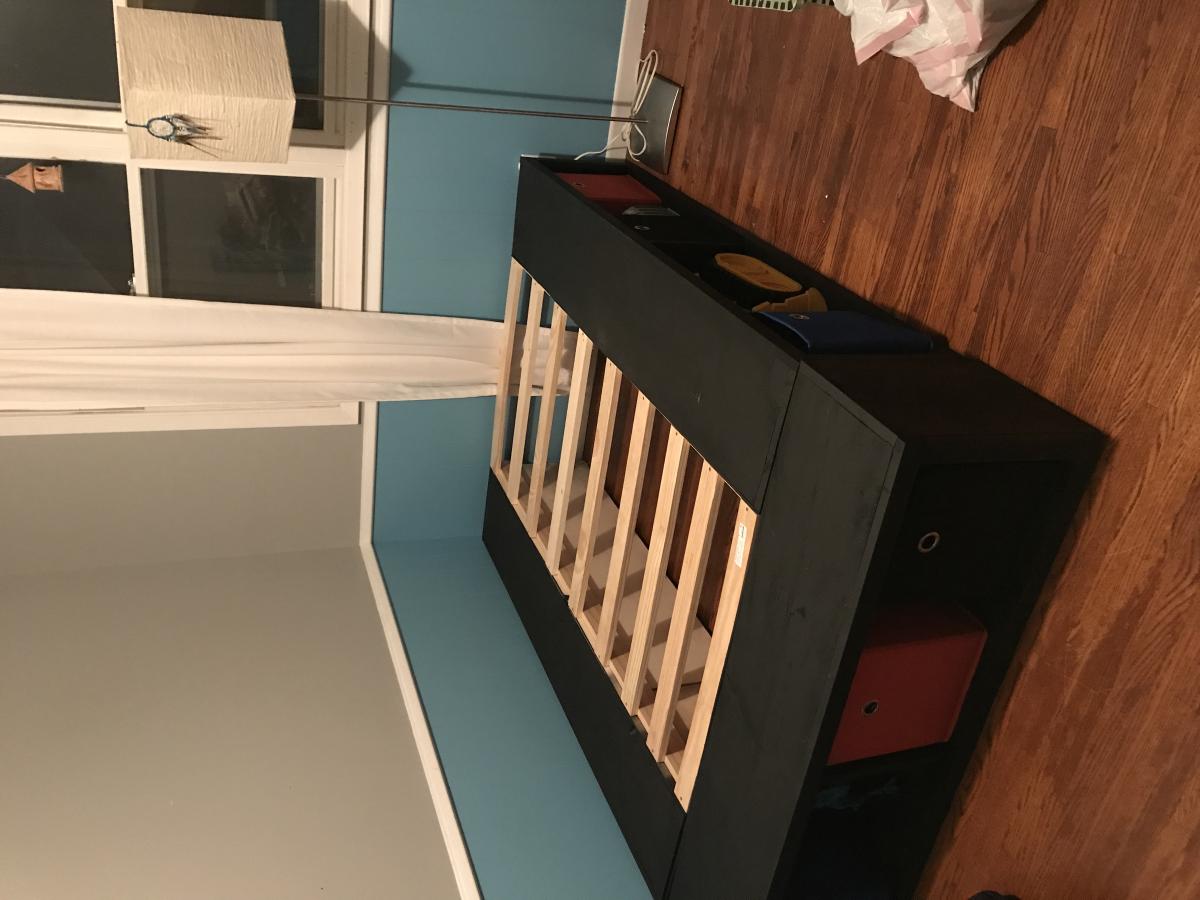
Upgraded room with more storage.

Submitted by Anonymous (not verified) on Tue, 01/05/2021 - 12:02

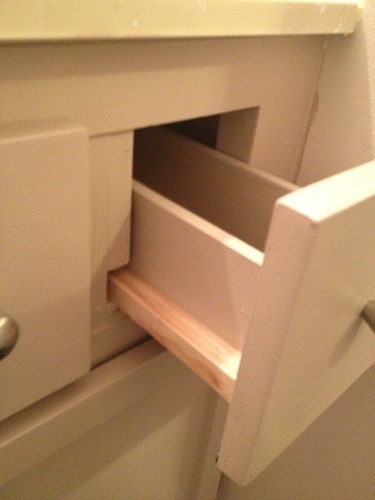
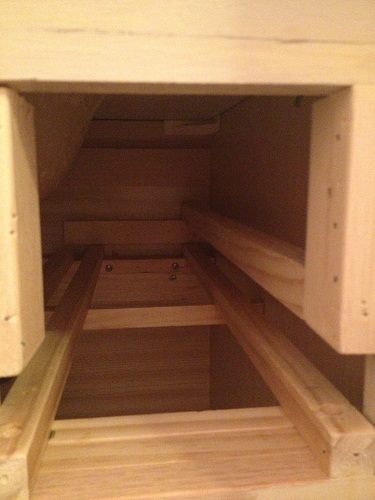
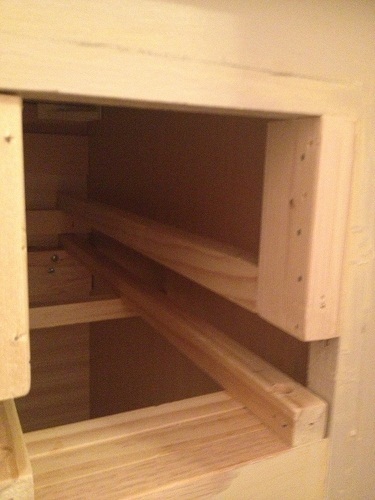
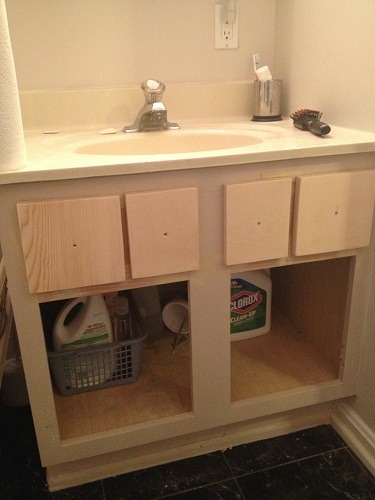
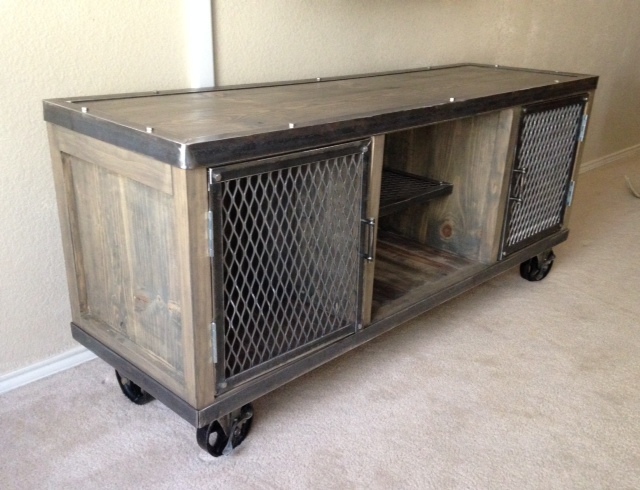
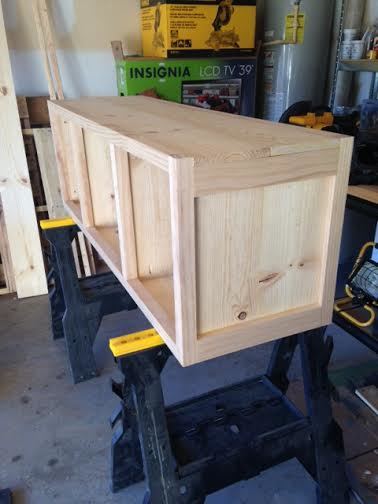
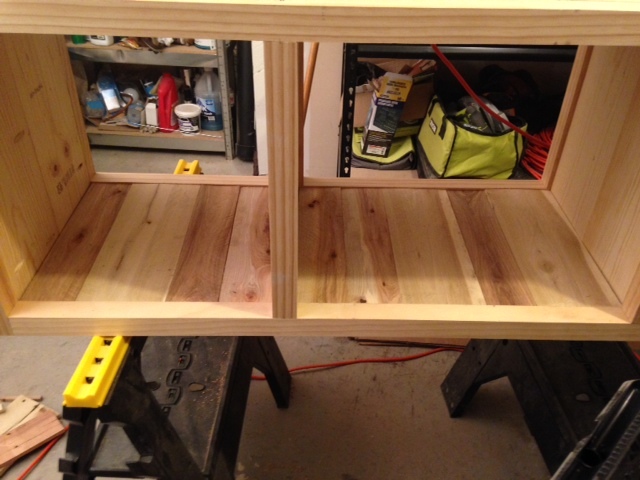
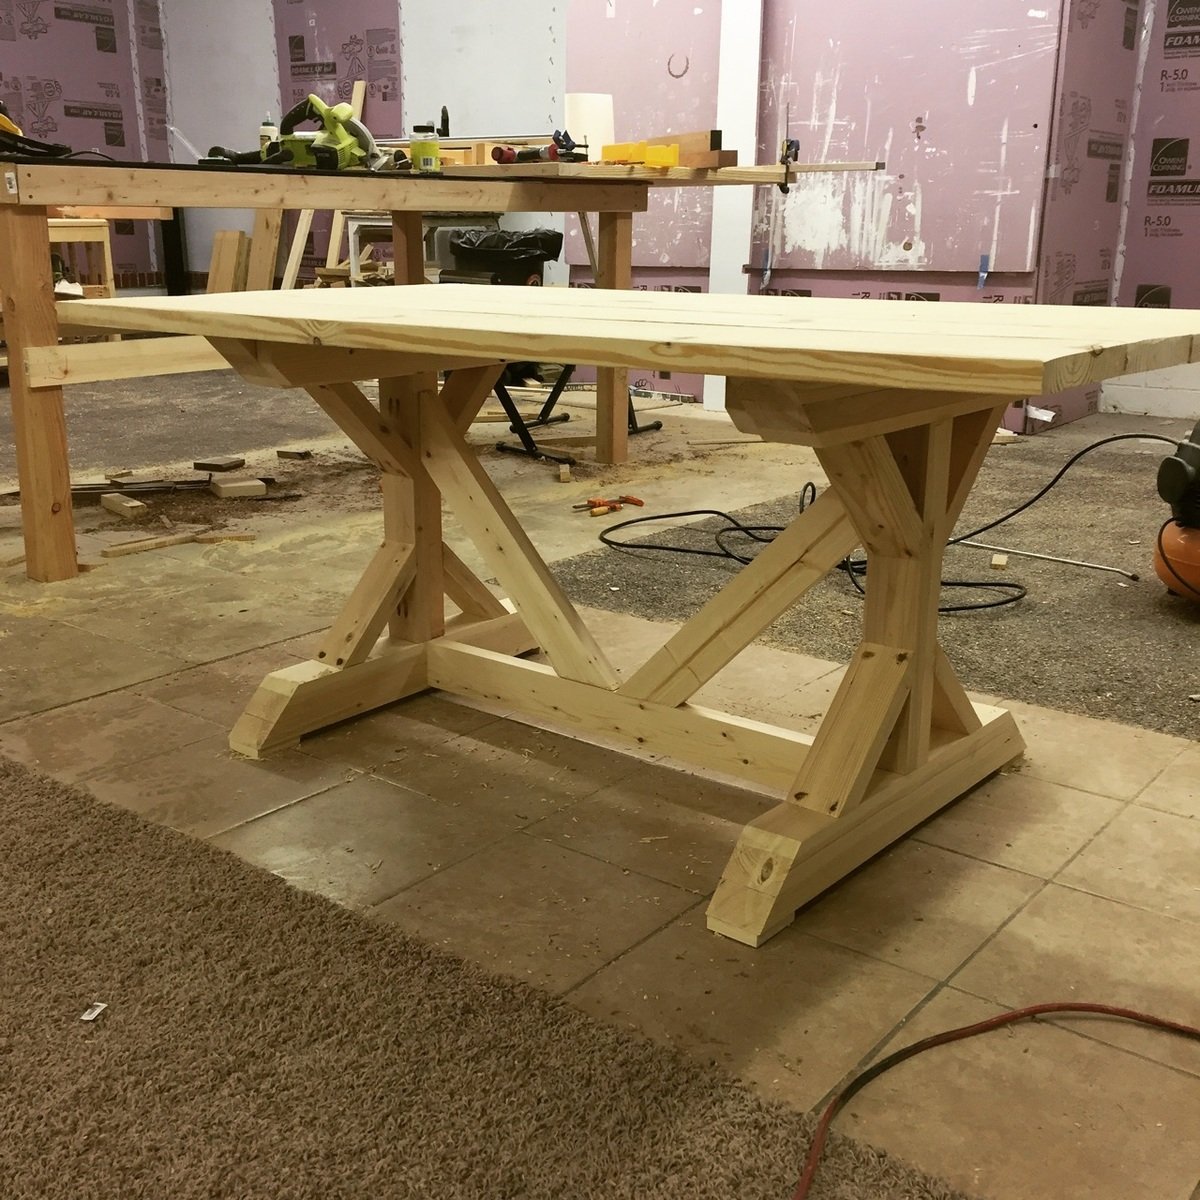
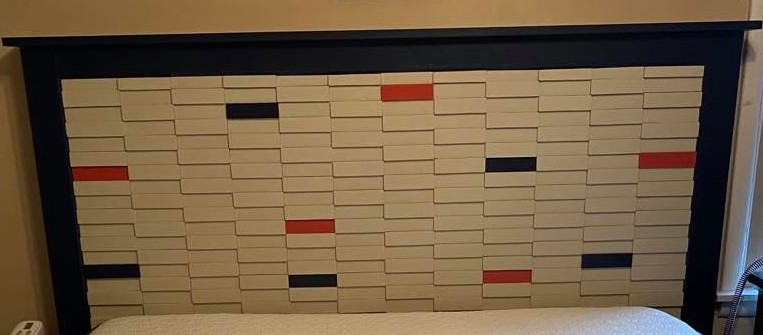
My son's room still had his nursery colors and decorations. Now that he's in 1st grade, we decided it was time for an upgrade. Decided to make the full storage bed frame to allow for more storage. Turned out great!

Built from Plan(s)
Estimated Cost
$200
Estimated Time Investment
Weekend Project (10-20 Hours)
Finish Used
Black matte spray paint
Recommended Skill Level
Beginner

Bi-Fold Closet Doors

We wanted to replace the vented / painted bi-fold closet doors in our Master Suite with something that was warmer and more consistent with the decorating motif of the house.  We priced out various wood bi-fold doors and were shocked at the $350 - $600 price range of what was available.   We decided that building them ourselves was a much better choice.

The frames are made from 1” Knotty Pine and the panels are from ¼” Knotty Pine.   Frames were made to fit and assembled w/ Kreg screws & Glue.  Rabbet channels were cut w/ the router and the panels were brad nailed & glued.

It was finished w/ the same stain used on our Knotty Pine ceilings / walls and finished w/ a satin varnish for a perfect match to our house.

This was a very straightforward, quick & inexpensive alternative to purchasing expensive bi-fold doors.   

The doors took about 15 hours to build / sand and 10 hours to finish.   Total cost was around $100. 


Estimated Time Investment
Week Long Project (20 Hours or More)
Finish Used
Custom stain and satin varnish.
Recommended Skill Level
Beginner

Comments

Spice Rack

Submitted by Anonymous (not verified) on Mon, 01/11/2021 - 15:48

I made a spice rack for my wife. I asked if I could use it for a Mother's Day gift but she said I could use it for a Valentine's gift. Rabbit joint 1/2" maple plywood into back. Shelf bottoms dadoes into sides. No nails or screws, only glue joints. Sides are 3/8" thick and top is 5/8" thick. Slats are 1/8" fat glued to shelf bottom and sides with 1/8" shadow reveal line on three sides.

Built from Plan(s)
Estimated Cost
scrap wood from the shop
Estimated Time Investment
Weekend Project (10-20 Hours)
Finish Used
McCloskey Marine Spar Varnish
Recommended Skill Level
Intermediate

Comments

Barn door console

Submitted by Anonymous (not verified) on Fri, 03/17/2017 - 16:23

Took the plans and made this unit about 7 1/2 ft long and 37 tall. I stalked casters on bottom for easy moving. I did the doors and top with black tea and the vinegar and steel wool method. Made the hardware and the total came to $159.00. Purchased all materials at lowes and my Military discount saved me 10%! Thank you for the inspiration!!!

Jeff M     Brownstown,Mi

Estimated Cost
$159.00
Estimated Time Investment
Week Long Project (20 Hours or More)
Finish Used
Valspar cream white
Black tea and vinegar/ steel wool stain
Recommended Skill Level
Intermediate

White Washed Queen Headboard

Submitted by sawdust on Tue, 02/12/2013 - 11:39

This is my first piece of furniture I've ever made from a plan. I would recommend this for someone who is new to the craft. I also sanded each board before I put it together. I just find this easier to do than sanding it afterwards. Plus, it gives me the chance to look at the grain and see where I might want it. Both the stain and clear coat I used can be washed out of your brush with soap and water.

Estimated Cost
$90.00
Estimated Time Investment
Weekend Project (10-20 Hours)
Finish Used
Minwax white wash pickling stain - one application with a foam brush.
A very forgiving stain and easy to use.
Minxax Polycrylic clear satin - one coat with a paint brush.
Recommended Skill Level
Starter Project

Comments

spiceylg

Wed, 02/13/2013 - 05:18

Really like the white wash look, great job! Also, love the bedding and the tray. Did you make that tray, too?

Toy storage

Submitted by Anonymous (not verified) on Sun, 03/19/2017 - 21:47

I was inspired by your project.  Having looked everywhere for a solid wood toy chest that looked good also as a furniture piece.  I built this out of solid popular.  I added legs and vintage caster wheels.  I also added a addition divider in the bottom middle compartment (over bought slightly on popular).  For the top front rail I used a wider rail to hold more toys.  I bought also square bins on top for extra toy storage (found on sale for 2.99 each).  I used trim screws to secure entire chest because I noticed using nails it was not as sturdy.  Trim screws have small heads and if they are counter sunken they can easily be fillered.  Used primer plus paint all in one to coat toy storage after giving it a good sanding.  I also added cup pulls on both ends for easy moving with the wheels.  Overall project cost a lot because of solid wood, screws, paint, etc.  could make a great bin for storage of potatoes, onions, and etc if one where to use food grade paint.

Estimated Time Investment
Weekend Project (10-20 Hours)
Recommended Skill Level
Intermediate

Farmhouse Console Table

We built this based on the Farmhouse Console table for our son's apartment for Christmas. We had to alter the dimensions for him to get it back in his SUV and also for where he wanted to put it.

The table is 5 feet long and approximately 15 inches wide. Since it was more narrow in width than the plans, we did not use the cross with the 2x2's at the end or used 2 long pieces of wood for the shelves. We put 2x4's as reinforcements for the wood at the end on the shelves and in the middle and used 2 pieces of wood for each shelf.

Instead of 2x4's on the top, we used 2x3's as with the pandemic 2x4's are going for about $10.00 for an 8 foot and 2X3's are going for half of that.

We stained it with Dark Walnut.

We plan to make this table (probably more like the original) the coffee table and end tables to replace glass tables in our house this spring.

Built from Plan(s)
Estimated Cost
$75 CDN
Estimated Time Investment
Weekend Project (10-20 Hours)
Finish Used
We used a dark walnut stain.
Recommended Skill Level
Intermediate

Camp Loft Bed for a Little Firefighter

Submitted by freemanitz on Sat, 02/16/2013 - 07:13

We built the camp loft bed for our 5 year old sons birthday. He wanted a firefighter bed, but we wanted something that would be a little more "flexible" for his room. The camp bed was perfect for him! The stairs were too deep for the room configuration, so we did not include the stairs, and instead purchased a sturdy stepstool from IKEA to match the bed. The double bonus is that when we read to him a night we can move the step stool and stand on it while we read the story! I made the firefighter station curtain/tent and attached it with a tension rod. We also constructed a large toy box on wheels to slide underneath the platform for his big toys like race tracks, etc. The bed is very sturdy, the set up is perfect for his small room, and he loves it. The bed was very easy to construct.

Estimated Time Investment
Weekend Project (10-20 Hours)
Finish Used
Painted glossy black.
Recommended Skill Level
Beginner

Comments

Bathroom sliding vanity

Submitted by Anonymous (not verified) on Thu, 01/21/2021 - 16:58

I don’t know anything about carpentry but my wife seen this and told me that I can do it and I said no way so she trusted me and here it is. Mirror was bought at the Goodwill $2.00 thank you

Estimated Cost
30.00
Estimated Time Investment
Afternoon Project (3-6 Hours)
Finish Used
Varathane classic penetrating wood stain classic gray
Recommended Skill Level
Starter Project

Comments

Napoleon Vanity retrofit

Submitted by JoanneS on Sun, 02/17/2013 - 14:35

This is our 20-year-old bathroom vanity, retrofitted to resemble the Napoleon Sink Console. This old cabinet is the standard builder size from the 90’s -- 30” wide x 29 ½” tall x 21” deep – fits a 31” x 22” sink top. The 2 outside drawers are working drawers, and the 2 inside are faux (just fronts). It was a weekend project. Since the sink stayed in place, I had to figure out something for the drawers to slide on. I had 3 sticks of ¾” x ¾” S4S in the garage, so I used these and fashioned a frame to hold the drawers, and also used it on the sides of the drawers as slides (figured the frame out as I went along). I used up some scrap 1x12 to cut the drawer faces and supports at the inside back of the cabinet. Since the space was so tight, I used some scrap 1x2 as bracing attached to the original frame, and attached the added face frame to that. The doors are ½” x 1 ½” craft board and ¼” birch plywood. The drawers are 3/8” x 3 ½” craft board with some ¼” plywood on the bottoms. I re-used the existing hinges and used some knobs from a multi-pack (available from Target) and some left over paint that was on hand. I bought about $30 of materials in addition to my scraps.
Now that I’ve got this one under my belt, it’ll be easier to do this in the other 2 bathrooms. I’ll probably use some 1x2’s instead of the s4s if I have to go out and buy the materials for the next one, it’ll just have slightly different measurements.

Built from Plan(s)
Estimated Cost
$30
Estimated Time Investment
Weekend Project (10-20 Hours)
Finish Used
Ace Royal semi-gloss paint, in Wishbone
Recommended Skill Level
Intermediate

Cupcake Holder

Submitted by jwb232 on Thu, 12/25/2014 - 11:00

This was a quick build just in time for Christmas. The hardest part, as in most cases, was cutting and attaching the trim. Still have some sanding and painting to do.

Built from Plan(s)
Estimated Cost
~$40
Estimated Time Investment
Afternoon Project (3-6 Hours)
Recommended Skill Level
Beginner

3ft Round Dining Table

Submitted by lydiamatt on Tue, 01/26/2021 - 10:28

Hey! I found several tables similar to this style base without a round top that I liked so I tweaked a look to get this result. The top is glued/screwed with pocket holes, and I have built 3 of these tables - 2 have been 42" diameter, 1 has been 36" diameter. Any larger and some reinforcement would be needed to stabilize the top. Email me with any questions you have at [email protected] Thanks Matt

Estimated Cost
$120ish
Estimated Time Investment
Day Project (6-9 Hours)
Finish Used
Minwax Puritan Pine color stain & poly sealant
Recommended Skill Level
Intermediate

Comments

Industrial Media Console

Submitted by zjlawlor on Sun, 12/28/2014 - 11:12

I built this media console for my brother. When I first started woodworking he showed me an entertainment center that he liked on Etsy and I did my own twist on it. I started with Ana's media console plans and made some modifications to get my basic structure. I cut down some cool pallet boards to use for slats and fill in the bottom. From there all I had to do was figure out how to work metal! This was by far the toughest part. Using a bunch of angle iron, expanded metal, and hex bolts, I was able to achieve the look I was going for. No welds! Granted, it would likely look better with welds, I did not have the tools or the know-how. I also ordered the 5" industrial casters for this project which I had in mind for the start and really love the look.

Estimated Cost
About $250
Estimated Time Investment
Week Long Project (20 Hours or More)
Finish Used
I was going for more of a grey color to match my brother's other furniture. Used an earth stain and poly mix I found. Did 3 coats with light sanding in between each, and after my final coat I sanded down the slats to let the pallet boards character show through.
Recommended Skill Level
Advanced

6'6" X Frame

Submitted by Anonymous (not verified) on Mon, 03/27/2017 - 08:40

I built this 6'6" X Frame and two beches in my shop this week. I used biscuts to hold the top together and jointed and planed the entire thing prior to the build. It will be finished off with a Dark Walnut color.

Estimated Time Investment
Weekend Project (10-20 Hours)
Recommended Skill Level
Intermediate

RUSTIC X DESK

Submitted by Anonymous (not verified) on Tue, 02/02/2021 - 11:45

We adjusted the top a little. Used oak top. 15 year old loves his new desk! Compound miter saw was a big help. We used a torch on the pine to bring out the grain. Erik Ormberg [email protected]

Built from Plan(s)
Estimated Cost
$200.00
Estimated Time Investment
Day Project (6-9 Hours)
Finish Used
Red oak stain on top. Driftwood on the bottom.
Recommended Skill Level
Intermediate

Comments

Grand Champion Planked Sideboard

Submitted by adobbins29 on Tue, 12/30/2014 - 17:41

My son built this project for the local youth fair and livestock show and won Reserve Grand Champion in woodworking.

Built from Plan(s)
Estimated Time Investment
Week Long Project (20 Hours or More)
Finish Used
Rustoleum restore kit for kitchen cabinets
Recommended Skill Level
Intermediate

Comments

JoanneS

Tue, 12/30/2014 - 20:05

What an awesome build! Beautifully done! The award is well deserved! Love the finish and the details!

Queen bed with rails and headboard

Submitted by K79miller on Sun, 02/07/2021 - 09:21

I have an adjustable bed frame so the rails are not supporting any weight. Each piece of wood in the headboard is 5.5 inches long and 1.5 inches tall. I used boards that were 1/2 inch thick and 3/4 inch thick and put them on in the checkerboard pattern. I have some navy blue and coral in my bedroom so I decided to paint a few block with those colors. I used poplar wood because I thought it would hold up better and it wasn't too expensive. It took a while to build because of cutting all of the individual blocks.

Estimated Cost
$150
Estimated Time Investment
Week Long Project (20 Hours or More)
Finish Used
Sherwin Williams Emerald paint
Recommended Skill Level
Intermediate

Comments

4 Cubby Shelf

Submitted by JenFarrell on Sun, 02/24/2013 - 18:14

My first project!!! The house we live in has 4 closets in the entire house.. so we're quite in need of storage. I was really hoping the bookcase would work out, to relieve the jam-packed linen closet. I'm so happy with it, and with the learning experience. I didn't do the moulding option, more or less because I'm impatient and want to get the next project going. Thanks Ana for the inspiration and the plans!!

Built from Plan(s)
Estimated Cost
$75 (I think I could reduce that cost if I chose wood that wasn't nicely finished already)
Estimated Time Investment
Weekend Project (10-20 Hours)
Finish Used
White paint
Recommended Skill Level
Beginner

Comments