Jacob's Toy Box - 5 Year Old
Our 5 year old's toy box. My son chose the colors and my awesome wife painted it. Letters are from Hobby Lobby and the lock on the left was actually my son's idea.
Hi friends!
Jen Woodhouse from the House of Wood here.
Today I'm going to share with you an amazing storage solution for those of you who are renters, are looking for a non-damaging way to add more space, or just in general want an affordable storage option. I'm walking you through the entire project so even if you're a beginner woodworker, this DIY Leaning Bathroom Shelf may be a great project for you!
Be sure to tag me @jenwoodhouse if you share photos of your build on social media. I'd love to see it!
You can get all the details for this build on my website jenwoodhouse.com
Greenhouse is nominal 10X20. Internal square footage 192.6 sq-ft so no permit required (< 200 sq-ft). Modifications planned:
1. No metal on vertical walls since sun light is desired at all levels. Planting will be directly in the ground as well as in cedar boxes an on shelves.
2. Let in (mortised) 1x4 diagonal bracing to provide strength since no metal will be used on the verticals.
3. Two windows in the back wall (truss). Not sure yet where to source these - suggestions please? Might build them from scratch.
4. Dutch door on the front wall so that the top half of the door can be opened in combination with the back windows to allow air flow the length of the greenhouse.
5. Metal flashing on the exterior corners just for a nice finished look.
6. Has a 6 x 6 preassure treated (rated for ground contact) perimeter foundation. All other wood ,except the diagonal bracing is pressure treated rated for above ground. Finding 1 inch pressure treated wood seems impossible.
7. Ridge poles will be 2x6 so that sloping joist hangers can be used to attach the rafter legs to the ridge poles.
8. Will have a middle truss so that two 10 ft ridge poles can be used. I believe finding a nice straight 20' pressure treated 2 x 6 would be difficult or impossible.
Will add more photos as the build progresses.
Sat, 05/07/2022 - 07:55
Thank you for sharing, can't wait to see the progress! I am not sure where to source the windows, I would suggest building to suit the sizing and type you desire.
this project it was nice and easy to do it I had make the farm house bed then I saw this night stand and I had to have it
Mon, 08/12/2013 - 20:31
Oooh, I love the finish you applied to it! It looks so cool. Great job!
My 2 girls like to play board games on the floor, instead of the dining table. Which I don’t mind. But as I get older, it’s getting less and less comfortable each time. That’s when I decided that we need a coffee table to make playing board games on the floor more comfortable for everyone concerned… no matter what their age is.
But I don’t like coffee tables taking up space in the middle of the room. I love having the room nice and open without furniture sitting in the middle of the floor getting in the way, when it’s not being used.
That’s when I decided that instead of a Coffee Table, what I needed was a Side Table, that could also be used as a coffee table when needed. Either for a board game, or for when you have visitors and you need a place for coffee cups and snacks.
I think it turned out great!
We orignally planned to make the bunk set, but as we went along decided we didn't need a bunk full-time but wanted the extra sleeping space. Our solution was to make sure there was enough room under the side rails for a trundle. We also attached the side rails on with barrel nuts and bolts to make it easier to get upstairs and take apart for future moving. This was our first time making furniture. Over all, we are happy with the finished product!
Thanks to Ana White for the inspiration, plans, and instructions to make our own Potters Bench. We had a little help from grandchildren for the final steps. We used cedar and made it 60” long rather than 48” just for a little more useable space. After purchasing the wood, we got busy and completed the whole project in a Saturday afternoon, with just the finish coat left to apply.
This was a very satisfying project to work on and complete. We will always look at it with pride and be able to say “we built that”!
Pat & Lawrence
Calgary, Alberta, Canada
Mon, 05/16/2022 - 08:24
Love the mods, this is beautiful, thank you for sharing!
It's an awful eye sore builder's always seem to put in the most obvious places even when there's an attached garage, or a basement, or even a large closet somewhere.
Solution: Build a frame out of 2x2's around the panel. Build a smaller frame out of trim (or whatever you like as a picture frame). Attach the smaller frame to the frame on the wall with self closing hinges (ok, maybe paint everything first, lol) and insert a photo or painting of your choice.
Unfortunately you can't do anything about placement, hello 1 inch from my countertop and cabinets (also preventing me from building more upper cabinets on that wall)
But, it's better than staring at that ugly gray box :)
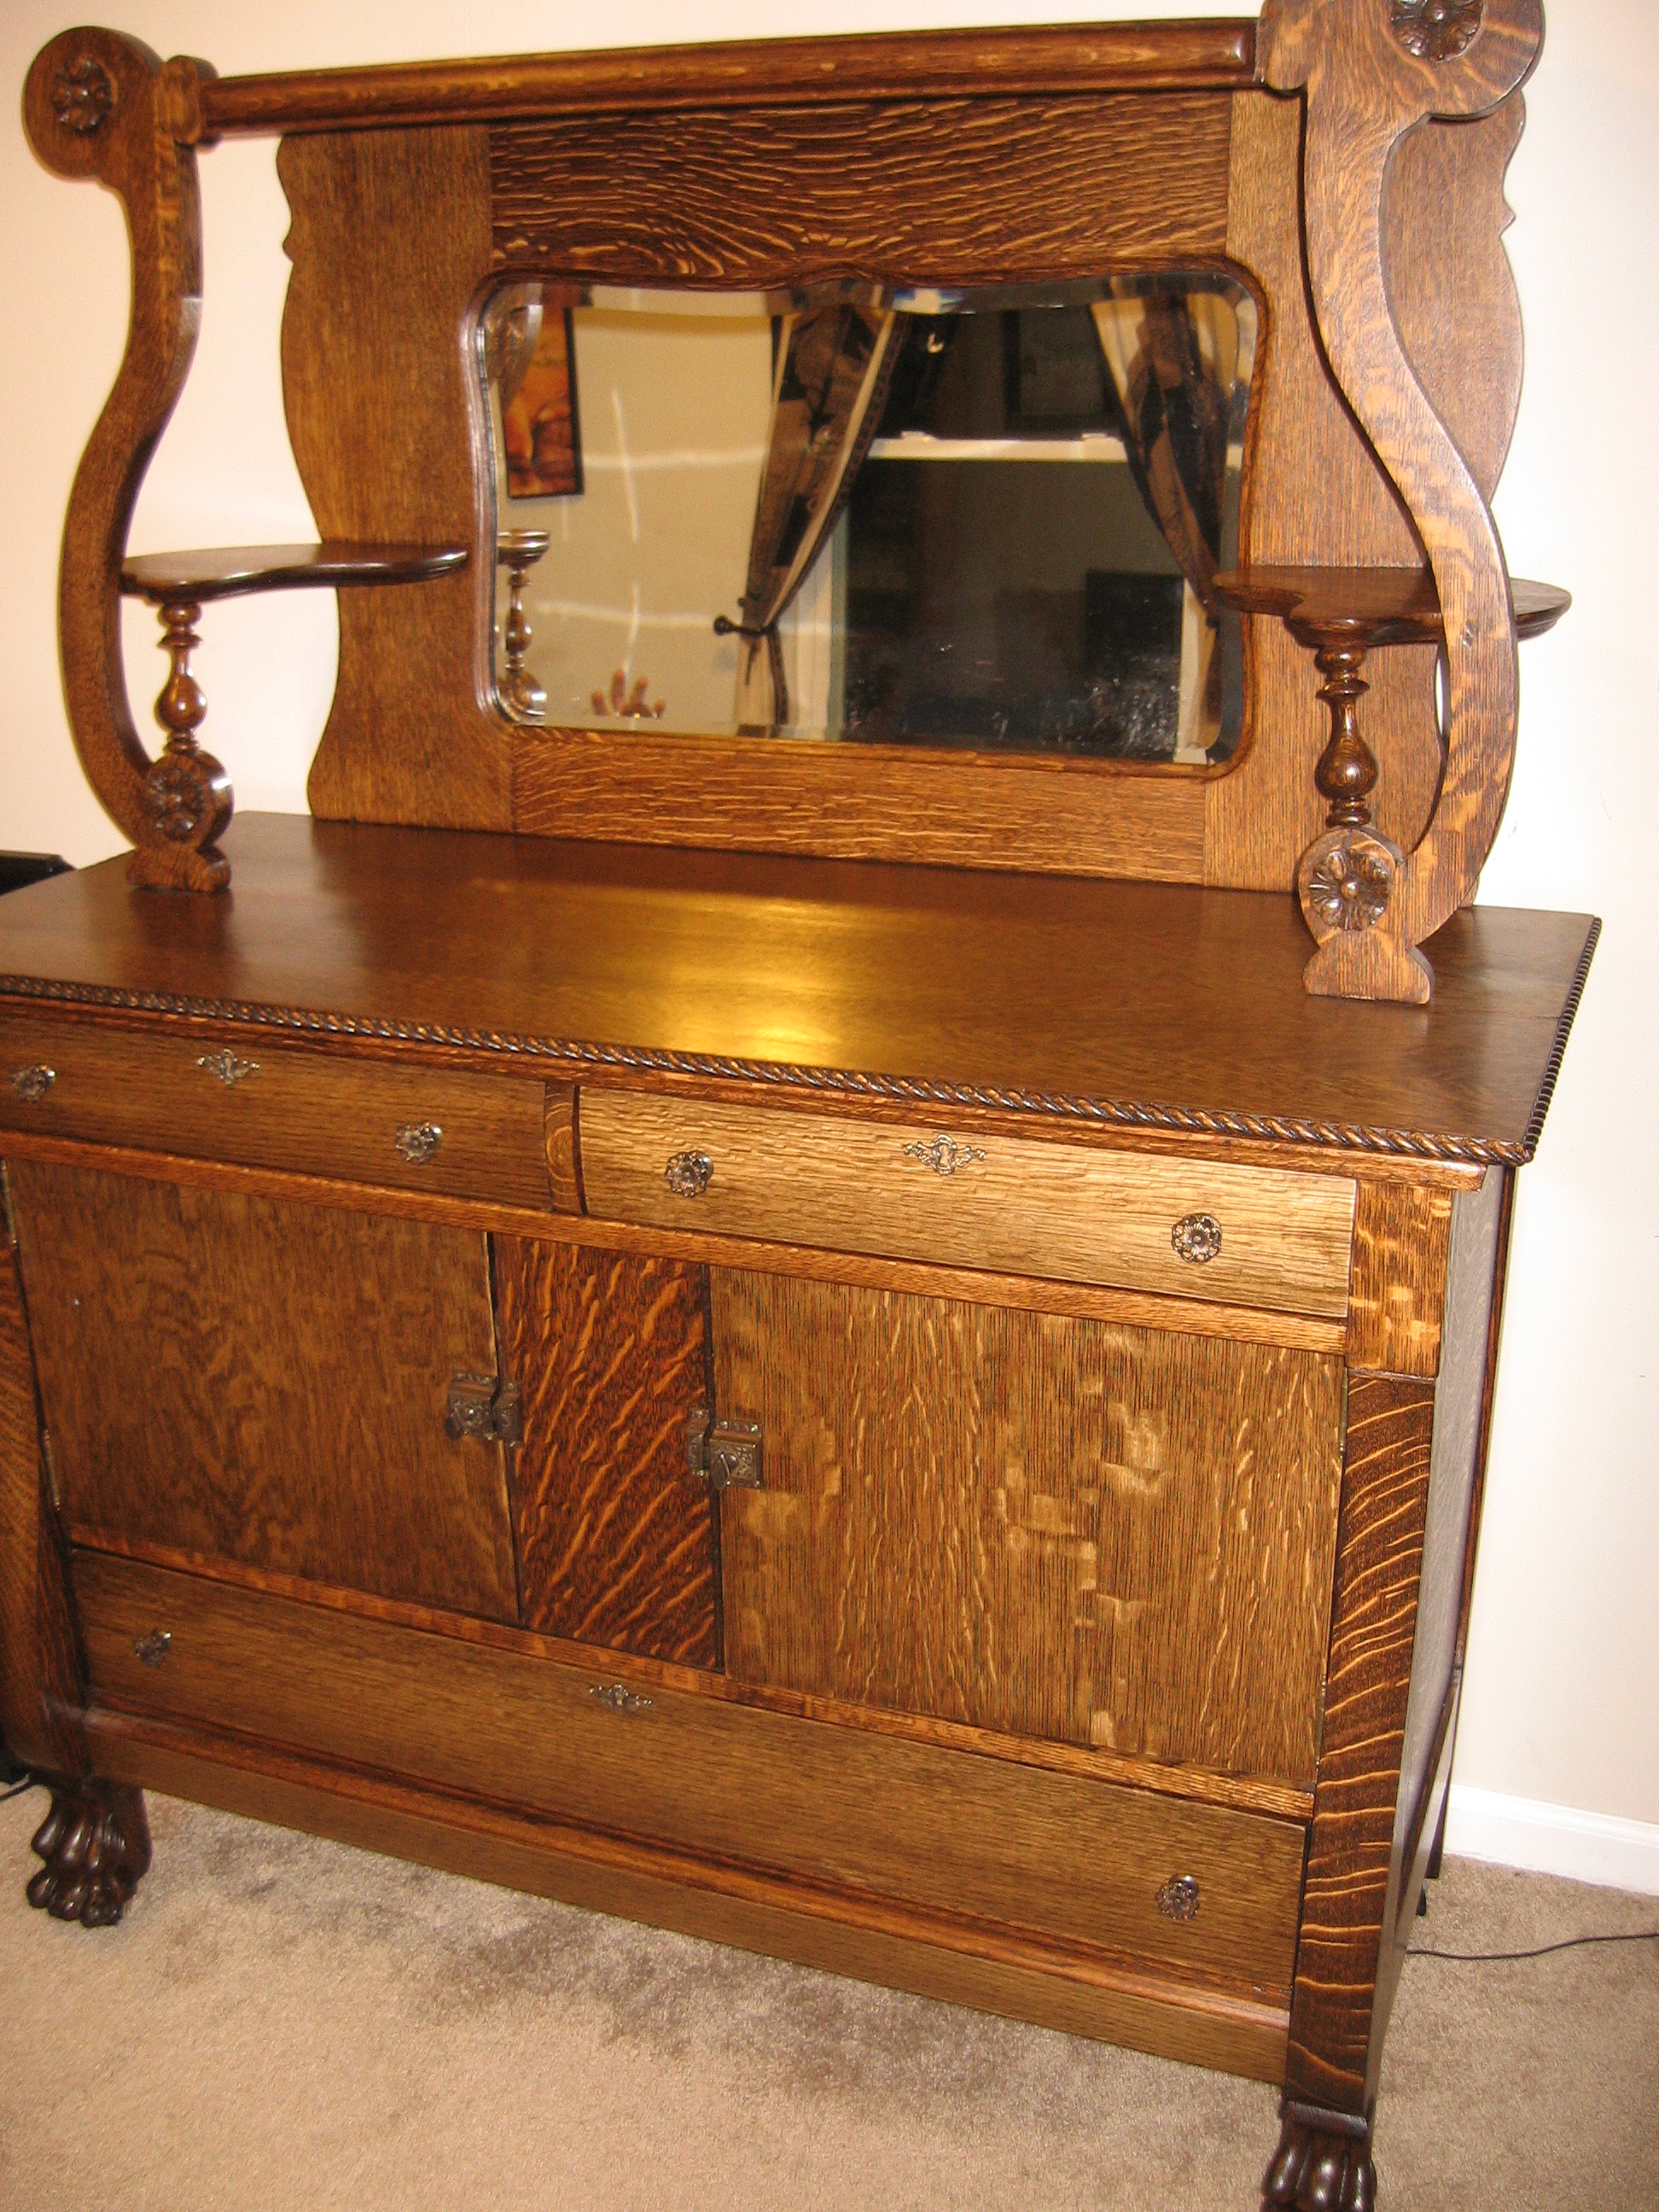
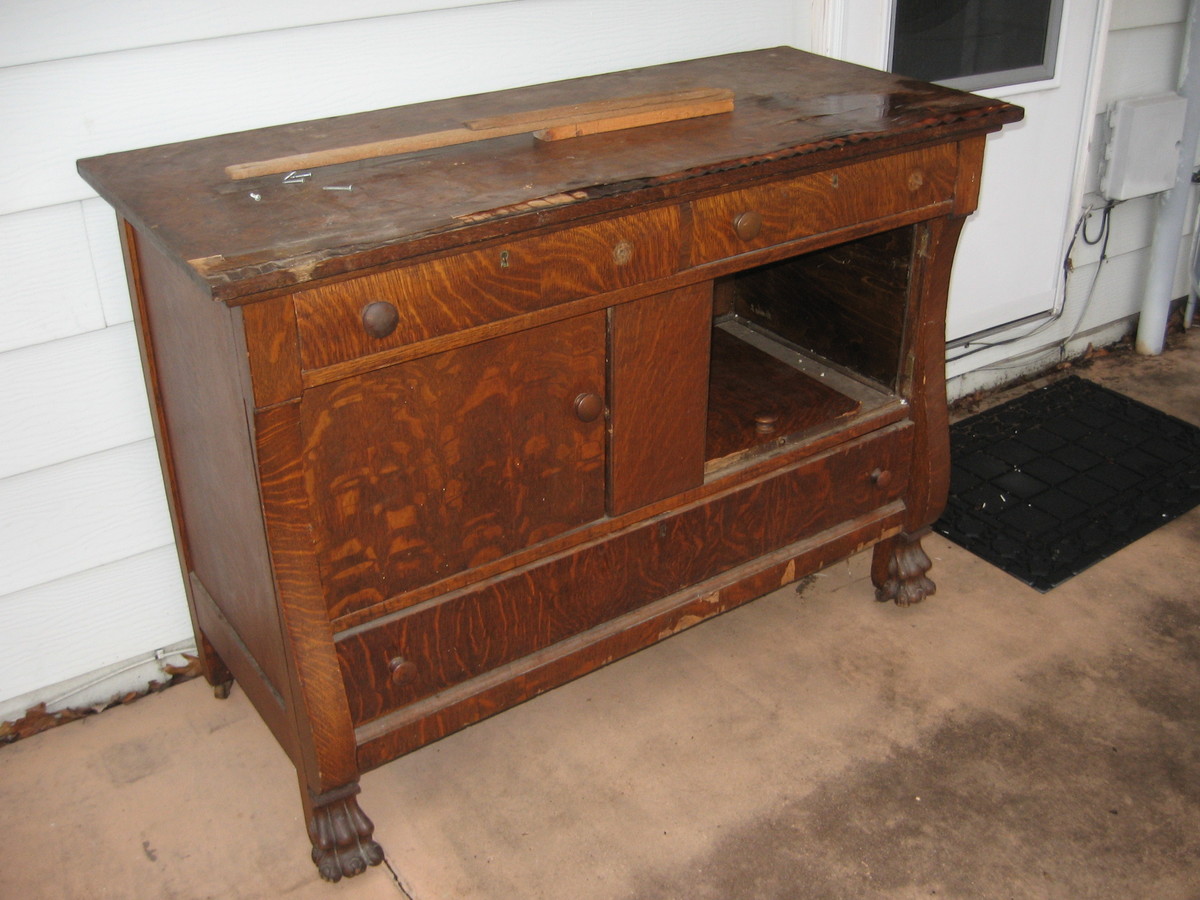
I found this buffet on Craigslist. I bought it from a young lady that told me her grandmother owned it prior to passing. It had obvious water damage, especially to much of the veneer.
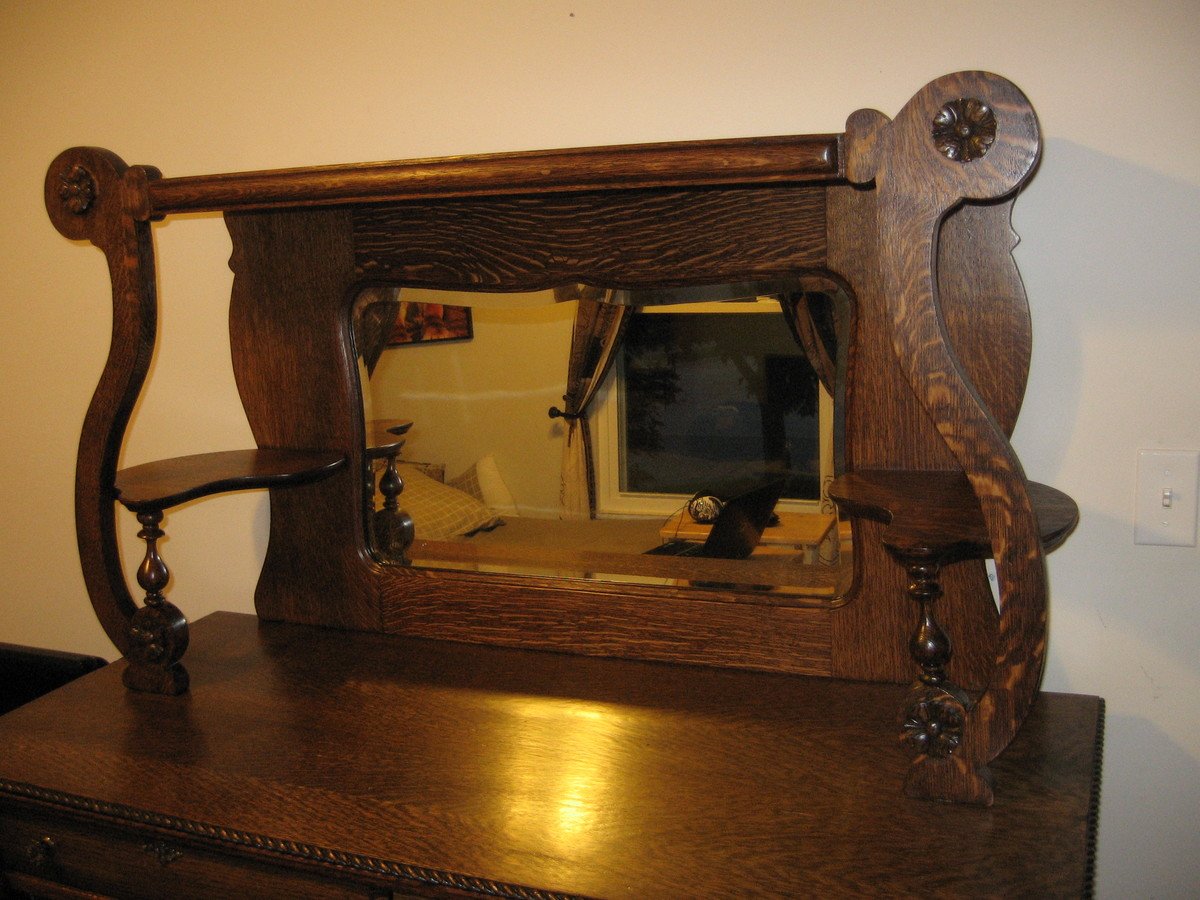
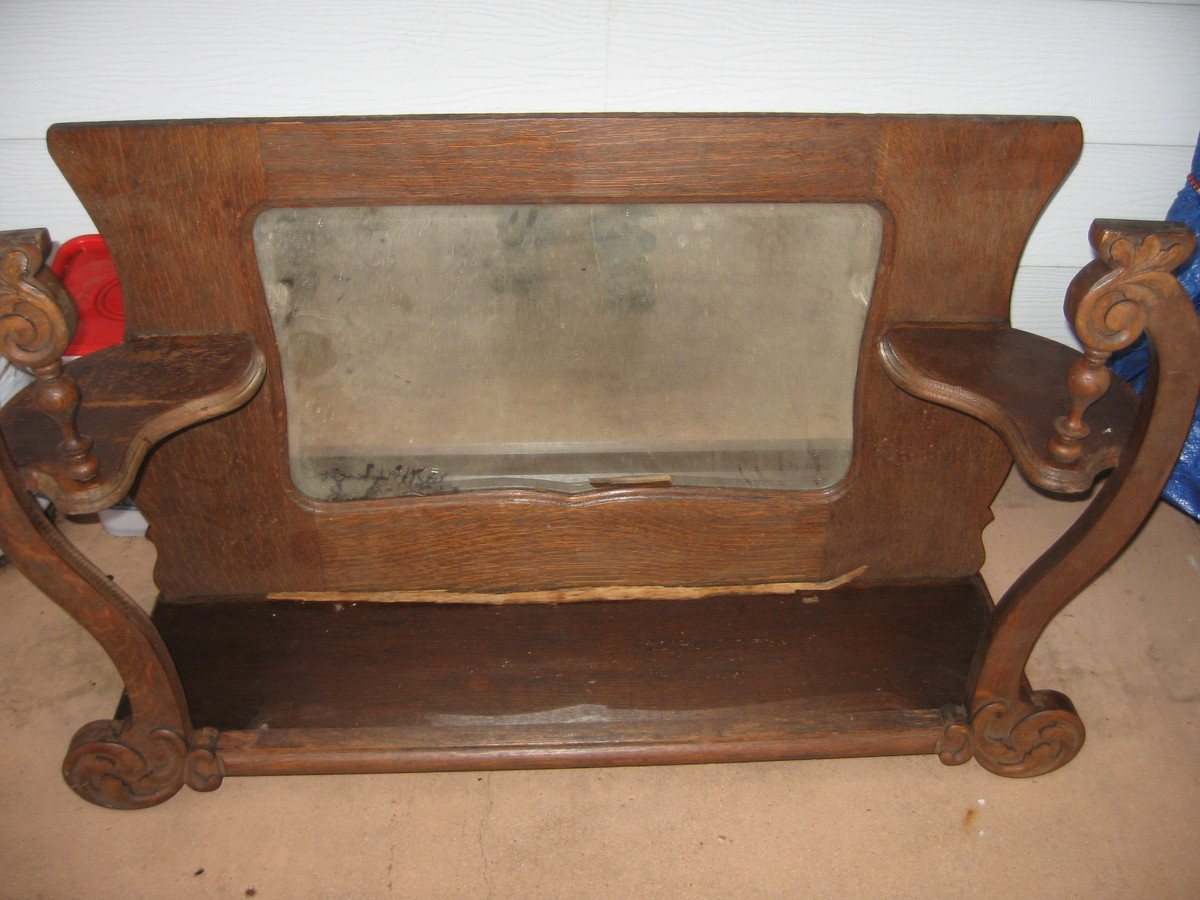
Starting with the top portion, the mirror was removed. The silvering was shot and I shipped it to Madison Glass in Nashville, TN. I stripped it and repaired the cracks and splits it had. The appliques were all broken and brittle. These were replaced with four new oak rosettes. It was stained and polyurethane was applied. I made a new back to cover the mirror when I got it back.
The bottom section was in really bad shape. The water damage had ruined all of the veneer on the top of the bottom section. It also had an obvious sag. I took the top of the lower section off. I used a plate joiner and wood glue to put these back together. I then flipped it over to fix the sag. A 3/4" section was missing. So I used some oak rope trim to make up the difference.
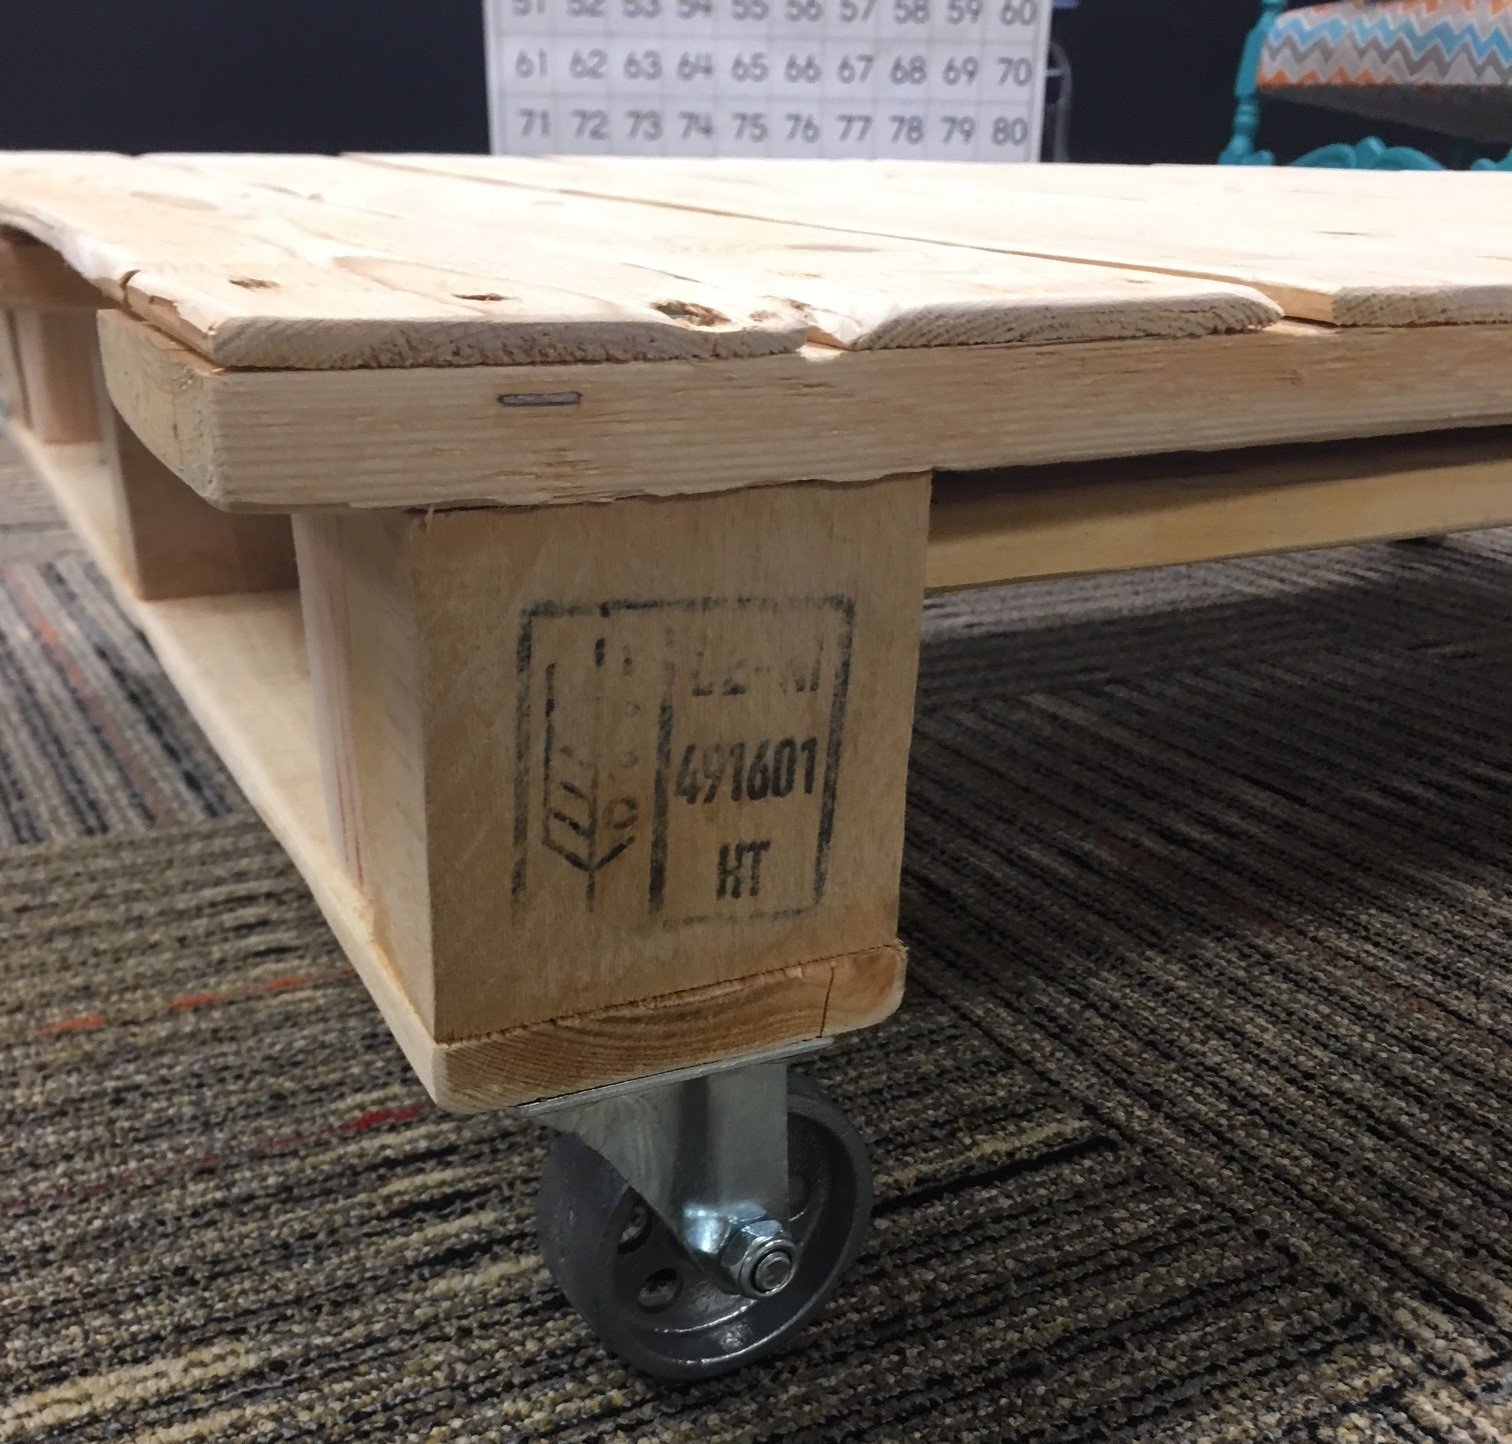
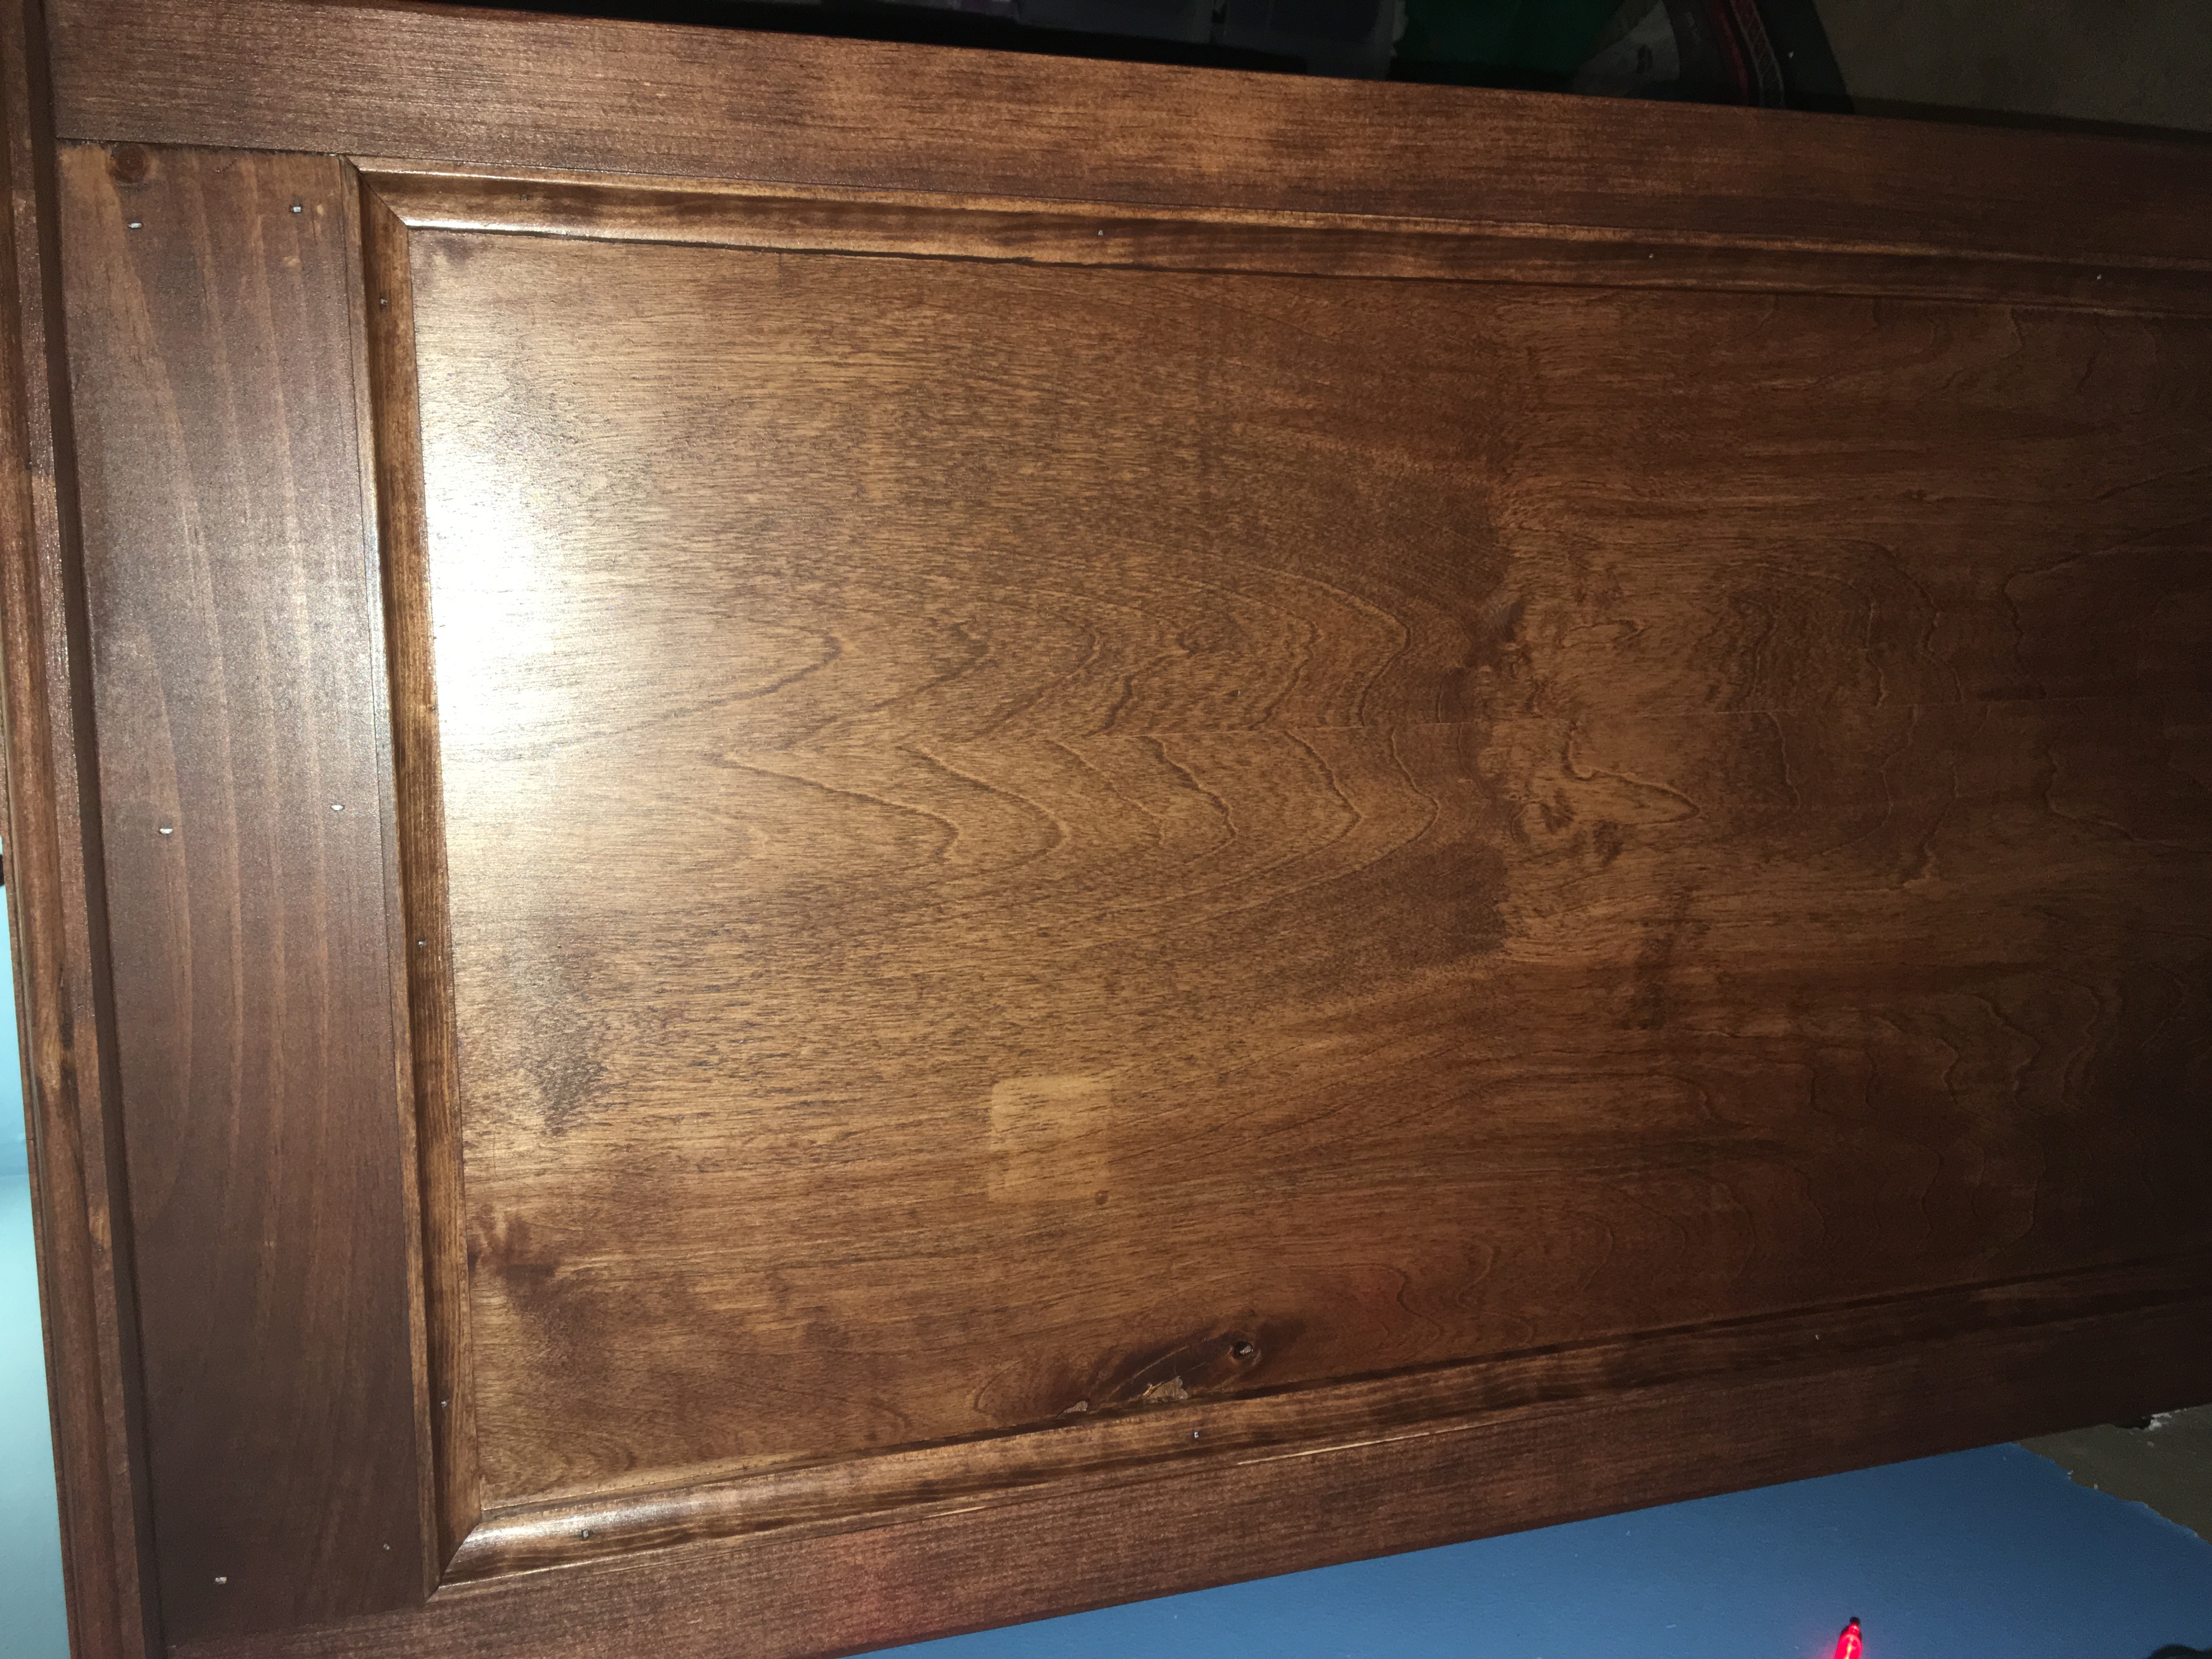
I rebuilt all of the drawers which included new bottoms. I replaced the drawer stops. The cabinet door were all broken so I made new ones using 3/4" oak plywood. I put the nicest side facing in and put new veneer on the door front. In fact the fronts to all of the drawers received new veneer. I also rebuilt the entire inside with 1/4" oak plywood and oak trim. I also put new casters on the piece. I then stained and applied poly to the base.
This farmhouse bedside table was made from figured black walnut and finished with Sutherland-Welles Tung oil. I used a Kreg pocket hole jig for the joinery work
Been a while since I had time to actually build anything worth posting about! My wife wanted some items for her Kindergarten classroom this year, so built several items, most inspired by the Farmhouse family.
Building this project and sewing the cushions was like a love letter to my family. I made them a year ago while on a high dose of Prednisone for my asthma and chronic pain (so helpful!). I finally felt capable of doing something that would bring our family together outside. A year later it continues to serve us well.
The instructions for the sectional were very well done. Super friendly and made me want to keep going! I used black analin dye to stain the wood. Swoon!
For making the cushions:
- I relied heavily on Sailrite's resourceful web site & tutorials for their thorough and detailed instructions on making cushions, cutting foam and sewing piping.
- Home Depot has the best pricing on foam.
- Used the brand 'Cushion Qwik' Silk Film (Amazon) to wrap the foam so they can withstand PNW rain.
Fri, 05/27/2022 - 12:25
Thank you so much for sharing, that is a great description of building, "a love letter to my family"!
This is the bench that got me started! My very first Ana White project and I love it! Oh, and I'm also addicted! I've come a long way since this build and most importantly, so have my tools!
This was my first project built from this site and I absolutely LOVE this table! Thanks Ana White!
Mon, 08/19/2013 - 17:10
Nice work. I've been meaning to take pics of the one I did, which I paired with the exact same Tobias chairs. Love the look of modern and rustic together.
Build Instructions:
http://www.instructables.com/id/Stackable-Wood-Pumpkins/
This is a simple project made from some scrap wood I had laying around. As shown in the pictures, the pumpkin boxes can be spaced side by side or stacked vertically on a porch, mantle or table. In addition, the group can be stacked inside one another for easy storage. Since they are made from wood, I recommend LED Tea lights versus a candle for the illumination.
I am very pleased with how well this dresser turned out. The plans are very well written and easy to follow. I did make a happy error in the beginning. I attached the bottom shelf 1-1/2 inches too low. I then had an extra 1-1/2" gap that needed to be filled at the top. I added a 1 by 2 under the drawer dividers slightly inset. I then glued and brad nailed a pretty piece of molding flush to the front. You can see this below the top drawers. I also used a roman ogee bit around the top. I used a 1960's router that my father past down to me. This dresser has so much room for clothes and is very sturdy! I purchased the plans on fixthisbuildthat.com and I watched the video tutorials. Thank you for the wonderful plans!
Beautiful, practical and afternoon naps are so comfortable!
Made from cedar 2x4s and semi transparent stain. I mixed and matched new cushions with ones I already had. I will be adding the matching coffee/end tables soon.
I love how this bed turned out! I wanted some of the extra detail that the Pottery Barn version had--like routered edges, which proved to complicate matters from Ana's plan. I also needed this in a twin, so I looked at Ana's Brookstone twin storage bed for some advice as I planned this build as well.
I followed Ana's plans to a T except my length is 10" shorter. Top shelf is a 1" x 15" solid Oak amish cut board. I left a live edge on the front as I really liked the flow of it. The bottom two shelves are 100yr old pine plank boards that a friend of mine tore out of his attic.
Tue, 09/29/2015 - 10:40
Thank you very much! I love the way it turned out
This pallet wood pumpkin project was so easy to do from start to finish. It started with the last pallet wood I had disassembled last year. Then I scavenged from the kids craft paint stash. Some dry brushing the paint on and swiping it off and it was done in time for the little trick or treatsters.