First successful try (many previous failures)
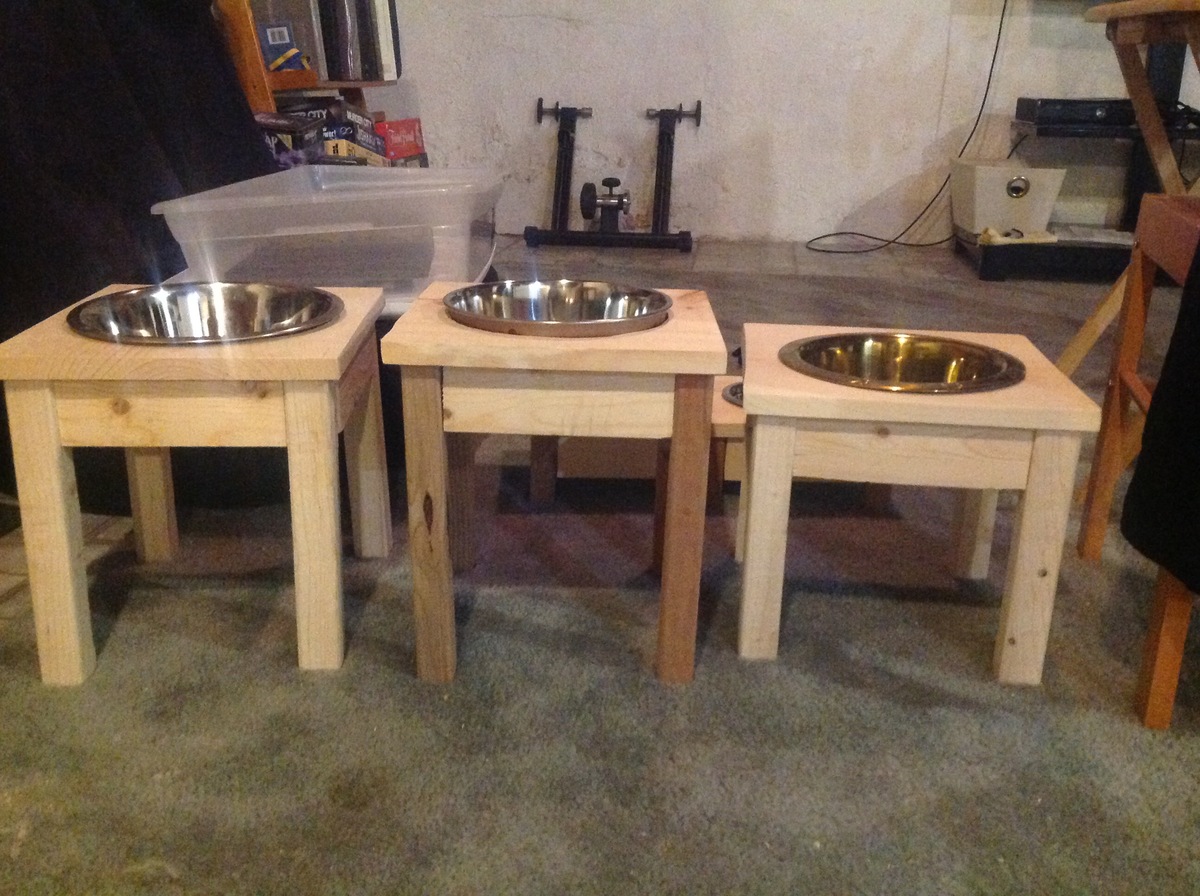
I had to practice cutting the circles probably 10 times before they were acceptable. I am glad I didn't quit! These bowls are great!
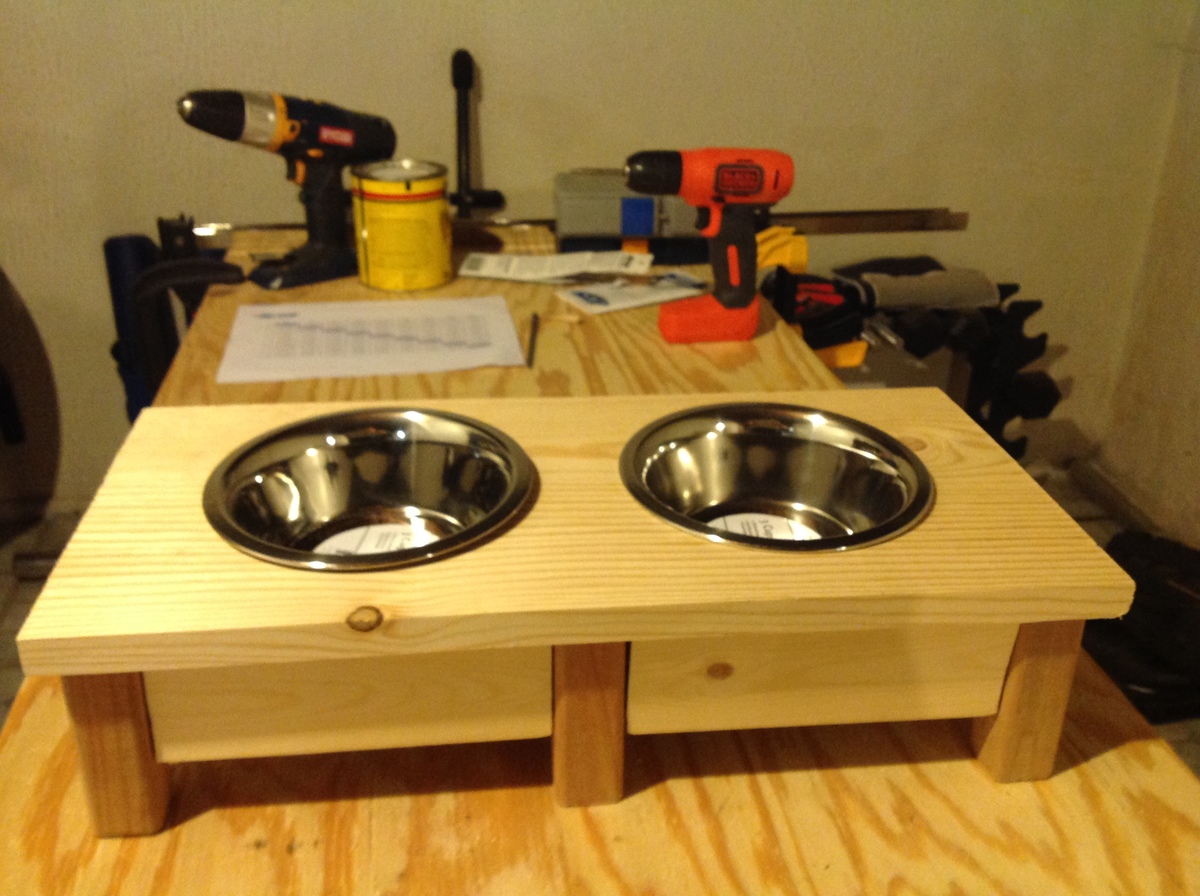
Worked on the bed over the summer at the same time I redid the floors. I built the side tables one at a time in case I needed to change anything for the second one. All in all these were fairly easy to build. Thanks Ana!
When my two teenage boys were out of school in 2020 due to Covid19, I had them choose a project to work on and they chose theses chairs. I made cushions to go with the chairs. I think it turned out fantastic! They were proud of their work and so was I.
I modified the plans for only 2 pedestals, and a solid 100 inch walnut top. I used auto body filler to fill the gaps of the legs, sanded and distressed. It appears to be solid barn board wood, and there is NO way to tell that it's stock 2 x 4 and 2 x 6.
These were made from 50+ year old pine that we had from my husband’s late father’s shed. We used one coat of the dead flat poly. In total we made 6 shelves. 3 are 48” long and 3 are 32” long. This was a fun project and a great way to use my photos.
This was a simple project, super easy to do if you need an inexpensive bed for a young child. It freed up floor space in our son's small room, which he loves.
Built this bench for my parents for Christmas. They were super impressed and I had a lot of fun. Cost for the wood and screws is only about $40. Stain/Sealer can cost about the same.
Obviously I decided not to do the woven back and go for the simpler straight slats. I prefer this look and I'm sure it was easier than cutting all those angles.
I was proudest of the armrests which I made using a jigsaw to round off the edges, a circular saw to make the thinner part, and shaped it more with a rasp and file, then finally a fine grit sandpaper. Super fun.
Thu, 02/13/2014 - 10:36
I am going to build this bench with a slat back as well. Yours looks great. Just 2X2's, right?
We used flooring from Homedepot for the middle boards. My decorator suggested that I make it longer and that worked well with this flooring. We did discover that our Lowe's has the post for only $10 - we paid too much at 84 lumber - only to discover that they were warped - we had to use corner brackets to fix it.
This is the second one of these I have built from Ana's plans. This one was smaller than the previous. Second time around made the build easier. I wanted an "X" on the doors which was a little more work but I like the look.
I love this for the laundry room! We actually had a pretty blue paint left over from a different project, so it was perfect. Thanks for the wonderful plans :)
I procured the finest and freshest Redwood from a lumberyard. Tip : Don't go to Home Depot. Most of the squaring and planing was done from the hand held Lie Nielson Jointer # 7. It was worth an investment and came in handy for a lot of other applications. I used Fein Supercut for sanding needs. Works well.
Made this for my grandson, didn't take to long. Now him and his dad are going to paint.
Joe the retired firefighter
This was our finished product following the design from Anna that was exactly what we were looking for to fill out entry. We were able to design it to fit our space and our needs for a family of 4 and as you can see it gets used ALL DAY. We both like the stained finish rather than paint and the only regret I have is not using the Kreg on everything. On a side note we also liked the top piece so much we created off the design to build a storage area for the kids in their playroom. The only thing missing from the picture is the rod that we will be hanging baskets off underneath. Thanks Anna for the ideas.
My dad and I built this project for my 3 year old daughter for Christmas. She was ready to move out of her crib and this bed seemed like a great fit for her. We followed the plans almost completely. We opted to use a piece of 3/4 in. plywood on the cleats for the mattress support instead of slats. We also added 4 cross cleats under the plywood for added support. I added a florescent light over the play area underneath because it was a little dark under there. I'm very happy with how this bed turned out and my daughter loves it as well!
This project is the mirror from The Handbuilt Home and is the first project I made from the book. I changed the size since I wanted the mirror for my bathroom and adjustments were so easy to do. I used regular pine boards and a mirror I got from Lowes - Lowes cut the mirror to the size I needed at no charge. I painted the frame with two coats of a celery colored chalk paint, one coat of white chalk paint then sanded to distress. I attached the mirror using a glue and seal caulking and secured with mirror brackets so I could hang up right away without waiting for the glue to dry . This was a super fun project, easy to do. Love the book, and plan to build more projects from it!
X Desk built without drawers and a Batman themed desktop
This is the first piece of furniture I have ever built. I'm super proud. It was fairly easy. I can't wait to fill my house with all of my future creations!