Community Brag Posts

Tabletop play kitchen

Submitted by Ericagrace on Mon, 01/01/2018 - 14:29

Modified mini kitchen. Side door has a magnetic closure. When hutch is inside, it fits under the couch!

Built from Plan(s)
Estimated Time Investment
Afternoon Project (3-6 Hours)
Finish Used
Stain is danish oil
Recommended Skill Level
Beginner

Nightstand 3 different ways

Submitted by Anonymous (not verified) on Sun, 12/26/2021 - 15:38

We took this plan and modified it a bit. The first photo is as a nightstand. We resized the red cabinet, made it deeper and a little wider, gave it a contrasting finish of chestnut stain on the drawer fronts and barn red on the body to make my sewing storage/desk (2 cabinets with a hollow core door on top). The green cabinet is higher and wider, with a cabinet at the bottom. This is used in our stained glass shop at a Renaissance Festival in a remote area, which is powered by hidden solar. The drawers house my paperwork and sales tools and a solar inverter in the open back cabinet at the bottom.

Built from Plan(s)

Comments

Cottage Loft Bed WITH Stairs

Submitted by mdesign on Fri, 04/29/2011 - 11:37

I've been working on this little dandy since before Ana posted her Cottage Loft bed. It took longer because of the 1x6's but I thought it would be cuter that way and more cottage looking. All of the 1x6 boards were fastened together with the Kreg Jig, and the house is sturdy and HEAVY! My intentions were never to use it as a loft bed but rather a playhouse for my two girls and a place to put all their stuff. My oldest has however fallen in love with it, so when I feel comfortable with her sleeping that far off the ground I would guess that it will become a bed. For those of you that are contemplating it a Kreg Jig and some kind of paint sprayer are absolute musts for this project, no way around it! And don't plan on completing it in a short amount of time, with babysitters and being a stay at home mom it took almost a month from first board cut to bringing it back in from the garage. I'll post more on my blog if you'd like to check it out!

Built from Plan(s)
Estimated Time Investment
Week Long Project (20 Hours or More)
Finish Used
Paint and distressing
Recommended Skill Level
Advanced

Black Walnut Farmhouse Table

I saw the farmhouse table plans on the site and forwarded them to my father, who was quite interested in what I wanted to build. We decided the specs for the 72" tabletop in order to fit my dining room. What I didn't know was that my father, Charlie, had already located some pristine black walnut to construct the table and had already begun planing the wood for the table. My loving aunt and uncle "donated" the wood to me and my Aunt Mitch & dad planed all the wood themselves. As you will see, the planks that run along the top of the table are not the same size however the overall size if the tabletop is the same. Charlie fit everything together and made it work. He cut all the pieces and did all the work! Therefore, we have a beautiful, unique and absolutely STUNNING new table for our family!
Thanks to Ana White for this site, to my aunt & uncle for their resources and
time, to my husband who meticulously and gingerly applied the poly and finishing touches - and thanks especially to my loving father, Charlie, for all of his hard work, talent & generosity. We will now have a beautiful table to share years of memories & meals with one another!!

Estimated Time Investment
Week Long Project (20 Hours or More)
Finish Used
Eating!!
Recommended Skill Level
Advanced

Comments

Repurposed bed frame dog kennel

Used the inspiration of Ana-White dog kennel and made ours with an old bed frame that wasn't being used anymore. I'm very happy with how it turned out. I just need to paint and stain it. You can see the side is from the bed headboard and footboard.

Estimated Cost
$75
Estimated Time Investment
Weekend Project (10-20 Hours)
Recommended Skill Level
Beginner

Barn yard table

Submitted by Anonymous (not verified) on Sun, 12/26/2021 - 19:01

Built this for my daughter as a wedding present the top is mahogany, benches and base are oak stained pine.

Comments

Farmhouse Table~squared.

Submitted by Dinabu on Wed, 05/04/2011 - 09:24

I really really wanted a farmhouse table...but...we had a space that needed a square table AND I needed to fit 8-12 people (or more!) so we modified Ana's farmhouse table plans to not only be square, but really big as well. This table is 6 ft on each side. Since the table itself was so big, we reversed the breadboard ends and used a 2x4 on 2 ends just to even out the size a bit since is not rectangular...and the area is quite small but needed a big table. I didnt want it to be completely out of proportion. We did not use a stretcher because of the square factor, but each leg is a 4x4 post and reinforced underneath. It's HEAVY. It won't be moved anytime soon! I'm loving it:)

Estimated Cost
$250
Estimated Time Investment
Weekend Project (10-20 Hours)
Finish Used
Black semi-gloss with 2 coats of clear gloss poly for legs and table skirting, dark walnut for top with 5 coats clear gloss poly.
Recommended Skill Level
Beginner

Comments

Tilt Trash Can

We used Ana's tilt trash can plans and antique/distressed finishing tips. It came out great! We love it!! Thanks Ana!!!

Estimated Cost
$50
Estimated Time Investment
Afternoon Project (3-6 Hours)
Finish Used
Distressed finish using dark walnut stain and antique white.
Recommended Skill Level
Beginner

Comments

JoanneS

Mon, 07/01/2013 - 16:11

Love it! Your finish is awesome. This looks just like an antique - you've got an instant heirloom! :)

Laundry Basket Dresser

This took me about an hour to build. I used two coats of paint and bought the cheapest laundry baskets that Walmart sells here in Alaska ($3.77 each). I added some felt to the bottom corners as it'll be sitting on a hardwood floor. Very happy with the finished product!

Estimated Time Investment
Afternoon Project (3-6 Hours)
Recommended Skill Level
Starter Project

Rustic Entry Bench

Submitted by Kravgirl on Sun, 01/07/2018 - 07:42

Sturdy rustic entry bench. 46”x17”x17” high with 

shoe shelf. Built with 4x4 legs and 2x6 seating for max strength. 

Estimated Cost
$75 - $100
Estimated Time Investment
Weekend Project (10-20 Hours)
Finish Used
Dark Walnut with semi gloss urethane on seat and matte urethane on rest.
Recommended Skill Level
Beginner

Comments

Fireplace Mantle

Submitted by Anonymous (not verified) on Mon, 12/27/2021 - 08:30

A gift for my husband! Now I’m hoping he will get me the fireplace! Ha ha!

Built from Plan(s)

Comments

Pallet shelf for less than $5.00

Submitted by stedders on Fri, 05/06/2011 - 19:08

This project was super quick, cheap, and easy to make. I created it using an old recycled pallet, vintage sterling silverware, and leftover stain from another project. I simply sanded and stained it.

Estimated Cost
Under $5.00
Estimated Time Investment
An Hour or Two (0-2 Hours)
Finish Used
Mahagony
Recommended Skill Level
Starter Project

Simple Bed (Full Size

Submitted by rlsavard on Wed, 07/03/2013 - 10:03

Great first project I made for my 2 year old son. He loves his "big boy bed" and I thoroughly enjoyed making it. I made the headboard first, then waited a day to do the footboard. I was able to think the process through better during that period and the footboard came out much better than the headboard, although maybe I'm just aware of these differences because I'm the one that made it. All in all it was a great learning experience and a wonderful way to dive into wood working. Thanks for all your plans, Ana!

Estimated Cost
$300 (materials and new tools)
Estimated Time Investment
Week Long Project (20 Hours or More)
Recommended Skill Level
Starter Project

Comments

Toy Box/Nightstand

Submitted by AK1013 on Wed, 06/24/2015 - 12:08

This is the 2nd thing I've ever built in my life. I had a ton of trouble with the angle cuts because of an old miter saw and my lack of skills with a protractor but it turned out okay.

Built from Plan(s)
Estimated Time Investment
Weekend Project (10-20 Hours)
Recommended Skill Level
Beginner

Rory’s Treehouse

Submitted by Anonymous (not verified) on Tue, 12/28/2021 - 08:51

Recent projects:
Treehouse for my 6-year old granddaughter
Desk for my 6-year old granddaughter

Comments

{mini} ten dollar ledges

I knew I wanted some of these shelves in my daughter's room but it seems bedroom sizes in Australia are quite a bit smaller than the US! I couldn't spare a long wall to fill with books so chose this narrow space to the side of the window.

The length of time I took for this project was for several reasons:
* I was a total beginner!
* I had to cut all of the lengths of wood with a hand saw & sand with sandpaper wrapped around a block of wood.
* It took about 5 coats of paint to cover the wood properly.

I adjusted the measurements from Ana's plans to fit the smaller space & while daunted at first at the prospect of attaching things to walls, I was so thrilled with how they turn out. I'm looking forward to challenging myself with something a little more complex next (perhaps with some power tools this time to assist!).

Built from Plan(s)
Estimated Time Investment
Weekend Project (10-20 Hours)
Finish Used
Paint
Recommended Skill Level
Starter Project

Comments

Birthday Kitchen

Submitted by katrinaj55 on Sat, 06/27/2015 - 00:01

This was a pretty good and at times challenging project but it was fun and totally worth it when I saw the look on my daughter's face

Built from Plan(s)
Estimated Cost
$50
Estimated Time Investment
Weekend Project (10-20 Hours)
Finish Used
Polyurethane
Recommended Skill Level
Beginner

Natural Pine

Enjoyed making this queen sized bed frame. Thanks Ana, for the great plans! I am adding some lights to it in the next few weeks, that I'll wire through the 4x4's, to add individual reading lamps. I plan on complimenting the bed frame with your farmhouse style nightstands, that I am going to modify with a hidden power supply and some rollers for the drawers. Once done, I'll submit the brag post! Again, thanks Ana, for your great and inspired plans!

Built from Plan(s)
Estimated Cost
$175 (4x4's are expensive where I am, and I went with KD Whitewood instead of just regular pine 2x4's)
Estimated Time Investment
Weekend Project (10-20 Hours)
Finish Used
Natural
Recommended Skill Level
Beginner

Door Spice Rack

We just moved into our newly built home, I love to cook, and realized really didn't have a good spot in the pantry for all the spices. This was my first project and in doing internet search for ideas came across Ana White's website, not only did I find the spice cabinet plan I was looking for, but a treasure trove of other projects and ideas. New to this so I have found Ana's site to be such a blessing. Yes, this made me a hero to my wife!

Built from Plan(s)

Fancy Laundry Basket Dresser

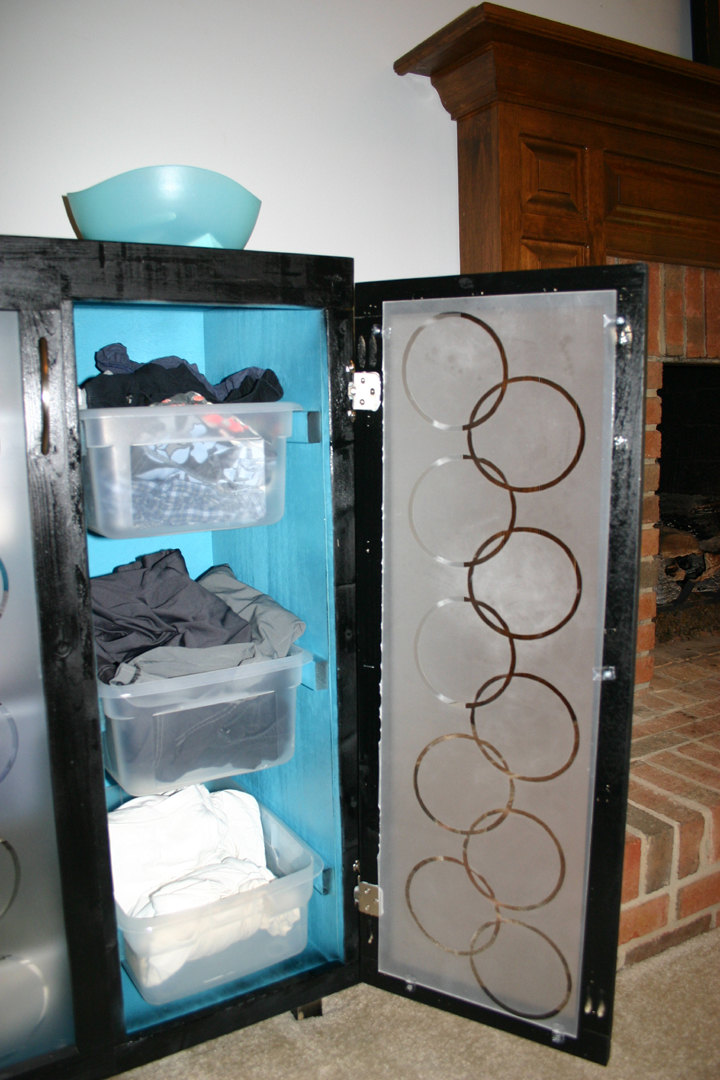
This has been on my to-do list for a long time. We have not had a dresser for years, and have used our closets for our clothes. In our old house, I had built a storage unit for our closet, and we used clear plastic storage bins for our smaller, non-hanging items. Then we moved to our current house. Which had nice closets, but the bins didn't work so well. But we made do, fully intending to change it when we had time. Six years later...I found the time. LOL.
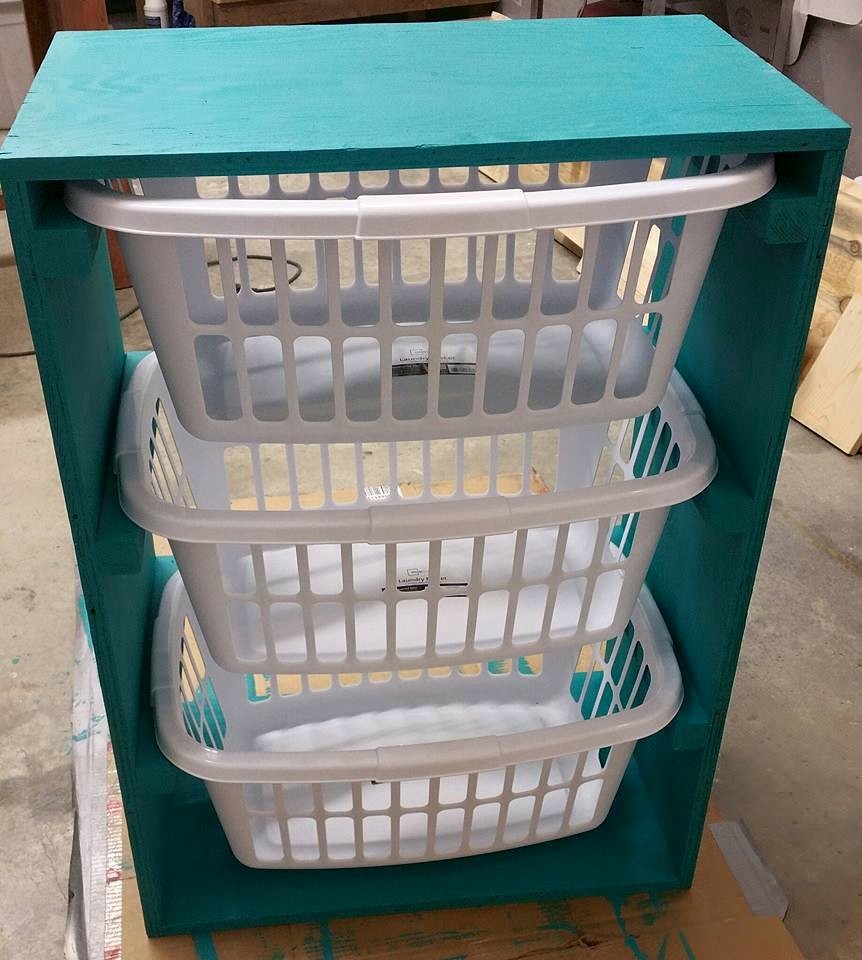
When Ana posted the laundry basket dresser, I knew it would work for our current bins! But I wanted them out of the closet, and I didn't really want to look at them. So I thought about doors. Finally worked it out, and here are the changes that I made.
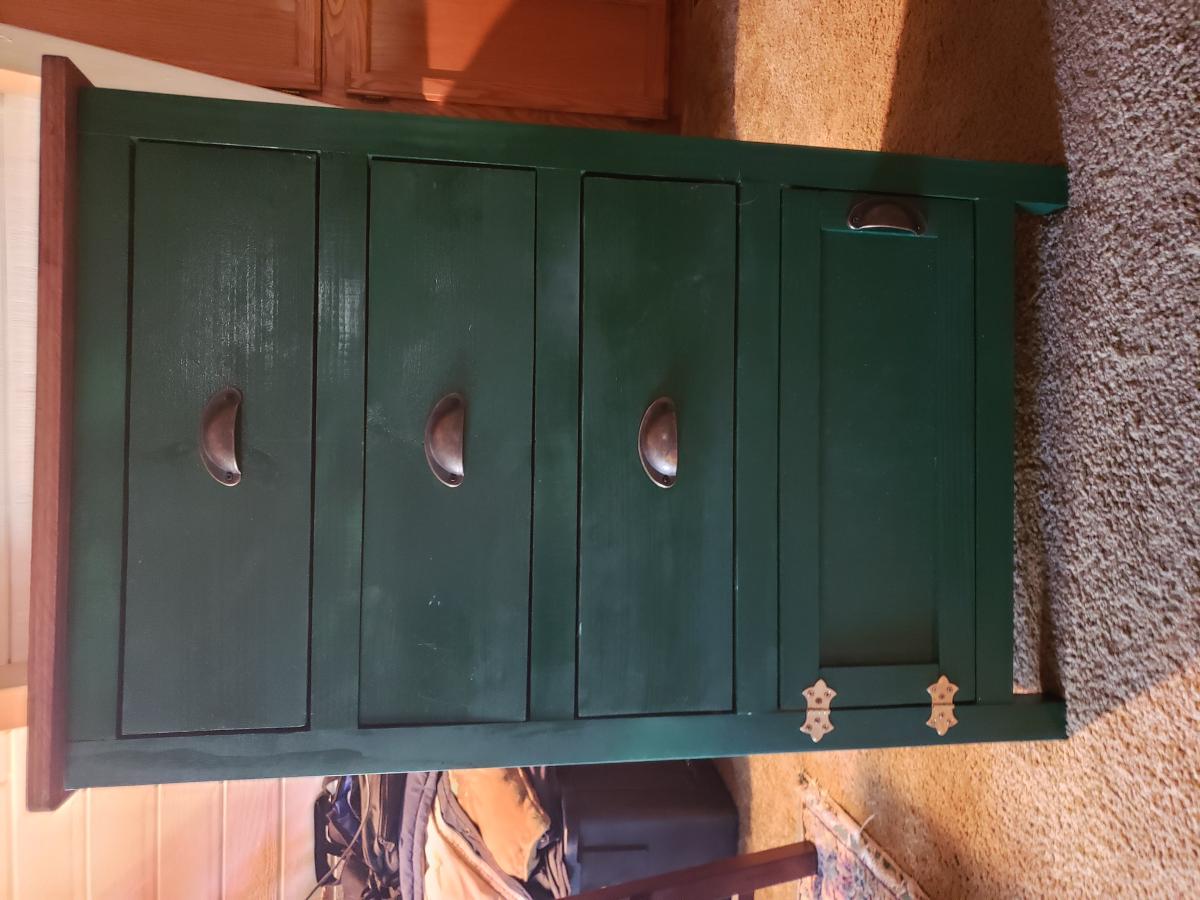
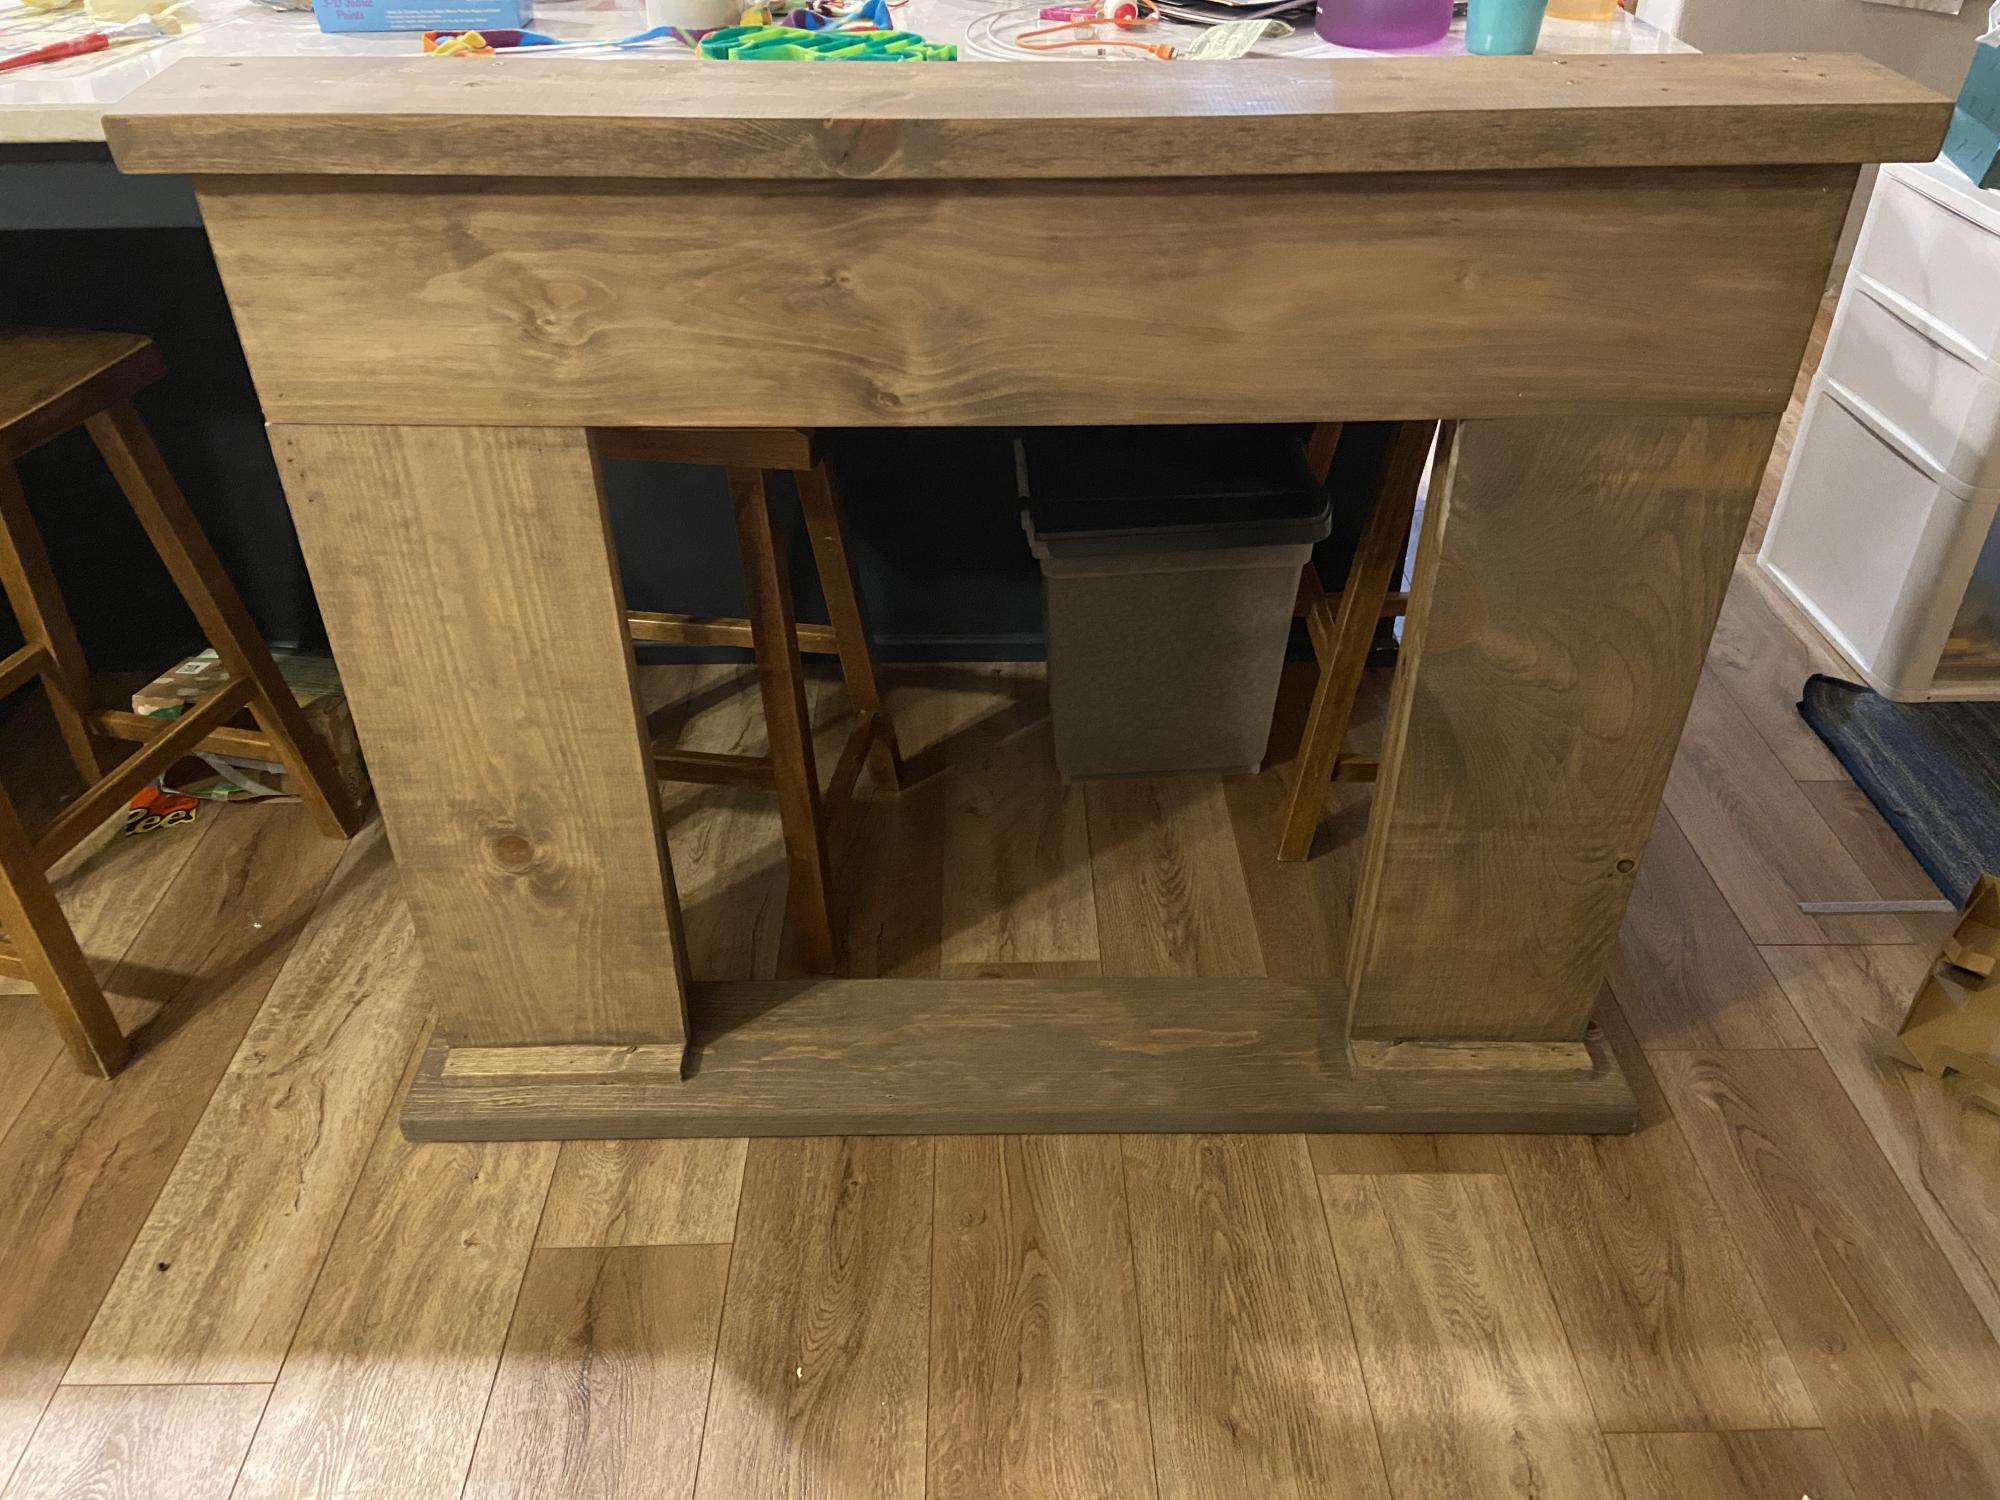
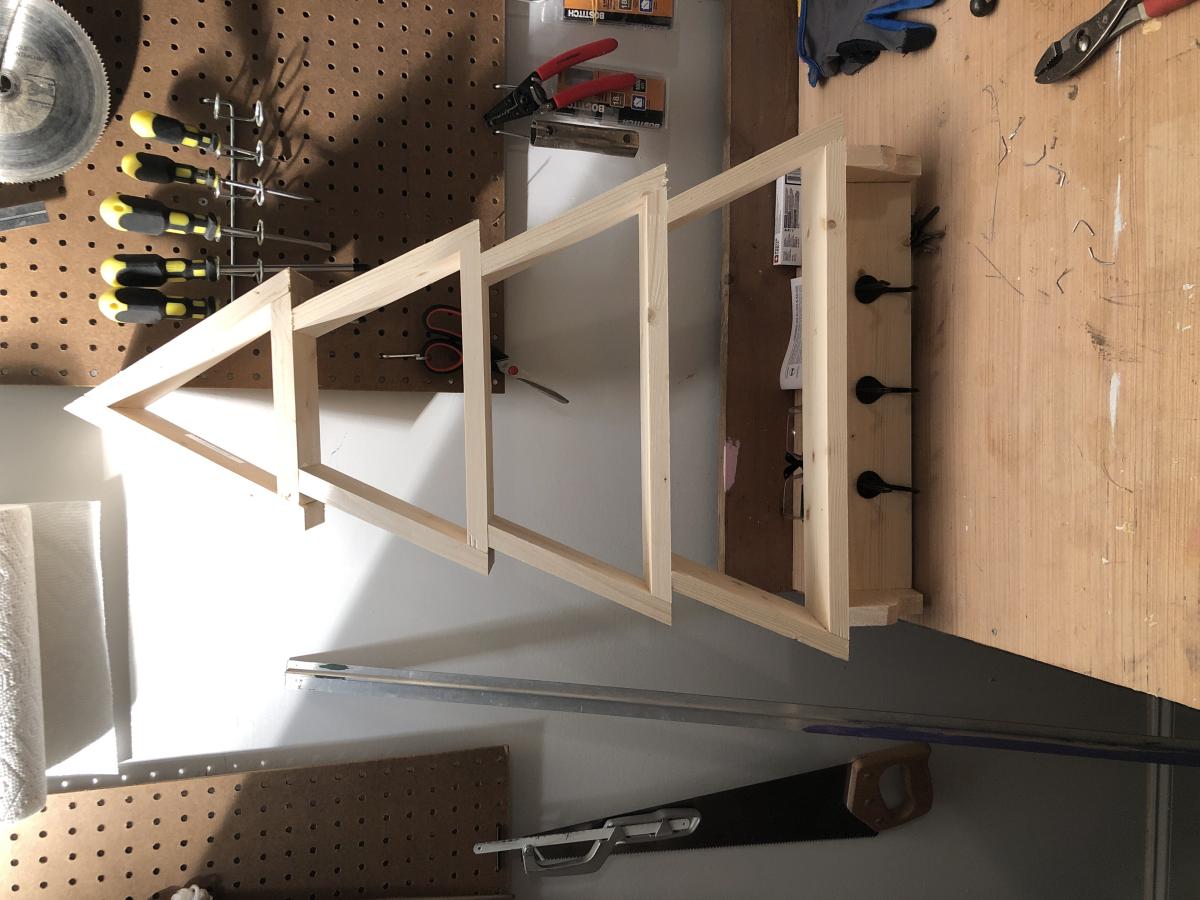
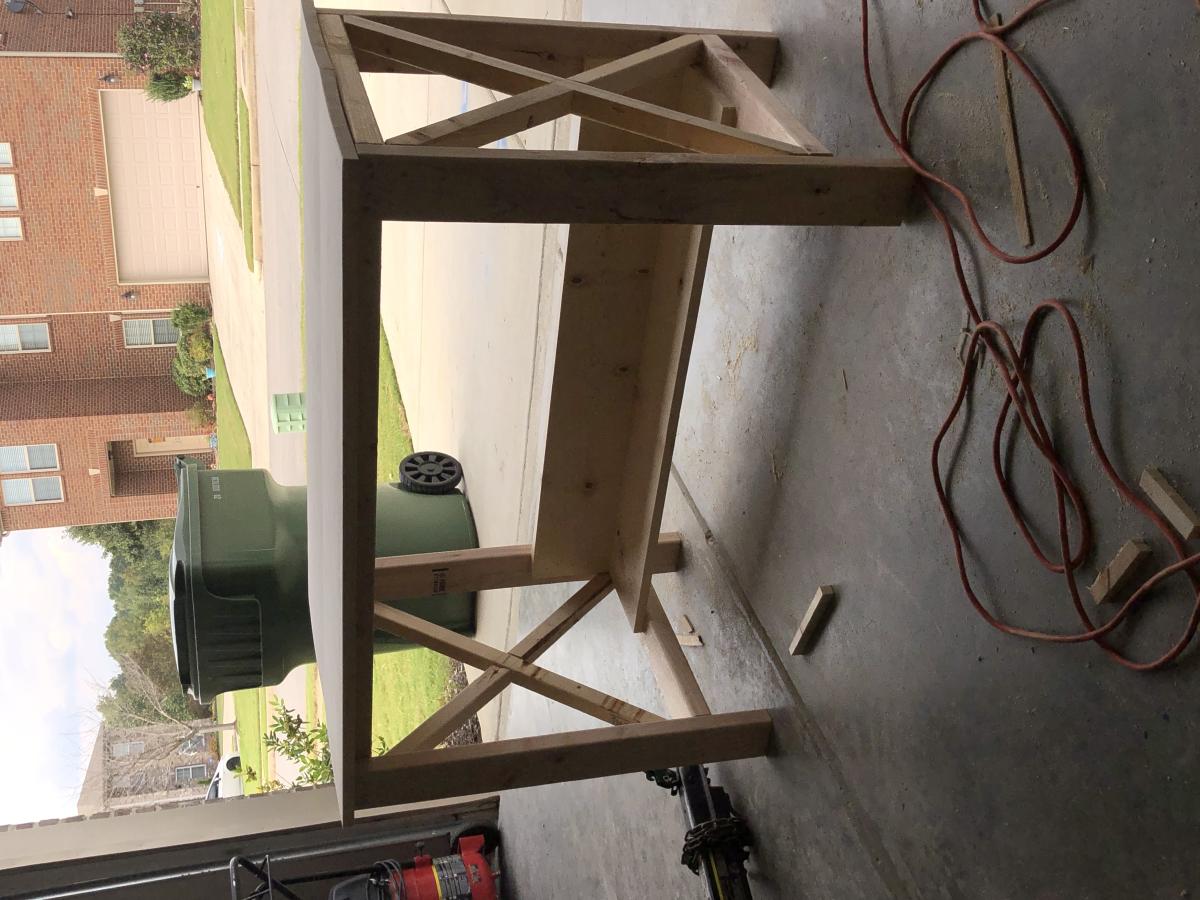
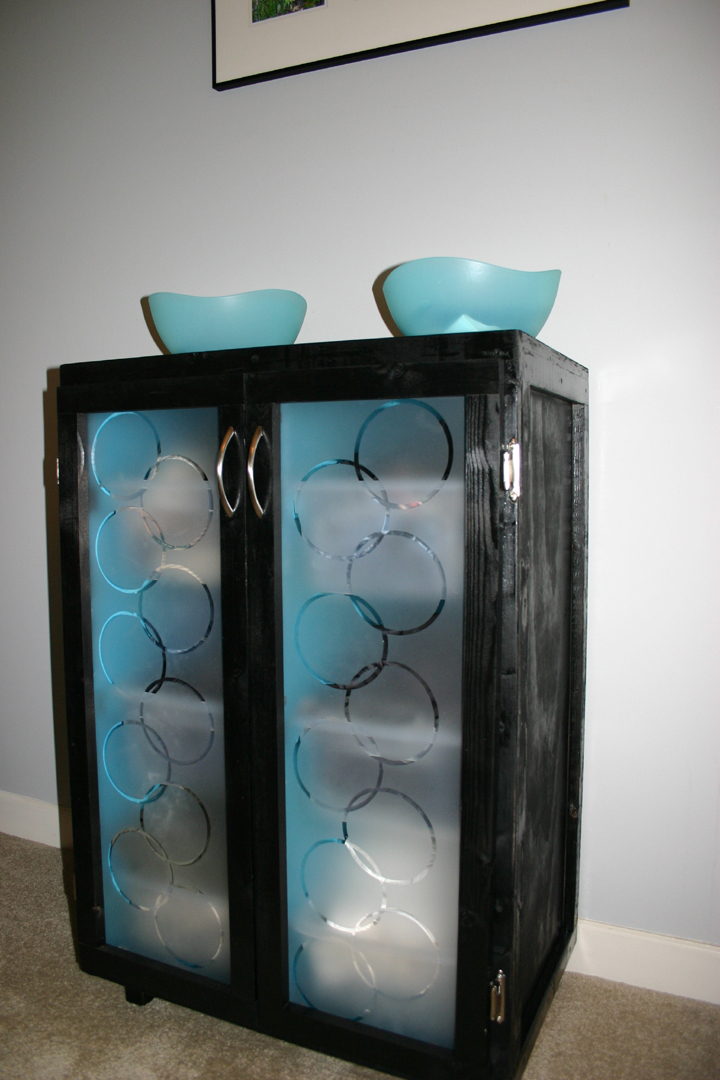
I made it to fit my bins. Added some legs. Added 1x2 trim all around to help hide the plywood and beef it up to help the doors. Added the doors(gotta love that kreg-jig!). I used Ana's plan for the basic glass doors for those, same as the ones I did for my kitchen.
When it came to the inserts, I knew what I wanted, but it just took a bit of time to get everything together.
The inserts are plastic-plexiglass. I LOATHE cutting that stuff, and we won't go into the detail and language that was involved with that part. Finally got two workable pieces. Used my xyron to make circular stickers, and laid them out in my desired pattern. Then sprayed with frosted glass spray paint(awesome stuff!). It gave it that modern edge that I wanted, and disguised the stuff inside.

Estimated Cost
~40
Estimated Time Investment
Weekend Project (10-20 Hours)
Finish Used
Valspar glossy black spray paint, valspar aqua
Recommended Skill Level
Intermediate

My workbench

Thanks for the work bench plans! Mine measures 3 feet by 6 feet. We have a single car garage so I put locking casters on mine to enable me to move it. Easier to clean, easier to access all sides then put it back in the corner. The frame is 2x4, the top is leftover ash flooring. The lower shelf is leftover 2 by (4s, 6s). I may add another layer of ash to the top but it's functional as is. Stands 36 inches tall.

Built from Plan(s)
Estimated Time Investment
Afternoon Project (3-6 Hours)
Finish Used
unfinished as of now. Planning a clear coat for top.
Recommended Skill Level
Intermediate