Community Brag Posts
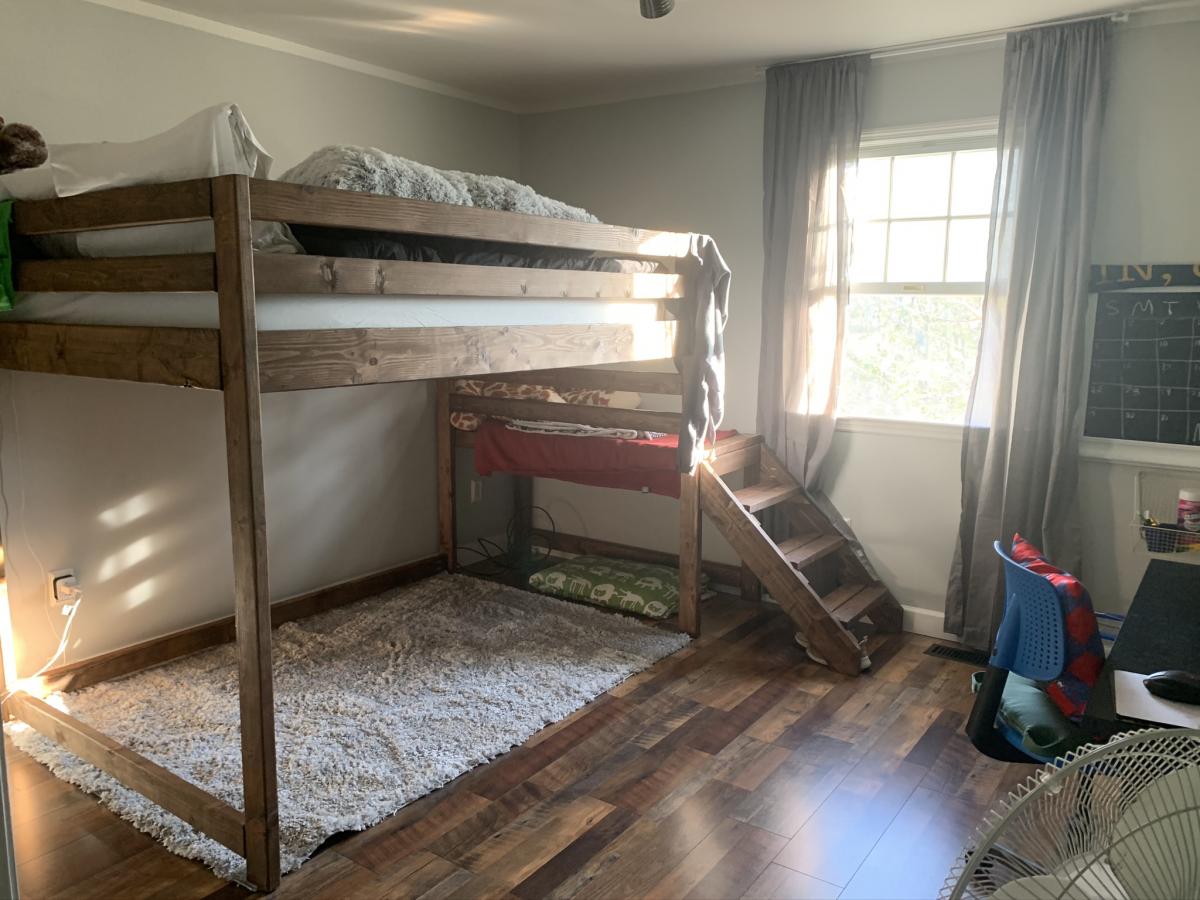
Camp Loft Bed Full size
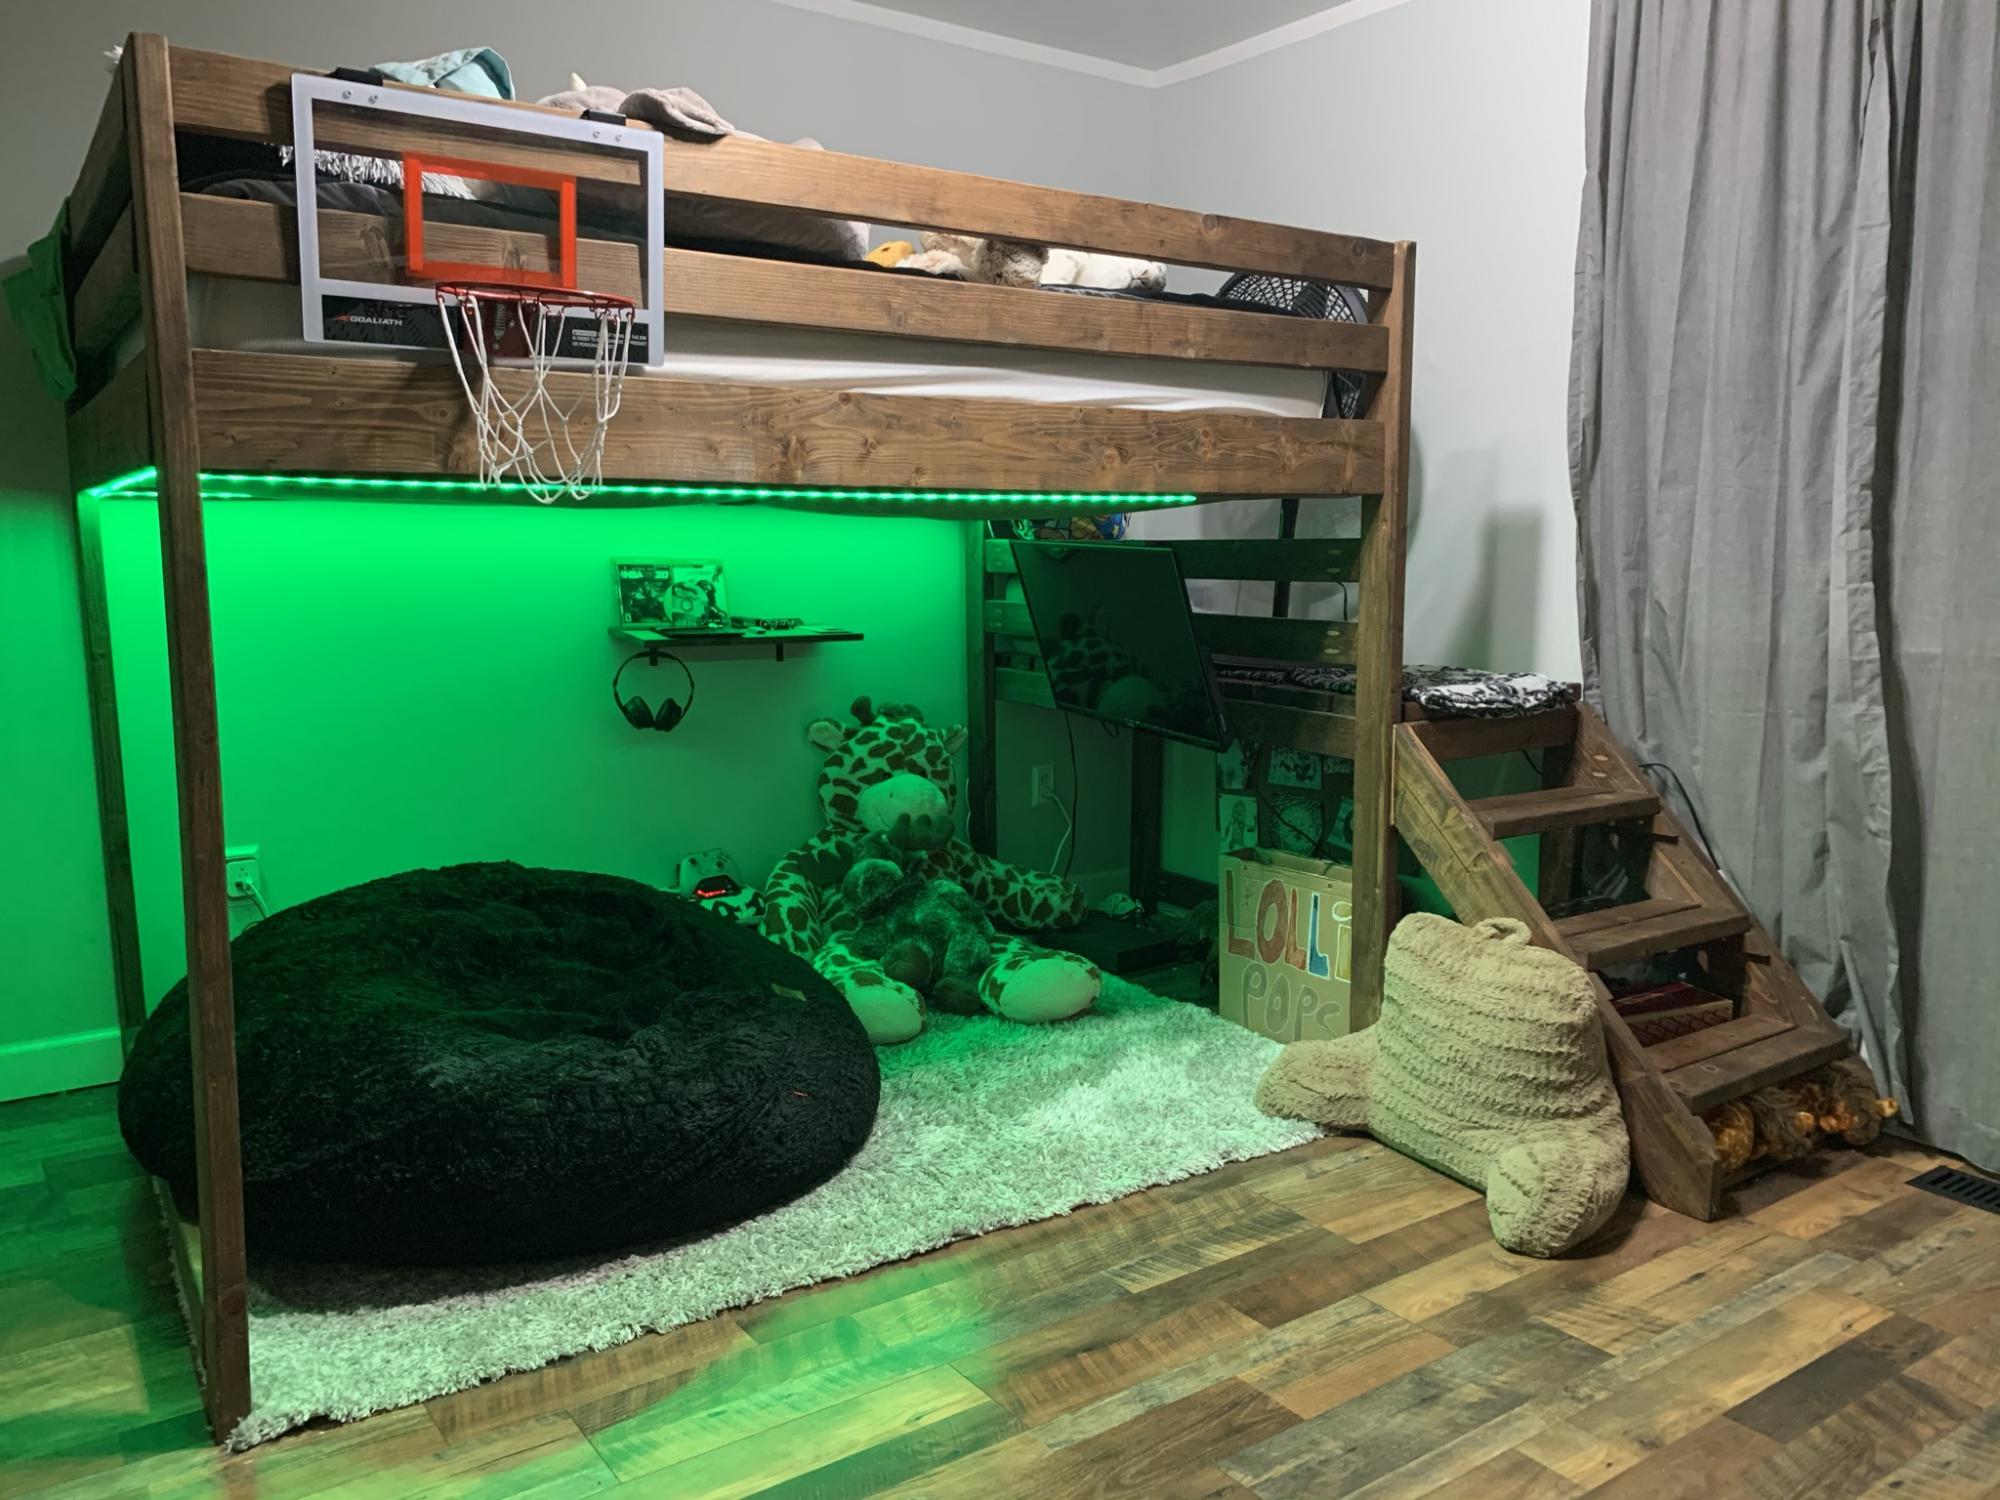
Made this Loft bed for a full size mattress in 2019 and it is still strong. I added a stretcher on the bottom of bed across the length of the the bed added strength.
Comments
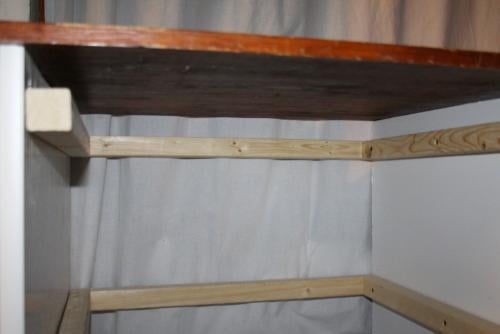
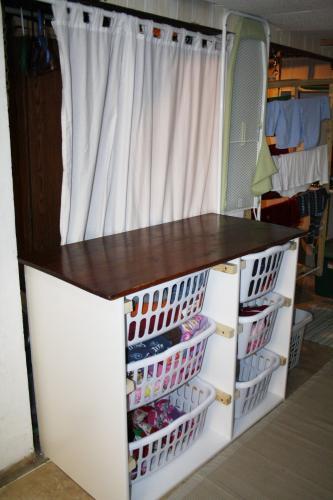
Laundry Dresser for 6 (3 the short way & 3 the long way)
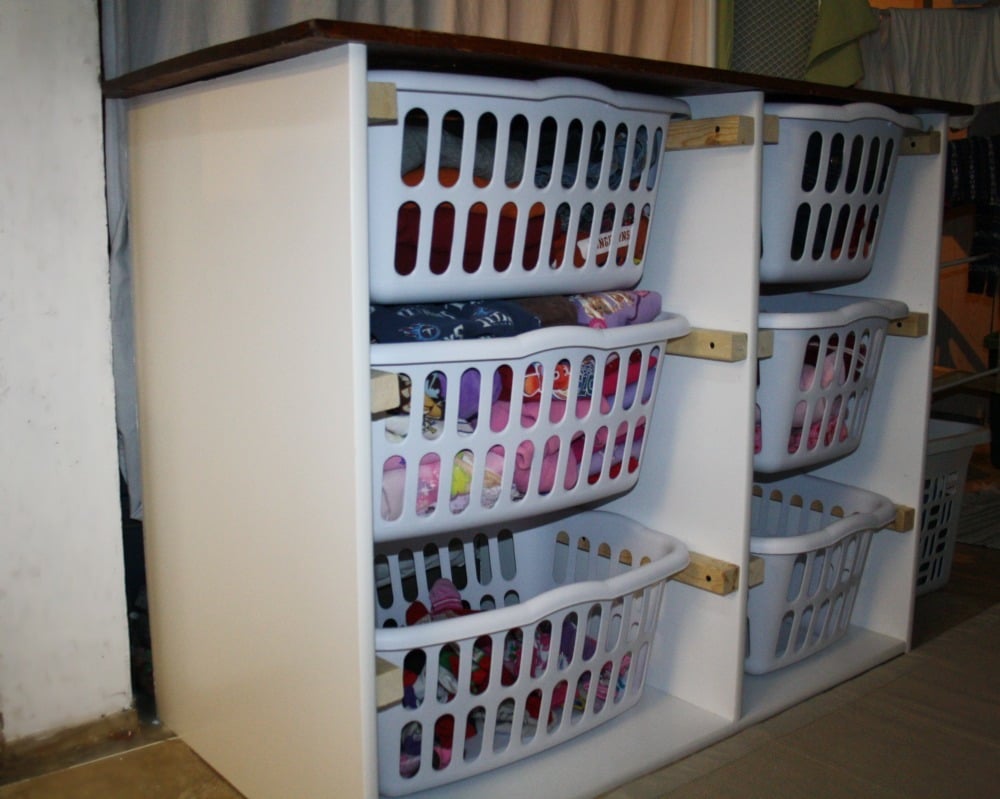
I needed a change. The freebie table that I used for folding laundry bugged me because the beat up legs of the table prevented any storing/stacking/using the space underneath it. The top of the table was always filled with baskets of clean clothes! I loved the tabletop and it fit the space perfectly so I decided to customize the laundry dresser to fit under the 2′x4′ tabletop. I wanted to fit a basket for each family member (5) and we always need one for linens.
I worked it out to use melamine boards to save on finishing (and match my other basement builds) and 2×2′s in a ‘U’ instead of a backing (kids were in the car so I couldn’t fit the big piece of backing!) I bought 2 2′x6′ shelves (cut one in half and one 3/4″ less than half) and 1 2′x4′ shelf and cut it to 43″. Then I just used a kreg jig to make the ‘E’ shape (the sides covered the rough edge of the bottom piece) and attach the tabletop. I also used the kreg jig to make the ‘U’ shapes to fit inside the 24″ space (long way) and 18″ space (short way). I thought about putting the back piece more forward so that the baskets the long way couldn’t slide all the way back, but decided to just make both sides the same. I pre-drilled and countersunk the screws to attach them to the sides (measuring and clamping over and over). Melamine is a little slippery to work with but it was nice to save time on the finishing end!
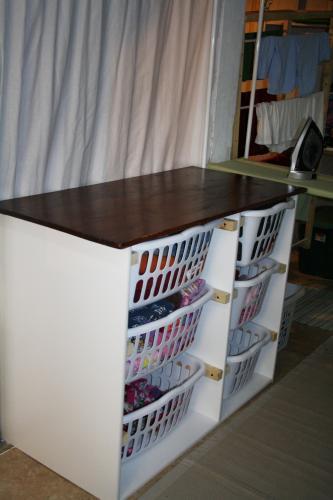
I have a fold down ironing board right next to the table which is just perfect!
P.S. I have a hanging drying rack in the background (the expanding ones didn’t work b/c the floor angles down to a drain) and a metal pipe behind the white curtain for hanging items.
Stand with the table at 36″ so you can fold without getting a backache, easily slide the baskets in and out to put away clothes as you fold them….and thank Ana for the way that she has transformed your home and feeling toward doing laundry!
Estimated Cost
$40
Estimated Time Investment
Day Project (6-9 Hours)
Finish Used
None yet, eventually [if I ever get everything else done] I will paint the 2×2′s white.
Recommended Skill Level
Beginner
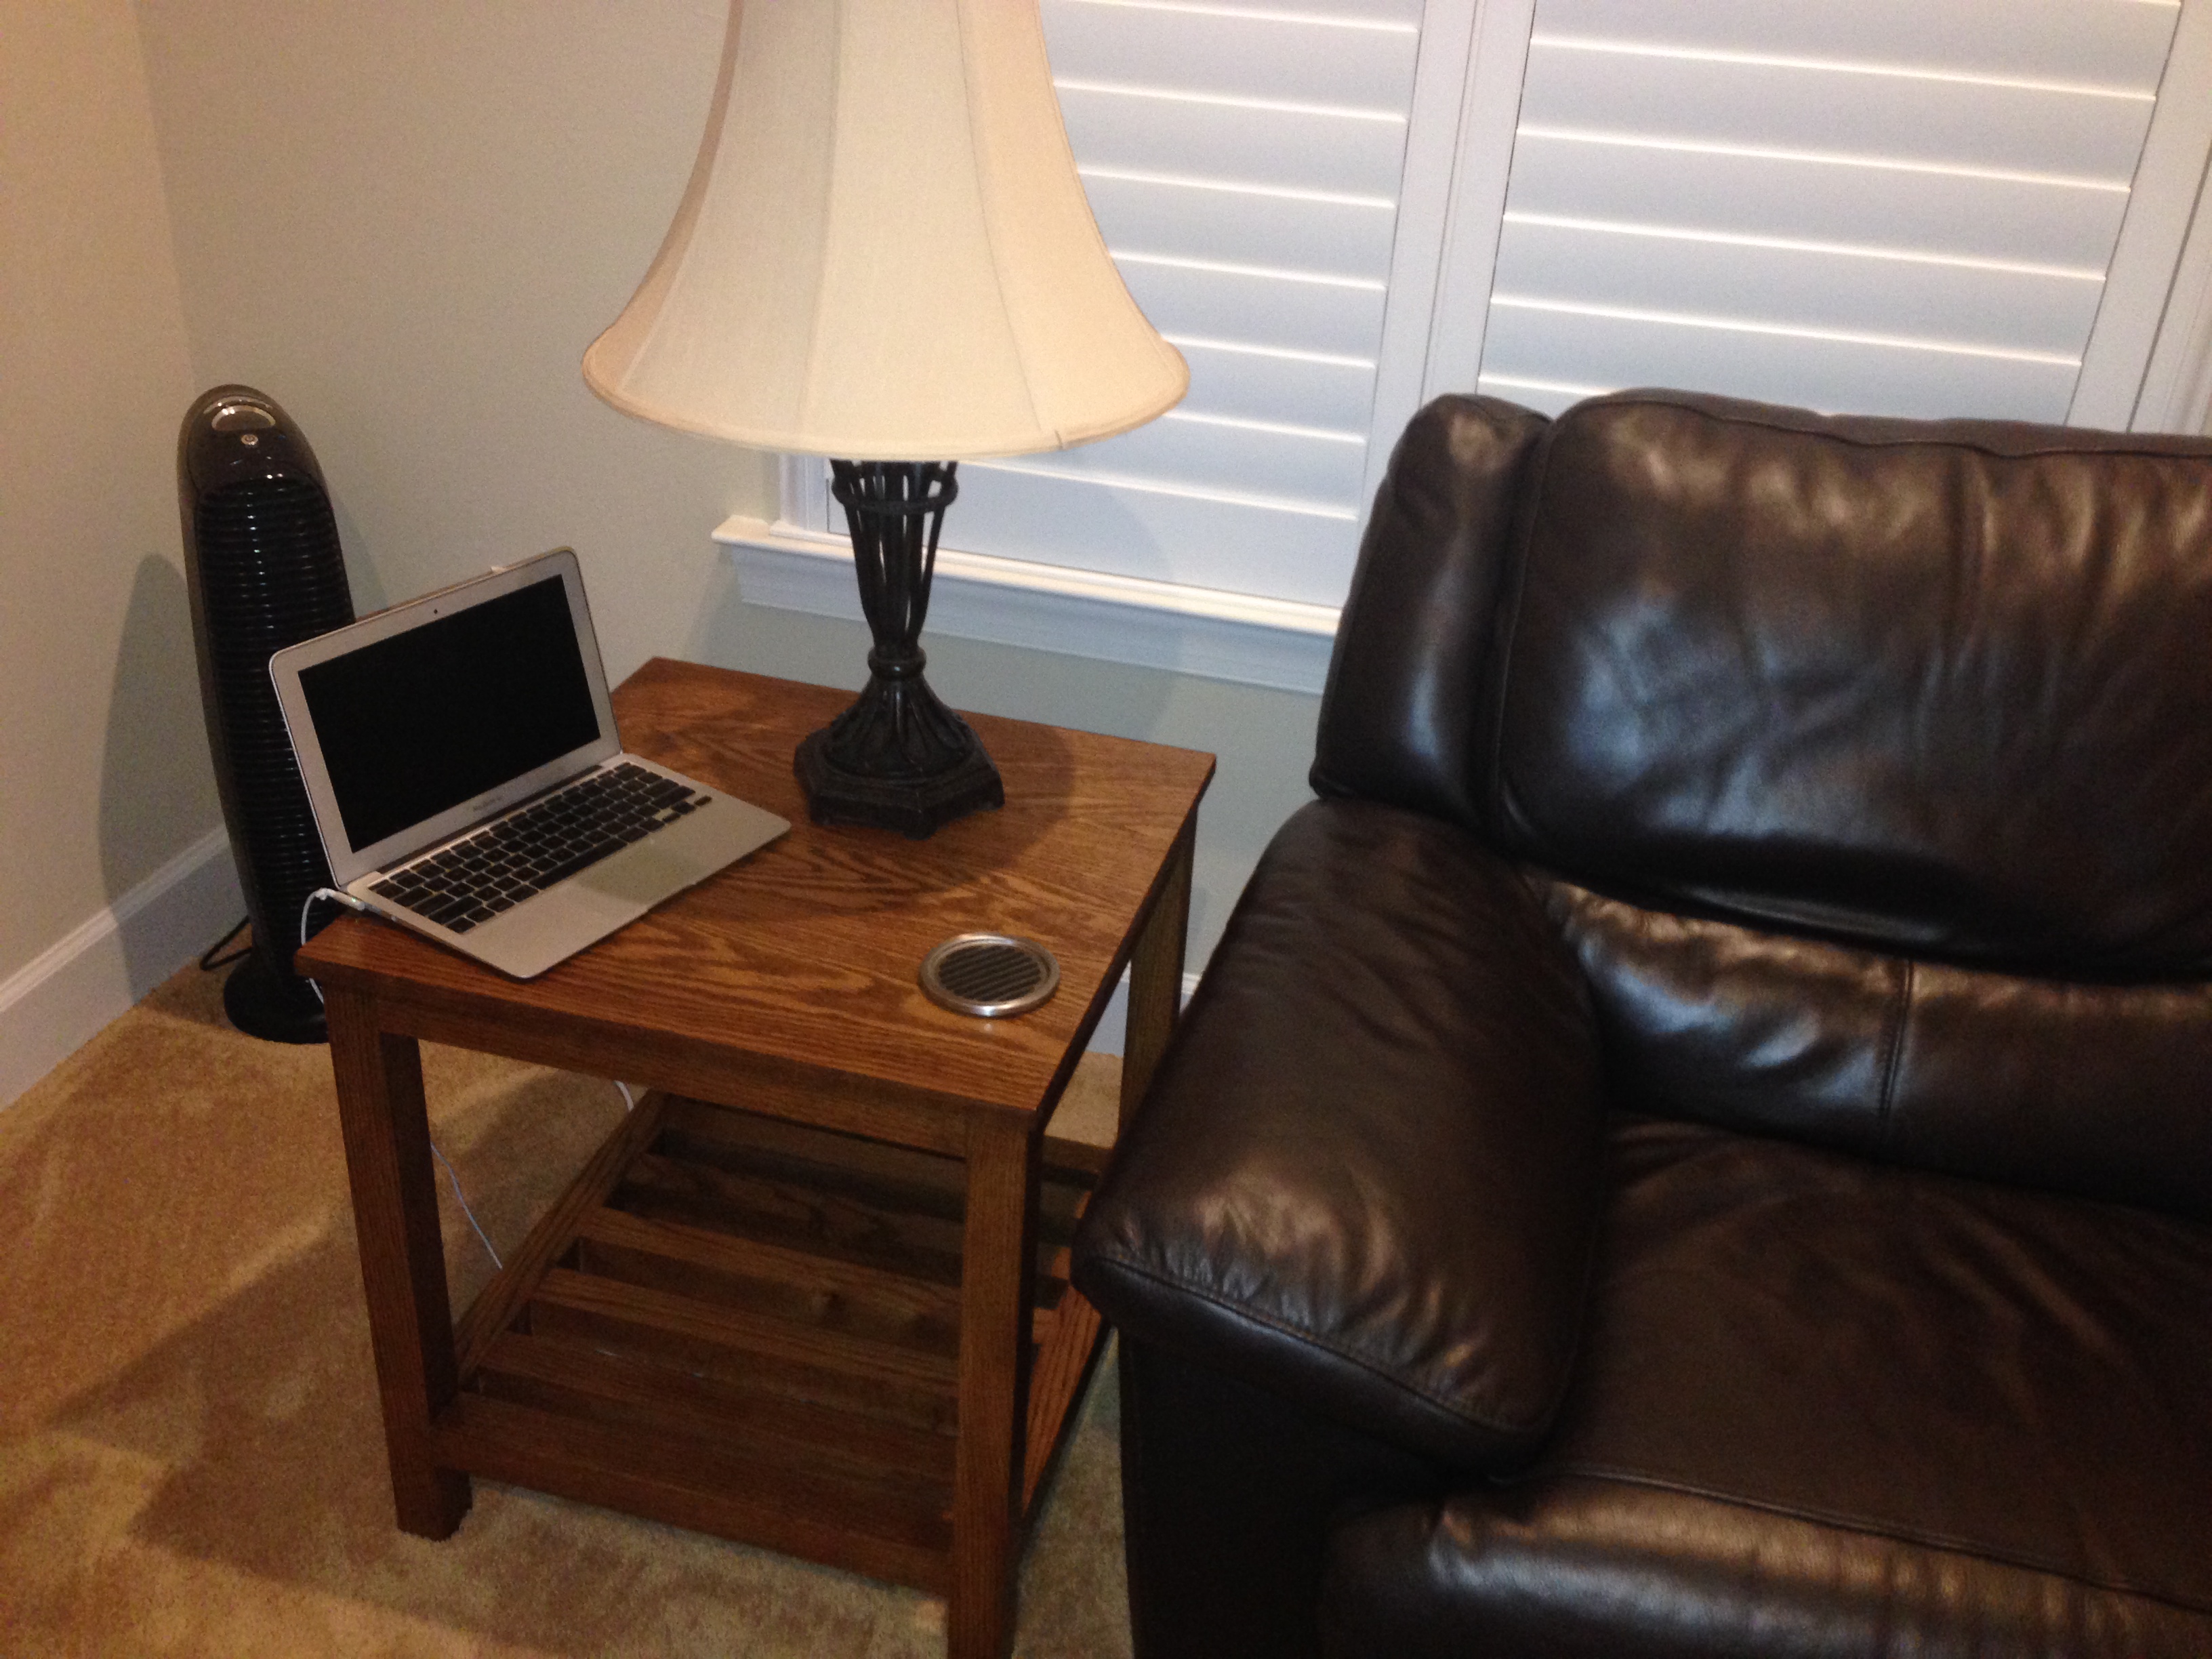
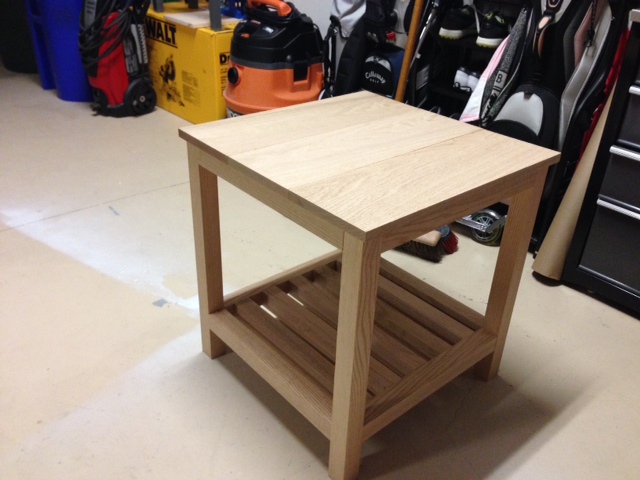
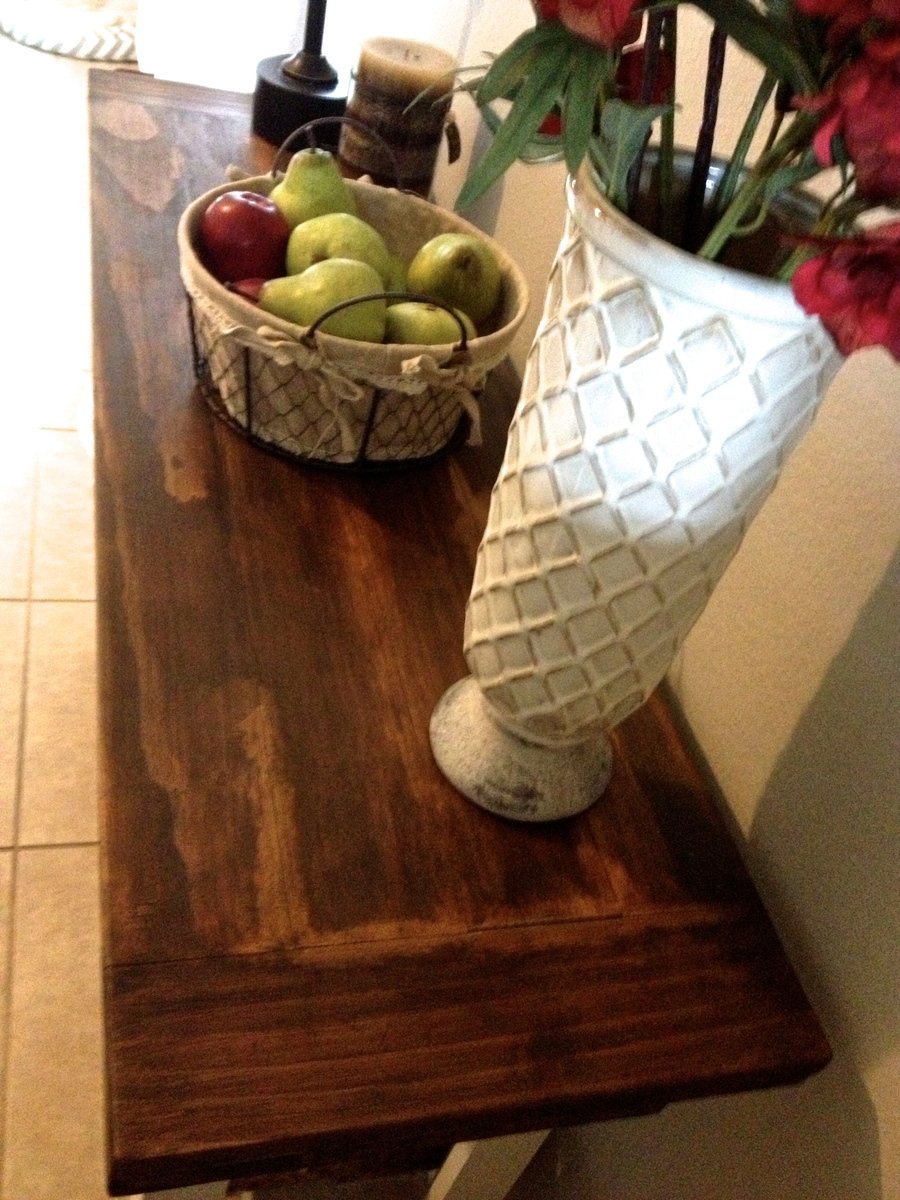
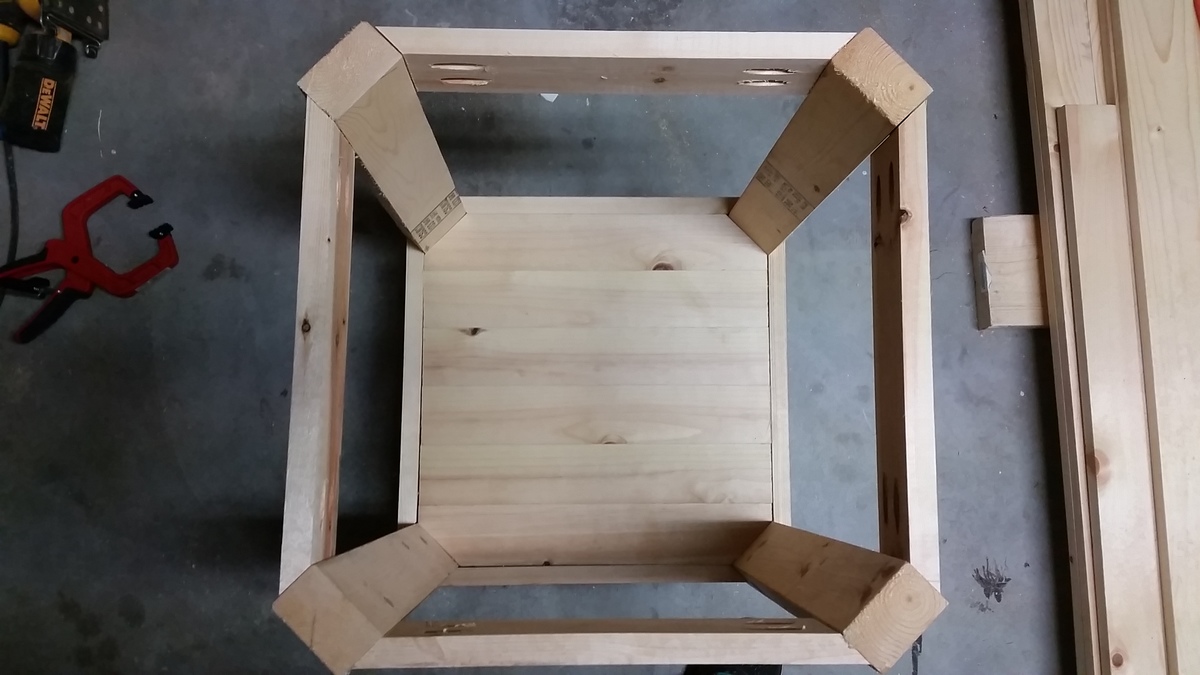
Spa Side Table
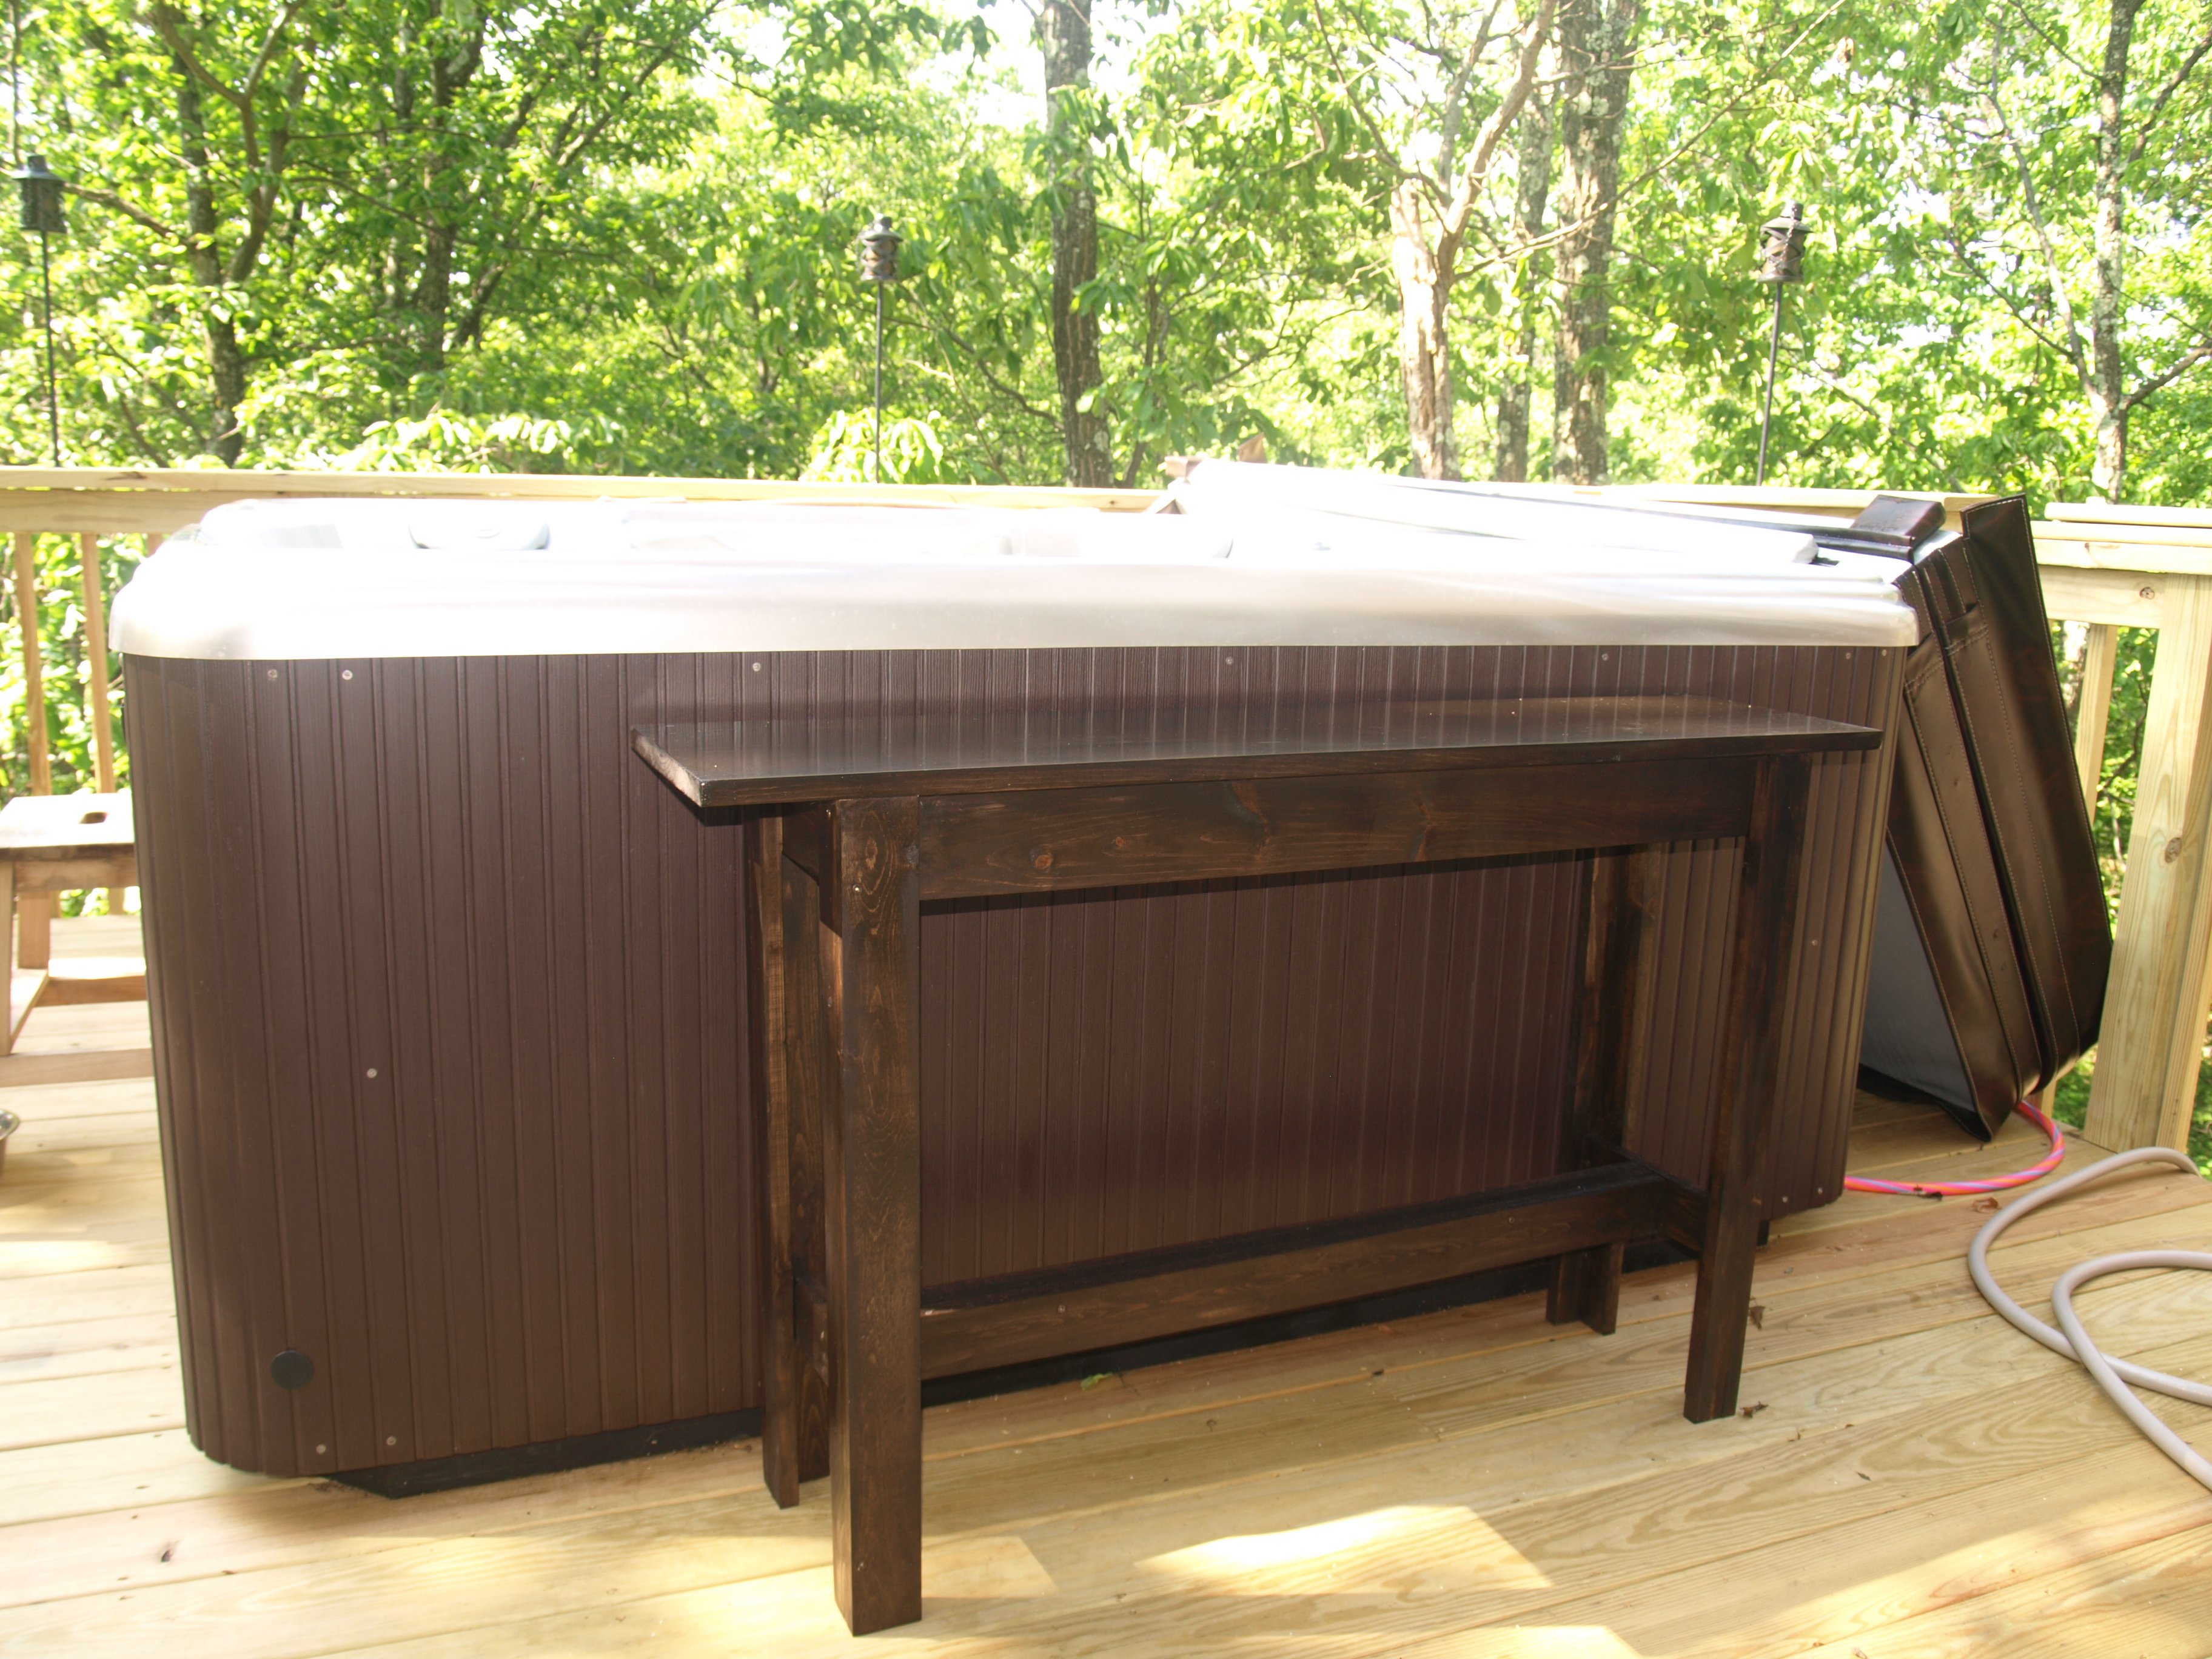
I completed this table with my 5 year old daughter as my assistant. My husband requested a table to put next to our new hot tub to set his drinks on and this is perfect. We only put one board on the top because I felt since it would be outside, I wanted a smooth top. I just screwed it in diagonally from the bottom. I also used spar varnish since it would be outside.
Built from Plan(s)
Estimated Time Investment
Afternoon Project (3-6 Hours)
Finish Used
Rust-o-Leum Ultimate Wood Stain in Kona
Semi-gloss Spar Varnish (3 coats)
Semi-gloss Spar Varnish (3 coats)
Recommended Skill Level
Beginner
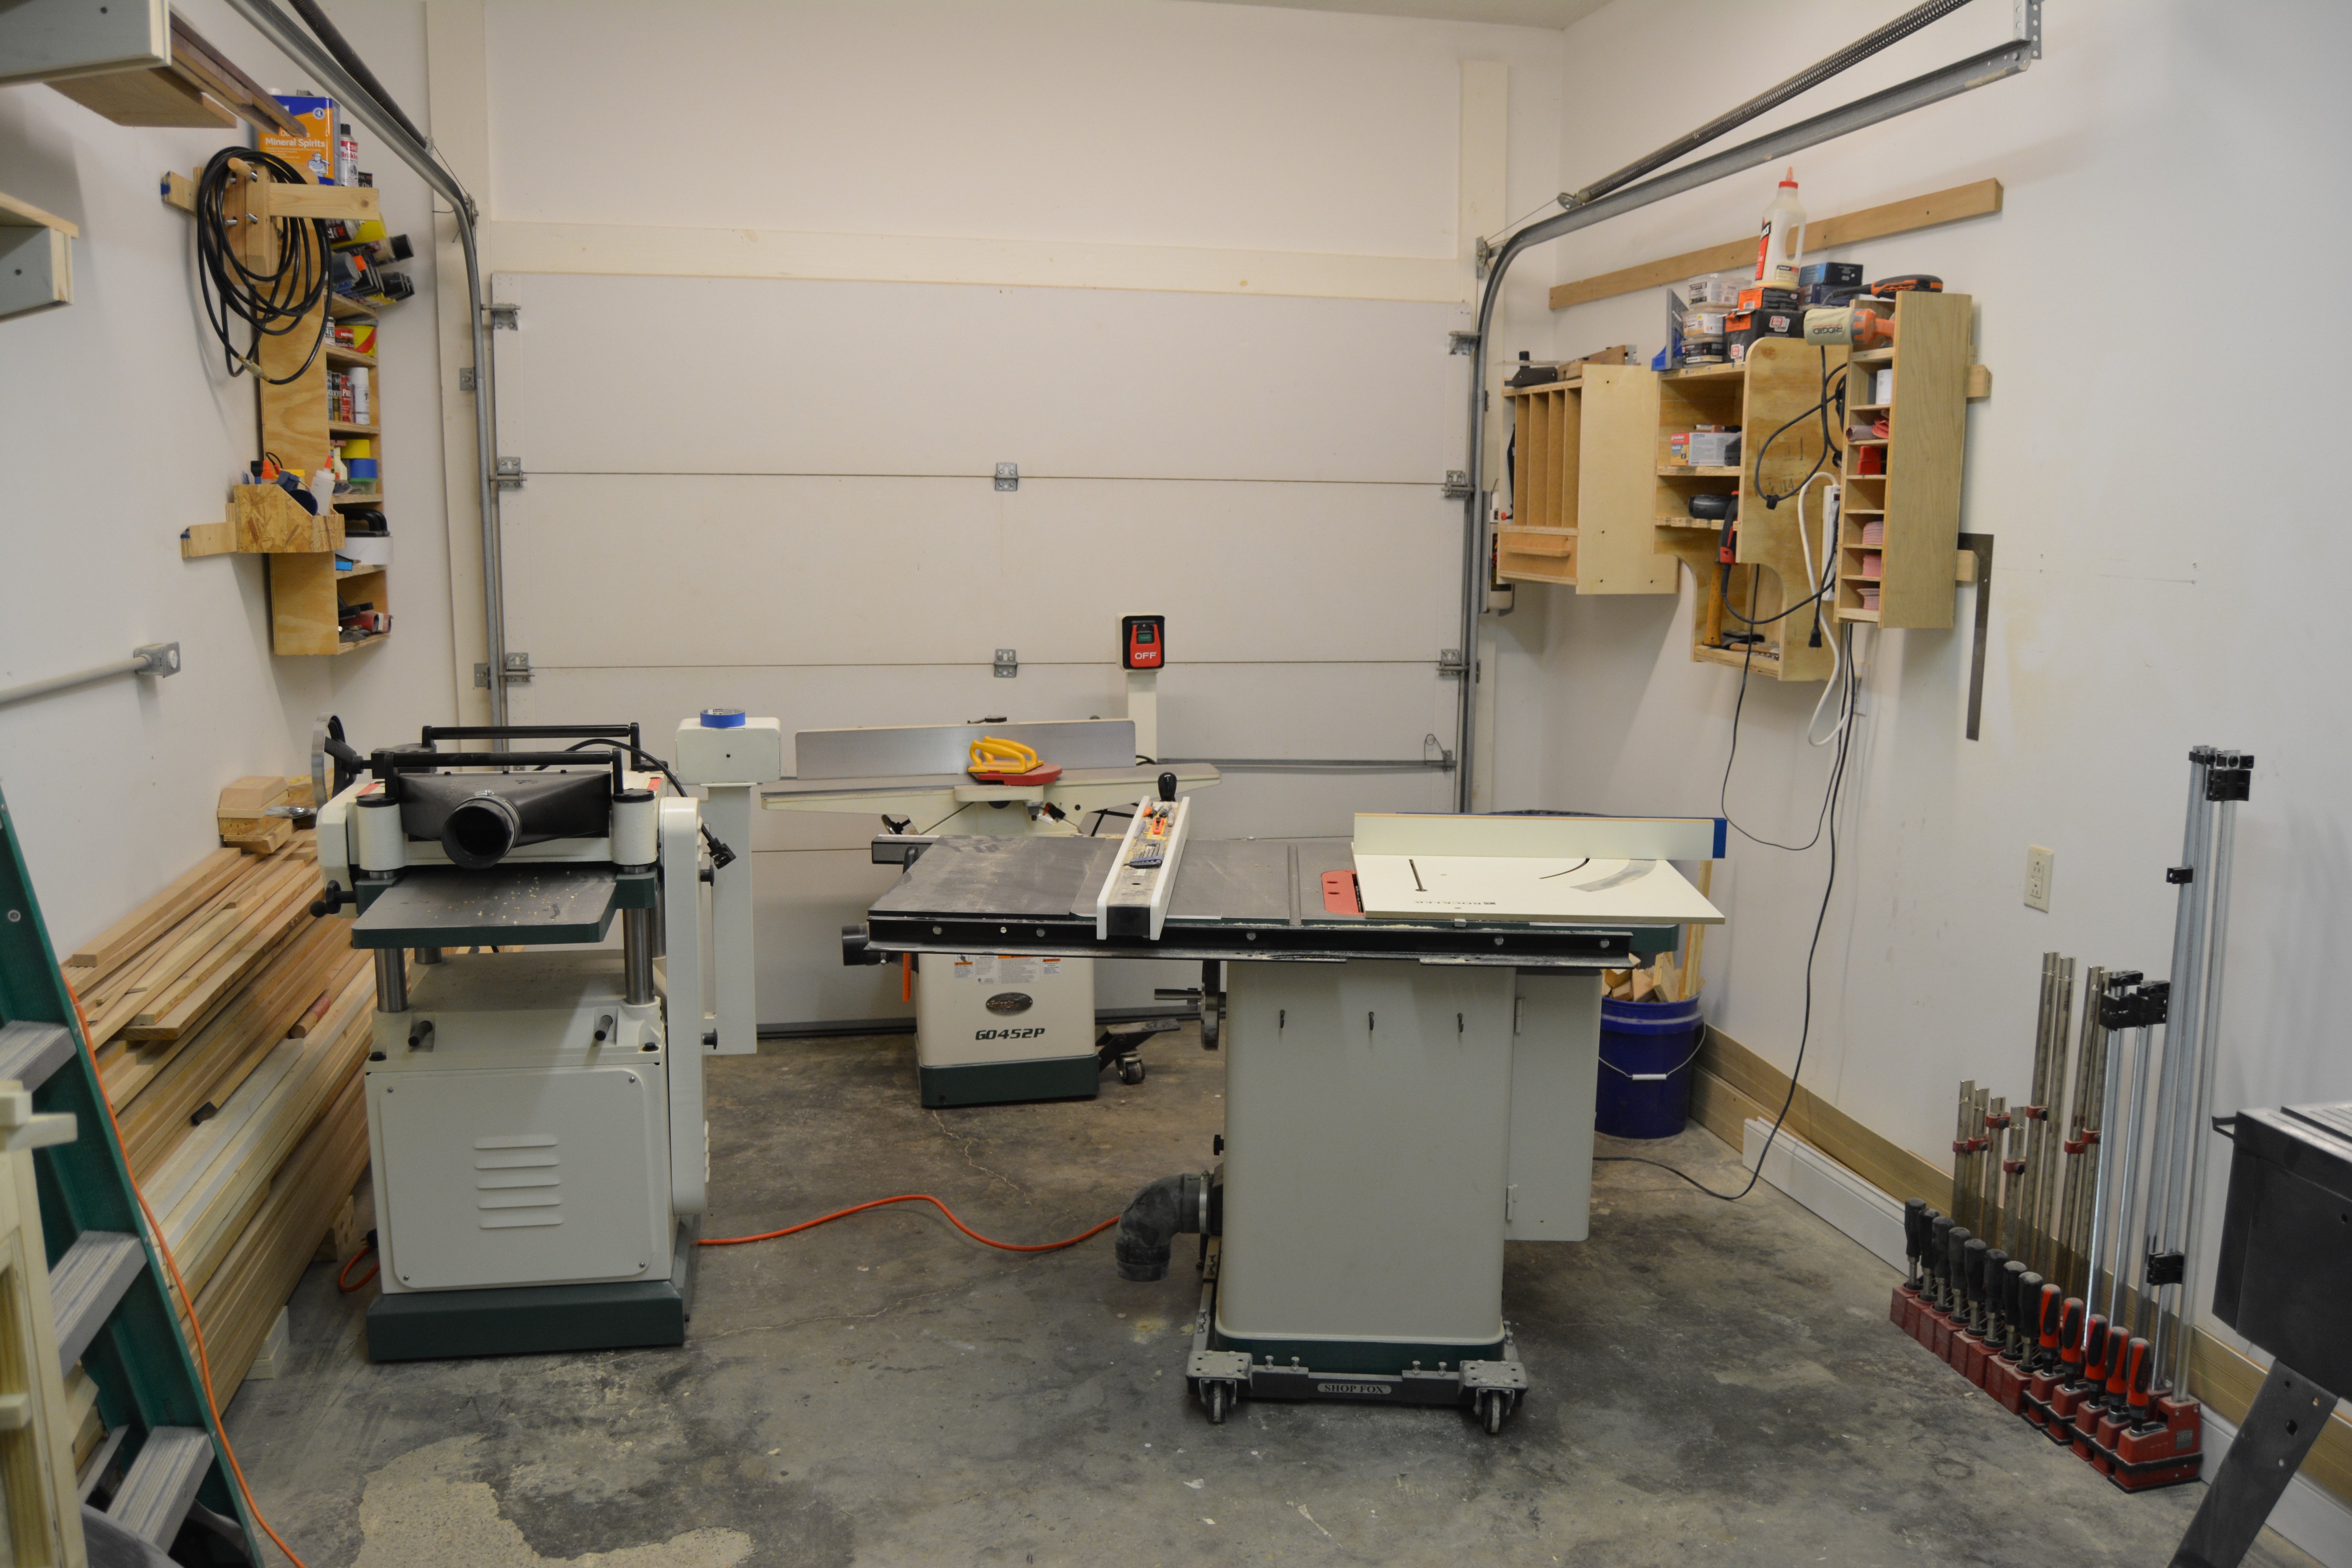
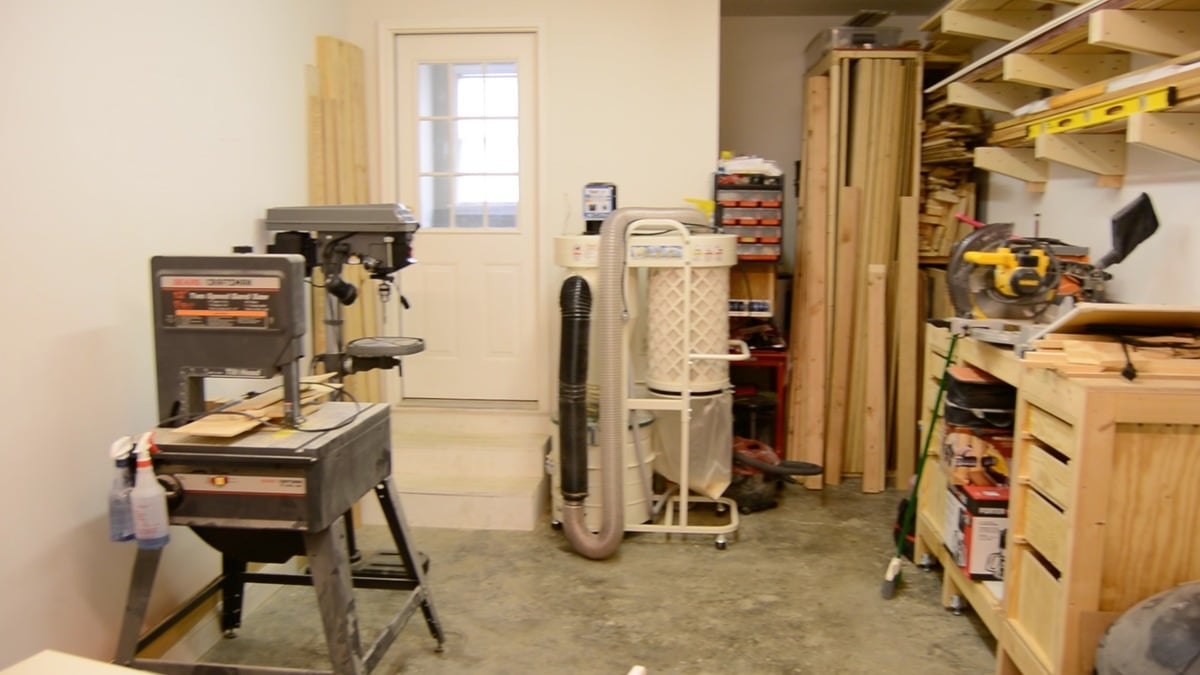
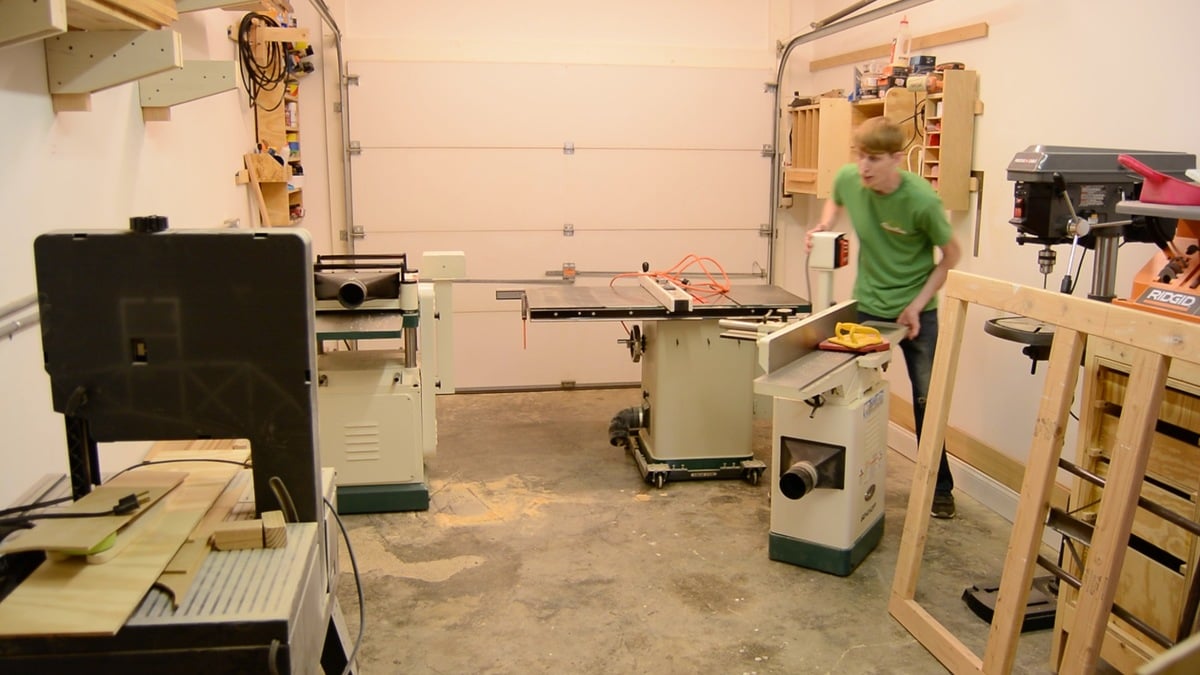
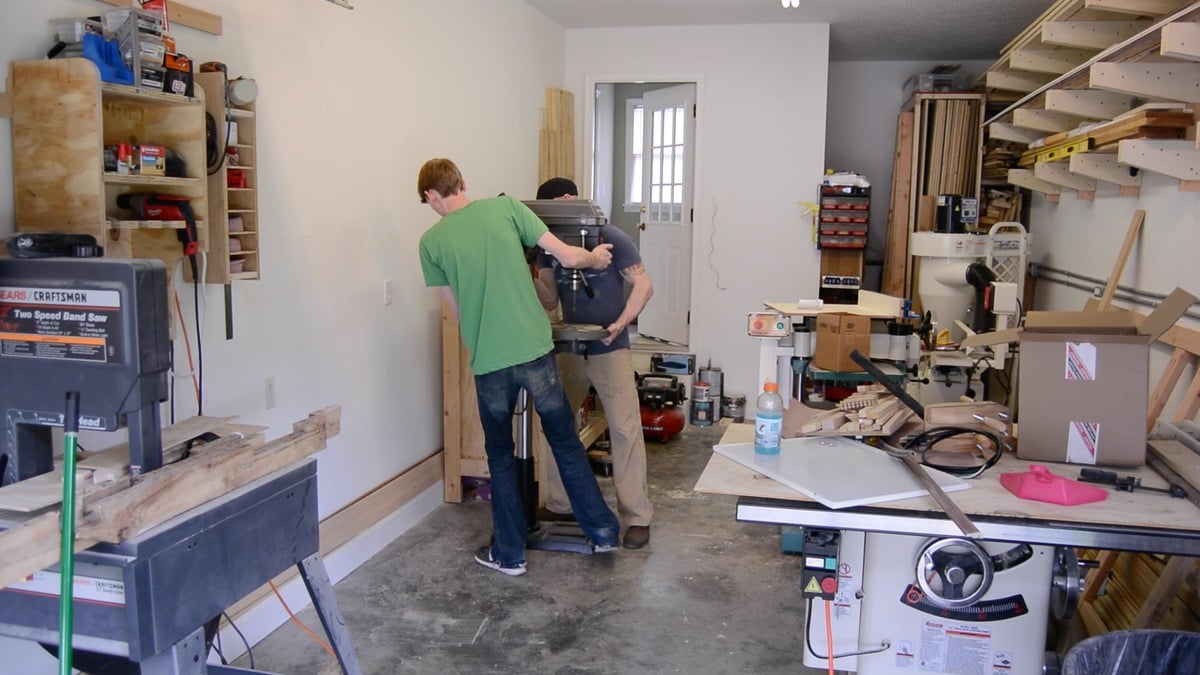
Small shop layout
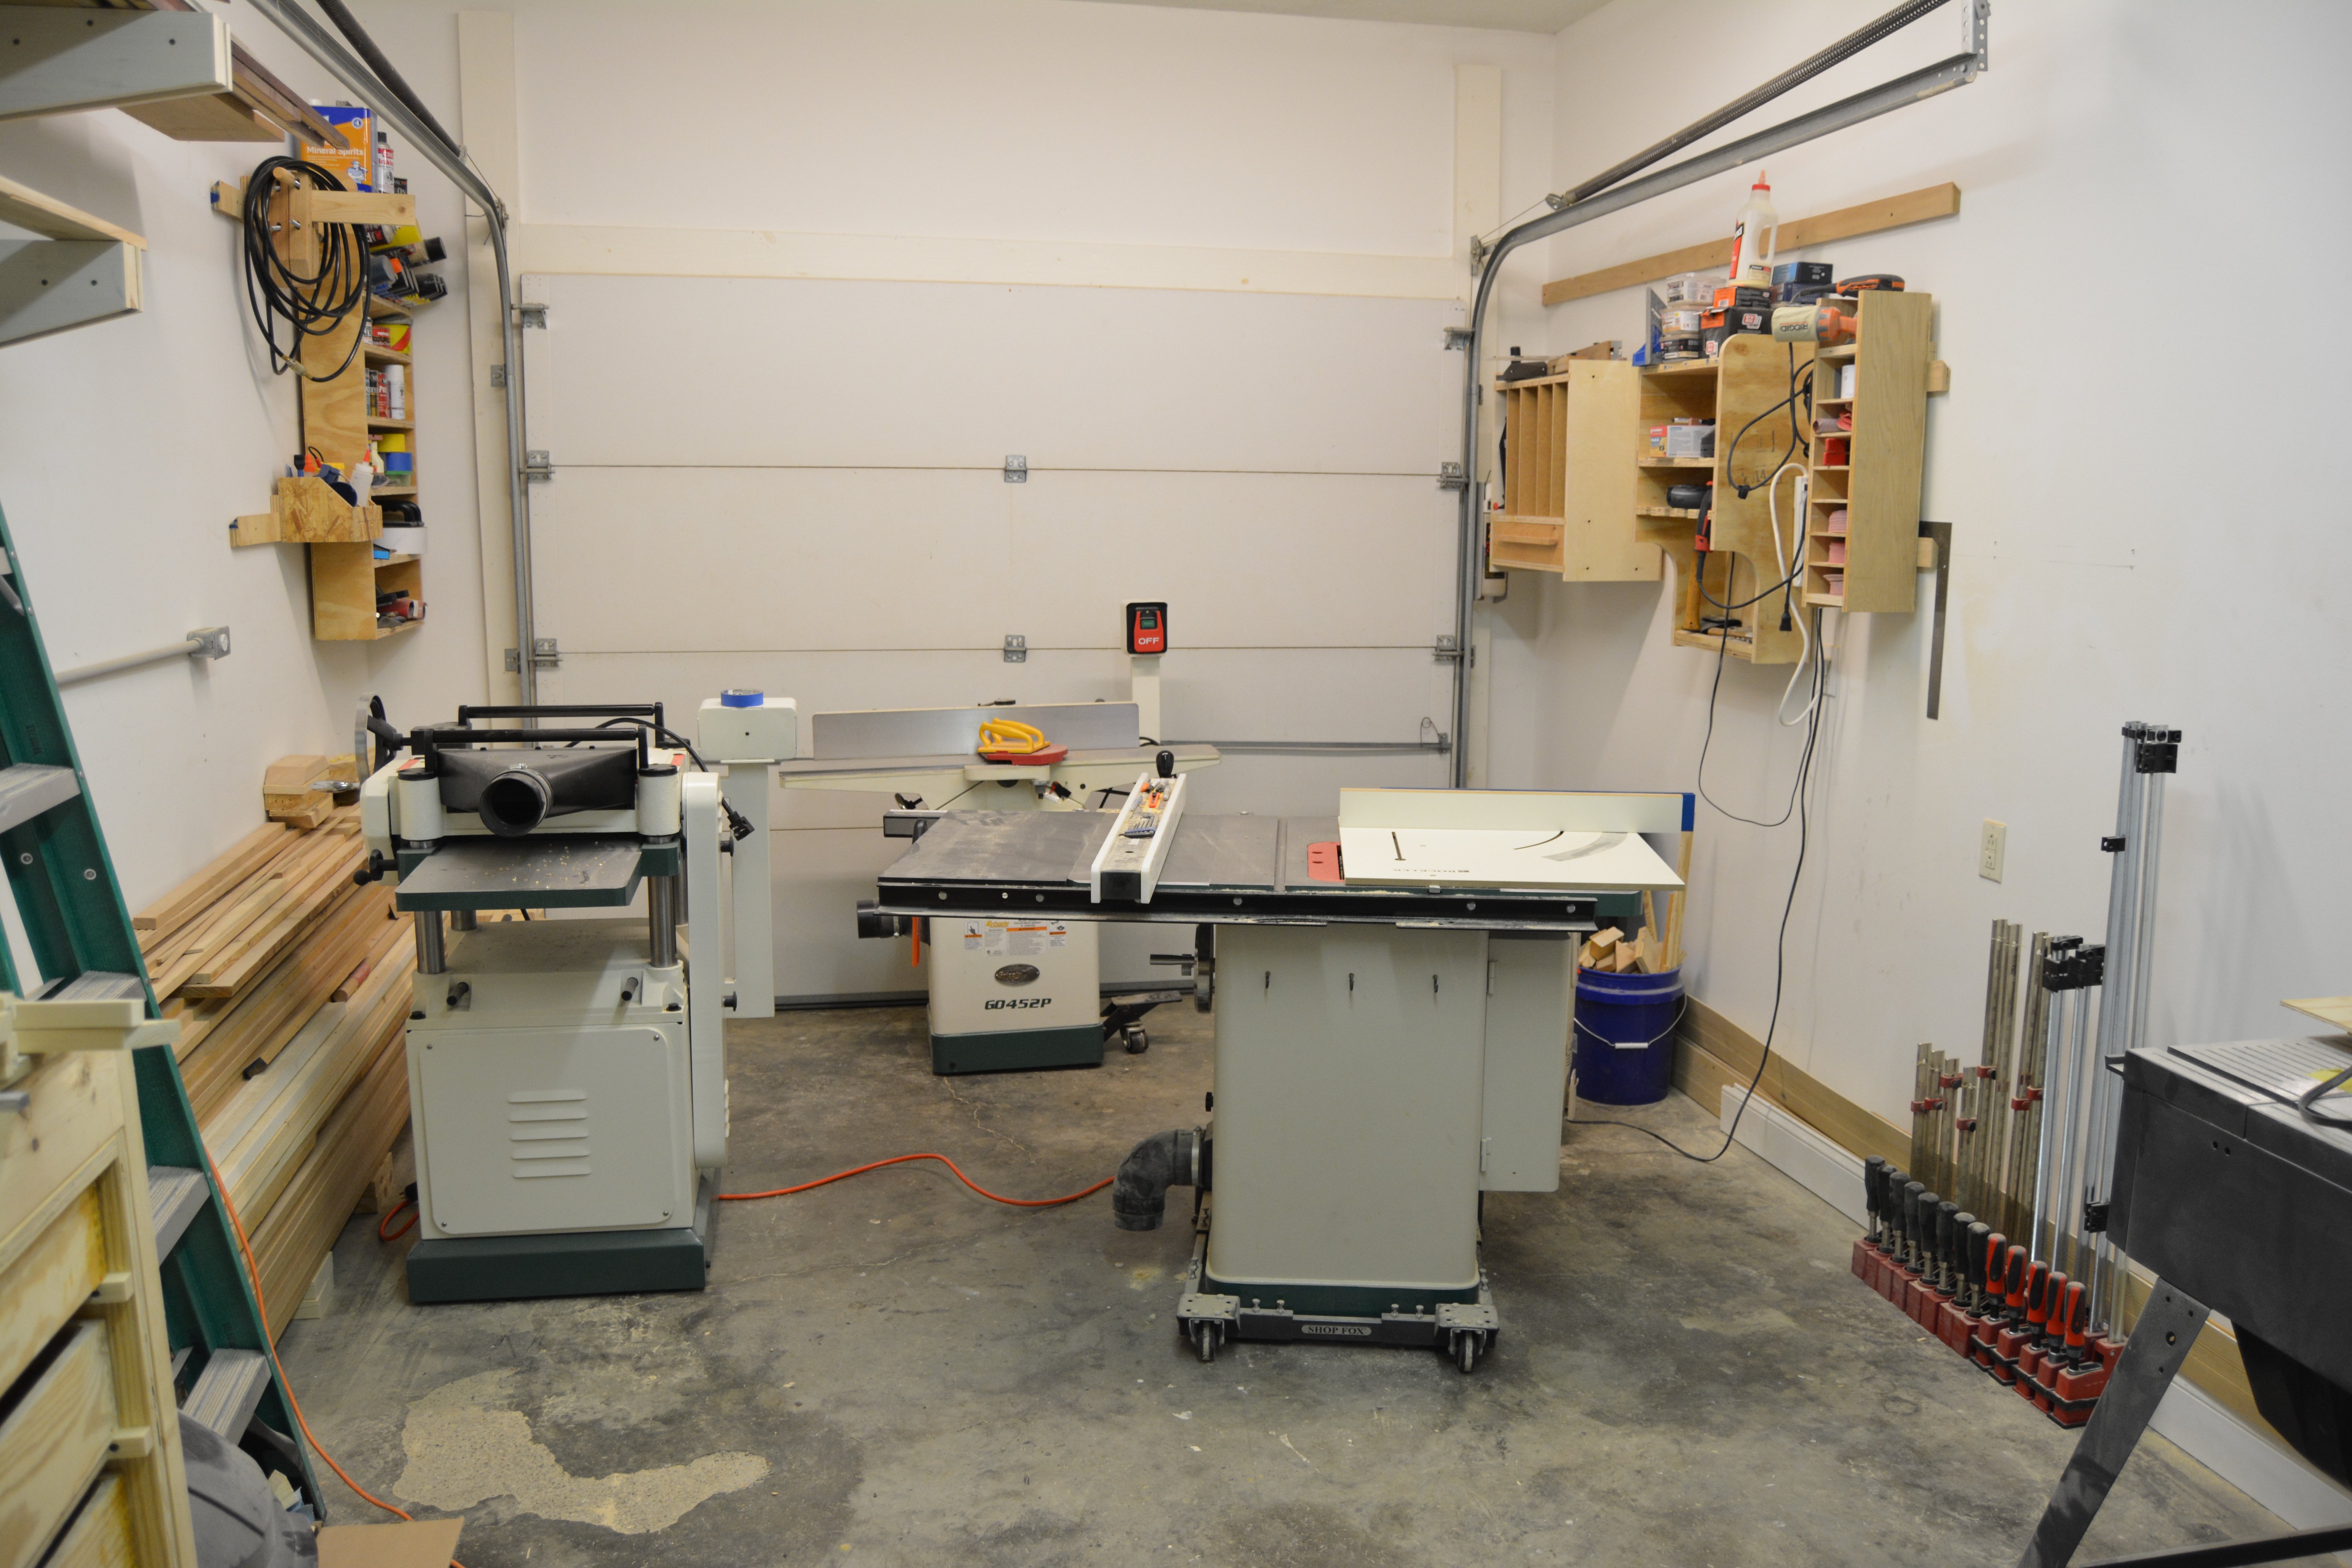
This week's project was to reorganize my small garage shop for a better layout. Hopefully you can get some ideas from my shop to better organize your own.
Blog: http://www.lanebroswoodshop.com/2015/04/new-shop-layout.html
Estimated Cost
Free!
Estimated Time Investment
Weekend Project (10-20 Hours)
Recommended Skill Level
Beginner
Rustic Bathroom Cubby with Makeup Box, Mirror, and Jewelry Hooks
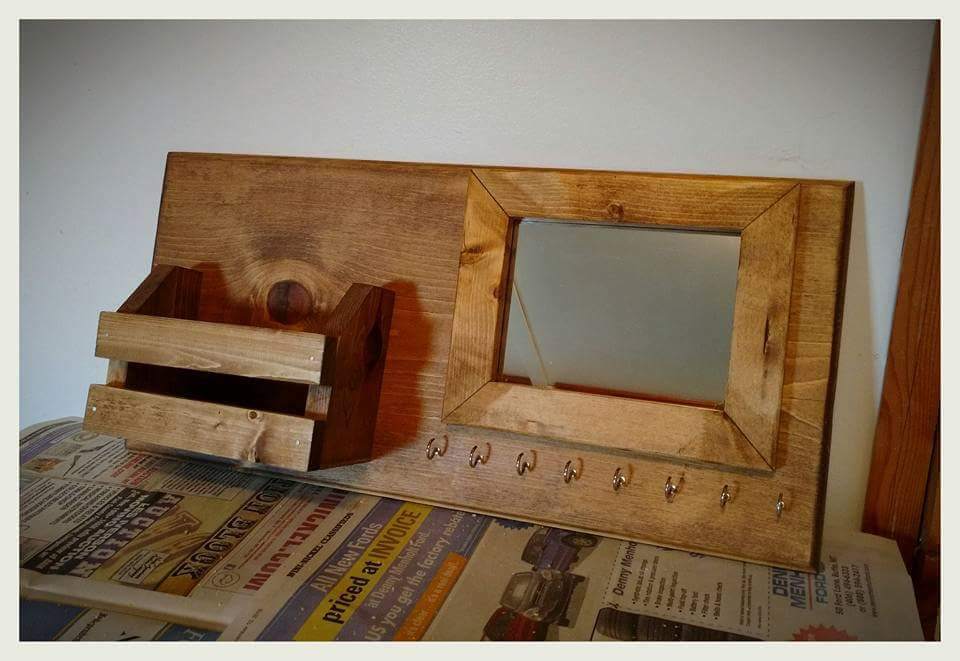
Fiance wanted some rustic bathroom decor, and asked for 3 things. It should have a makeup box, jewelry hooks, and a touch up mirror. She was super happy with the finished product. Stained in Early American and given a Semigloss poly.
Estimated Cost
$16 for 1x12 board, $4 for jewelry hooks. Everything else was scraps and stuff on hand.
Estimated Time Investment
Afternoon Project (3-6 Hours)
Finish Used
Minwax Early American, Minwax Semigloss Poly
Recommended Skill Level
Beginner
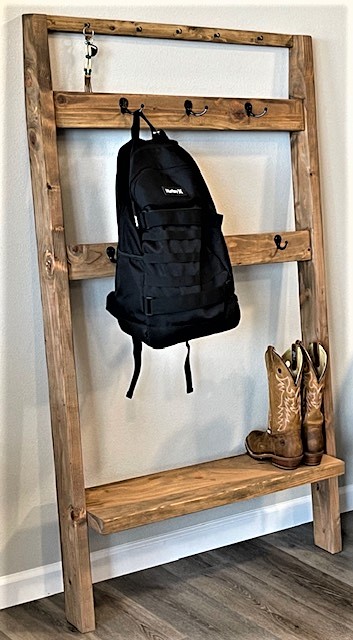
The Best addition to our home!
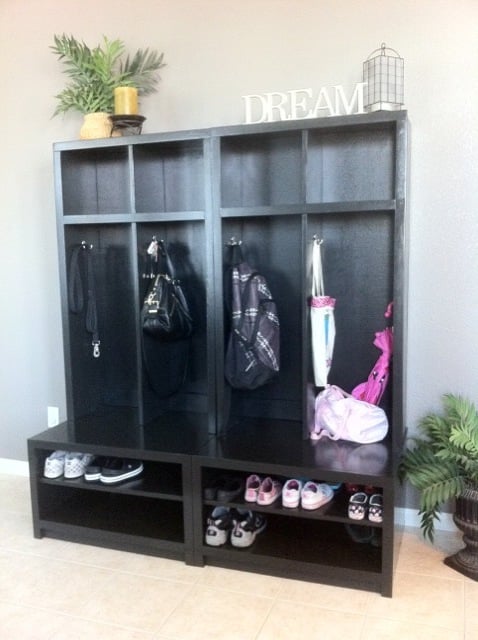
This by far has been my favorite build. Our front room is in the process of being revamped, and this is just the beginning. With our garage now dedicated to building, our cars have been kicked to the street. This means we actually use the front door now, so I took full advantage of making a piece of furniture that would allow for all the various items that get dumped on the floor when we walk in.
I love that everyone has a cubby and shelf for the shoes. My kids actually hang their backpacks up now when we get home from school and my husband can find his keys, wallet and sunglasses now!
This was one of the bigger projects I have tackled, but well worth it. I don't think my husband would have ever allowed me to buy this at PB for over $1000
Built from Plan(s)
Estimated Cost
$150
Estimated Time Investment
Weekend Project (10-20 Hours)
Finish Used
Primed the whole project with Kilz oderless primer and sanded it to get a nice finished. Painted it using the Martha Stewart Francesca Paint in eggshell finish from HD. I started with a brush but was unhappy with the look and did the rest of the project with a foam roller. After two coats of black, I finished it off with two coats of Minwax Polycrylic in the Satin finish. NOTE: I put three coats on the bench top and the shoe shelves just for more durability.
Recommended Skill Level
Beginner
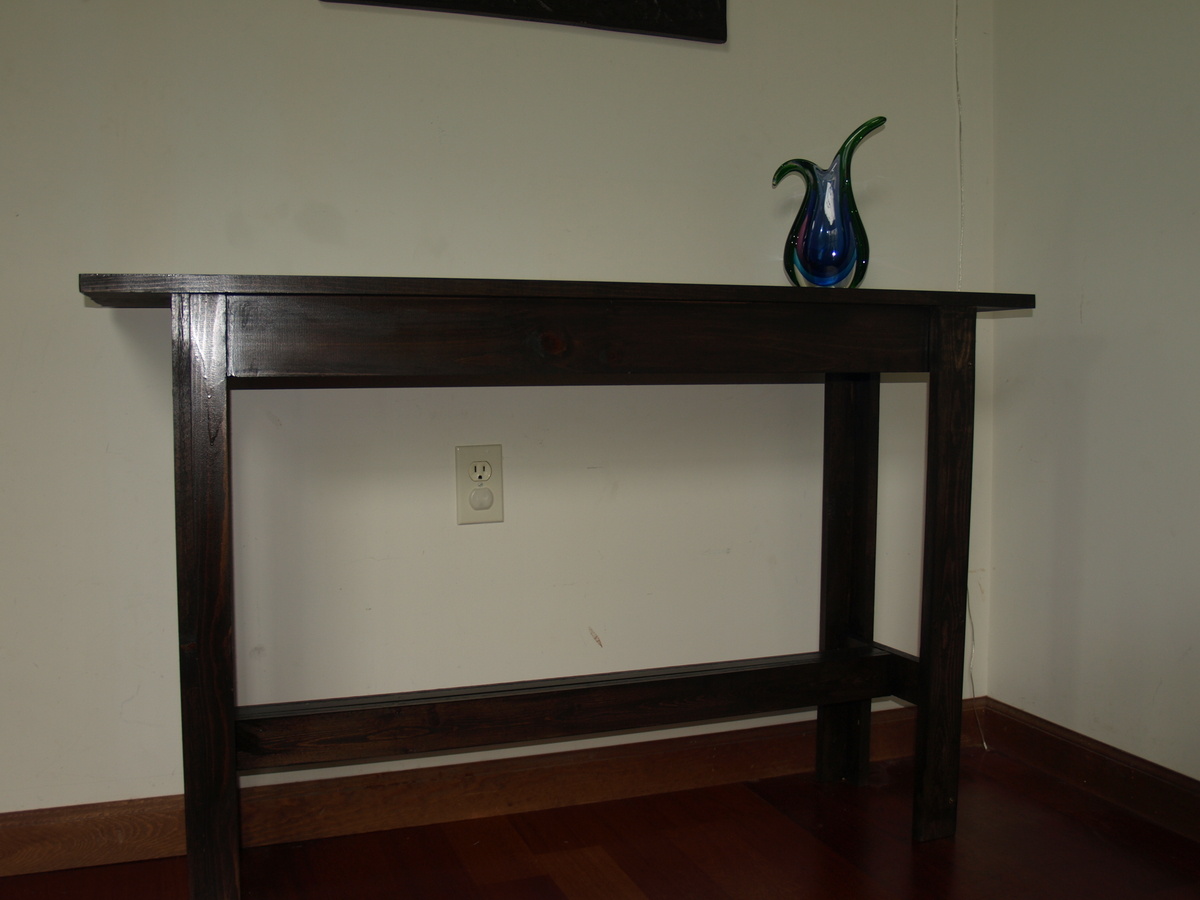
Knock off Hyde Console Table
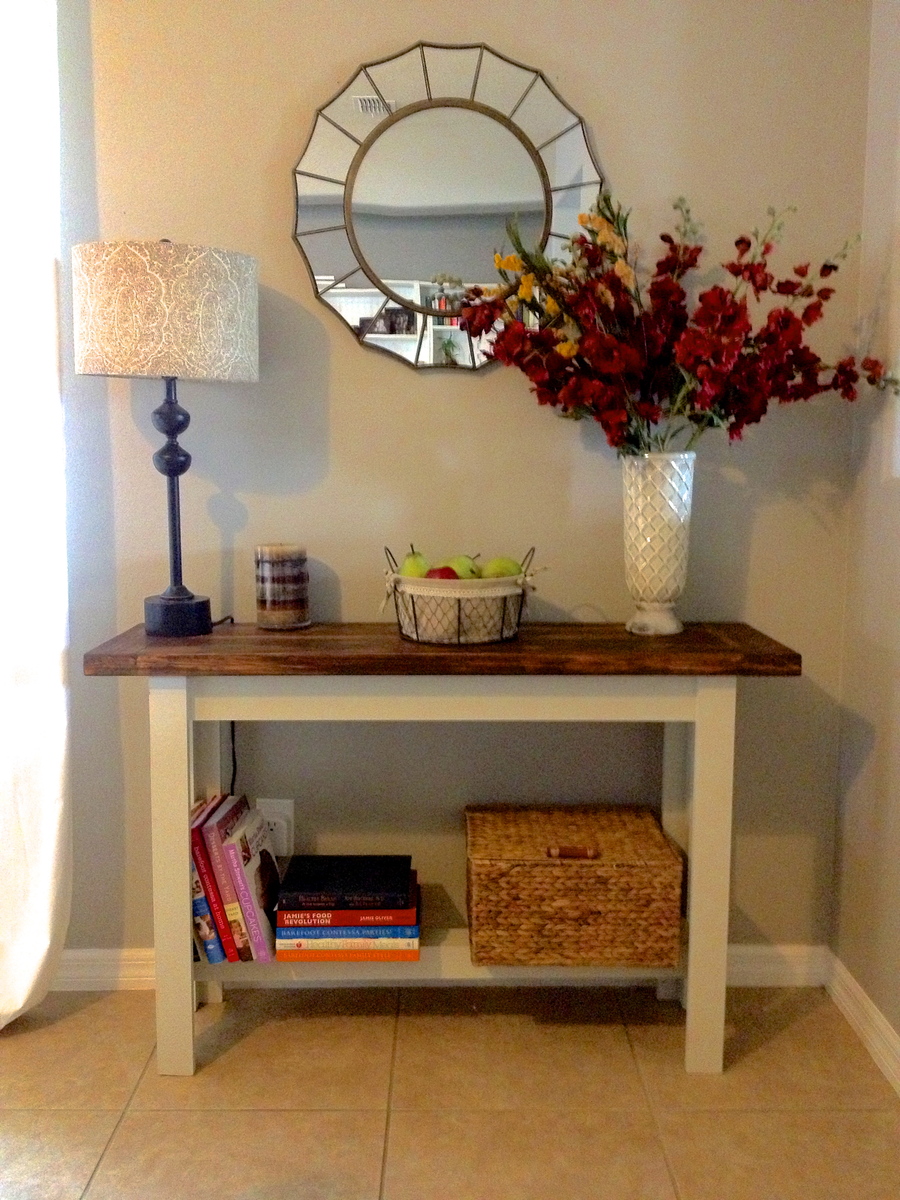
I am cheap and I have expensive taste. I love, love, love Pottery Barn. I also love Michael Kors, Coach, Gucci, Jimmy Choo, and all things pretty. Especially pretty shiny things.
So I regress...
Anyways, I have had this bare spot in my living room and it has slowly been driving me crazy. Through much painstaking research I have decided that I wanted something like the Hyde Pottery Barn Console Table. Okay, not something like.... I wanted the Hyde Pottery Barn Console Table, but it also would cost $500. Hahaha. $500 for a console table. That's just ridiculous says my cheap, fugal self.
So I look at ebay and craigslist... nope, no one selling my dream table. And then a miracle happens.... I stumble across Ana White's blog. I think I've found my new blog BFF!
I followed her plans exactly and I decided to paint the bottom off white and stain the top walnut.
This was my first ever furniture build and I'm so excited by how it turned out!
Thanks, Ana!
Built from Plan(s)
Estimated Cost
$50
Estimated Time Investment
Day Project (6-9 Hours)
Recommended Skill Level
Starter Project
Comments
Tue, 06/04/2013 - 13:57
First Build!
You did an amazing job! I'm so glad you found what you wanted and were able to create it yourself!
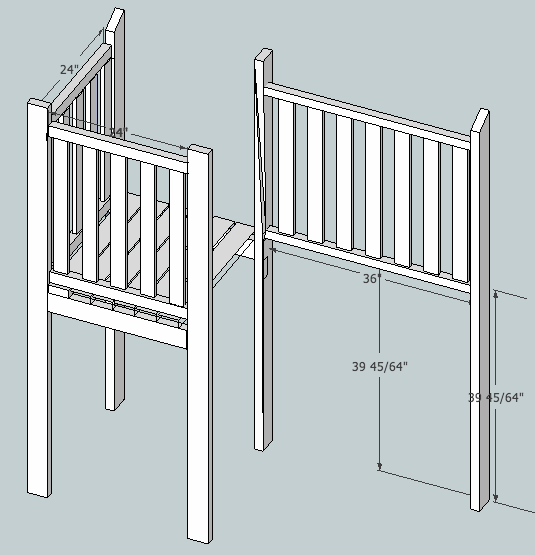
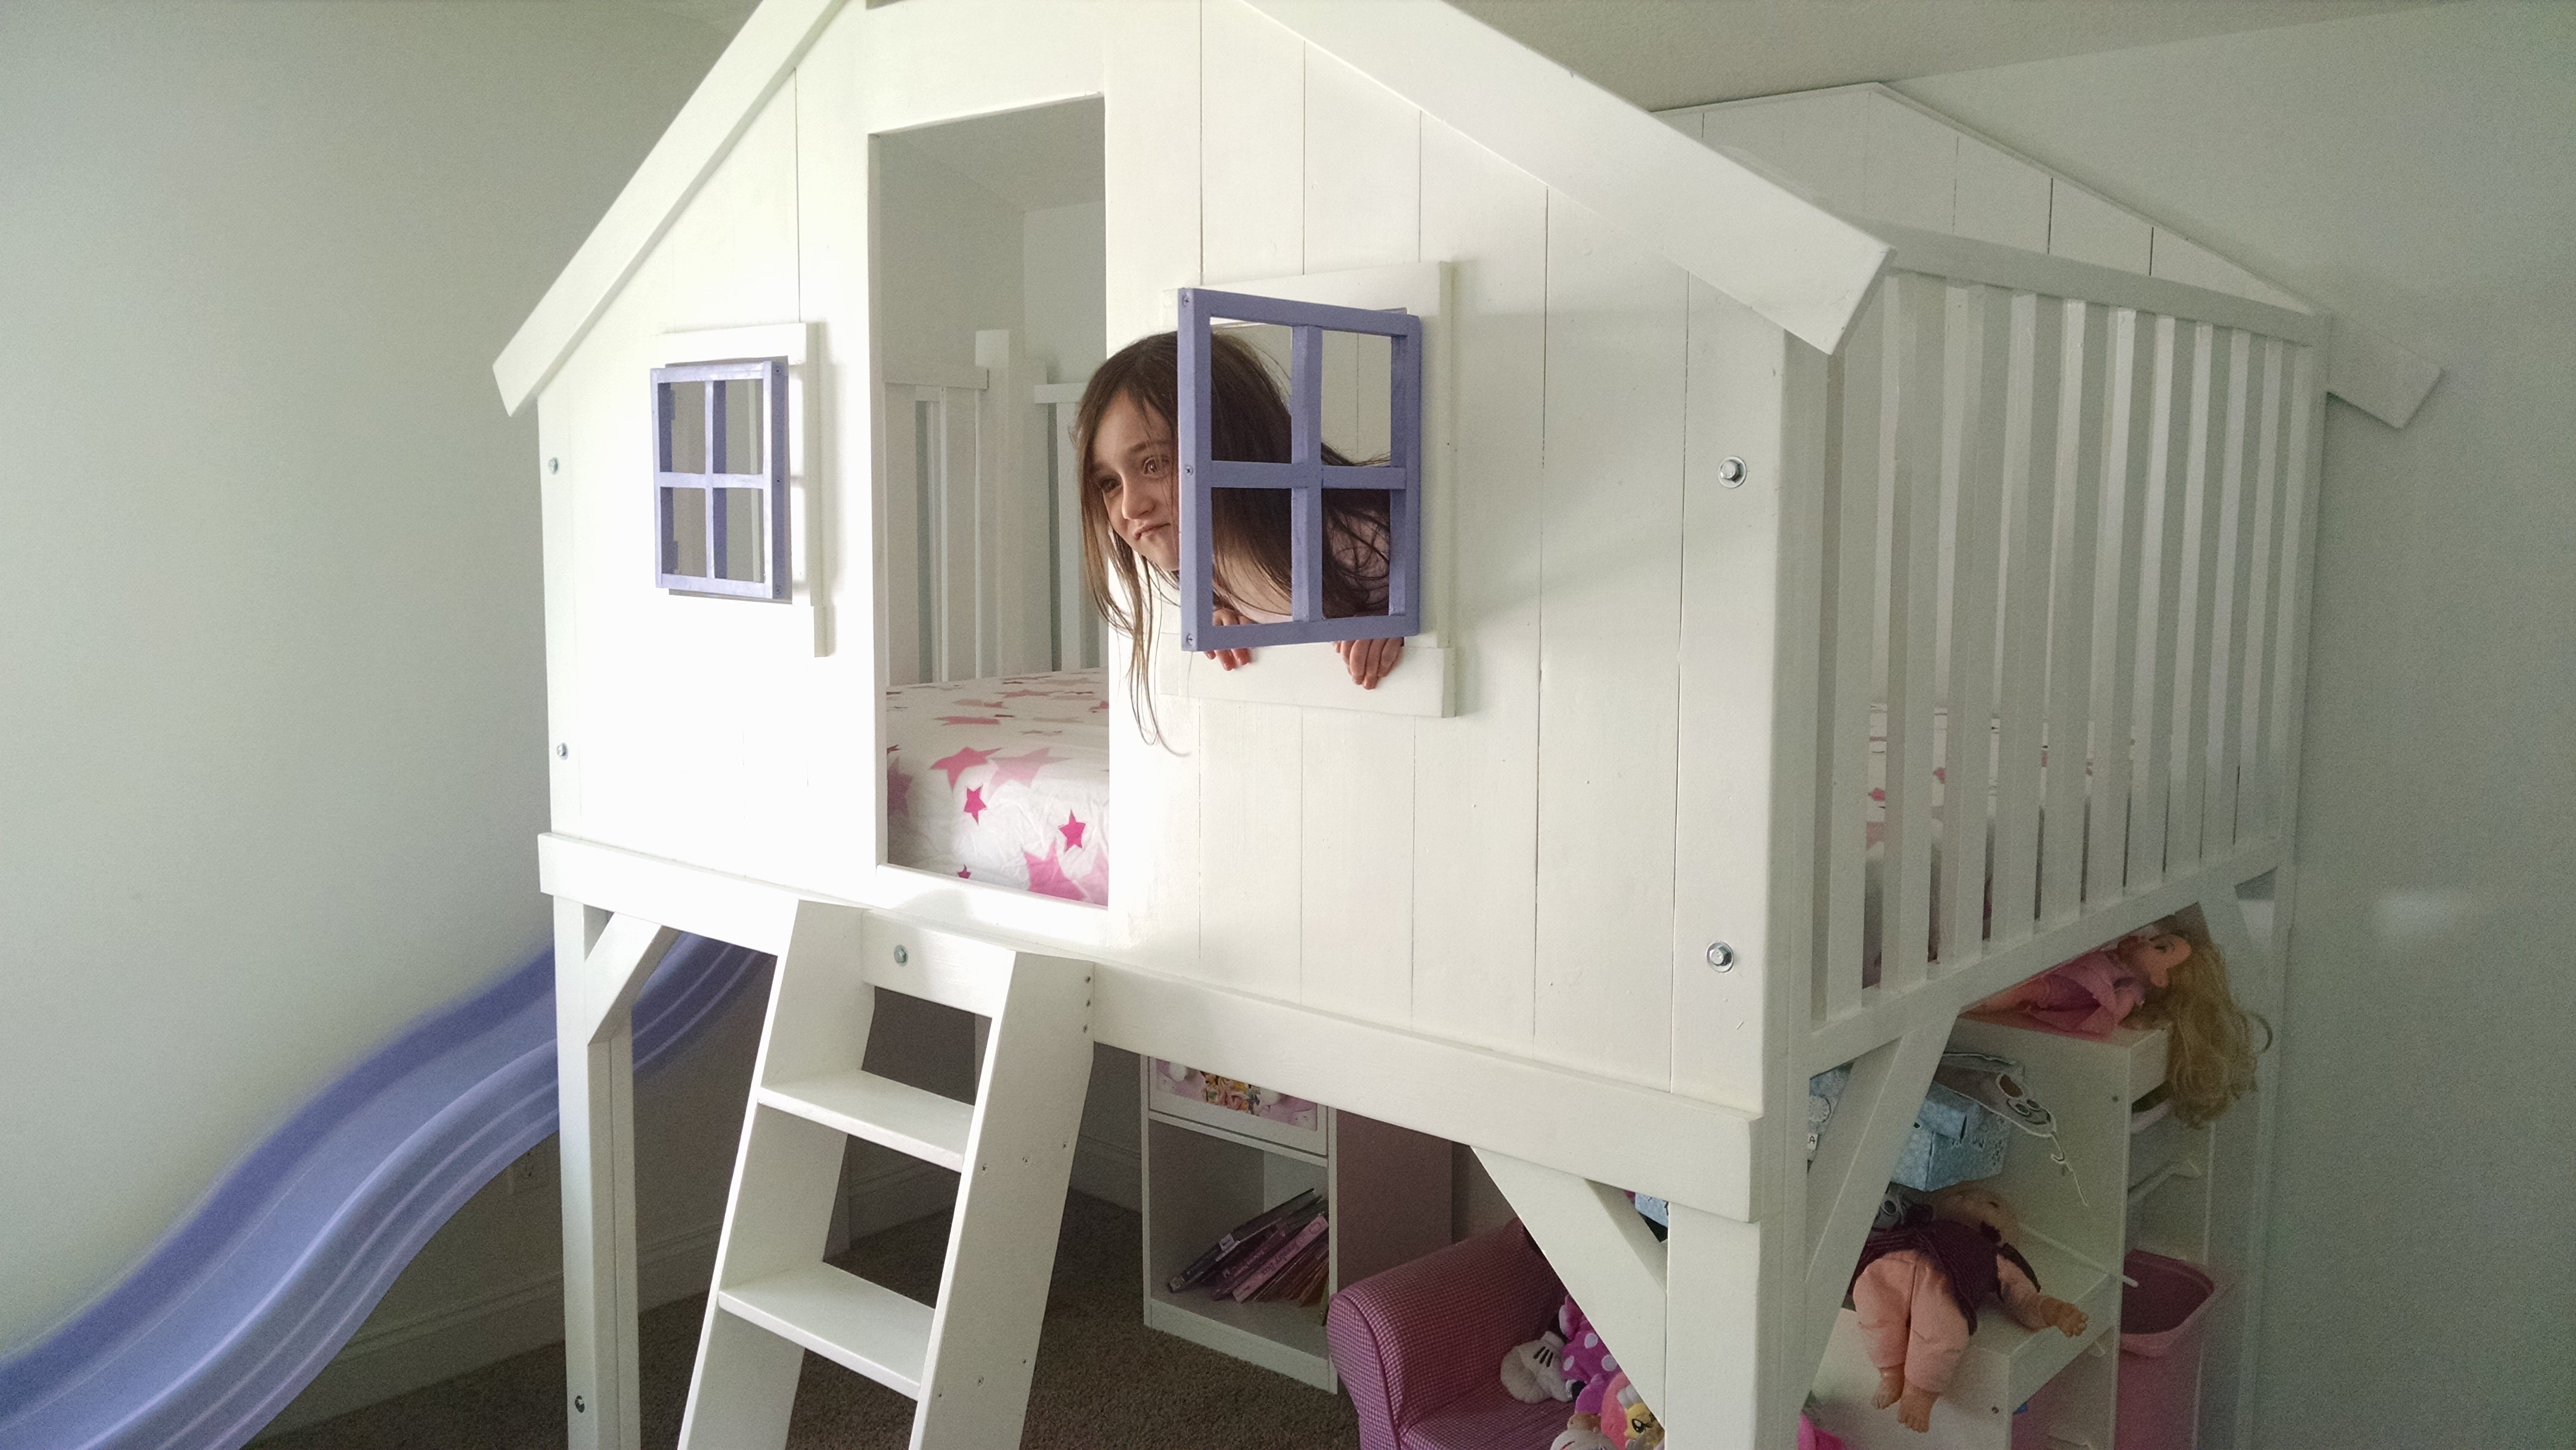
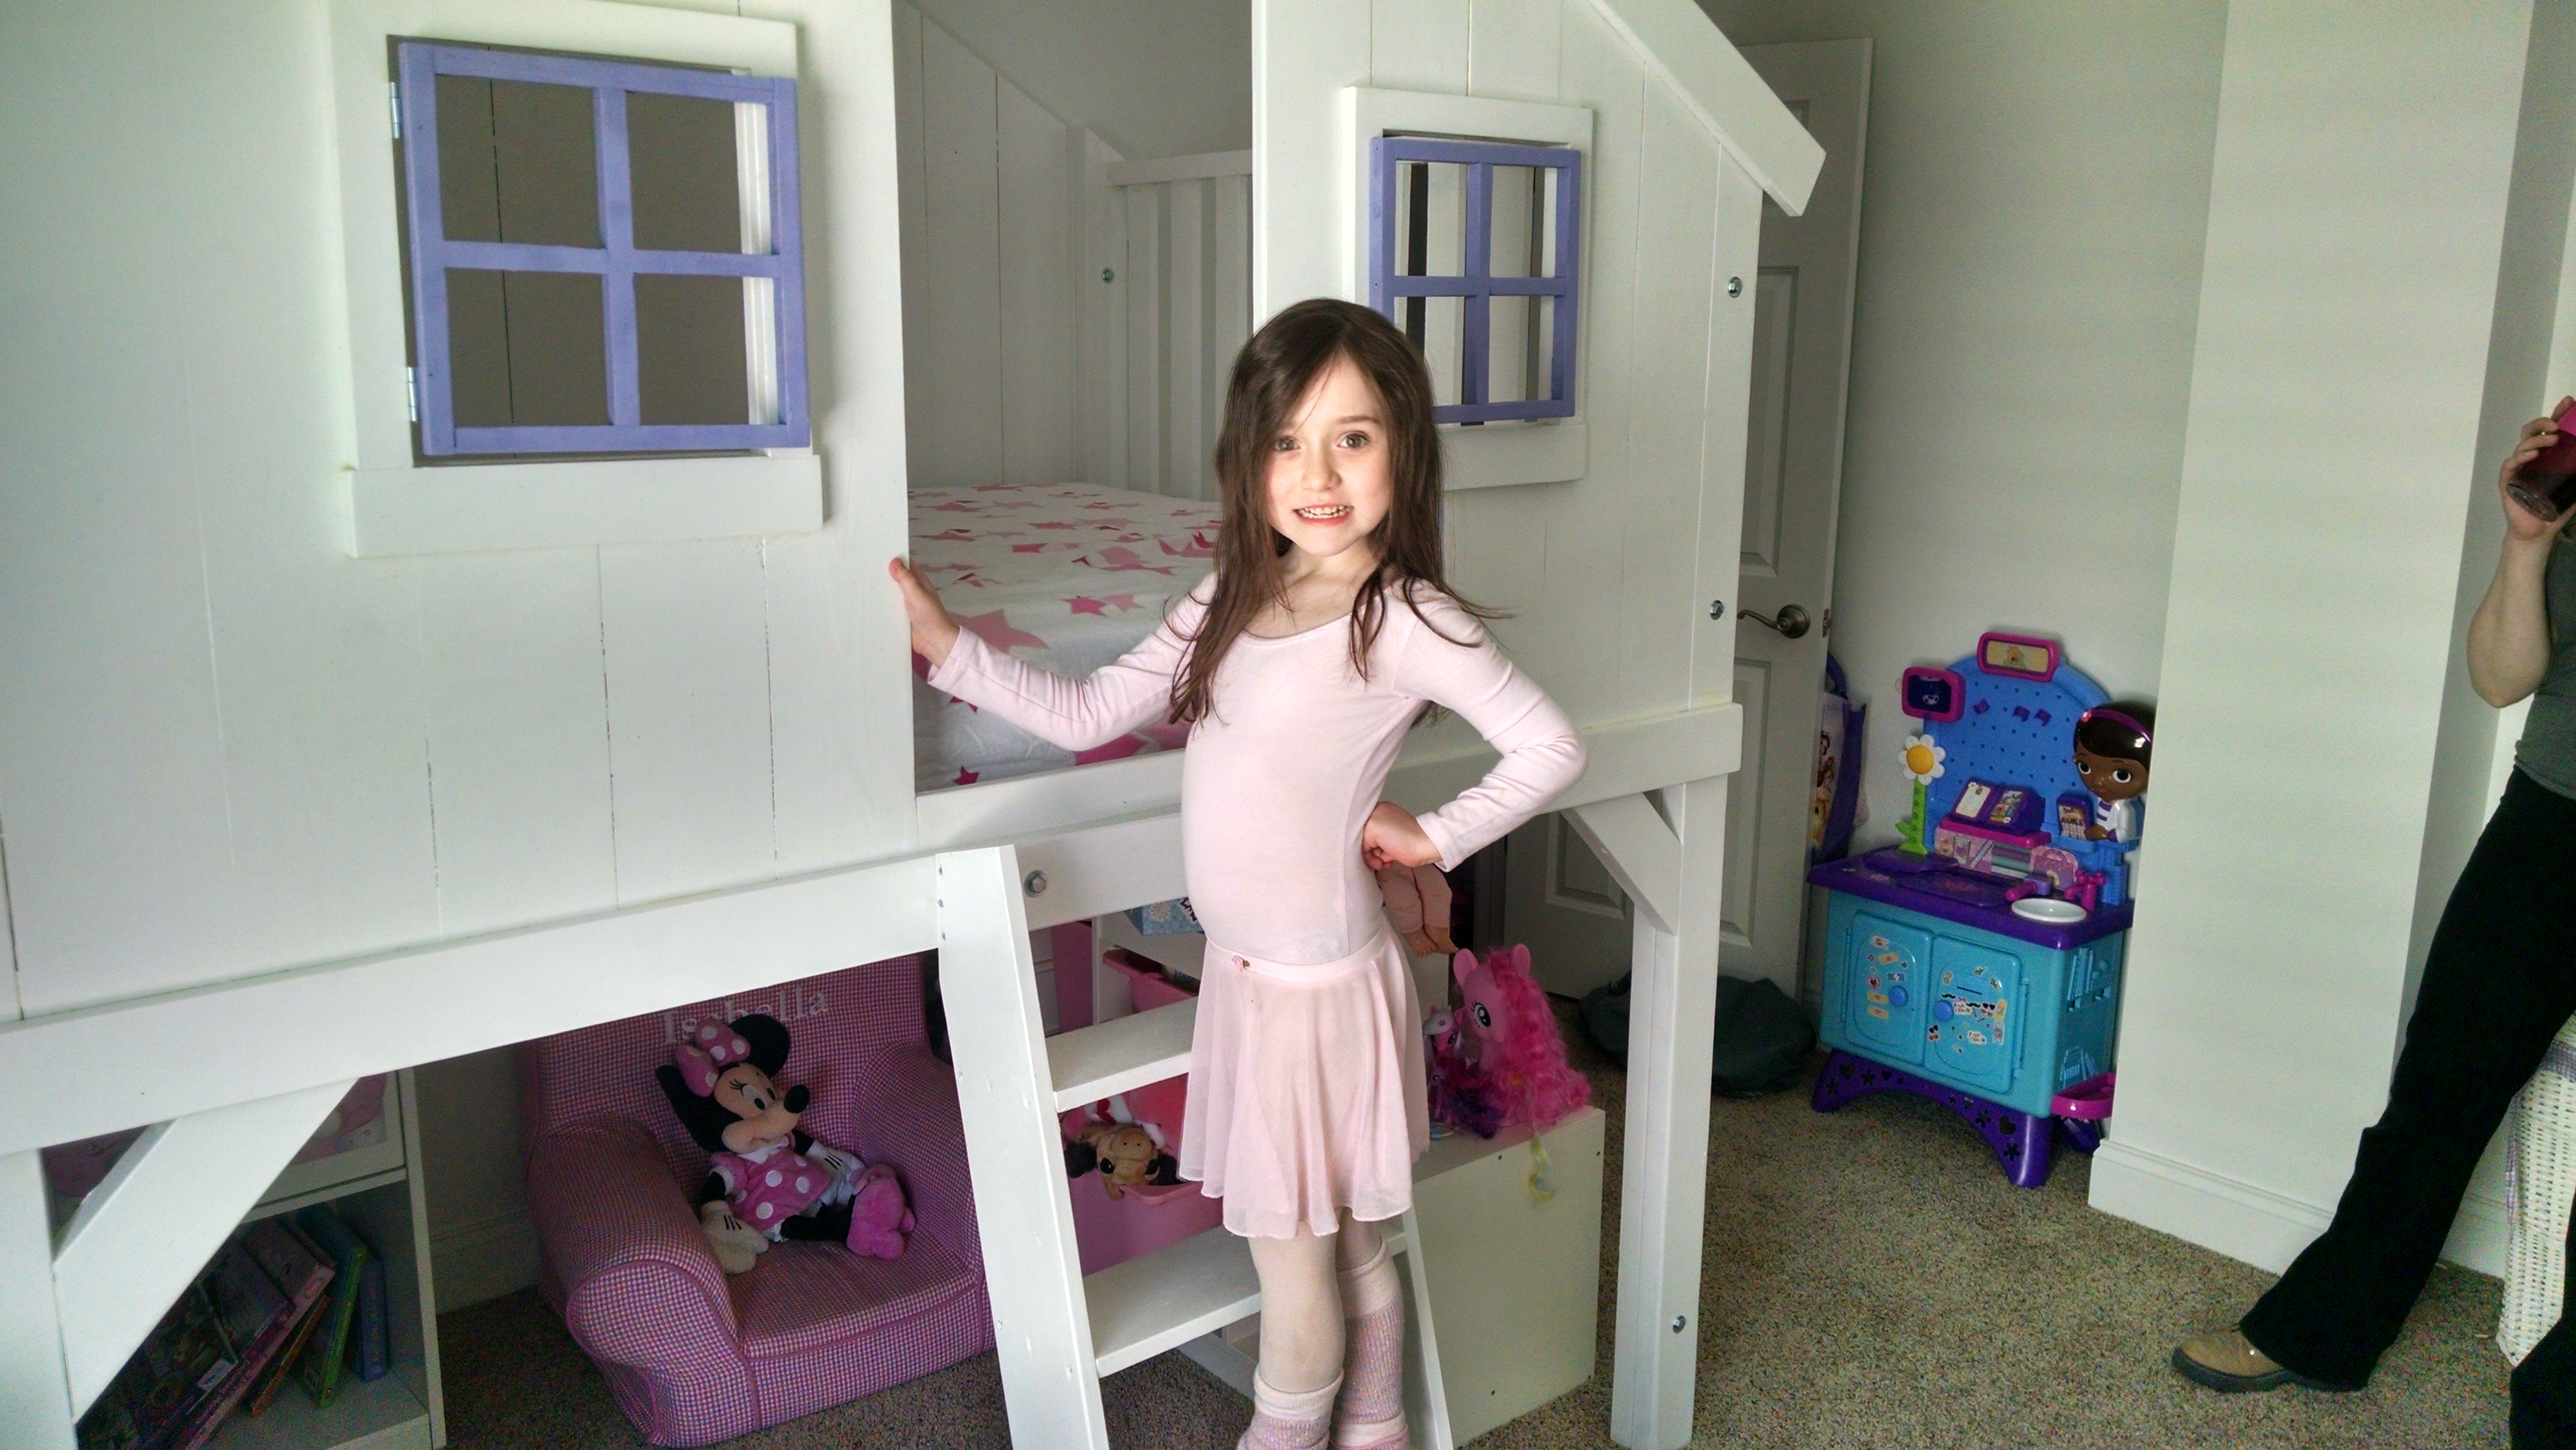
Clubhouse Bed -Full Size with Slide
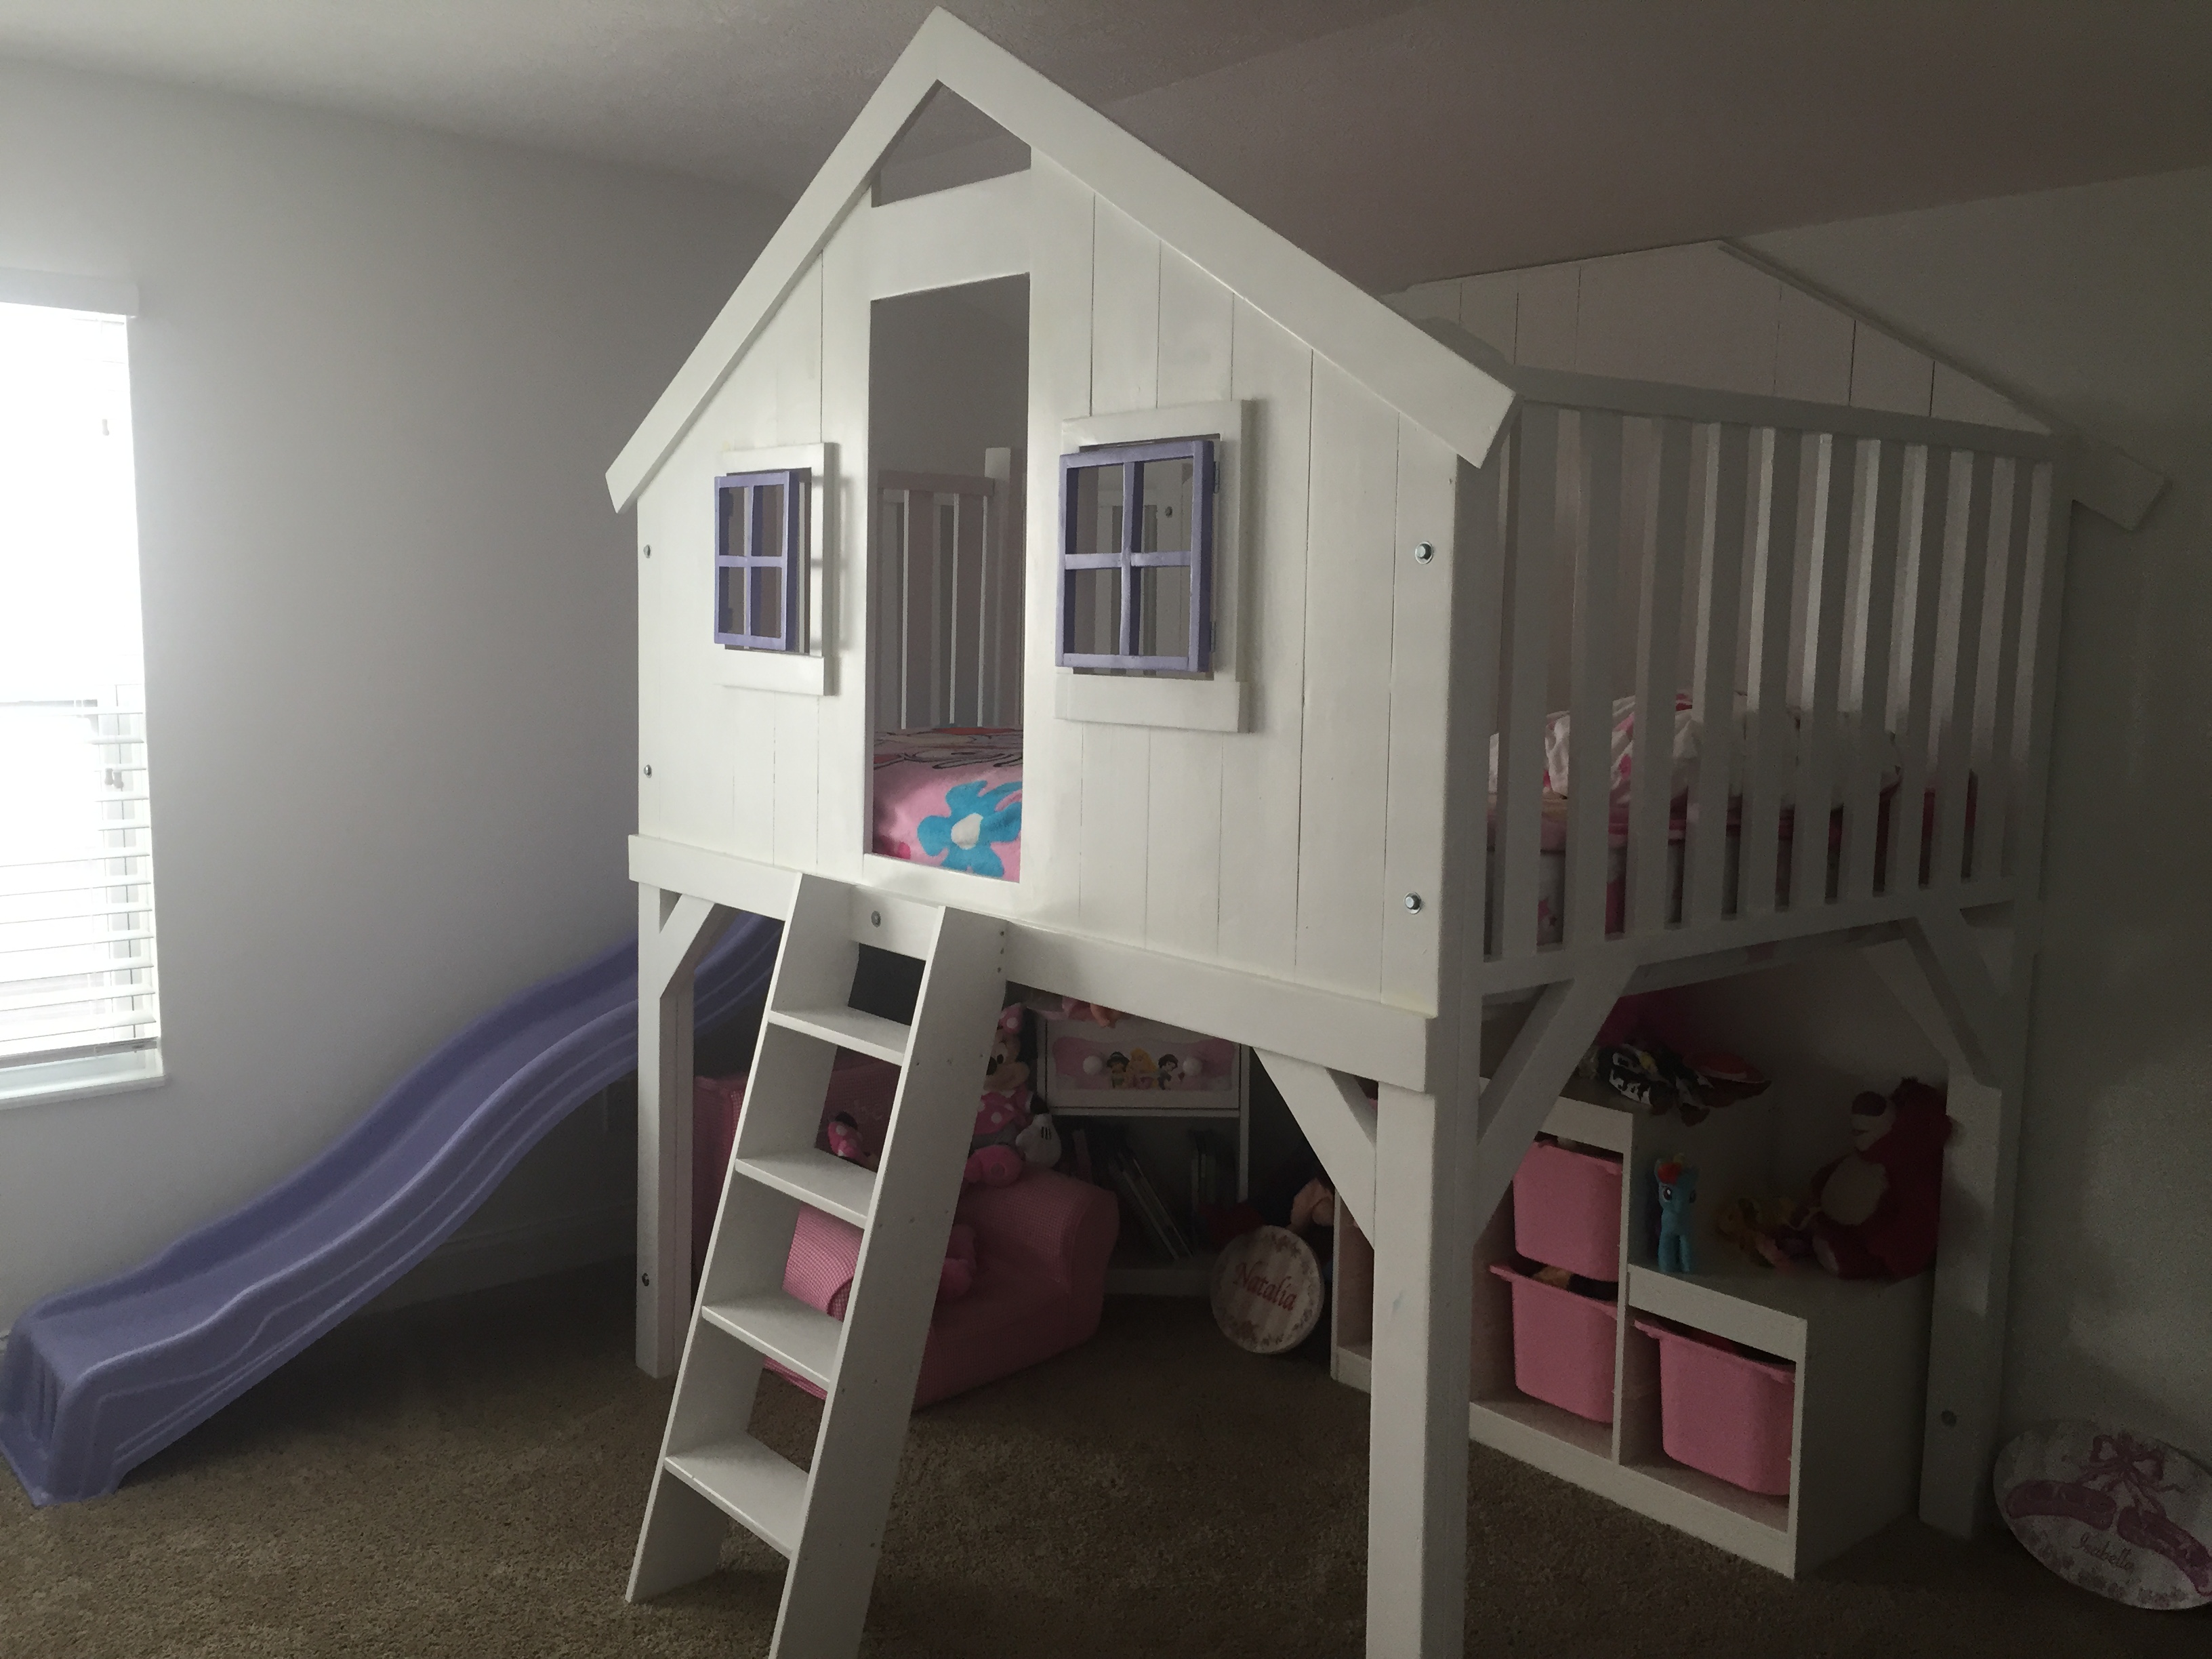
Thank you Ana for the clubhouse bed plans! I added 15" to the width of the rails to accommodate a full size mattress. On the other side I made a slide platform! I chose a standard plastic slide because I couldn't find a way to make a wooden slide at home with the swoop at the bottom to keep the kids from hitting the carpet hard :). We couldn't have a green outdoor-looking slide, am I right? I used Rustoleum spray paint made for plastic in French Lilac color. After the paint I used a top a coat of Minwax 3x polyurethane. I also used the Rustoleum spray paint for the window grids.
To accommodate the slide specs I needed to raise this bed 5". I just made each leg 5" longer. Also, the ceiling in my daughter's room slopes down so I cut the point off the back of the bed. Totally not noticeable. I needed to do this even if I hadn't raised the bed :)
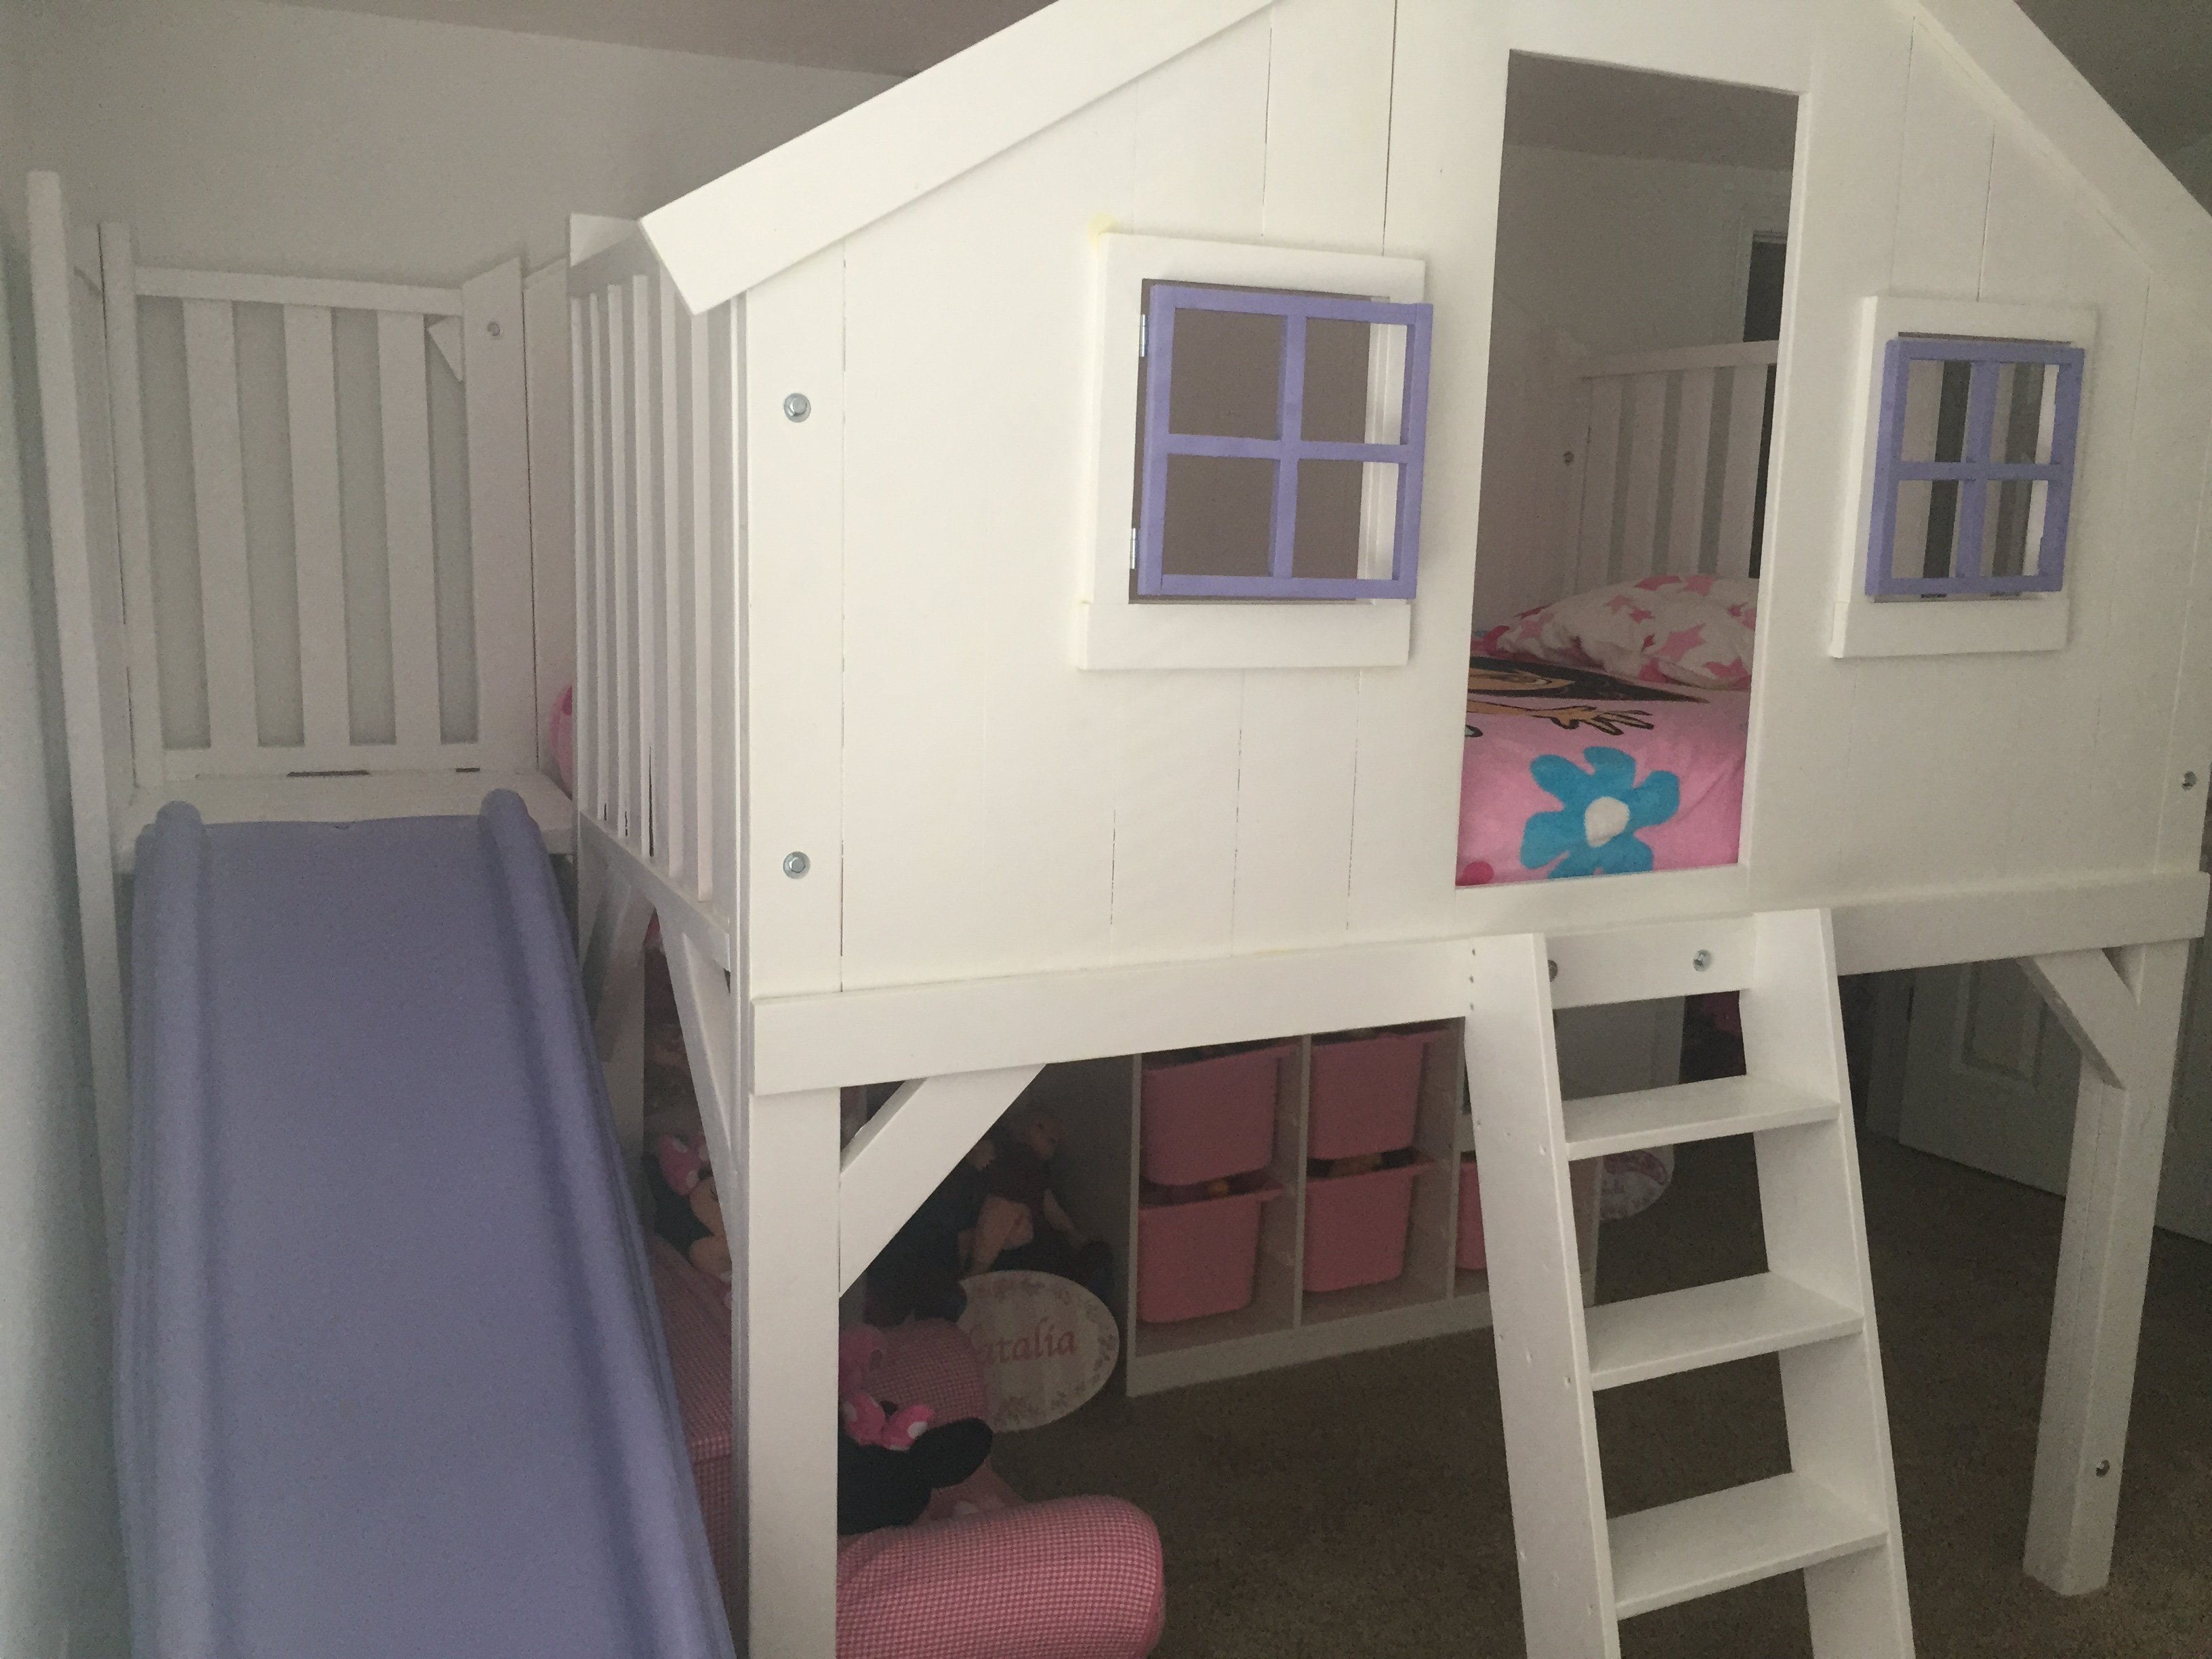
I also added full window frames around the window to make the bed a little more girly! One unexpected result is that the bedroom looks BIGGER with this bed in it. She had a twin size step 2 plastic castle bed before but now there is so much more room to play. Win! Changing the sheets isn't too bad but you need to get in the bed to do it.
I built this bed by myself. Don't be afraid, you can do this! Once the panels are assembled they get a bit heavy so you have to be sort of creative to drag them across the garage floor :)
Next up: mailbox for the bed, shelves under the slide and window boxes!

Built from Plan(s)
Estimated Time Investment
Week Long Project (20 Hours or More)
Finish Used
Valspar Flat White Paint in Glacier; Minwax 3x Polyurethane (I would maybe use wax or something next time! Maybe even semi-gloss paint)
Recommended Skill Level
Intermediate
Comments

Sun, 05/03/2015 - 07:37
This looks amazing! What an
This looks amazing! What an awesome job! I love the slide!
Slat Bench from Palettes
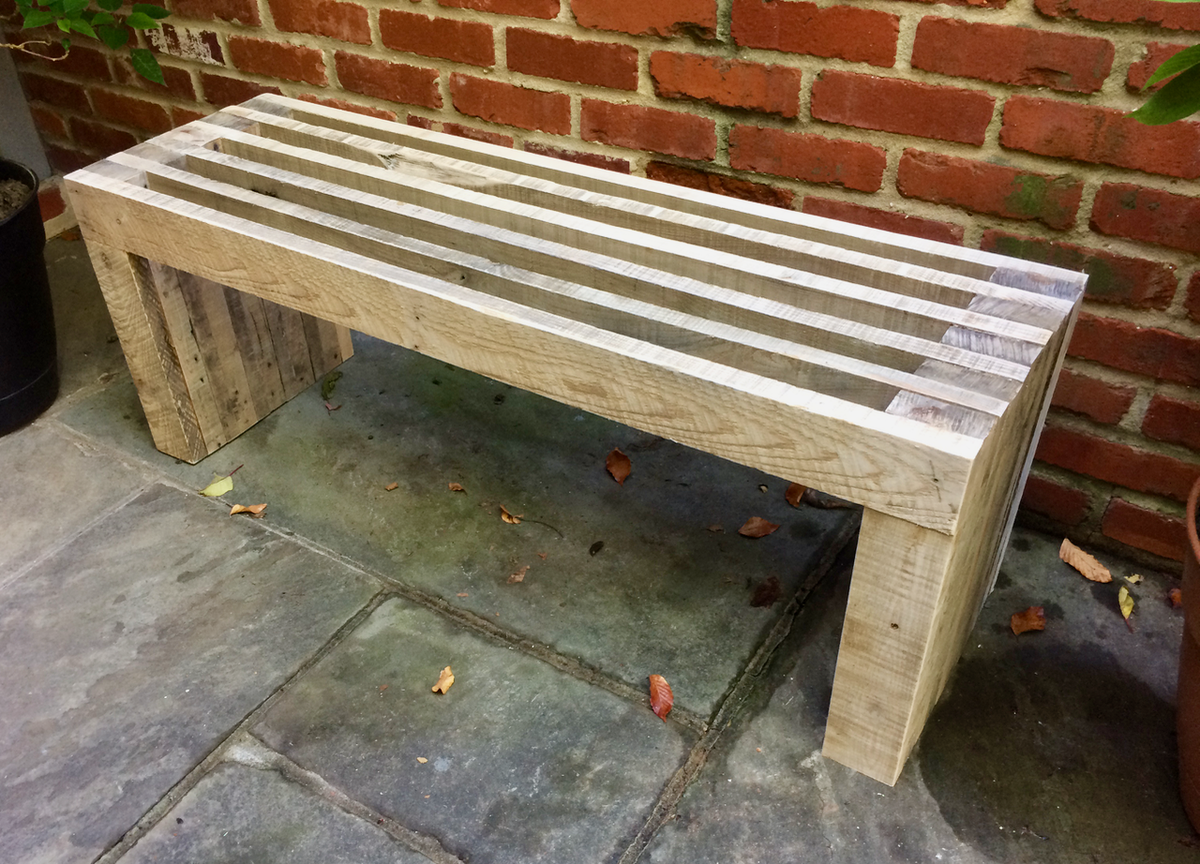
This was made from several heavy duty palettes that were used for delivering stone. Because of the wood I could get off the palettes, I switched the thin and thick pieces so that the slat gaps were where the 2x4 pieces were missing instead of the 1x4s.
Built from Plan(s)
Estimated Cost
$10 (for glue and screws)
Estimated Time Investment
Afternoon Project (3-6 Hours)
Finish Used
None
Recommended Skill Level
Beginner
Original farmhouse bed-King
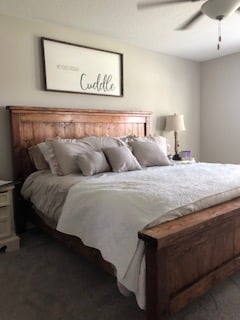
This is the kingsized original farmhouse bed. The bed was pretty easy, I didn't bother with pocket holes and assembled it pretty quickly with some help. It is sturdy and beautiful and makes me smile every time I walk in my room. I LOVE it and can't thank you enough for sharing your plans! Angela
Built from Plan(s)
Comments
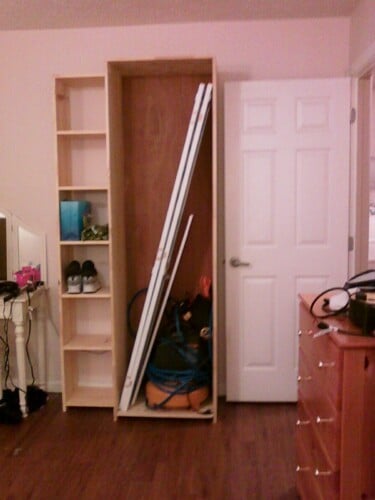
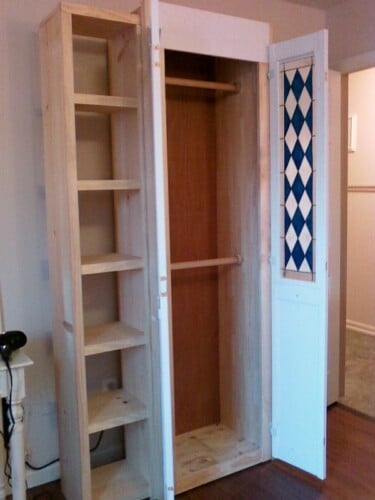
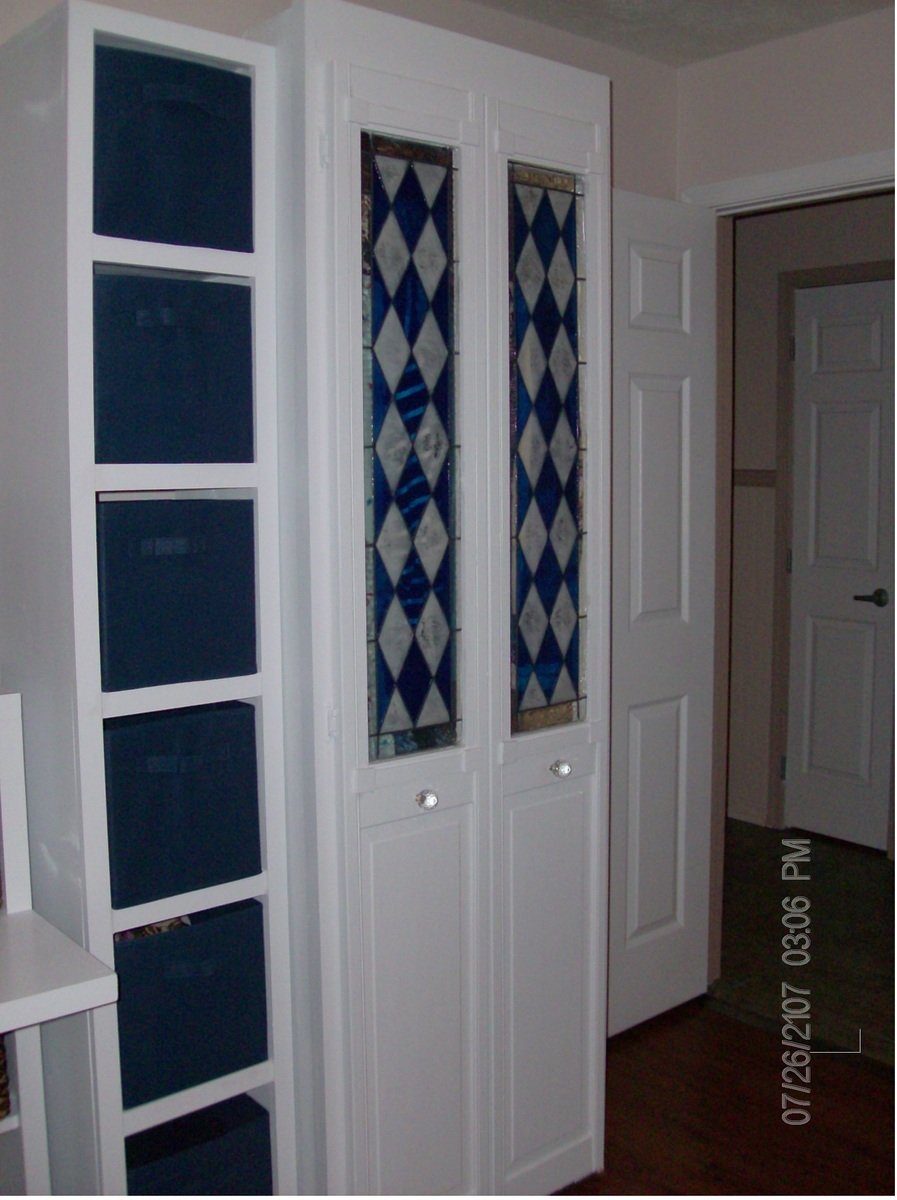
Armoire for Repurposed door

This is modified from Ana's Simplest Armoire plan, re-sized to fit the door (already had this, from another project -- I couldn't part with it when that room was remodeled- that gallery glass insert took me so long to make) and deep enough to hang clothes. Used my favorite new toy, the Kreg jig for this.
Such a fun project, now we're hooked! We've made a bedroom full of pieces to go with this one, and still making more.
Ana, thanks for the inspiration!

Built from Plan(s)
Estimated Cost
110.00
Estimated Time Investment
Day Project (6-9 Hours)
Finish Used
1 coat Zinsser primer, 2 coats Ace Royal High Hiding white in semi gloss
Recommended Skill Level
Beginner
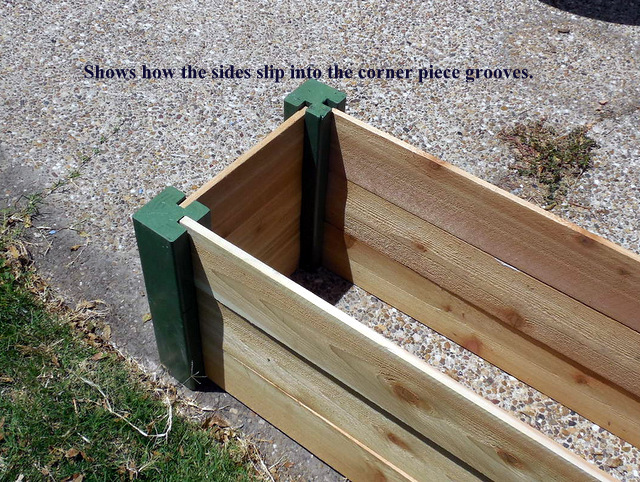
A Big Patio Planter
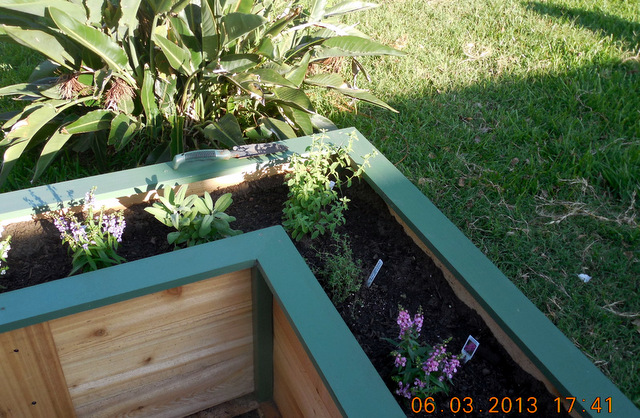
I have a really boring backyard patio so I thought I would spice it up with flowers but I could not find a plan for a large right angle planter. So I made up my own.
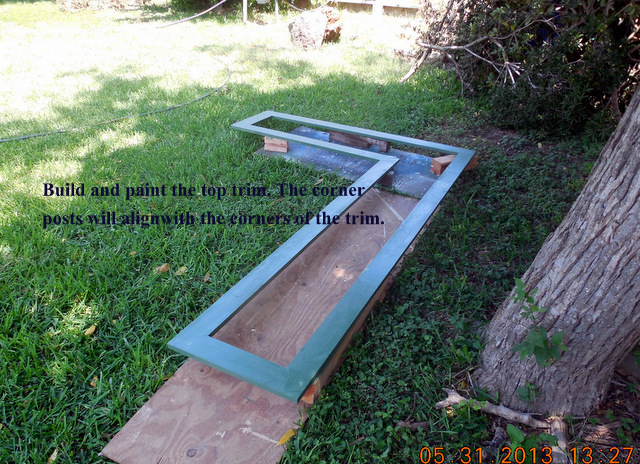
The planter is made from cedar fencing but pine for the top trim and the corner legs. The legs have grooves that the sides slide into and are not screwed or glued in place. That is so you can remove the top trim and then just pull the sides out to replace them as needed or to even change the size of the planter.
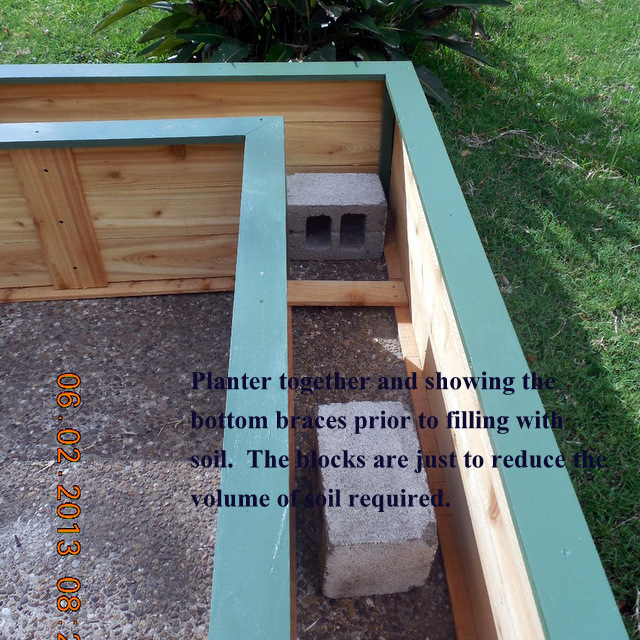
This planter is 18" high so it is comfortable to sit on but that also means you will need a lot of soil to fill it up. Mine took 26 40lb bags which is over 1/2 ton of soil. Add water and that planter is here to stay. But it also means that there is a large tendency for the sides to bulge along the bottom so I placed stop blocks along the bottom base and screwed into the base.
I planted Angelonia for color and sage, oregano, and thyme for spice. It was fun to build and came out well but it was expensive as the soil along was nearly $60. Add another $50 for lumber and screws and you have exceeded the magic $100 mark. Still a good deal, however.

Estimated Cost
$110
Estimated Time Investment
Weekend Project (10-20 Hours)
Finish Used
Painted the top trim and legs with Behr water-based enamel and left the cedar to mellow on its own.
Recommended Skill Level
Intermediate
Comments
Wed, 06/05/2013 - 10:14
Thanks for a Good Idea
Thanks for a very good idea. If I ever do another on I will incorporate your suggestion.
Wed, 06/05/2013 - 10:17
Thanks for a Good Idea
Thanks for a very good idea. If I ever do another on I will incorporate your suggestion.

Sun, 06/09/2013 - 06:05
I don't know what it would do
I don't know what it would do cost-wise, but you could also use gravel to fill the bottom of the planter to give it better drainage.
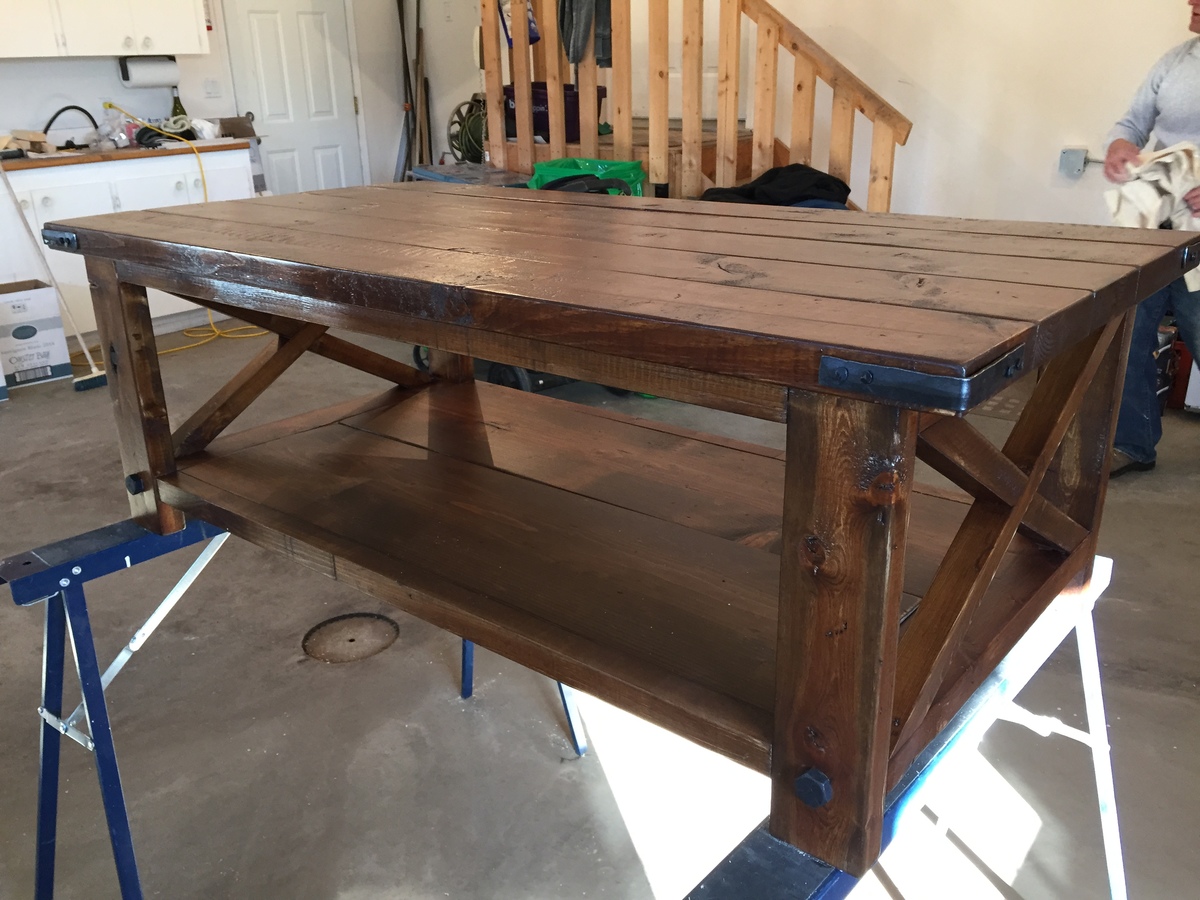
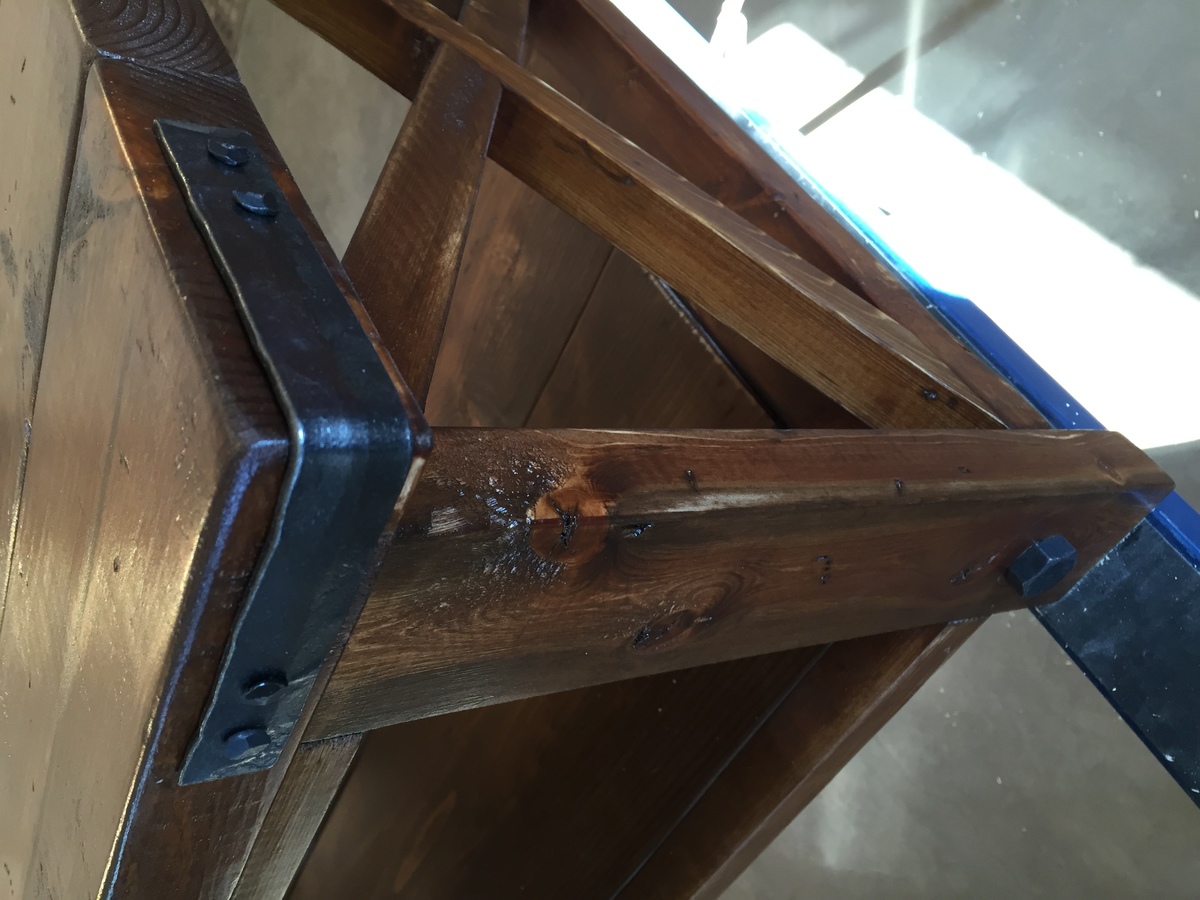
Rustic X Coffee Table First
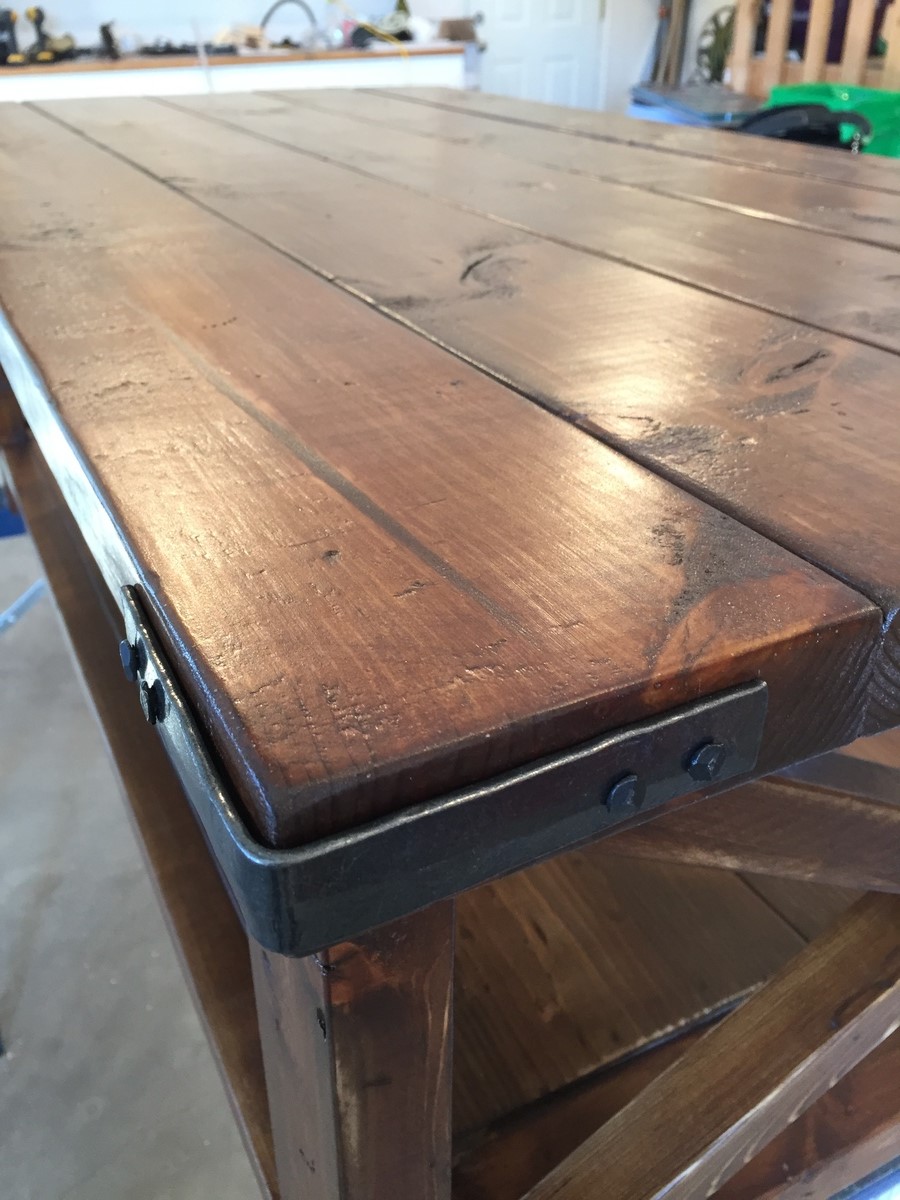
Came across this plan as my first wood working project. Took the corner brackets to a different level, spoke with a local blacksmith who created the brackets for me to give it a more rustic feel. Created the nails, same way they were done in the early 1800's.
Total time took me longer than normal since this was my first project. Otherise I could see hammering out one of these a day (excluding waiting for stain to dry)
Very excited to keep going, thanks for the great site Anna!
Built from Plan(s)
Estimated Cost
$75 dollars roughly
Estimated Time Investment
Weekend Project (10-20 Hours)
Finish Used
Used Miniwax English Chestnut with Minwax® Polycrylic® Protective Finish.
Recommended Skill Level
Beginner
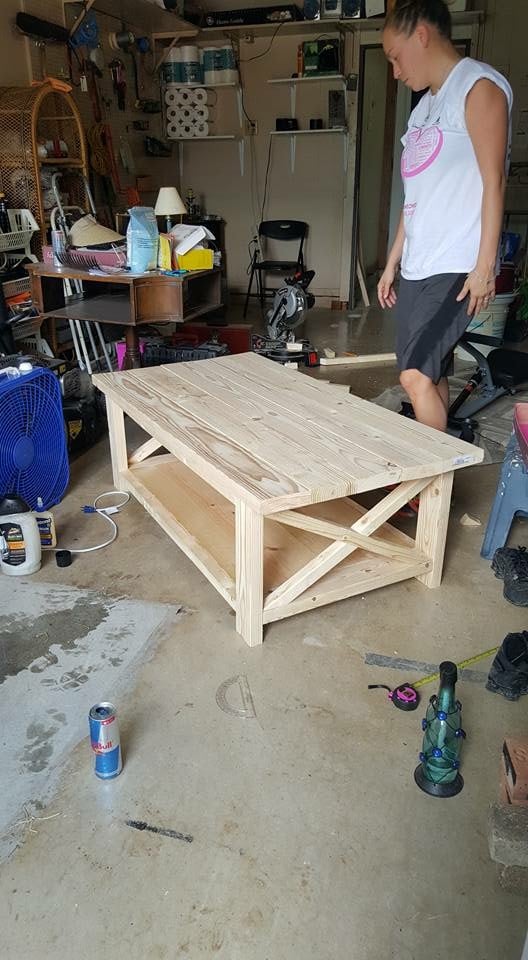
My first build!
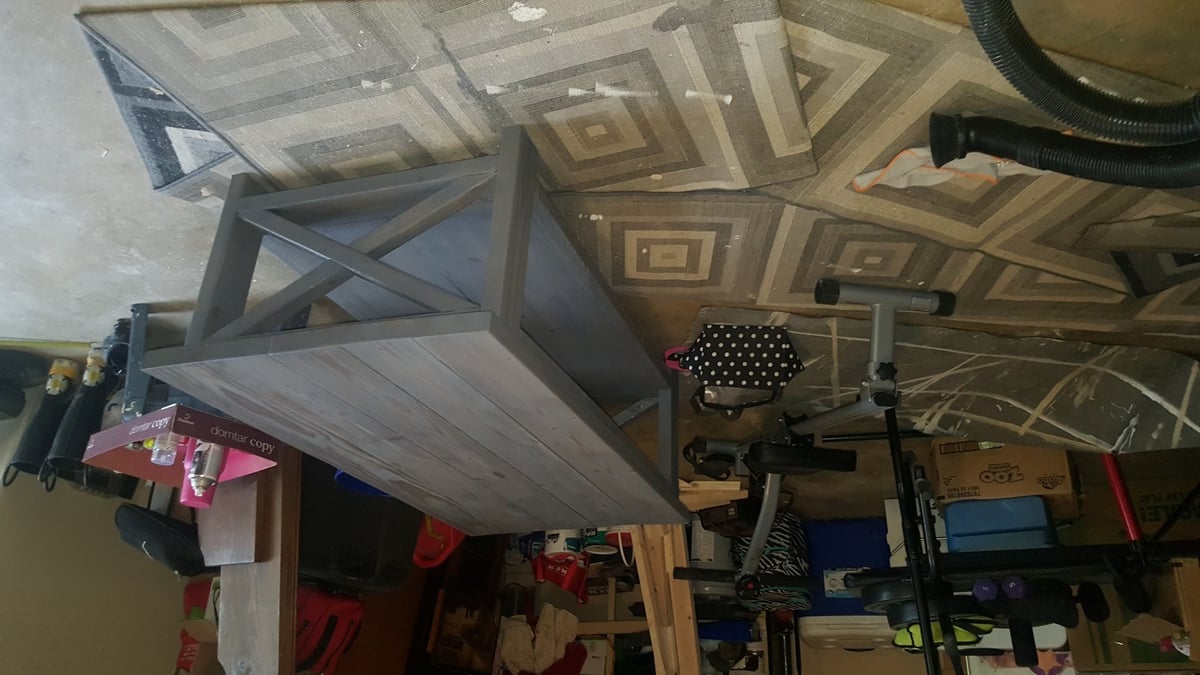
My first build I ever did back early 2016.
Built from Plan(s)
Estimated Cost
~$100
Estimated Time Investment
Afternoon Project (3-6 Hours)
Finish Used
Mini wax weathered grey
Recommended Skill Level
Beginner
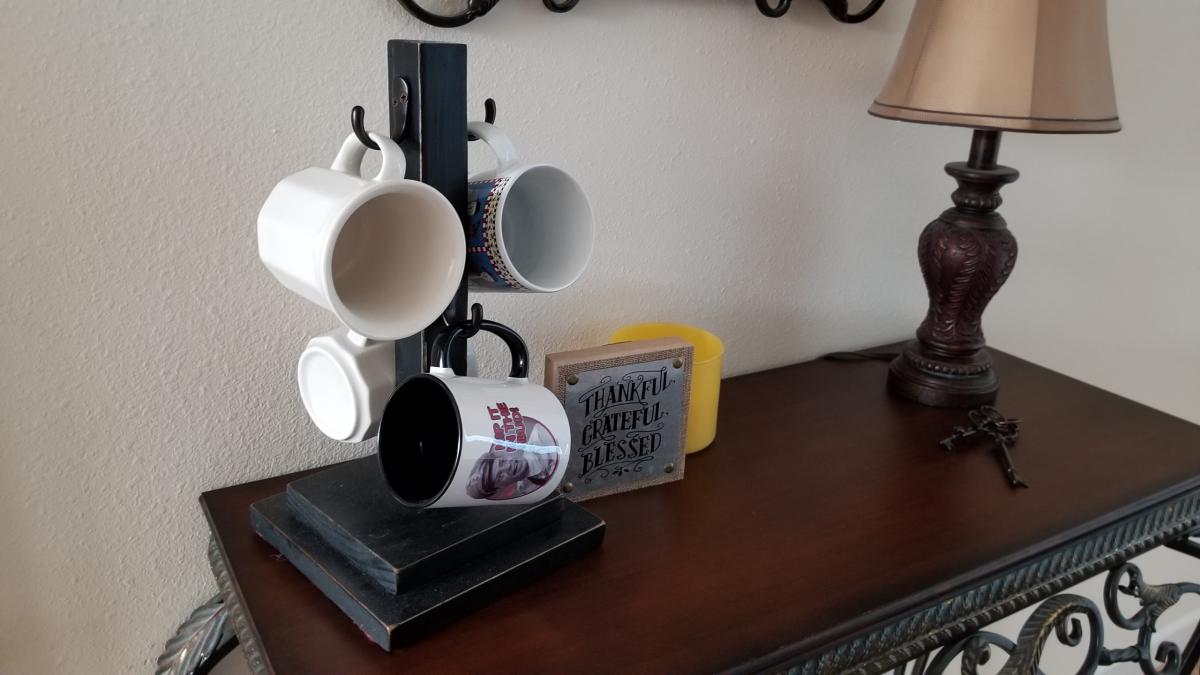
Coffee Mug Tree
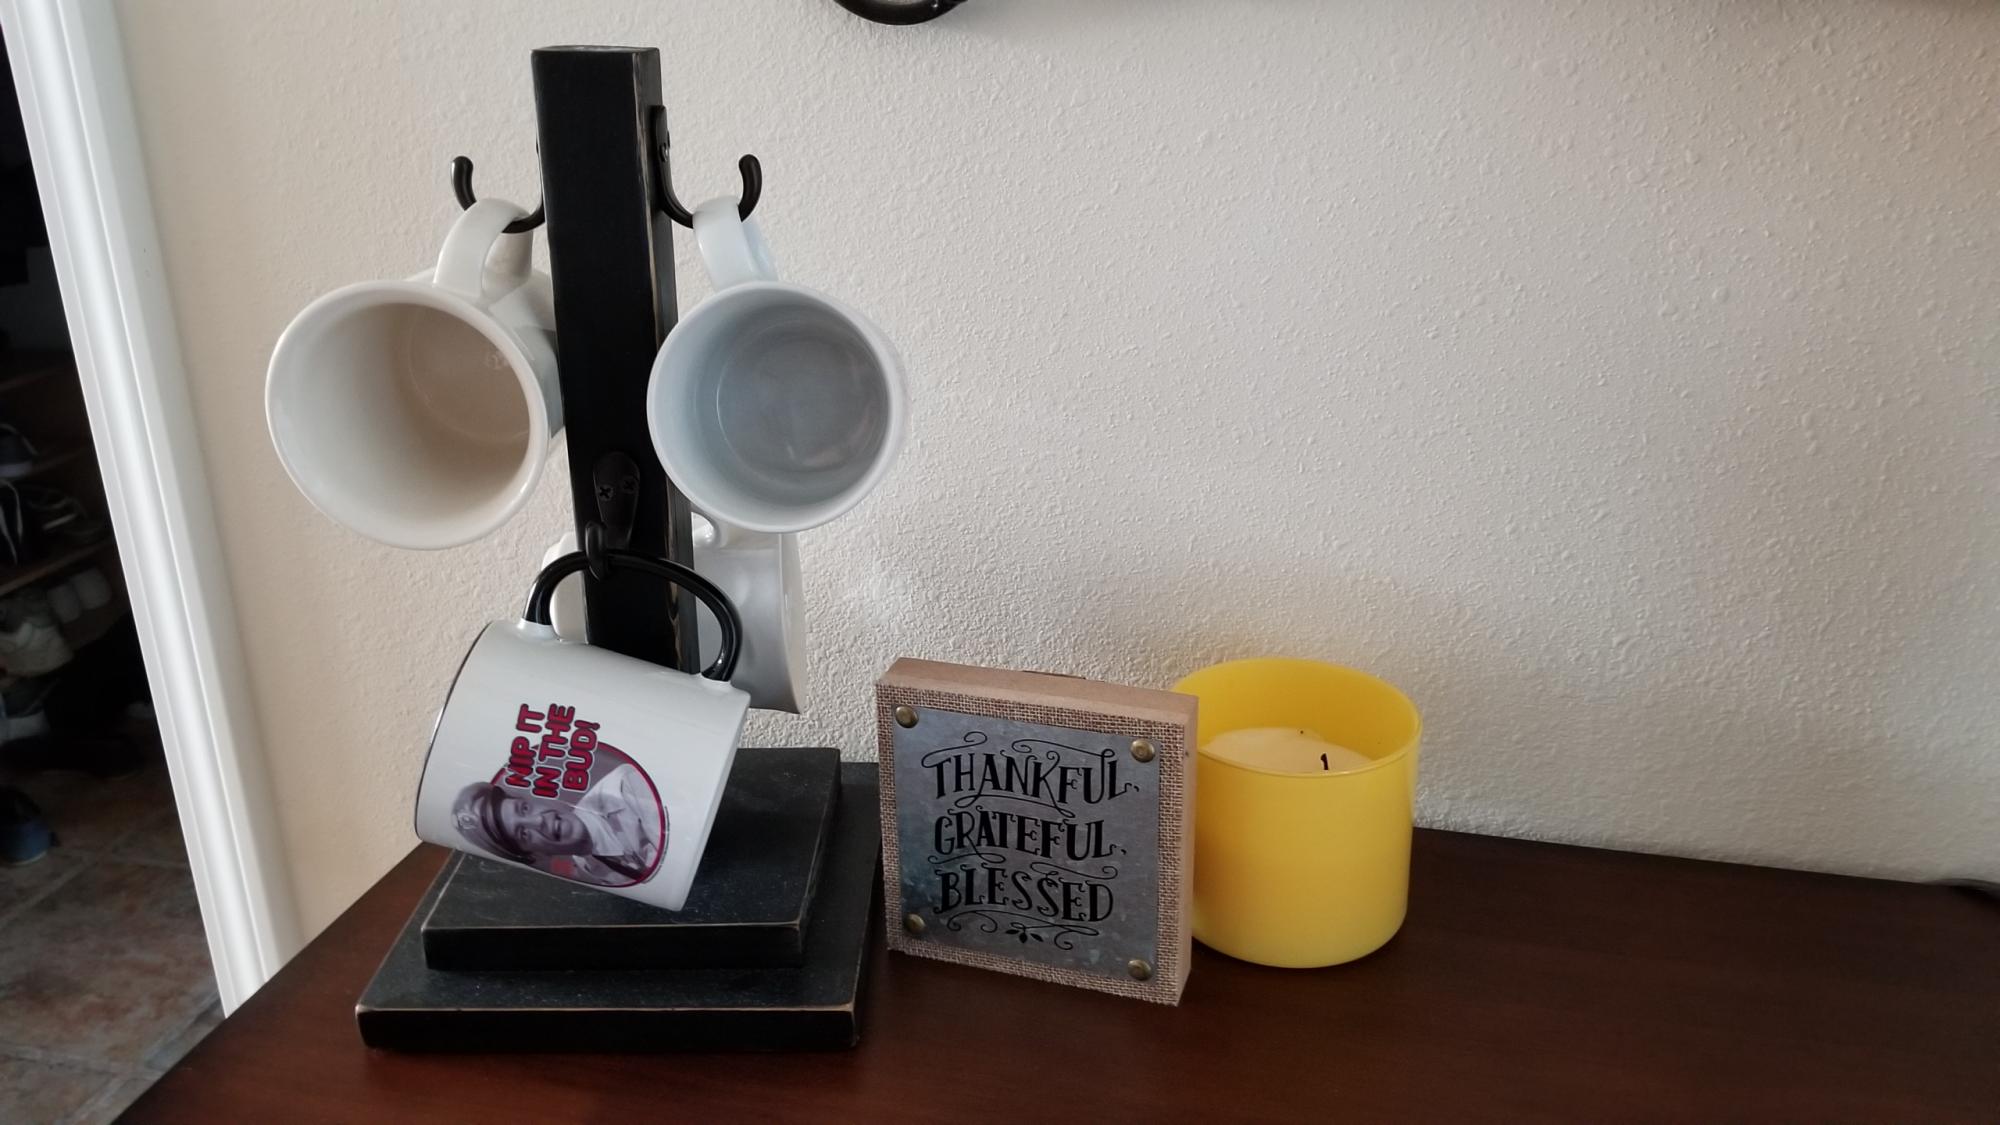
Very simple project, but extremely useful! Decided to not put a knob on the top, spray painted it black matte and distressed the edges. The hooks are from Walmart. Great project to use up some scrap wood! Makes great gift!
Comments
Thu, 10/14/2021 - 08:29
Great little project!
I really like the finish and bit of distressing, very nice!
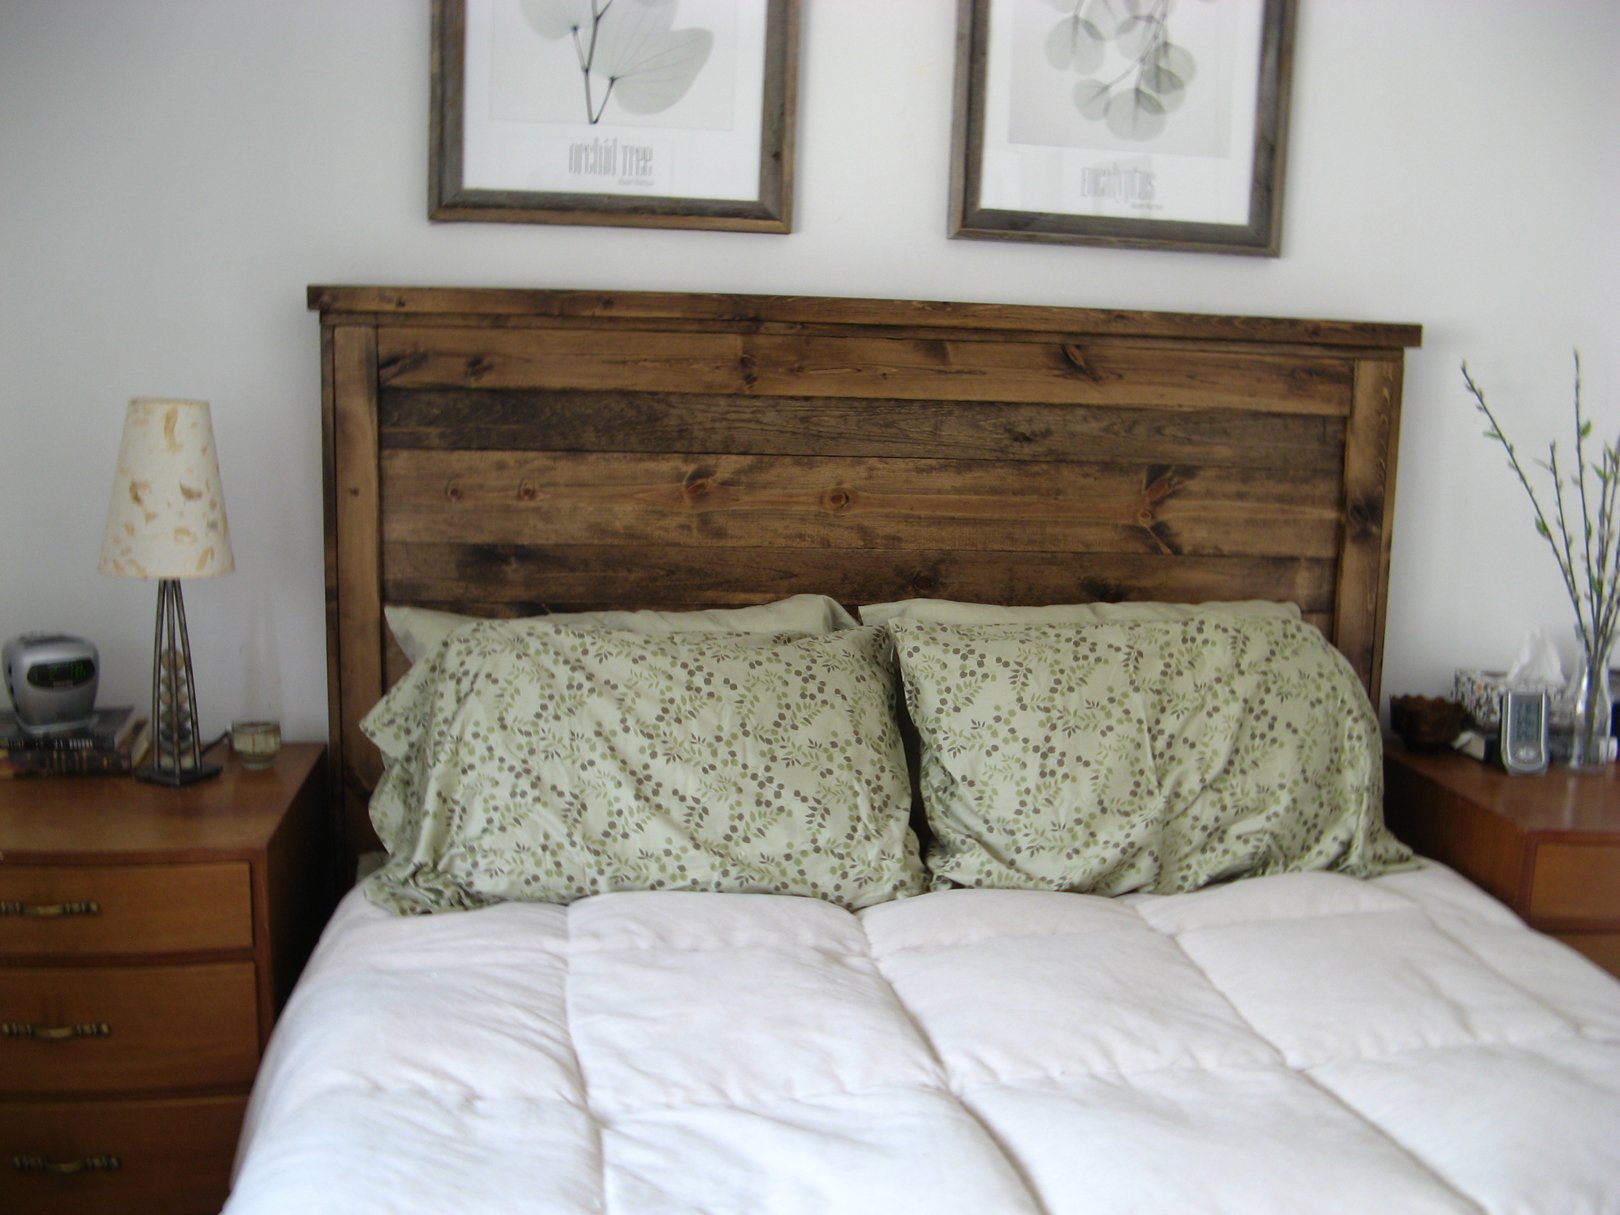
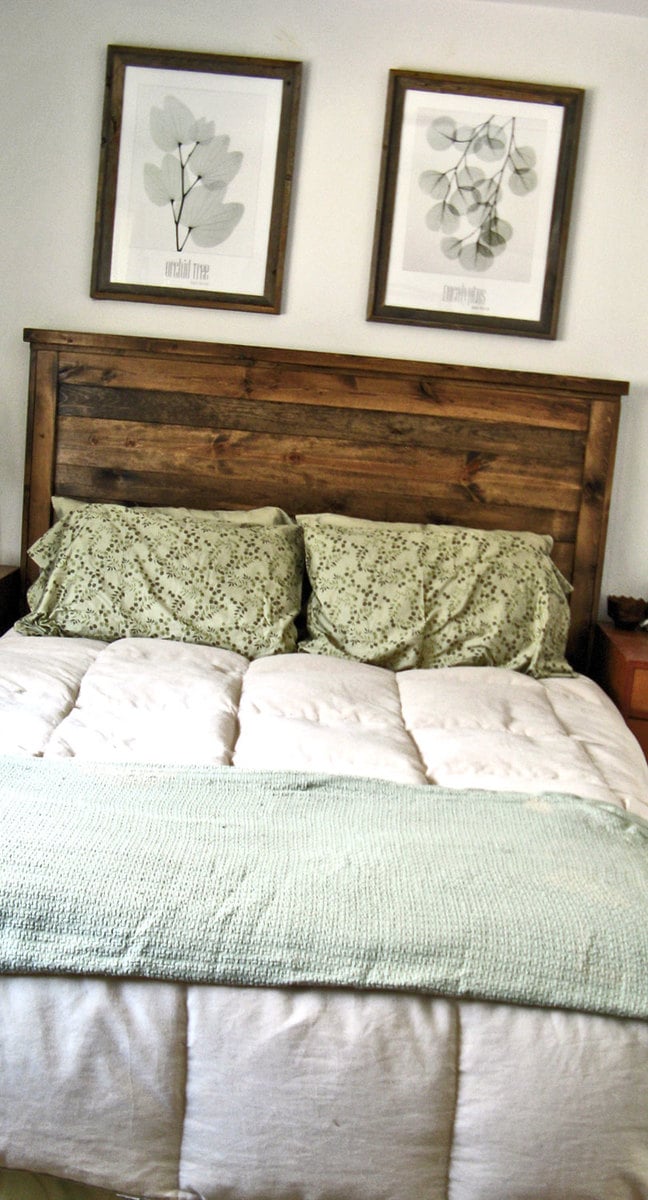
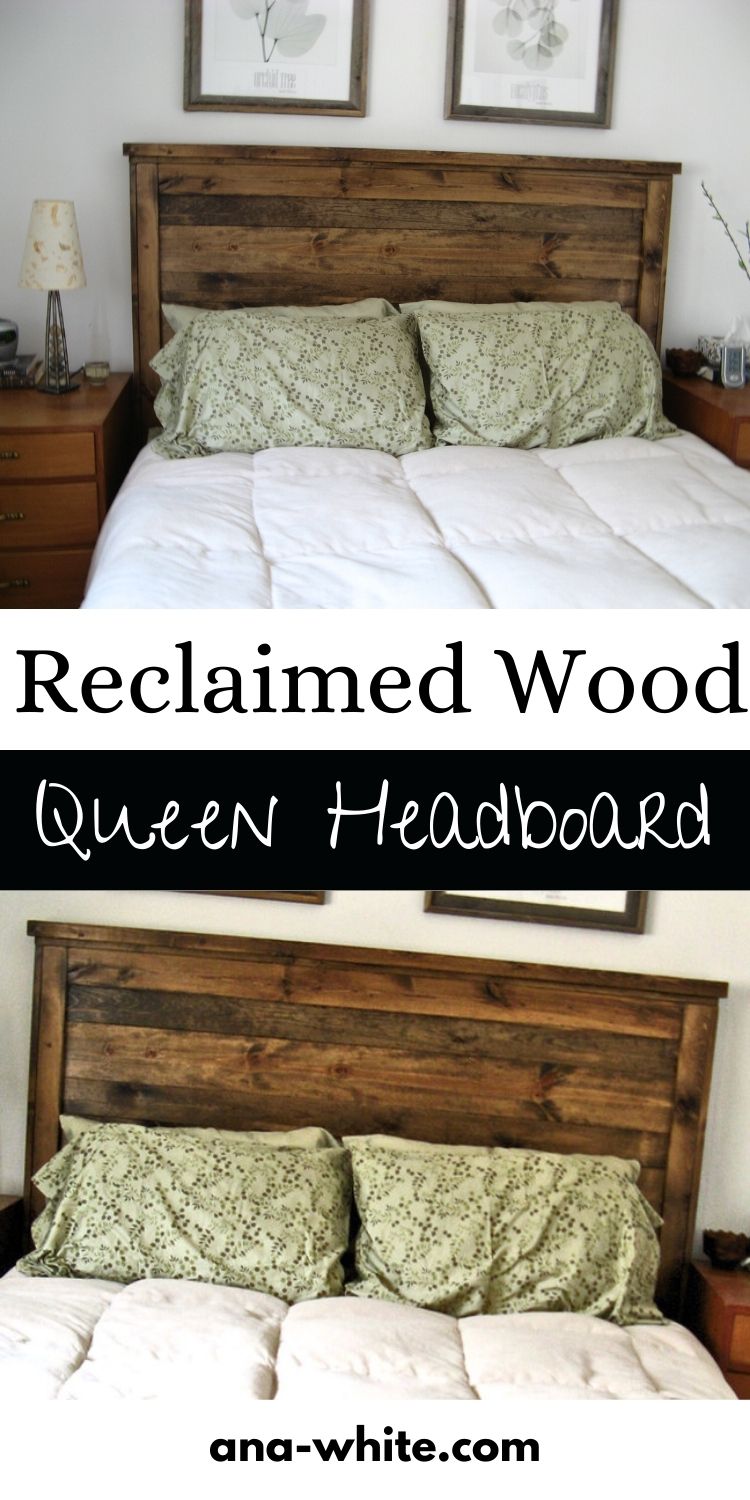
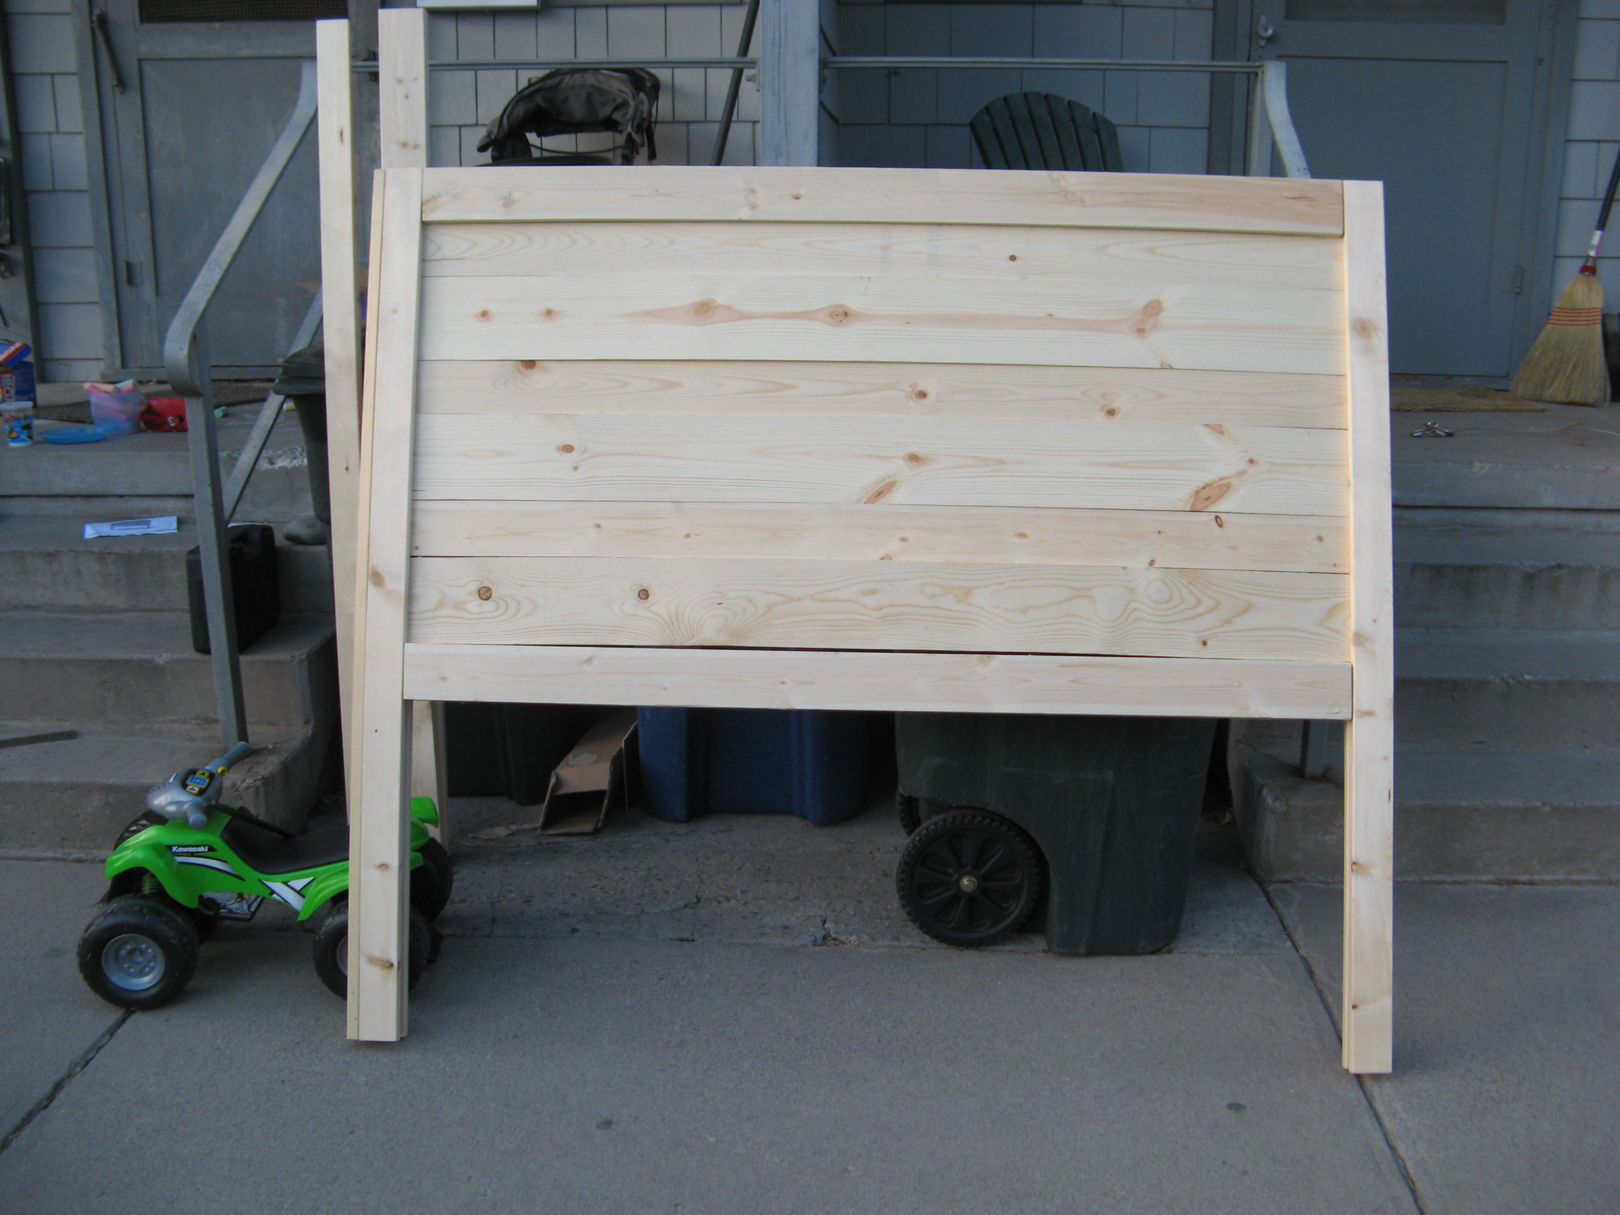
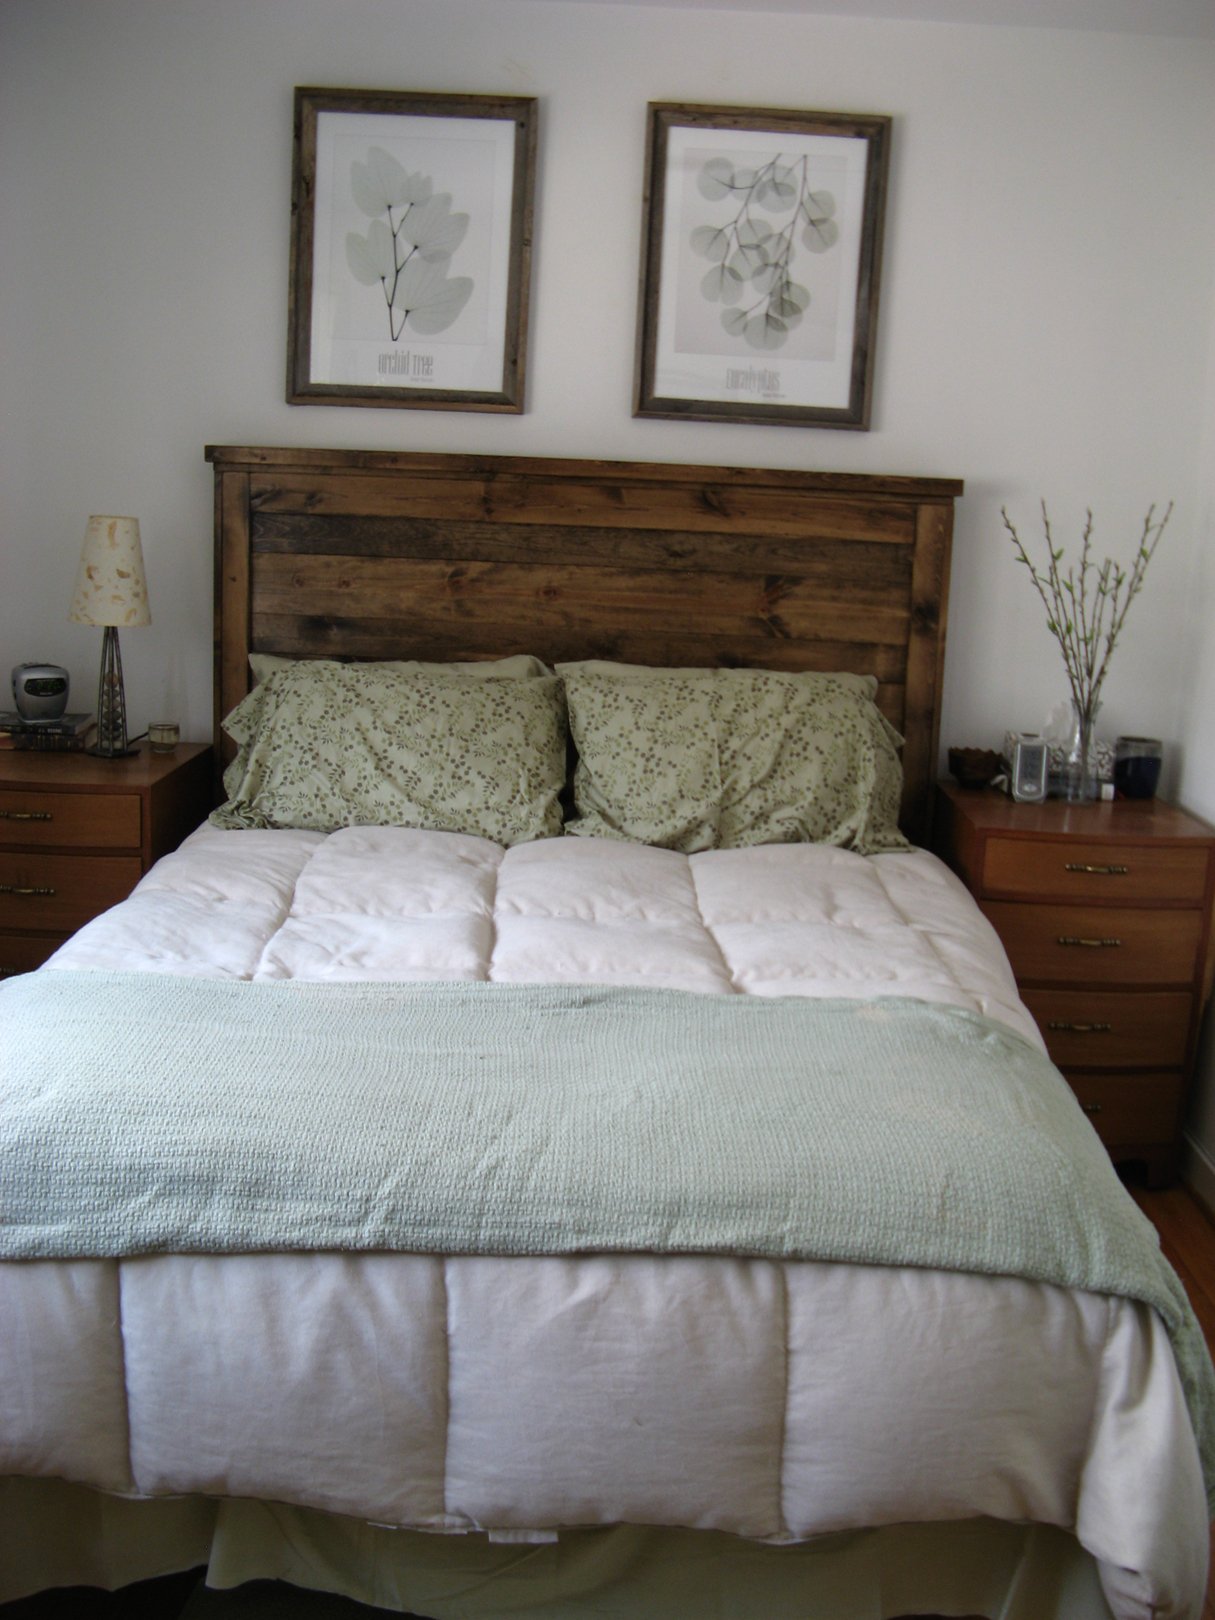
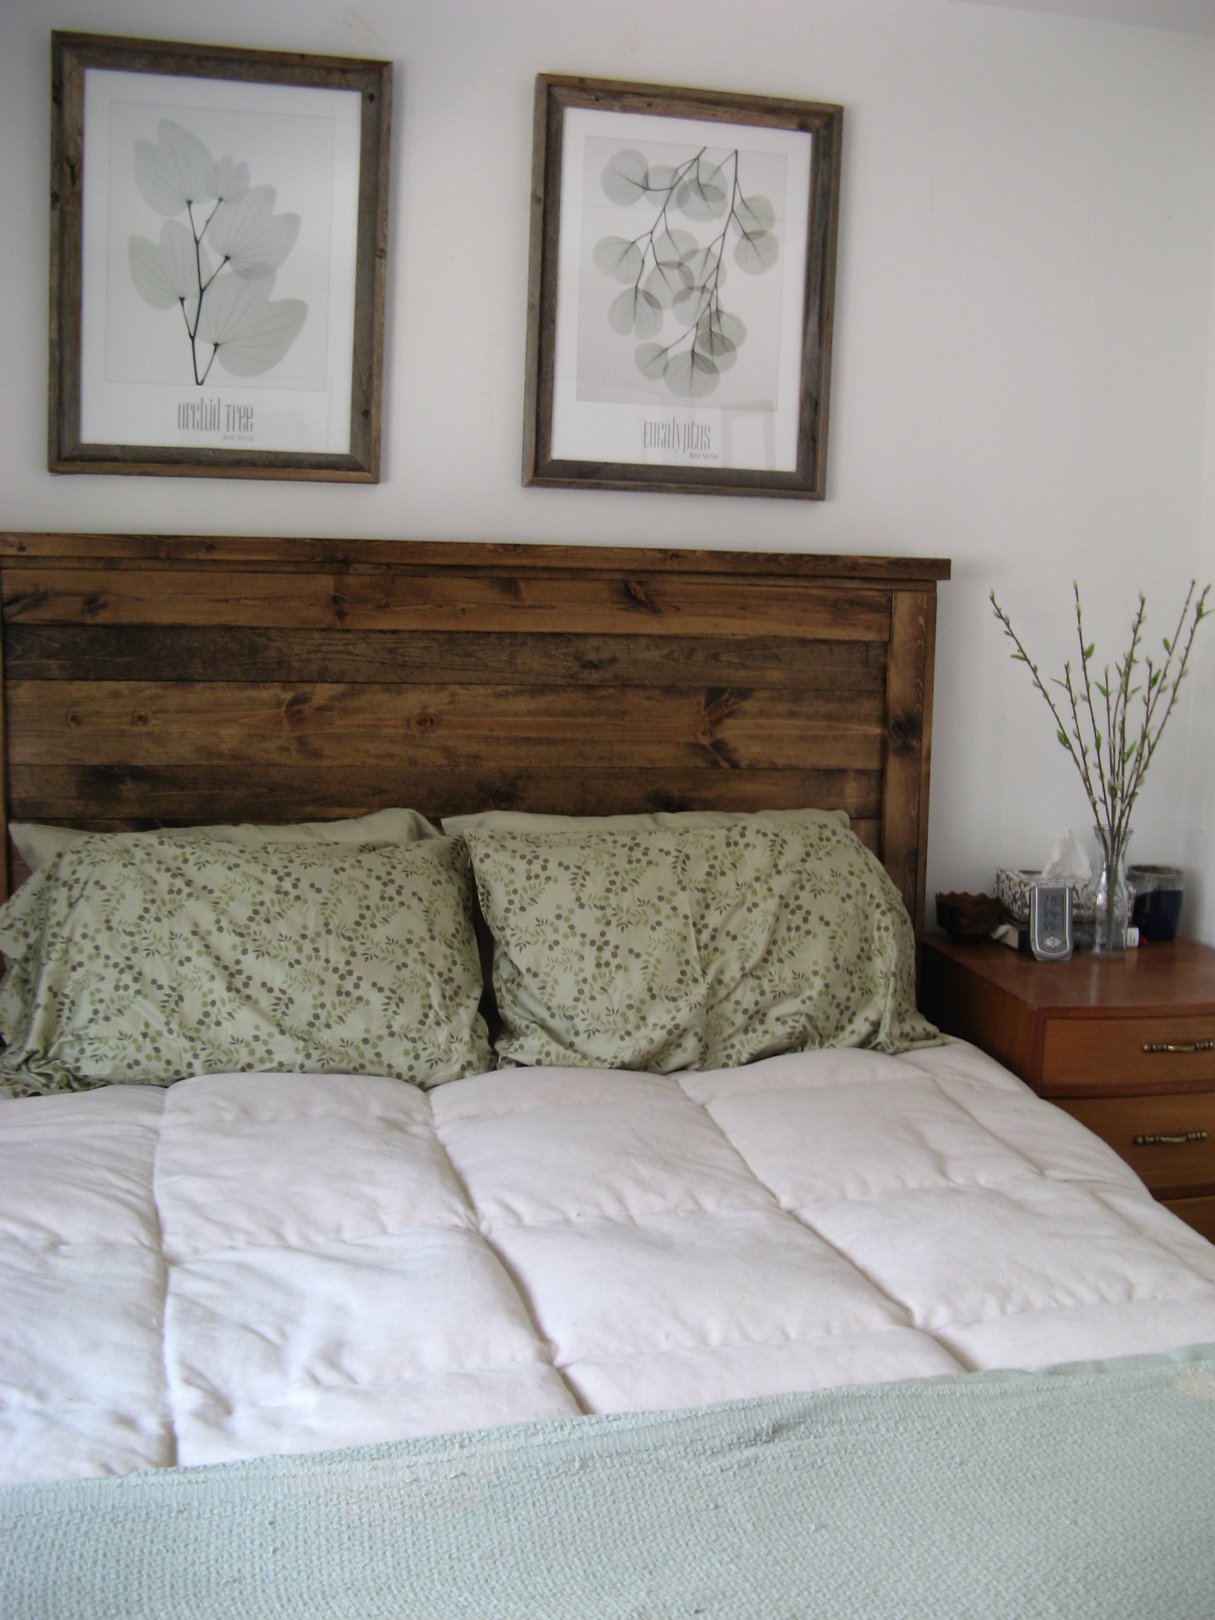
First Project- reclaimed wood look Queen headboard!
Pin For Later!

Built from Plan(s)
Estimated Cost
around $75
Estimated Time Investment
Afternoon Project (3-6 Hours)
Finish Used
Used only one coat of Minwax Dark Walnut (really liked the rustic look), and finished with Minwax polyueruthane.
This was a quick build- did all of the cutting, & got it mostly assembled while my toddler was napping! One thing to note- we had to add some wood braces on the back in order to straighten our boards out. They looked ok at the store, but we got them home & realized they were quite warped! Sanding, staining and polyurethaning took additional time that was spread out over a few days (didn't include that in total time). This was great for a first project. I've got lots more on my to-do list now!
This was a quick build- did all of the cutting, & got it mostly assembled while my toddler was napping! One thing to note- we had to add some wood braces on the back in order to straighten our boards out. They looked ok at the store, but we got them home & realized they were quite warped! Sanding, staining and polyurethaning took additional time that was spread out over a few days (didn't include that in total time). This was great for a first project. I've got lots more on my to-do list now!
Recommended Skill Level
Beginner
Seasonal And Holiday
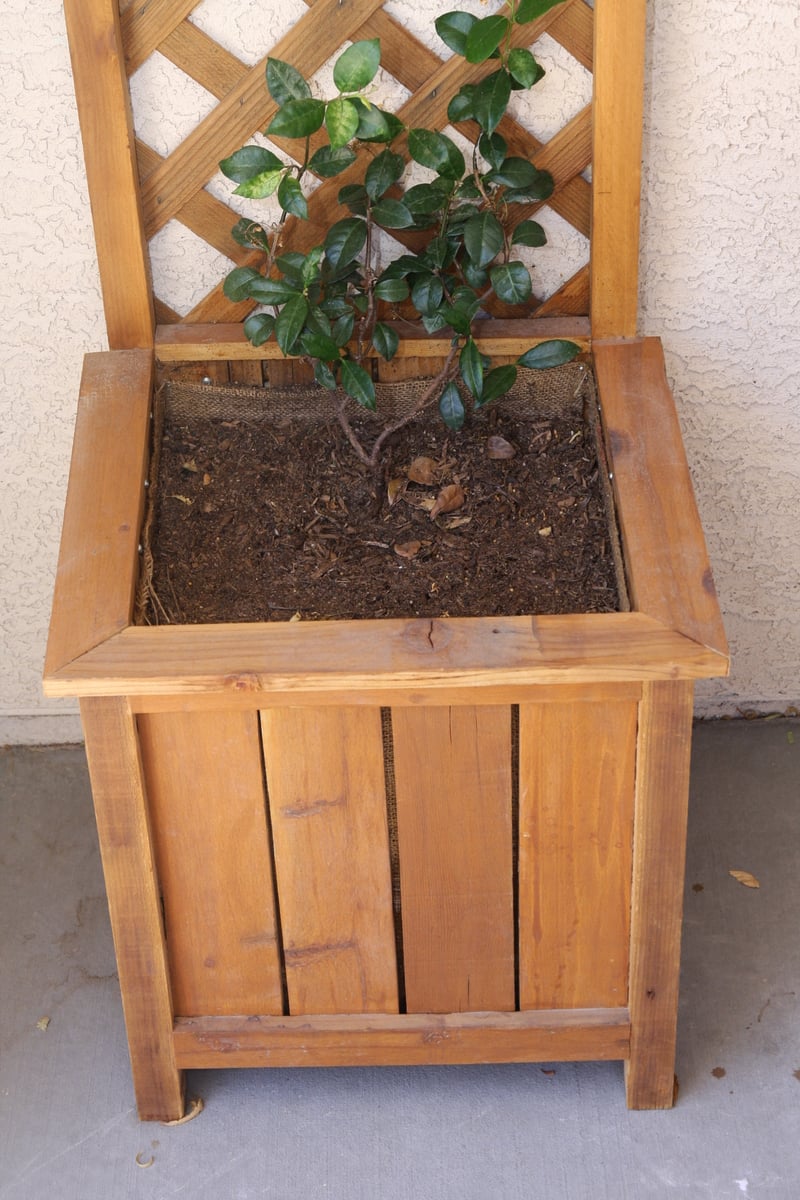
Cedar Planter with Trellis
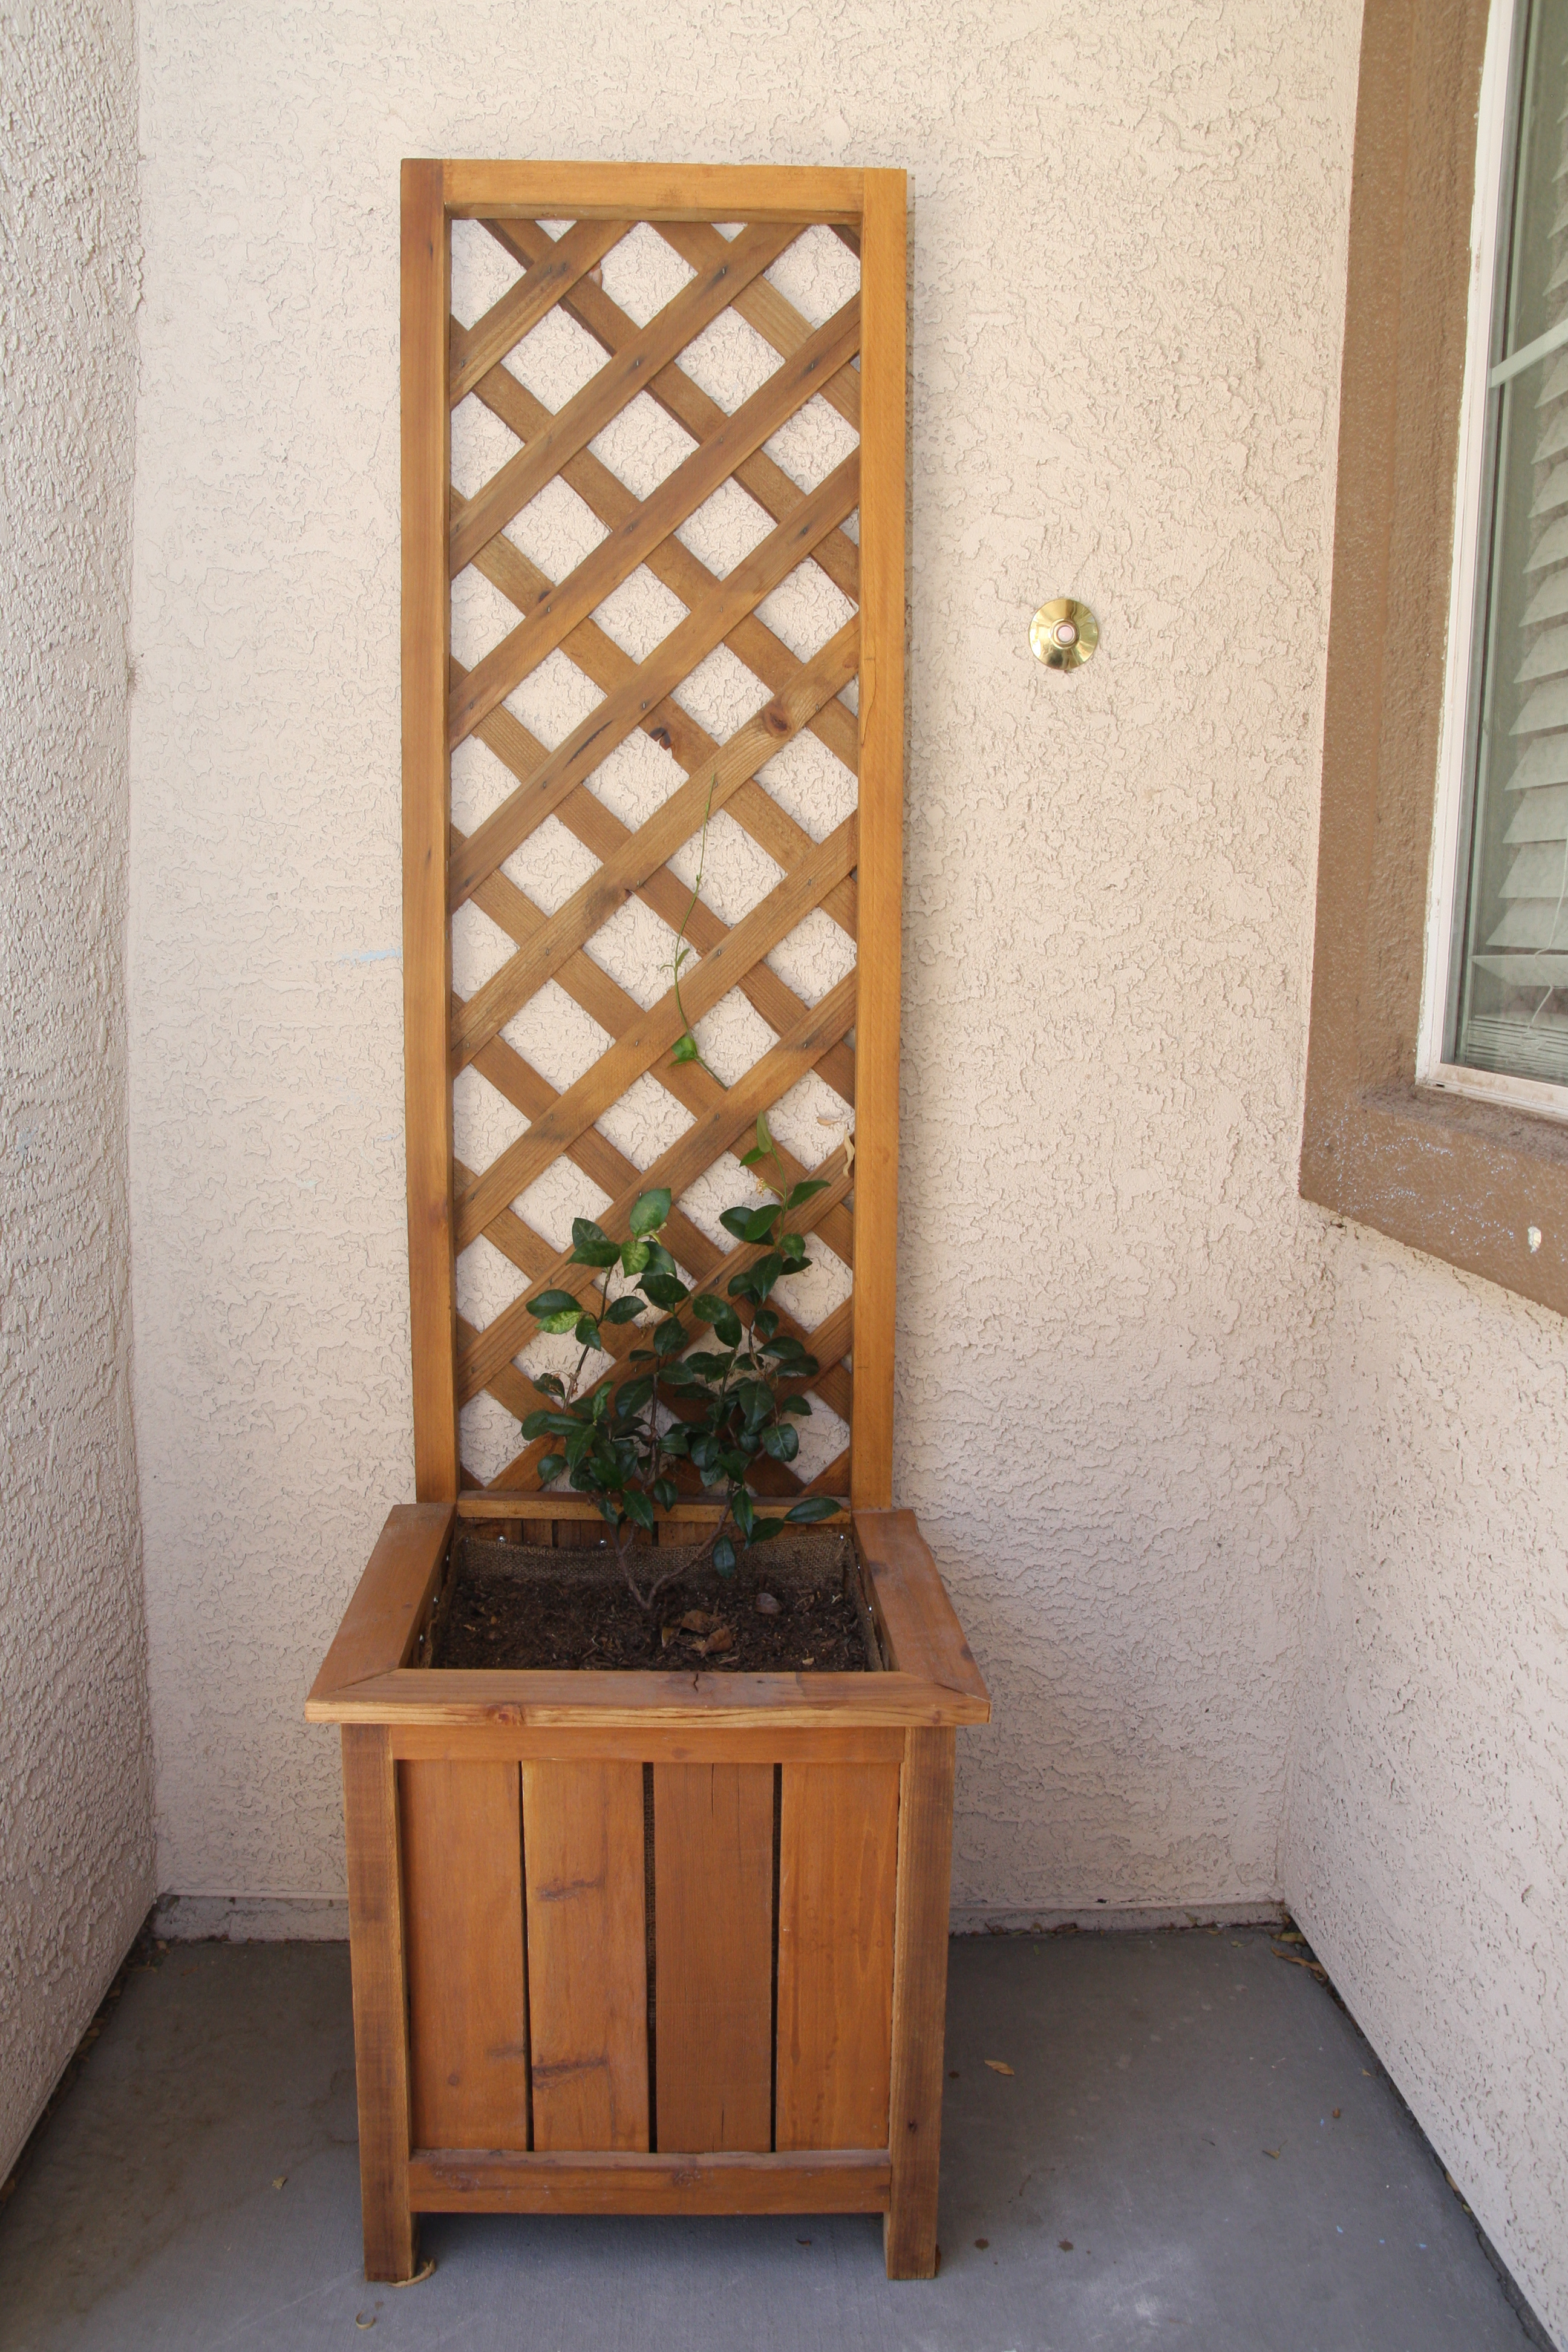
I put the two planter boxes on this site together to get a perfect little lattice box for the space by my door. I get lots of compliments and hopefully soon I will have yummy jasmine welcoming my guests.
Built from Plan(s)
Estimated Cost
free with scraps
Estimated Time Investment
Afternoon Project (3-6 Hours)
Finish Used
wood protector
Recommended Skill Level
Beginner
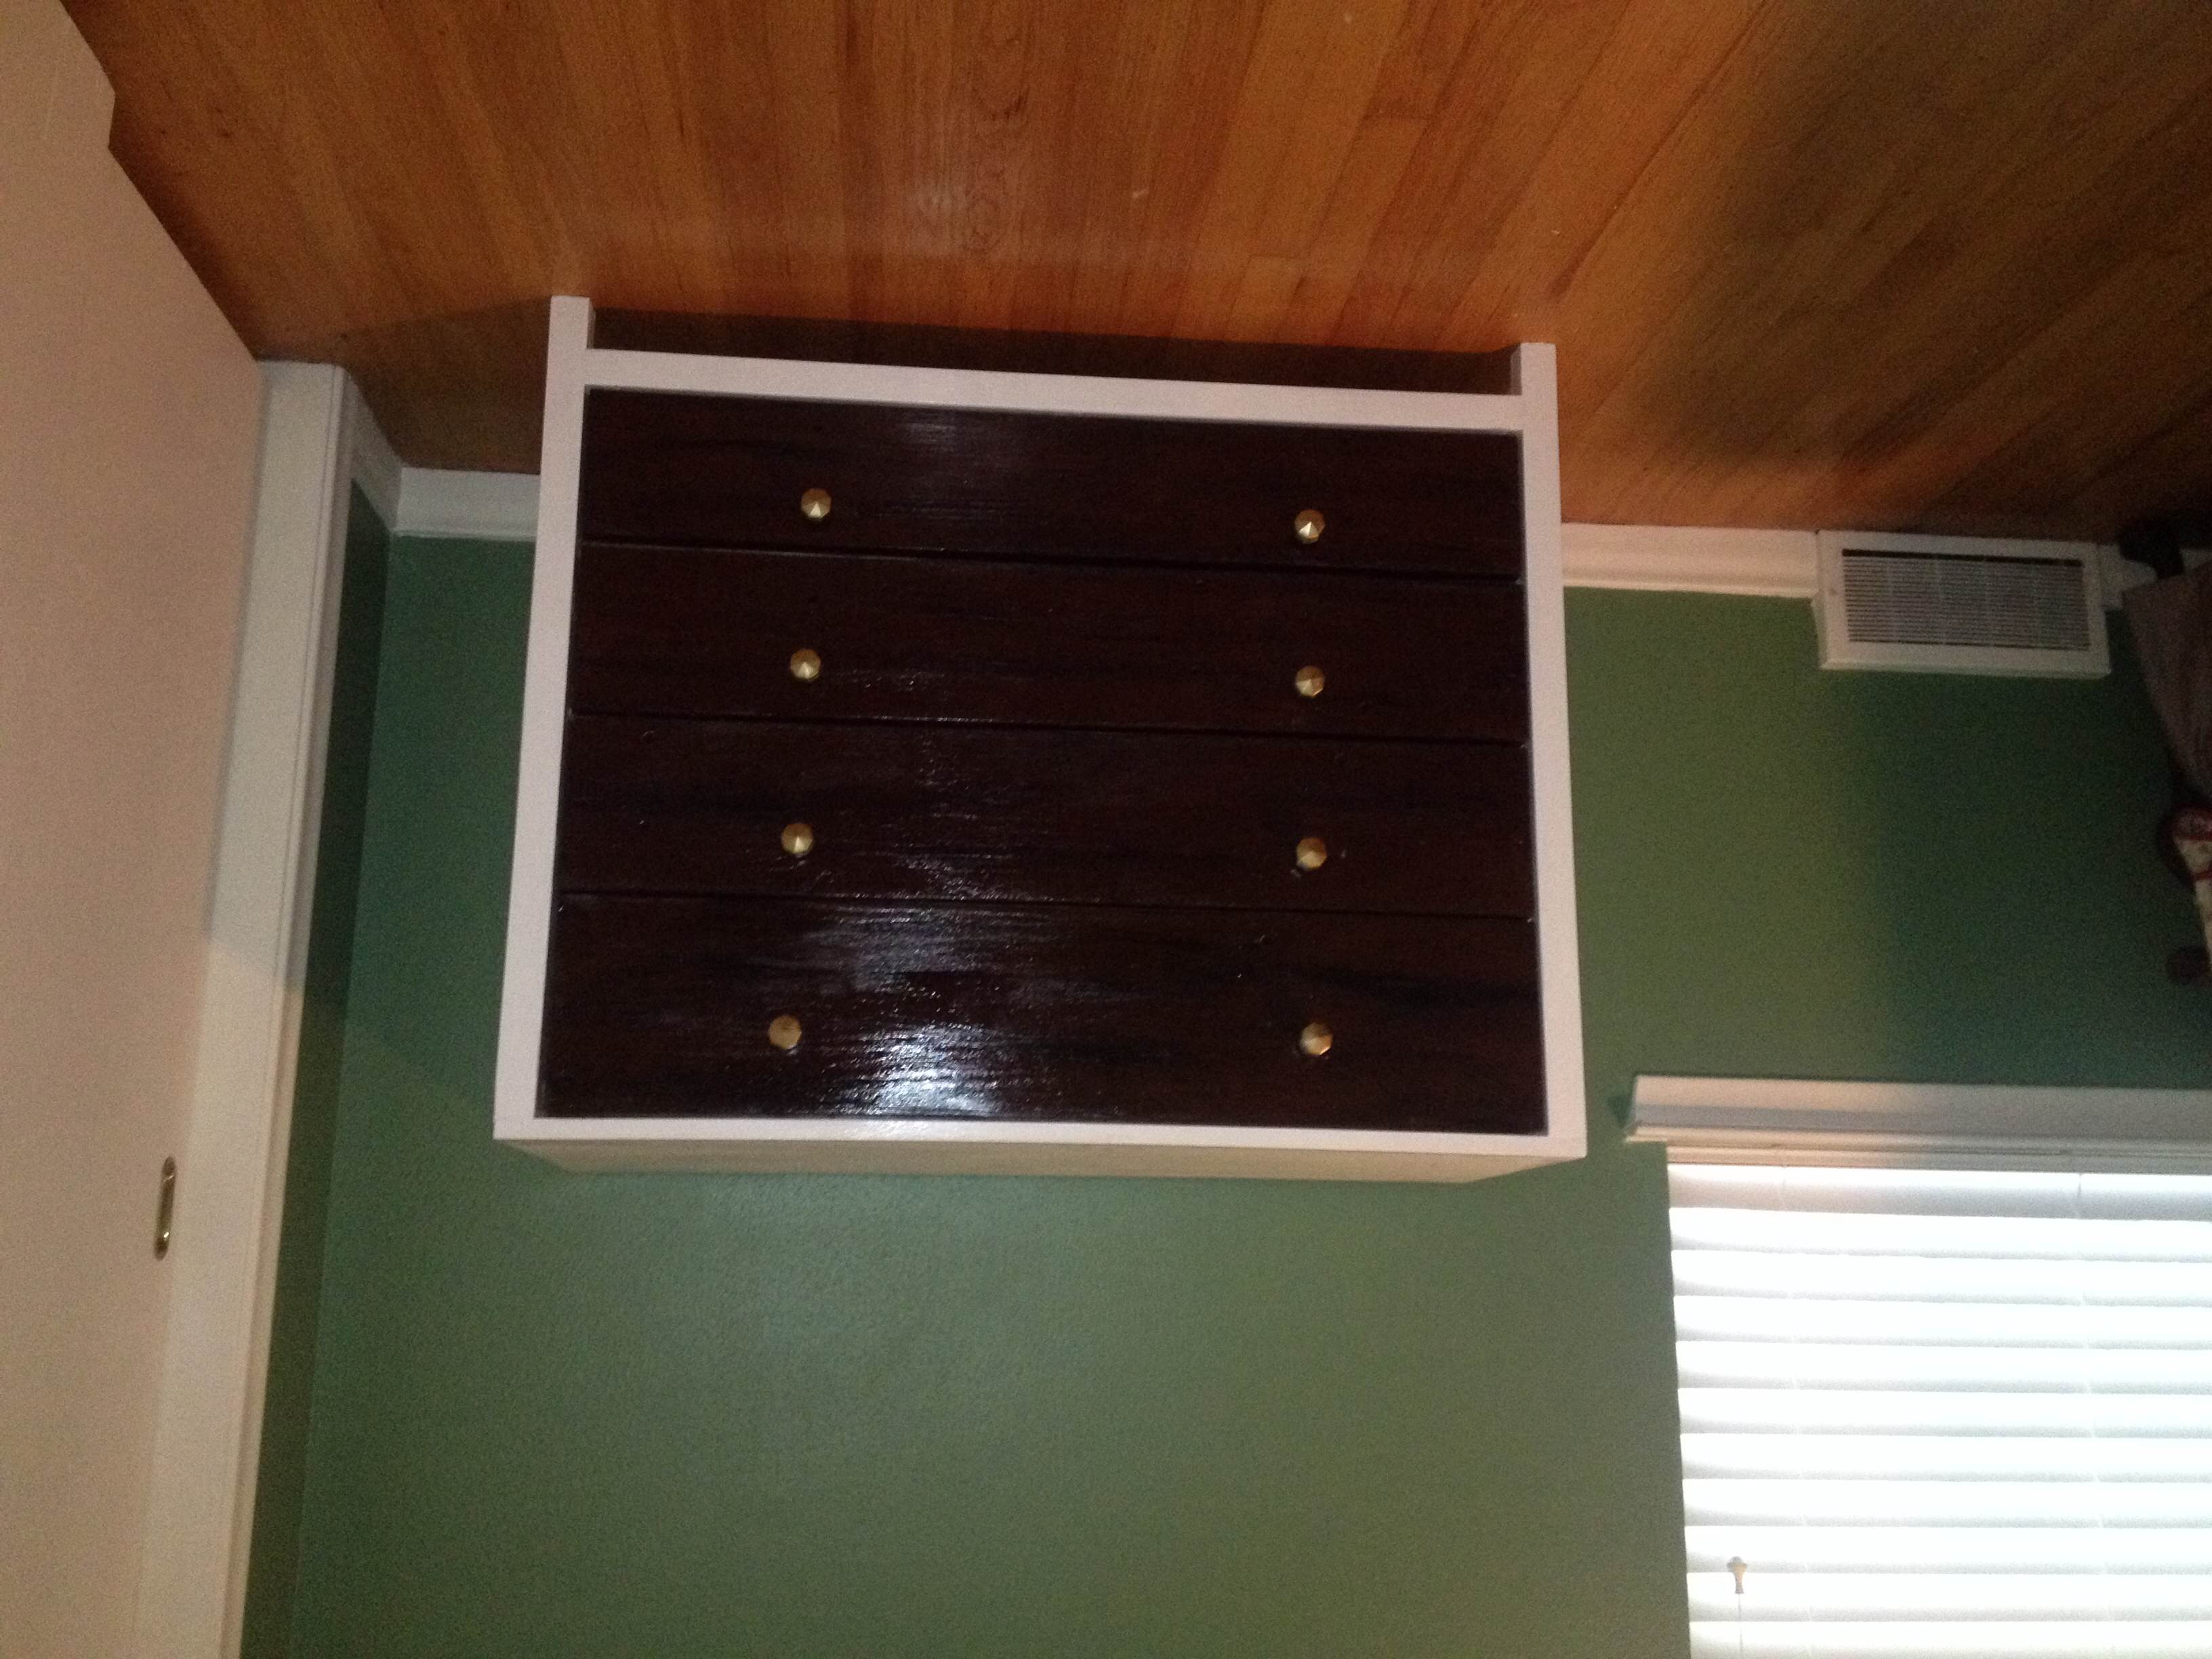
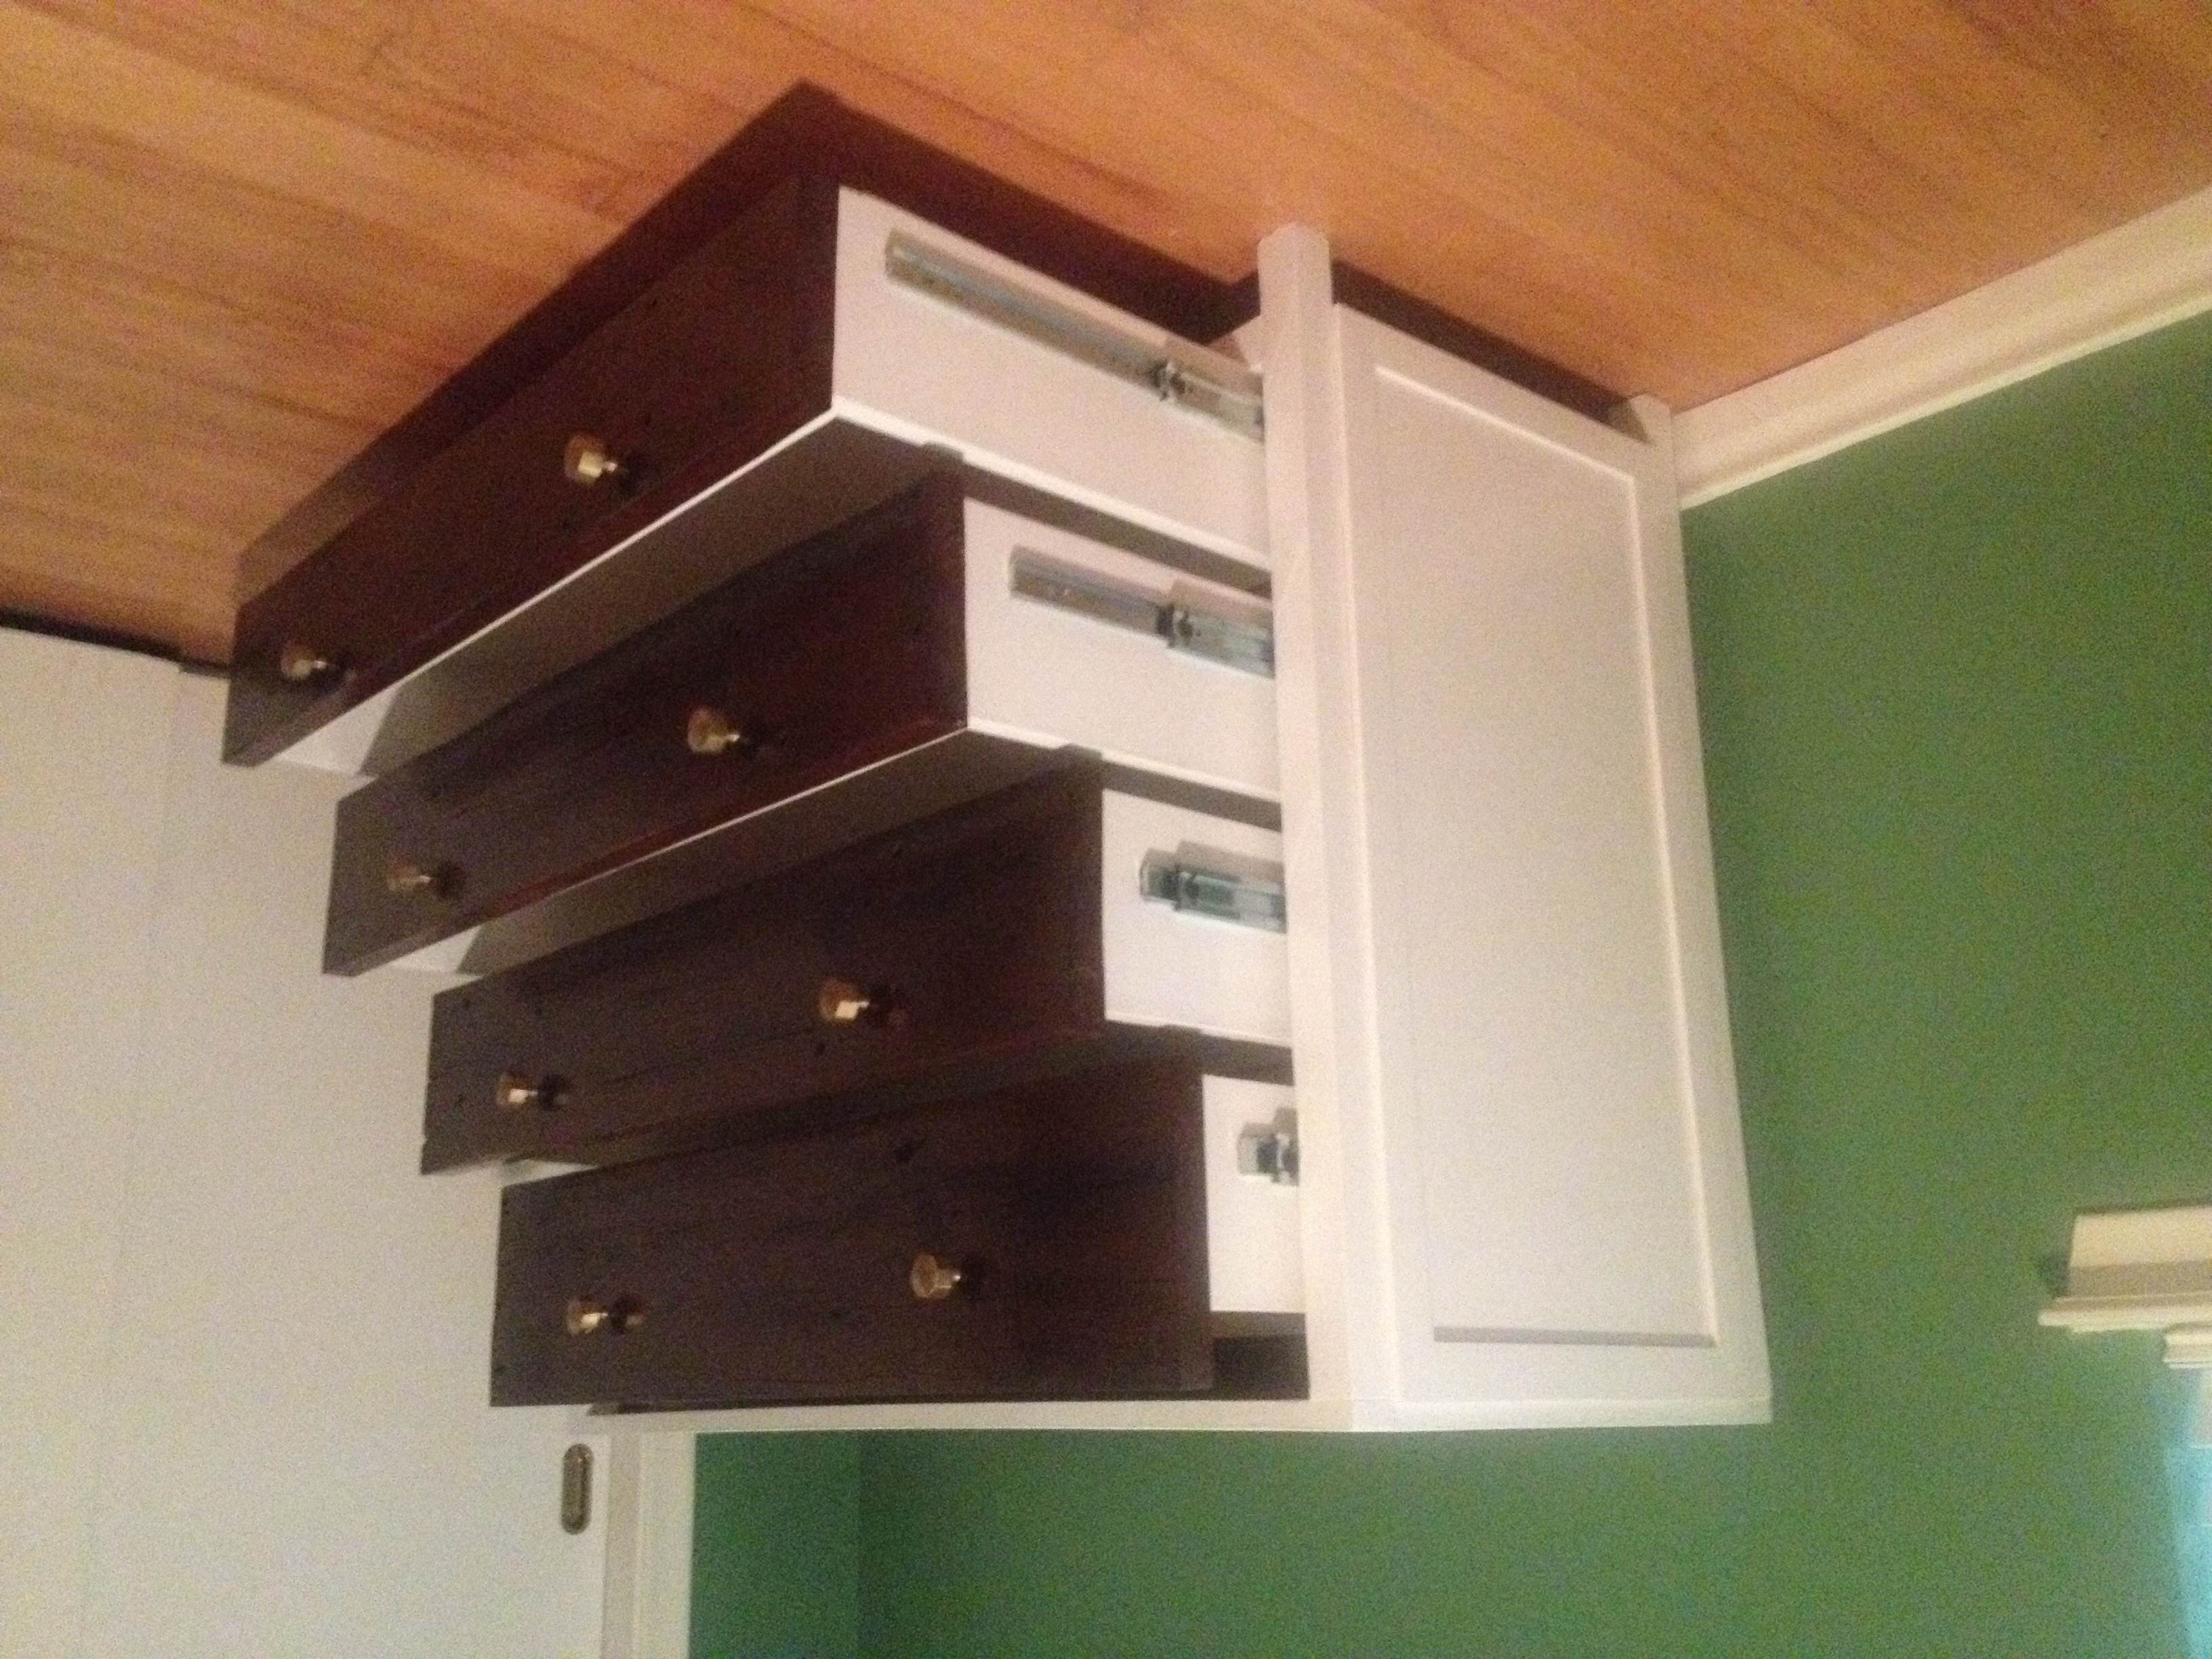
Dresser
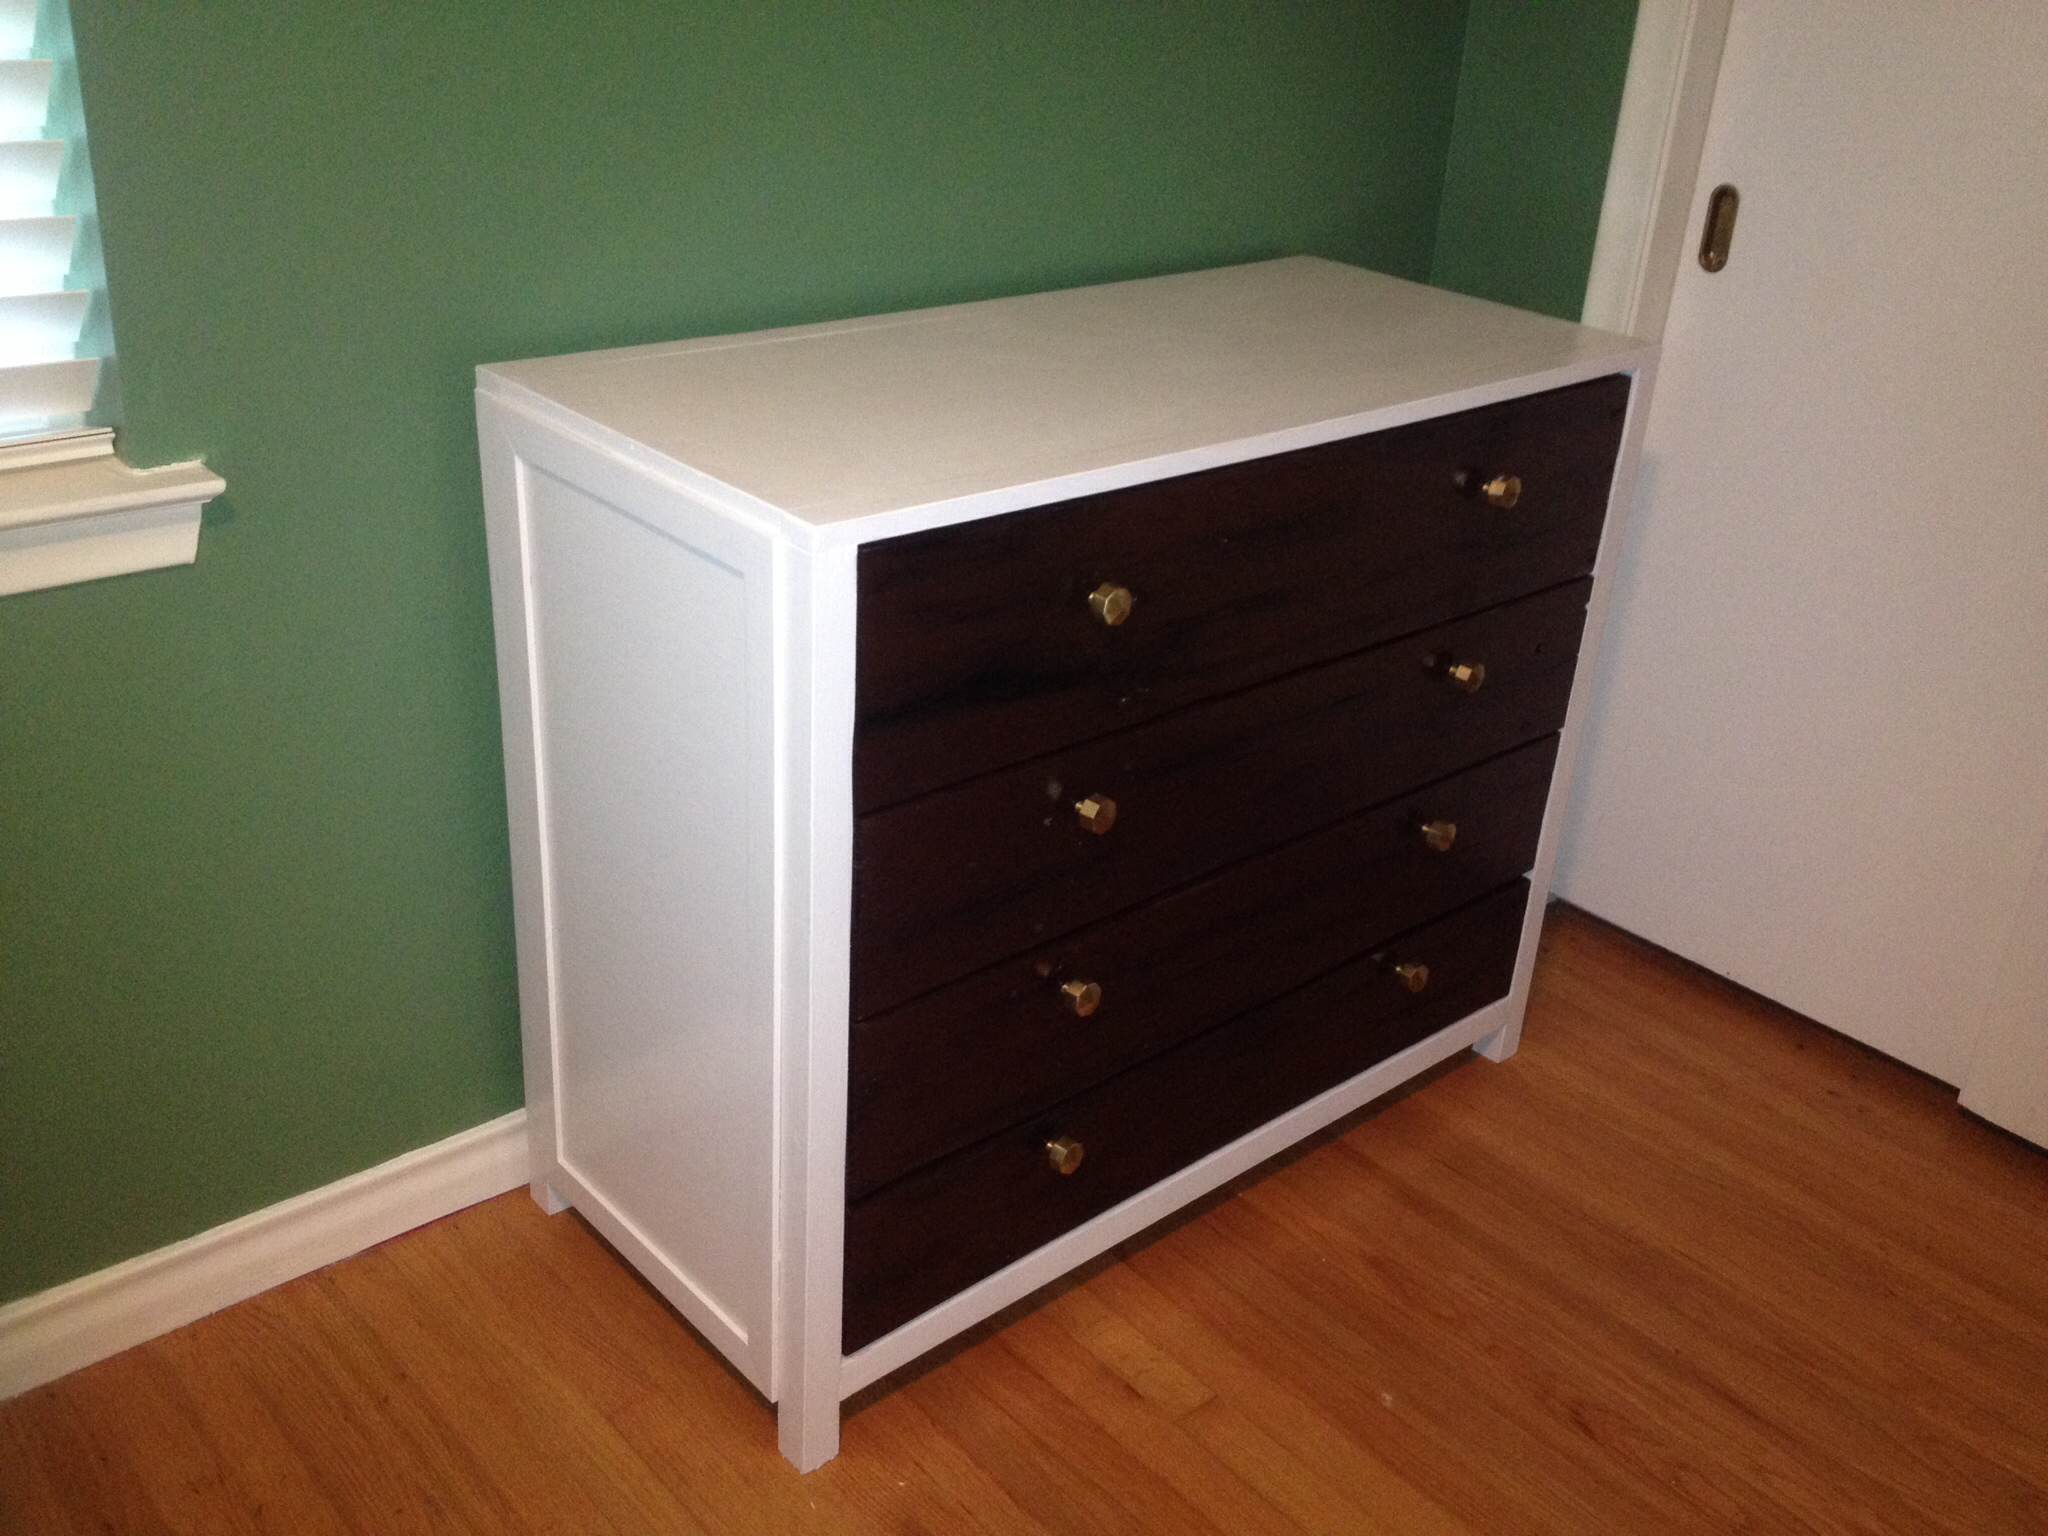
My wife and I are expecting our first child, a baby girl, in September. I decided that I was going to make as much of the furniture as possible, and started with this dresser/changing table.
This is the first project I've made with drawers, and they were a bit of a challenge. Other than that building the dresser was straight forward. The drawer fronts are made from up-cycled deck boards and the knobs are from Anthropologie
Built from Plan(s)
Estimated Cost
The wood wasn't that expensive but the hardware (drawer pulls and slides) drove up the cost. In total probably around $300
Estimated Time Investment
Week Long Project (20 Hours or More)
Finish Used
oil-based white paint
red mahogany Varathane stain rubbed with black shoe polish
red mahogany Varathane stain rubbed with black shoe polish
Recommended Skill Level
Intermediate
Comments
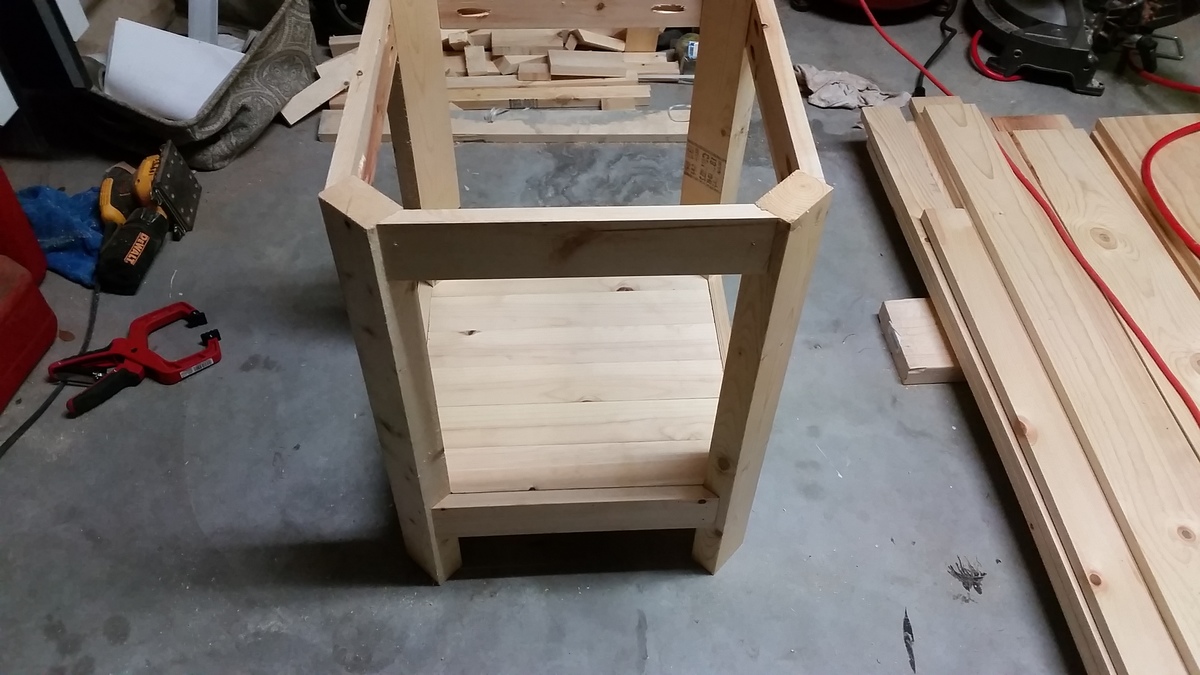
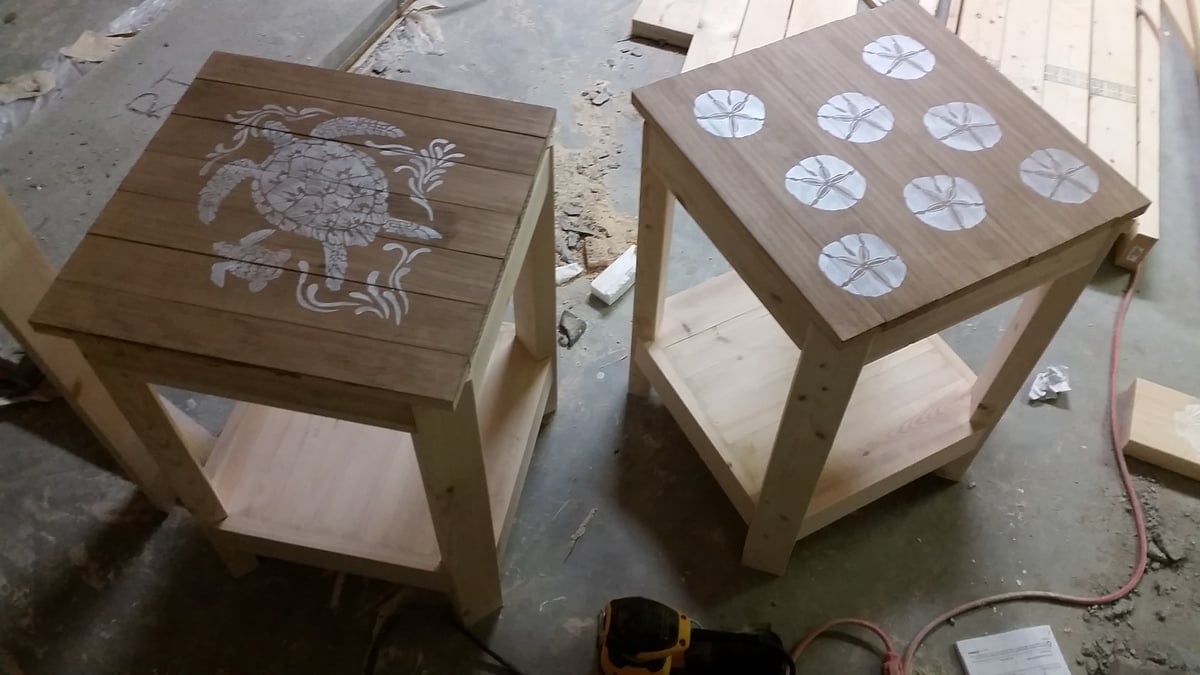
Square benchright
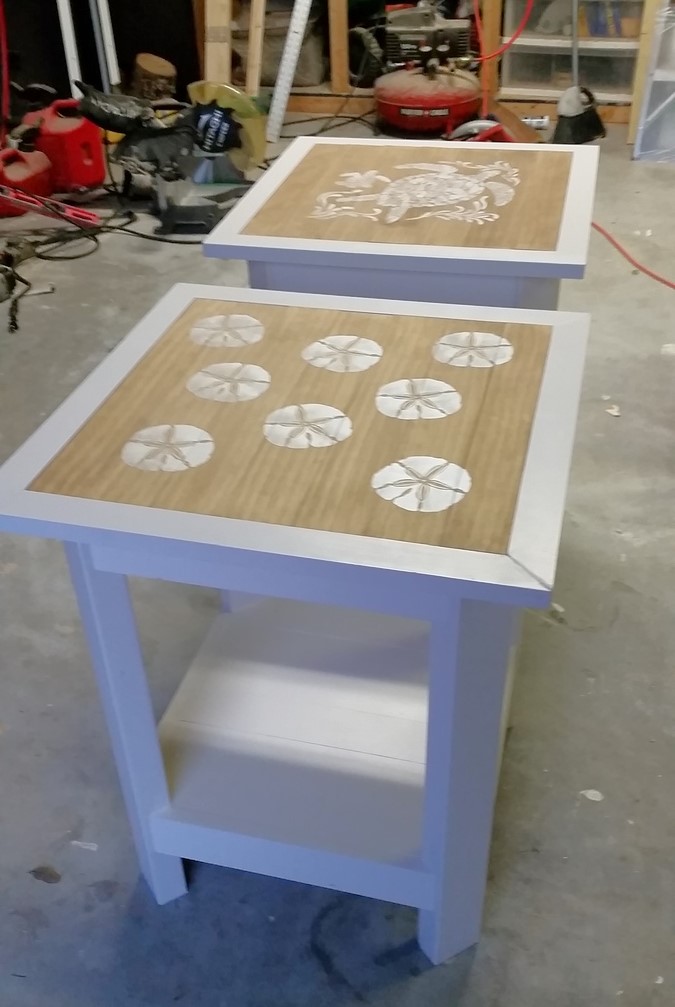
I really like the legs of this table but wanted a square, planked top. I also used a stencil that I got from amazon for the design.
Built from Plan(s)
Estimated Cost
$30 each
Estimated Time Investment
An Hour or Two (0-2 Hours)
Finish Used
Eider White on legs and a mix of dark walnut/weathered oak on top.
Recommended Skill Level
Starter Project
Leaning Hall Tree

I had a small piece of 2x10 left over from this plan's original post, as well as some 2x4's and a scrap 1x2 laying around, so added the top key hook and stained instead of painted. Love how it turned out. I did the top angle a little different too, so it sits a bit closer to the wall, making it awesome for a narrow entryway or space. Easy to modify for whatever the need.
Built from Plan(s)