My first build!
![](/sites/default/files/20160626_183838.jpg)
My first build I ever did back early 2016.
Very simple project, but extremely useful! Decided to not put a knob on the top, spray painted it black matte and distressed the edges. The hooks are from Walmart. Great project to use up some scrap wood! Makes great gift!
Thu, 10/14/2021 - 08:29
I really like the finish and bit of distressing, very nice!
I put the two planter boxes on this site together to get a perfect little lattice box for the space by my door. I get lots of compliments and hopefully soon I will have yummy jasmine welcoming my guests.
My wife and I are expecting our first child, a baby girl, in September. I decided that I was going to make as much of the furniture as possible, and started with this dresser/changing table.
This is the first project I've made with drawers, and they were a bit of a challenge. Other than that building the dresser was straight forward. The drawer fronts are made from up-cycled deck boards and the knobs are from Anthropologie
I really like the legs of this table but wanted a square, planked top. I also used a stencil that I got from amazon for the design.
I had a small piece of 2x10 left over from this plan's original post, as well as some 2x4's and a scrap 1x2 laying around, so added the top key hook and stained instead of painted. Love how it turned out. I did the top angle a little different too, so it sits a bit closer to the wall, making it awesome for a narrow entryway or space. Easy to modify for whatever the need.
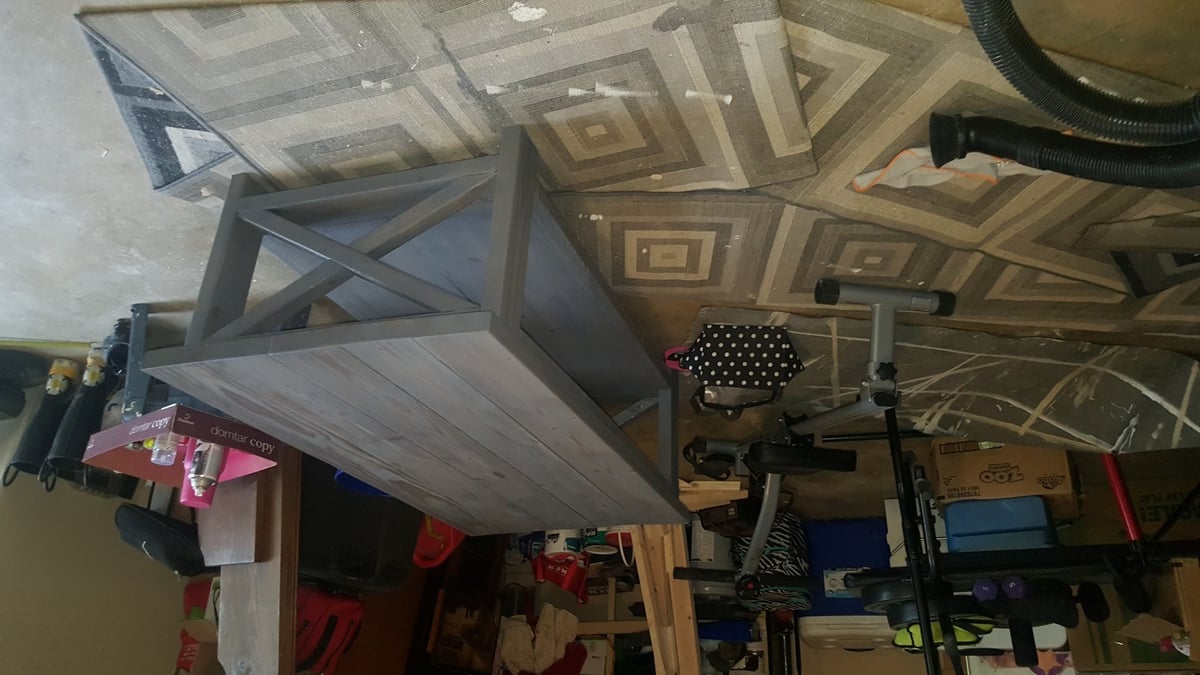
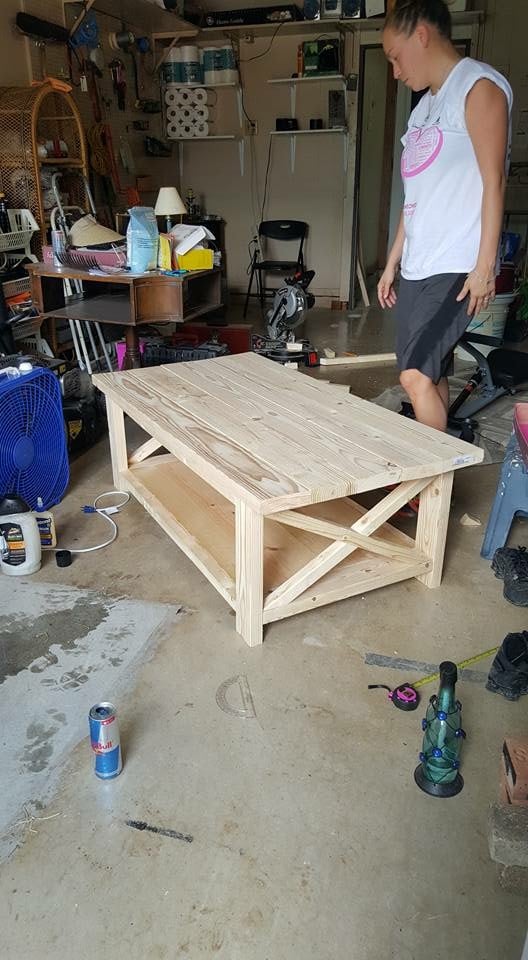
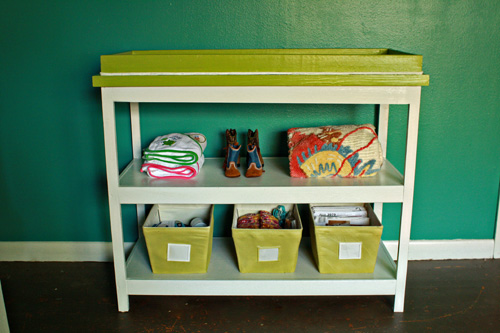
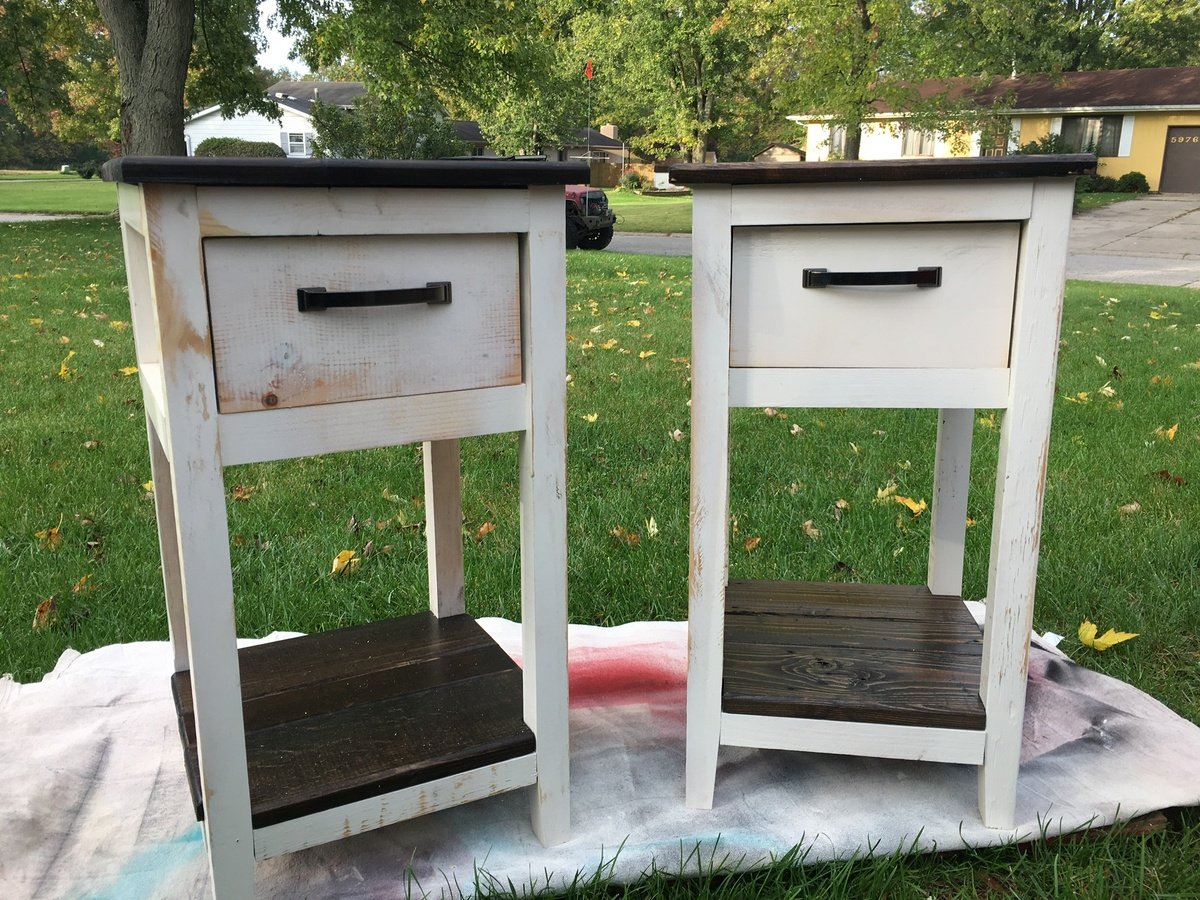
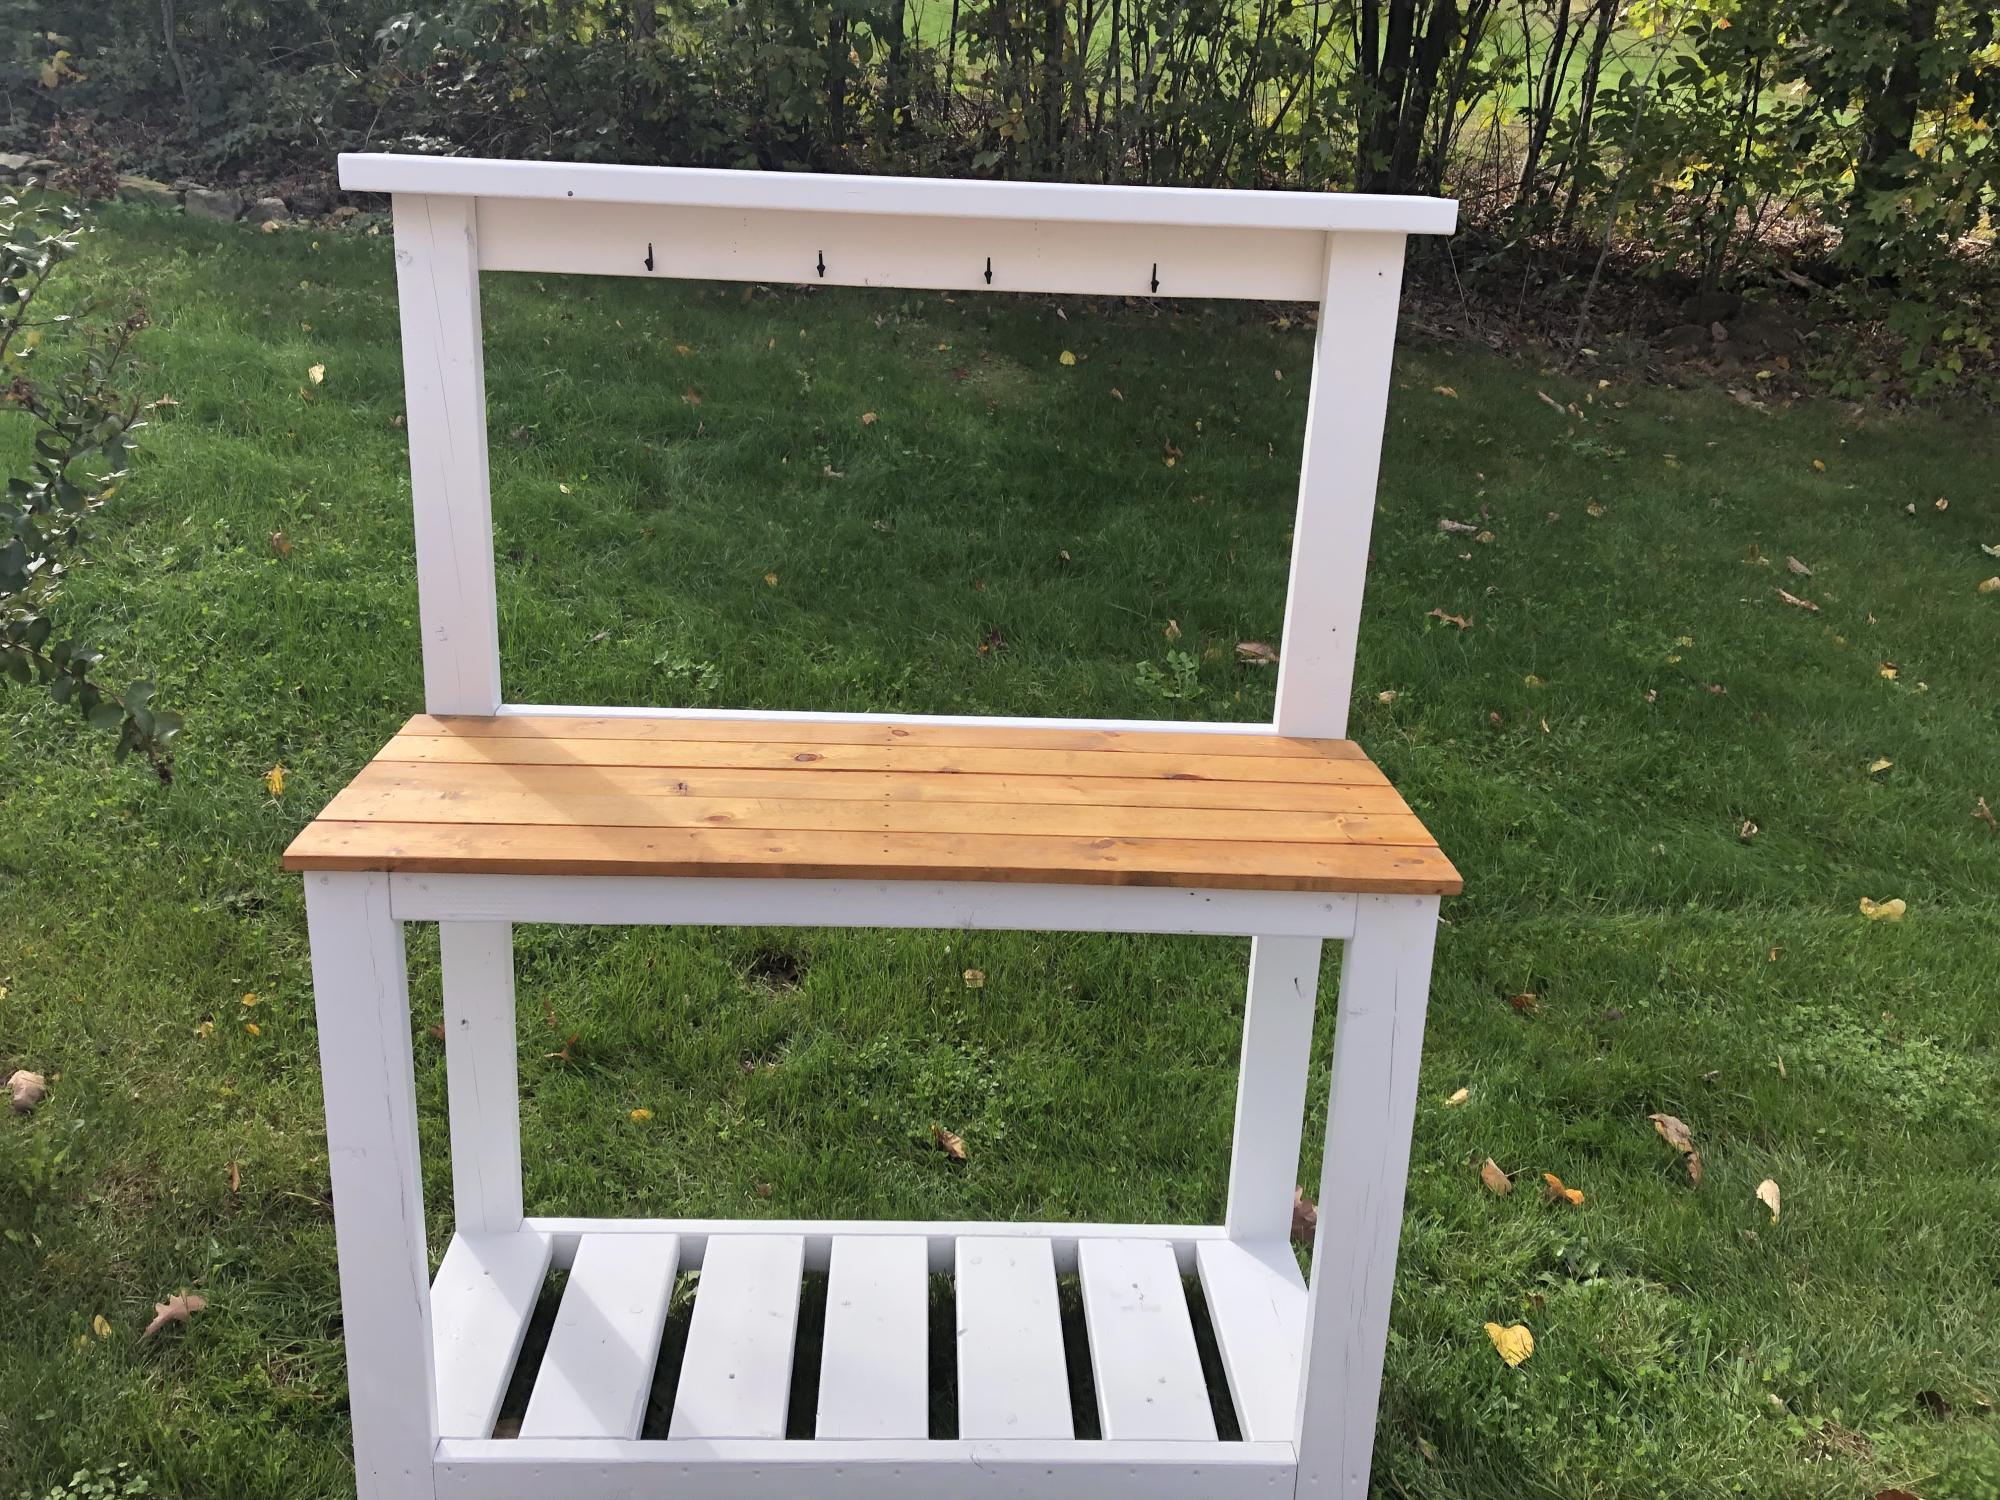
I built this changing table with a friend who wanted an easy introduction into building. I already had the MDF for the shelves gifted from a friend looking to get rid of a large pile of sheets, so that really helped cut down on cost. I spent $15 on the furring strips and screws for the rest of the piece. I already had the sanding and finishing supplies as well as paint. I added two strands of white cording from Hobby Lobby ($1 per roll on half off days) to hide the gap created between my trim and the top changing piece. I also modified it to fit a 16" wide changing pad.
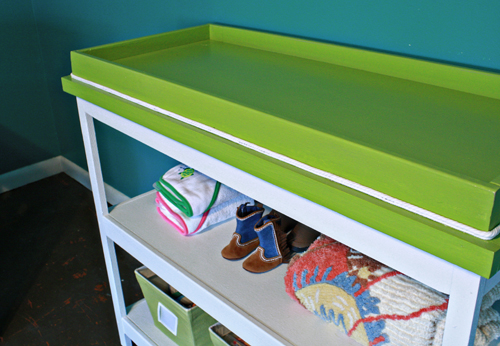
I would totally recommend using Mod Podge as a sealer on work-horse pieces of furniture. One, it's completely fume-free and non-toxic (which was perfect, since I'm about five months pregnant and need to avoid VOC's) and it's got a really thick, clear glossy finish that's super easy to clean. You only need one coat of it, as well. Just be advised that it's a lot easier to see brush strokes, so I wouldn't use it on your fancy stuff. But for changing dirty diapers, or on a kids table? It's perfect!
I was making the fancy x desk, and my wife suggested building a bench to go with it to make it a bar style kitchen table to take up less space in our kitchen. So I looked up plans for a bench on here (providence bench looked best with it), and built it. I painted it with rust-oleum American accents spray paint for wood, metal, and plastic in glossy black and surprisingly it looked amazing!
This is my first project, just to see if I could actually build something. I used some wood and paint we had lying around the garage, since I didn't want to put money into something I might screw up! This turned out to be pretty easy, despite the wood being a little warped from sitting in the garage for years. It's not perfect, but now I have a place to store my husband's golf magazines that were cluttering up the bathroom -- and the courage to try something bigger!
My take on the Mini Farmhouse Bedside Table using a combination of new and repurposed pine. Using a 3/8” round over bit and router I softened the edges of the top and the shelf. I substituted a ‘plank’ look on the sides instead of the solid flat which the plan calls for. Finished with a scuffed paint and contrasting dark stain which makes the piece stand out.
This was a pretty simple build. I got the soft close hinges at Lee Valley for only $12.00 CAD. Stained the dark areas with three coats of Minwax Ebony stain and then finished with three coats of Varathane Satin. The only thing I would change in the next one is to secure the front and back board with pocket screws in a couple of locations to keep them straight.
This was my husband and my first try at building furniture. It took most of the weekend to build, paint, sand etc, but it looks great in my son's room and has much more room then his old bookcase.
I altered the dimensions slightly so that it wouldn't be overbearing in my living room. It is much shorter than the plan suggests, and the length and width are also changed. I used framing 2x4 and 2x6 lumber, so I had to sand the heck out of it to make it nice and smooth. It looks great next to the console table. Good plan.
Friends asked me to design a princess/castle bed for their daughter. It needed to fit a single/twin size mattress and fit a 61 inch space they had so I designed the overall width to be 60 inches.
It is all made from solid planks apart from the two big shelves in the headboard which are plywood.
They wanted the sides close to the headboard to be raised as well so their little girl didn't roll out the bed.
Not added the slats yet as it is off to the paint shop to be sprayed Pink!! I will post more photos once painted and will also post plans soon once finished them.
Hope the little girl likes it when she sees it.
I made the plans a little different. I had more support to the front, made the base wider, and added swivel wheels instead of rockers.
I used 1x4 for the top and stained with dark walnut danish oil
Using Ana's garden bench design, I modified the plans slightly to make the bench less deep in order to fit on my narrow porch.
Super easy to follow and build! We went with treated lumber from Home Depot and have around $1500 into the project. Will be looking at adding an automatic fan and thermostat next year. Benches on one side for starters and a raised bed on the other side.
Fri, 06/12/2020 - 11:00
What a fabulous job! I love the red door for a pop of color. And the thermometer is a brilliant idea. I'm modifying this plan to better fit my yard. Thanks for sharing!
Build Instructions: https://www.instructables.com/id/Bluebird-Birdhouse-Made-From-Pallets/
This is a very easy project to make for attracting bluebirds to your yard. I wanted to reuse some of the wood I have from with the pallets I broke apart last year. This project uses a combination of industrial strength pallets made from 2x6s and standard pallets which provide slats in the 3/8" to 1/2" thick range. As for the house, I tried to hit the basic bluebird birdhouse dimensions for this build:
Feel free to leave the birdhouse exterior to weather unfinished or stain/paint it. I finished the house with a combination of stain for the bottom and sides and green paint for the roof.
I found some 12" boards that were really pretty unfinished. I used Ana's basic Shelf Help frameless bookshelf design to build this shelf. I added hairpin legs to give it some character and get it the height I wanted.