Upmarket hardwood Adirondack
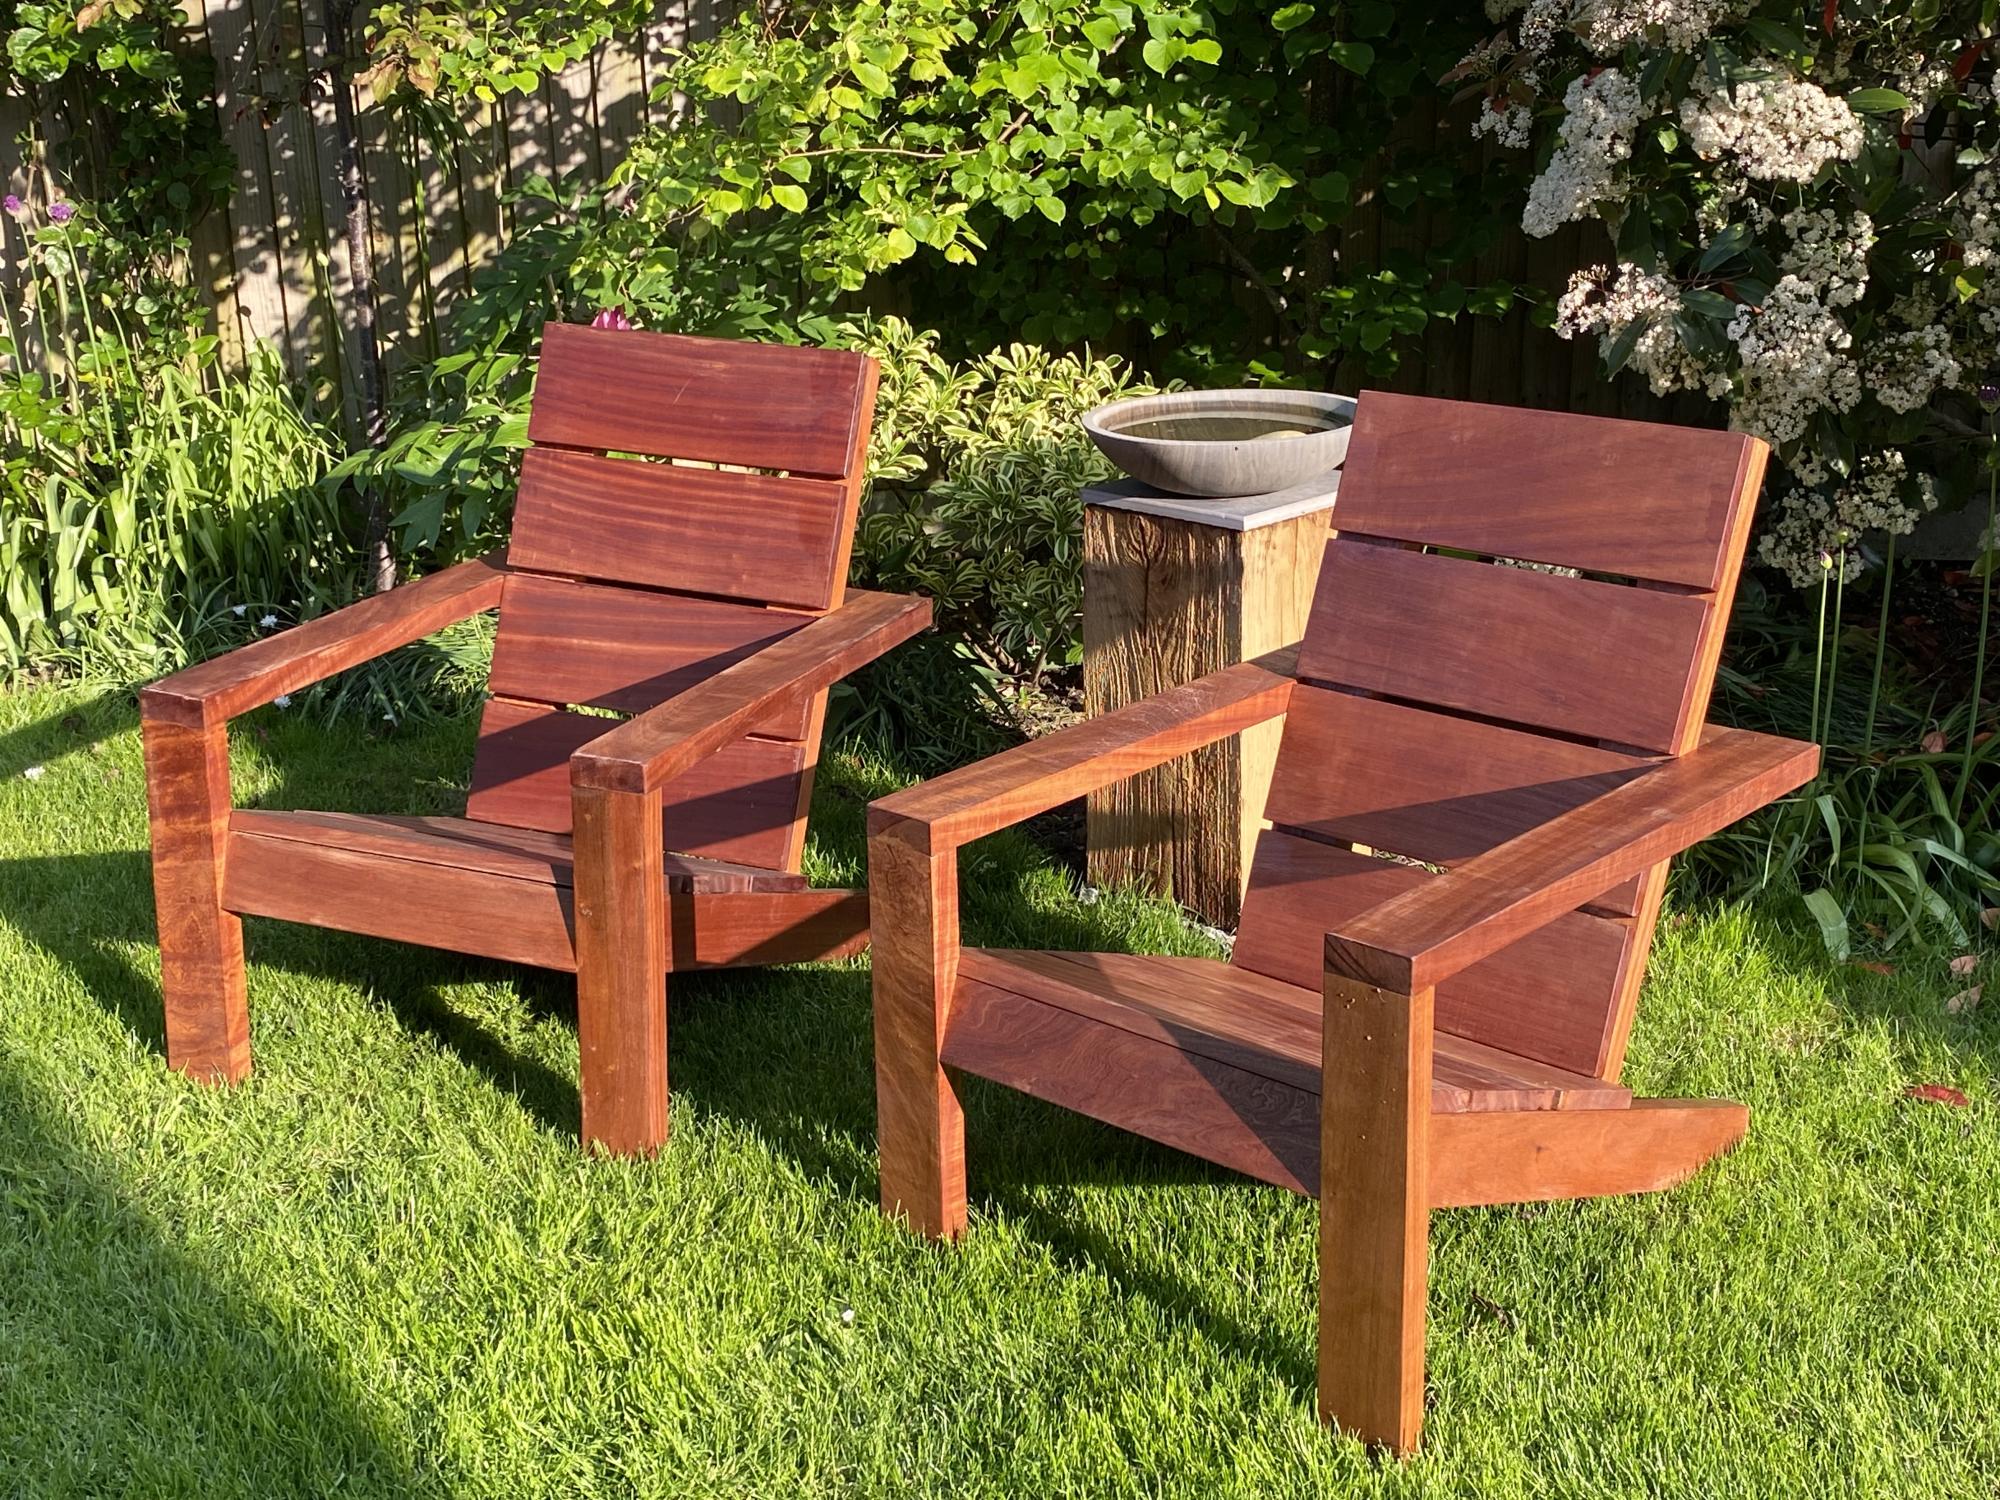
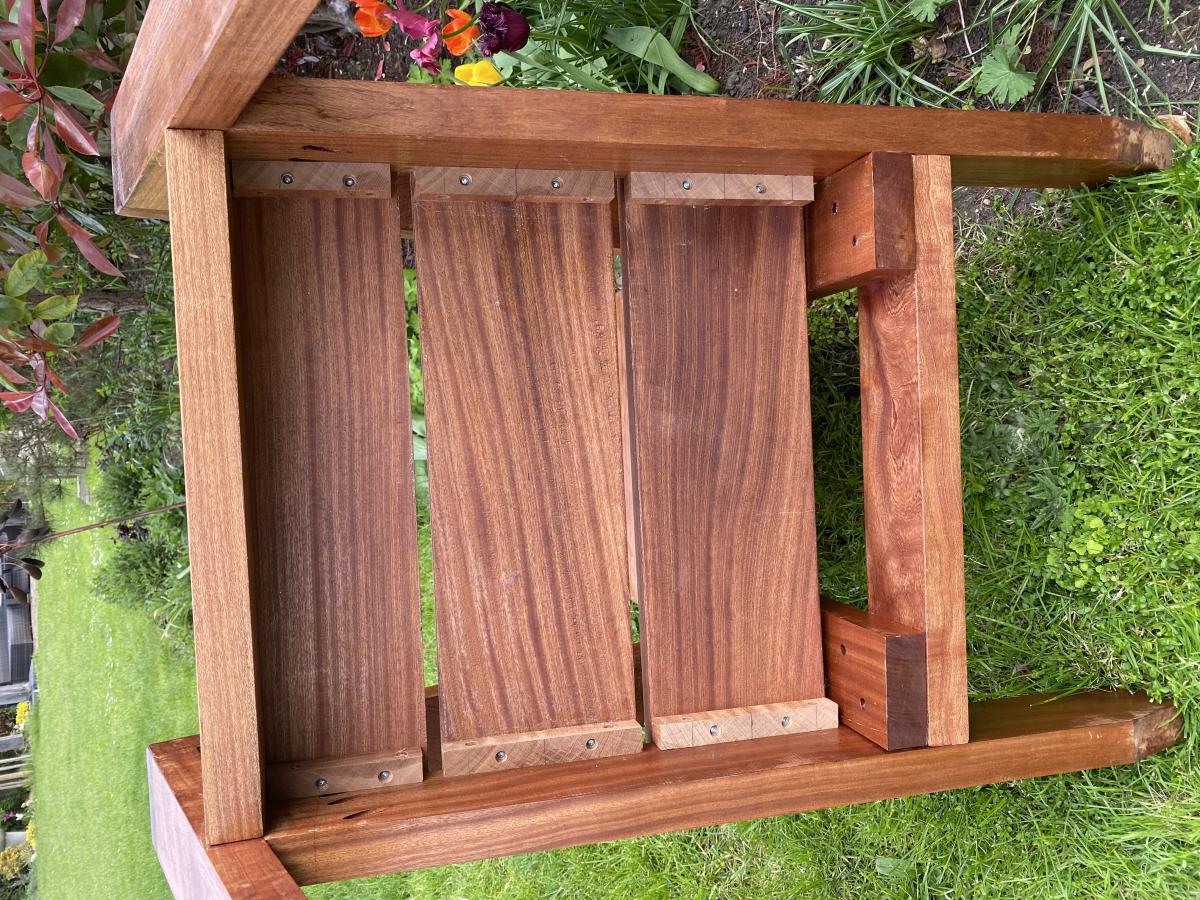
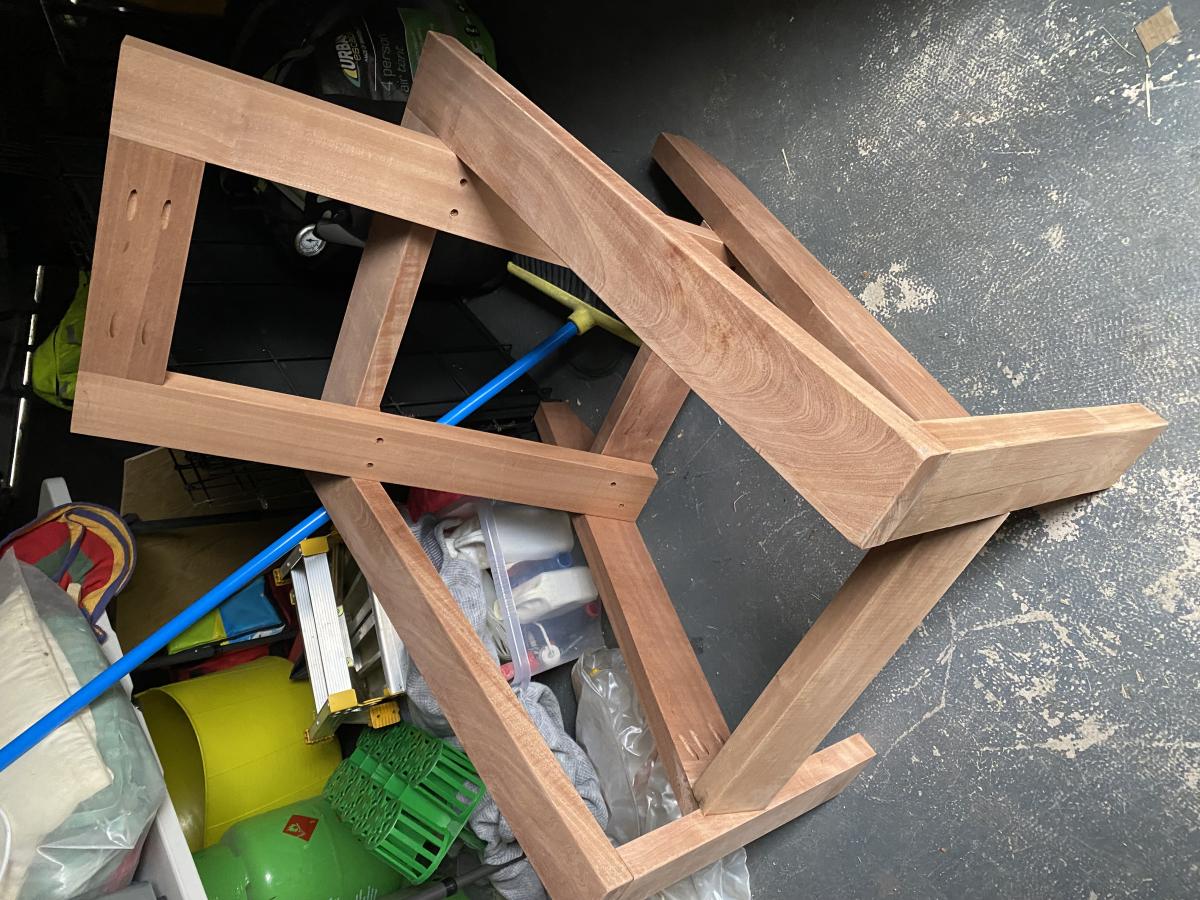
Loved design so decided on hardwood and no visible screw heads….. took a while but loved the result
Built from Plan(s)
Loved design so decided on hardwood and no visible screw heads….. took a while but loved the result

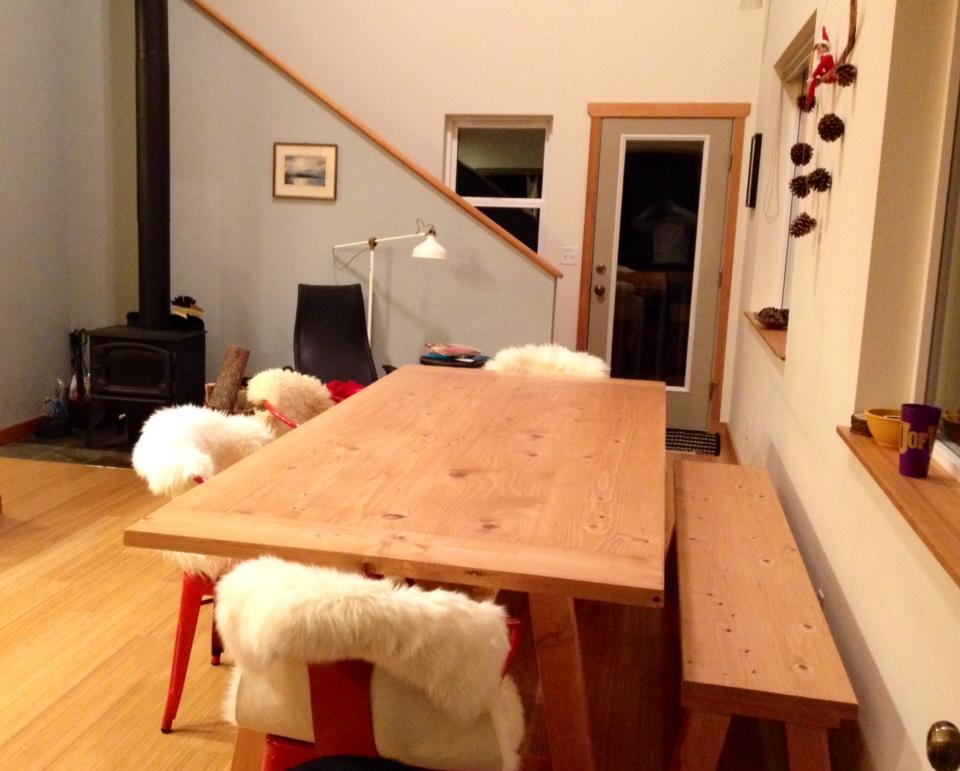
We took the idea from this brag post, and changed the dimensions to fit the space in front of our window. We actually built 2 bases to ensure it would be sturdy. We love how it turned out! Check out our blog post for more details.


Sat, 07/27/2013 - 09:26
Hi Molly. I can't find the plans for this project. Can you please help me. I absolutely love it!!!

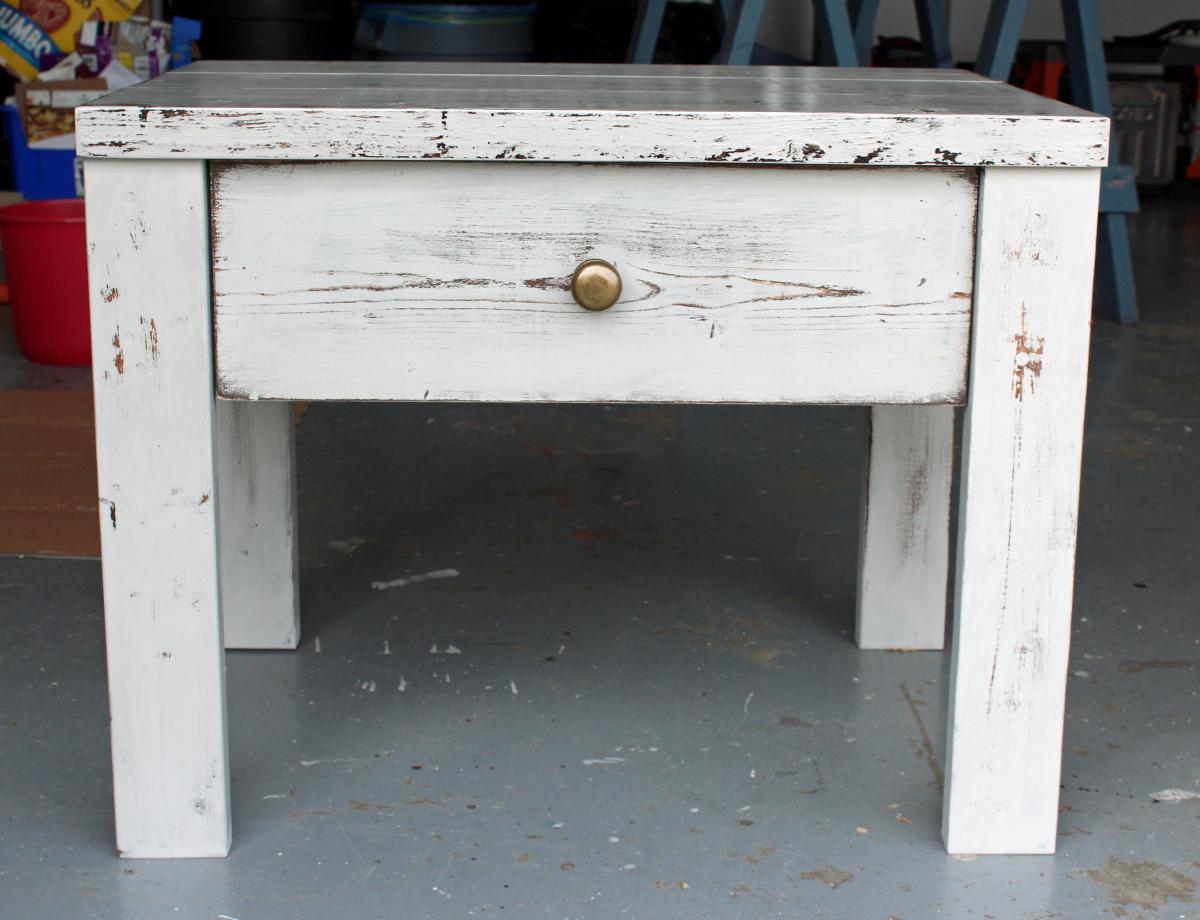
Nightstands are expensive. I don't have money. So, I thought I would build one. I kept this one rustic looking by not filling the holes but I did sand quite a bit. Just not enough to remove the printing on the boards, I think it looks good when it's got finish on it.

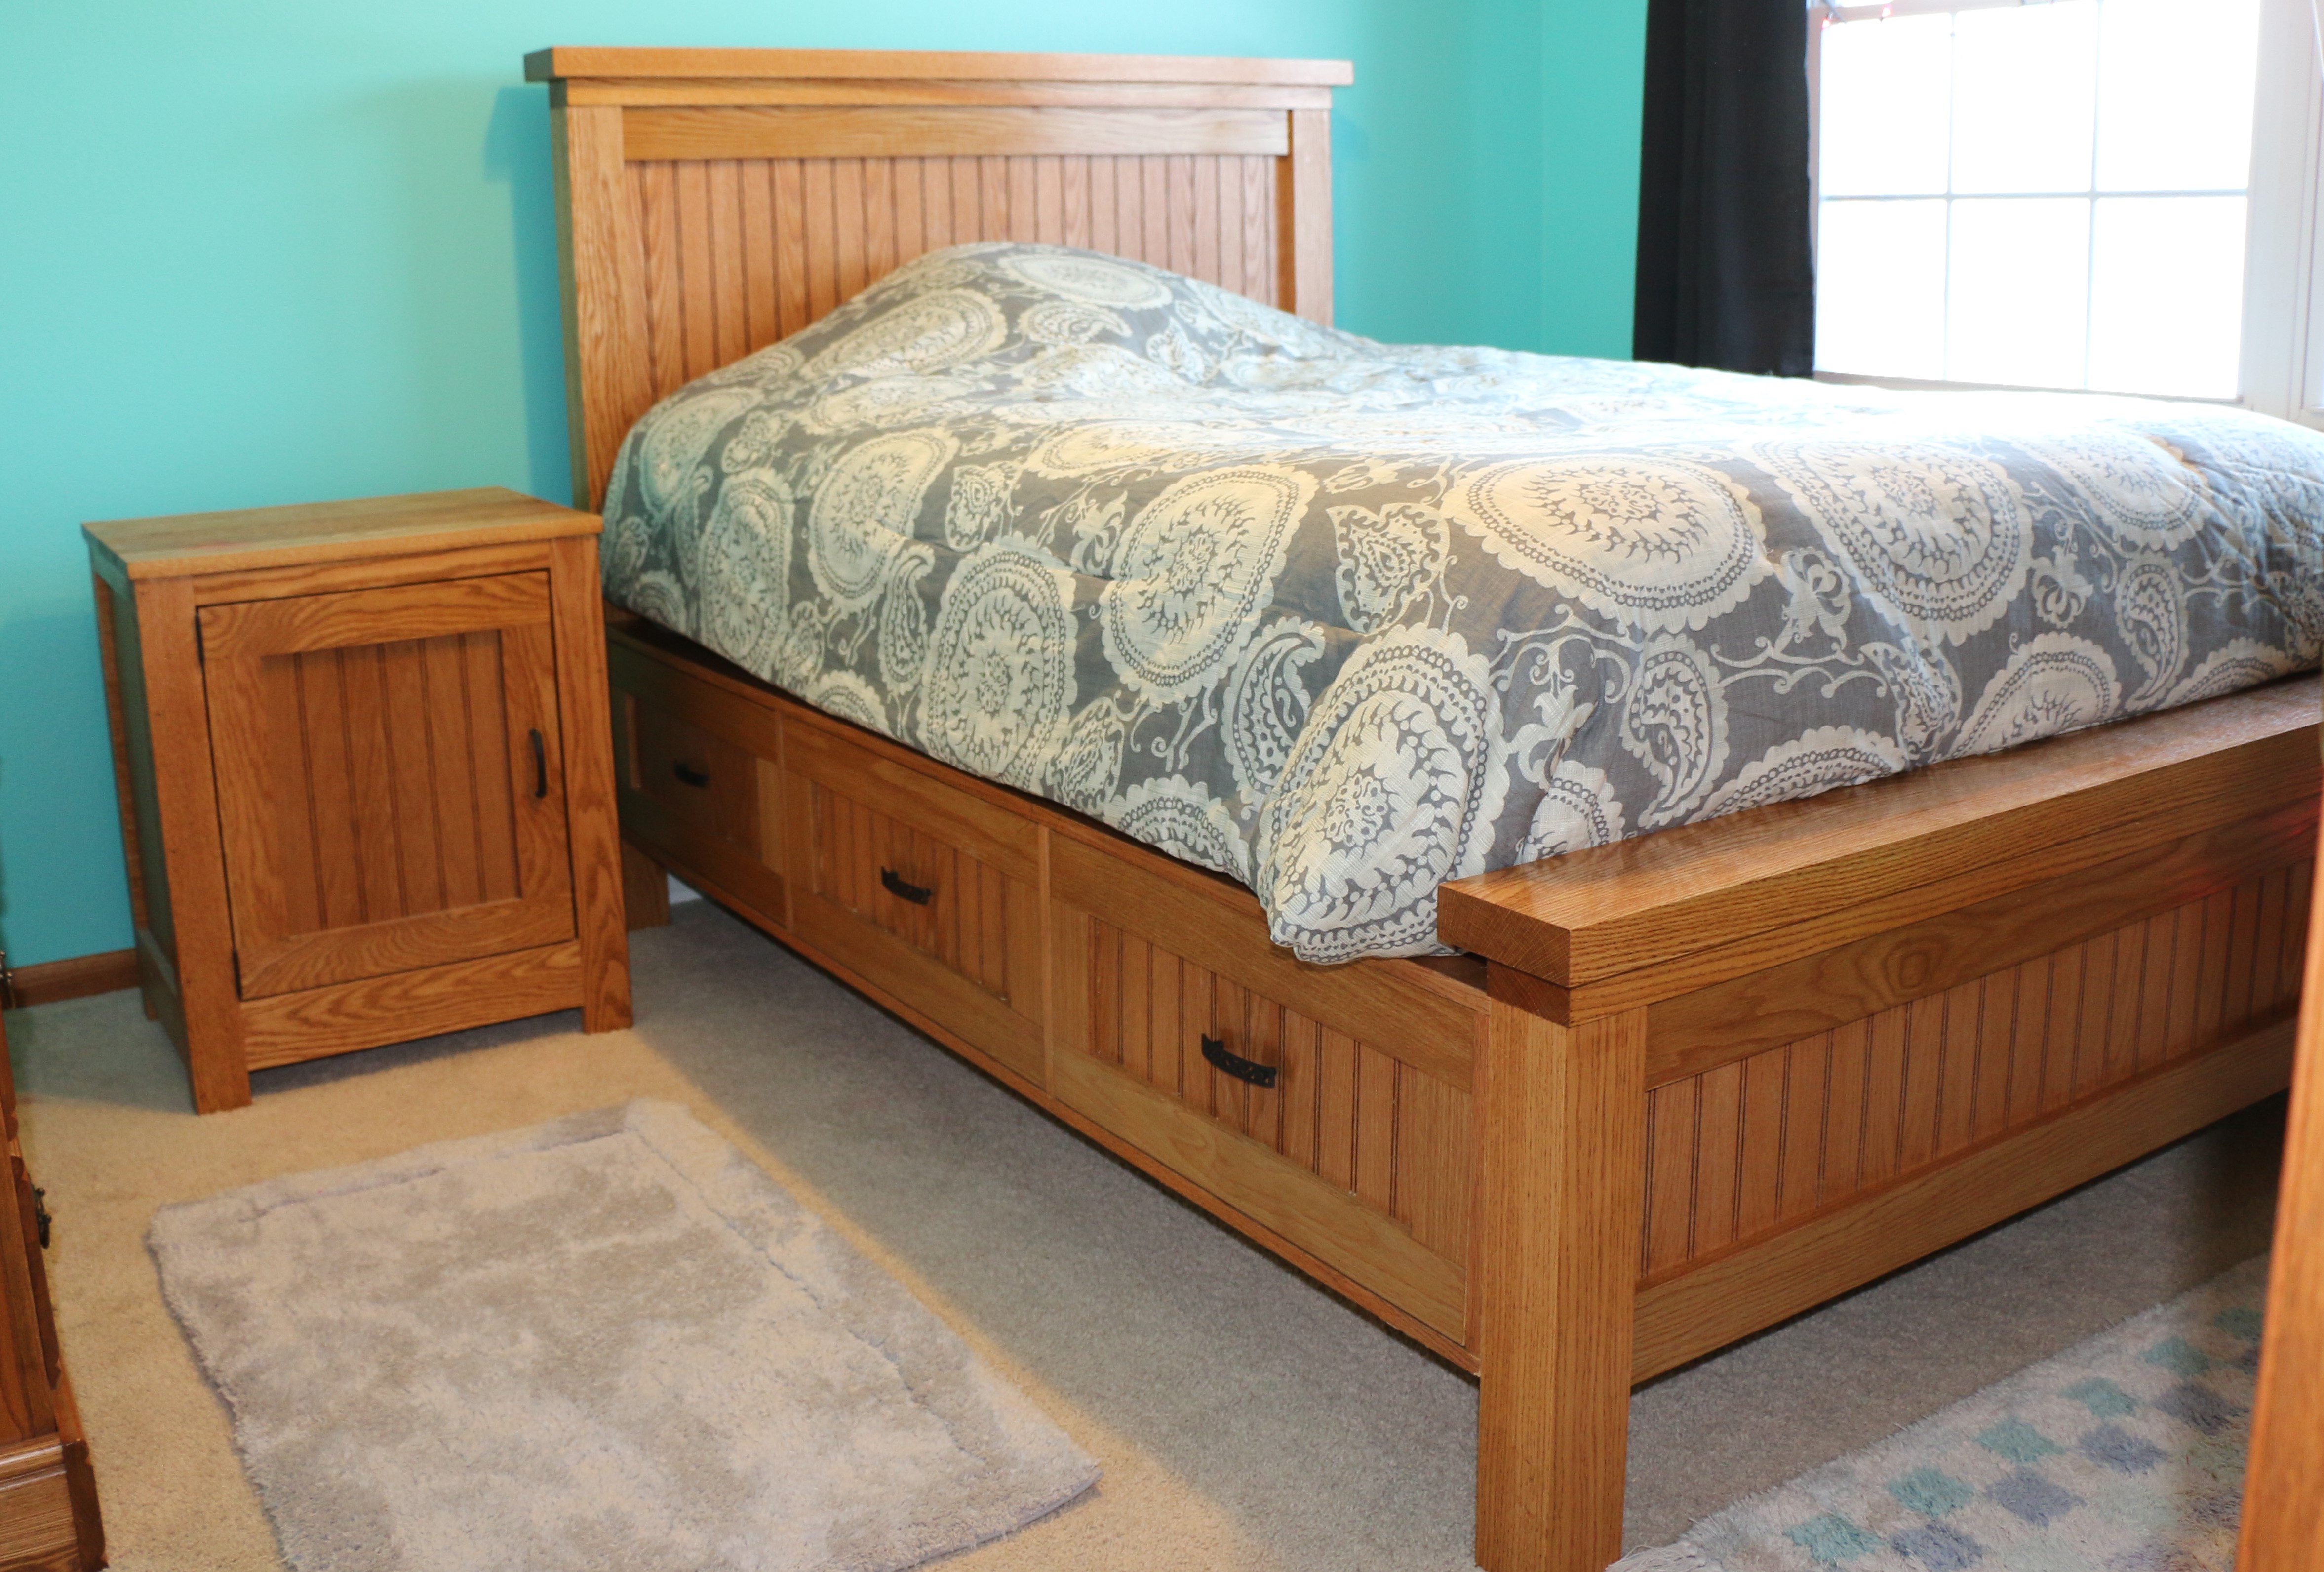
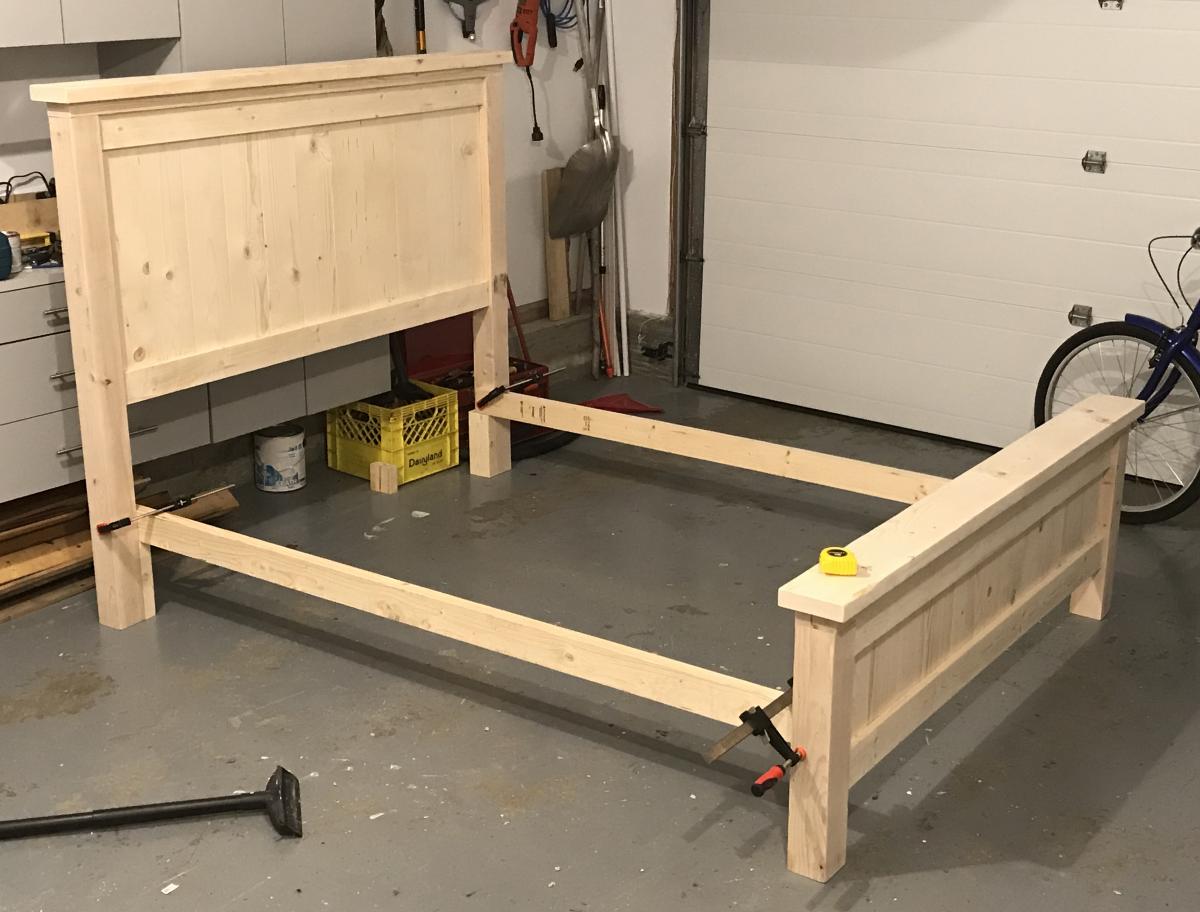
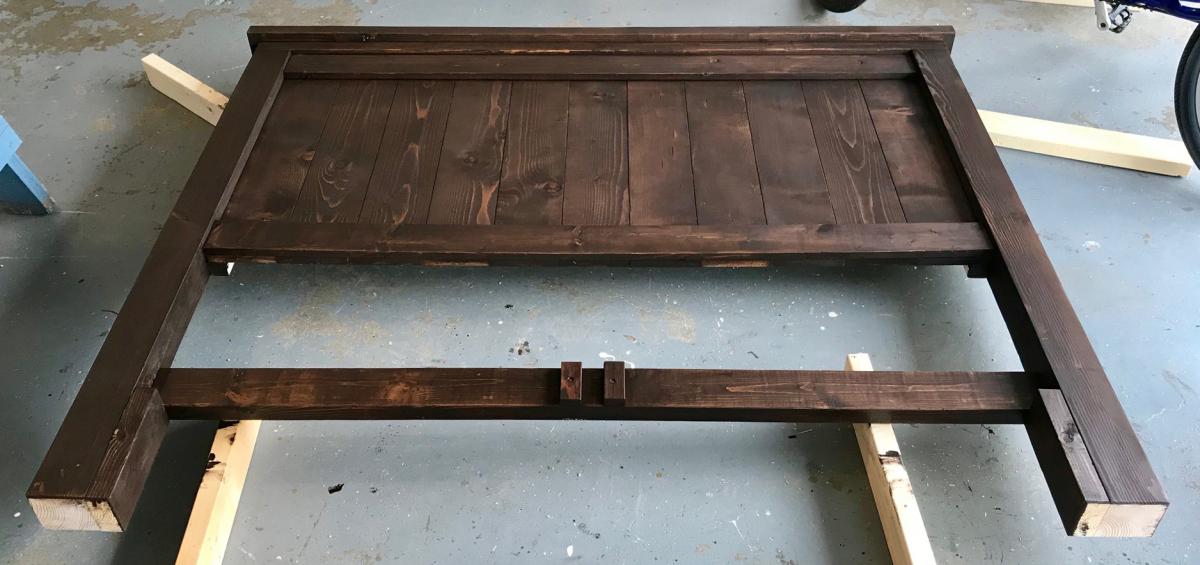
I modified the queen size bed to a full and adjusted the dimensions of the bed accordingly. I used solid oak for the headboard posts and top boards. I used oak beadboard to match the Kentwood night stand I previosly made.
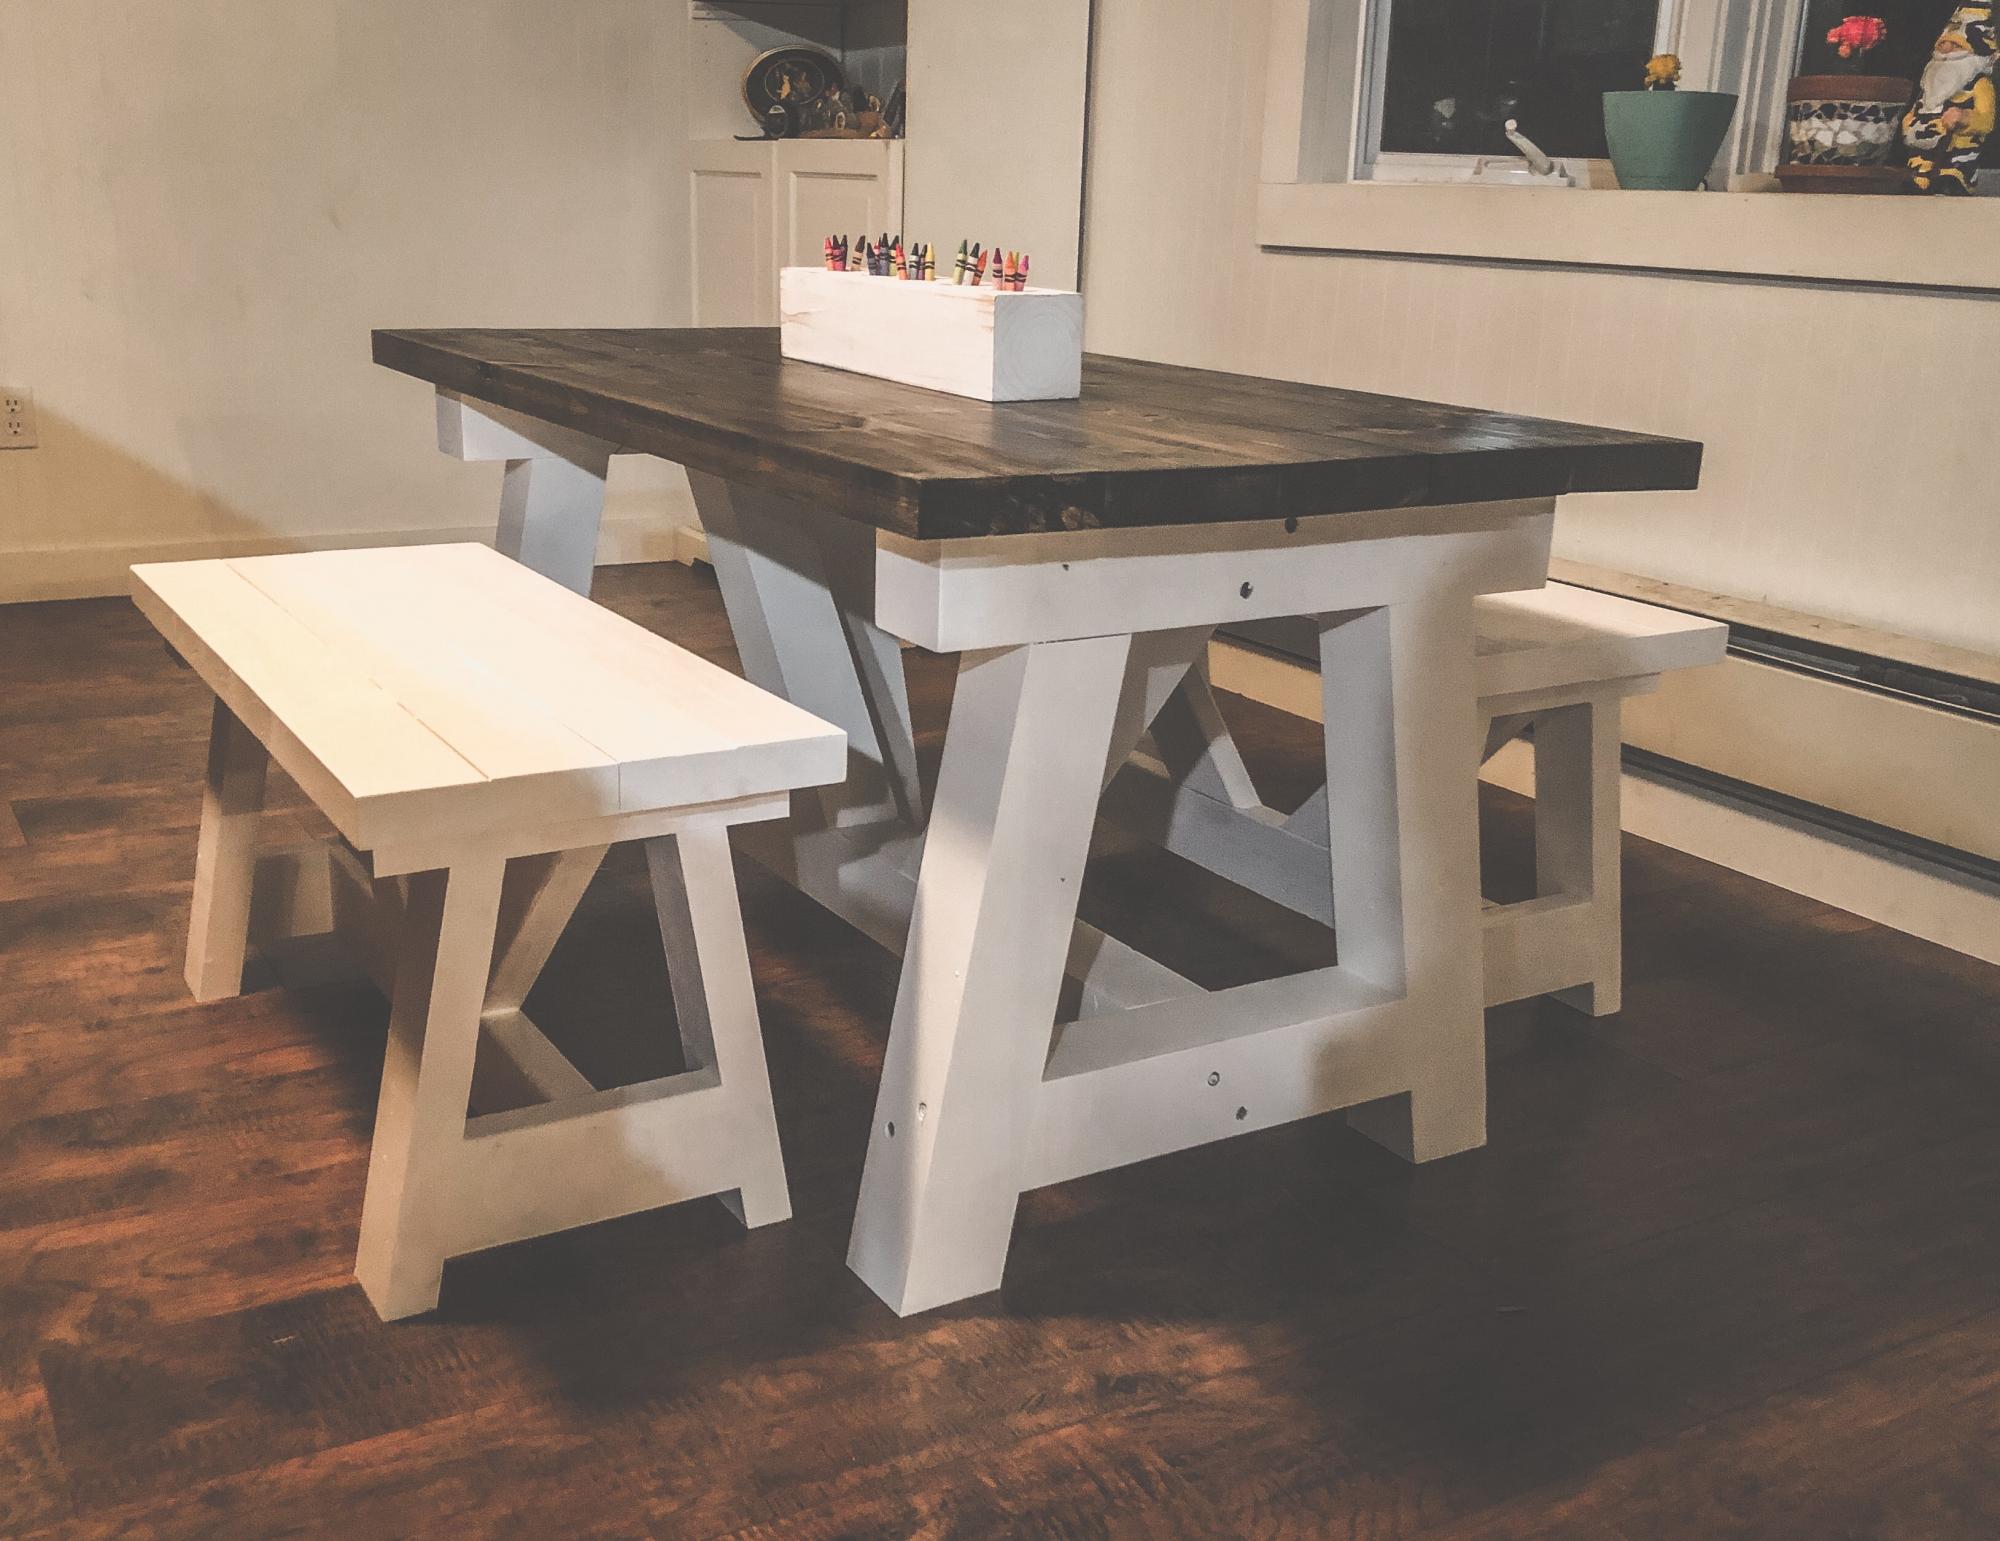
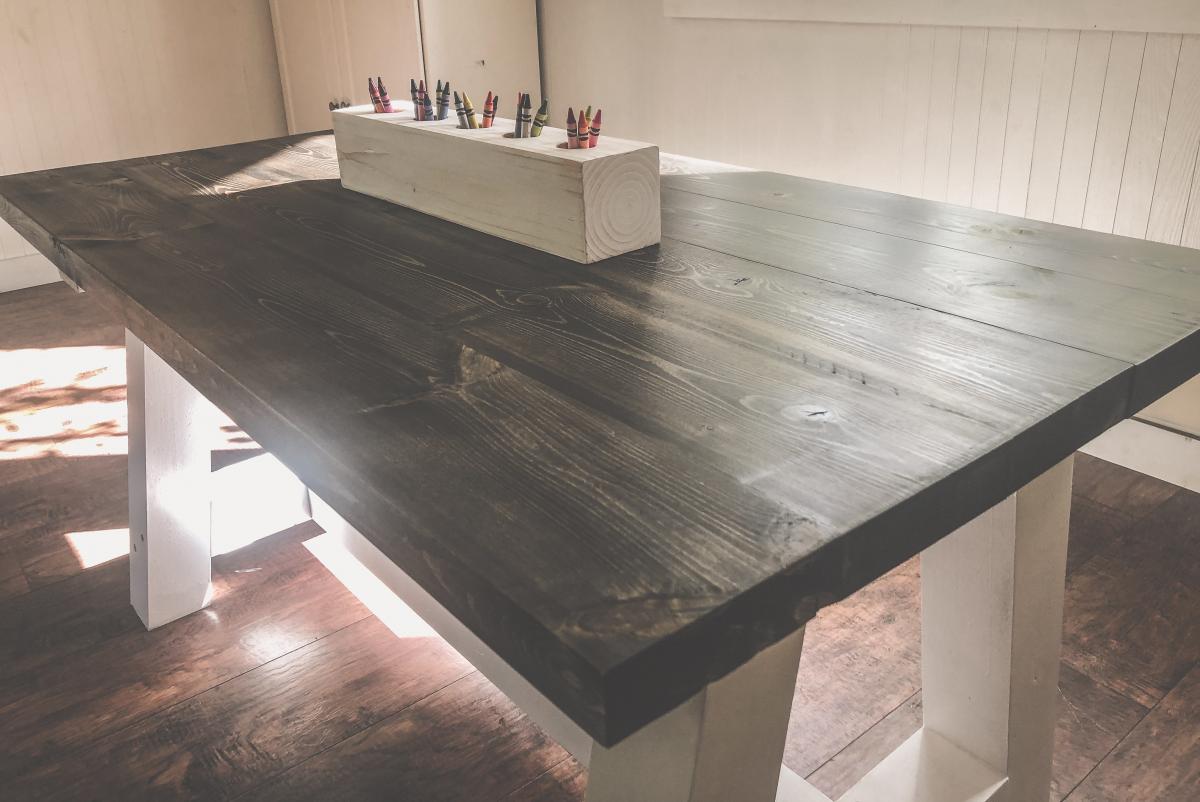
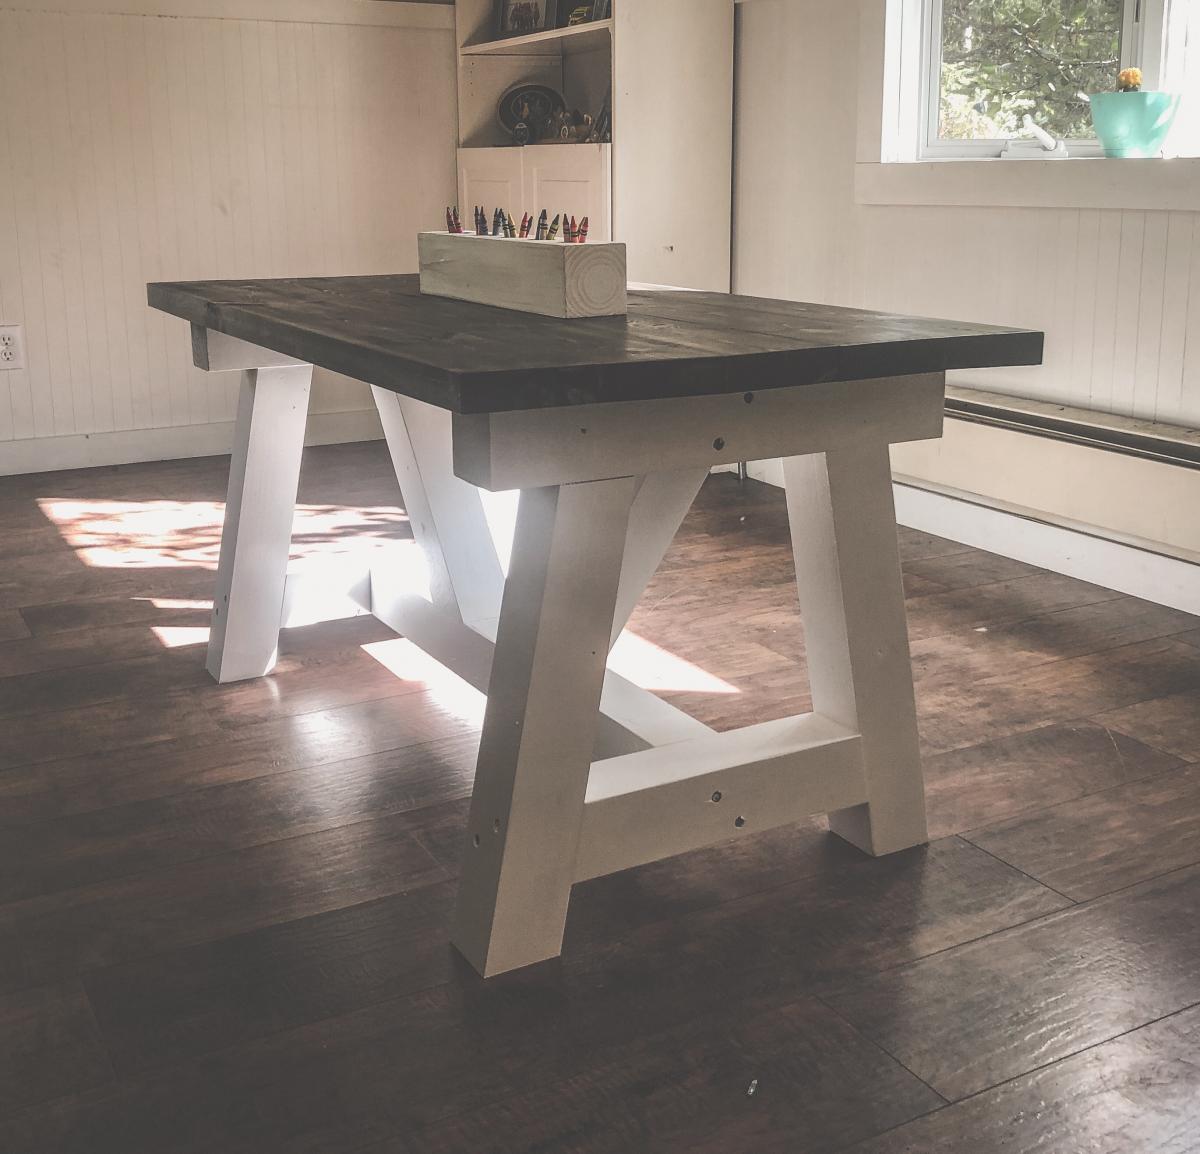
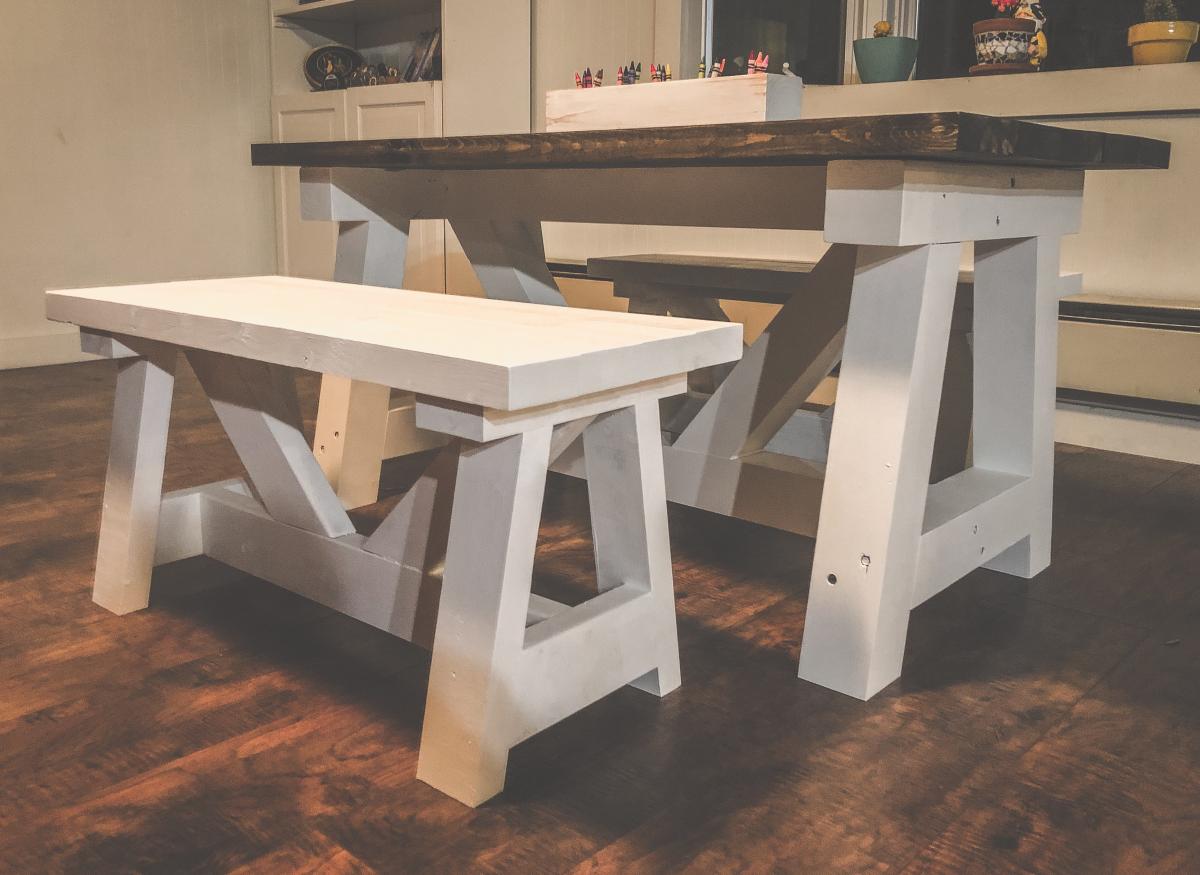
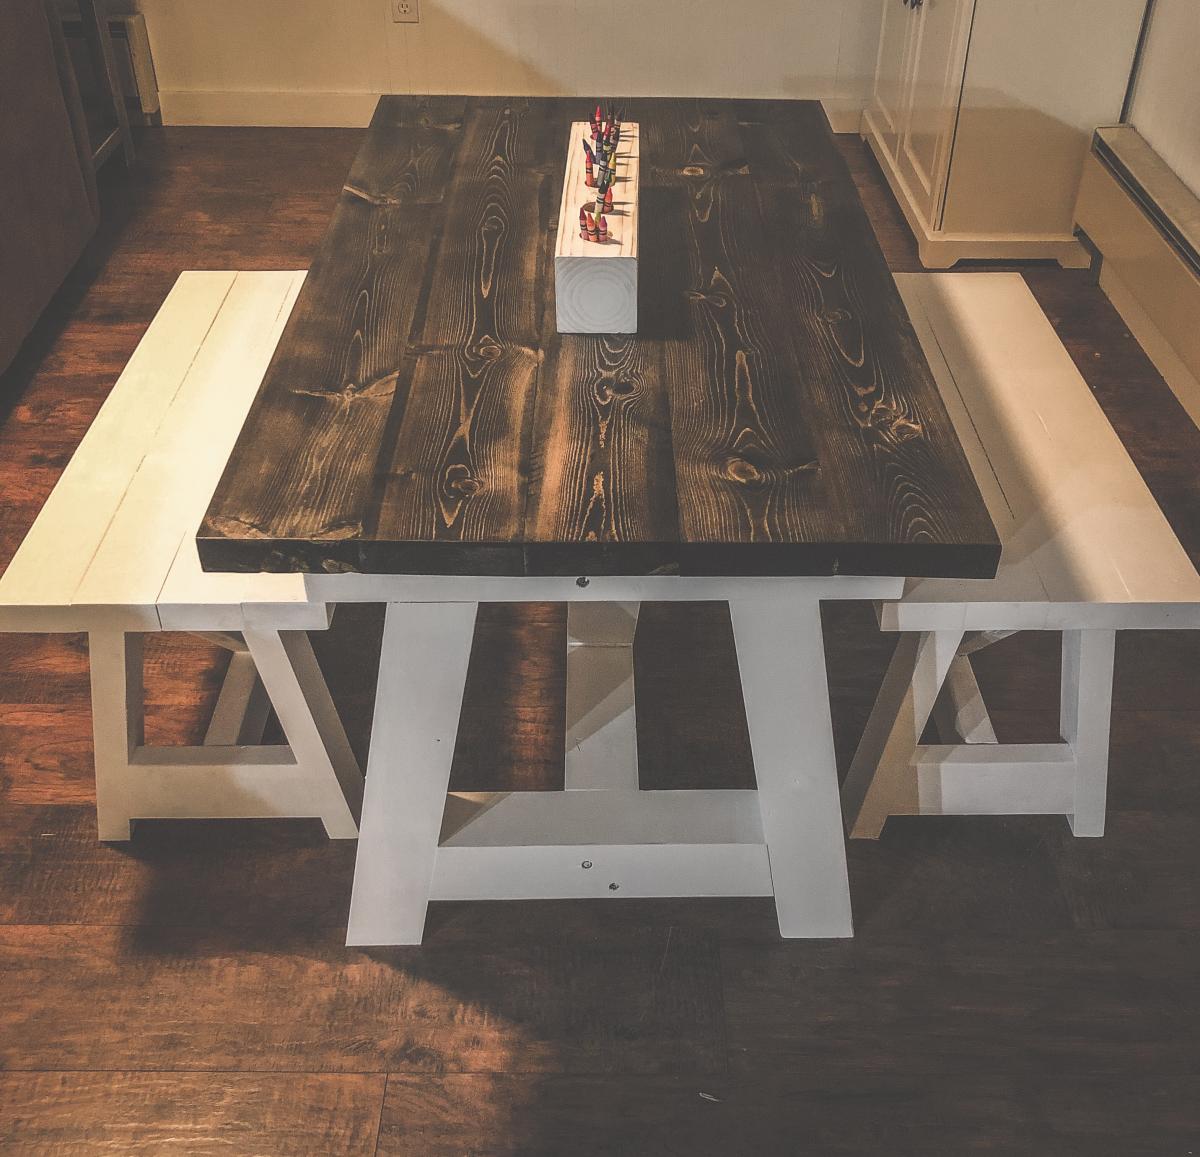
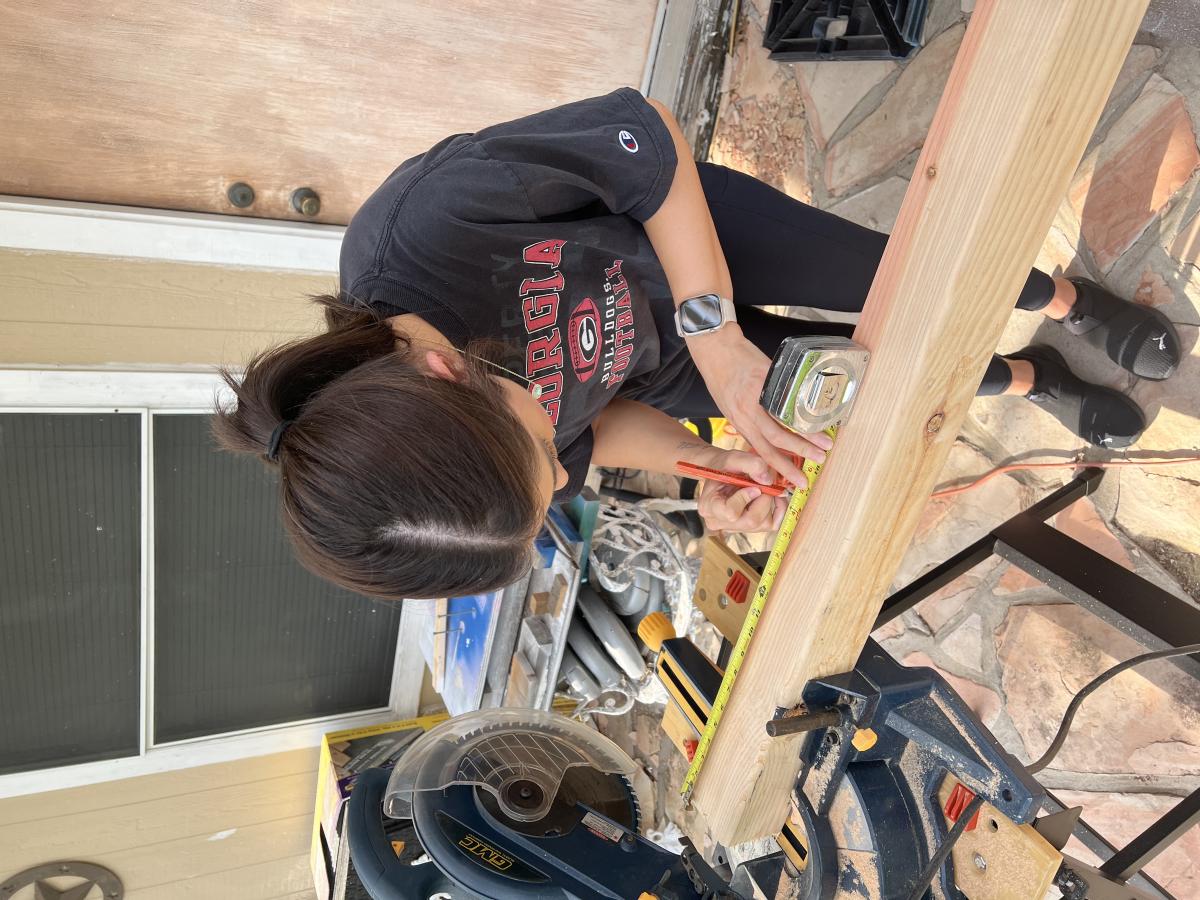
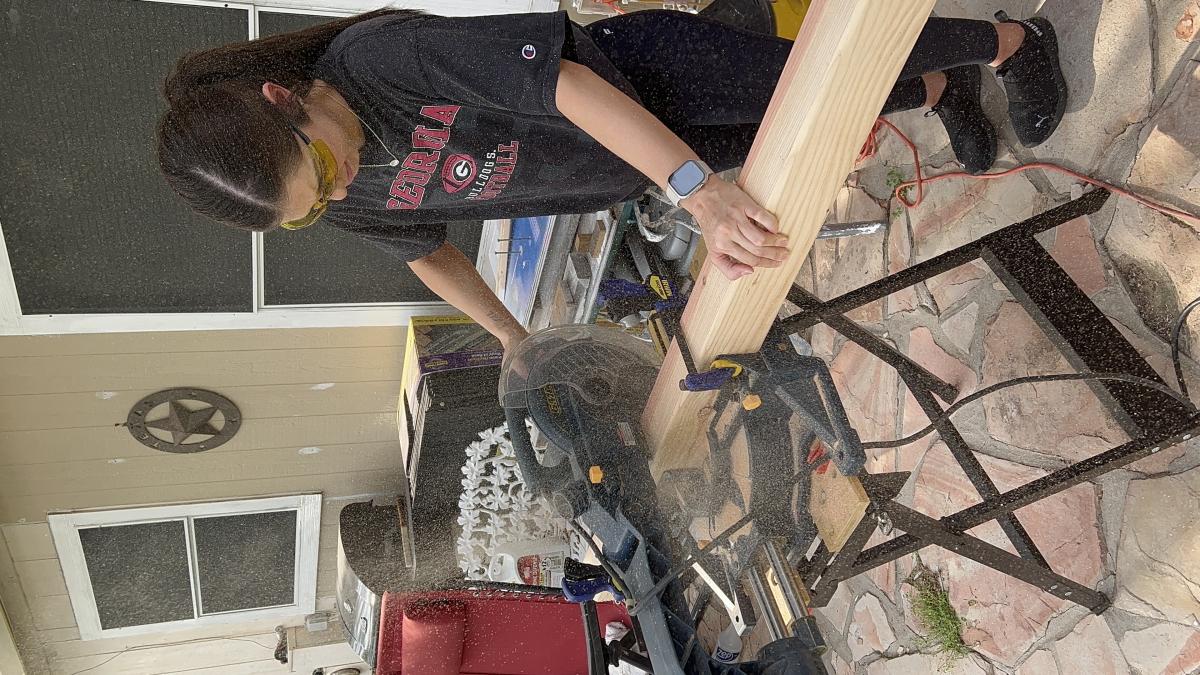
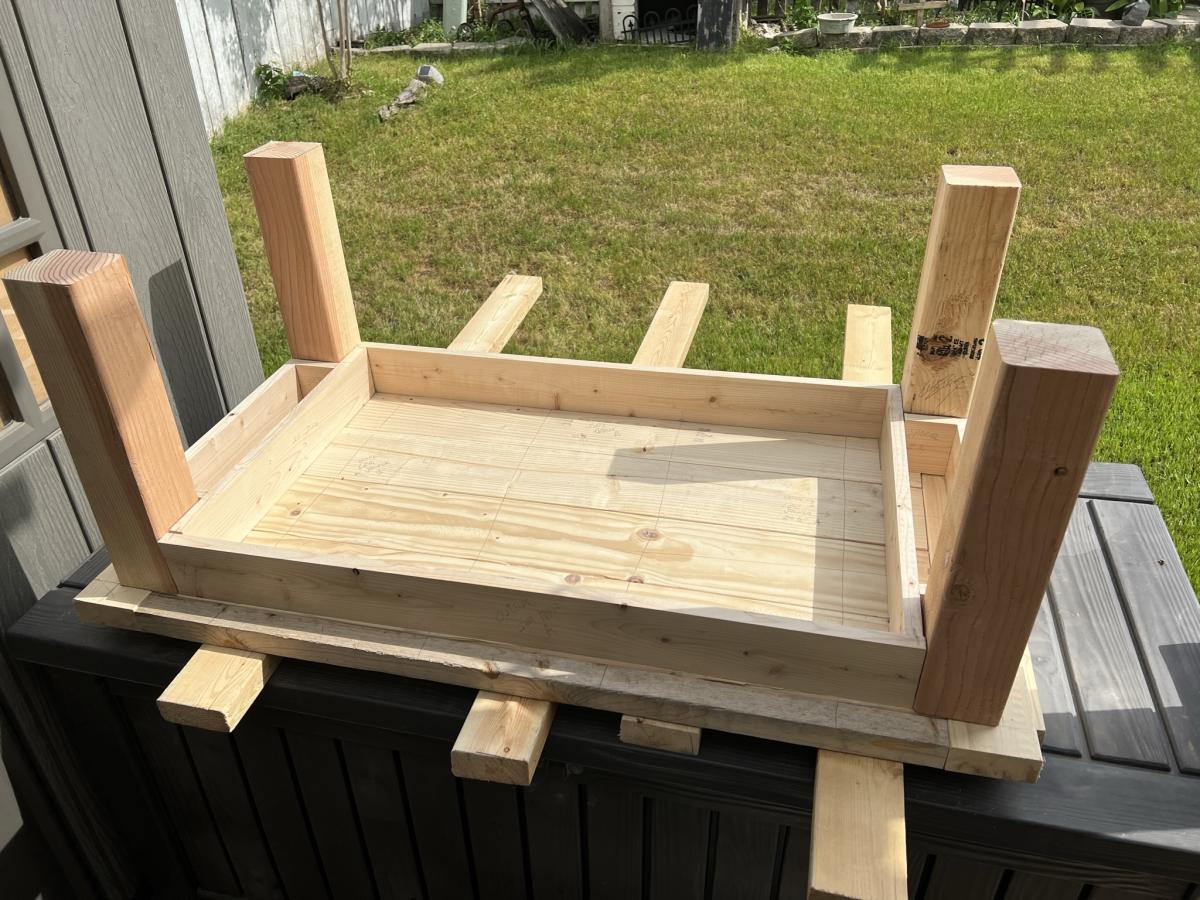
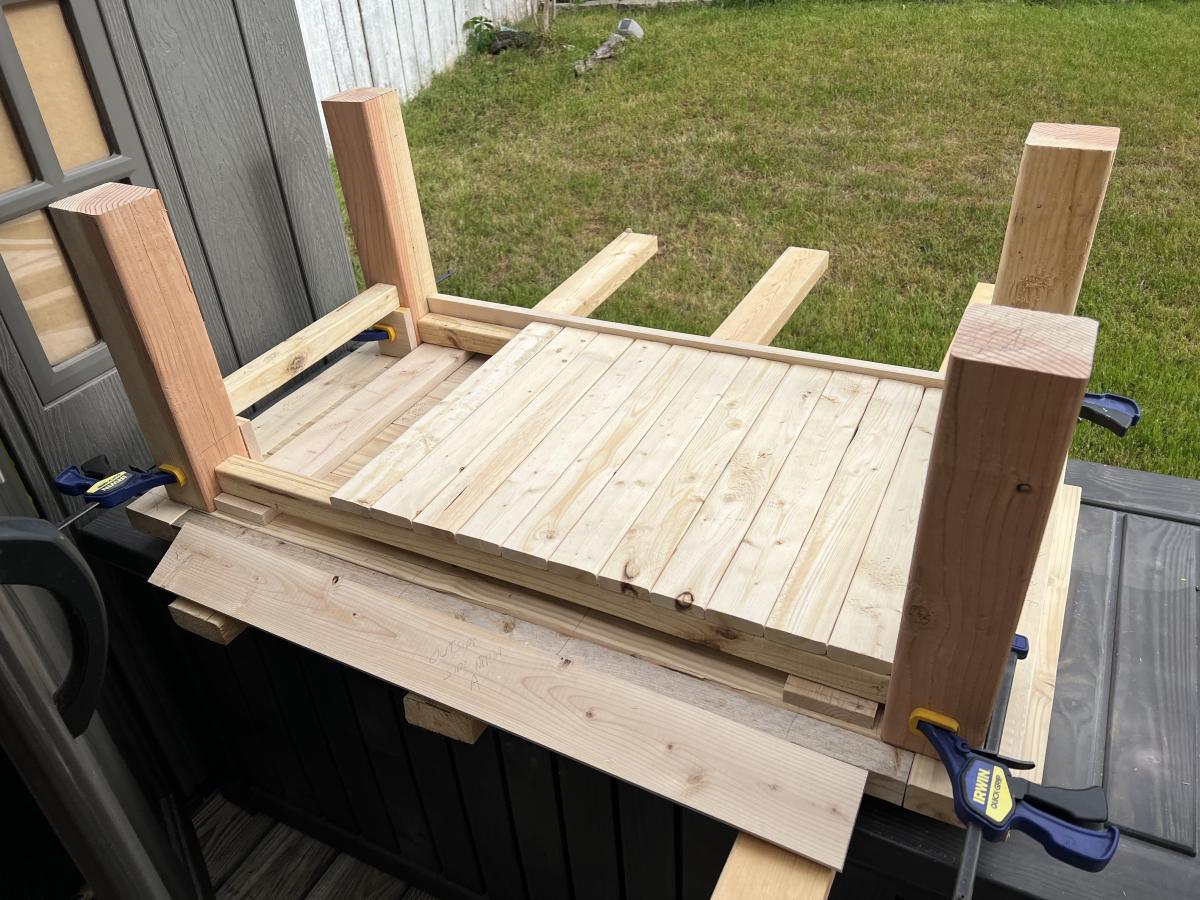
A friend asked for a kid sized farmhouse table and I knew immediately what plans I wanted to modify! The 4x4 truss table is my favorite go to table because it is extremely solid, easy to build and looks so nice! I know this table will hold up to the wear and tear of 4 kids for years! I also modified the 2x4 truss benches to match. They are the same style but not as chunky as the 4x4 truss bench plans.
Dimensions for table are 24”h x 24”w x 48”L
benches 16”h x 13.5”w x 33”L

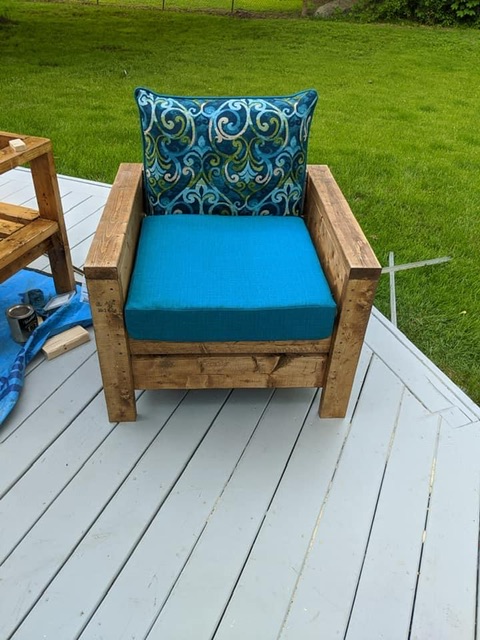
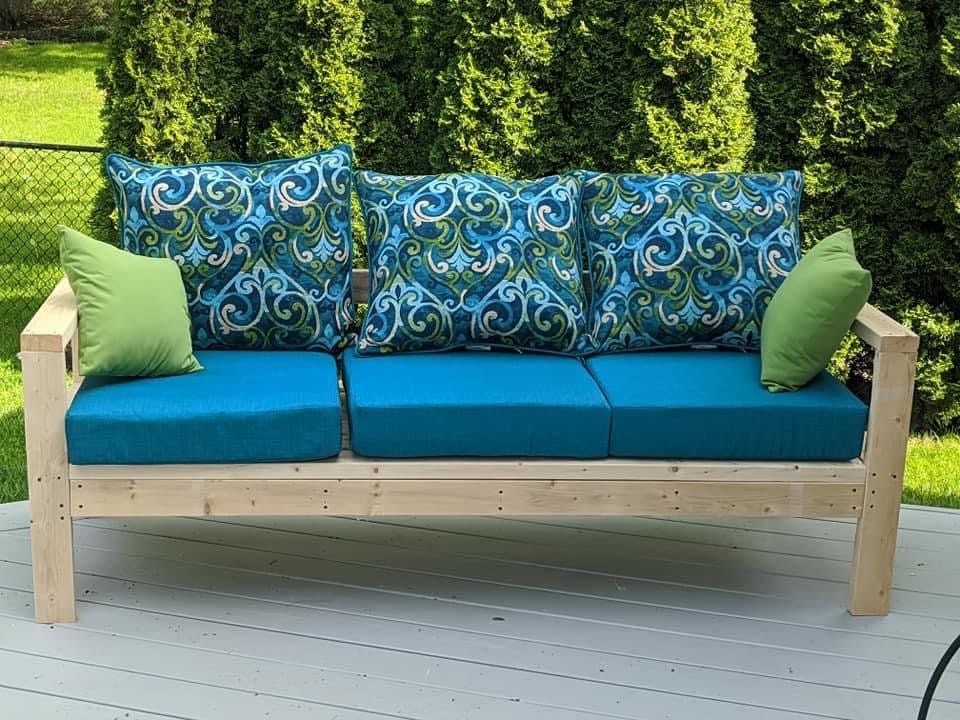
I needed patio furniture and happened to come across Anna White’s site. It is a great beginner’s project. I was so happy with how they turned out.
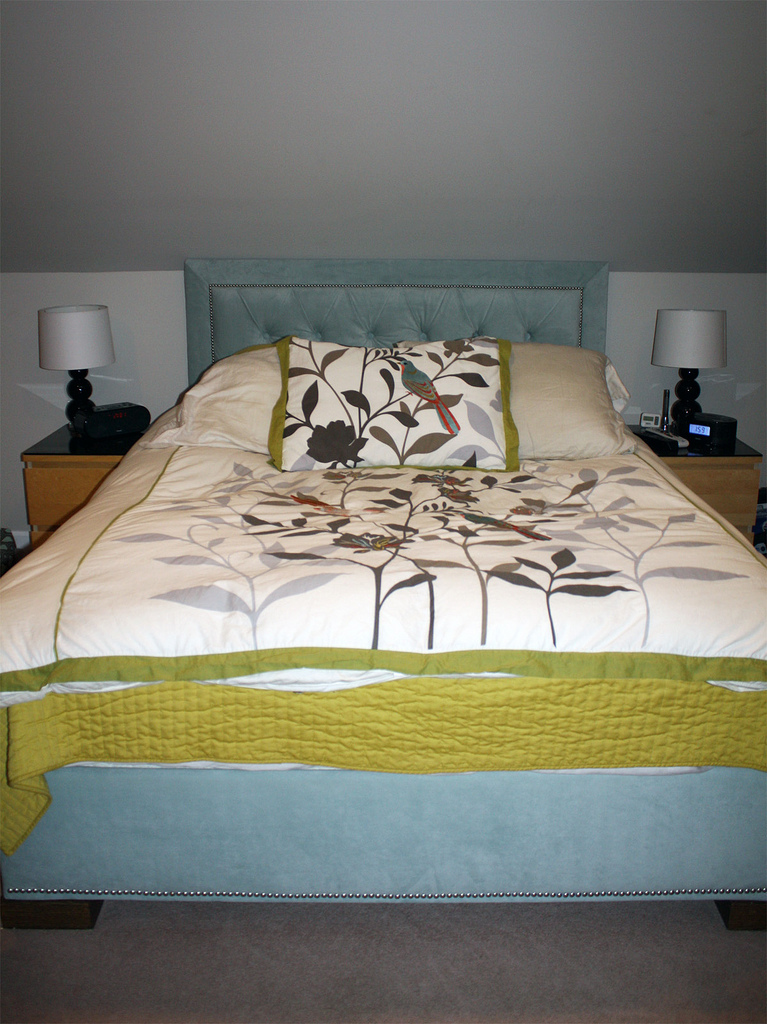
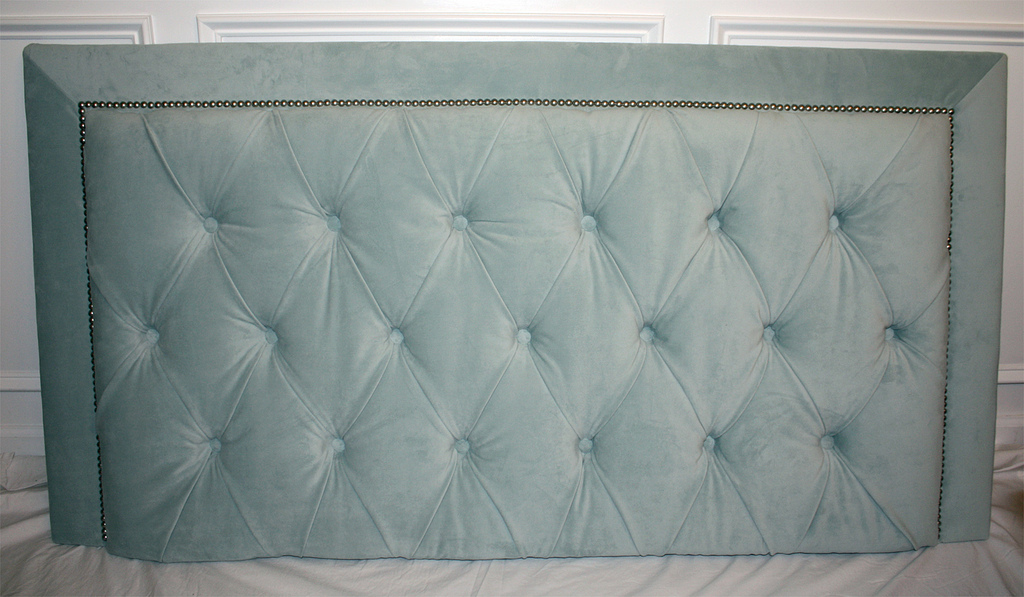
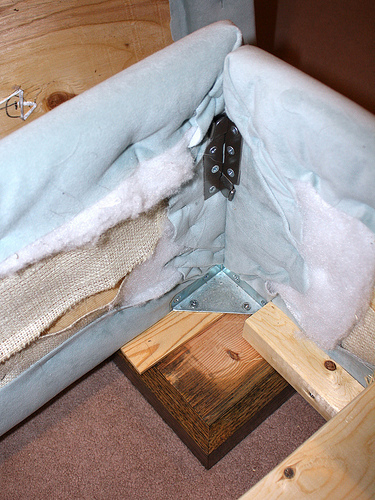
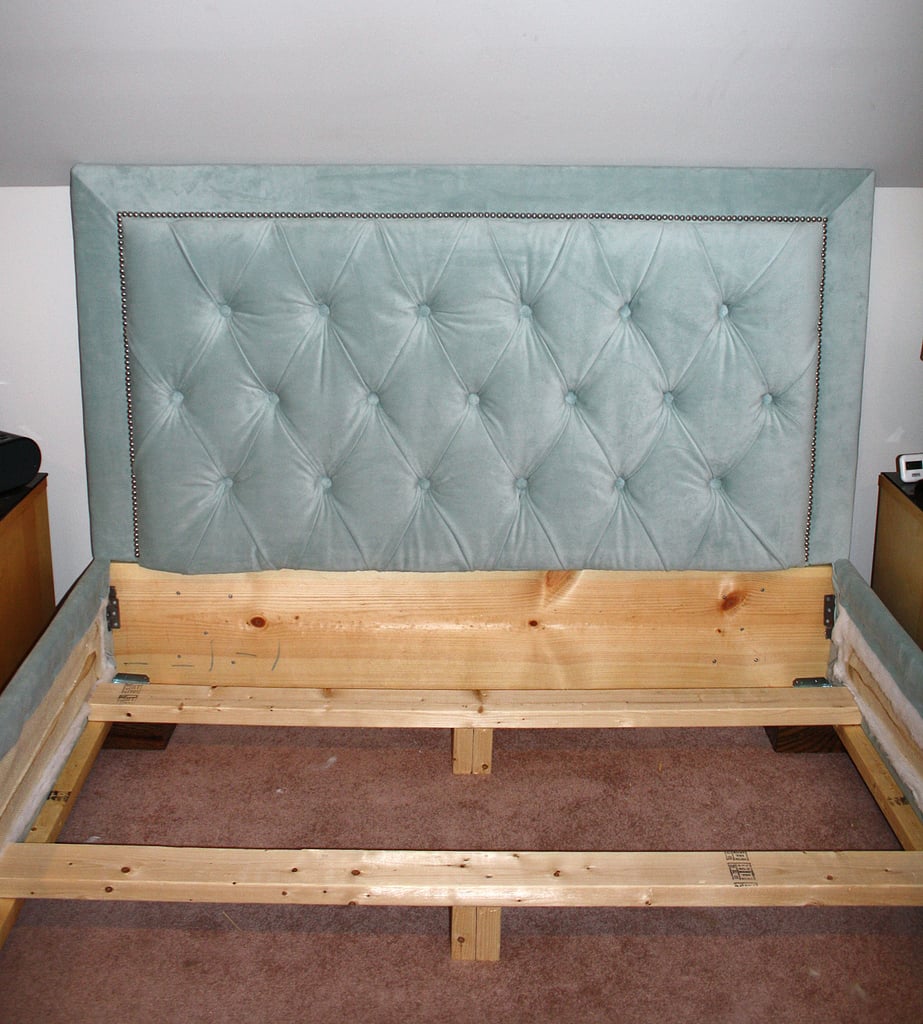
I used Ana's chunky leg bed frame plan with a few modifications for the bed and tutorials found online for the headboard. For more info visit my blog.

Tue, 01/10/2012 - 18:21
The whole thing is beautiful, but love that headboard, especially. I can't get into your blog. It won't work. It tells me page not found.
Sat, 07/28/2012 - 18:20
Beautiful!!! You did a fantastic job on this bed!!! I am wondering how far apart you spaced the buttons?
Thanks,
Janelle
Fri, 06/06/2014 - 03:49
I wanted to make one just like yours but do the tafting all the way to the edge of the headboard. I'm wondering though, how much fabric did you use? Thanks!
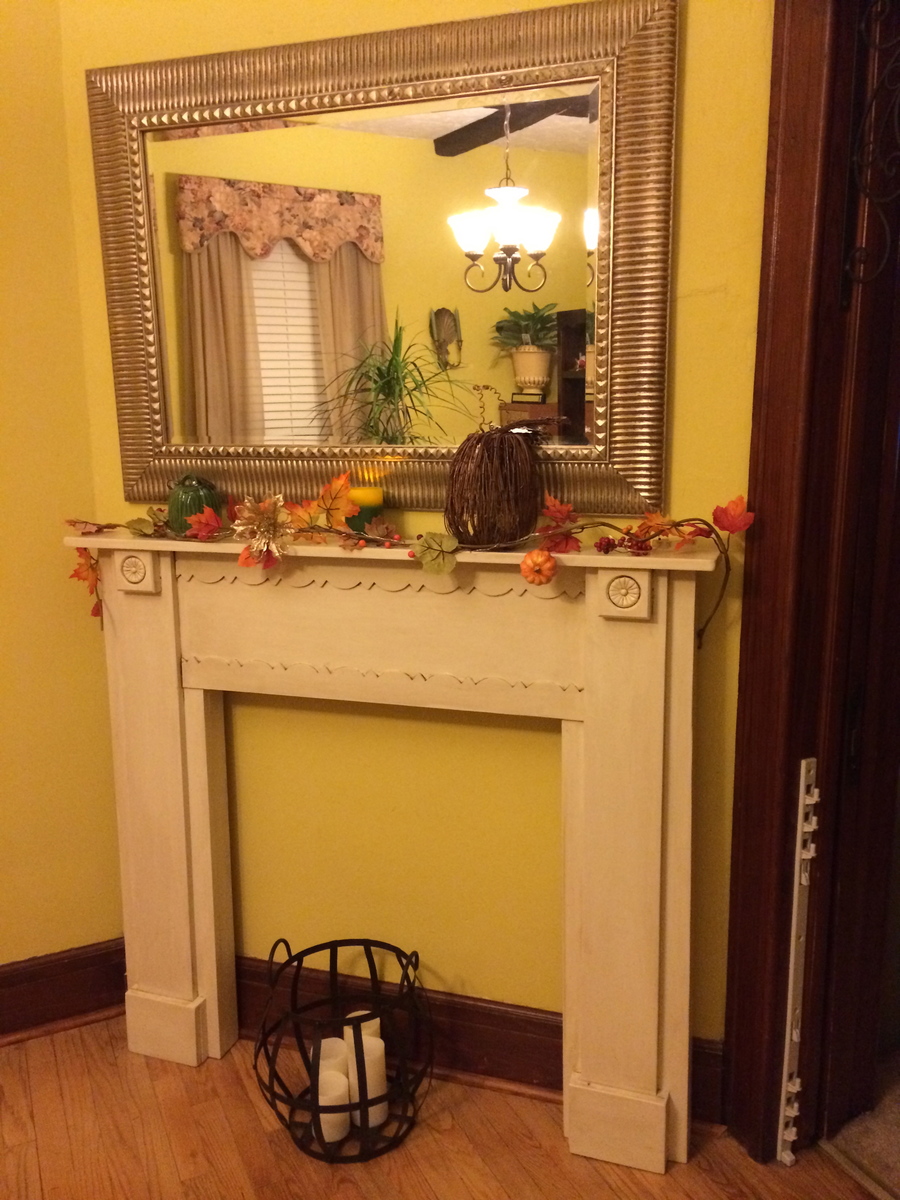
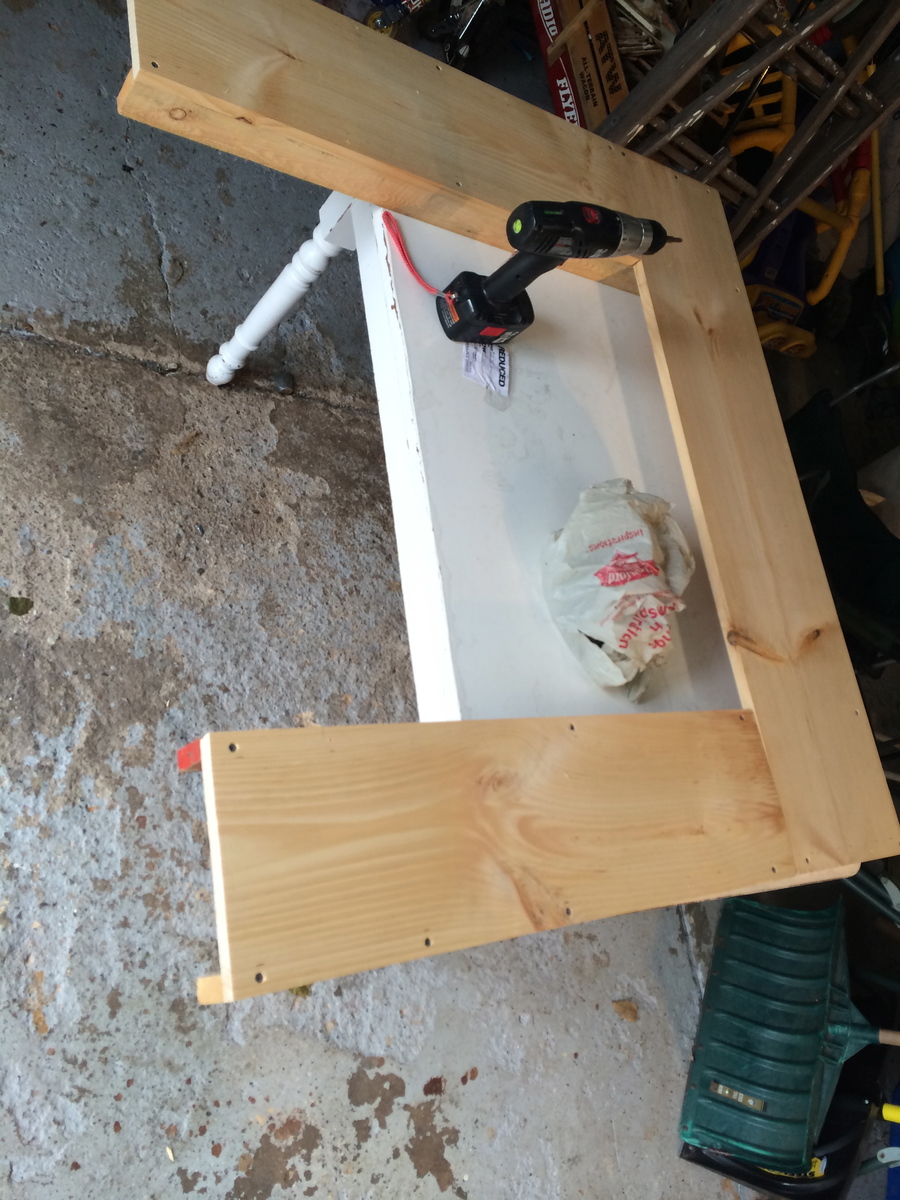
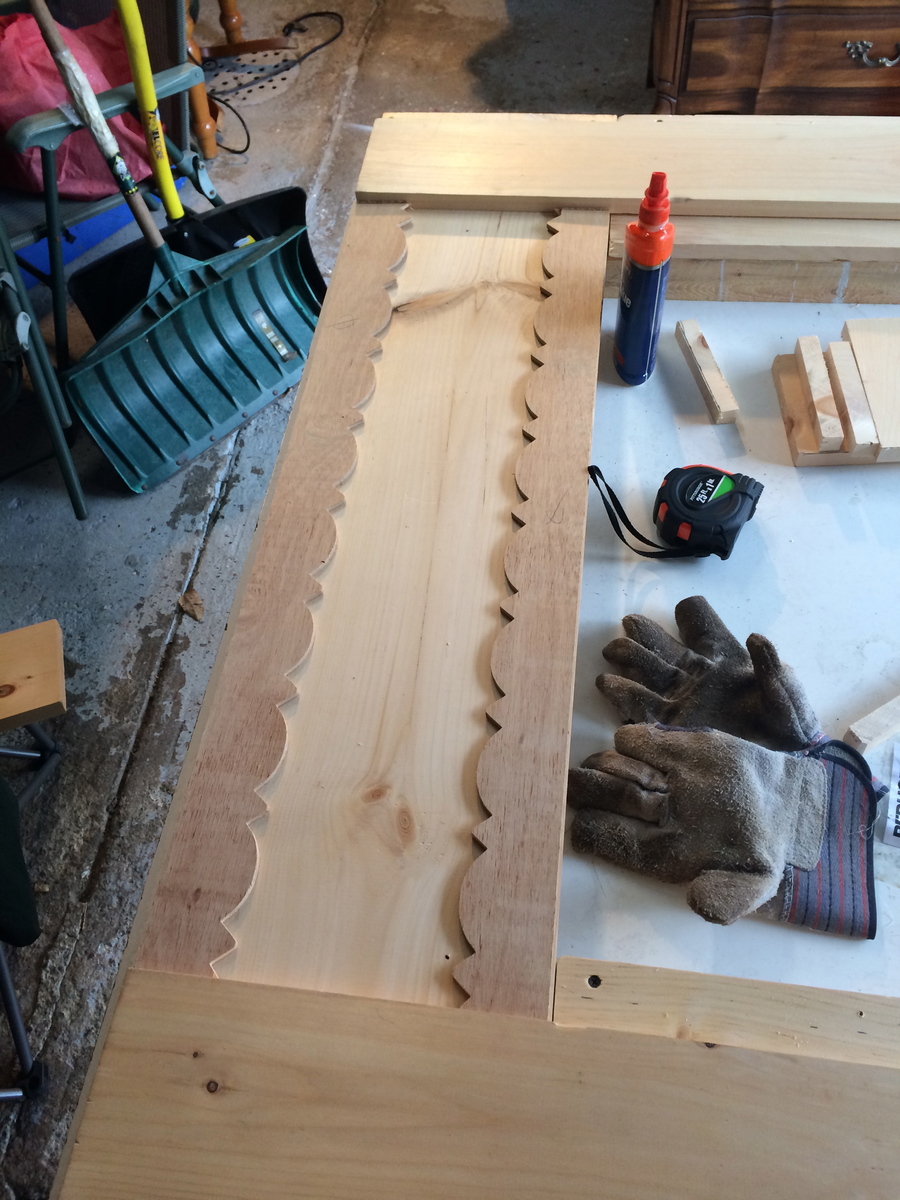
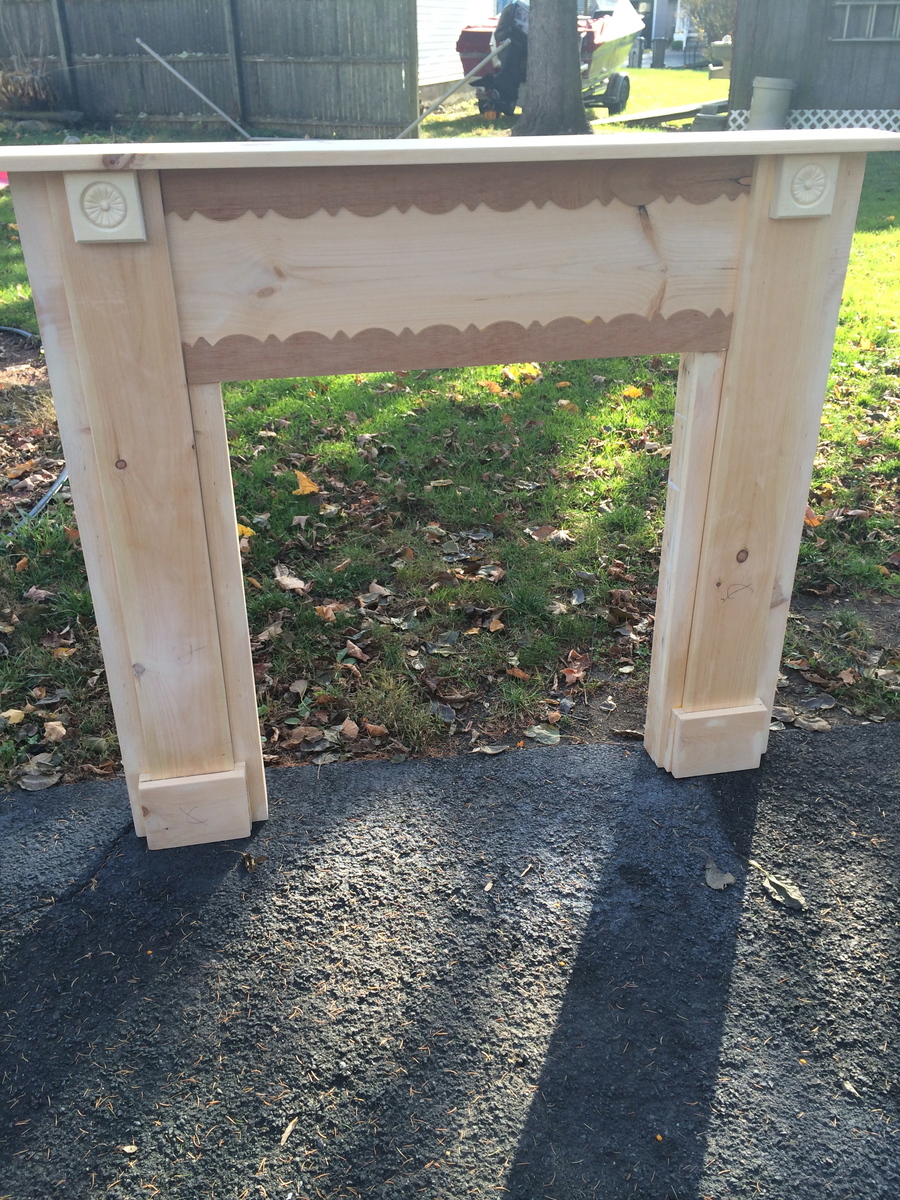
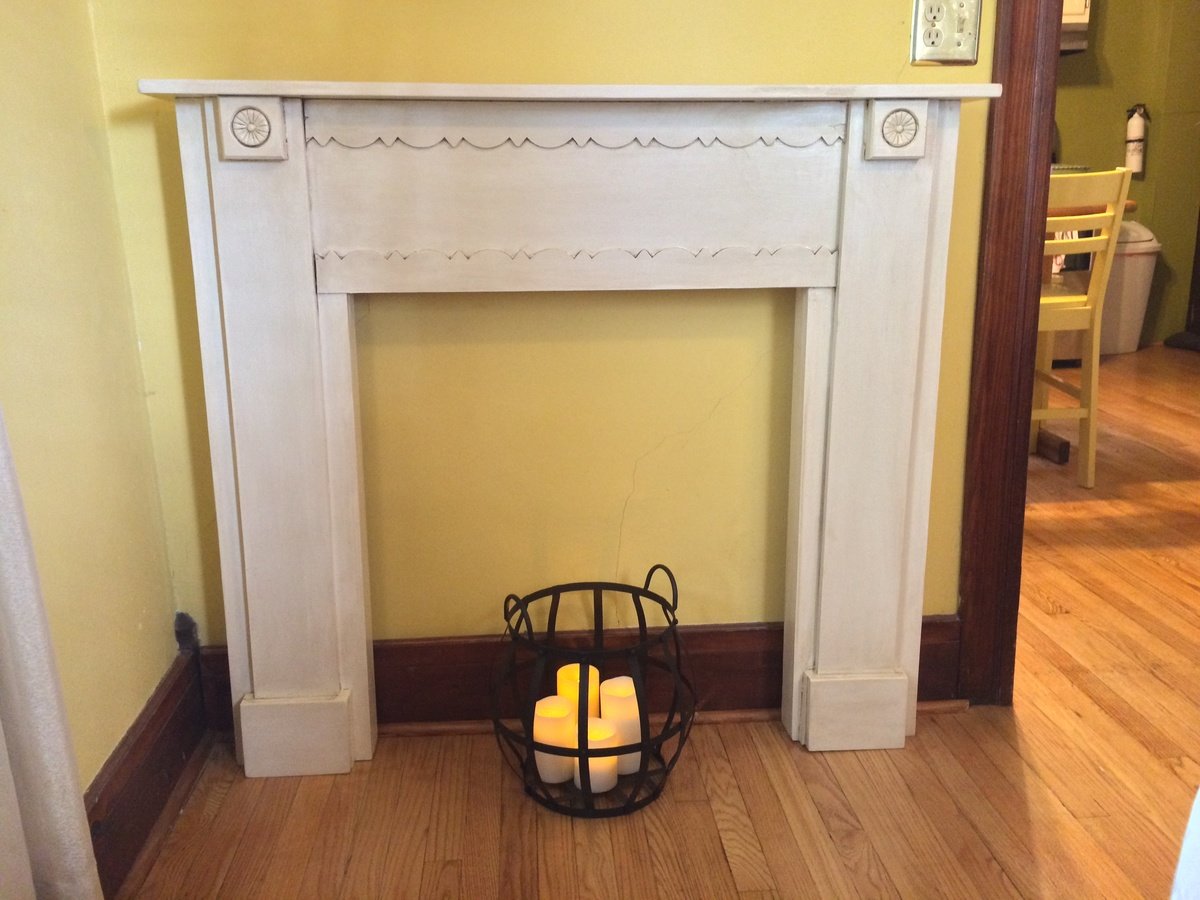
After looking online for something to make a fireplace to hang my kids stockings, I came across Anna's! WOW her instructions and plans seemed very simple to follow and so I did. I made minor adjustments based on what I had on hand but I followed her plans to the t. Thank you Anna, you inspired me!

Sat, 11/30/2013 - 10:22
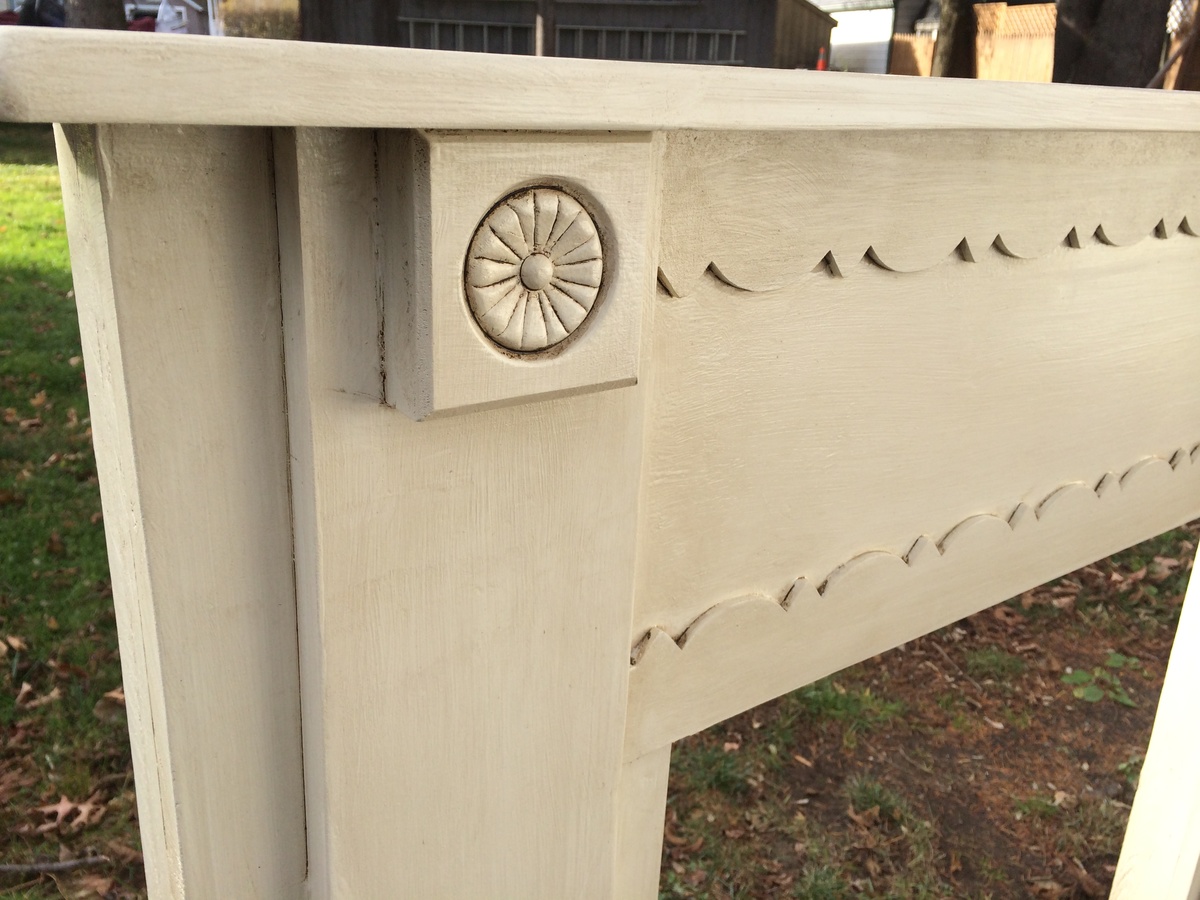
You did a great job on this! The paint finish looks beautiful, and I love the scalloped decorations and rosettes!
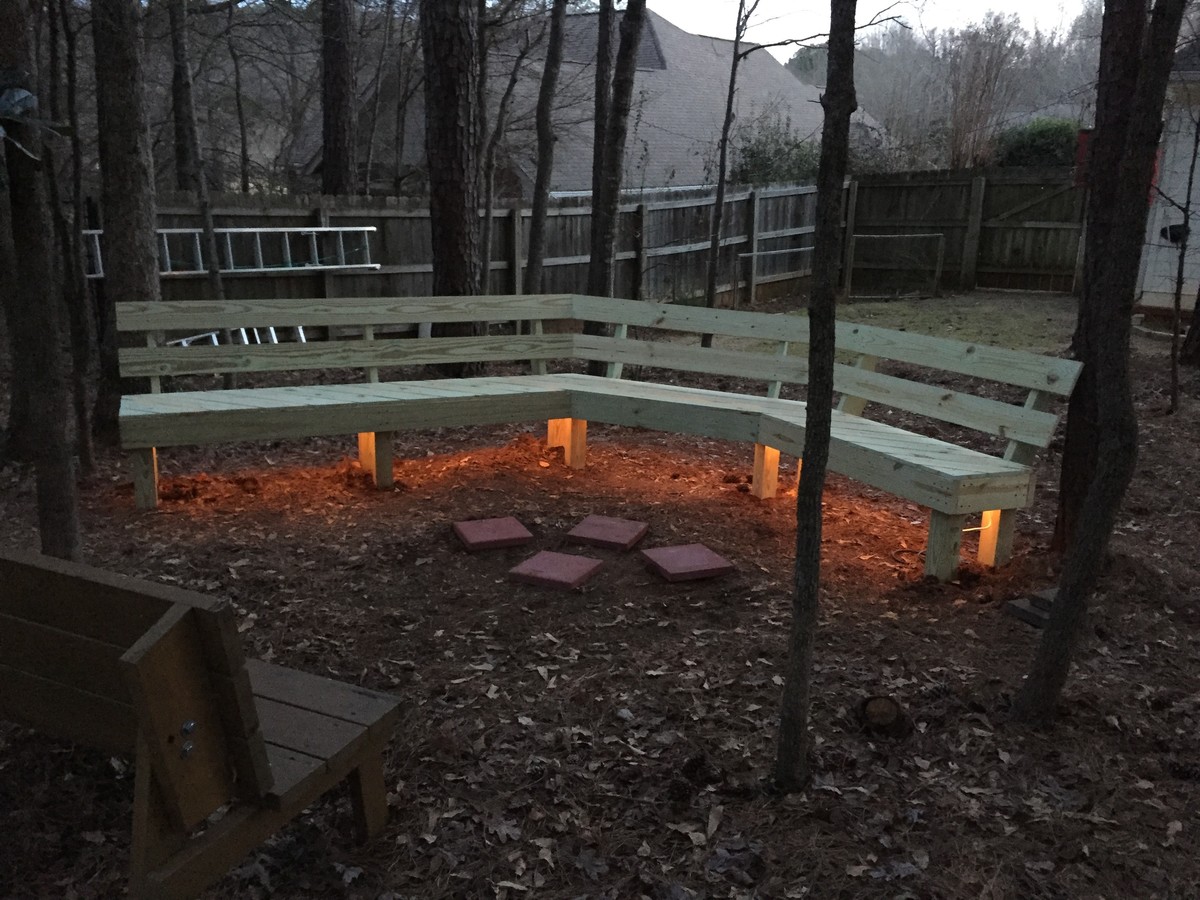
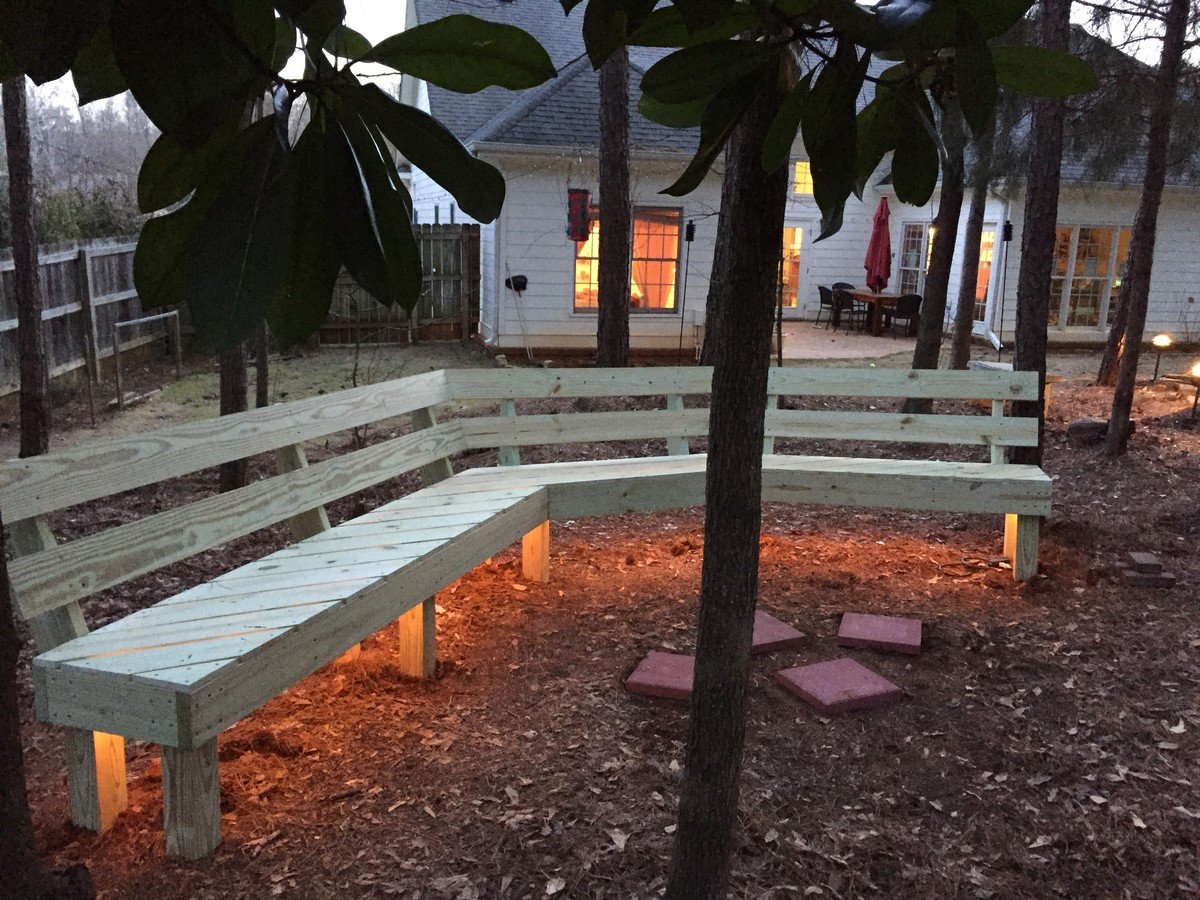
Modified the plans slightly to make a bigger bench, especially on one end. Added rope lights underneath for a cool effect.

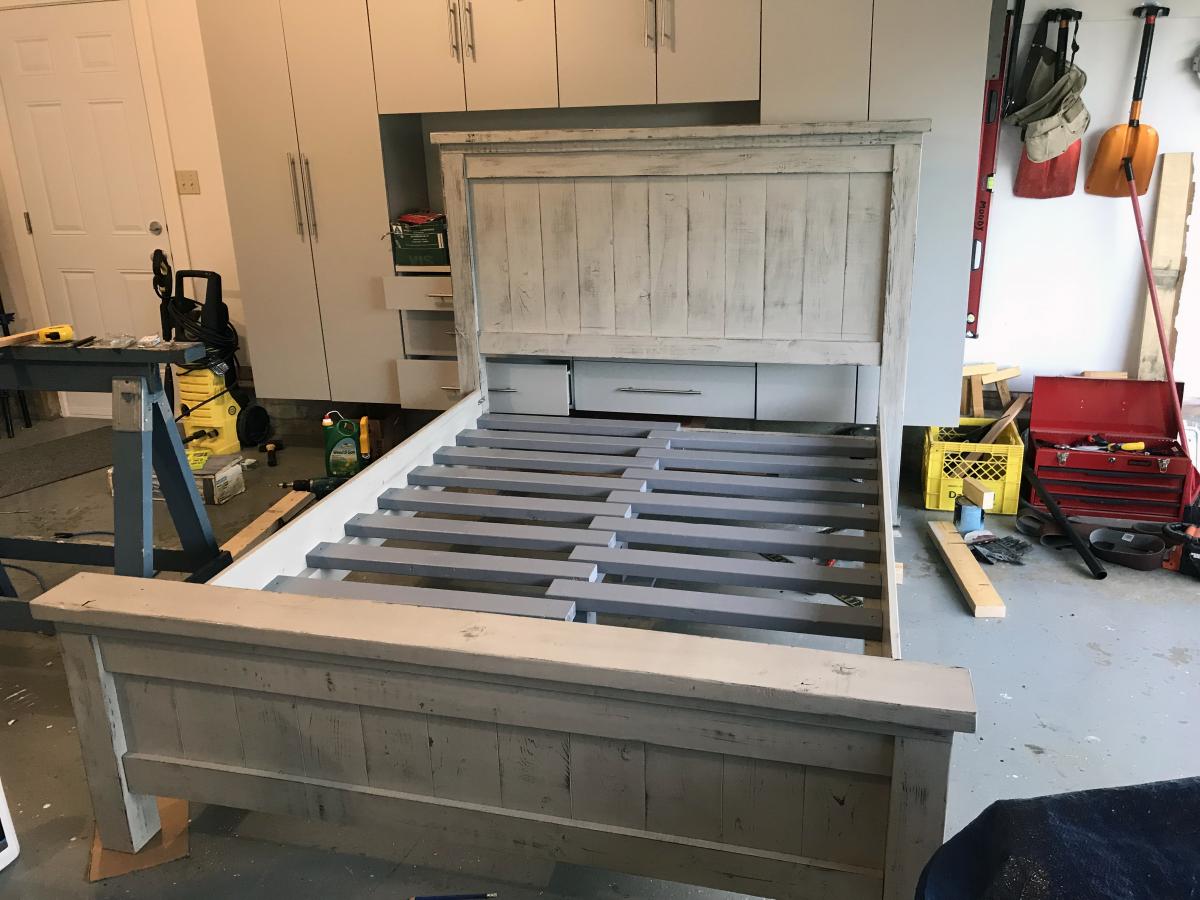
A friend of mine wanted a new queen bed in a rustic, weather grey look. I have built many projects from Ana's site and decided on the Farmhouse Bed. The plans were perfect and building the bed didn't take me long. The time consuming part was the finish. I really wanted an old, weather wood look so the entire bed and night tables were first stained with a dark Kona stain. Once this dried I applied two coats of a watered down (50:50) light grey paint. The thinner paint made it easier to sand. Once this was completely dry I used a medium grit sanding sponge and selectively sanded everything. This took a while. Once complete I carefully cleaned all pieces and then applied three coat of semi-gloss varathane. The bed is incredibly solid with the 2 x 4 slats and will last a few generations. As always great plans from Ana.
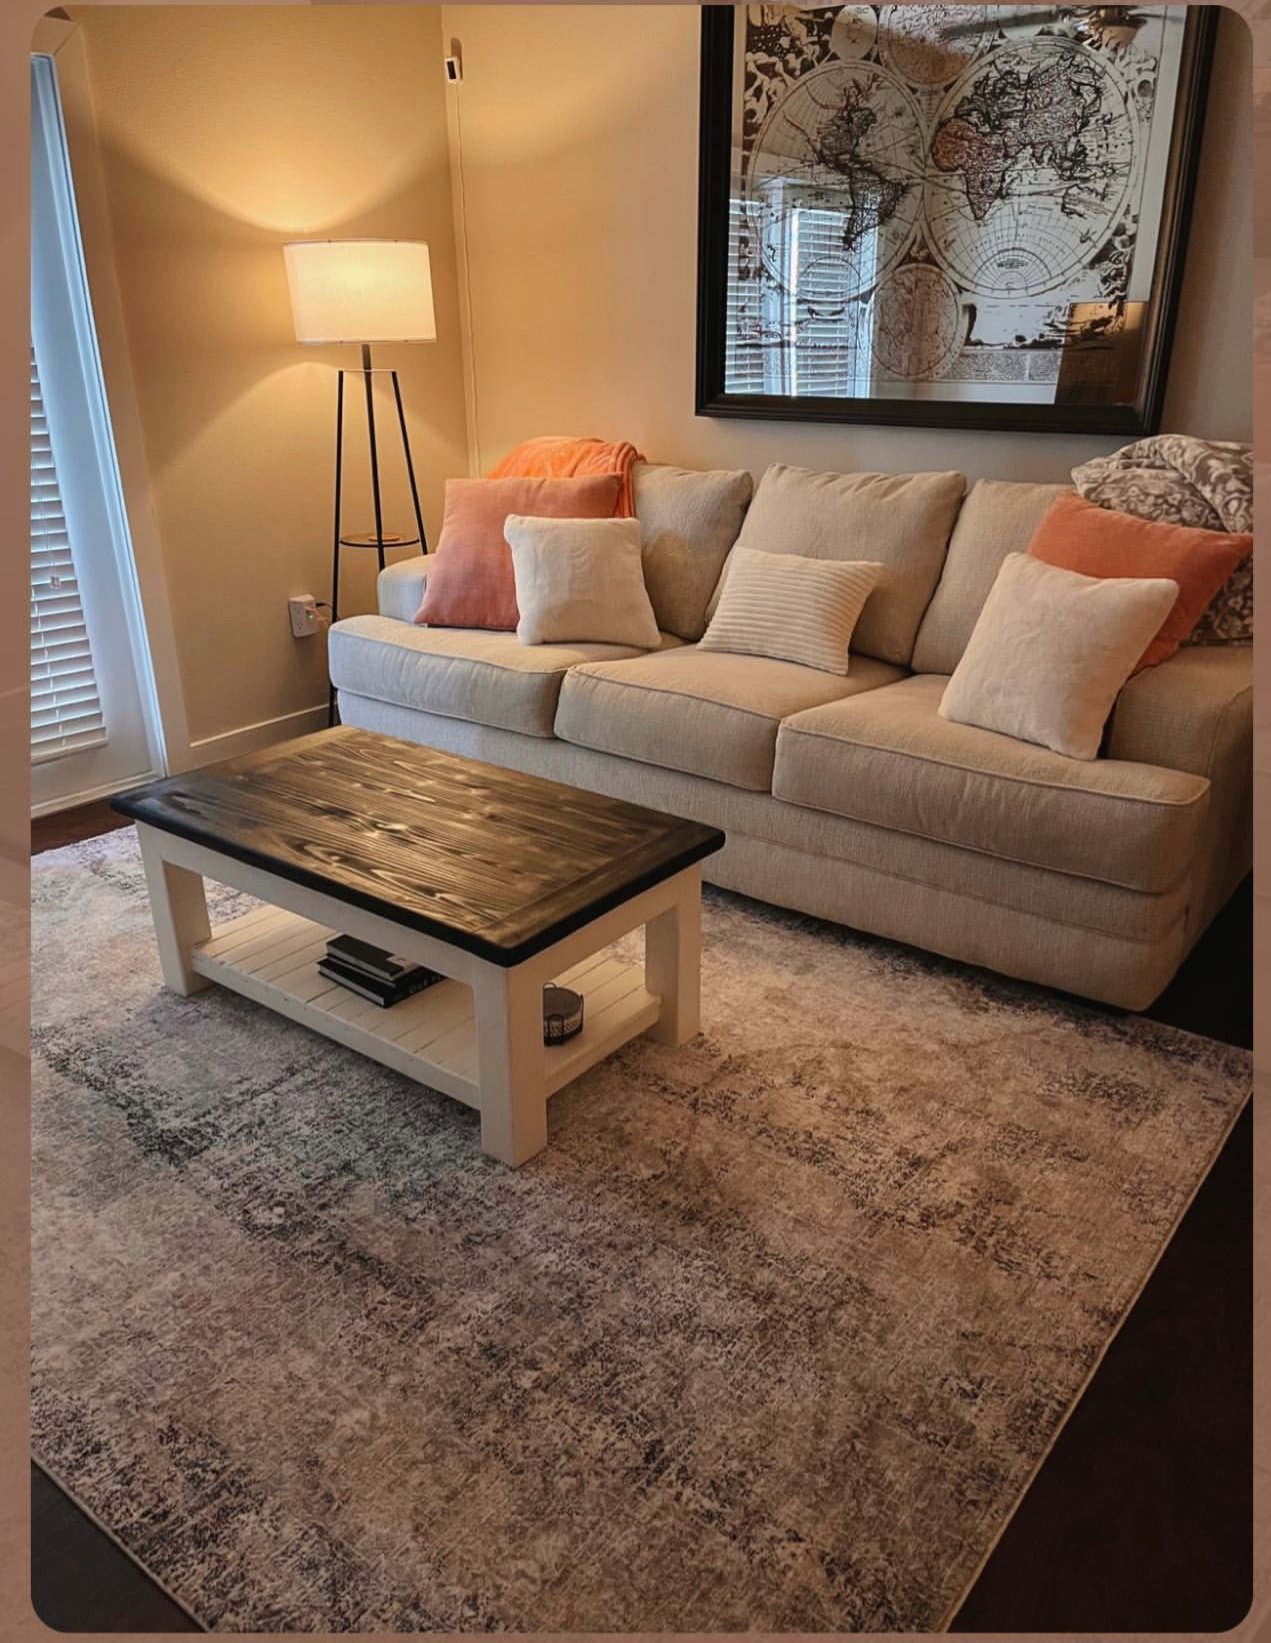
Tweaked the Tryde Coffee table plans to fit daughters desired look with added magazine shelf and appropriate dimensions. Weekend project turned longer due to top color changes and re-sanding off stain a couple times. Settled on Ebony stain and ivory paint bottom. Love the plans from Ana White.
Tue, 05/30/2023 - 16:14
Thank you for sharing, it looks fabulous in her space!
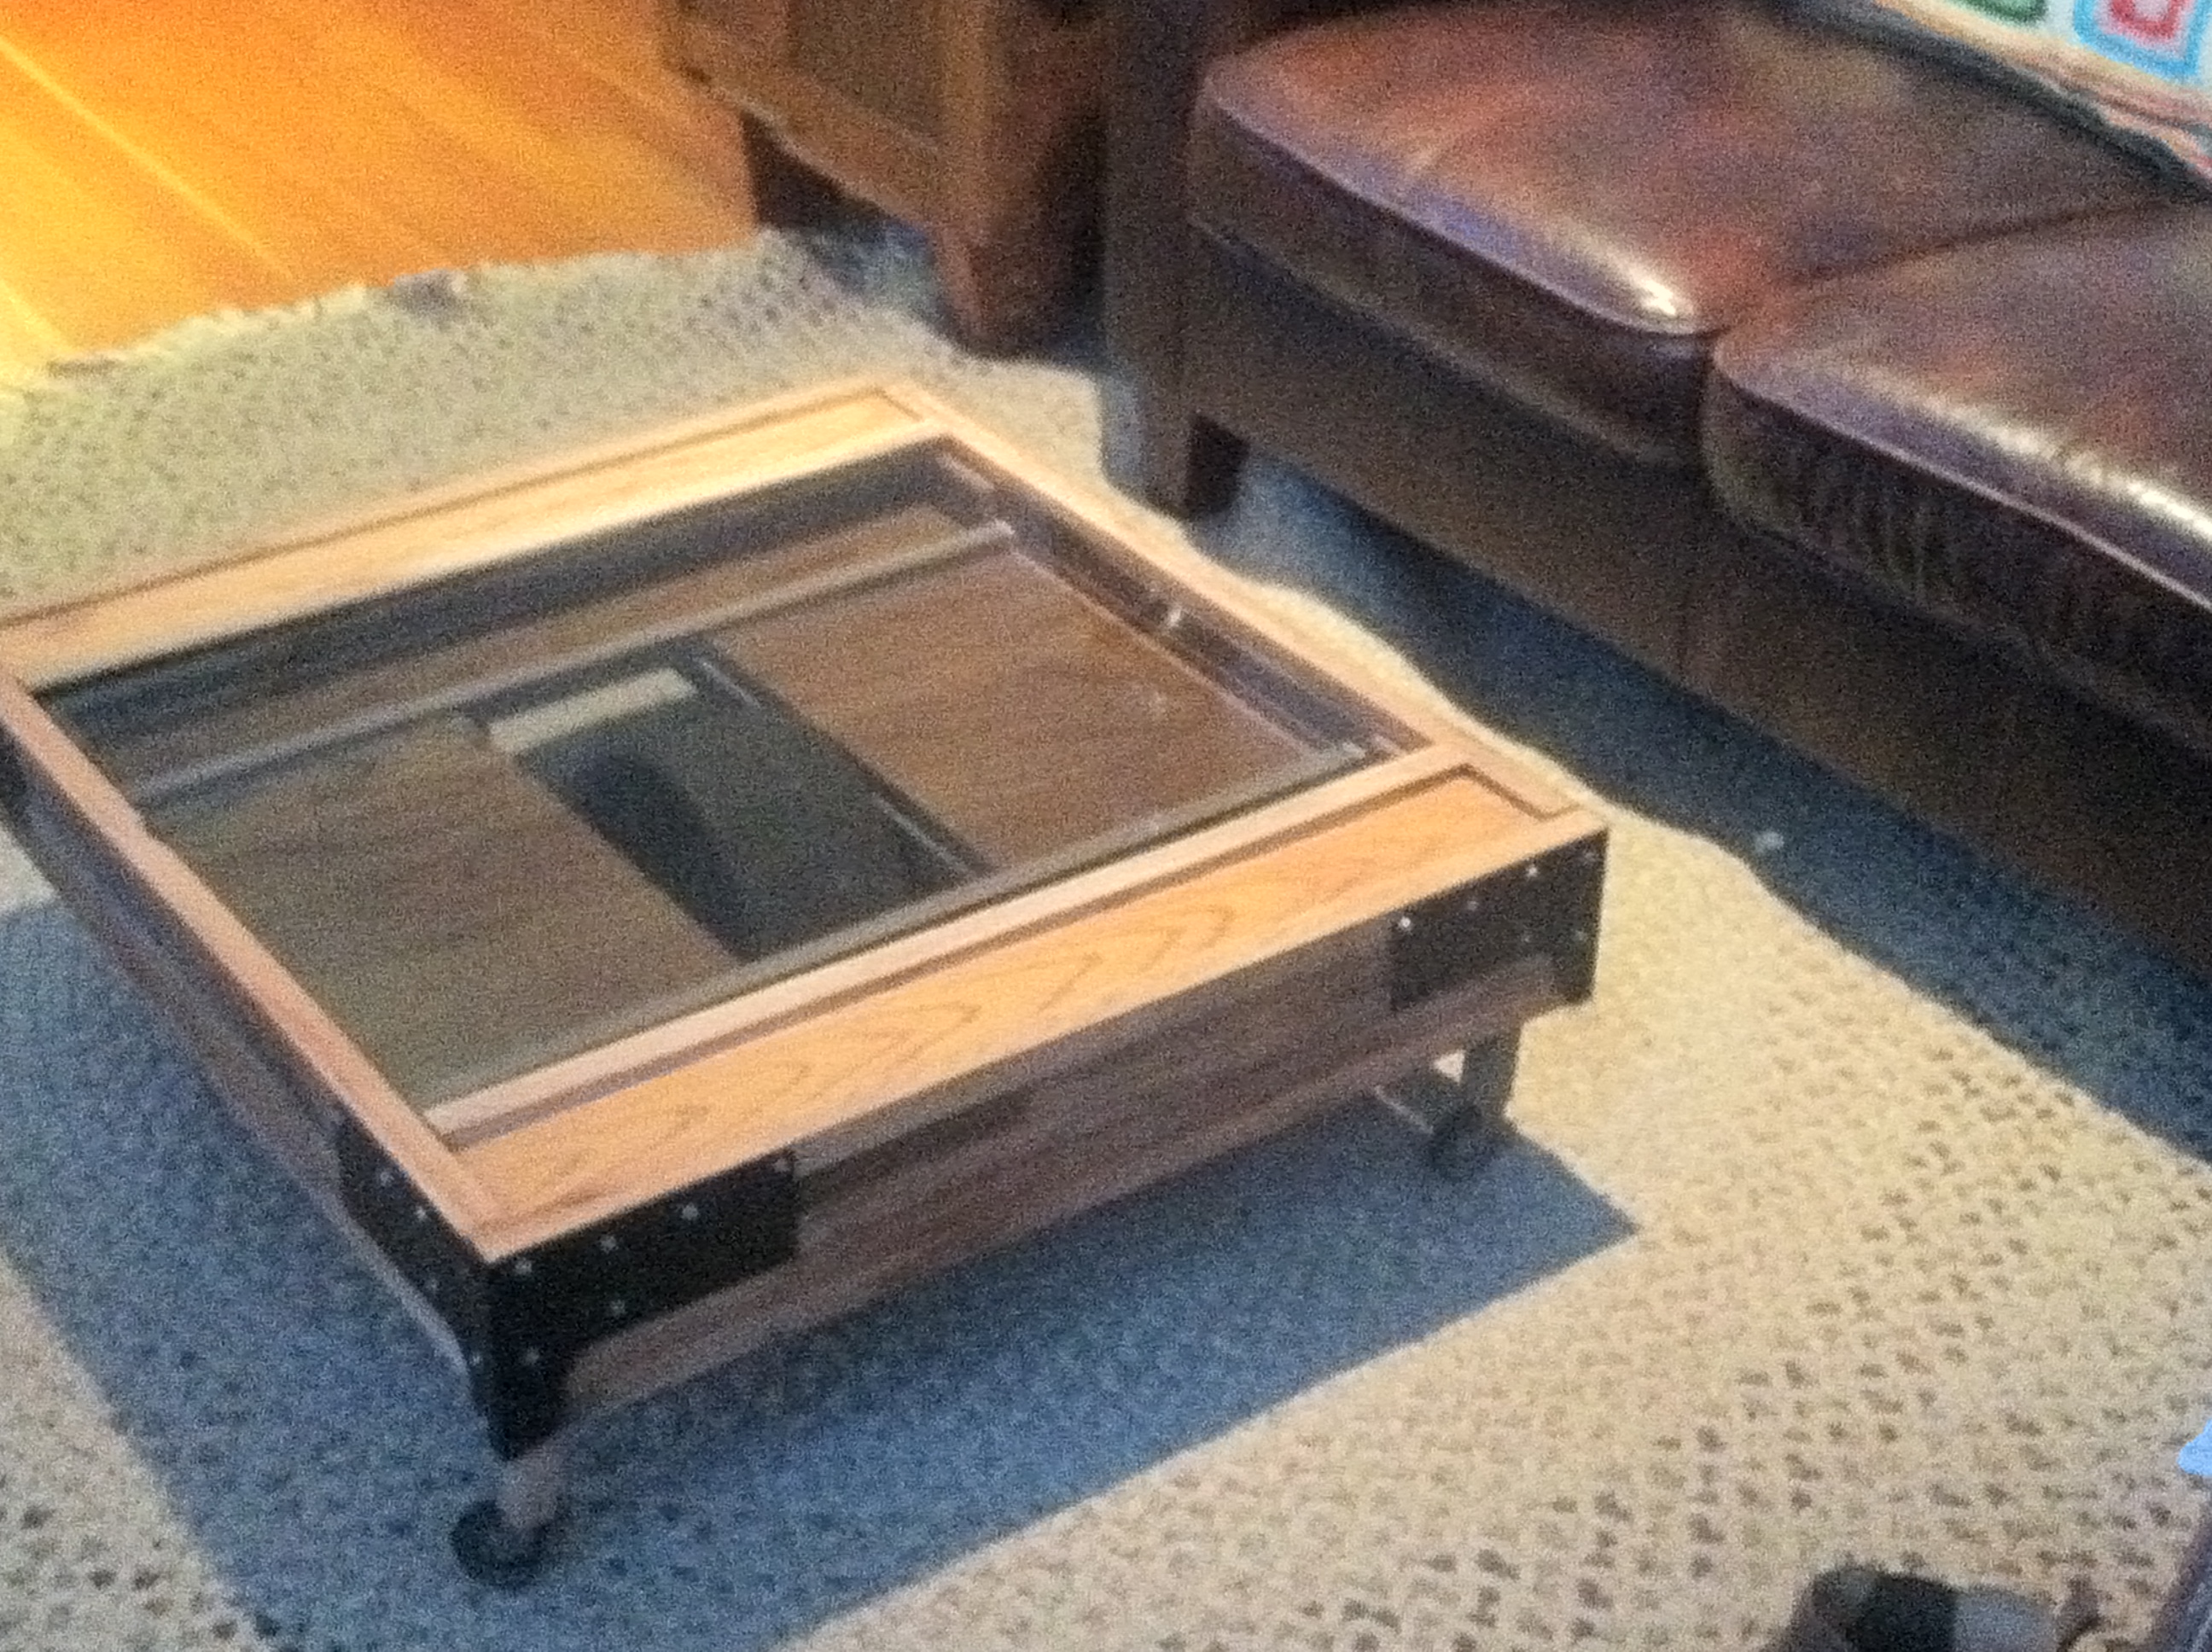
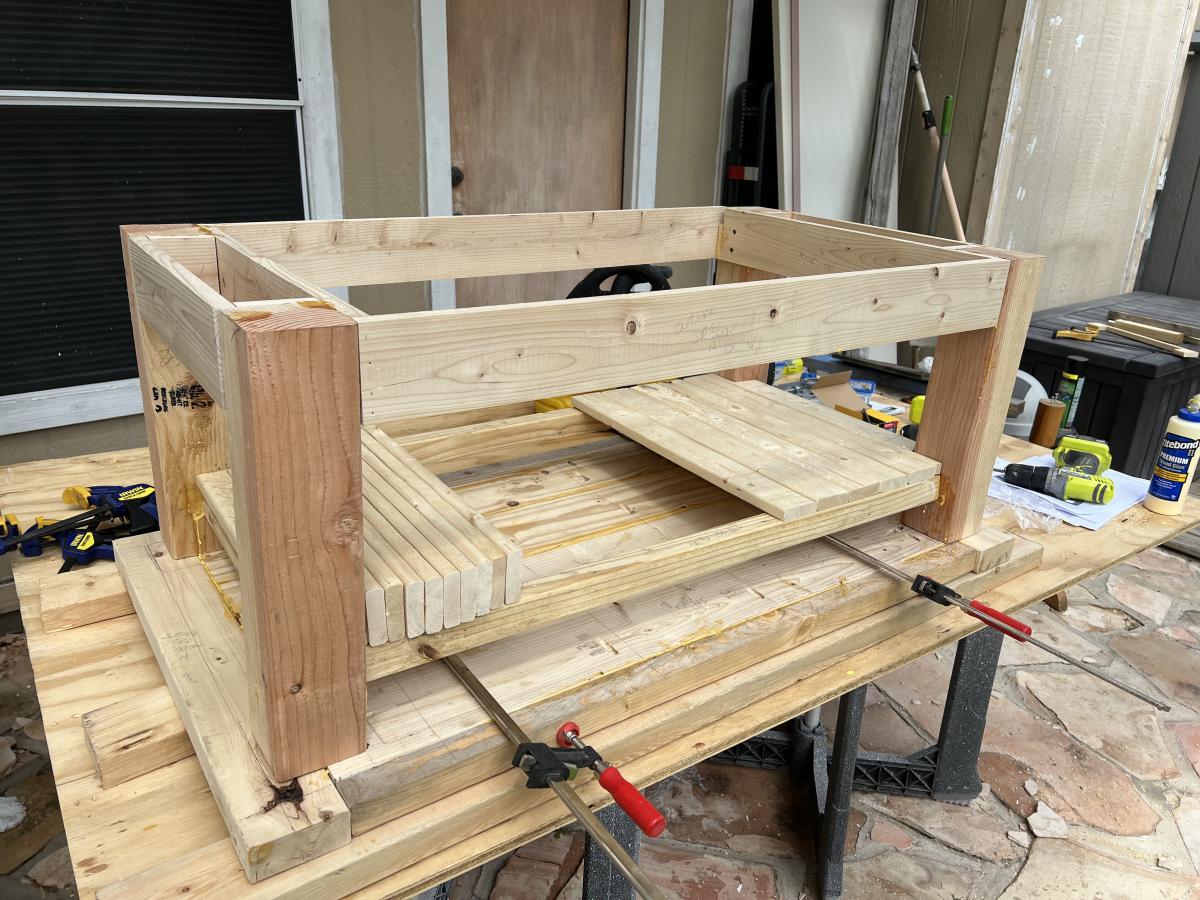
Okay, I didn't use the Factory Cart Coffee Table plan for my version, but since mine was inspired by the same piece as the Factory Cart Coffee Table, I decided to brag.
As is the case with all my projects, I used 100% "rescued" materials (salvage, leftovers from someone else's project, garage sales, dumpsters, curbside, etc). Wood, hardware, wheel and castors, glass, glue, finishes- all of it.


Tue, 01/17/2012 - 08:46
Where did you find the big wheel? That is sooooo cool!

Fri, 01/20/2012 - 21:53
Really nice. I actually like the way you painted the Simpson galvanized hangers black. I would like to know the same as Pam the Goatherd. Where did you get the big wheel?
In reply to Factory Cart Coffee Table. by Martha Jones DW
Fri, 01/20/2012 - 23:24
Got the wheel from a guy about 5 miles from here with a few acres packed full of all kinds of stuff. It's basically a junk yard for everything besides cars. Lots of super cool industrial-type stuff. Pretty tragic, really, since most of the stuff sits exposed to the elements year round. Anyway, I make sure my Tetanus shot is up-to-date, throw a few tools in my jacket, and go digging. I've scored a few times there. If you're near Battle Ground, WA let me know and I'll give you directions and the name of the dog that guards the joint in case you happen upon him.
In reply to Wheel by east fork spring
Sat, 01/21/2012 - 19:26
Luky!Only other place i would have to go home to the Bronx and find this item in one of the junk stores.
Thank you for the kind offer, unfortunately I'm in Maryland. Only good thing comes out of this is the Maryland Sheep and Wool Festival the weekend of mothers day in May.
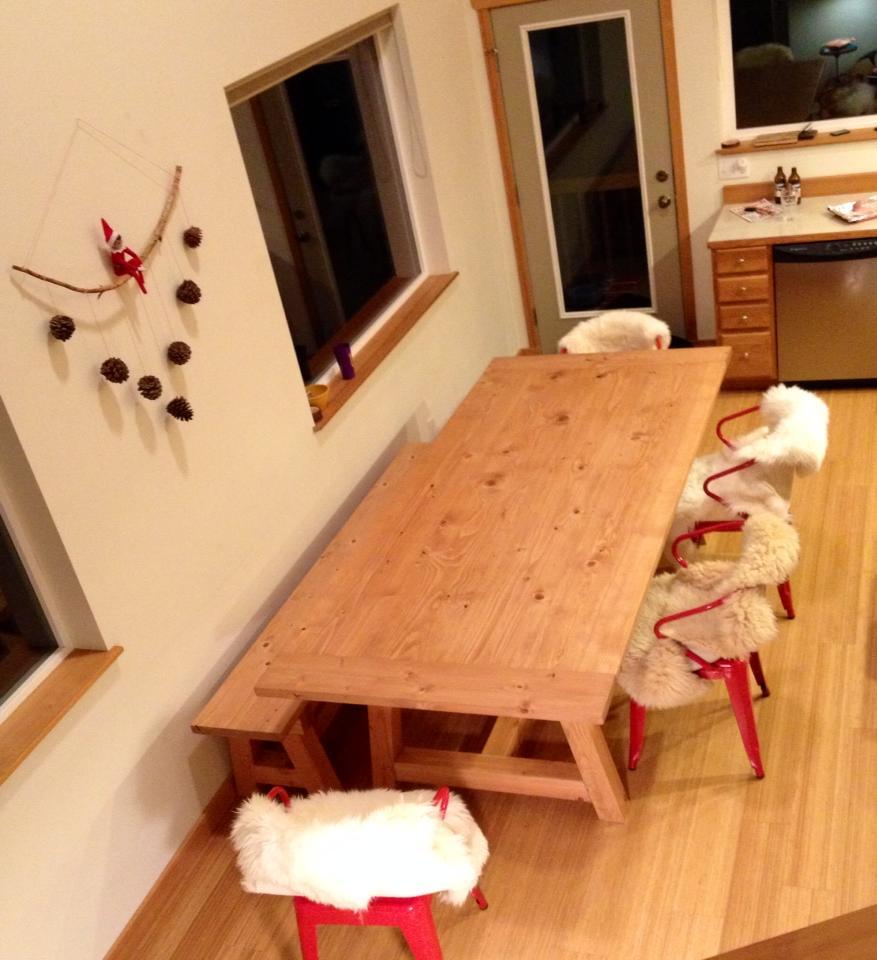
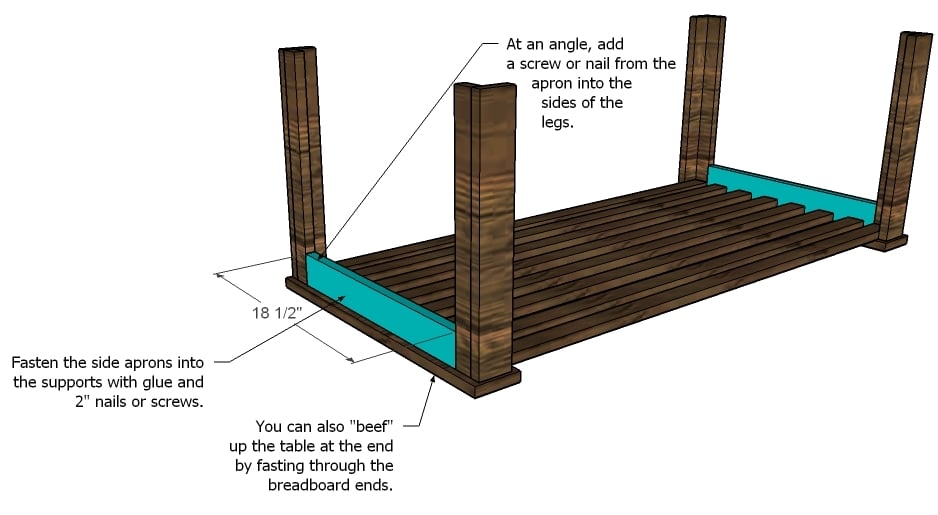
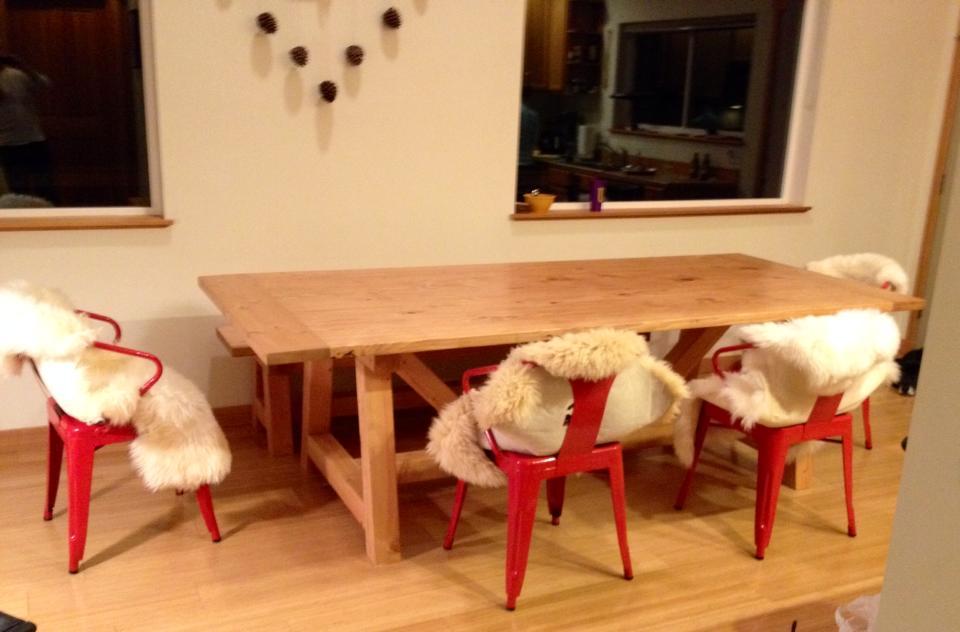
We ended up going with 4 2x12's for the table top and used 2x6's for the bread boards.
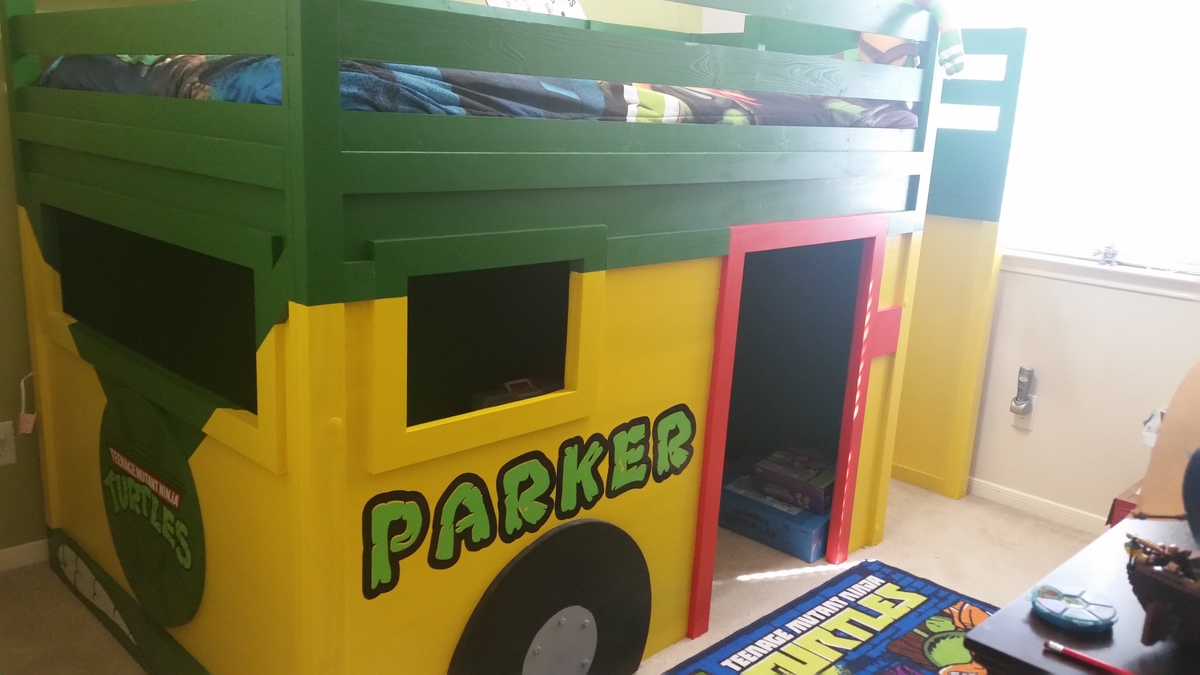
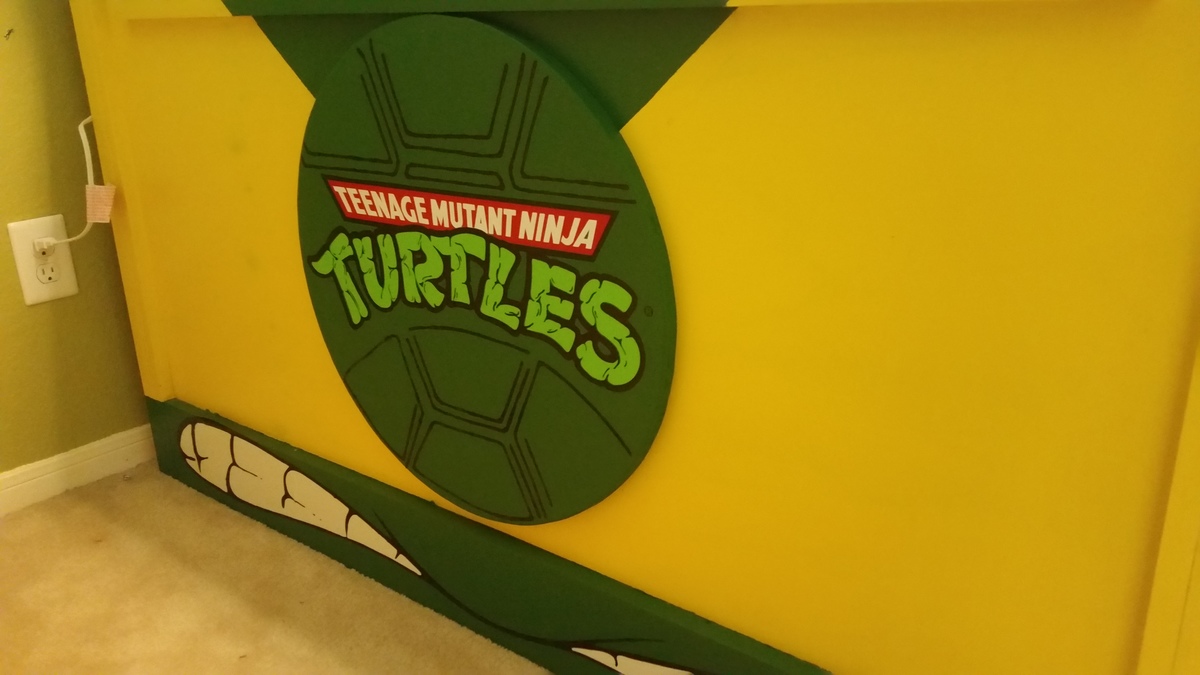
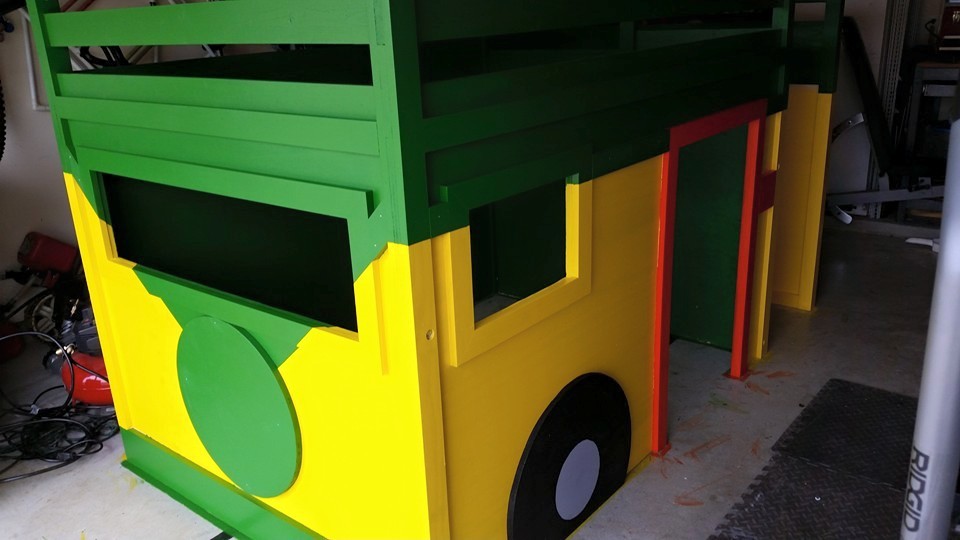
This project was a blast to build!!!! I modified the fire truck loft bed by changing a few of the exterior accent pieces. I also built it to fit a full mattress in stead of the planned twin. I did this by adding additional slates for support. I just recently was able to finish it completely when i found someone who could make the decals. Hope you all enjoy and feel free to ask any questions. Also I used cabnet grade plywood so mine cost was a lot more expensive.
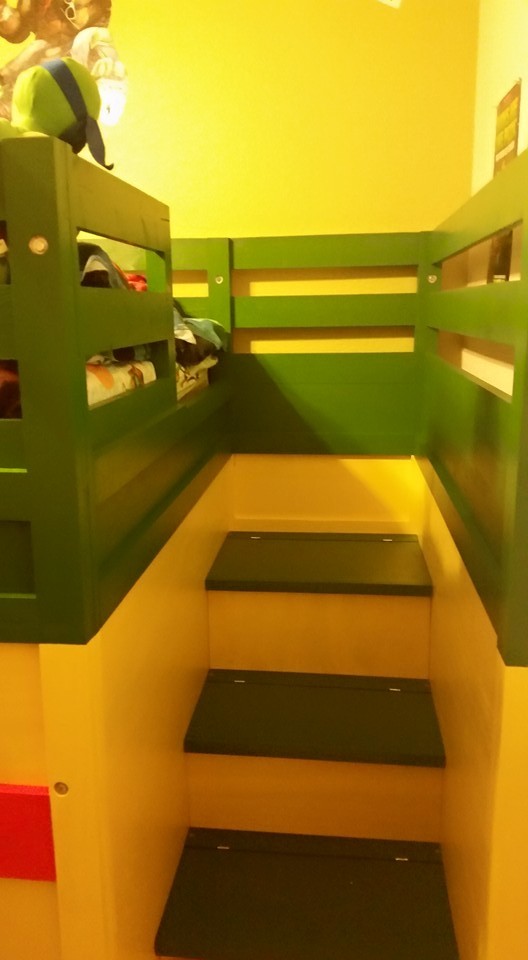
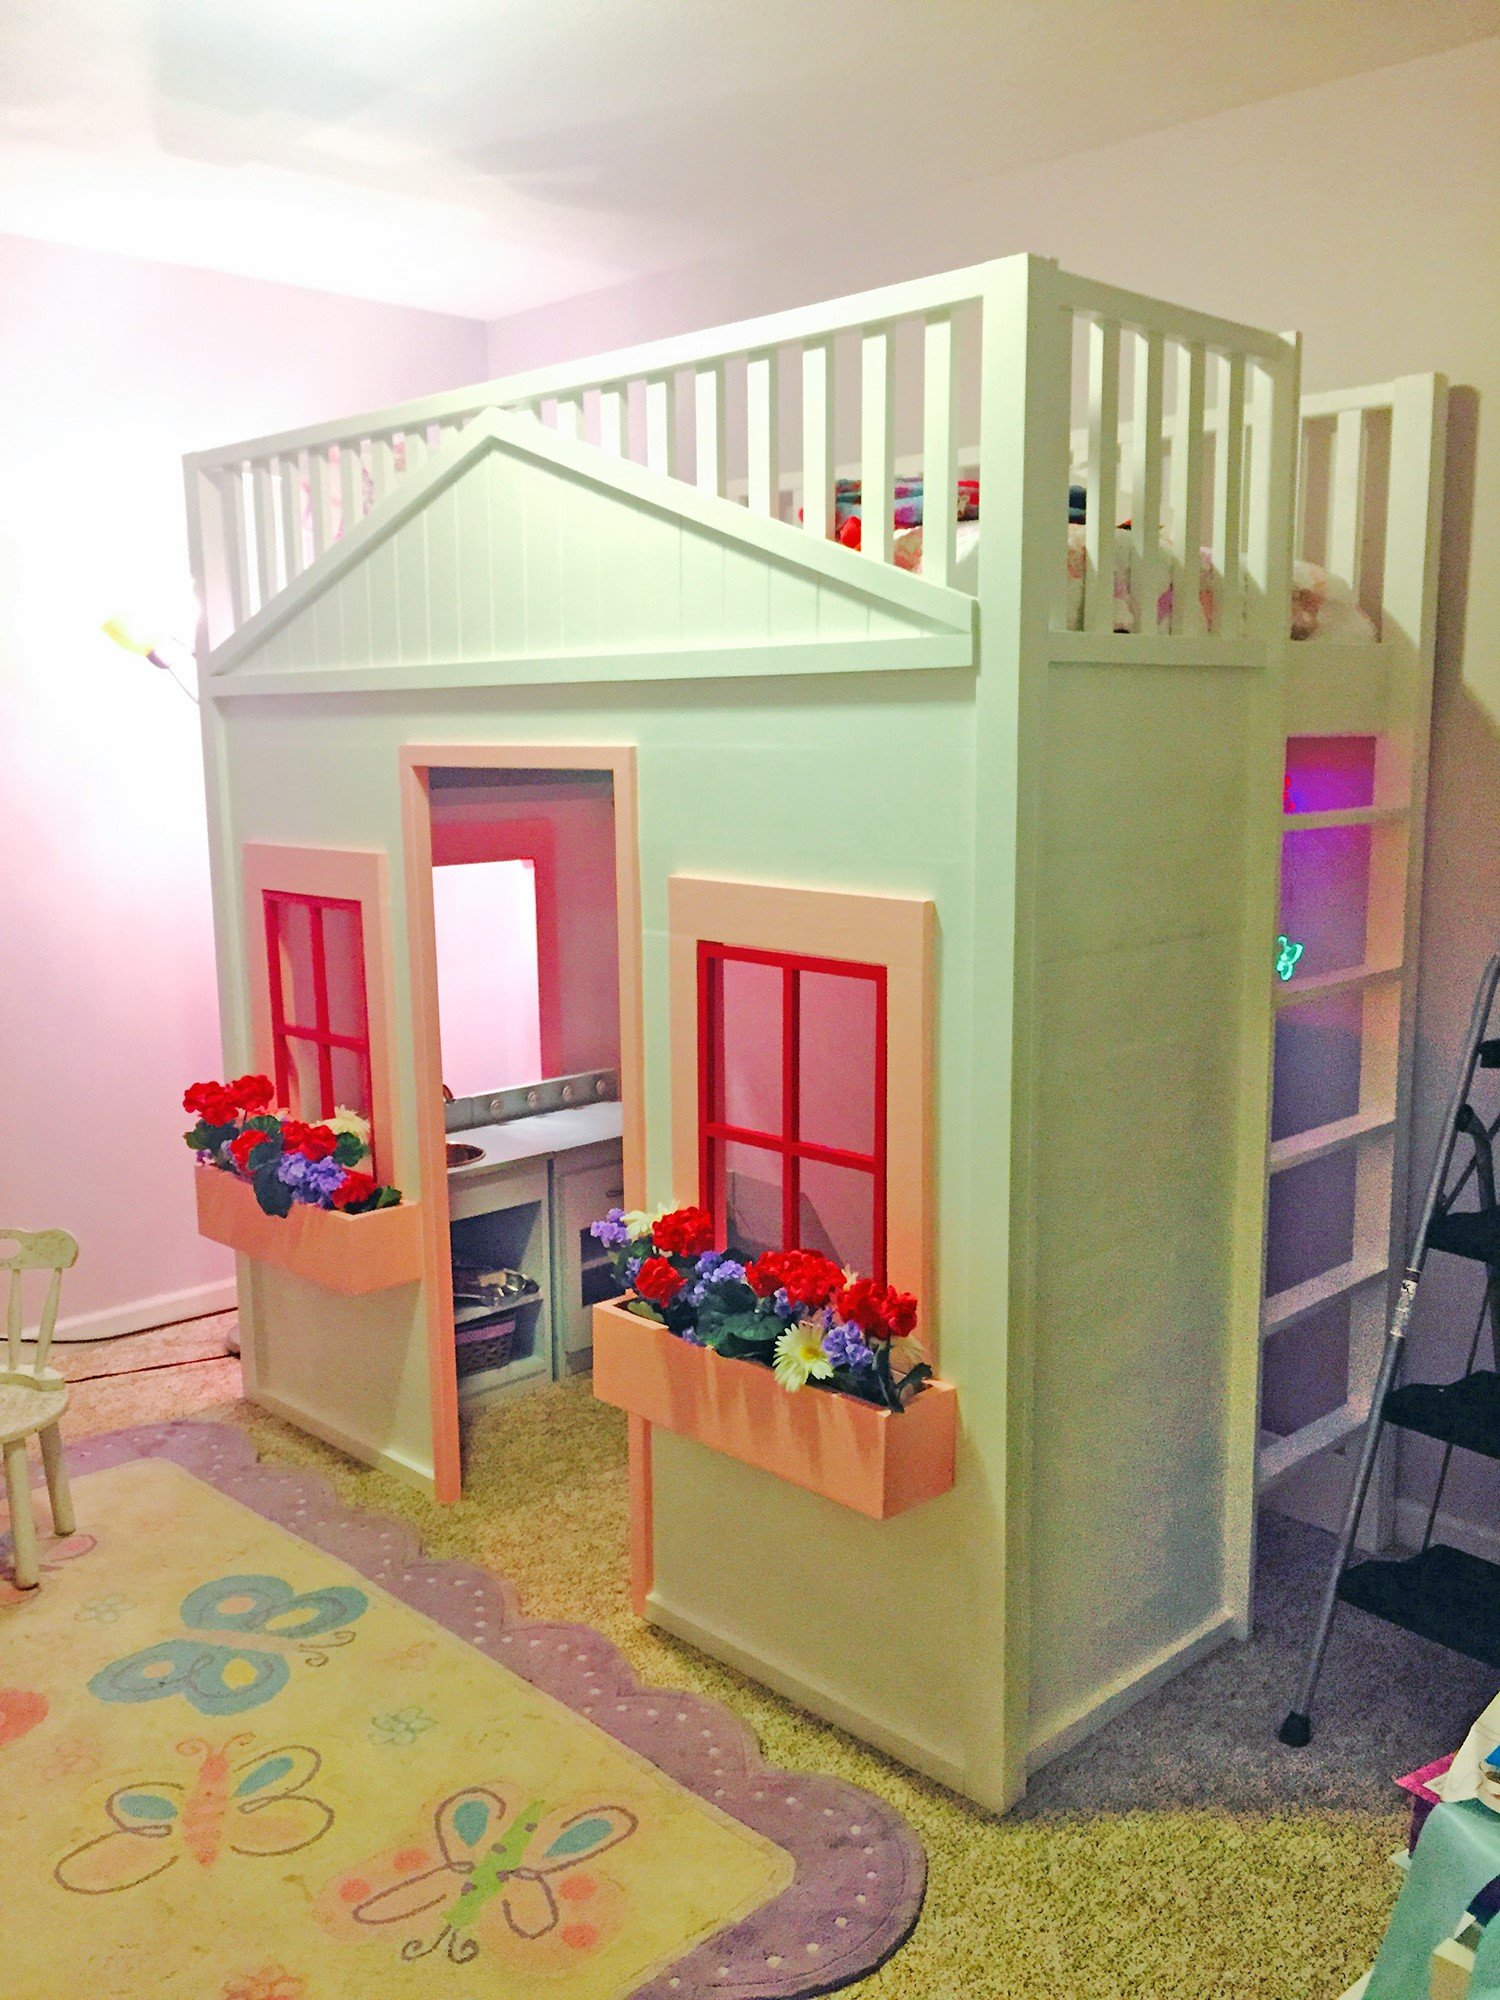
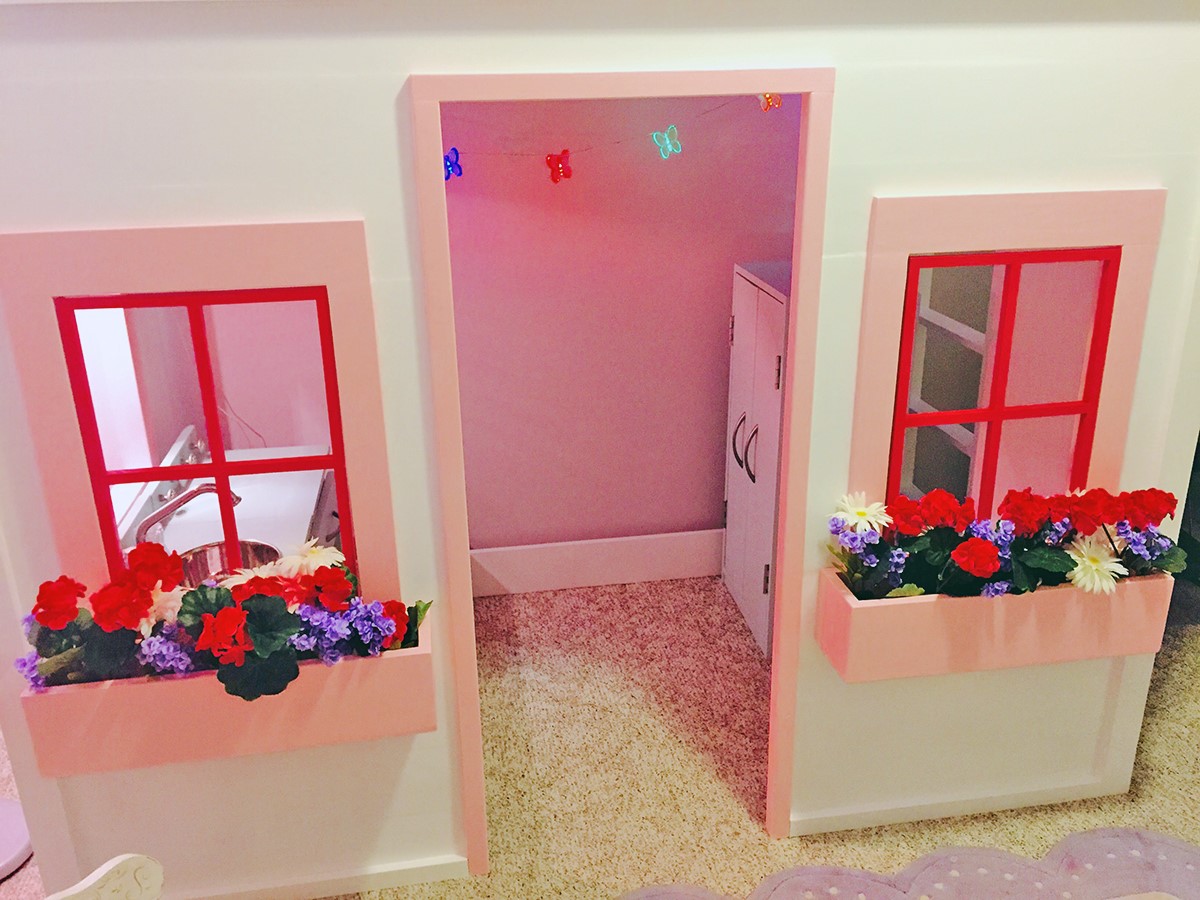
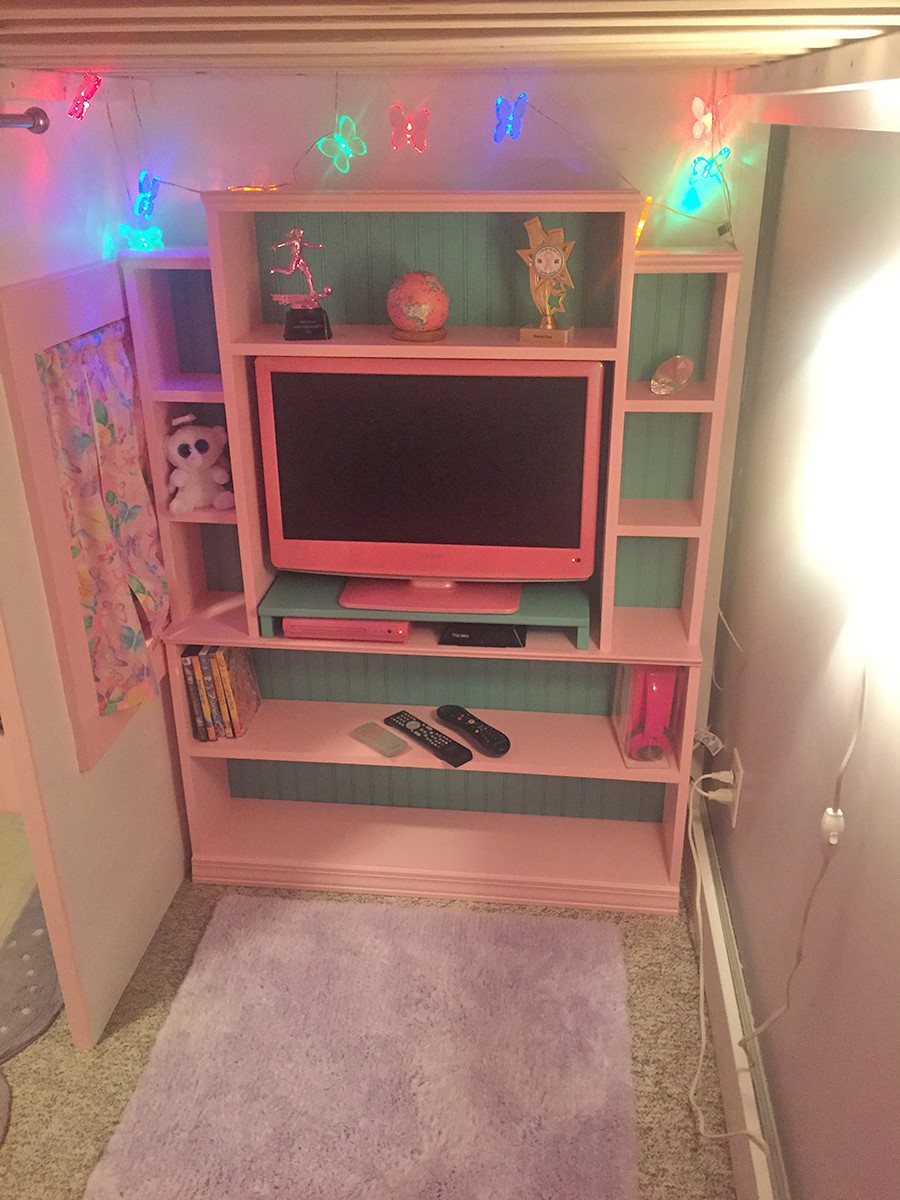
I built this bed a while ago but I am finally getting around to submitting a brag post.
It is the largest thing I have ever built and it was a huge labor of love. I made it by myself in the evenings after work and weekends over the course of a few weeks. I modified the plans only slightly. I added an extra 1x6 board which makes the overall height 76 inches tall.
I also changed how the windows were framed and added flower boxes. I got a bit OCD and filled all the pocket holes because I didn’t like the way they looked even though it was quite tedious, I am happy with the way it turned out.
At first, I put the play kitchen I built from Ana’s plans underneath, but that was later replaced with a little tv stand that I made to fit perfectly under the playhouse. I didn’t use any plans for that but it was just a simple bookshelf. I measured the space, cut the wood as I went and used beadboard on the back of the shelf with cutouts for cords. I used leftover paint from the playhouse for the tv stand.

Wed, 10/02/2019 - 09:38
GORGEOUS!!! Thanks so much for sending in photos!!!
Mon, 11/04/2019 - 12:24
Congrats! Your post was randomly selected for a $100 gift card! Look out for that in your inbox shortly!
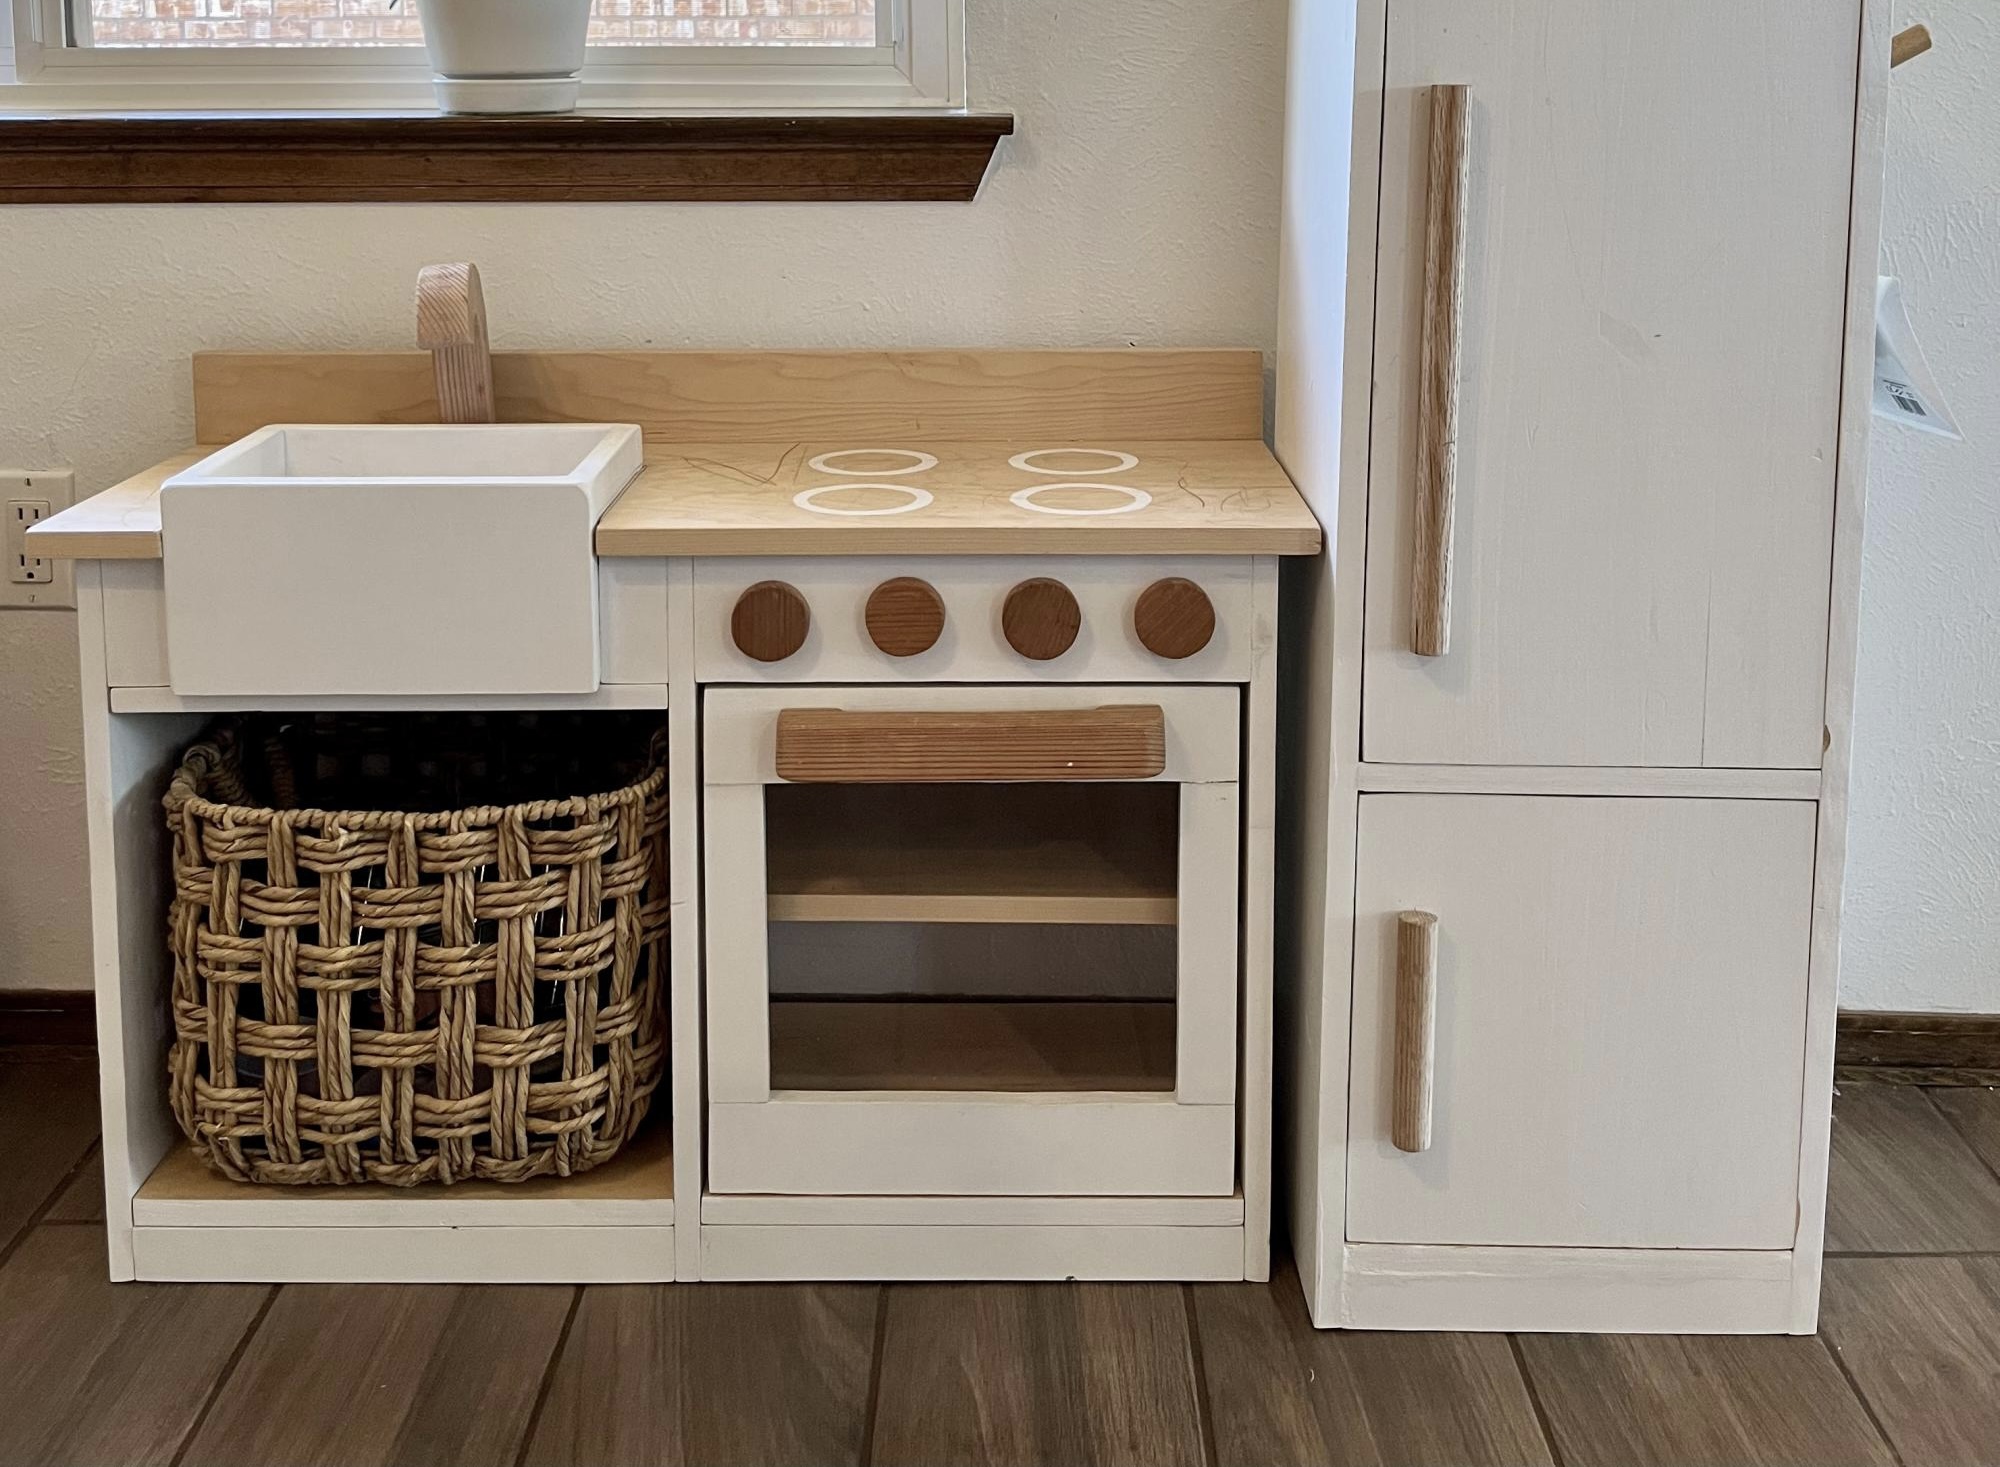
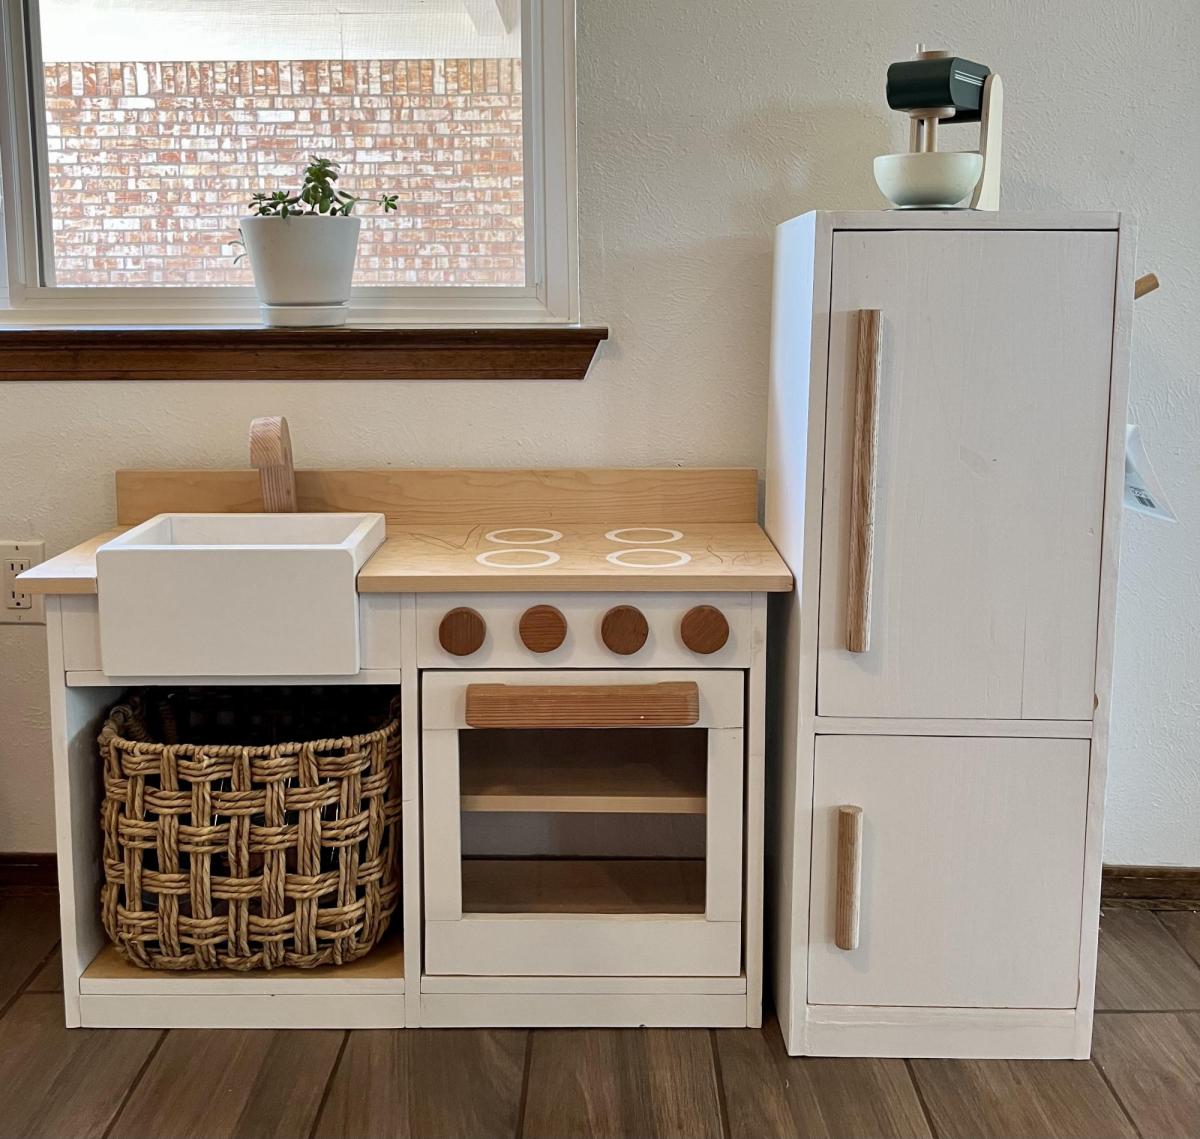
I made this play kitchen as a Christmas present for my kids, and it’s been a big hit! It’s built mostly from leftover hardwood plywood, and a couple of 1x12 pine boards. The oven knobs and faucet were cut from redwood scraps and attached with 1/2” dowels to freely rotate. The vertical surfaces were painted with leftover house paint and sealed with water-based polycrylic. It was a fun build, and I learned some new skills (like installing hinges)! Thanks for the plans!
Mon, 06/05/2023 - 07:50
WOW, this is just too cute, can I get one in my size please! Thank you so much for sharing, love your finish choices.
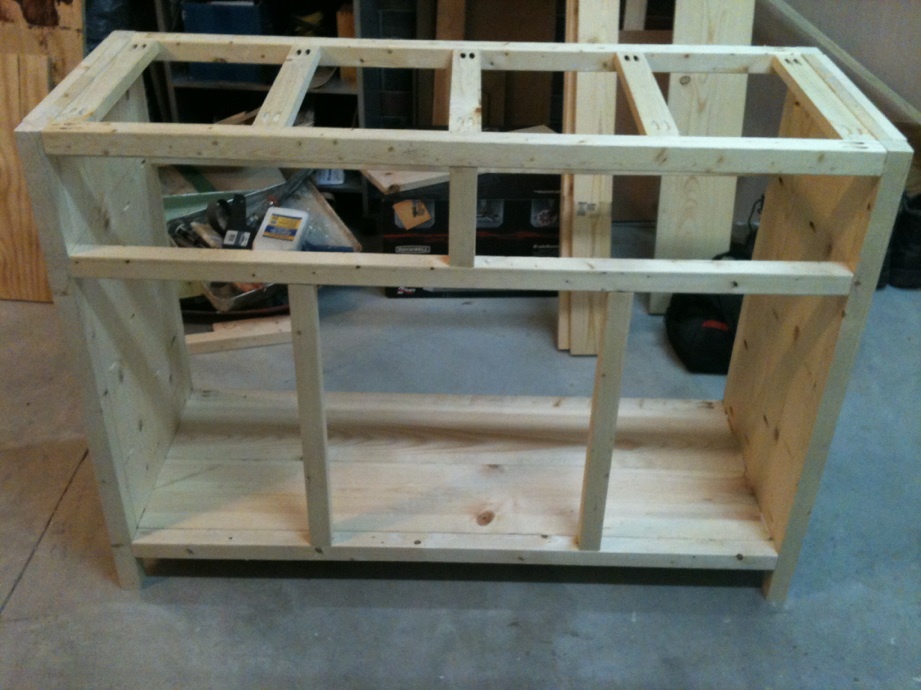
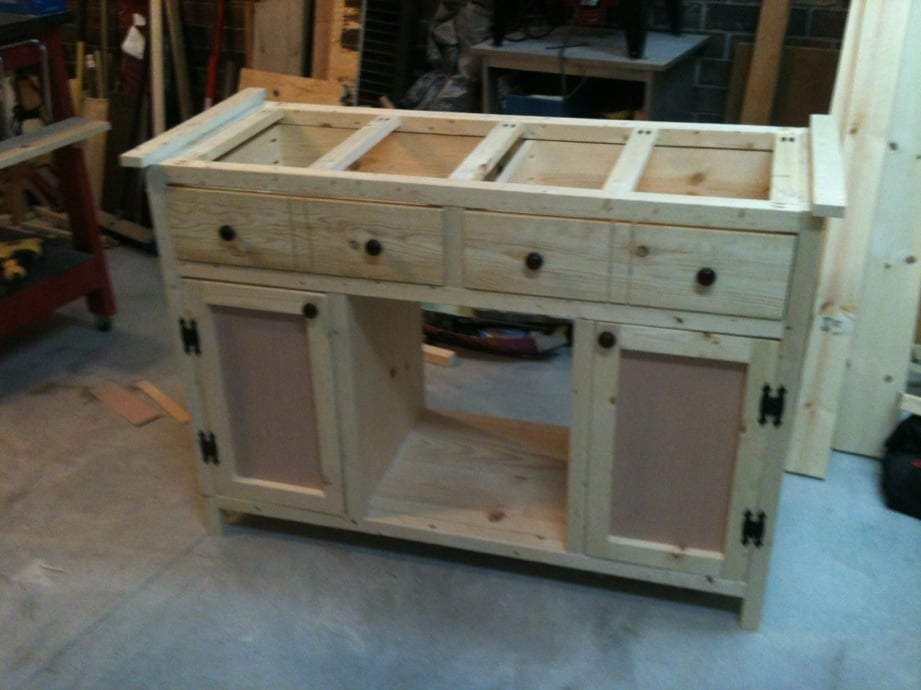
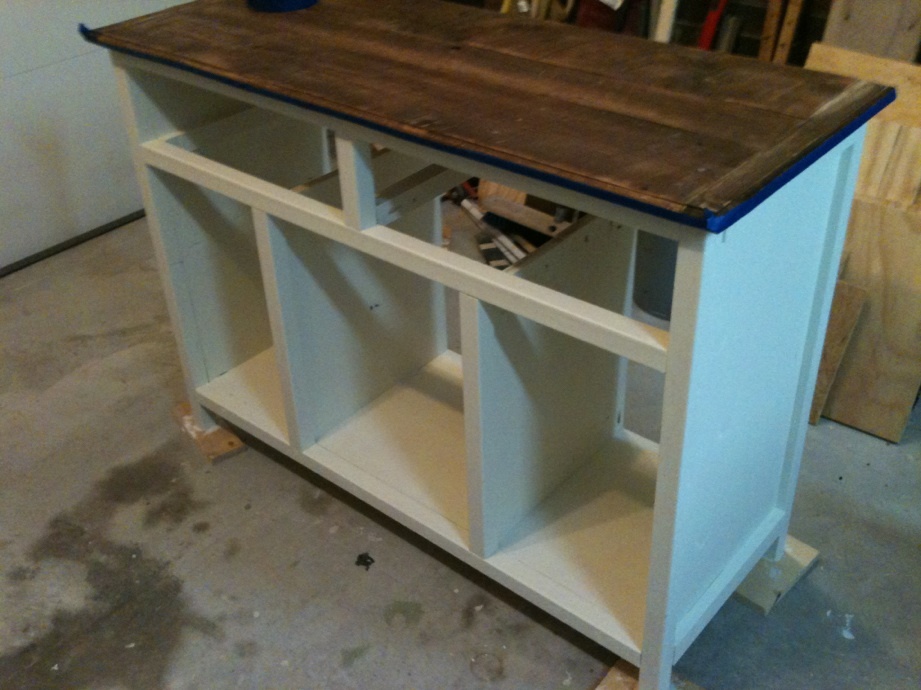
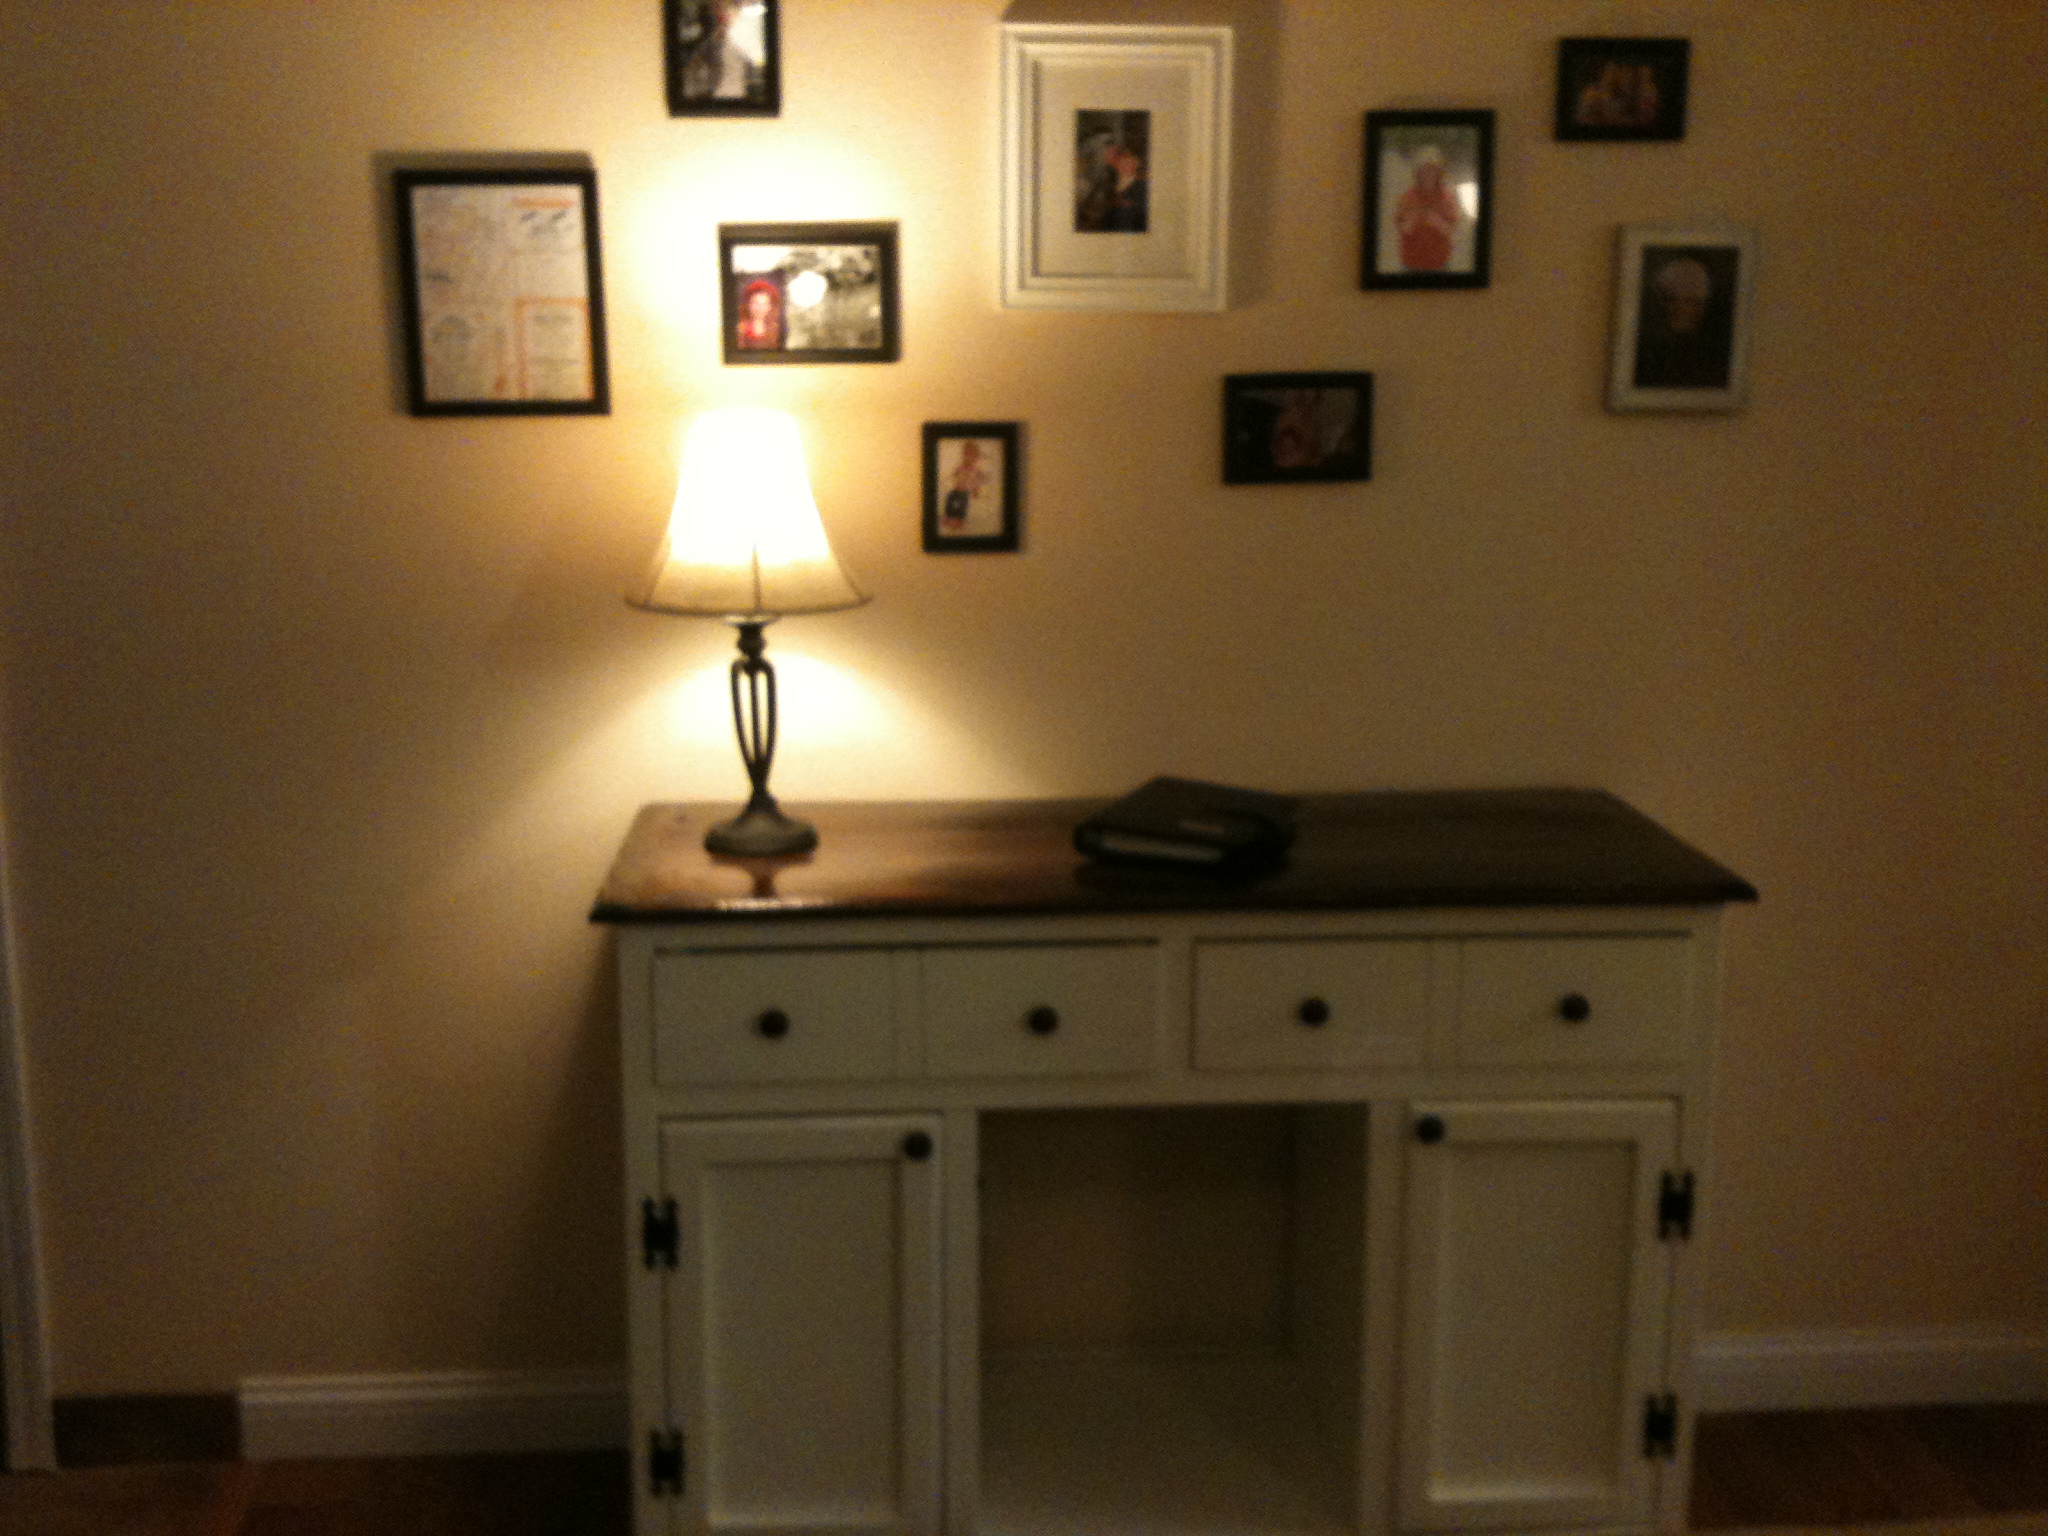
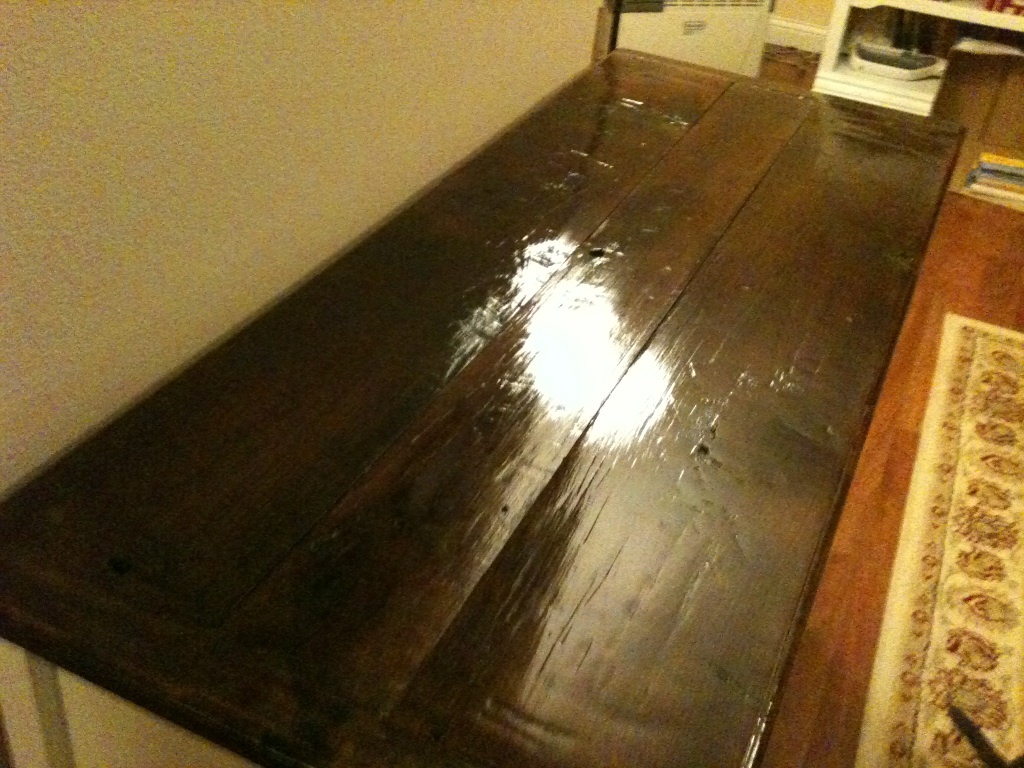
I've wanted a console table for a long time. My husband finally made me one! We liked the salsa console table, but it wasn't quite what we were looking for. He modified the farmhouse bedside table plan to get exactly what we were wanting. The top is made from reclaimed oak, stained to match the farmhouse dining table he made me in August.

Sat, 01/21/2012 - 12:08
Very nice job! I love the glossy top and the kitten is adorable!
Sun, 01/22/2012 - 16:44
Your console is just perfect !
Il love the old stylish wood with white paint...
So perfectly vintage !
Sun, 01/22/2012 - 17:41
The table top is 47 1/2" long and 19 1/4" wide. The base is 46" long, 17 1/2" deep and 33 1/4" tall.
Sat, 09/15/2012 - 18:56
I was curious on what wood you used for the top. I seen you said reclaimed oak but I can't get 19 1/4 with 3 pieces. Could you tell me what the width of the pieces are? Btw, I love the dark glossy top with the off-white finish. Looks great.
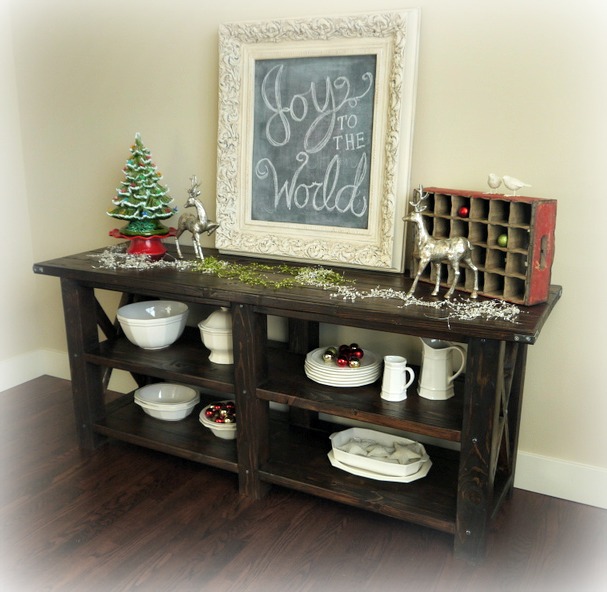
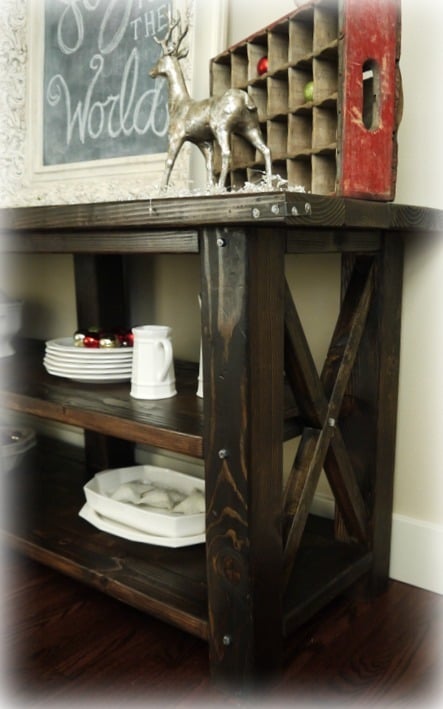
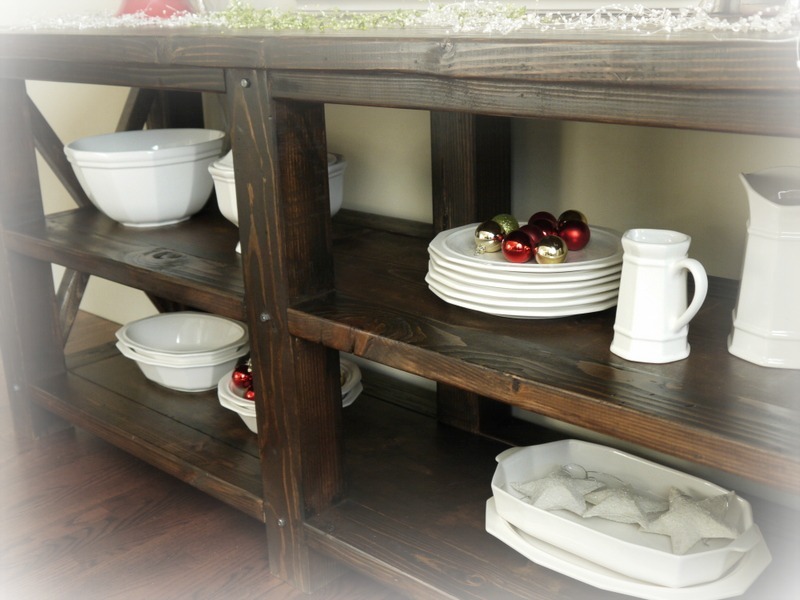
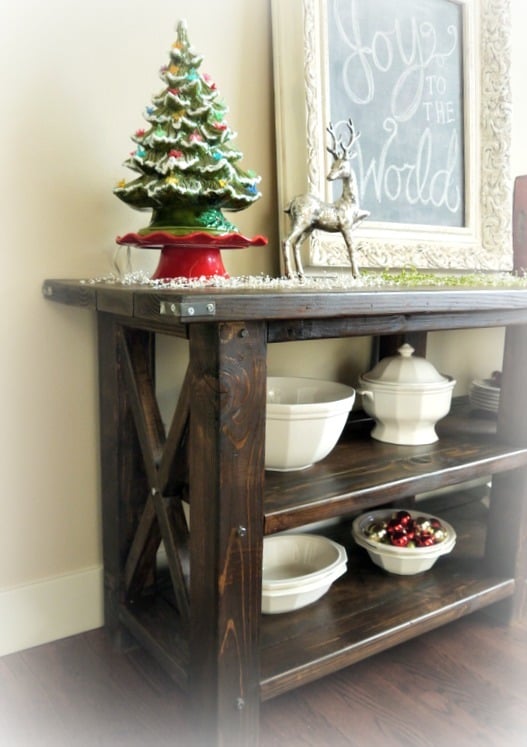
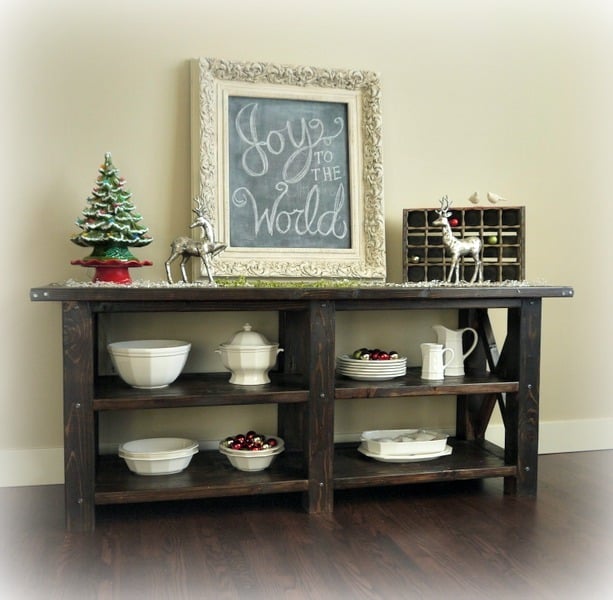
This modification of the Rustic X Console uses 4x4's for legs. The top is one extra 2x6 wide, and the horizontal cross-pieces are 2x4's. The whole thing is 72" wide. More photos on my blog: http://redhenhome.blogspot.com/2013/12/grand-rustic-x-buffet.html
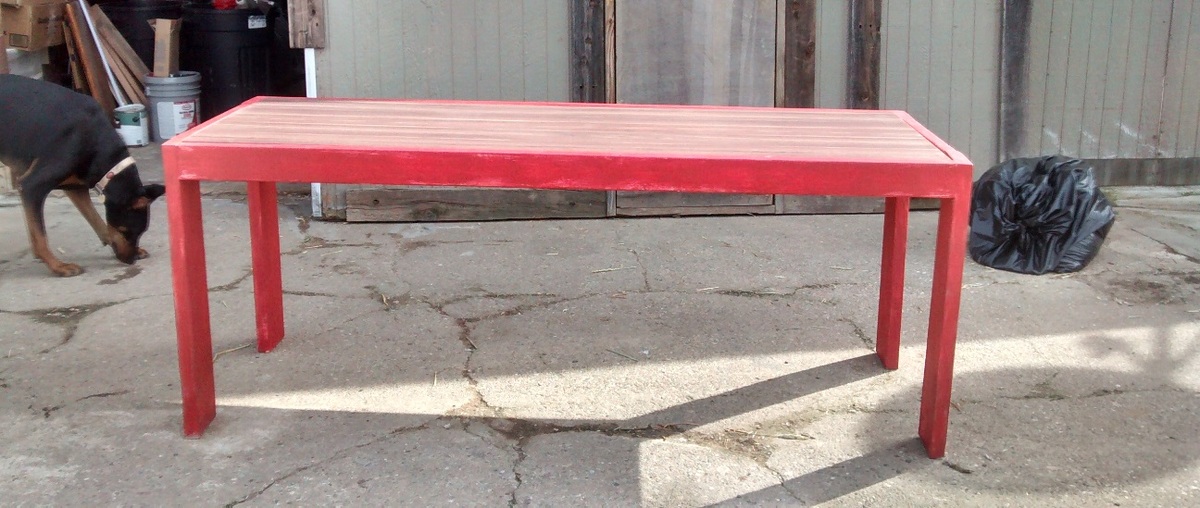
Nothing was bought for this table. I allocated $5 as cost for the screws and sandpaper. 2 x 6 legs & 2 x 4 rails used wood recycled from material removed during alterations to our 1930's barn. Supports were extracted from the woodpile. Nails were removed where possible, or cut off and punched below the surface where they were not removable. Because the wood was very old and splintery an enormous amount of time was spent sanding.
The top is an Ikea counter thrown out from a kitchen remodel and rescued from the roadside, still in its cardboard box. Score!
I am very pleased with the design and plan to make another using better lumber. The table is very sturdy and will be used as a sewing/crafts table.
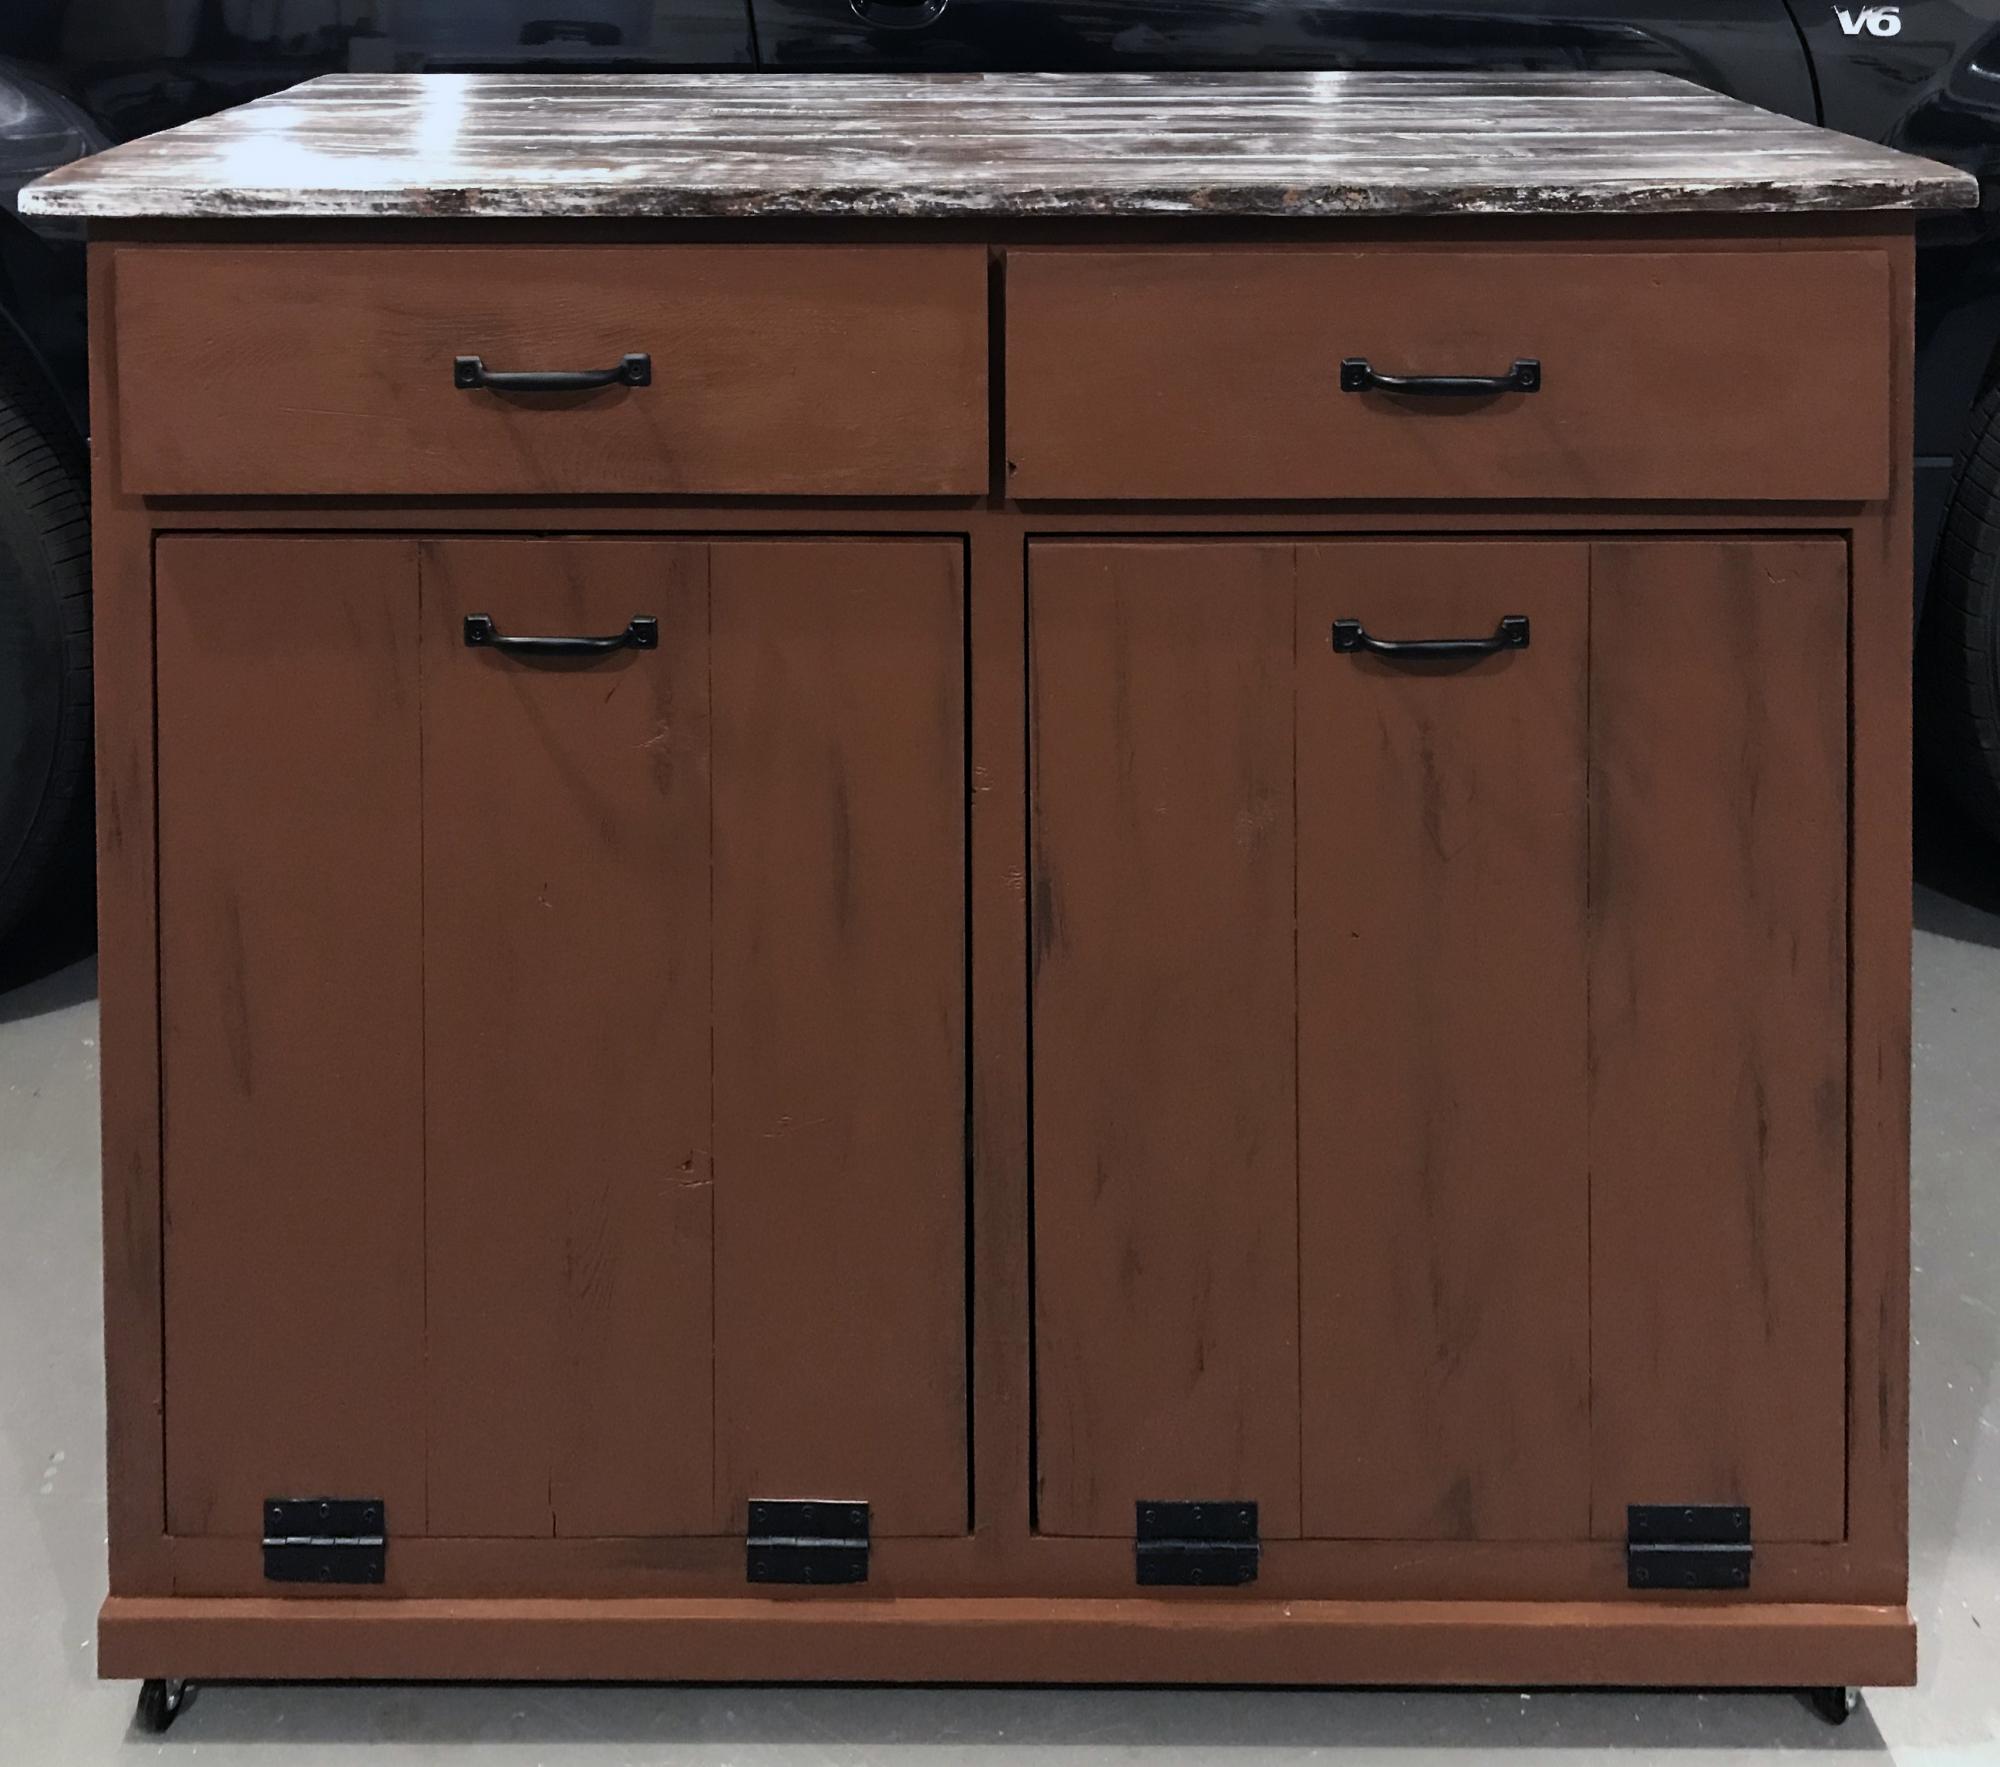
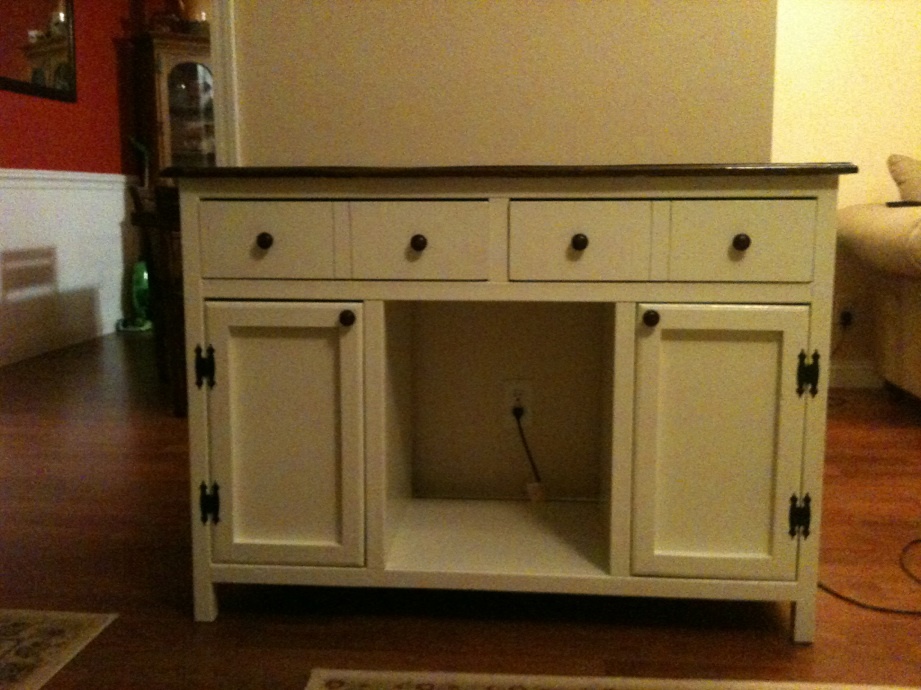
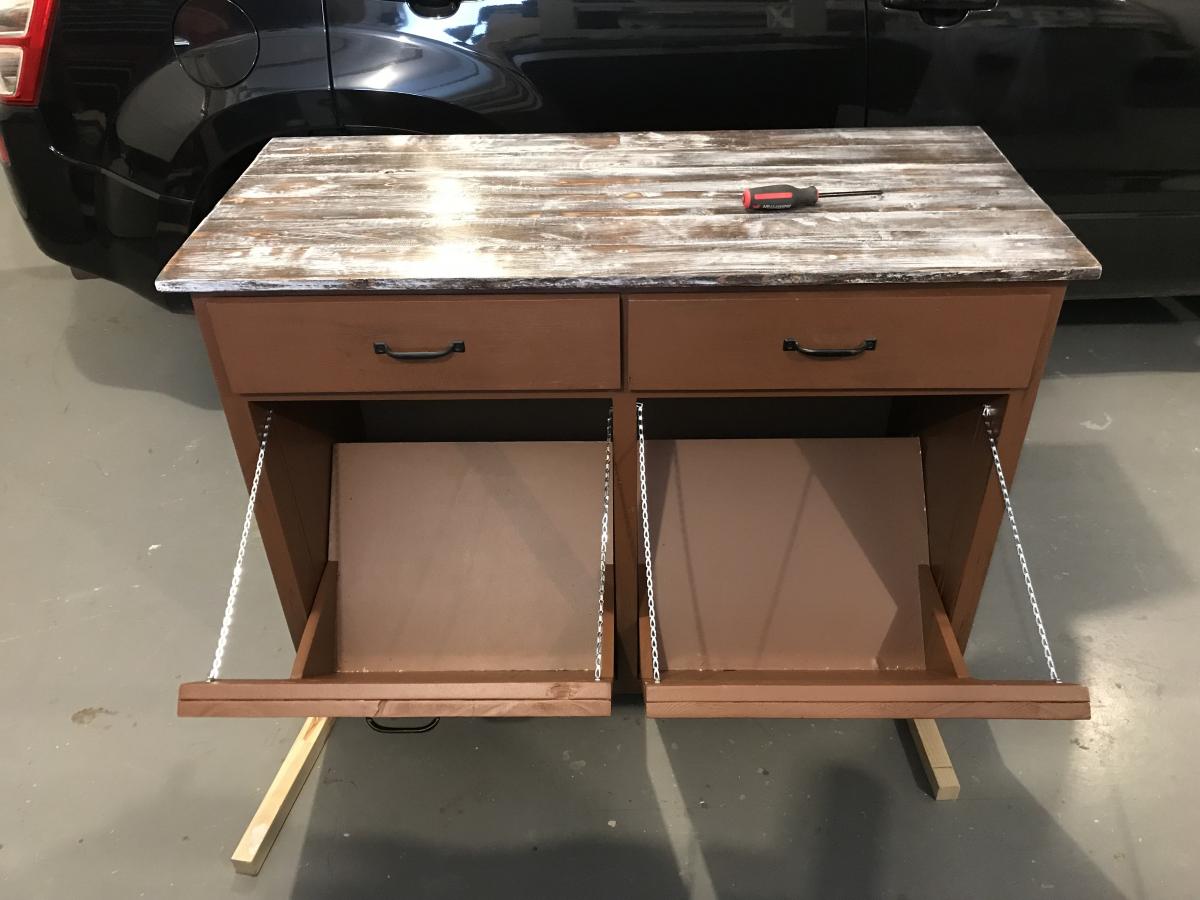
I built this for my friend who wanted a double cabinet for her recycling material. I used Ana's plan and just doubled it up. She also wanted a weathered looking top. The plan's were great but it was a bit difficult to get the two side by side bins.

Was recommended by YT (yes I subscribed) thought it was awesome. Just getting into woodworking and thought it was perfect to try. Appreciate the help, very kind. Godspeed.
Sat, 06/10/2023 - 06:41
Thanks for sharing and subscribing, it looks great! Can't wait to see what you build next.


Comments
Ana White Admin
Tue, 05/16/2023 - 15:09
Super build!
Love the clean look, fantastic! Thanks for sharing.