Community Brag Posts

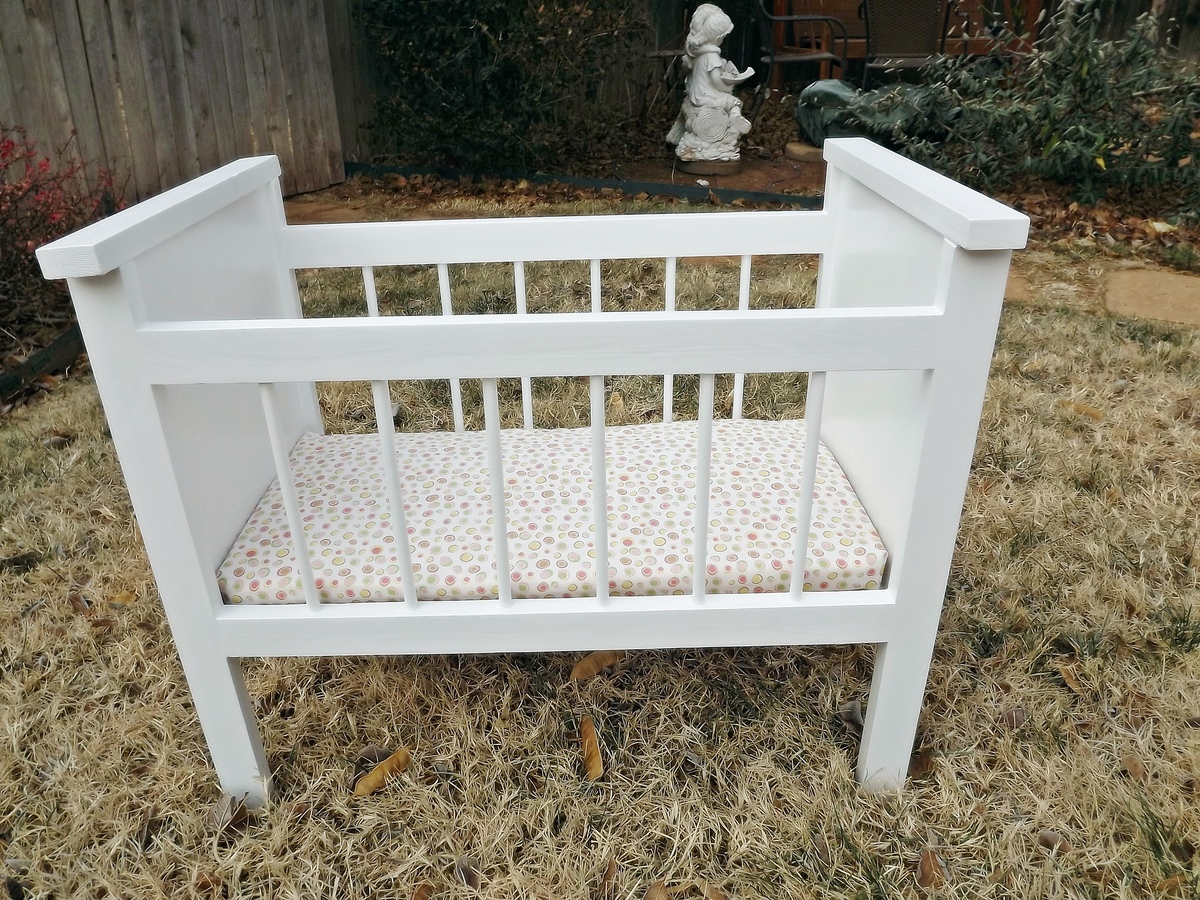
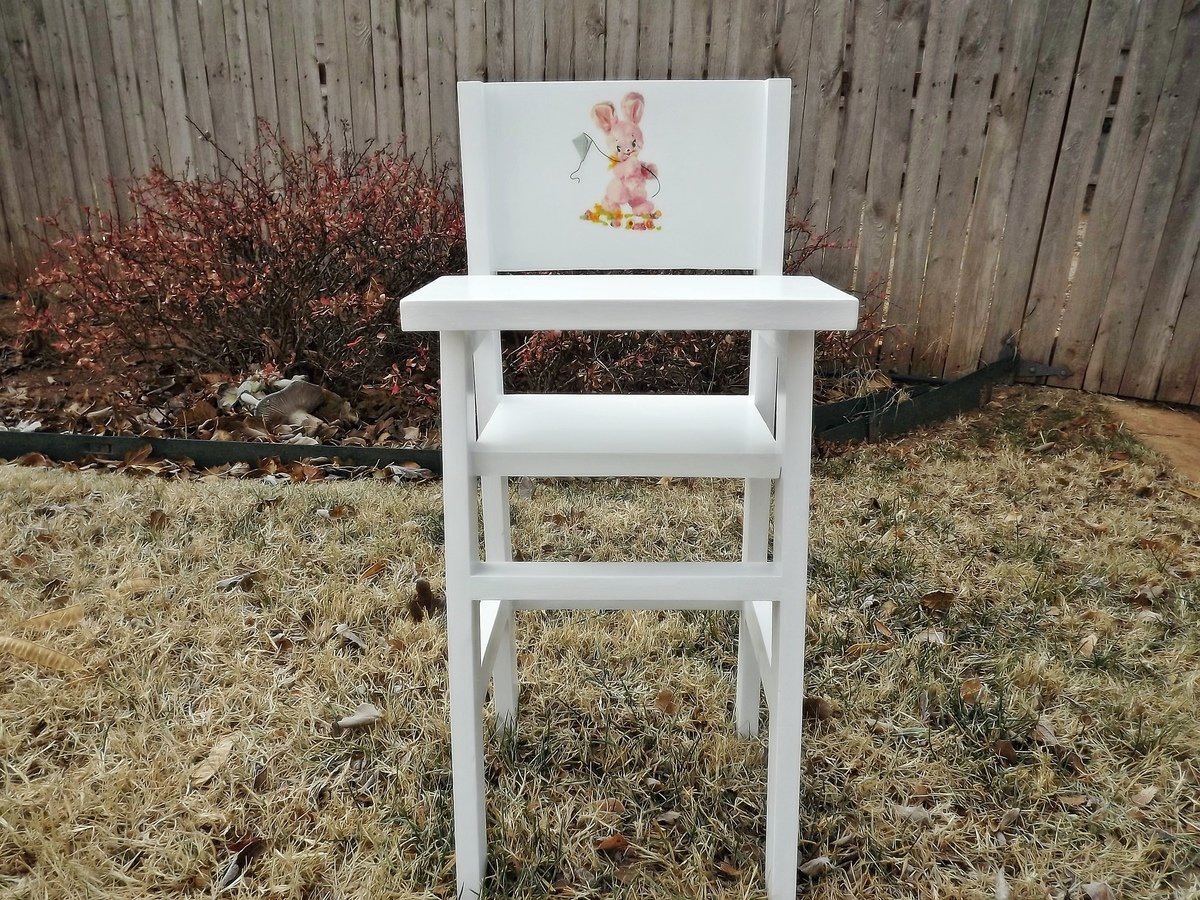
Fancy Baby Doll Crib and High Chair
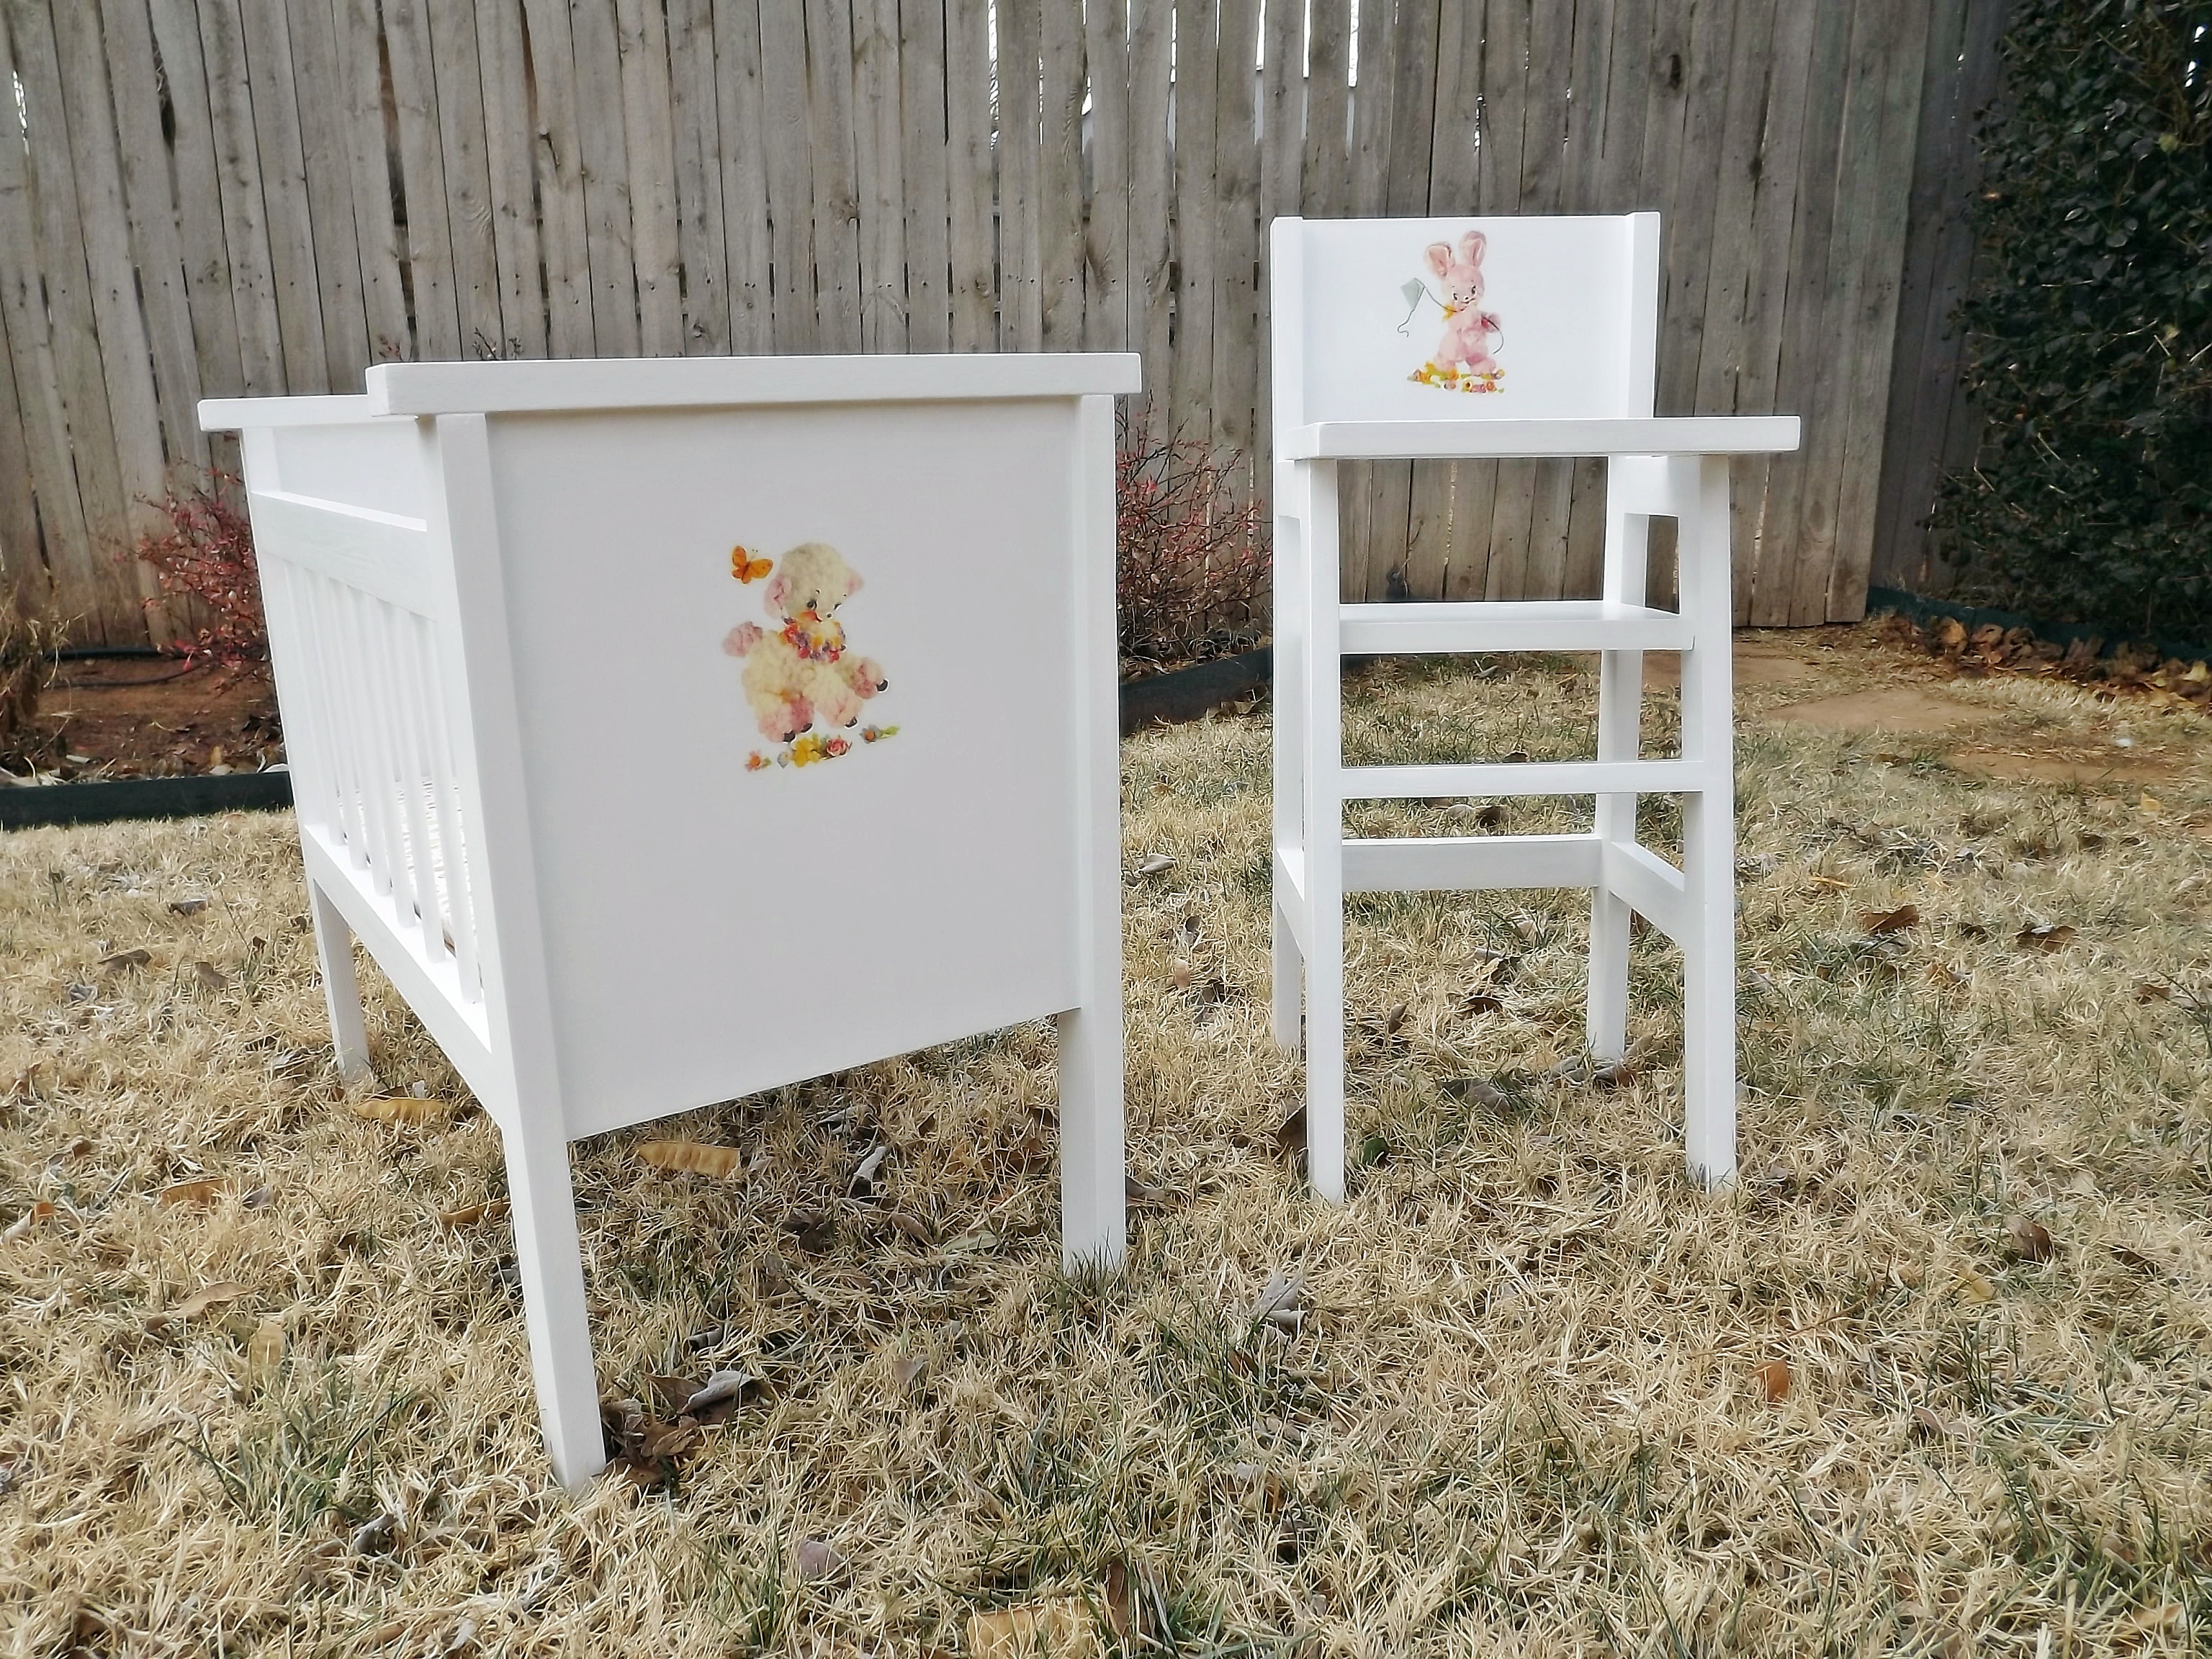
This is the final installment (#6) in the doll bed and high chair sets I've been building my great nieces. Each set was decorated with a lamb water-slip decal on the end of the bed (kind of a little theme going). This is the second crib I've built with dowels - I usually use 1" x 2"s - and I learned to use a spade drill bit rather than a regular drill bit. It doesn't split the wood around the holes. I've had a lot of fun building these for my nieces, and now I may have to start building them for my friends' children and grandchildren. :-)

Built from Plan(s)
Estimated Cost
$20.00-$25.00 not including paint which I had on hand
Estimated Time Investment
Afternoon Project (3-6 Hours)
Finish Used
Kills primer; Olympic bright white interior wall paint, semi-gloss
Recommended Skill Level
Beginner
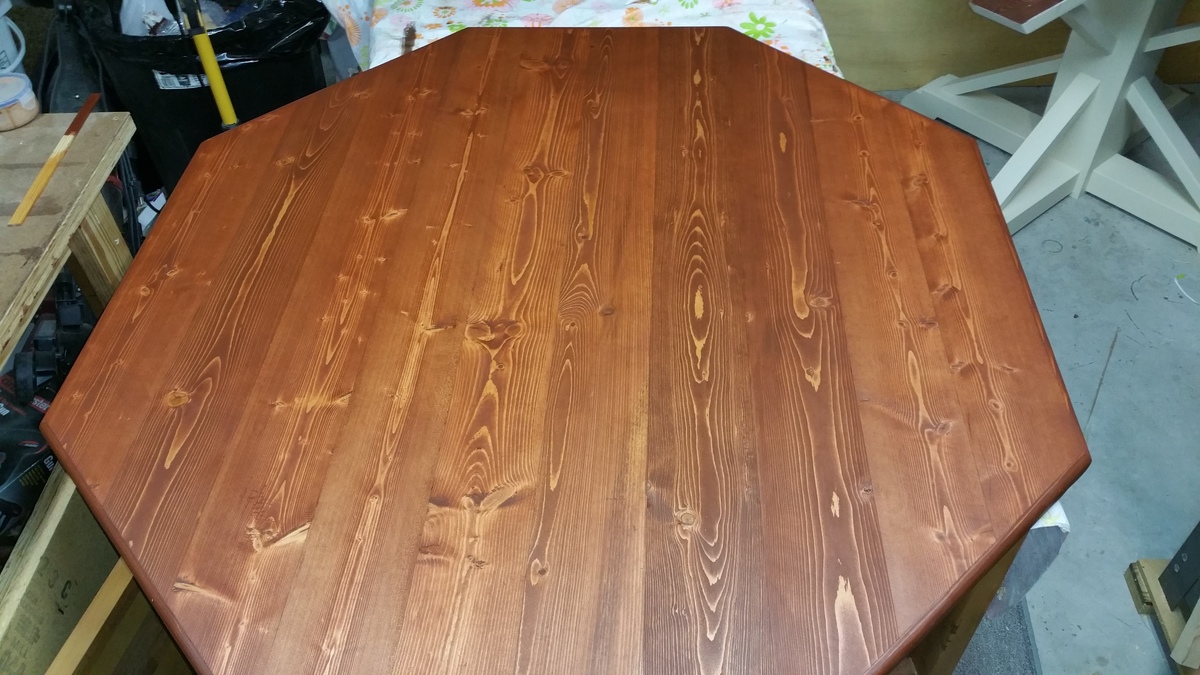
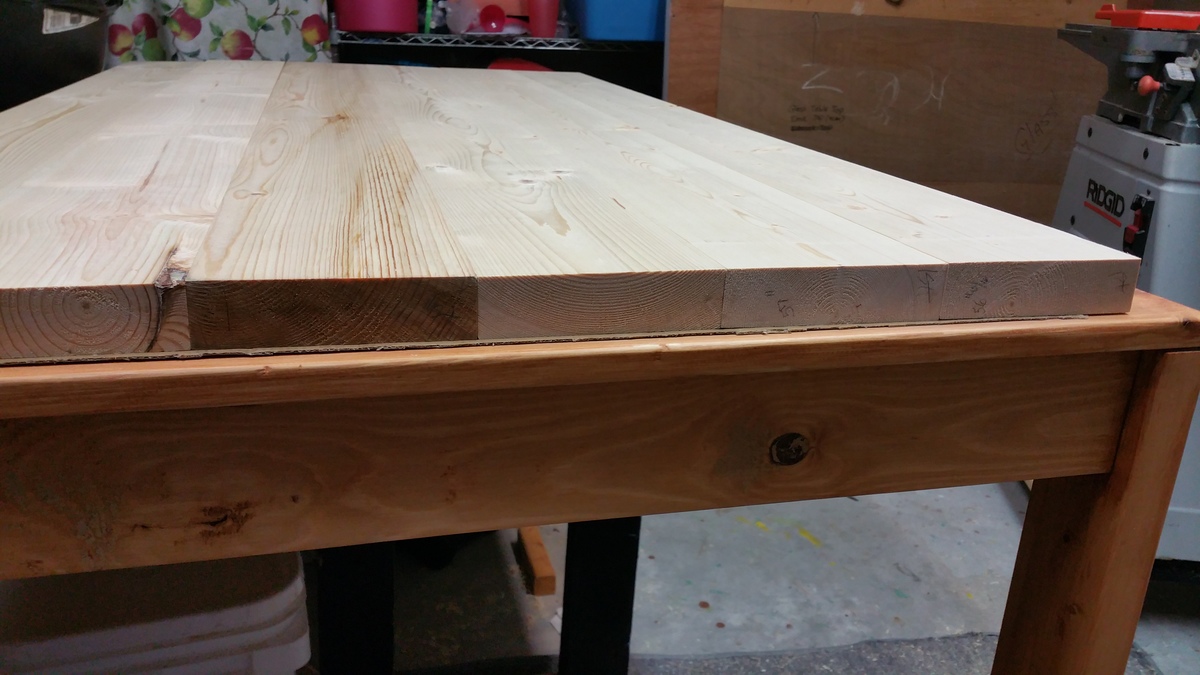
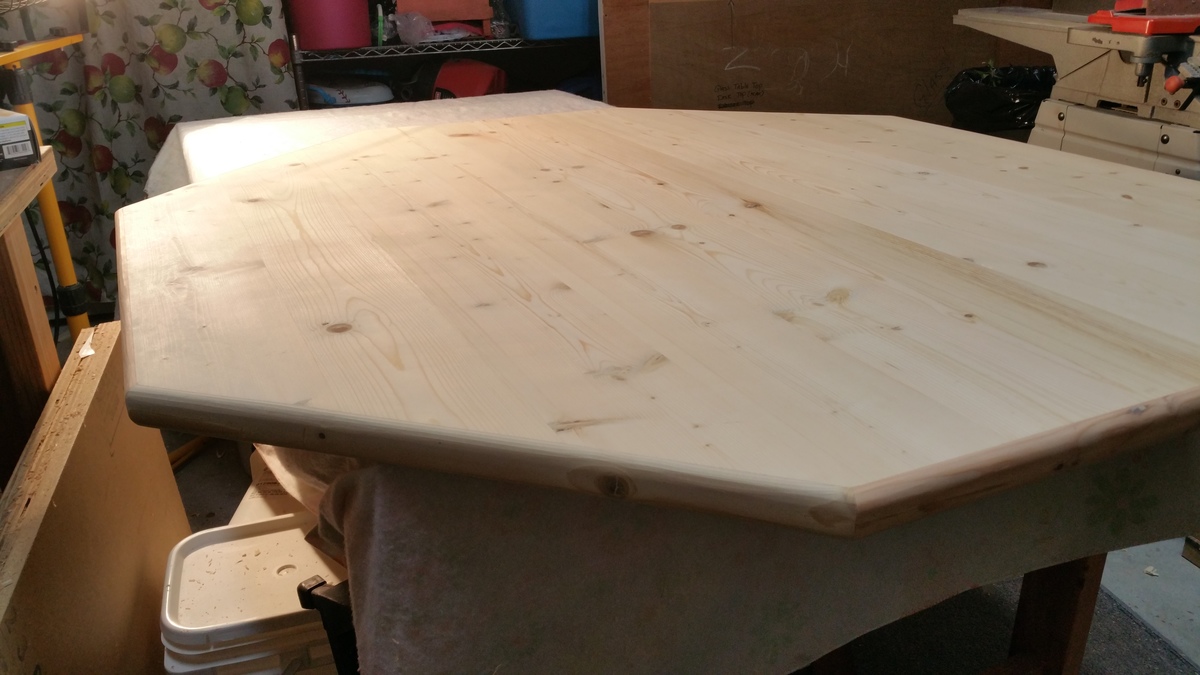
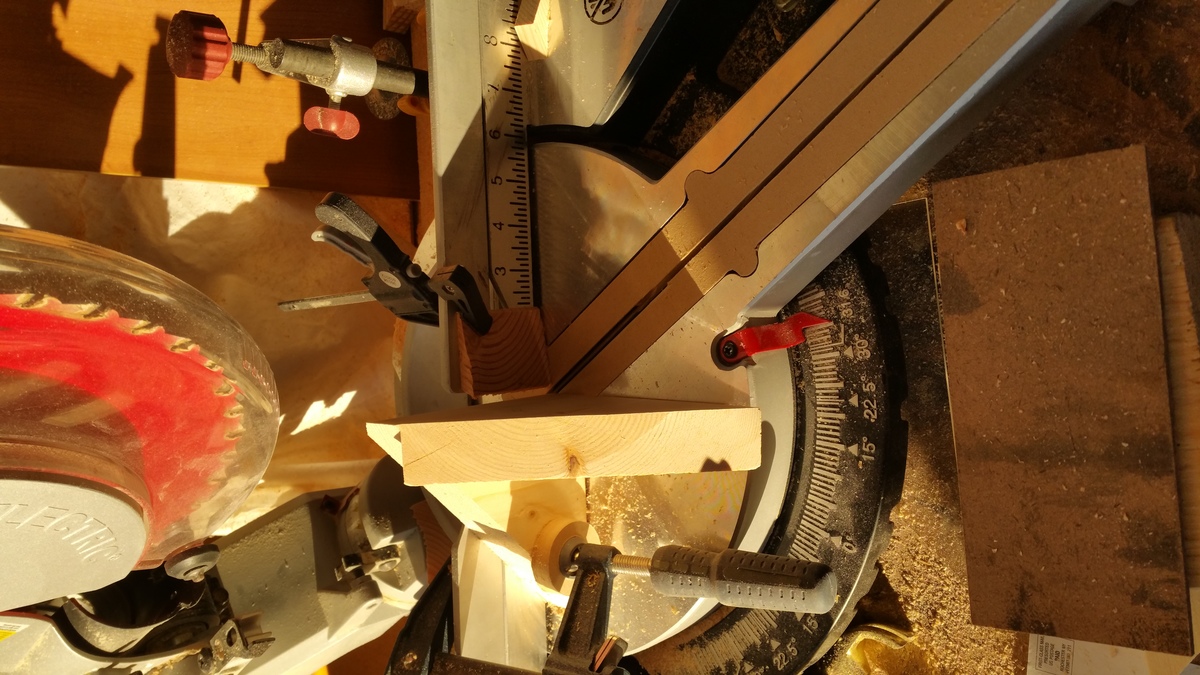
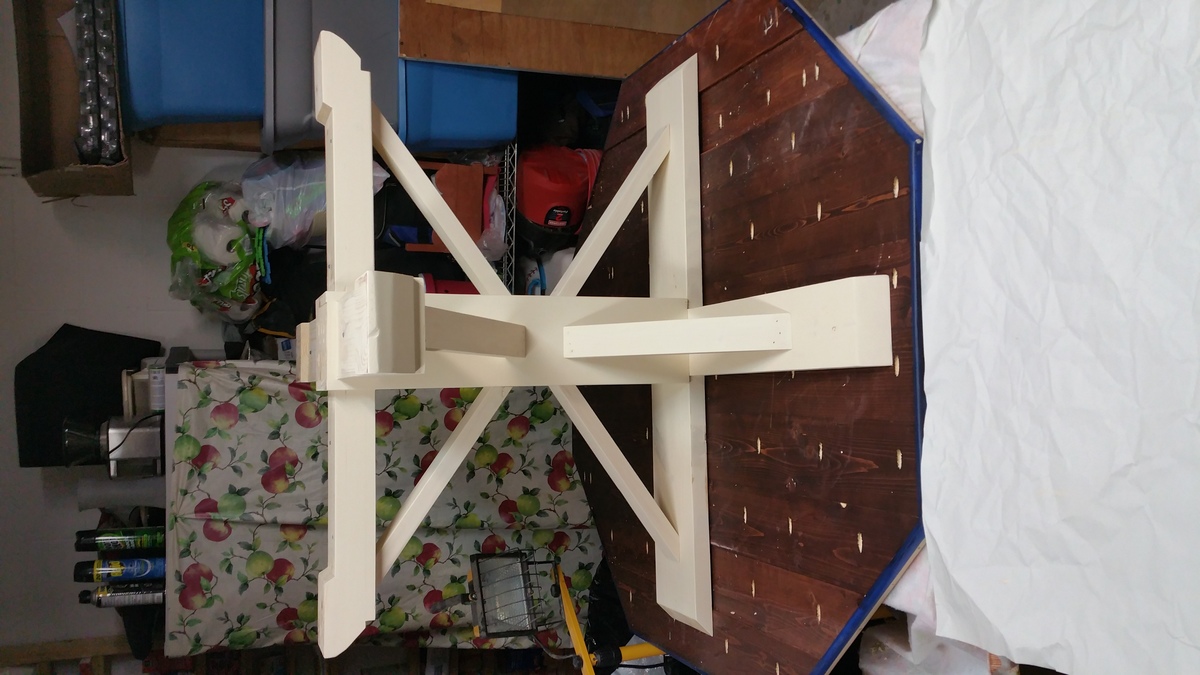
Octagon table with moulding
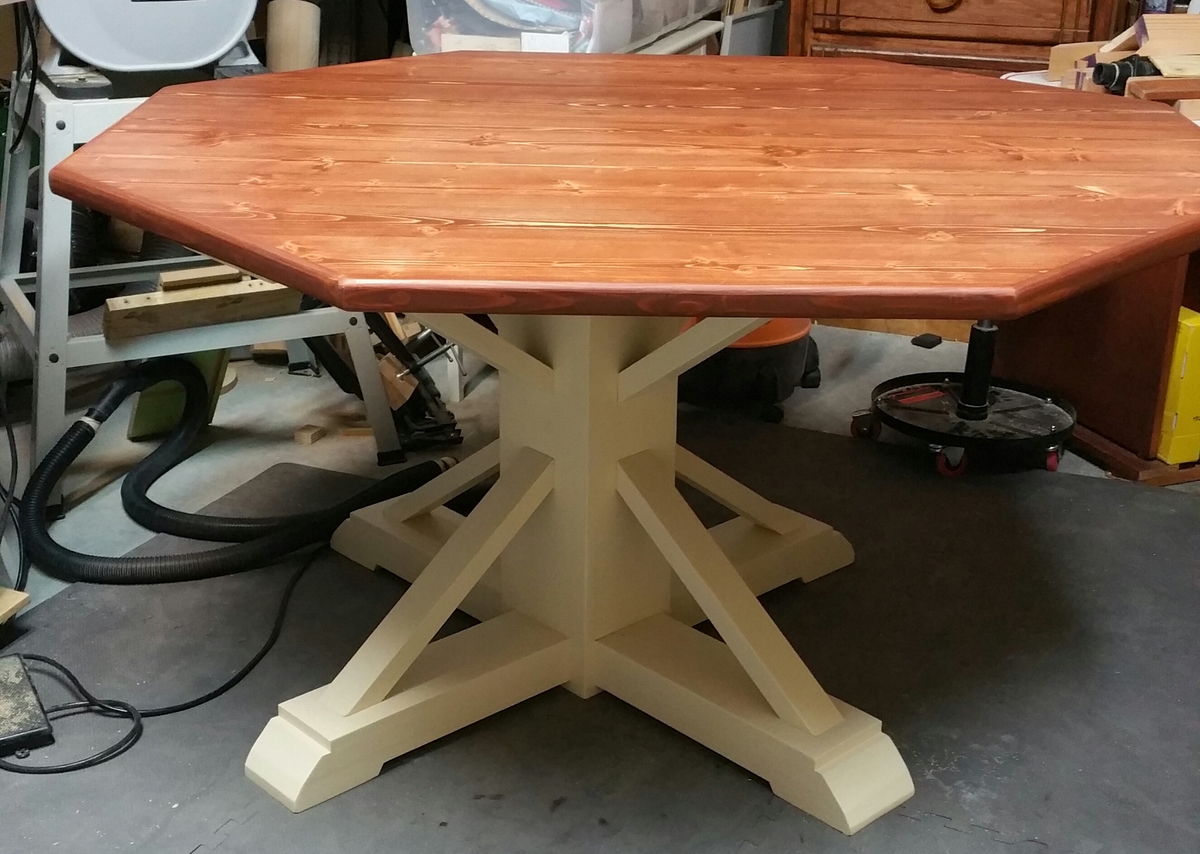
The angles were very challenging. I wanted to replicate the angles of 55 degrees. But of course my saw wouldn't cut them. So I made a quick jig for my miter saw that allowed the supports to be cut on their side just 10 degrees off 45 degrees equaling 55.
Built from Plan(s)
Estimated Cost
I used mostly cull lumber from Home Depot from 2x6s & 2x4s. I made my own moulding from 2x4s. Purchased the 1x8 full price. Around $100 with stain.
Estimated Time Investment
Week Long Project (20 Hours or More)
Finish Used
Varathane cabernet
Varathane matte touch Polyurethane
Applied stain with Terry cloth covered sponge from Harbor Freight.
4" best roller from home Depot for the clear coat.
Varathane matte touch Polyurethane
Applied stain with Terry cloth covered sponge from Harbor Freight.
4" best roller from home Depot for the clear coat.
Recommended Skill Level
Intermediate
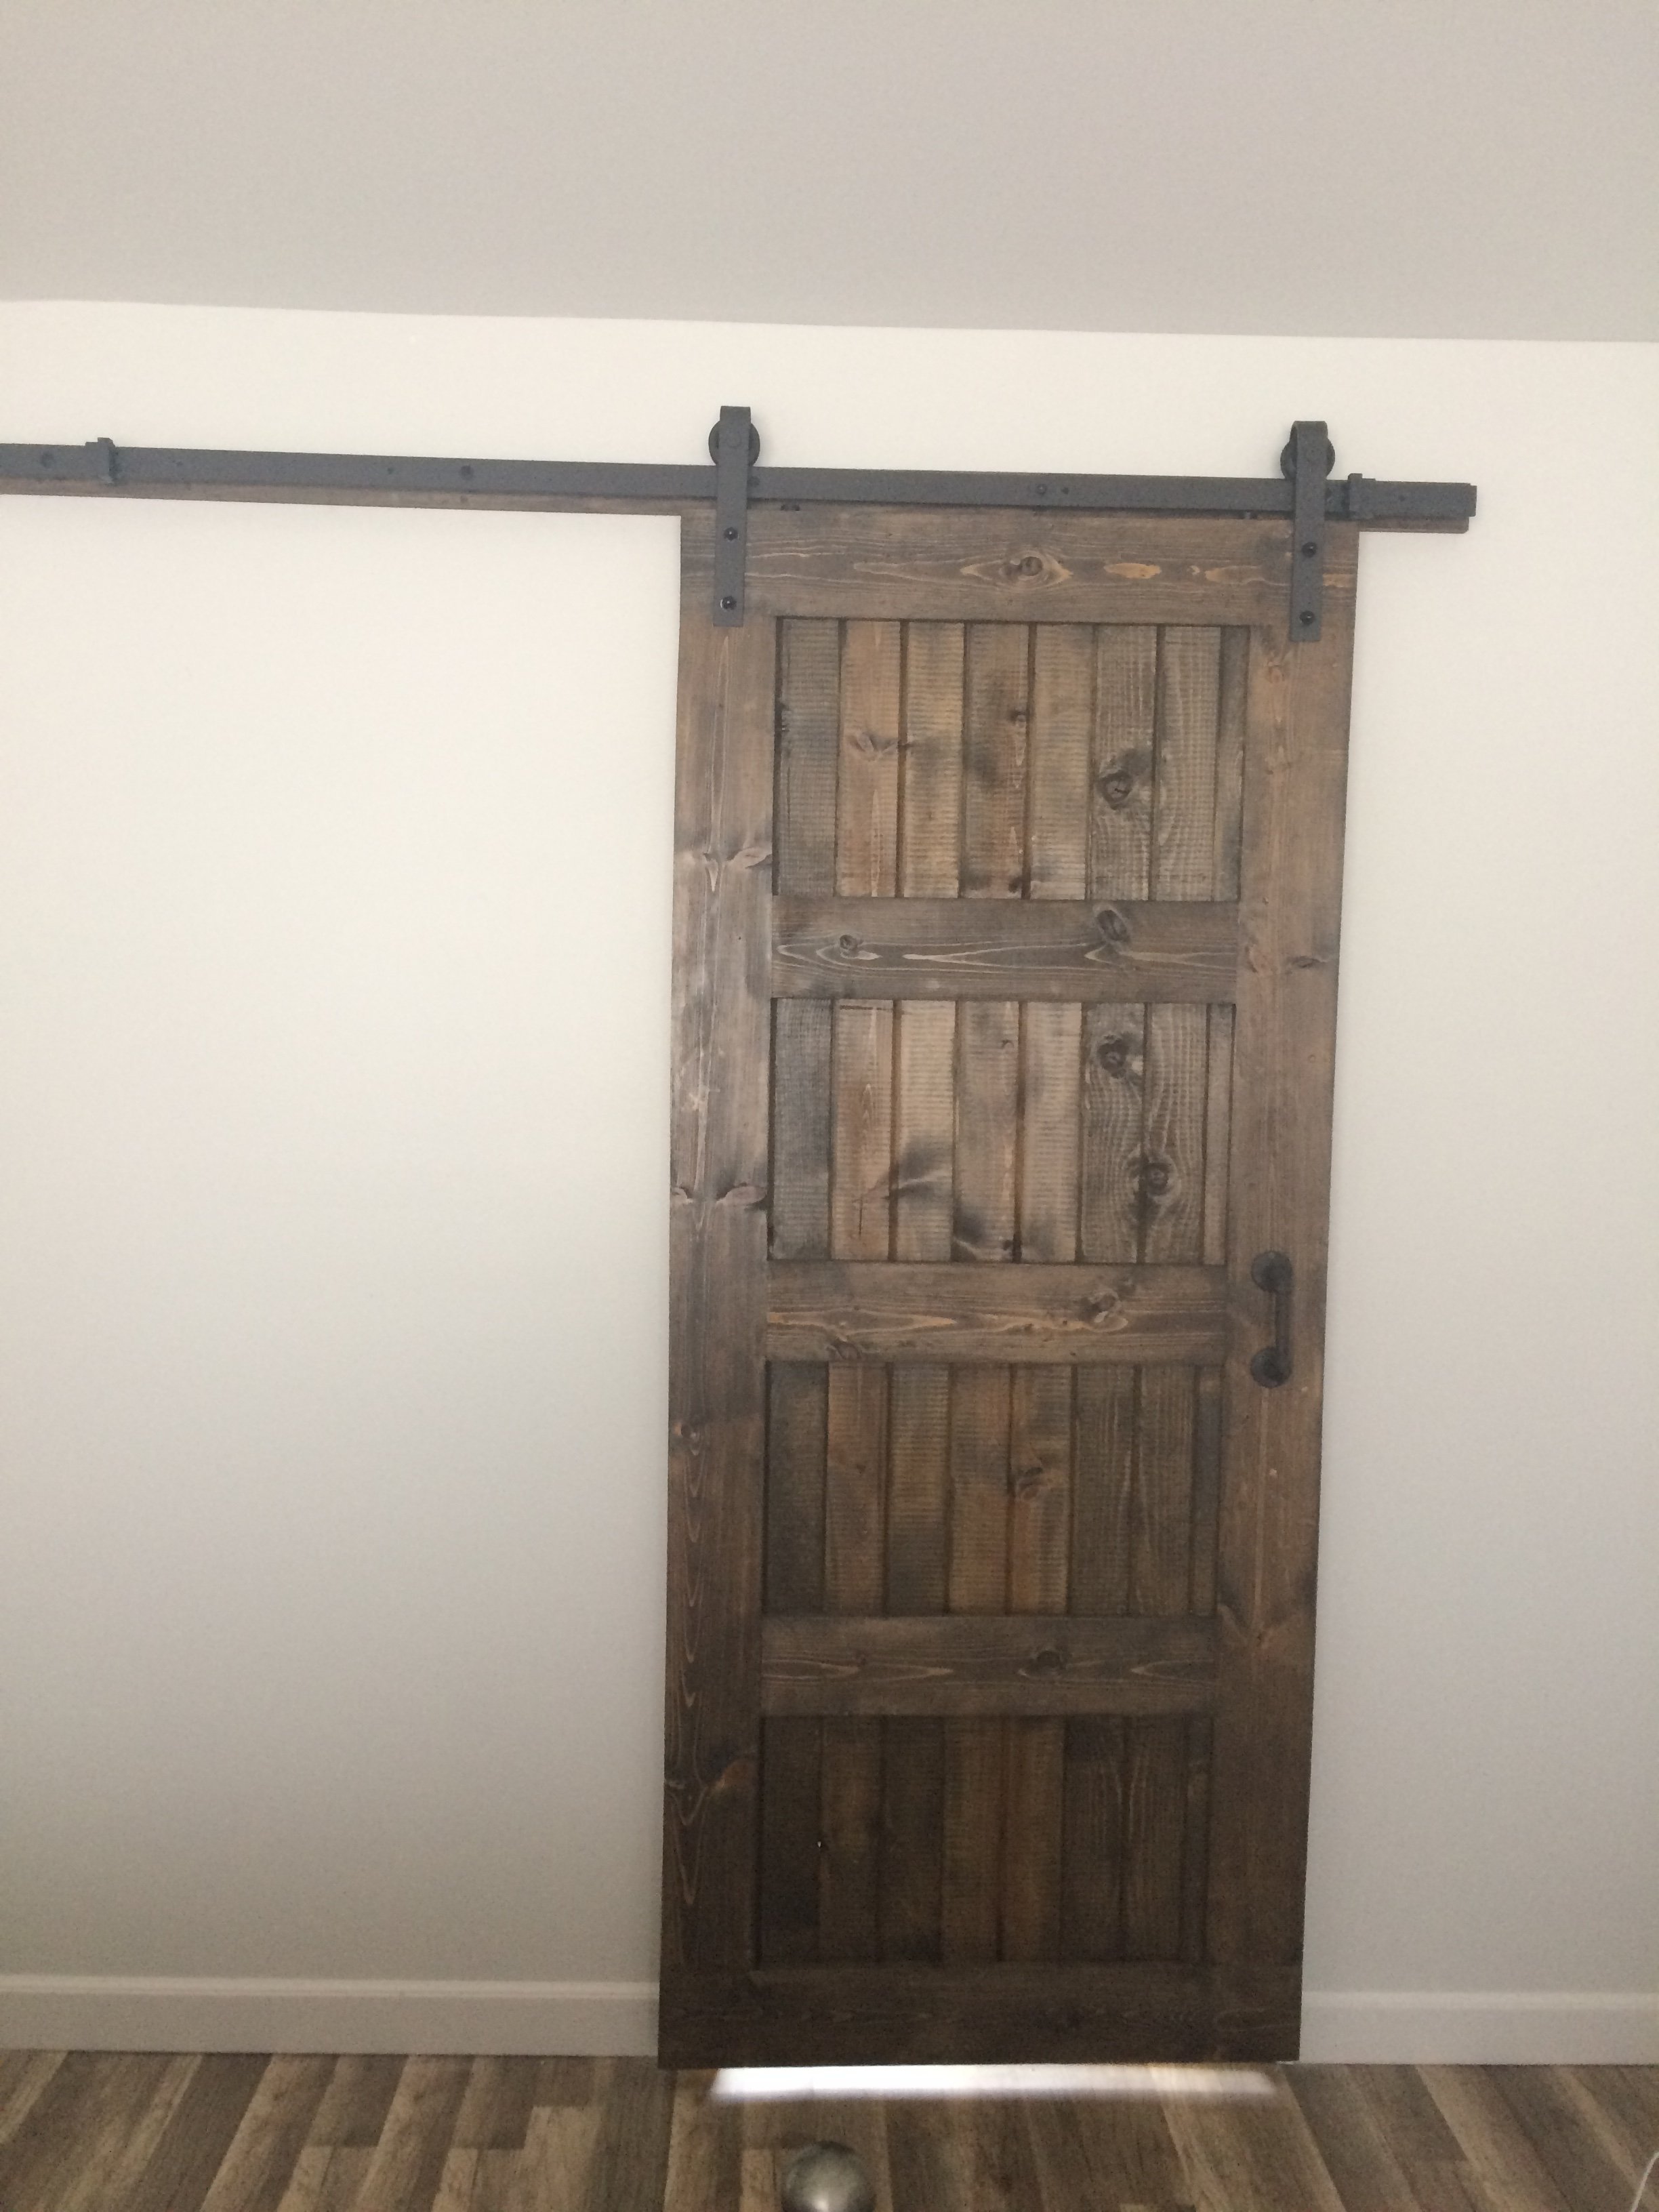
Master Bath Barn Door
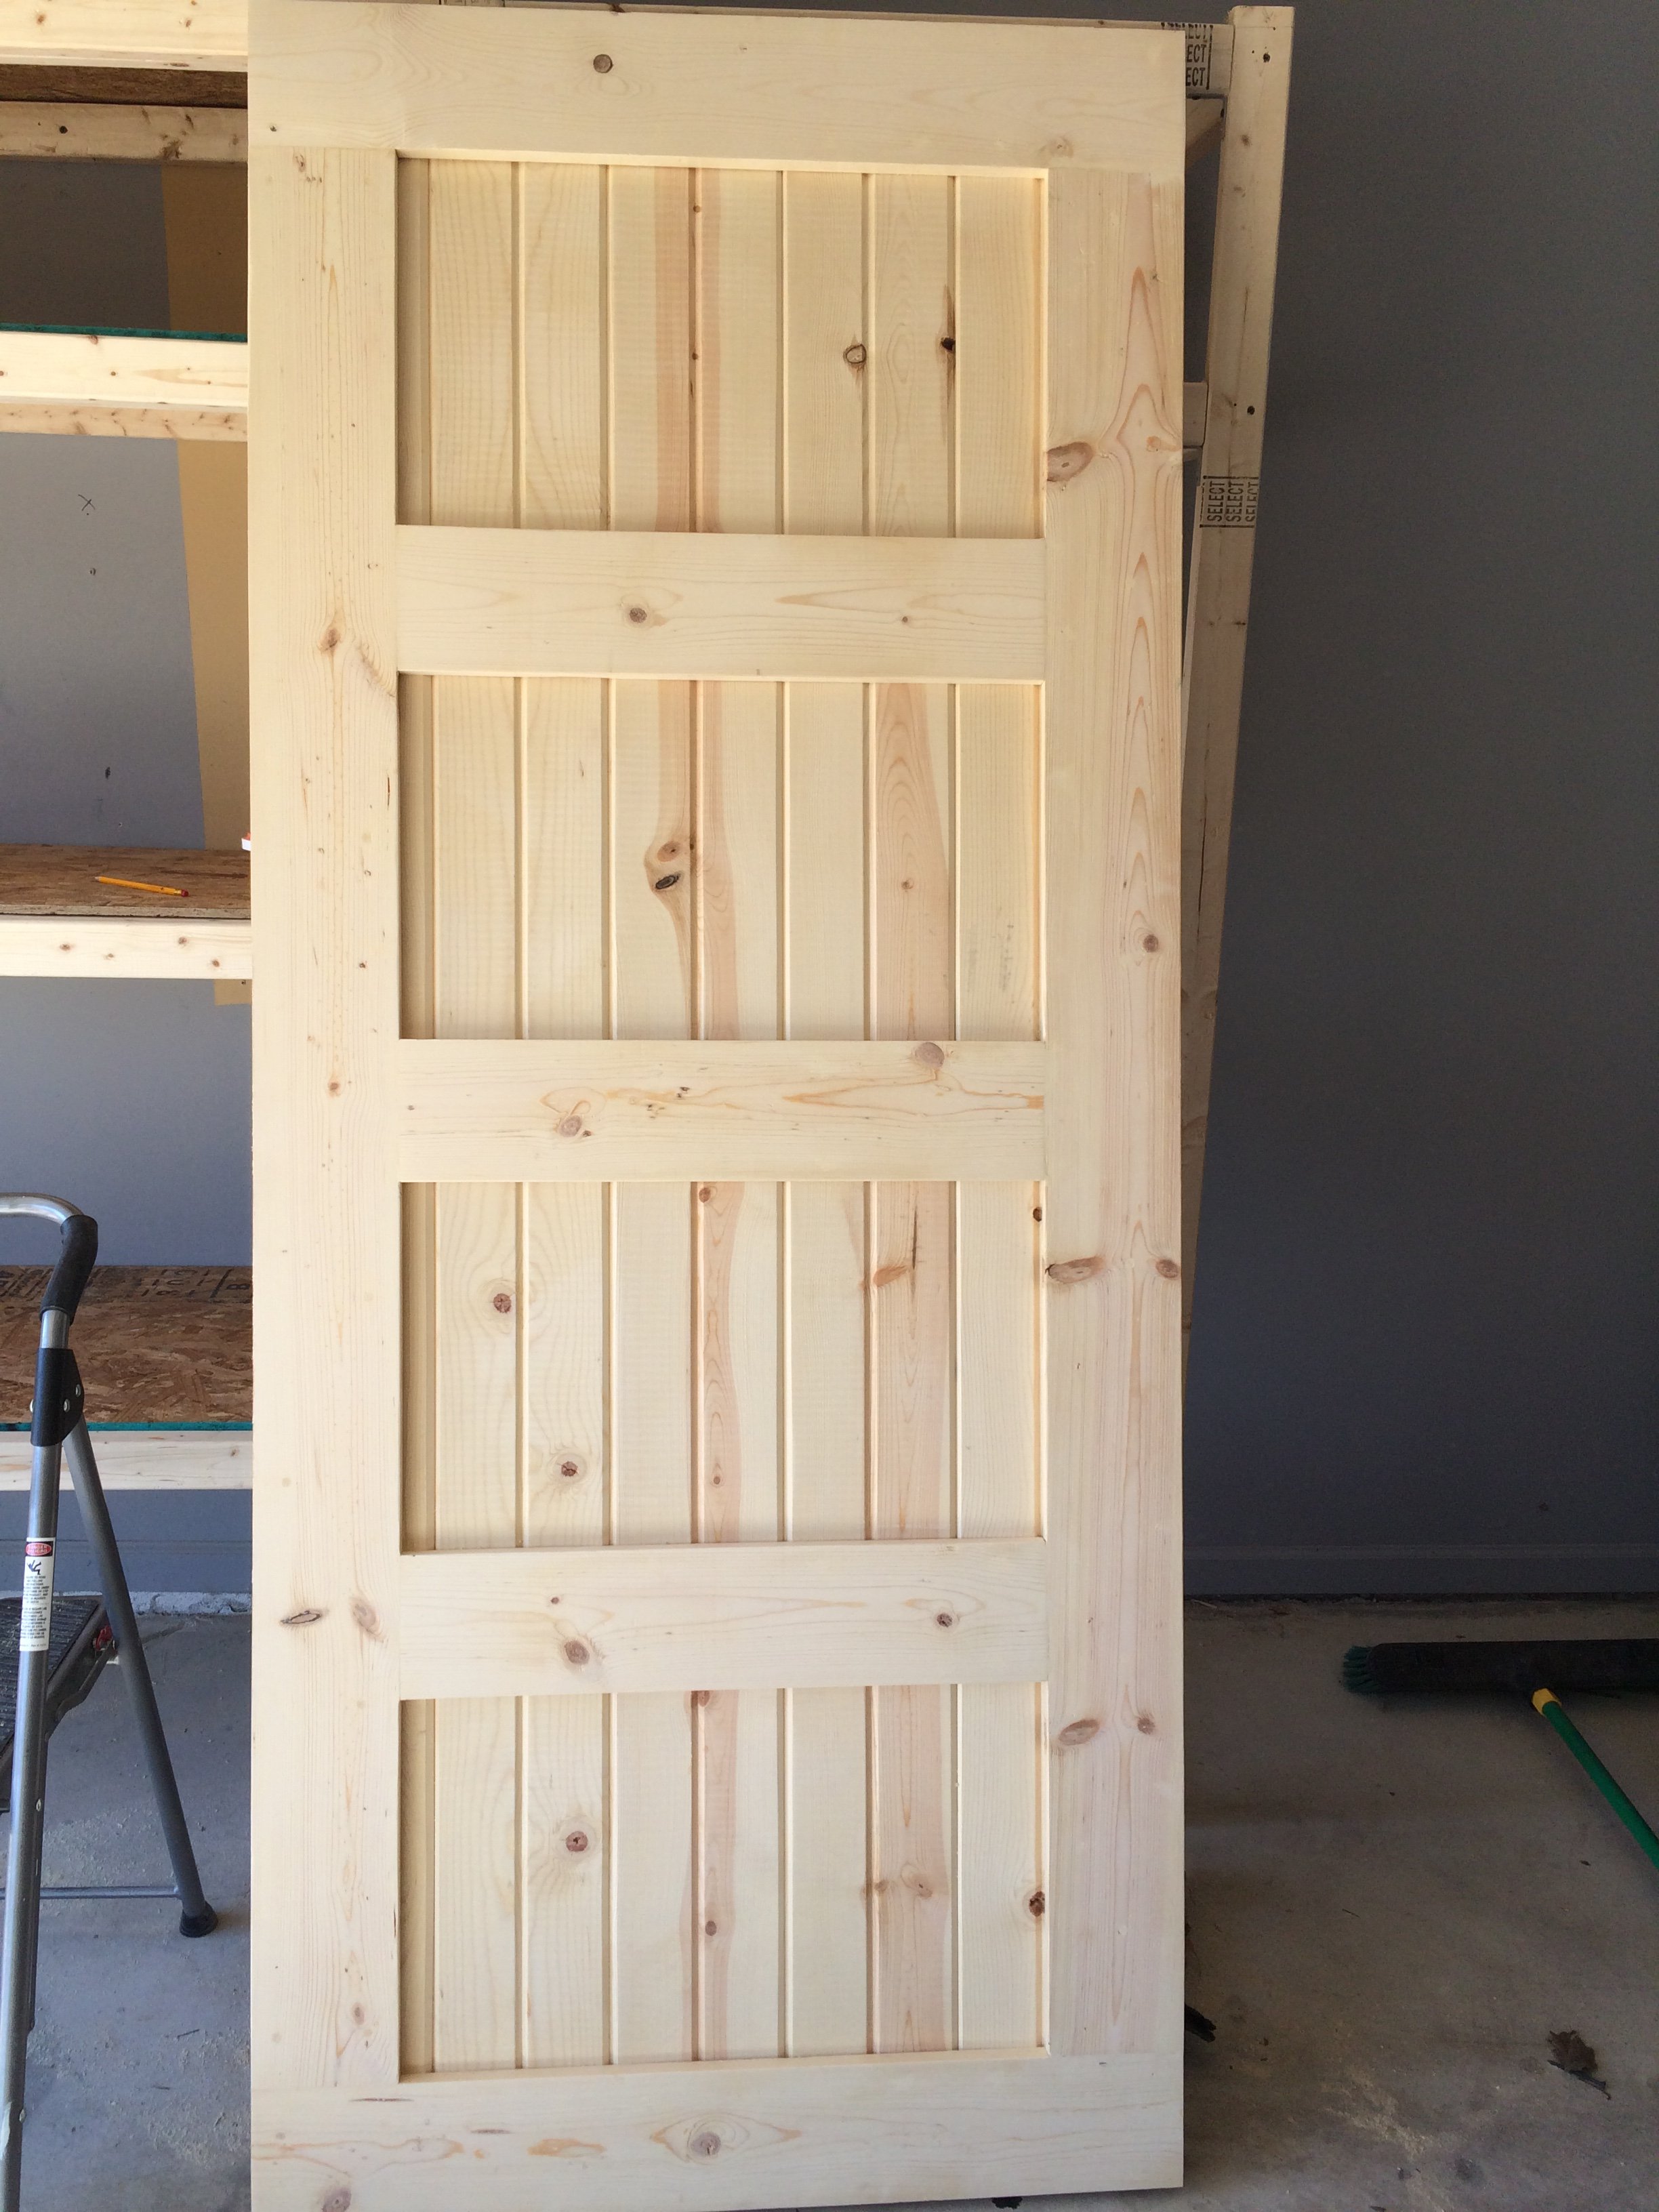
Created this door with pine wood tongue and groove lumber and pine wood planks. Purchase barn door hardware / track from Jet.com and door handles from Hobby Lobby.
This replaced my Master bath door and I think came out pretty good. Thank you for the ideas!!! Jeff M. Brownstown, Mi
Estimated Cost
Wood 55.00
Handles 2 for 8.00
Stain ( left overs)
Barn door track 54.00
Total $117.00 and 10 % Military discount at lowes
Handles 2 for 8.00
Stain ( left overs)
Barn door track 54.00
Total $117.00 and 10 % Military discount at lowes
Estimated Time Investment
Weekend Project (10-20 Hours)
Finish Used
Minwax. Mix of Kona and Driftwood Grey
Recommended Skill Level
Intermediate
Wine Holder
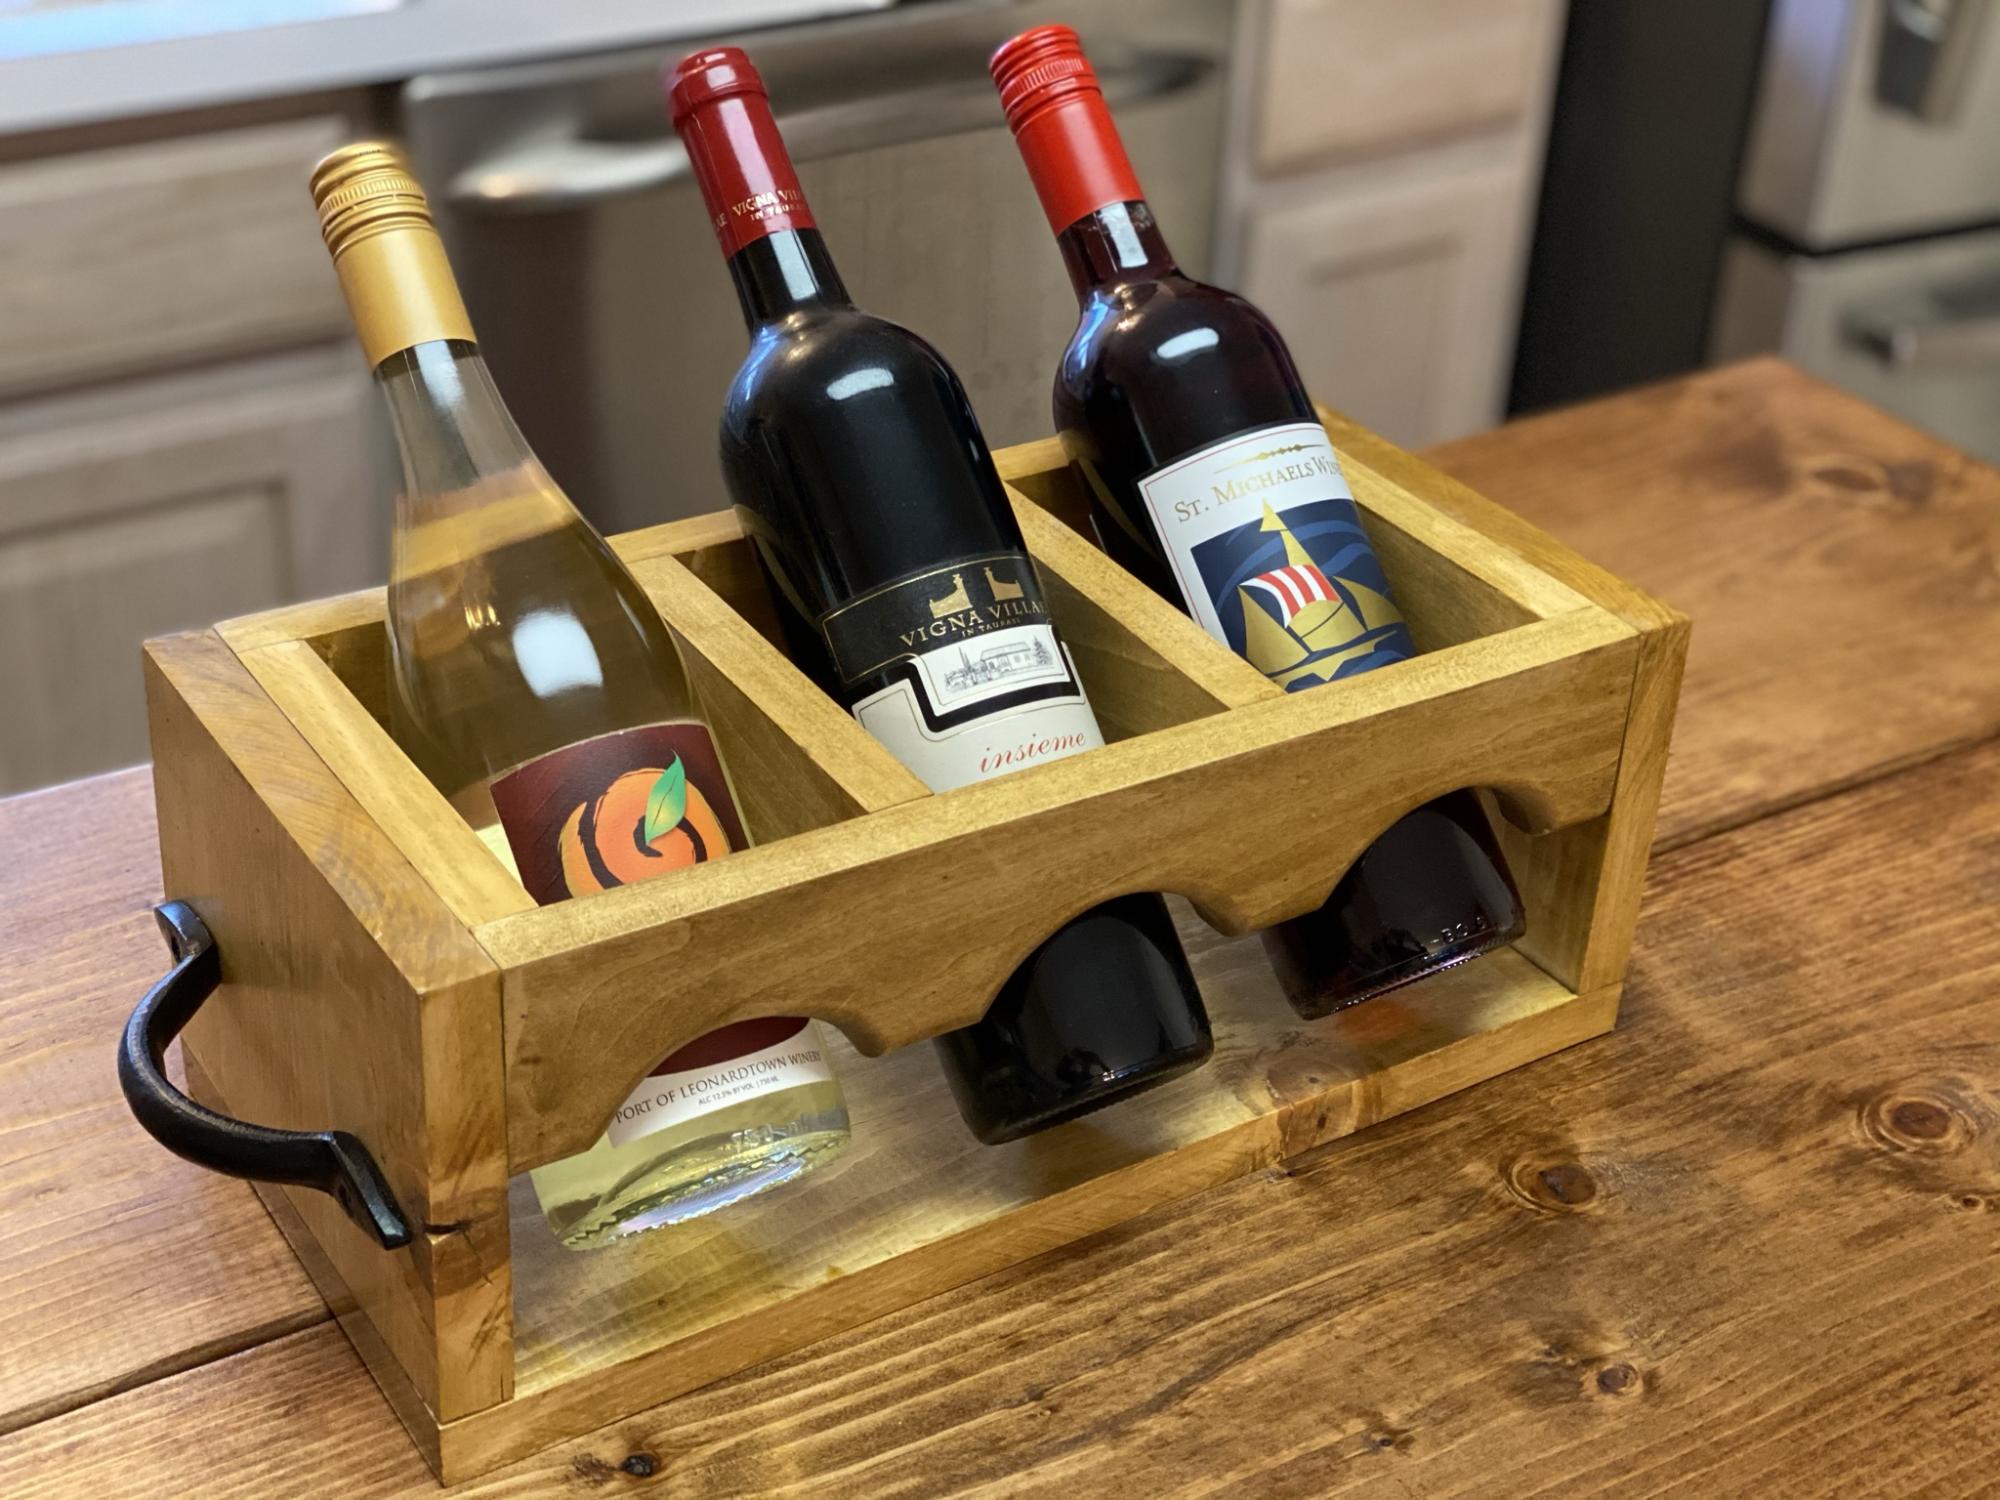
I made the wood wine holder as a Christmas gift for my mother-in-law. It's great! I modified the plans a bit by routing the curved edges with a roundover bit. It was a great project for some scrap Fir I had from a bed project.
Built from Plan(s)
Estimated Cost
$40
Estimated Time Investment
Afternoon Project (3-6 Hours)
Finish Used
Verethane Golden Oak
Recommended Skill Level
Beginner
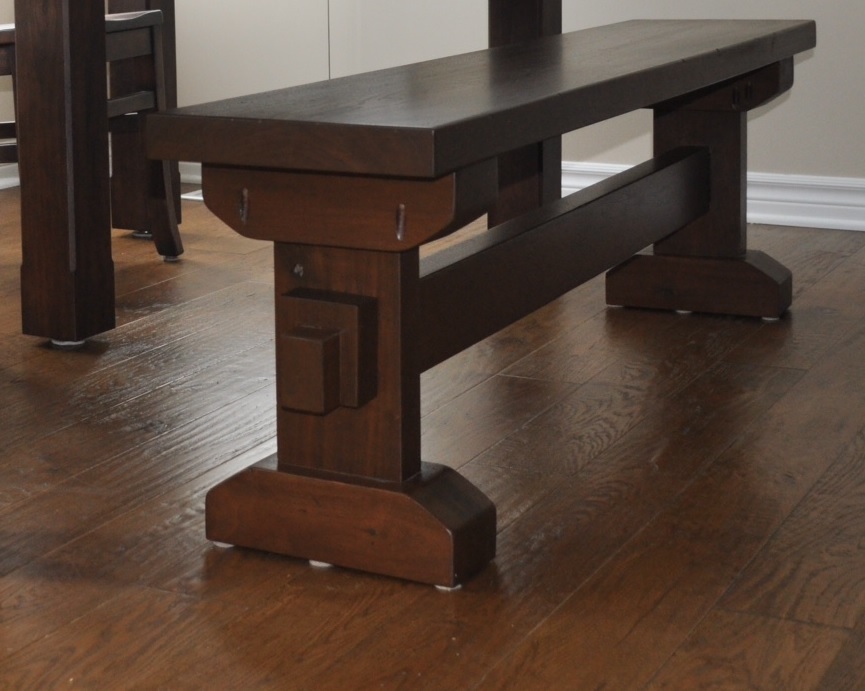
Farm house bench LOVE IT!!
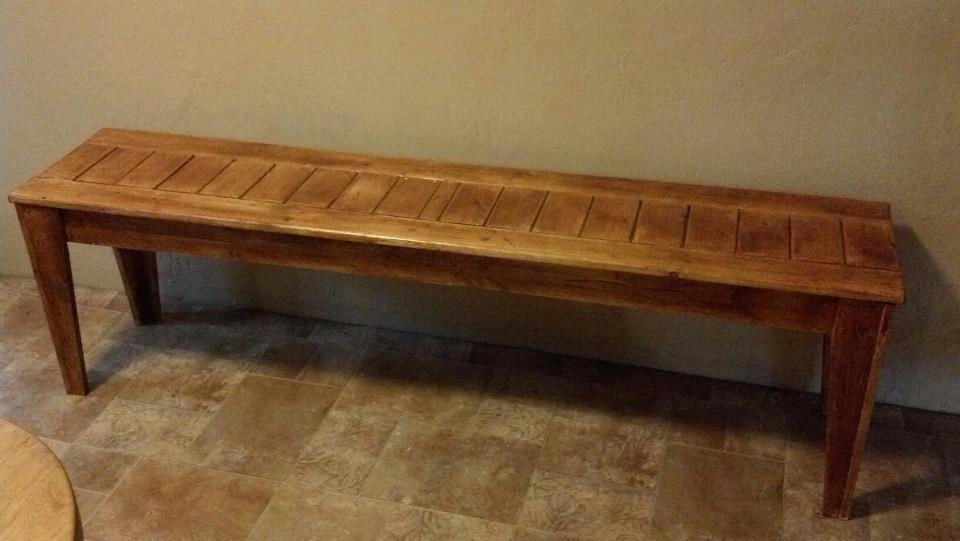
I have hunted for the perfect dining room bench for my large family but they were either to poorly crafted to withstand my crew, to small, or to pricey. Then I found this site showed the farm house bench to my husband and he said, "Hey I can build that!" and build it he did. He changed a few things here and there but the overall finished bench is AMAZING, and I LOVE IT!!! Thanks Ana!
Estimated Time Investment
Afternoon Project (3-6 Hours)
Recommended Skill Level
Beginner
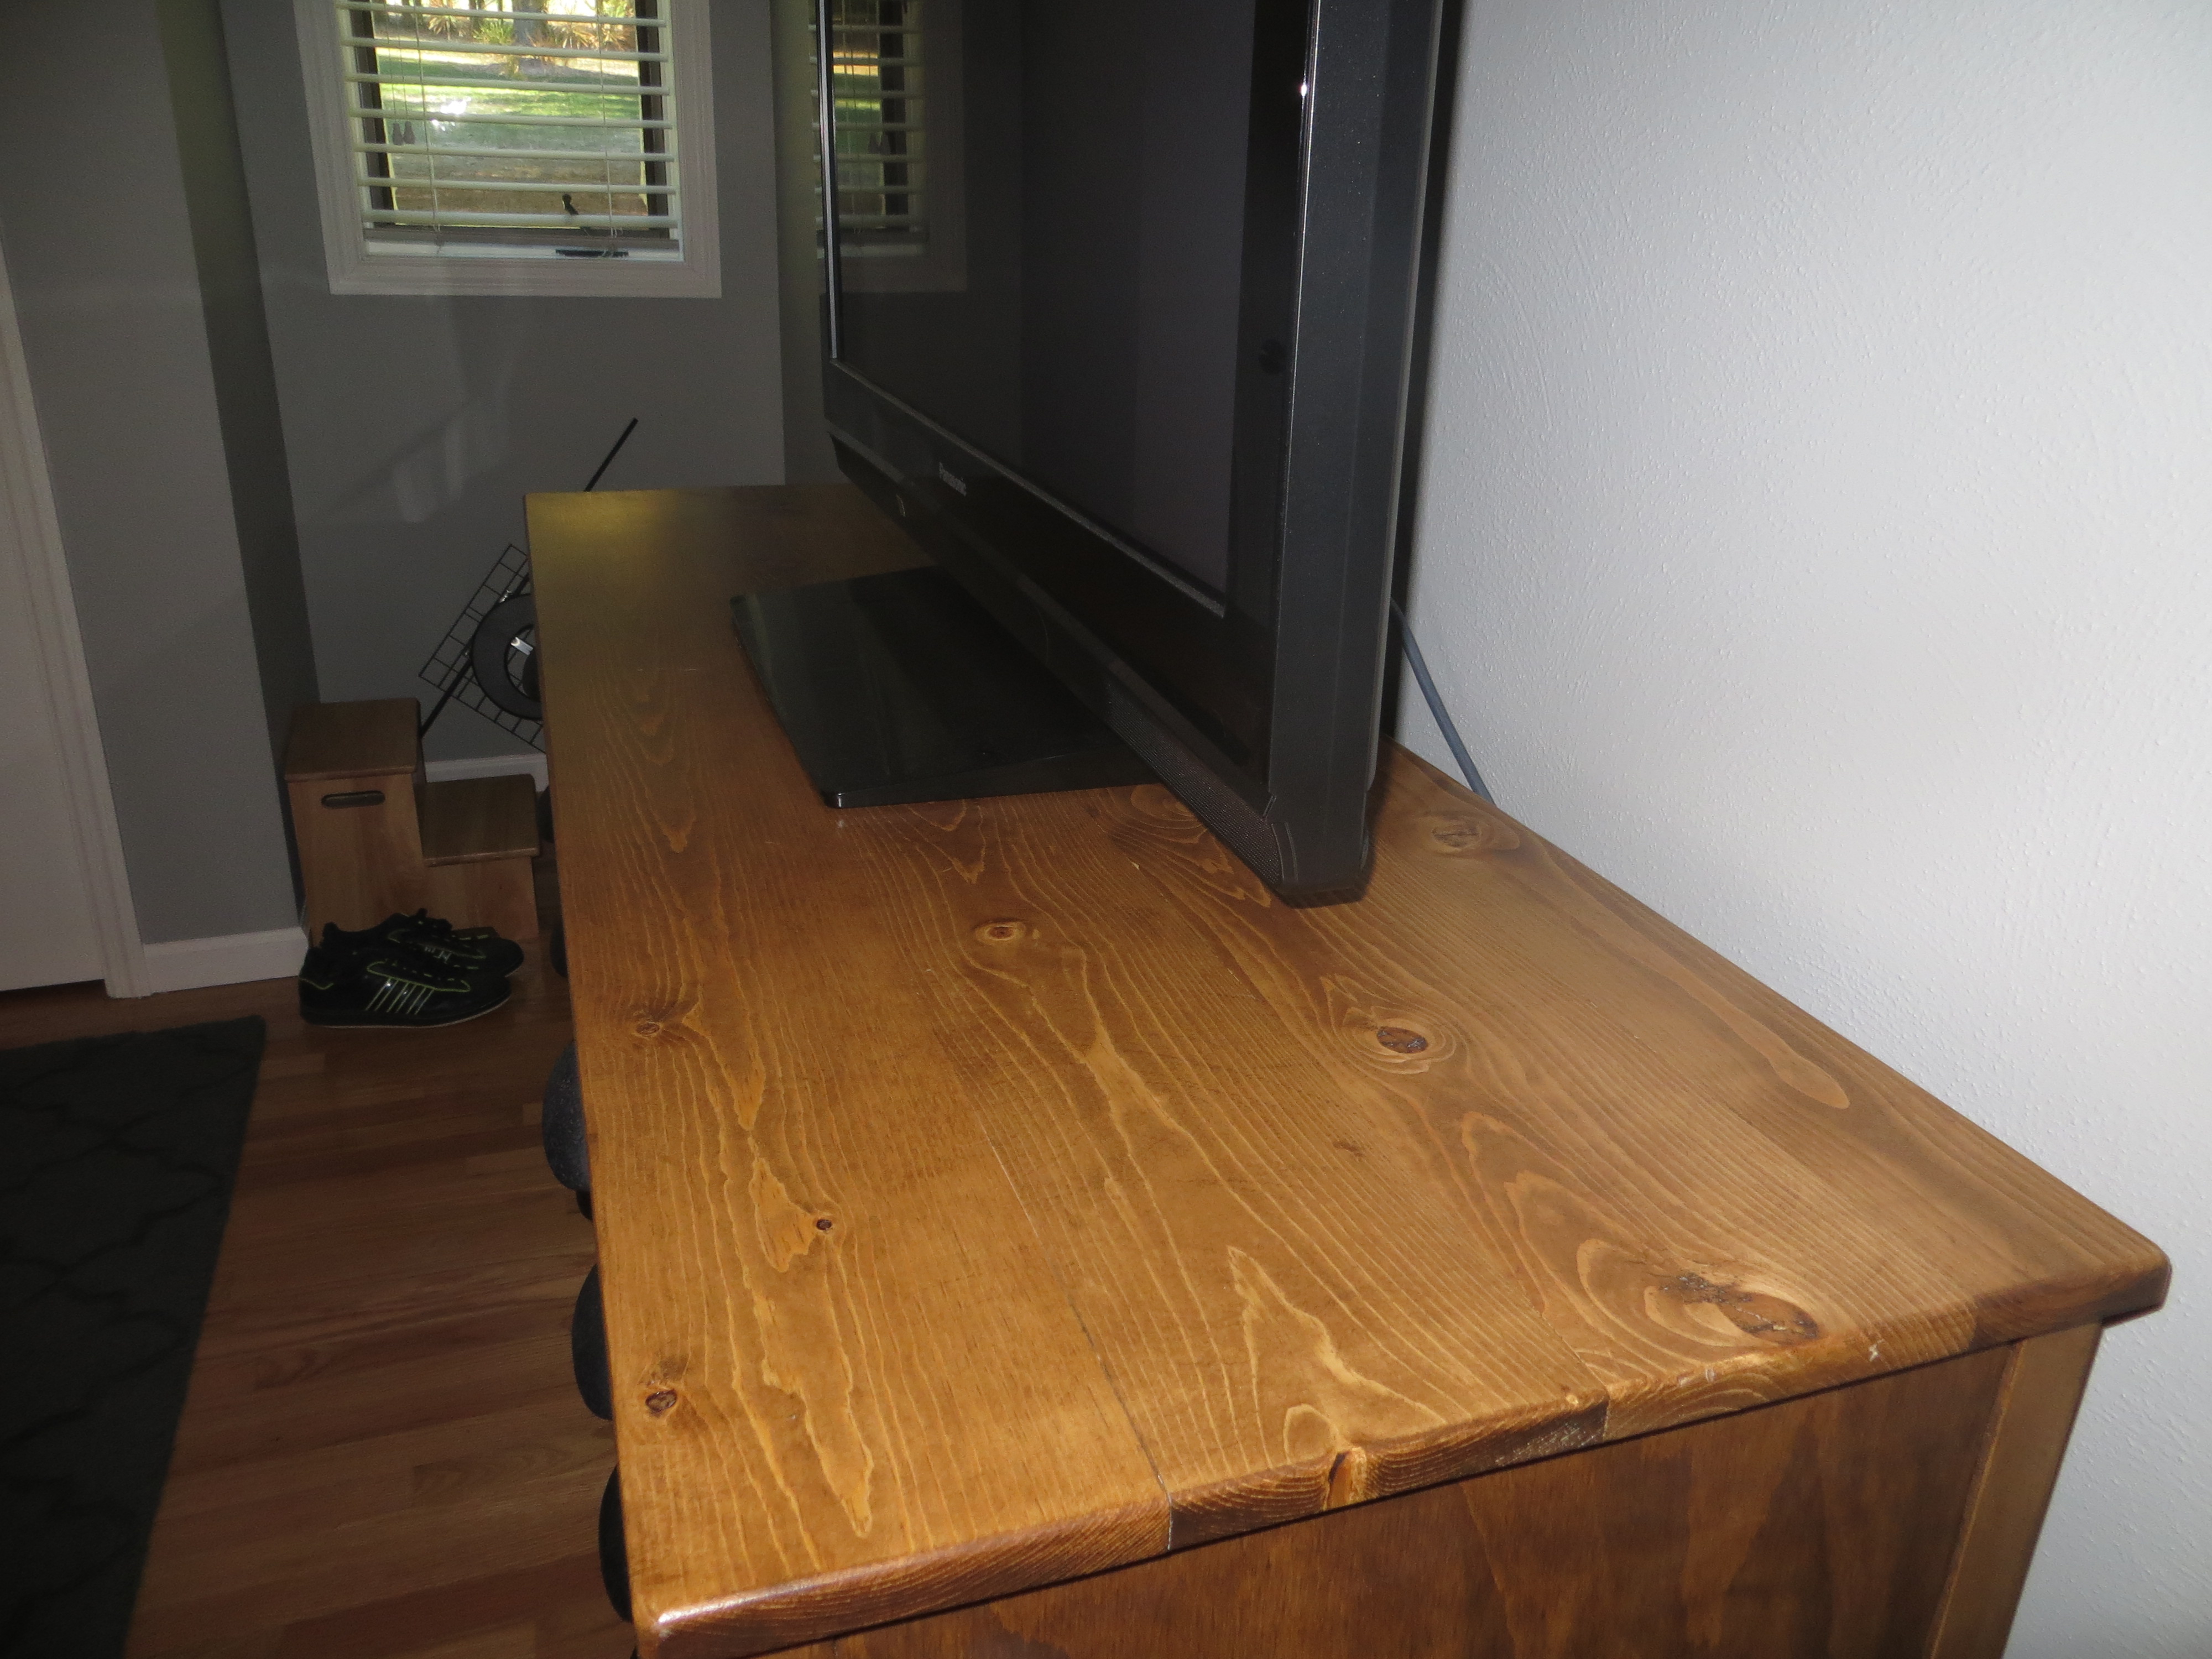
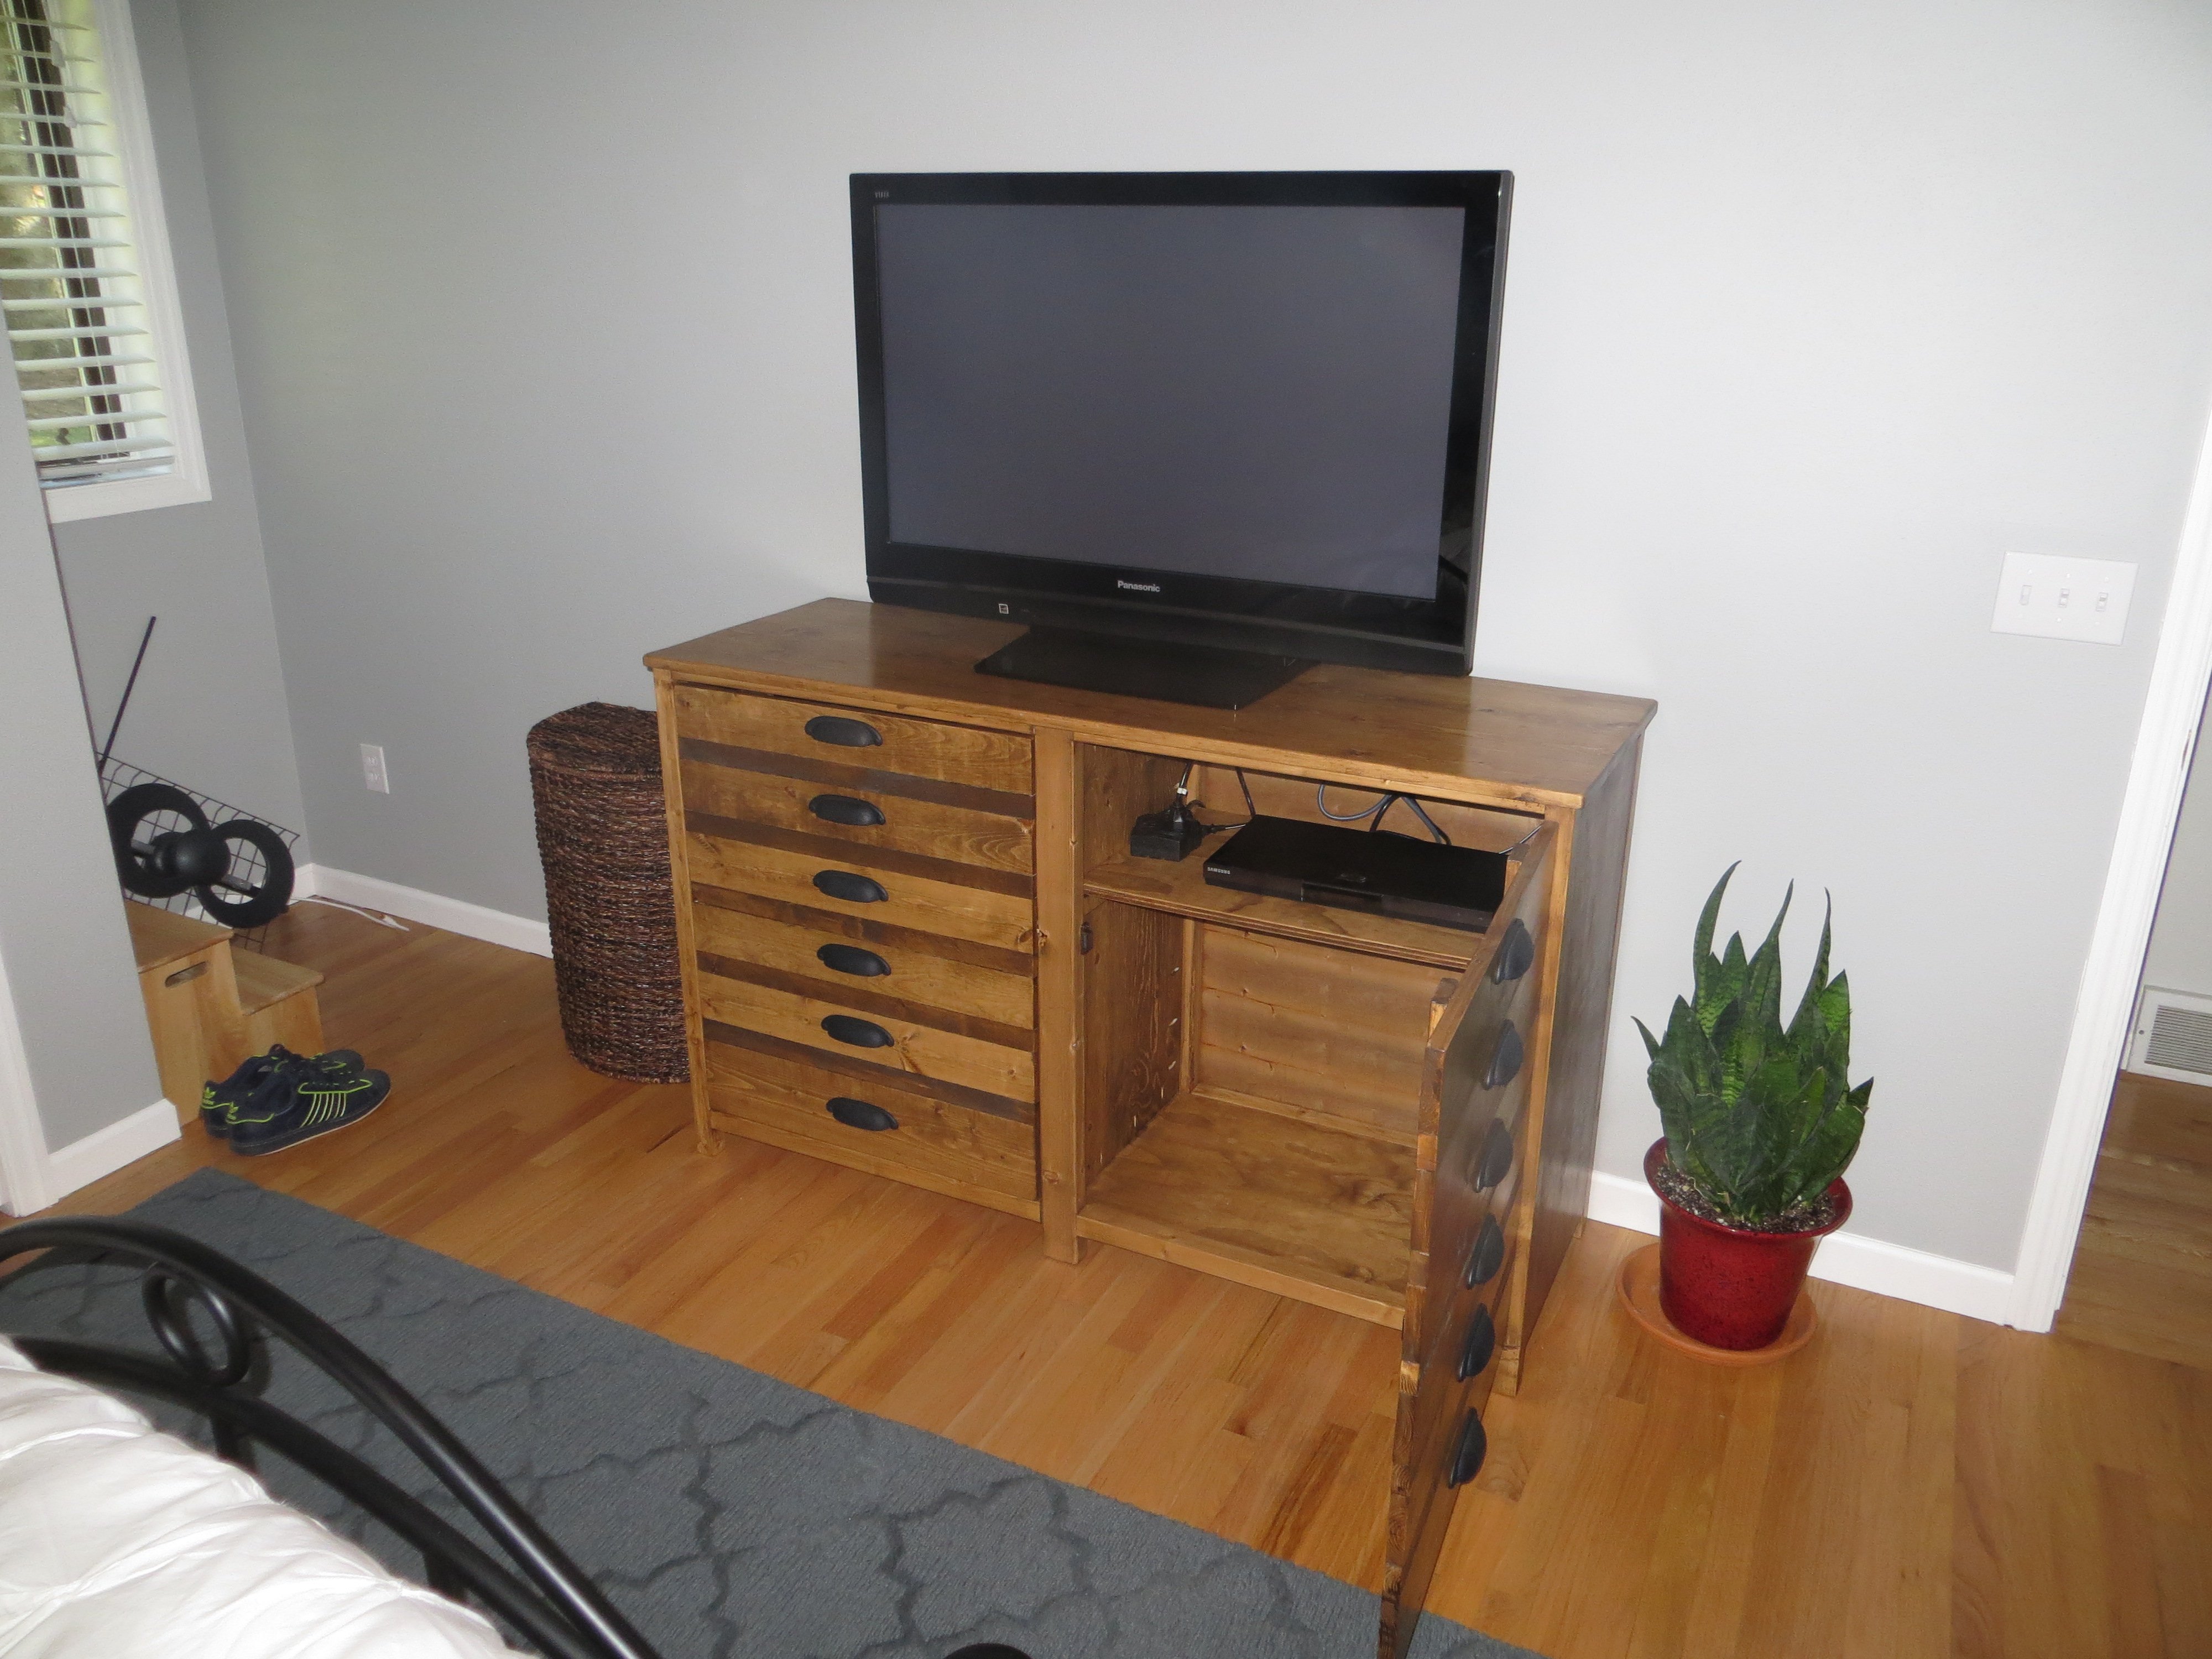
Printer's Console
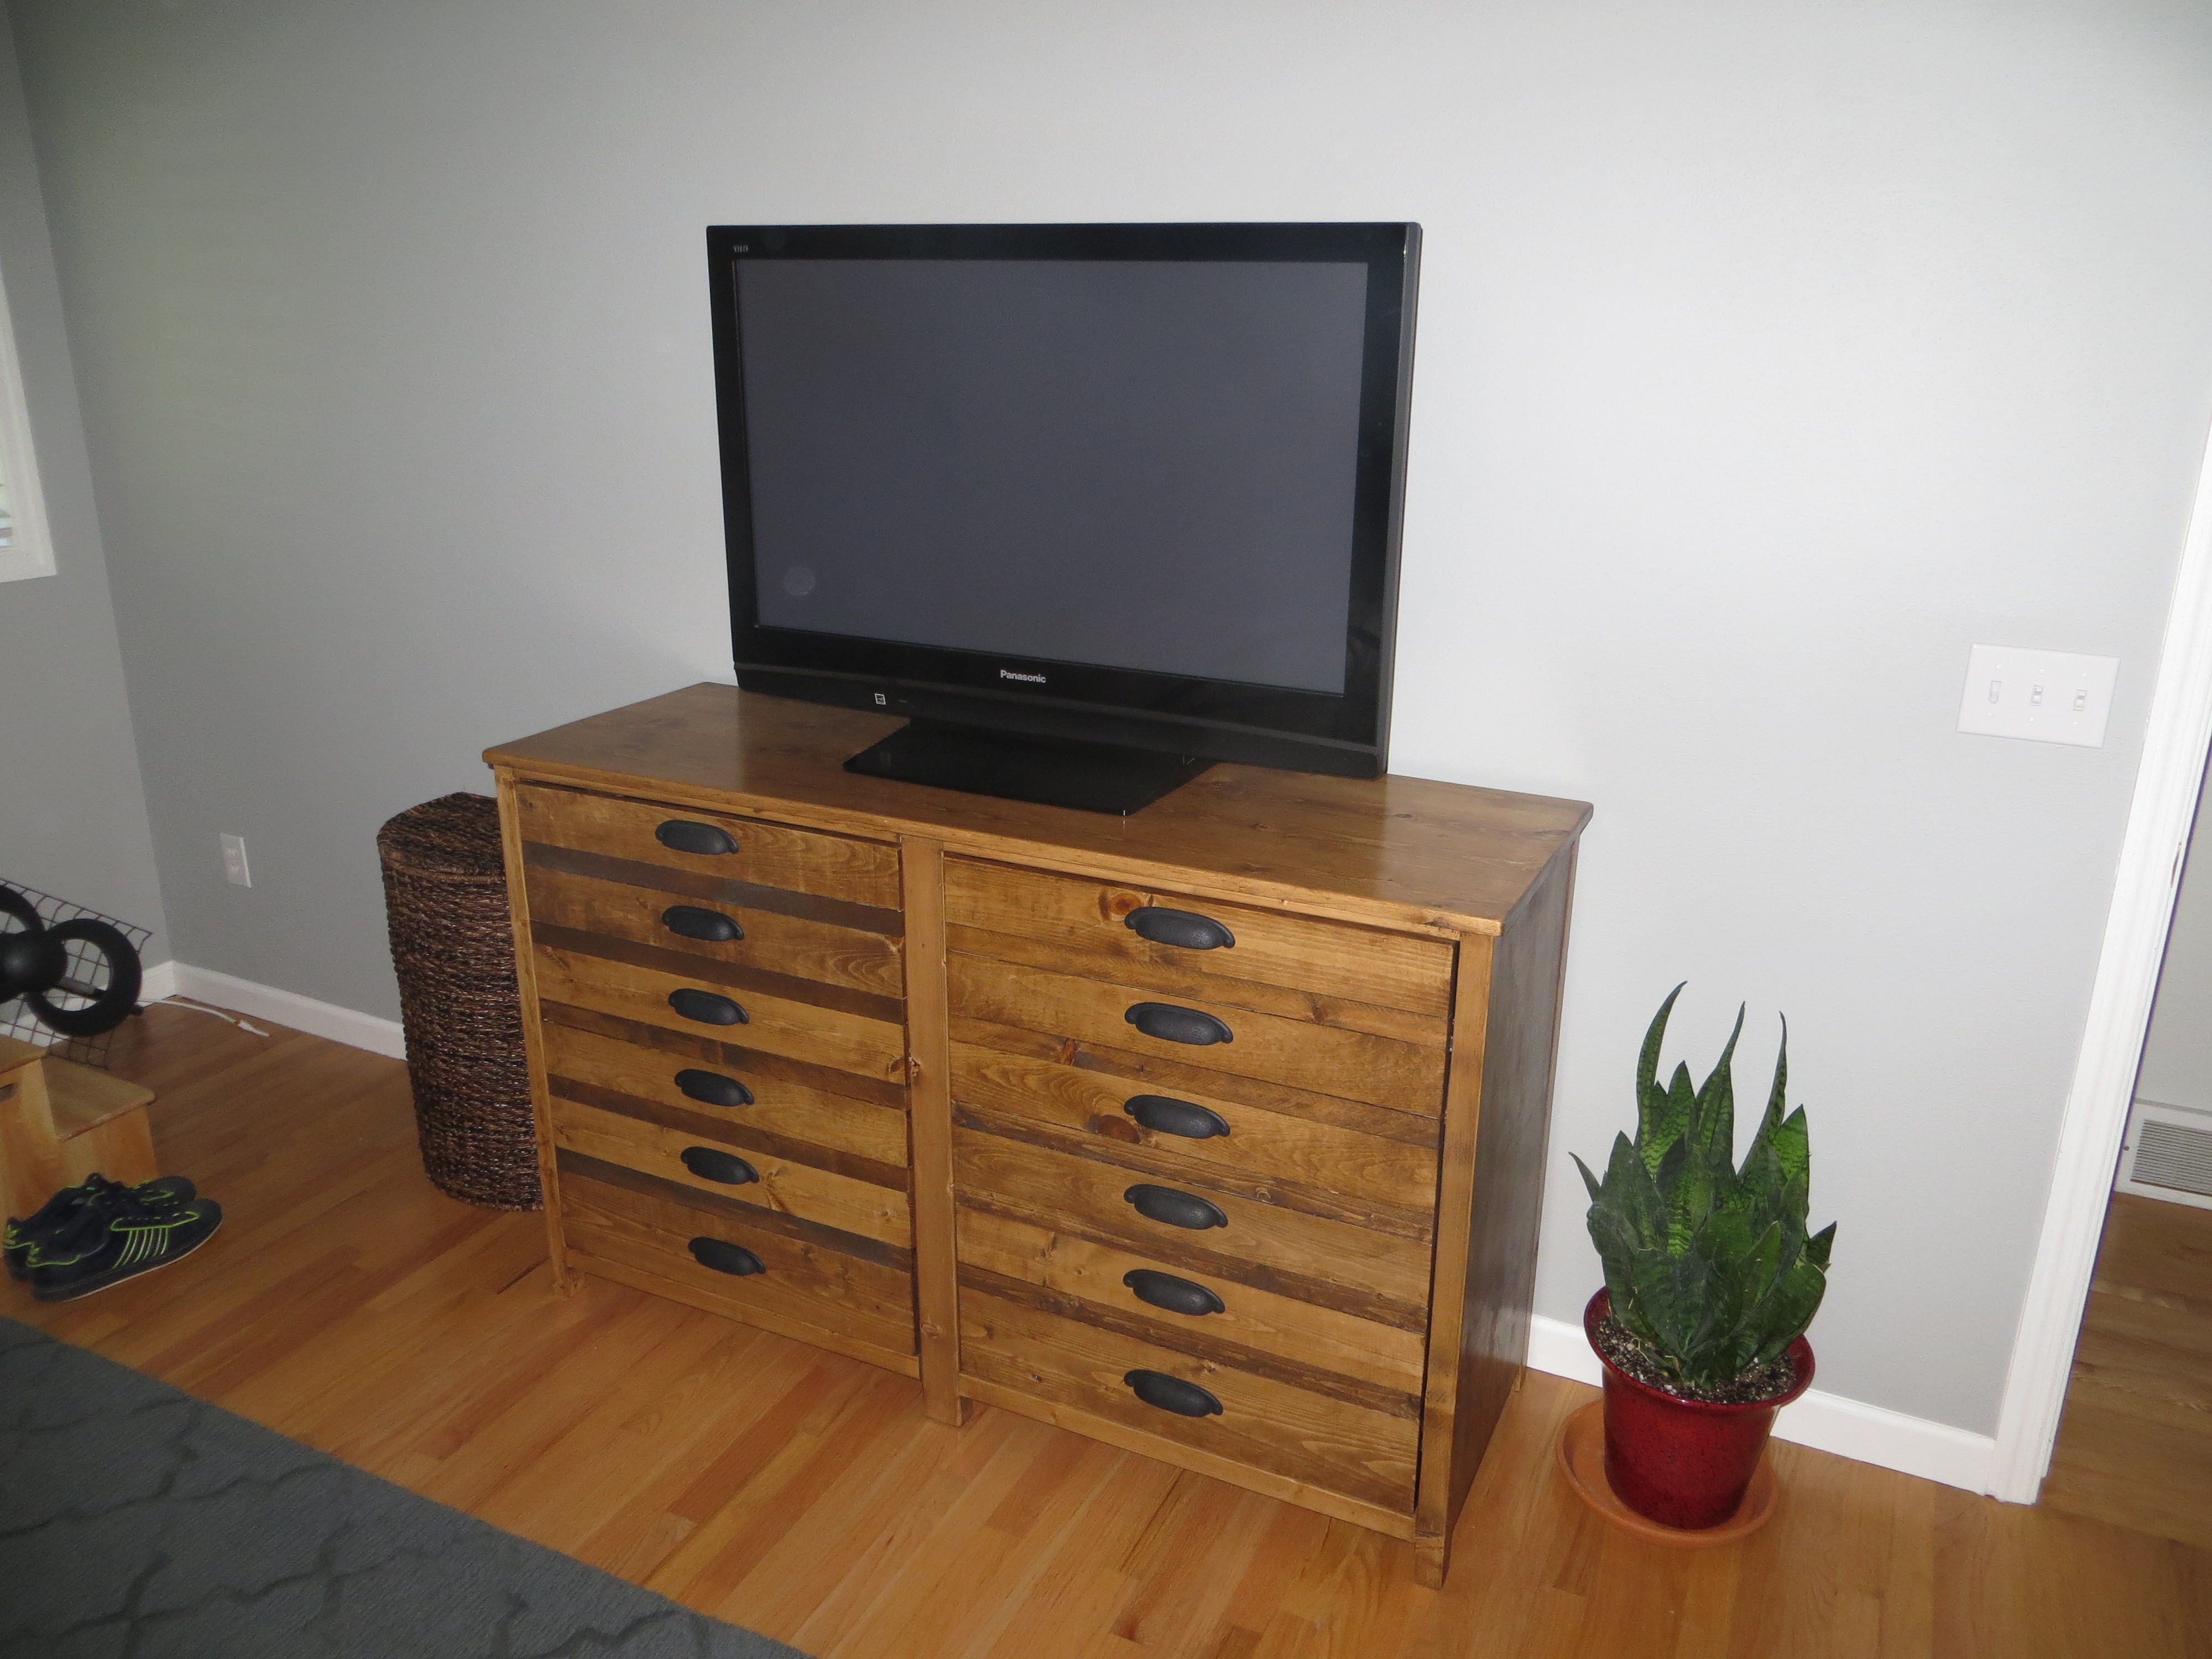
Followed the plans pretty close on this one.
Built from Plan(s)
Estimated Cost
$150
Estimated Time Investment
Weekend Project (10-20 Hours)
Finish Used
stain, poly
Recommended Skill Level
Intermediate
Comments

Fri, 12/19/2014 - 17:34
I really love how this turned
I really love how this turned out. What stain did you use? Thanks!
I've started building the Triple Printers Console. I haven't quite decided on the color.
In reply to I really love how this turned by handmadewithash
Mon, 12/22/2014 - 18:19
Stain
The stain was Cabot's Dark Walnut wood stain.
Fancy X Farmhouse table and Bench
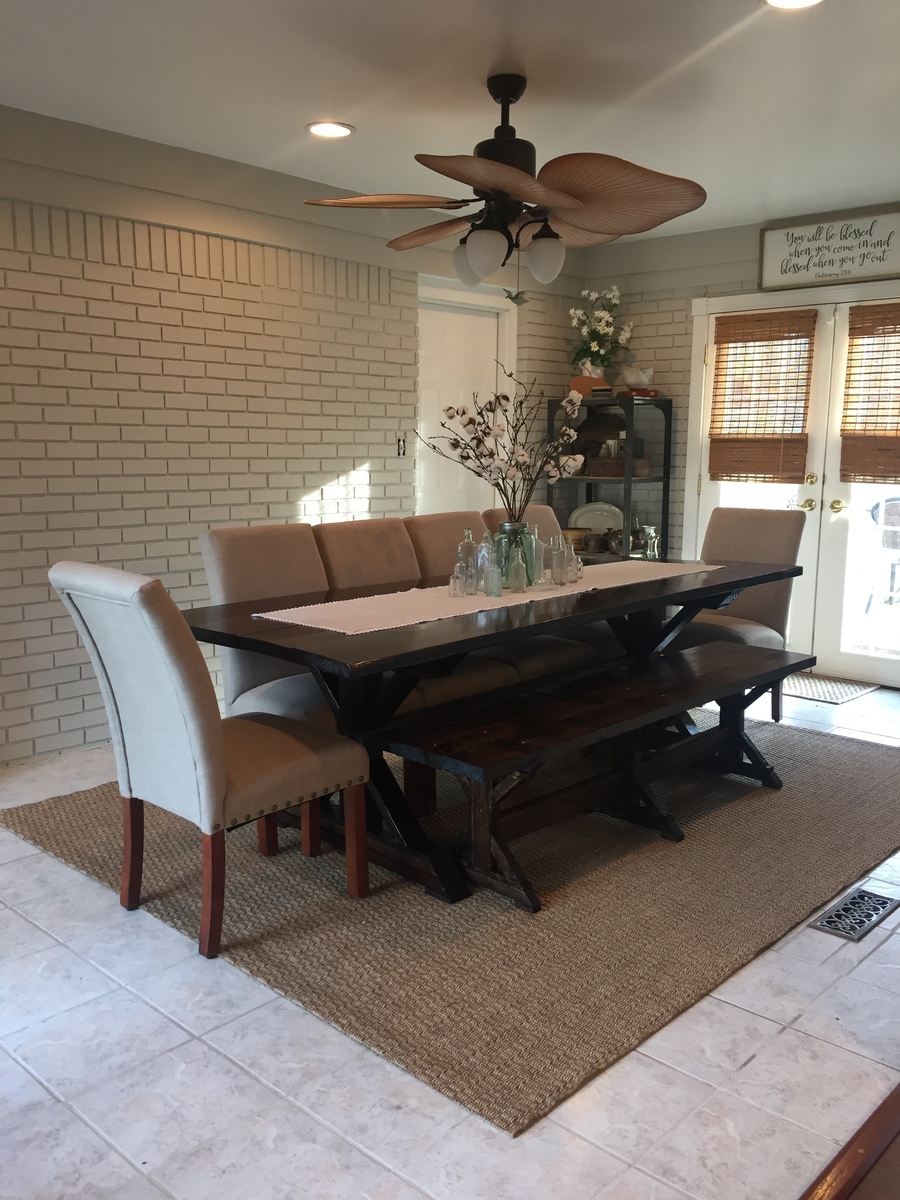
I absolutely love my rendition of the Fancy X Farmhouse Table (and bench). I took Ana's plans and combined them with some of the details from charmingimperfections.com to create the vision in my mind of exactly what i wanted. The build was not bad at all but the Kreg Jig is a MUST have tool! This was my frst experience with the KREG jig and i am now looking forward to many more DIY Builds! :)
Built from Plan(s)
Estimated Cost
Table $150
Bench $50
Bench $50
Estimated Time Investment
Week Long Project (20 Hours or More)
Finish Used
Dark Walnut with semigloss polyurethane
Recommended Skill Level
Beginner
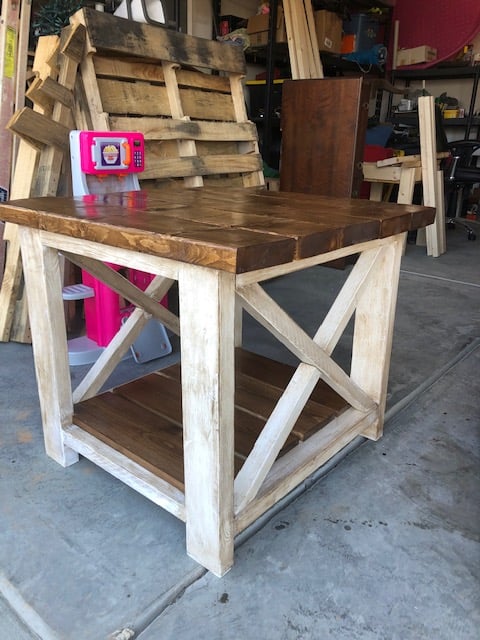
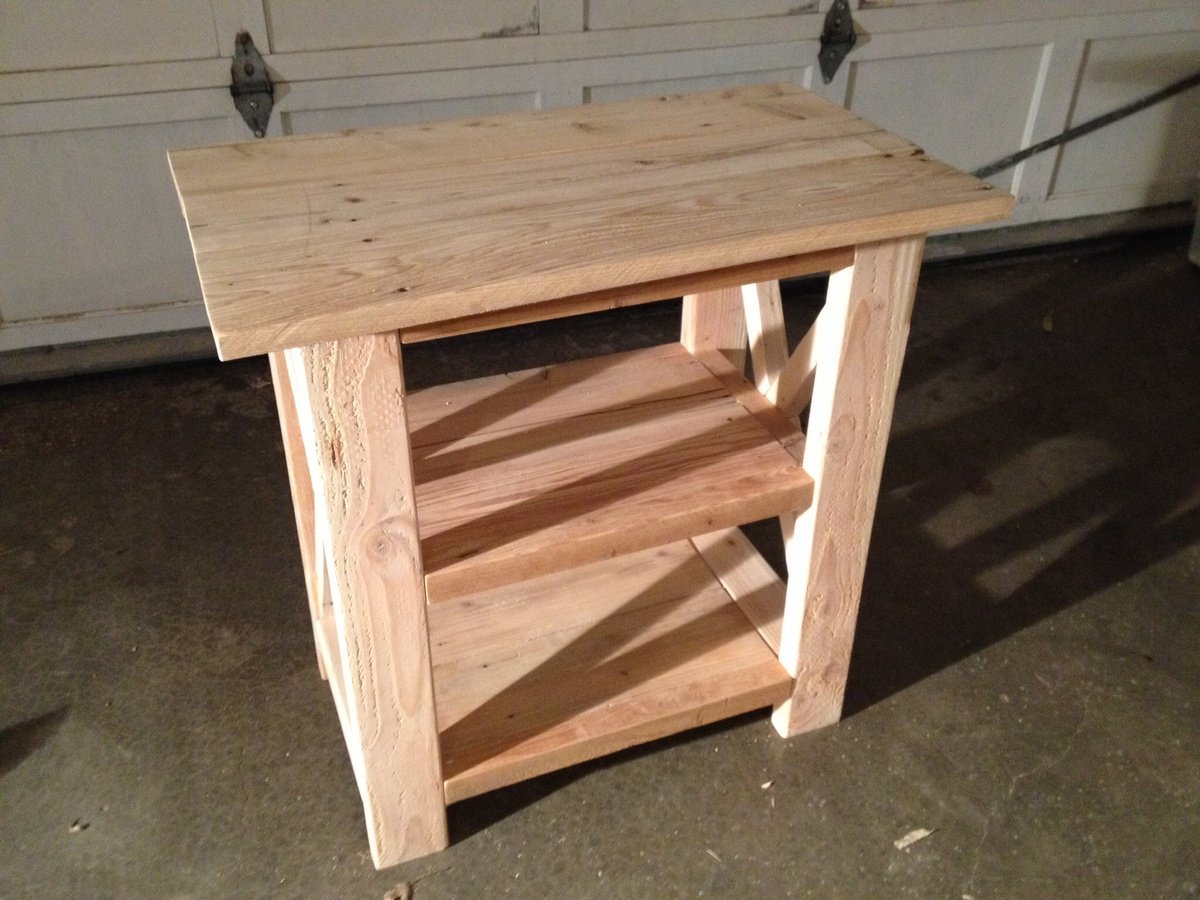
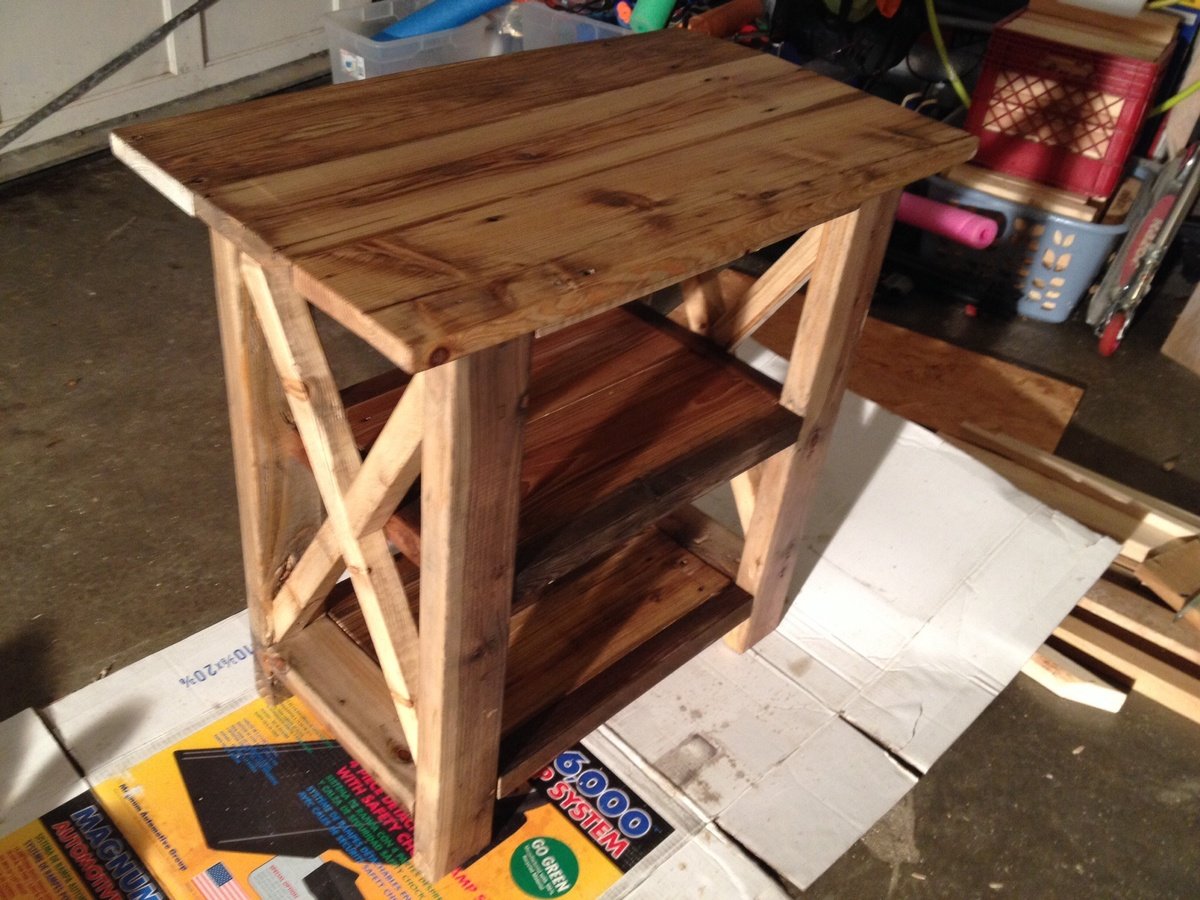
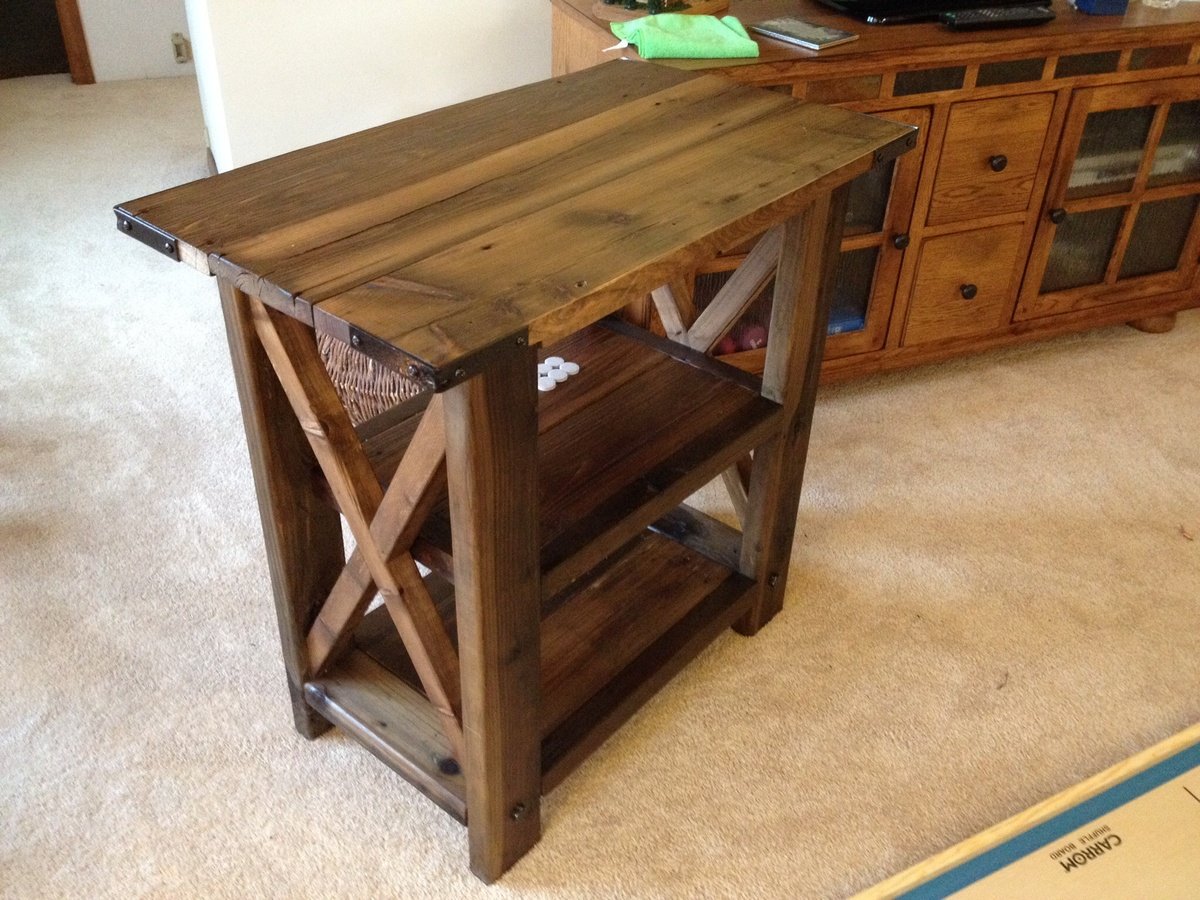
Rustic X end tables
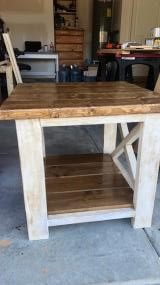
My first end tables, used the Rustic x plan except for the bottom shelf. I used a white chalky paint, with a brown wax to give it the rustic look, and stained the top walnut stain. Working on the coffee table to finish the set.
Built from Plan(s)
Estimated Cost
150
Estimated Time Investment
Weekend Project (10-20 Hours)
Finish Used
Top is walnut
Recommended Skill Level
Intermediate
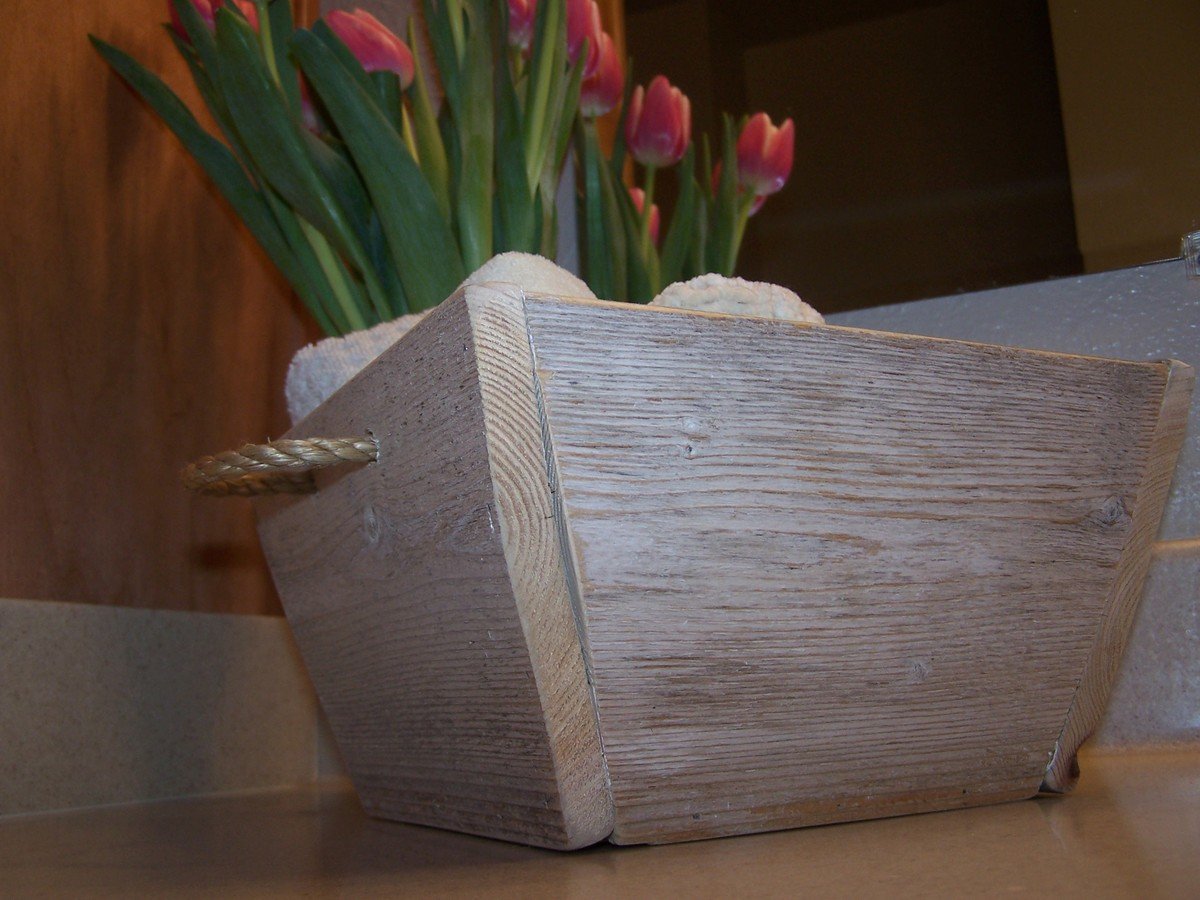
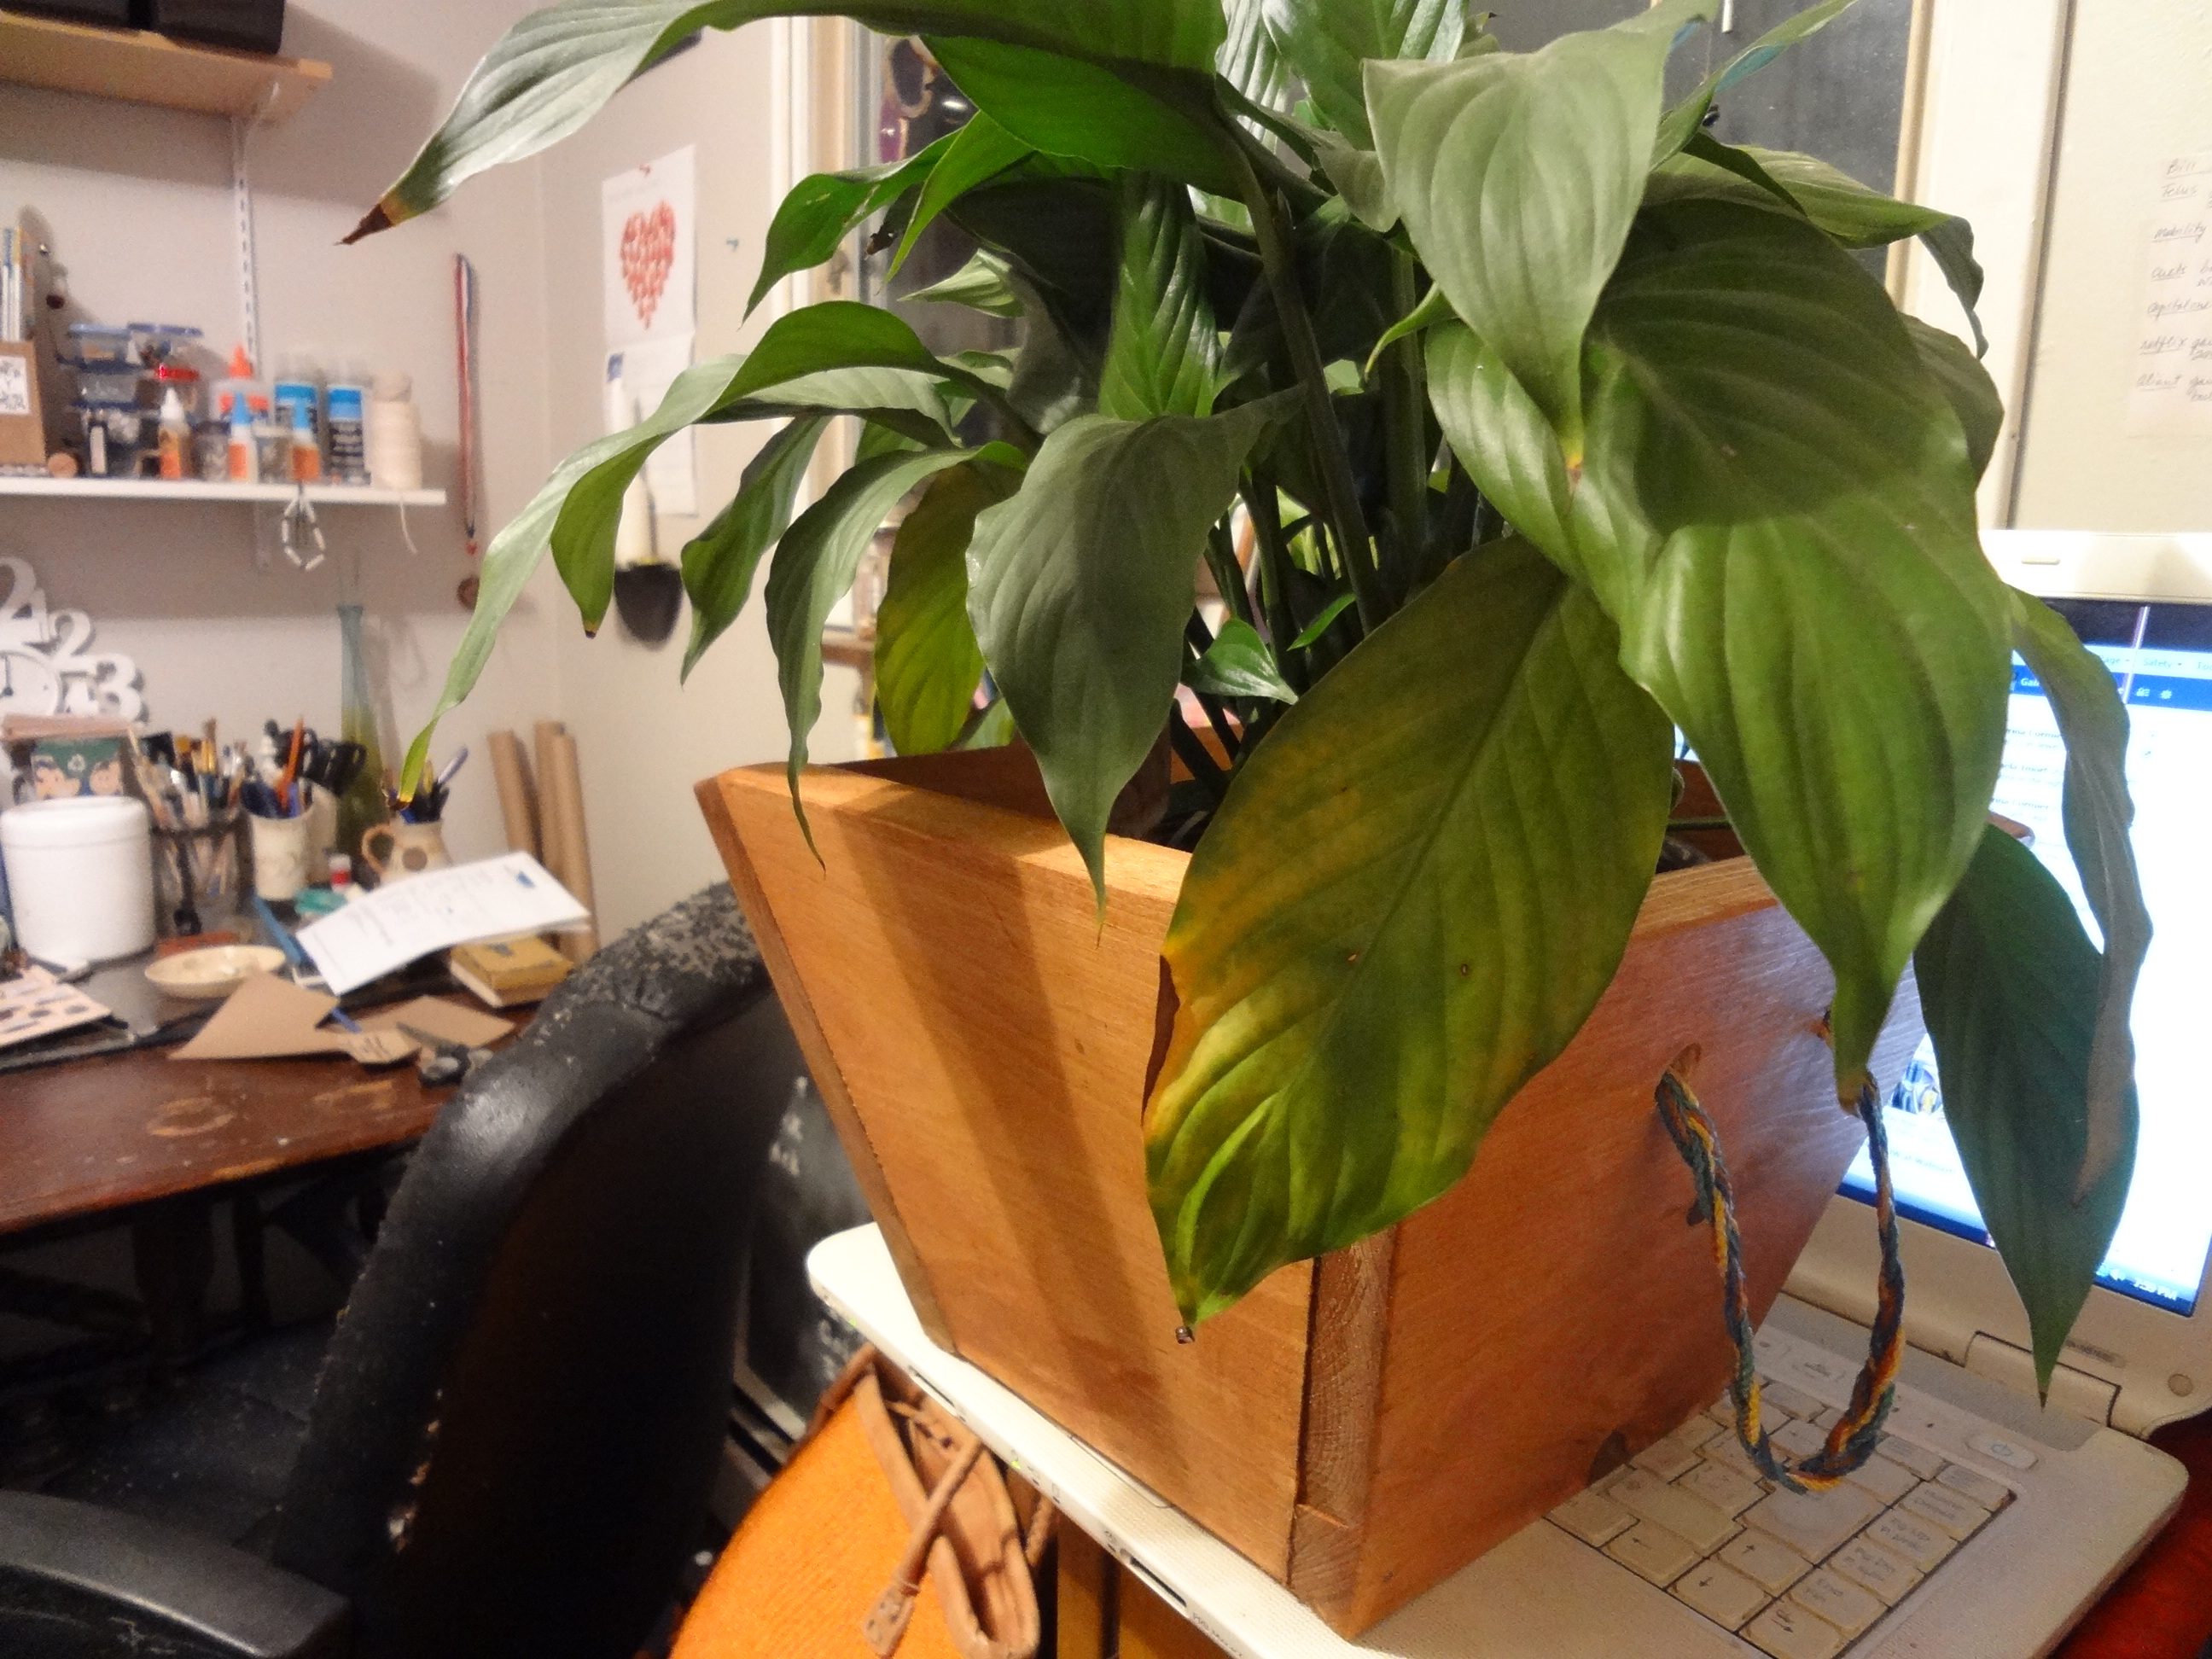
Tapered Crate
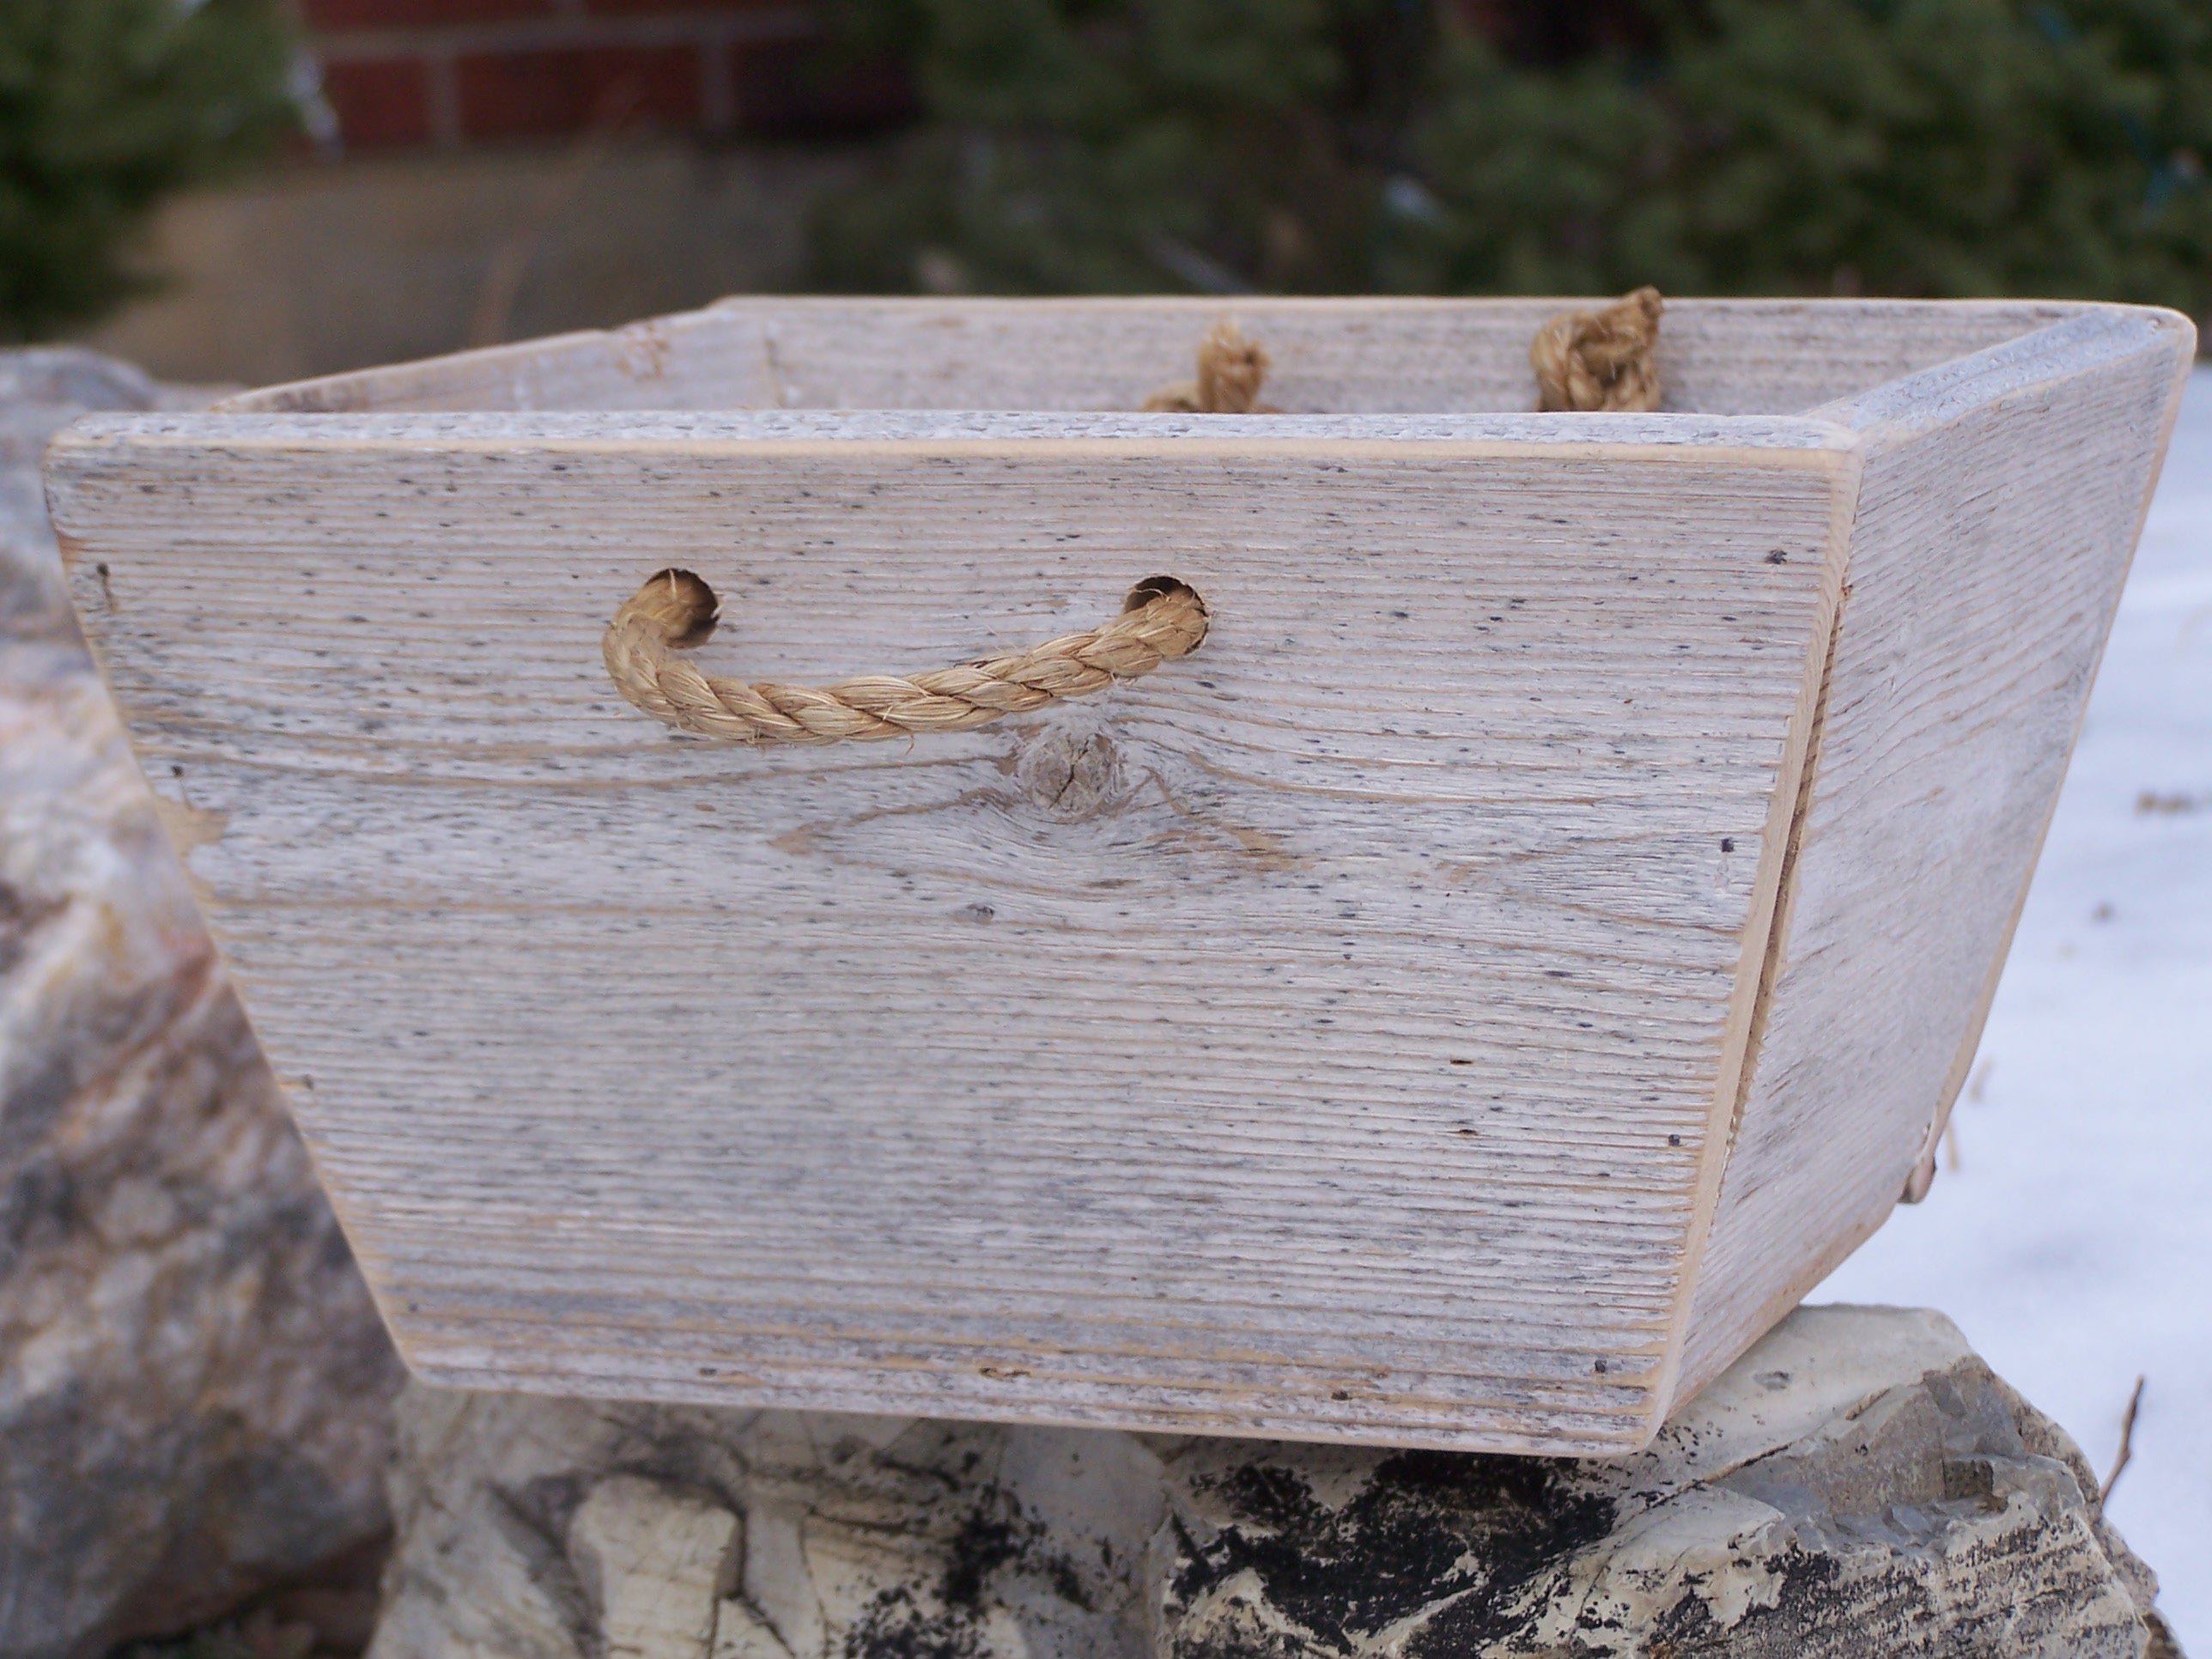
I was so excited when I saw the plan for this! I love making crates out of wood. It was quick and easy and I already had a cedar fence post! It was less than 30 minutes start to finish! For more pictures check out my blog post. Thanks Ana!
Built from Plan(s)
Estimated Cost
Free!
Estimated Time Investment
An Hour or Two (0-2 Hours)
Finish Used
It was naturally finished for me!
Recommended Skill Level
Starter Project
Comments

Harvest Bench
I purchased a harvest table from a local store that sells only solid wood furniture. The store had the option of purchasing a bench. I decided that I could save some cash and make the harvest bench myself.
For details, check out my blog - http://www.woodworkingfourdummies.com/blog/harvest-bench
Cheers,
Ian
Estimated Cost
$300.00
Finish Used
Custom Stain (optional) and polyurethane.
Recommended Skill Level
Starter Project
X Brace Twin Headboard
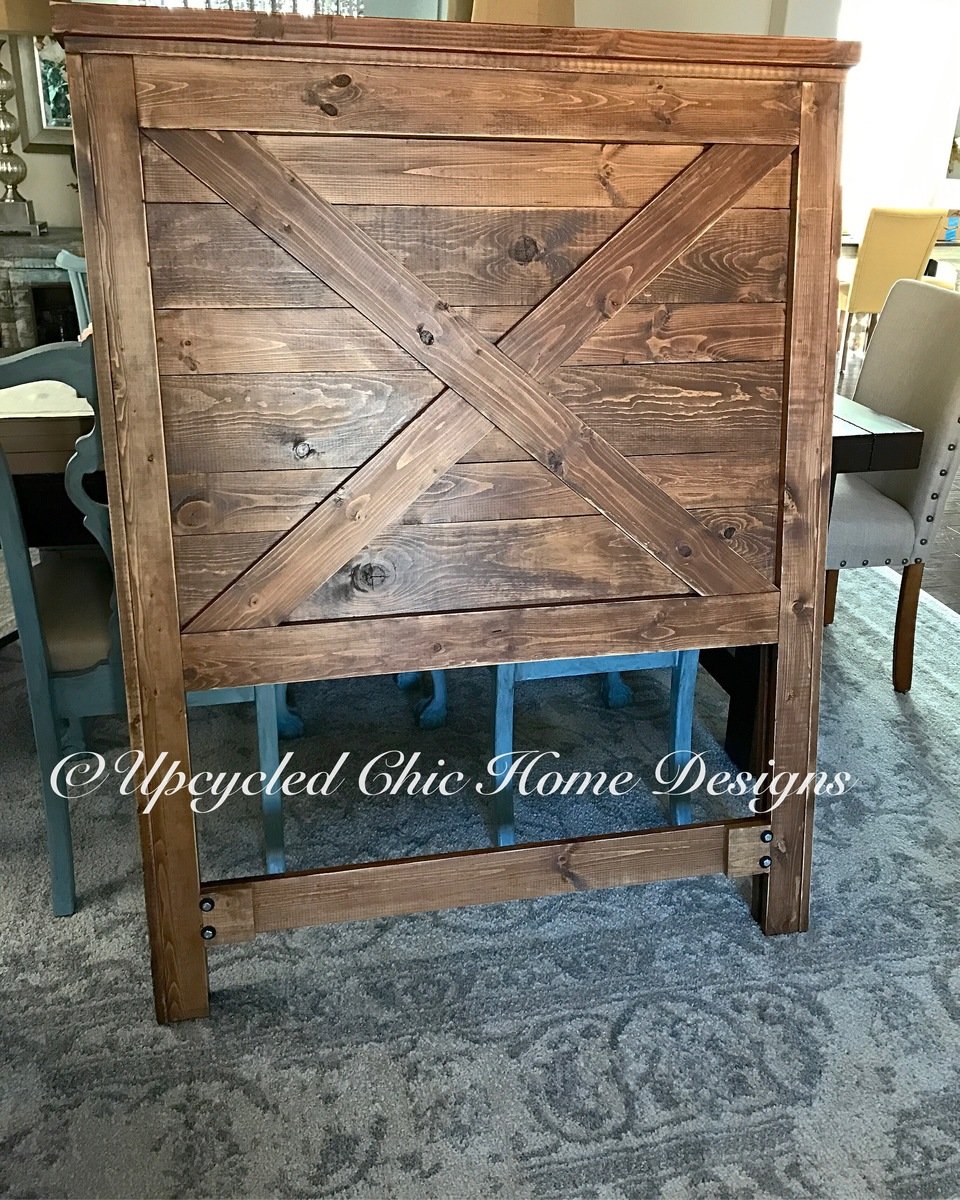
We took the plans for the twin headboard modification and added an x brace to make it look like a barn door. We also added a piece to the bottom for additional support for mounting to the boxspring as well as to prevent warping and narrowing of the posts.
Built from Plan(s)
Estimated Cost
$110
Estimated Time Investment
Afternoon Project (3-6 Hours)
Finish Used
Varathane 2X Ultimate Wood Stain in Early American and then lightly distressed. Minwax wipe on poly in satin.
Recommended Skill Level
Beginner
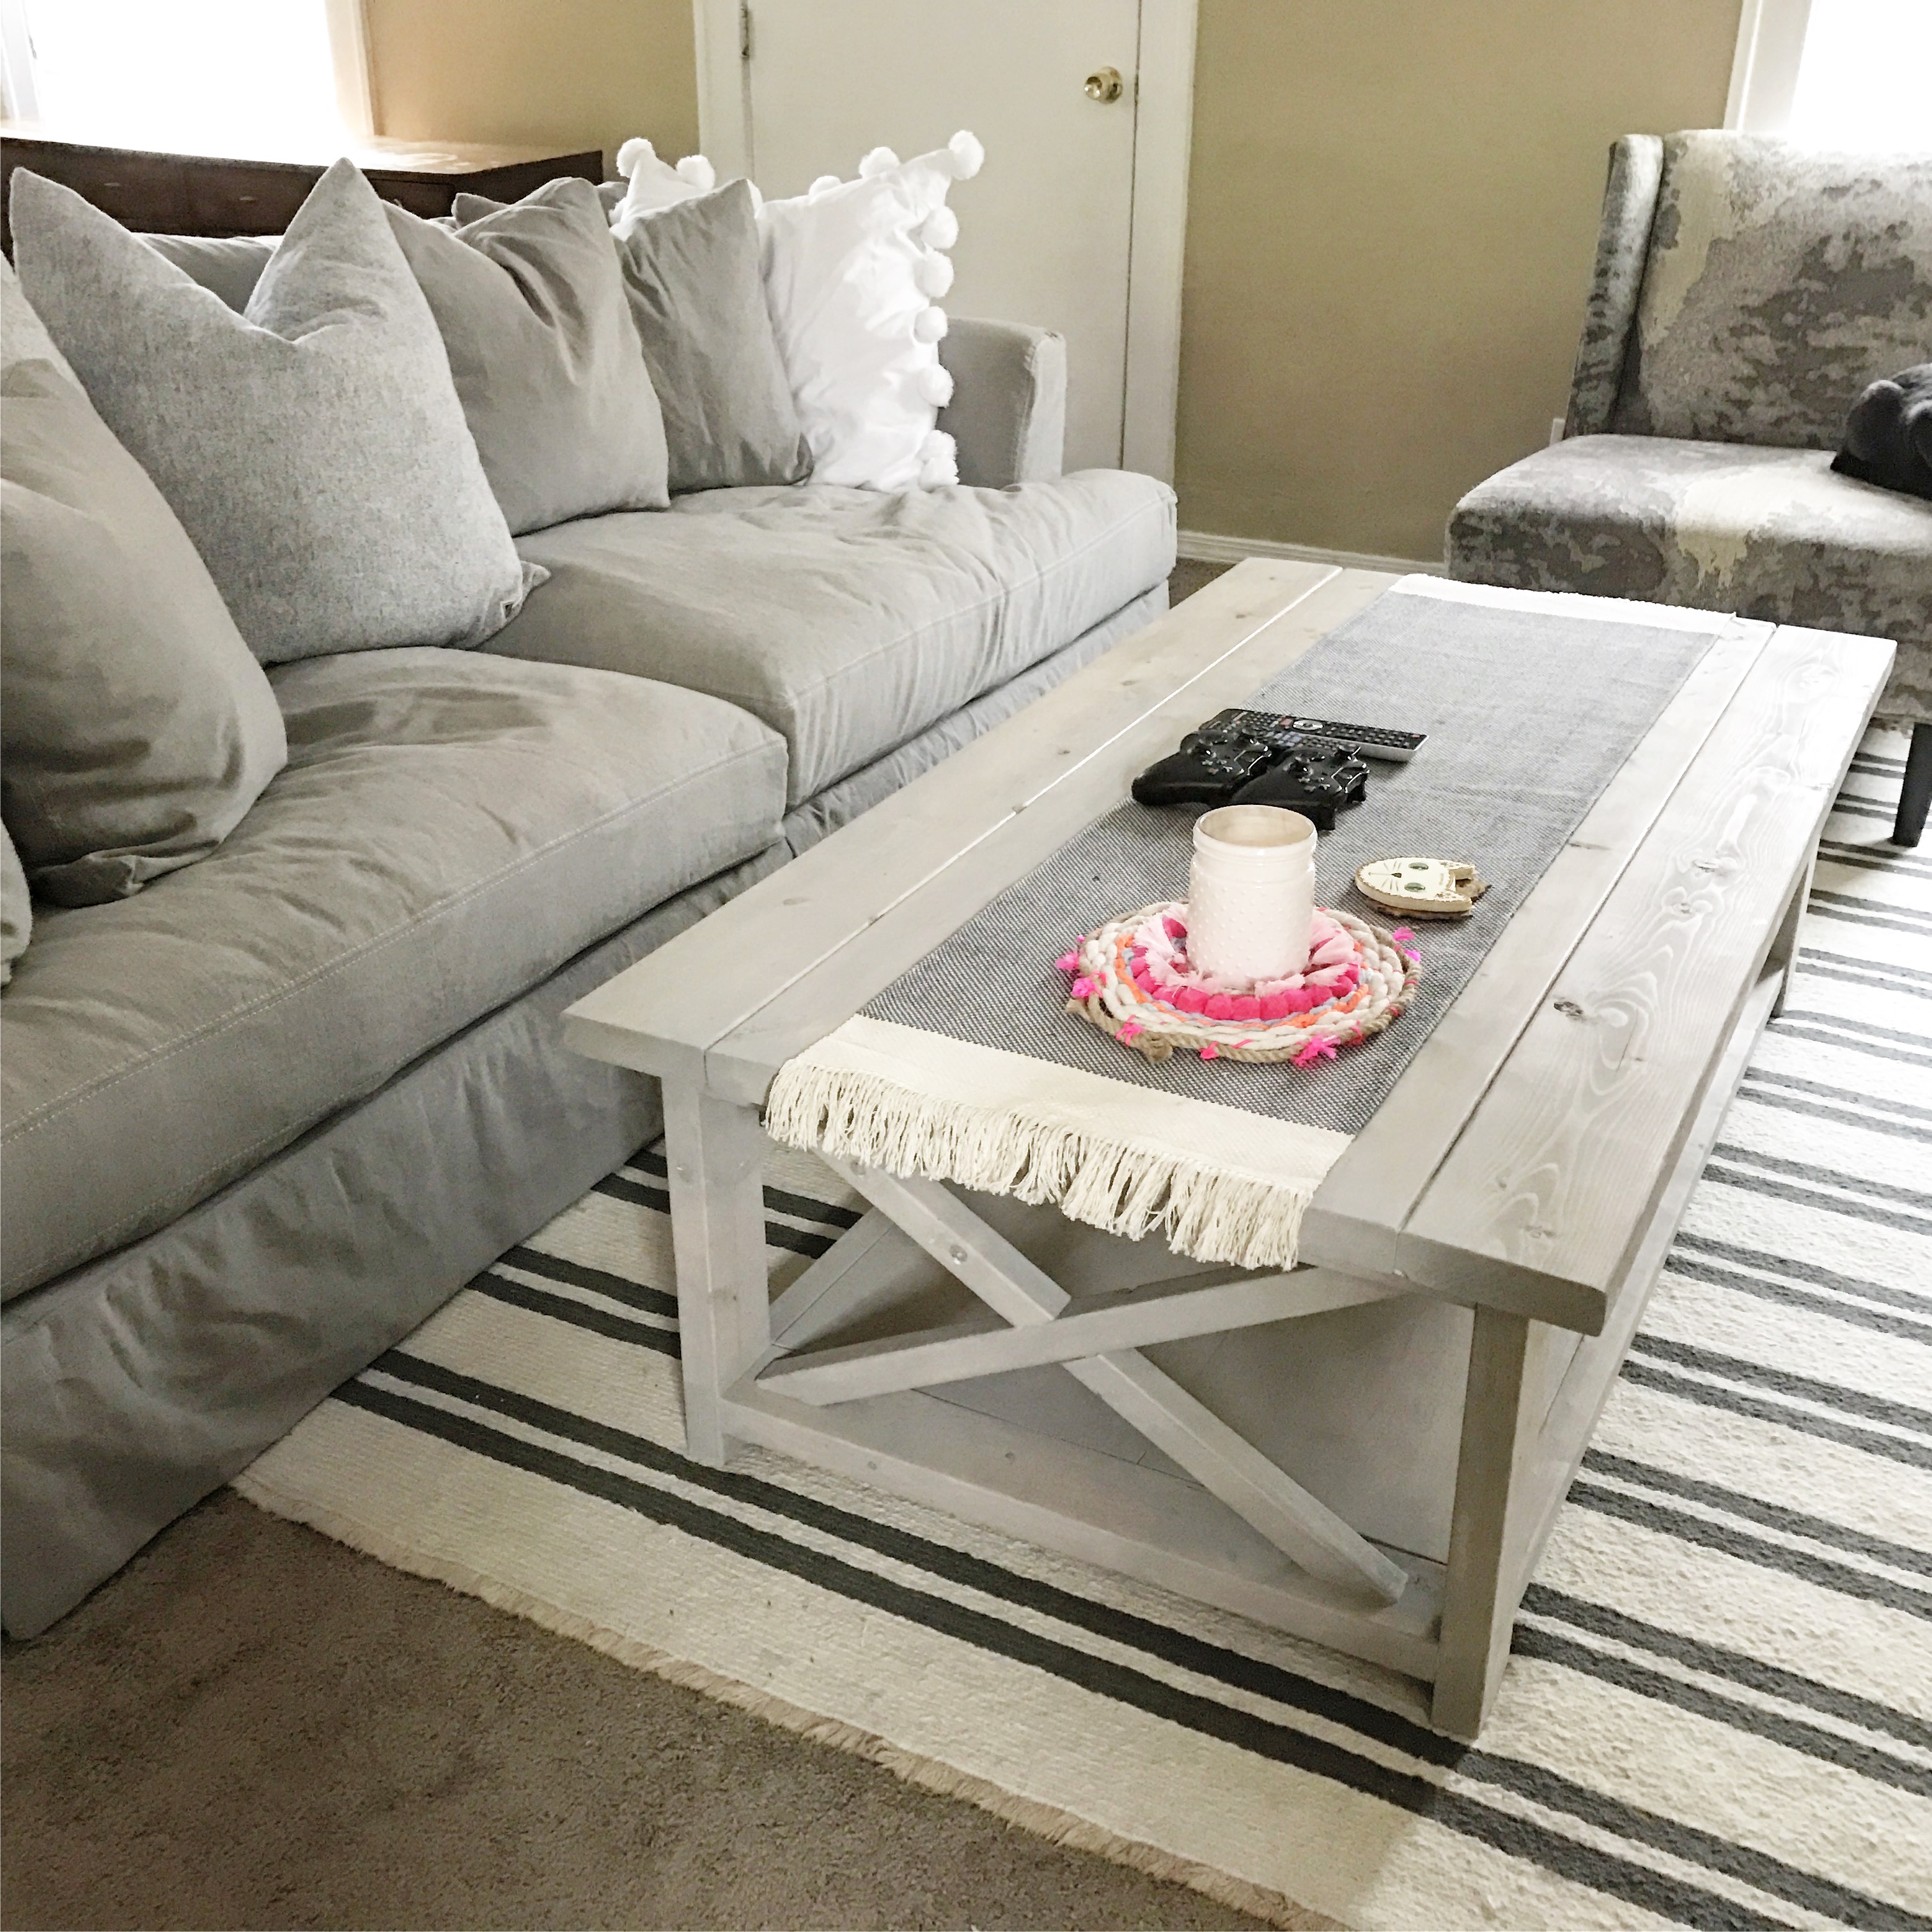
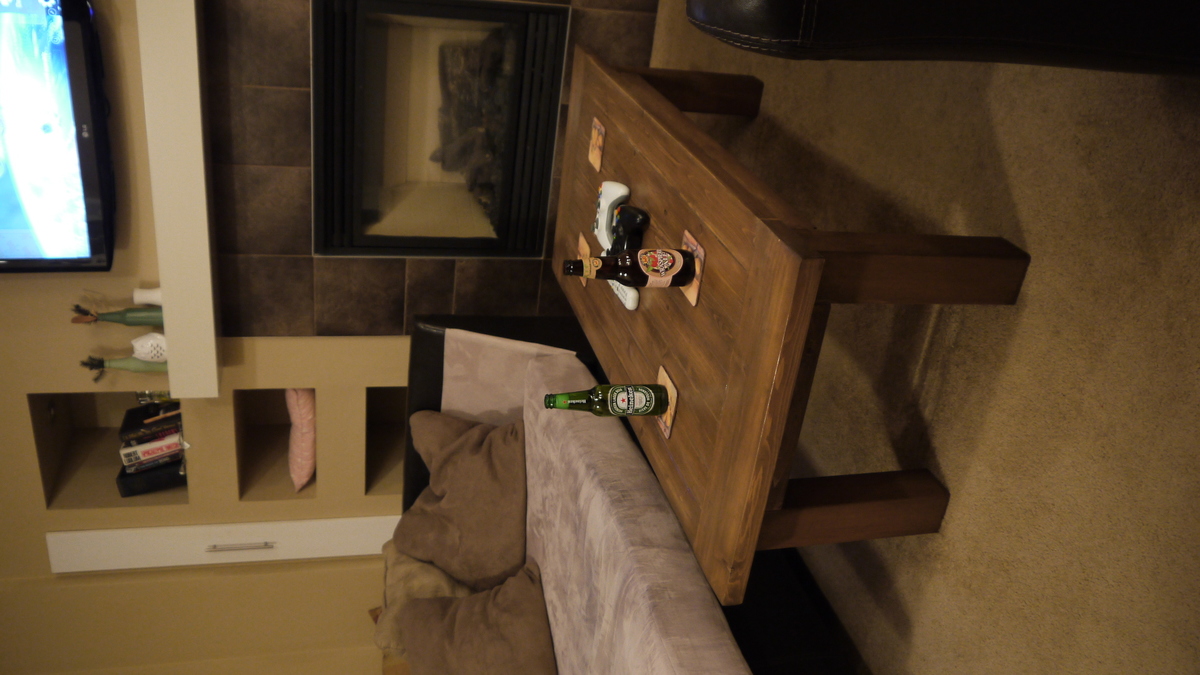
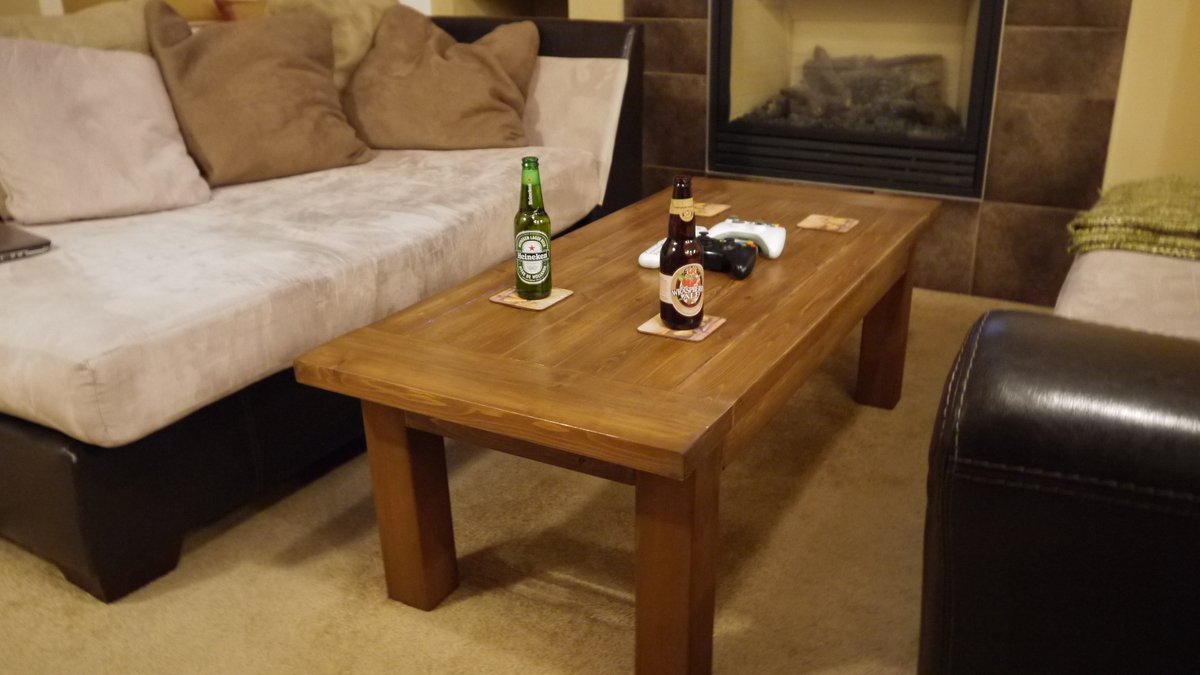
Coffee table
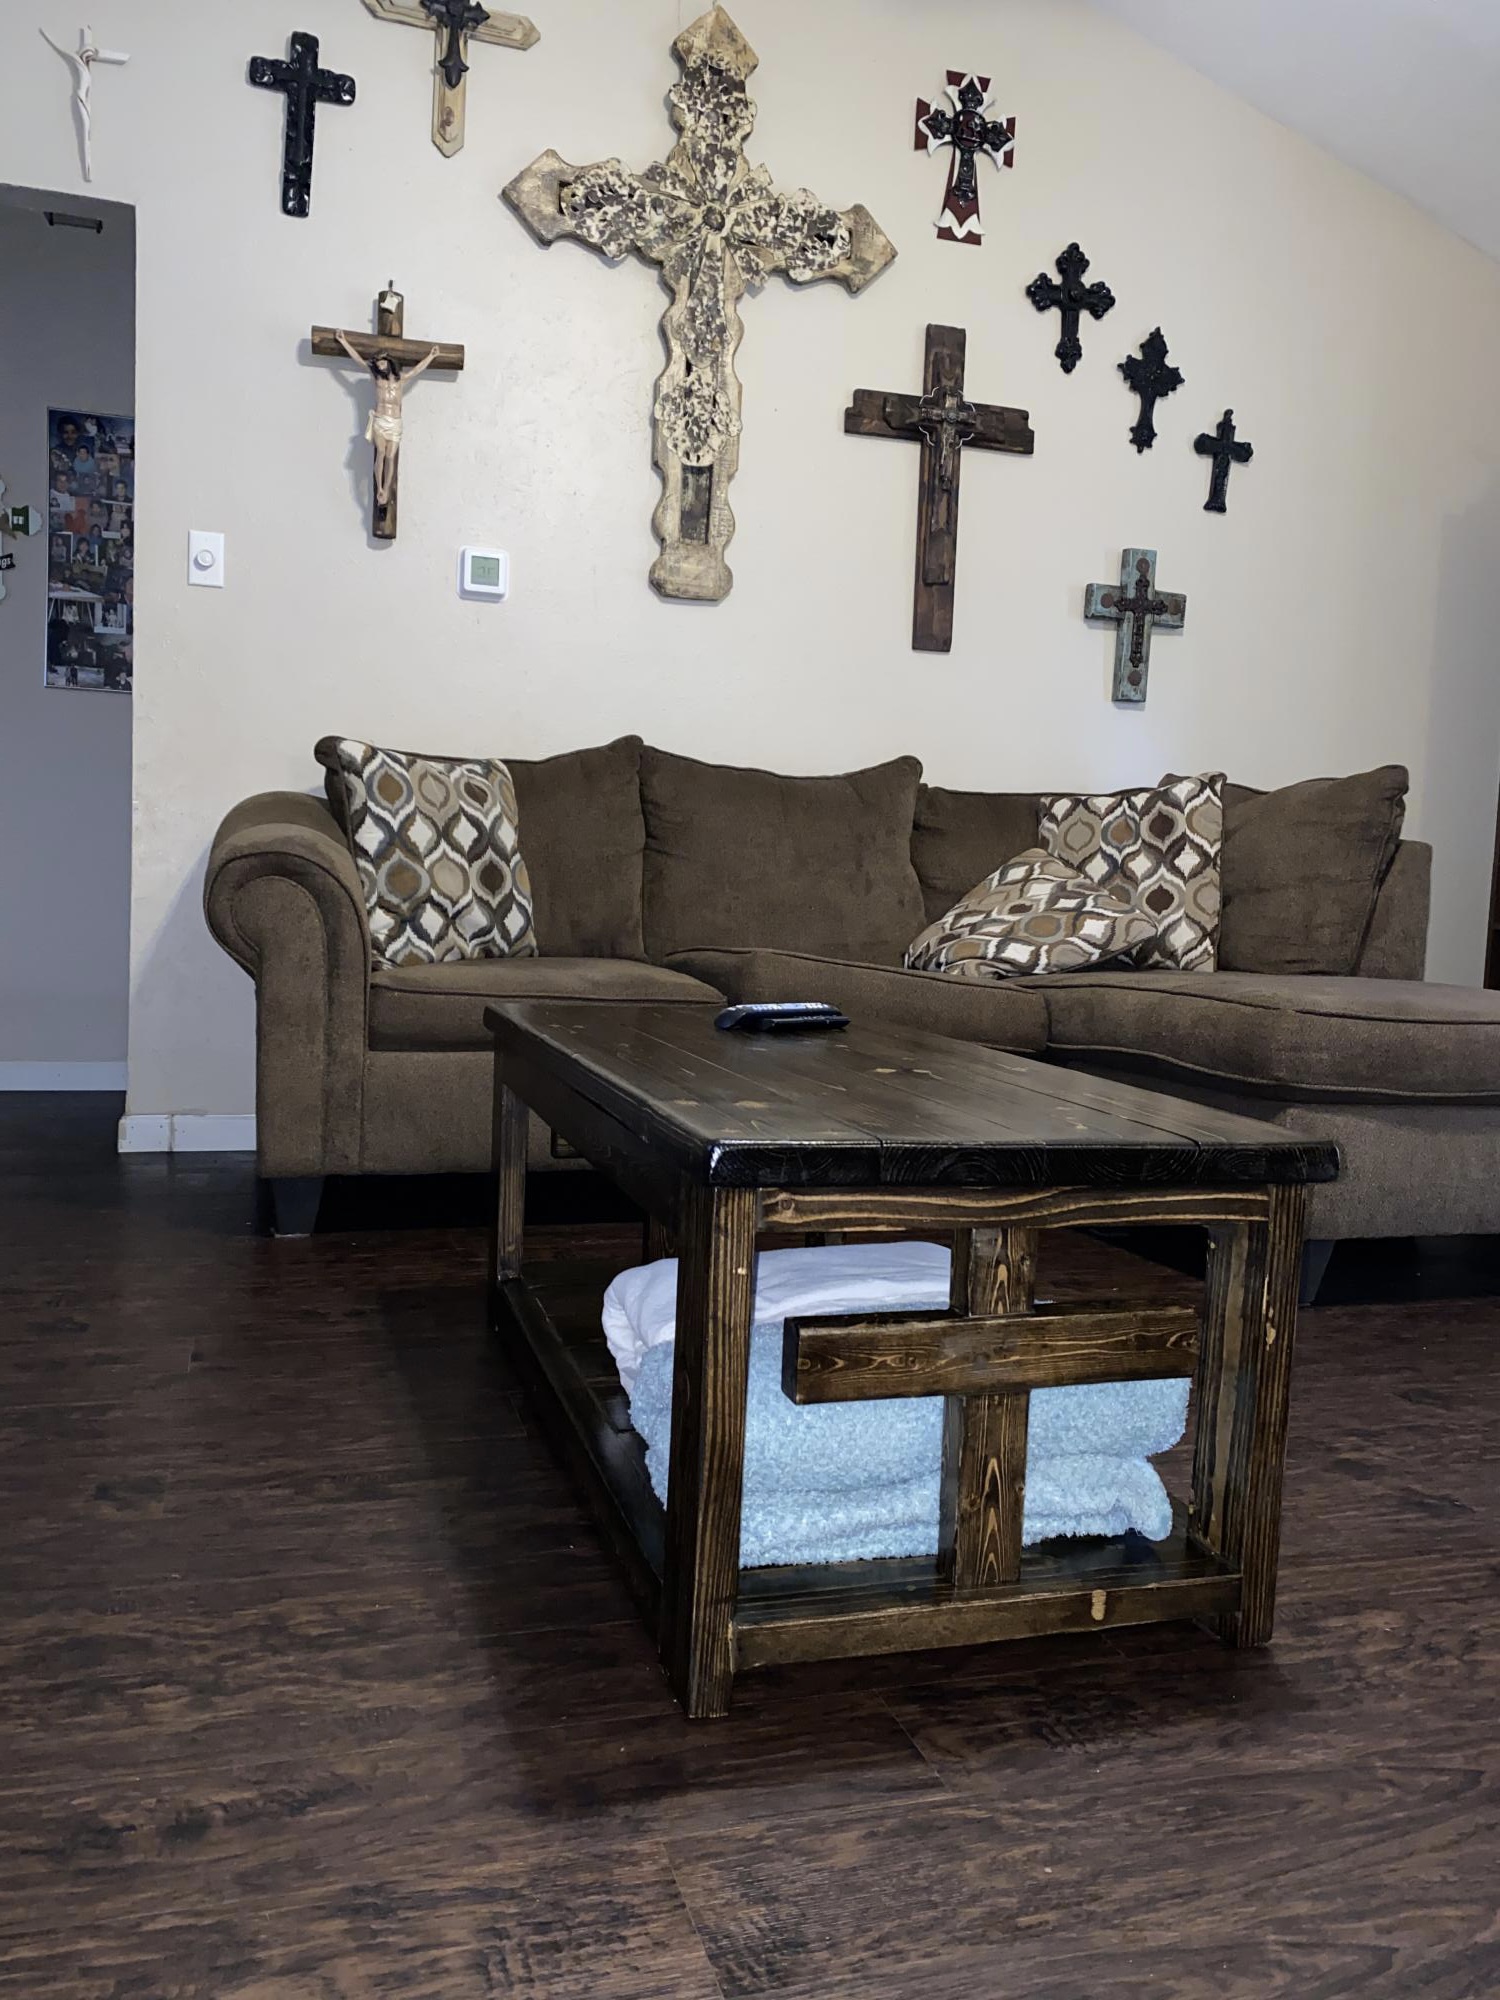
My second ever project my wife said I could do followed your plans are use pocket hose after asking about using them and you sent me a link on how to use it. I did not use the X instead my wife wanted me to Make a cross so it would go with the crosses in our living room thanks for the plans.
Built from Plan(s)
Estimated Cost
$56.00
Estimated Time Investment
Weekend Project (10-20 Hours)
Finish Used
Are used a minwax would finish and then I use up oil based polyurethane semi gloss from Behr
Recommended Skill Level
Beginner
Comments
first try :)
This took me an afternoon because I have never used a compound mitre saw before so I was teaching myself through trial & error.
It was really fun to try and I will definitly be making more!
Estimated Time Investment
Afternoon Project (3-6 Hours)
Finish Used
Minwax stain
Recommended Skill Level
Starter Project
Comments
Half-sized Rustic X table

I used 1x6 cypress wood for the top as well as middle and bottom shelves. This wood was given to me from my in-laws and came from an old corn crib that was torn down on their farm. The remaining 2x2's, 2x4's, corner brackets and screws were picked up as used or broken pieces from a local Habitat for Humanity Re-Store. I also picked up the tung oil I finished with from the same place. The pics show the various stages of build from the initial raw pieces that had been planed/sanded to using Hillary's tea and vinegar oxidation; after a good bit of tung oil was used; finally right before I gave it away as a Christmas gift. I had never worked with old cypress wood previously and was very impressed with how it accepted the oxidation (nice and light) as well as the oil finish. I preserved the old nail holes in the wood as much as possible and you might even notice I left some the white paint from the old corn crib that was on the end of one piece. Great plans - fun little project!

Built from Plan(s)
Estimated Cost
$10 - 15
Estimated Time Investment
Weekend Project (10-20 Hours)
Finish Used
Tea and vinegar/steel wool, tung oil
Recommended Skill Level
Beginner
Finished the table!
We struggled with the angles because we made the table bigger than this tutorial suggests but all in all, awesome build.
Built from Plan(s)
Estimated Cost
$80
Estimated Time Investment
Weekend Project (10-20 Hours)
Recommended Skill Level
Intermediate
Sweet pea bunk bed
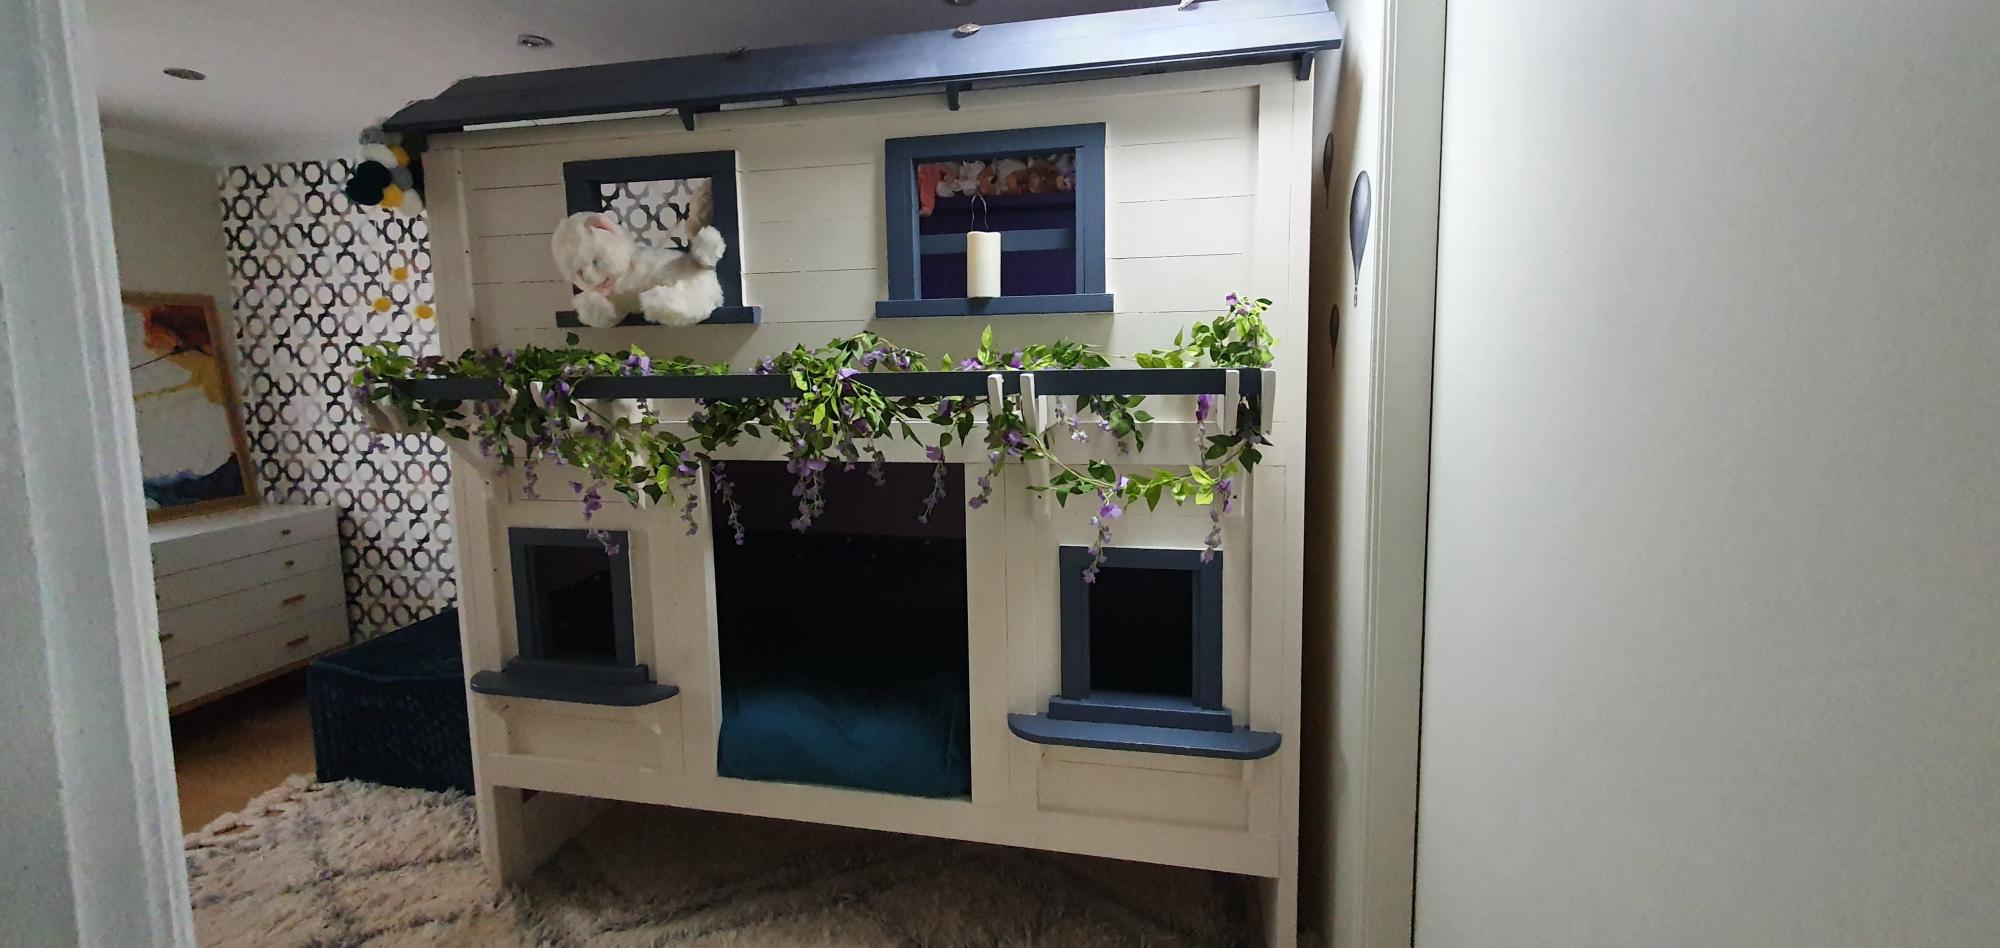
Thanks so much for the plans to build the sweet pea bunk bed.
It was just the ticket.
My little girl loves it, we used glitter paint and used some to replicate the stars and night sky on the lower bunk ceiling
We made a little ladder only because of space (or lack of) and will make the shutters and drawers at a later date.
Many thanks.
Dan, Alena and Leonie

Built from Plan(s)
Estimated Cost
£700
Estimated Time Investment
Week Long Project (20 Hours or More)
Finish Used
Zinsser sealer
Valspar satin with gold and silver glitter
Valspar satin with gold and silver glitter
Recommended Skill Level
Intermediate
Comments
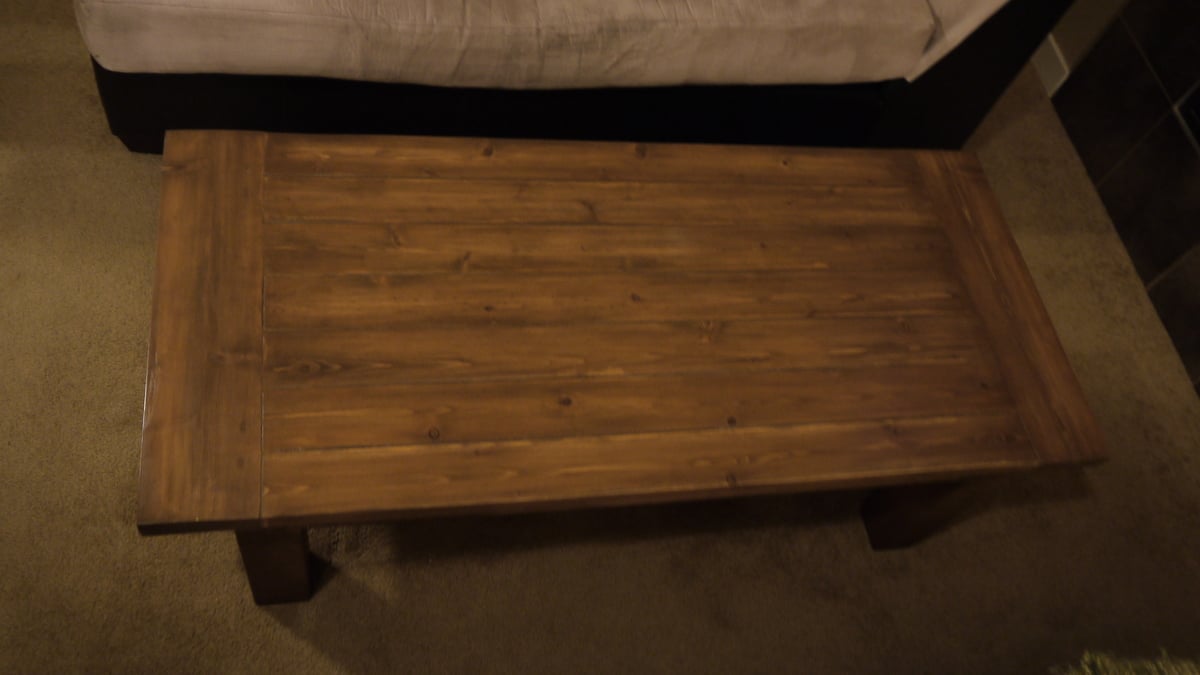
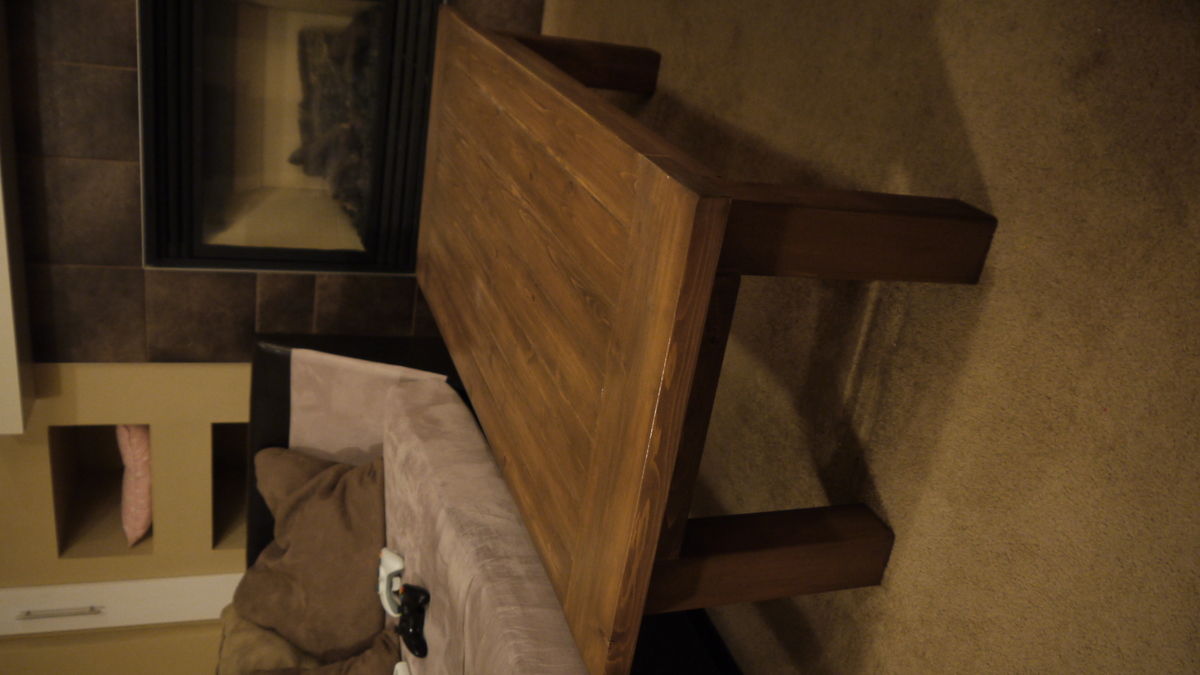
Tryde Coffee Table

This is our very first Ana White project! We are so happy with how it turned out and have definitely been inspired to continue to create. Plans are already in the works for matching end tables, a dining table, and a bookshelf! We used cedar for this table. The stain was MinWax American Walnut, the slight red hue is from the wood only. We finished it with polycrylic because we didn't want any ambering. I think we probably spent about 6 hours doing the actual building A lot of that was spent trying to get the table top boards flush against each other. Any tips for picking straight pieces would be very helpful!! I would suggest cutting and screwing together on the same day do boards don't start to dry out. The rest of the time was really about doing test staining, waiting for coats to dry, etc. We did this in our basement so having water base stains was really key.
Built from Plan(s)
Estimated Time Investment
Weekend Project (10-20 Hours)
Finish Used
MinWax water based conditioner (pre-stain) (applied with cloth)
MinWax water based American Walnut (applied with cloth)
MinWax polyryclic finish (applied with brush)
MinWax water based American Walnut (applied with cloth)
MinWax polyryclic finish (applied with brush)
Recommended Skill Level
Beginner
Modified Beach Cottage Dresser
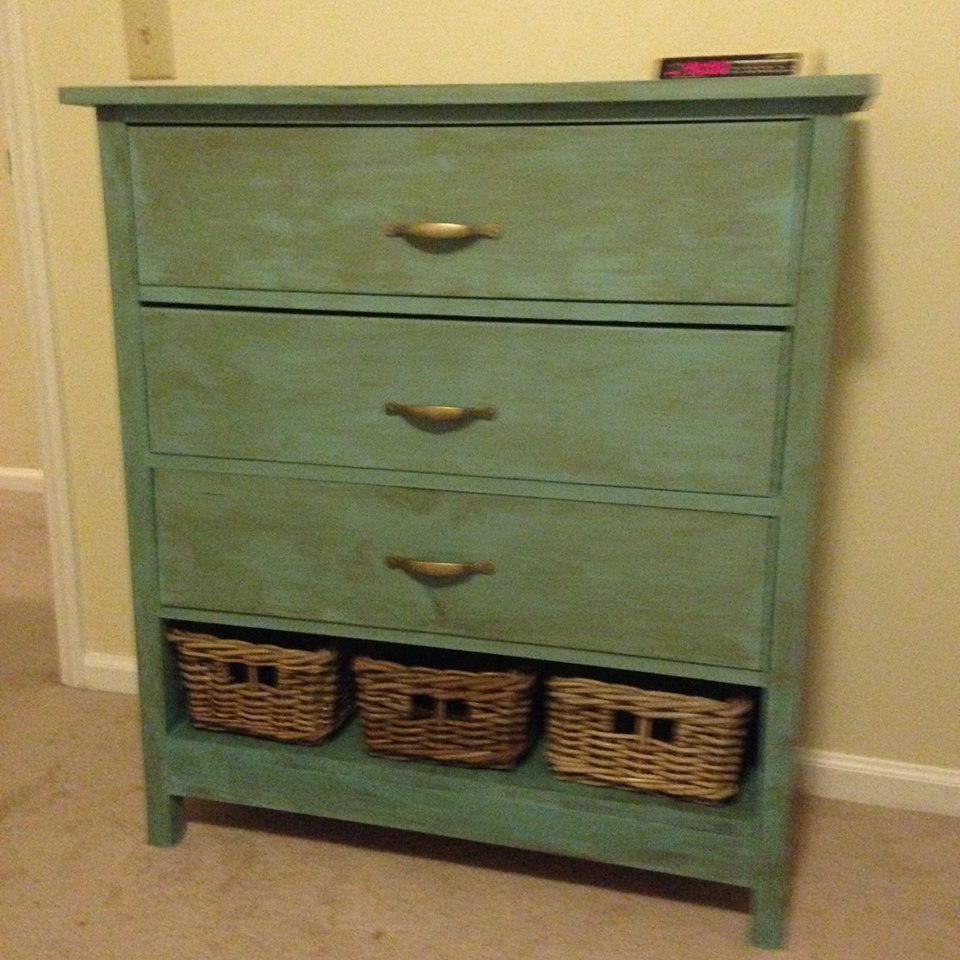
This is a modified version of Patrick's beach cottage dresser with a shelf at the bottom instead of a fourth drawer. The dresser was painted with Americana Decor chalky paint and distressed with Americana Decor wax. Thanks for this excellent plan, Ana and Patrick!
Built from Plan(s)
Estimated Cost
Under $100.
Estimated Time Investment
Week Long Project (20 Hours or More)
Finish Used
Americana Decor Chalky Paint, 2 containers of 'Primitive' and 1 container of 'Treasure'
Americana Decor Creme Wax, Deep Brown
Americana Decor Soft Touch Varnish
Americana Decor Creme Wax, Deep Brown
Americana Decor Soft Touch Varnish
Recommended Skill Level
Intermediate
Patio sectional
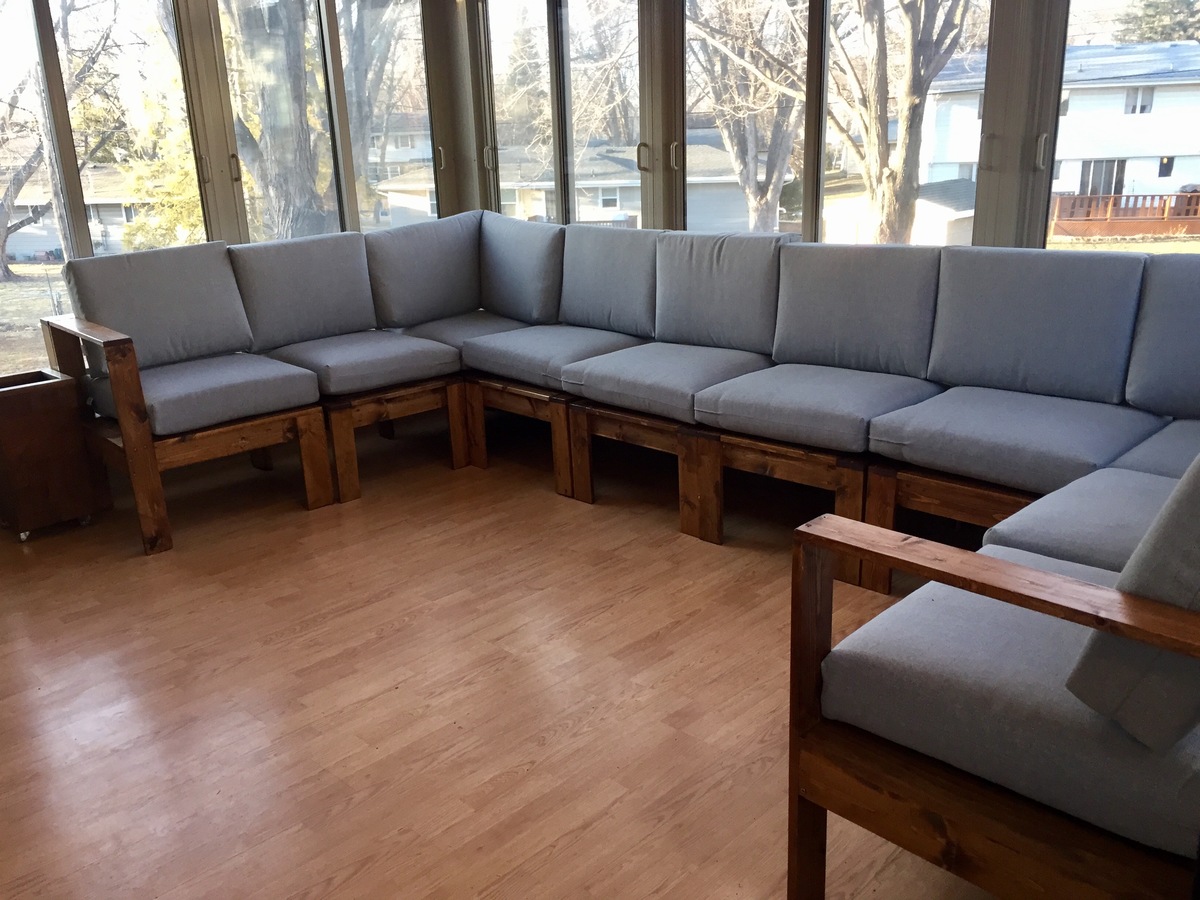
This was exactly what I was looking for! I was able to make a sectional that fit our 4-season patio perfectly, and saved thousands of $$ in the process.
Cushion details
Fullerton Outdoor Deep Seating Cushion Set - Threshold - http://www.target.com/p/fullerton-outdoor-deep-seating-cushion-set-threshold/-/A-52019240
Watch for sales on patio furniture, we were able to save 35% on the cushions (30% off sale + 5% Target REDCard discount)
Estimated Cost(s):
- Lumber = $200
- Cushions = $500
- Screws, stain, miscellaneous supplies = $100
- Total = $800
Finish Used:
- Minwax Pre-Stain Wood Conditioner
- Minwax English Chestnut Oil-Based Stain
- Minway Fast Drying Polyurethane
Built from Plan(s)
Estimated Time Investment
Week Long Project (20 Hours or More)
Recommended Skill Level
Beginner
Lighted hall tree

A lighted hall tree.
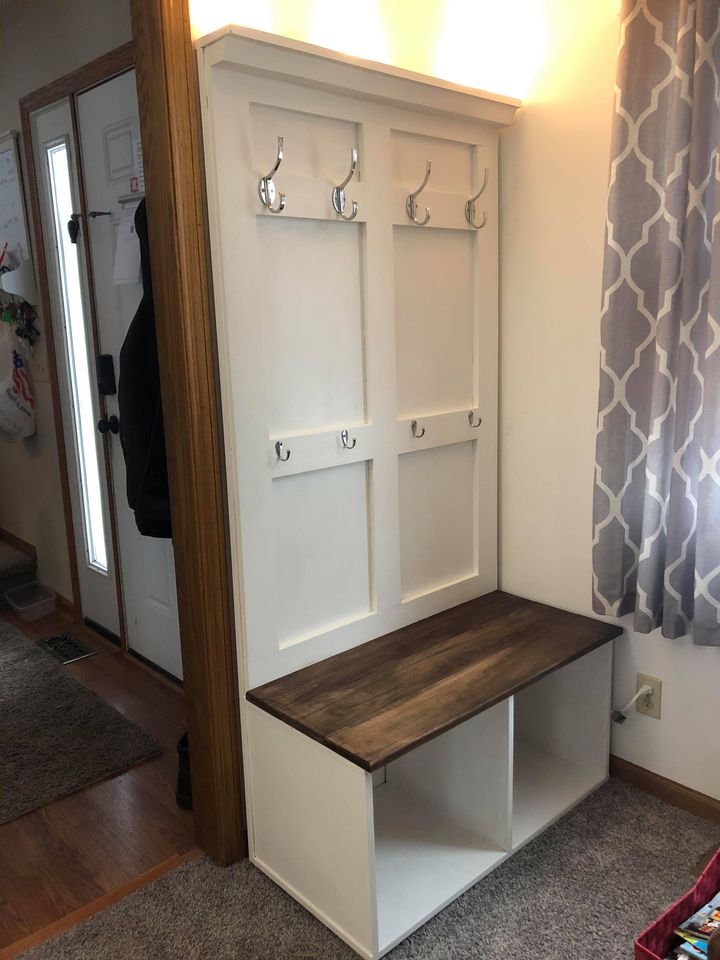
Estimated Cost
200
Estimated Time Investment
Afternoon Project (3-6 Hours)
Recommended Skill Level
Beginner