Porch bench
![](/sites/default/files/3154828442_1370991486.jpg)
Using Ana's garden bench design, I modified the plans slightly to make the bench less deep in order to fit on my narrow porch.
Super easy to follow and build! We went with treated lumber from Home Depot and have around $1500 into the project. Will be looking at adding an automatic fan and thermostat next year. Benches on one side for starters and a raised bed on the other side.
Fri, 06/12/2020 - 11:00
What a fabulous job! I love the red door for a pop of color. And the thermometer is a brilliant idea. I'm modifying this plan to better fit my yard. Thanks for sharing!
Build Instructions: https://www.instructables.com/id/Bluebird-Birdhouse-Made-From-Pallets/
This is a very easy project to make for attracting bluebirds to your yard. I wanted to reuse some of the wood I have from with the pallets I broke apart last year. This project uses a combination of industrial strength pallets made from 2x6s and standard pallets which provide slats in the 3/8" to 1/2" thick range. As for the house, I tried to hit the basic bluebird birdhouse dimensions for this build:
Feel free to leave the birdhouse exterior to weather unfinished or stain/paint it. I finished the house with a combination of stain for the bottom and sides and green paint for the roof.
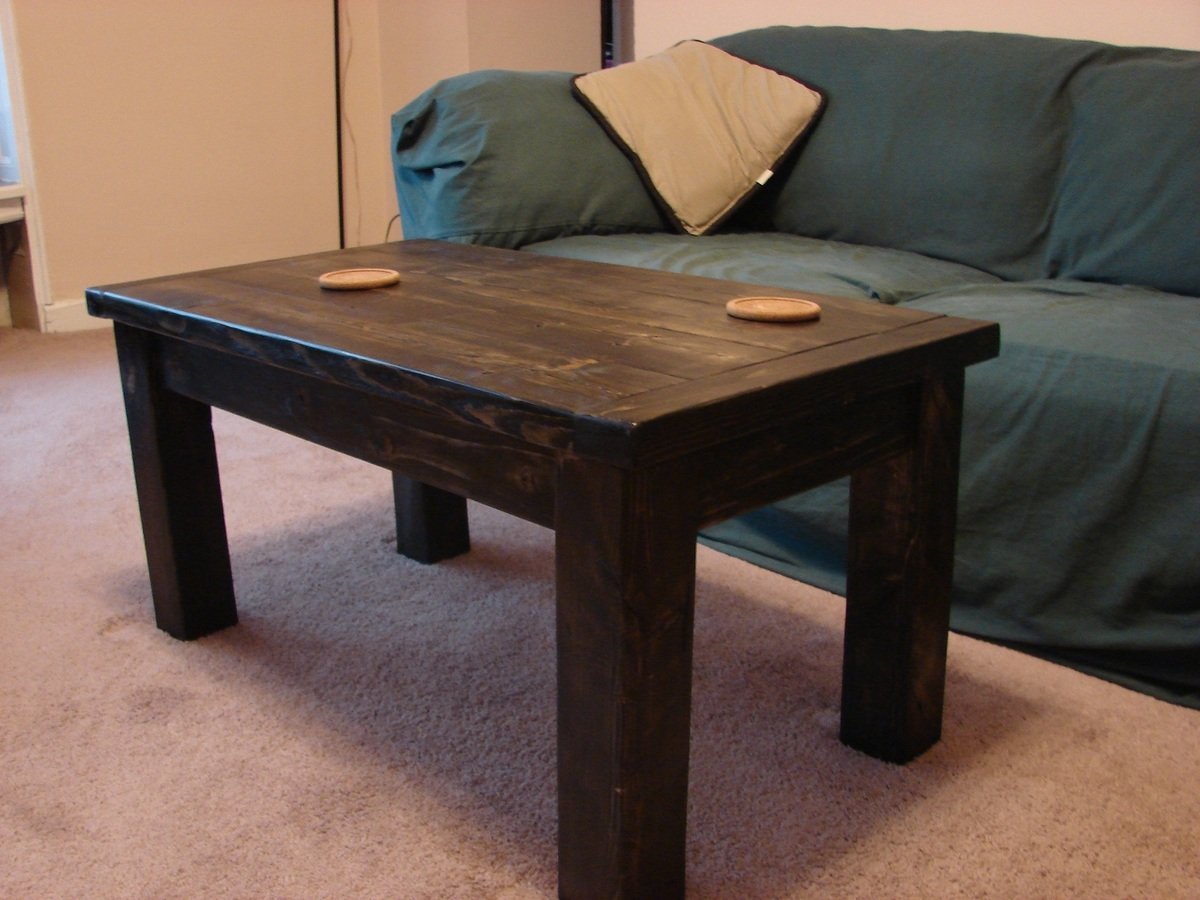
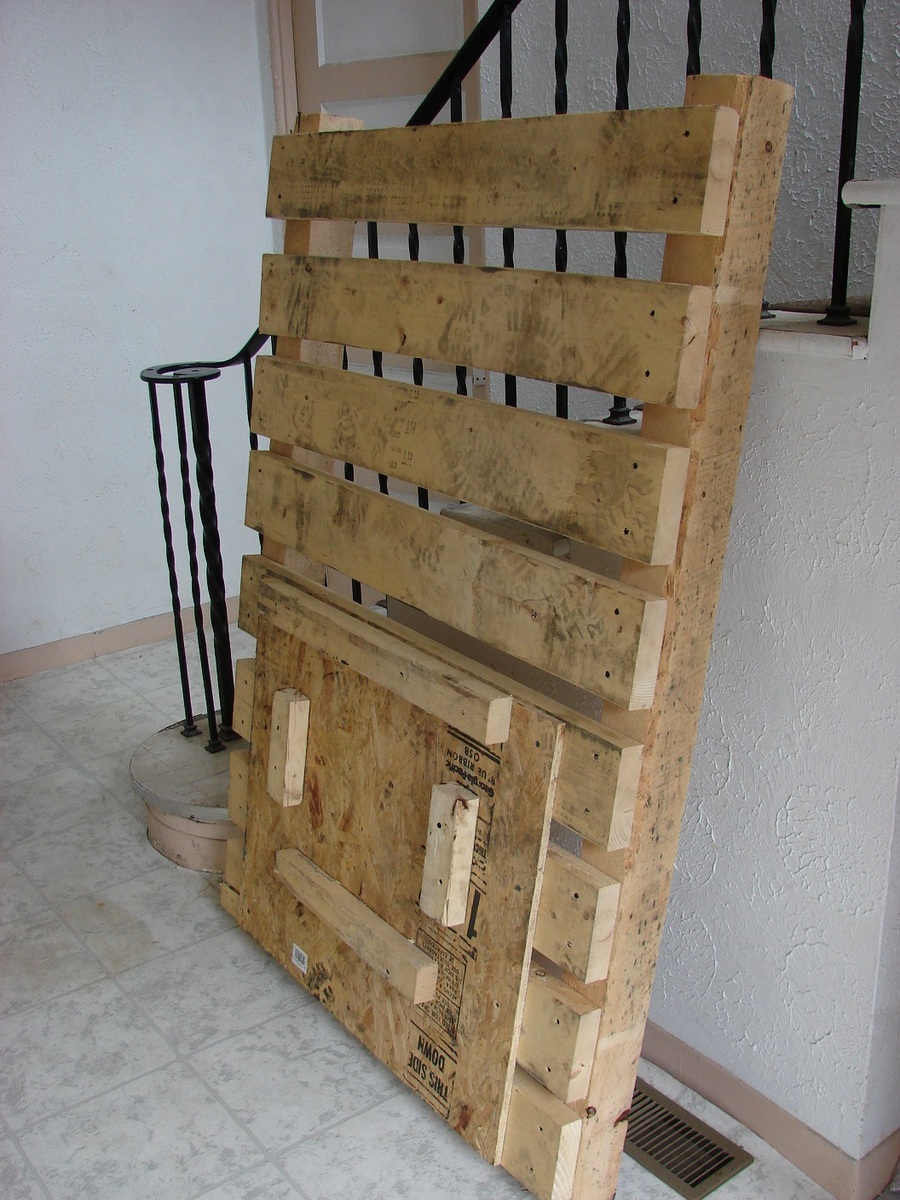
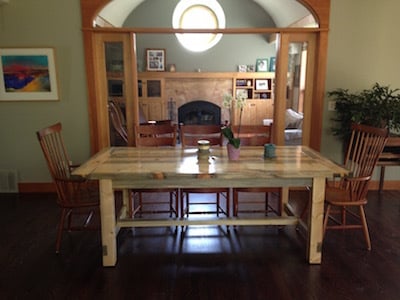
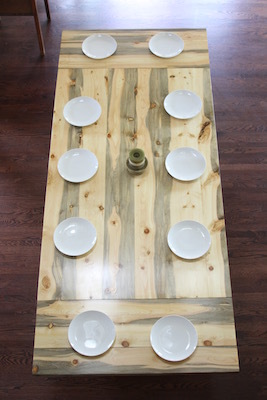
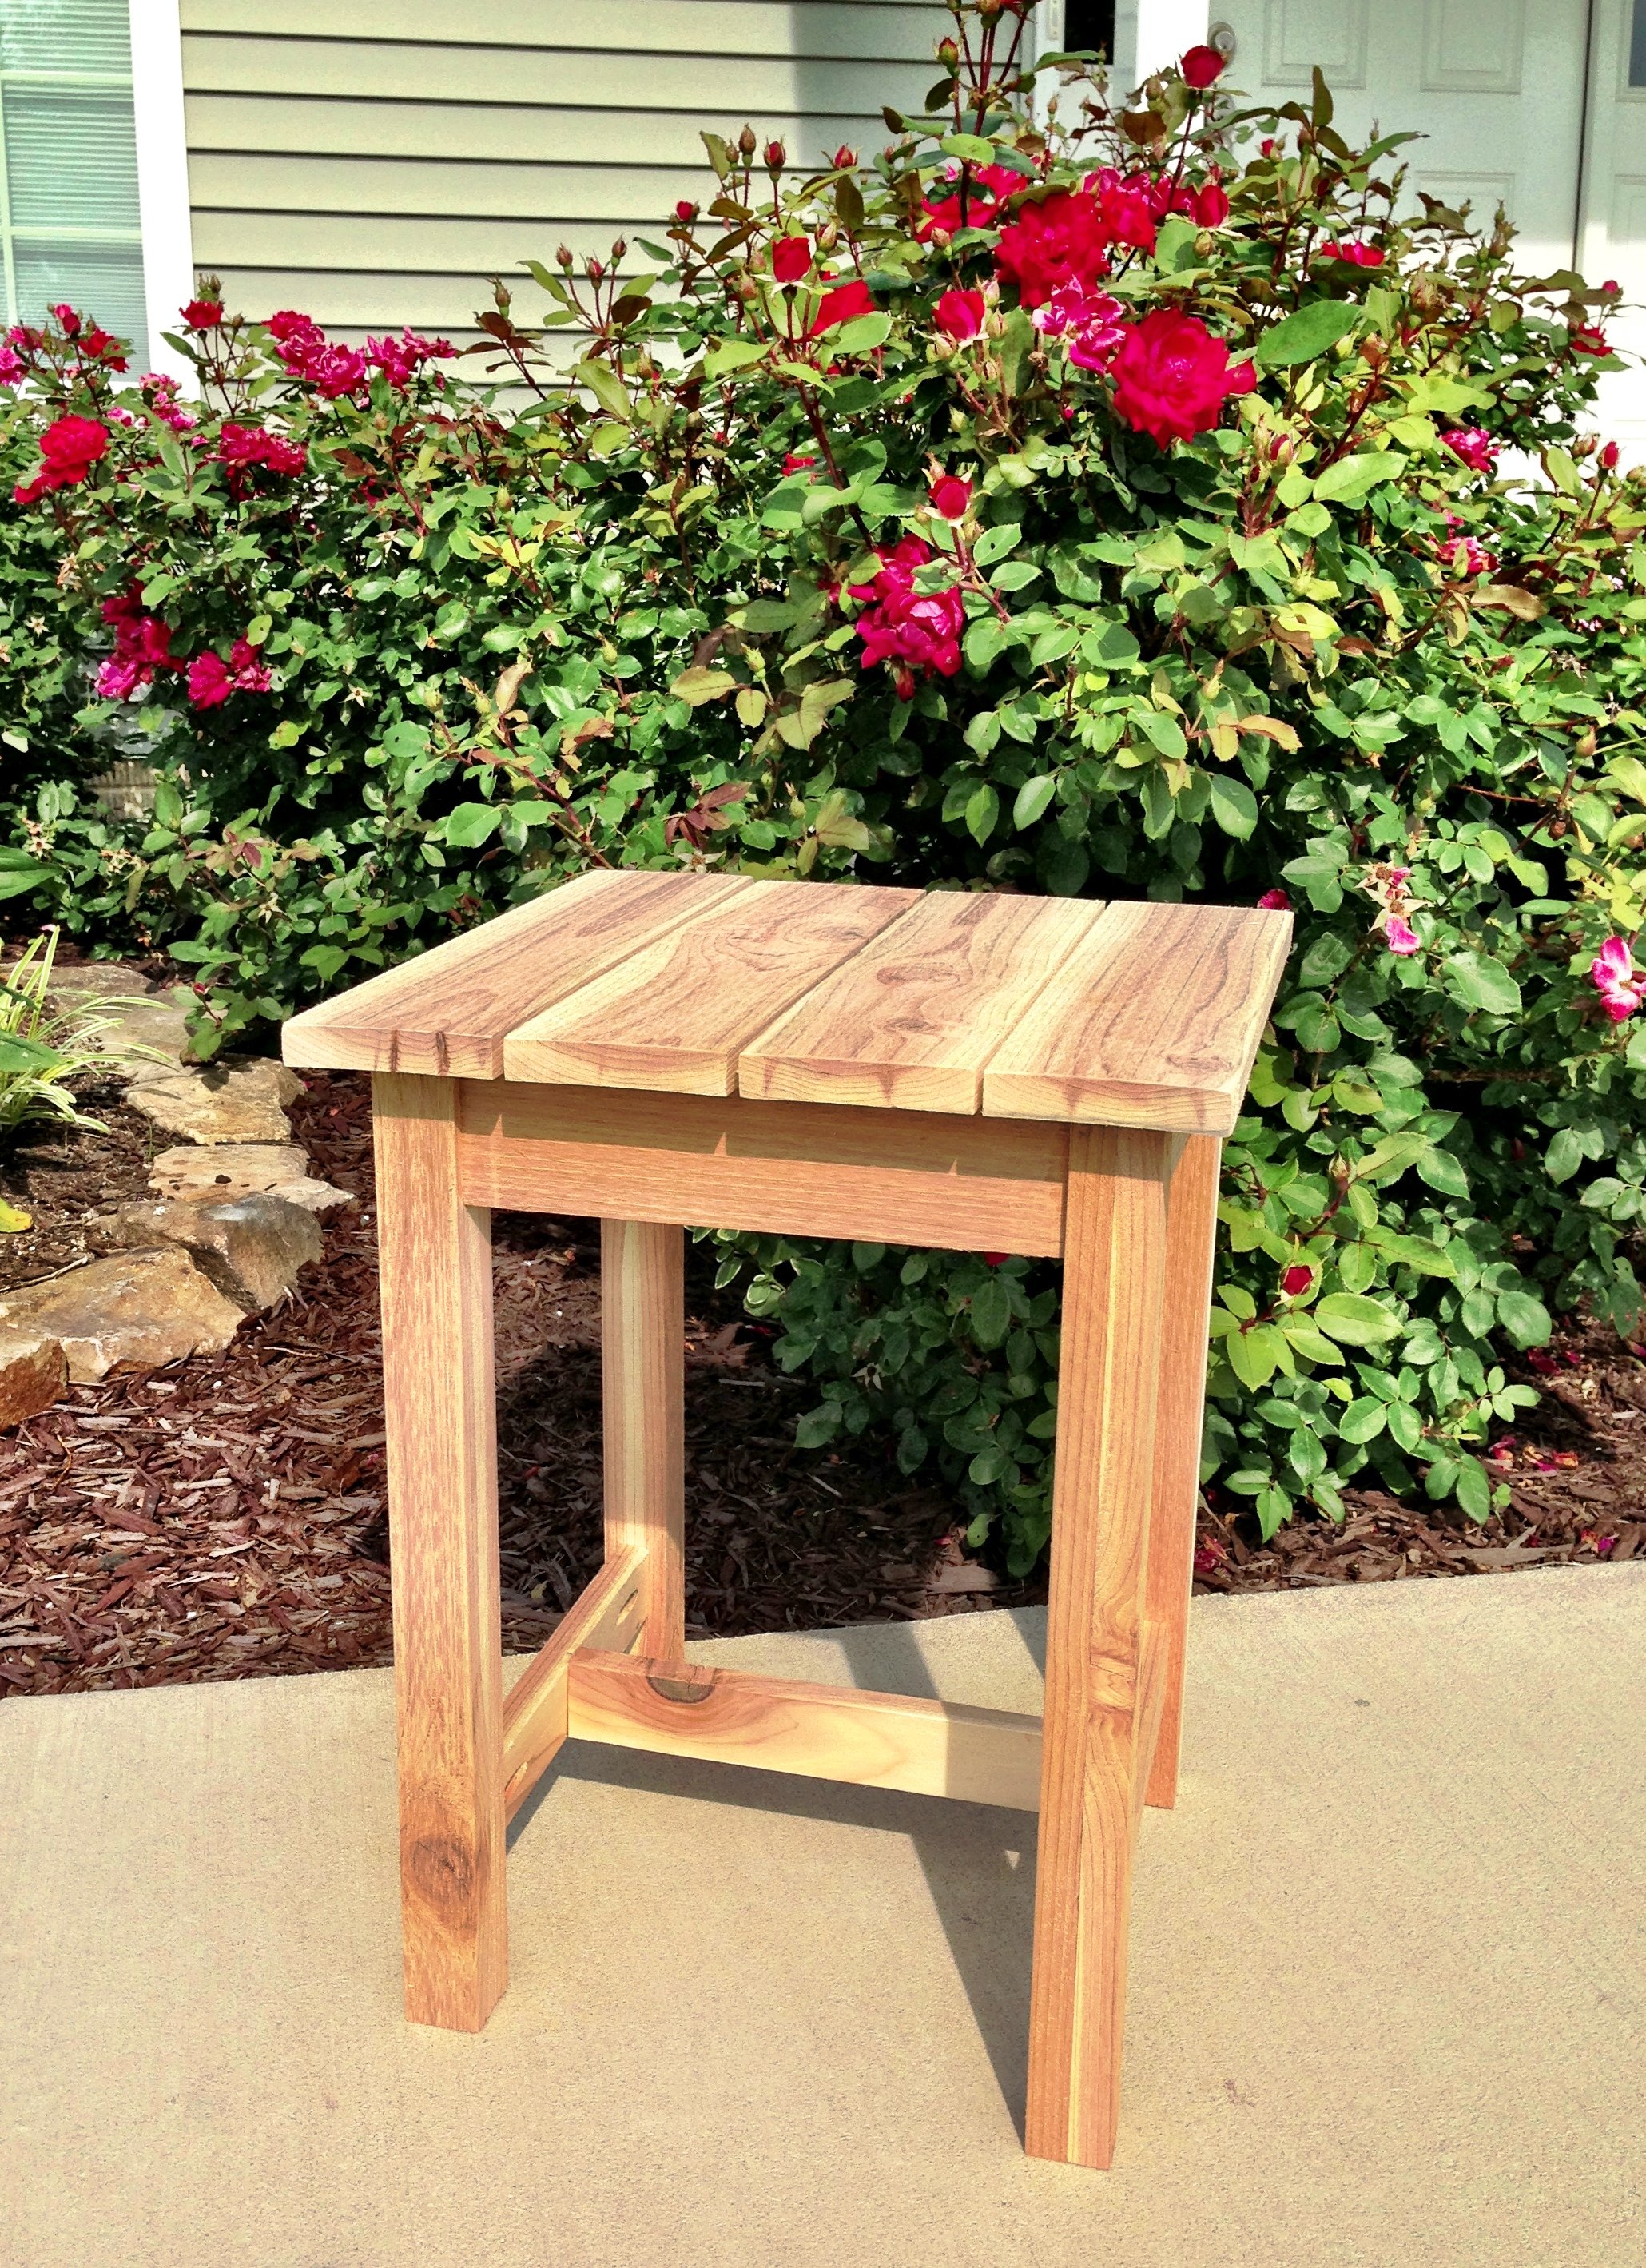
After my free drink station project I was going to swear off pallet wood for larger pieces, then I came across what may be a holy grail of pallets. 4 feet by 5 feet made with 4X4's and 2X6's held together with screws rather than nails. Yup, something had to be done with this.
so the sort of free comes from the lumber being free while I paid for the stain and poly. Of course, you could say we always pay for those, in this instance though they weren't leftovers from another project.
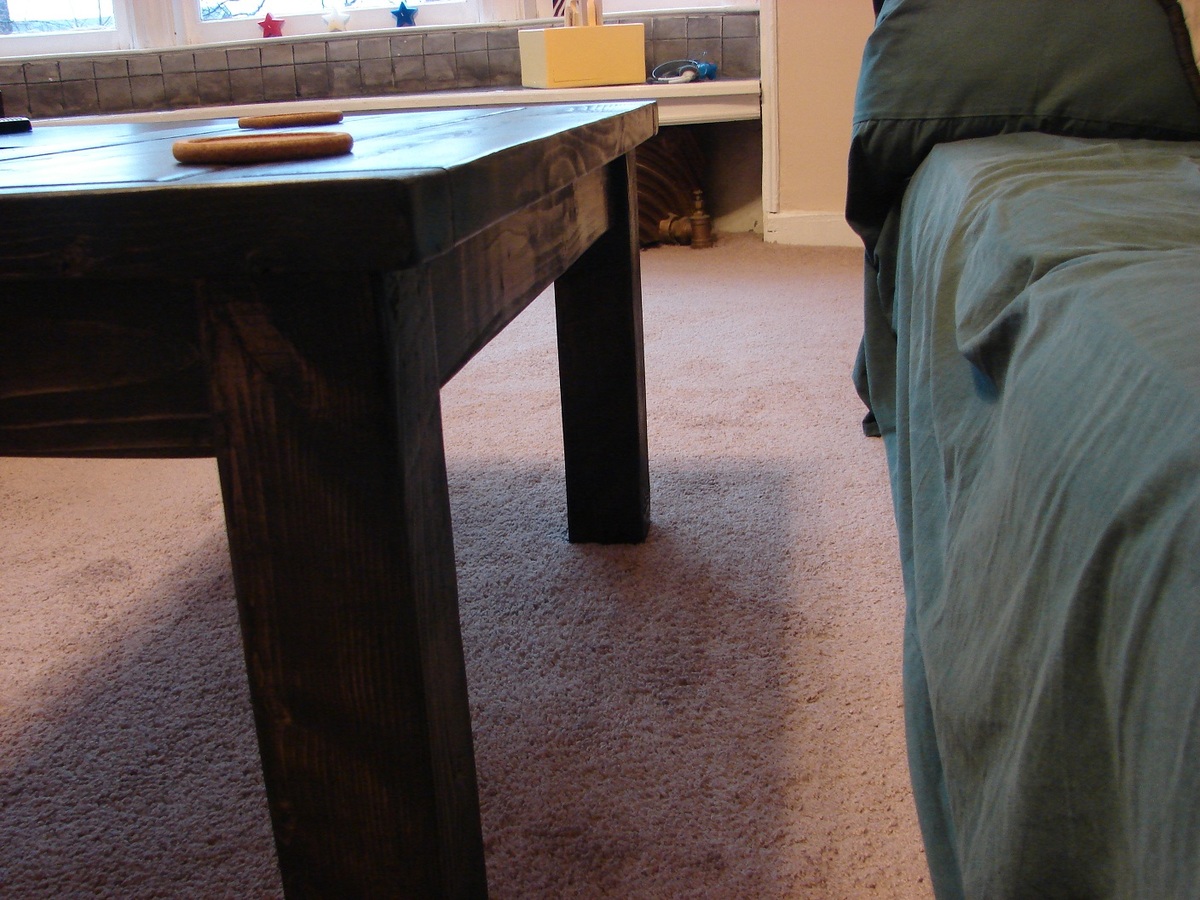
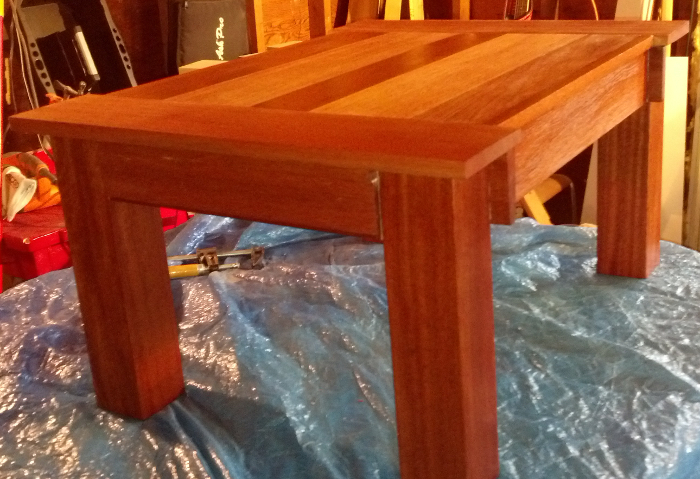
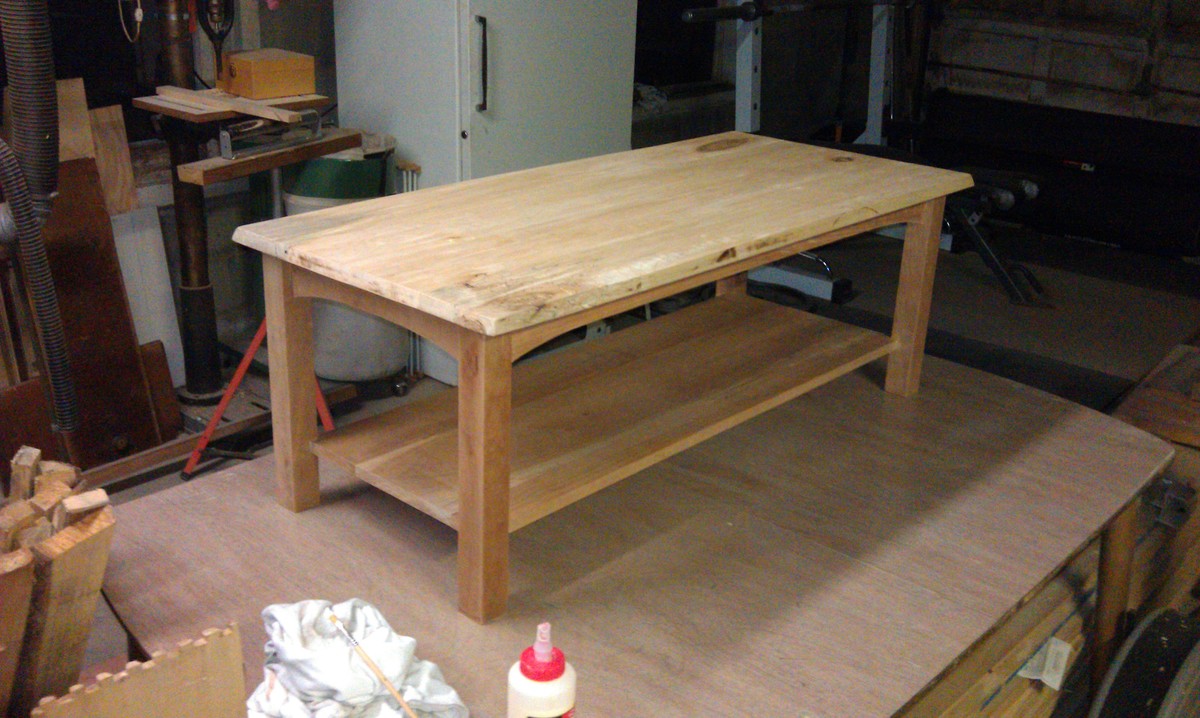
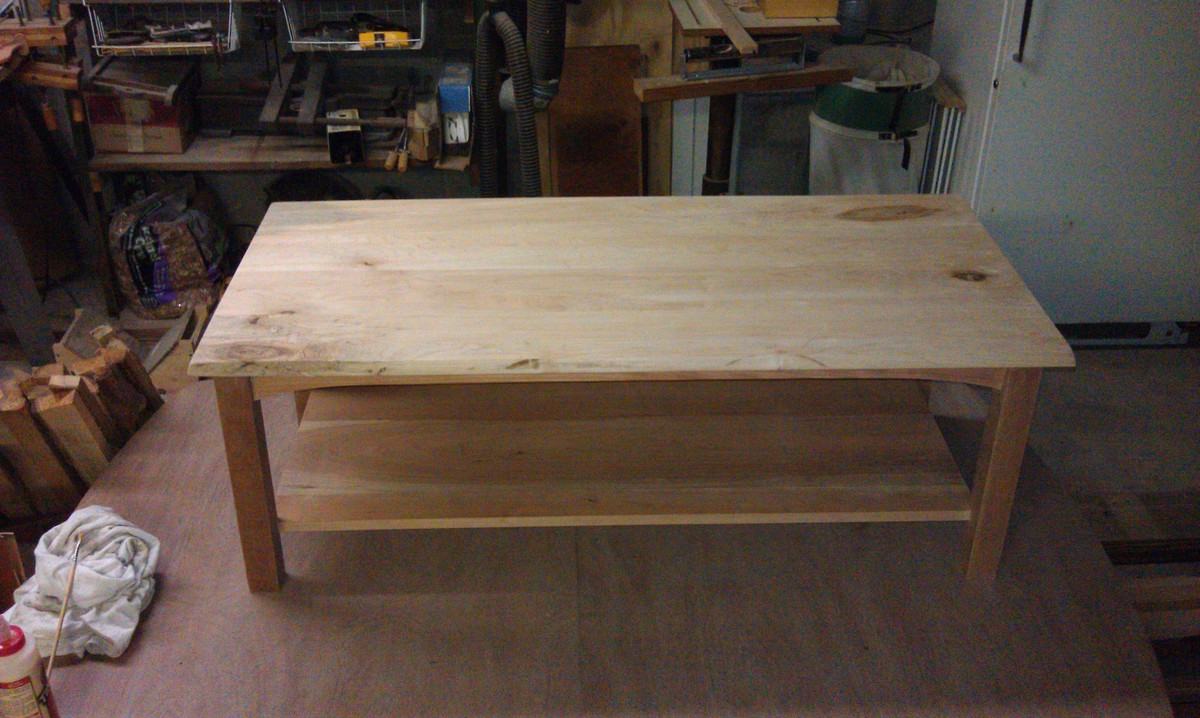
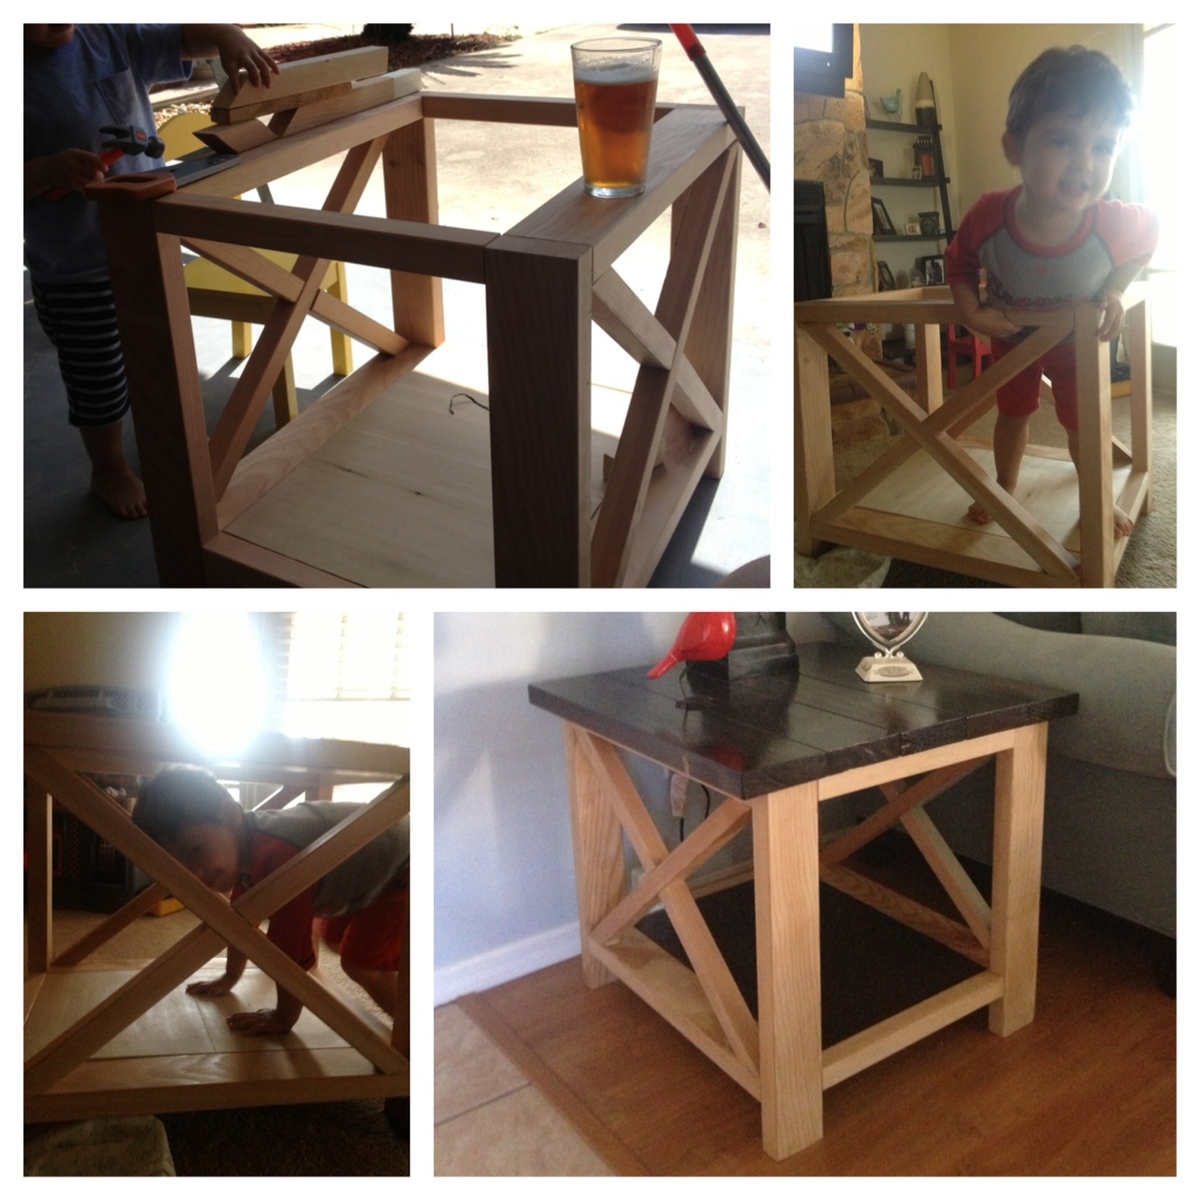
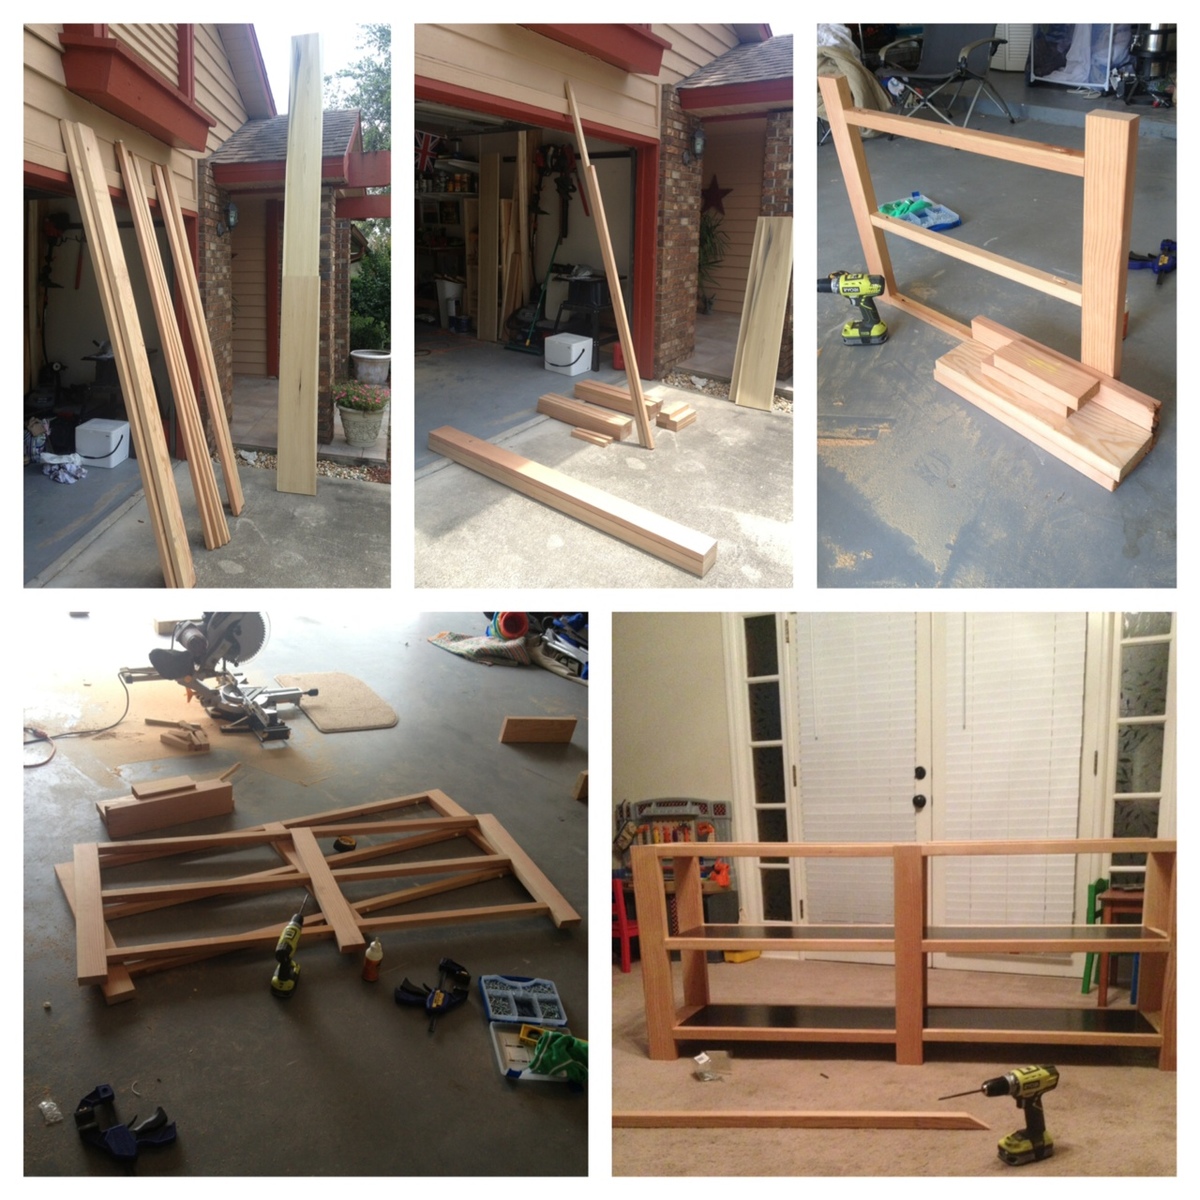
I say sort of Tryde because it shares the basics of the table, 2 by top pieces, breadboards, chunky 4X4 legs. However, given my wood choices the lumber sizes are all mixed around. Also because I was originally going to make the modern X leg kids picnic table but didn't have any good wood for the legs.
So instead of the breadboards being the wide pieces those are now 2X3's with 2X6's for the table top pieces. Another difference is that instead of 1X4's for the aprons boxed out I used 2X4's. This really wasn't a big deal because I had a Kreg Jig. By the way, got the master system and it rocks my socks off.
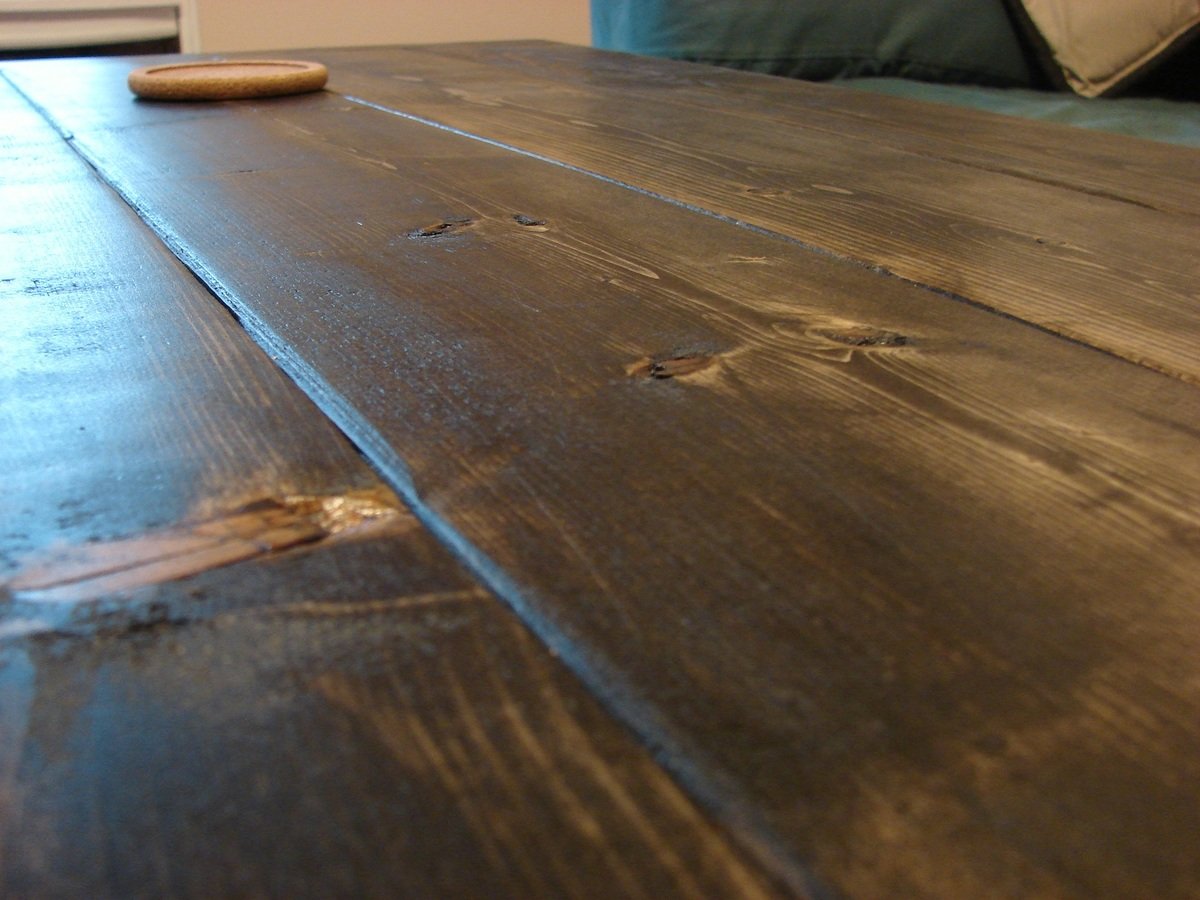
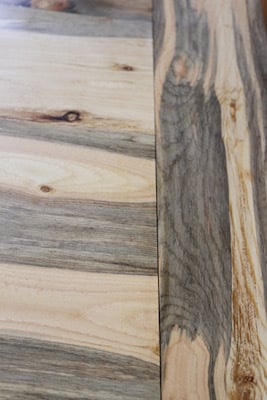
Compared to my last pallet wood projects these boards pretty much look store bought, I wish I had remembered to take a picture before I stained it. They're definitely a bit knotty but that's OK because even when I don't want an overly distressed look I still don't think wood should be perfect, if I wanted that I would use MDF.
Tryde Coffee Table made of mahogany and stained used several layers of boiled linseed oil and a few top coat layers of wipe on satin polyurethane. It came out really nice. This is my first project.
Project #2 in the bag! I haven't personalized because I am still considering making another at 36" wide to better fit her room and giving this one away. Very pleased with how it turned out! Still learning!
This King size storage bed has 6 large pullout drawers. It's made by the plans we got from Ana's queen size and Twenty five to life's plans we found on this site(THANK YOU). Just like they say in their plans I'm not sure how much I actually spent because I made some mistakes and had to rebuild my bottom piece. But I loved putting this together, and it's worth every penny and beyond. The compliments from visitors and the swollen chest pride I get when I hear my wife say, "My husband built this for us." Can't put a price on that.
I loved working on this project and my sincerest thanks to Ana and Elisha for this design. The picture is missing one drawer handle, because, erm, I lost it. I didn't want to wait to find it before posing this brag :).
My husband and I used your plans to make this cradle... He built it, and I painted it. I’m so excited to give it to our granddaughter for Christmas!!
Sun, 12/17/2017 - 20:52
I put that it took 10-20 hours... that was mostly the painting and drying time between each coat, and doing the A for her name.
After special ordering glass spice jars for my cupboard I came across your plans for this spice rack and decided to attempt the build. Plans were very well written and easy to execute with a few customizations. I opted for brass rods to hold the jars in place and lined each shelf with shelf liner to ensure the jars don’t move when the pantry door swings. I am very pleased with the outcome and will be making a matching rack for my aluminum foil, plastic wrap, etc.
This has been a work in progress for about 4 years. My wife and I started this project before we were married. Between a wedding, moving into our first house and having our first child we've had a real hard time getting in the shop to finish this project. I'm proud to say that's it's finally together and just needs a few coats of poly. Any feedback would be greatly appreciated.
I had been looking everywhere for an antique Mid Century Modern buffet table to use as a changing table for my daughter but found that these vintage pieces ran about $1200 to $3000 and still needed refinishing. That was out of my price range so I came here and found plans for a console table that had the look I was going for.
The plan I found was too short in length and height so I reworked them a little to fit my needs. I just added a second cabinet in the same dimensions as the first onto the other end of the drawers to increase the length and bought 12" legs instead of 6" ones to increase the height. I used the same hardware that was recommended in the original plans but added a magnetic door stopper to make the cabinet doors flush with the frame when closed. I also added dowel rods in the cabinets because my daughter doesn't have a closet and I needed a place to hang her clothes.
It is great to have 2 cabinets because the left side holds clothes that are too big for her and the right holds all of the clothes she wears now. The drawers are nice and deep so I can put all her changing stuff like diapers and lotion in the top and fit all her socks, diaper covers, and pajamas in the other drawers.
I will say that I used 1x6's to make the drawers first but found that I am really bad at picking straight boards as there were a lot of gaps between the sides and the bottom of the drawer. I went back and used scrap pieces of 3/4" plywood for the drawer sides and they came out much better with no gaps, plus, the exposed top of the drawer sides look better.
This was a fairly fast project. I put it as a weekend project due to the down time between staining and poly coats. It was my first time working with edge banding and I loved it. It was super easy and kind of relaxing! Over-all, this project was easy and fun! This table meets all of my needs AND it looks great! Thanks Ana for the plans and thanks Brooke for the inspiration and tips!
Fri, 06/28/2013 - 11:02
Wow, really great job. I love mid century mod, and you pulled it off perfectly!
My son needed a dresser that would fit a small space (no more than 40 inches wide). I modified the Cabin Collection plans to fit the small space. Looking at the plan, I wanted to brighten up the wood and opted not to stain. Instead I purchased an airless sprayer and was very pleased with the finish. For the drawer faces, I found old barn wood. The barn wood was a little tricky because some of the boards were warped. I brushed the wood with a stiff nylon brush to bring out the deep grain texture of the wood. Finally, purchased bronze finished drawer handles. Very pleased with the outcome. Thanks for the plans. Can't wait to start my next project.
Christmas Tree Wall Shelf
Stockings hung using cabinet/drawer pull knobs that I found on Amazon
This was a blast to build. This was all a gift for my wife since the traditional 5th anniversary gift is wood.
The coffee table and console are both awesome! The only thing I would change/modify is the end table, because its kinda big and doesn't really look its part of the set other than the "X". I would maybe take about 2 or 3 inches off all sides or maybe 3 off the sides so its not such a box.
Thu, 06/20/2013 - 07:31
I'll start one! Go for the poly. You're absolutely right, it will bring up the beautiful grain, and show off the "X" accents. Nice work, by the way!
Thu, 06/20/2013 - 07:32
I'll start one! Go for the poly. You're absolutely right, it will bring up the beautiful grain, and show off the "X" accents. Nice work, by the way!
Thu, 06/20/2013 - 08:39
Beautiful builds! Wow, they look wonderful. What an amazing gift! From the pics, the end table looks fine, too, as the furniture isn't a small scale. I love the two-tone so I say go for just the poly!
Thu, 06/20/2013 - 12:08
I think you did an amazing job :) love the contrast of the two tones. Using poly for the rest would be beautiful. I cant wait to do this project myself.
Thu, 06/20/2013 - 15:47
What a wonderful gift! These tables are beautiful, great job on this build! I love the two-tone - One more vote for the poly! :)
Fri, 06/21/2013 - 13:04
I'm going to go with only the Poly over the bare wood. Thanks for the comments and advise! It will be a few weeks due to work and travel but I'll send updated pics once its done.
Sat, 02/24/2018 - 21:18
I like the naked/poly look too. The other option I think would look good would be painting it white. The contrast between the white frame and darker kona top and shelf would be cool.
I used local Colorado beetle killed pine. I based the table on Anna's Farm House Table plans. I used the bread ends to create pull outs for 11 inch extensions on each end.
Thank you Ana for the plans. Our daughters dolls needed some pets and this project was the perfect home for her New bunnies! I can't wait for her to open this gift Christmas morning.
I LOVE the hot cocoa stand but wanted to make it “year round”. So I also created accessories for lemonade, fireworks and snow cone stands. The signs are reversible. They are made of metal and attach with magnets. The banners also attach with magnets. There are hot cocoas, gingerbread cookies, peppermints, lemonades, iced cookies, a cake plate, fireworks, smoke bombs, bottle rockets, sparklers, snow cones and a snow cone holder that flips over to become a crate.
Thu, 12/23/2021 - 20:09
So awesome, love all the accessories to make it a year round favorite! Well done:)
I first came across Ana's site while looking for a table and chairs set for my little ones. Their room is Jungle themed so I decided to take on the project and build the set myself. My wife and I ended up painting it in the Jungle theme to match my daughter's dresser. We added a checkerboard on one side of the table, and a bamboo tic-tac-toe board on the other side. We had previously painted the dresser so we had experience with the finish. I had a great time building this, and I can't wait to start my next project! I just got my hands on some pallets, so we will be tackling a preschool picnic table next! Bring on the Miter Saw!!!
Made with western red cedar from Lowes. So pretty!
Wed, 08/21/2019 - 09:00
Did you use any kind of finish on the cedar? I’m making one as an indoor end table.
What grit sand paper did you use?
Looks great by the way. Excellent job!