Entry Way Bench
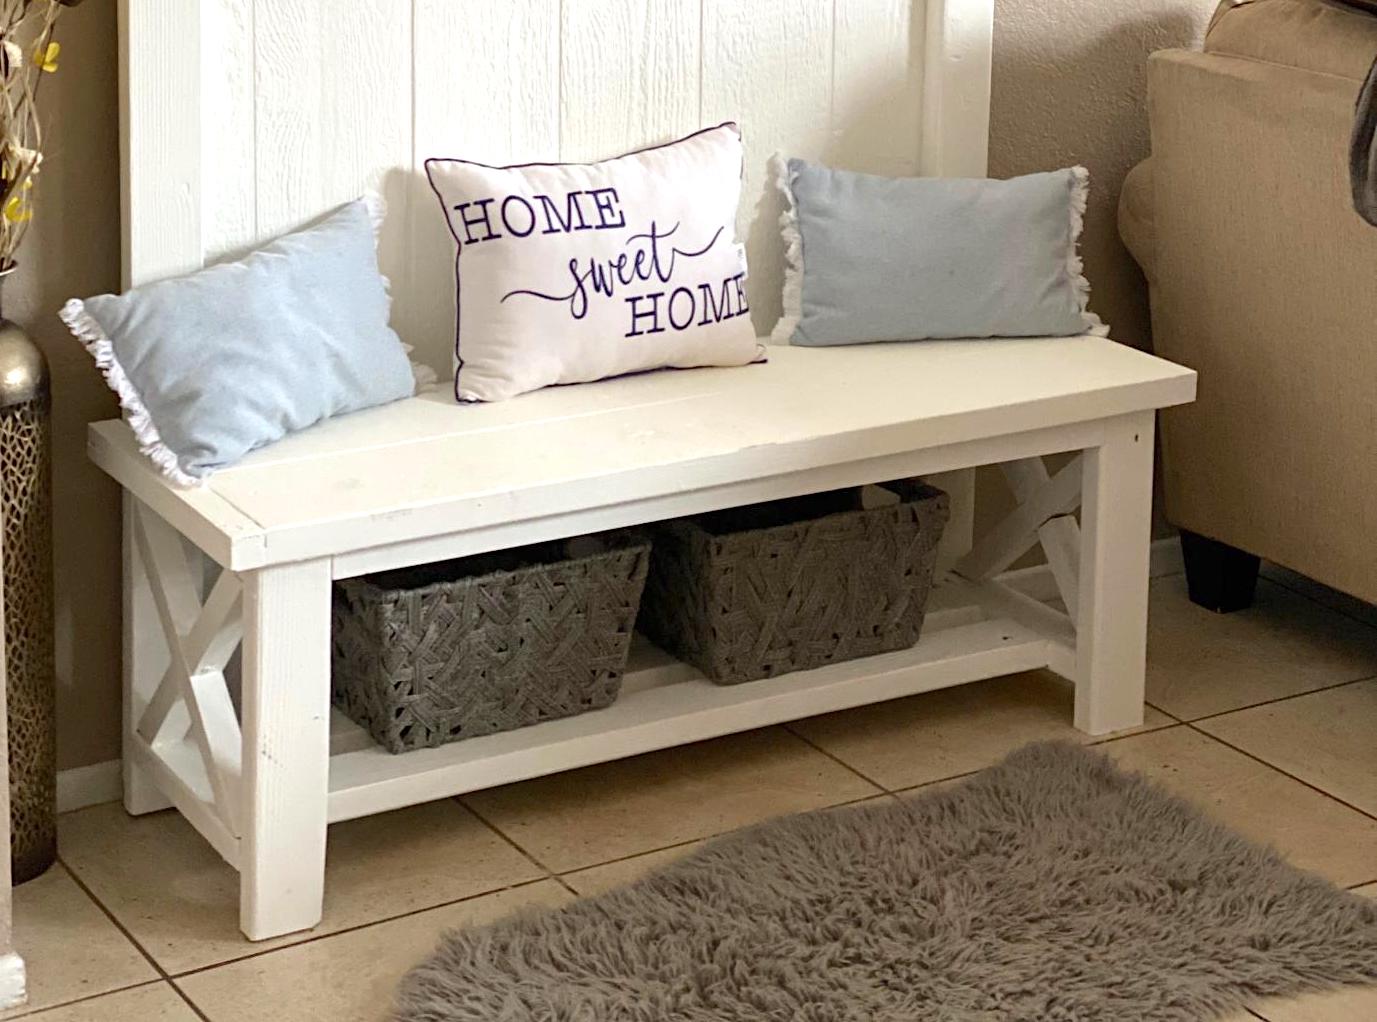
Built this plan and it came out amazing. I used a sheet of siding for the back to really bring out some grains!
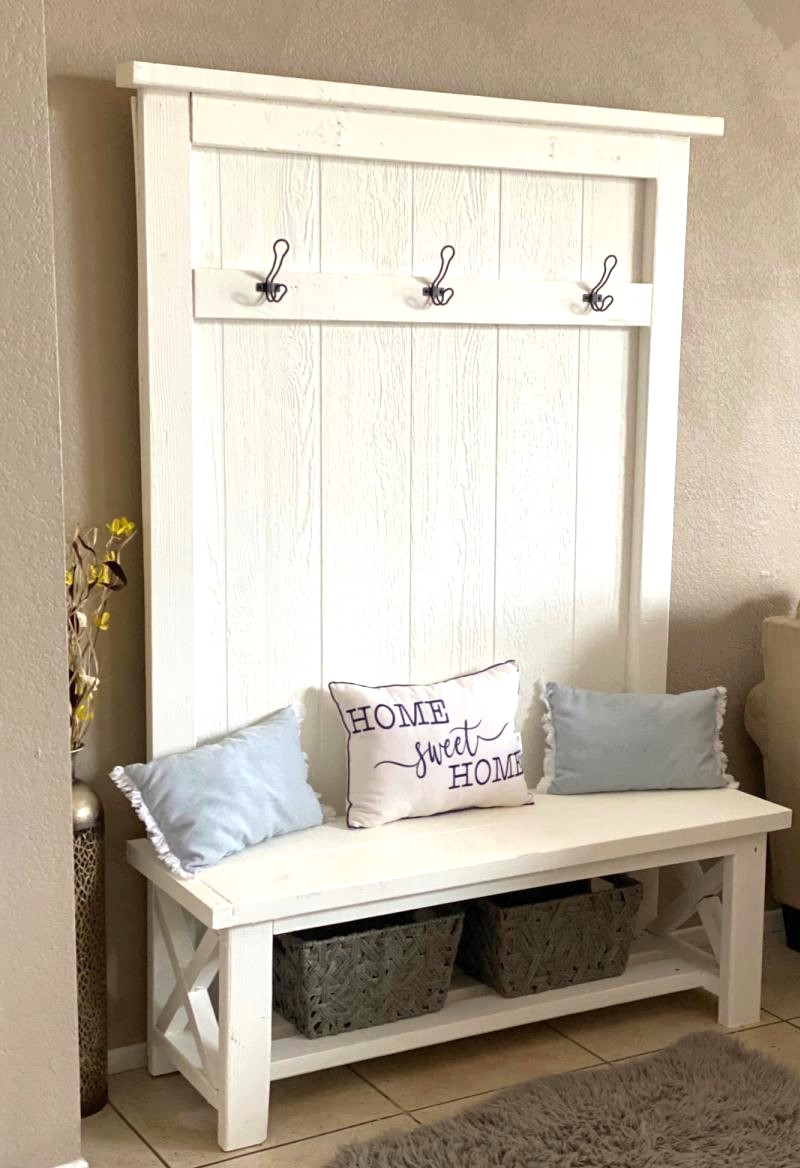

Built this plan and it came out amazing. I used a sheet of siding for the back to really bring out some grains!

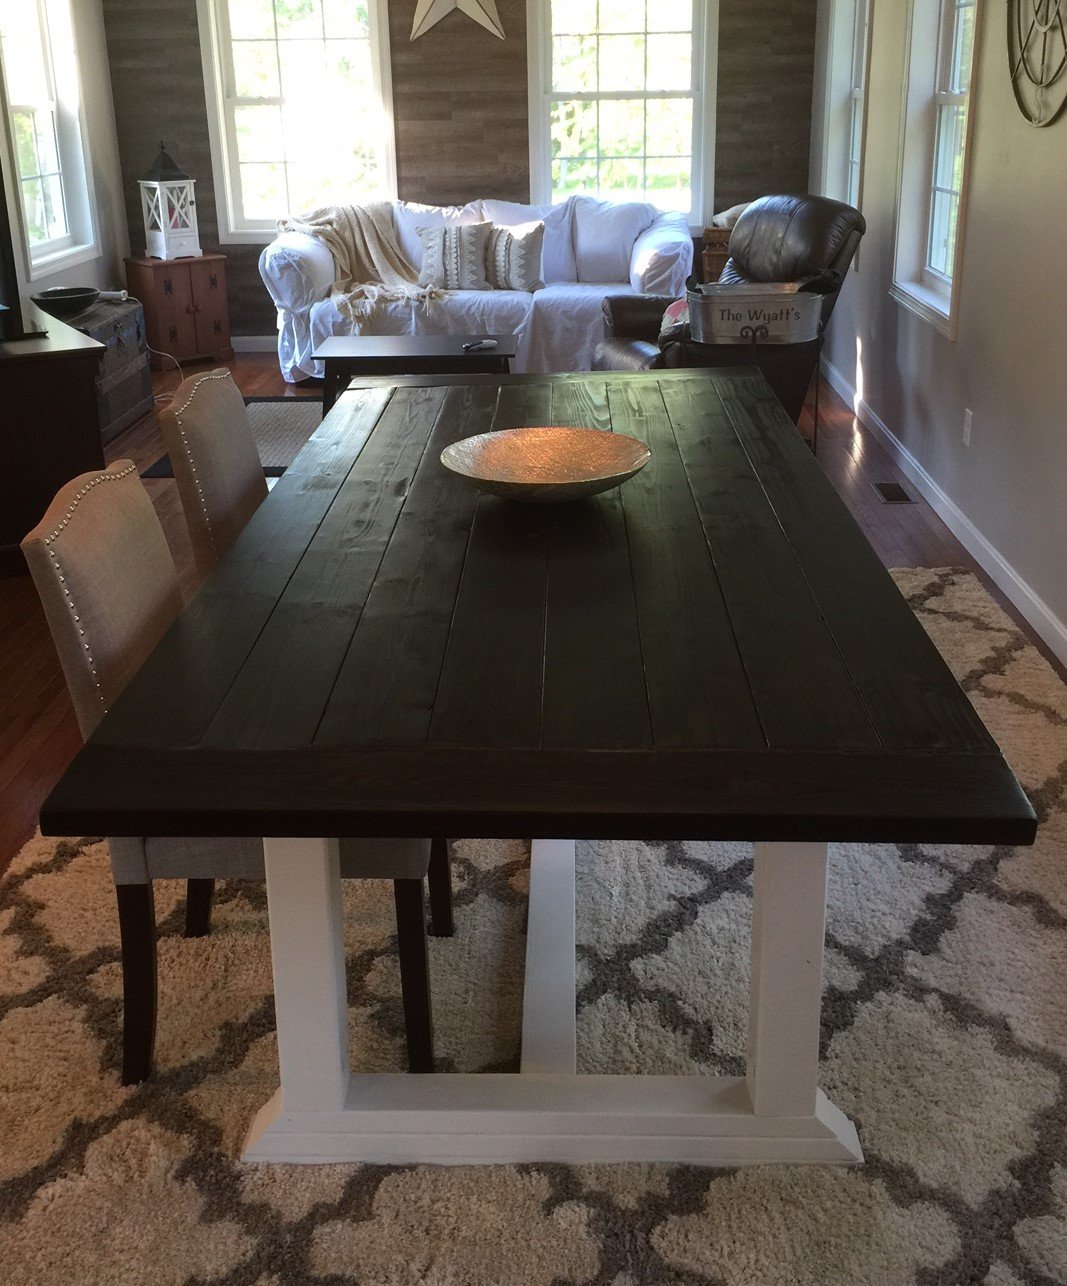
This was my first ever DIY project as I wouldnt consider myself a handy man, but I had alot of fun making this table and bench. I modified the design as I wasn't confident in making the necessary cuts for the X but I added a long support underneath the table top so that the top wouldn't sag (hopefully!). Since completing the table, I've grown more comfortable with my carpentry "skills" and all I want to do on the weekends is build things! I'm sure I'm driving my wife insane!
It took me a lot longer as I had a couple weekends where I could only work on the table and bench for an hour or two but you can definitely do it in a weekend.
Thanks Ana!
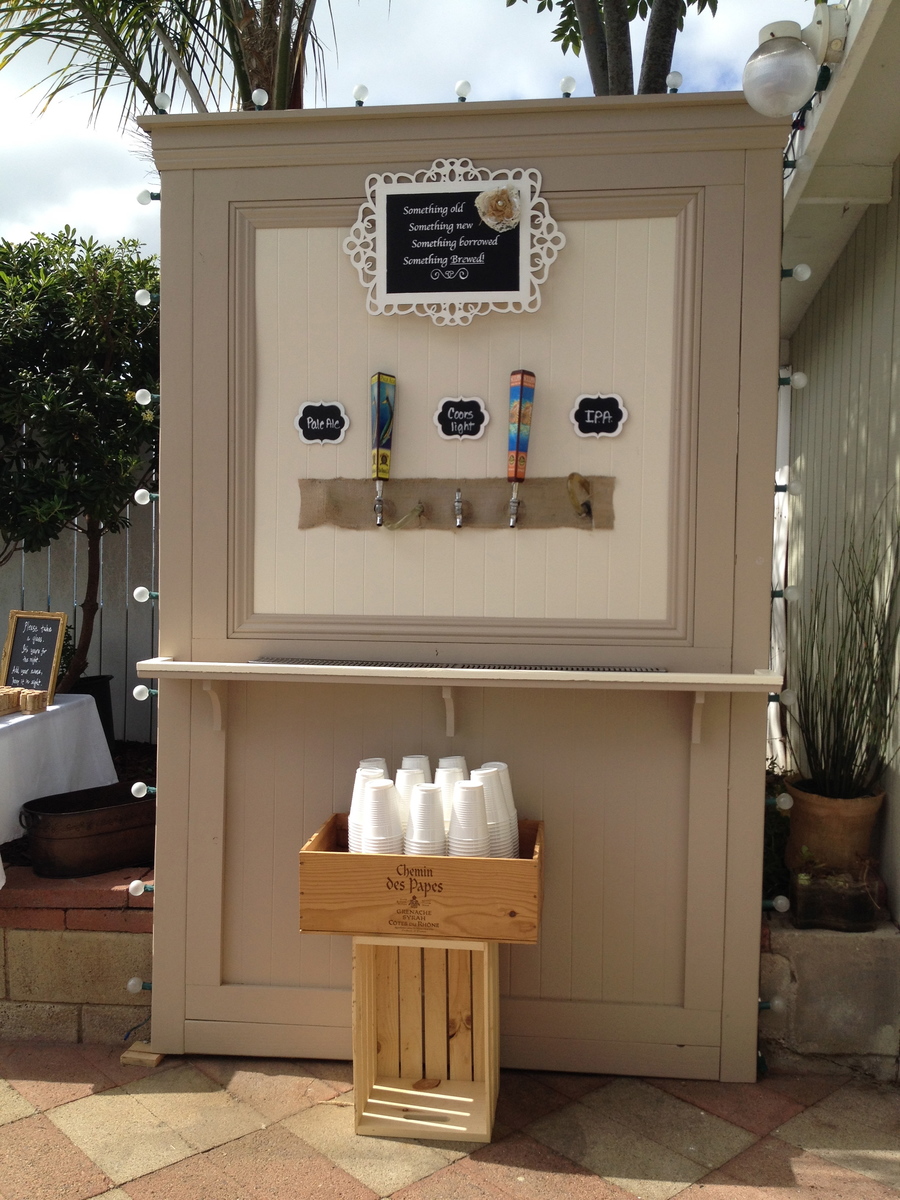
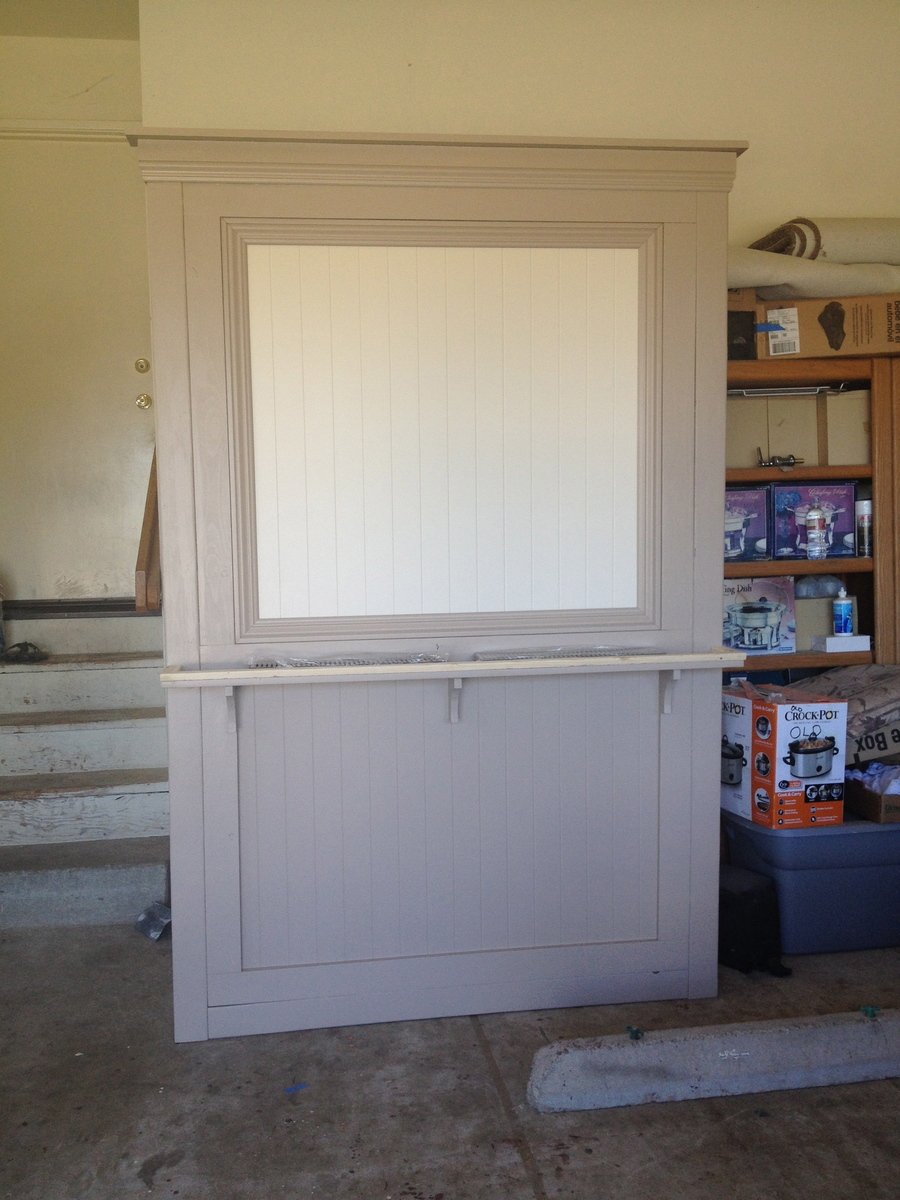
My cousin recently got married and wanted a beer wall at her wedding. I quickly searched Ana's site for the perfect plan and chose the Tall Panel Headboard for my starting point. With a few modifications it became a beer wall in no time at all. I love how Ana's plans can be easily modified to make a totally different project.
No fancy wood was used here. Just regular wood from the big box store. A jockey box was attached to the back side of the wall. It worked awesome!
Since I discovered this site in January, I've made close to 30 items from her plans. I'm ridiculously addicted and not just with Ana's site but also with her blog friends. For Valentine's Day I asked for a Air Strike gun and got it. It was better than jewelry and chocolates! I'm well on my way to collecting my own tools and learning how to save money by making it myself. Oh, and I can't even begin to tell you how impressed everyone is with my finished products.
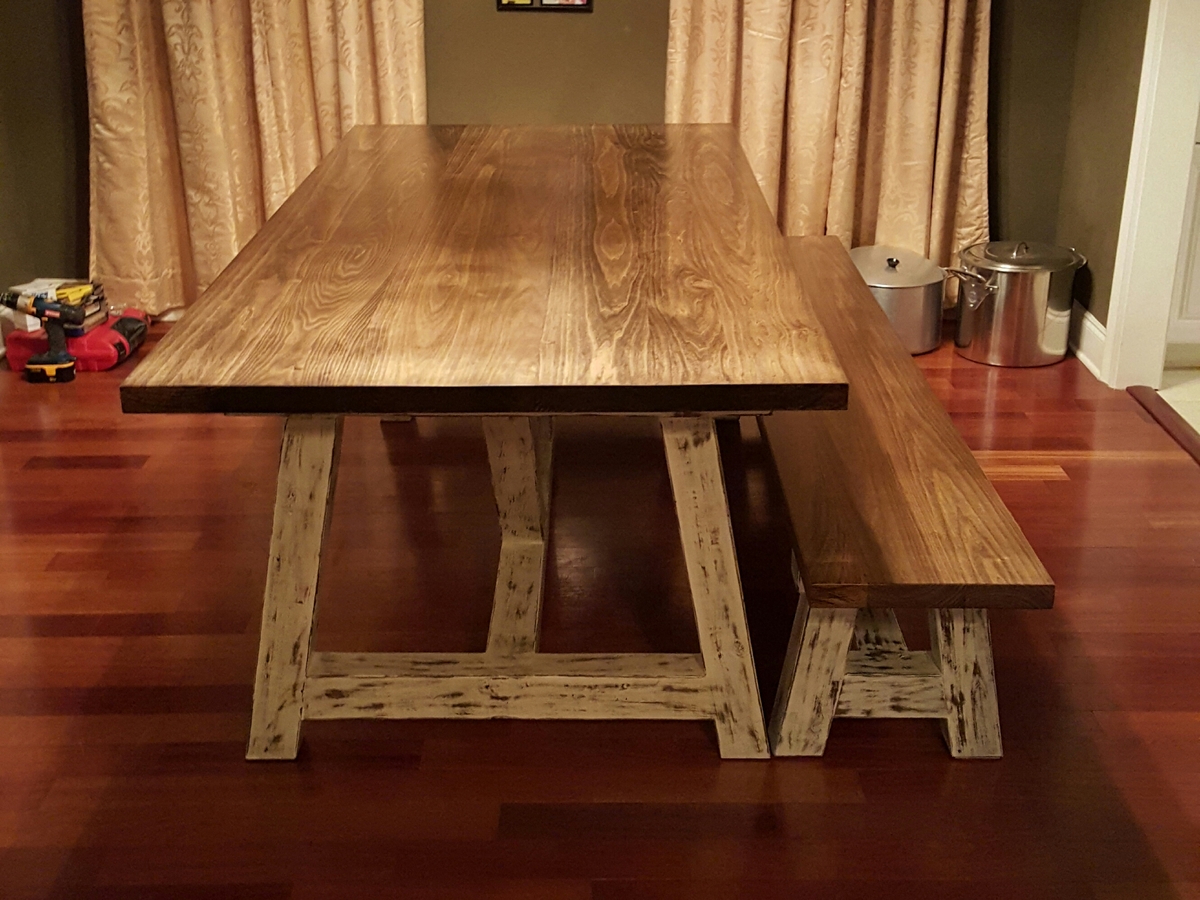
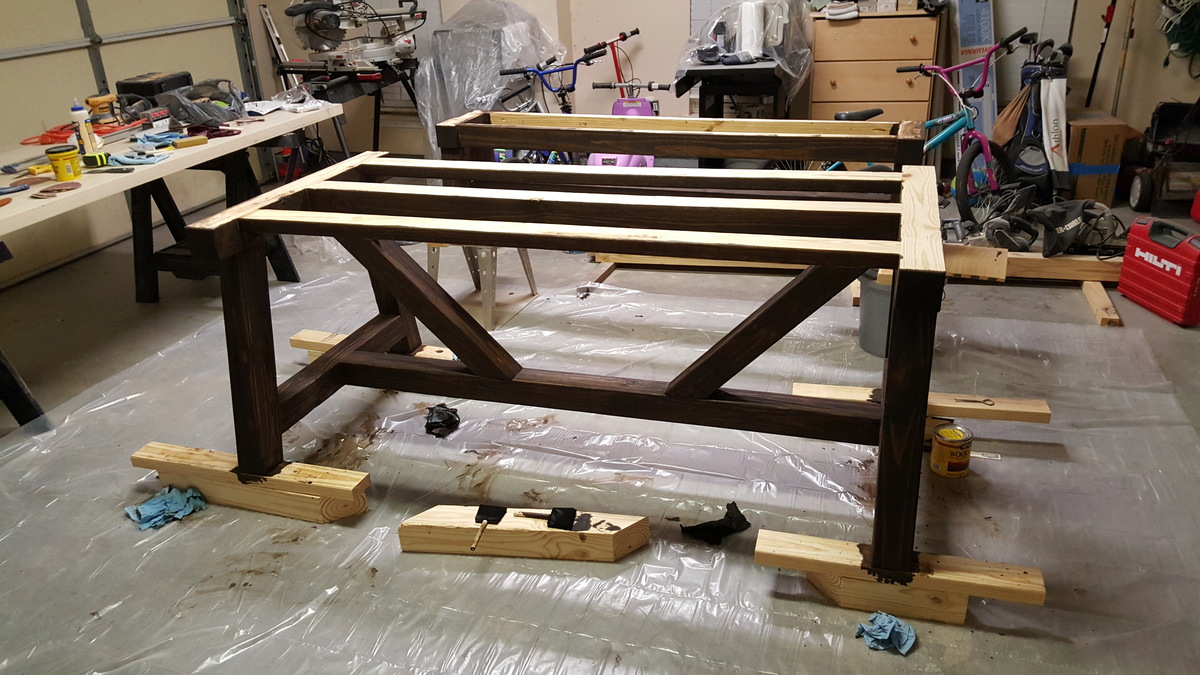
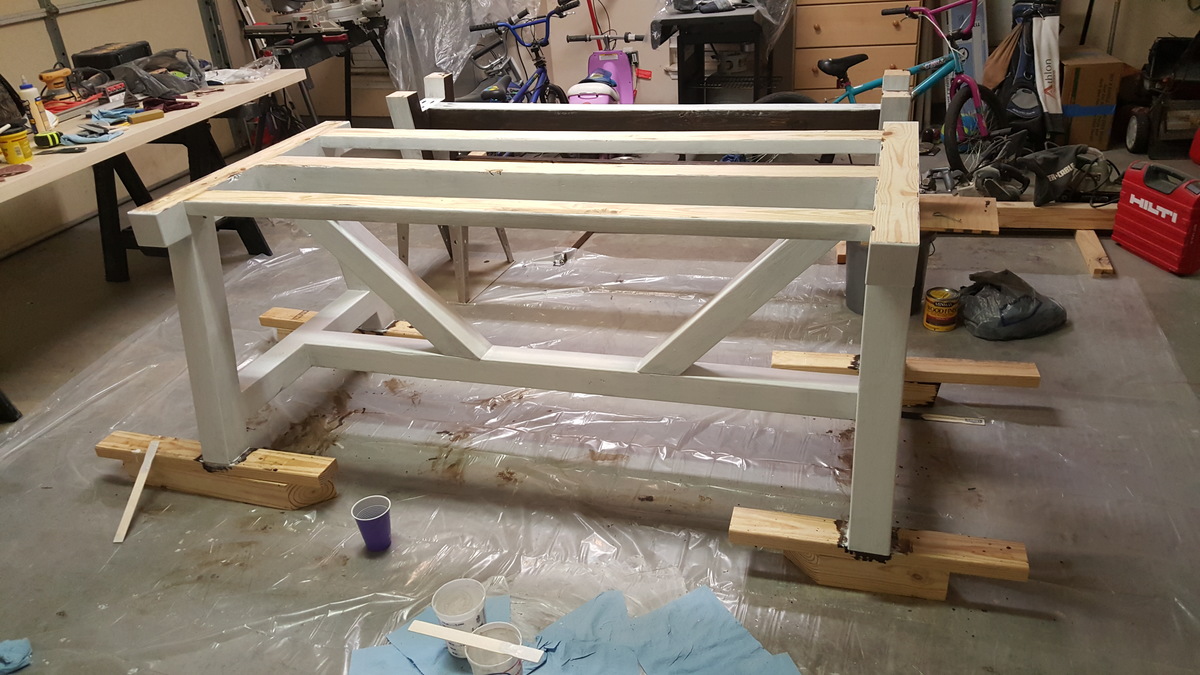
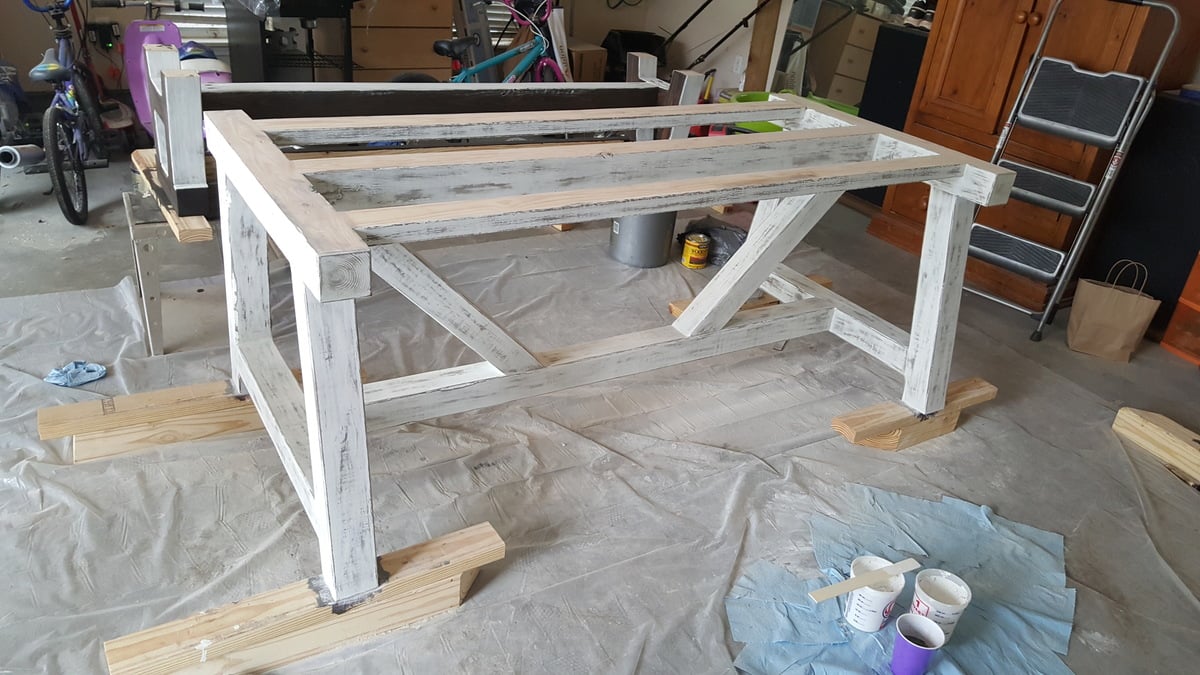
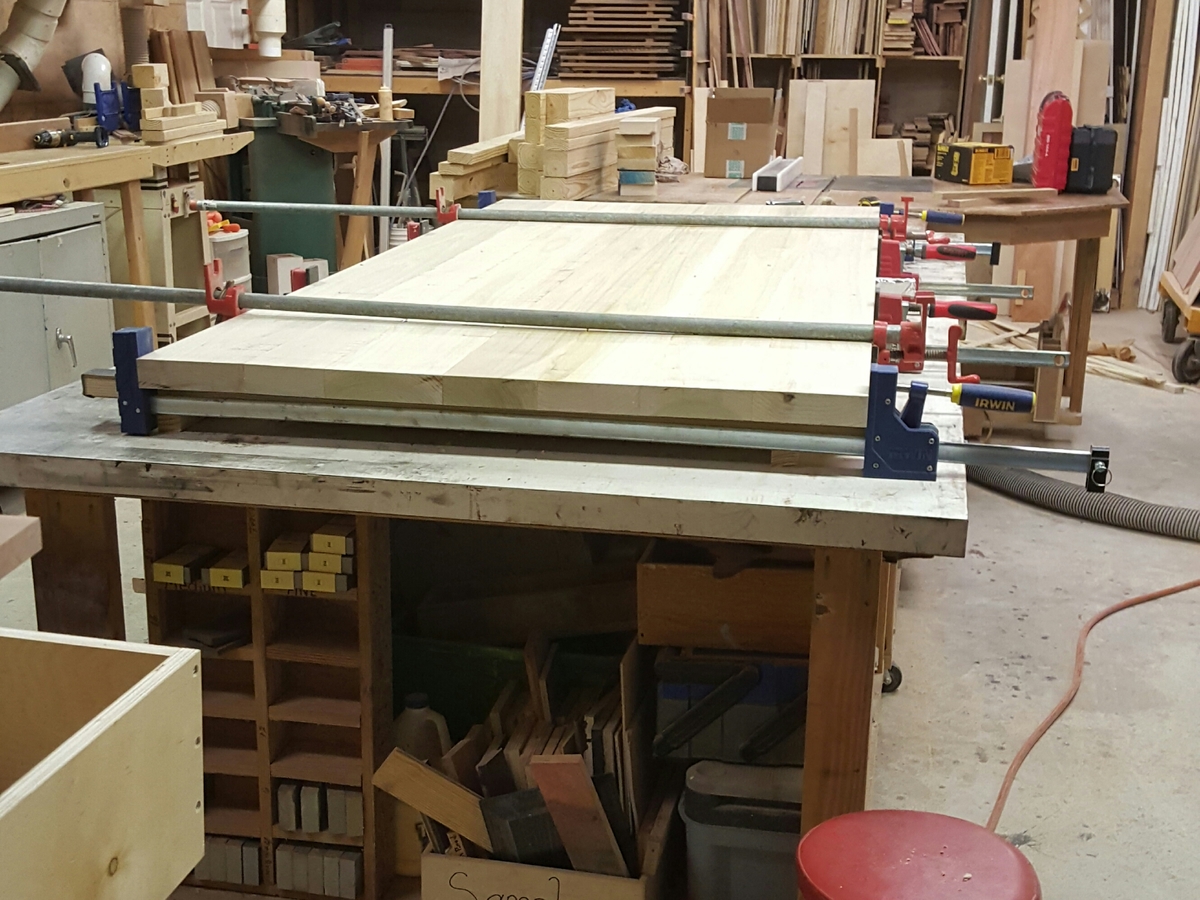
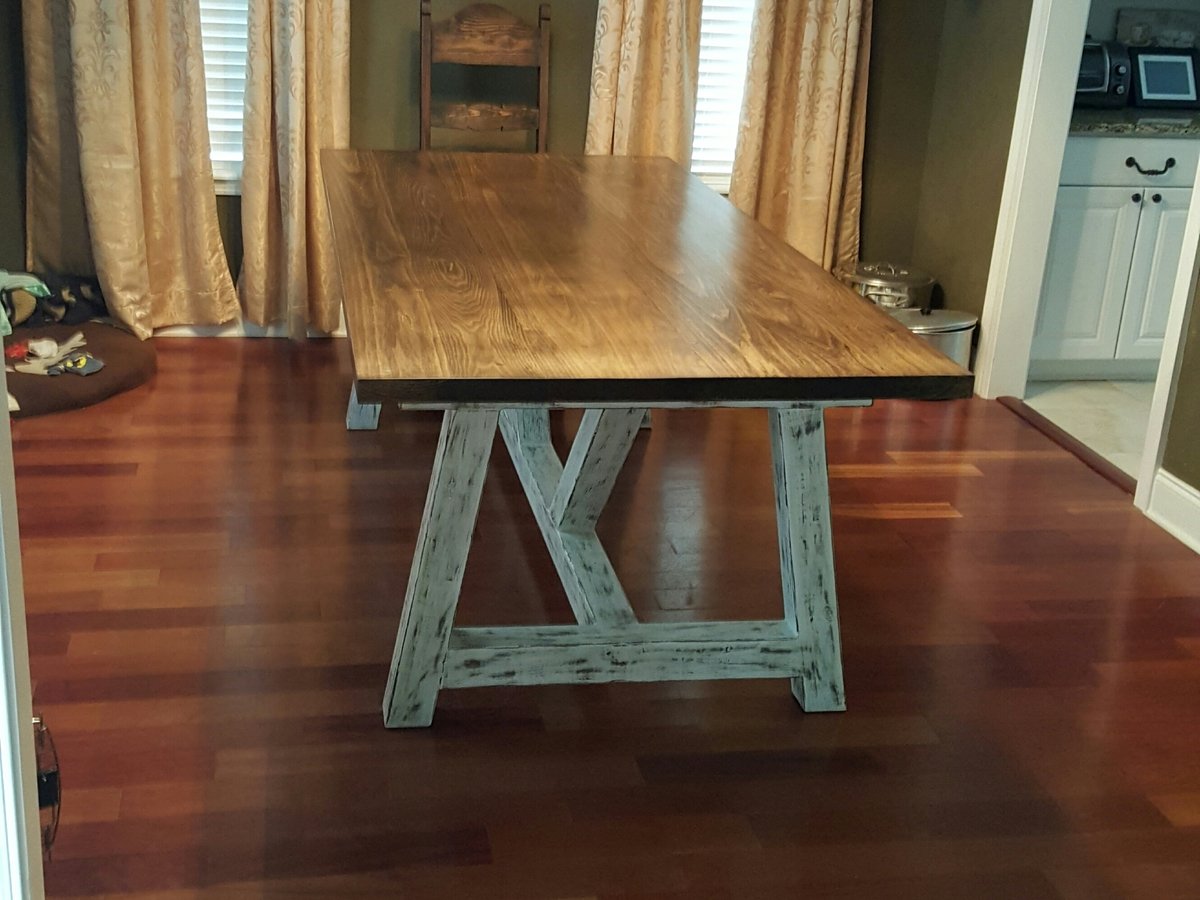
When my wife and I moved we sold our old table and was in need of a new one. We've shopped around and didn't like anything we were seeing. She insisted that I build one but I never had any time due to my job. In the past it would've been easy because that's what I did was woodworking. So she researched and came across ana's plan and she loved it. Keeping the wife happy I made time. I made my material list & cutlist but was concerned with using construction grade lumber for the tabletop due to over time it likes to cup and warp in the right conditions. Instead I went with 8/4 Poplar which will make a solid tabletop and last forever. I was only able to work weekends on the project so it was finished in a month which I added the total hours & it equaled 1 week. She loves her new table and is now shopping for 5 canvas chairs to go with it. With her posting on social media I now have requests to build more. Where will I find the time?
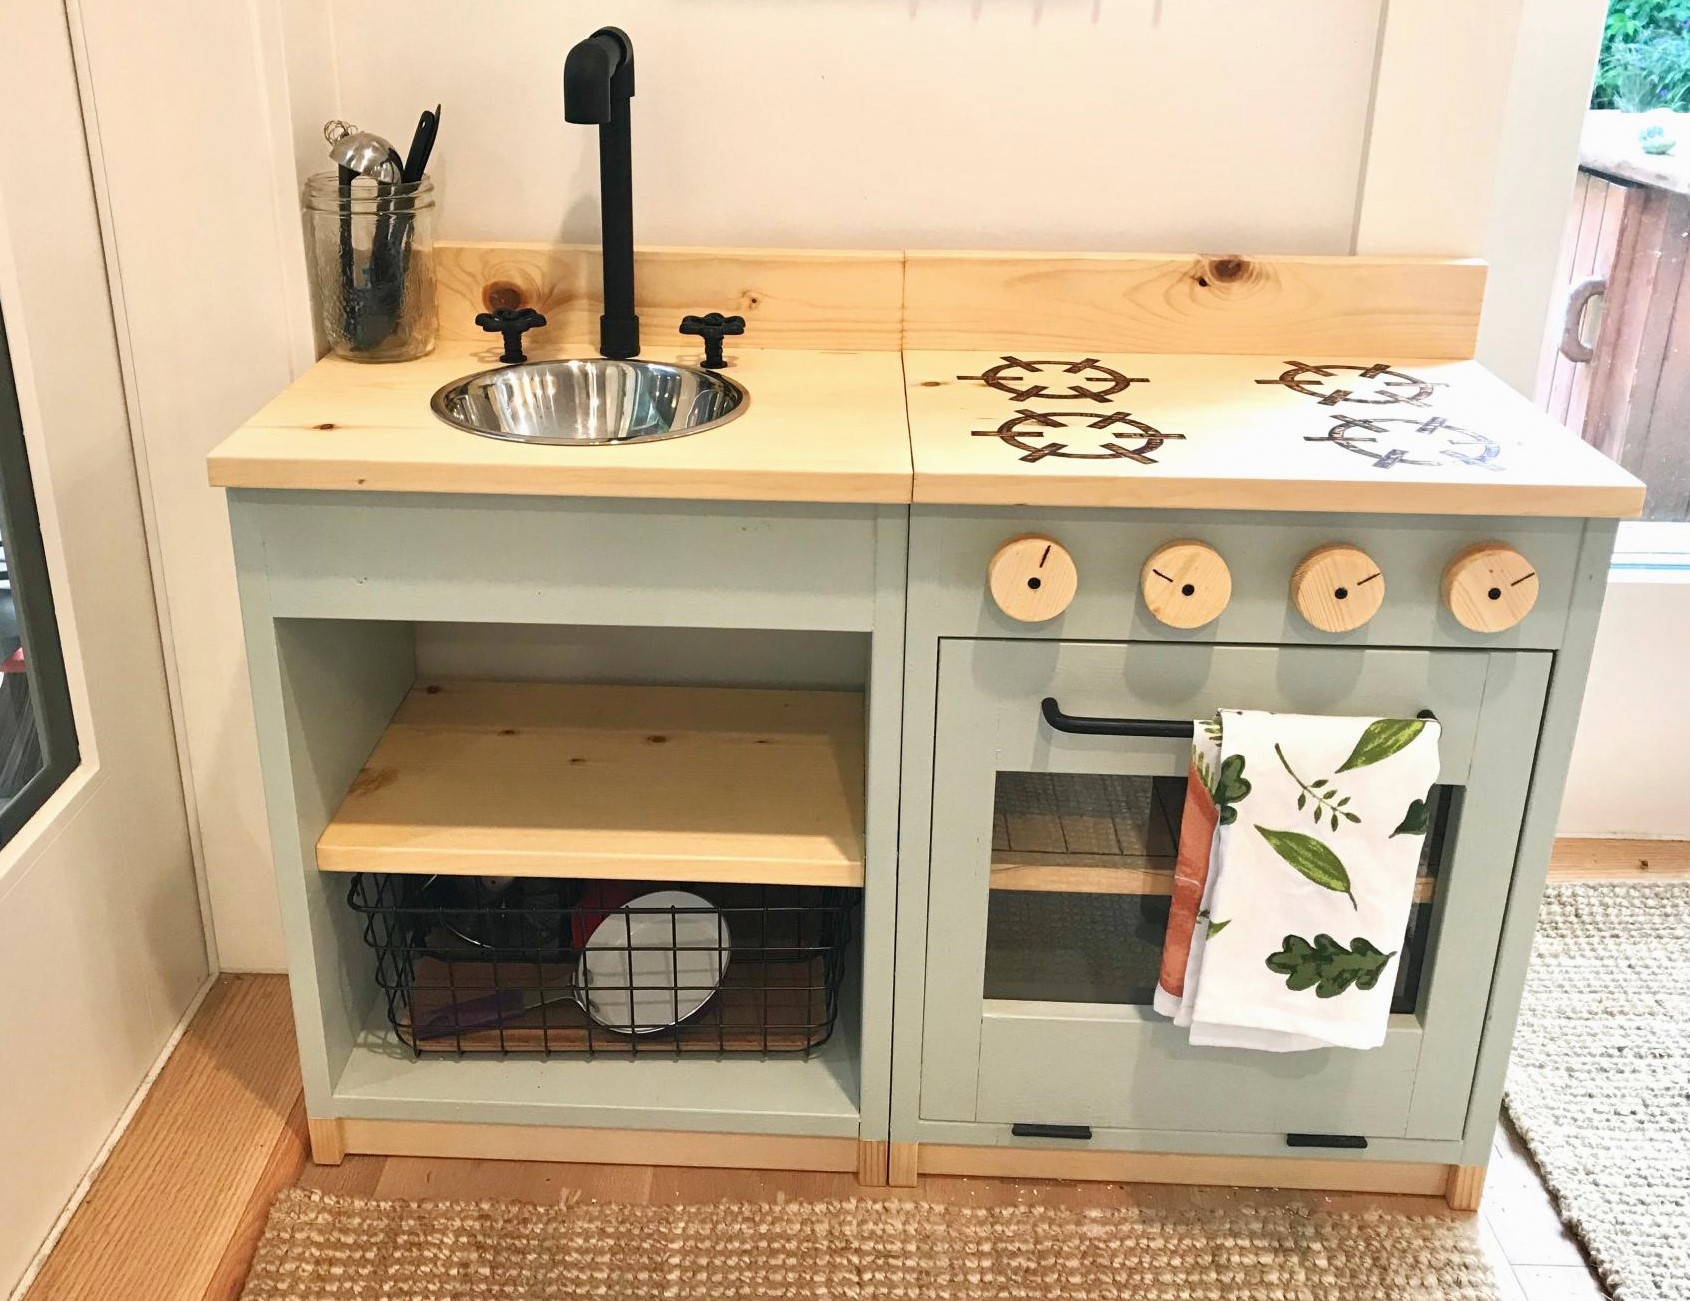
Loved the plans from the site Ana! I got inspired seeing all the lovely play kitchens that everyone had created! Thought I'd share the one I've made for my little one as well, she loves it!
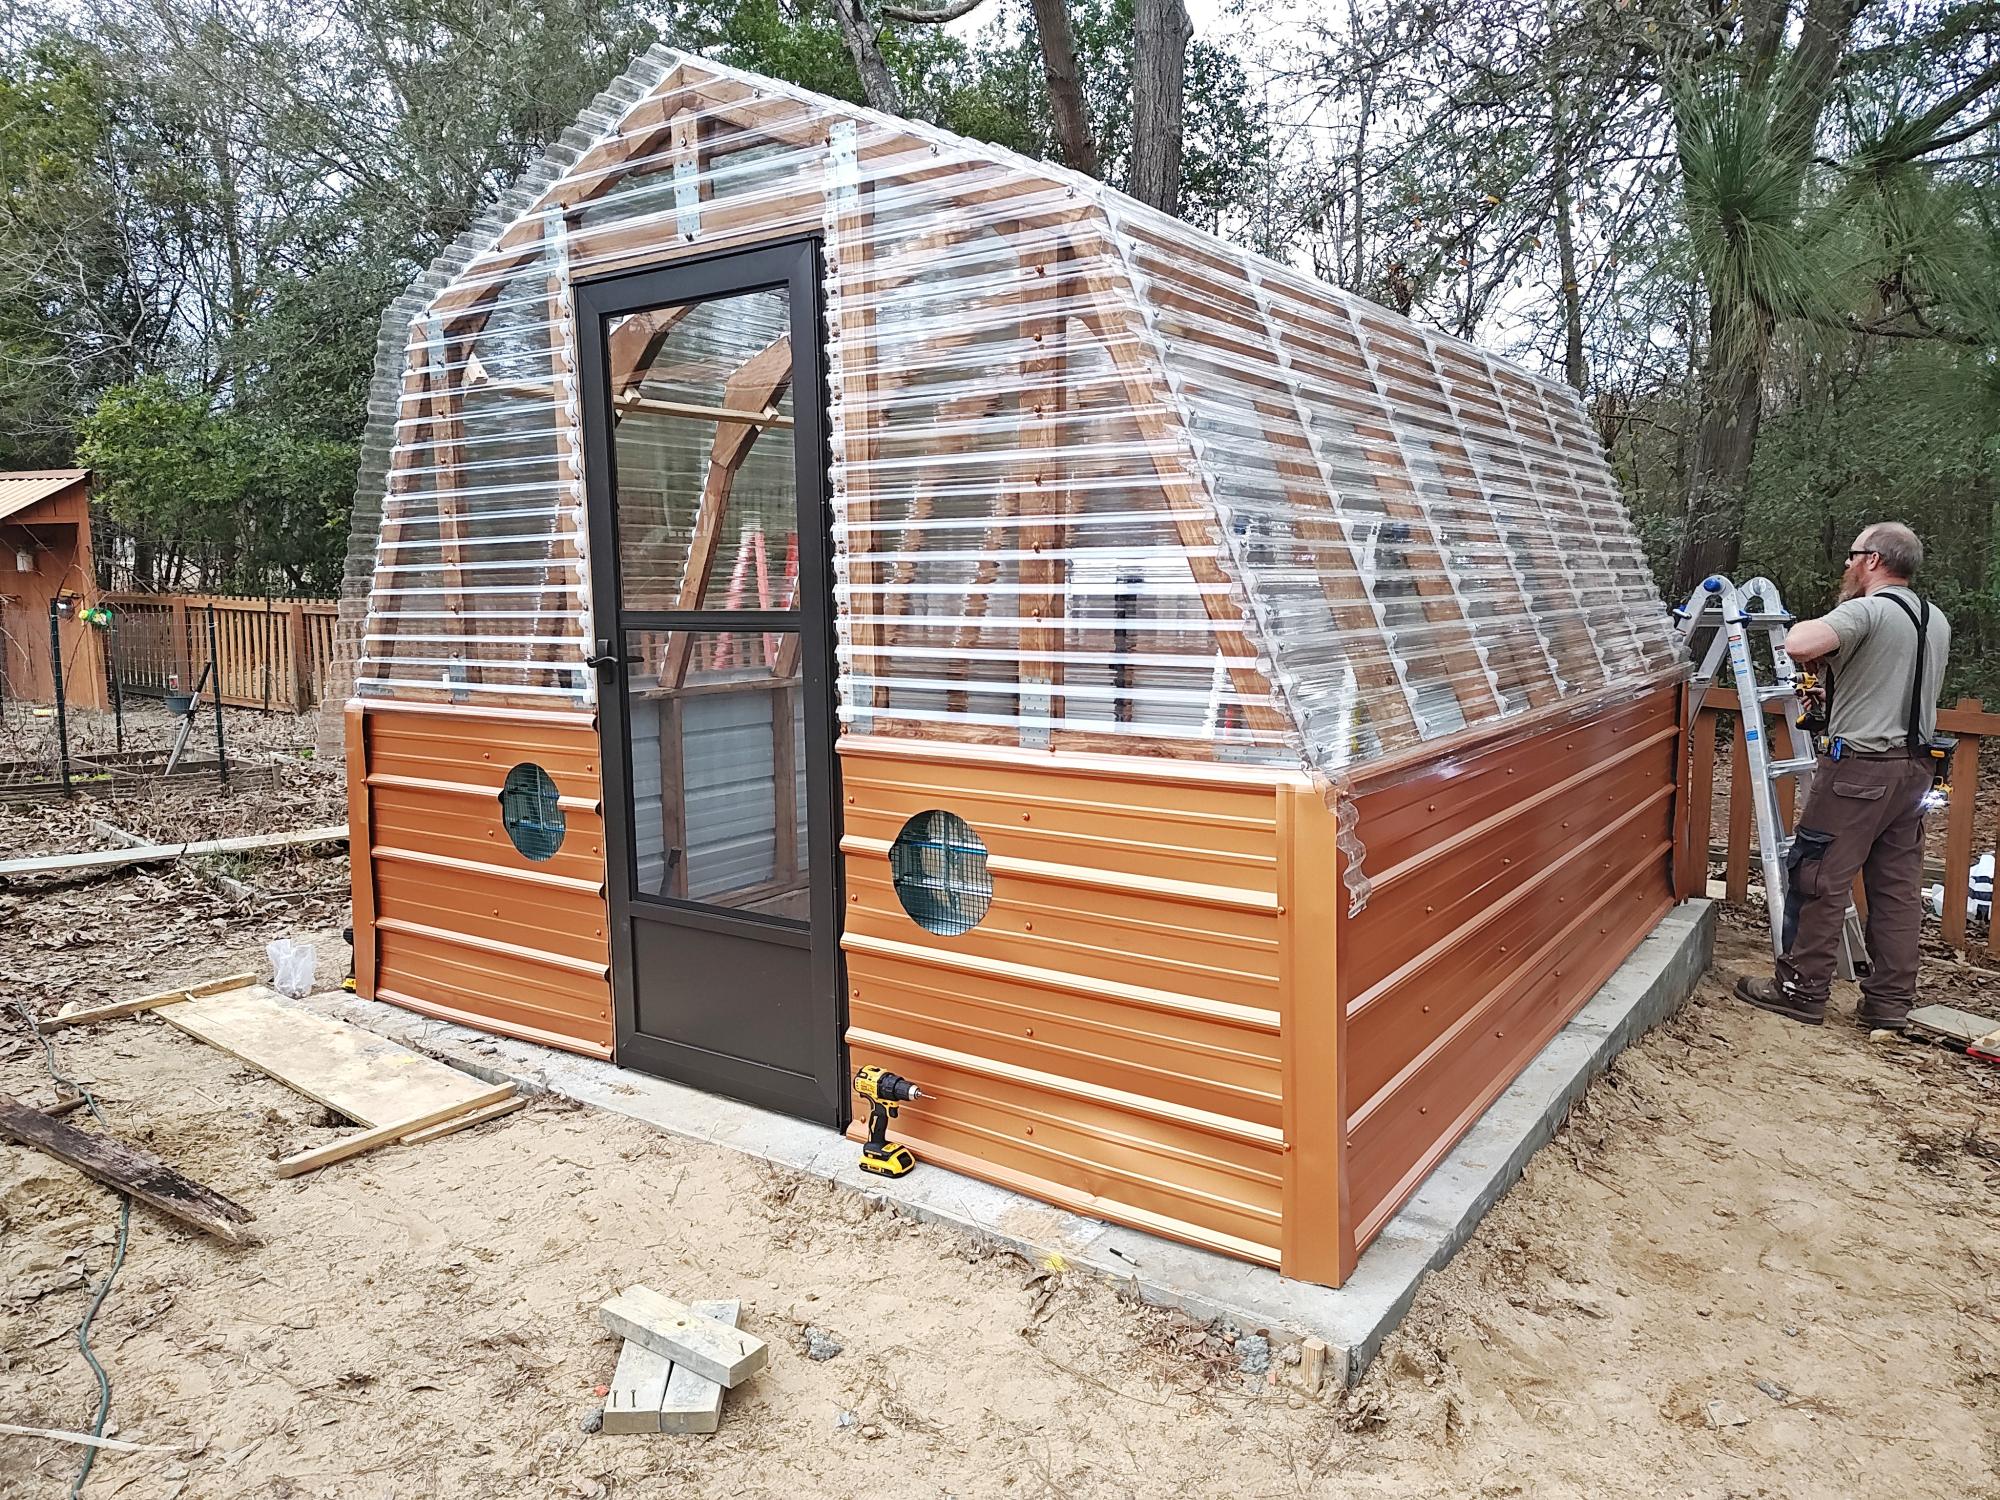
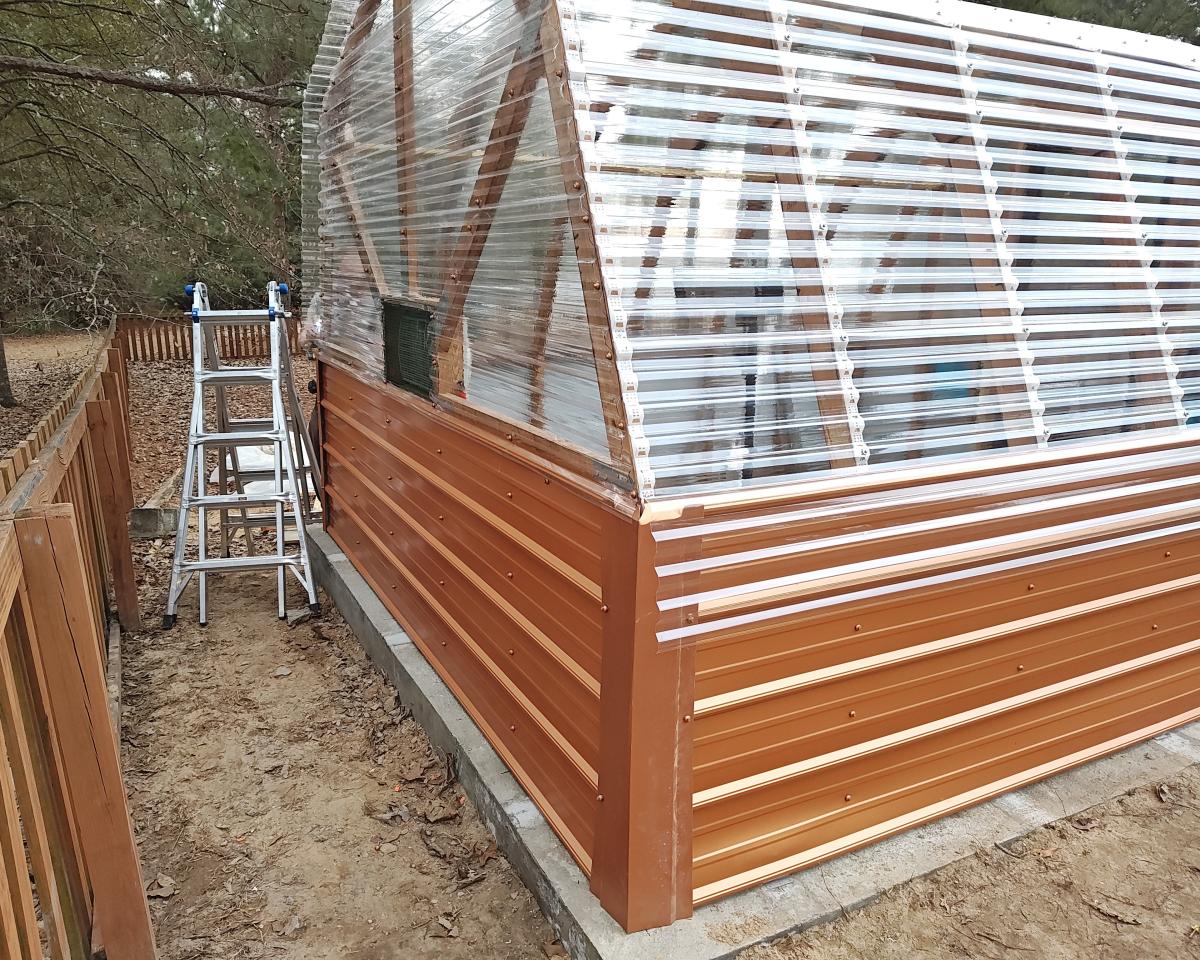
A variation on your barn style greenhouse. I included a cooling fan with intake louvers, temperature controlled heater and grow lights. Also used anchor bolts embedded in concrete footer.
David Buckmaster d [email protected]
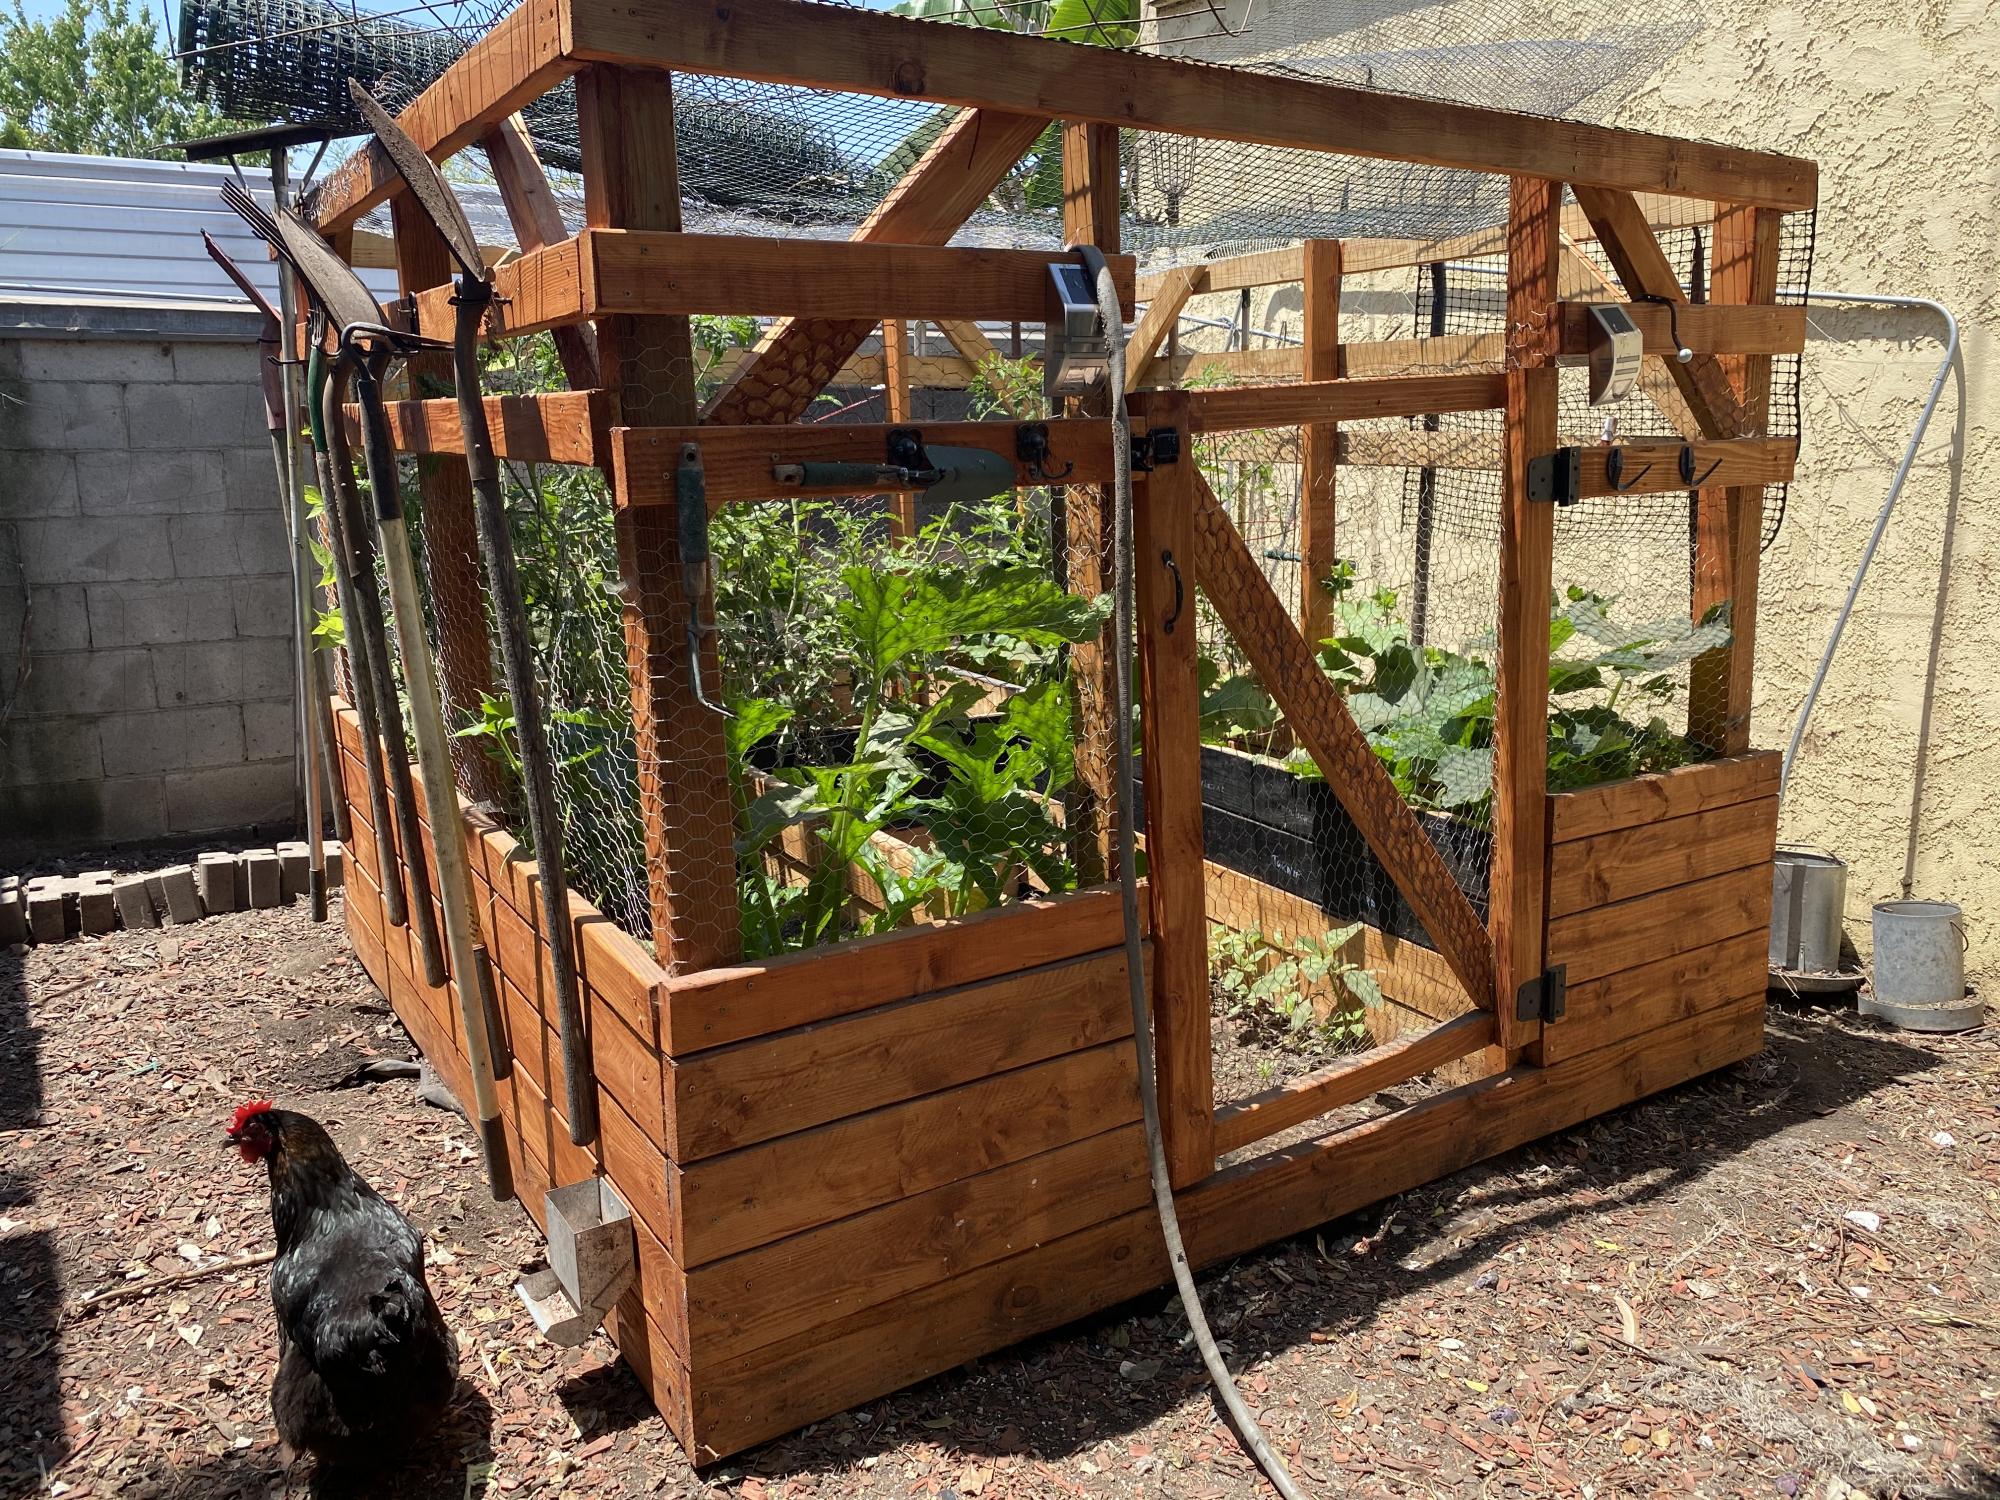
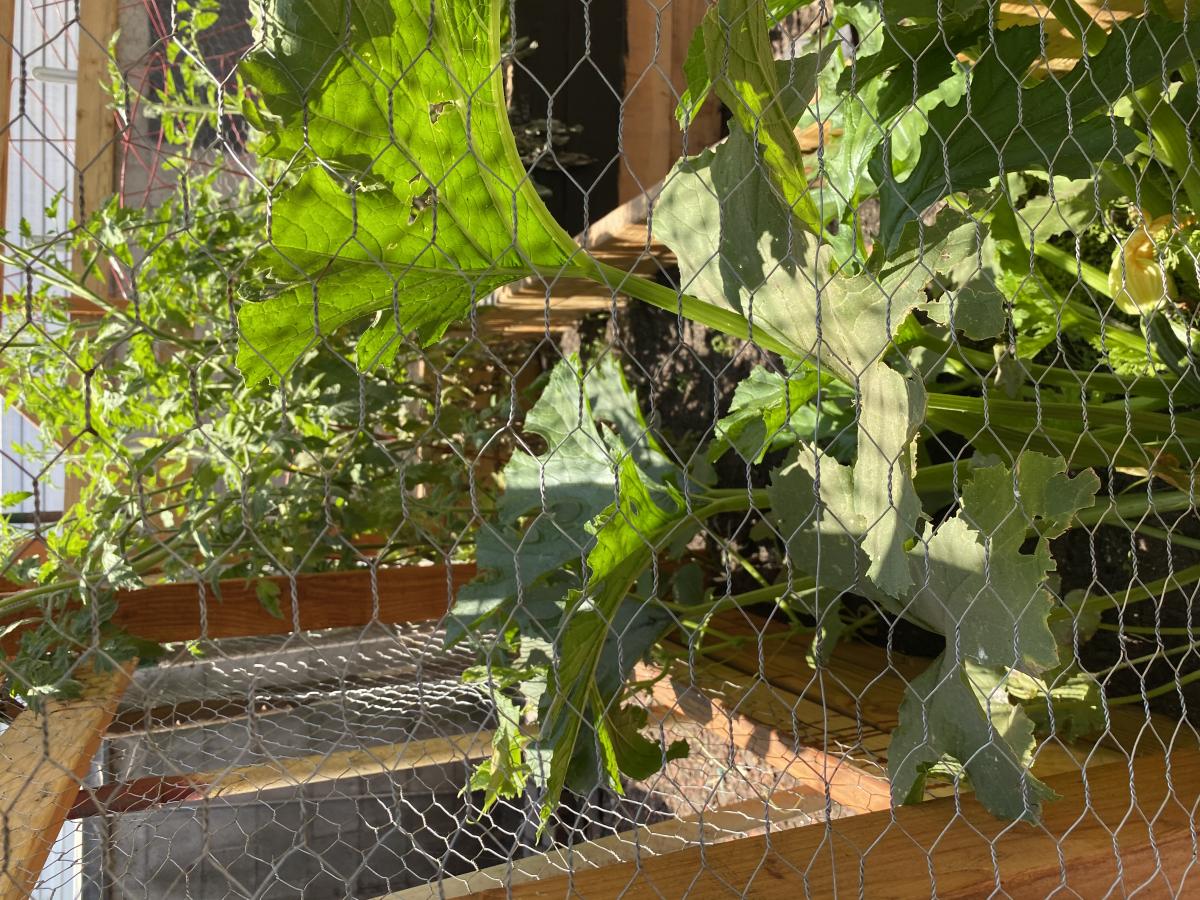
My chickens took over my garden area and being the voracious raptors they are, I needed to build a garden enclosure to keep my veggies safe. I modified a little, making my beds deeper. I also had to stretch chicken wire over the top to keep the great flyers out. I also used it as a way to organize my garden tools (which is possible because I live in Southern California with moderate temperatures and little rain. Thanks for the plans! Yvonne
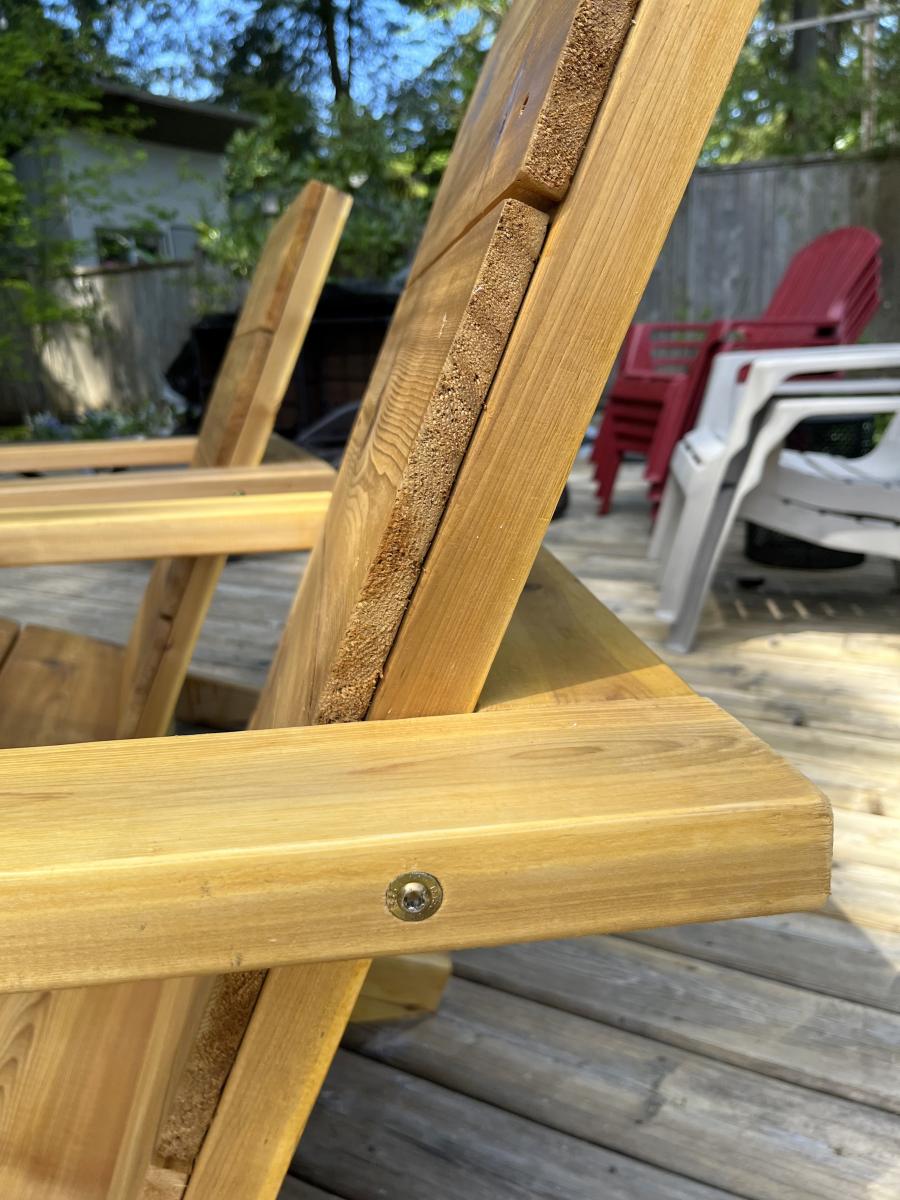
I added a 6 inch lag screw to support the arm in case someone sat on the arm. I also added small metal brackets hidden to help secure the leg strength.
Matt
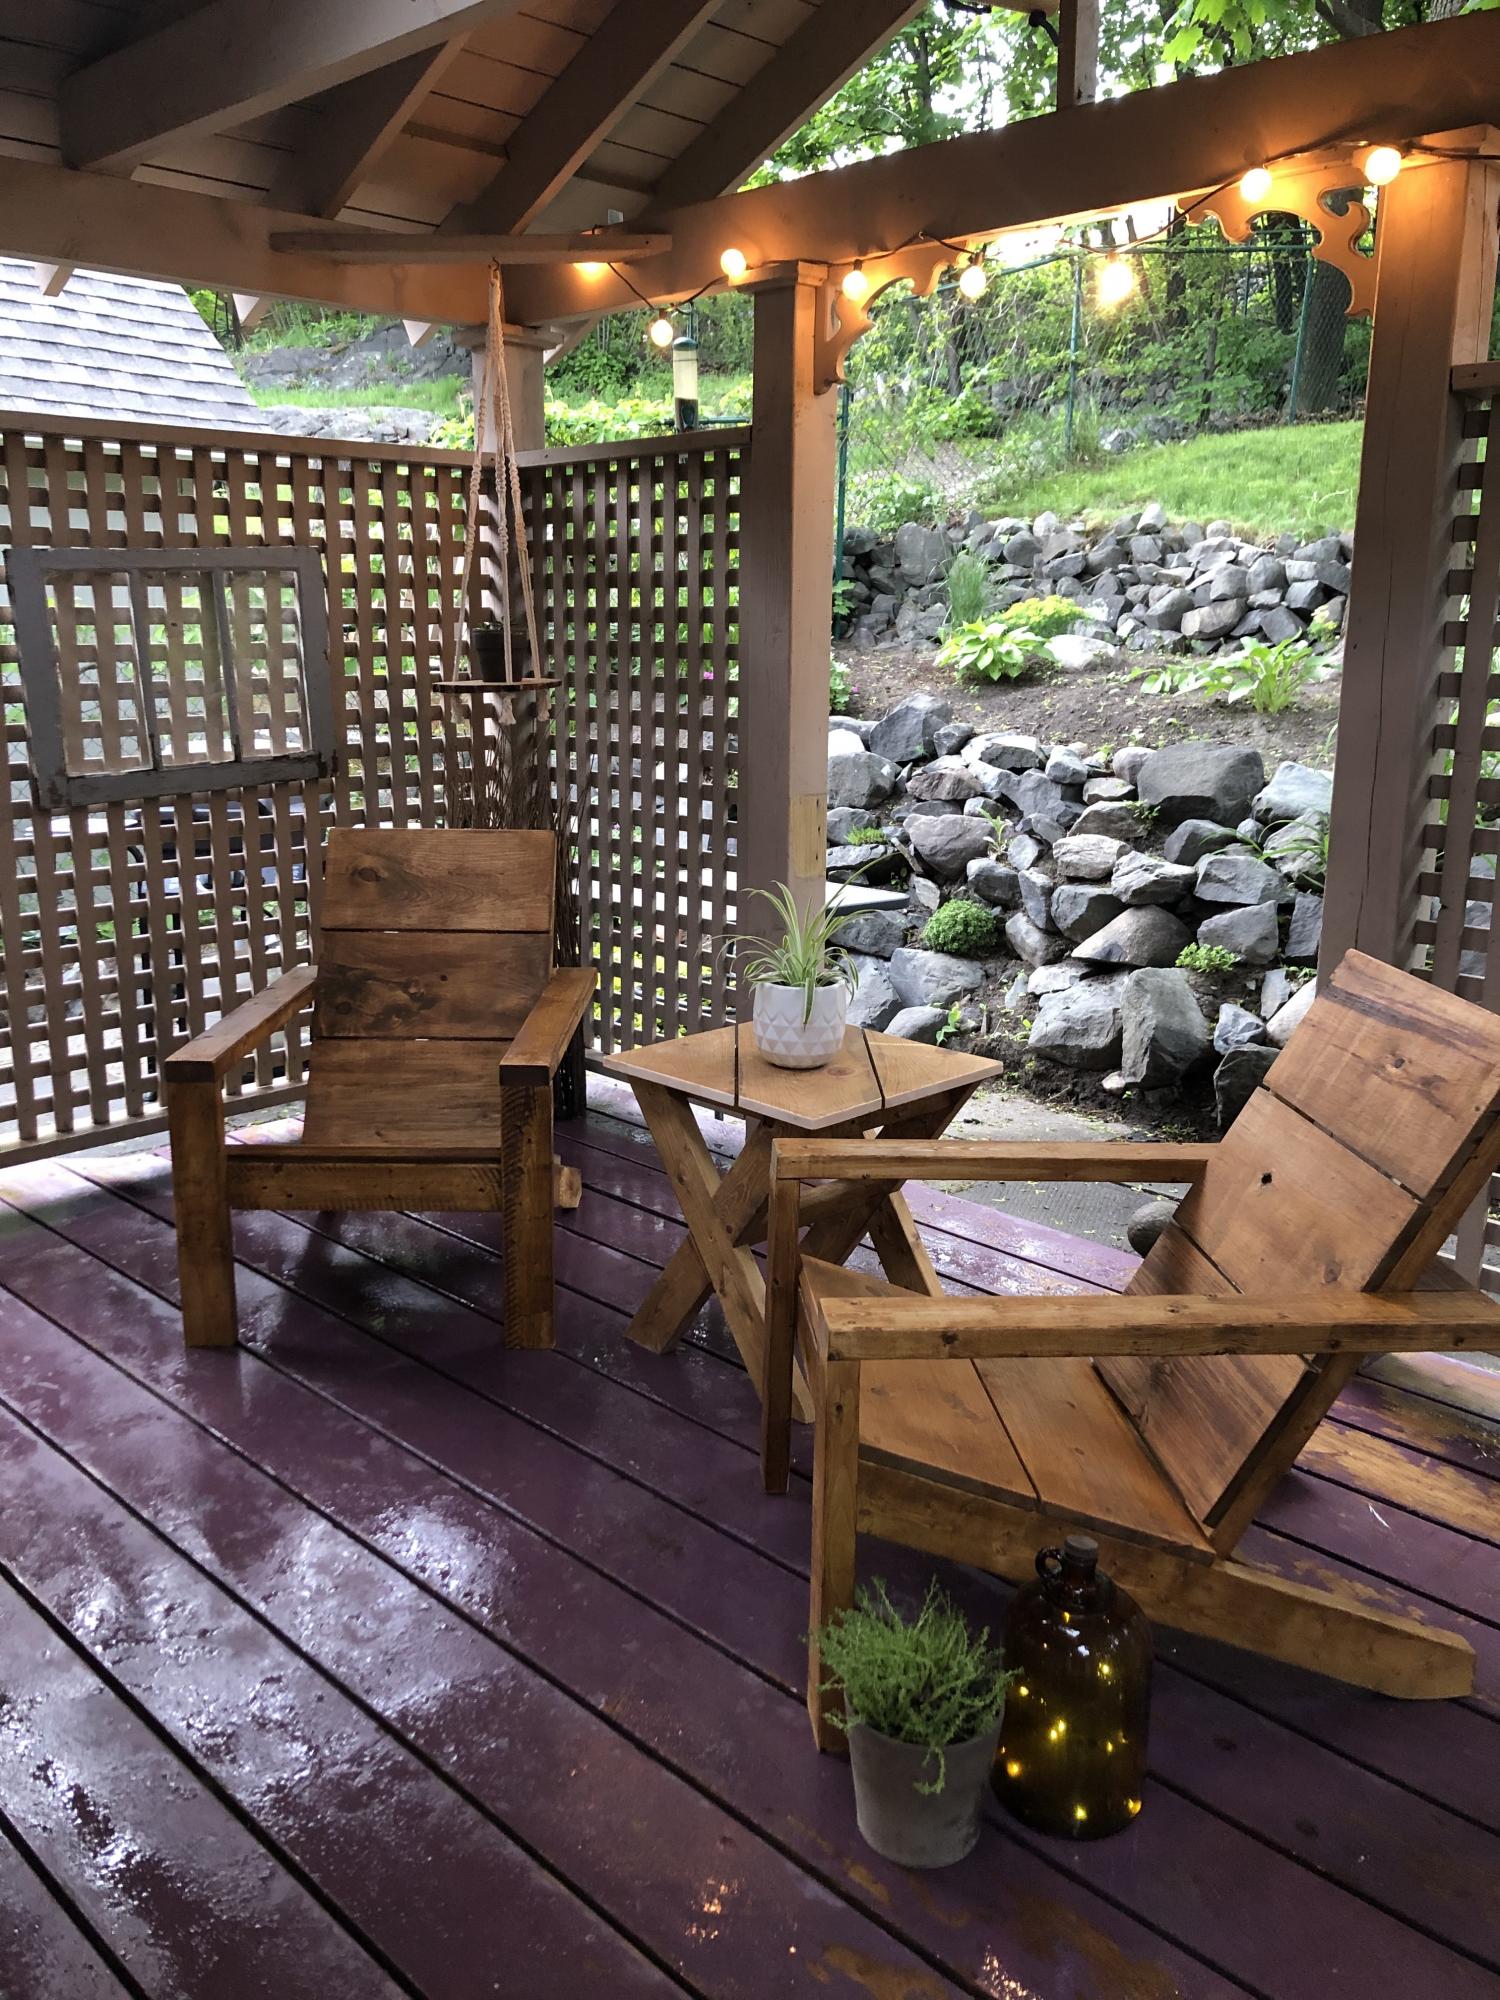
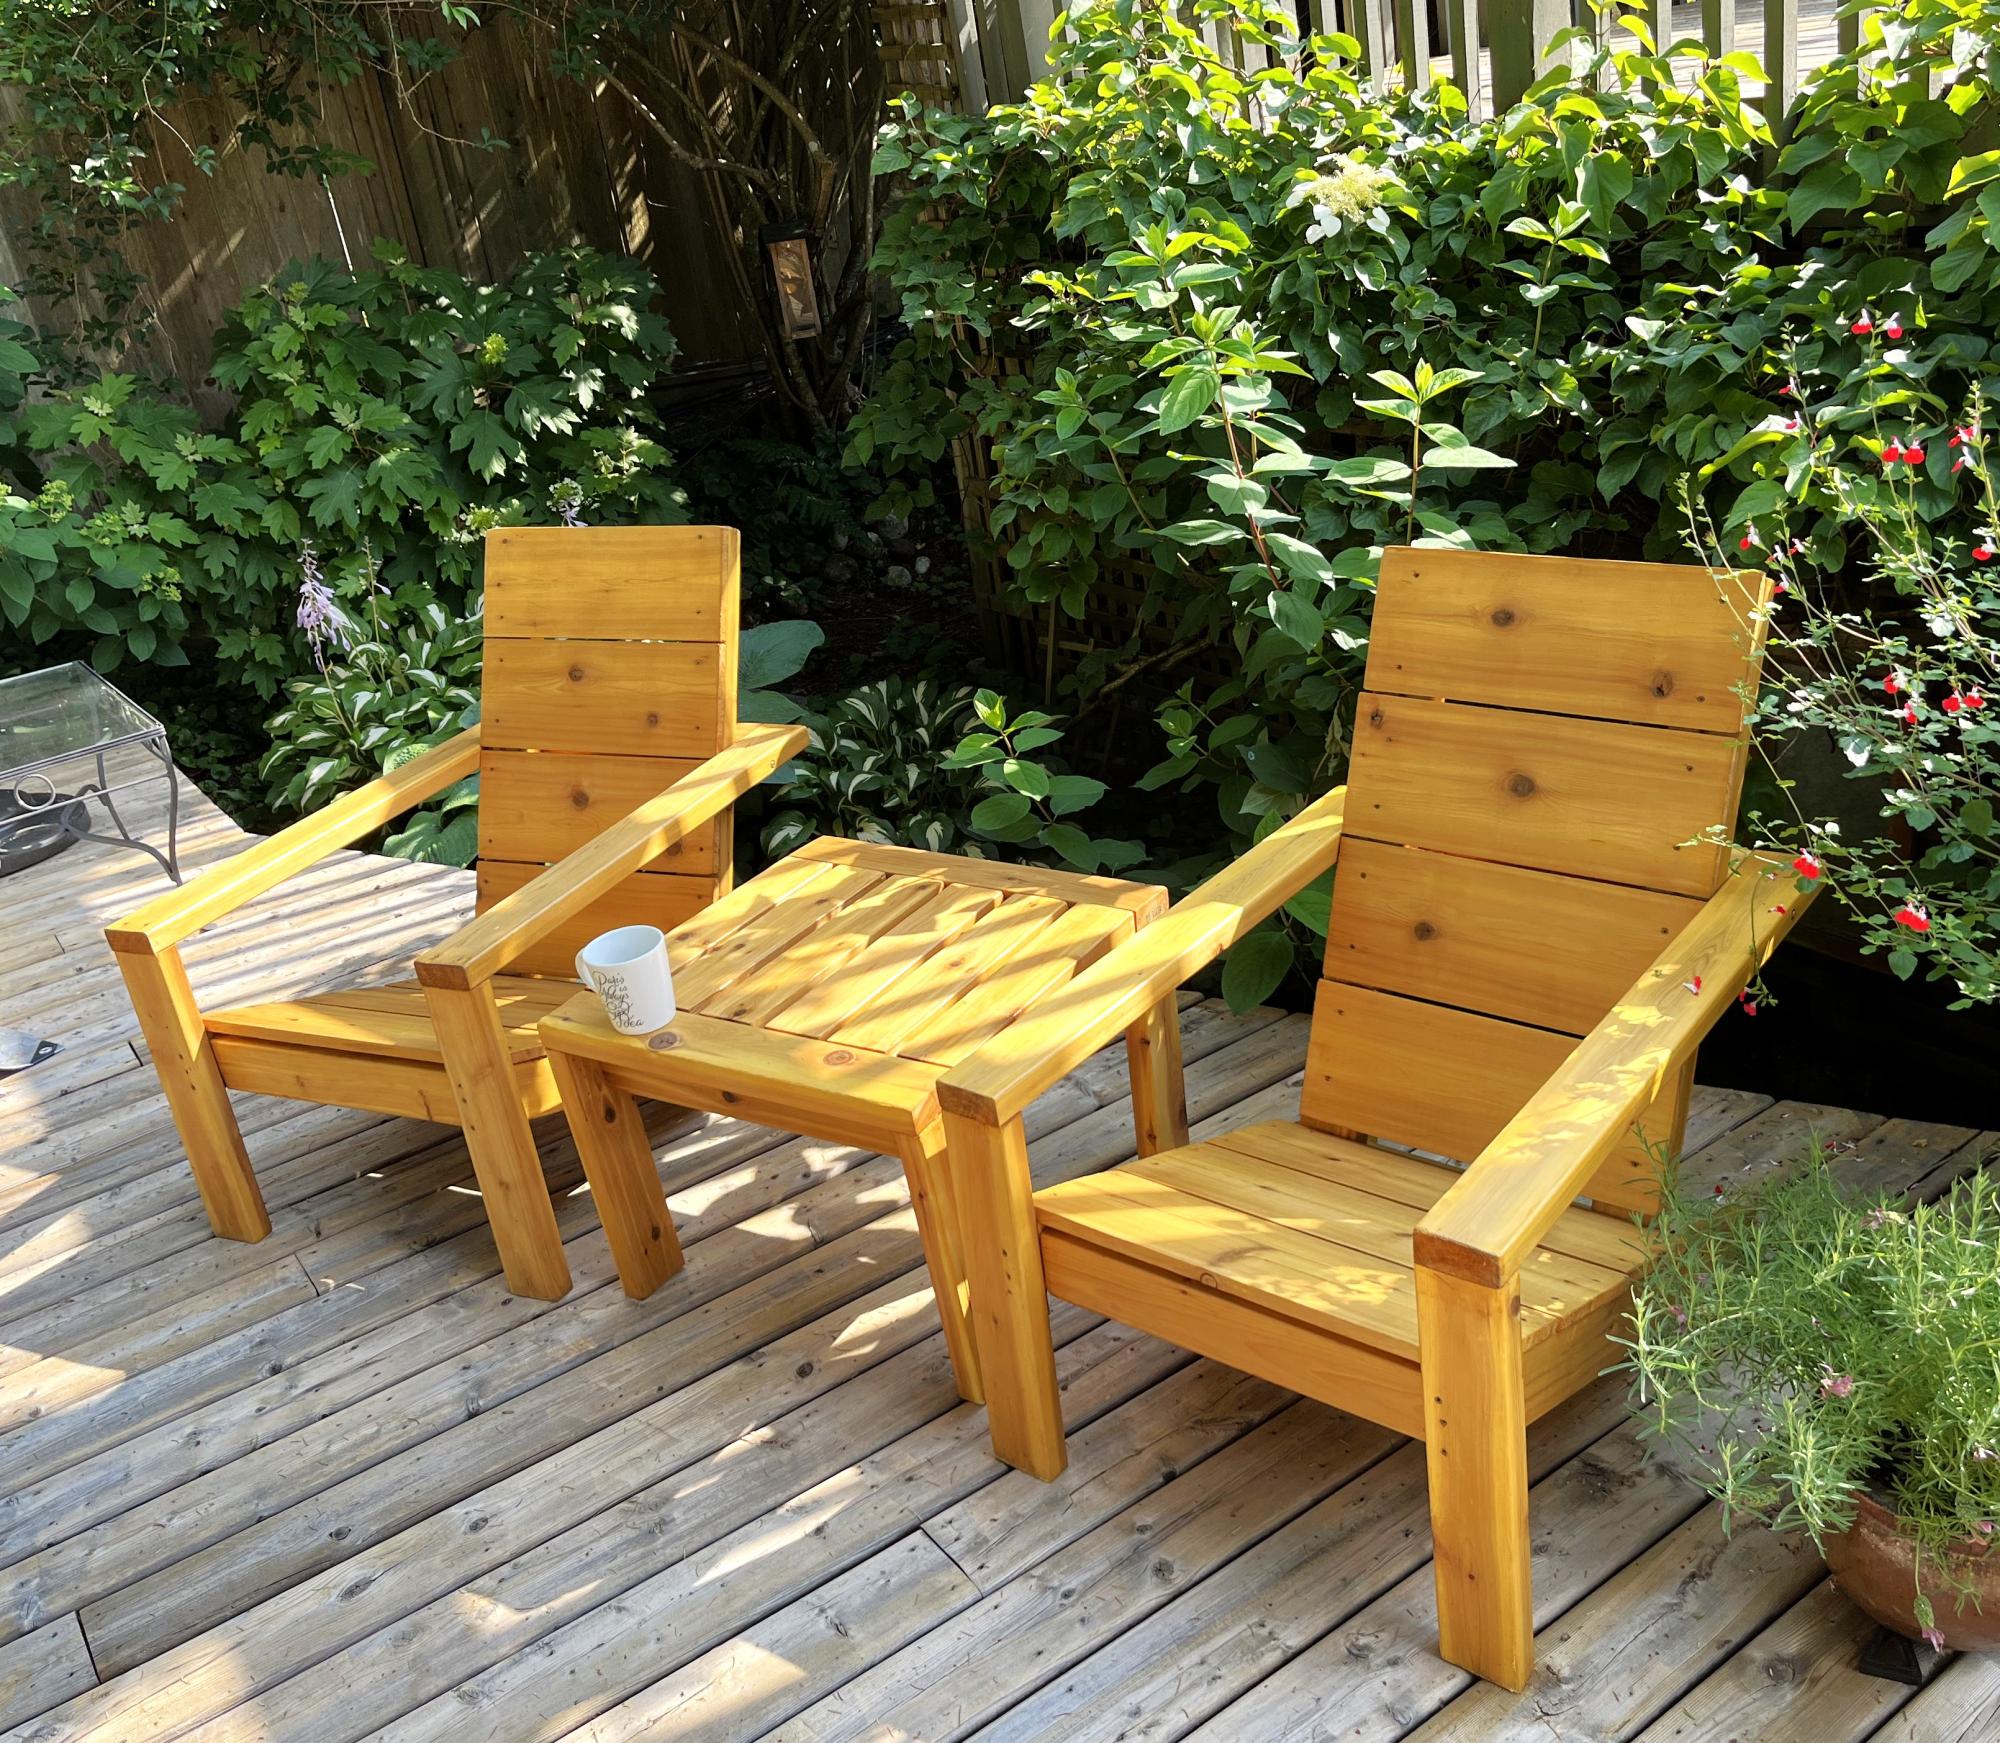
Loved these plans. Made a table as well. Great set!
Thu, 06/11/2020 - 13:18
I am so in love with the table you made to match! Did you find the plans here?
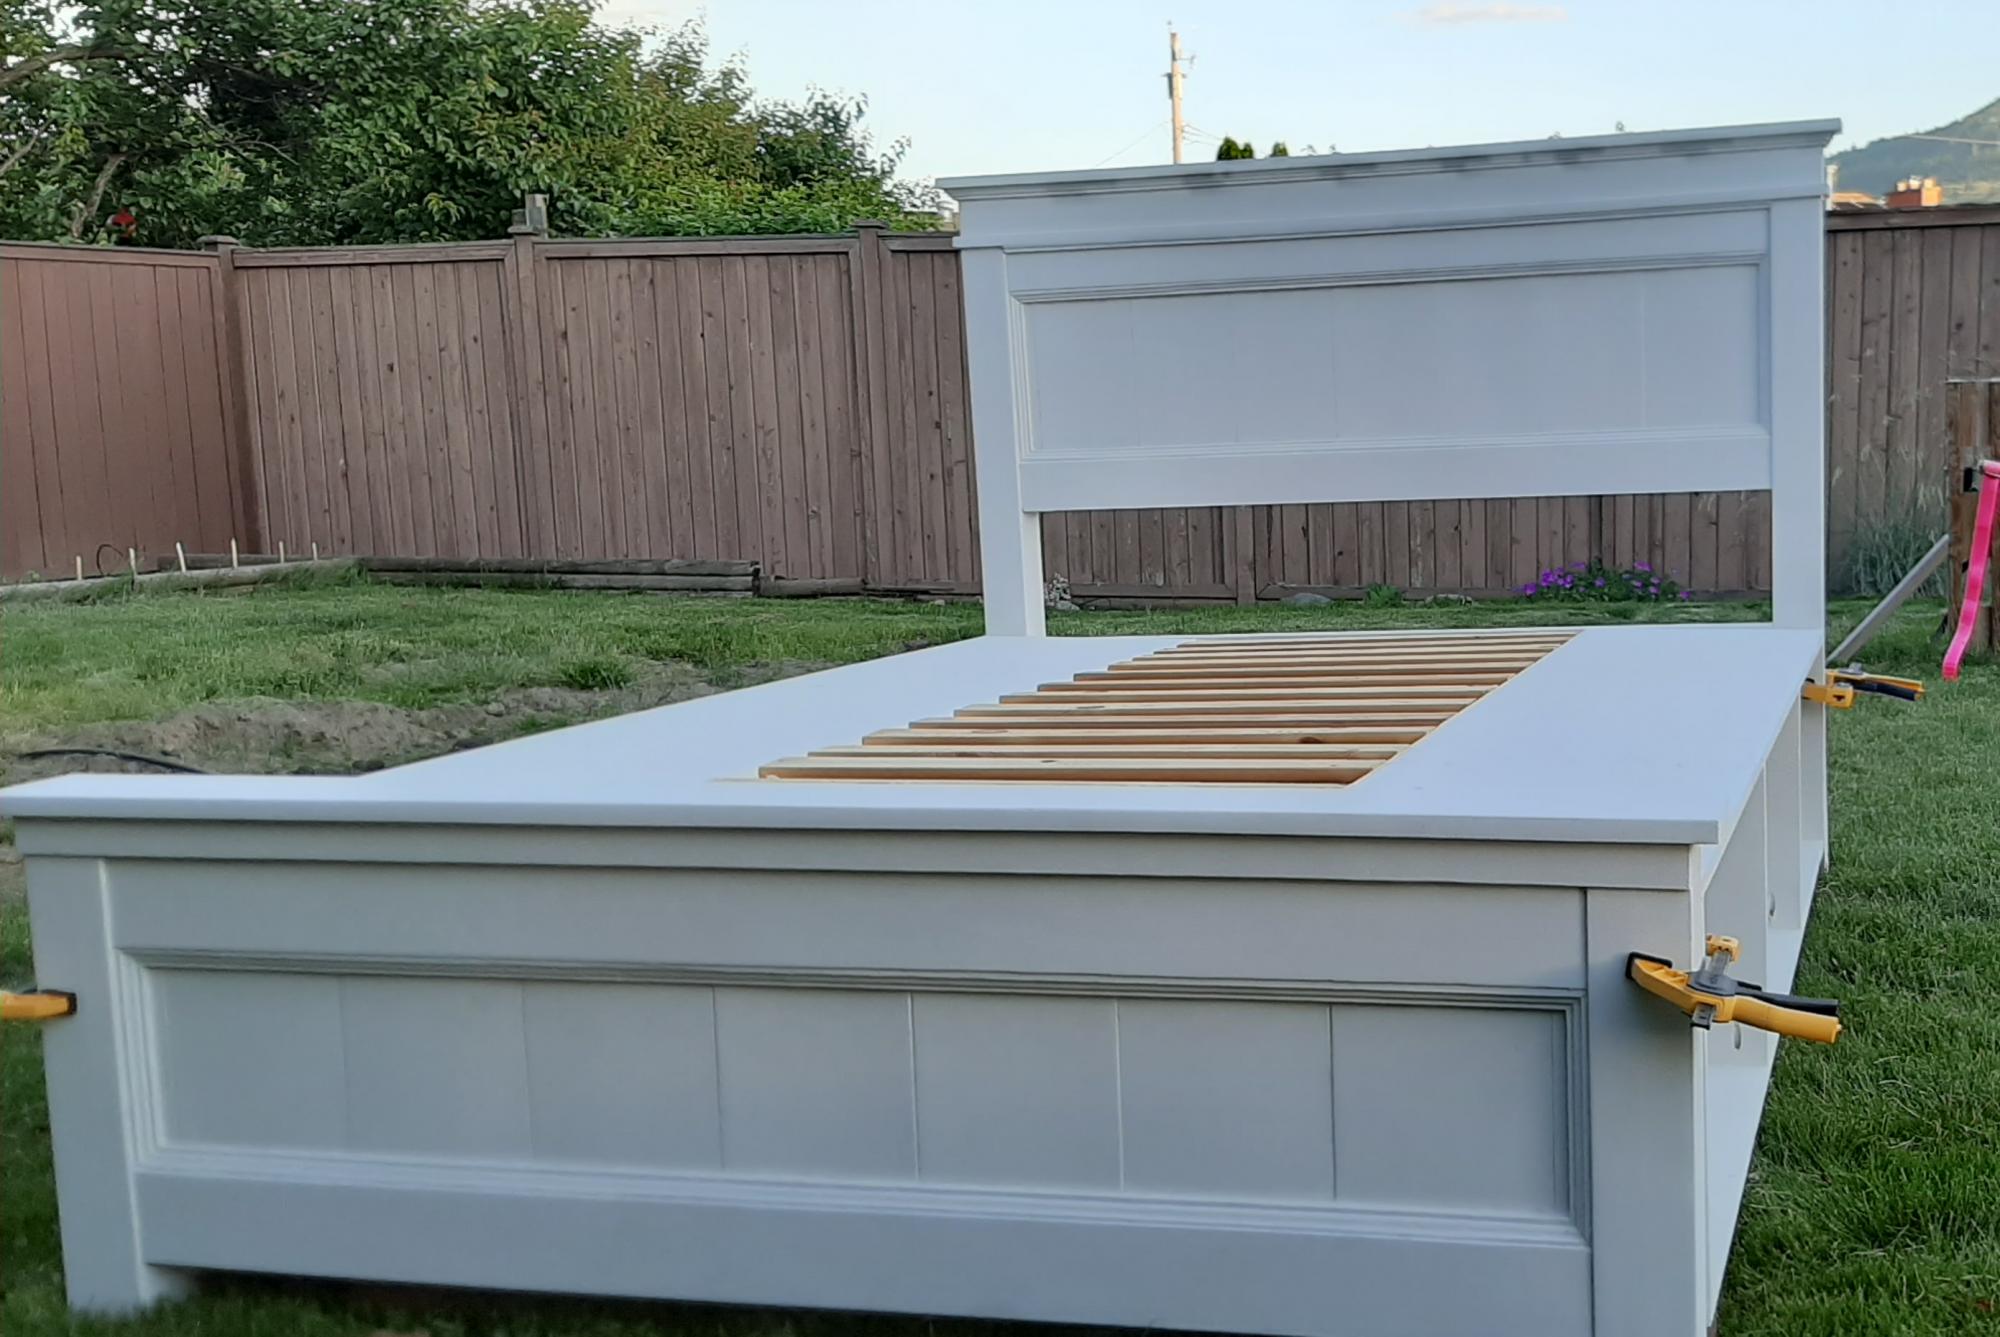
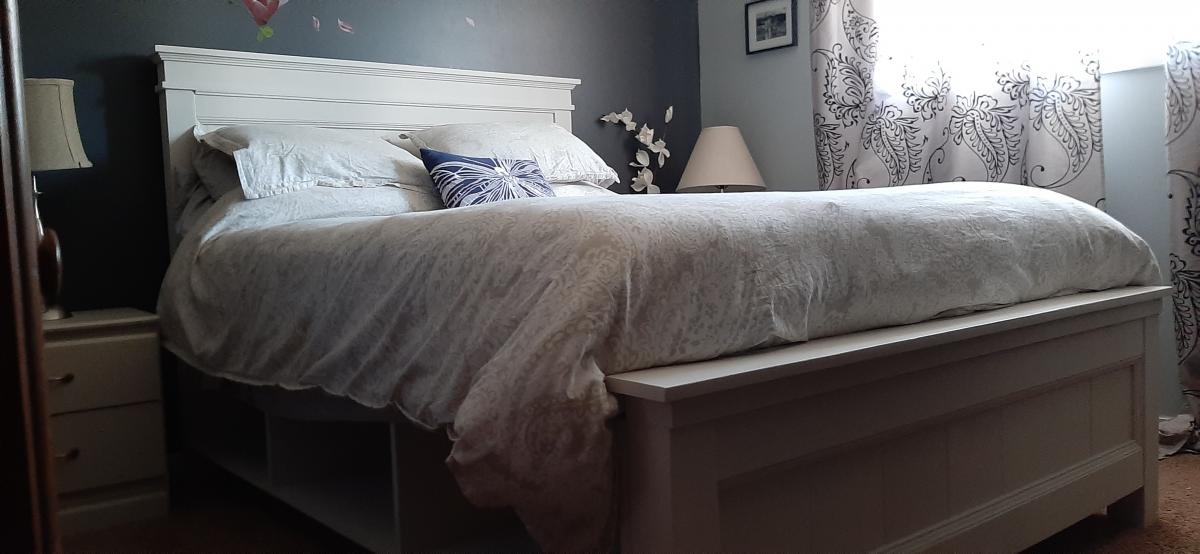
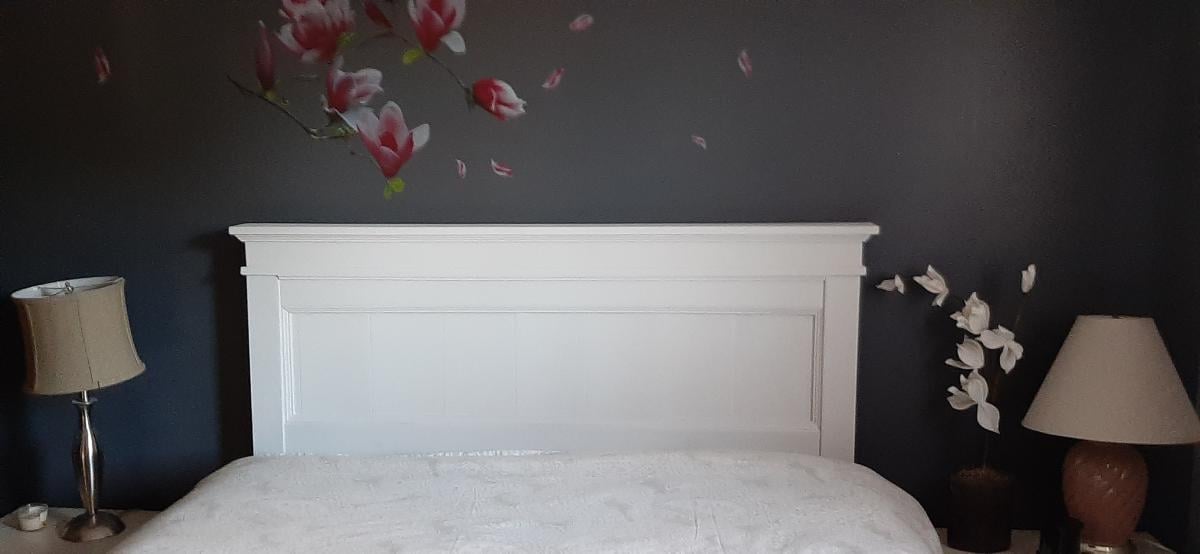
I used wood from an older Ana white project of a loft bed my daughter had out grown. I liked the look of Ana's Mom bed but wanted storage so I modified the plans slightly. I will add drawers later.

Our kitchen is smaller than our last house, so we turned our breakfast nook into more storage and could yet space. I love Ana White’s plans, tips, videos, and community.
Beth Ivy
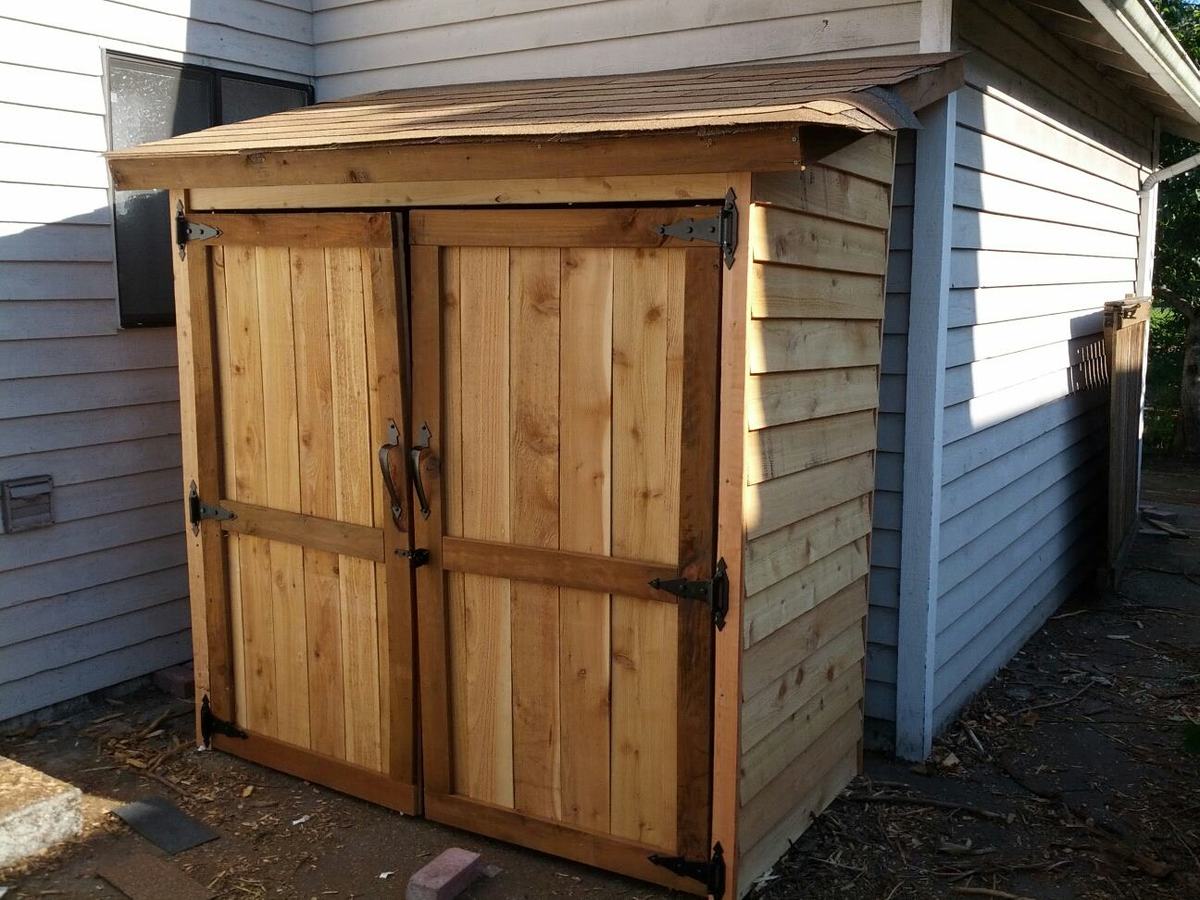
I have been dreaming about building so many things featured on this website, and I finally buckled down and built something. I figured that an outside garden shed would be a bit more forgiving than a project requiring a bit more precision, and from the picture, you can see that it's not perfect! I'm still working on trimming the shingles and I still have to stain/seal it. I've got to admit, when I first picked up the wood for the project at the store, I wondered what I had gotten myself into. But I just jumped in, and here it is.
Thu, 10/11/2012 - 10:45
What a perfect spot for it as well! Really good job with your first project.
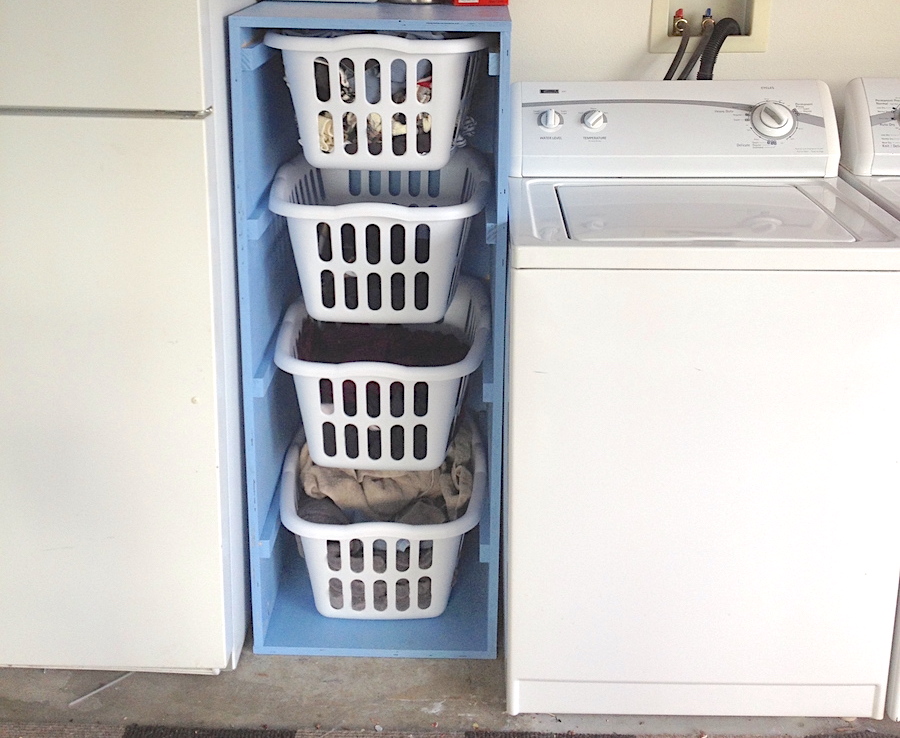
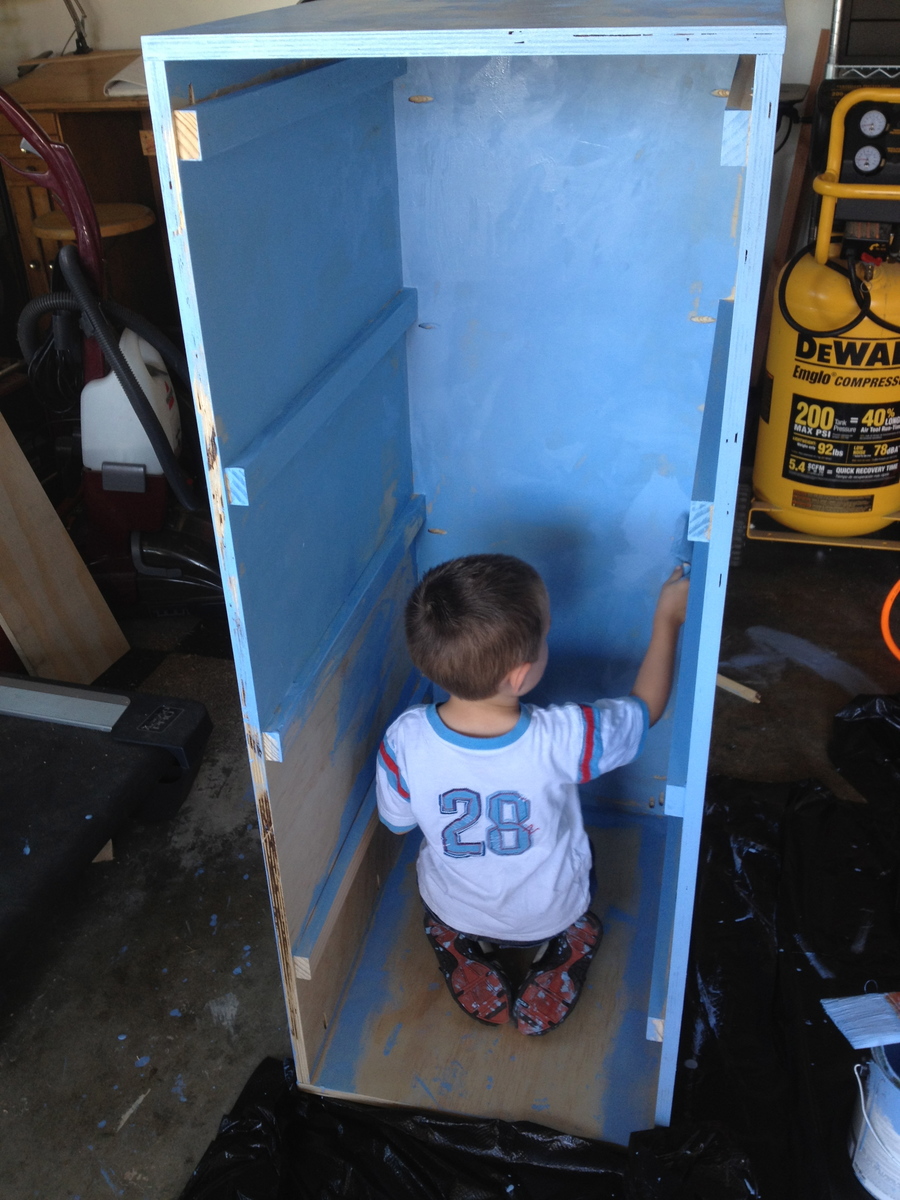
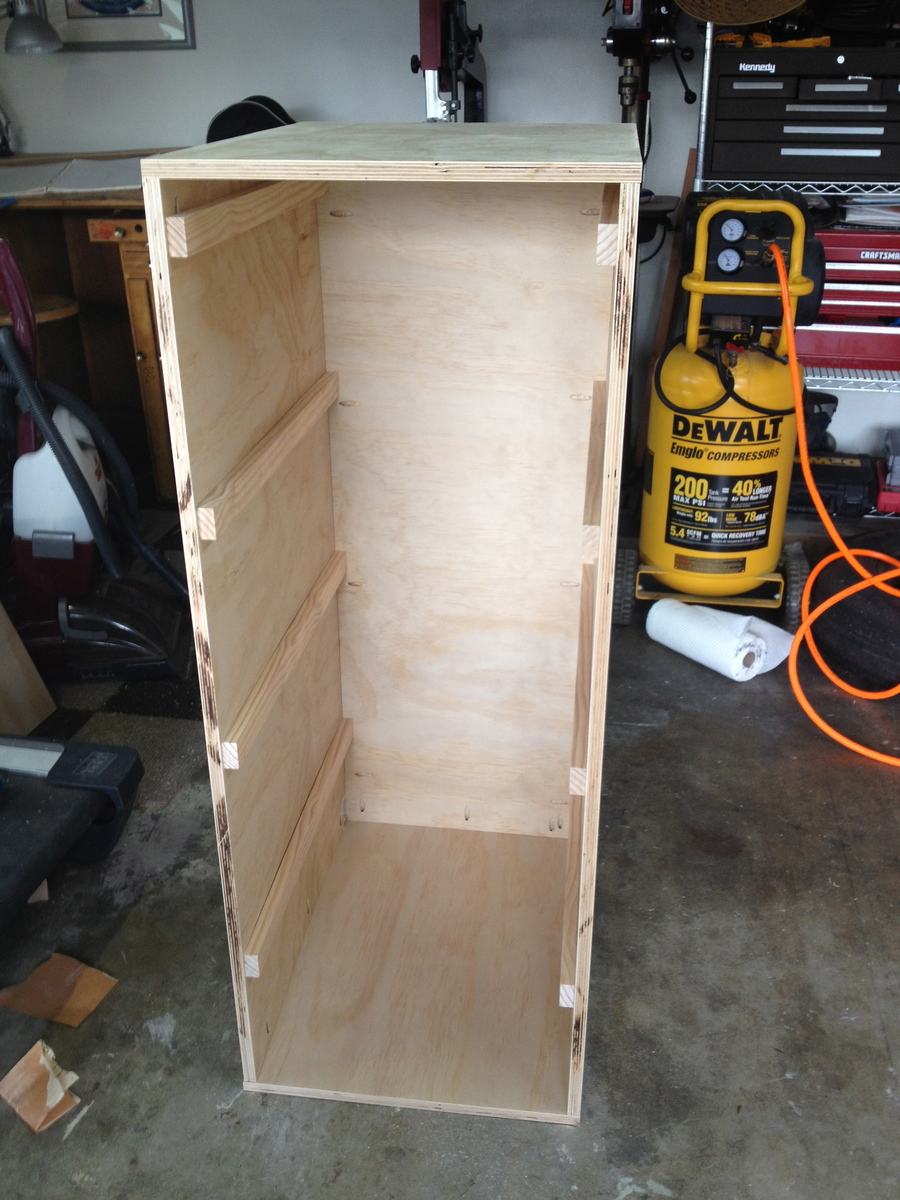
I was tired of having my laundry piled on my garage floor. These plans were the perfect solution. It fits great in the small space I had next to my washer. And it was so easy. I was able to do it all by myself. My husband just had to catch the plywood for me when I ripped it. I was able to find the baskets on the plans at Target and used left over paint from my sons' playroom. My laundry is now always sorted, making it much easier and faster to clean.
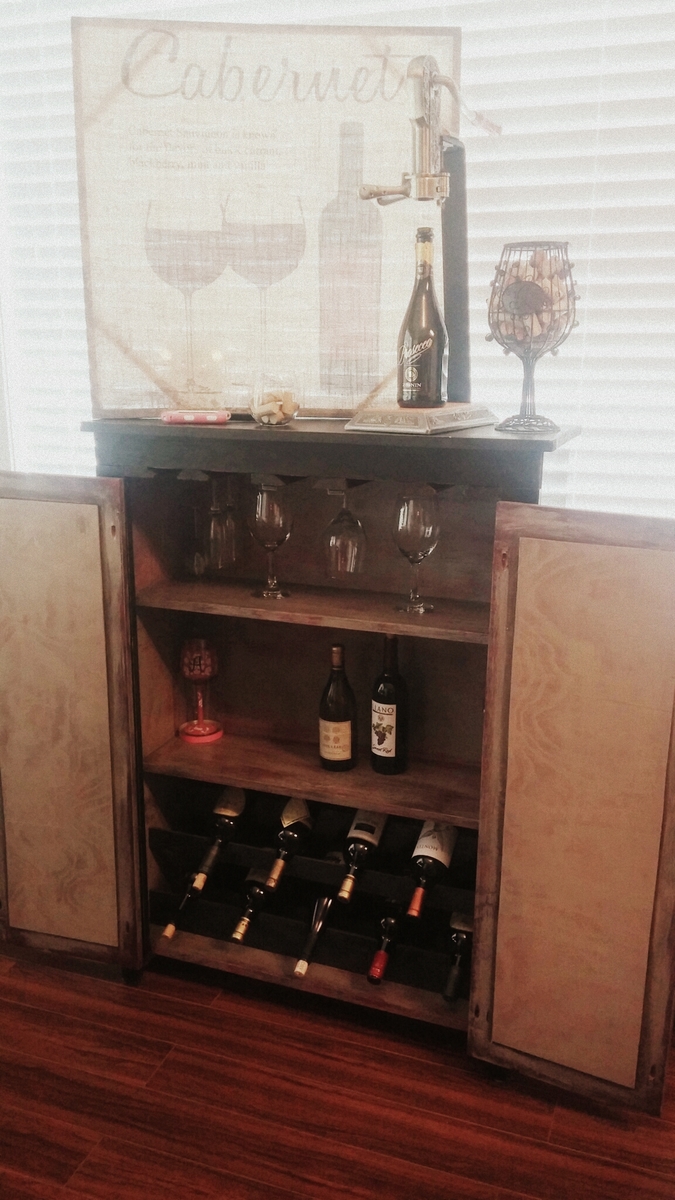
We used the plans from the jelly cabinet \pie safe and added a wine rack at the bottom and wine glass rack that the top! I love it! I get so many compliments on it.
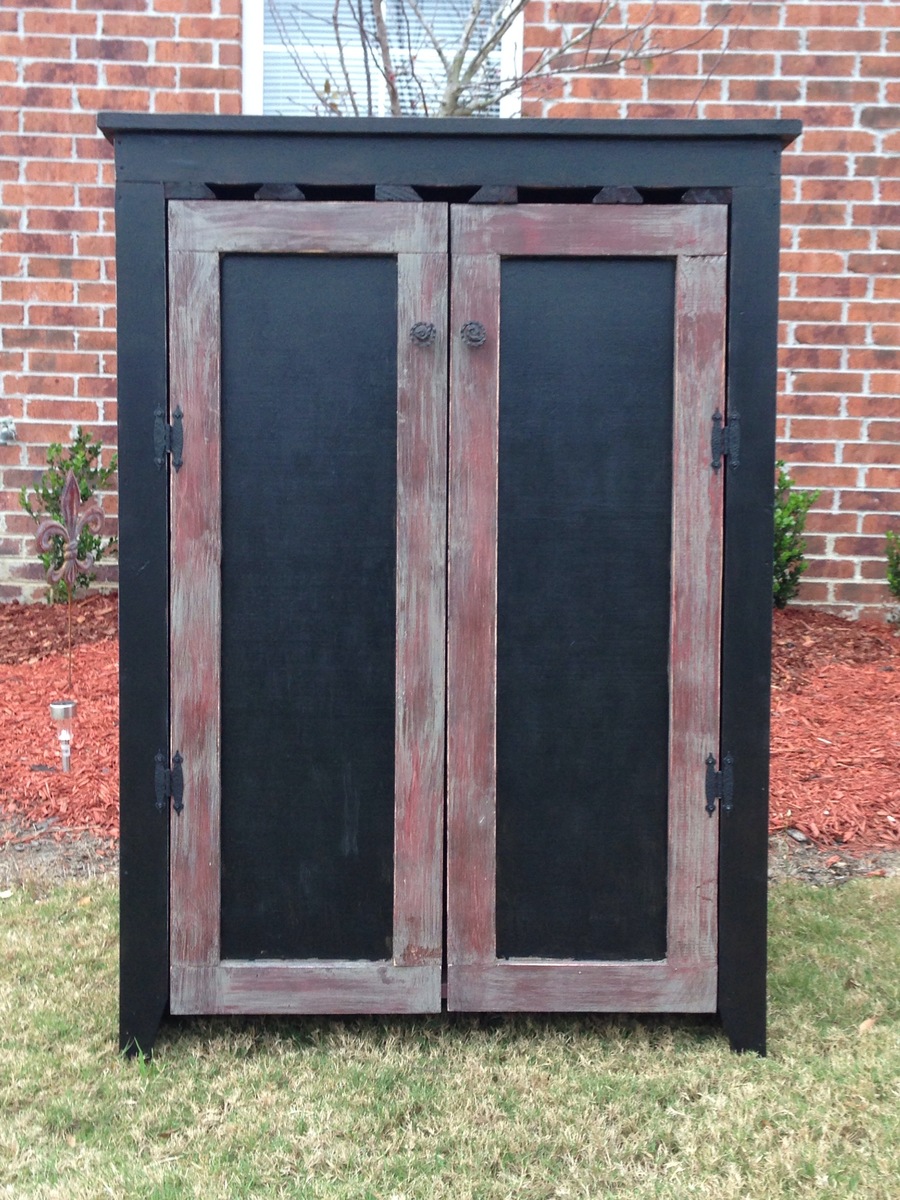


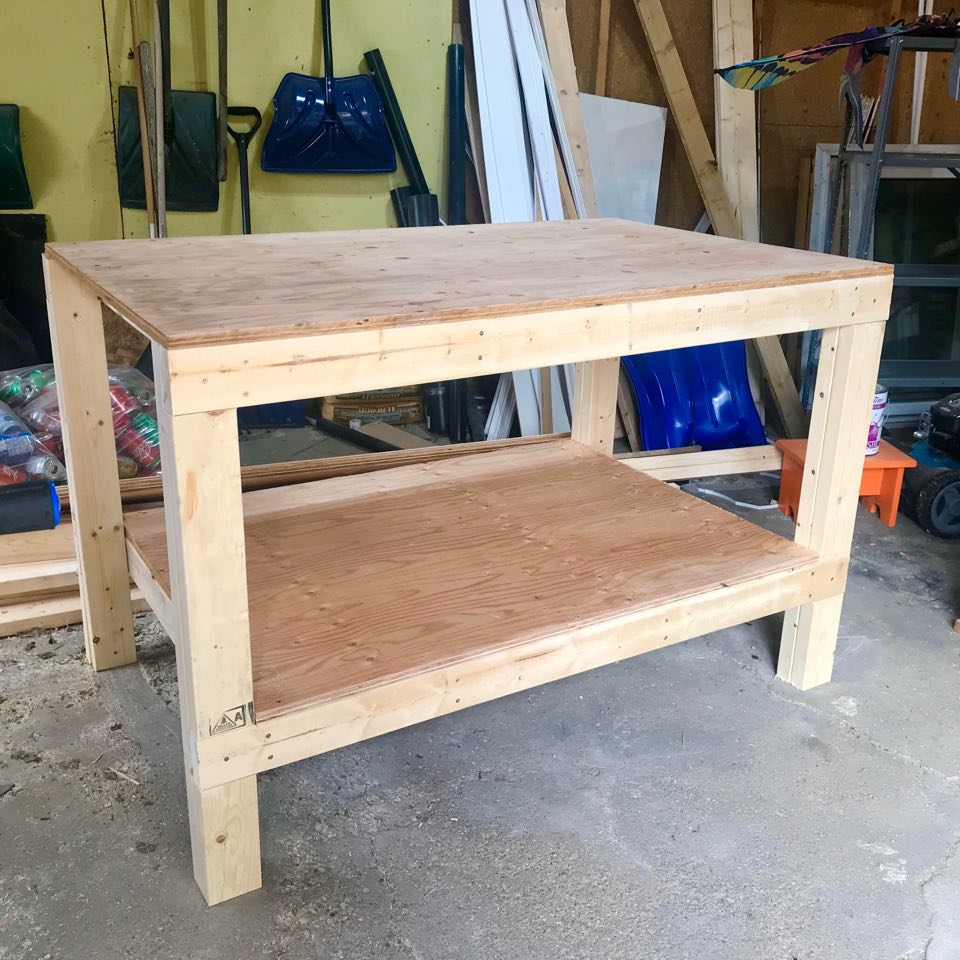
I just started wood working this past few months, and this is I think my 6th project already. Super easy to make and so sturdy!! This will definitely help make building easier!!
Mon, 06/29/2020 - 12:44
I also made one of these last week and it has already proved it's worth many times! Yours looks great - I hope you get lots of use out of it :)
Followed Ana’s plans down to the measurements. Didn’t have a brad nailer, so I attached the 1x4 sides with 3/4in pocket holes and 1 1/4in PH screws. Additionally used trim screws and 1 1/4 finish nails throughout it for places I couldn’t put a PH. Plan on getting four more brackets for the bottom half, like the top. Very proud of myself.
Stained the legs, top, and base before completely assembling them.
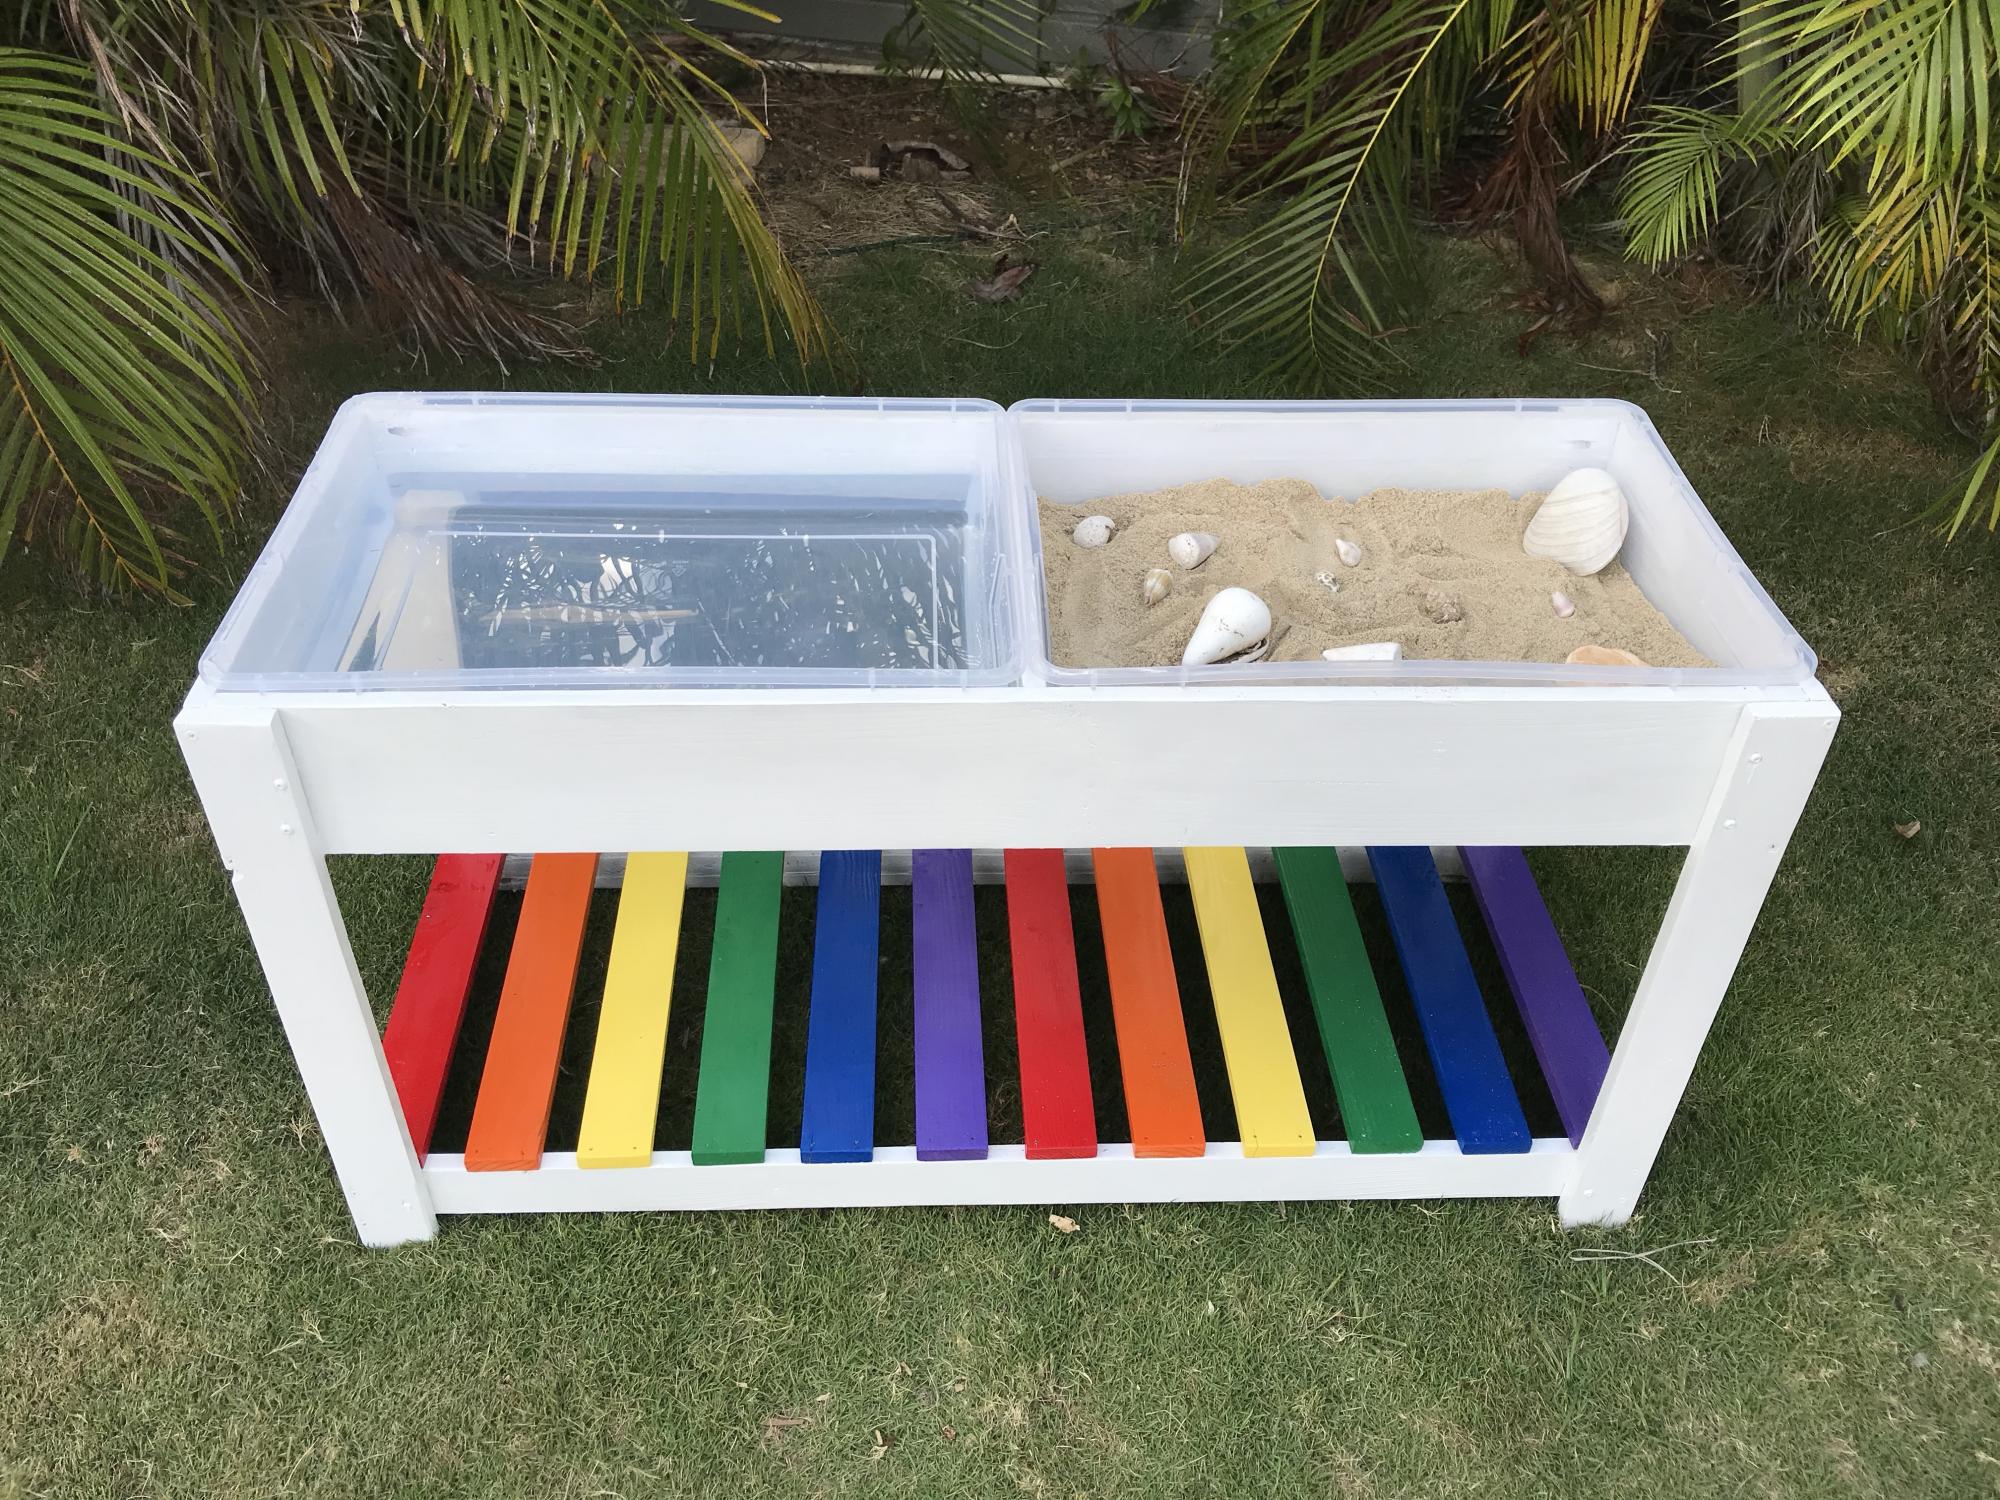
I'm new to woodworking, and this was so much fun to make! Pocket holes make it sturdy, and I spent plenty of time on sanding so no slivers for little ones. The plastic containers just barely fit so be sure to not undercut anything in the plan.
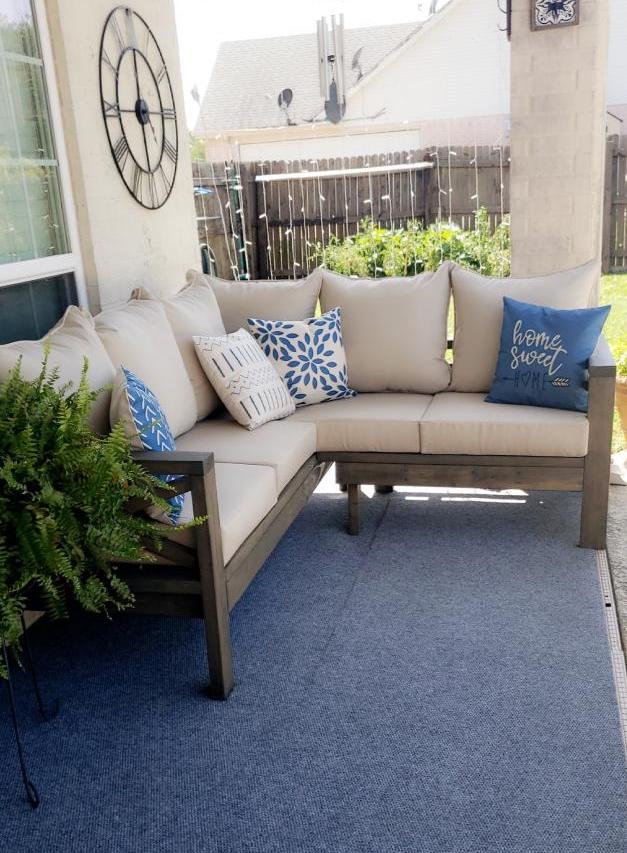
I made this outdoor sofa on a weekend.
