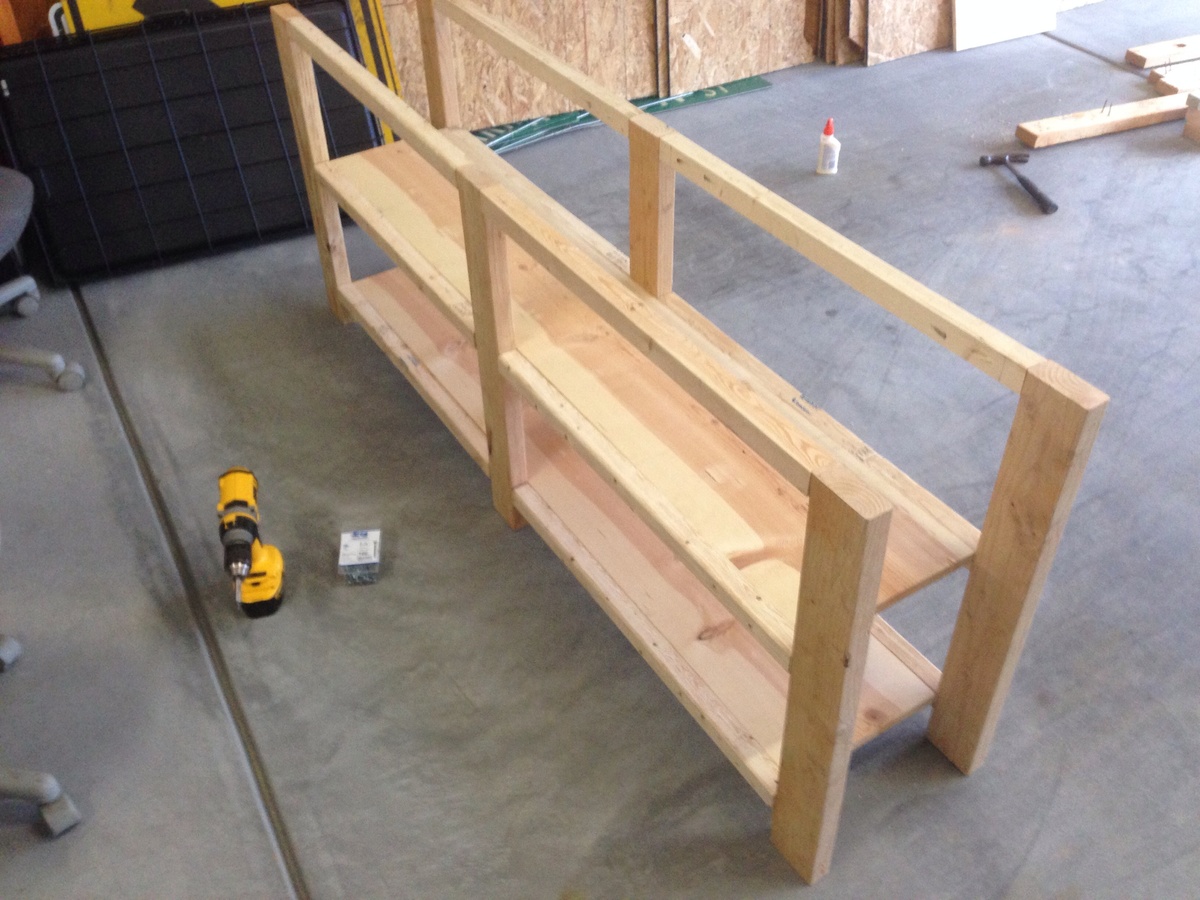
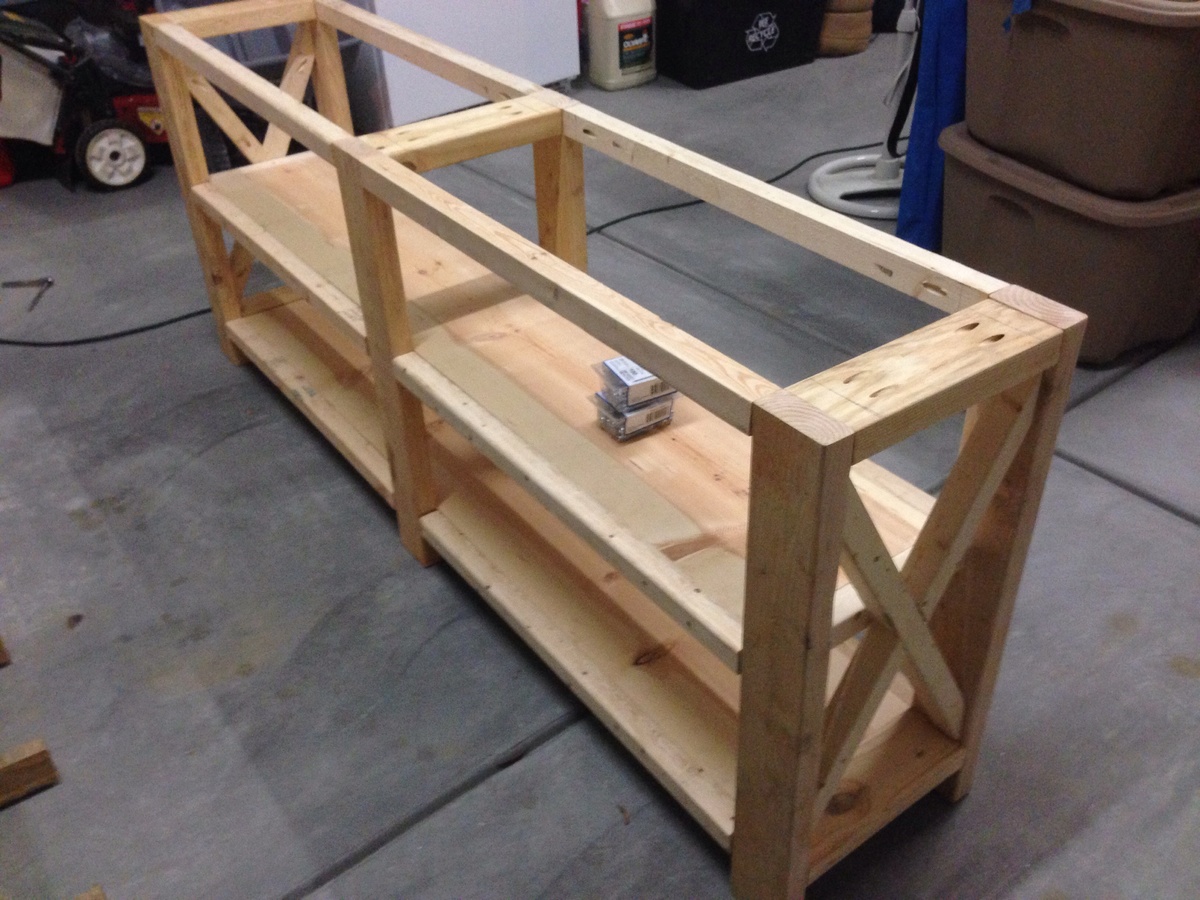
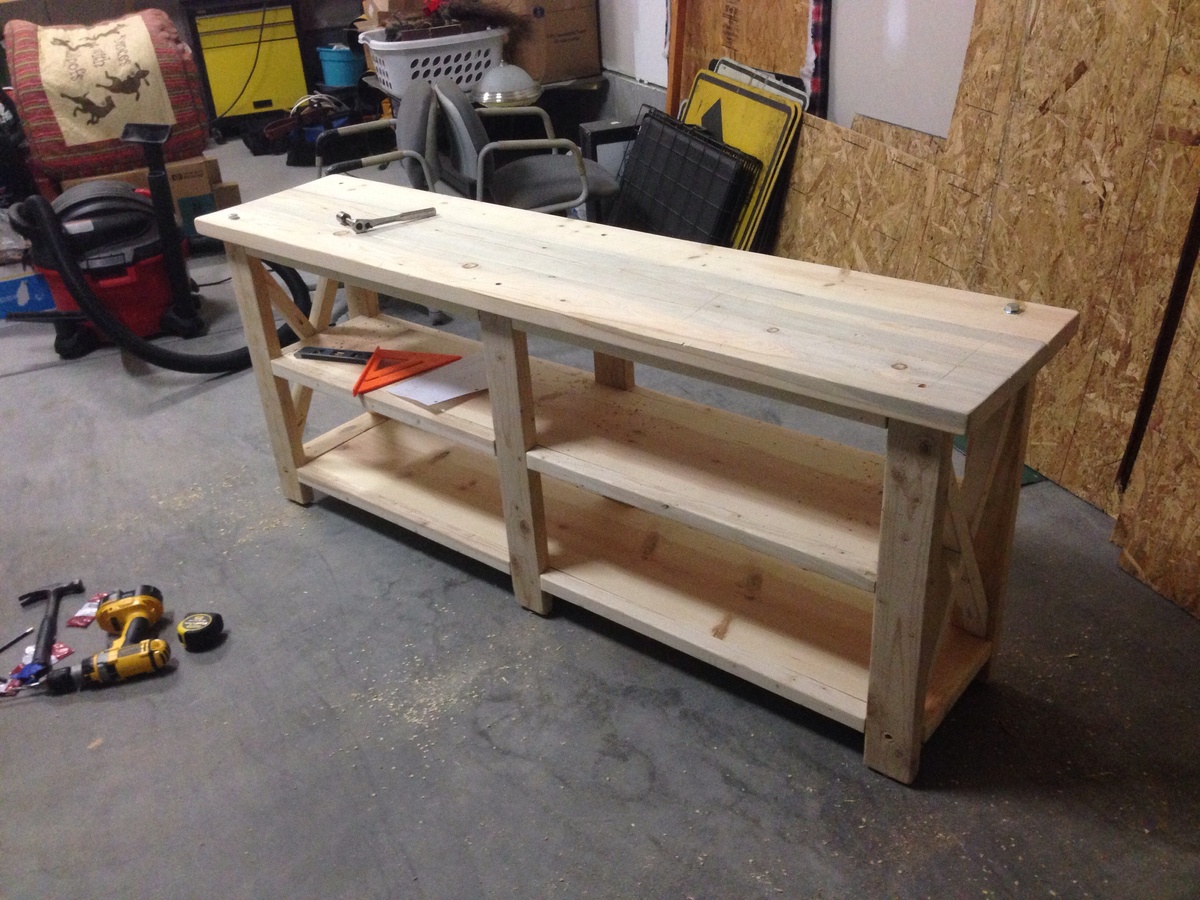
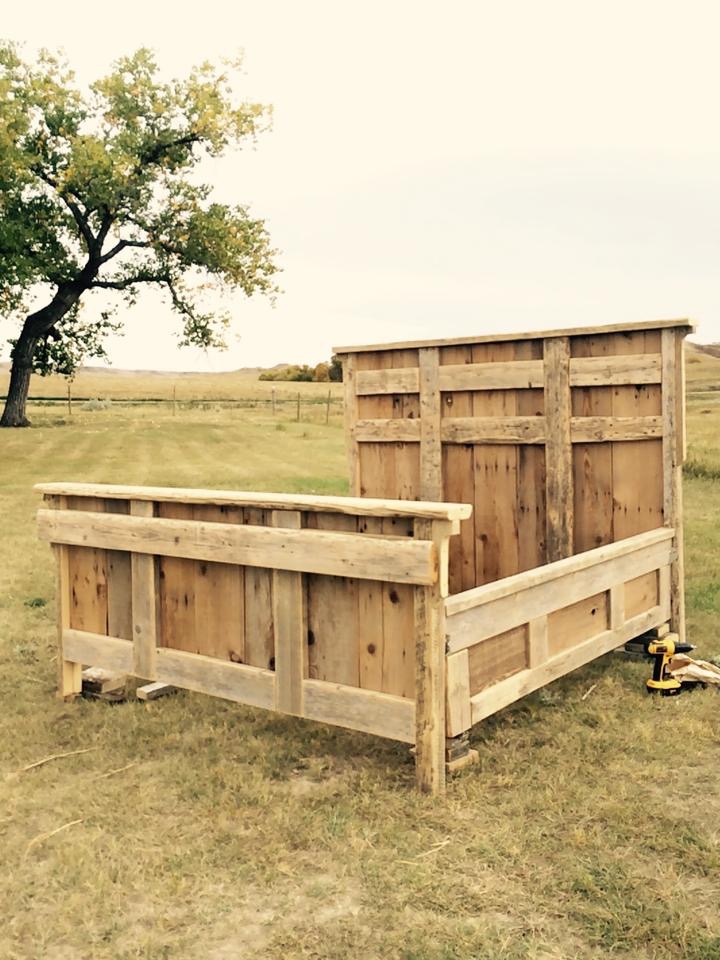
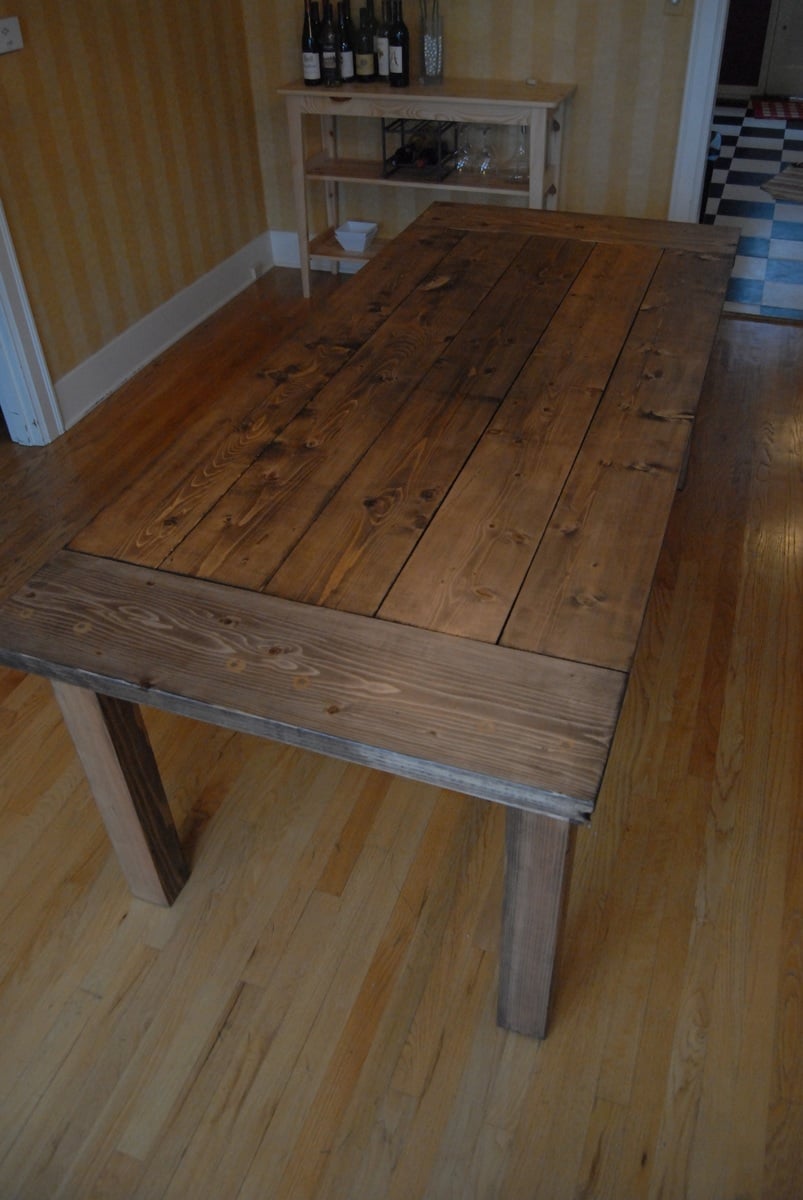
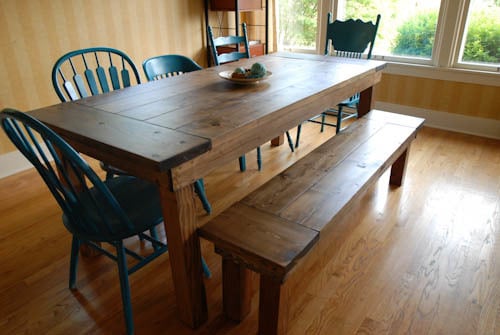
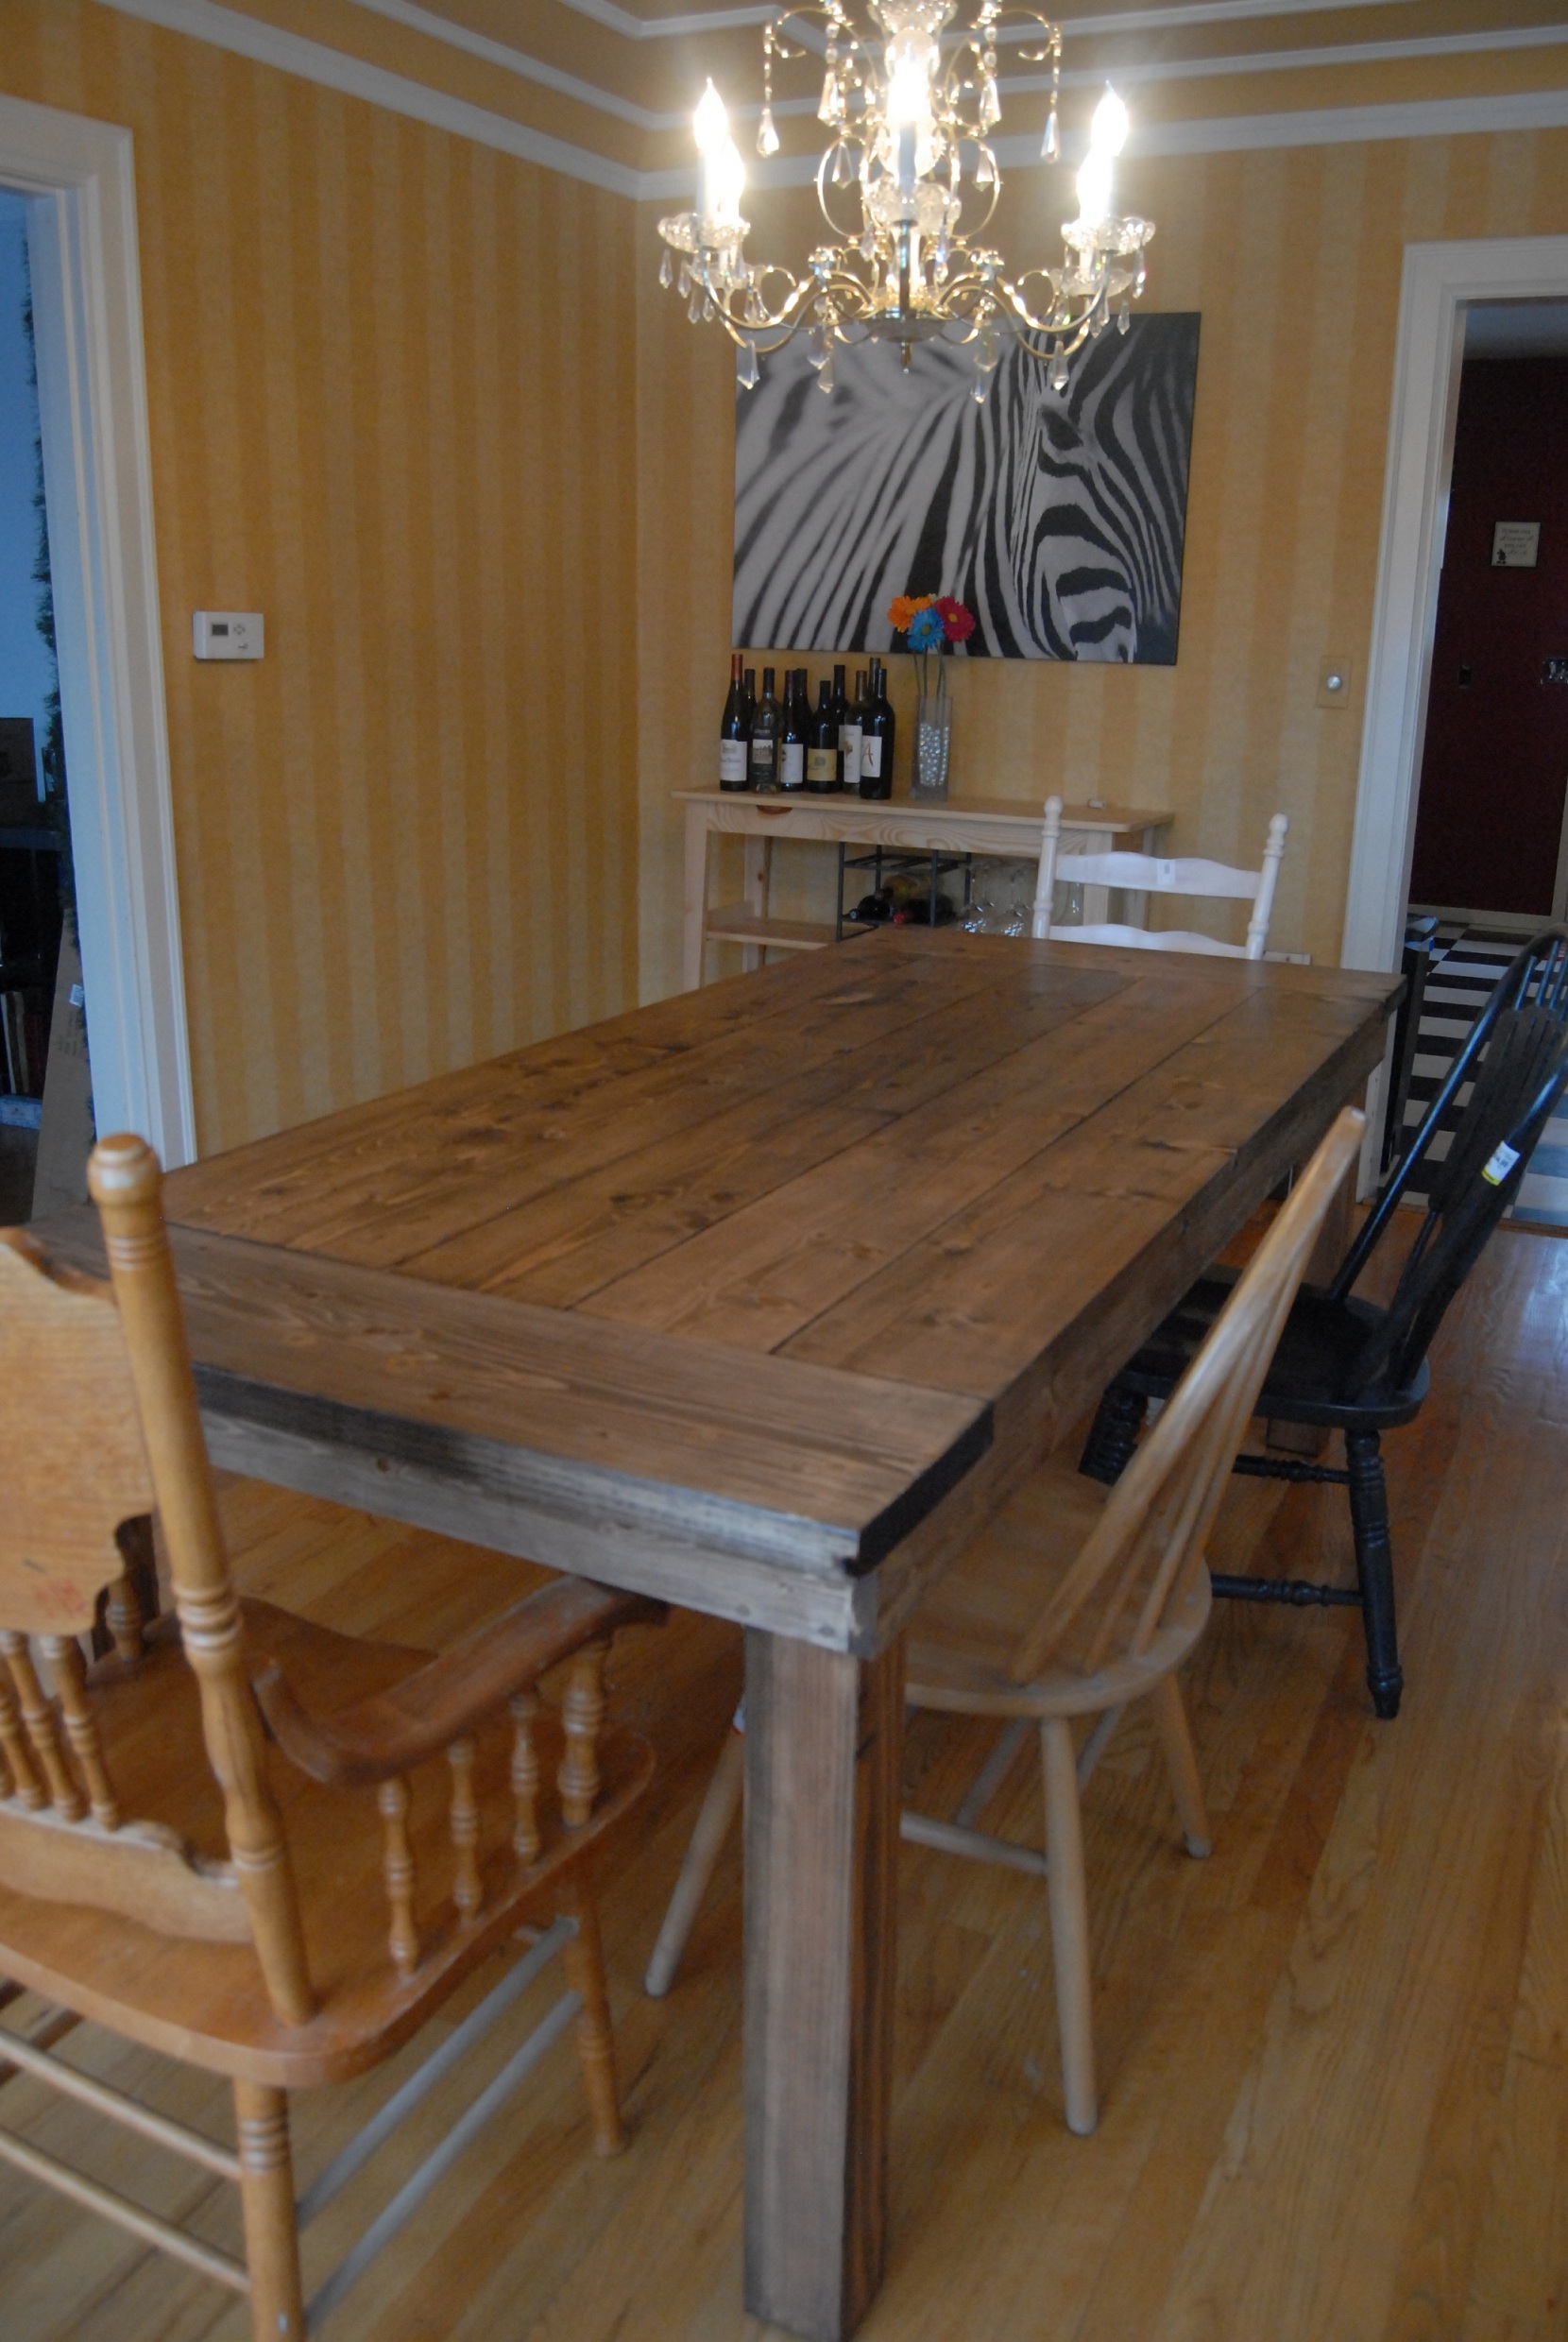
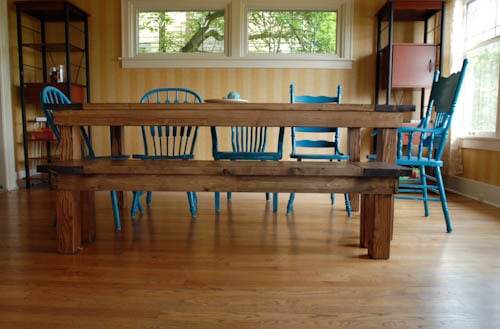
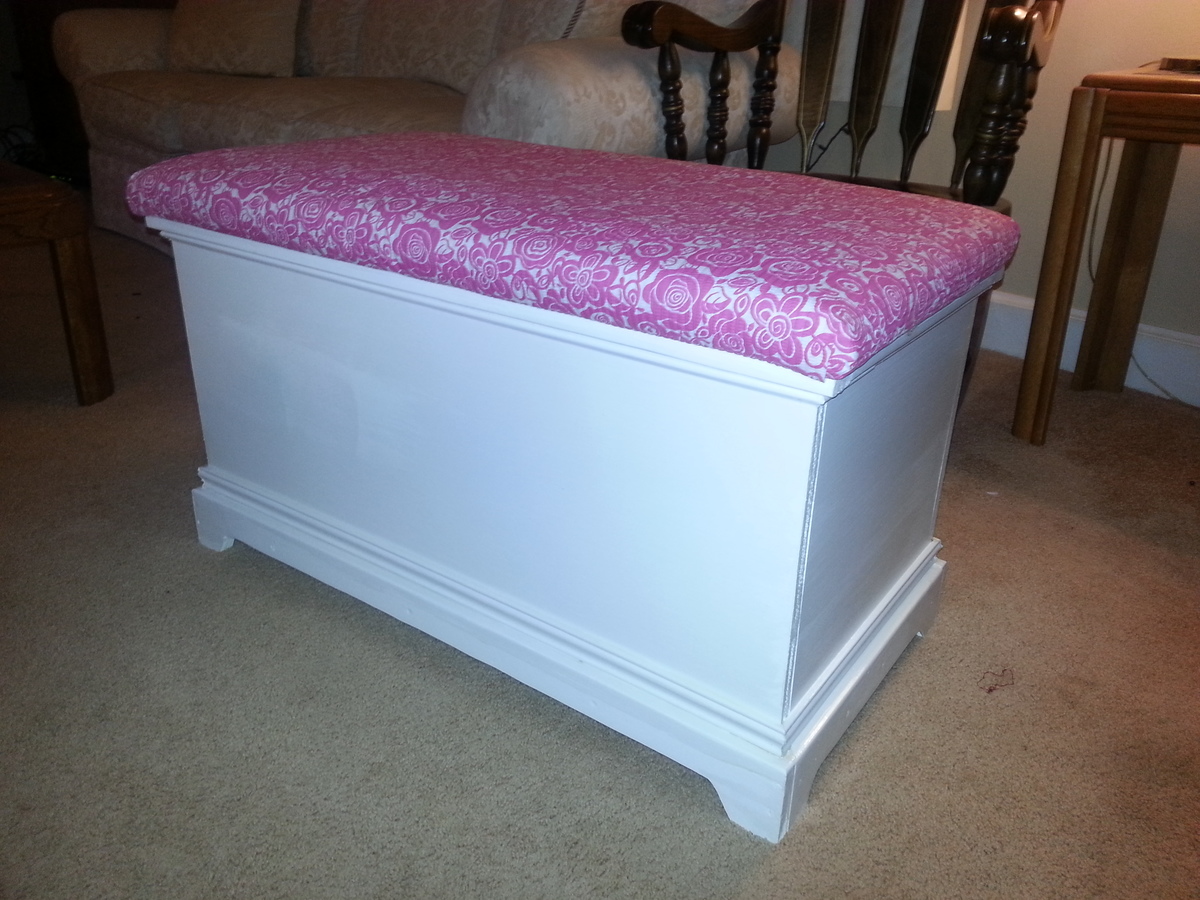
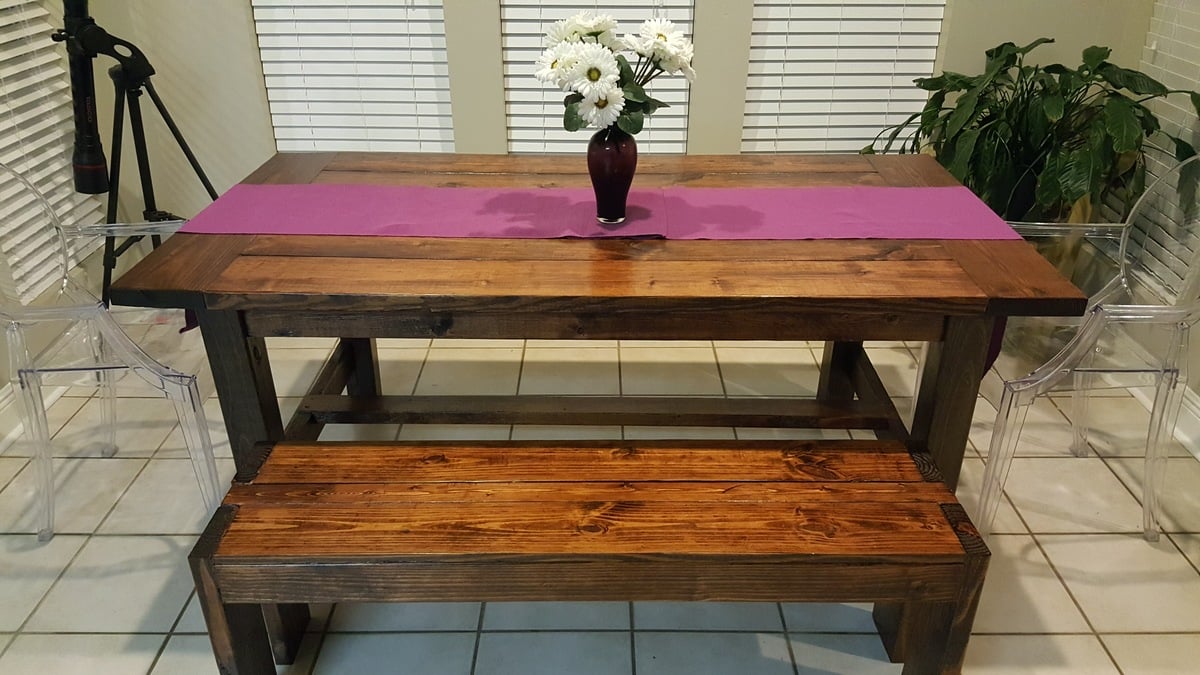
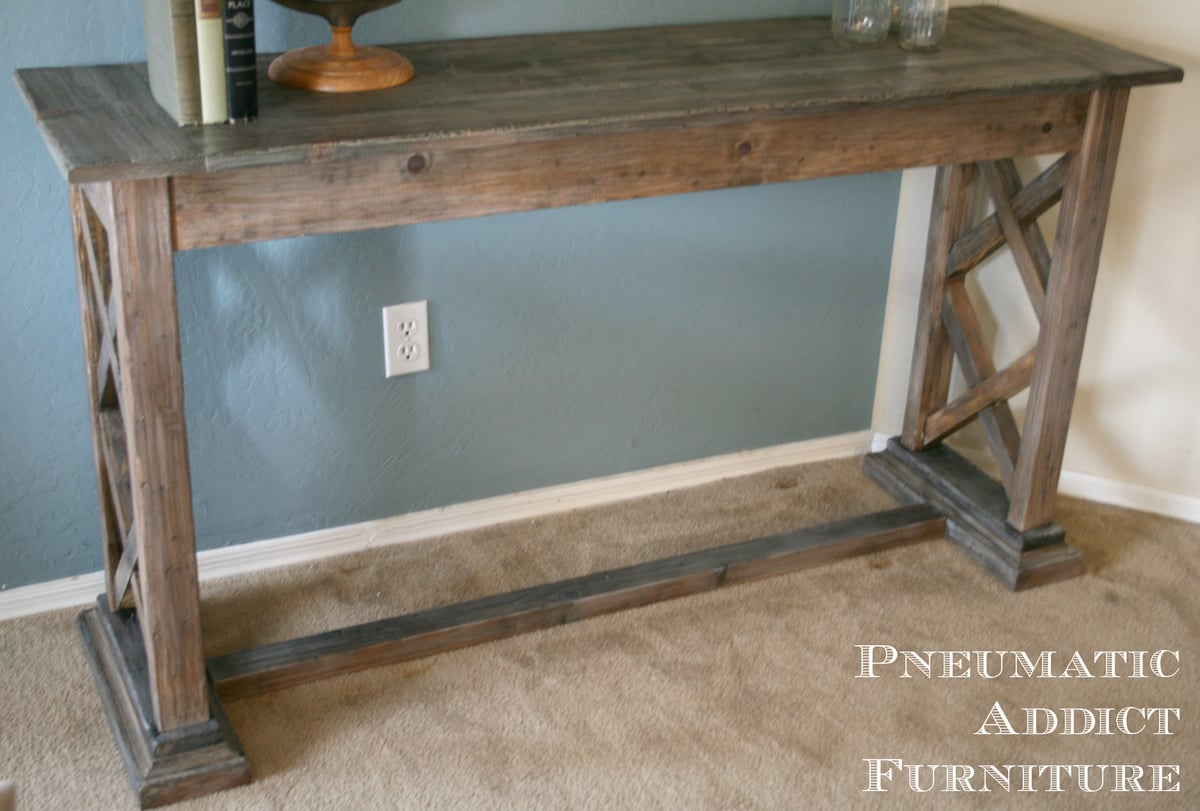
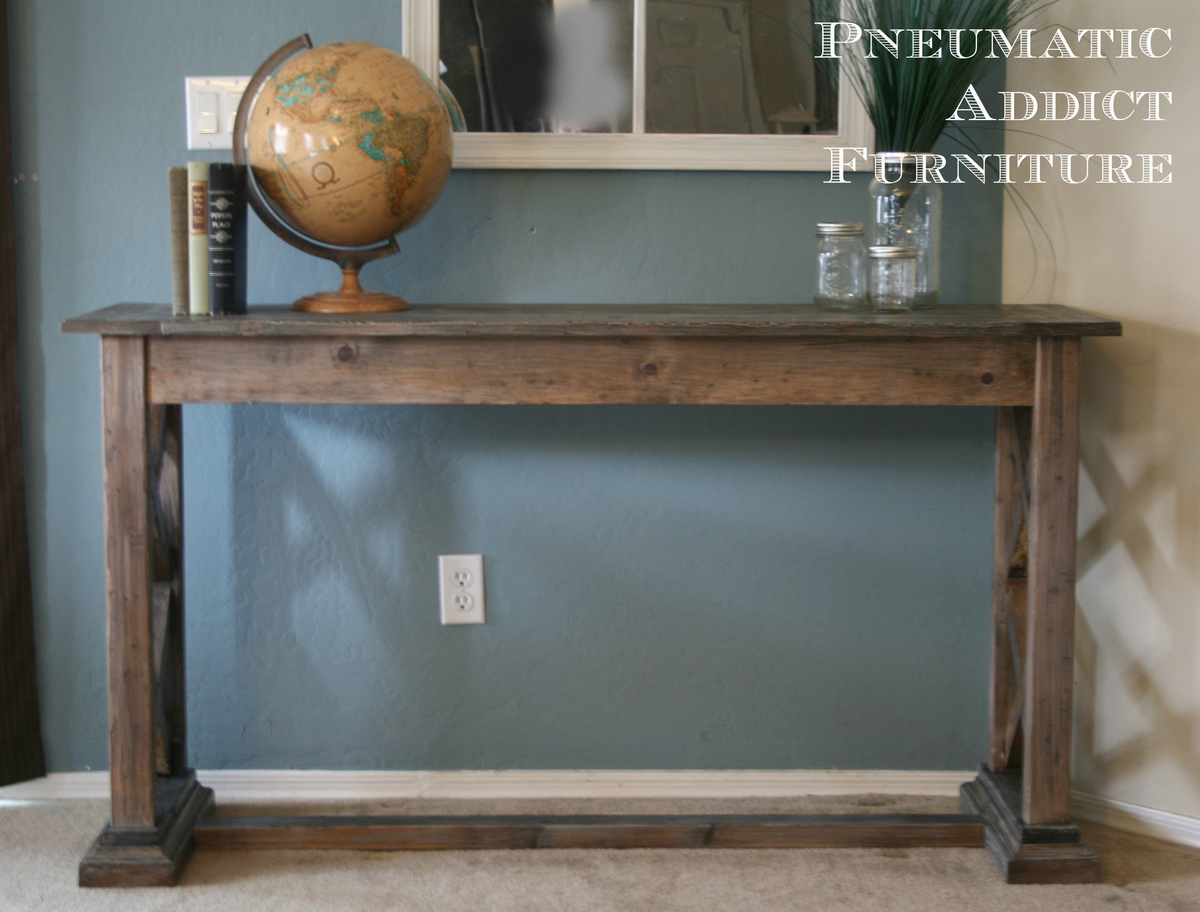
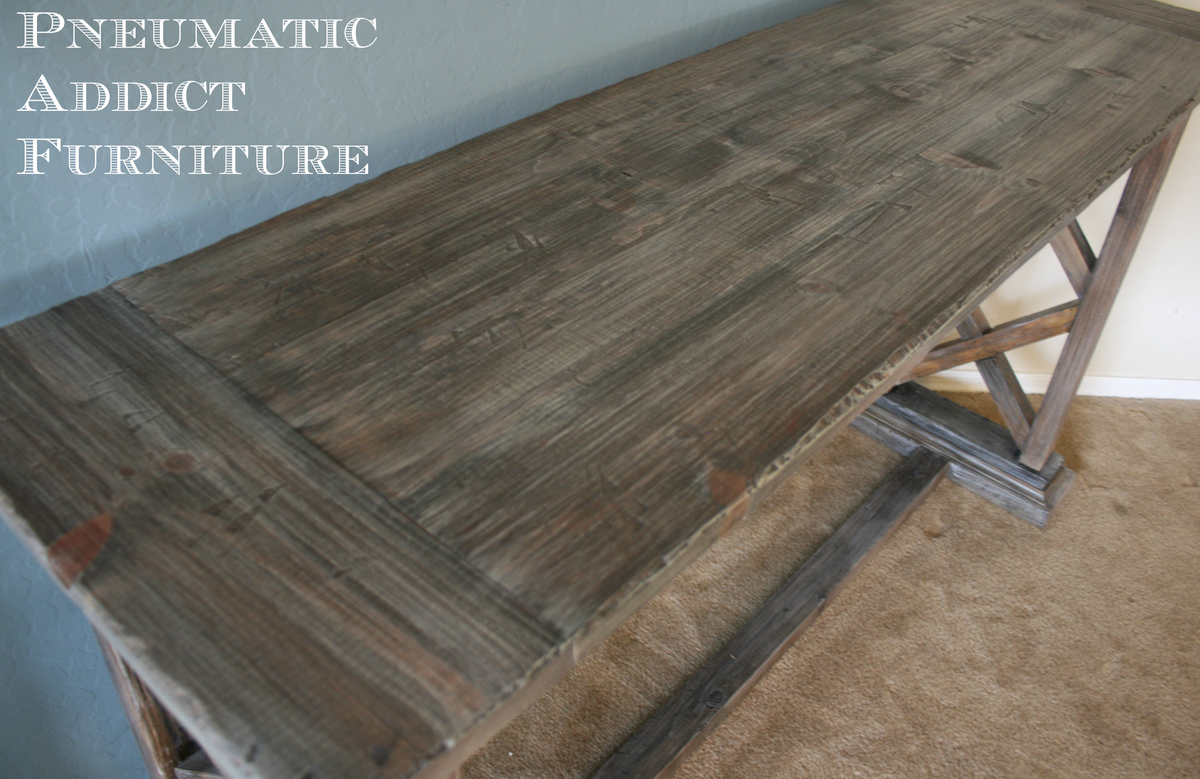
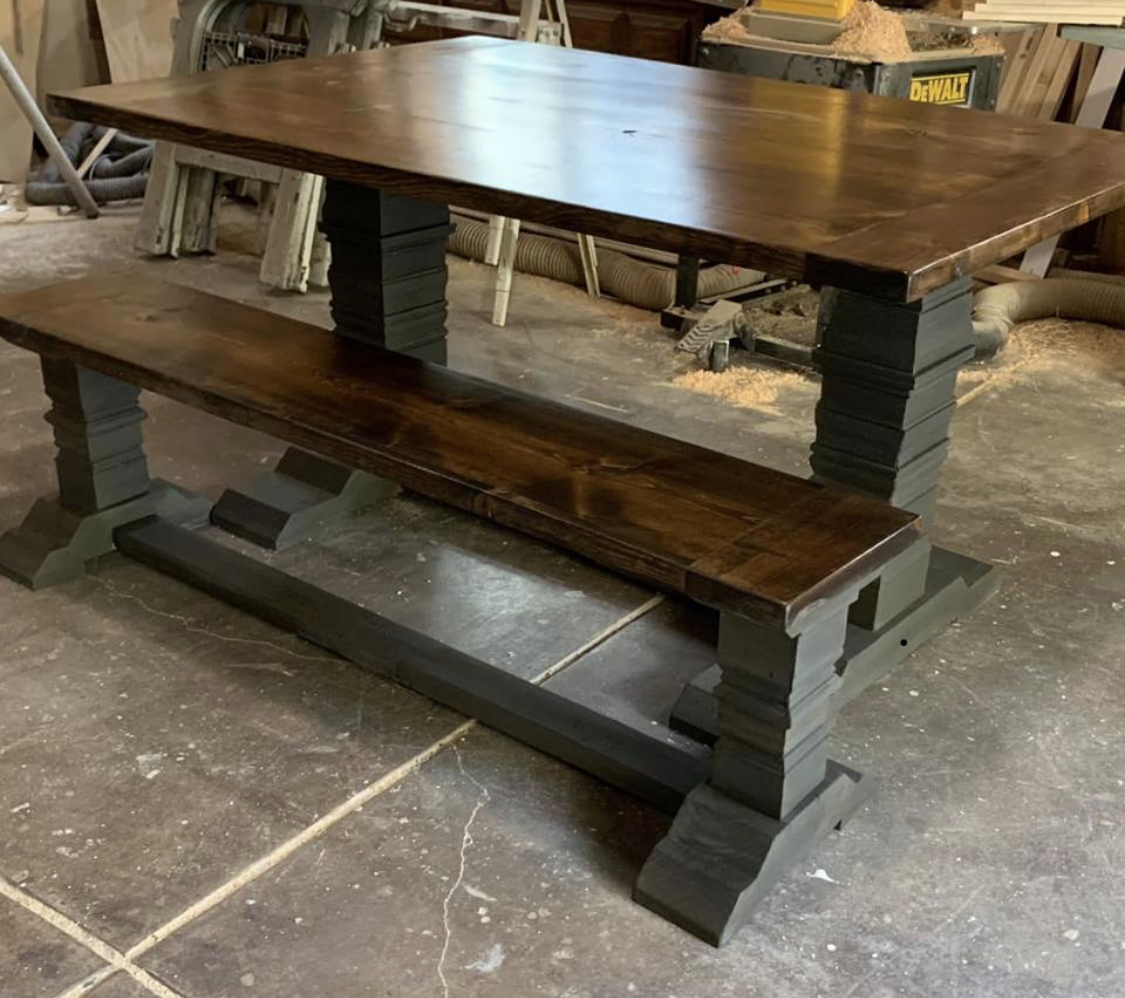
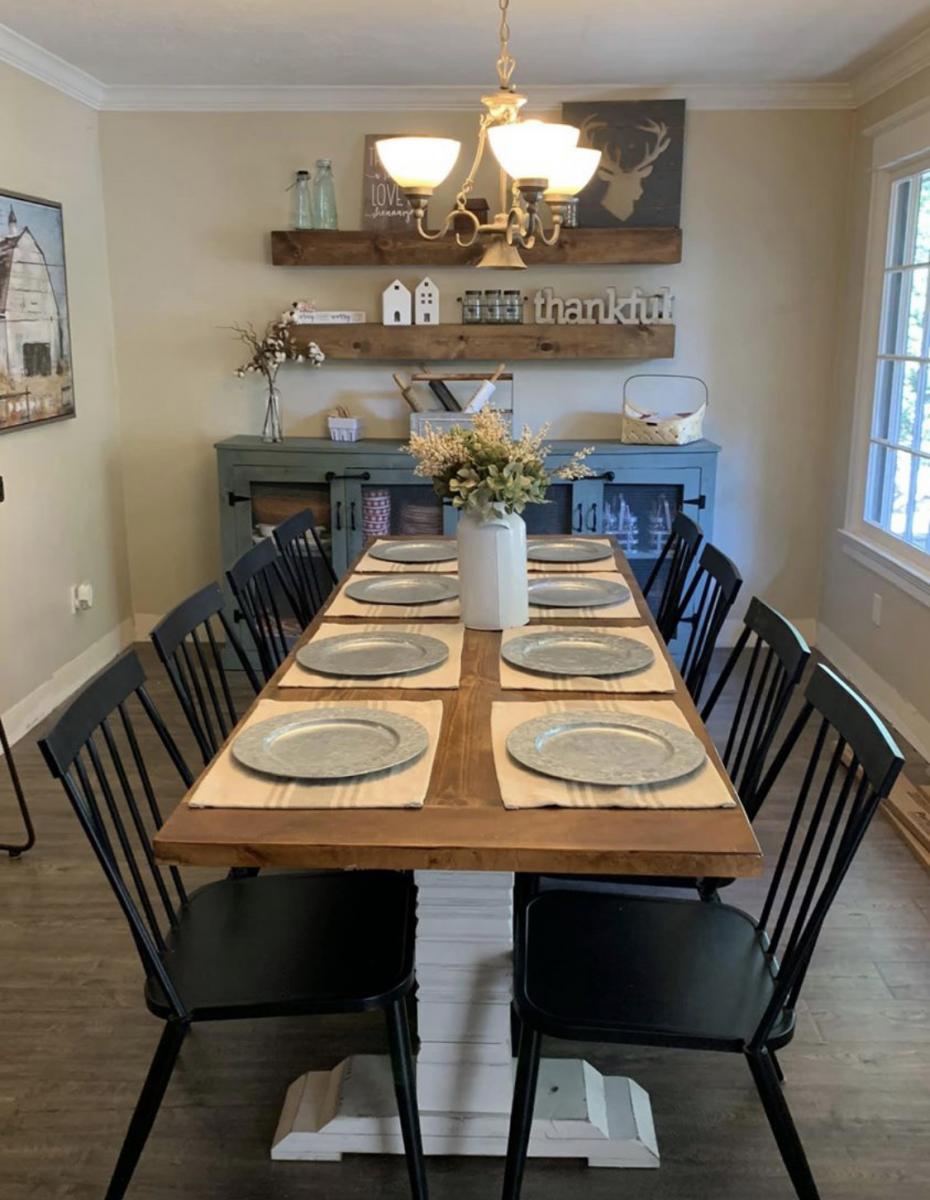
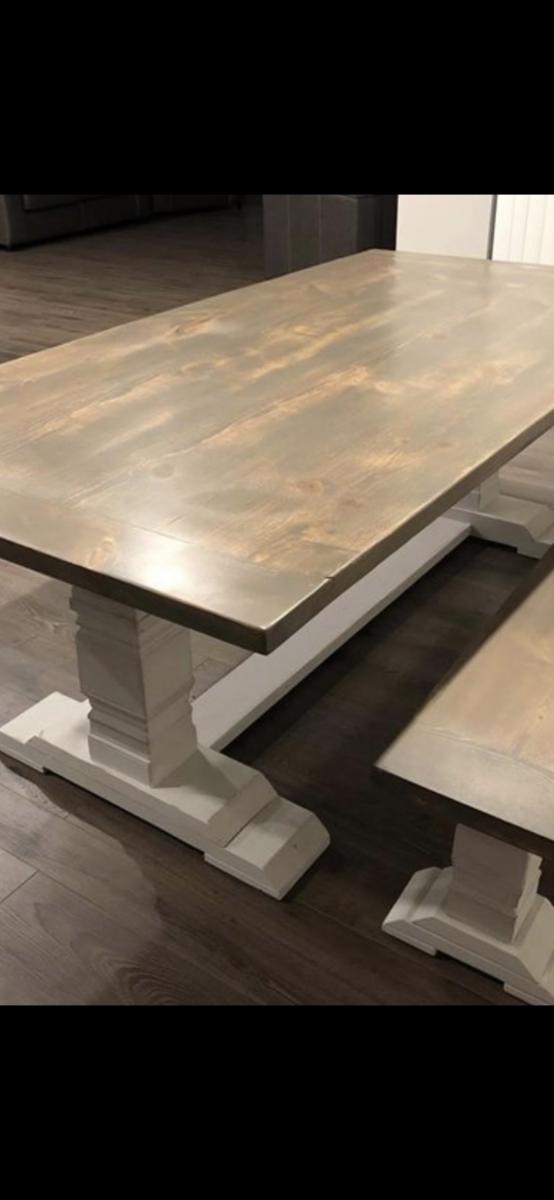
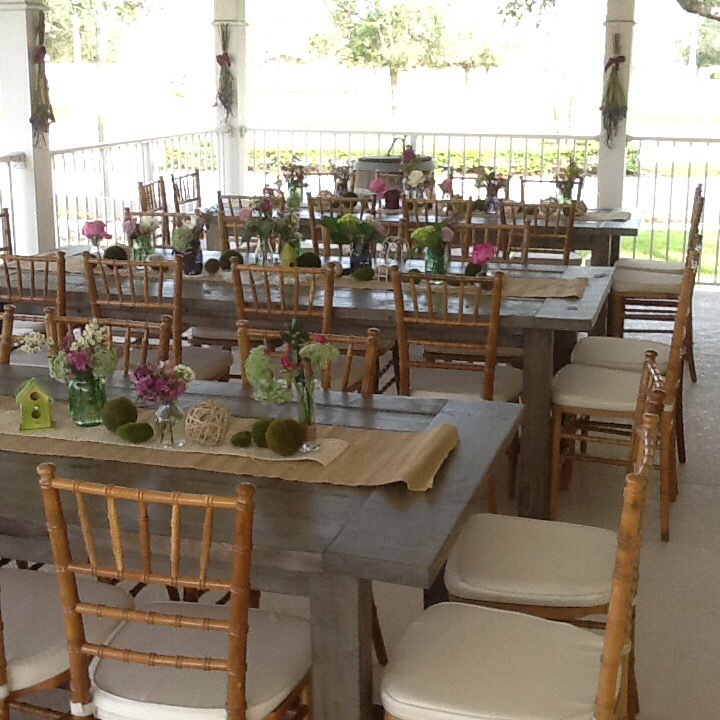
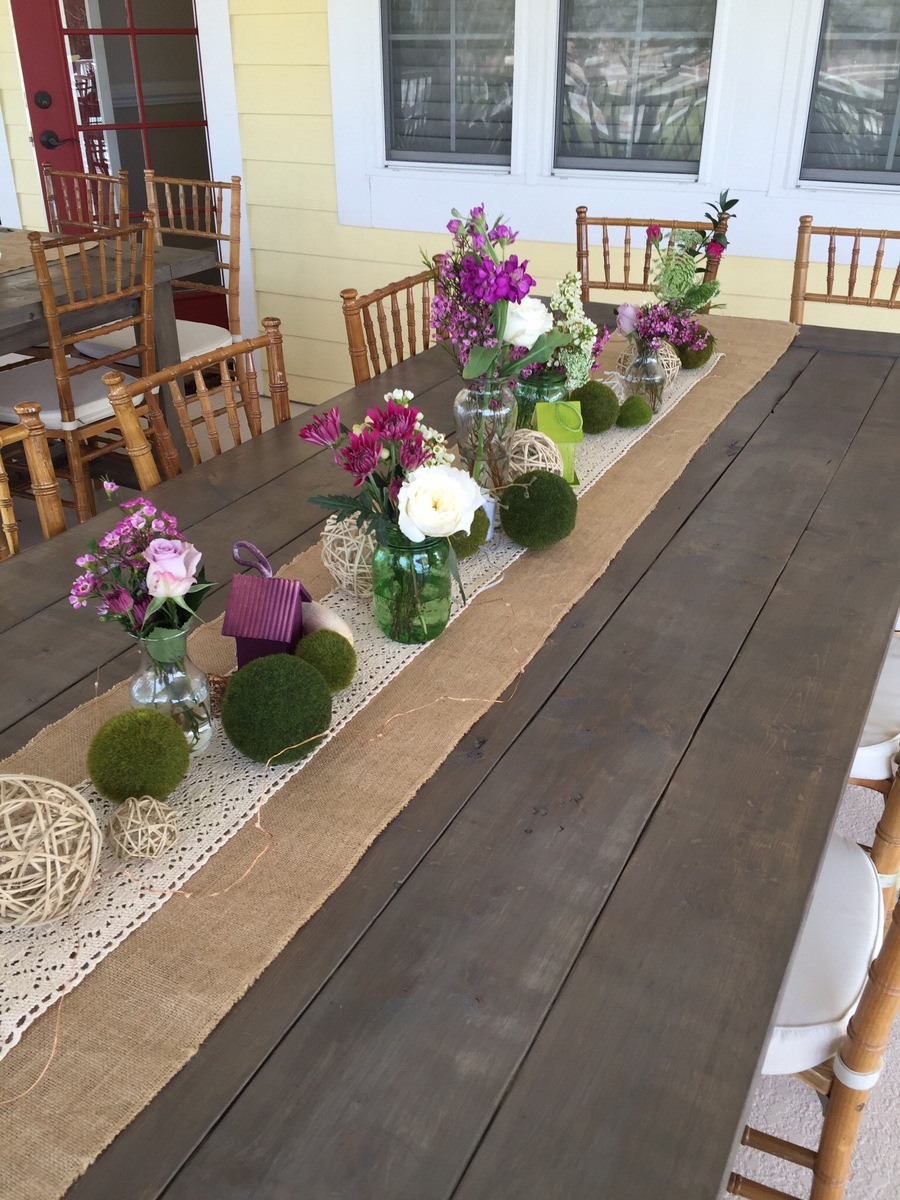
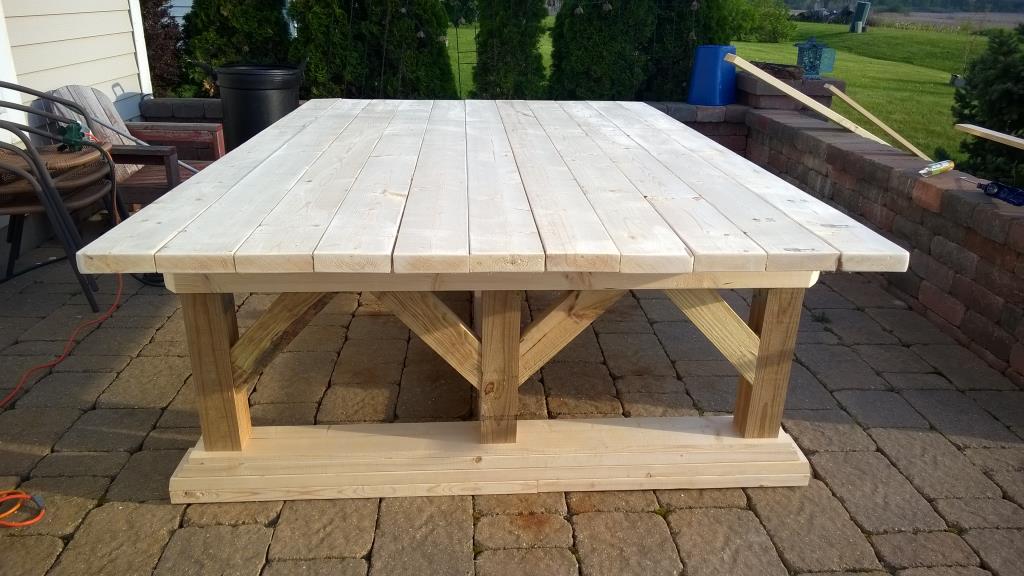
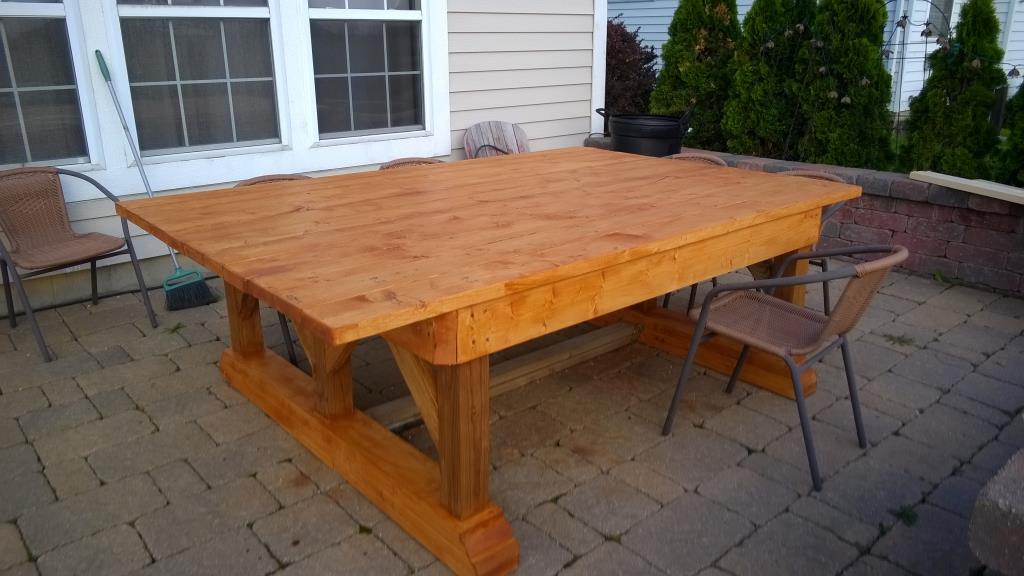
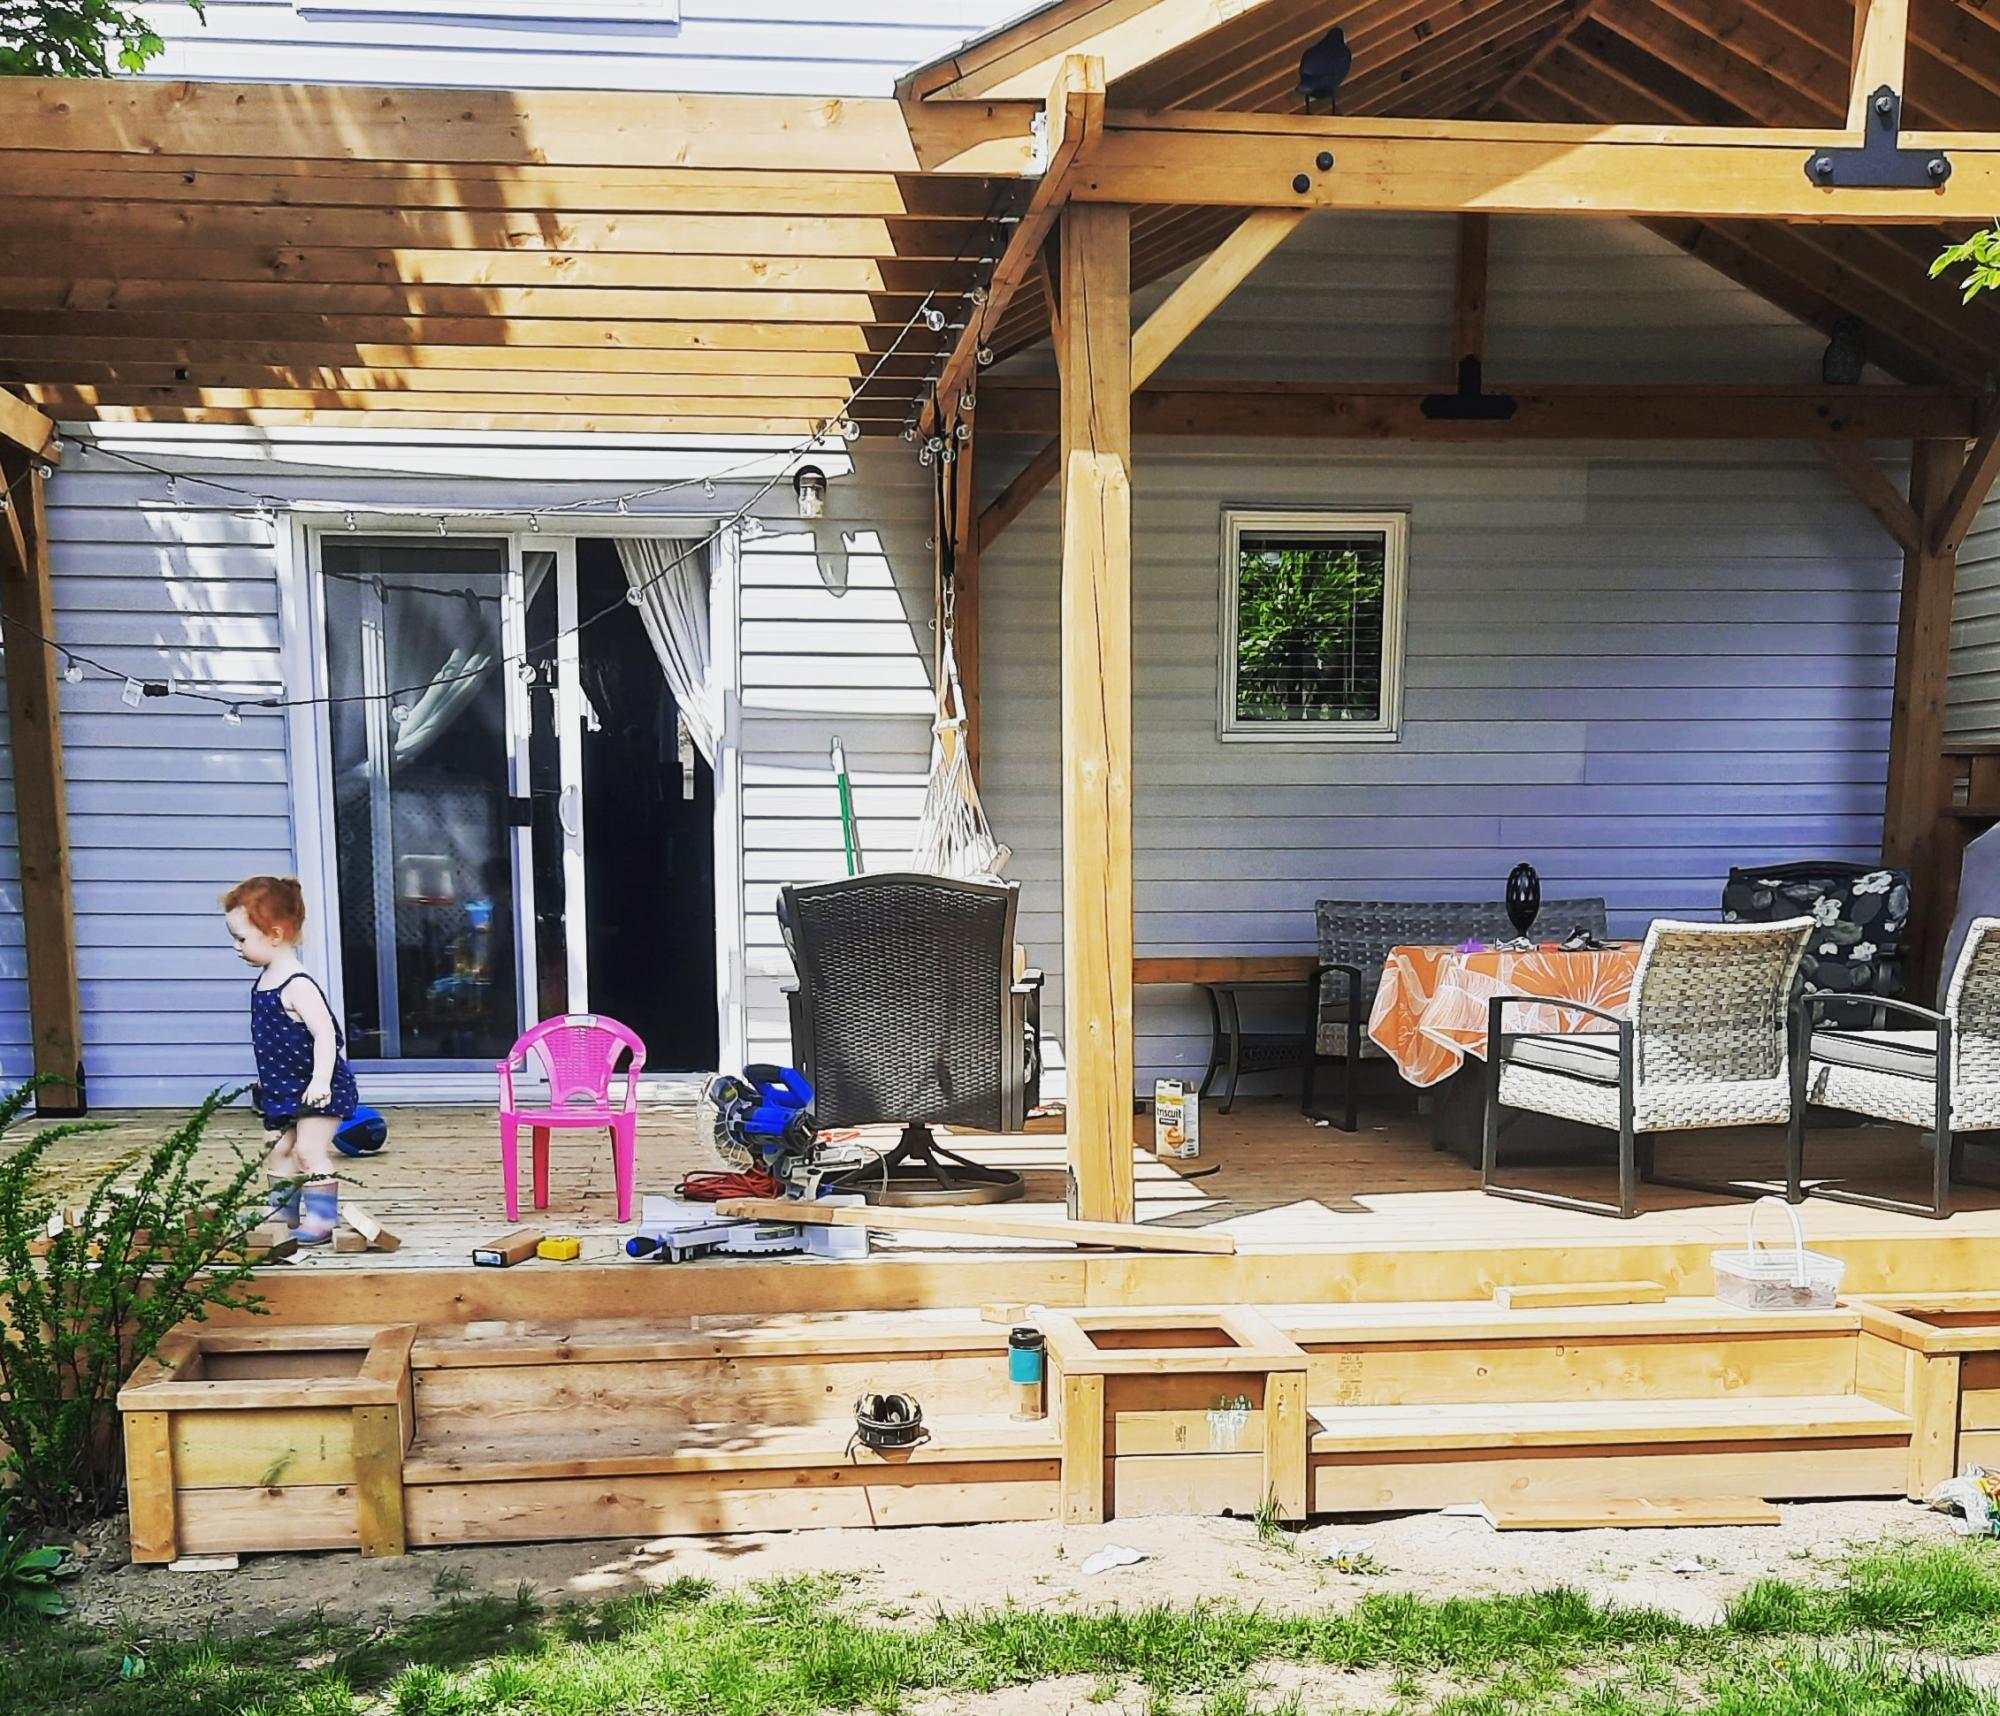
Farmhouse table with benches
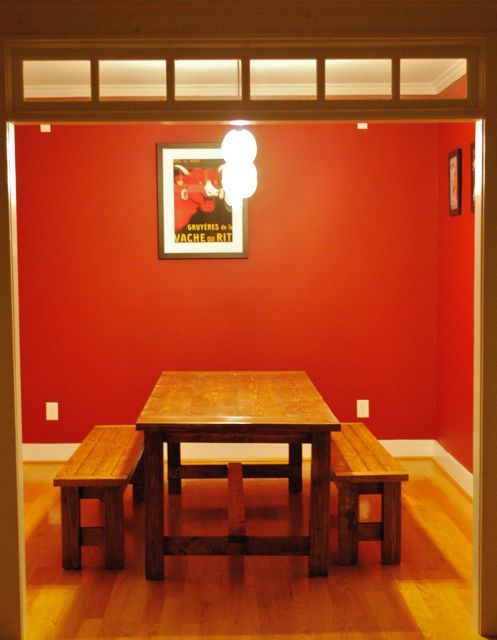
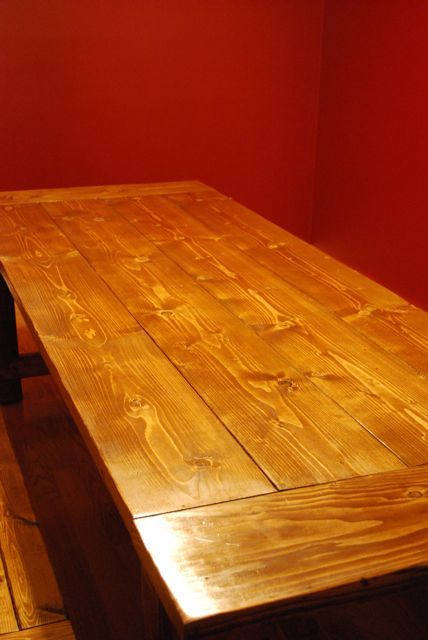
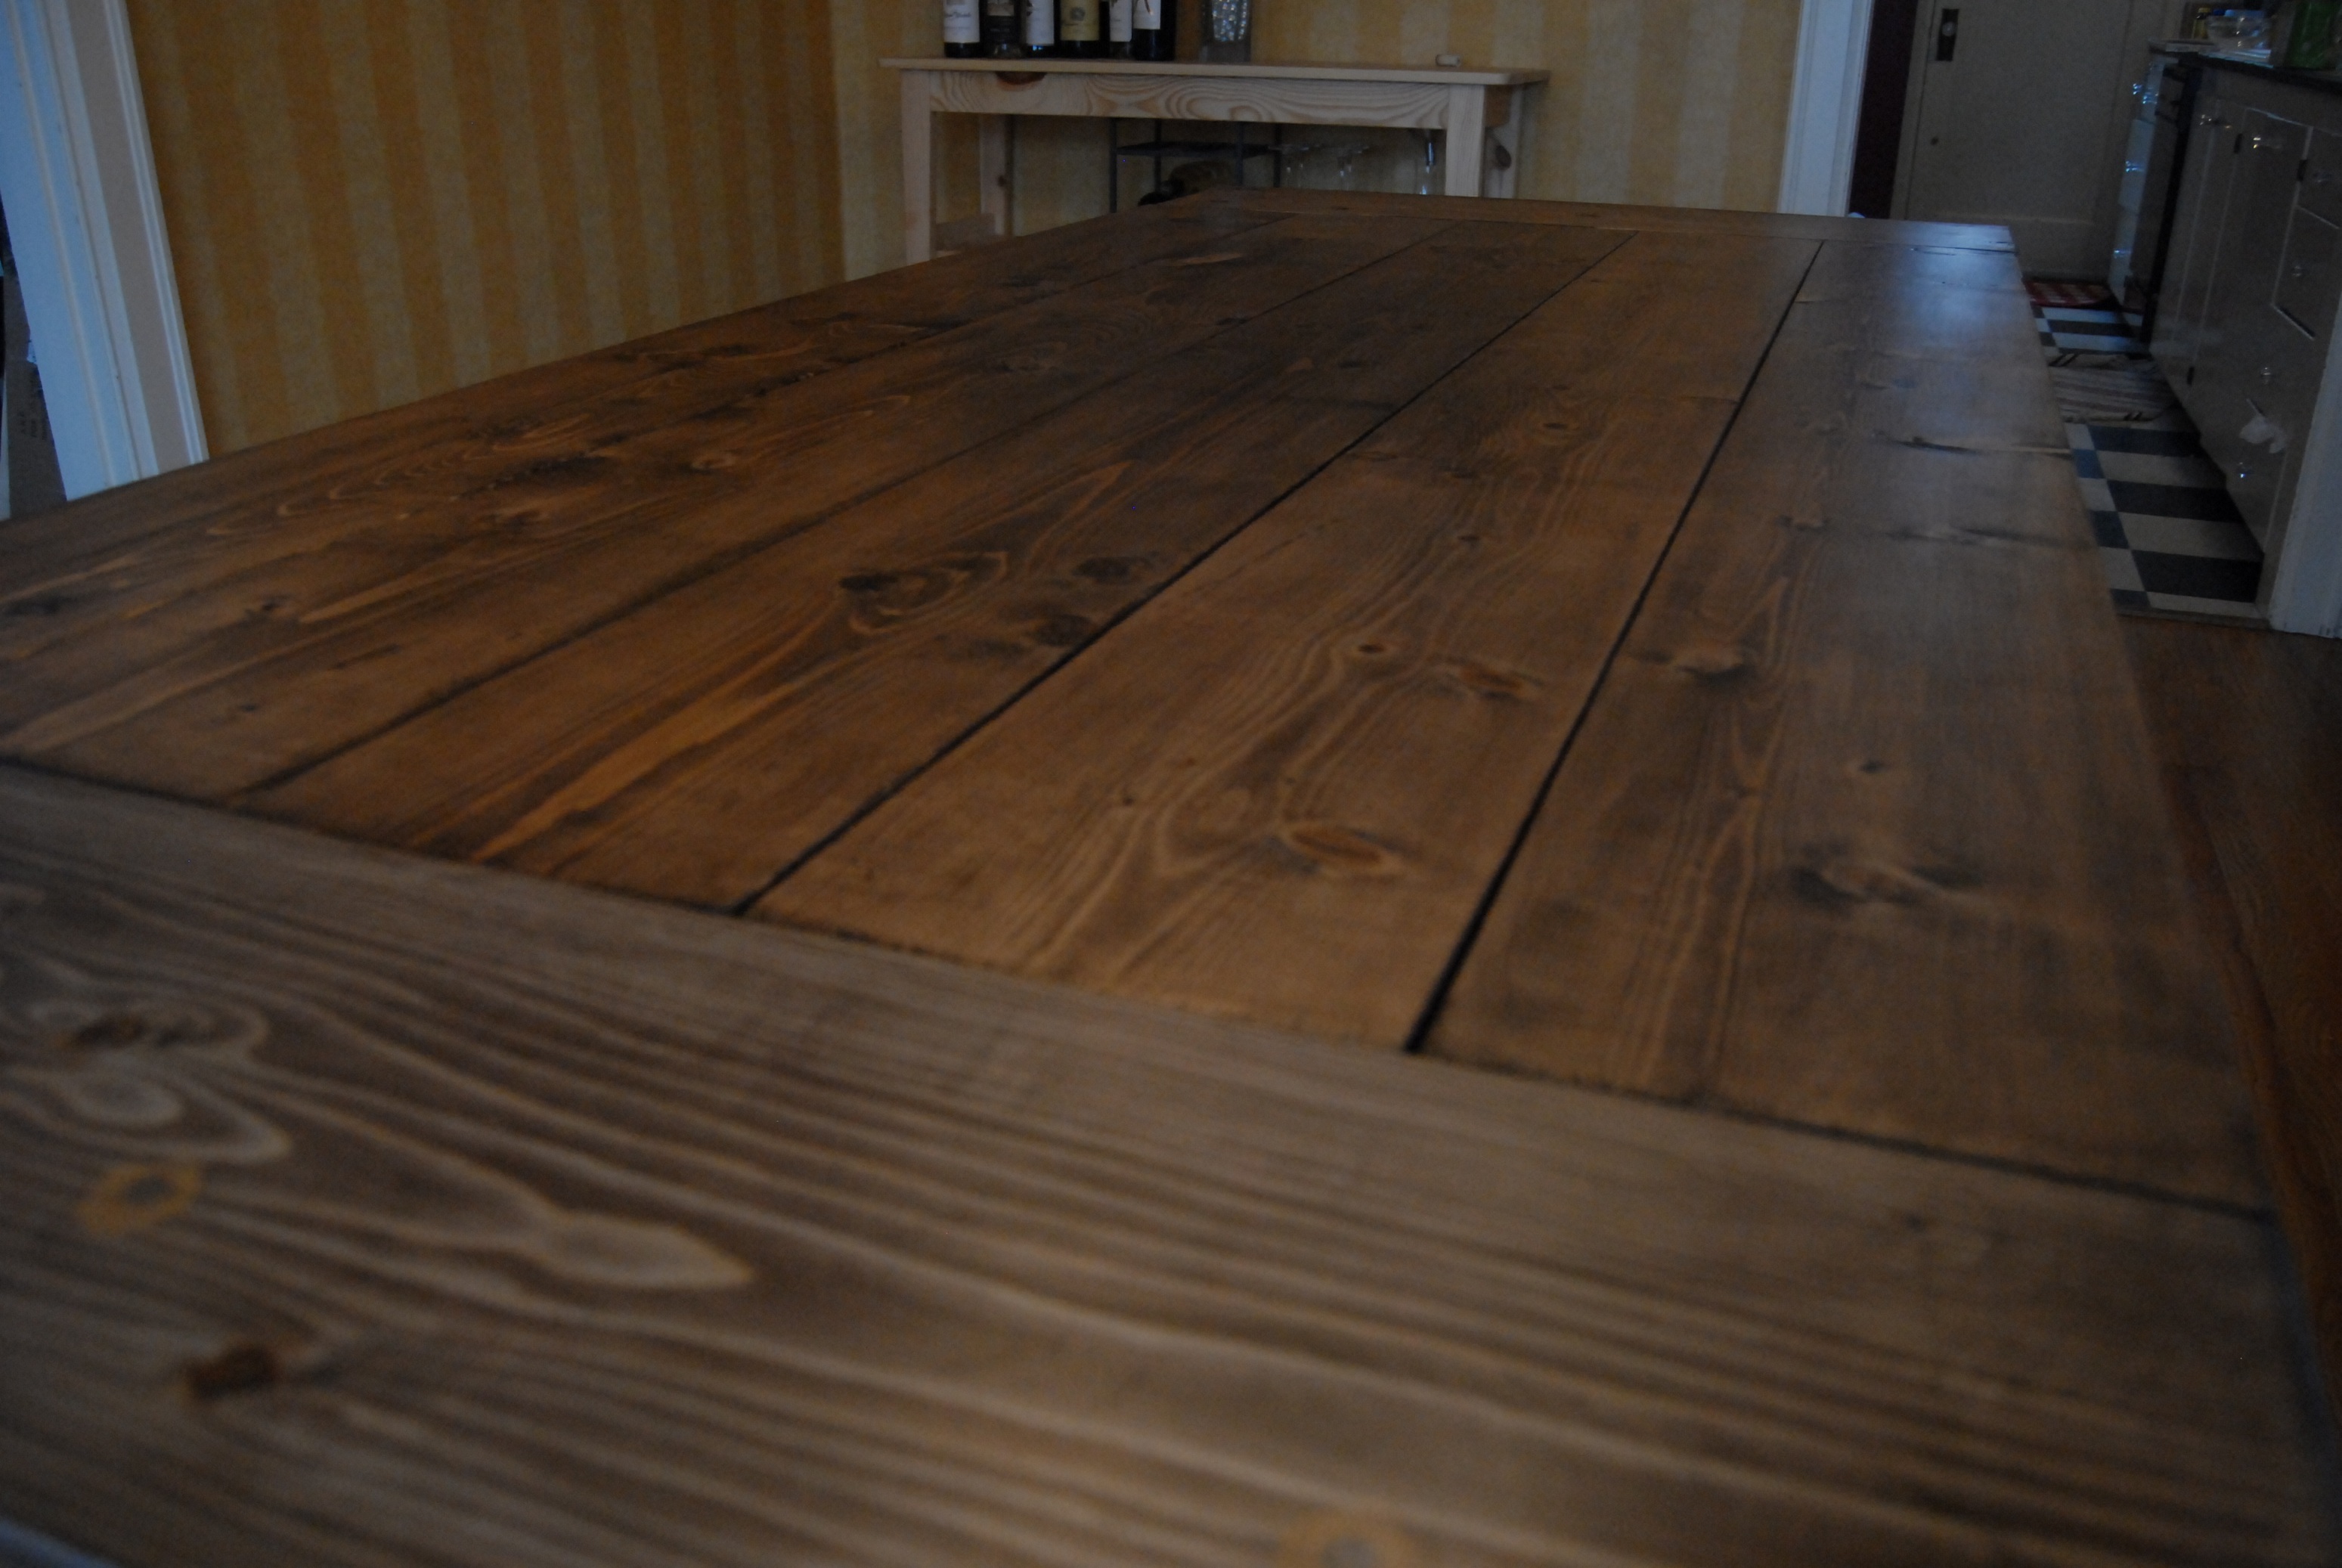
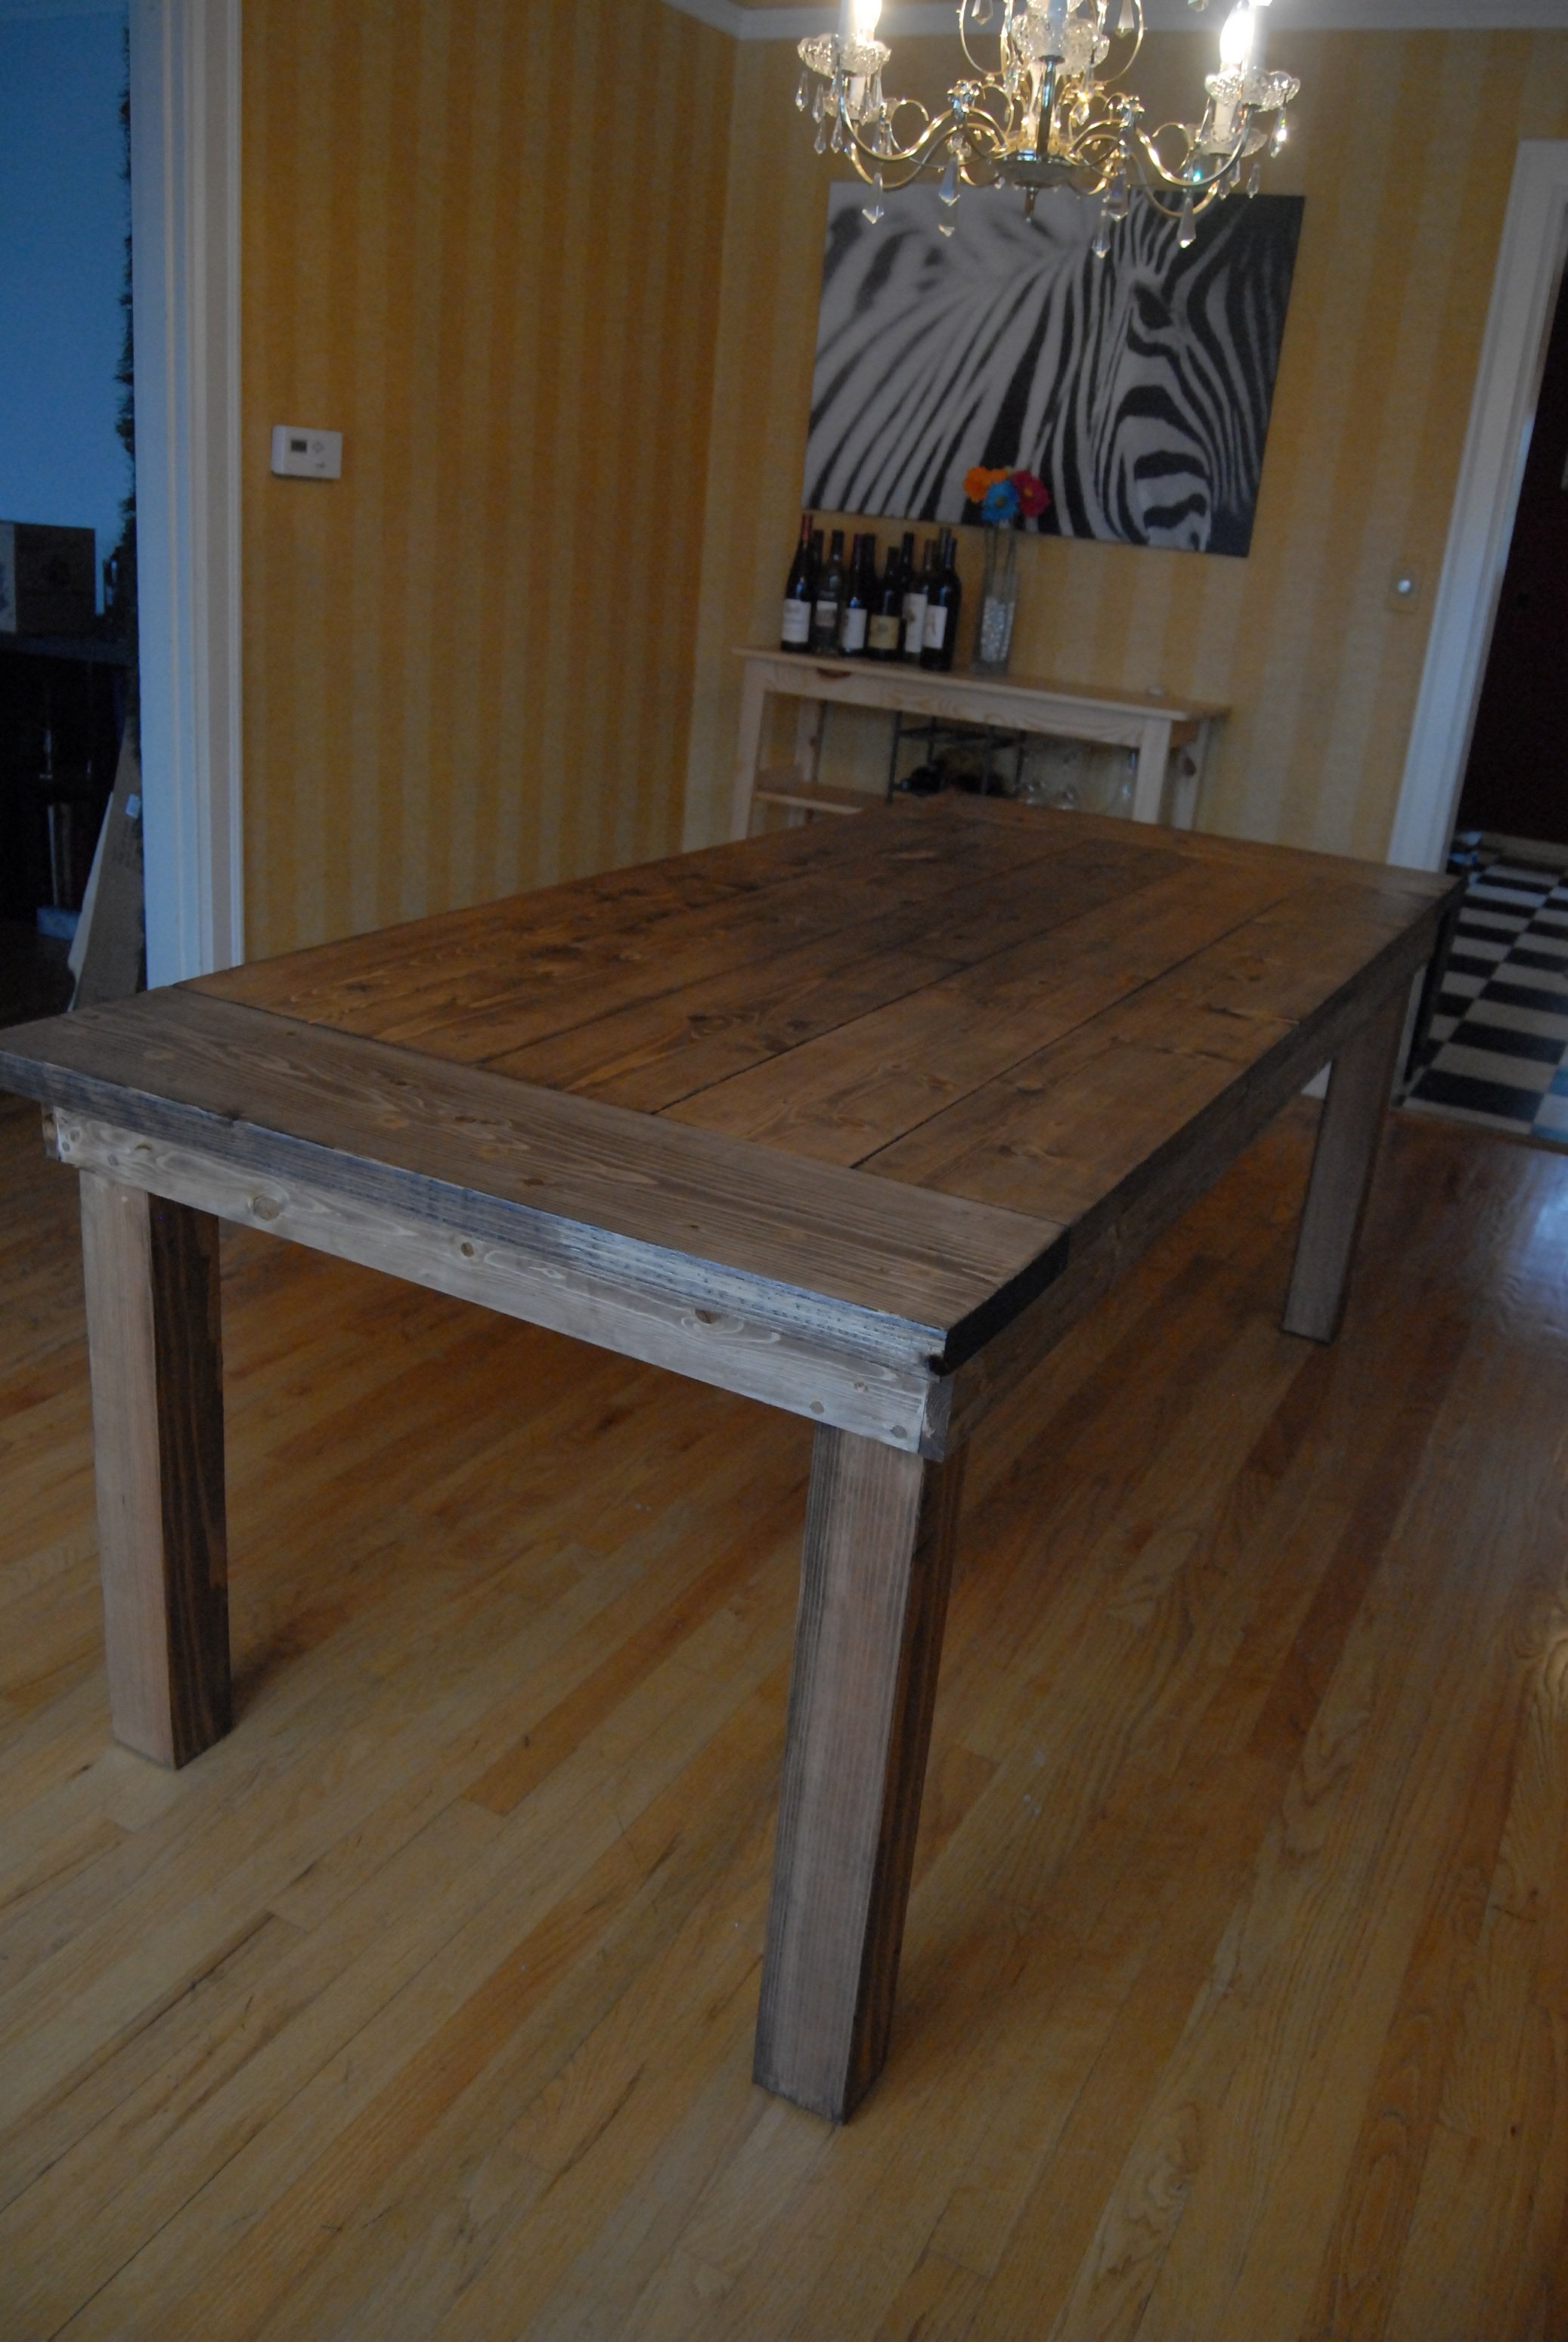
We made this table from the farmhouse table plan but used 4x4s for the legs and slightly wider (2x10) boards for the top.

Built from Plan(s)
Estimated Cost
150
Estimated Time Investment
Weekend Project (10-20 Hours)
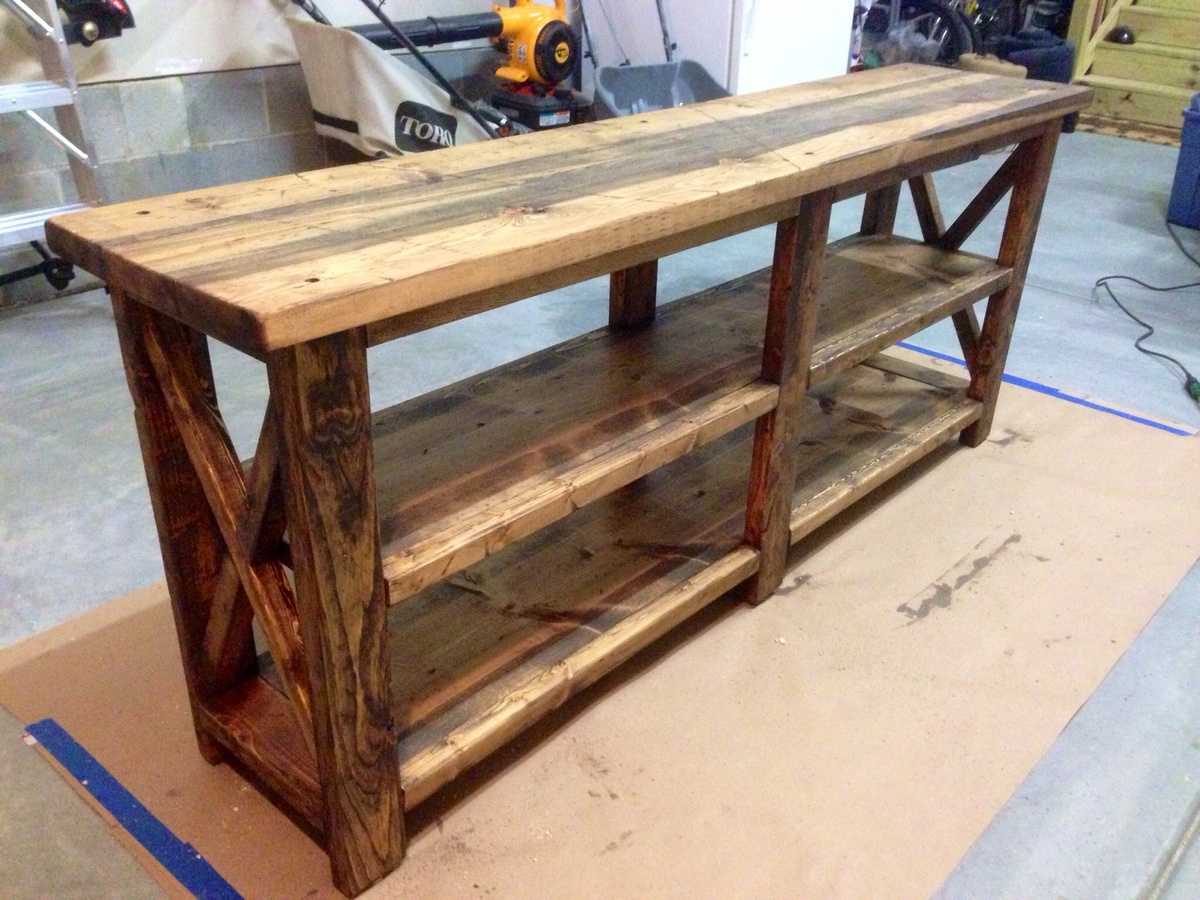
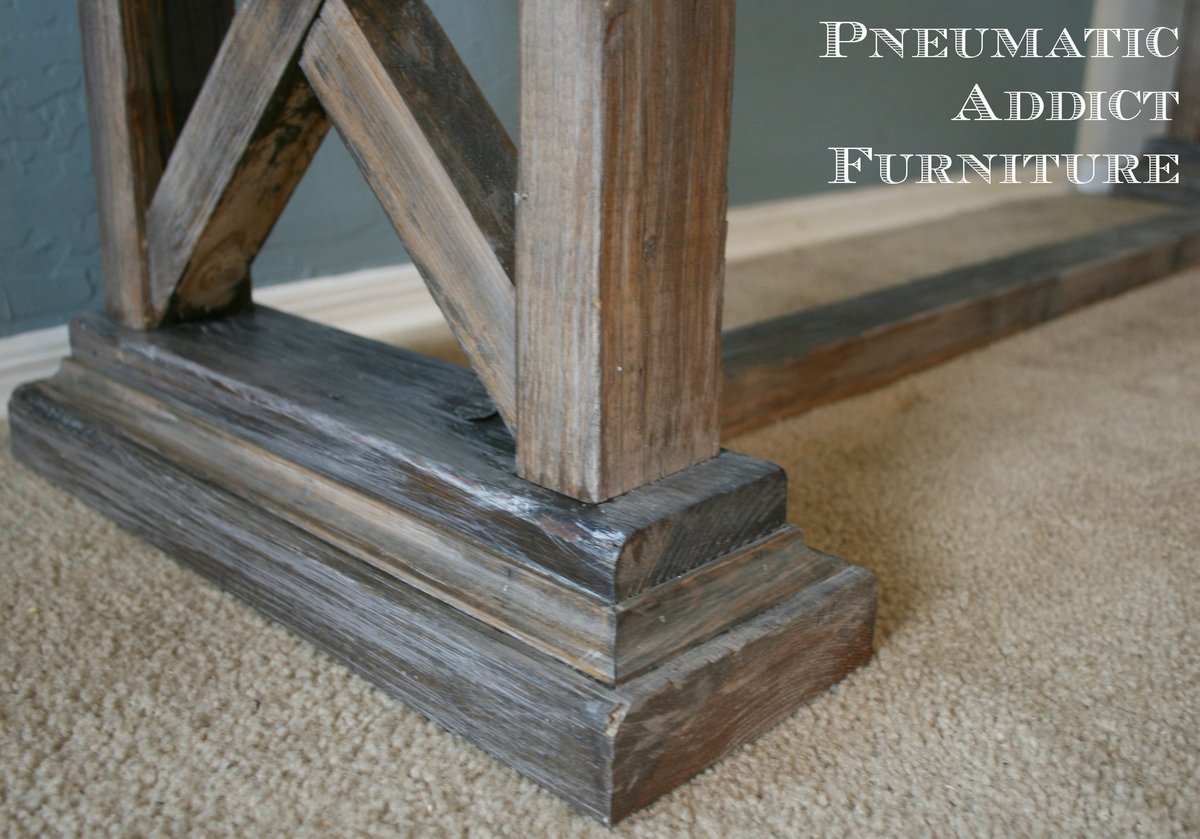
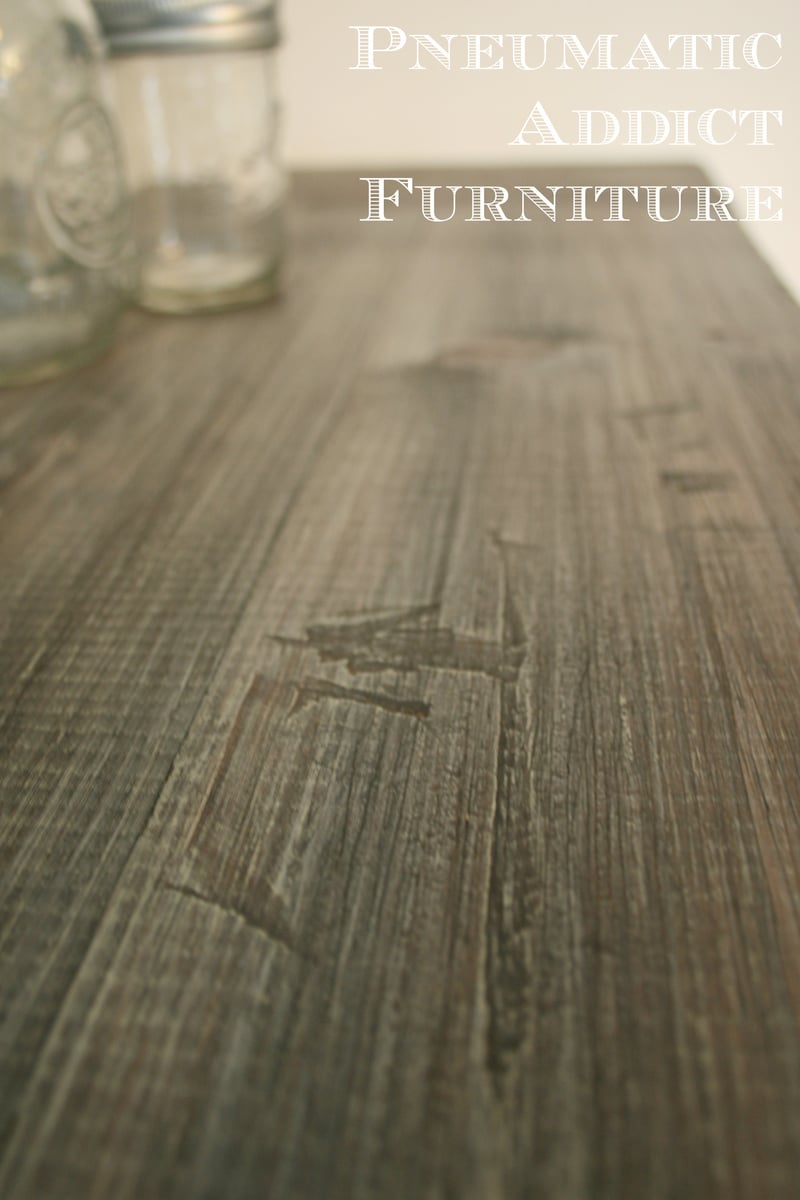
Finish Used
Minwax Provincial 211 and 2 coats of poly.
Recommended Skill Level
Beginner


Comments
Martha Jones DW
Sun, 02/19/2012 - 23:26
That is Lovely.
That is Lovely.
Pam the Goatherd
Mon, 02/20/2012 - 06:55
That turned out very nice!
That turned out very nice!