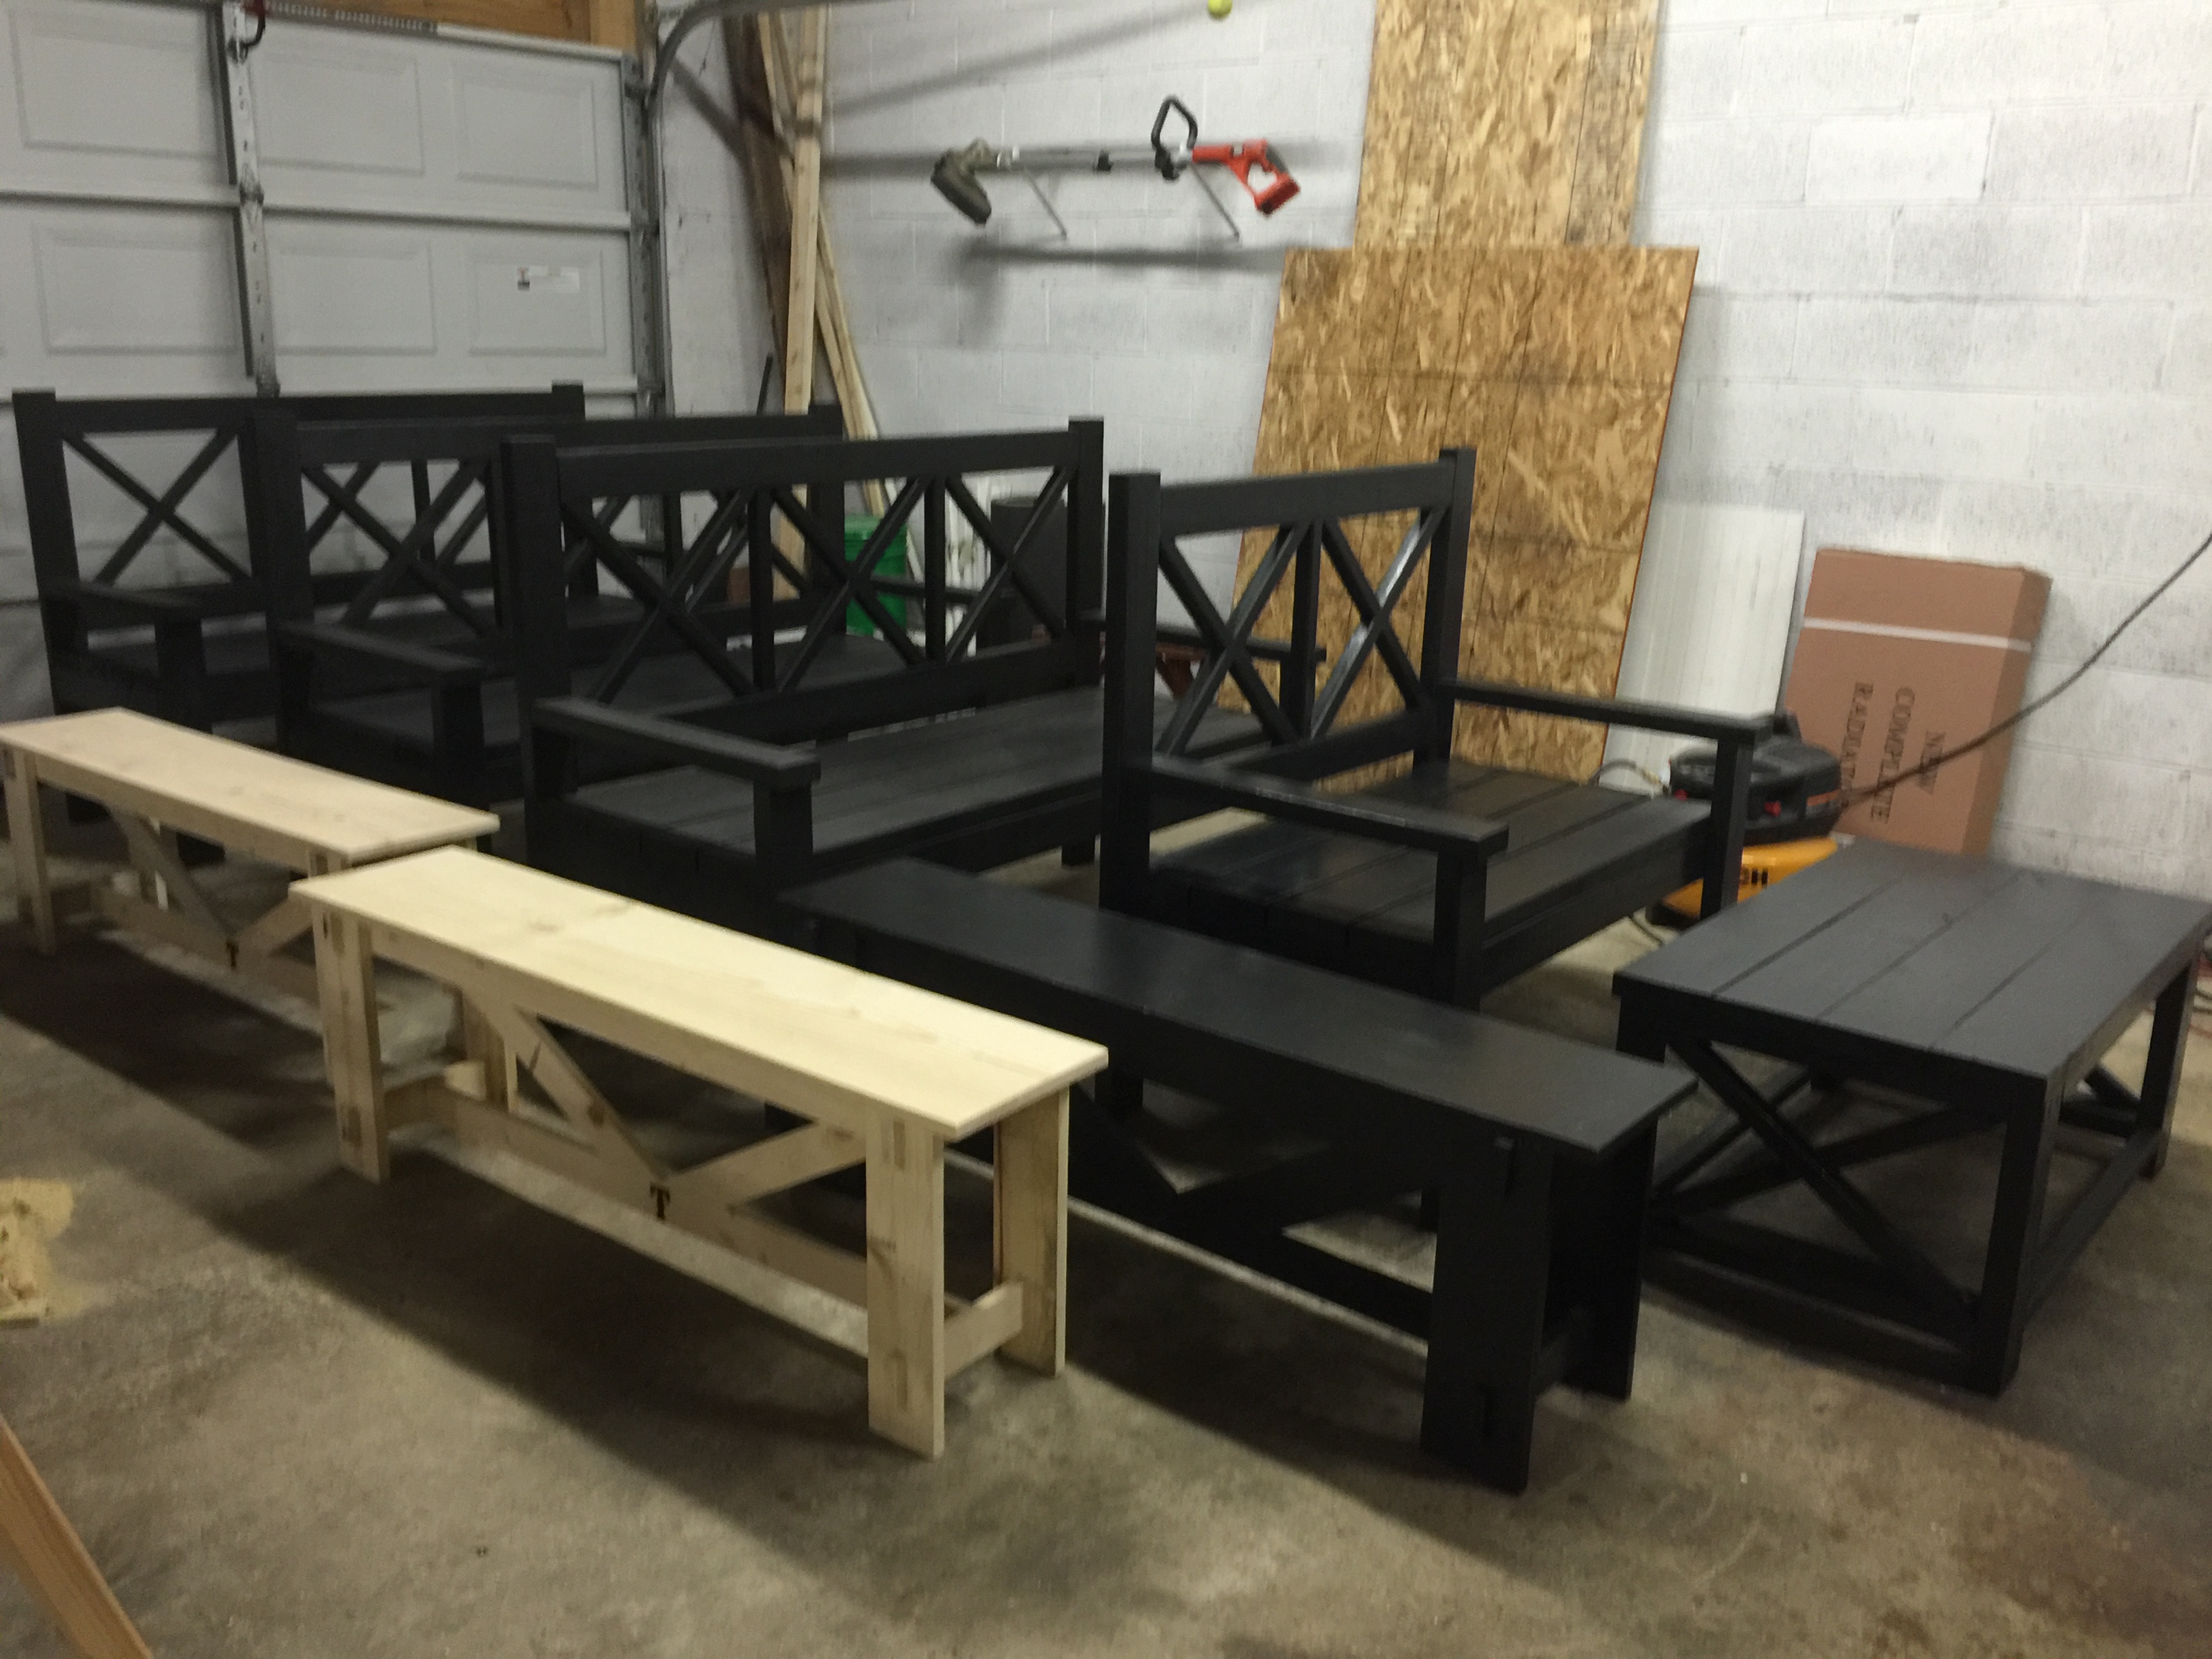
Adirondack chairs with funny back legs
![](/sites/default/files/20190121_150643.jpg)
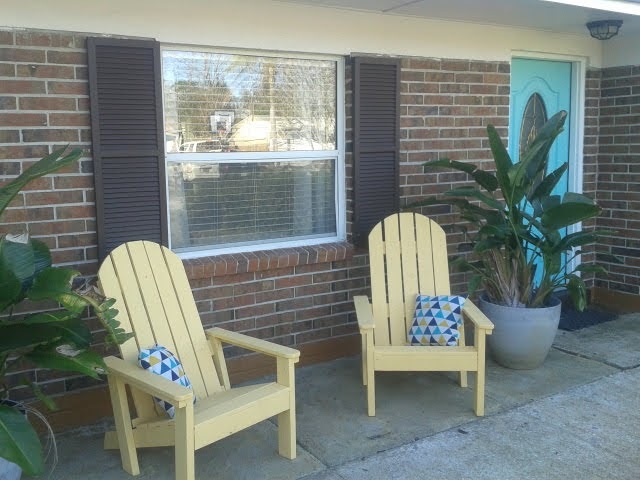
The project was easy and fun. The plans are perfect, provided you follow instructions. I assembled the back legs backwards and that complicated the instalation of the back rest. I liked the result in the end.
We built this desk over Christmas break with my son for his bedroom.
Ran all wood through a planer and used pocket hole screws and Tite bond 3 glue. Black stain and satin polyurethane (3 coats) for the frame and my own stain concoction for the shelves and top treated with 2 coats of Odies oil.
He was very pleased and we enjoyed our time working on this project
I loved this project and knew I had to do it. I decided it would work great for all that little stuff I had accumulating on my scrapbook table like glues, pens, scissors etc, now I will have room to actually scrapbook!
I changed the overall width (now 42" & height 34") to fit my space. All roof/shelf angles are cut at 22.5 degrees still. I used a circular saw beveled and upon assembly, I needed to caulk the seams. I also caulked the joint of divider and shelf and filled in the pocket holes to make it "prettier" before painting. I made a barn door to go in the middle cubby on the bottom to make the bookshelf interactive, but the dividers weren't quite square and the door made it more obvious. Definitely a fun build!
Cut changes:
bottom - 40.5 inches
middle shelf - 42 in at longest point
loft shelf - 32.5 inches
top roof pieces - 17.75 inches (I originally cut these at 18.25" & then removed another .5" from each piece)
All hand cut accept for runner are attached with biscuits
This was easier than I thought. My kids helped me with it. I decided to leave the bottom shelf off as it can be added at a later time if desired.
I'm going to take the same concept and make two loft beds for my kids.
This planter was made from all reclaimed woods from a door, book shelf, a pallet, and a fence that was being thrown away. I like to try to keep the landfill from overflowing by reducing as much waste as I can. Every piece of trash counts you know! Reduce, Reuse, Recycle, Reclaim! Me go eco....you go too!
For the story visit my blog:
http://me-go-eco.blogspot.com/2011/09/so-what-do-you-do-with-these.html
I'm on twitter if you want to follow me: Me_go_eco
Thanks for stopping by. Have an awesome day! =)
We wanted a king sized bed but had been holding off because I wasn't ready to buy all new bedroom furniture.
We love our new bed and we love how our bedroom is coming together!
We followed the plans, but adjusted the height for our new mattress, and then omitted a bit of the extra trim.
We managed to build the bed as a platform bed, for less than what we would have paid for the box spring!
Faux fireplace
I followed the project for the most part but did not want the dowels as it makes for less space for the giant Costco sized spices! my dimensions are 23 x 39. From start to finish it took about 5 hours but with 2 children learning how to do a project like this. We could have easily completed it in half that time. I will be adding onto it for the bottom soon to accommodate foils, bags, etc.
Awesome dressers by Greg P
This bedside table is sooo easy to do. My husband and I made this table in about 1 1/2 hours. Of course, this doesnt include the time it took to paint and stain. When the cutting and nailing is done, so is my husband. Finishing the projects is up to me! lol Following the plan precisely makes this easy to build! The only thing we did differently is that we added an outside stretcher across the bottom front. I love love LOVE this table! I purchased the drawer pulls from Lowes on clearance for $1.19 each.
Made these for my nephews for Christmas. Only issue I had was the screws stuck out a little bit of the 1/2" pocket holes. I even tried the pan head type that were designed for the 1/2" holes.
Beautiful bed build. shared by Leslie.
Here is my step stool that I've wanted to make for quite some time, but didn't think I'd need it....until the other day when I couldn't reach something in my garage. This will give me just enough height to reach items in my taller cupboards in my kitchen as well. I think it turned out pretty cute. I cut out a stencil design with my Cricut and used black acrylic paint with a dry brush.
Tomorrow I will give it a light coat of poly just to protect my stencil work mainly.
I used 2x2's intead of 1x2s because I had lots of scraps of those lying around from other projects I've made off of Ana's website!
This bench was so easy to build! It's the first project that I've built completely with the nail gun. Wow does that speed up the process! Thanks again for the great plans, Ana!
Everyone gets projects from Ana-White plans for Christmas this year.
I can't wait to give them away.
This was incredibly easy to build for a semi-newbie! The shopping list and cut list were a huge help! We love Ana-White.com!!!
I worked on both the kitchen table, the dining table as well as the bench seat and all eight parson chairs together, so it took over a week to make this. I think if you were just doing the table you would be looking at a weekend project. Go hard or go home, unless you are home...
The kitchen table was just a case of shortening Ana's plan to about four feet. I made a quick and dirty table leaf to attach the two tables. For more info see my blog. There is also info on making those Parsons chairs too.
My Blog: http://landlocked-art.blogspot.com/2011/10/farmhouse-dining-table-and-b…
Tue, 10/11/2011 - 09:41
Great job! You did a fantastic job and I love the chairs a bunch bunch bunch!
Fri, 10/14/2011 - 07:27
Hey Indiana,
Thanks! You can find out how to make those chairs yourself here:
http://landlocked-art.blogspot.com/2011/10/build-your-own-parson-ish-ch…
Sun, 10/16/2011 - 19:06
What color did you use for the stain and what was your finishing process?
Tue, 11/08/2011 - 16:07
Your table is absolutely beautiful! May I ask where you got your beautiful tableware??
Sun, 01/08/2012 - 18:22
Very nice! What kind of wood is that and would you mind sharing the stain color?
Tue, 08/25/2015 - 17:01
Love the idea and plan on borrowing it, but we were just curious how do you make the leaf that connects them?
Another question, when you made the breakfast table, did you cut the table top pieces to 48" or did you cut them 36" and made the whole table 4 ft with the end pieces added? Also, for the breakfast table, would it seat 6 people comfortably? Thanks and what a wonderful job!