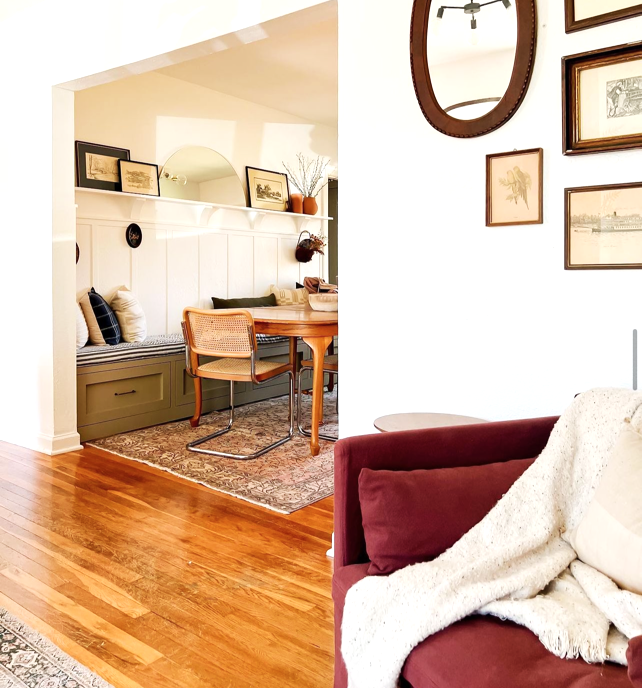
Dining Storage Bench

Love, love, love this gorgeous dining room with the storage bench, such a beautiful space @mylushabode
Built from Plan(s)
Love, love, love this gorgeous dining room with the storage bench, such a beautiful space @mylushabode
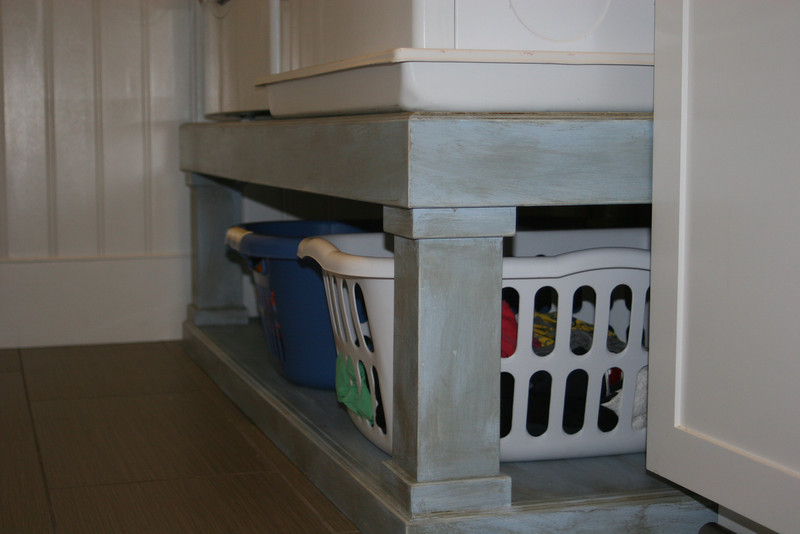
we remodeled the laundry room to have a beachy cottage feel. best part is getting the washer and dryer off the ground with Sausha's pedestal.
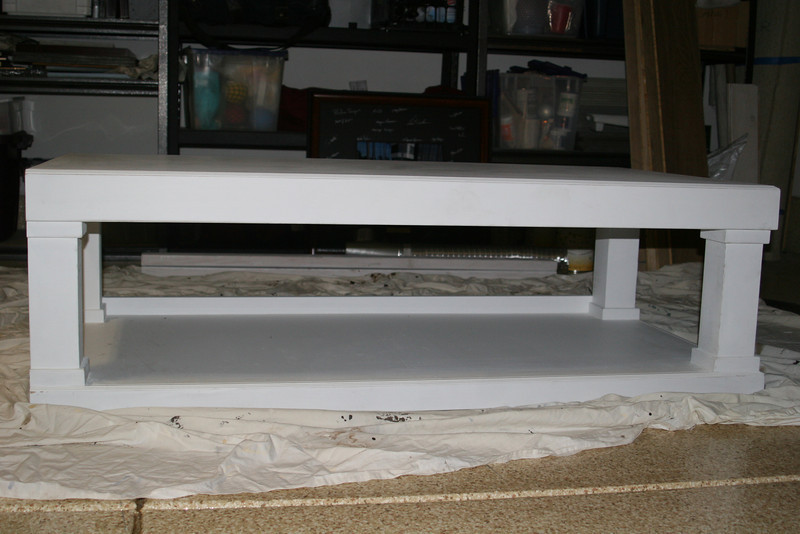
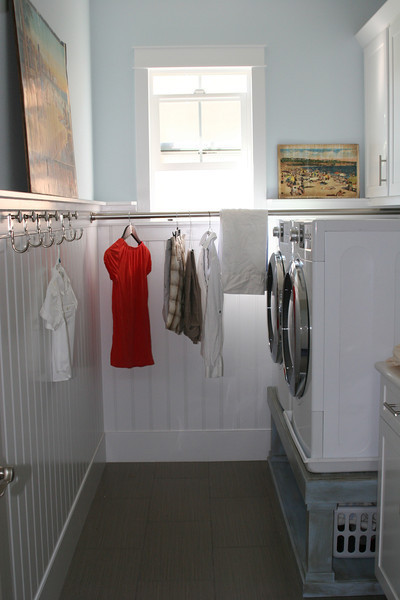
I used replacement screen door wheels and 1" by 1/4" Aluminum bar to make the hardware.
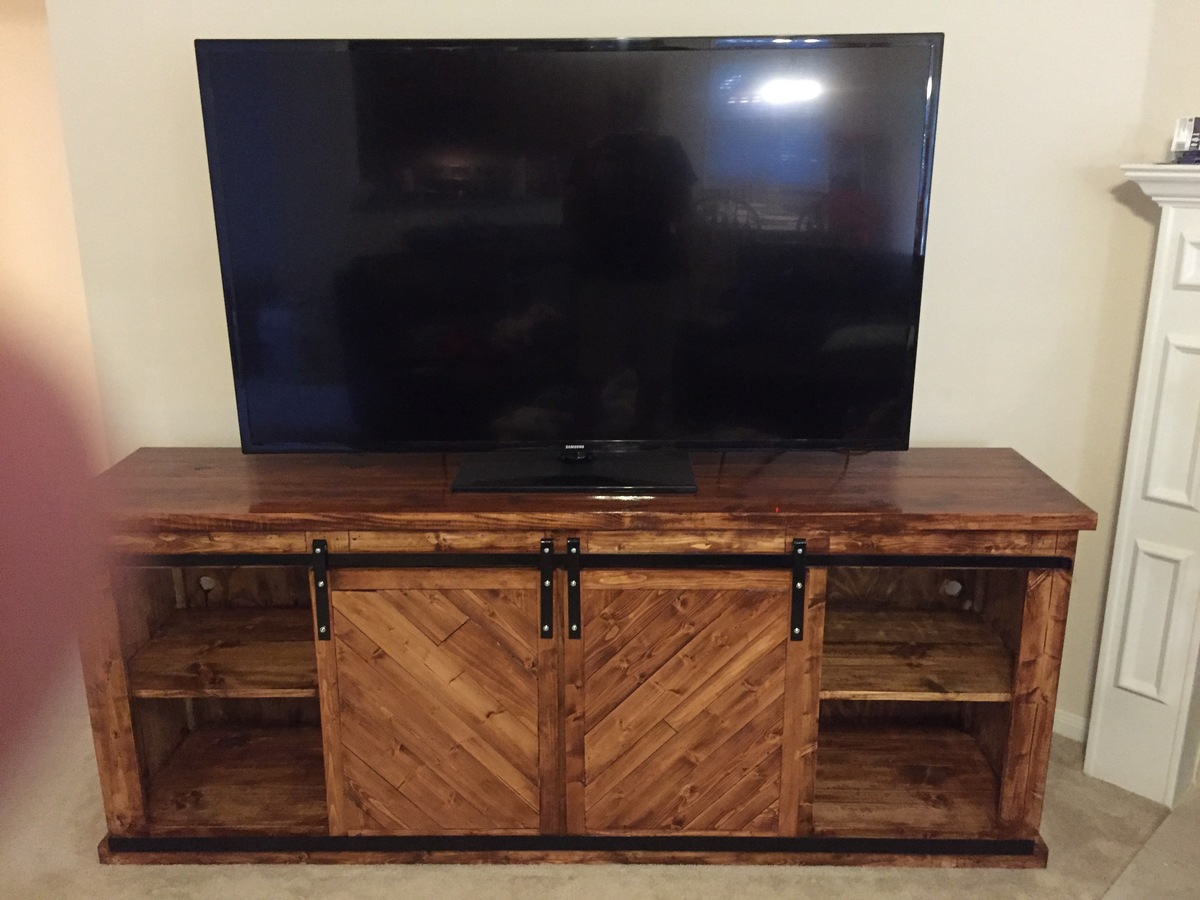
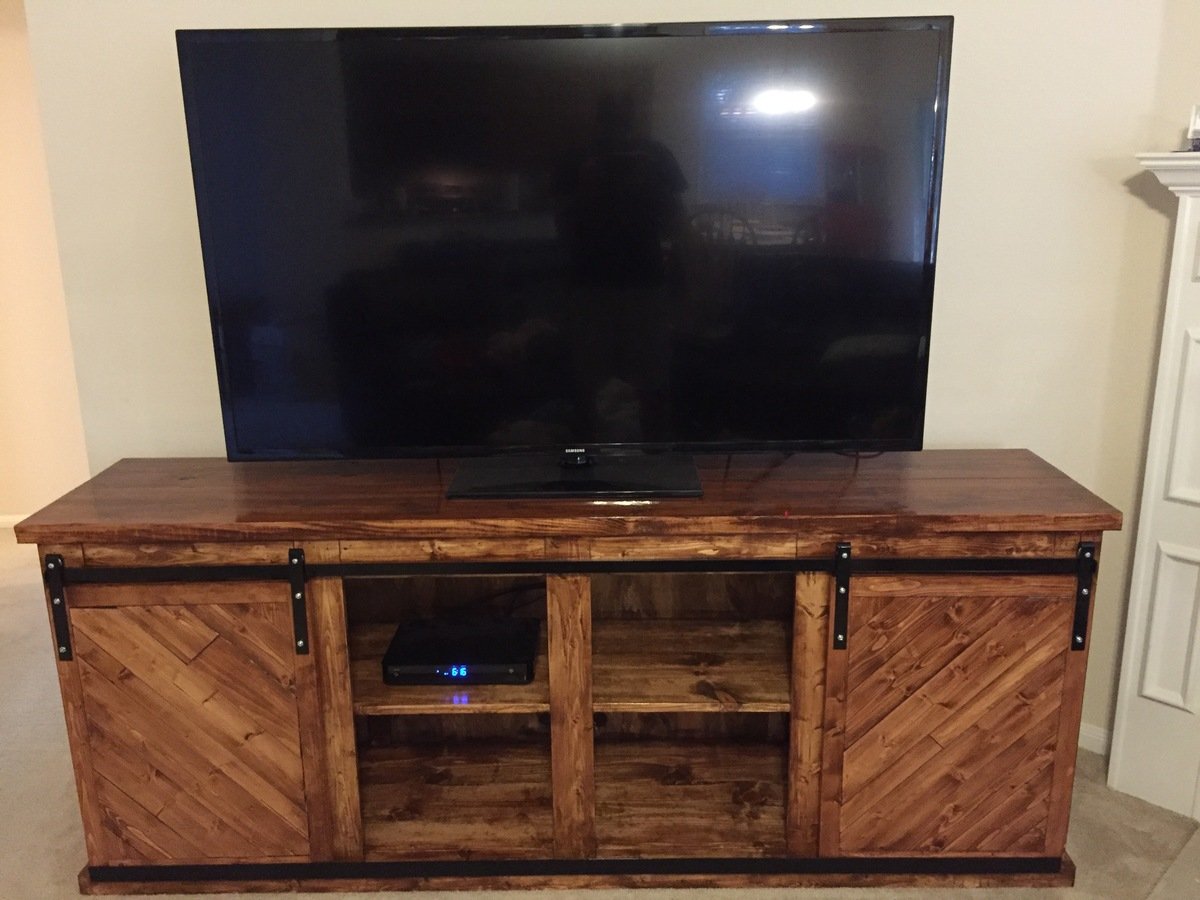
Went beefier.
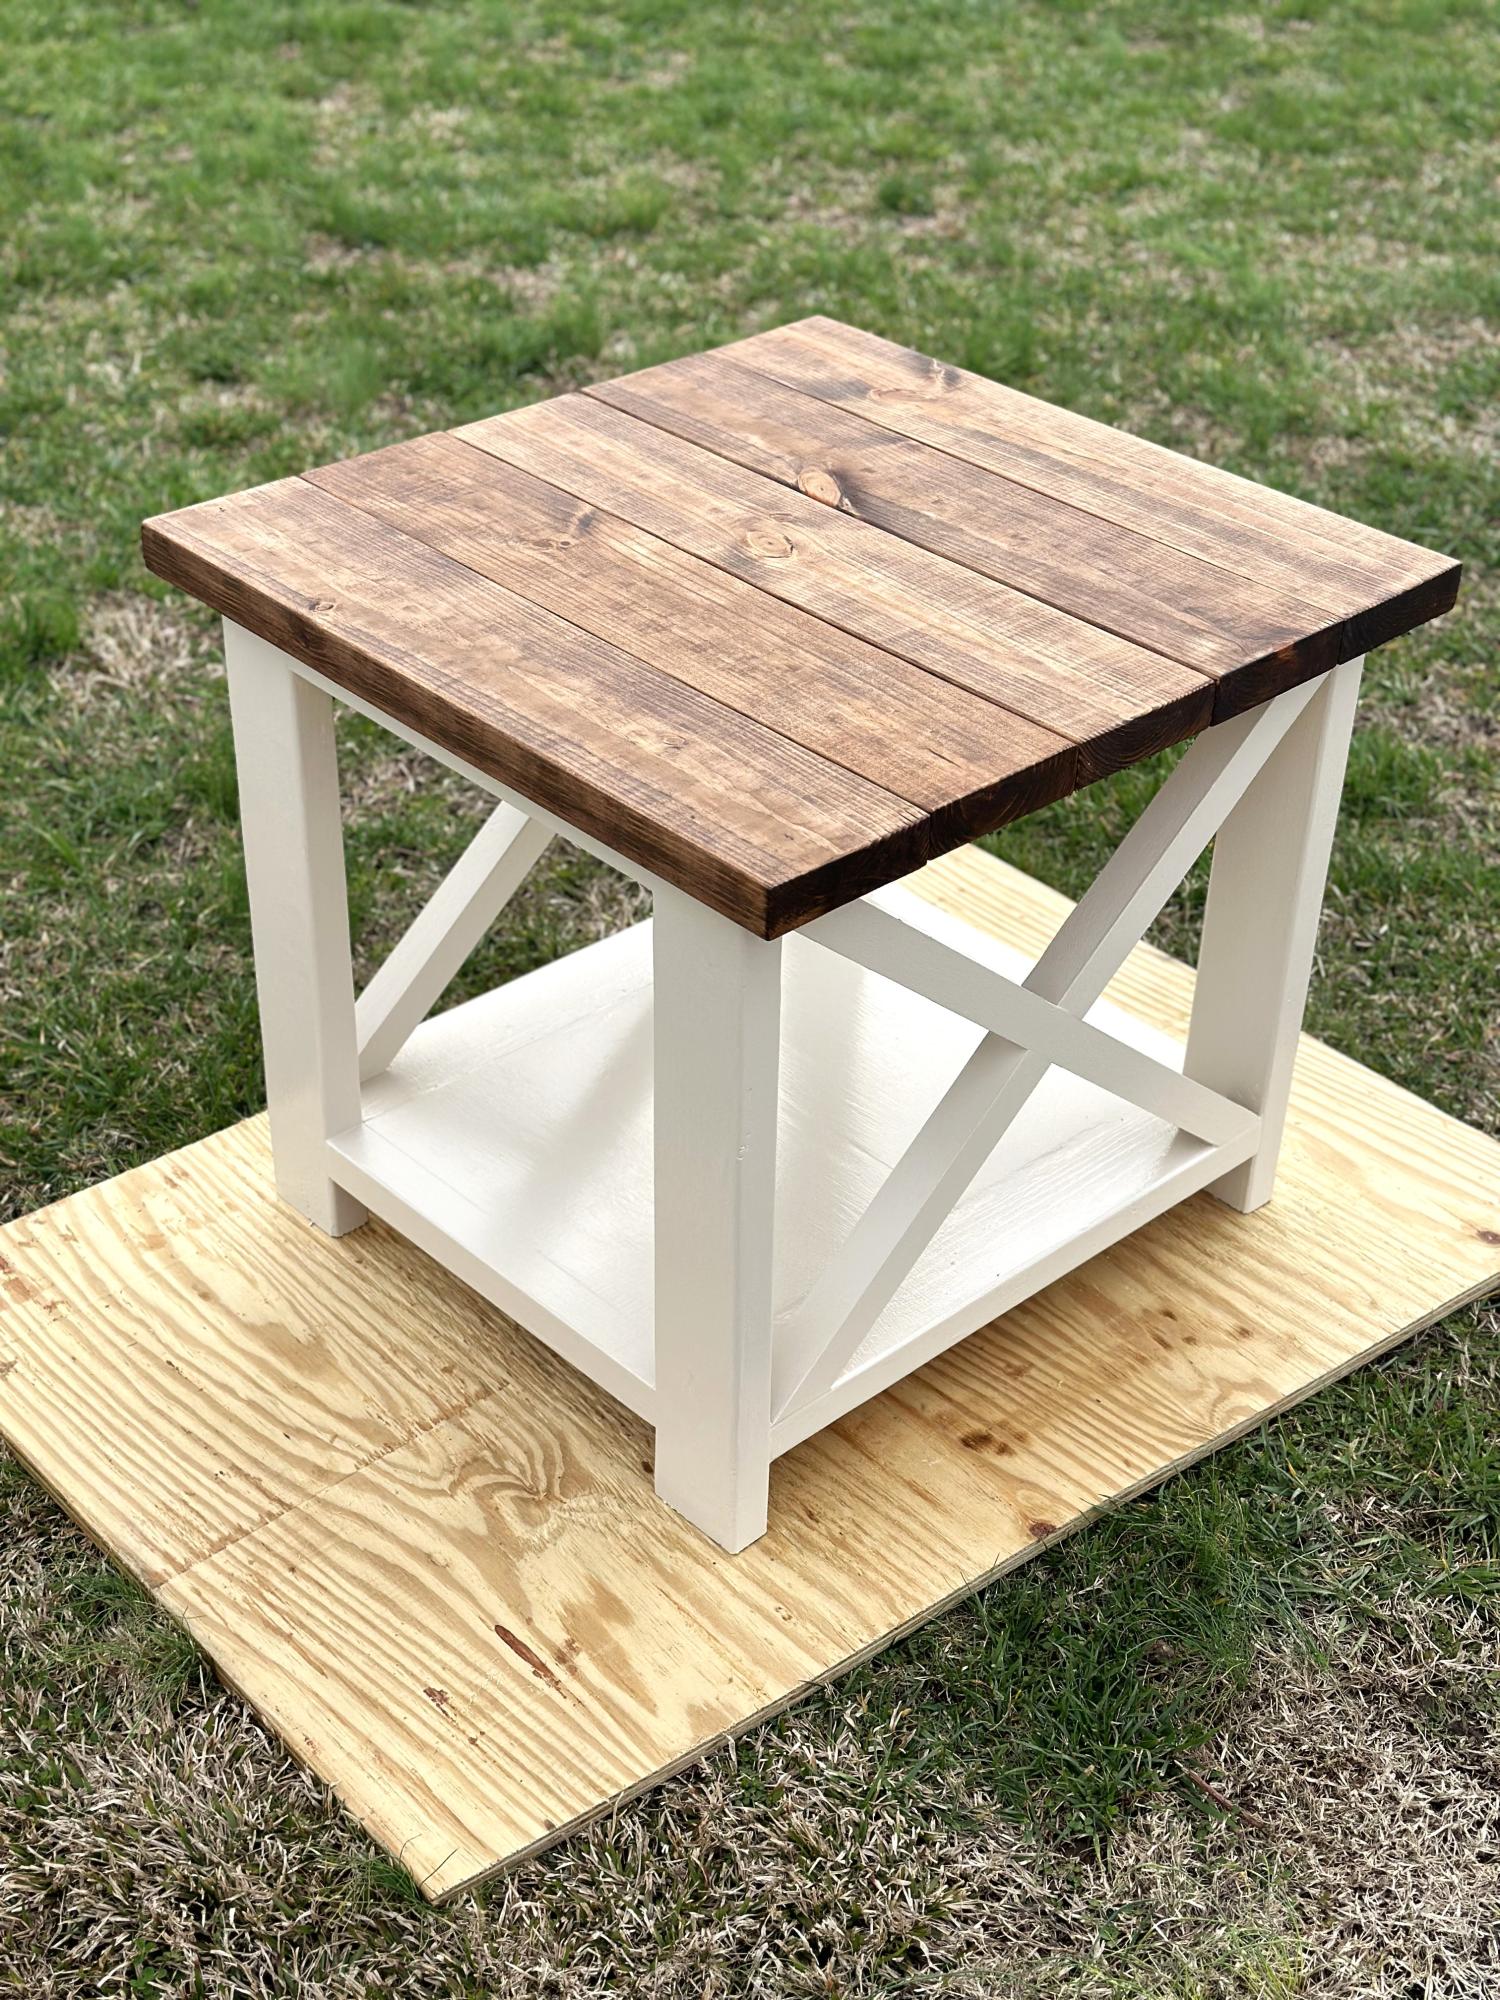
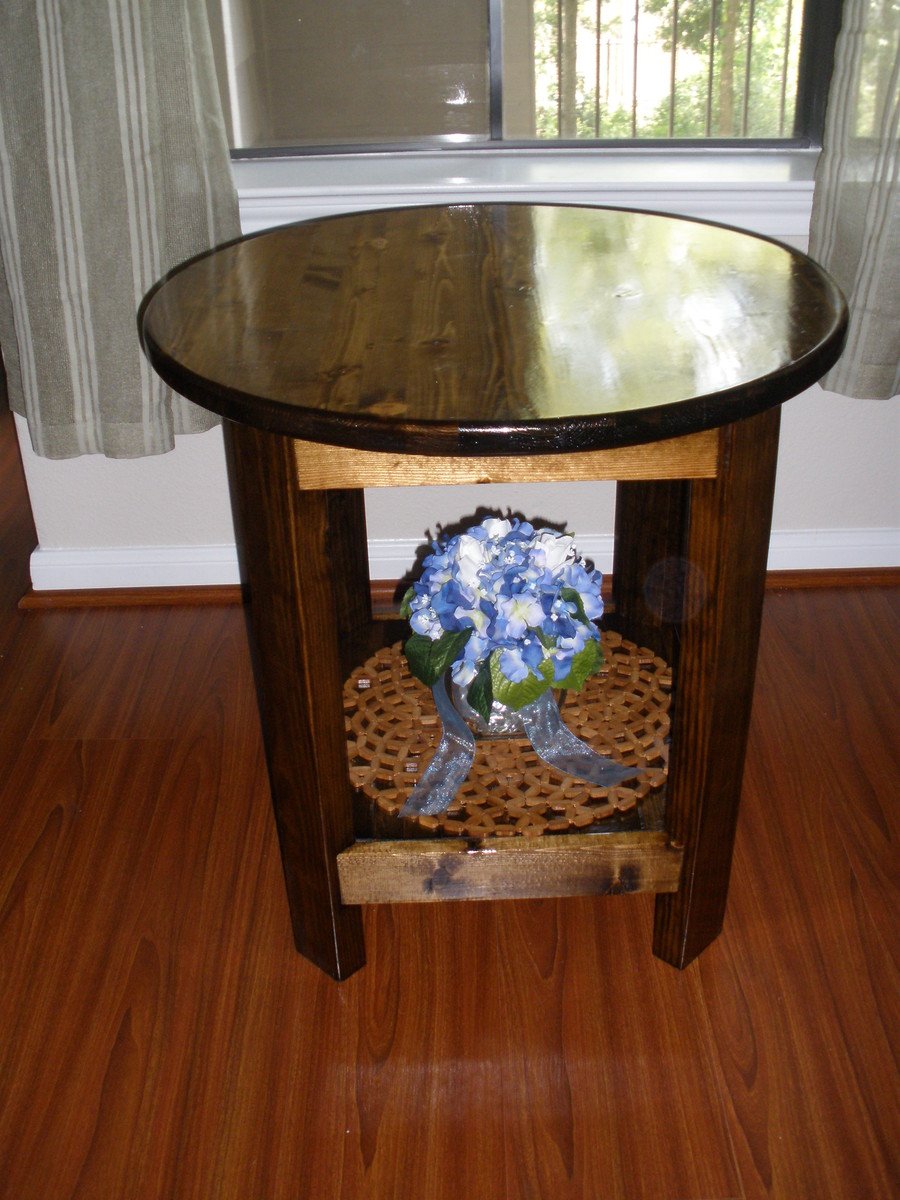
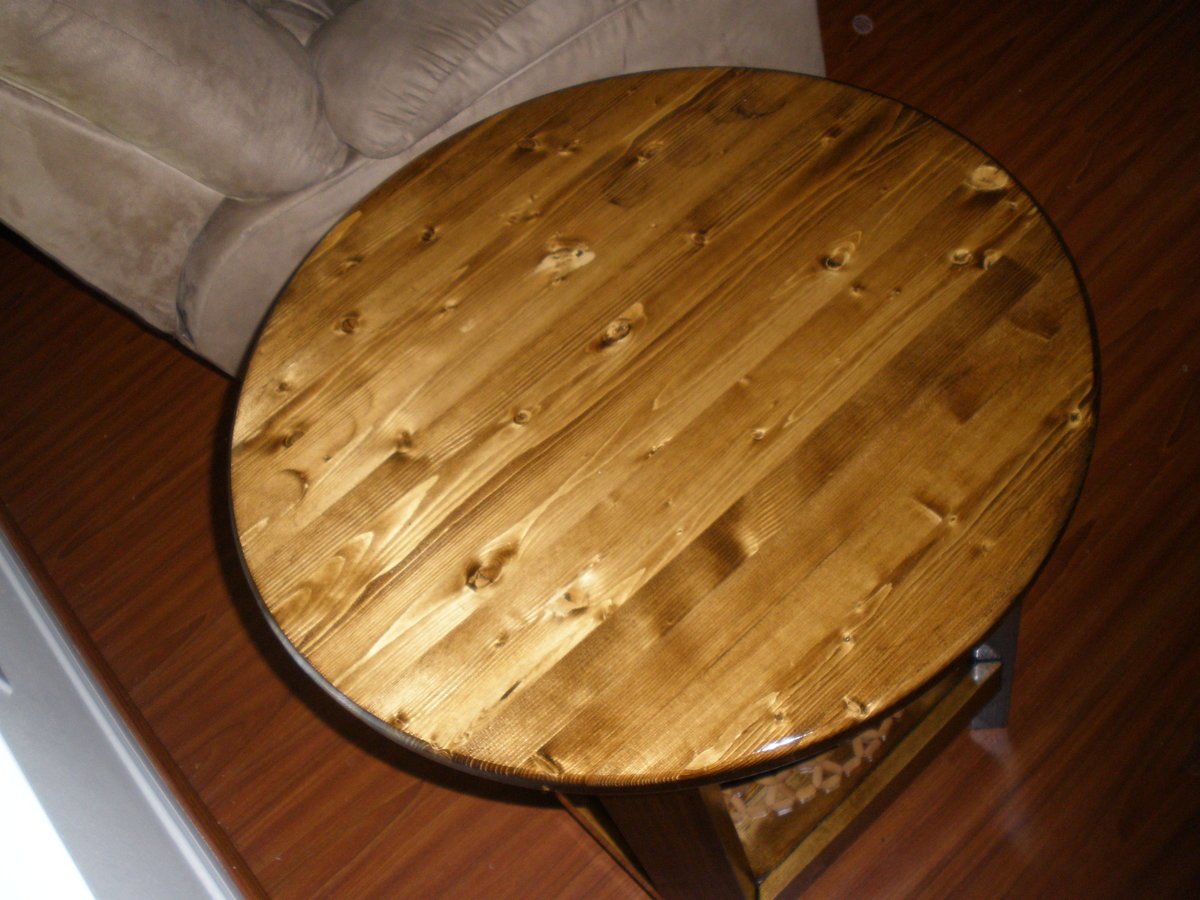
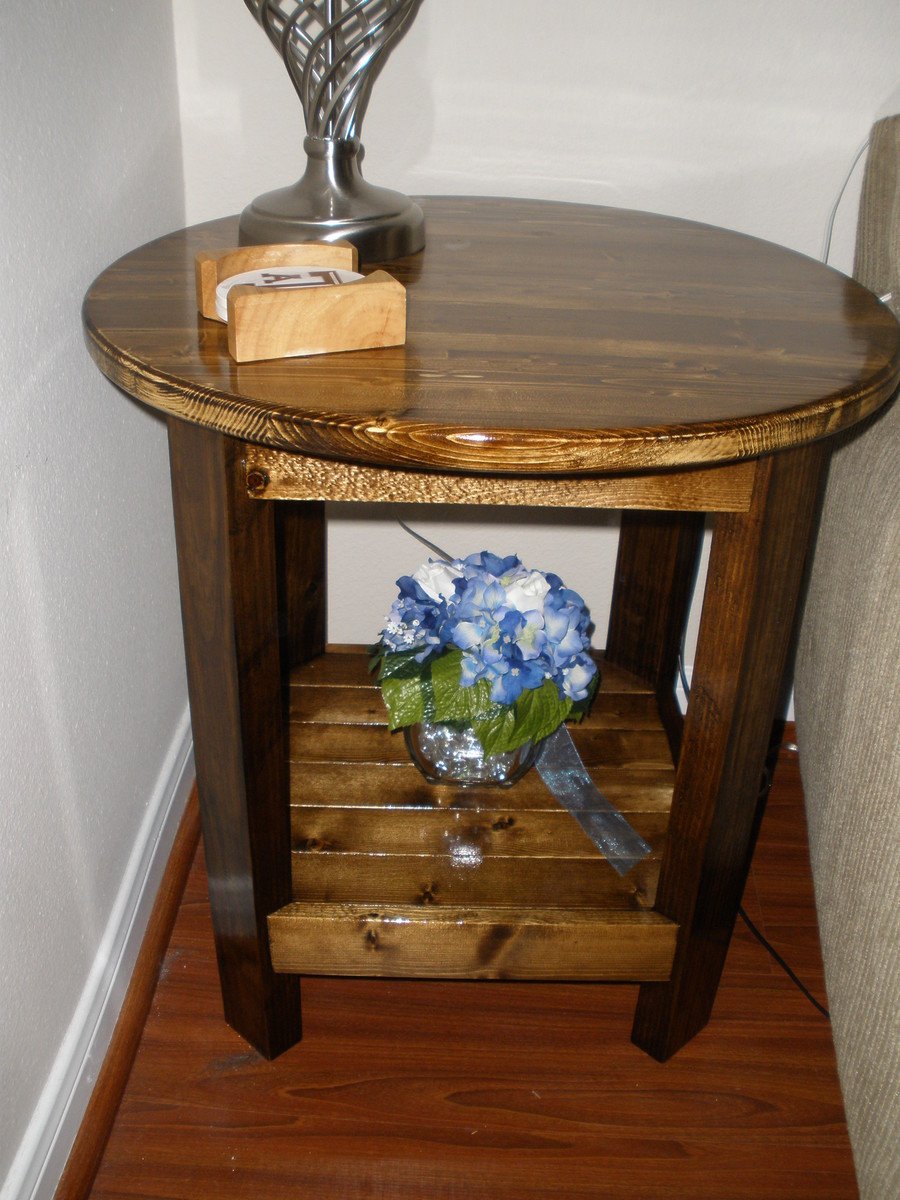
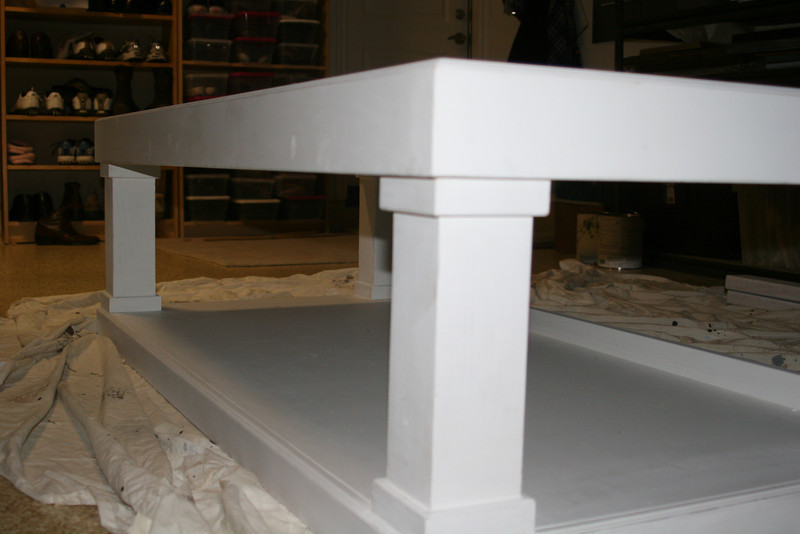
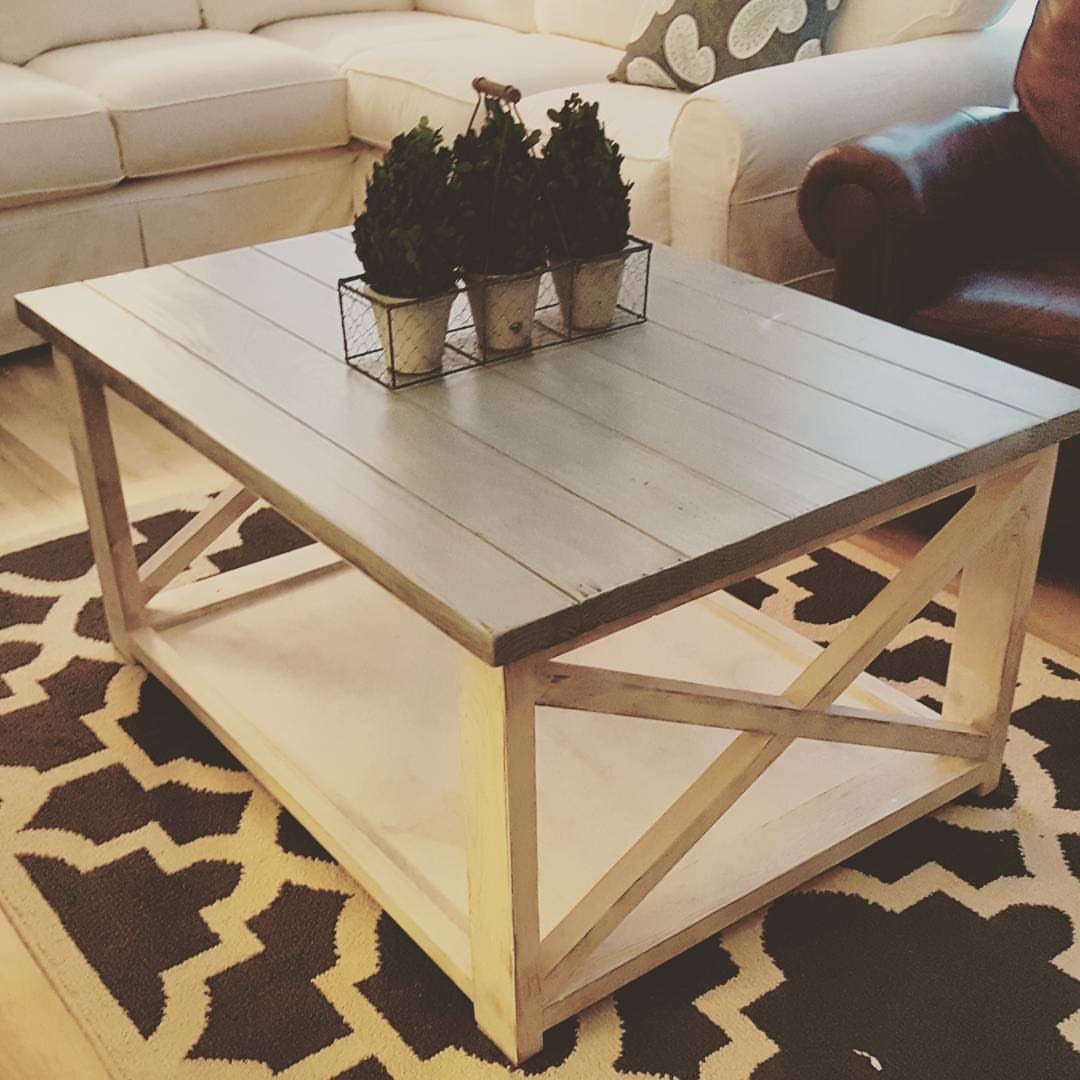
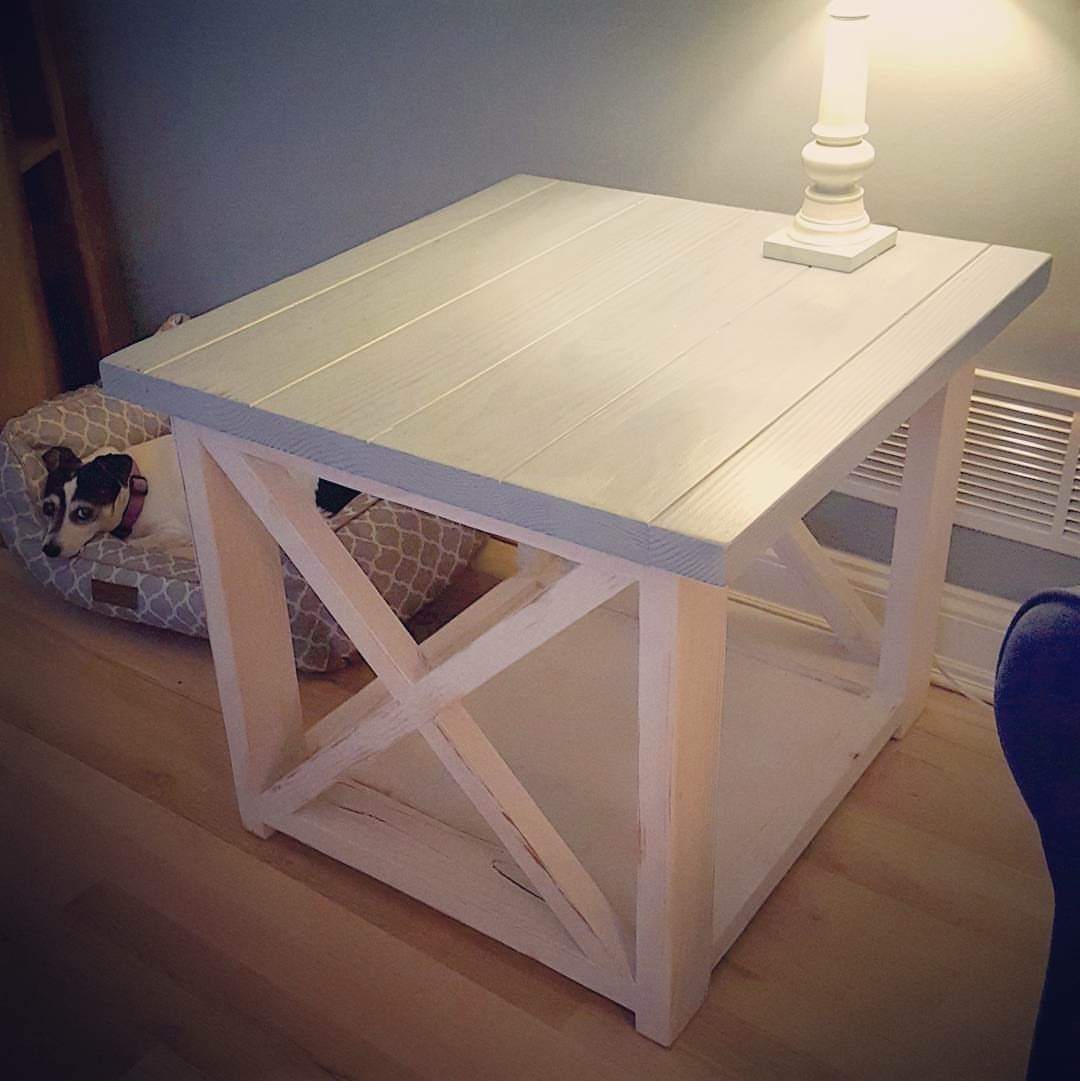
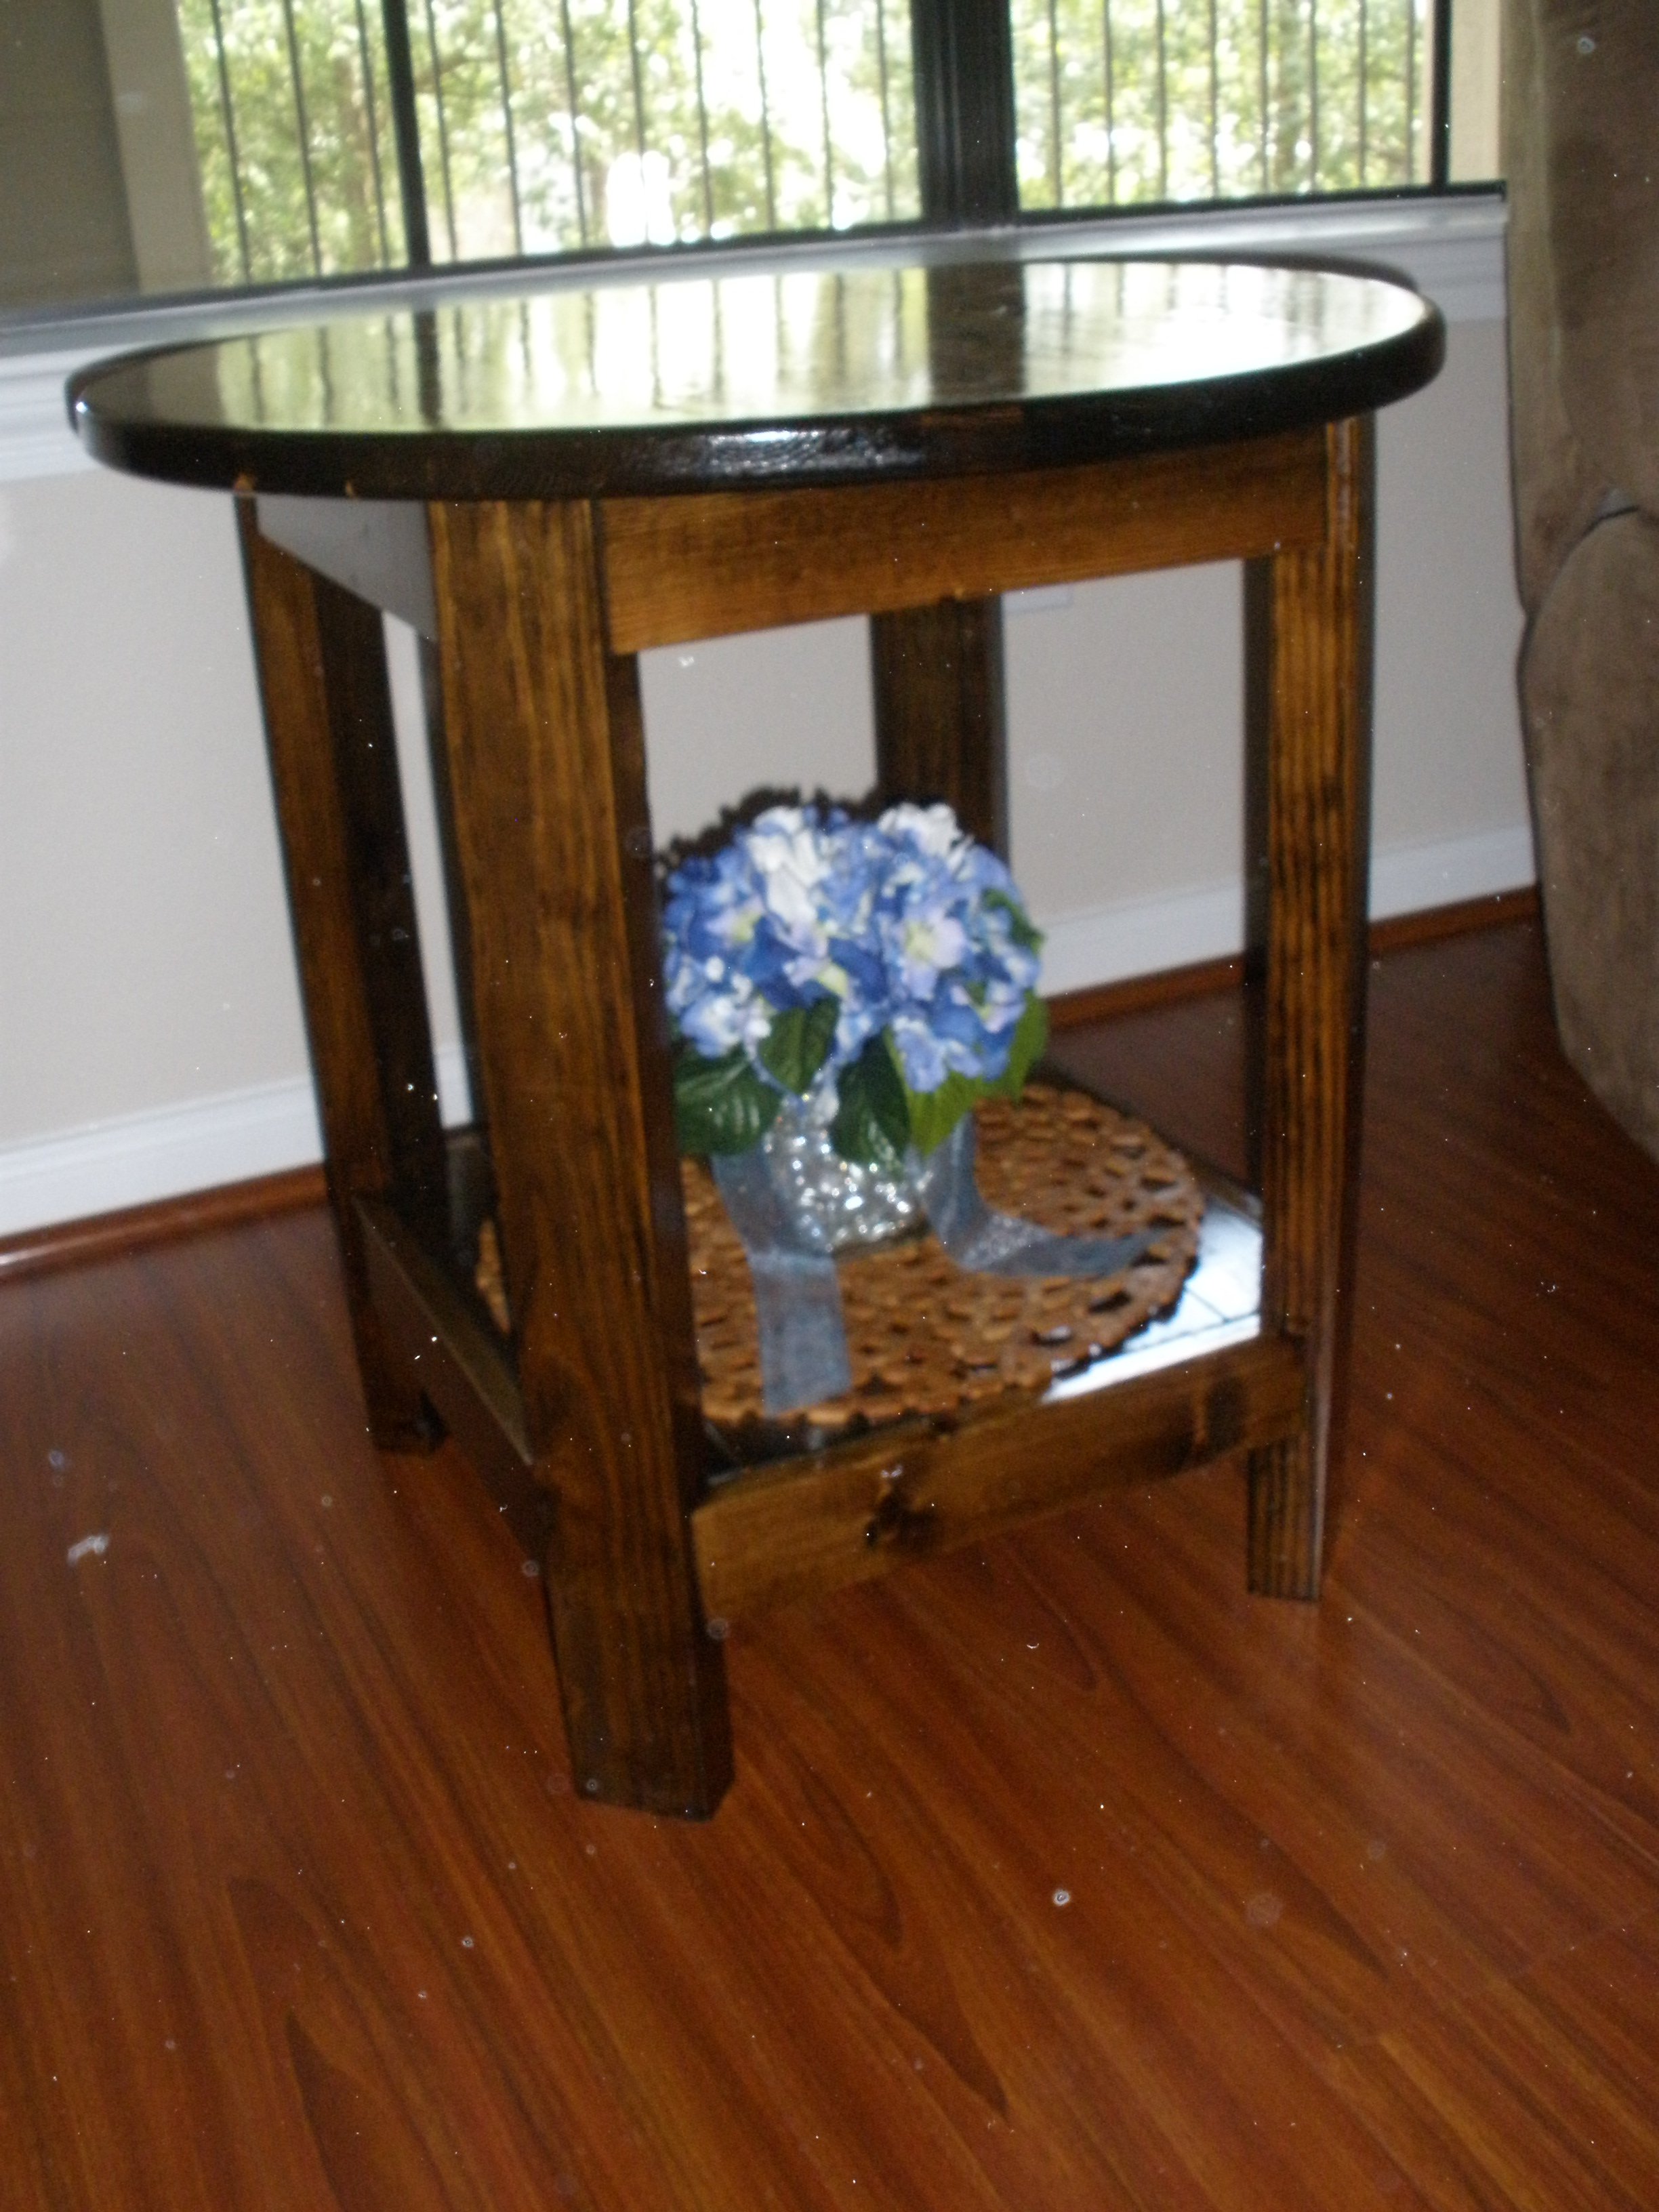
Wife wanted a new end table for our living room. After searching for a month and not finding one I ran across this plan and decided to just build it. Definitely saved a ton of money and she got to custom her own colors. Went with a Honey stain top and beige bottom. She is very excited about it. Built it in just 2 days with only a drill, palm sander and 10” miter saw.
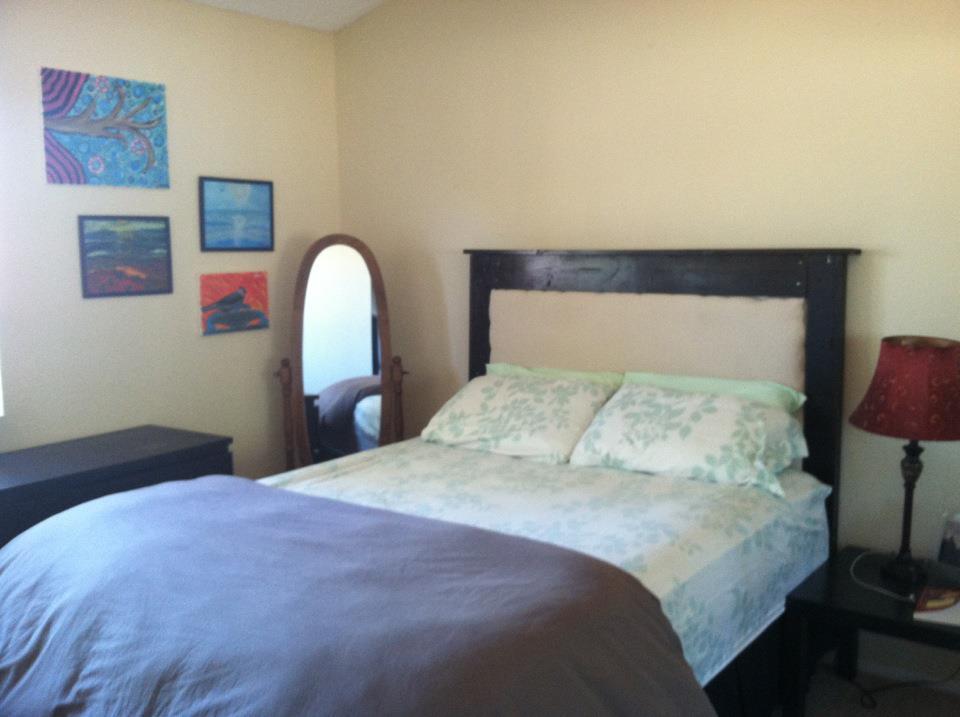
This is my first attempt to make any kind of piece of furniture, and I am really happy with how it turned out! I have been searching for over a year for an affordable solution to the blank wall above my bed, but never found something I loved enough to spend money on or time on to repaint, etc. I just loved the way this one looked in the pictures so even though I have never built anything before I thought I would give it a shot! I found the instructions to be really easy to follow, but the actual process a little harder than I'd thought it would be (due to my own mistakes). I thought I'd list some of the mistakes I made in case someone else reads this and can stop themselves before they make the same ones :)
First, I put the padded part a little wider than the allotted space, so when I went to nail the boards on the edges they didn't go down as smoothly. If I had just kept it within the lines I marked, this wouldn't have been a problem.
Also, I somehow missed the part of the instructions where I was supposed to use glue when I nailed the boards, so between that and the relatively flimsiness of the 1/2 piece of plywood, my boards came undone a couple of times. I eventually decided to use screws to hold everything and that was WAY better and sturdier, even though you can see the screws.
Also, I did not square it well enough along the way and I ended up with a sliver of extra plywood hanging off the side of the board, which made the trim piece on one side have a little gap at the bottom. I don't care though, since the bottom is out of sight anyways!
I saw other people had wondered how to attach this to a metal bed frame, but I never read a way to actually do it. I plan to figure out a way to either attach it to the bed frame or the wall, but for now, I just have it wedged between my mattress and the wall, and it seems stable enough. I hope it doesn't fall on me in the night ;)
I followed the lead of the Shanty to Chic lady and used a 5 dollar canvas drop cloth from Lowes for my fabric and I LOVE the way it looks in my room. I also took her advice and used Rust-Oleum stain (in Kona) and applied two coats of the stain to get the really dark wood.
Overall, I am super stoked to finally have a headboard, and to have made it myself! There is definitely a great feeling of accomplishment for building something like this so if you are hesitant to do it, I suggest you go for it! Next, I think I am going to make the tilt out trash can cabinet for my kitchen :)
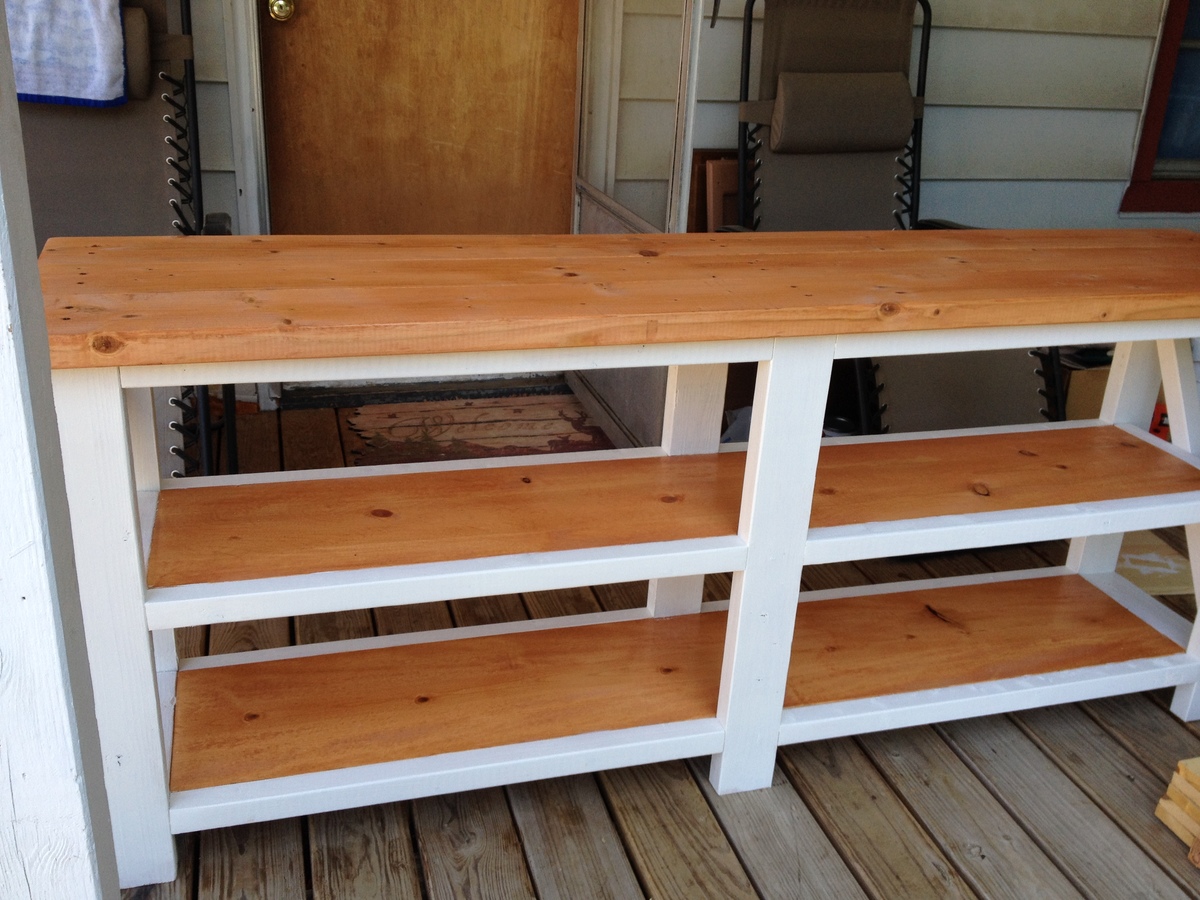
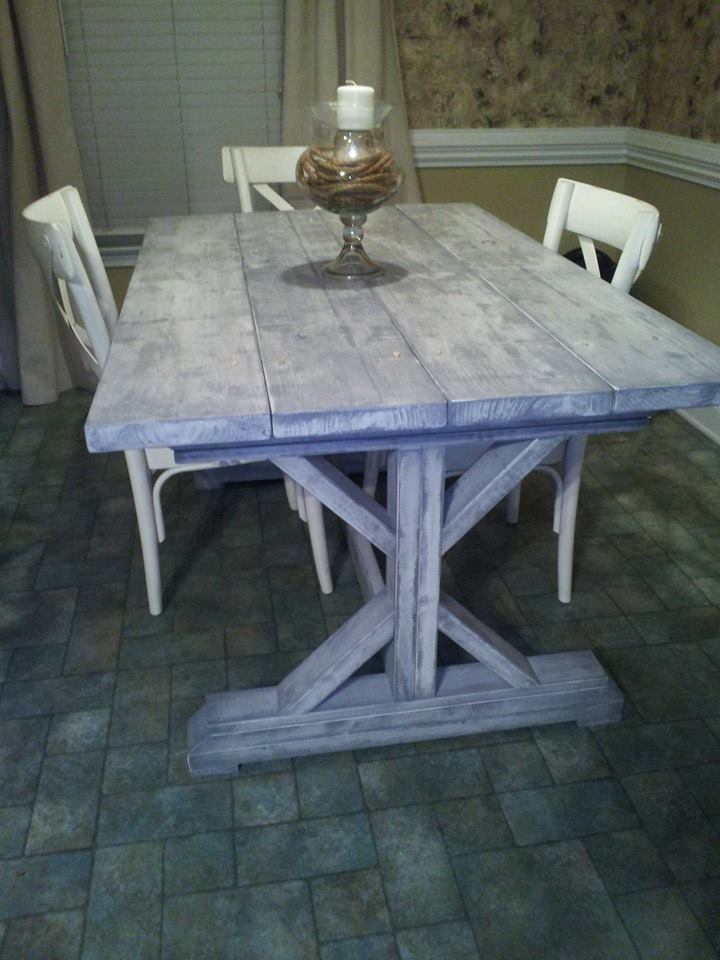
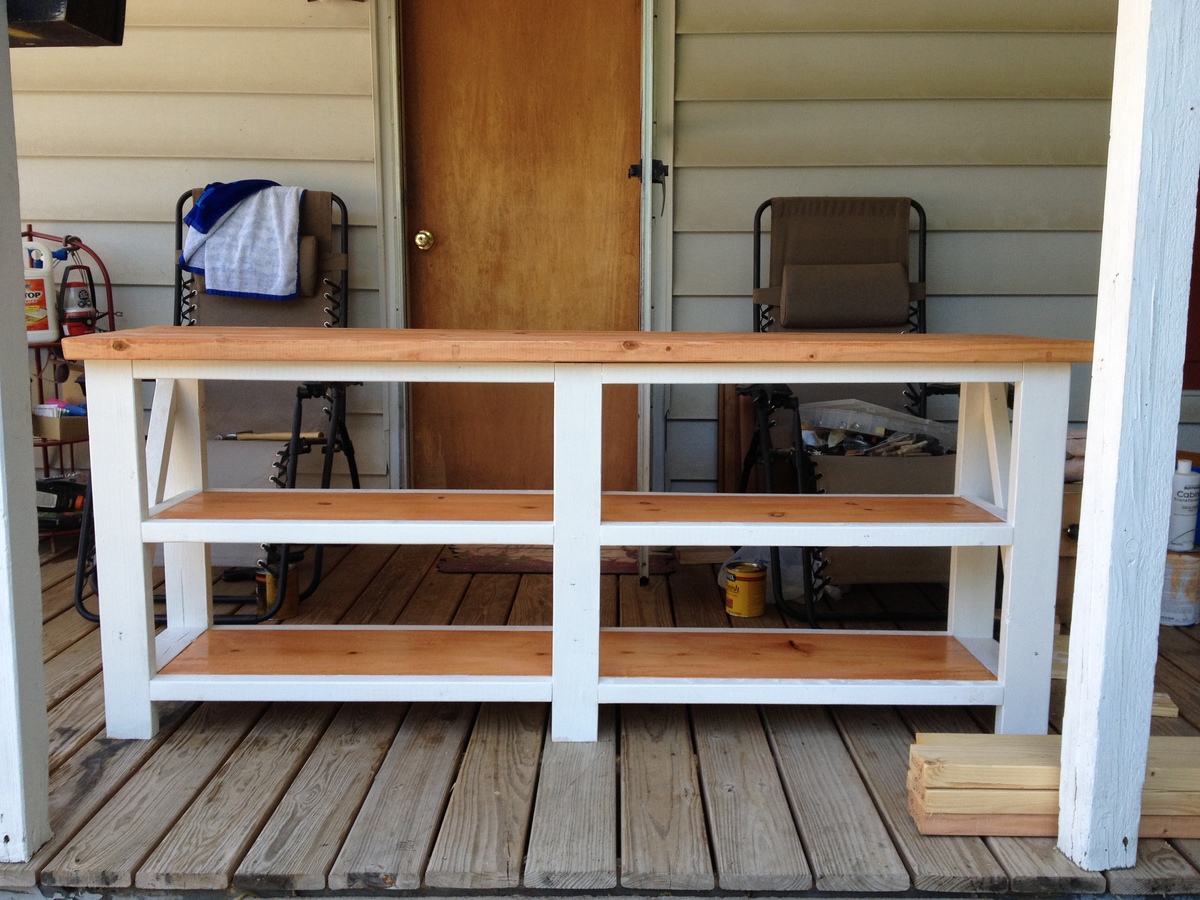
I took the plans from the Fancy X Console table and made all but the end "X's". I painted the legs and trim with a vanilla white, and stained the top and shelves with a golden pecan. Turned out great and looked amazing in the house of the woman I made it for......AKA my mother.
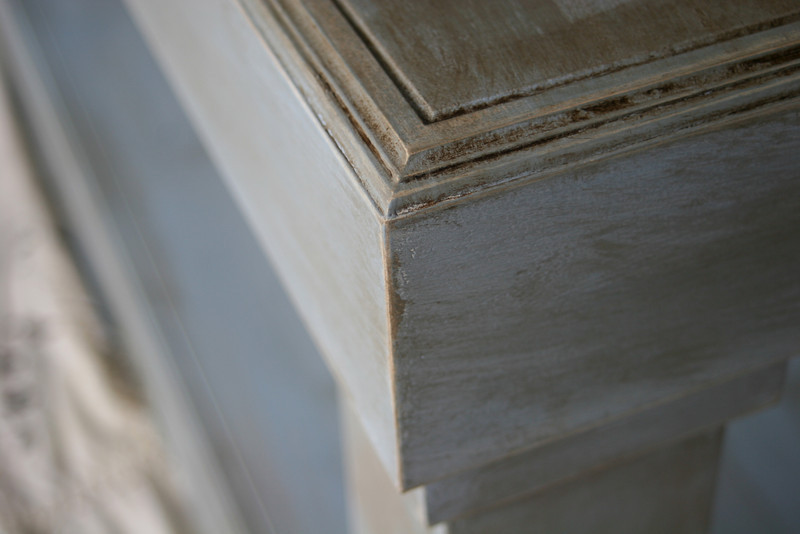
I really appreciated the build article. I customized the sizes and used plywood for the bottom shelves. I oxidized but painted with milk paint then sanded to distress. I also only painted one coat to still see some grain. I top coated with water based poly.
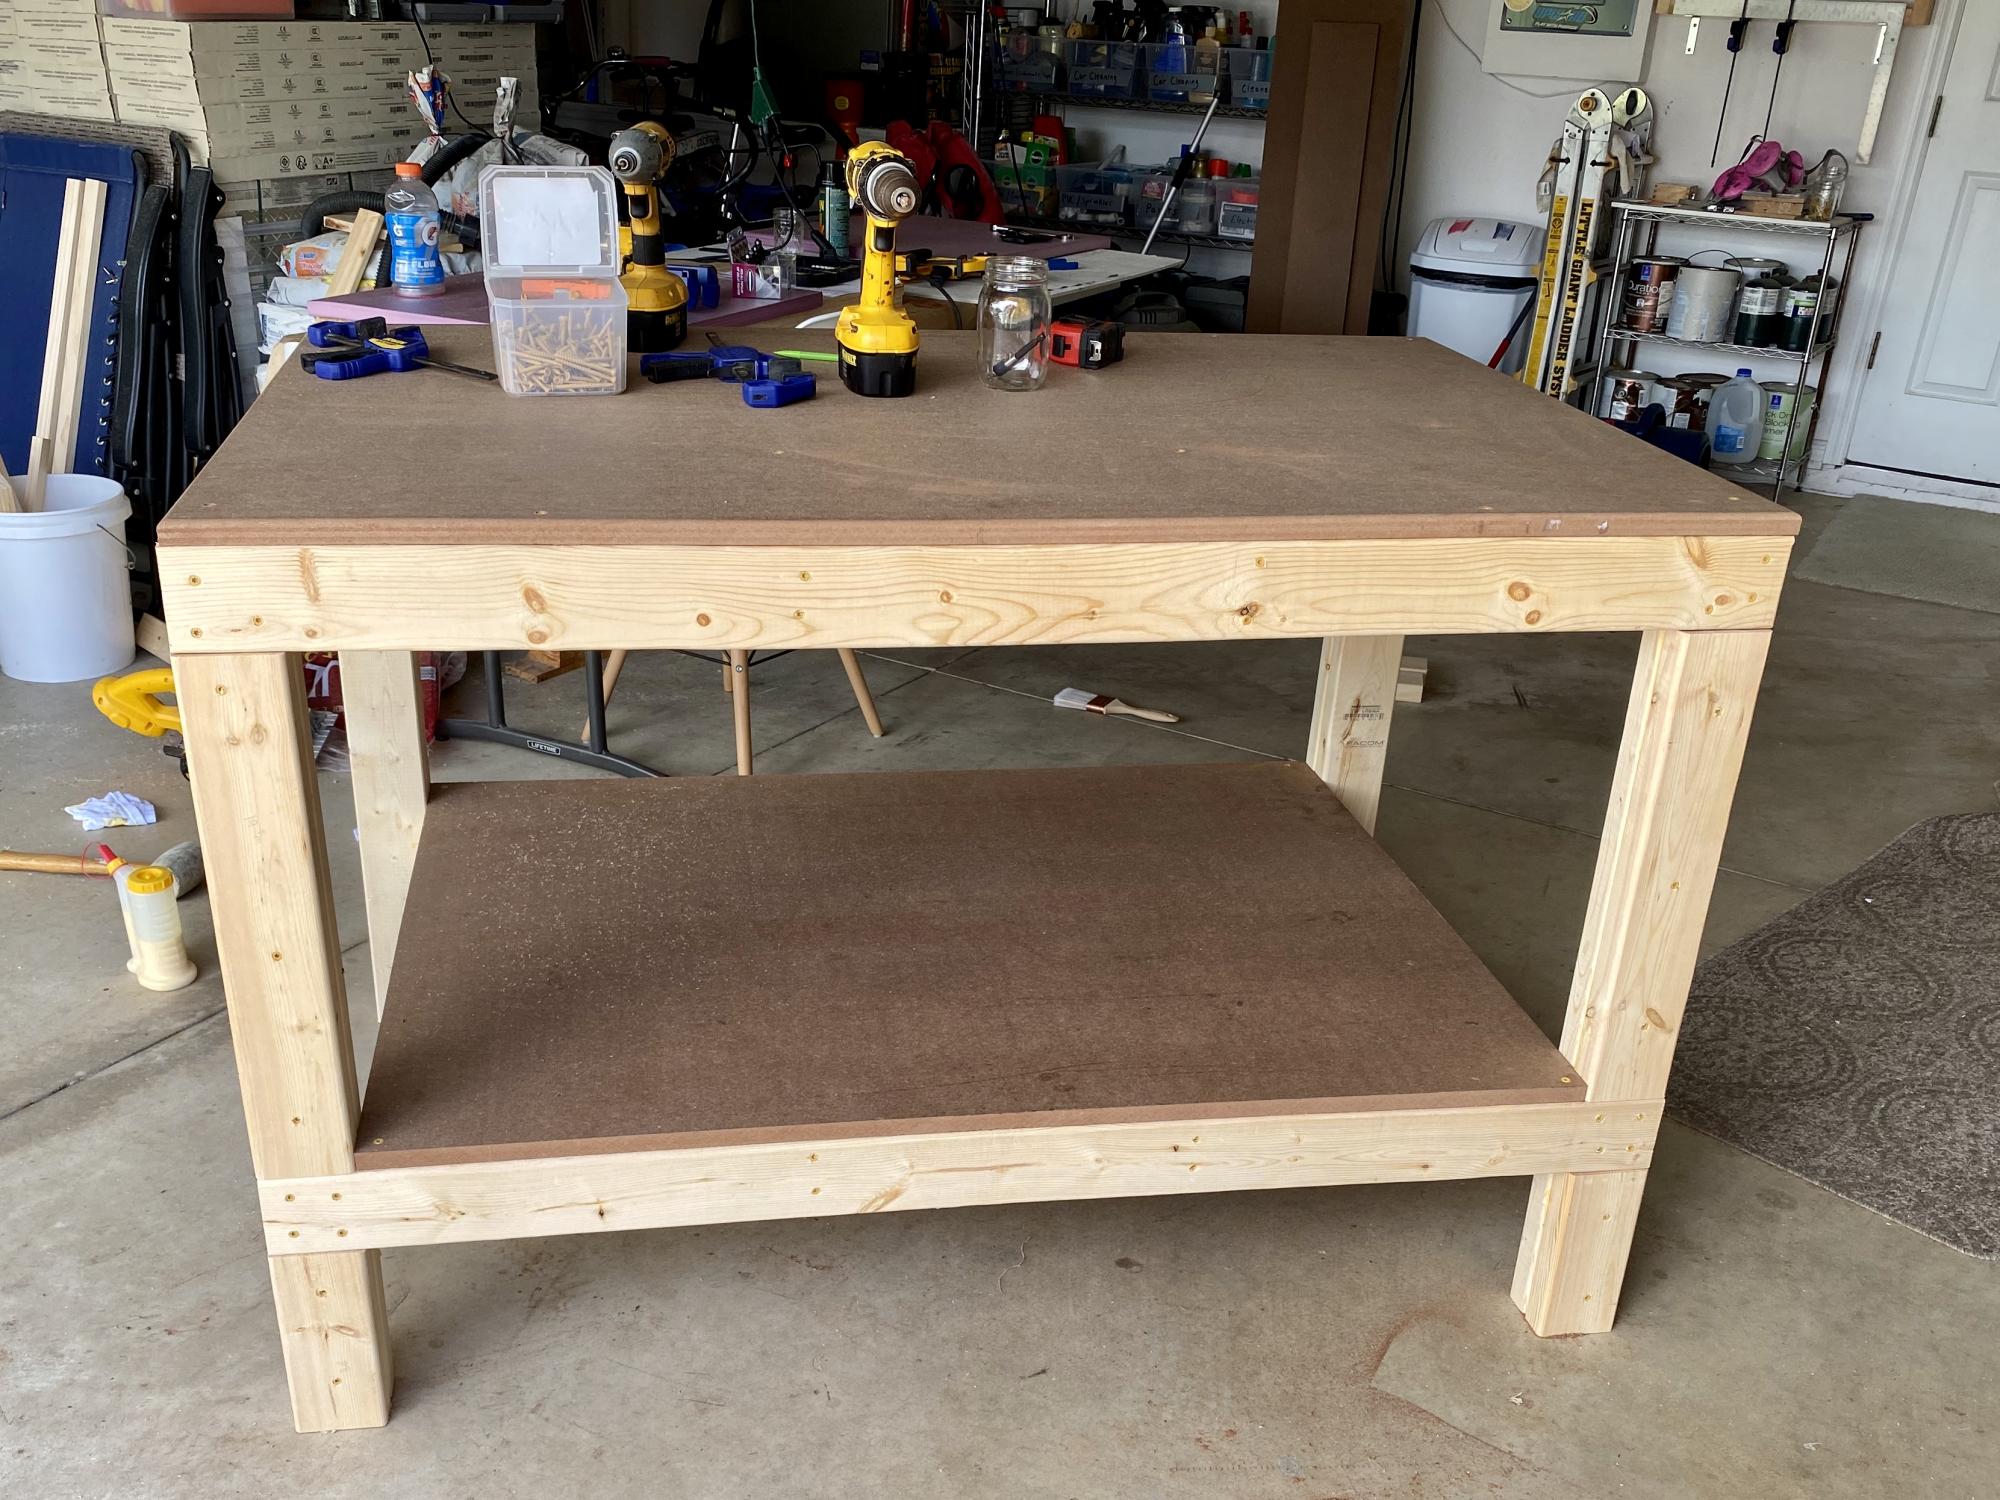
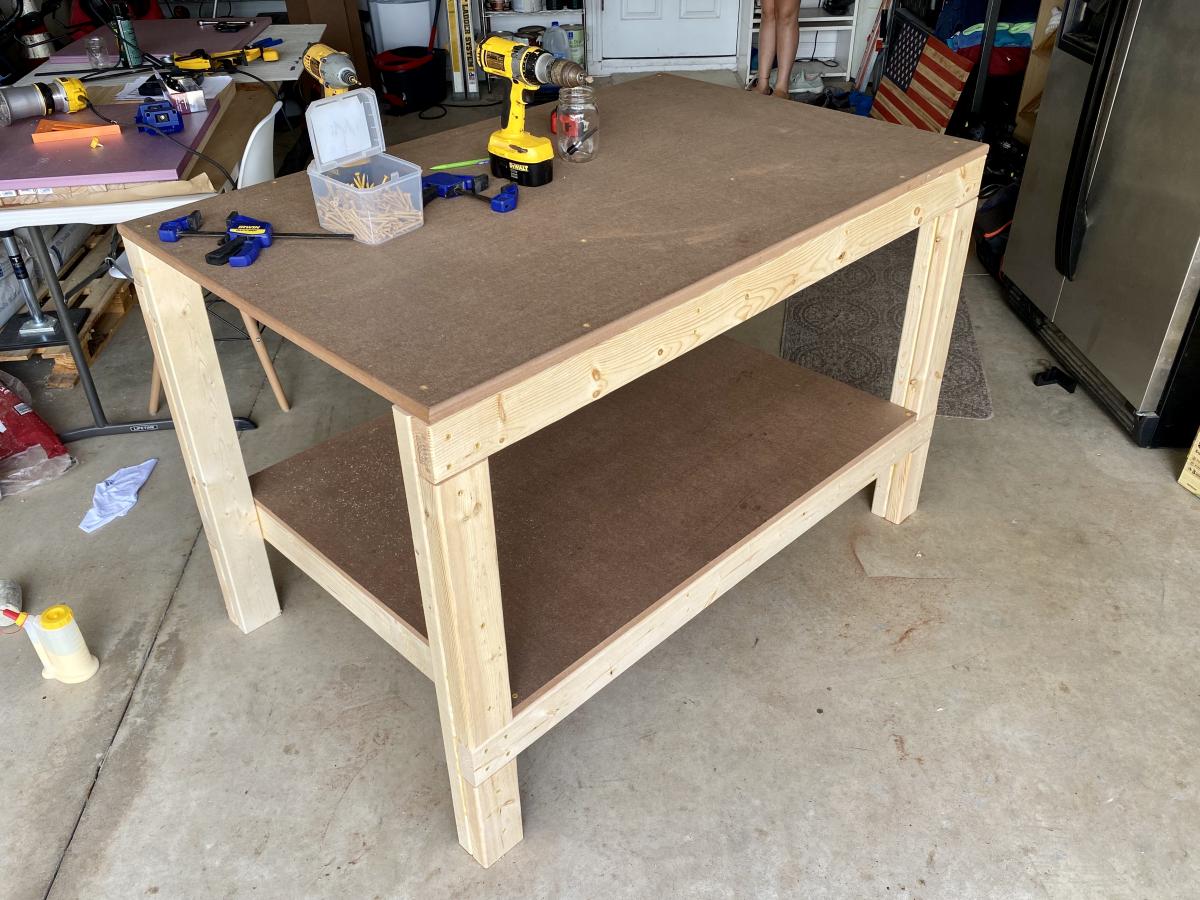
I have been tinkering with a few projects for months doing most of my work on a foldout 6 foot table. Needless to say, this table was not the ideal work space or level surface for that matter. Decided to go ahead and make myself this work bench. I opted to use MDF rather than plywood for my top. All the plans were right on and everything came together without a hitch. The bench height is perfect and my back is thankful for it. Thank you and keep up the great work, Ana.
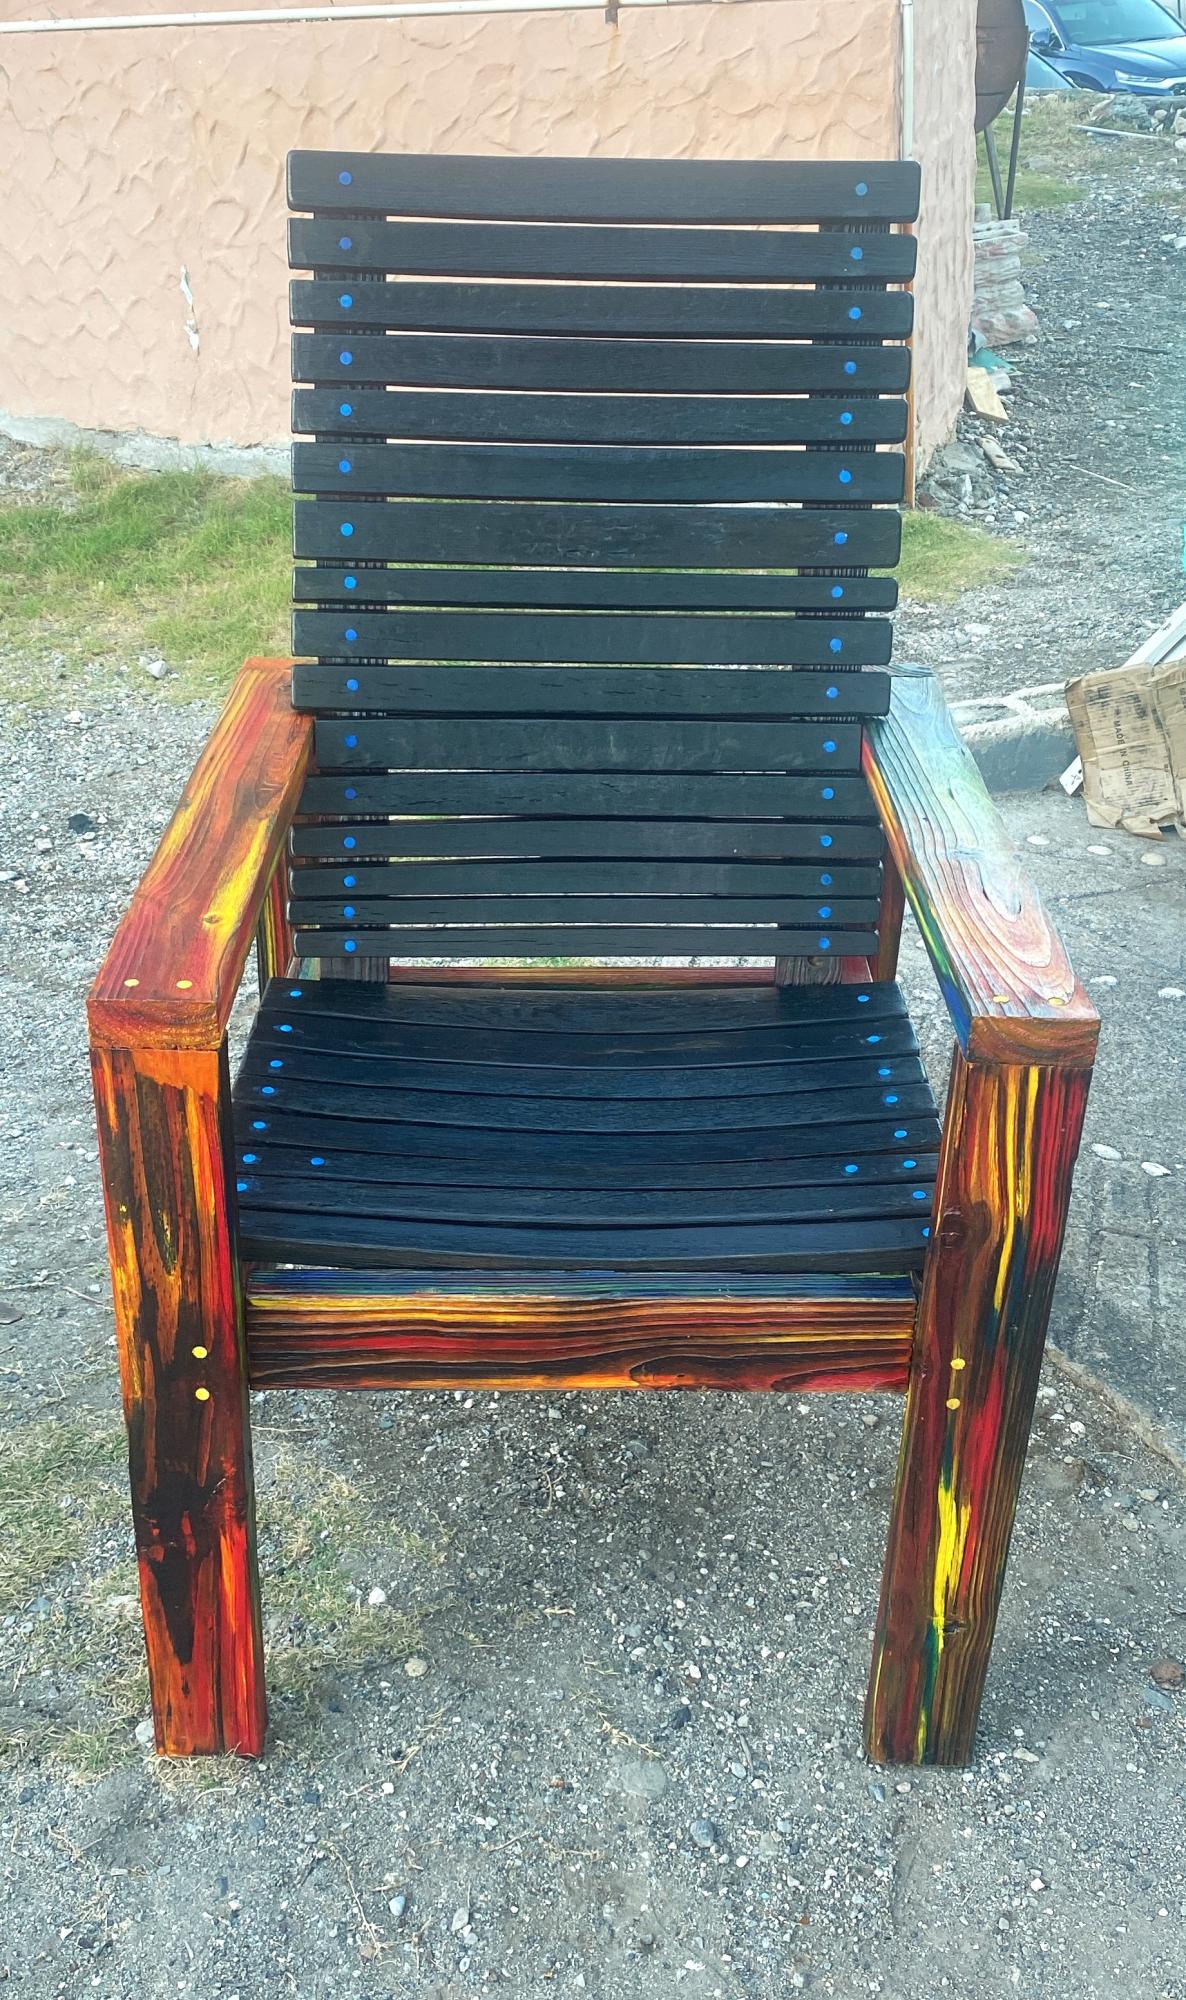
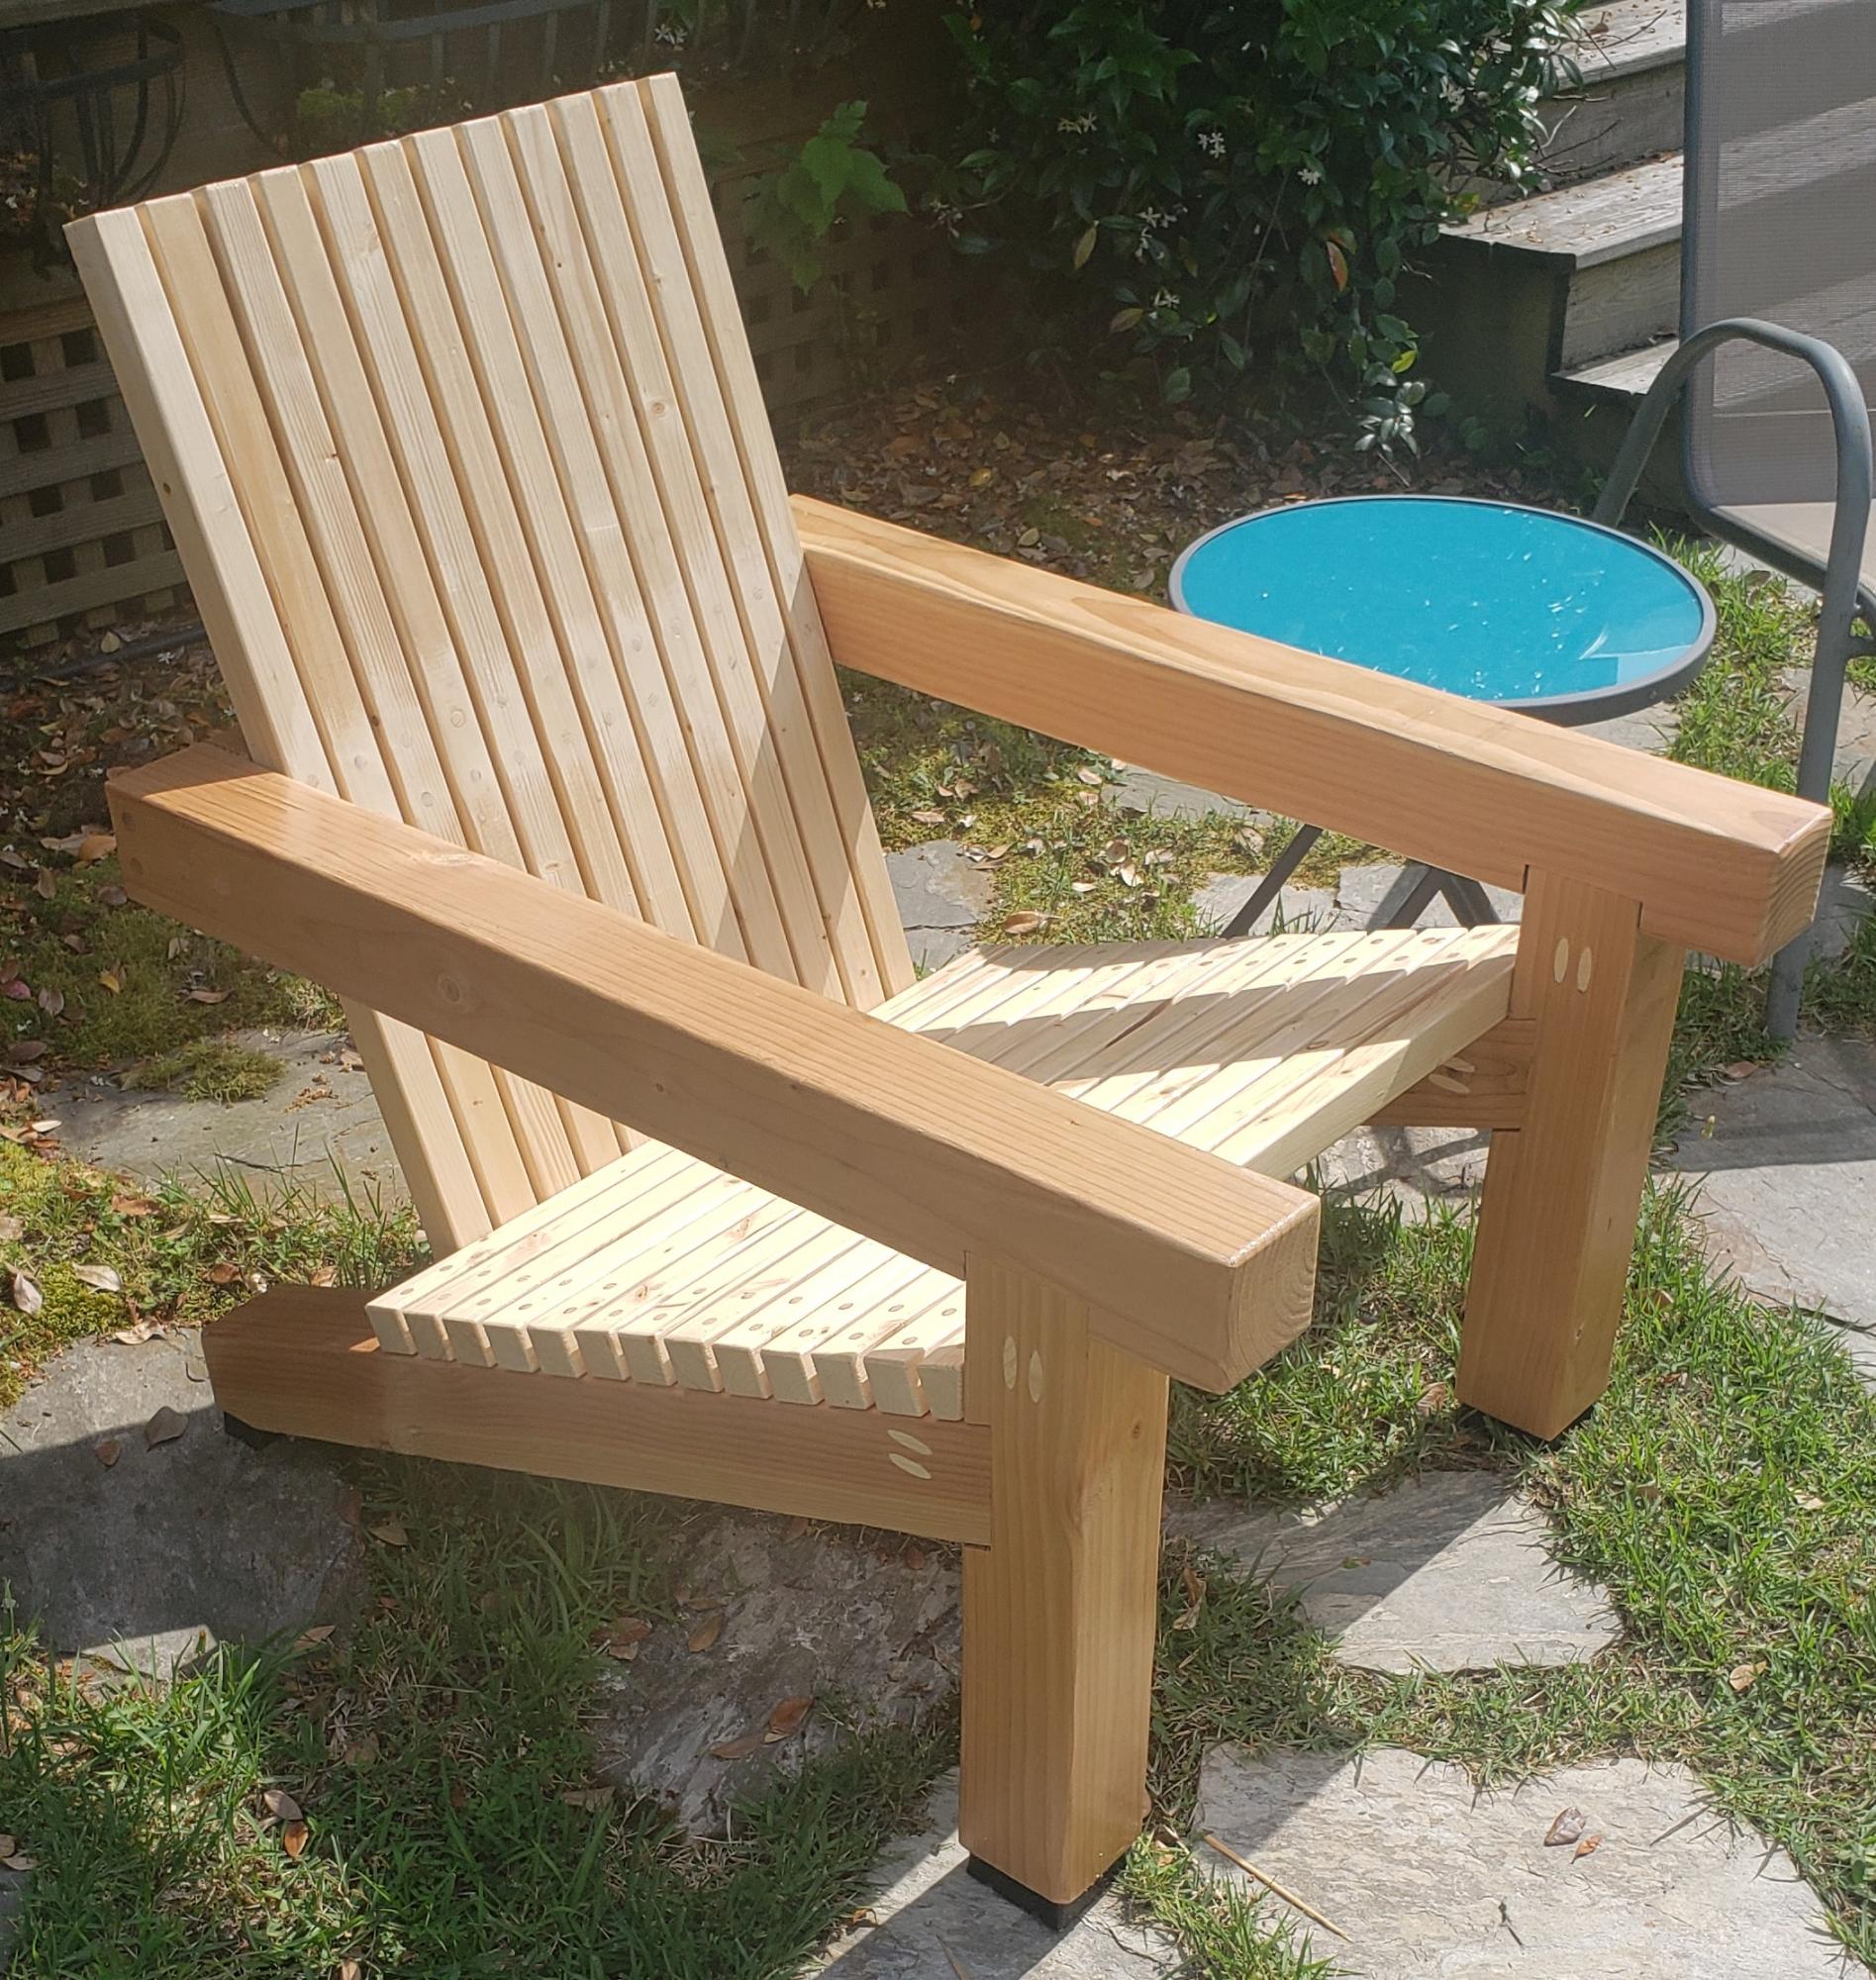
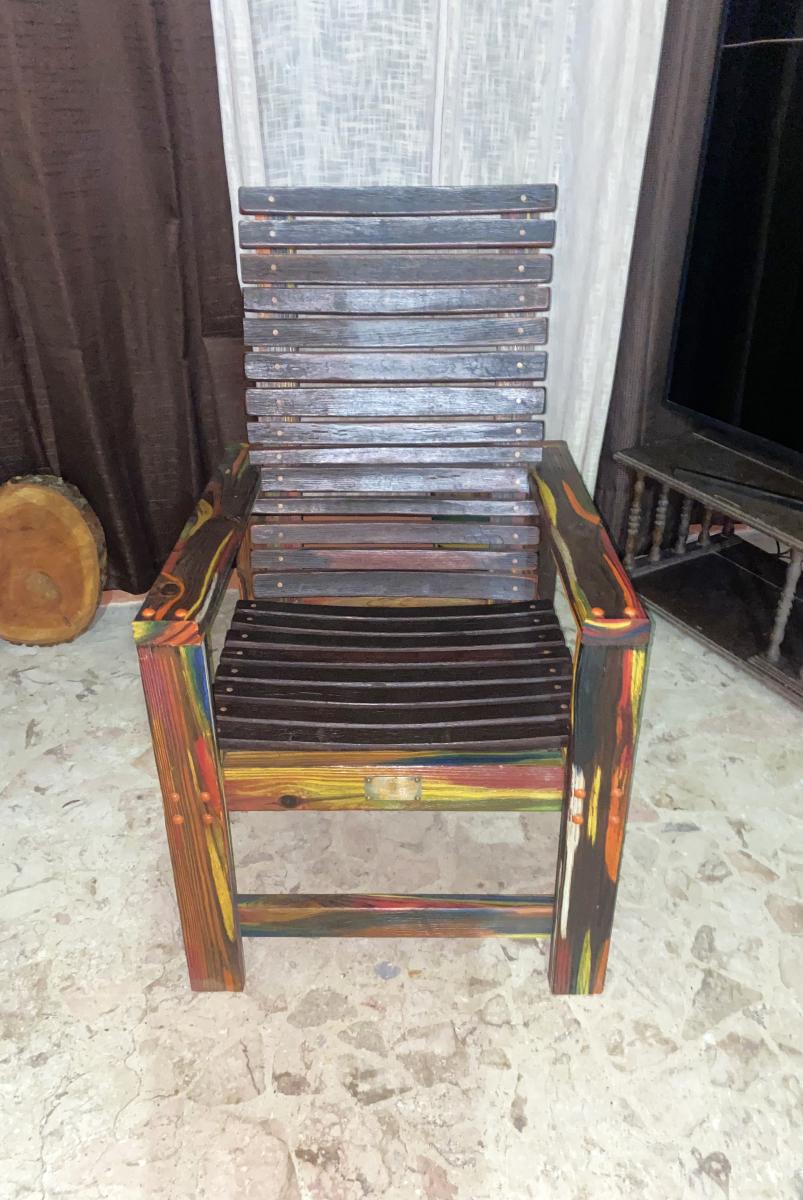
A modified version of one of Ana’s chairs. I widened it by a few inches and used the staves from a retired whiskey barrel for the seat and back. I then added a Sho Sugi Ban effect to the frame and then stained it using Unicorn Spit.
mcglashanpatrick
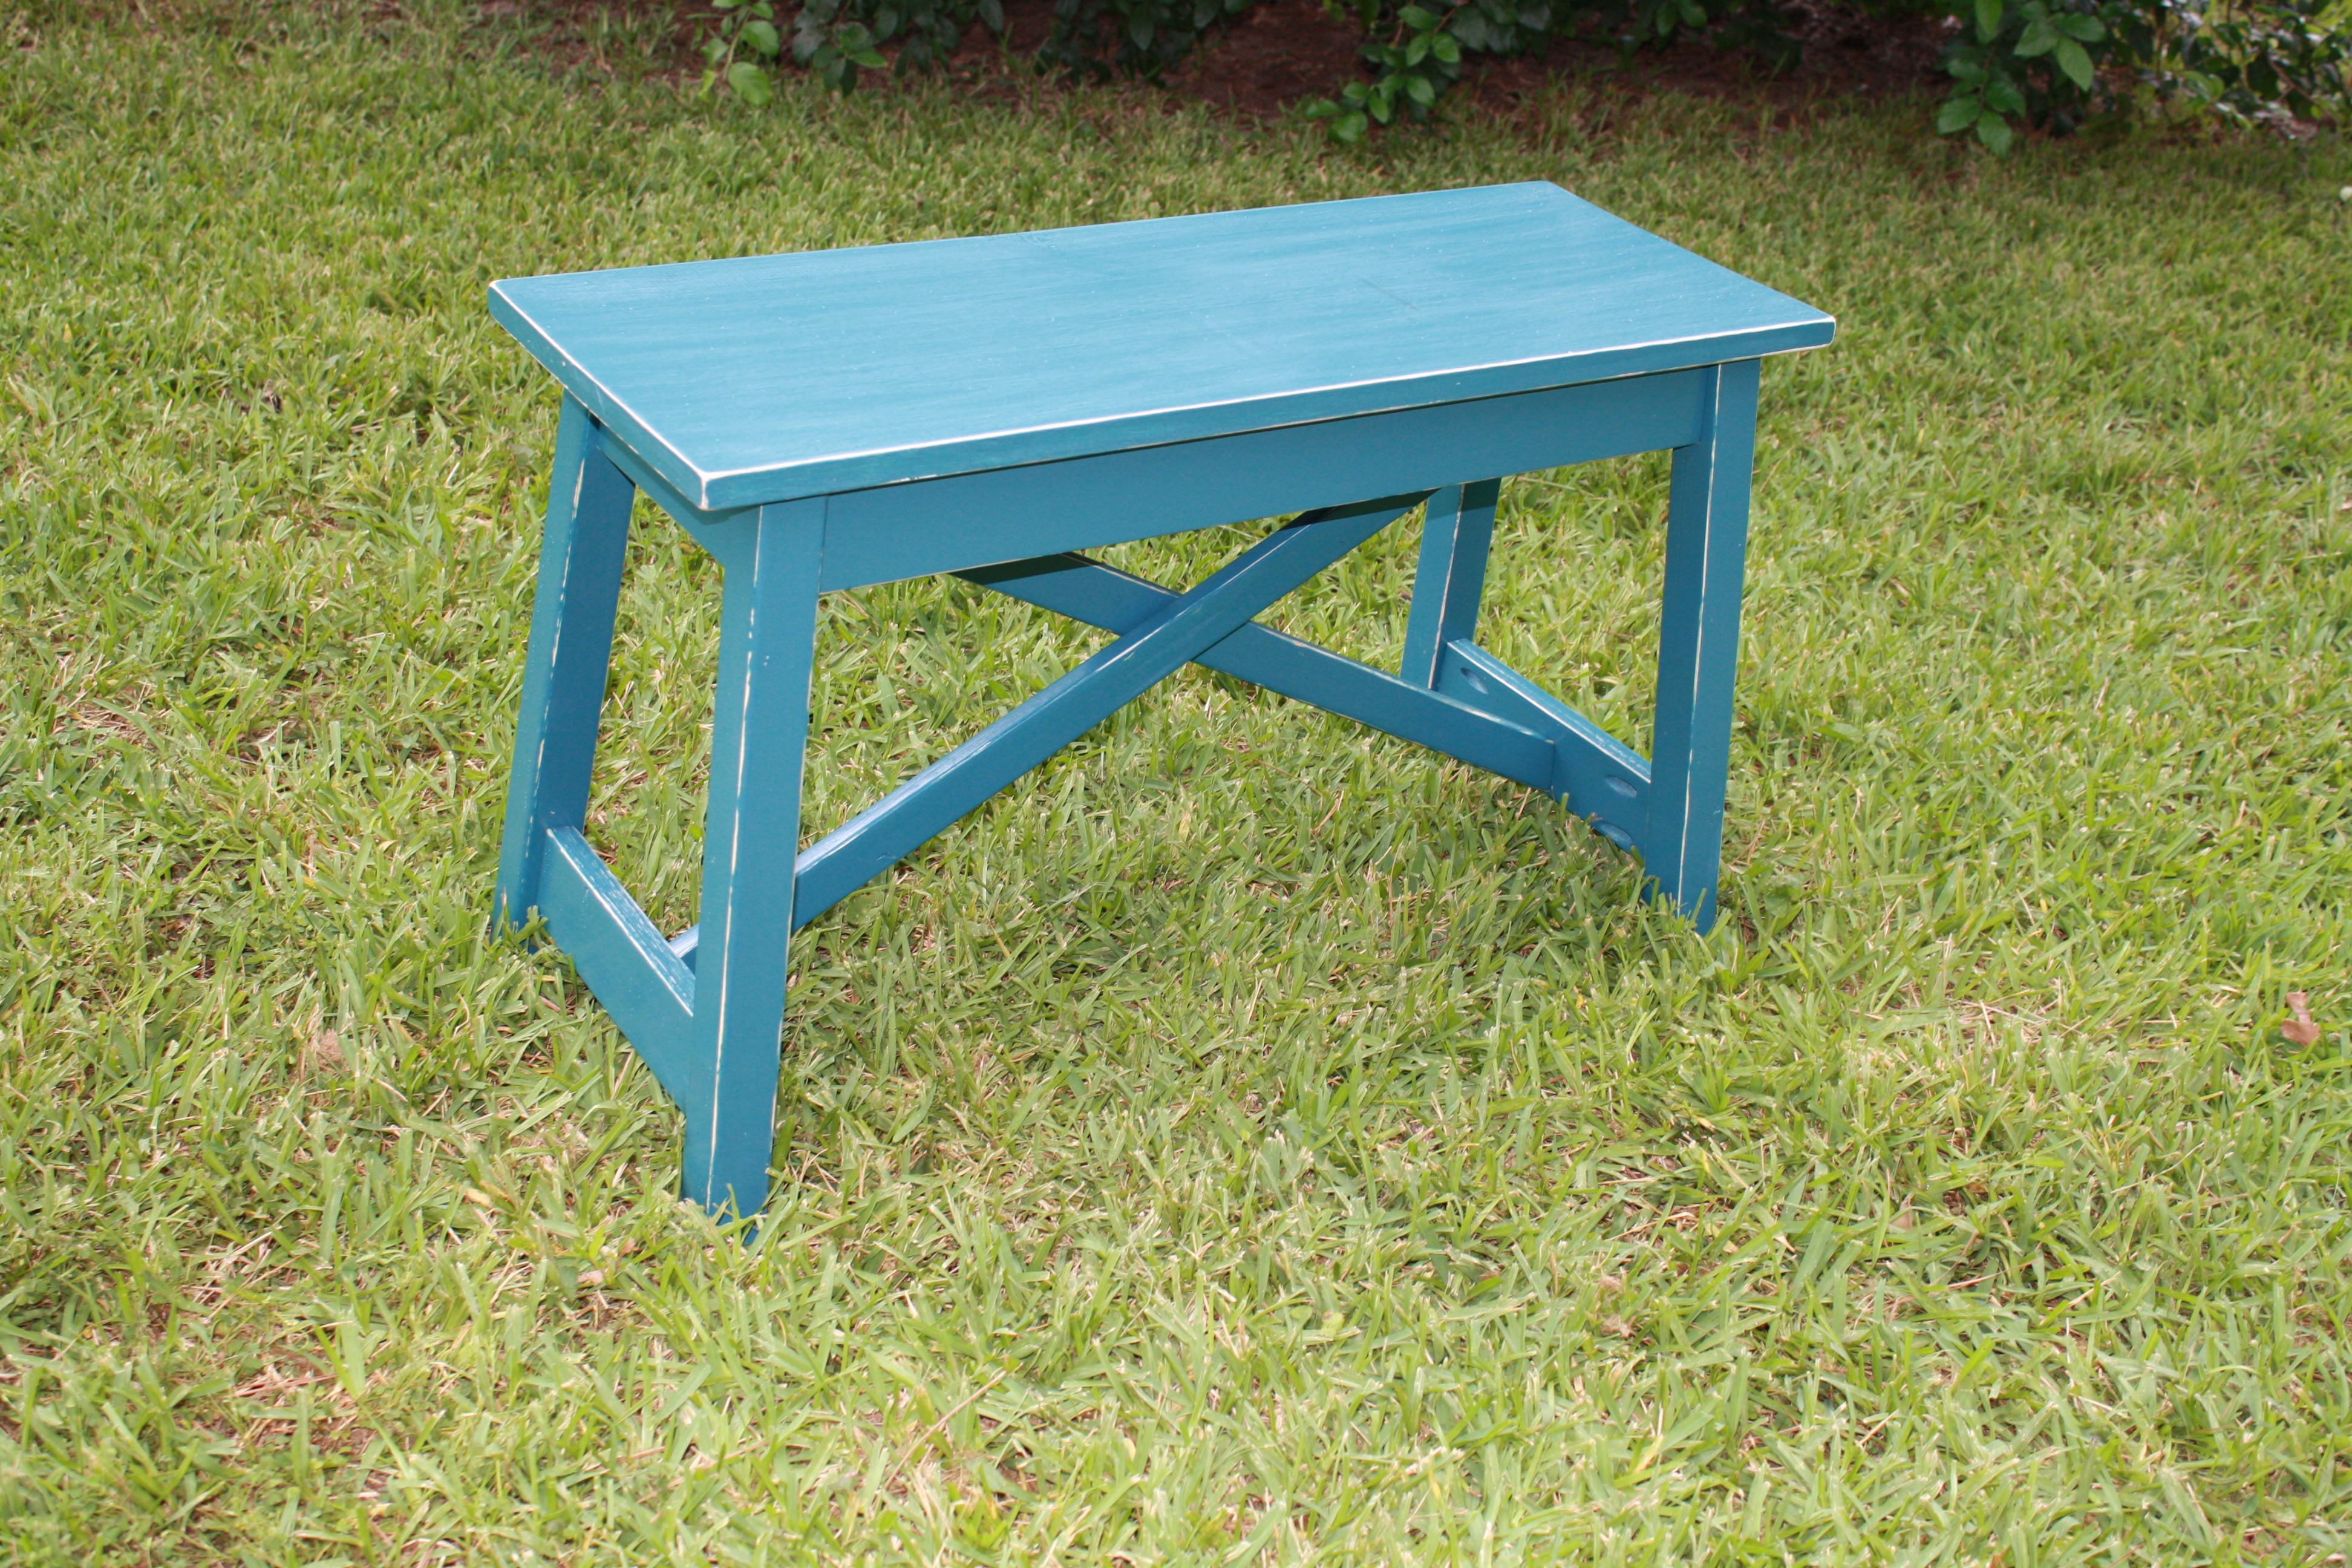
We just absolutely LOVE this little bench! Ryan found Ana's site while searching woodworking tips and thought this bench would be a great replacement for the dinning room chairs that were falling apart. It was a great idea!
We have an Etsy shop and create and sell lots of stuff! We loved the bench so much that we thought why not put a few twists to it and see what our customers think. Well they LOVE it too! Of course everyone wants this color and that size, but the core design from "some great plans" is what does the trick!
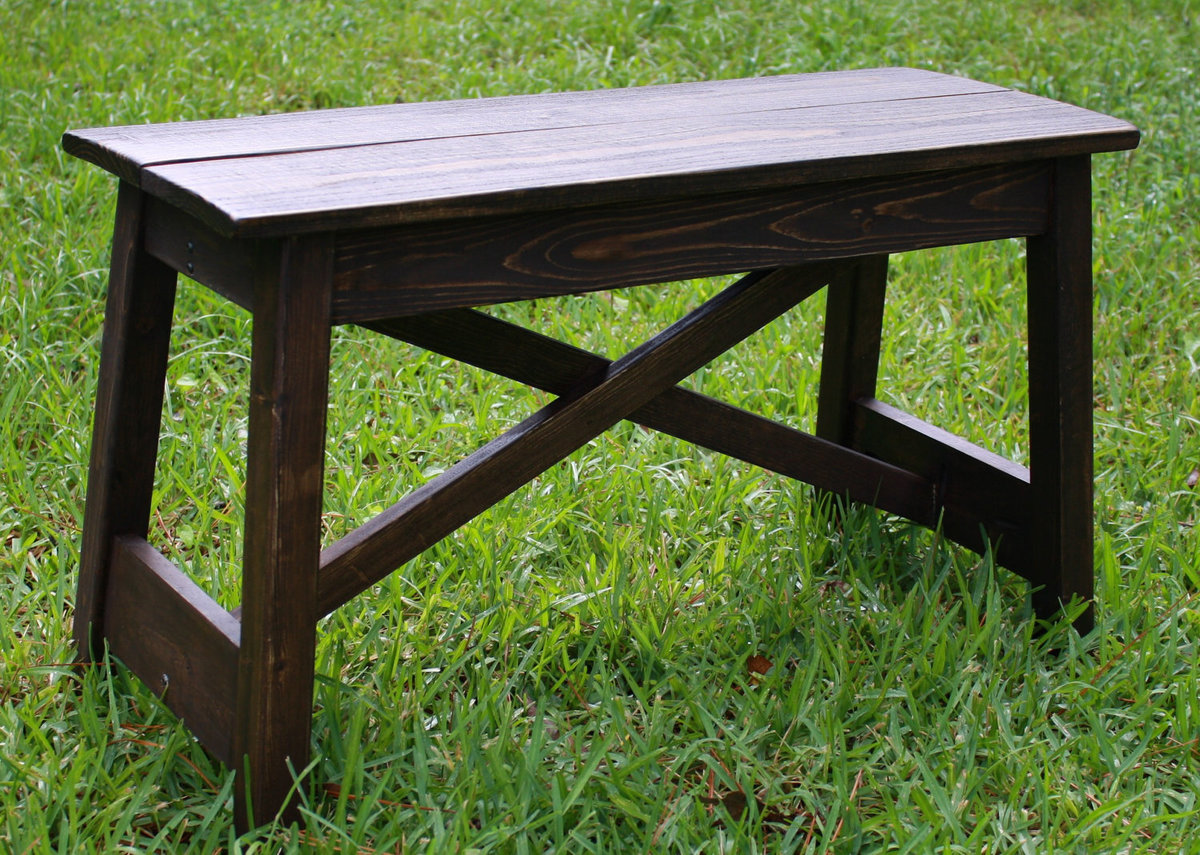
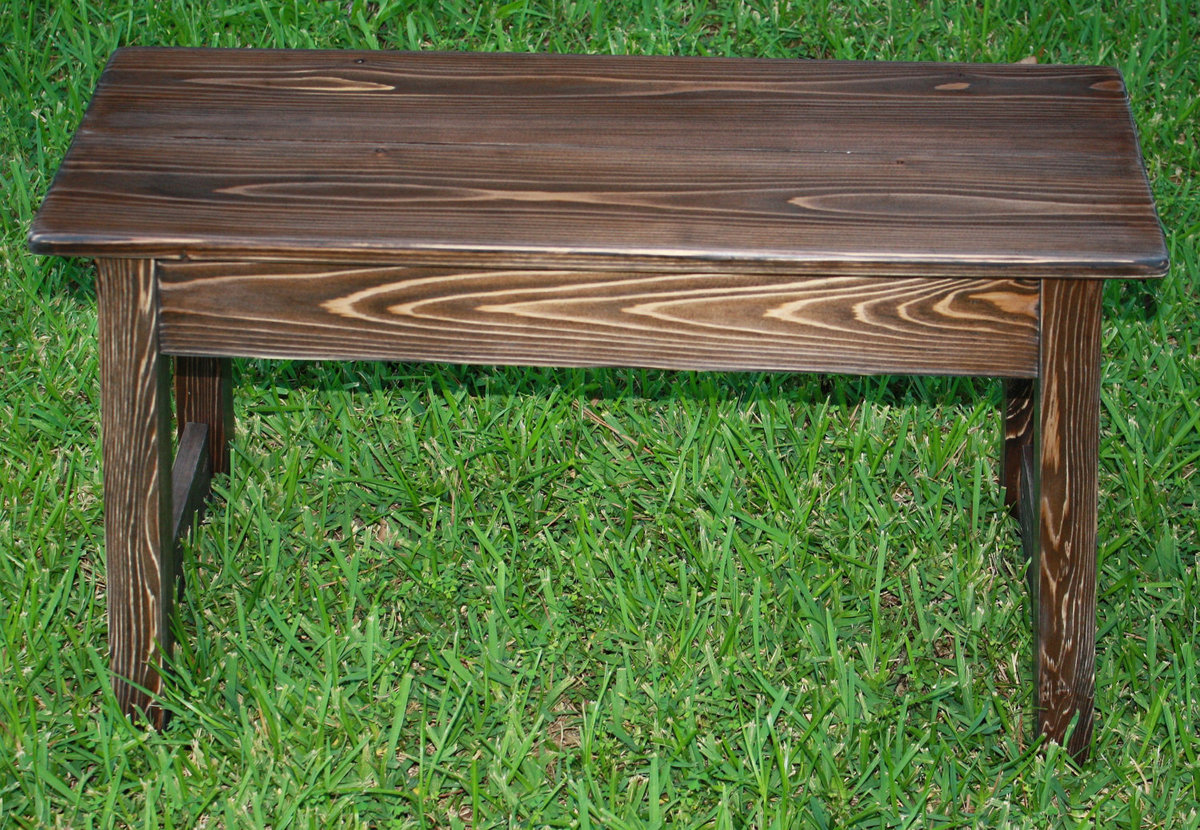
The benches featured here just show you that the sky is the limit with mix and match options. From a slightly distressed blue X bench to a 100% solid Cedar bench to a reclaimed wood bench! We just love coming up with ways to tweak and add our own twist to the design.
Also...and most important...If you notice, there are NO screws showing on the outside of the bench!!! Yep..figured out how to hide the screws for the 'X' part of the bench. Just email me for the details ... (I get long winded).
Thank you Ana and everyone else who contributes here! Great site with awesome intentions....Can't wait to show you the coffee table we are working on!
-Angel
Email me here: http://www.etsy.com/shop/RyAngelsCreations
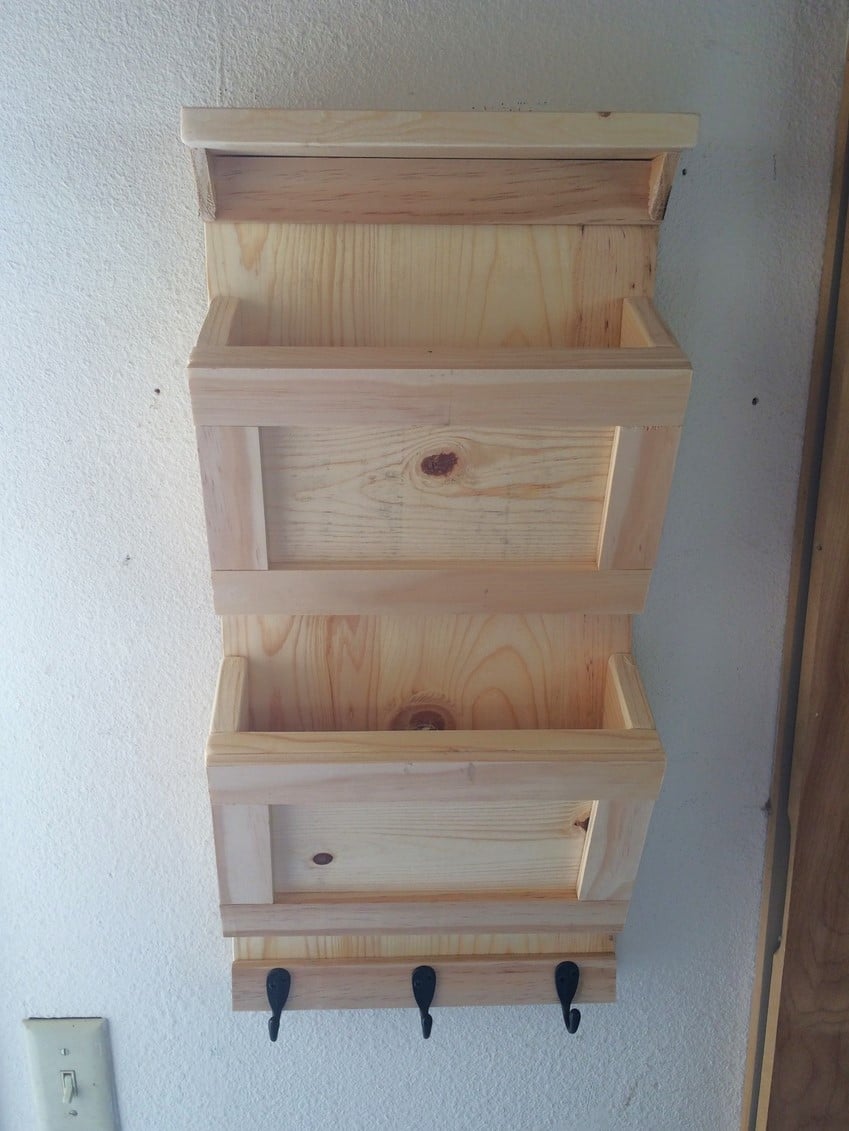
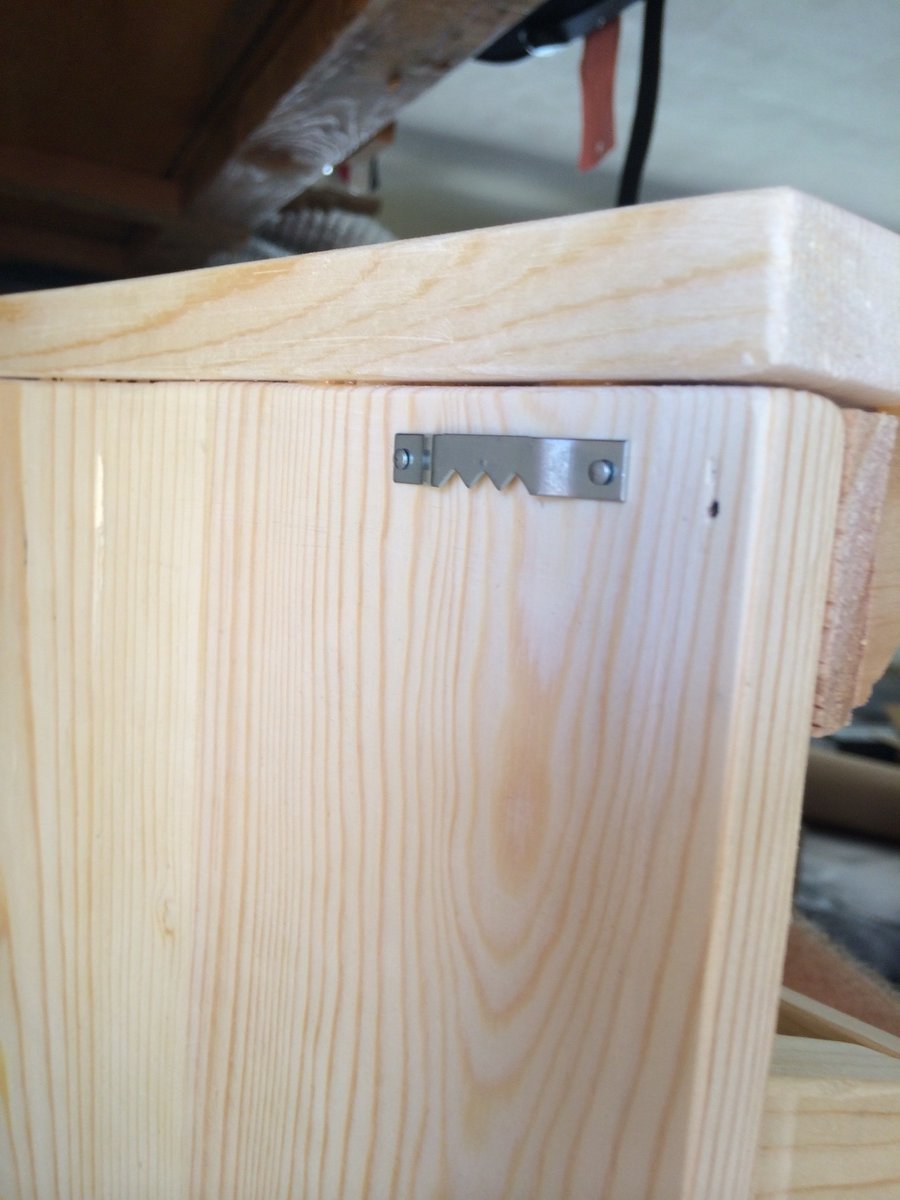
Threw this together in a couple hours with scrap wood that I had from an Ana White project I did over spring break. Had to buy some hooks and the hanging brackets and that was it. Very simple! Not sure how I'm going to finish it. I don't have time for the finishing right now anyways so I'm going to use it as is and finish it later!
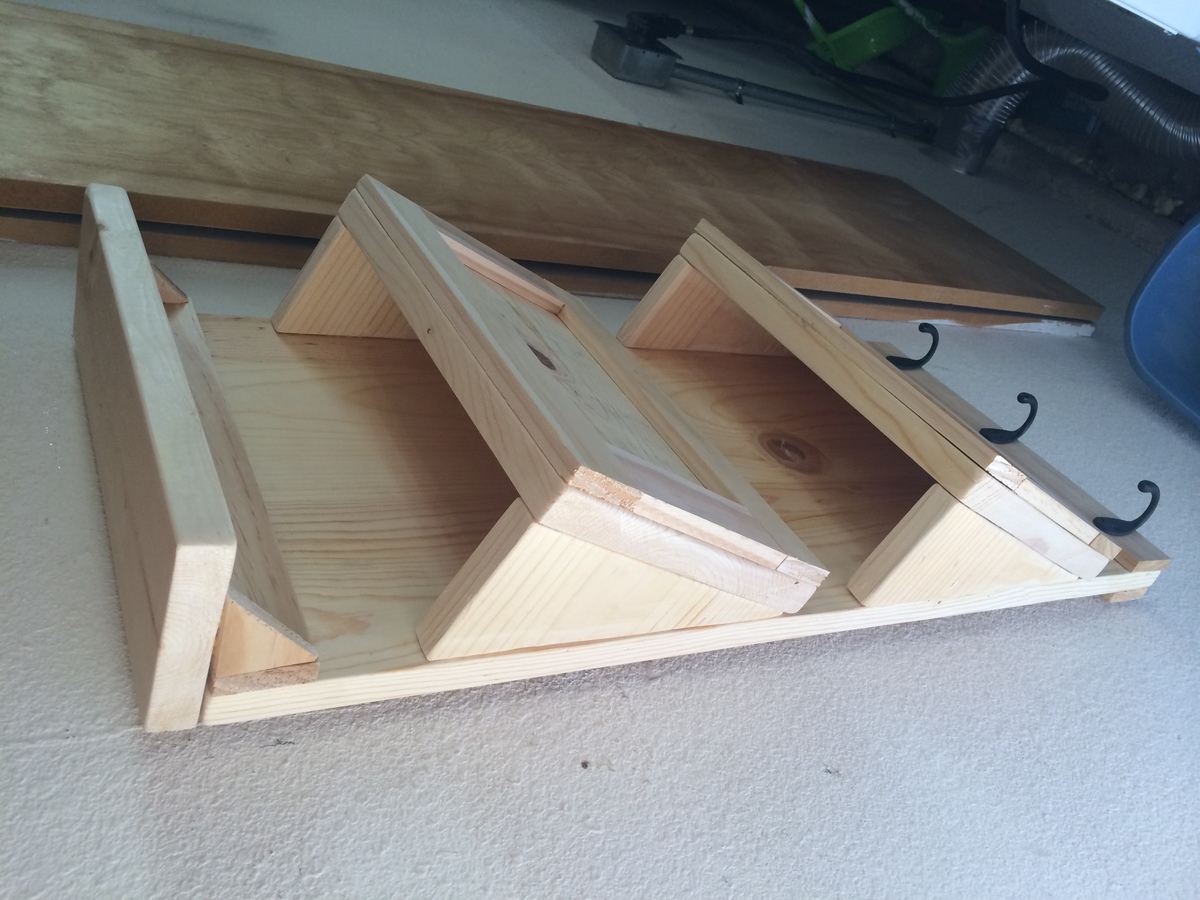
A huge thanks to Ana, her inspirational blog, and her clear and easy-to-follow plans for convincing me that I could take on and complete this project. I had lots of fun doing it!
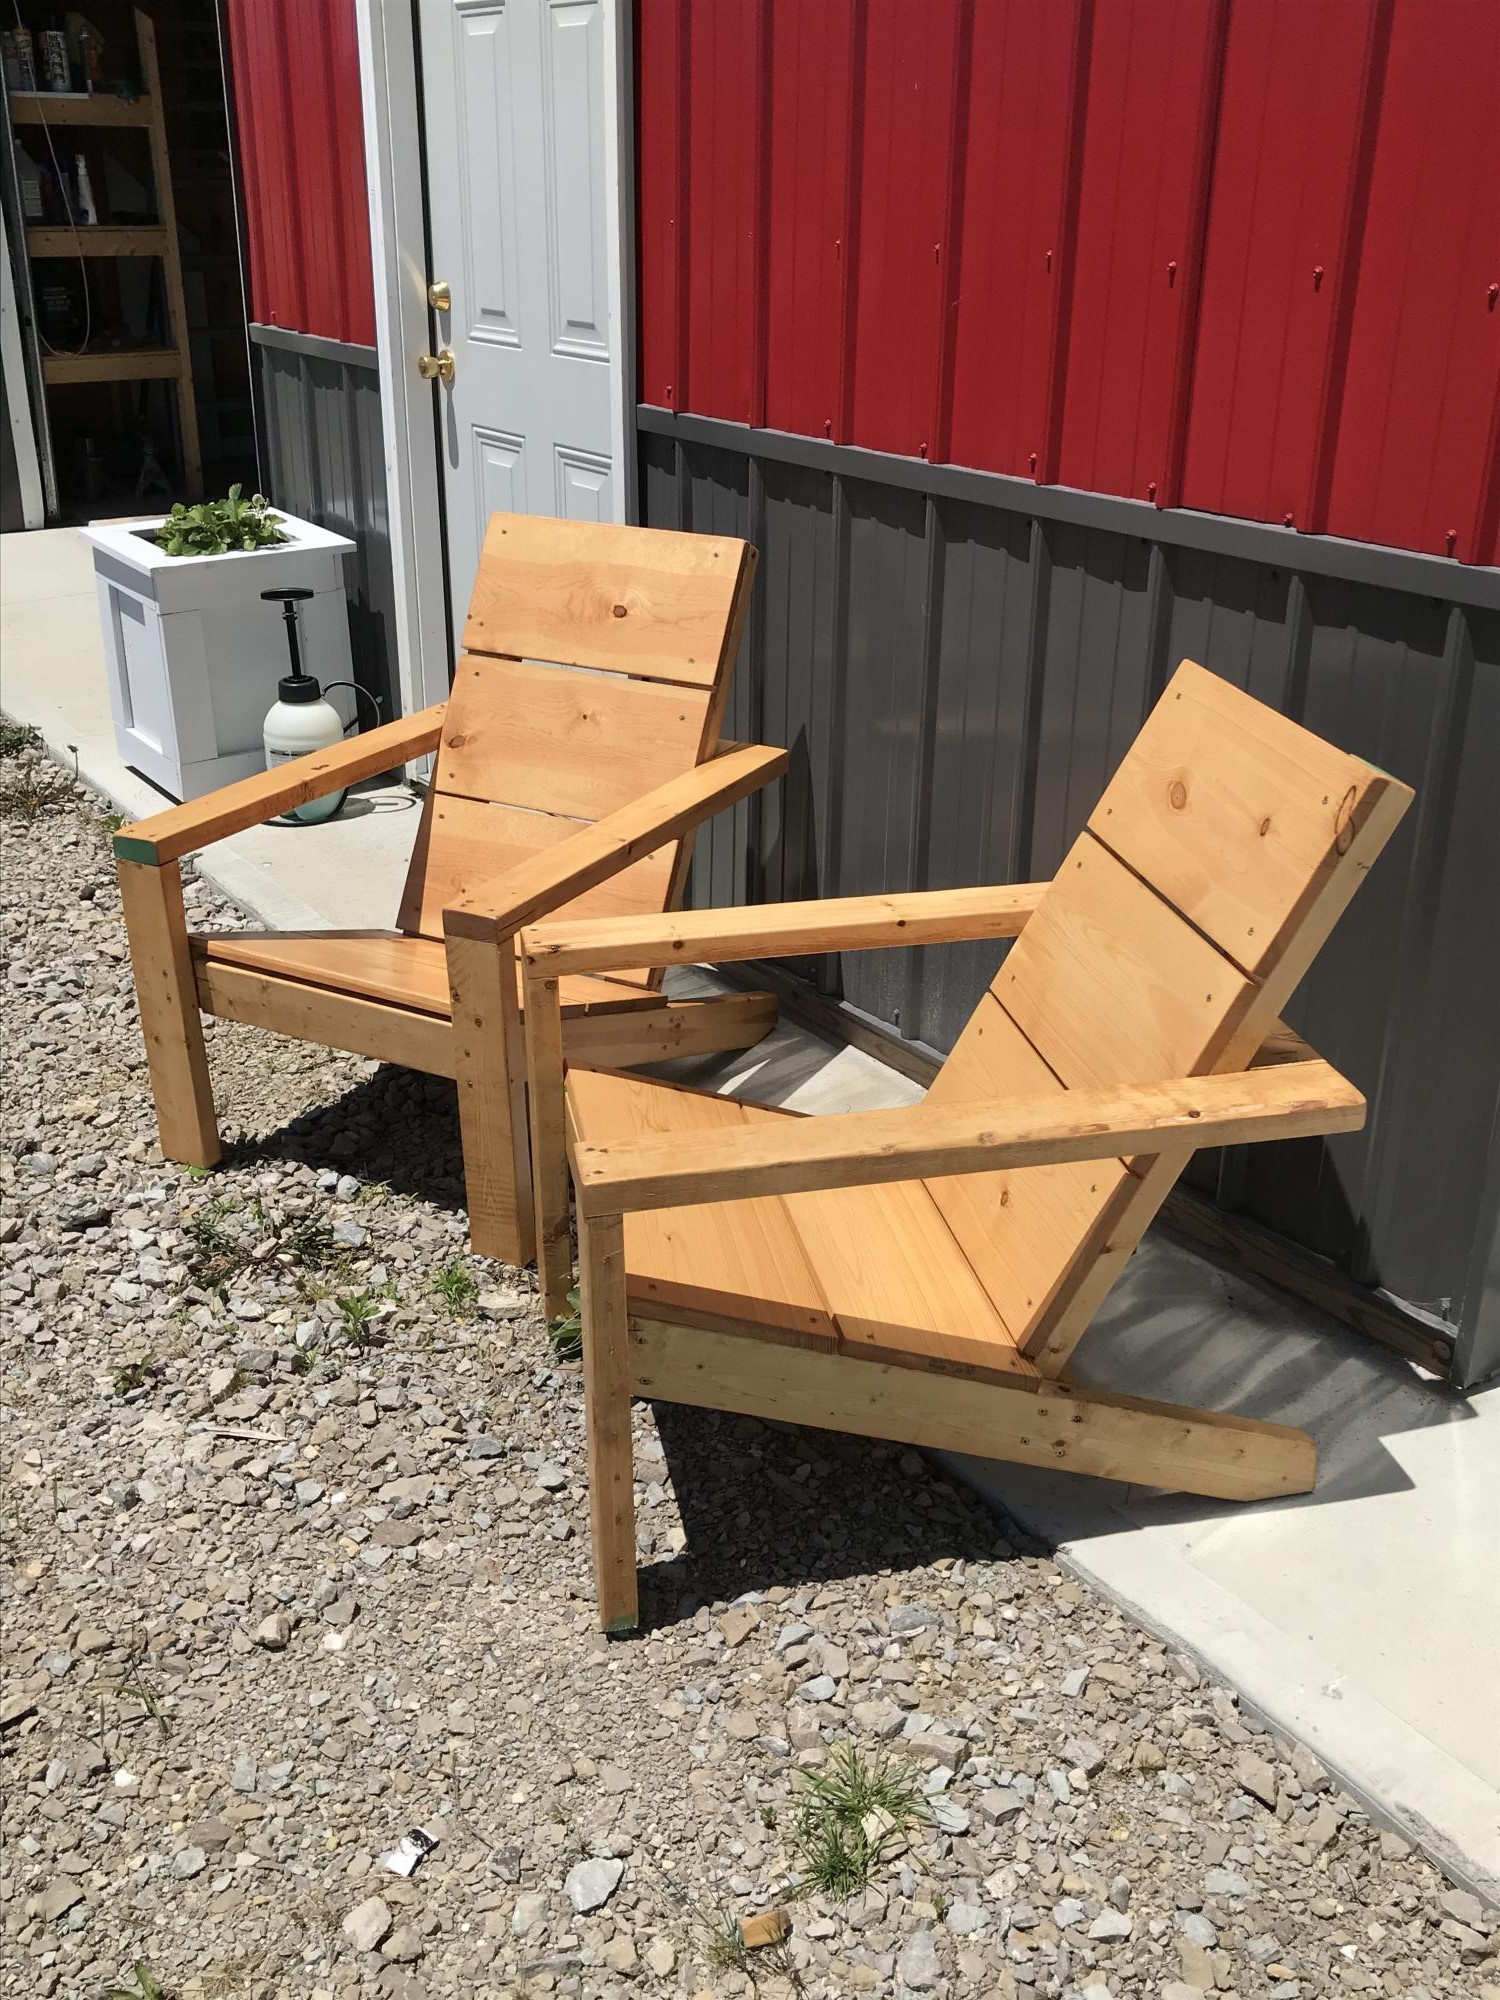
Really enjoyed this project and they turned out great. Already getting orders to make more for friends. Thank you Ana!
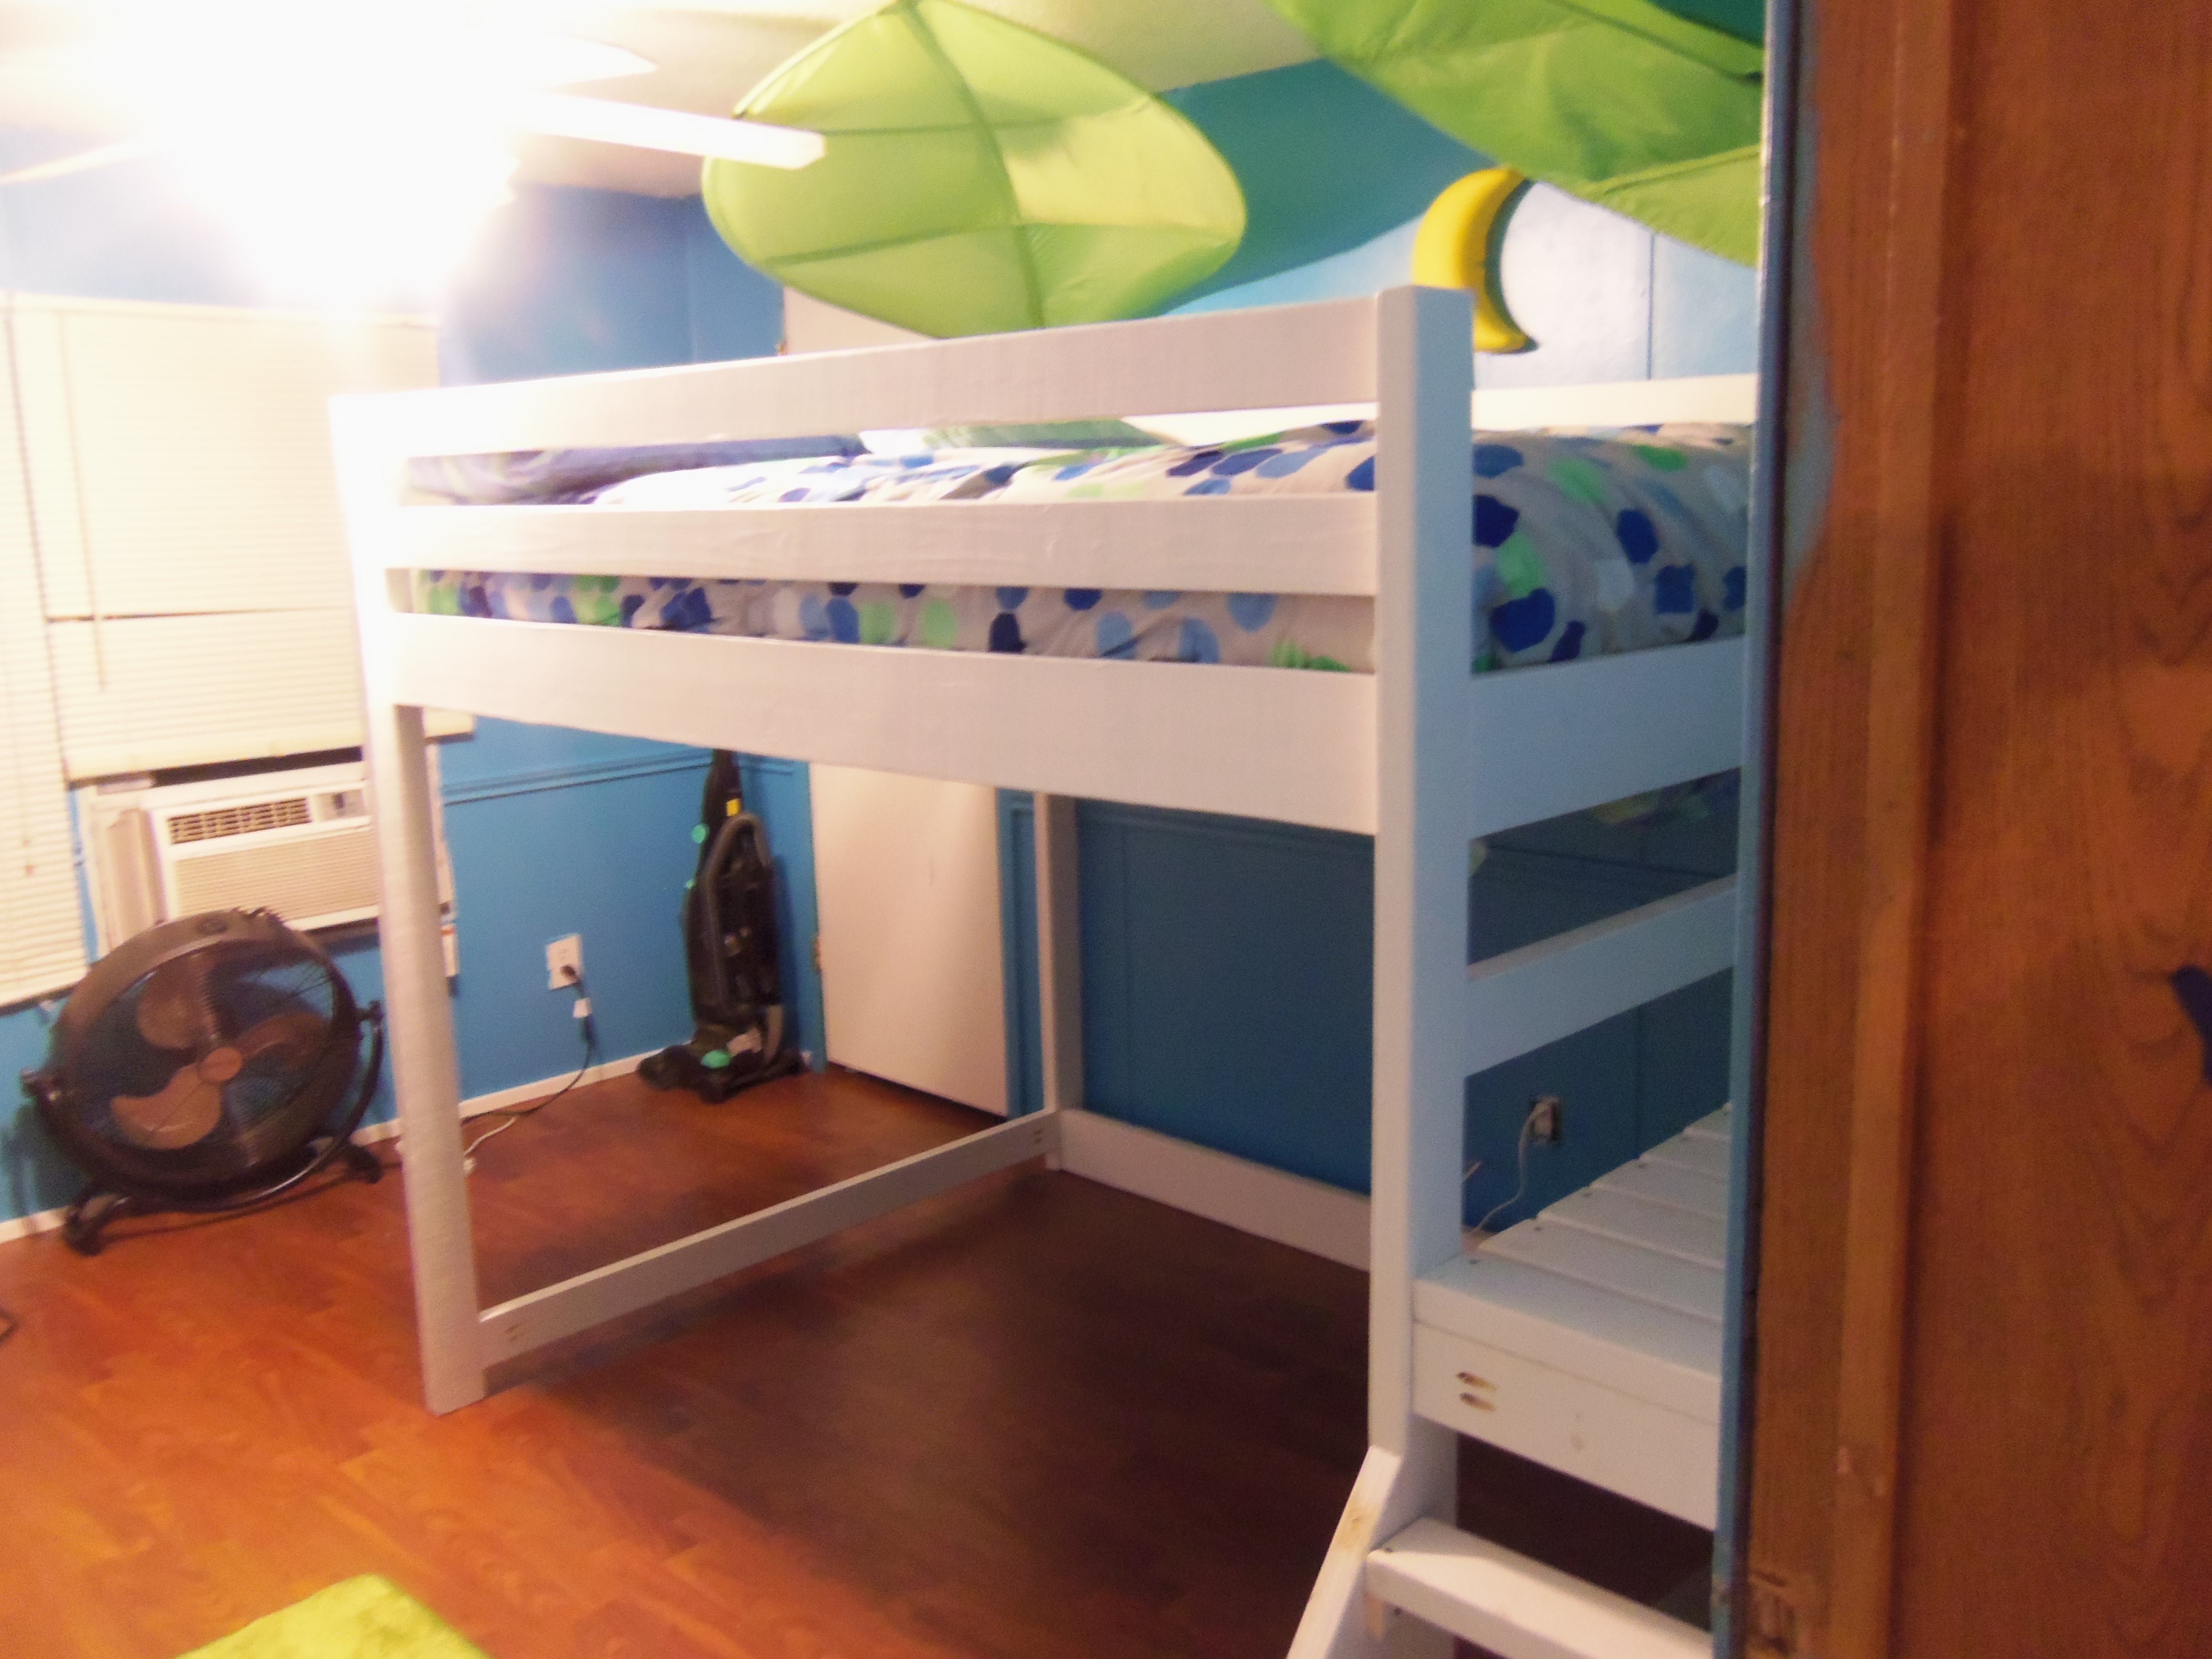
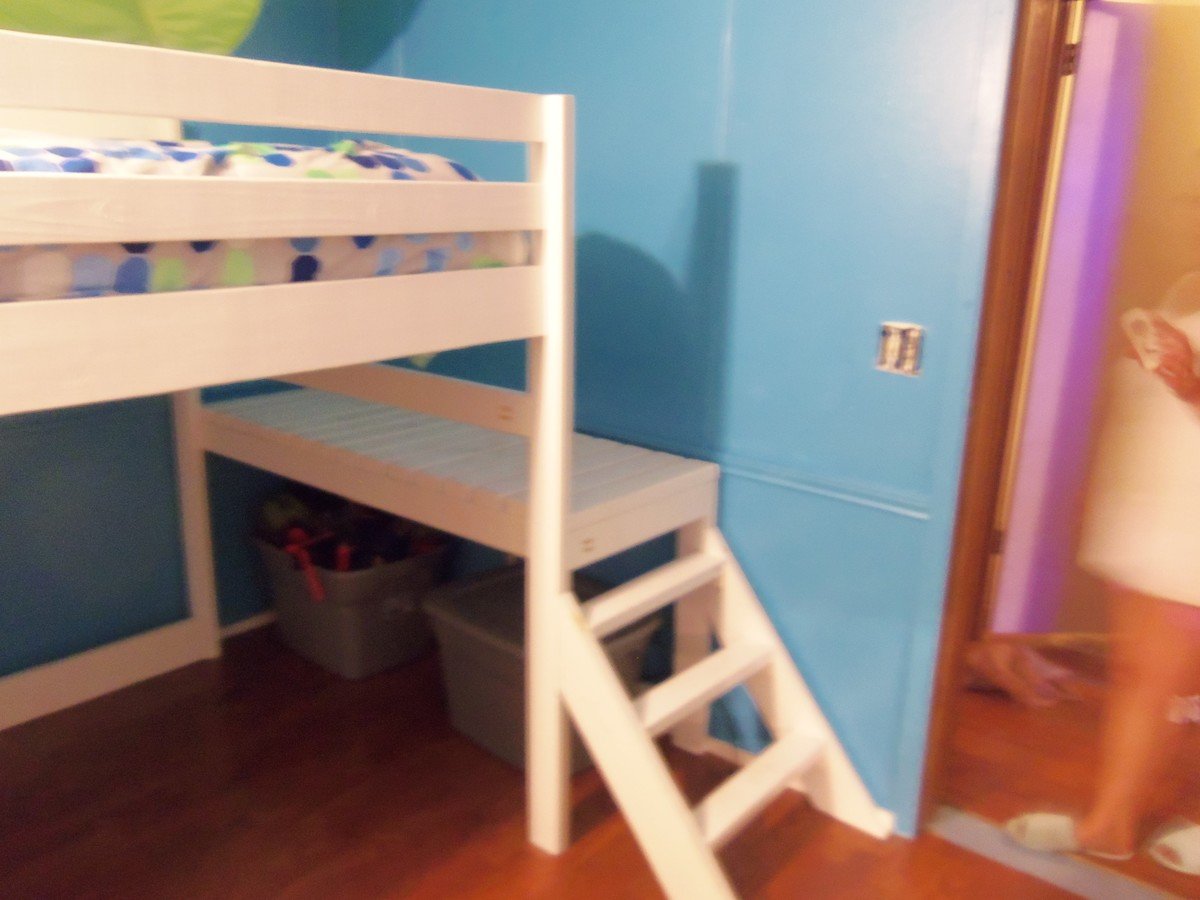
I built this bed for my 4 year old son over the weekend....I'll admit to a LOT of help from his Mamaw and Pawpaw. We converted it to a full-size bed instead of a twin...simply so I didn't have to buy new mattresses. We LOVE the way it turned out and he thinks he's King of his own personal "castle". Thanks for the plans!
Wed, 08/08/2012 - 06:53
I should have mentioned that we're not quite done yet. I still have to fill in holes and do a bit more touch up painting on the bed. And there is still stuff going on in the room. I just wanted to get some pictures up on here.
Thu, 09/27/2012 - 08:10
Thank you :) We had to do some rearranging, the leaf blocked his small television, but it ended up looking really cute. We used lots of green (it's his favorite color and he wasn't too pleased with me for painting the room blue) and that shade really pops against the blue and white.
Sat, 09/08/2012 - 05:48
I have a couple questions...
1) how is the mattress supported? It's not really part of the directions in the original plan? Are the boards included in your cut sheet?
2) when did you paint?
3) how much sanding did you have to do?
4)What are PH screws and PH holes?? I was thinking Phillips head, which makes sense for the screws, but not the holes.
Thanks!!! This is awesome!
Mon, 09/10/2012 - 12:07
Hi :)
To answer your questions....
1.) We used 2X4's to support the mattress...They are not included in the cut sheet, they were just left overs that we had. We used 7 2X4's cut at 55 inches as supports. You will want to measure the width of your bed on the inside to make certain you have the appropriate length.
2. and 3.) We cut the boards and sanded (it felt like a lot, but with two people sanding it wasn't too bad) and painted the same day. My parents sanded and then I painted. That cut down the work time. We did have to go back the next day and do another coat on one or two boards but, it wasn't bad.
4.) I took PH Screws to be Phillips head as well, and that's what we used. 2 and 1/2 inch long ones to be exact...we got them at Lowe's...they were kind of a grey color, not the black one. PH Holes are pilot holes. We invested in a Kreg Jig Jr to make our pilot holes. It drills a hole at an angle which allows your joints to be stronger. That way your screw is biting into more wood. The Kreg Jig was about $40.00 and completely worth it. Just make sure you have a C-Clamp if you get one. We did not use a Kreg brand C-Clamp but, the next time we do a project, I'll get one.
We weren't real sure how to use the Kreg Jig so, we searched on YouTube for an instructional video..it's amazingly simple to use and the added security of having strong joints is totally worth 40 bucks.
Tue, 09/25/2012 - 08:09
I loved how your bed turned out! My daughter also has a full sized bed and I don't want to have to get a new mattress so I really appreciate you taking the time to post such detailed instructions on how to convert to a full sized:-)
I could be wrong, but I always thought PH stood for Pocket hole screws... They are actually a little different than phillips head because they are "self tapping” you don't have to predrill a pilot hole into the joining board in order to keep it from splitting... I usually buy the Kreg brand ones that they sell at Lowes but I have read on this site that you can buy them online that aren't the Kreg brand and they will work.
Thu, 09/27/2012 - 08:08
You're probably correct about the screw thing. When I first read it that was my assumption as well. However, I was told by my dad that I was incorrect, but what does he know?! I tried to make the information that I shared as detailed as possible because I know it can be a bit of a pain in the rear end to have to try to modify something without really being sure of what you are doing.
Good luck with your build if you haven't already finished it. I'm sure she will love it as much as my son does. My only real down side to the bed is that even at 5 feet 8 and 1/2 inches tall I have to stand on my tiptoes to give my son his goodnight hug and kiss. But, whats a little stretching going to hurt? I figure I may as well get as many as I can before he decides he's too cool or old to kiss his mama.
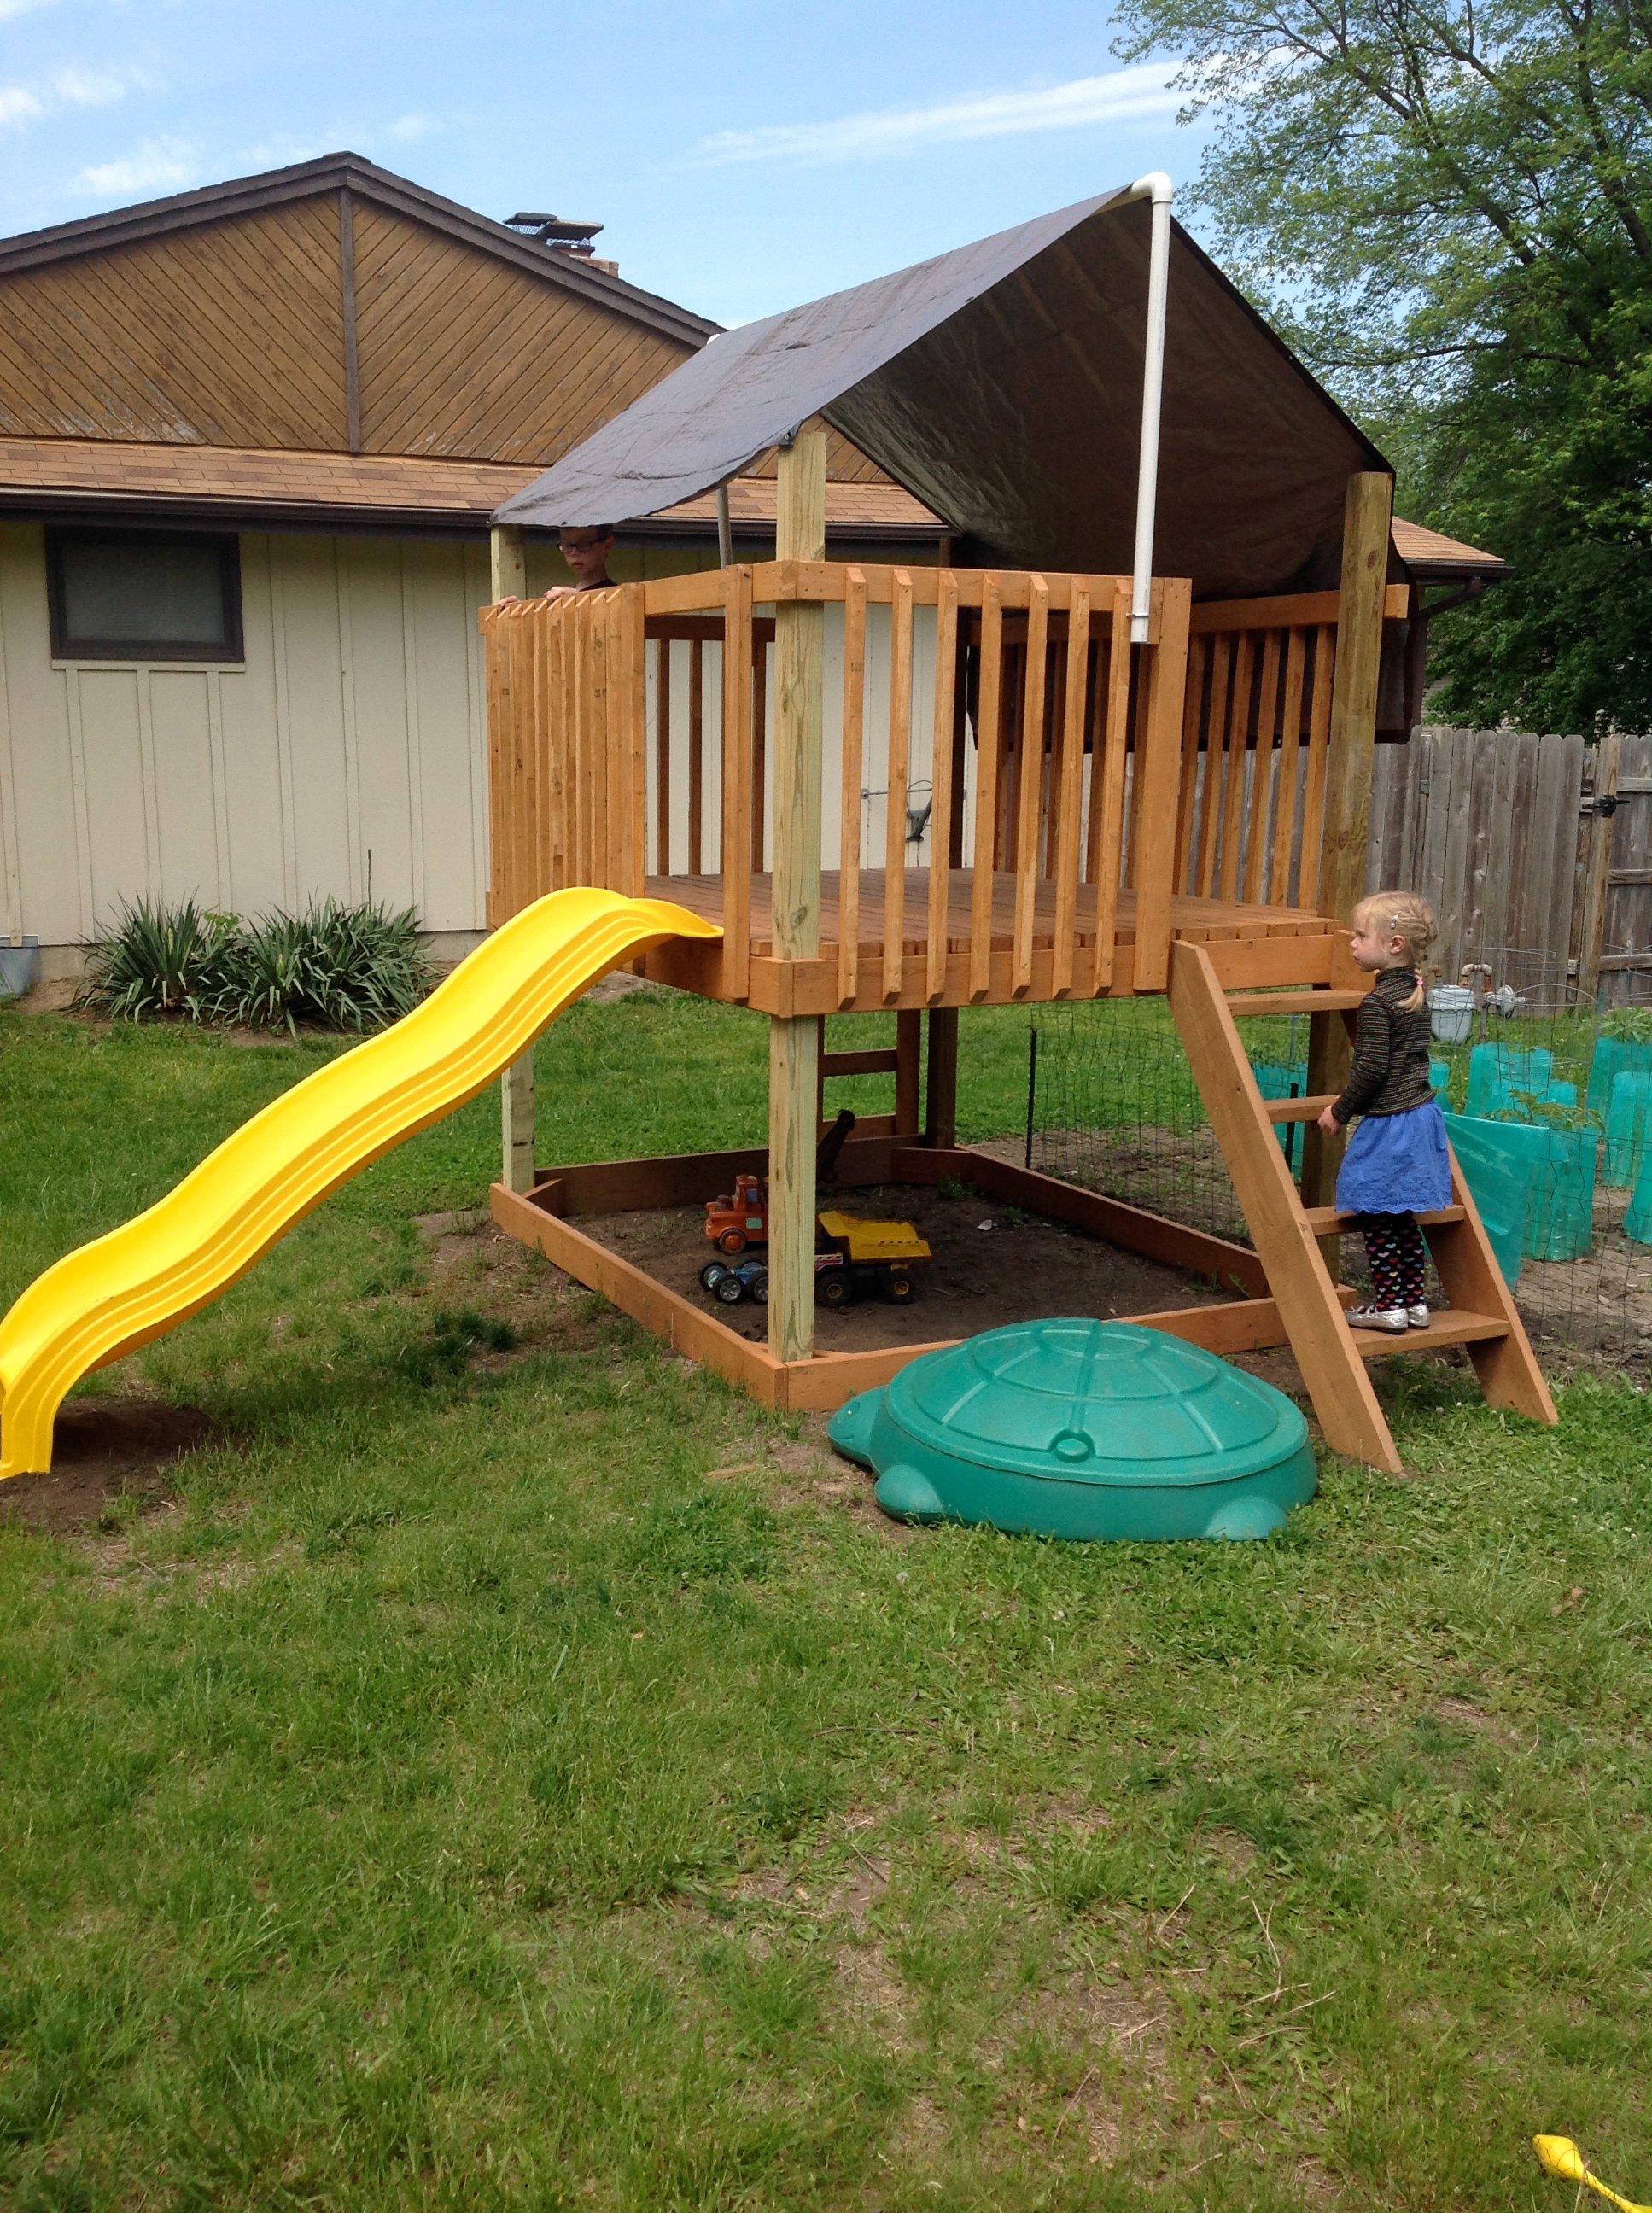
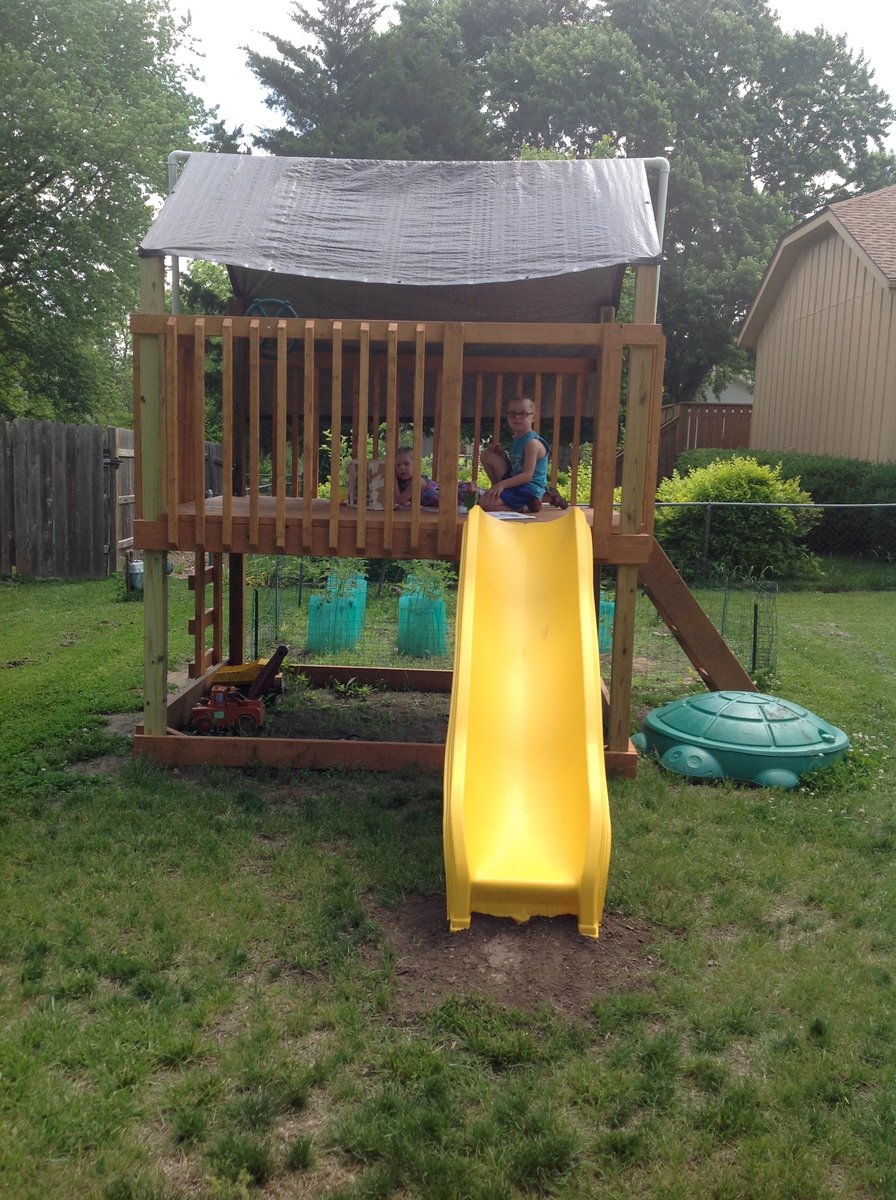
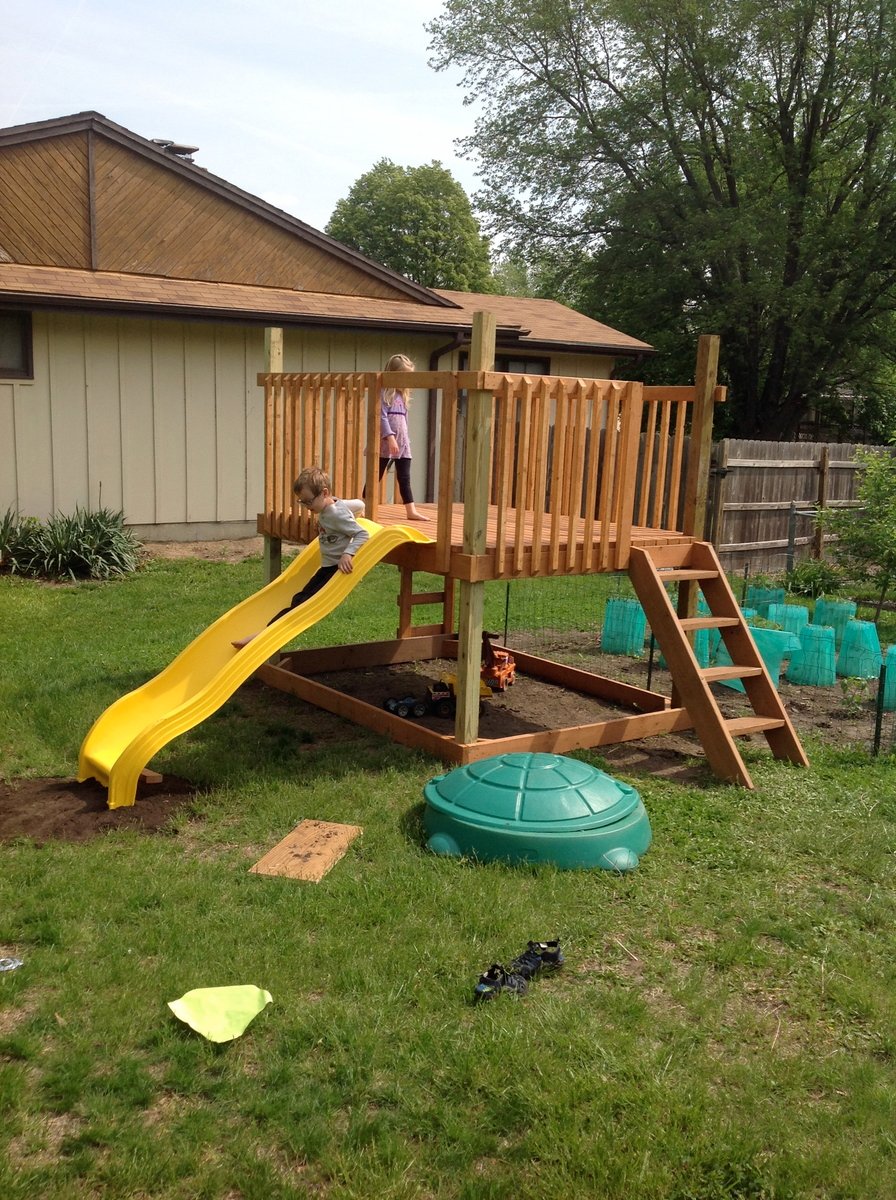
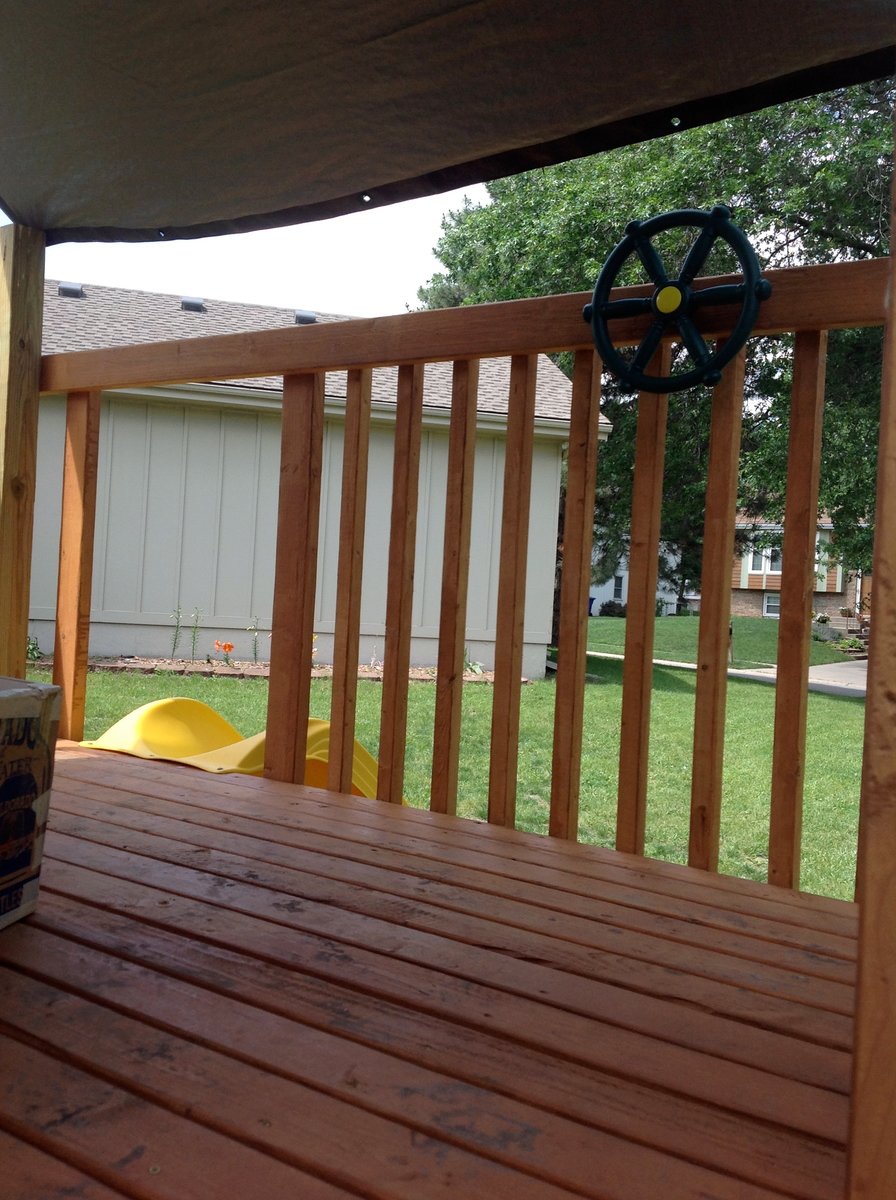
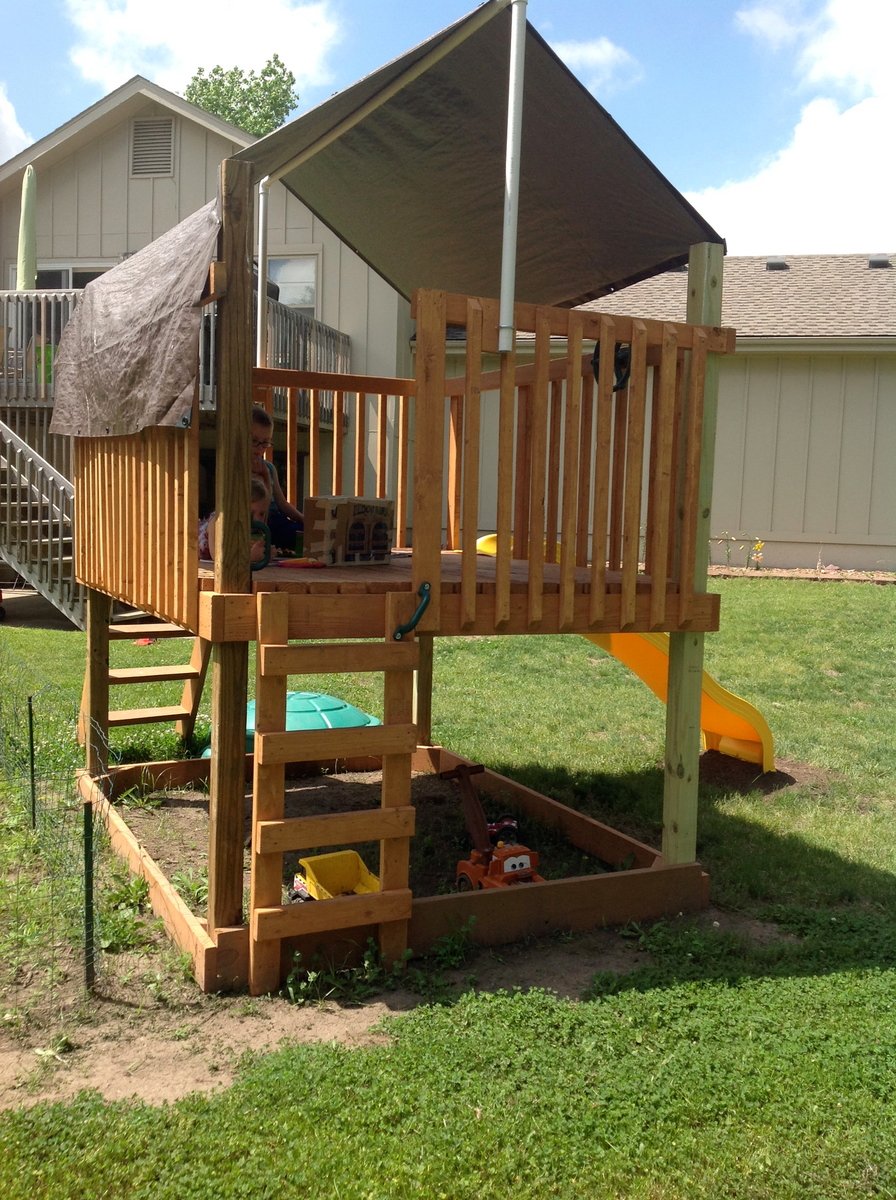
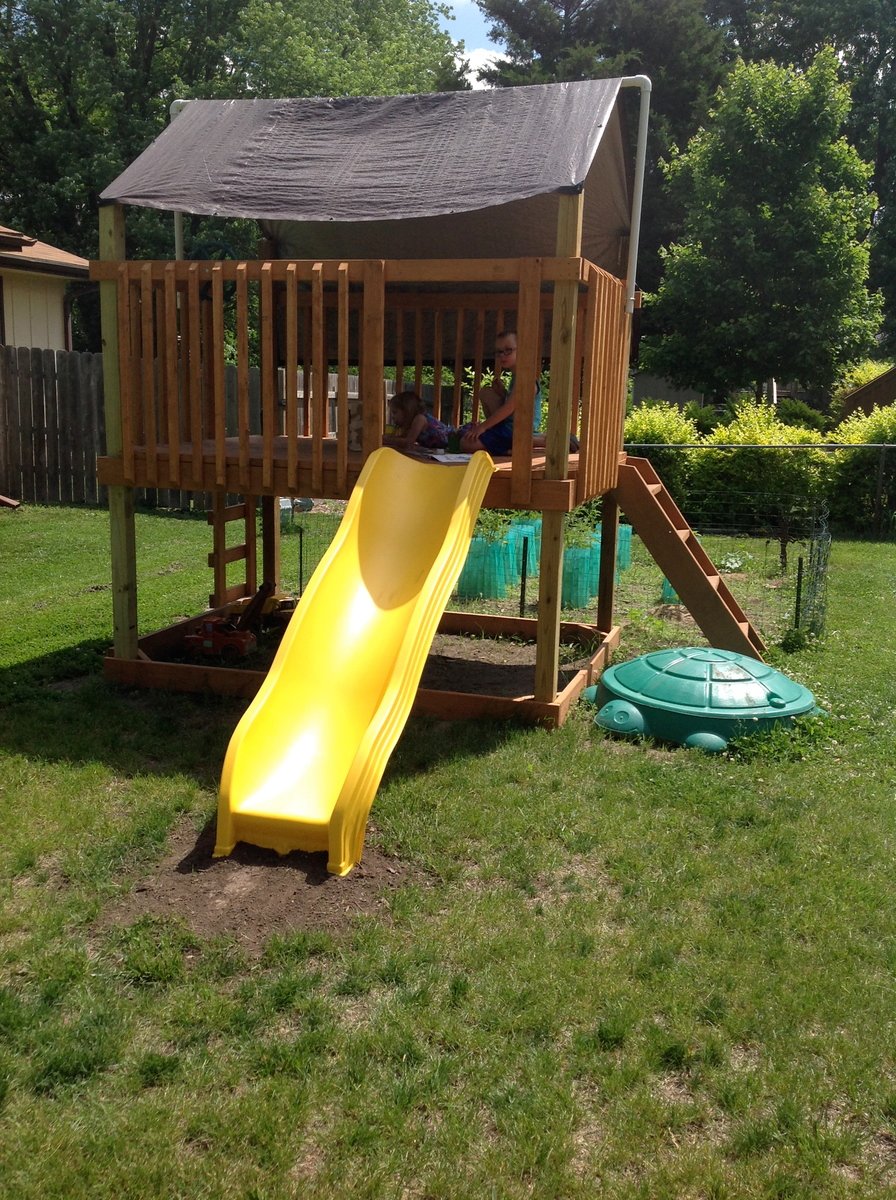
I wanted to build a structure for the kids to play in, but not include a playhouse. I used the playhouse deck design and made it slightly smaller (6 feet by 8 feet). The "roof" is removable to provide shade when it's sunny. It's just PVC and a tarp - pretty simple, but it does the job. I used treated posts and untreated lumber for the rest of it. I painted everything in my garage before assembling it. Once all of the wood at been painted, but came together pretty quickly!
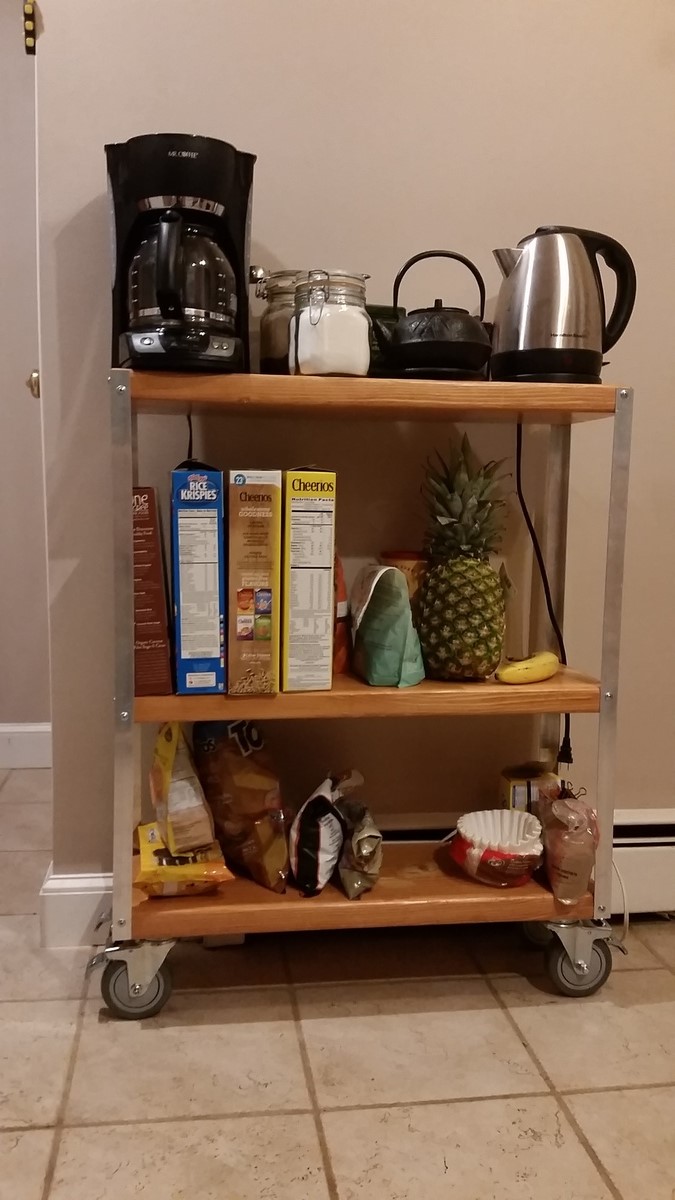
I followed the basic Industrial Cart plans, but made it 36" high instead of 24"ish. We wanted a countertop type of space for tea/coffee and a shelf big enough for cereal boxes.
Lessons learned: Treatign (sanding/staining/sealing) the wood takes the most time, and regular wood fill is ugly - next time I will try to find transparent fill or leave the suface uneven.
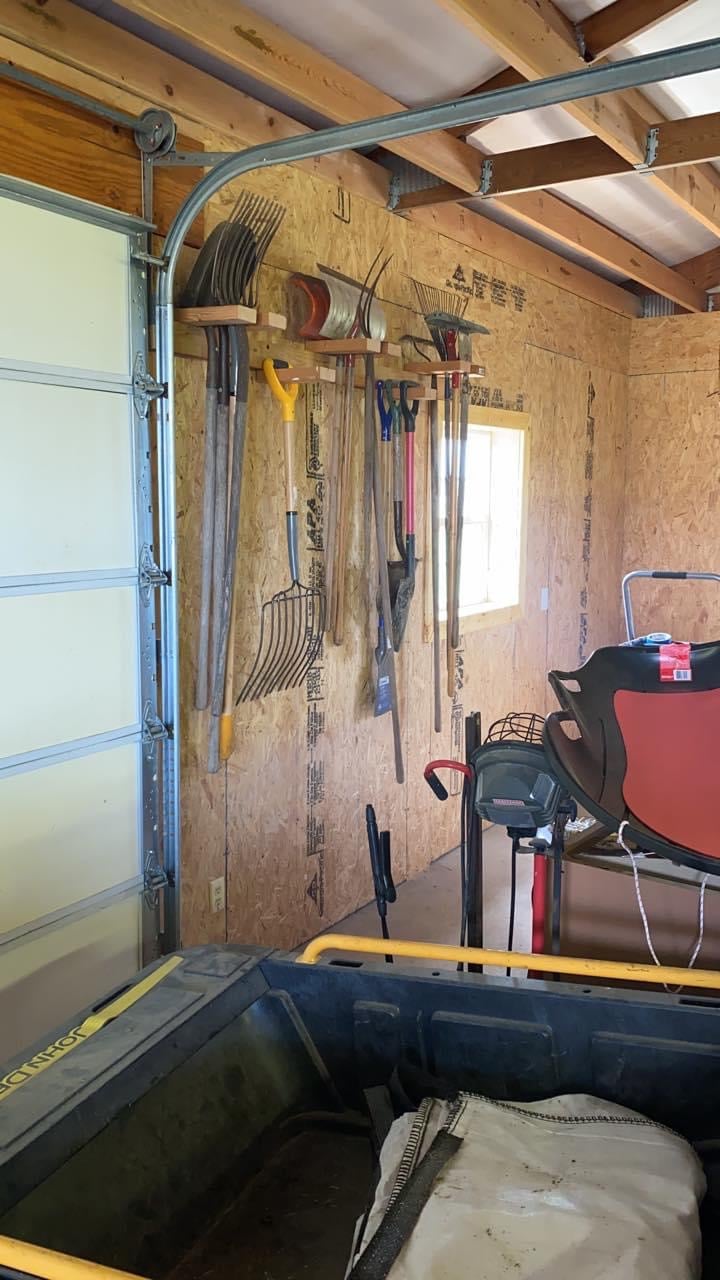
Had all my tools leaning up in the corner of my shed until I saw your post. Thanks
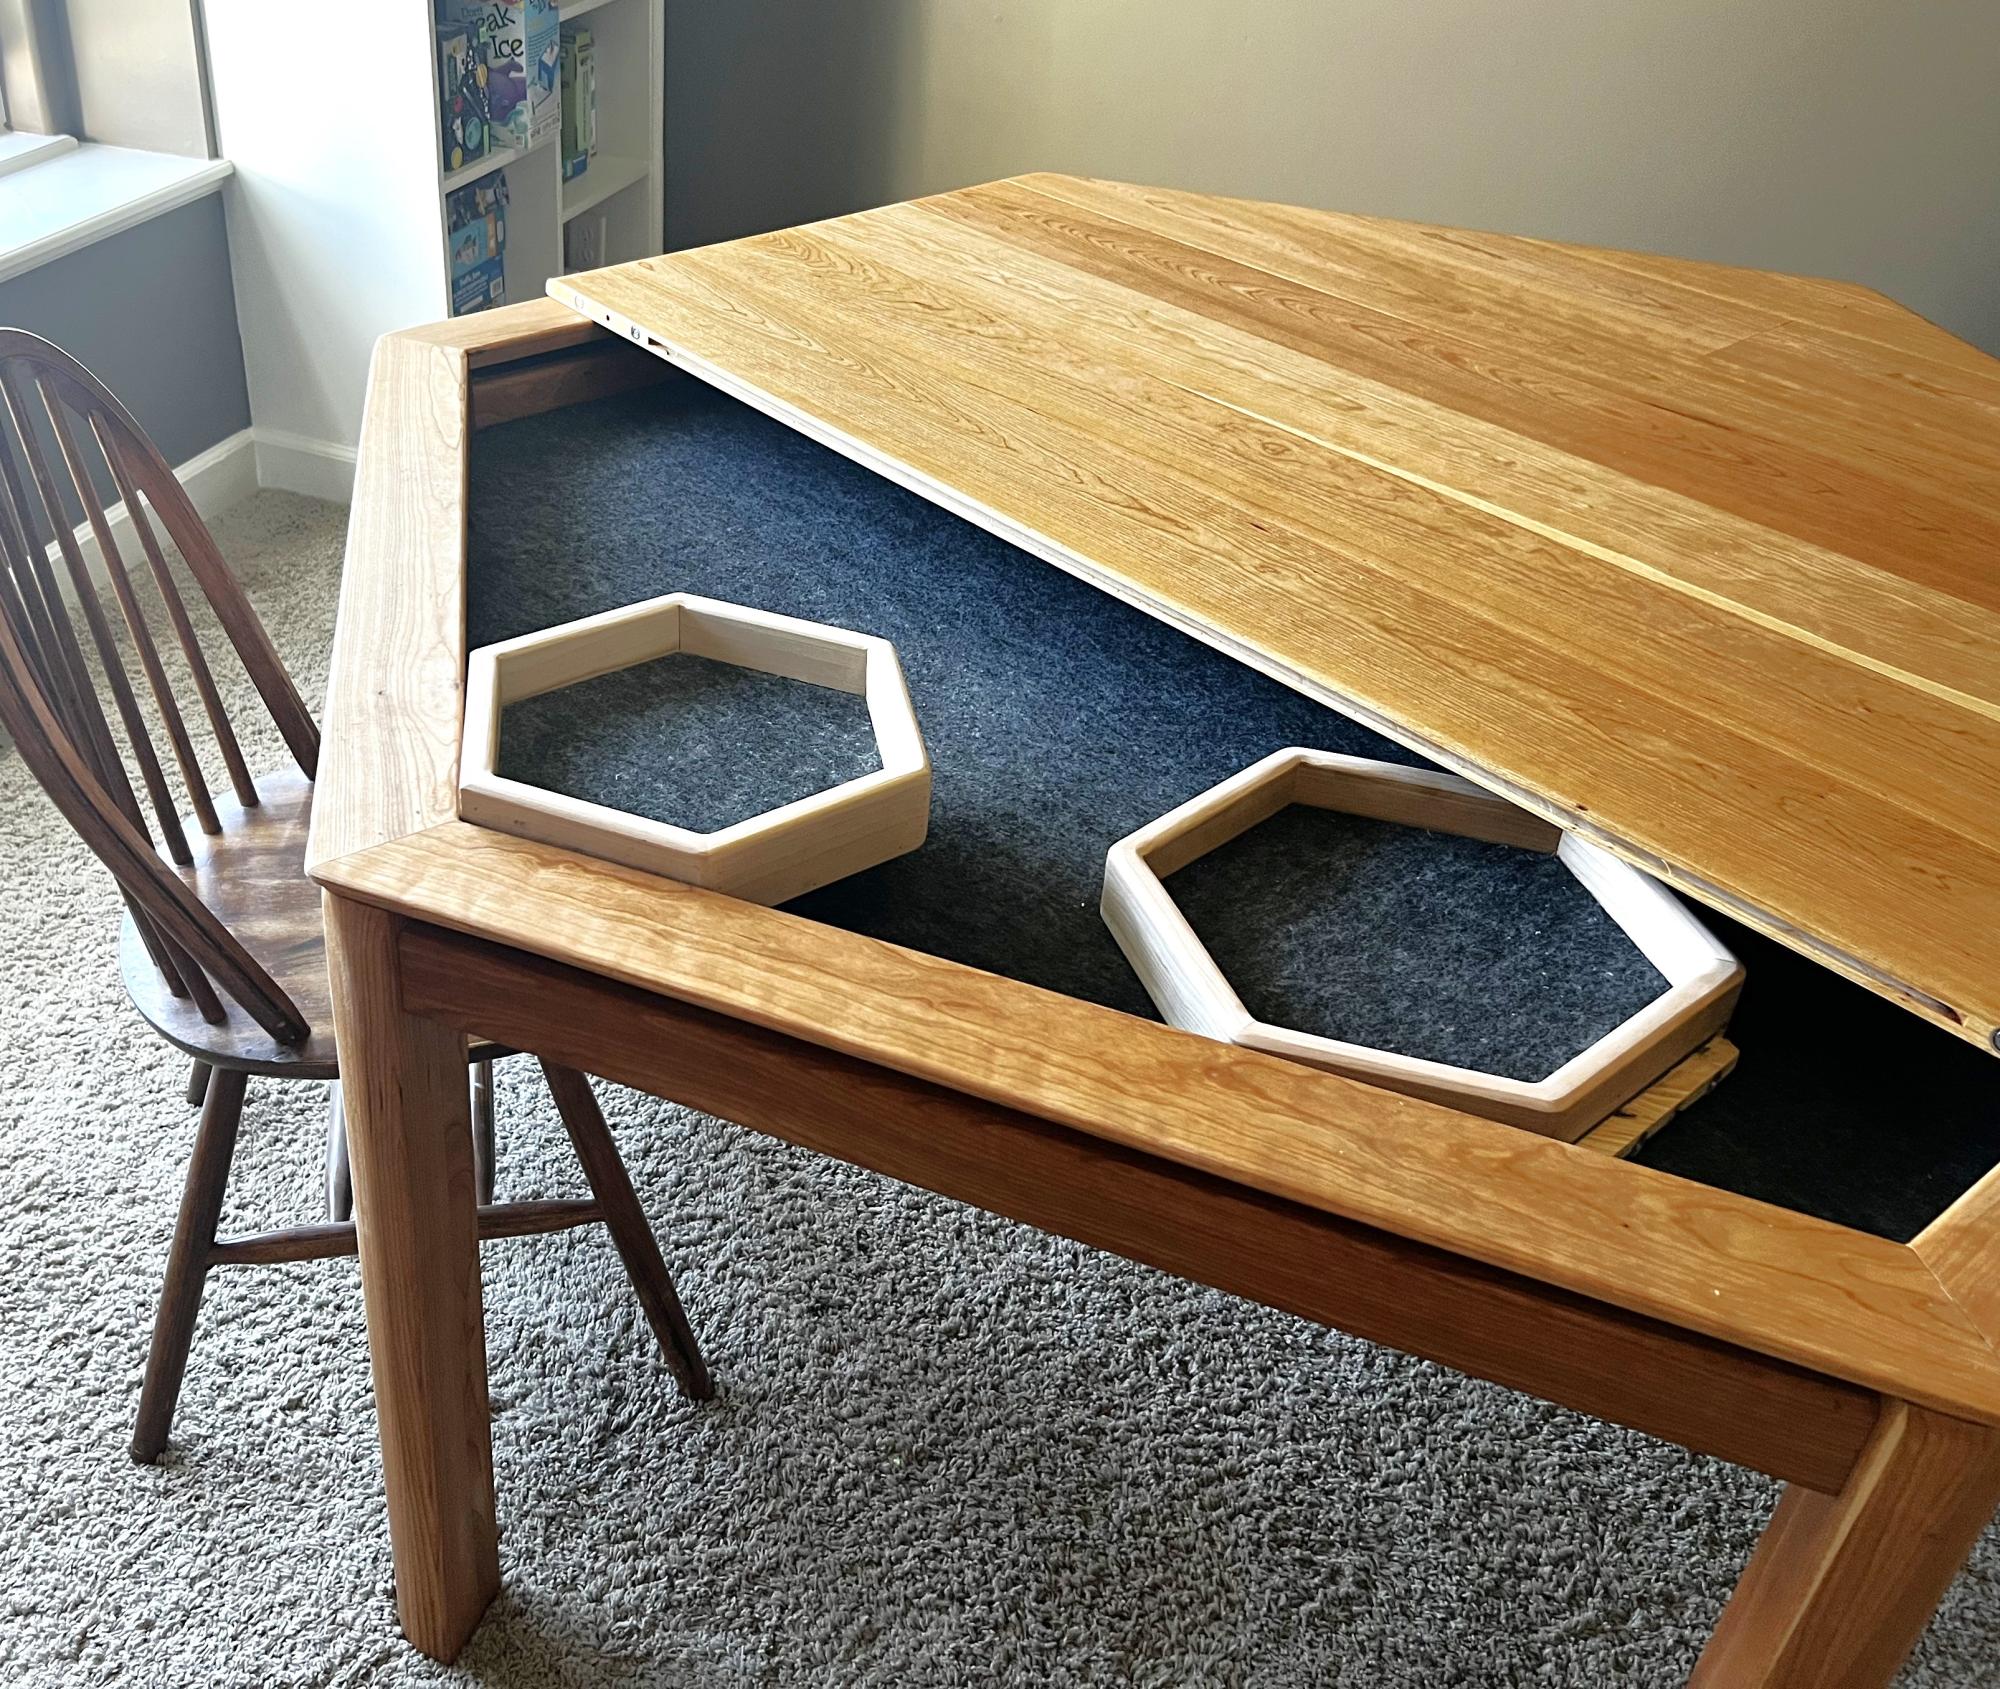
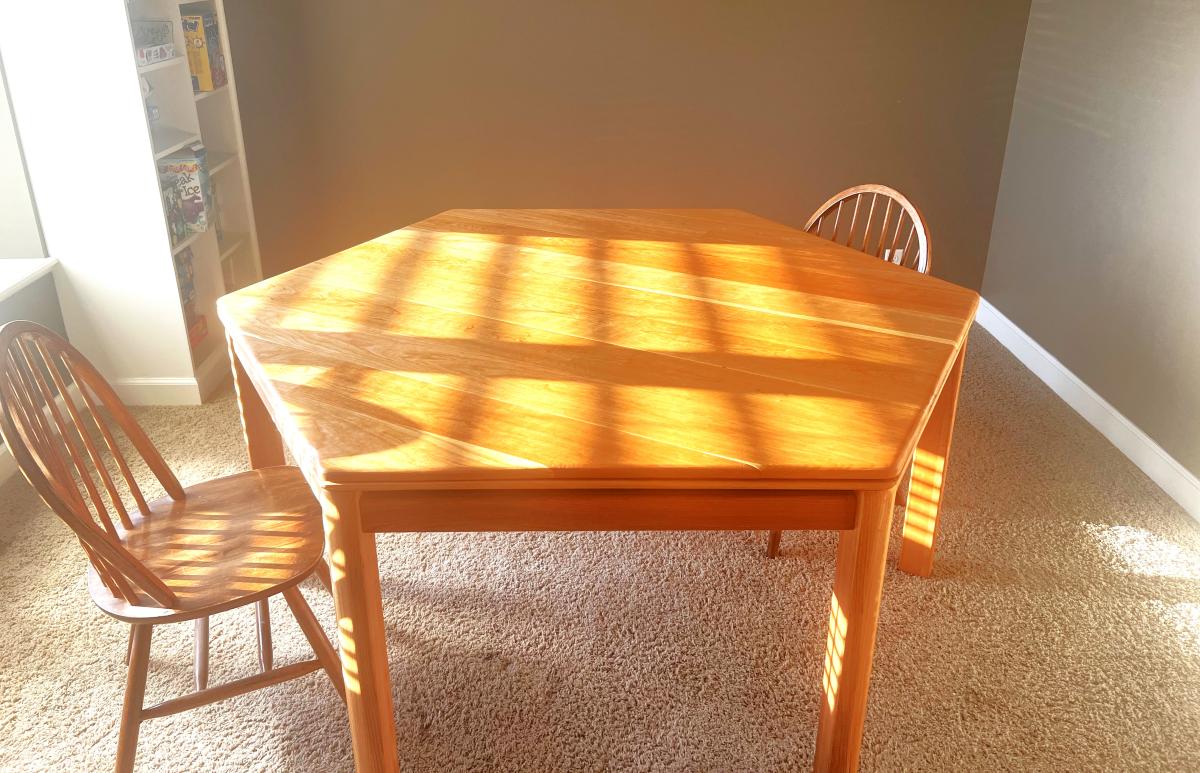
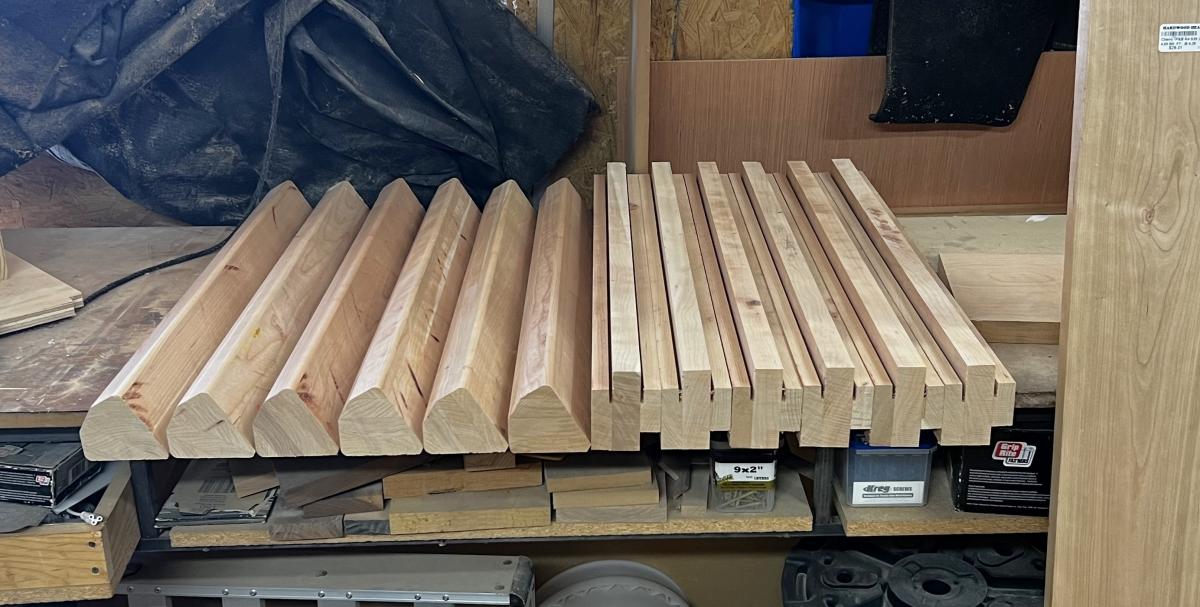
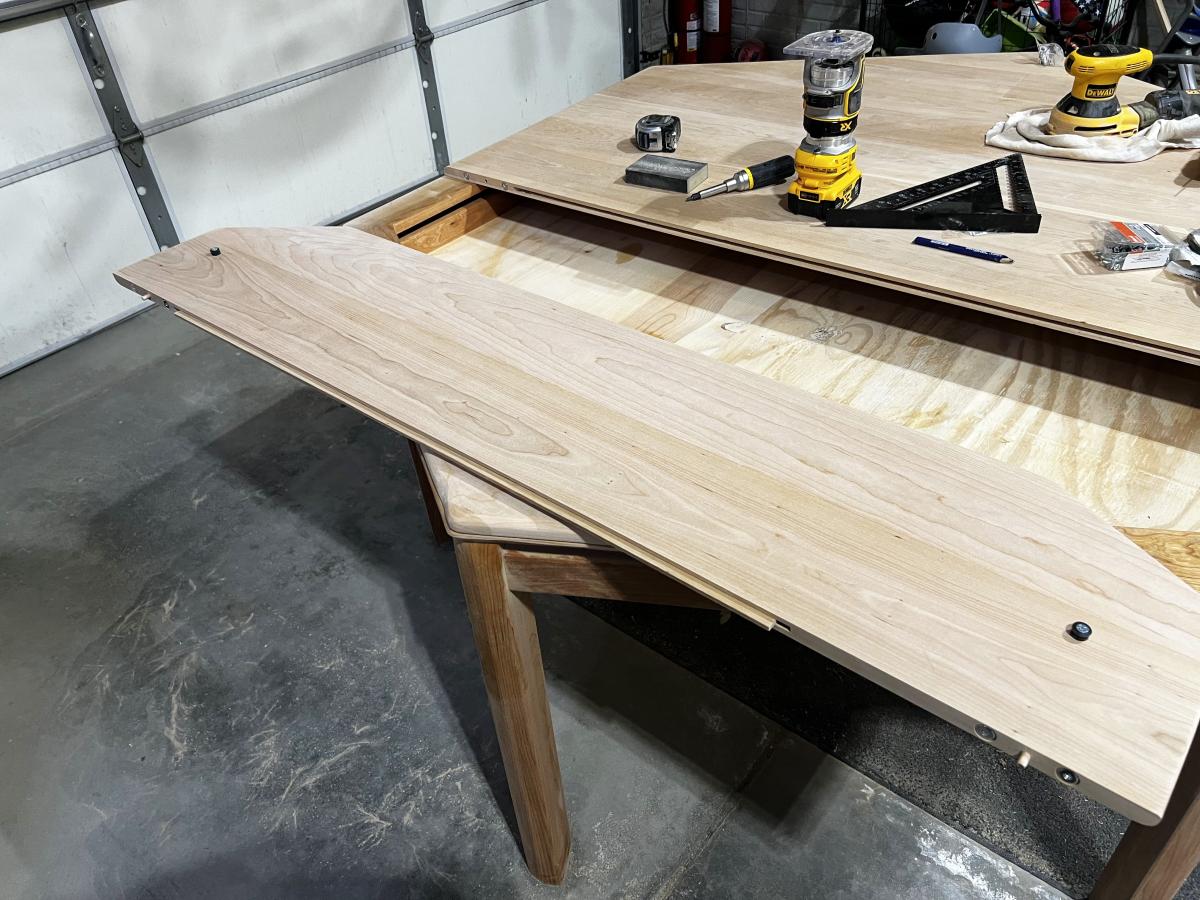
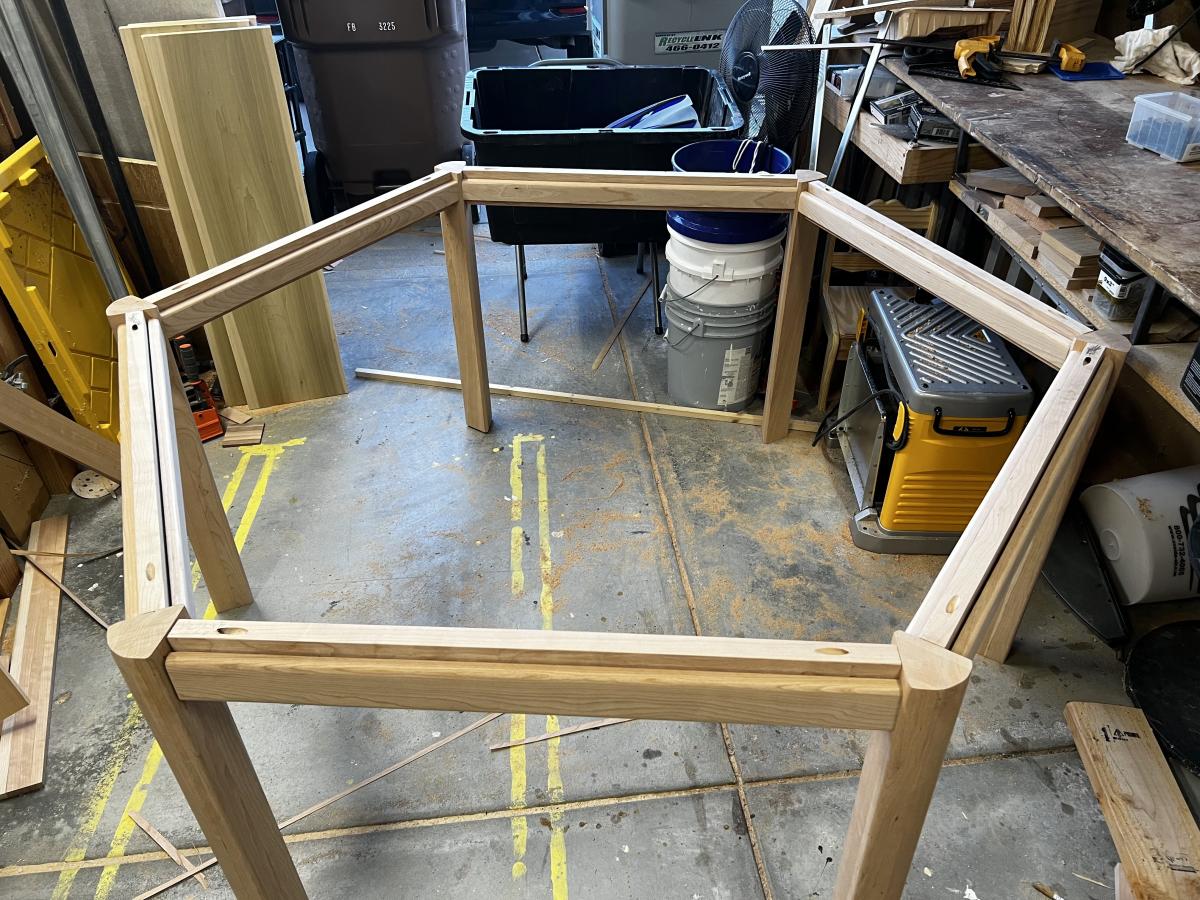
I saw this table on wyrmwoodgaming.com but I wanted to see if I could make it myself. I did it all in Cherry and used Tung oil to finish it. I have two coats of Tung oil on there for a finish. In all I paid about $800 for the cherry and flat steel I used for the magnetic rails on the sides.
Michael Frerichs
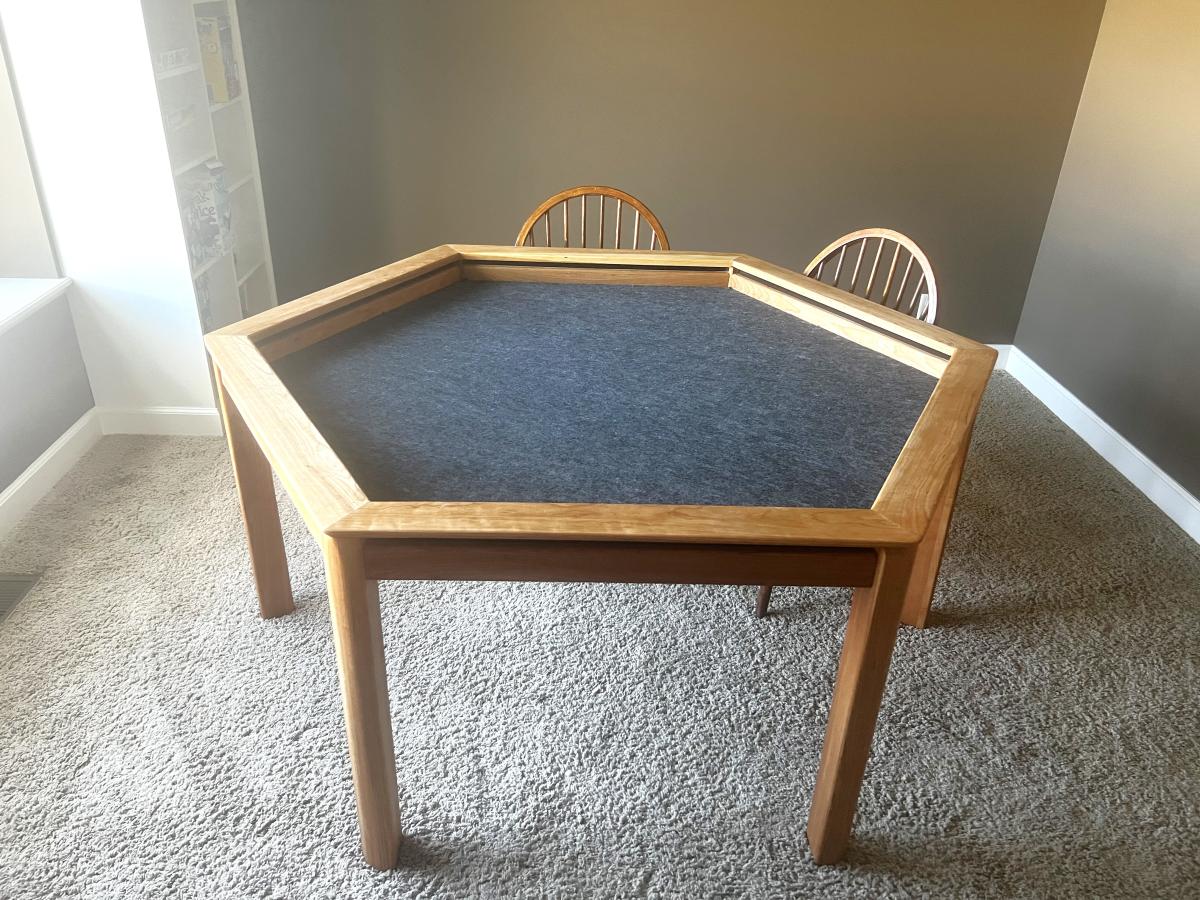
These tables are part of the Benchright collection. They are not terribly hard to make, especially if you buy the 24" diameter round table top from Lowes.