Community Brag Posts

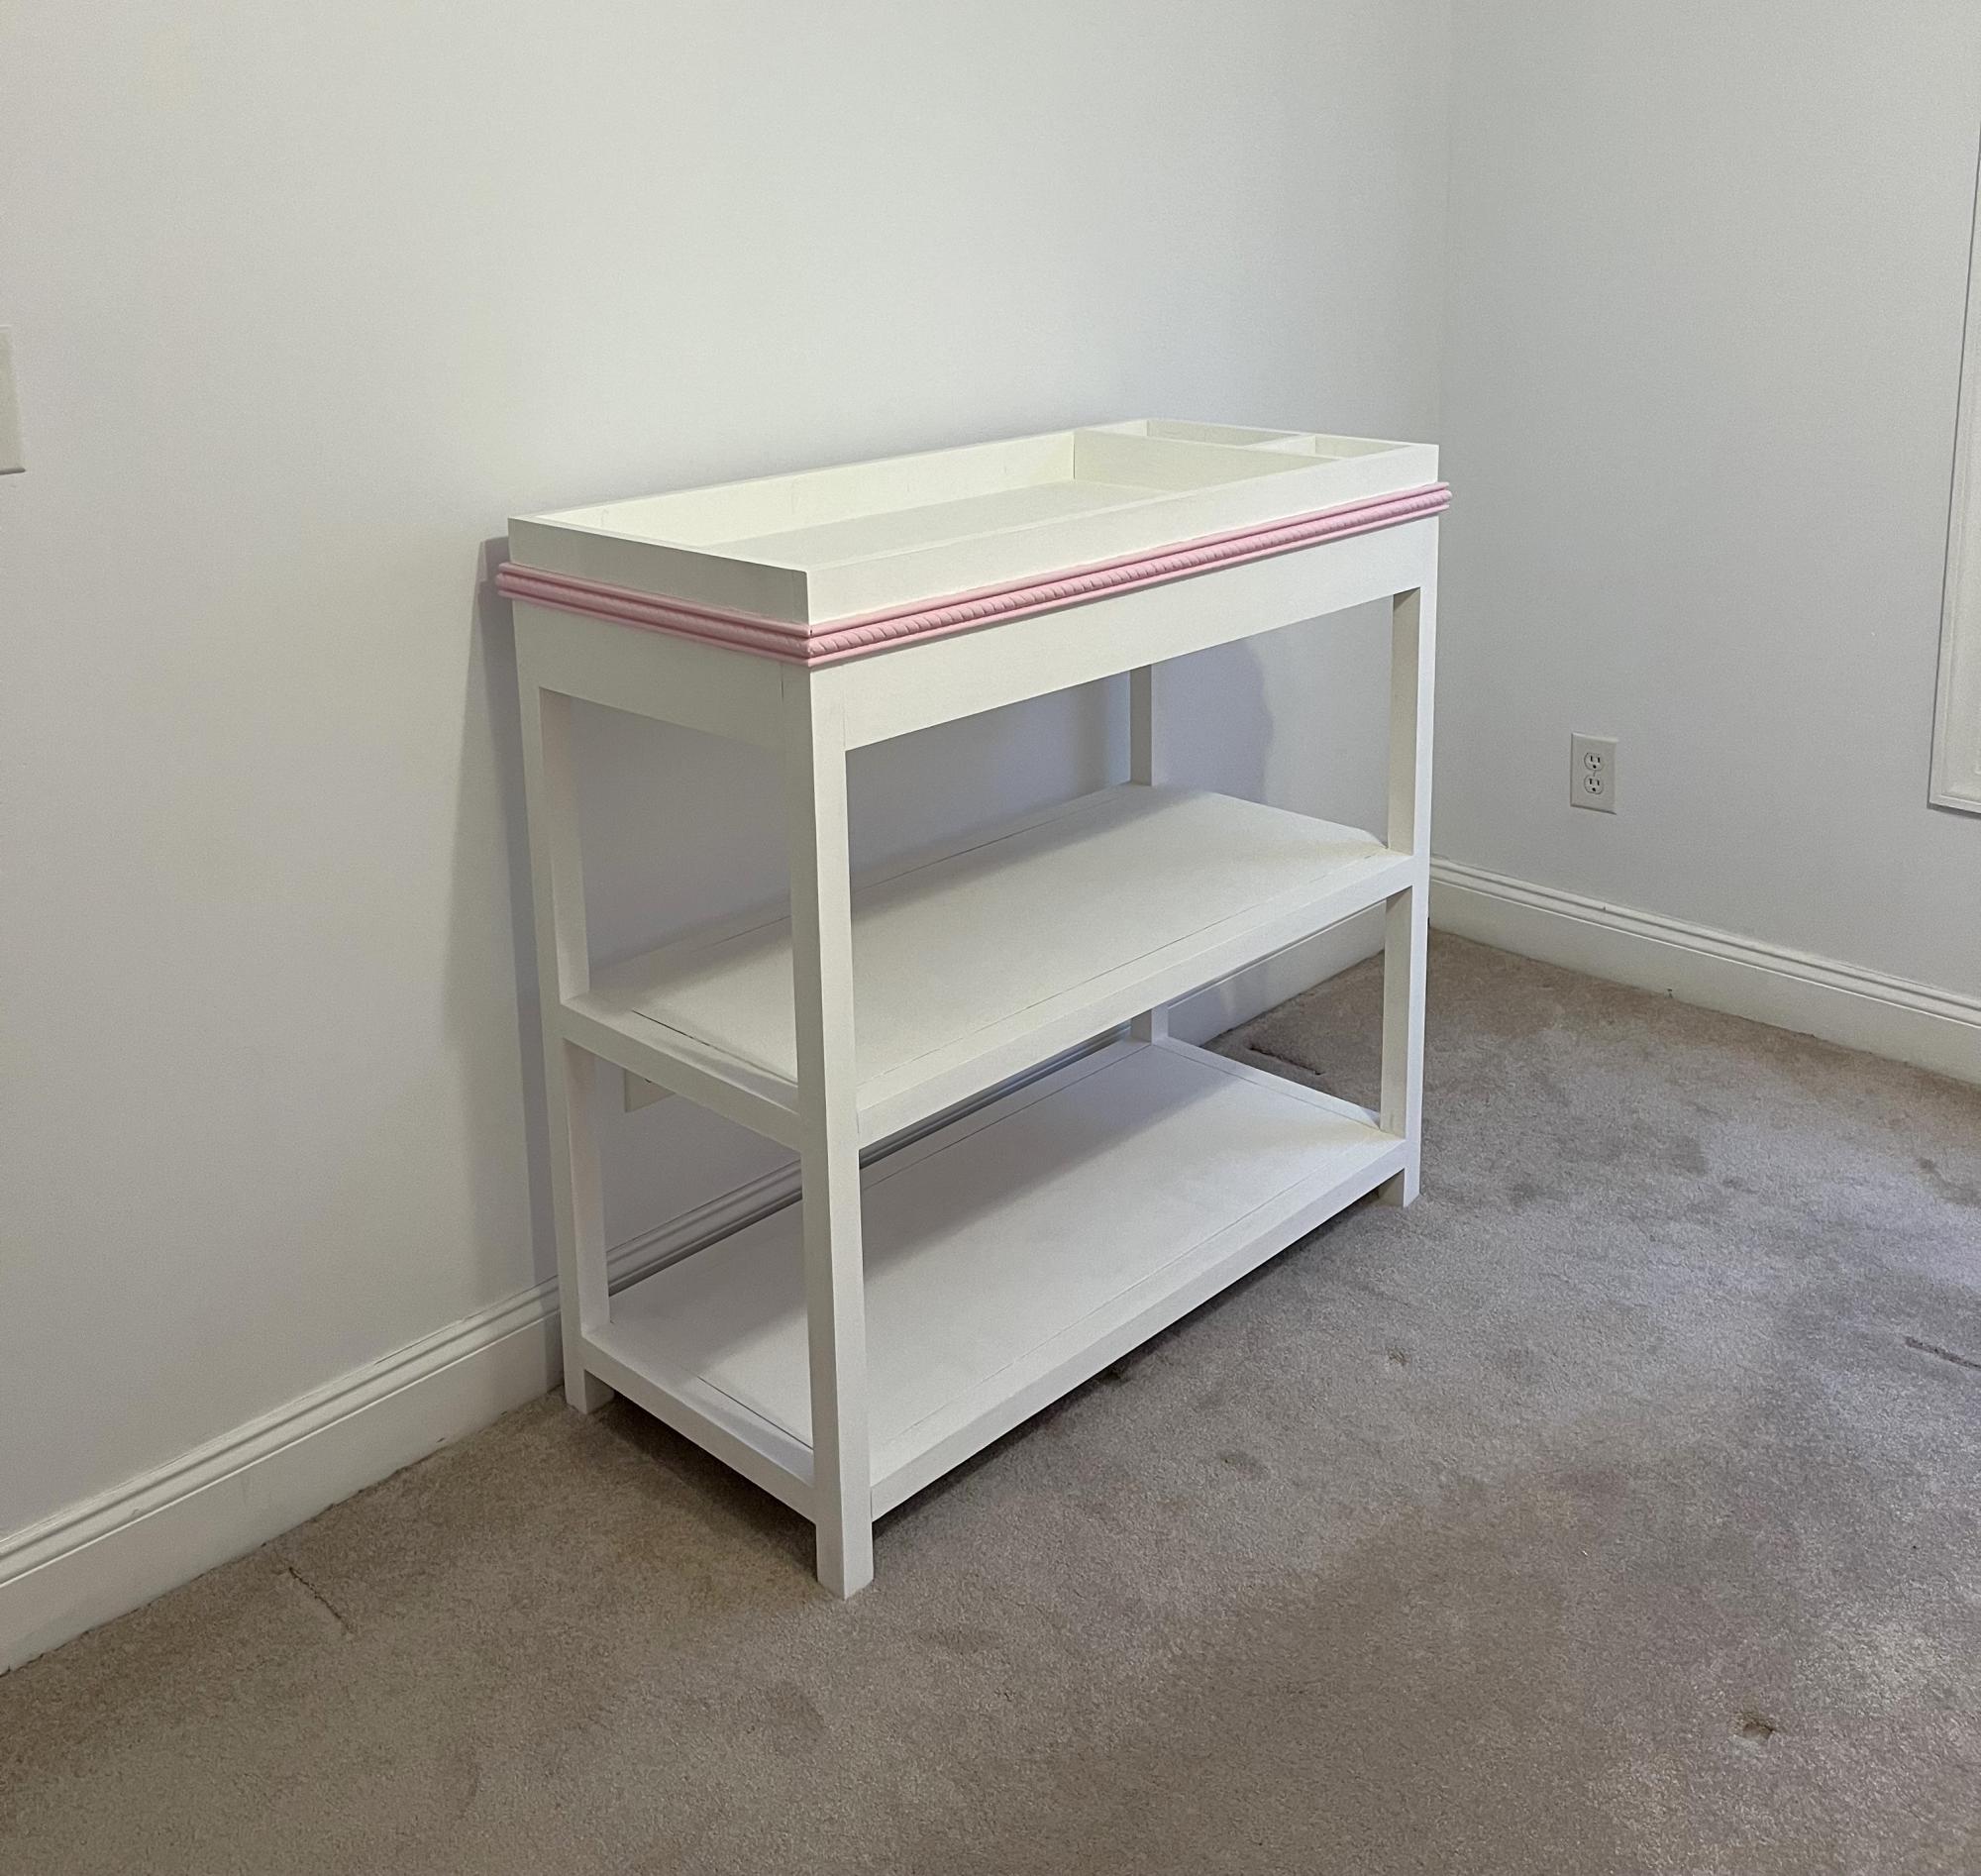
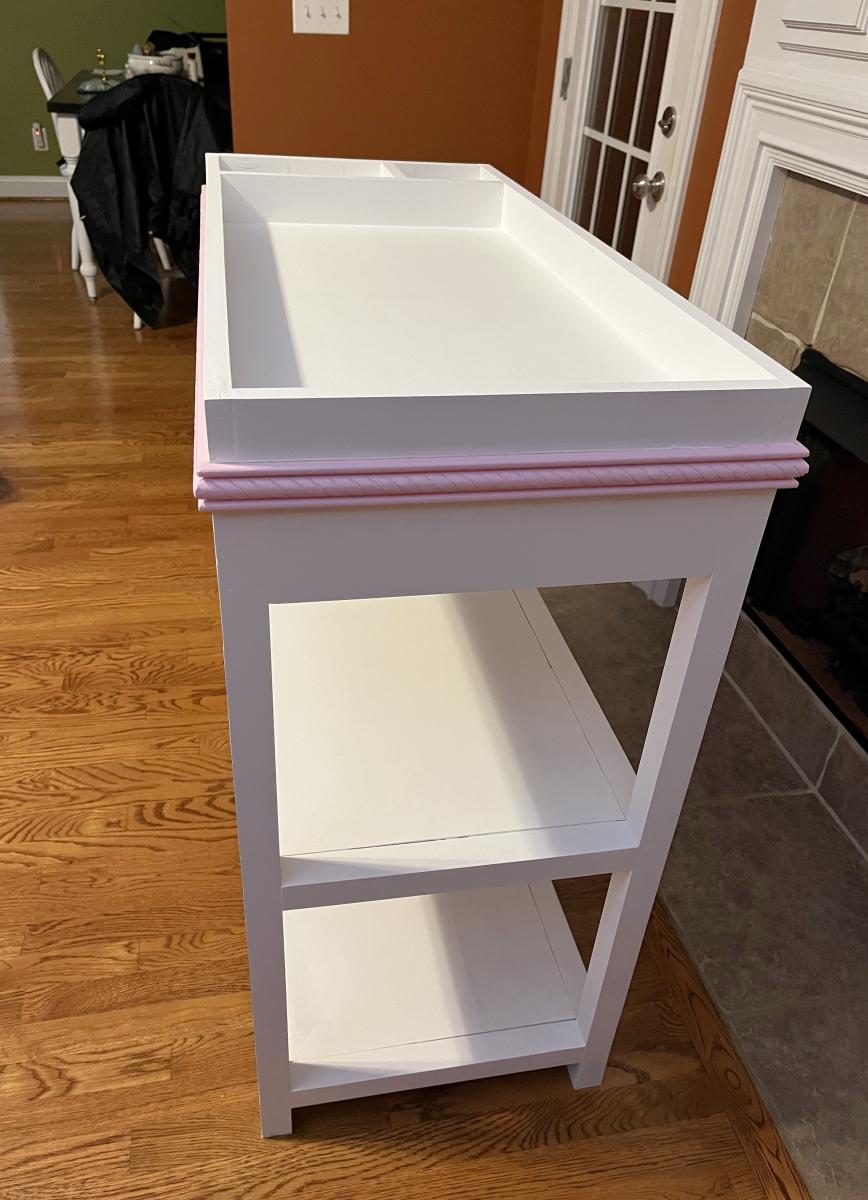
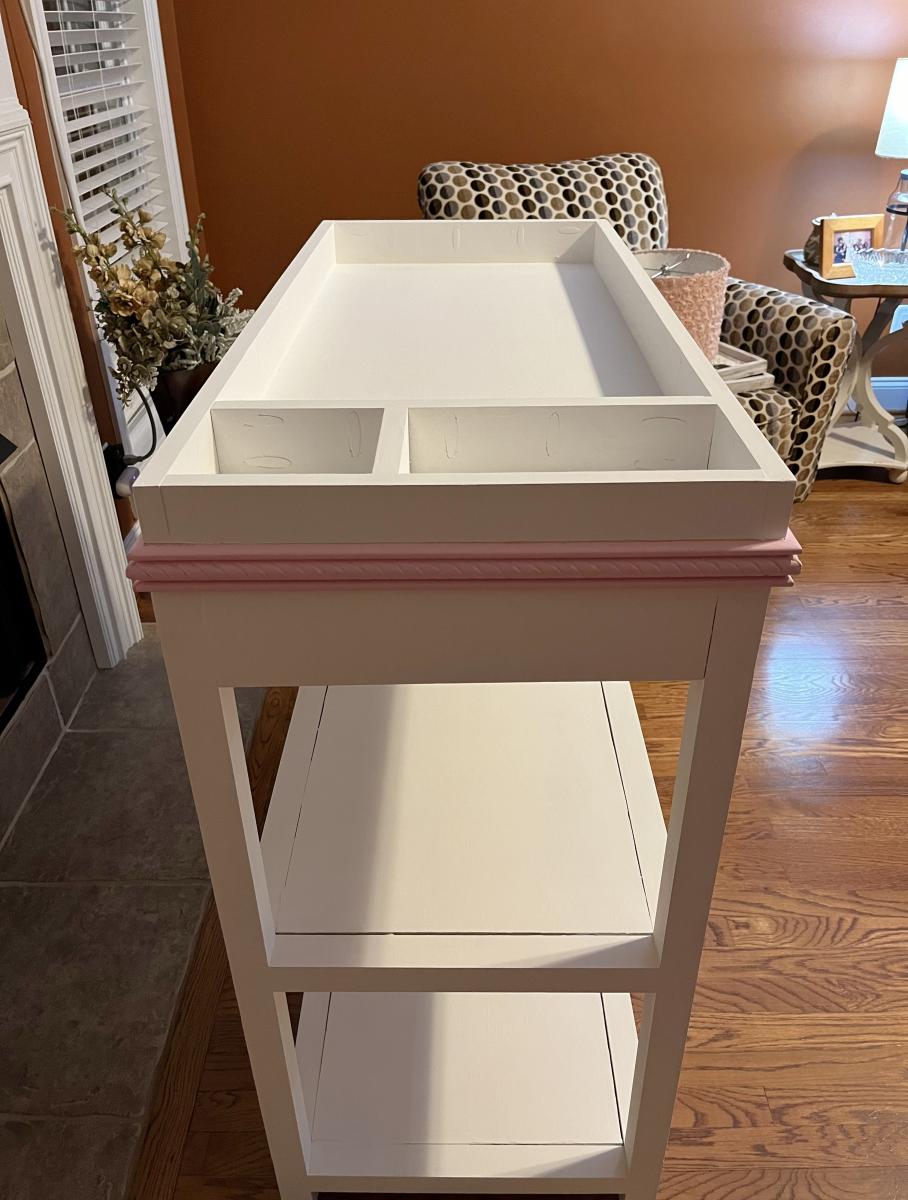
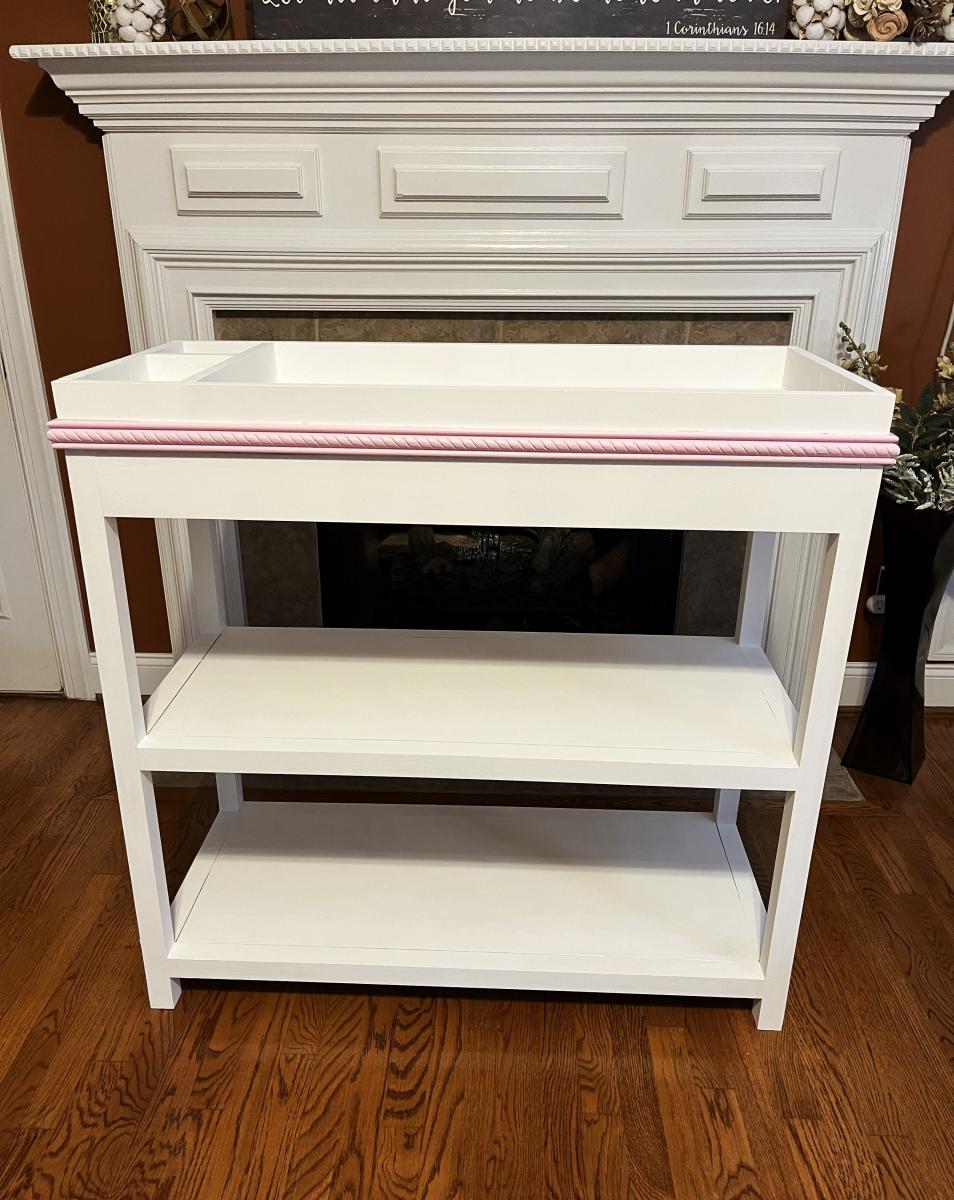
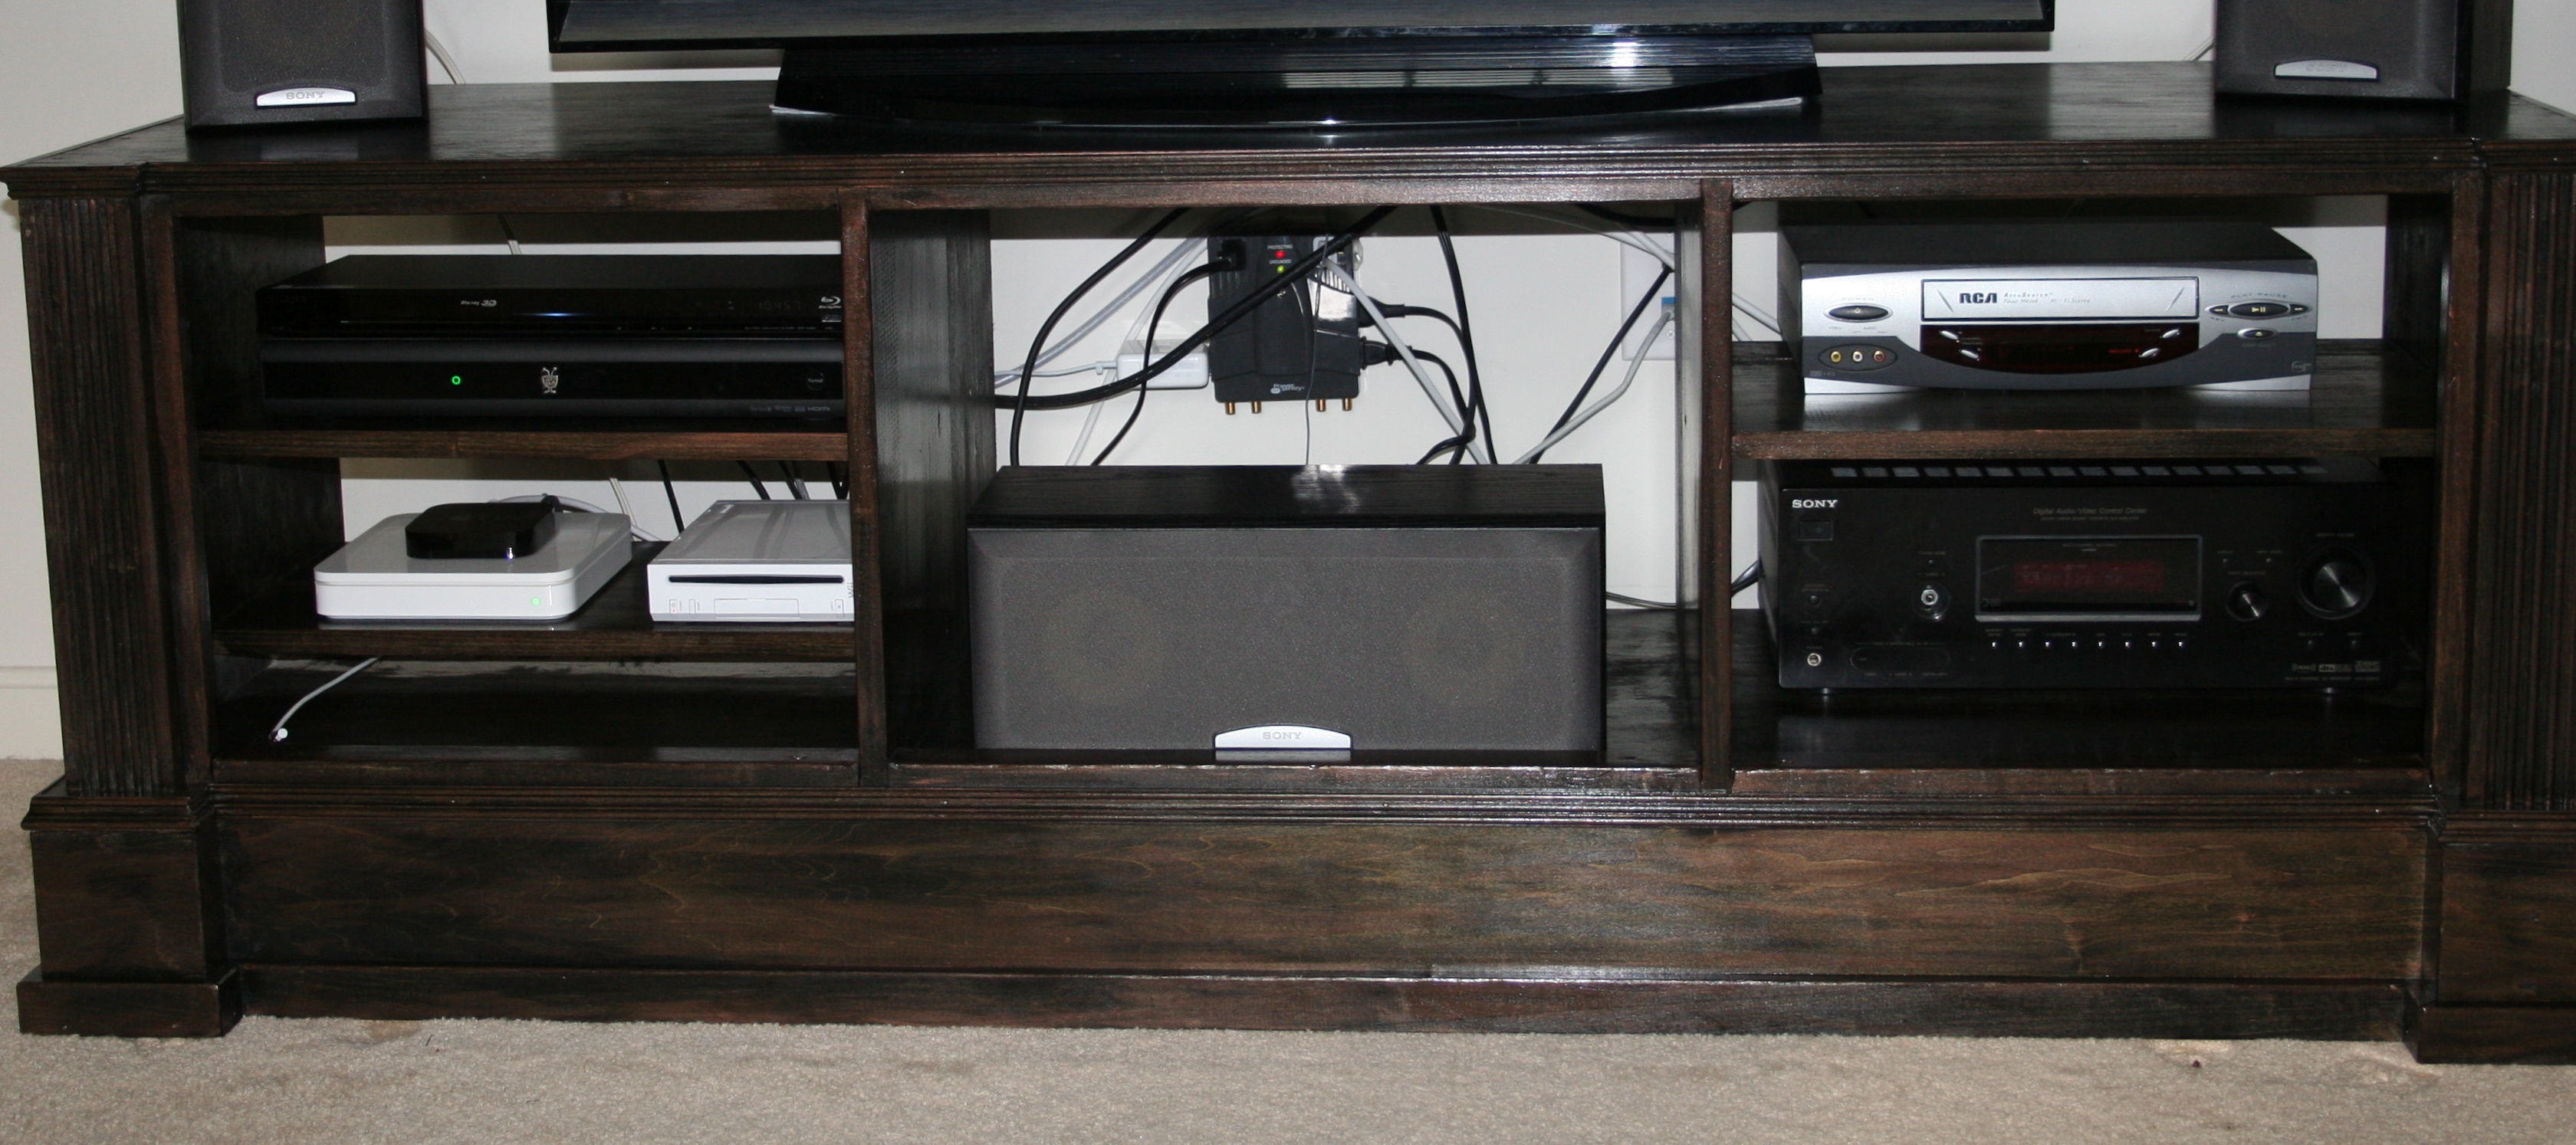
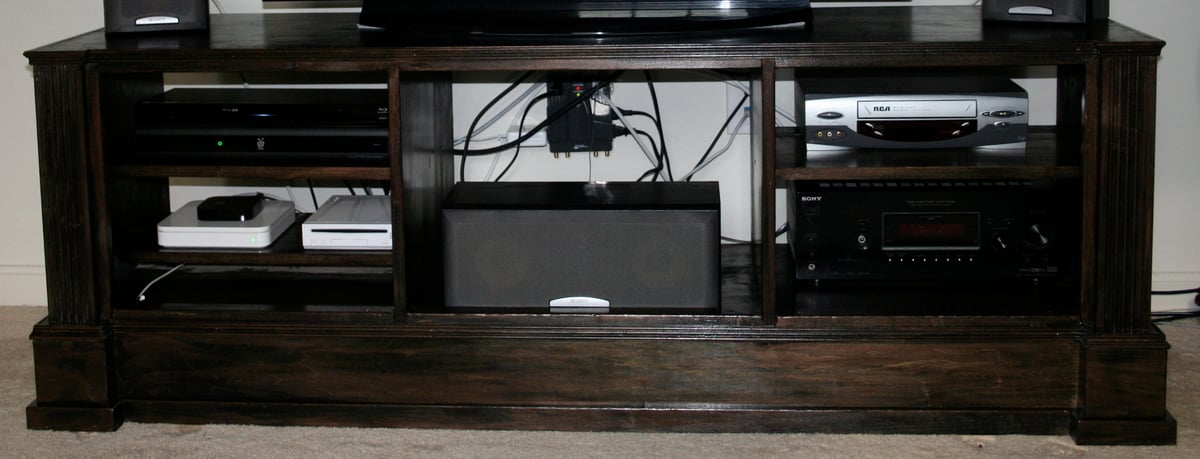
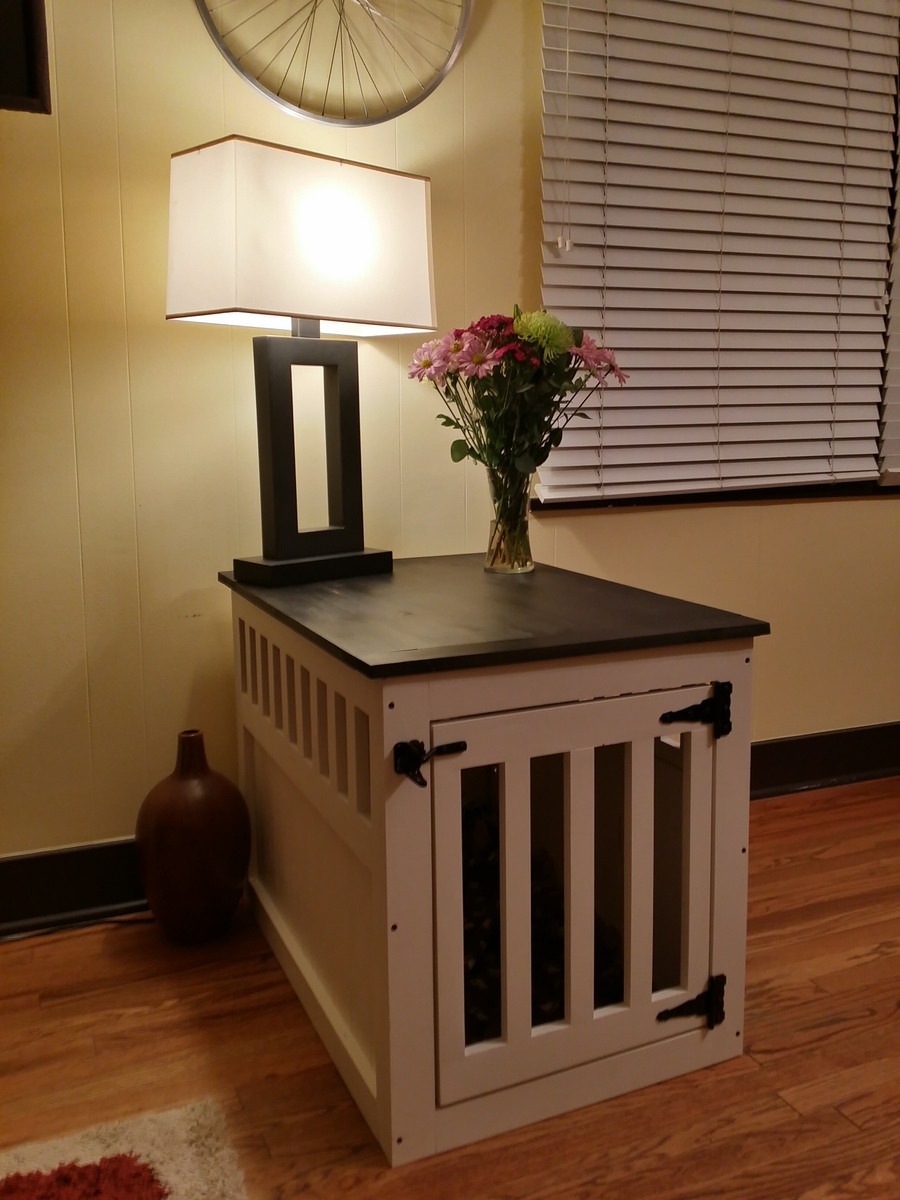
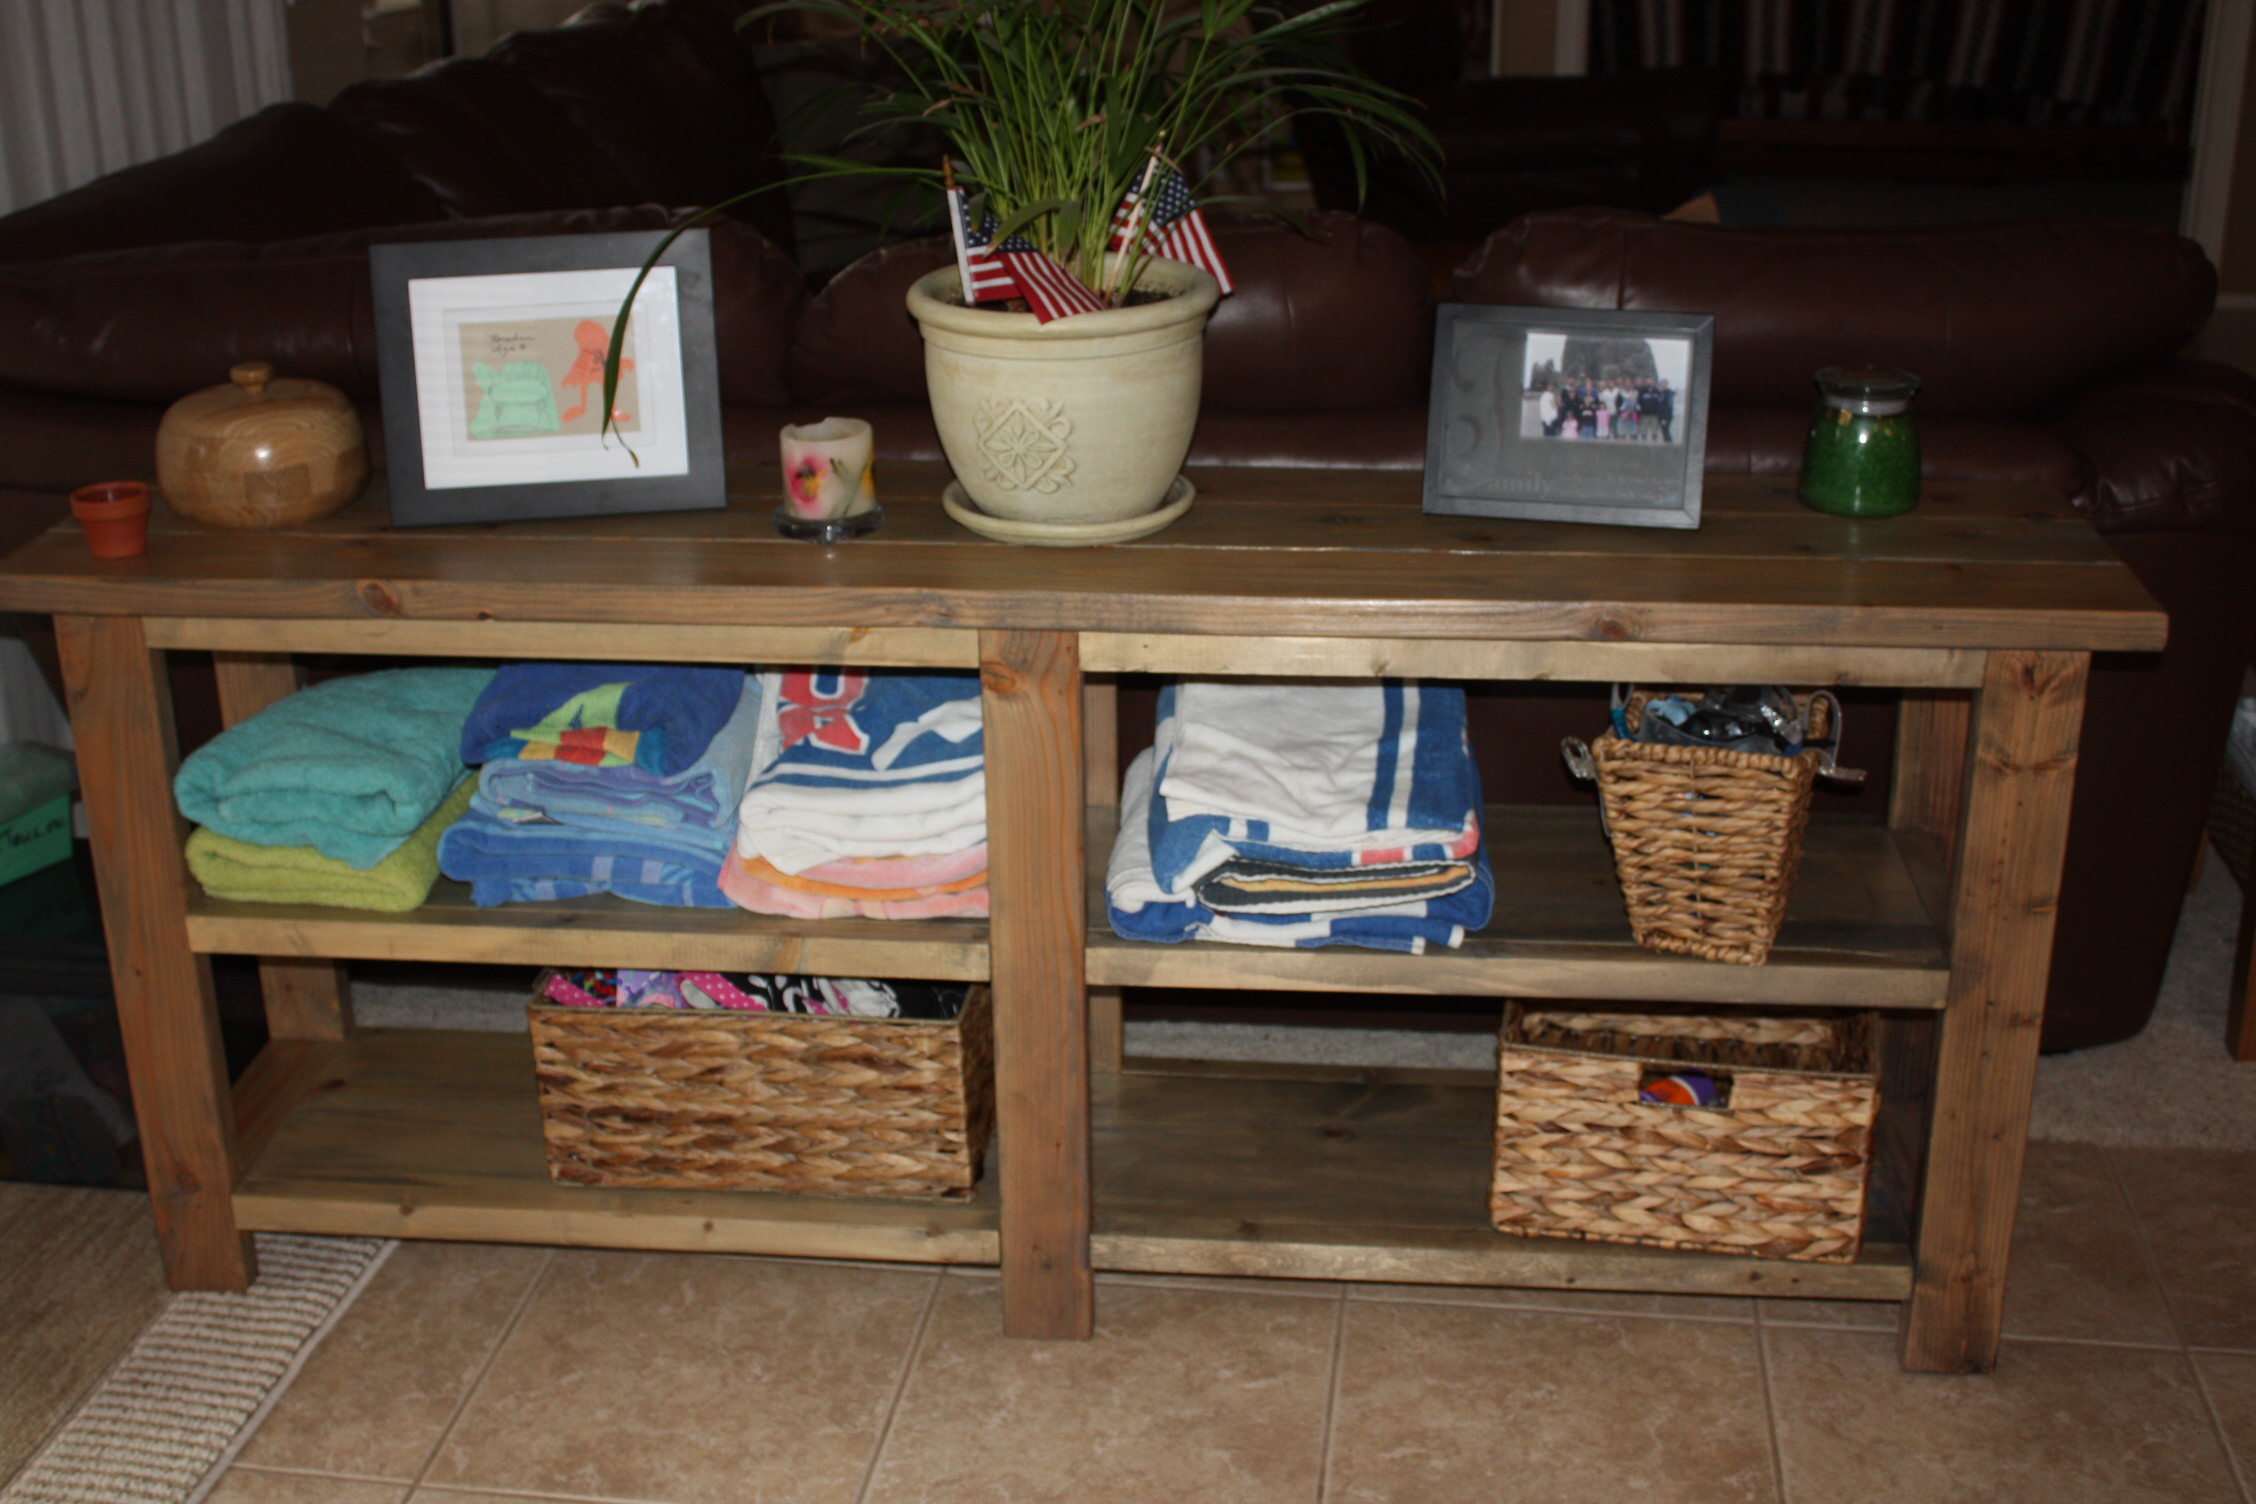
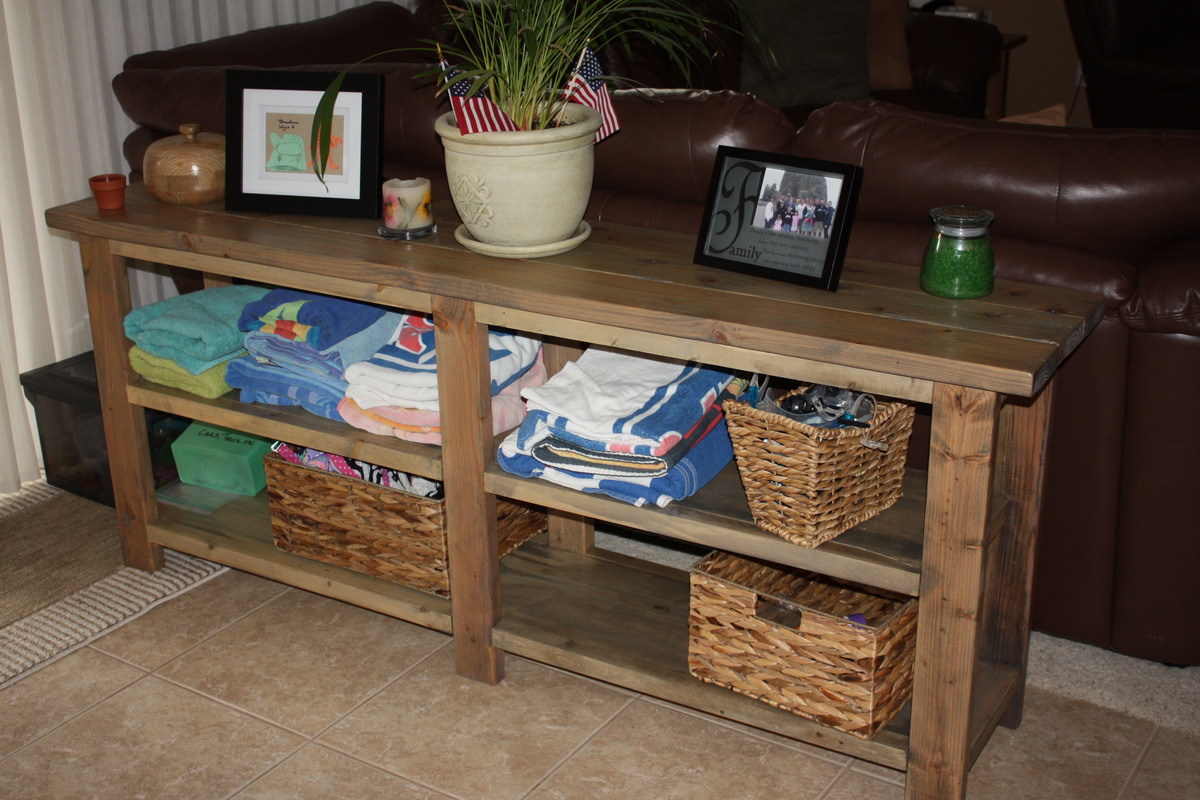
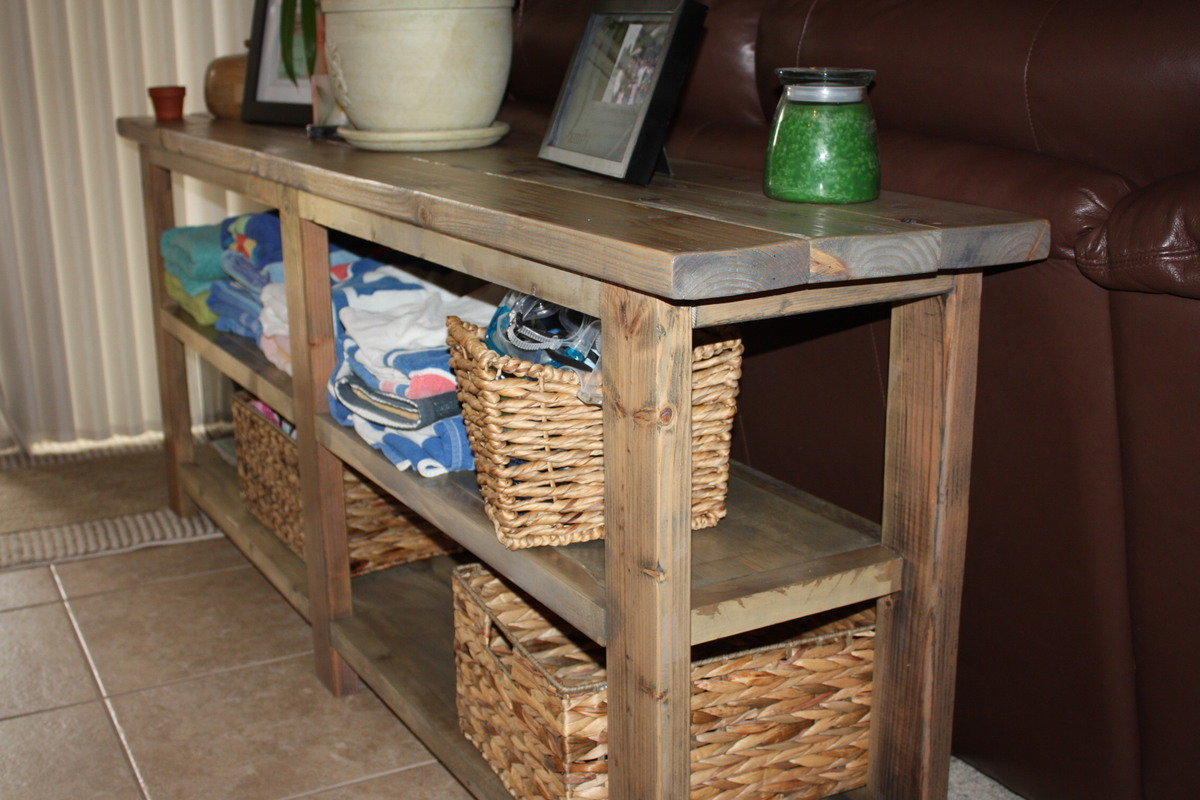
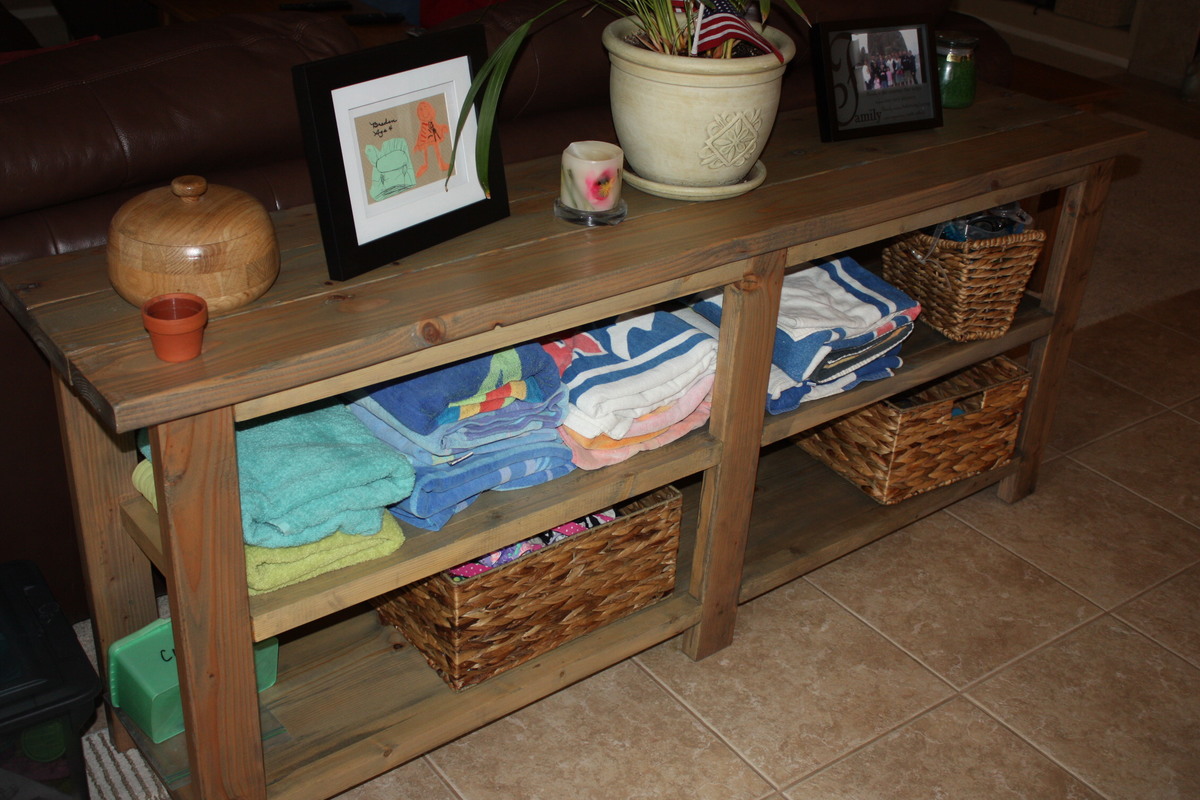
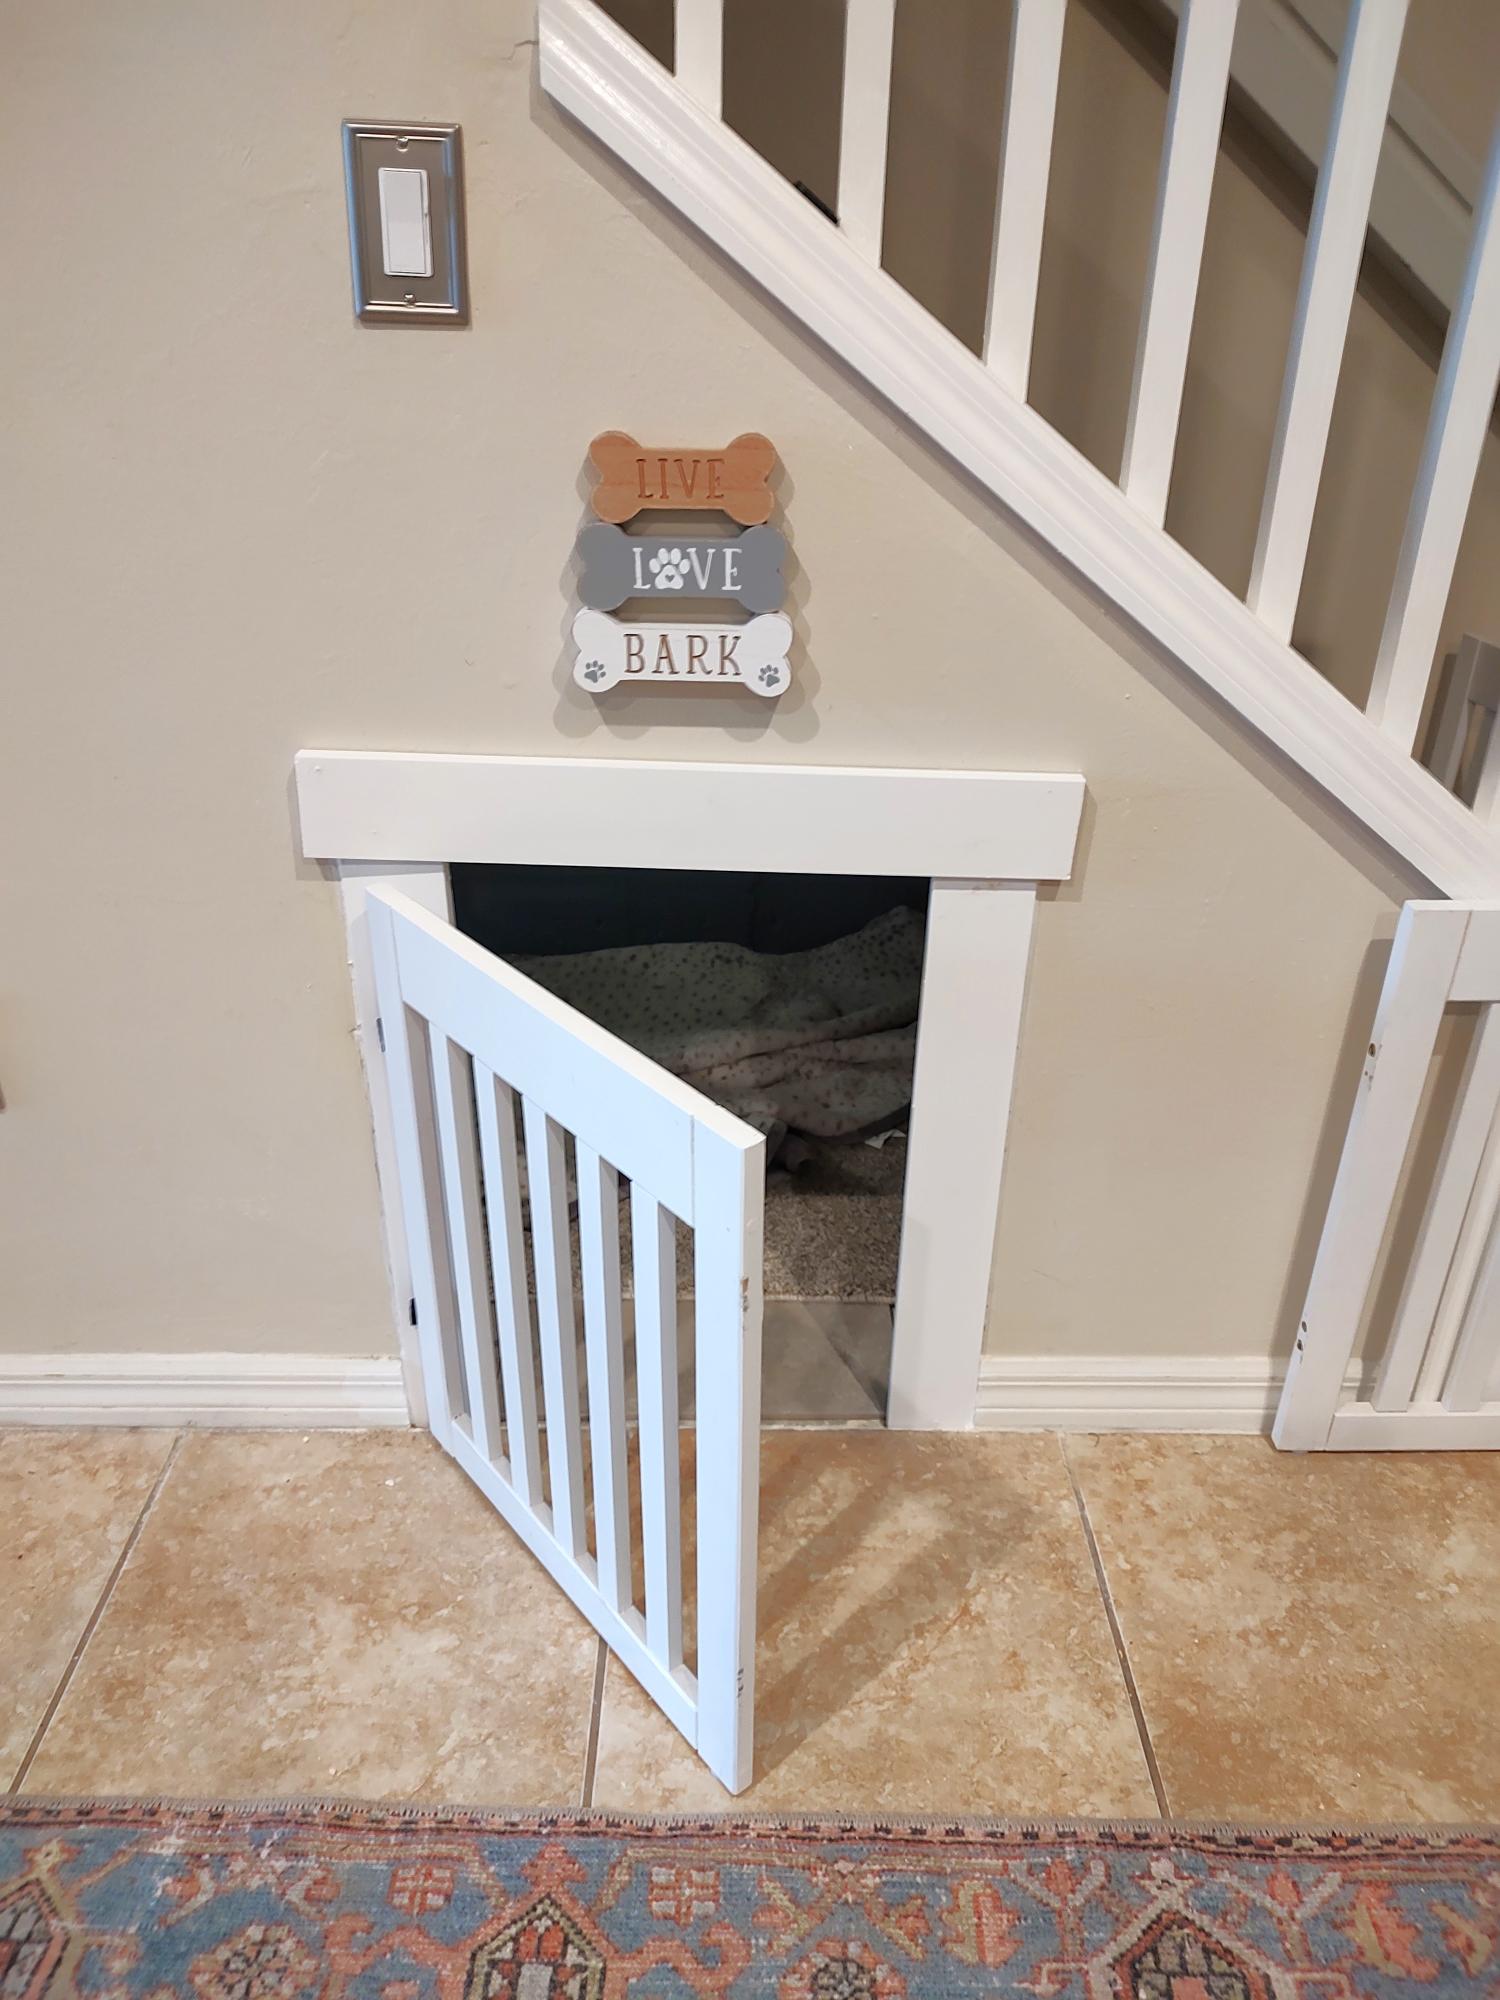
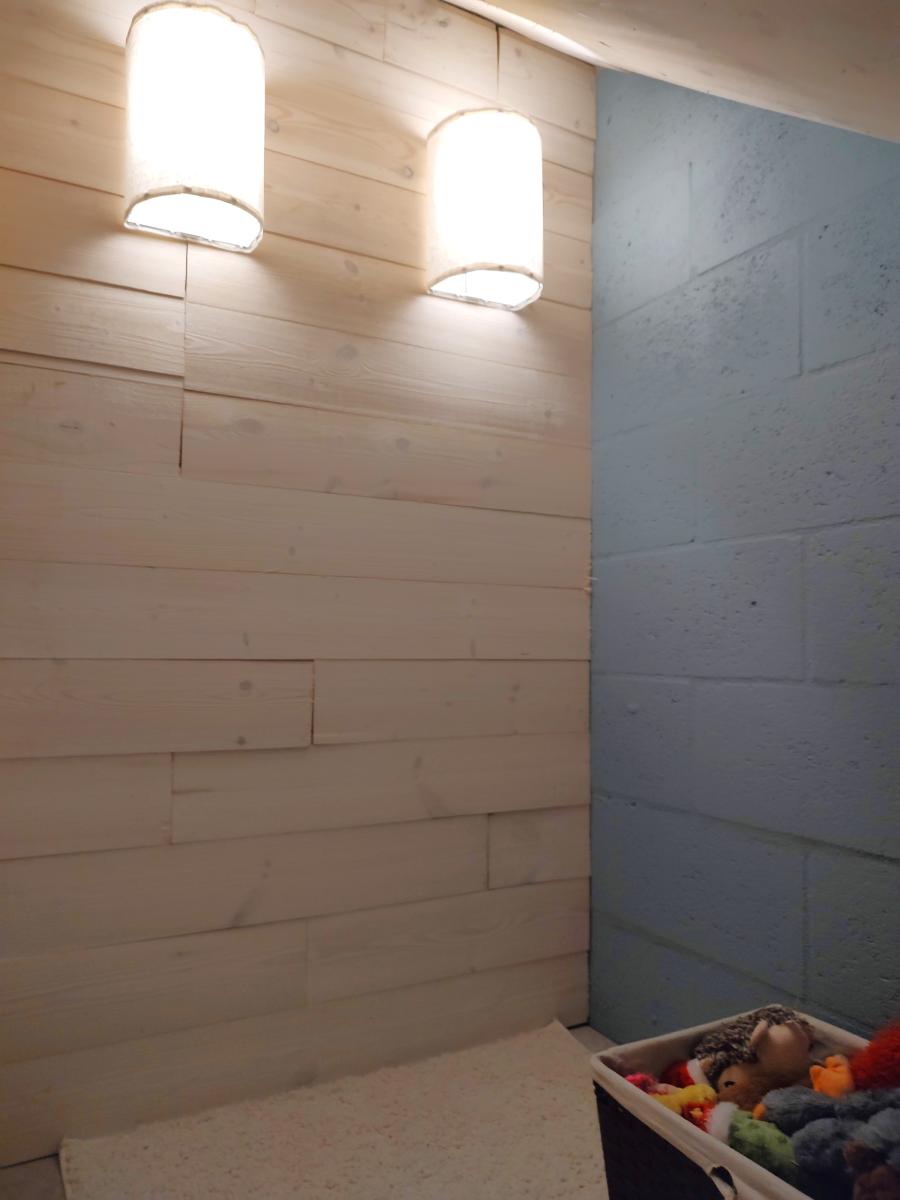
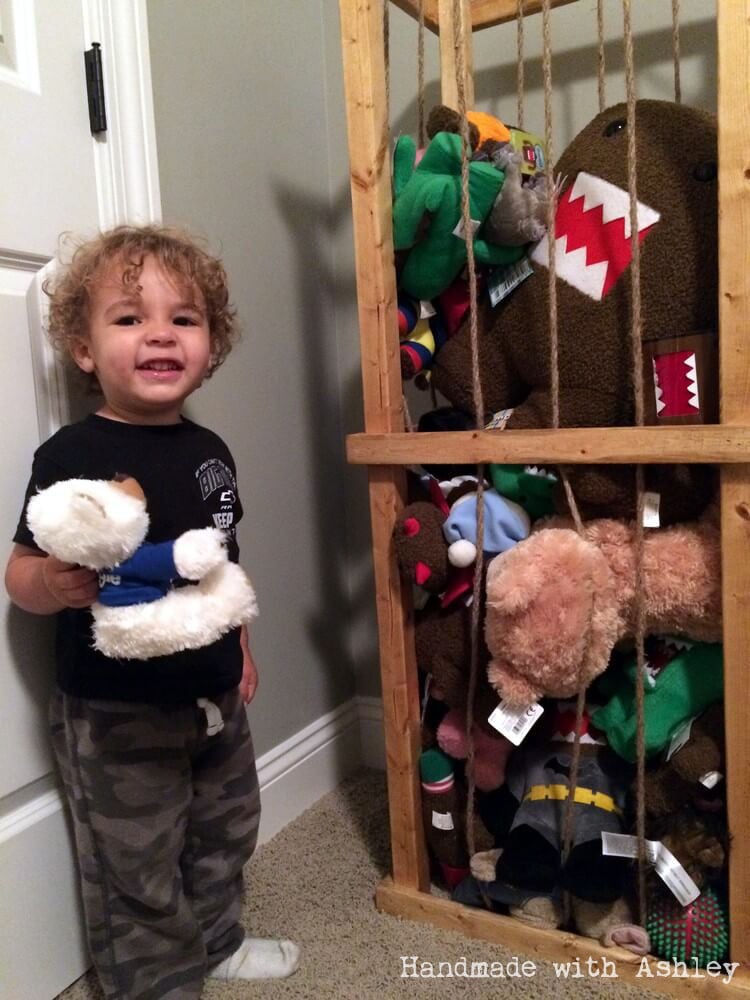
Toddler vanity turned toddler sized media center

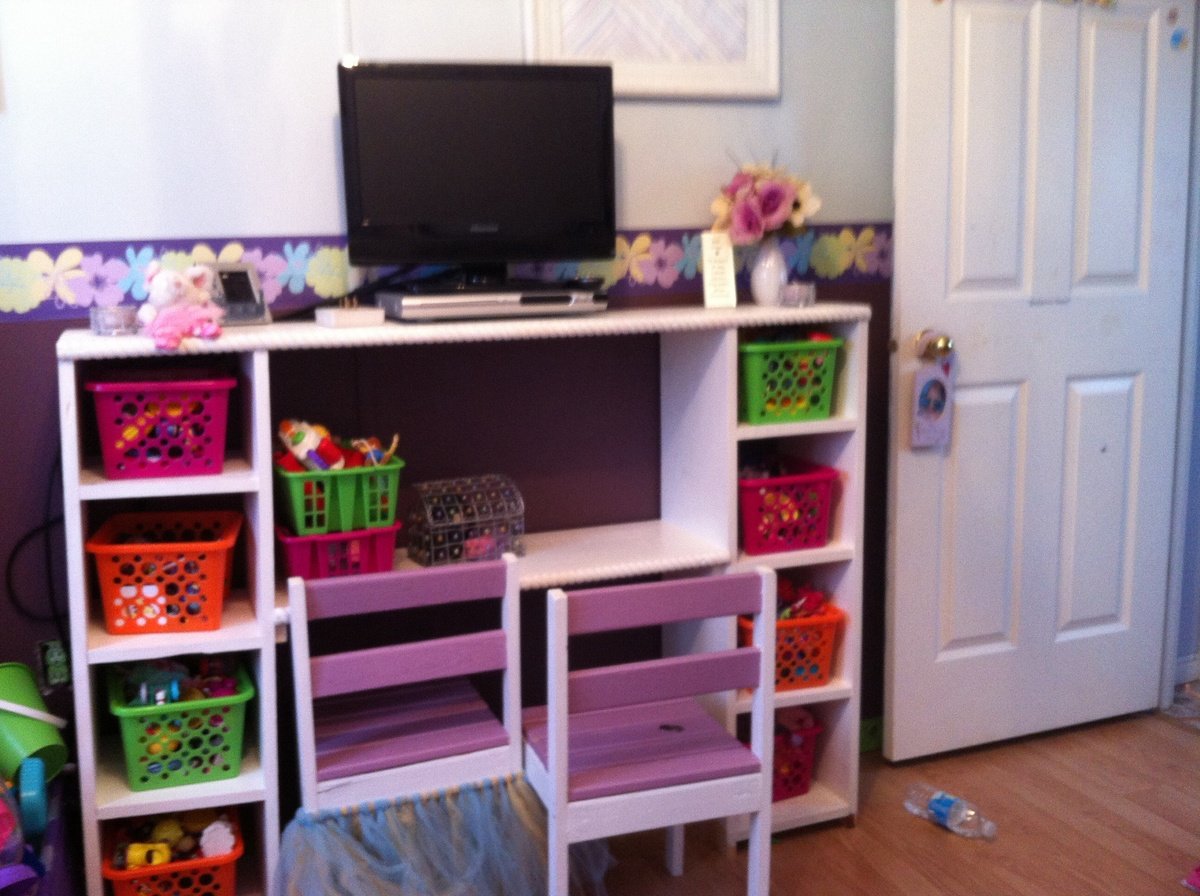
I found the plan for a small vanity and fell in love! I really wanted to build it for my 3 year old. With her room being small and all of her toys having separate spaces for each her room was getting crowded! So with some thinking I came up with a plan to double the whole plan and got myself a media center that took up less space than everything else while still looking pretty! My little girl loves that she can store all her toys, still have her desk and be able to watch movies from her bed.

Built from Plan(s)
Estimated Cost
$30
Estimated Time Investment
Afternoon Project (3-6 Hours)
Finish Used
Used a white paint that is durable and can easily be wiped down. Not sure of the name.
Recommended Skill Level
Beginner

Adirondack stool /end table

Submitted by ranlim on Mon, 08/01/2016 - 16:05

Cheap and easy. My cuts weren't the best on this one so it has a slight wobble. I plan to have match the finish of my adirondack chair

Estimated Cost
$5
Estimated Time Investment
Afternoon Project (3-6 Hours)
Recommended Skill Level
Beginner

Sturdy Work Bench

I built this using the sturdy workbench plans. I hesitate to call it a brag, as it is my first project, and I used some 2x4s from Home Depot. Premium... Yeah right!

Despite my crooked cuts and warped wood, the sum of the parts is actually pretty sturdy!

I did modify it a bit. As I'm 6'2", I made the legs approximately 35" and used 2 3/4" Sheets of 24x48 MDF as the top. This gave me a total height of about 36 1/2" of height, which is pretty comfortable.

I would have preferred more workspace, but I'm limited to a portion of my one car garage, so 24x48 will have to do!

Finally, though this was definitely an hour or two worth of project, it took my about 2 weeks to complete, working in increments as small as 15 minutes, sue to having a 4 month old son!

Now to decide what to build next!

Estimated Cost
About $50 worth of wood, if you already have the tools.
Estimated Time Investment
An Hour or Two (0-2 Hours)
Recommended Skill Level
Starter Project

Comments

Computer Desk

This is my first furniture project I wanted to replace my cheap computer desk that was falling apart. The build was pretty simple, the only problem was finding a good project board and finding a good stain. Tried several different stains an a piece of scrap before deciding on red elm gel stain. Project took longer than I anticipated but most of that time was in getting the finish right, the build part was pretty quick.

Estimated Cost
$175
Estimated Time Investment
Week Long Project (20 Hours or More)
Finish Used
mini wax red elm gel stain
clear matte poly spray
almond color paint
Recommended Skill Level
Beginner

Comments

CSaintD

Mon, 05/05/2014 - 08:29

Well done. I feel your pain in looking for good boards - it takes me about an hour at Lowes just to find 4 or 5 good boards. Wish I had a lumber yard close by.
I like your finish on the top. I will try that one next time.

Not your typical garage shelf

Submitted by lookitsash on Wed, 08/03/2016 - 11:08

After undertaking many home improvement projects over the past few years, my garage was getting a little out of control. I had too many bulky tools taking up space, making it hard to get work done efficiently. I decided to build a storage shelf, but looking for more of a challenge, I wanted to add sliding shelves to provide easy access to items in the rear.  Check out my blog post at JustMeasuringUp.com for all the details.  I documented the project from beginning to end with lots of pics.


http://www.justmeasuringup.com/blog/creating-more-garage-storage


The shelves are 3 ft deep and stores a lot of stuff now.  When I need something at the back, rather than wading through the stuff at the front, I just grab a handle and slide the whole shelf forward.  So if you're looking to improve upon the pretty standard garage shelf design out there, check out mine!

Estimated Cost
Under $200 (even had extra wood to build a standard wall mounted shelf for additional storage)
Estimated Time Investment
Day Project (6-9 Hours)
Finish Used
No finish, I like the natural look of wood
Recommended Skill Level
Beginner

Rebecca Media Center Console

Submitted by shastacoke on Wed, 07/18/2012 - 10:18

I have been needing an entertainment center for so long. When this plan popped up, my husband and I went into action. We designed this piece a little differently though. For one, the plan is too narrow for us and our tv-so our console is wider but shorter-to save on costs. Another note-we needed a place to put our computer so it can charge without our twin boys getting ahold of the cord. You can see that feature on the lower left hand corner. I also used a picture in a very well known catalog and I used the picture to get the stain just right. This might just be my favorite piece so far. I will be adding the bookcases and hutch to this. I am also in the process of adding 2 doors to this console. They needed to be stained before I could add them though.

Estimated Cost
$150
Estimated Time Investment
Weekend Project (10-20 Hours)
Finish Used
I used Minwax Ebony Stain. Then I used 240 Grit sandpaper and sanded just a tiny bit-it seemed to give the piece a more matted look and it exposed the grain more. After that, I used Martha Stewart's Copper Penny Metallic Glaze. I brushed the glaze over the parts where I wanted to make it look aged. I'm not a fan of painting hard woods or you could just paint it, then wax it and then use a copper paint. I wanted to be able to see the wood grain through the stain-so I used stain and did it this way. After the glaze dried, I used 1 coat of semi-gloss polyurethane.
Recommended Skill Level
Intermediate

Comments

shastacoke

Wed, 07/18/2012 - 10:22

I also wanted to note-we will be adding bead board behind the middle part of this console. We are leaving the other 2 backs exposed because I don't have a router to notch out holes in bead board. :)

redhead_61

Fri, 10/19/2012 - 12:14

Yours looks so great. Glad that our plan could inspire something for your needs. Looks great. I love the design.

shastacoke

Fri, 10/19/2012 - 12:43

Thank you!! I saw the stain at EA and since I don't like to paint furniture I stained it black and took some copper paint from Martha Stewart and 'aged' it. I love the outcome much better than painting and waxing.

Dog Crate

Submitted by mdgervais on Thu, 05/08/2014 - 08:44

Recently I added a family member and his name is Myles. He needed a home so before we picked him up I built him one of these for him to grow into. The one pictured is actually the second one I built that was built for a friend. I followed the original instructions. I used a couple different bits of material. My table top is 1x4's and for the sides i used bead-board. I painted it an off white with eggshell finish. The table top is stained with Minwax Ebony stain. I love how it turned out and most of all my puppy enjoys it as well.

I left the bottom open. The dimensions in the plans make it so you can set the crate right on top of a crate replacement trey series 700 from PetCo. This makes it very easily to clean by just lifting the crate off the trey and hosing it off and also prevents the wood from absorbing any liquids.

Built from Plan(s)
Estimated Cost
$125
Estimated Time Investment
Day Project (6-9 Hours)
Recommended Skill Level
Intermediate

Old pallet wood, wine holders

Submitted by Anonymous (not verified) on Mon, 08/08/2016 - 16:39

I had to make the back legs longer, since I used all pallet planks for this, threw me off a bit. And I made the arms an extra 5" long to notch in wine glass holders. If I do it again, I'll angle the back a bit more, but as is its pretty great. Guess who picked pink?

Estimated Cost
Free pallet planks and screws, $27 gallon of paint.
Estimated Time Investment
Weekend Project (10-20 Hours)
Finish Used
Satin latex outdoor paint.
Recommended Skill Level
Beginner

Farmhouse Potting Bench

Submitted by jhunch on Mon, 05/25/2020 - 10:58

We had a pile of old wood and an old fence in the backyard that I wanted to repurpose. I had a spot along my house in the back yard that was empty, that really needed something. Thanks to Ana's "Farmhouse Potting Bench" tutorial and plans, we got inspired. We changed the measurements to make sure we could incorporate an old stained glass window that I've had, just waiting for a purpose. We also changed the measurements to accommodate the different sizes of wood that we had on hand. Our project took a much longer time, because of all the measurement changes and wrapping our head around how to mount the window, but it was worth it. We're really happy with how it turned out.

Built from Plan(s)
Estimated Cost
very little. All material on hand
Estimated Time Investment
Day Project (6-9 Hours)
Finish Used
special walnut
Recommended Skill Level
Intermediate

Rustic X Console without the X

Submitted by HR Dad on Thu, 07/19/2012 - 14:22

My wife wanted a sofa table near our sliding door going outside to backyard / pool. She was looking online and found some cheapo "made in China" types at some of the big box store sites; yuck.

I had to come home from our family vacation sooner than the wife and kids which meant I had 12 days at home alone to make some sawdust. The wife got her sofa table which she really digs. My boy got a bed (different post) and daughter got her room painted.

I didn't add the "X" feature at the ends as I like the console better without them. Also spray painted some corner hardware; L brackets and lag bolts a textured black / copper spray, but didn't add them; wife liked the table without the added decor so it stays as is.

Built from Plan(s)
Estimated Time Investment
Day Project (6-9 Hours)
Finish Used
Minwax Grey & Polyurethene
Recommended Skill Level
Beginner

Comments

MichelleC

Sun, 09/30/2012 - 09:59

I love this console because it looks good either with the x's or without! Yours turned out great and I'm sure your wife was ecstatic at your accomplishment in her absence!!

Herb Garden Planter, easy to build, I can't believe how little it costs to make!

Submitted by Sue Hill on Sat, 05/10/2014 - 15:26

I'm just in love with all the Ana White projects. I tackled the faux fireplace mantel, made quite a few toolbox planters so this little box was easy. My biggest mistake was not verifying the thickness of the wood pickets I used. I couldn't find the cedar ones at Home Depot or Lowes so I used pressure treated pine pickets, on sale for $1.16 each! What I didn't realize until I was putting the first box together is that they were 5/8" thick instead of 1/2". I questioned my woodworking skills when everything didn't fit together correctly, but soon figured out the problem. Since I had cut out two of them together, I finagled the design slightly to be able to use the cut pieces. You'll notice the end pieces are on top of the bottom piece of wood on certain ones. I continued to build a third box and it went together smoothly. Wow, I wish that I had a nail gun! I used 1 1/4" exterior screws and pre-drilled the holes. I have three more pickets left and I'm going to run to Home Depot to find some galvanized nails for them. I wish I could find some cedar pickets, the pressure treated pine is rough to work with. I also printed out "HERB GARDEN" on my ink jet printer, then traced the letters using carbon paper. I outlined, then filled in the letters with a Sharpie paint pen. It came out rustic looking because the wood was rough. I was hesitant to sand the wood because I didn't want to breathe in the sawdust. I put a white wash finish on the stenciled box. The other ones are still unfinished. Looking through my stash of hardware, I found the cutest fork and spoon handles, saved from an old birdhouse. I put the picture on my Facebook timeline and a friend sent me a message asking to buy it for her daughter's birthday. I'd better get busy making the next three.

Estimated Cost
$2 or more depending on the handles used.
Estimated Time Investment
An Hour or Two (0-2 Hours)
Finish Used
White washed with white DecoArt Patio paint.
Recommended Skill Level
Beginner
Seasonal And Holiday

Outdoor Sectional

Submitted by Anonymous (not verified) on Fri, 08/12/2016 - 14:24

We were inspired when we saw Ana's Outdoor Sectional on Pinterest and after checking out the site we decided to build ours using the modified plans with 2 x 4s as it was much more cost effective. It was a really fun weekend project for my husband and I and not difficult at all. 

DIY Stuffed Animal Zoo Tower

This is my second stuffed animal zoo tower.  This time around I used cheap 2x2 furring strips.  Not the best pick of lumber, but it gets the job done well. :)

Built from Plan(s)
Estimated Cost
$30
Estimated Time Investment
Afternoon Project (3-6 Hours)
Finish Used
Watco Danish Oil (Medium Walnut)
Recommended Skill Level
Beginner

COVID 19 end of year home school project success

Submitted by Anonymous (not verified) on Sun, 05/31/2020 - 07:10

Great build. Hubbie extended to couch one seat and added legs for additional support. We painted after assembly and the x’s were a PITA to paint. Love the end result. Now to pick coffee table plans!

Estimated Cost
300 not including cushions
Estimated Time Investment
Weekend Project (10-20 Hours)
Finish Used
Sherwin Williams Caviar exterior paint and spray poly
Recommended Skill Level
Intermediate

Custom Floating Shelves

Submitted by Anonymous (not verified) on Tue, 02/20/2024 - 08:29

Small shelving unit for a home office also used as a guest bedroom. Made by my husband.

Back