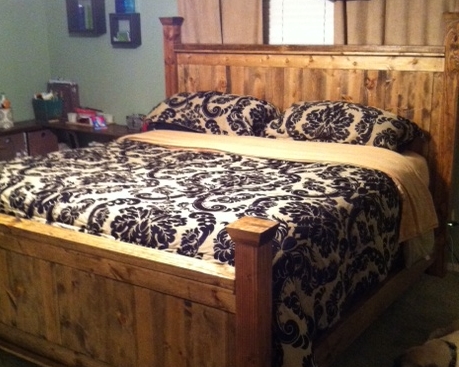
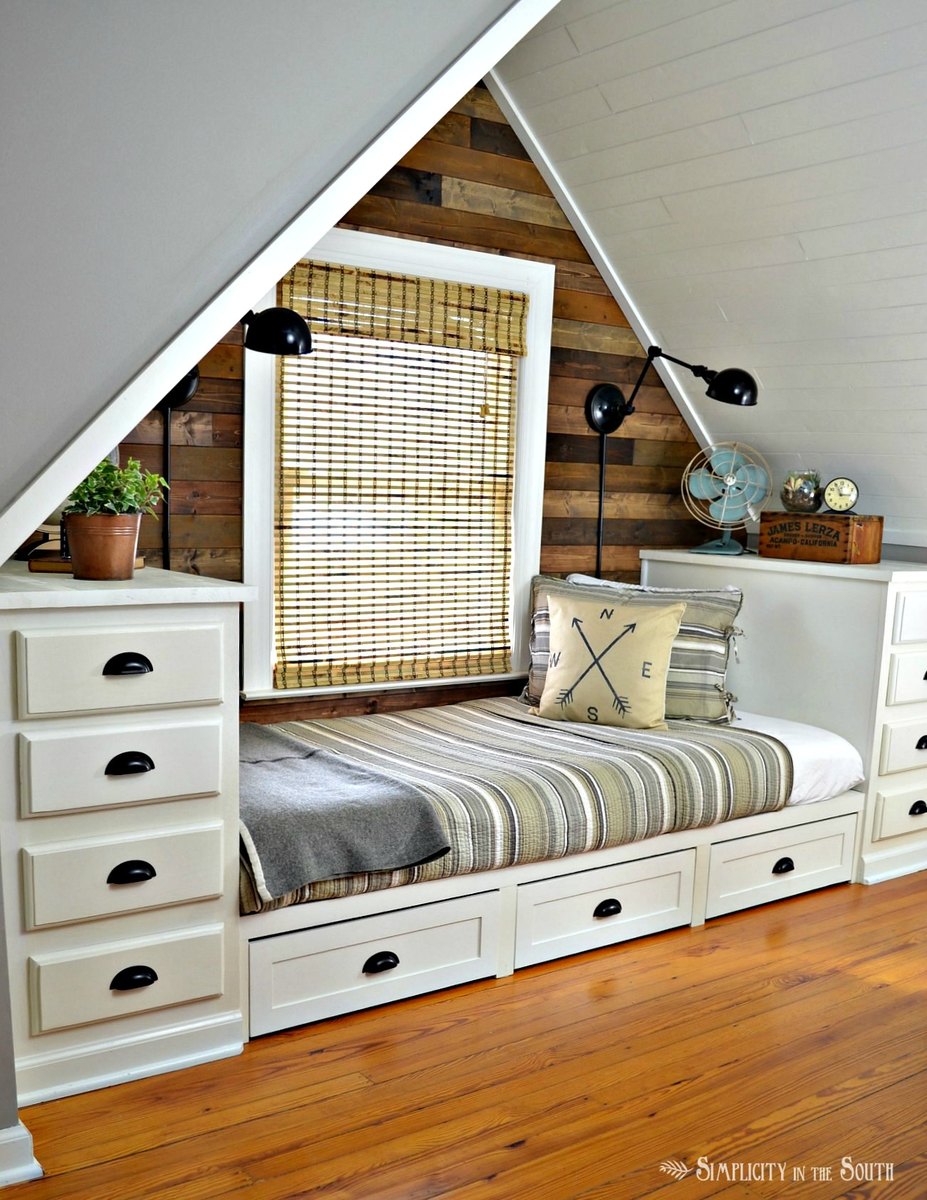
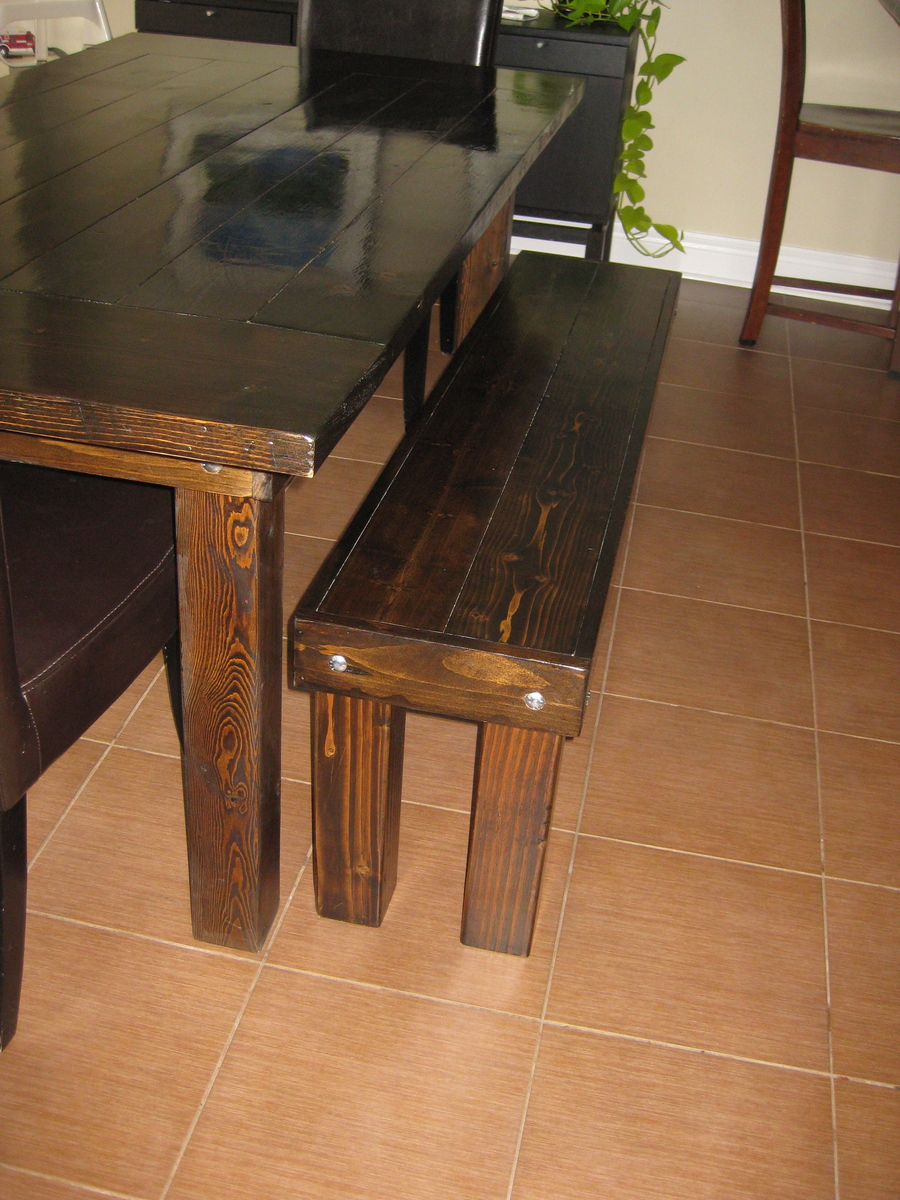
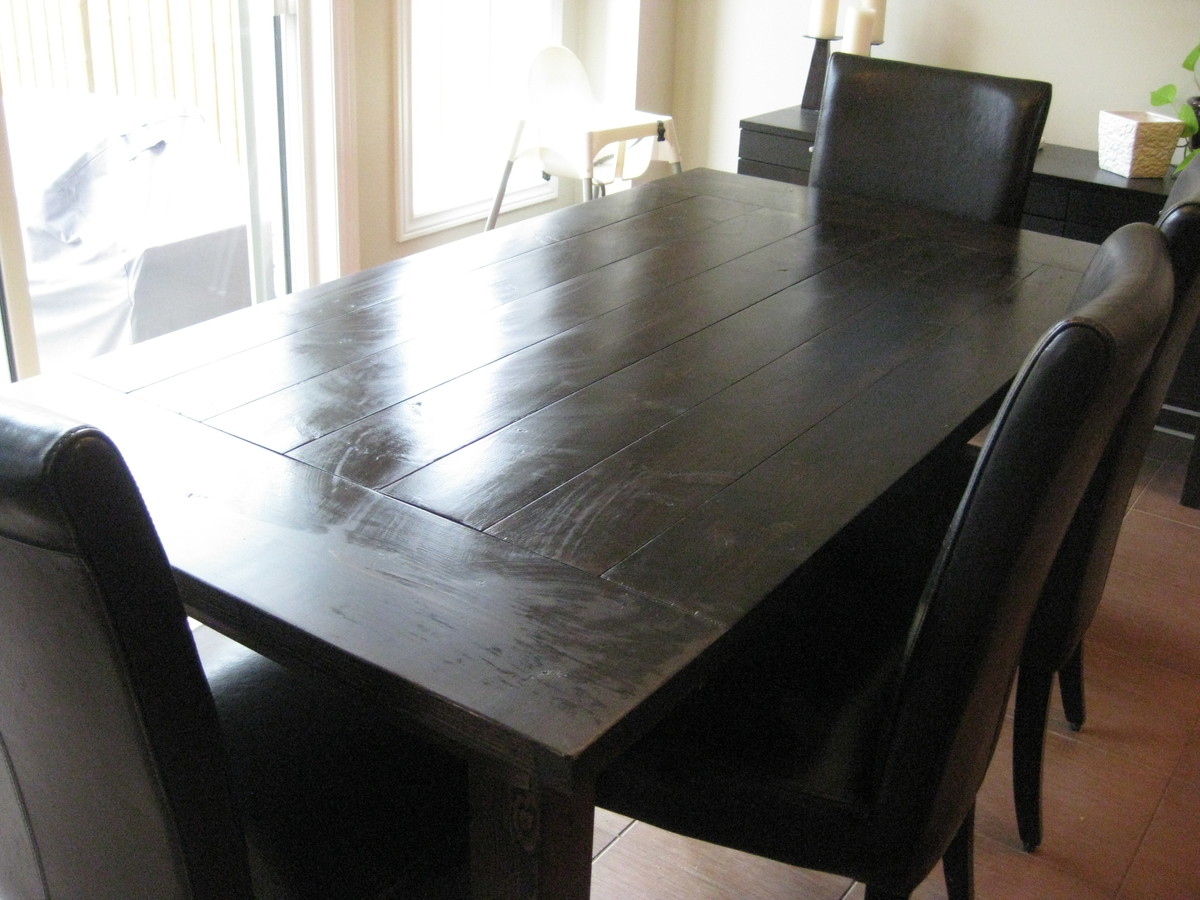
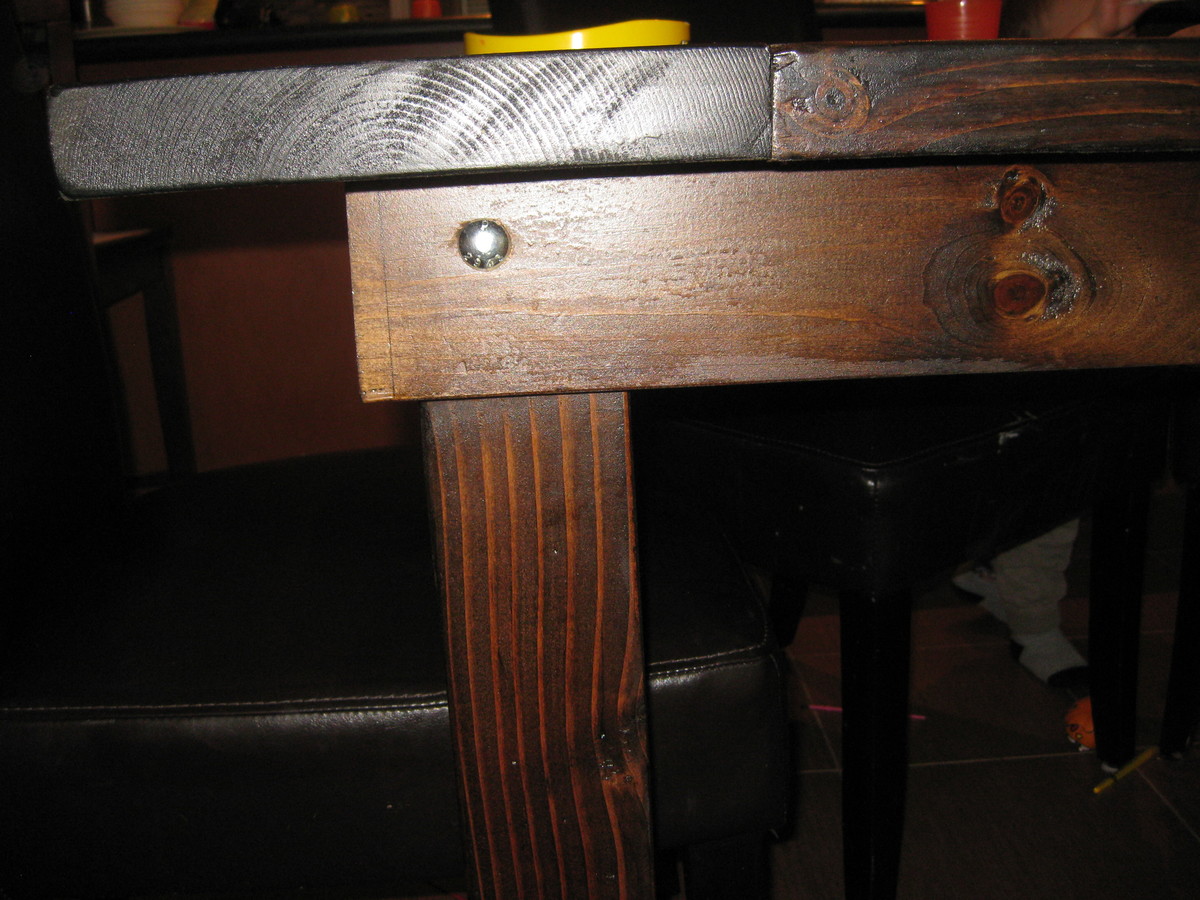
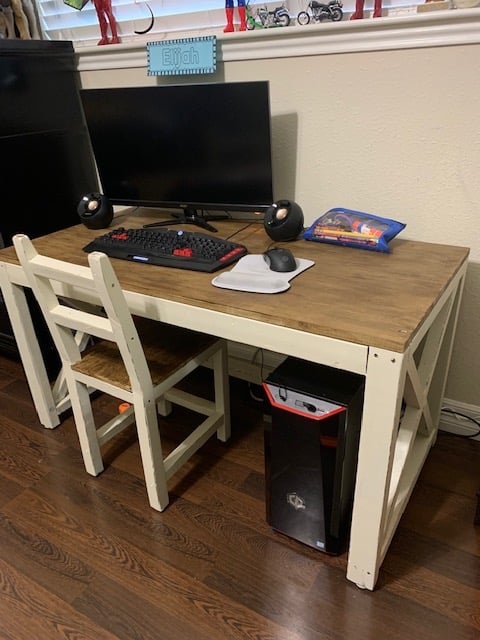
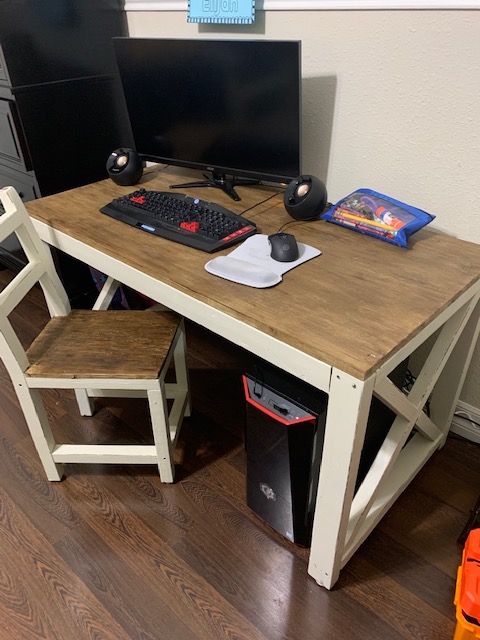
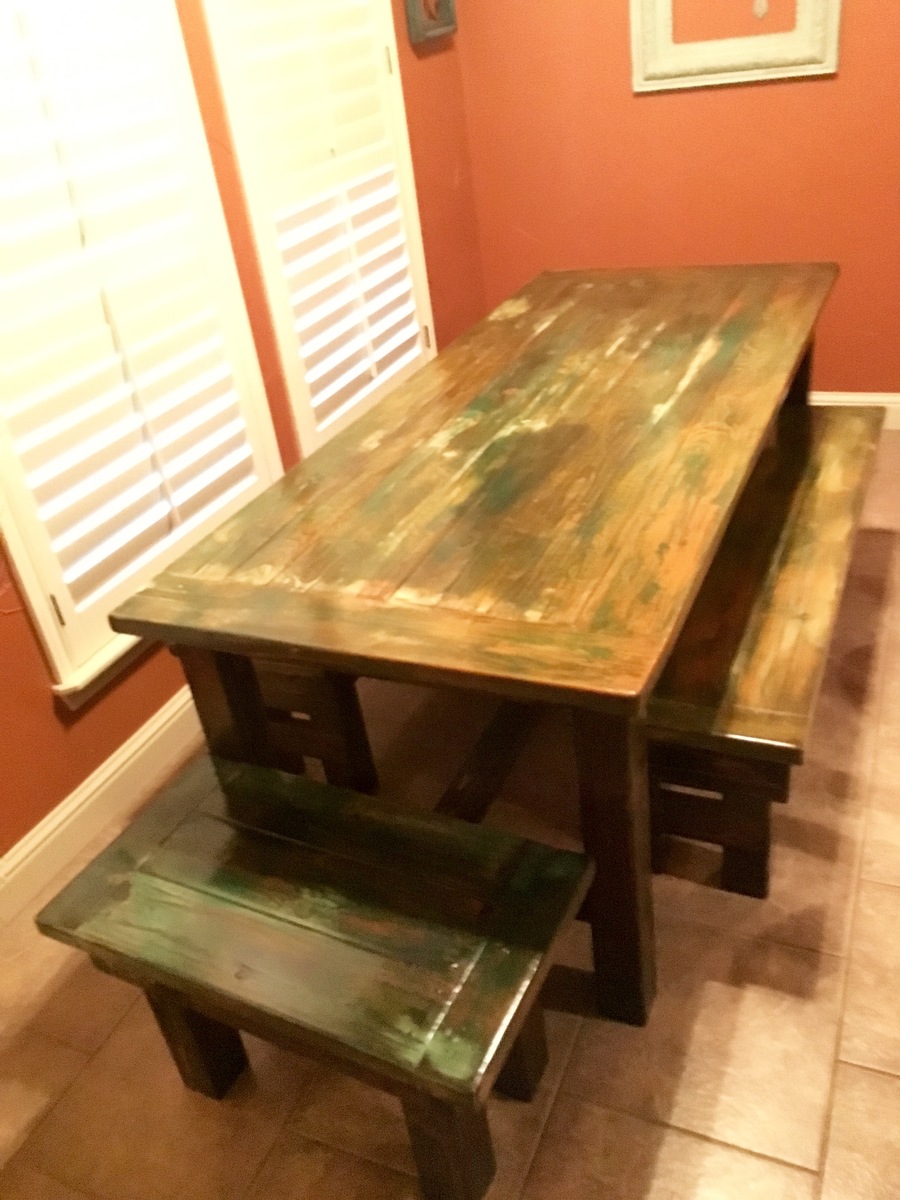
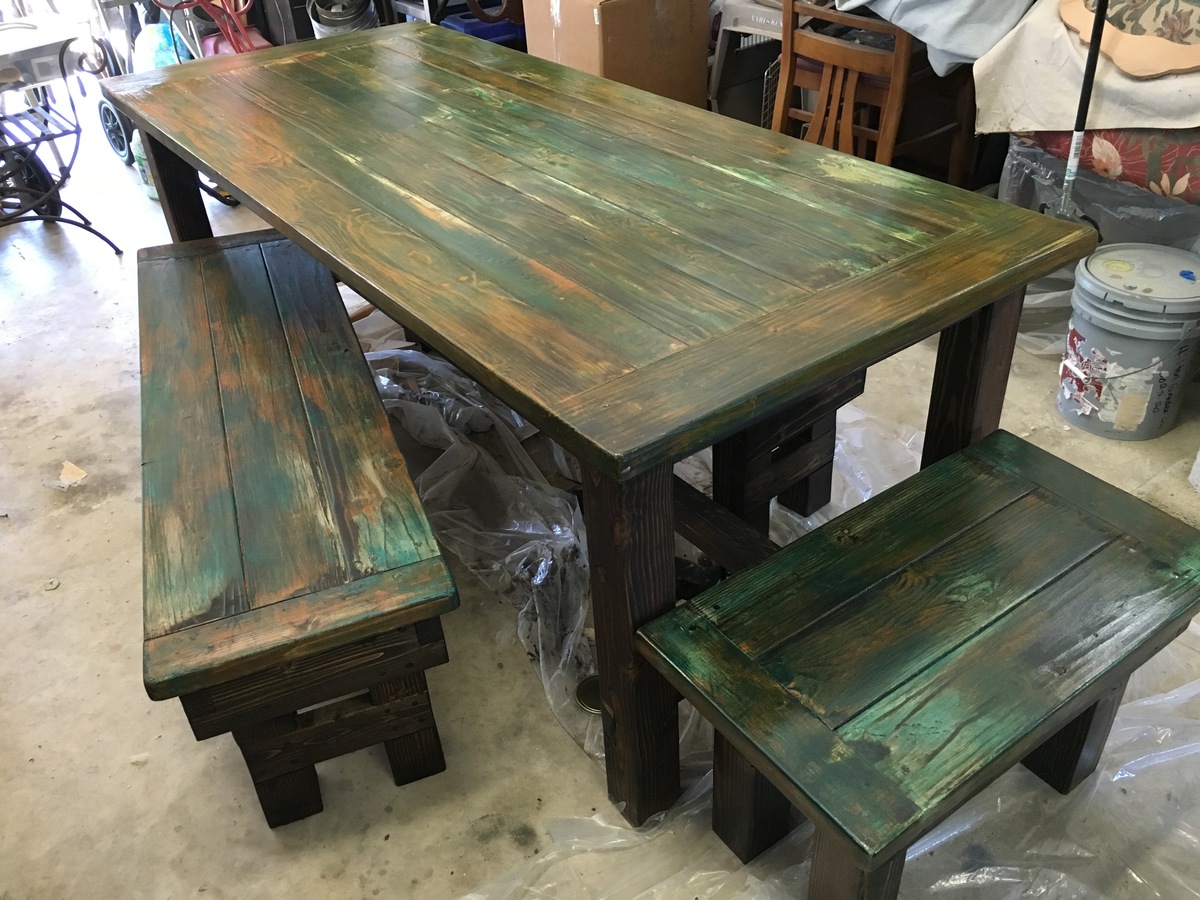
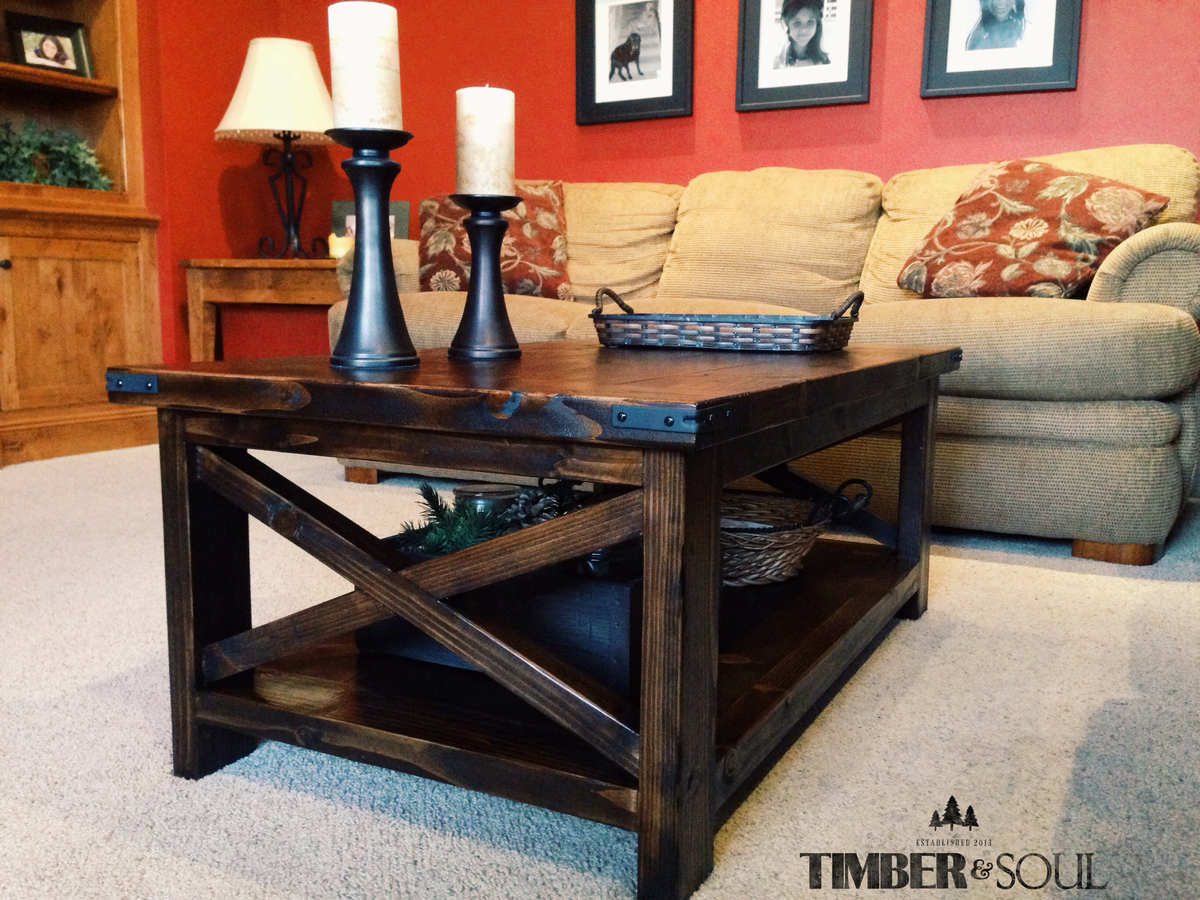
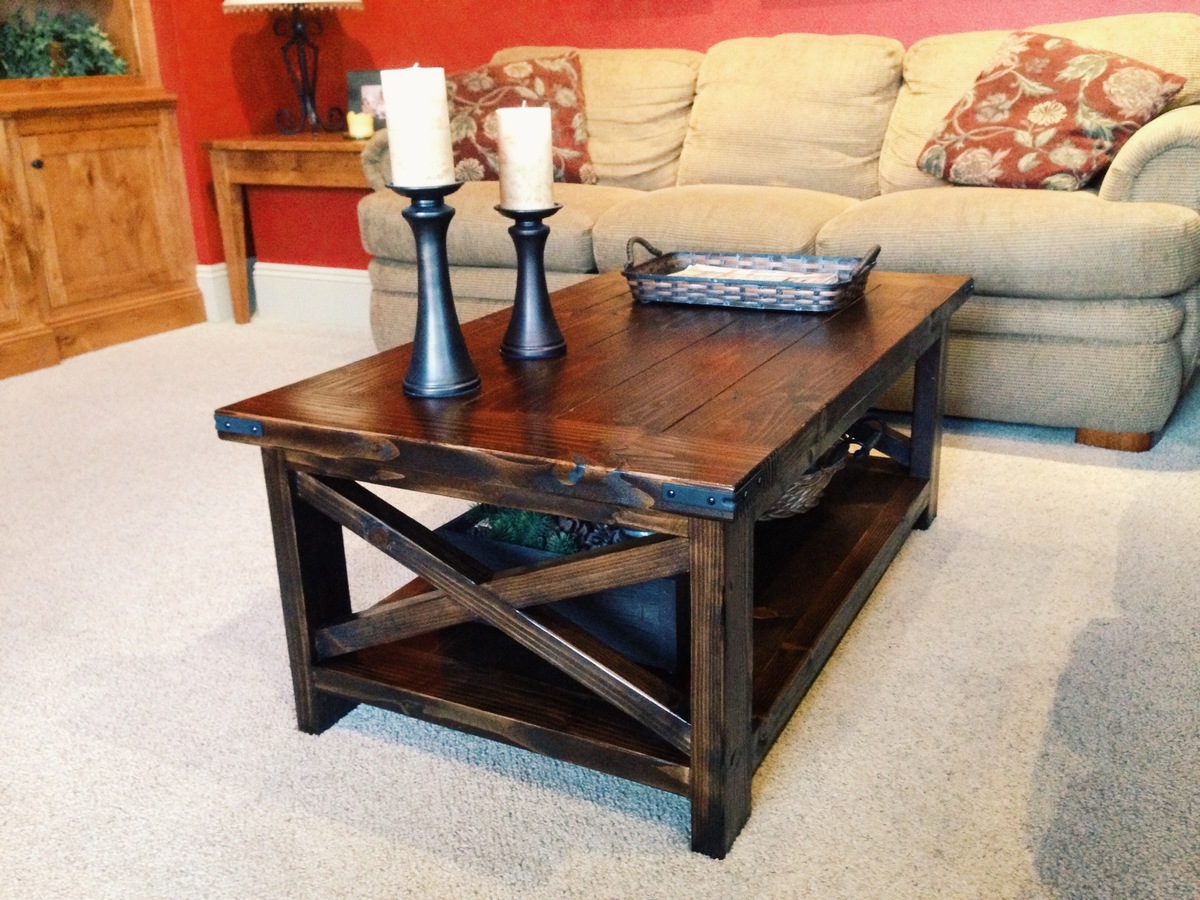
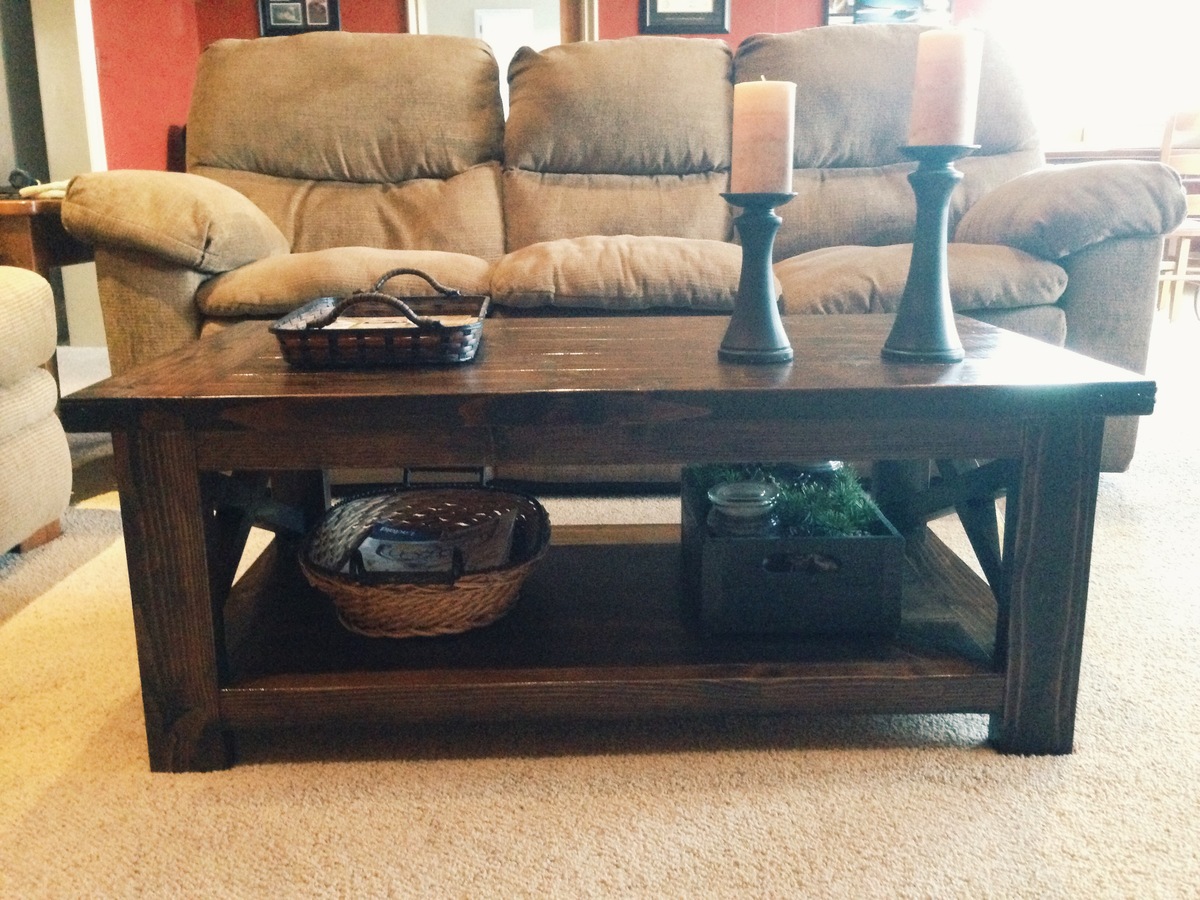
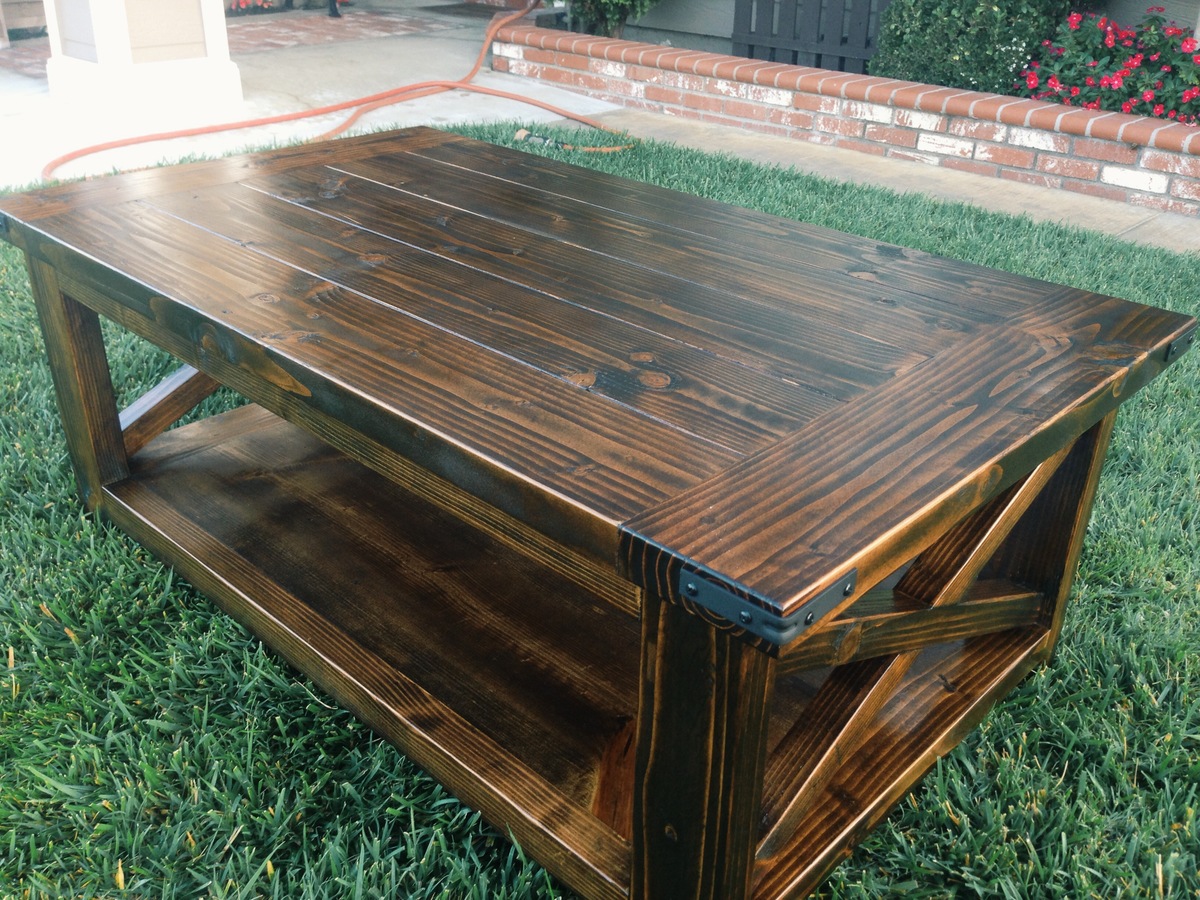
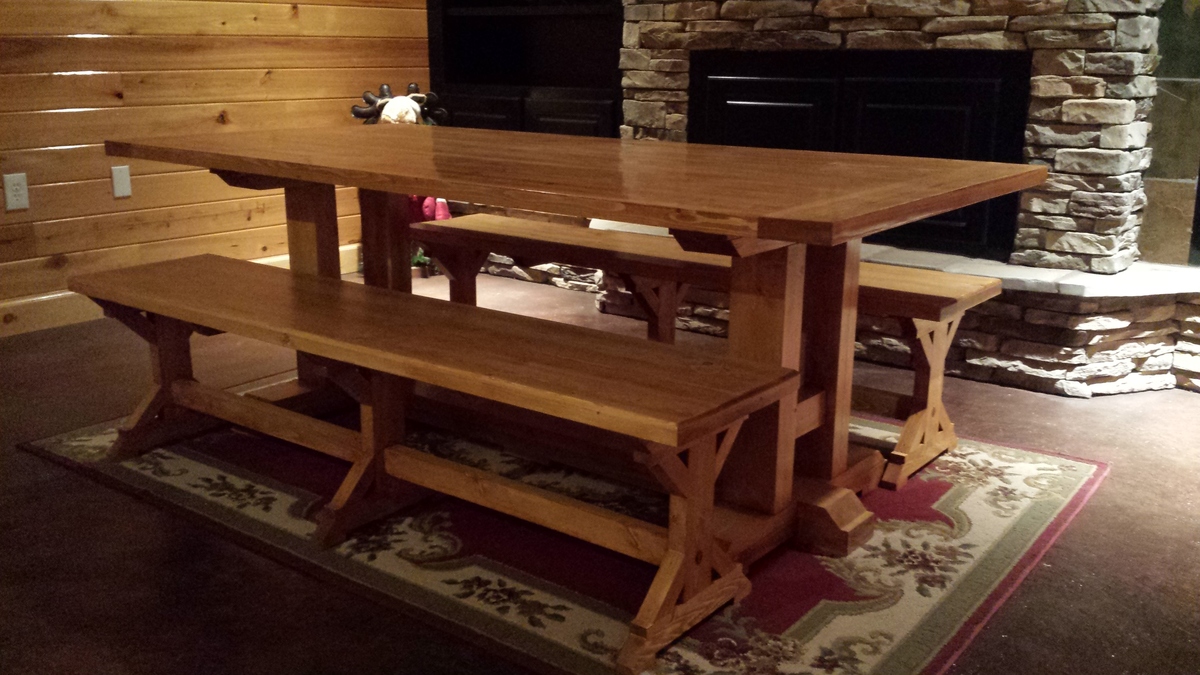
Kitchen Nook

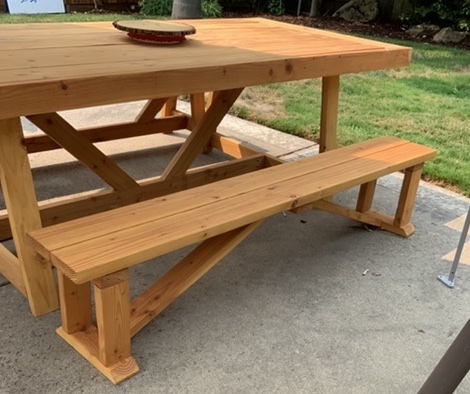
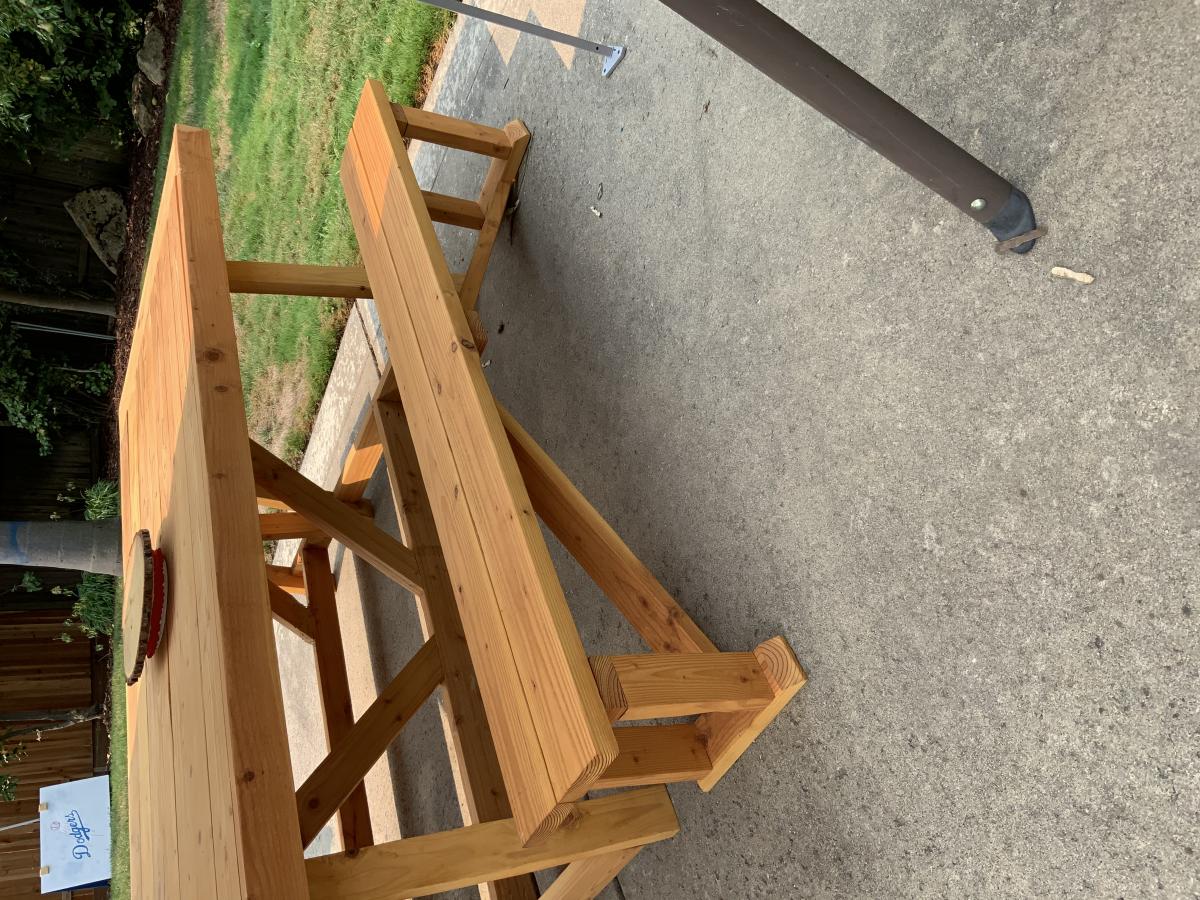
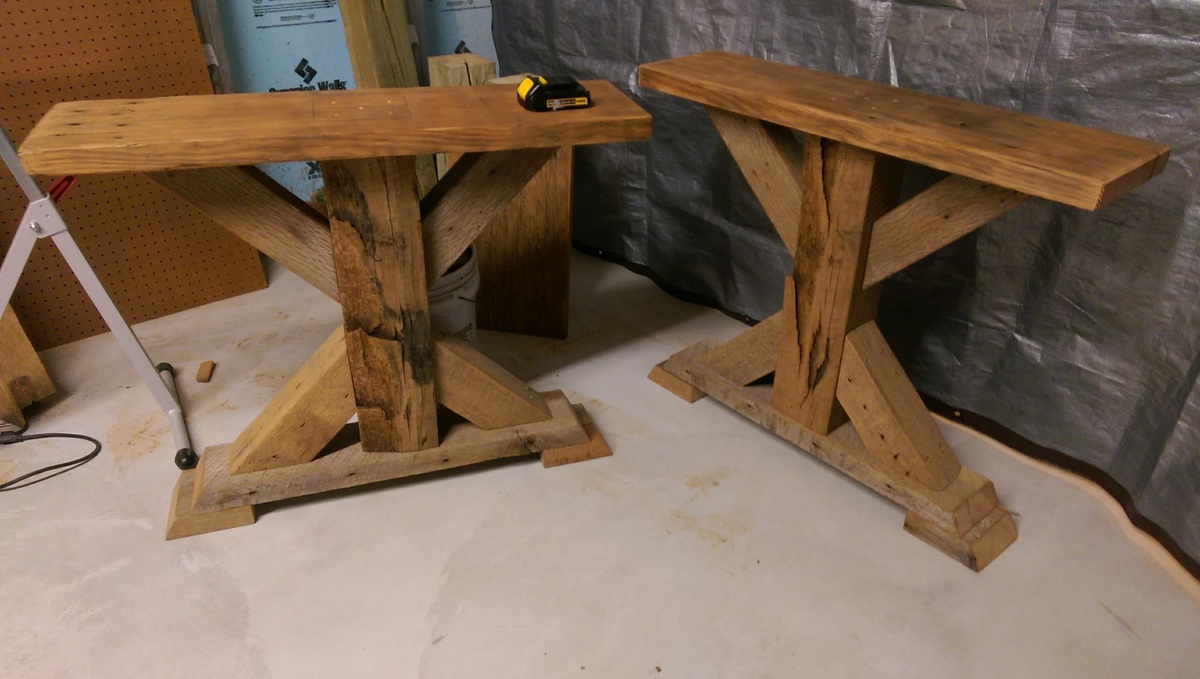
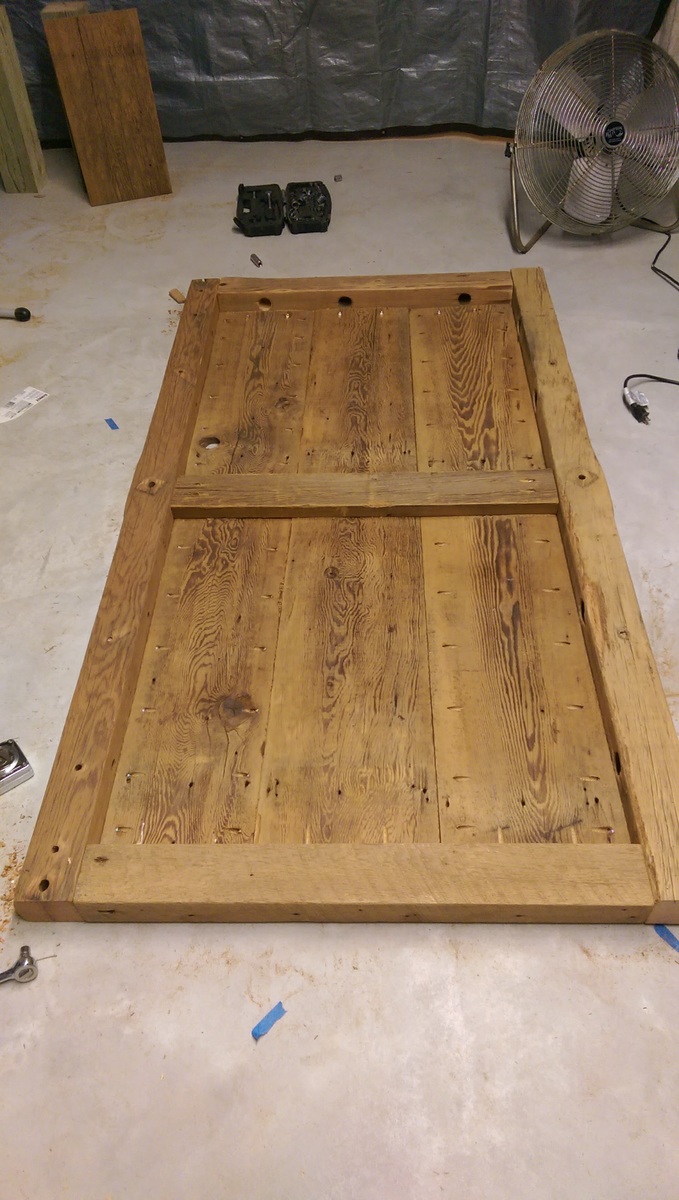
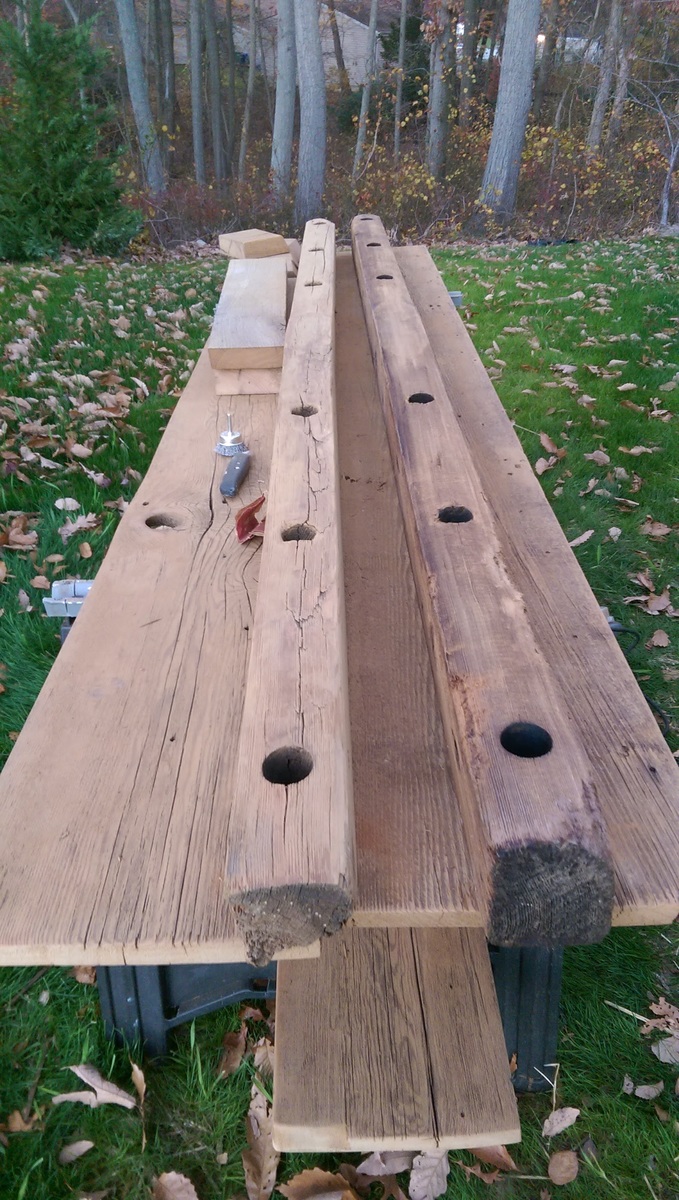
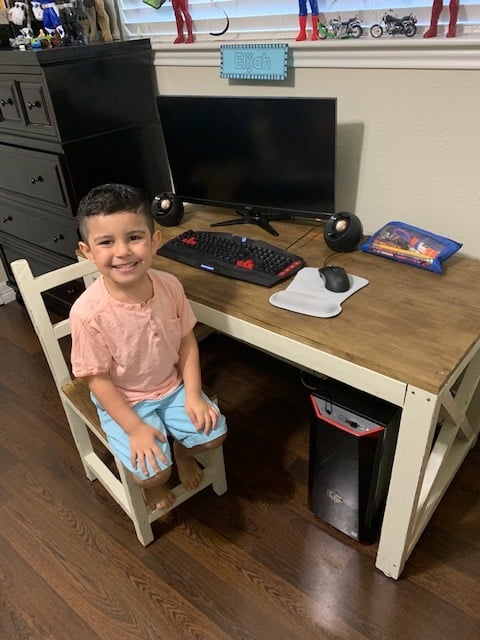
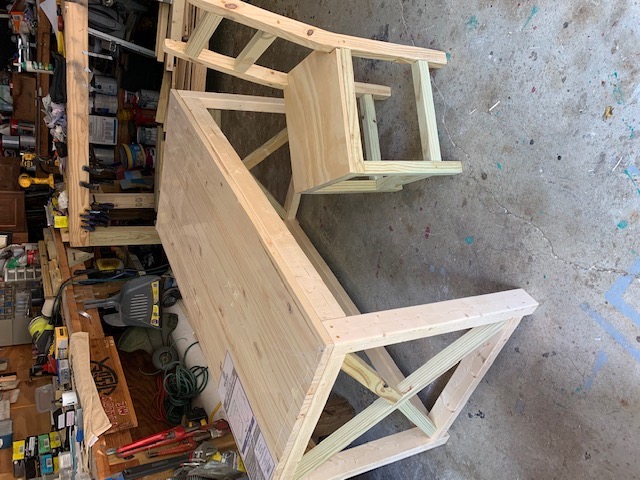
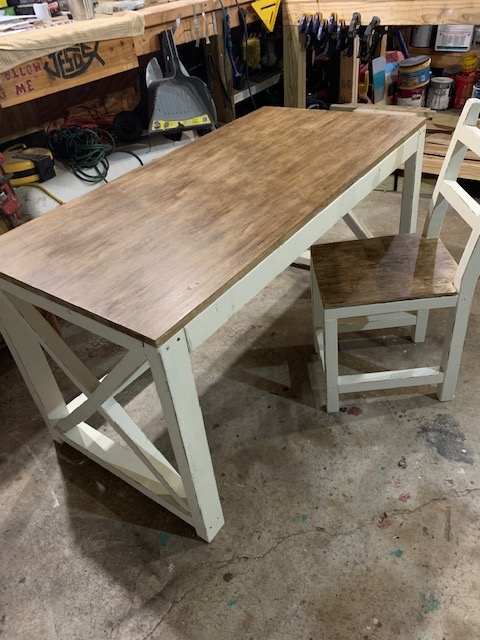
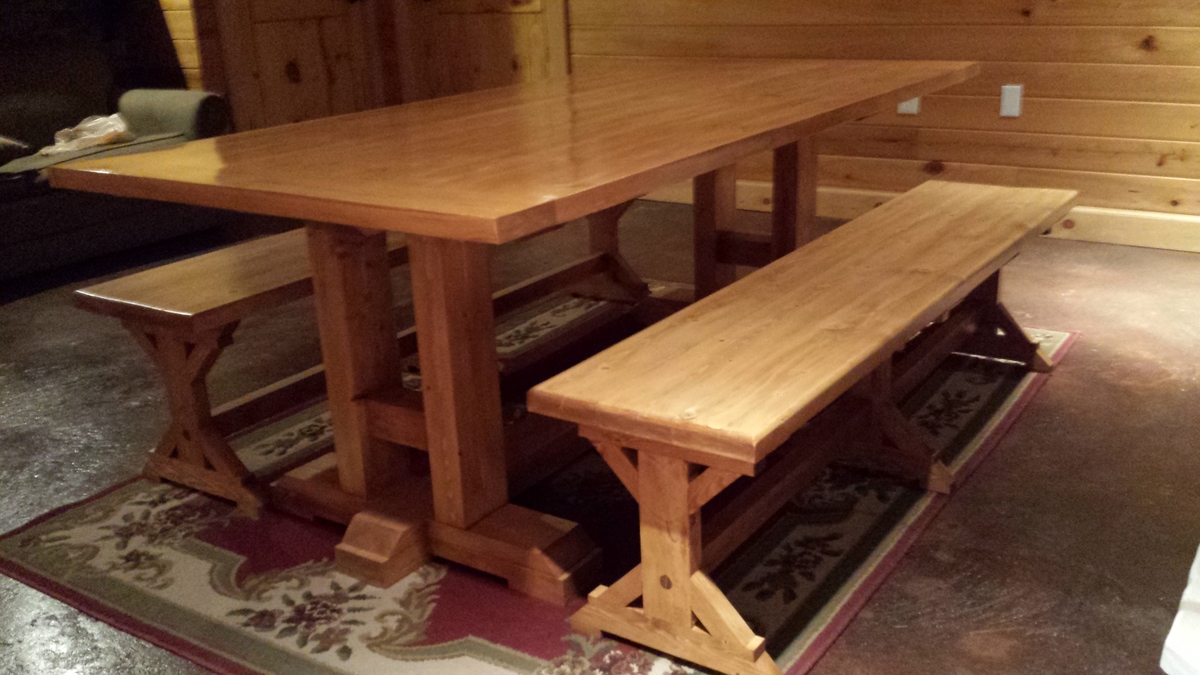
I wanted a corner kitchen table. I used the farm house table plans and made up the bench!
Built from Plan(s)
Estimated Cost
$280
Estimated Time Investment
Week Long Project (20 Hours or More)
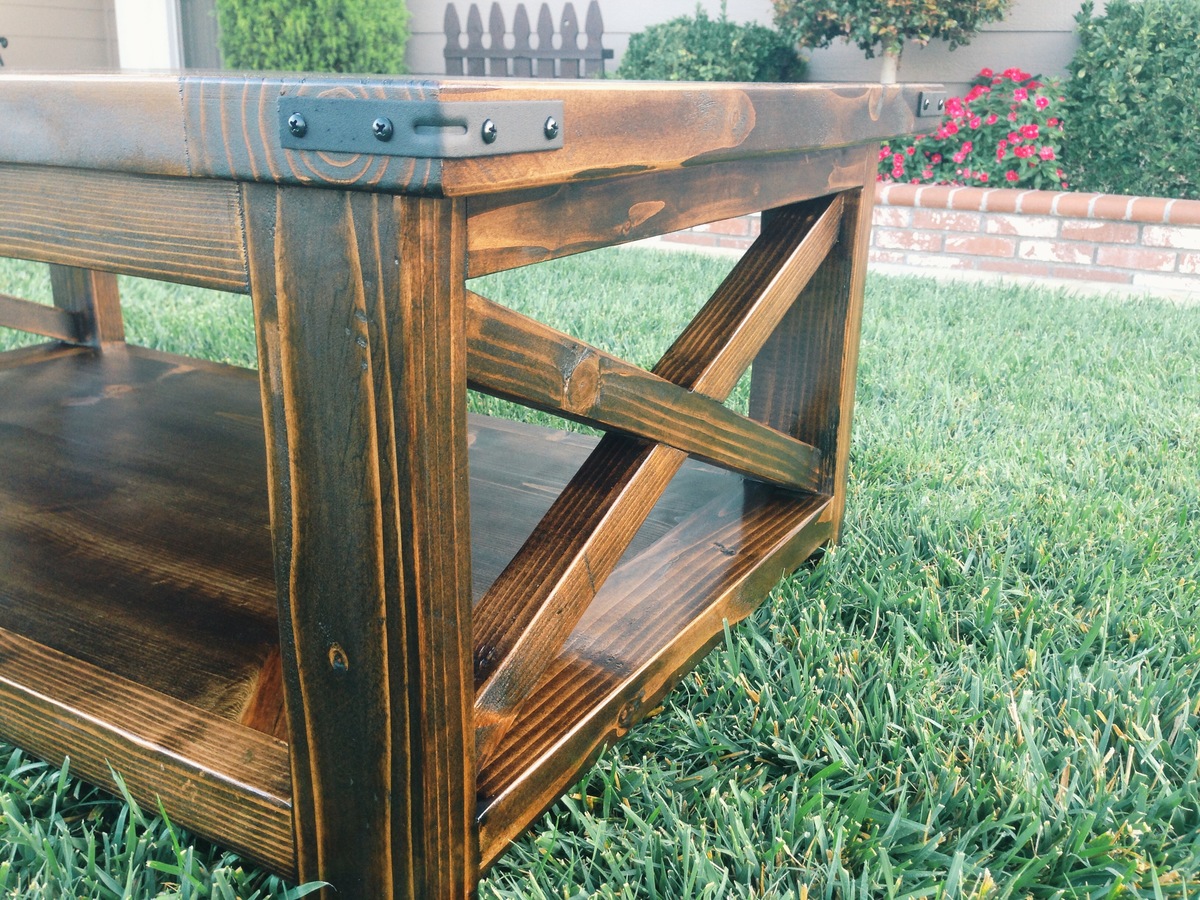
Finish Used
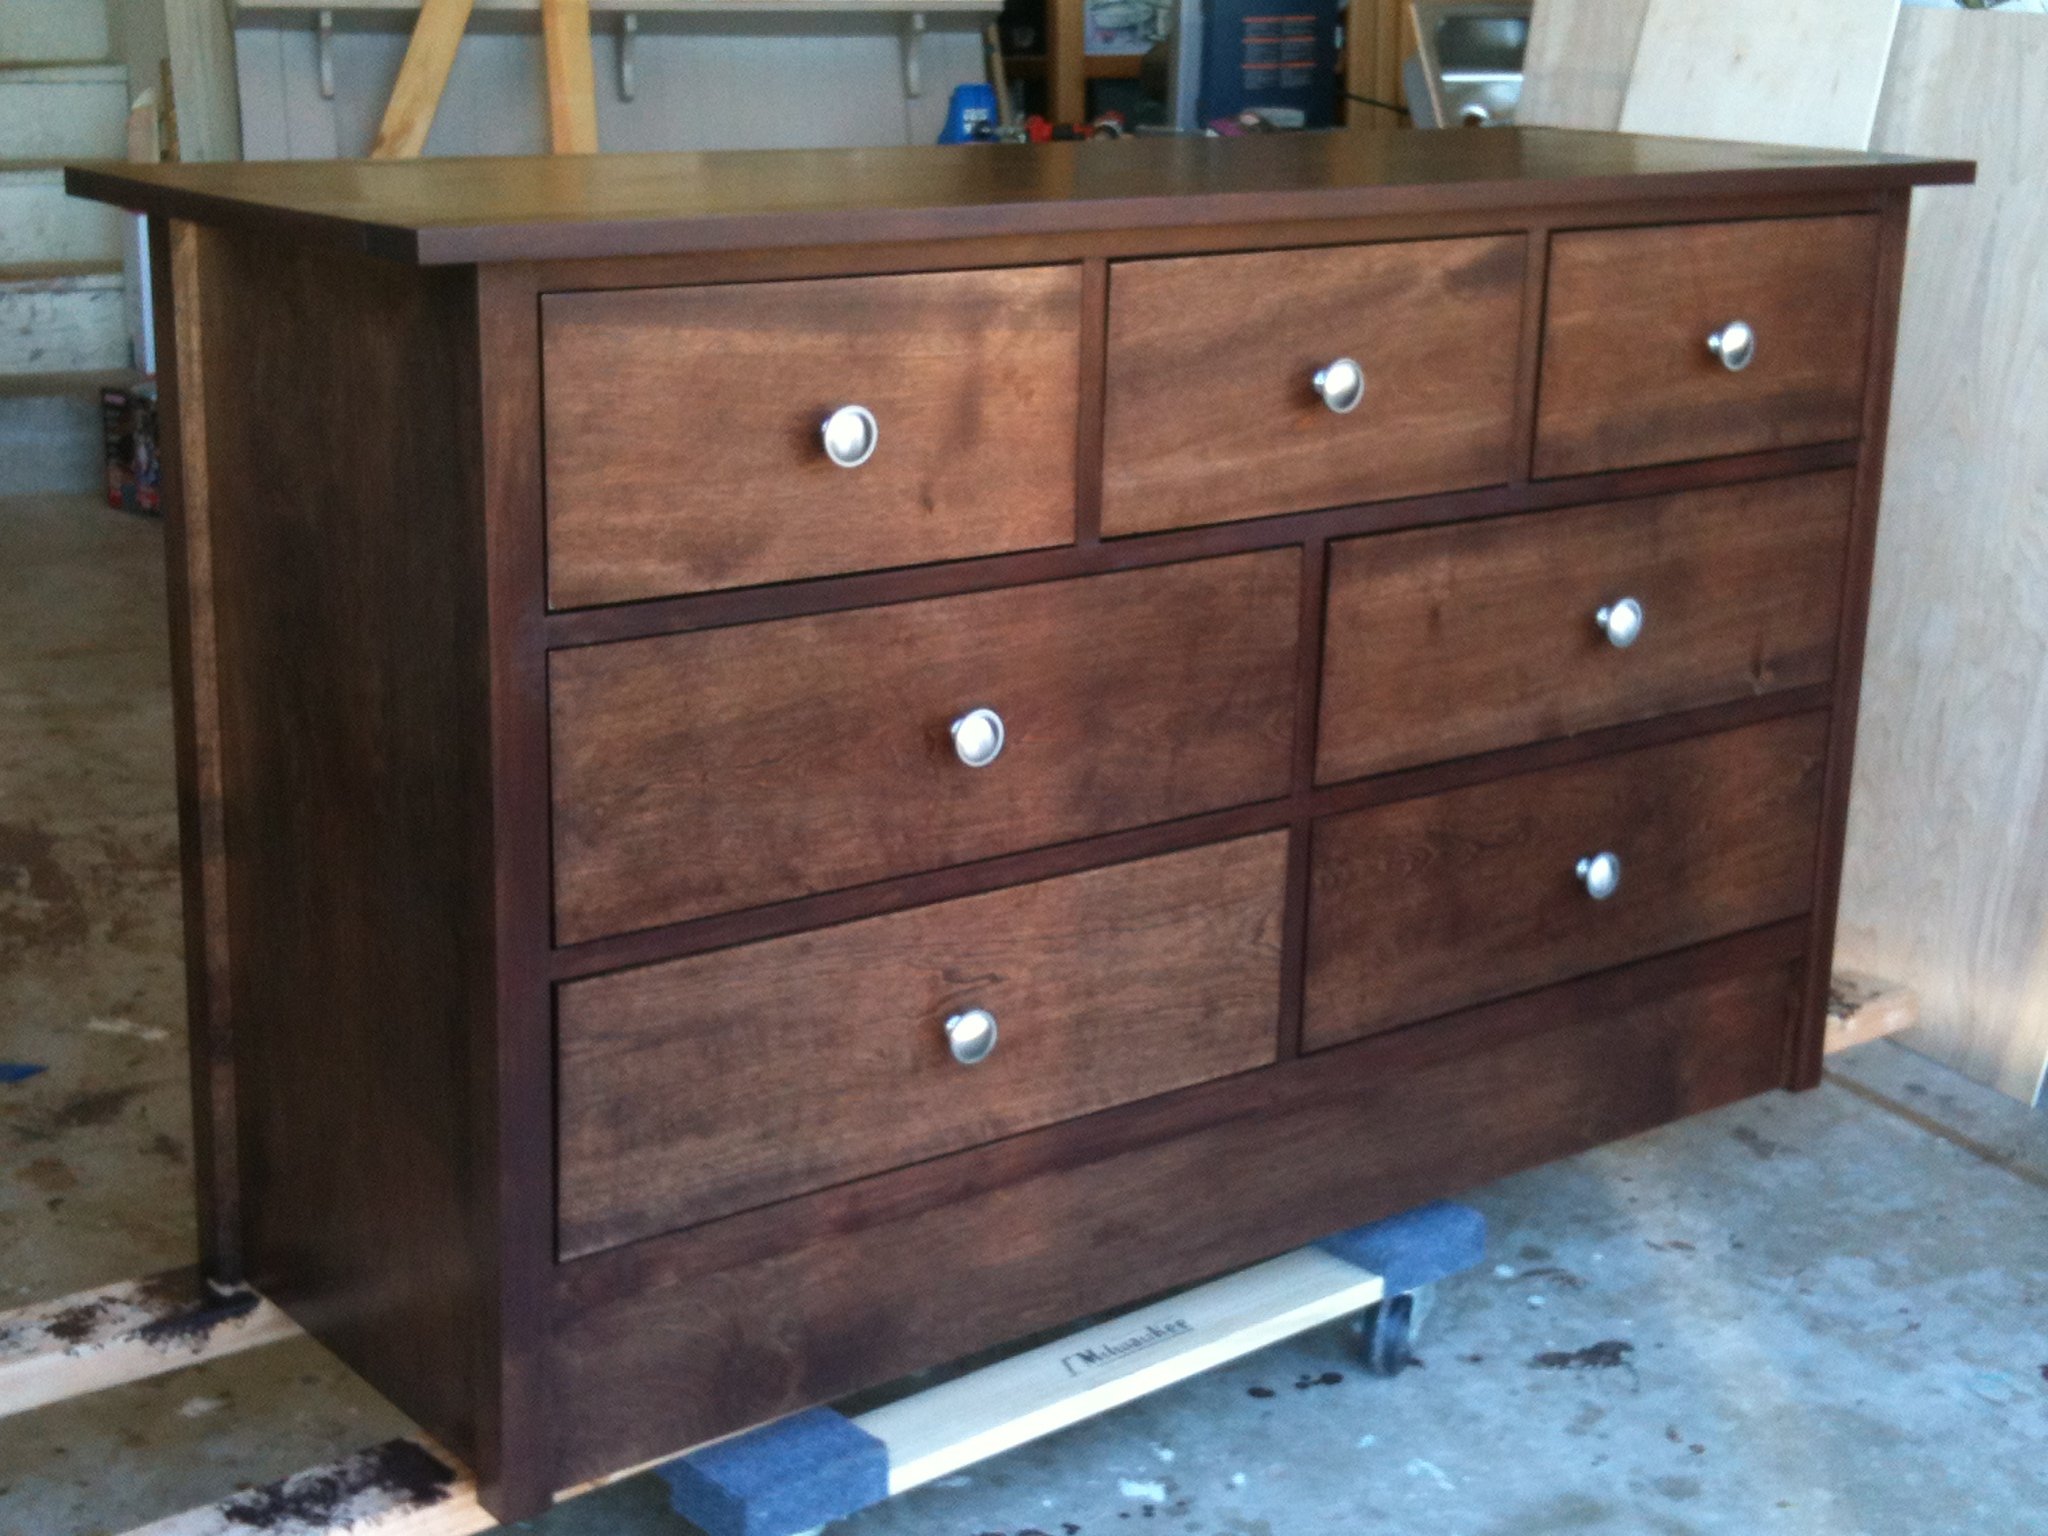
Walnut
Recommended Skill Level
Intermediate