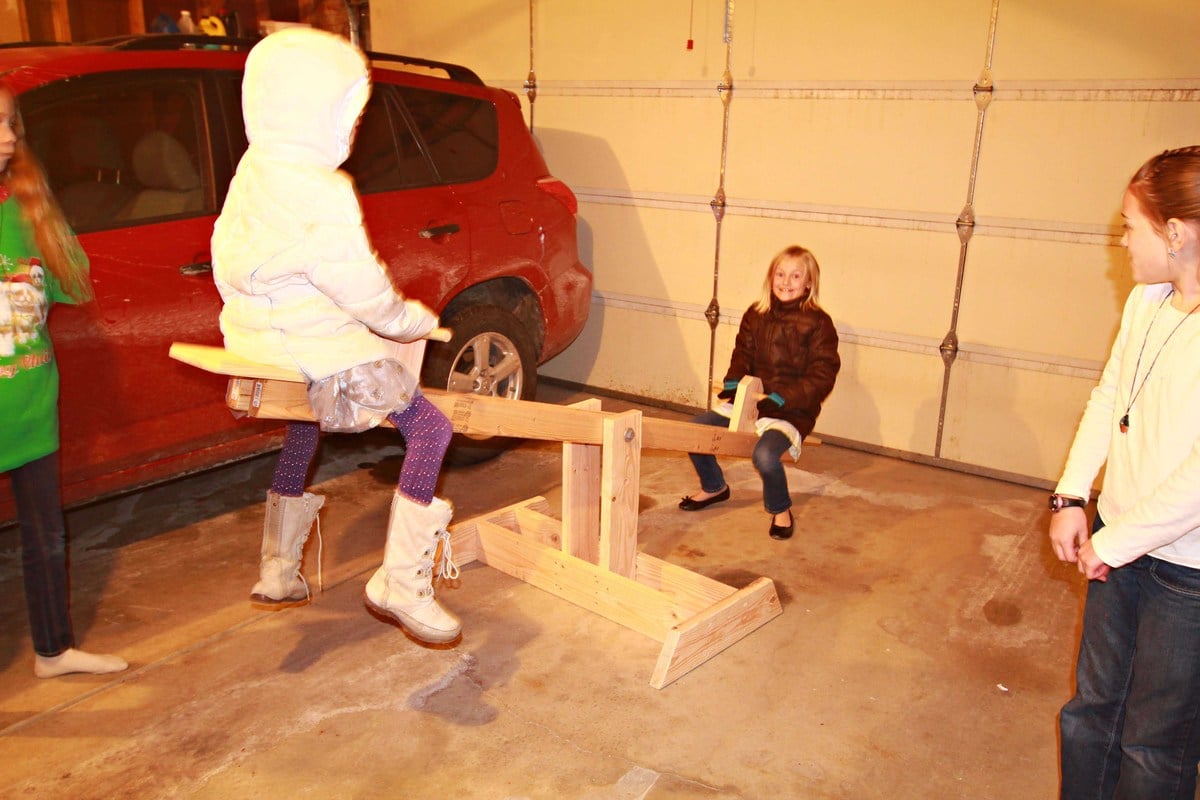
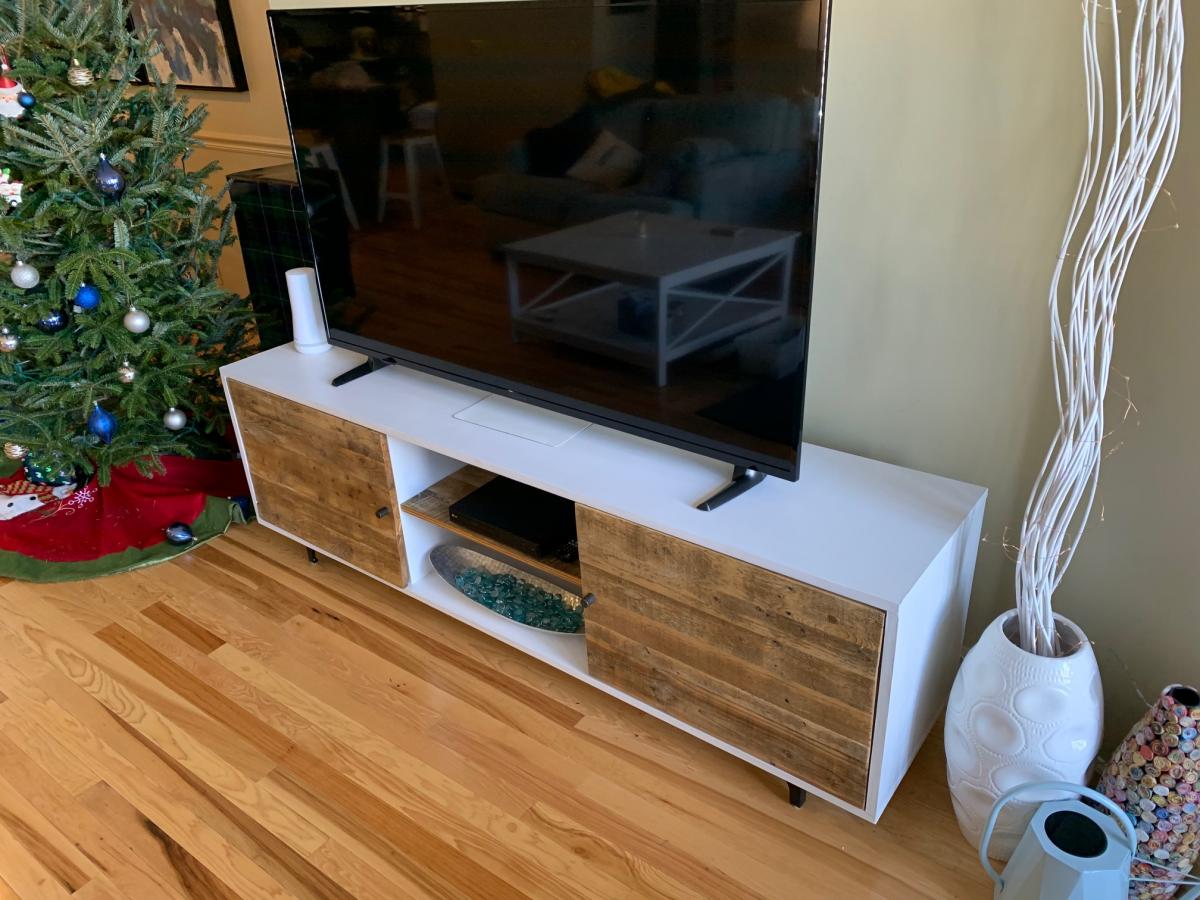
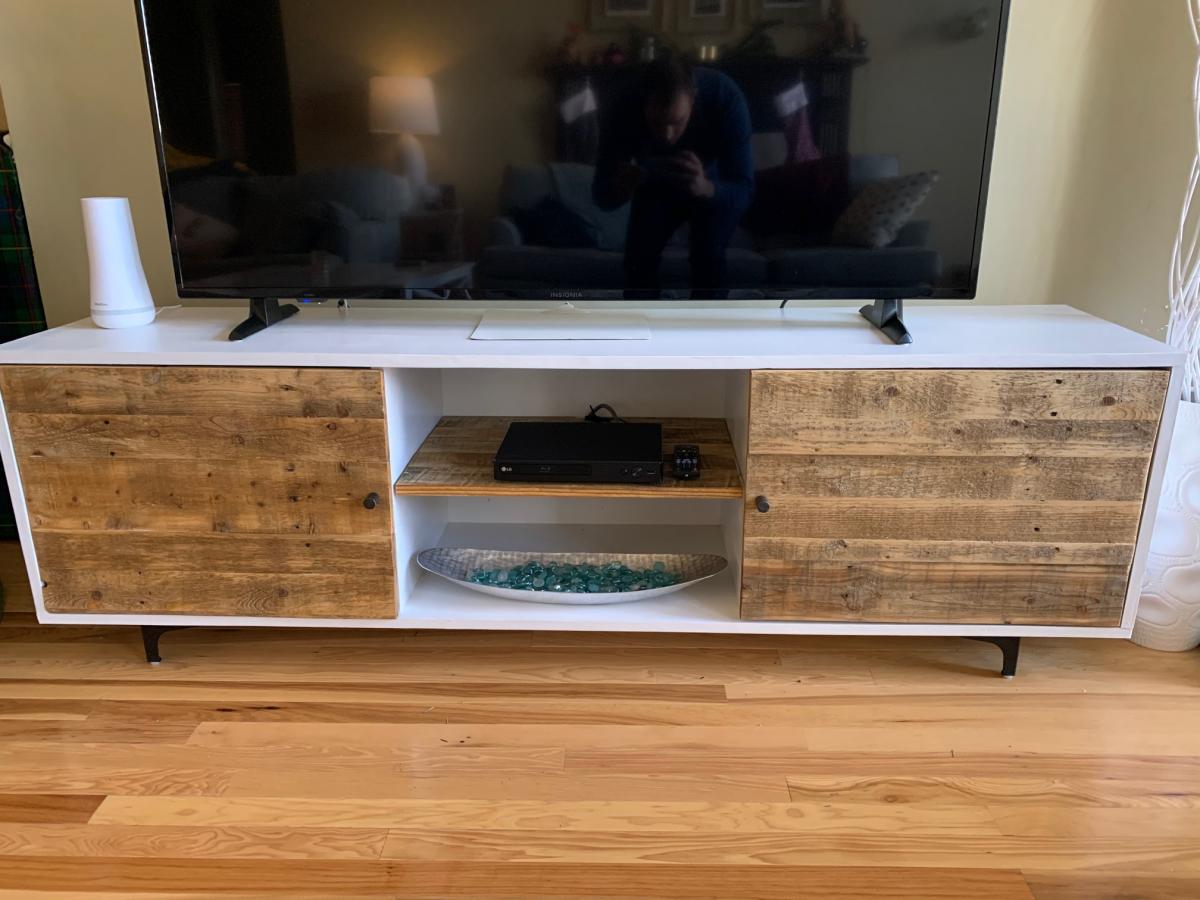
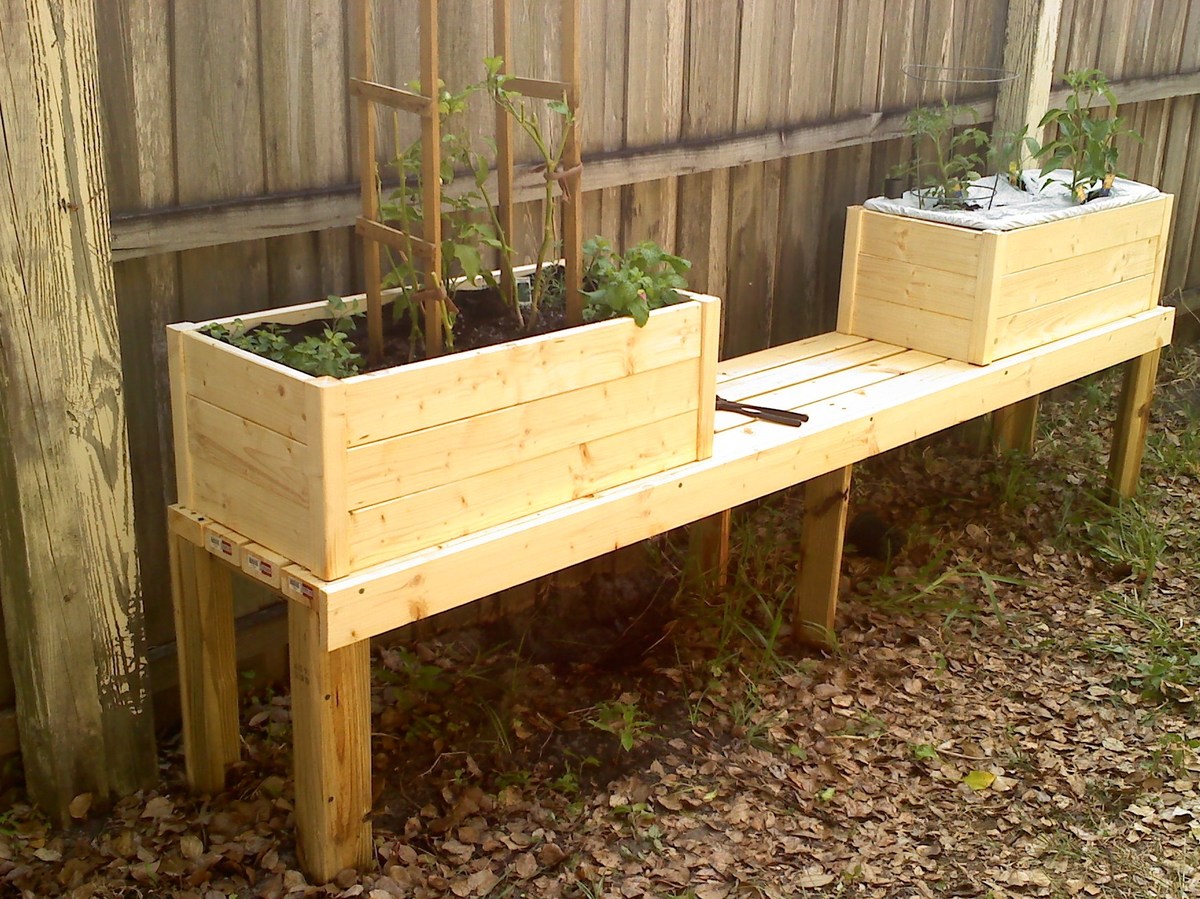
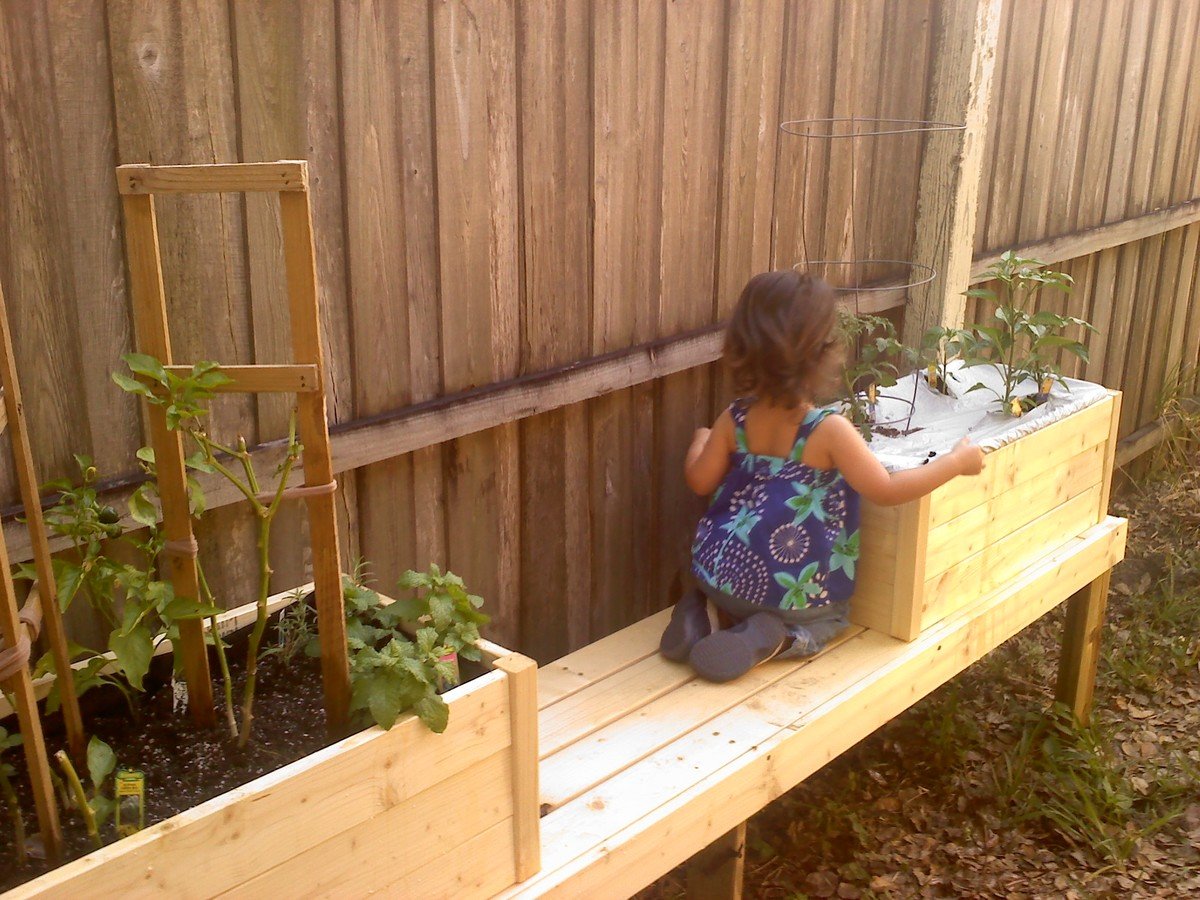
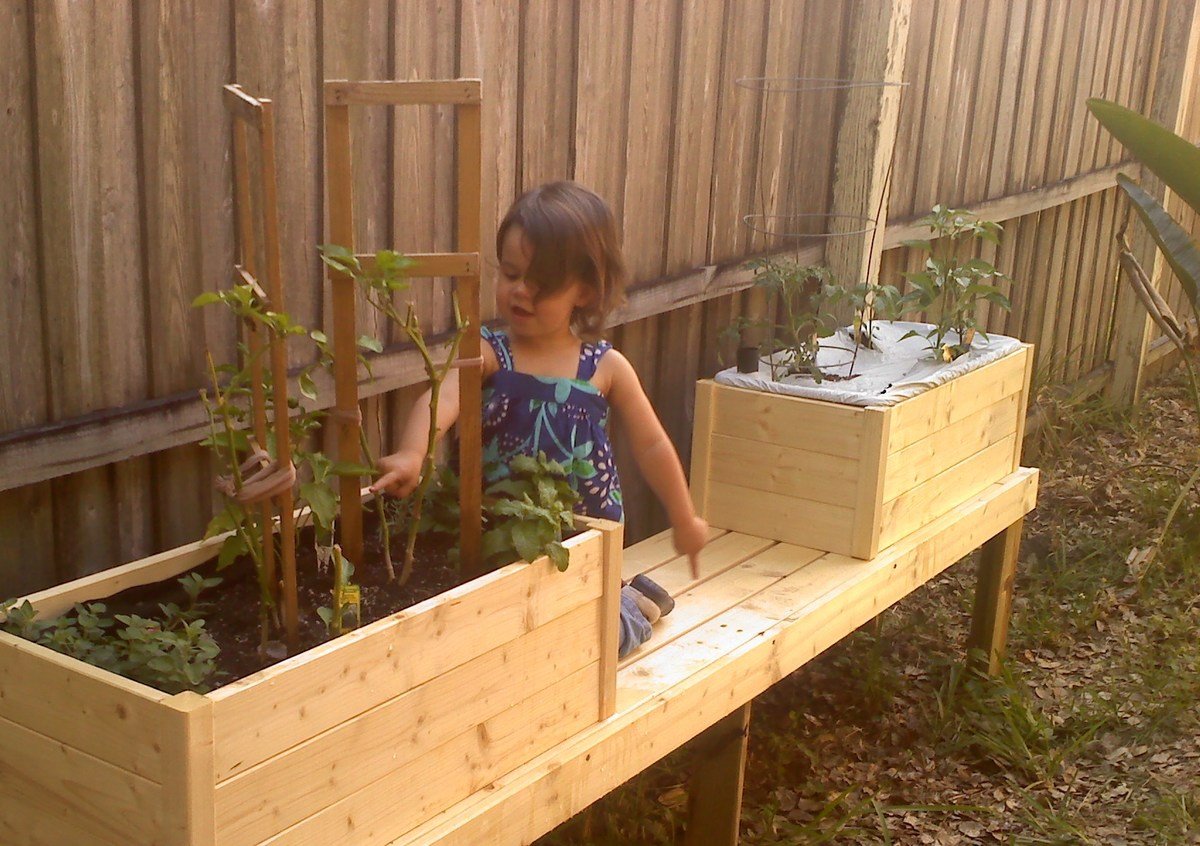
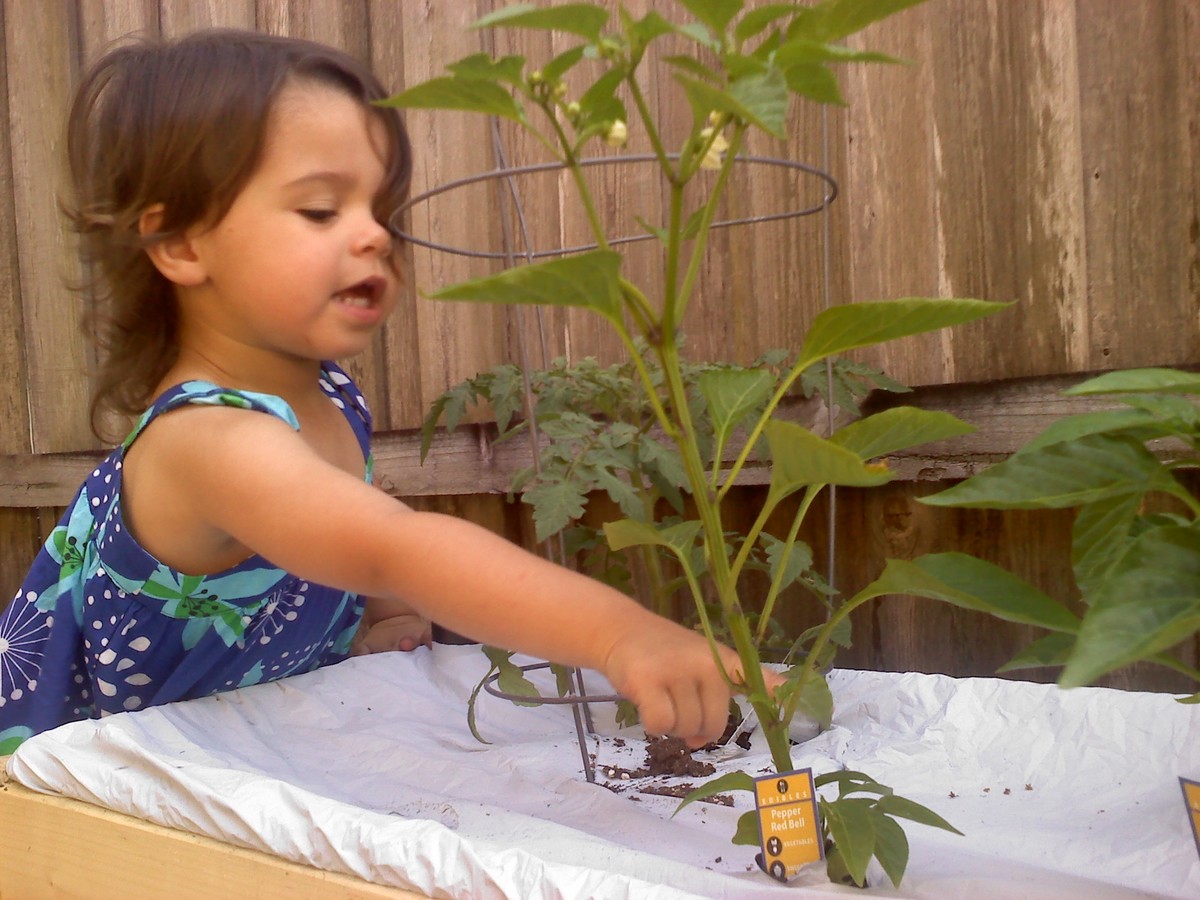
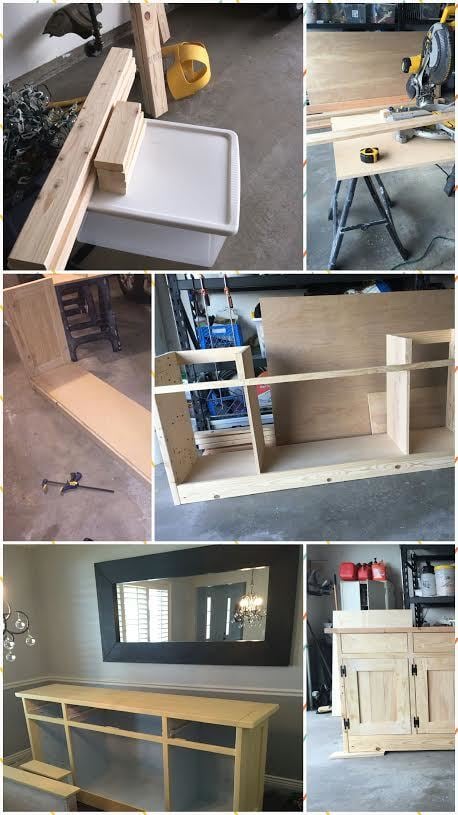
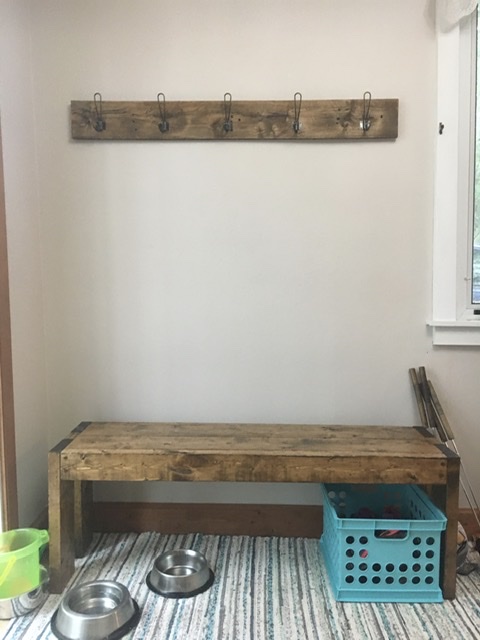
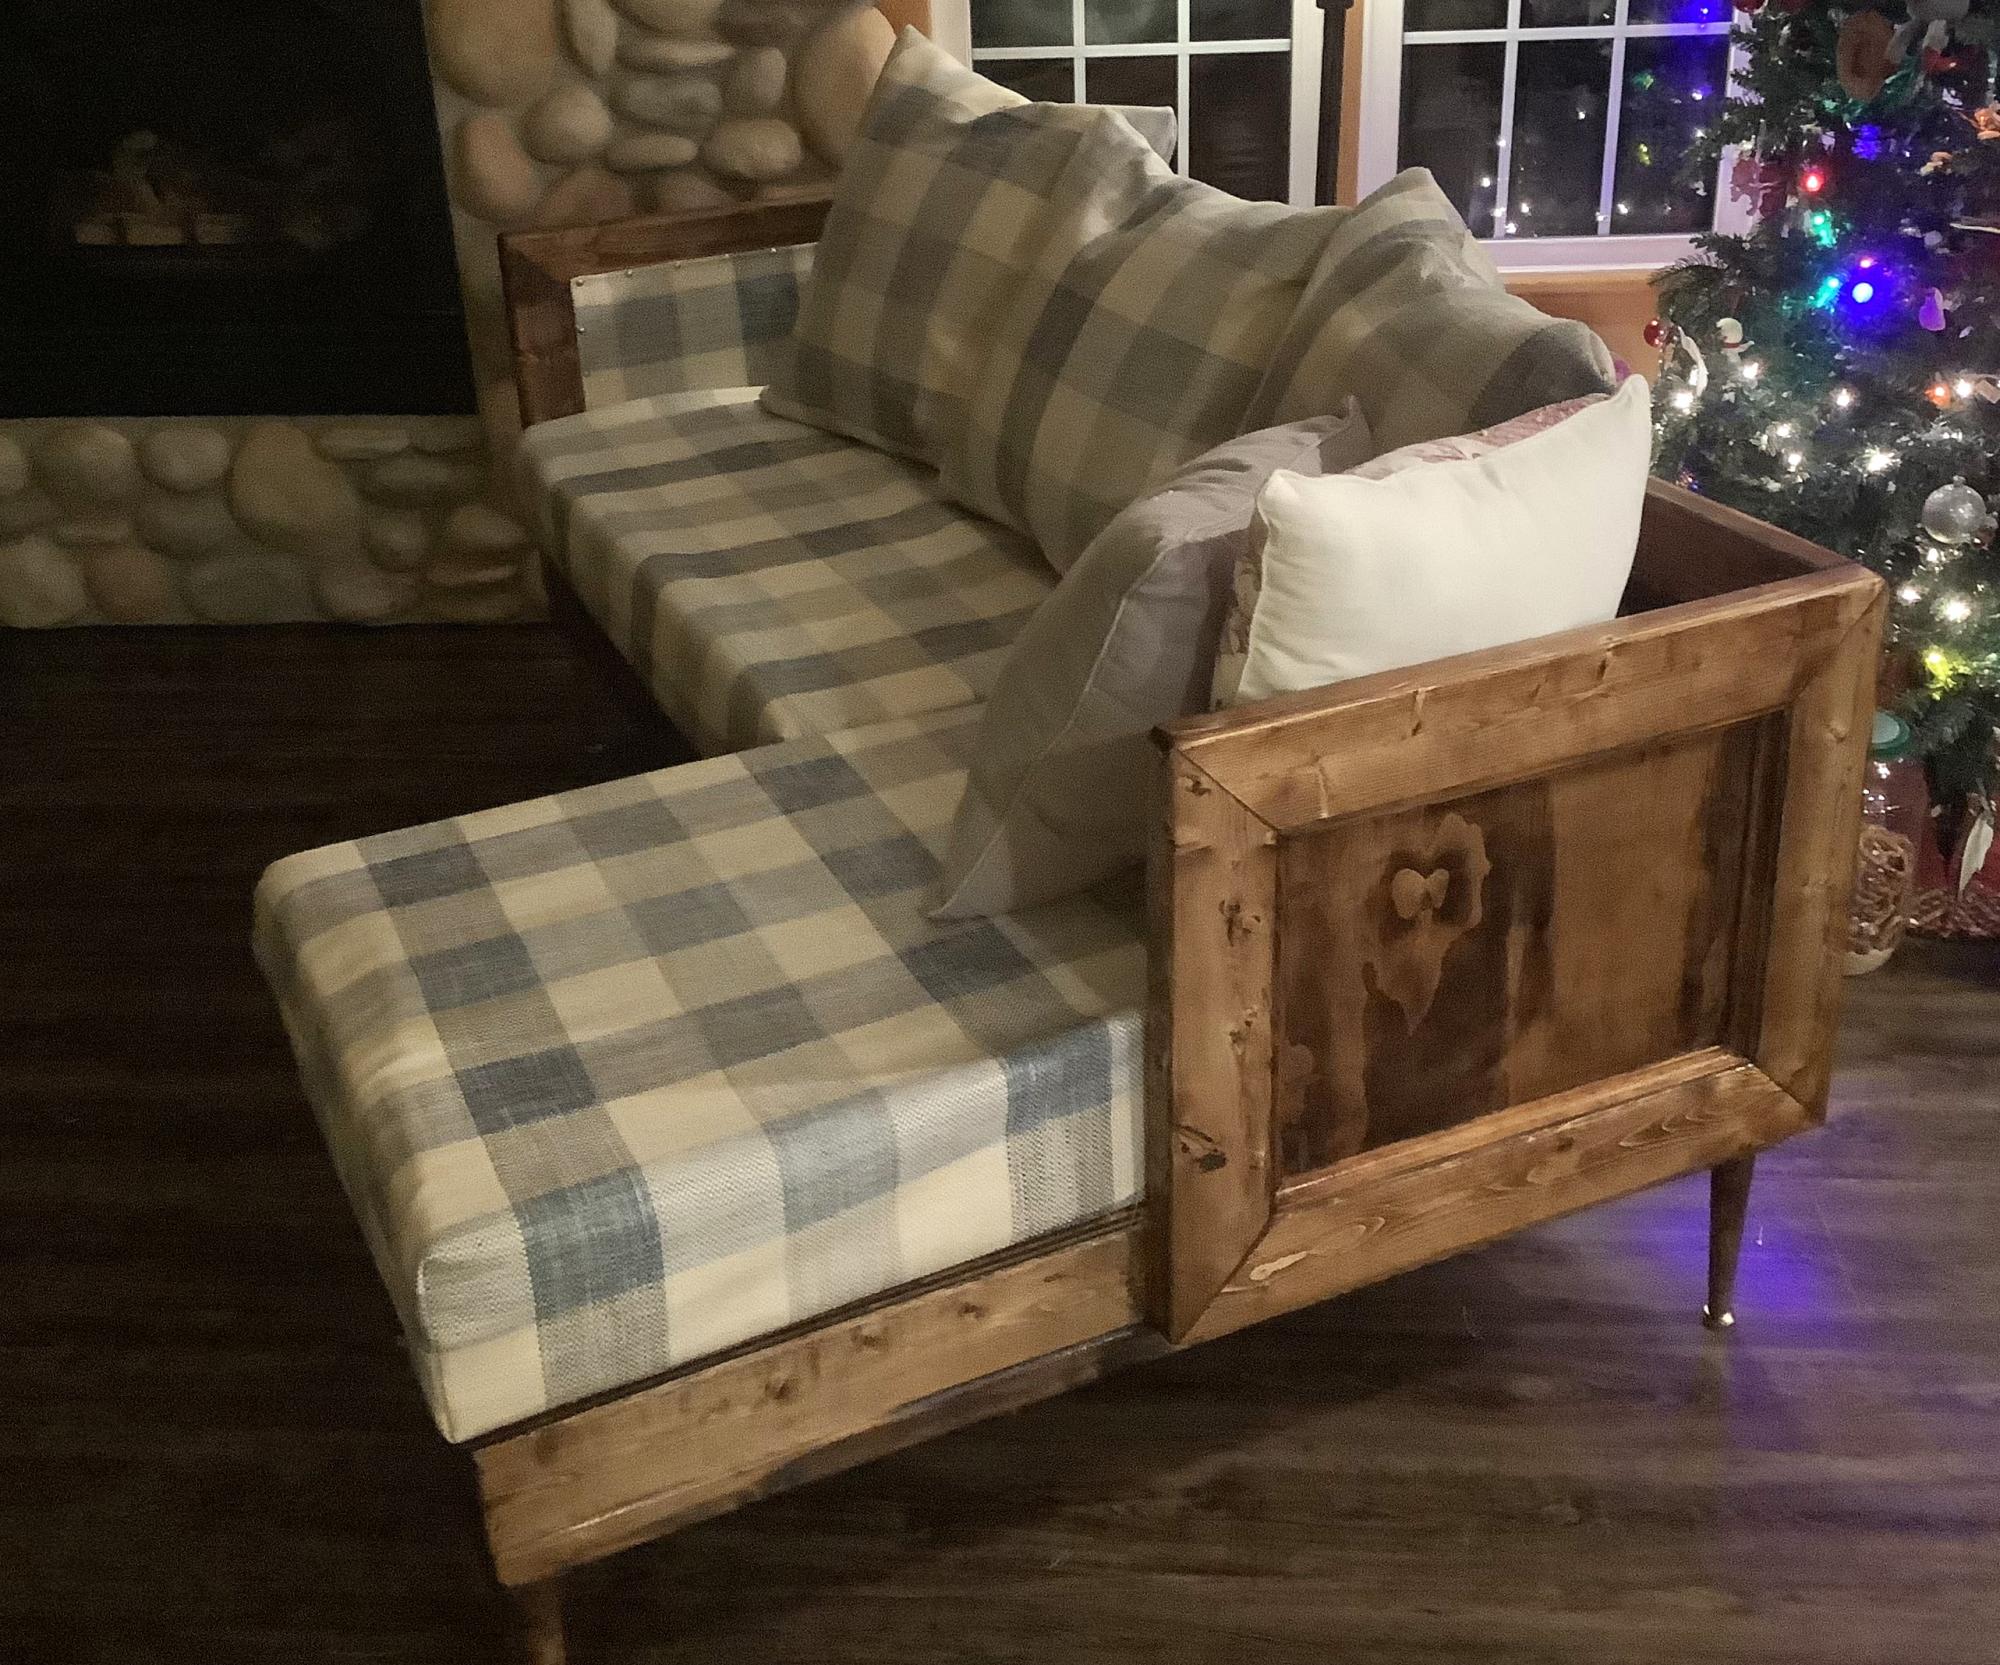
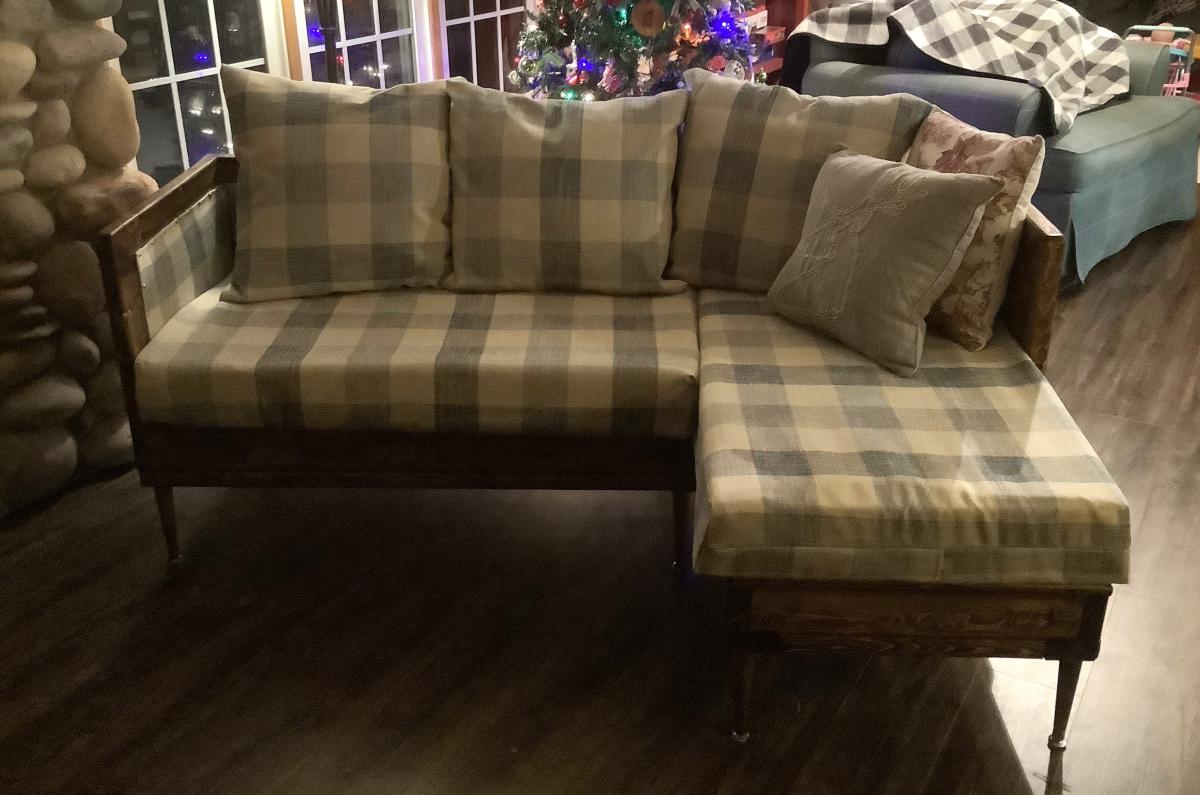
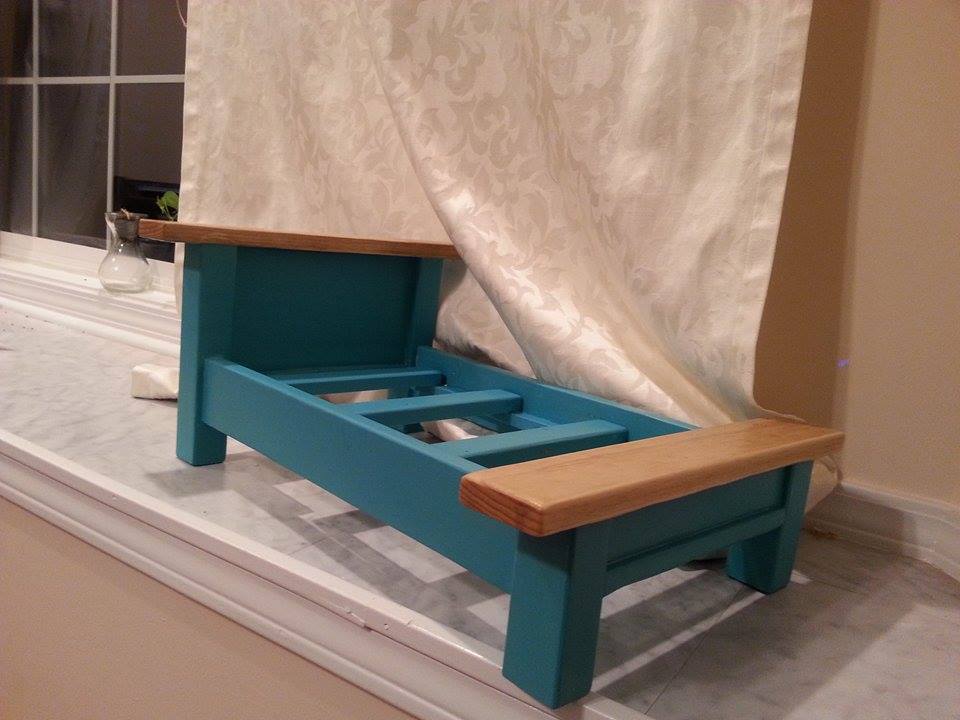
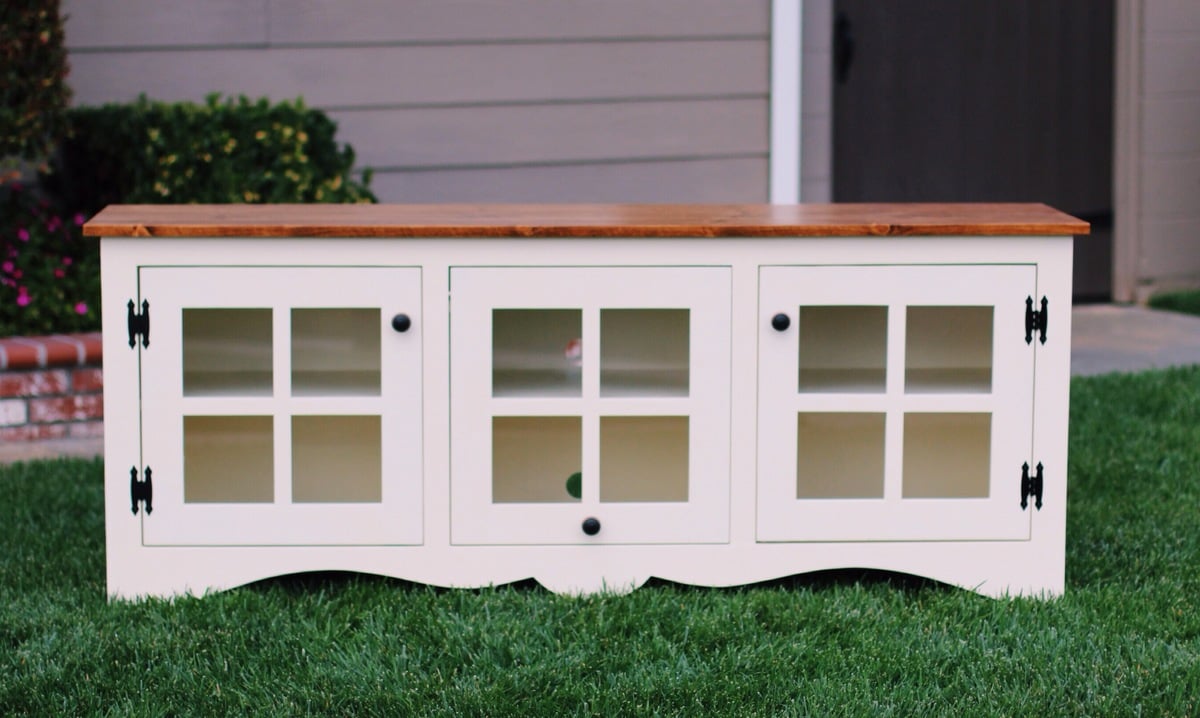
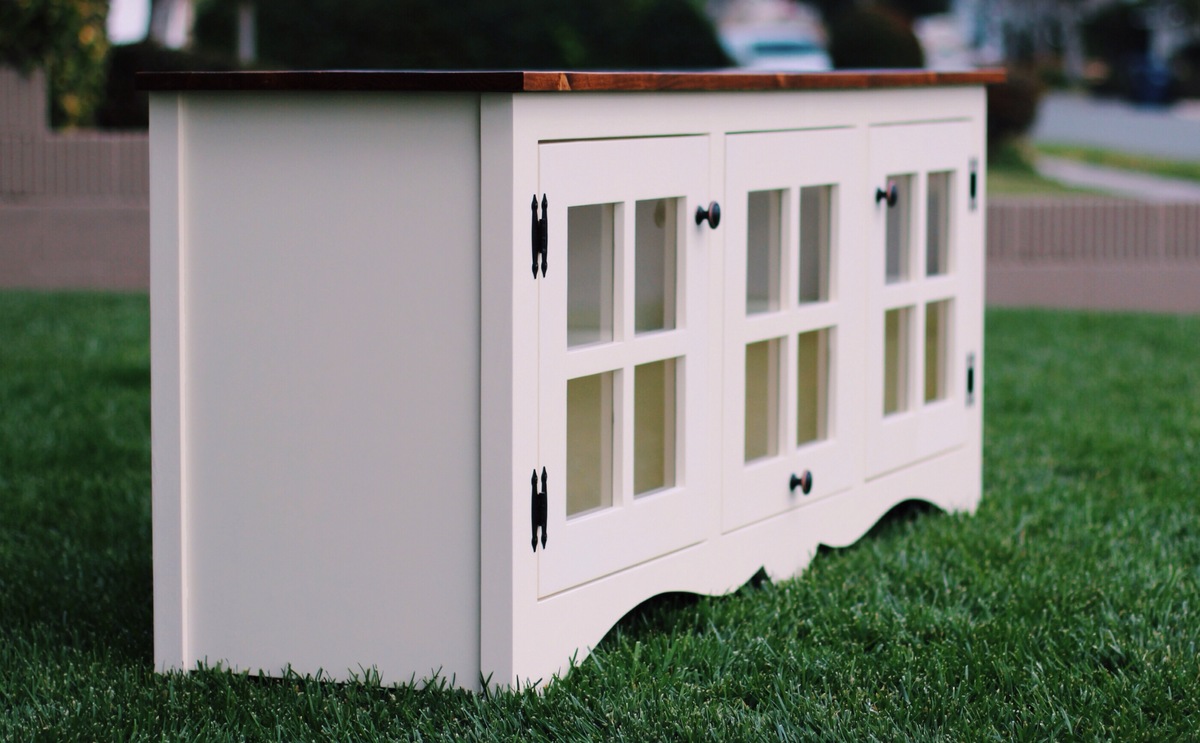
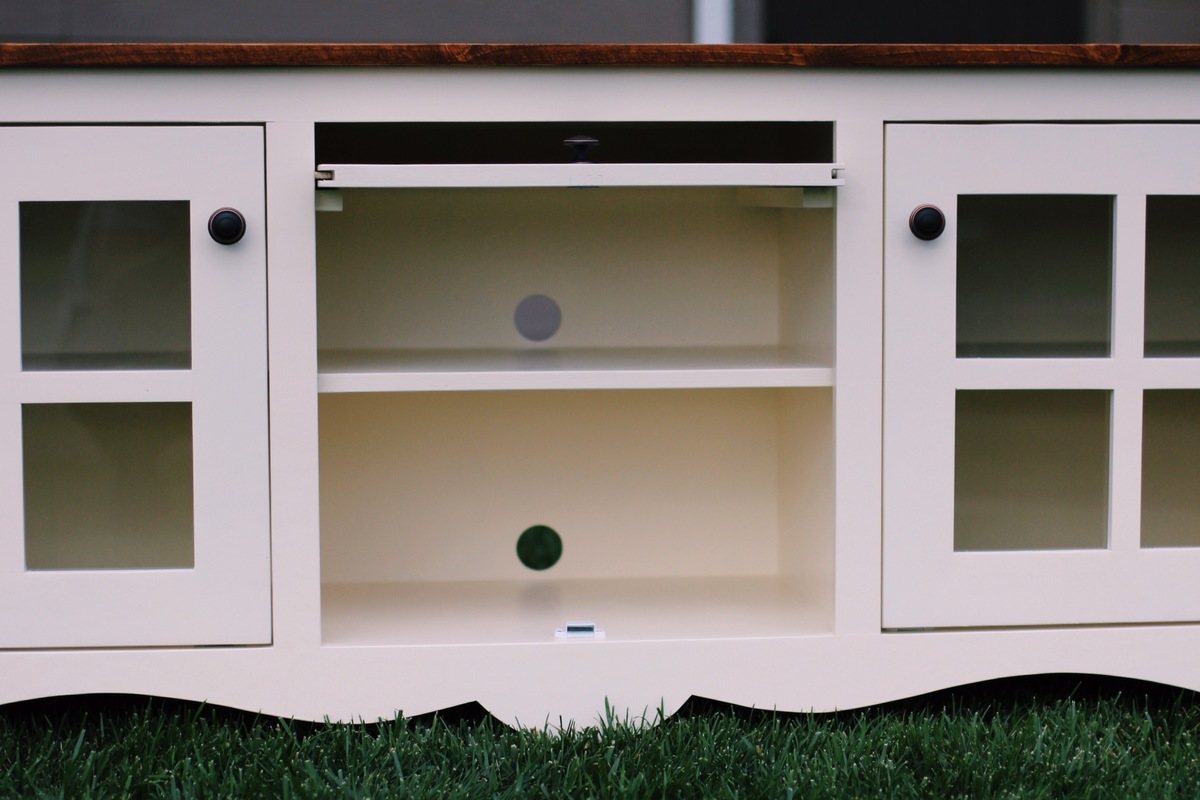
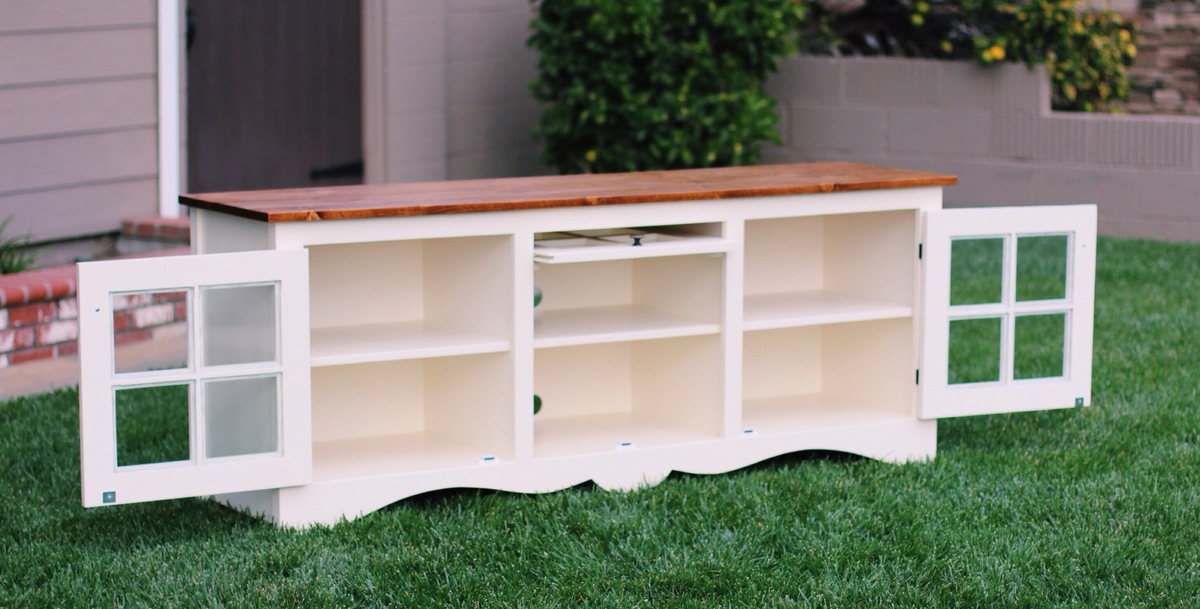
Rustic bench
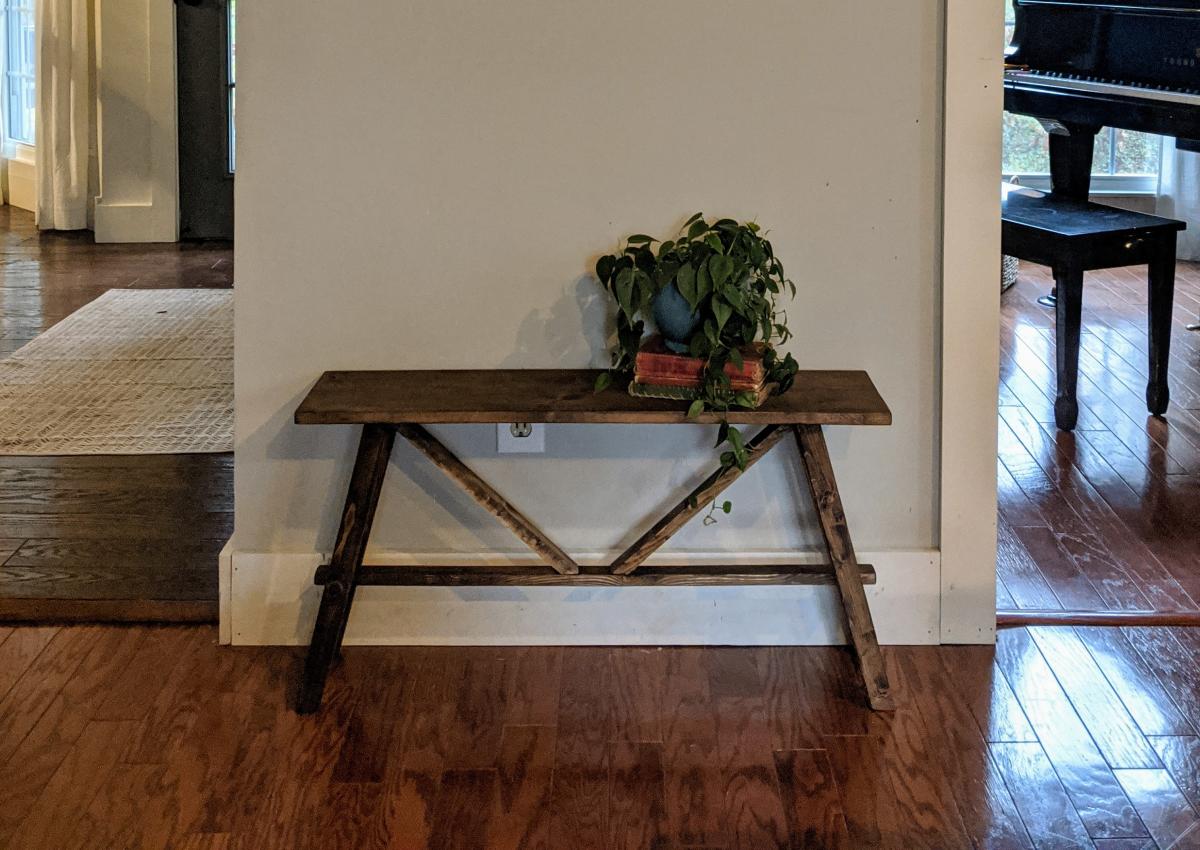
Love this little bench! My bench is a little bigger than Ana's, and the seat is not as deep, but the plans were super easy to follow. It's just what I needed to finish out my living room!

Built from Plan(s)
Estimated Cost
$3
Estimated Time Investment
Afternoon Project (3-6 Hours)
Finish Used
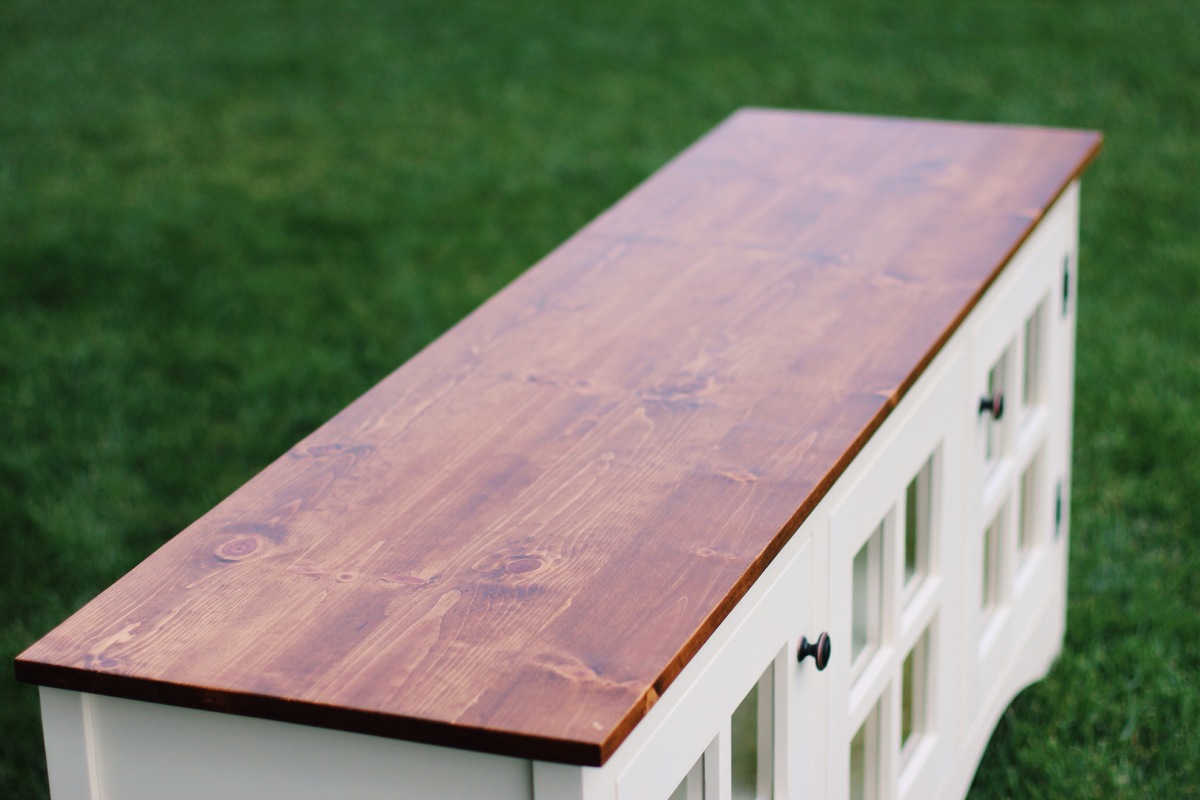
Dark walnut stain
Recommended Skill Level
Beginner