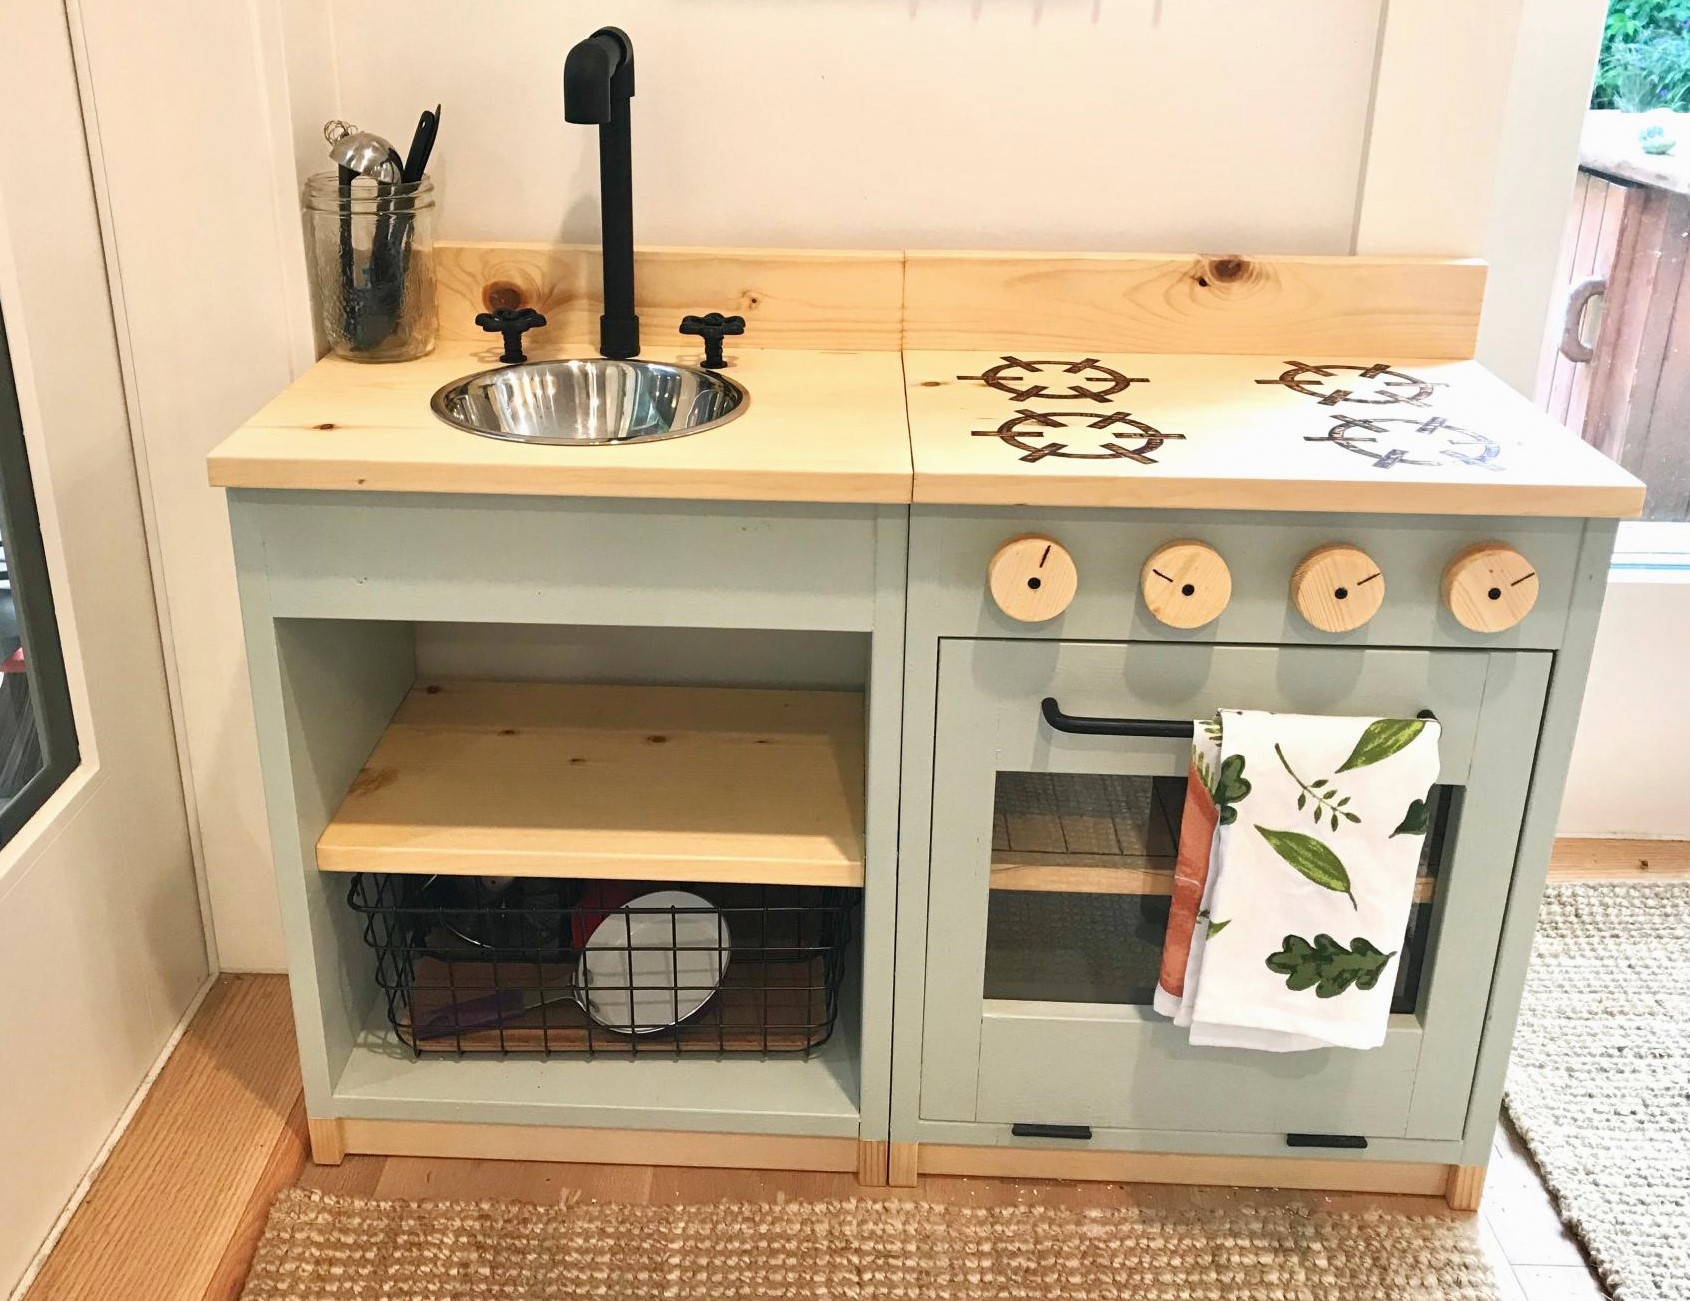
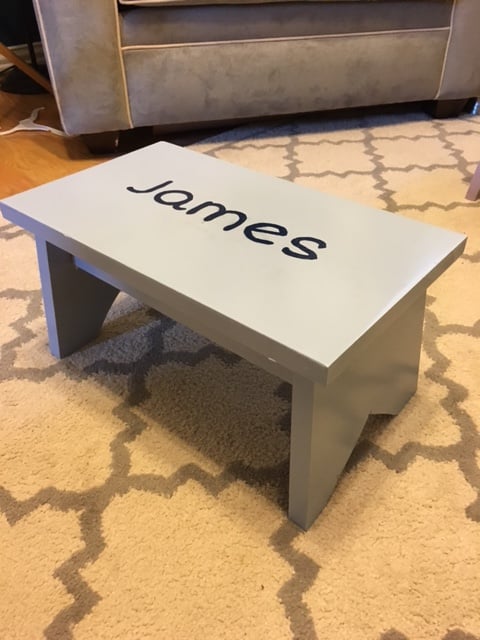
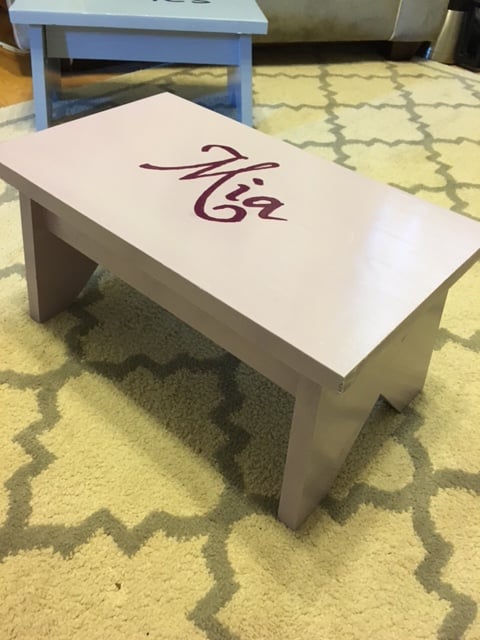
Matching Stools for Kids
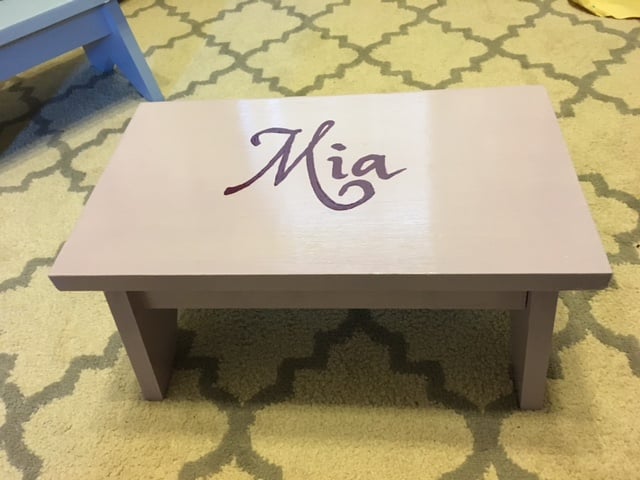
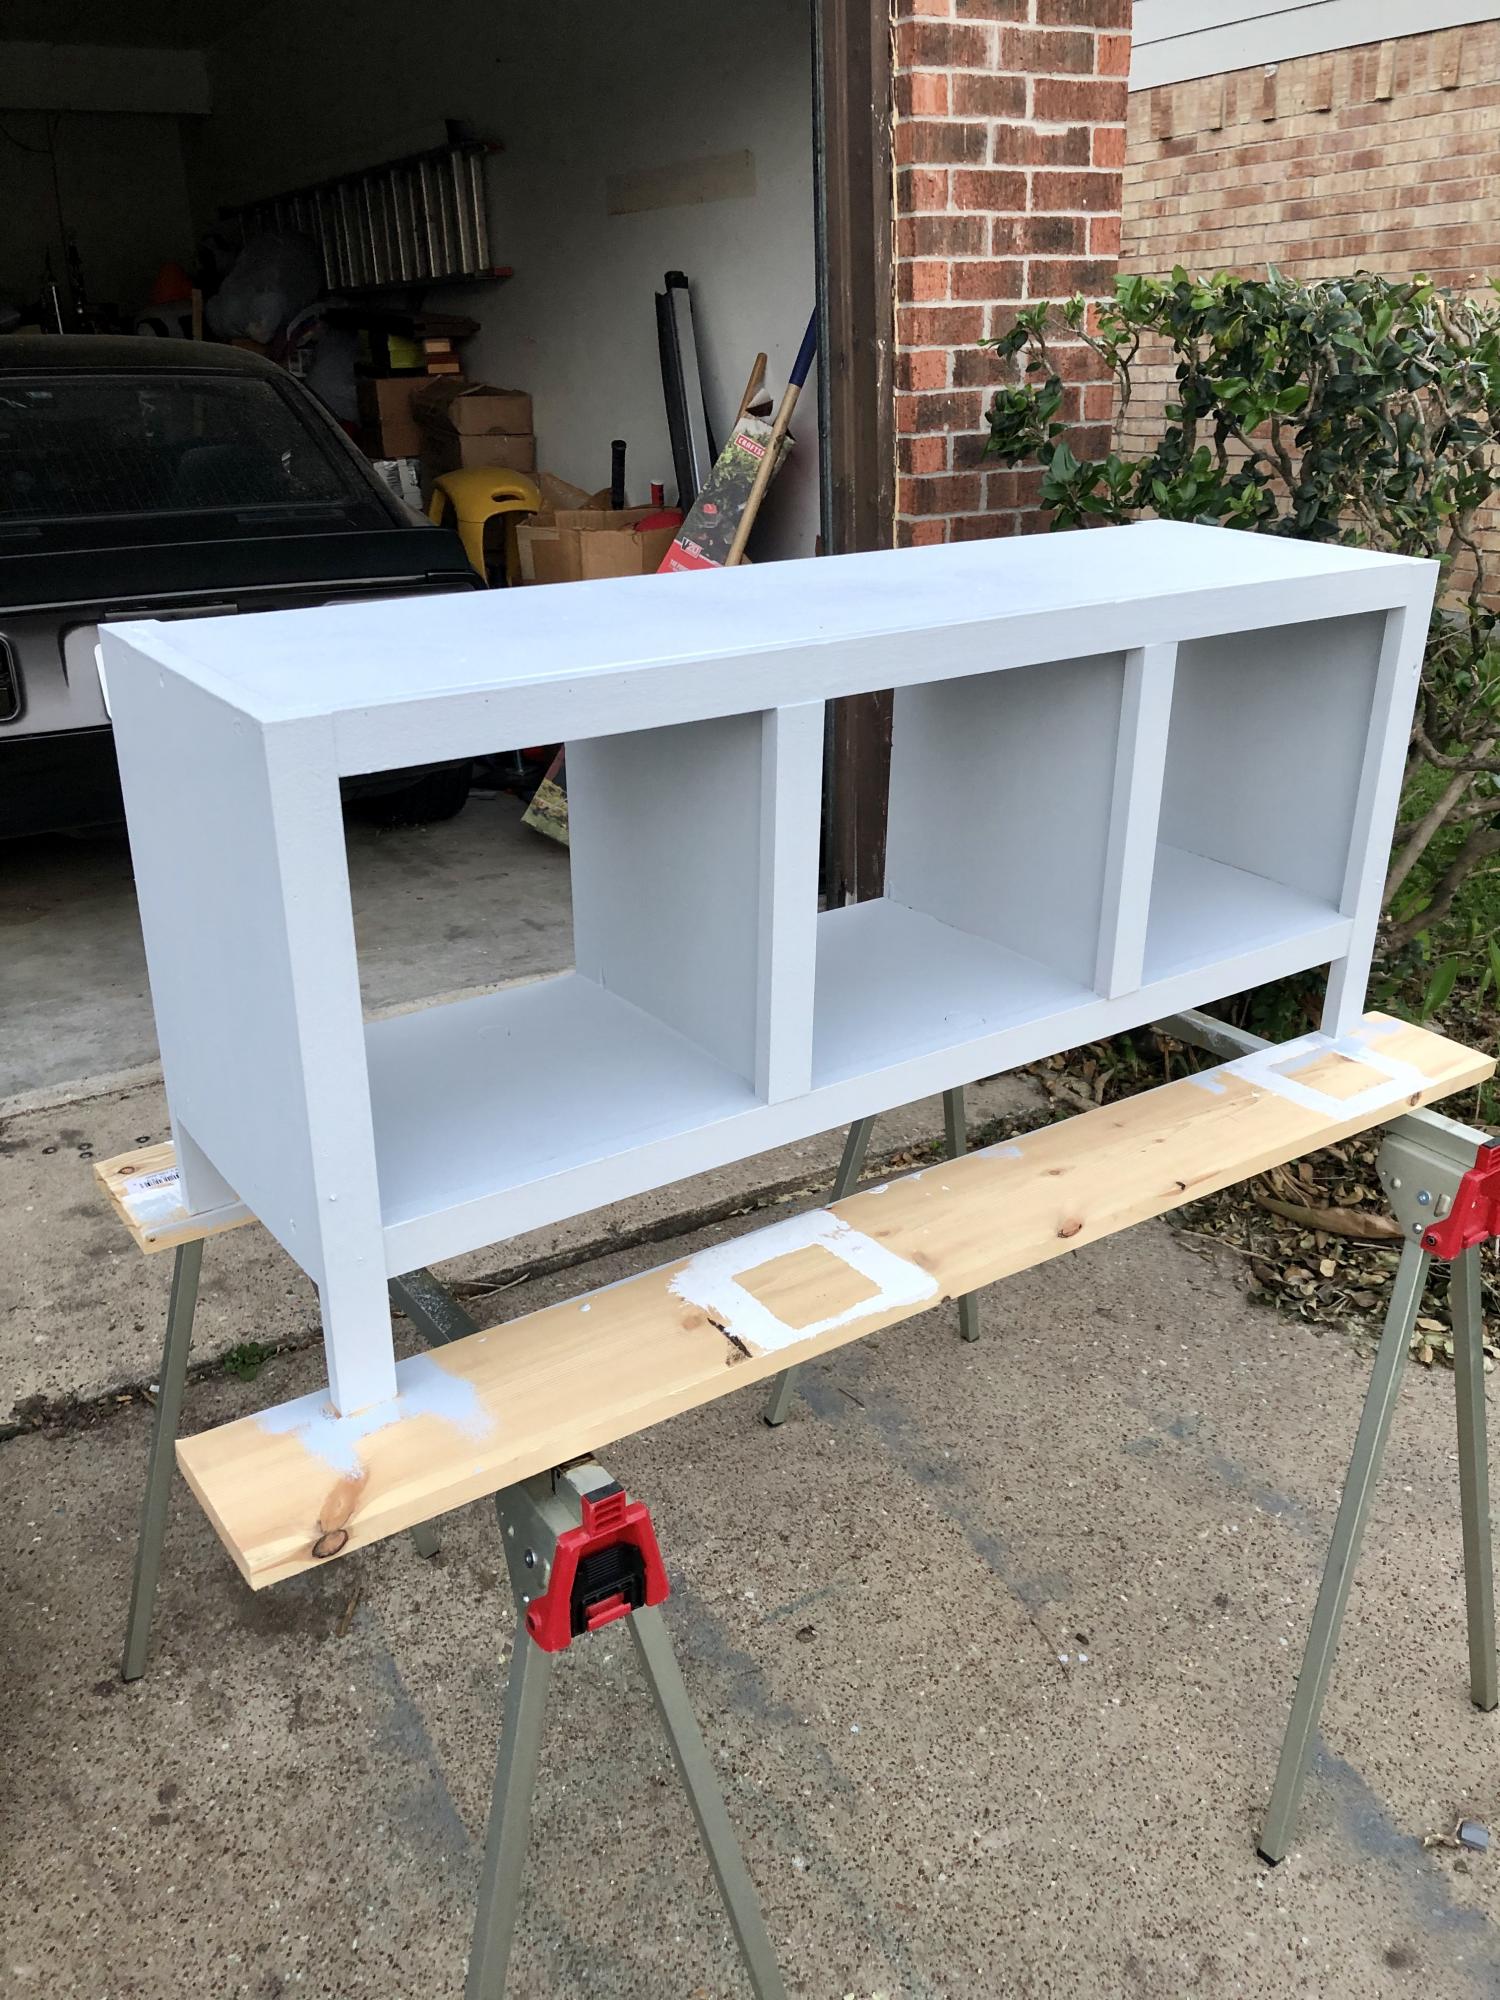
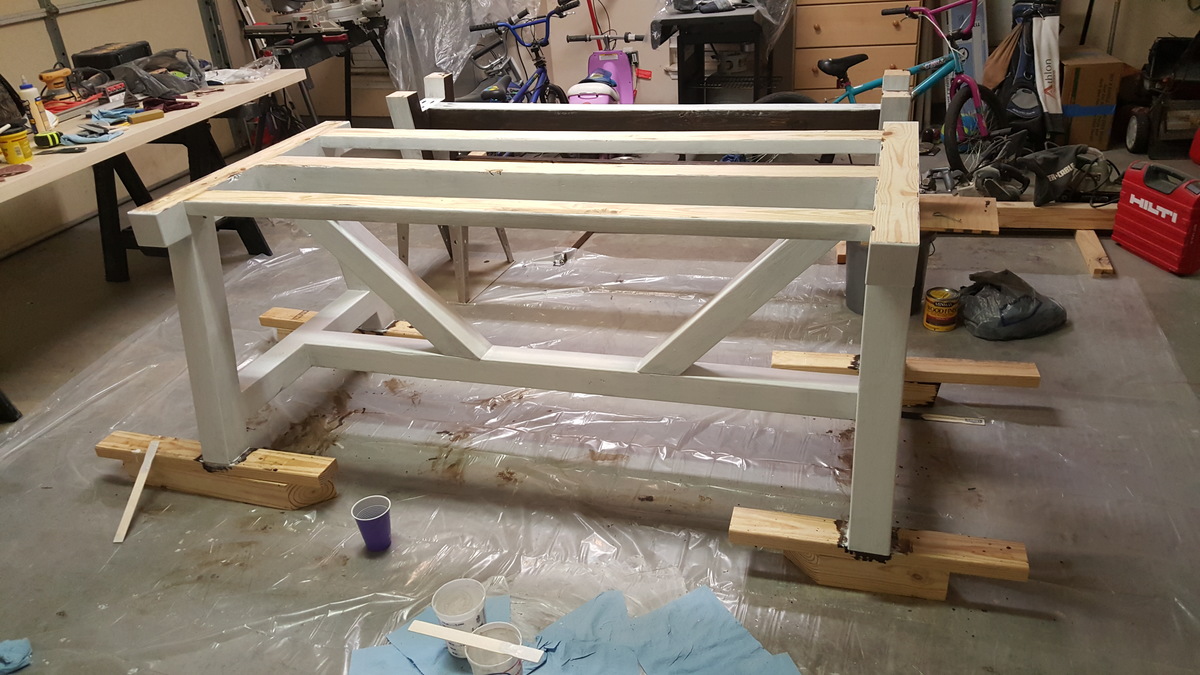
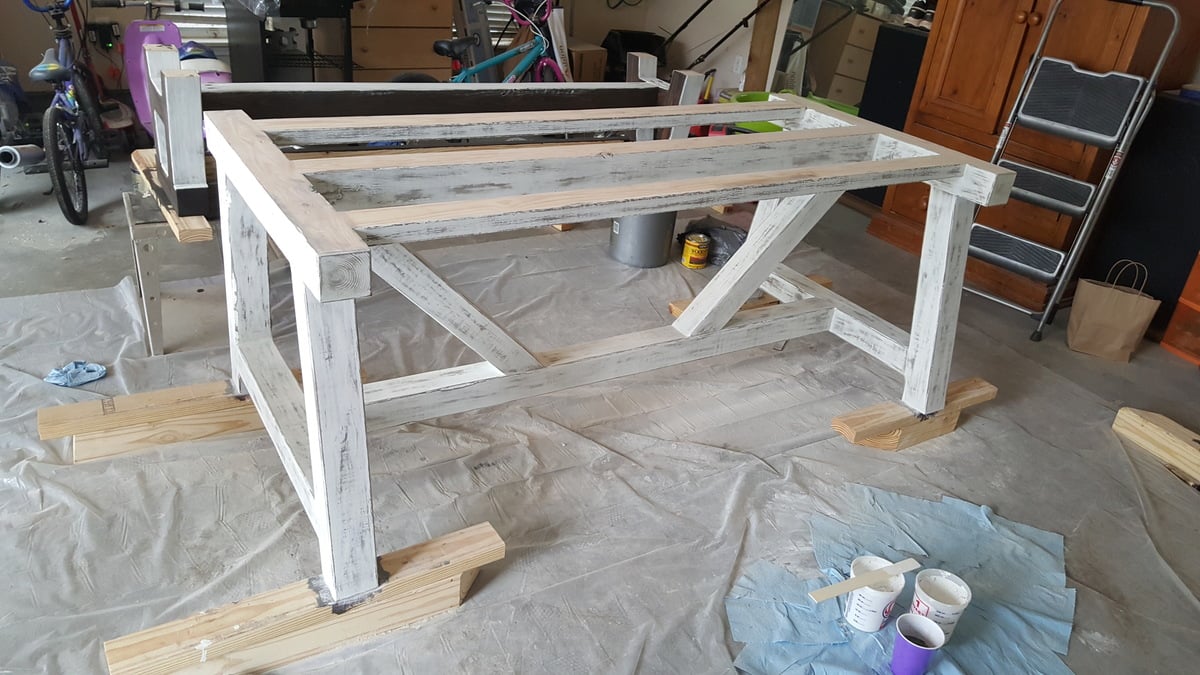
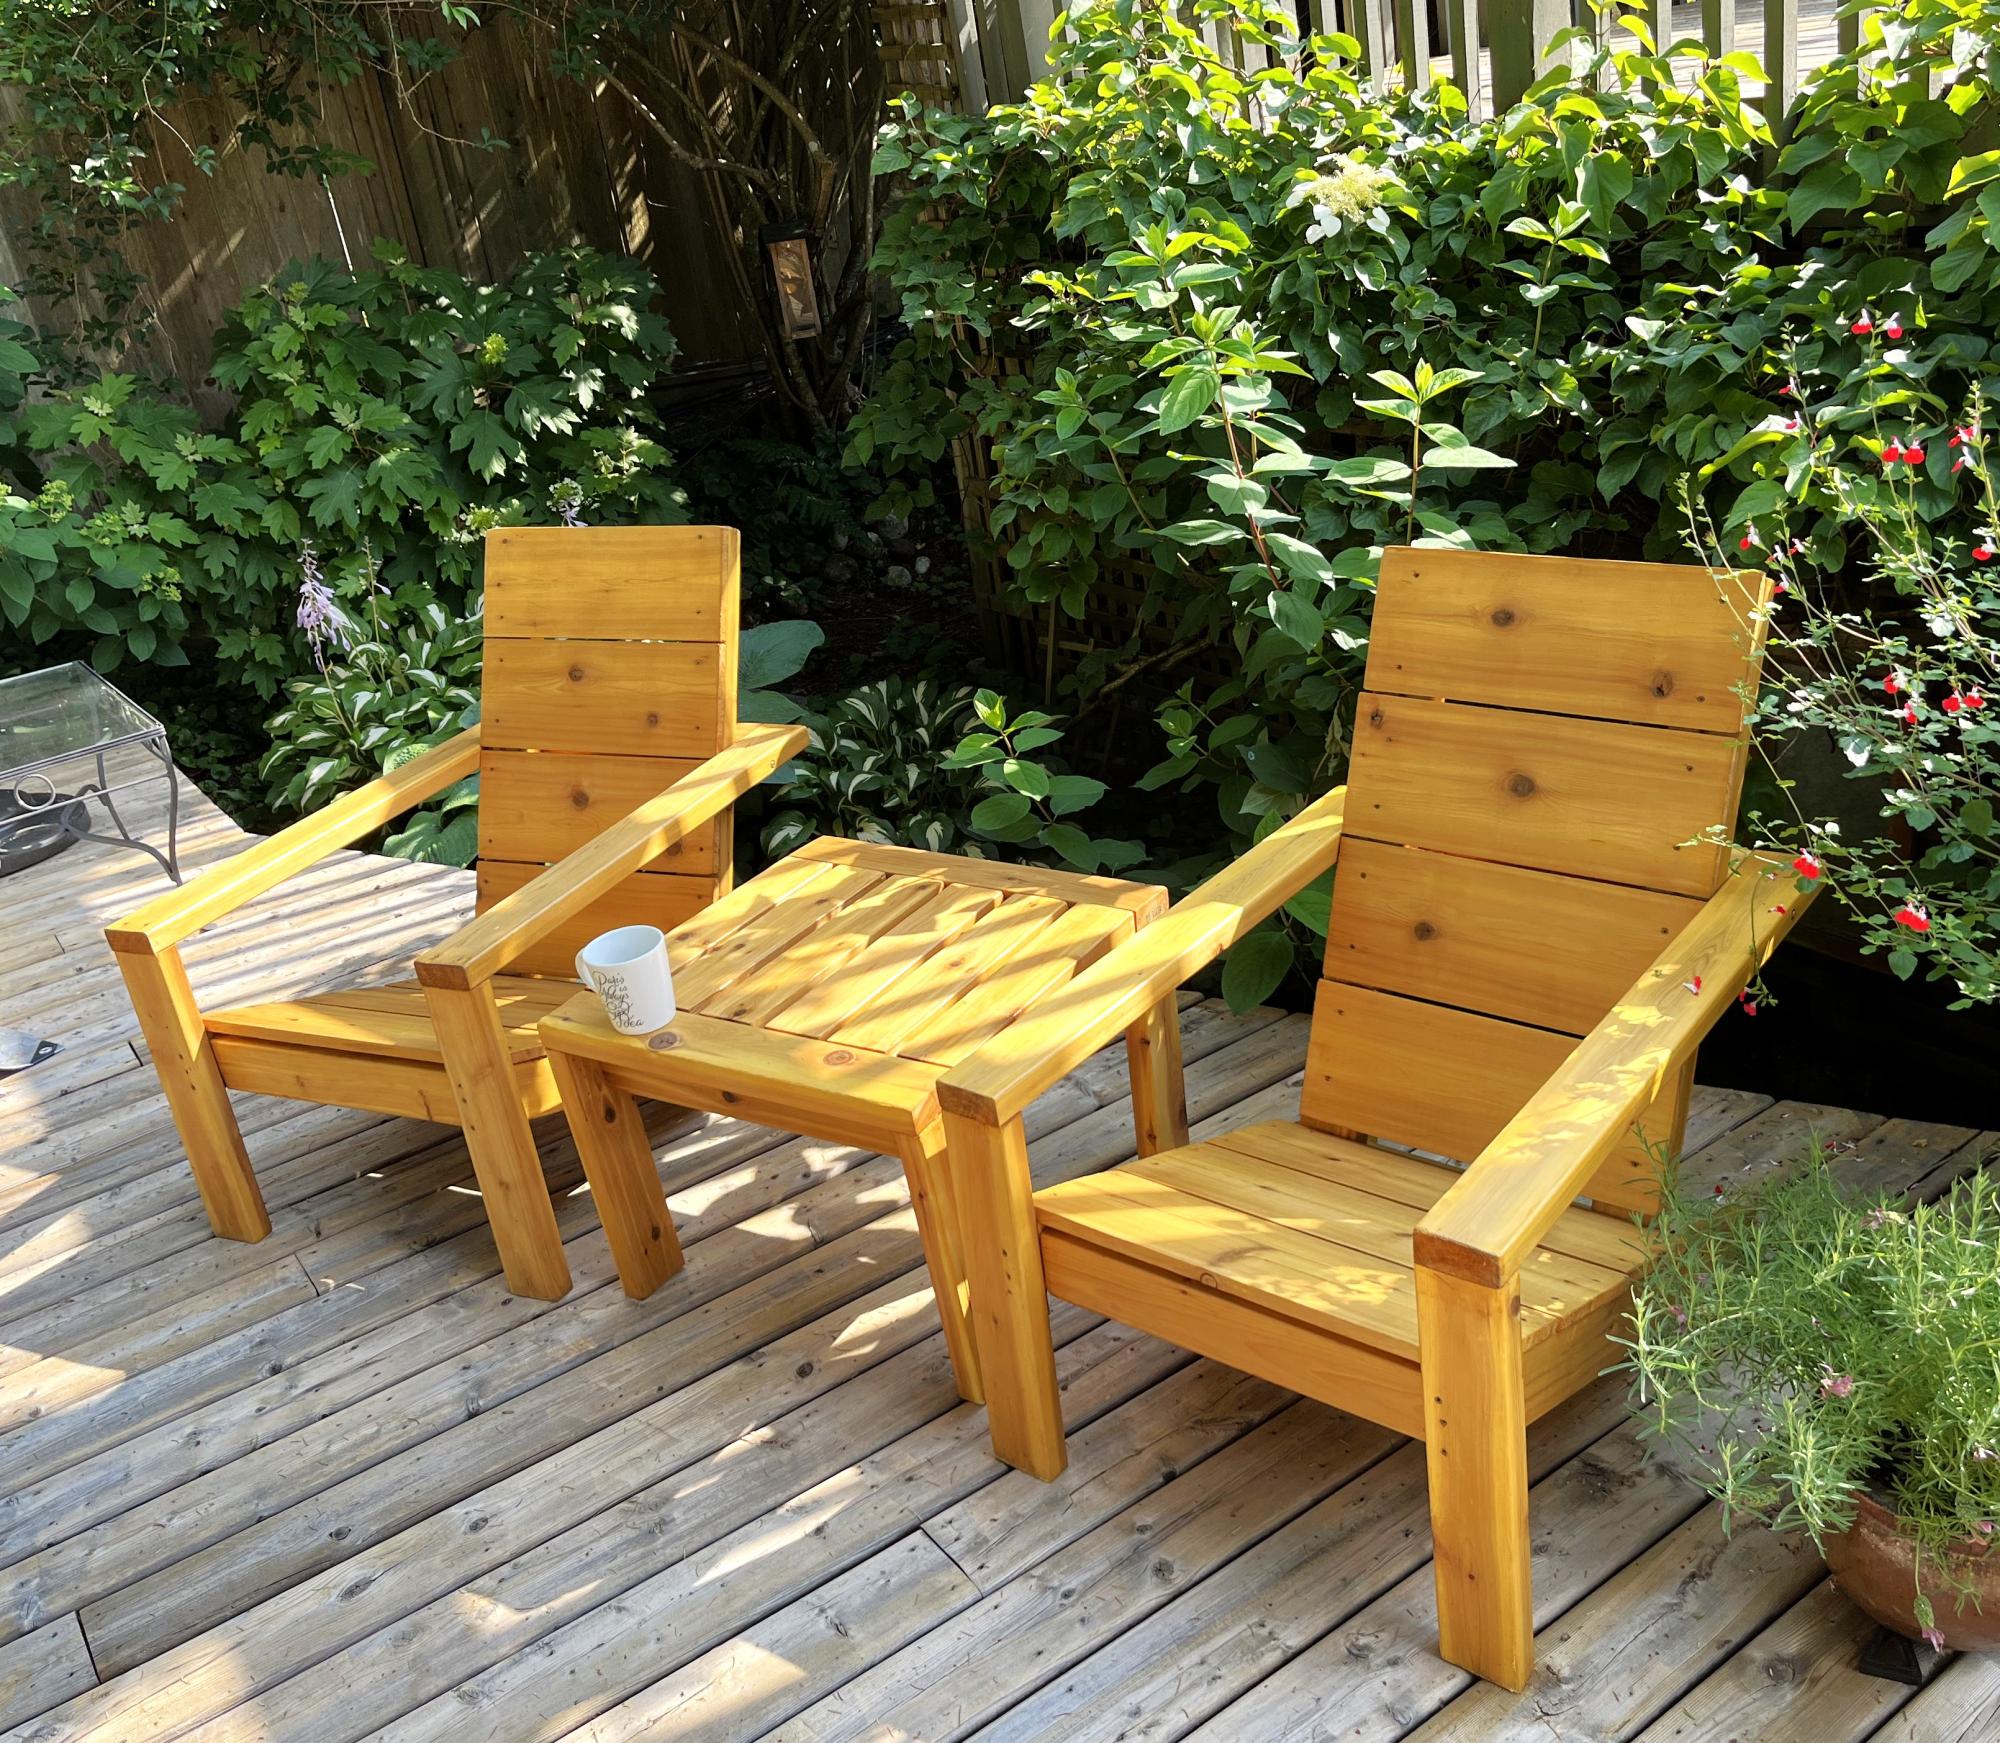
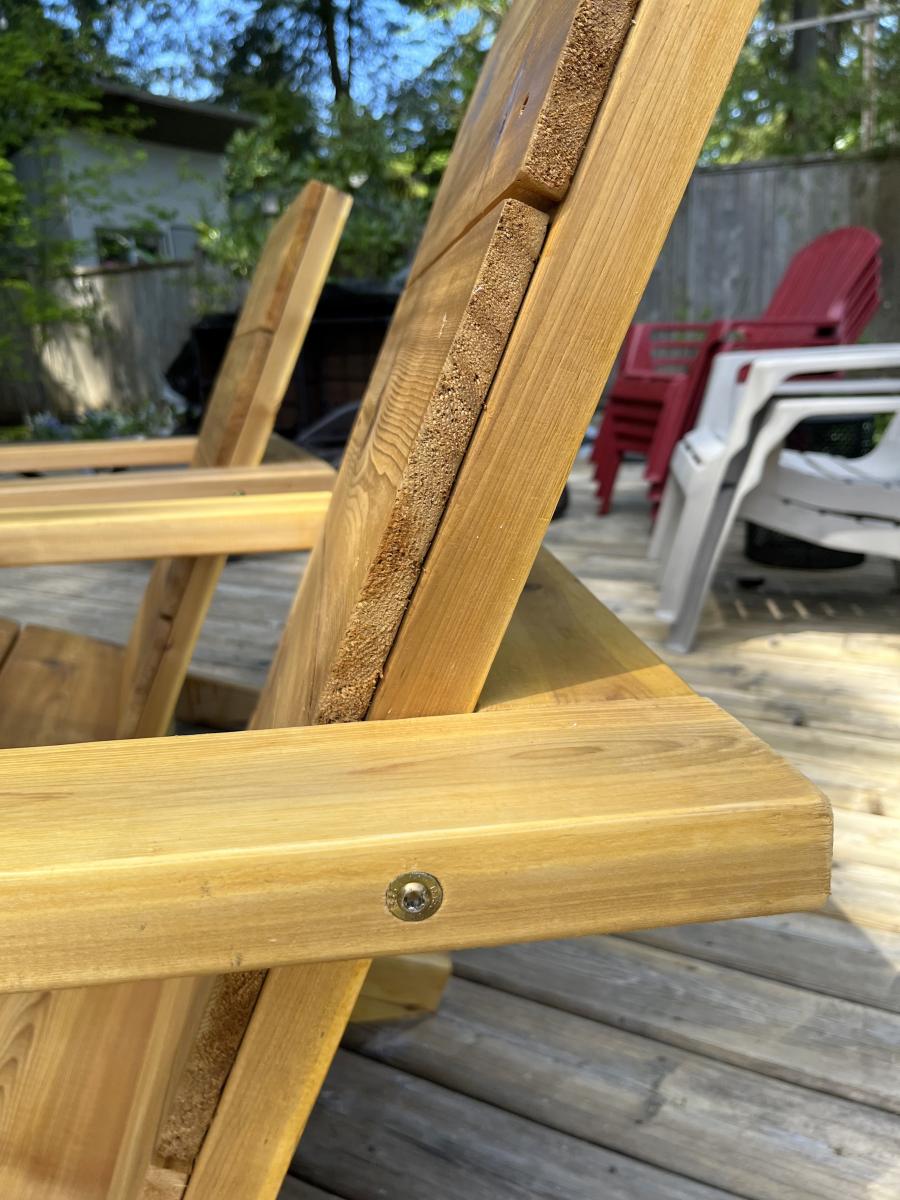
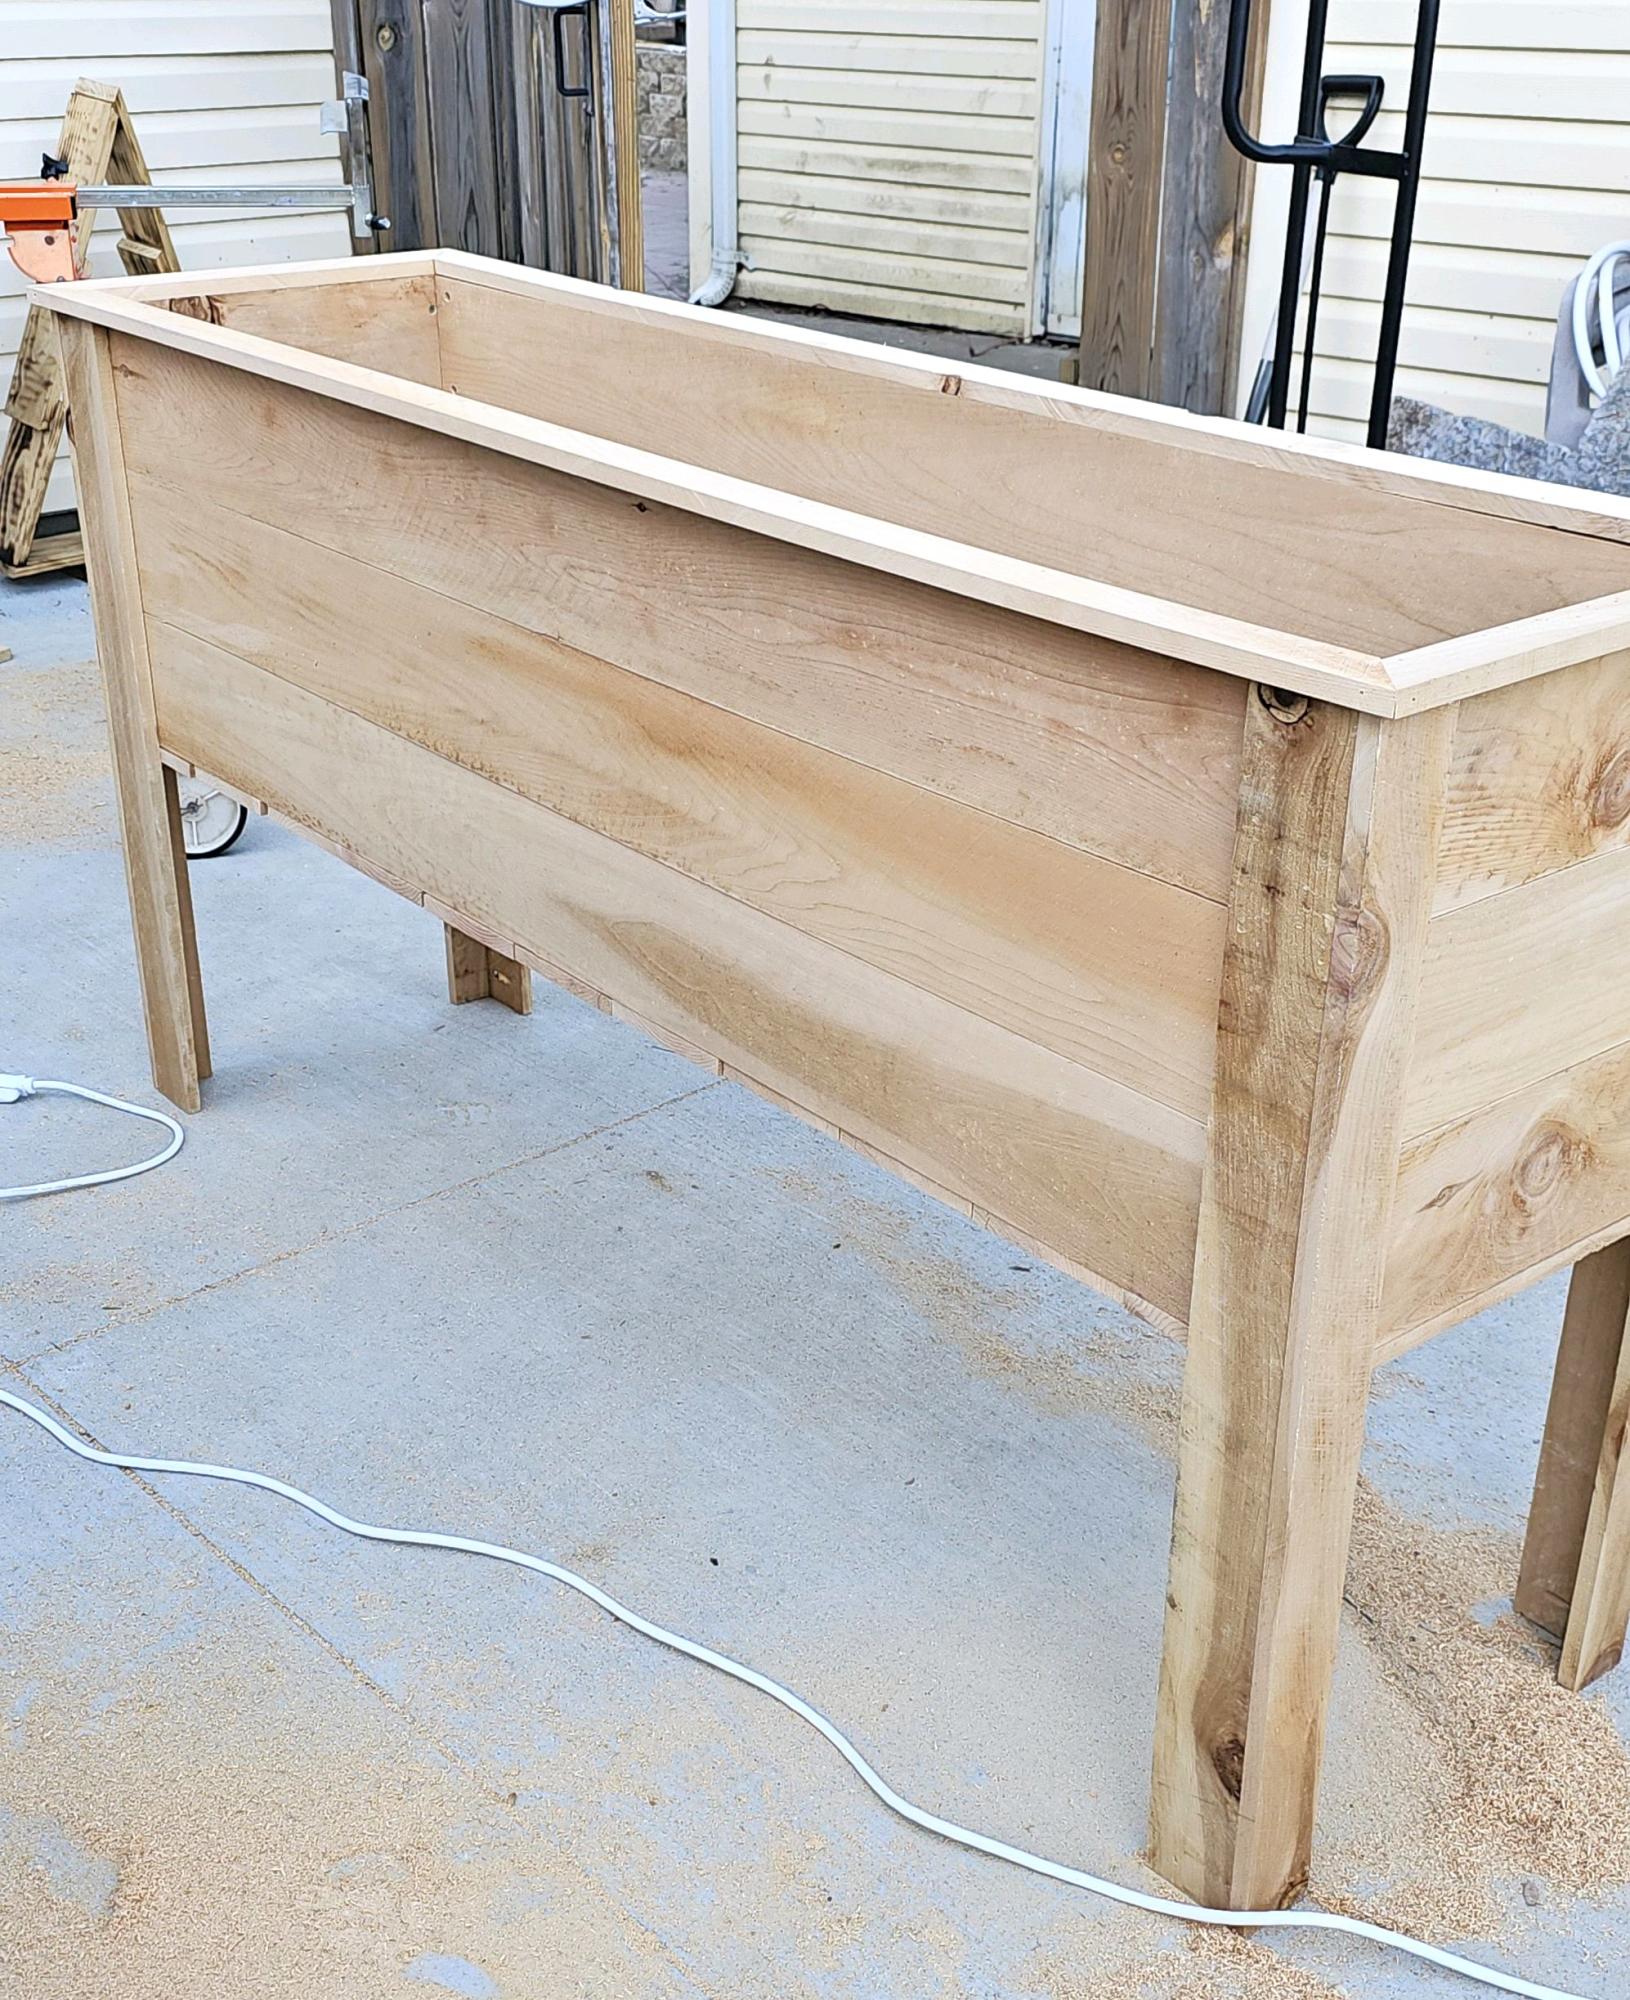
This was my second project from Ana White, and overall it was successful. I used a miter saw for the cuts (struggled with the bevel because my 12 inch saw isn't a slider, a kreg jig to attach everything (struggled to attach the 1x3s to the legs due to the angle of the dril and tight space), but everything eventually was held solidly together and it's really very sturdy. My husband is about 160 and he was able to jump on it with absolutely no give.
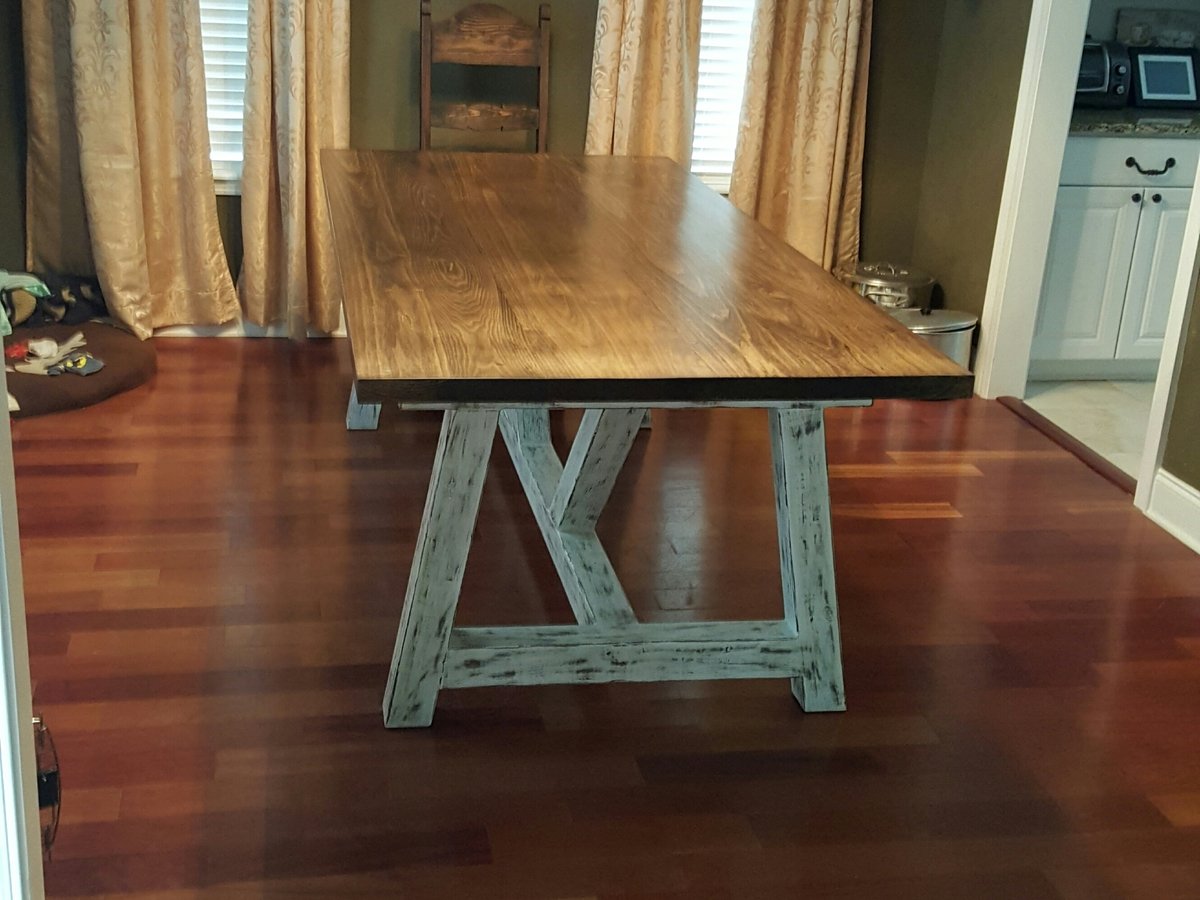
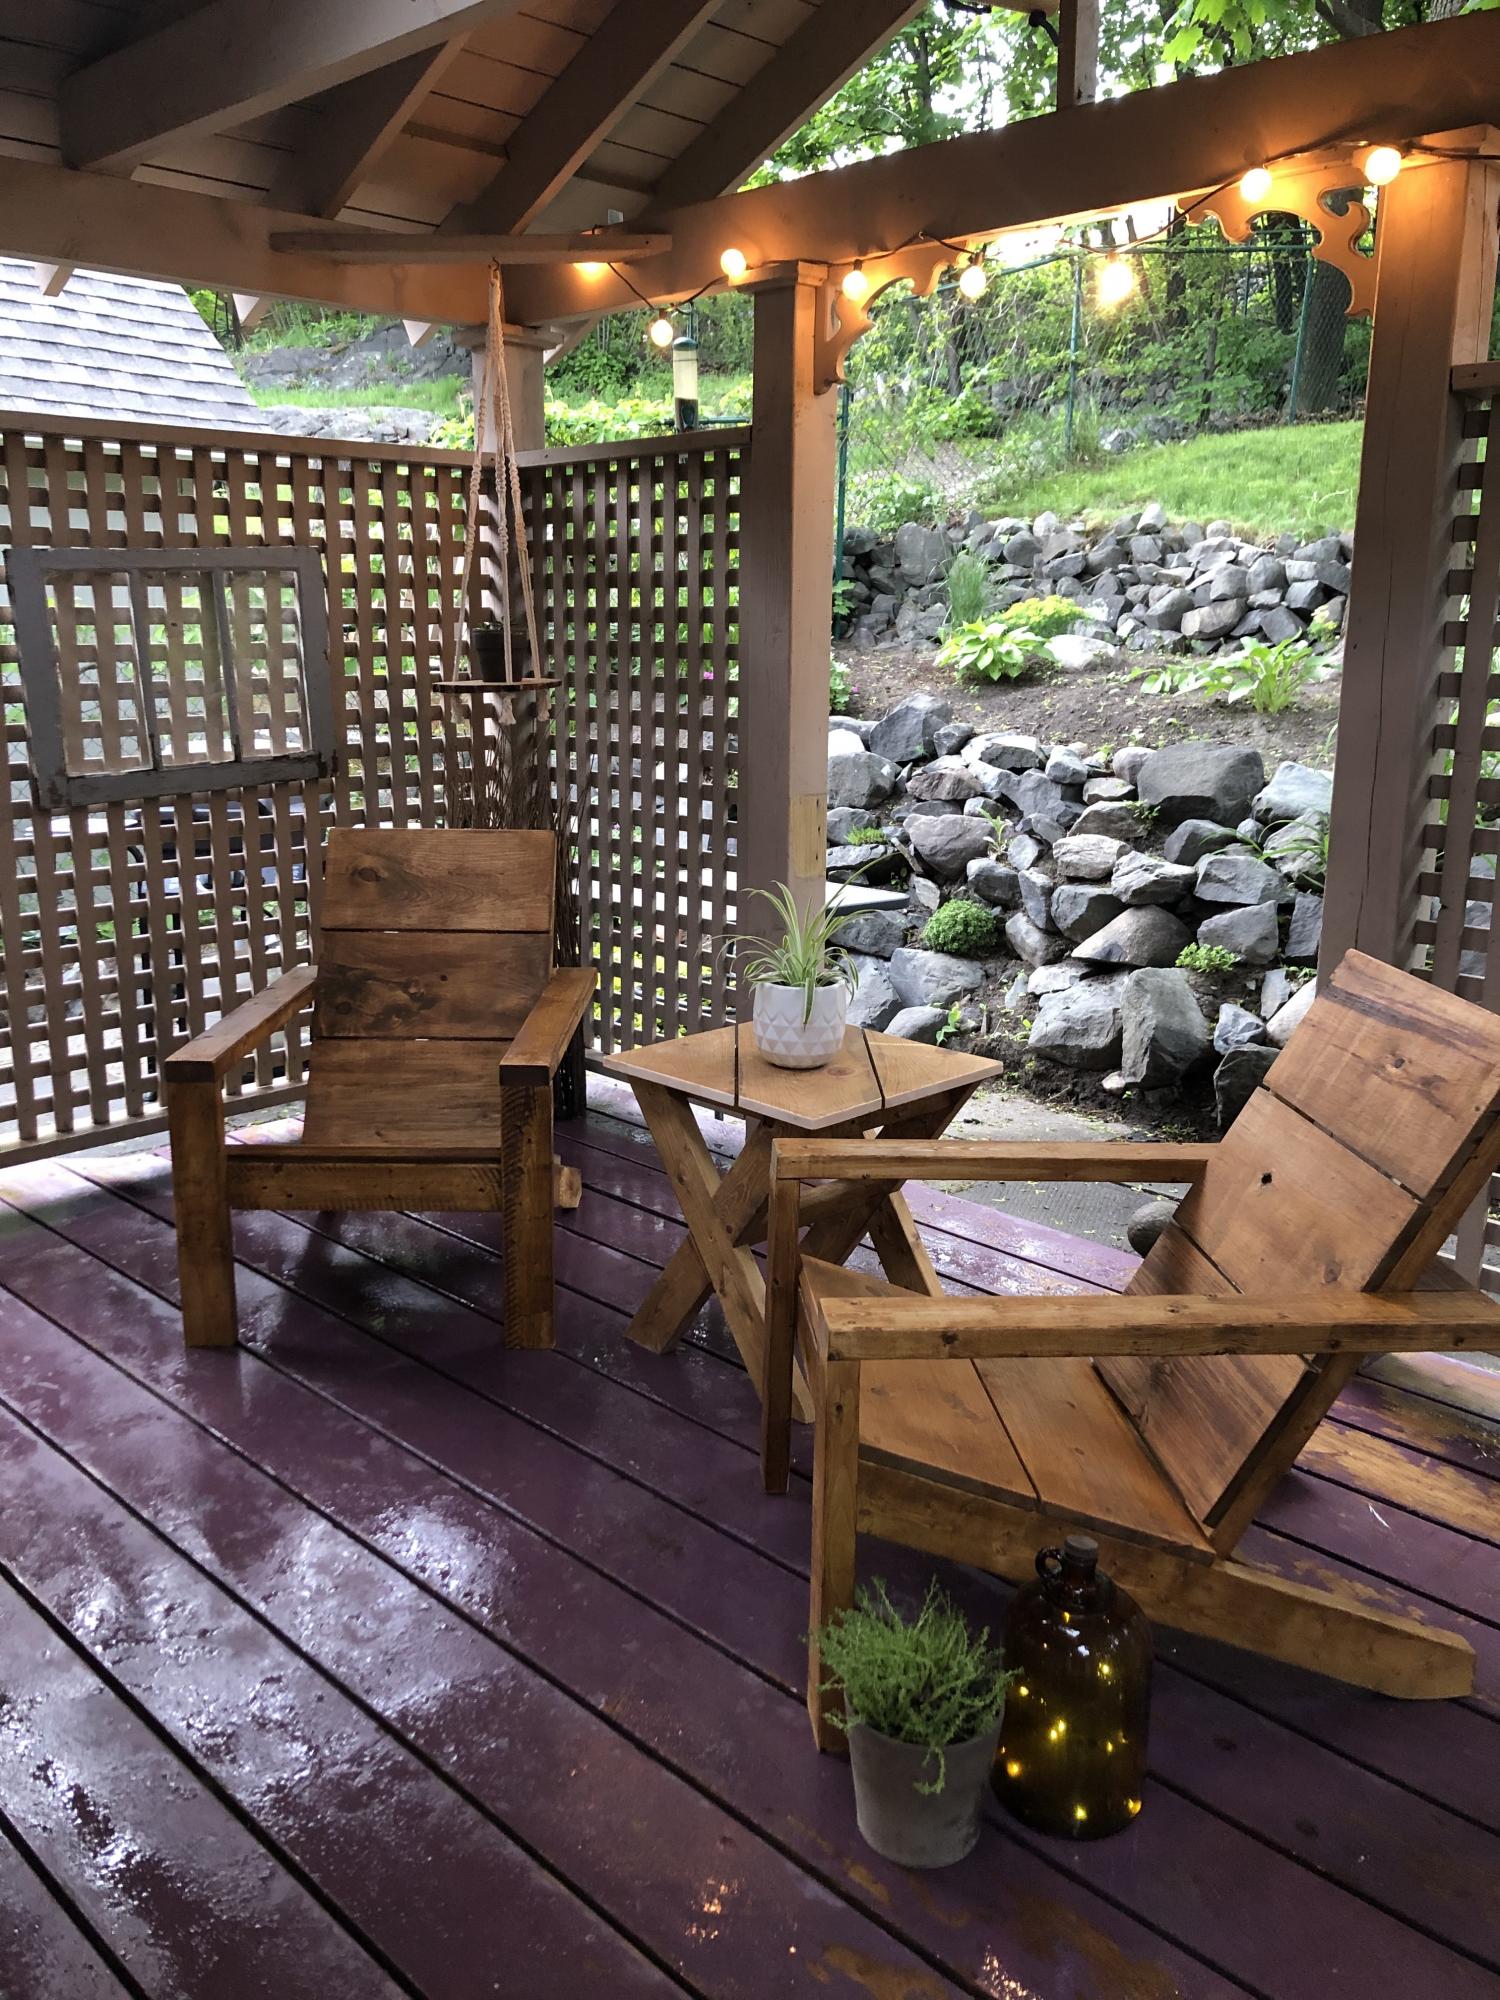
The paint is just small samples we had on hand from home depot to coordinate with other projects in the kids' rooms, and I handpainted the letters. I finished it with a double coat of polycrylic.
Built from Plan(s)
Estimated Cost
$20 total for two stools.
Estimated Time Investment
Day Project (6-9 Hours)
Finish Used
paint and polycrylic
Recommended Skill Level
Beginner