Rustic hall tree-bench
![](/sites/default/files/tree%20bench.jpg)
I built this in a weekend. I used the Kreg pocket hole jig to build frame and also secure back panels to side rails. The bench is 4' wide and almost 6' tall. I put the coat hooks on either side of the top rails.
Instructions were very easy to follow. I got wood at Home Depot and had it cut to size there as well (fit better in car that way). Without help it will take longer than if you can get a person to help out. I needed to go buy a Kreg jig, Kreg nails, and a c clamp. I used chalk paint from Joanne's. Done in 2 days.
I ended up painting them a Bright Blue and Bright Red like crayola colors and I forgot to take an after picture but I was so excited about this because it was my FIRST time building something with wood. My husband made the table with the scraps I had leftover.
My family and I really enjoyed camping last year and with the addition of another child we will not be able to get out this season. So, I modified the simple bench plan to create a comfortable seating area while we "camp" in the backyard. With the money I saved building vs. buying, I was able to purchase a new miter saw and sander and still save a ton of green. I plan on building a couple side tables to complete the set. Thanks for the site Ana, it helps make our home more warm and affordable.
Sun, 06/28/2020 - 19:32
Those are BEAUTIFUL, and exactly what I am thinking of.
I built this headboard a while back but just never got around to posting it. I distressed the wood, painted it mint green and applied a chocolate glaze.
Thu, 02/12/2015 - 00:07
The colors here are so cute and classy! I love it!
Thu, 02/12/2015 - 00:07
The colors here are so cute and classy! I love it!
Made from plans on website. Granddaughters favorite color is purple so that's the theme. Siding and room match house.
I originally made the Adirondack chairs in a Beach style, then I made them matte black for around the fire pit. I modified the design a little, making the arms wider (to accommodate food and drink better) and fanned the back a bit. Everyone loves the look and how comfortable they are, as well as how sturdy they are. Goodbye to those plastic chairs that break.
Thanks for the great project ideas during the quarantine.
My wife asked me to build her a sewing table so I modified the x console a bit. Pretty happy with the result. Still need to add the hardware to complete the piece. Finished with the vinegar / steel wool solution after pre treating it with black tea. First time using that technique and will definitely use it again.
In reply to beautiful by katiemakes
Fri, 04/05/2013 - 22:20
I can't remember where I stumbled across the technique but basically you take some steel wool (0000), tear it up, put it in a big glass jar, fill it with stinky white vinegar and let it sit for a few days to dissolve the wool. Shake the jar every day or two and don't cap it tight. In about three days the wool will have dissolved and you will have a murky liquid.
I then brewed some black tea I bought at Walmart and painted the entire piece with the tea. After it dried I painted over it with the vinegar, and wallah! it totally changed colors...not sure why it does...something to do with oxidization and tannin and chemical reactions.
Then I went over the entire piece with furniture wax.
There are plenty of online tutorials which go into more detail. My suggestions is make sure your surface is completely clean and as smooth as possible. Let your tea layer completely dry before applying the vinegar and then let your vinegar layer dry outside. We rushed the table into our house mere moments after it was dry to the touch, so our home smelled like stinky, rusty vinegar for a few days. I can't stand the smell of vinegar....I loathe salt and vinegar chips....blah.
Anyway, glad you liked it.
Tue, 04/07/2015 - 06:05
Love this mod. Might copy but will cut into the desk portion so the sewing machine surface is flush. I have a desk in which it sits on top now and have thought of cutting into it, but it's Amish made and the thought of ruining work gives me the willies, ha! Anyway, great job!
Wed, 04/08/2015 - 08:52
Love this! Would like to build for a make up/get ready table! Do you have the plans you used or how did you modify this?!
This is a replica of the Pottery Barn benchwright coffee table. I altered Ana's plans slightly by changing the design of the legs to be 2.25" by 2". I added full extension drawer slides. The finish is a combination of transtint shellac base coat, gel stain, transtint dye, and poly.
Wed, 02/11/2015 - 05:37
This looks so professional and just like the real Potter Barn table! Great job!
I changed the entrance from the front to the end and added the steps.
This was my second build ever, and I'm so extremely satisfied with the entire process! Ana's plan was super easy to follow, and I couldn't be more proud of how they turned out!
This was a recycle from a window replacement project on my 108 year old home. I removed the leaded glas window from the top of a 4.5 by 4.5 street facing window with a reciprocationg saw, attached a 1x4 pine board with trim screws on the ends and trim nails on the mid-portions. Painted it with satin black with a sweep of gold and pewter for a little dramatic effect, purchased a heavy weight mirror hanging plate and attached to the wall and window back. I'm thinking of backing it with a mirror to improve looks,
Sat, 03/30/2013 - 09:39
This is just lovely! What a wonderful use for a piece of history, it's now a one of a kind piece of art, and an instant heirloom!
Love, love , love this step stool. It’s perfect and relatively easy to make.
My 4 year old kept asking for a bunk bed, so my wife and I went to the furniture store and saw we would be paying close to $1000 for a junkie bunk bed. We told him it cost too much and left it at that. Then he started bringing us pennies, dimes and all the change he could find to pay for the bed. So I found this website and decided to attempt to build him one. I started building it after work on Monday, continued for a few hours every evening and finished Saturday morning. It turned out amazing, and both the boys love it. It is extremely sturdy, and will last beyond my lifetime. It's just a good quality design. Total Cost was about $300. Not bad for what we would have been paying for a lesser quality bed. Changes I made: I added the railing on the front of the upper bed to match the headboards and railing on the back side because my wife is a worrier. I also designed and built the stairway and bolted it to the lower bed. I am no professional carpenter, a novice at best. Most people with a little carpentry knowledge can build this. Thanks Ana, we all love it!
Tue, 04/02/2013 - 05:17
Wow, you did a wonderful job! What a sweet story with your son bringing you any change he found. Adorable. I'm sure your sons are so proud of you and it means so much more than just store bought. In looking at that first smaller picture of just the top part, it looks like a view from the back side of a day bed. You can take apart the bunk beds when they get older and you have one full bed and one day bed. Awesome!
Sun, 06/29/2014 - 05:09
Could you post the plans and cutting list for this twin over full bunk bed?
Tue, 12/23/2014 - 23:22
I would love to build this for my grandsons, but I can't seem to get the plans for it, I need instructions becuse I am in training. Thanks
This is 2 different shirley console tables . I did both out of pine boards and golden oak stain. One I used wax on and the other poly.
A full write up of this build, including photos & dimensions, is here: http://imgur.com/gallery/YyawW
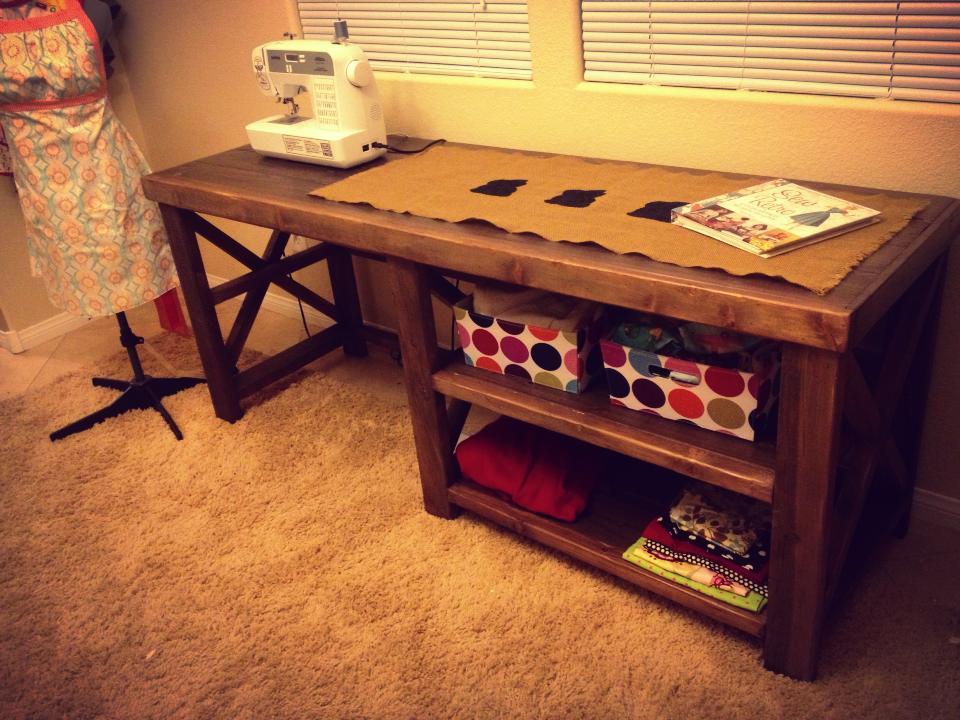
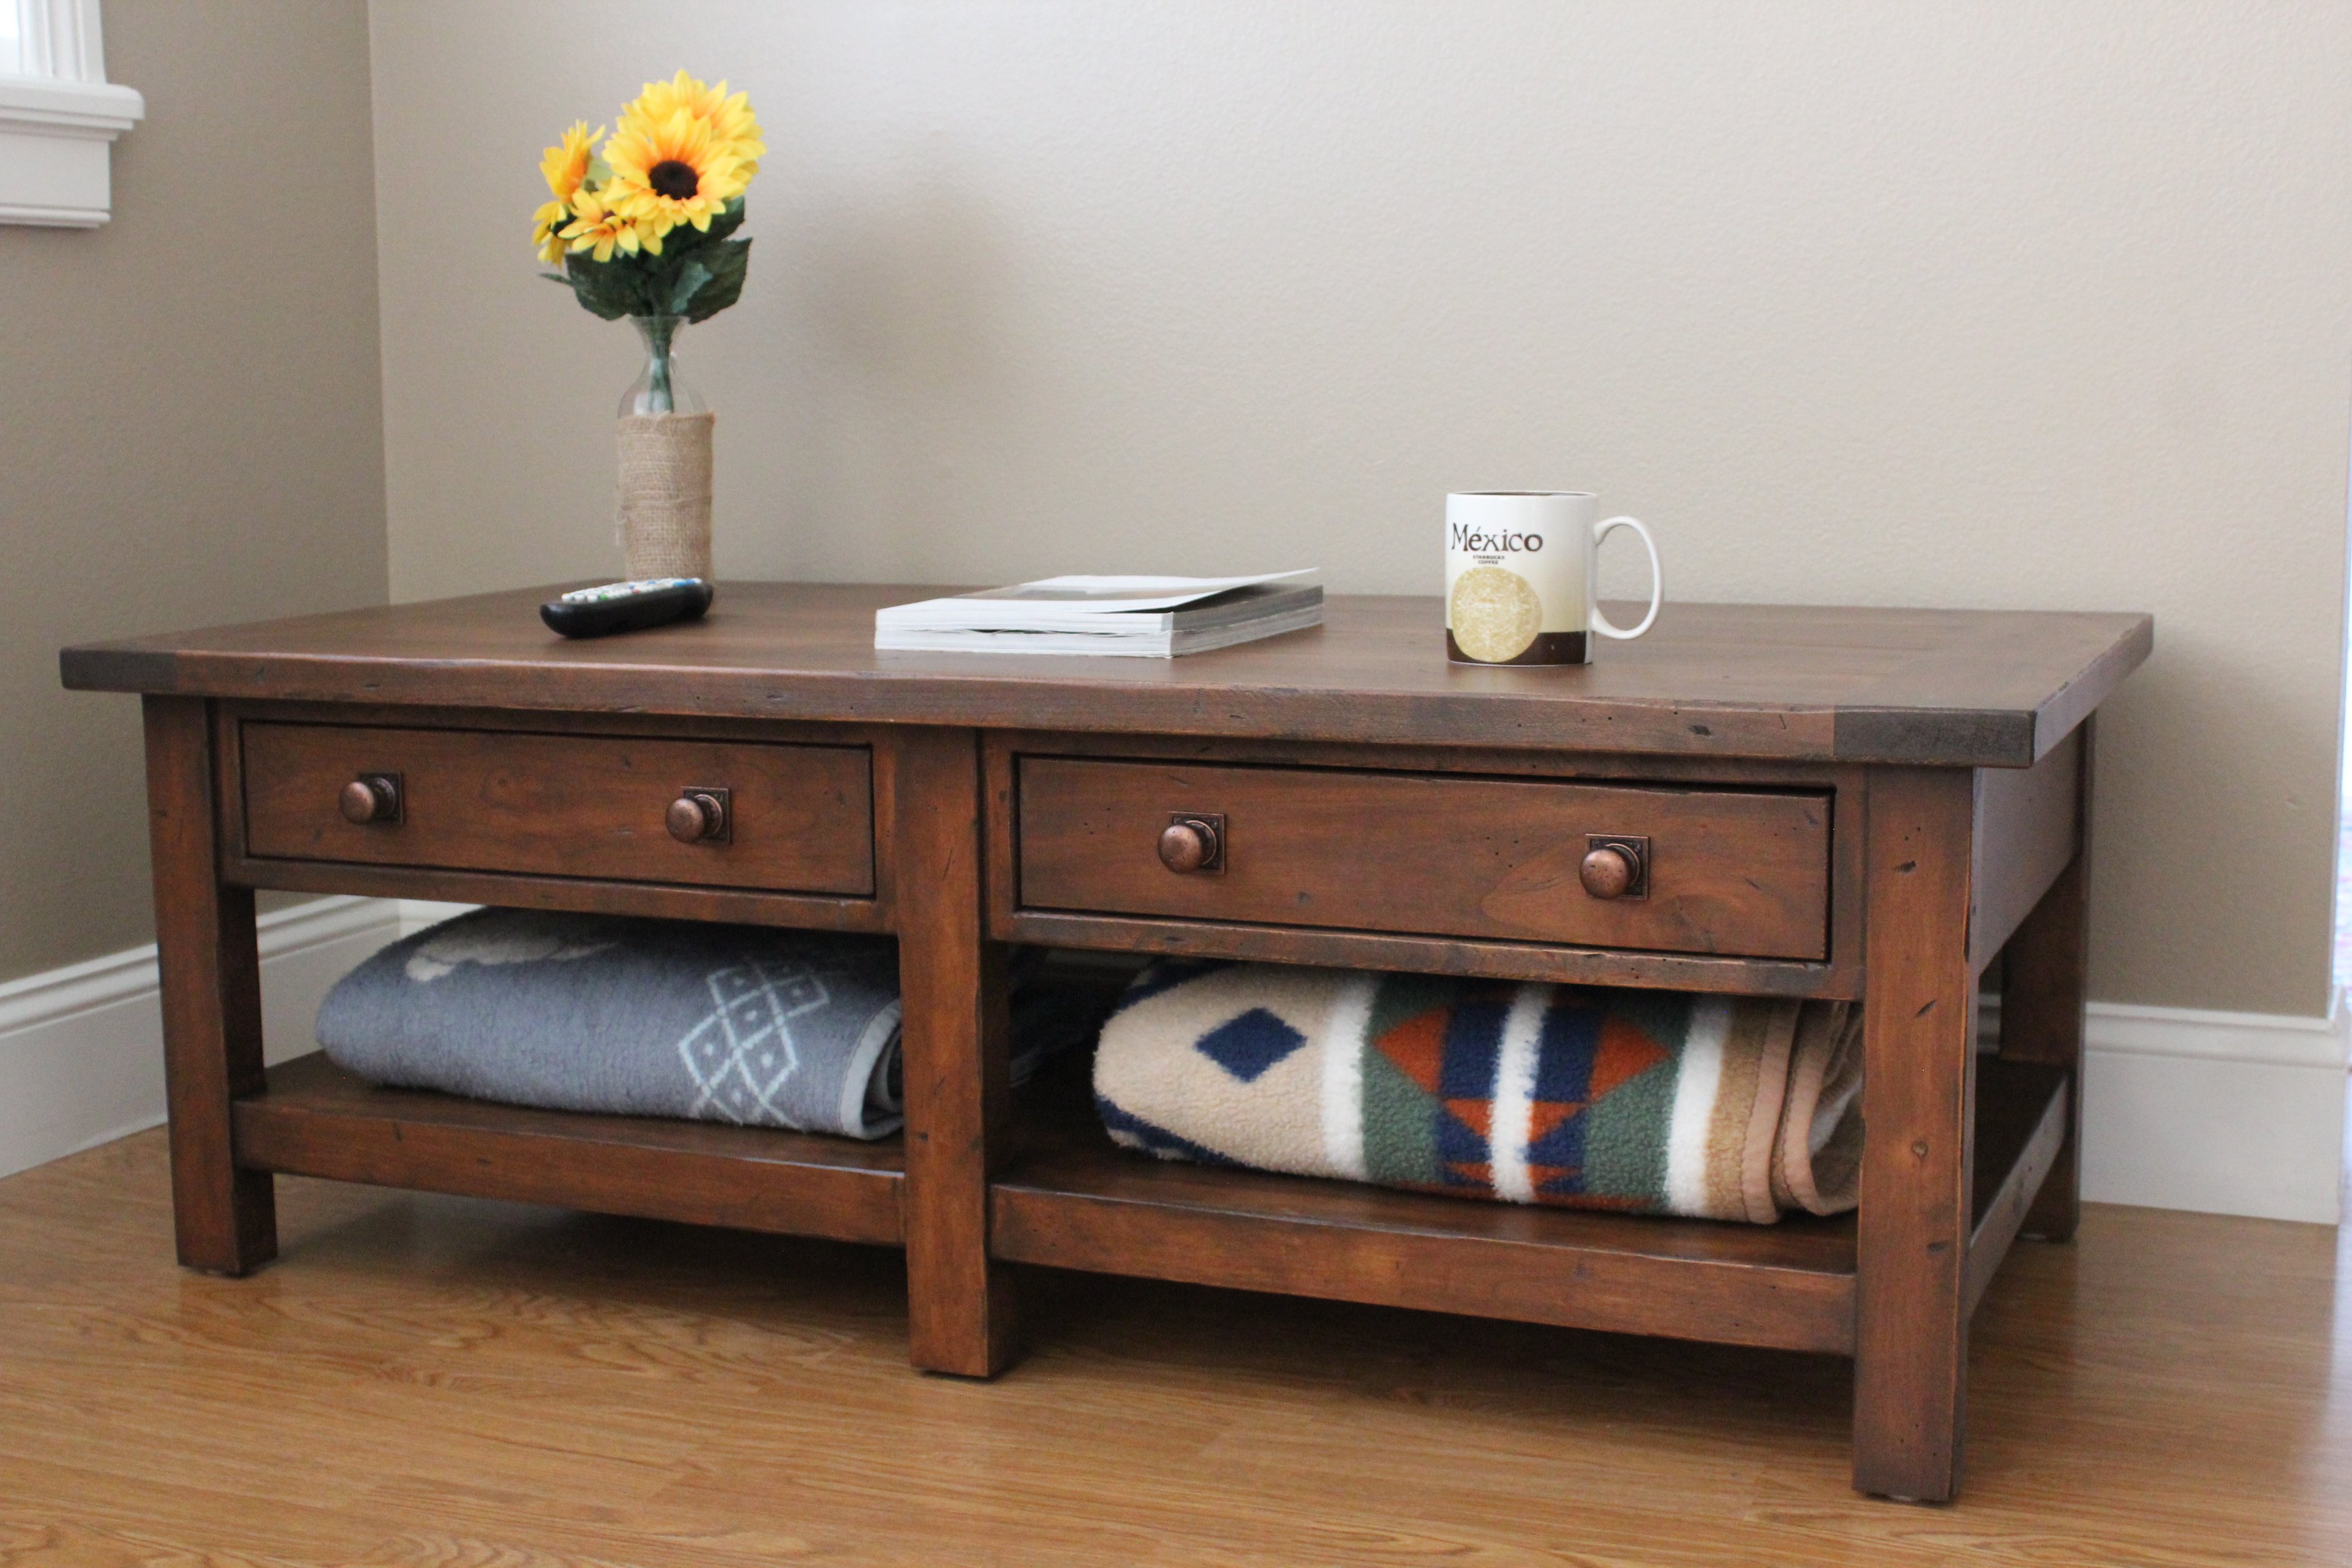
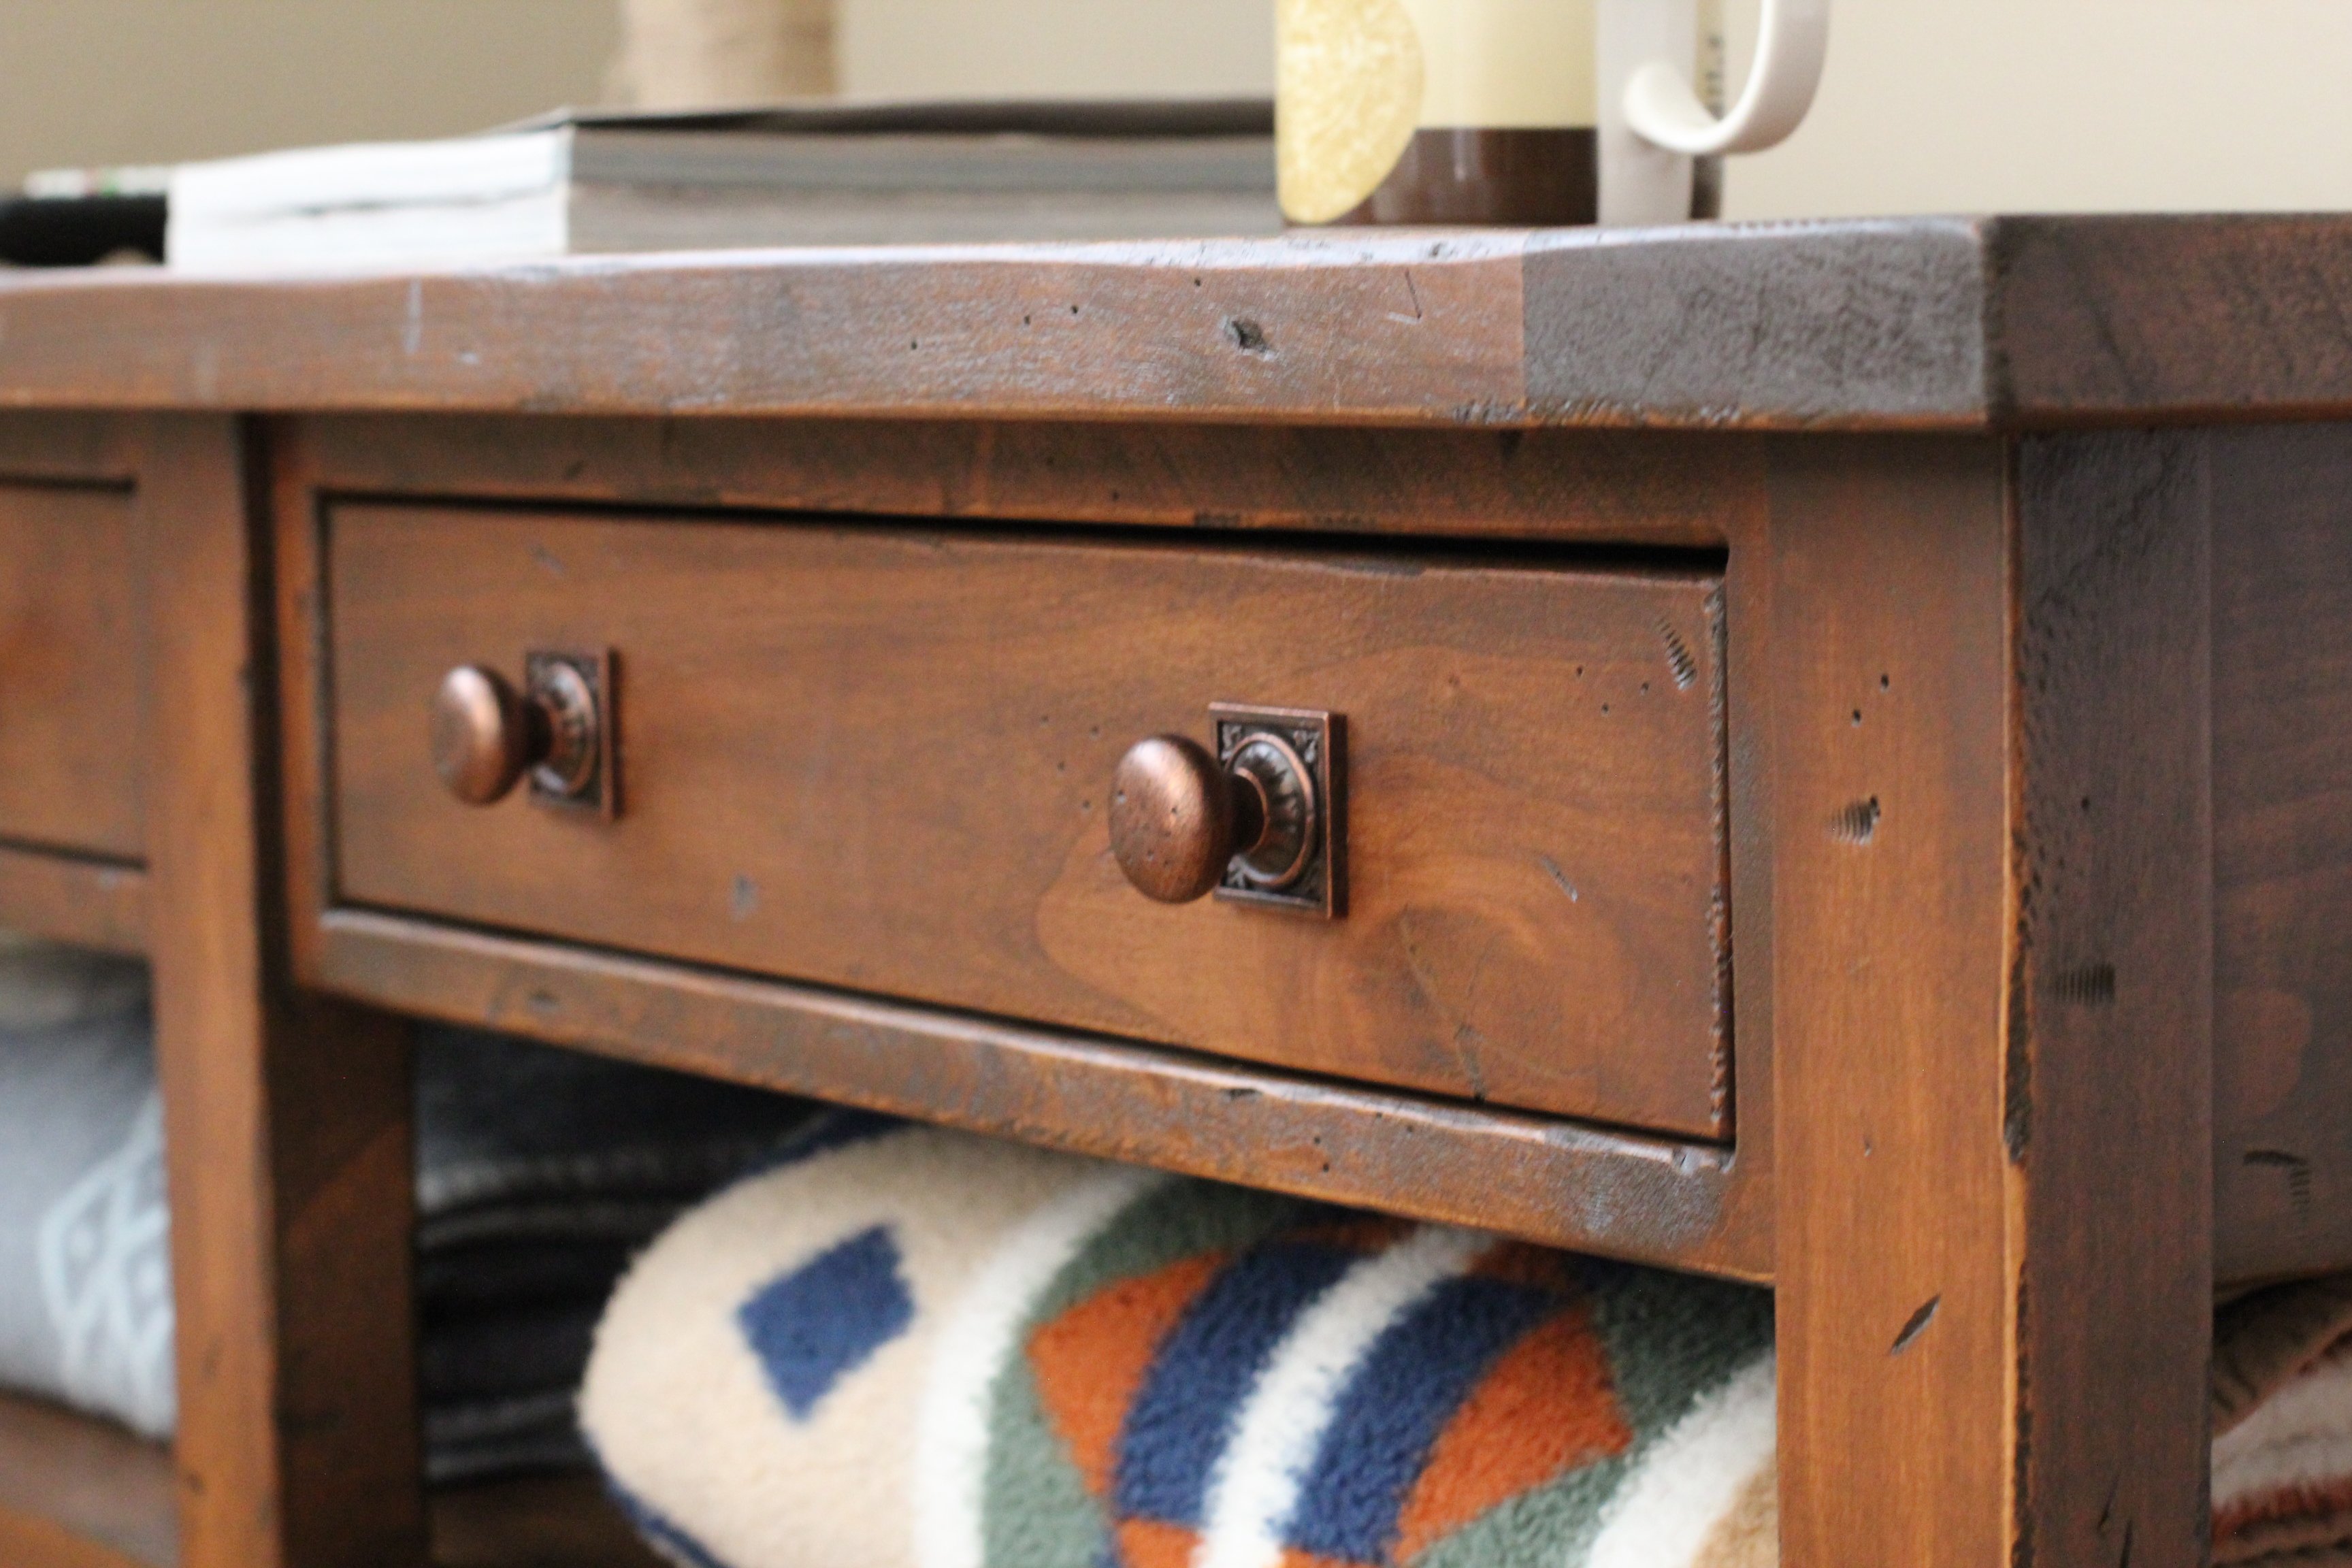
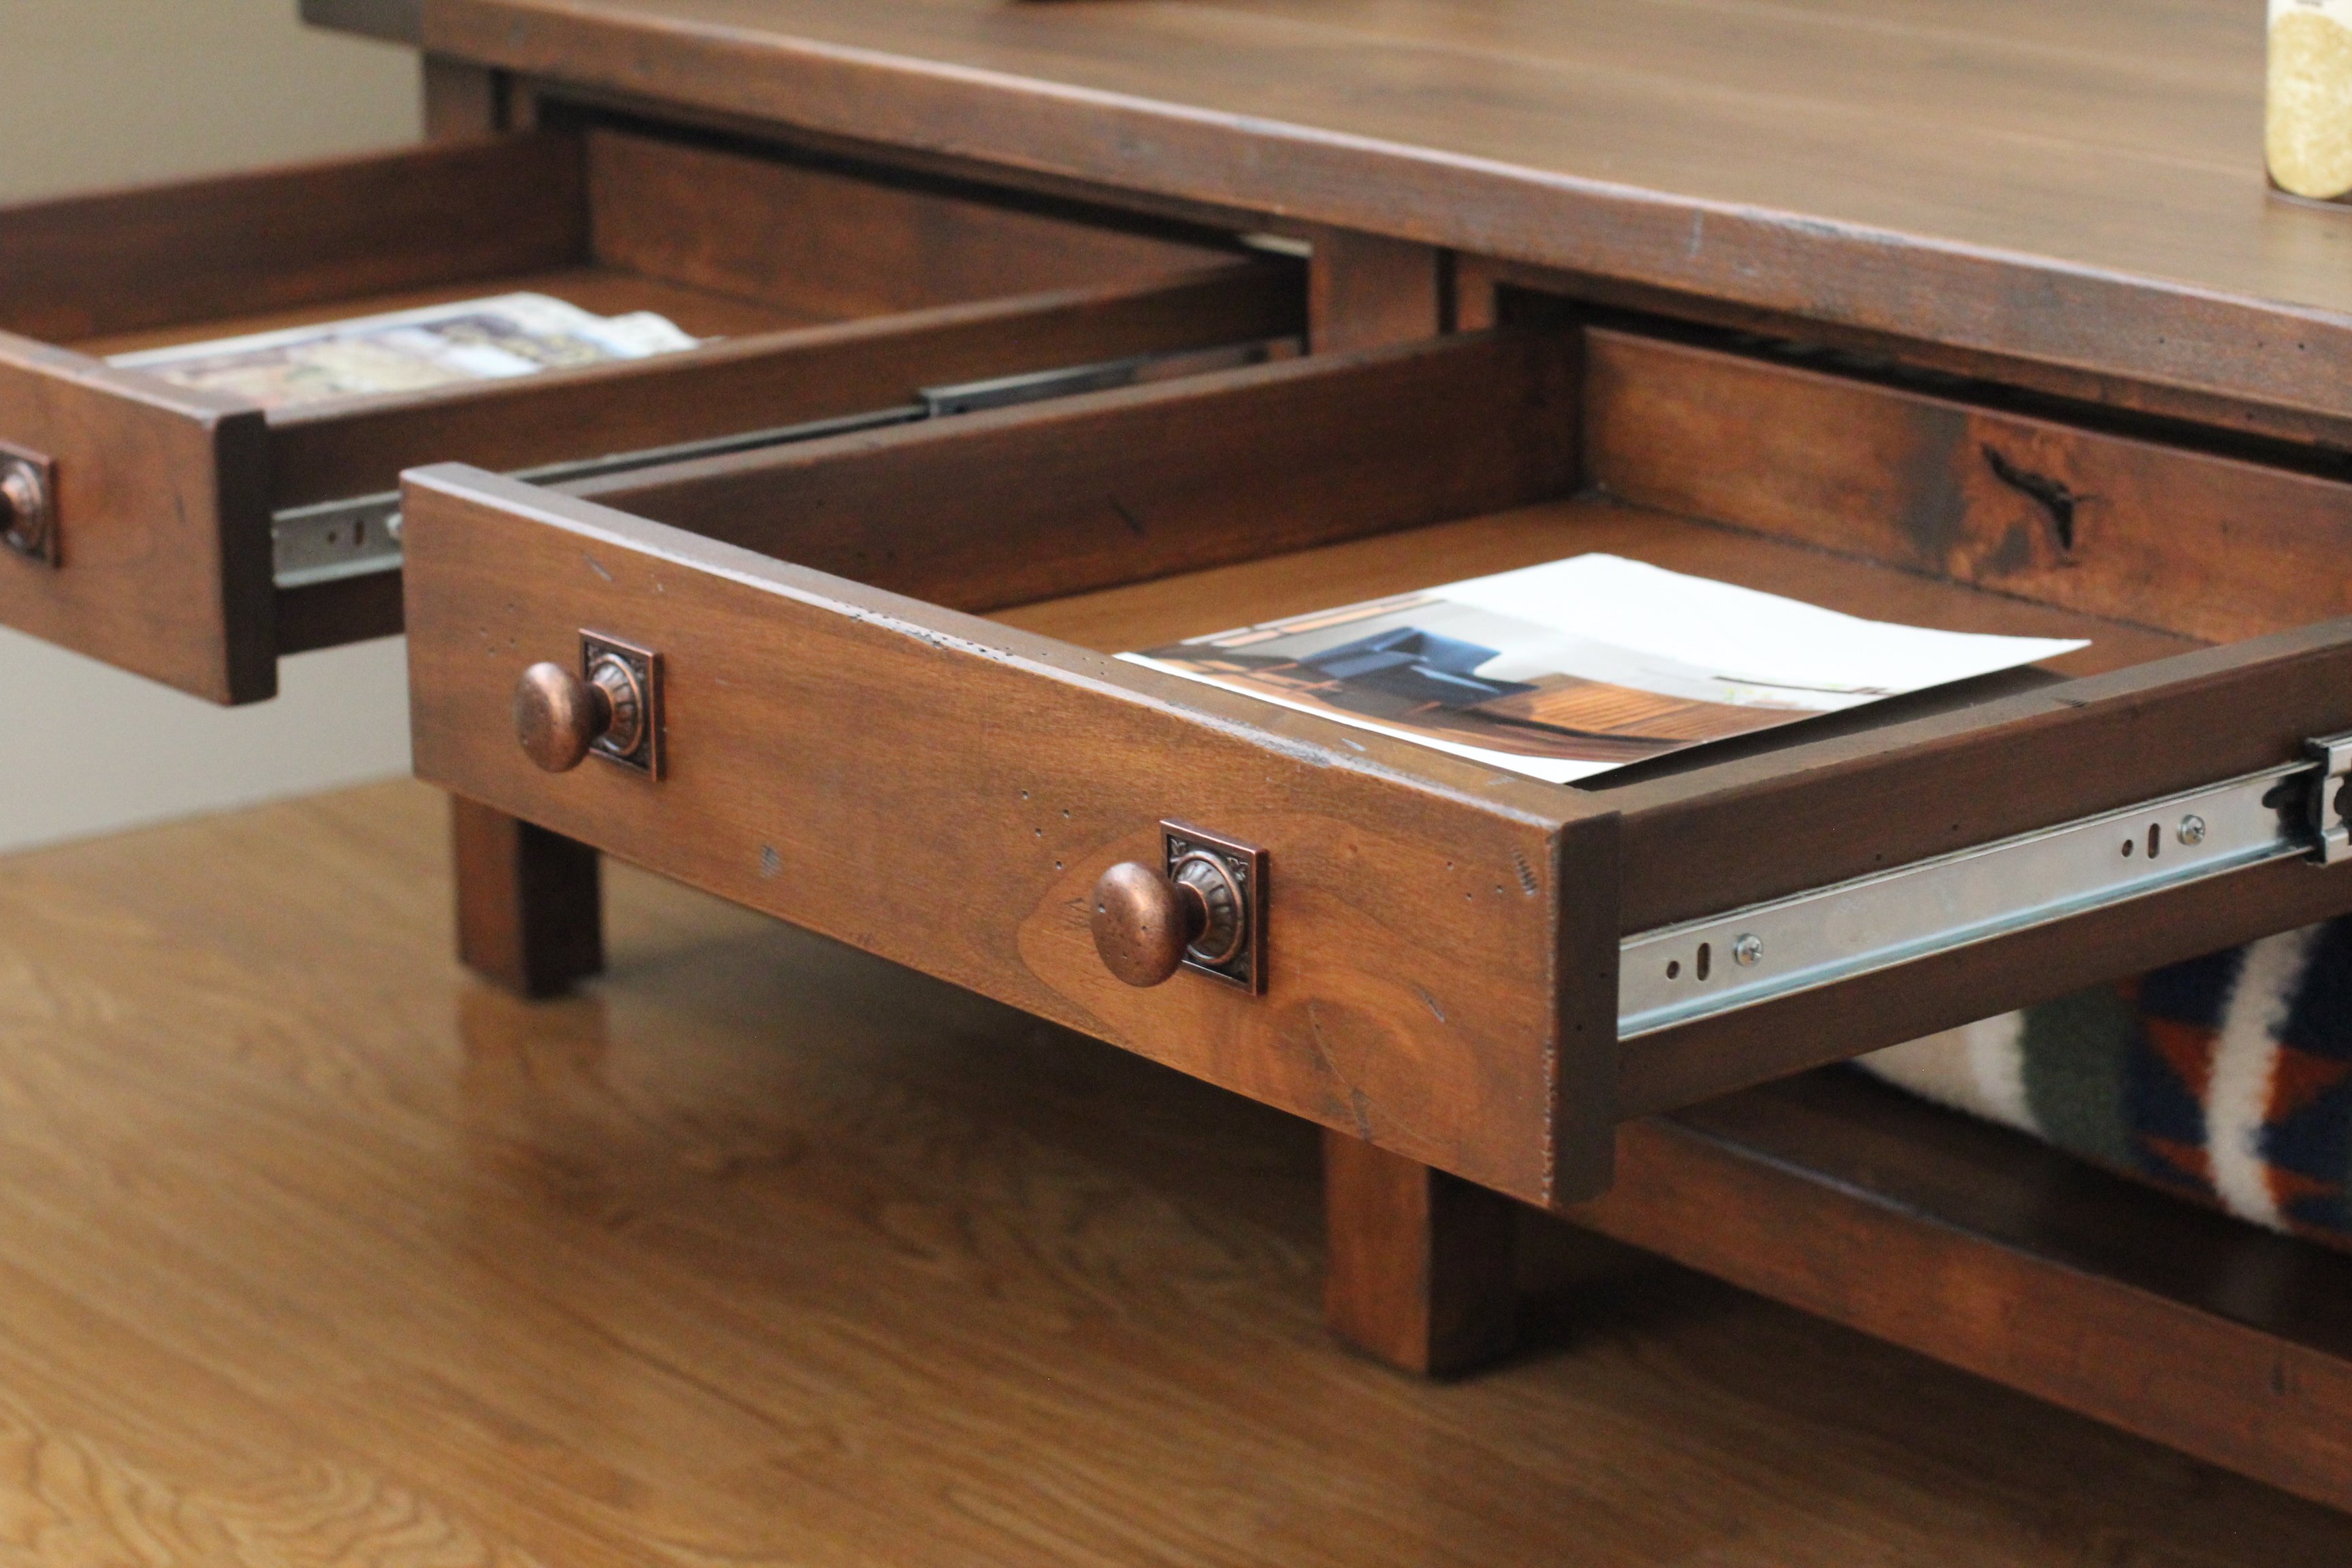
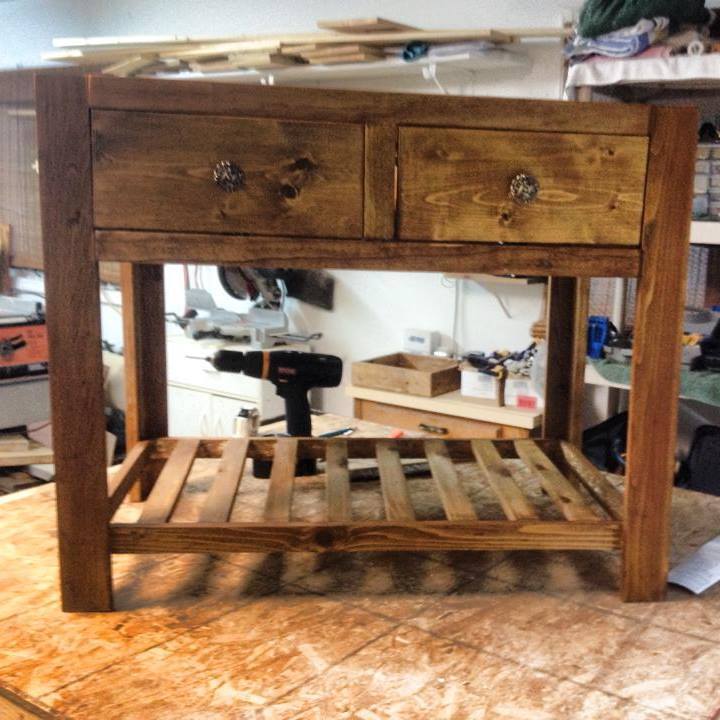
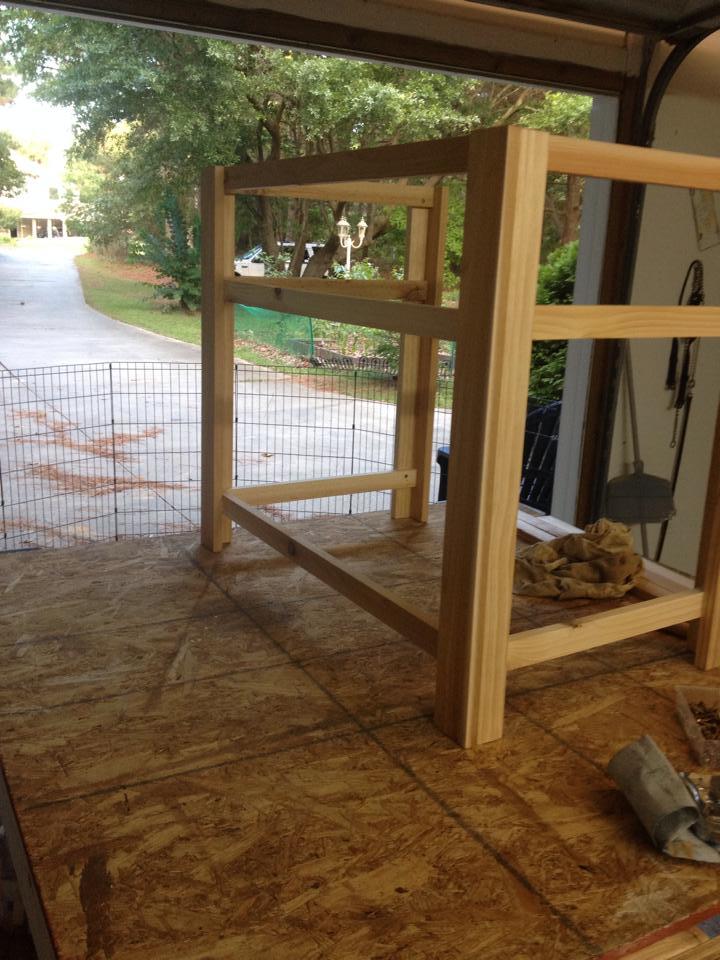
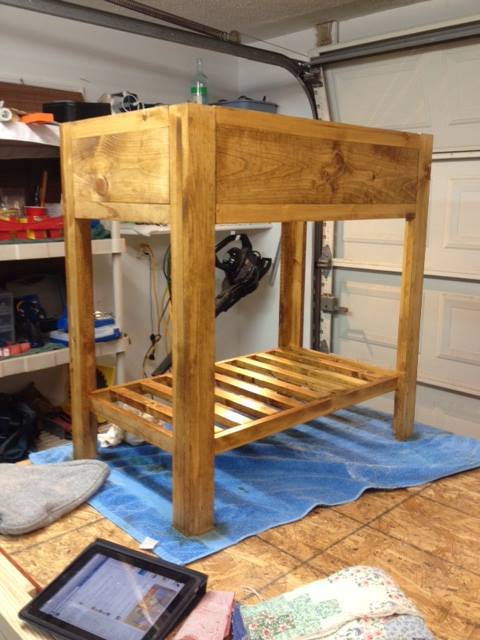
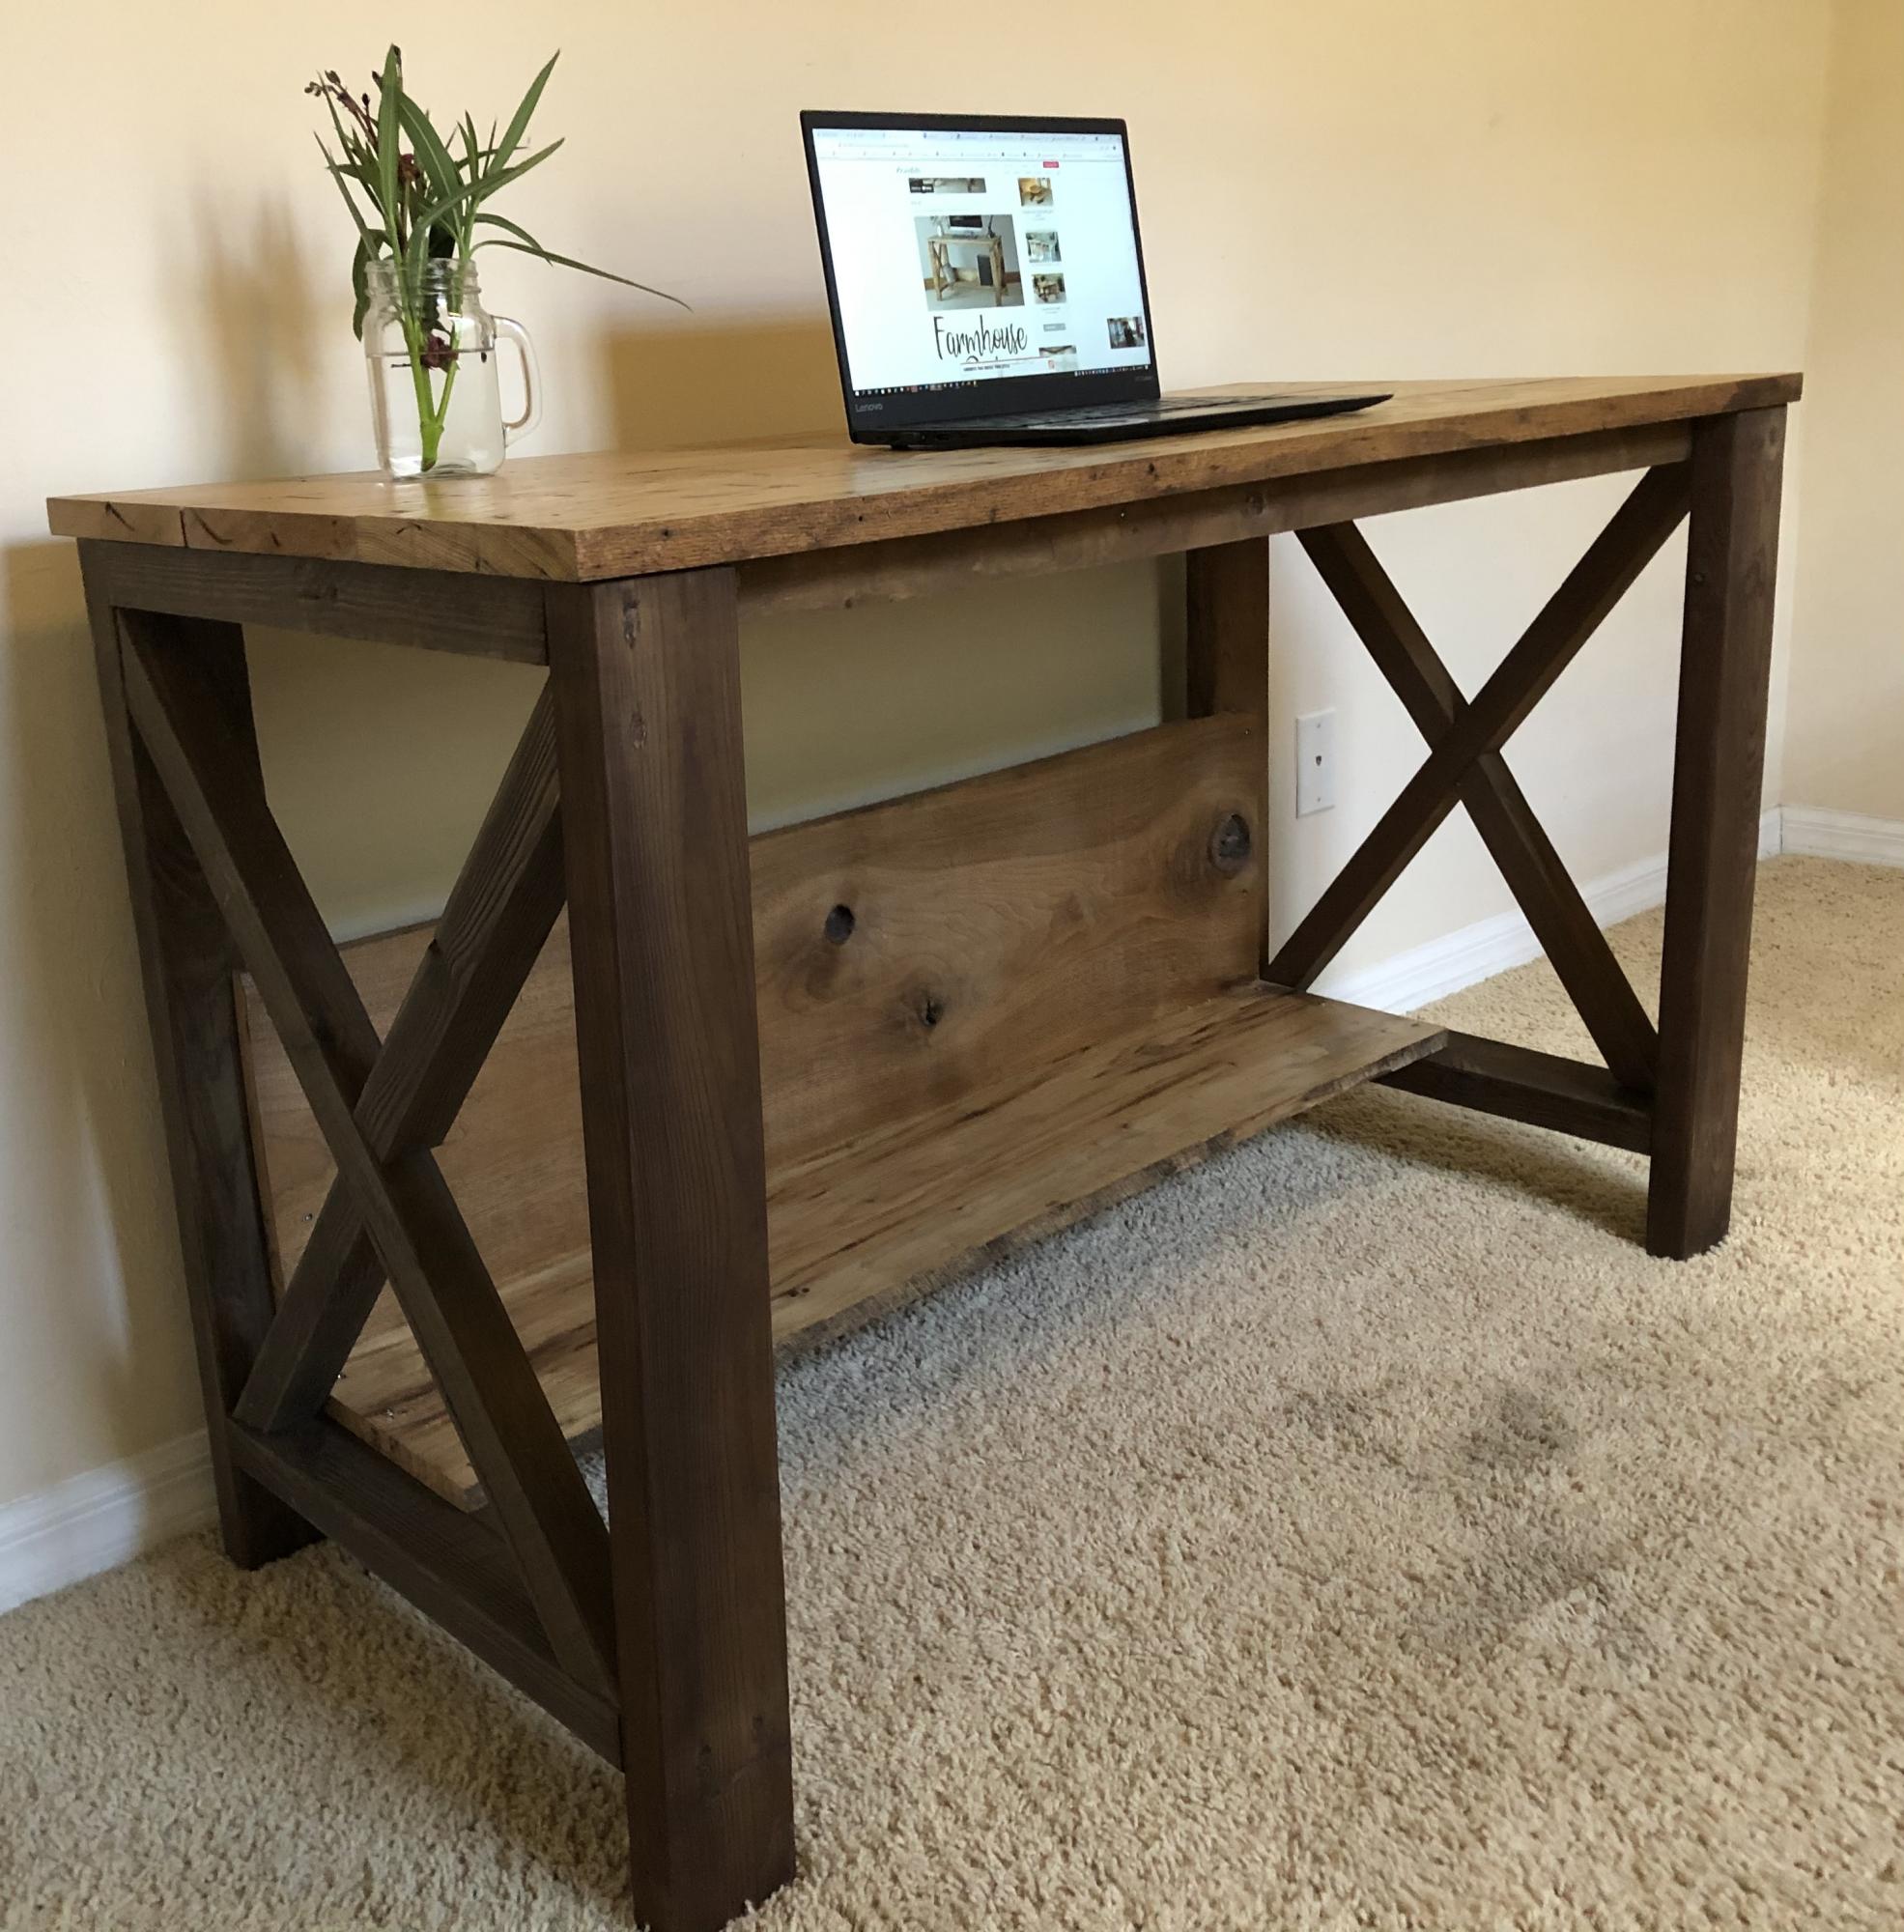
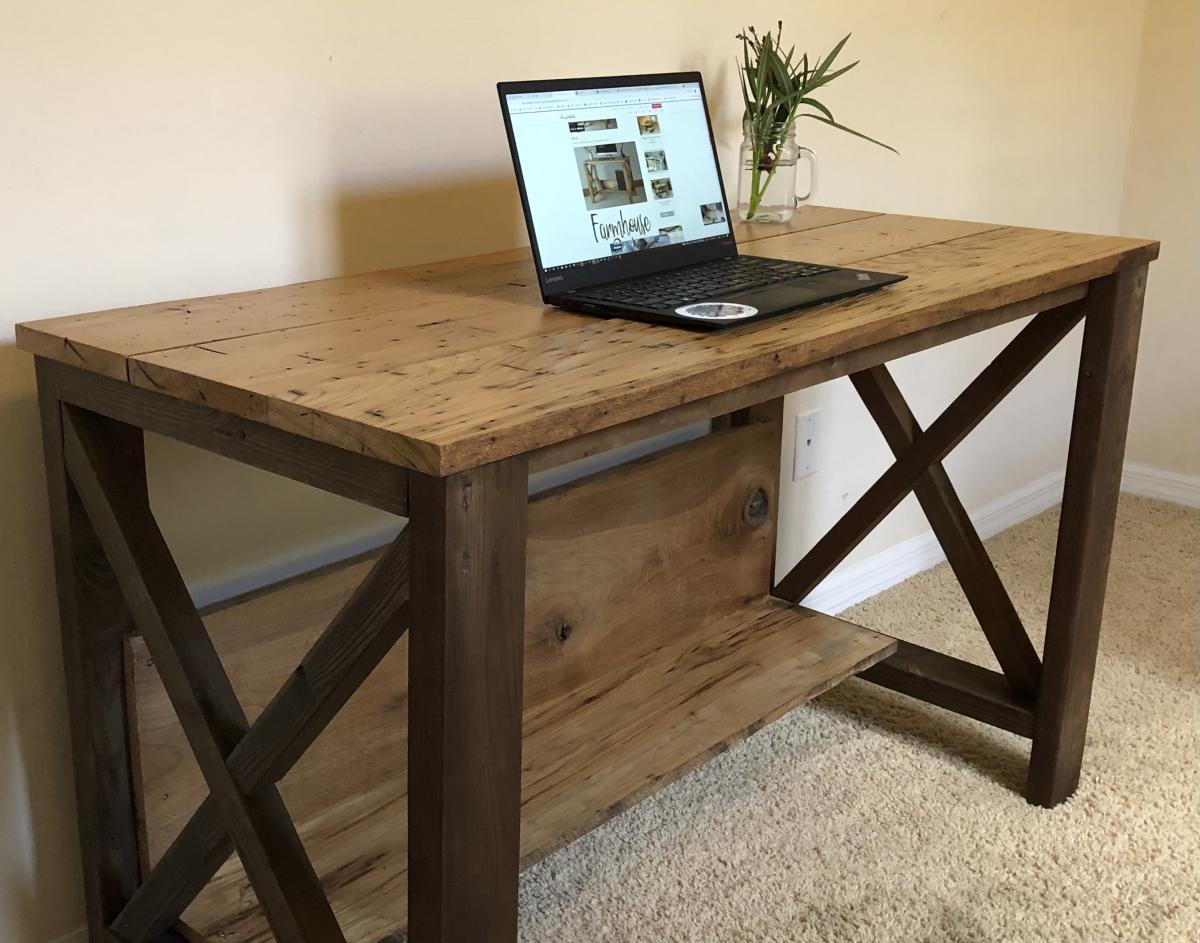
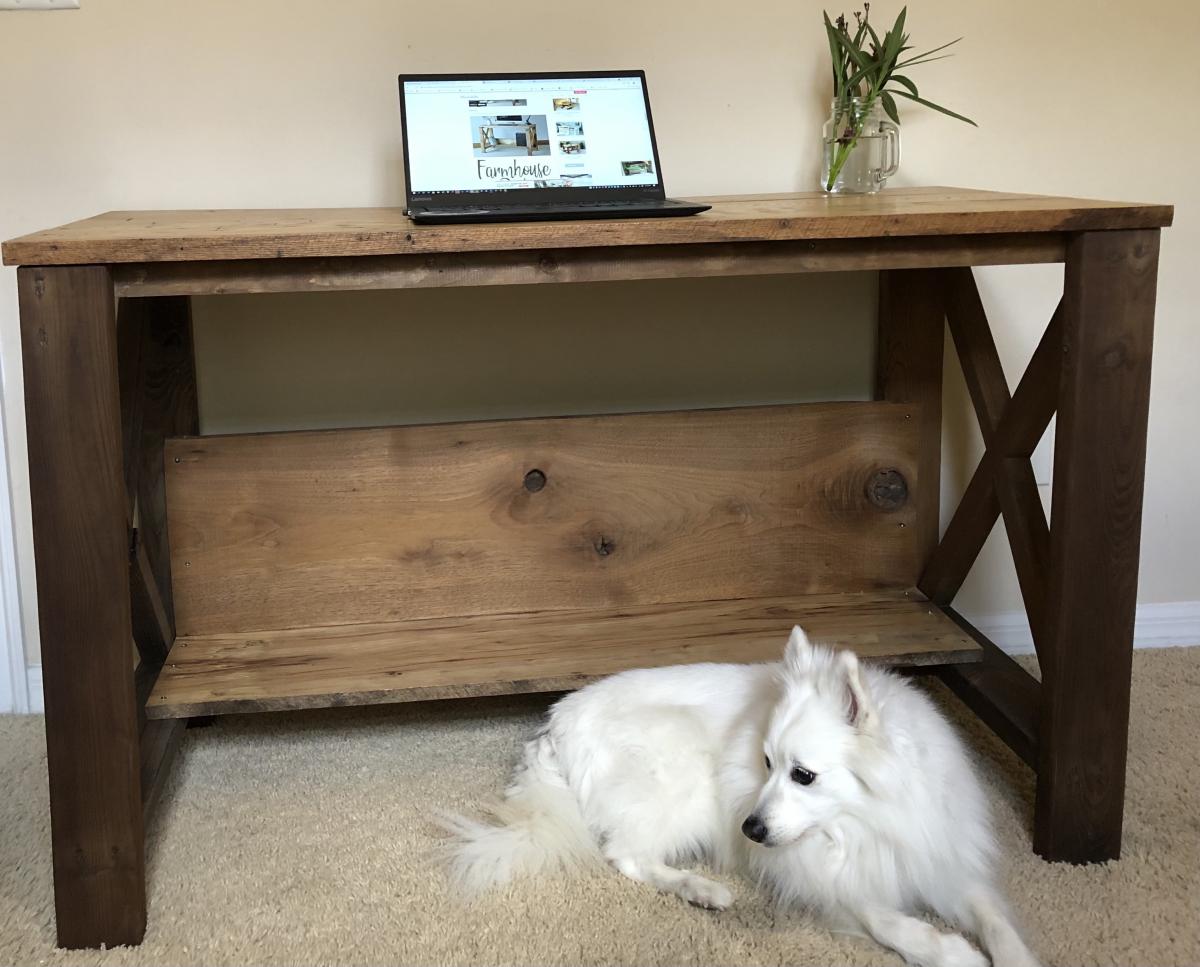
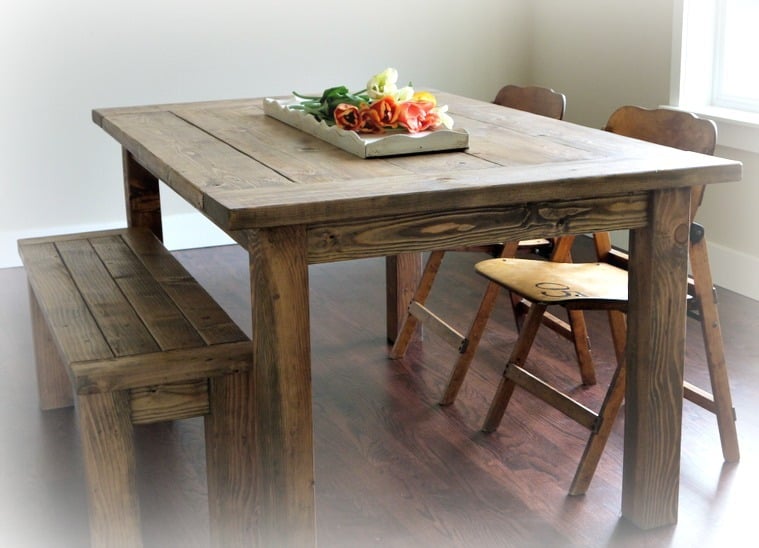
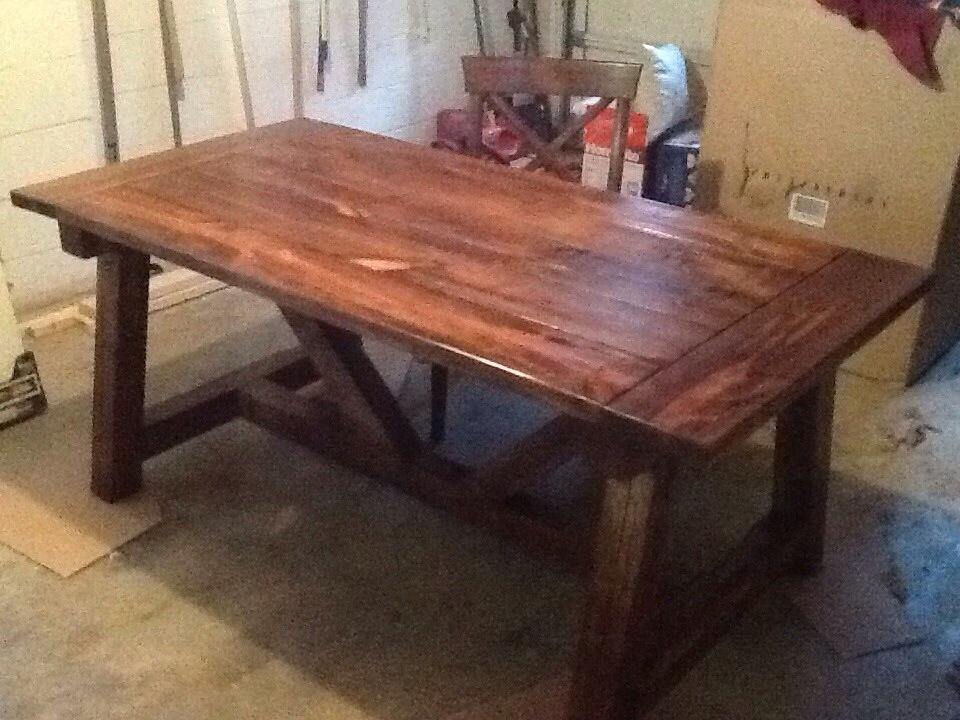
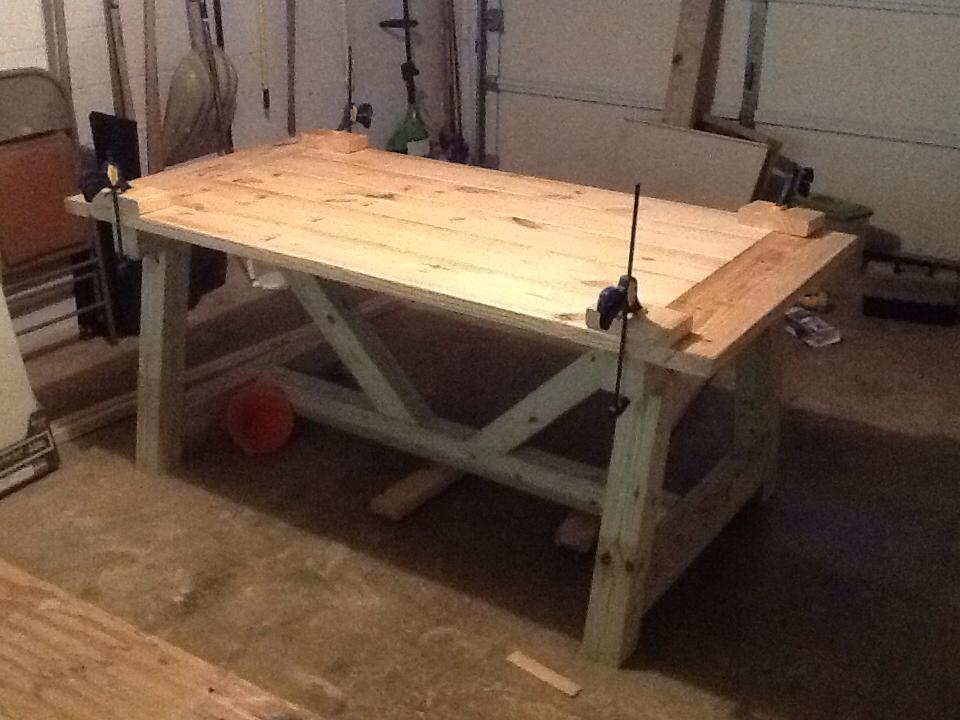
I just completed my first build (#AnaWhiteFarmhouseDesk). It has a ton of mistakes, but they are my mistakes to learn from.
1. Measure twice cut once not measure once cuss twice.
2. Cutting 2x4s in half does not make a store bought 2x2. Which is really 1 1/2 x 1 1/2. Who determined that we would measure wood (used in carpentry which requires very precise measurements) and just round up? Awwe, they'll figure it out!
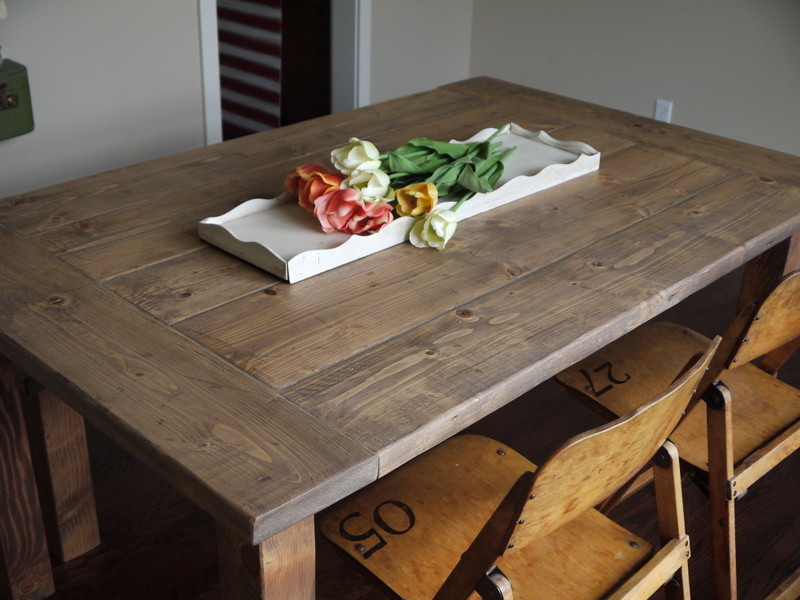
3. Steelwool & vinegar stain with a black tea conditioner provide a beautiful aged wood appearance, but when using different types of wood it is nearly impossible to match (maybe even store bought stains are like that, too.)
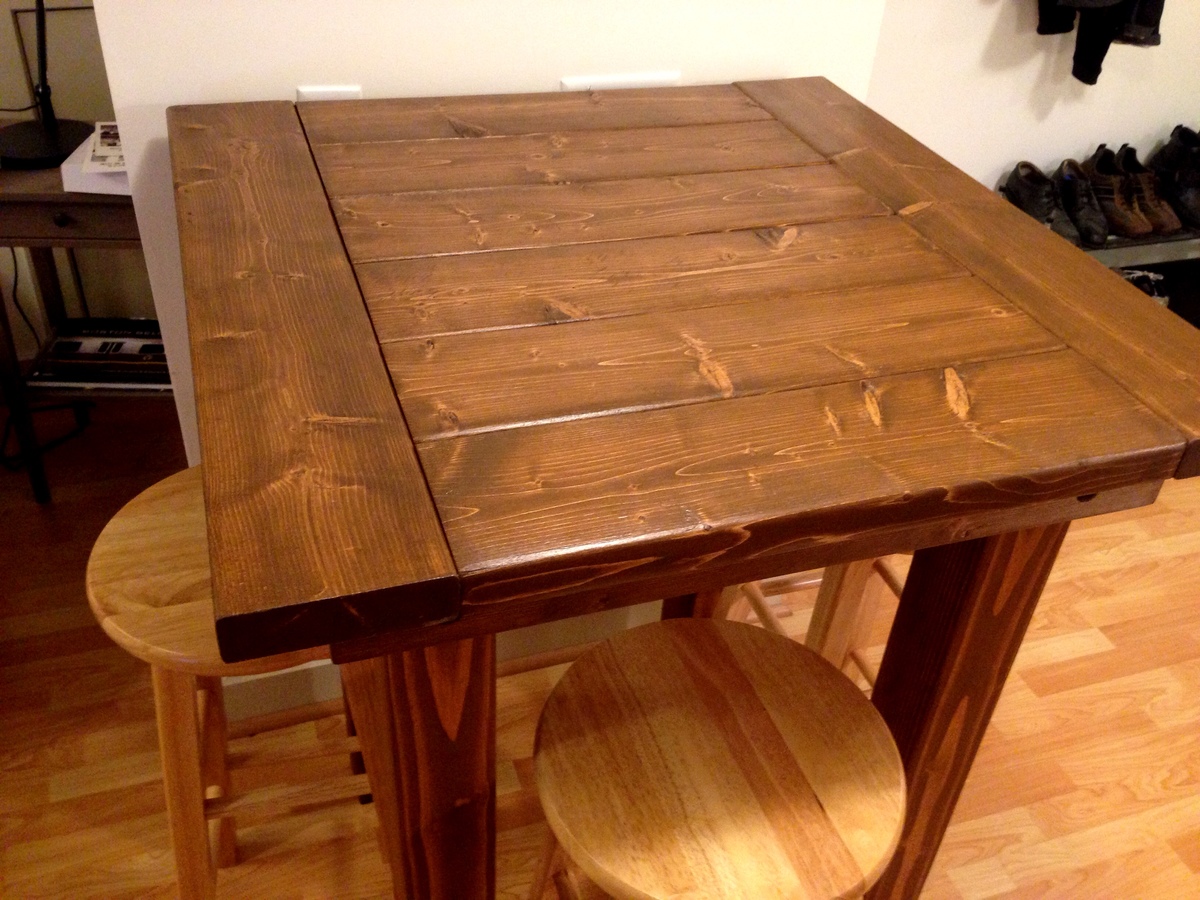
4. When your 95 yr old grandfather (how freakin' cool is it that I have a 95 yr old grandfather... With a planer no less) tells you to catch the "wormy Chestnut planks" on the other side (okay... I'm bragging about getting my hands on wormy Chestnut for my desk top) remember to bring you own PPE because at 95 he doesn't require ear protection and doesn't give a frog's fat a$# if sawdust shoots in your eyes & nose... What's the problem???? He never had a new pair of shoes until he was in the military serving in world war 2 so what's a little sawdust?
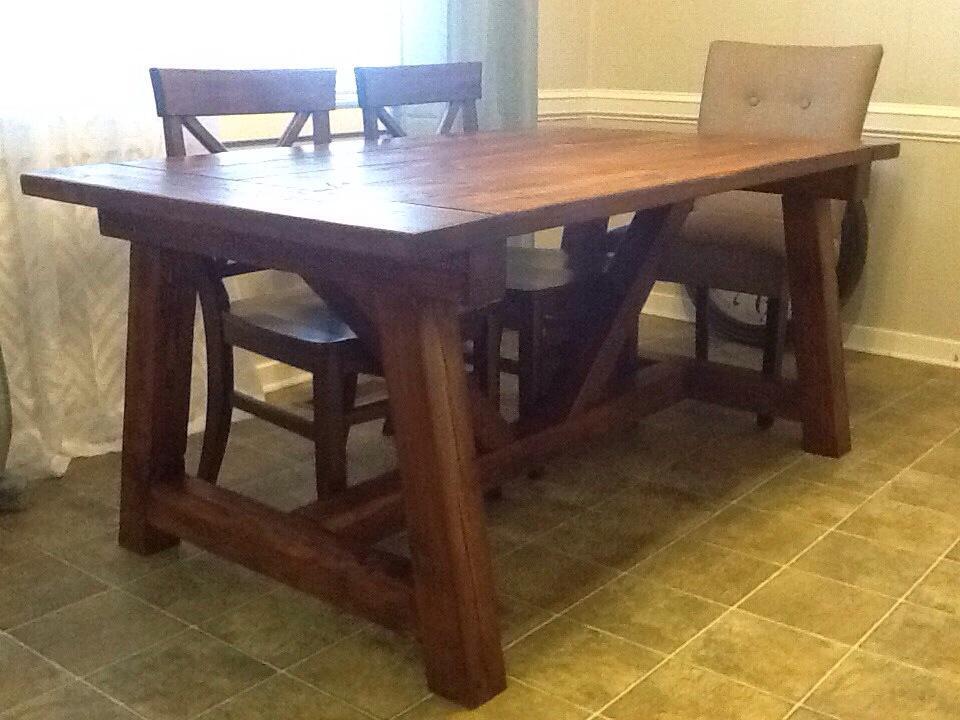
5. Sometimes you just need to ask for help from your trusty uncle! Thanks to my uncle Nathan (Lord do I love this man!) I finally, with his help, completed the build by assembling the desk top yesterday. I was so afraid of screwing up my gold desk top (aka wormy Chestnut)
6. Mistakes... Do not fear them, but rather embrace them because that is life's playground where learning happens.
7. Learn from others. Thank you Ana White, Woodworking for beginners members FB group and YouTube!
This is the third farmhouse table I built, although it is trifle smaller to fit in a smaller space. I think this one is just about 62” long. I also built a 48” bench to go along with this table, and I think they look so cute together!
Tue, 04/16/2013 - 08:59
I love your farmhouse tables! Did you make any changes to the plans when you took away the stretchers? I really want to make a table like this soon!
Sun, 12/06/2015 - 06:09
I'd like to know this too, as I'm not keen on having the bottle boards.
Shorted this length of the table by 6 inches to fit the available space. Came out great. Tip: If using pine, after stain dries, gently sand again with high grade paper to remove raised ridges after wood has absorbed stain, but not hard enough to remove stain. This will help make the eating surface much smoother to the touch.
Comments
Spadeddmommy
Fri, 02/06/2015 - 22:34
I know it should seem pretty obvious
I'm a beginner but would like to know more of the measurements and shopping list you had to build this for myself, with just a few modifications. Lol! Looks great! Thanks for sharing!