Community Brag Posts

Dining Table and Chairs

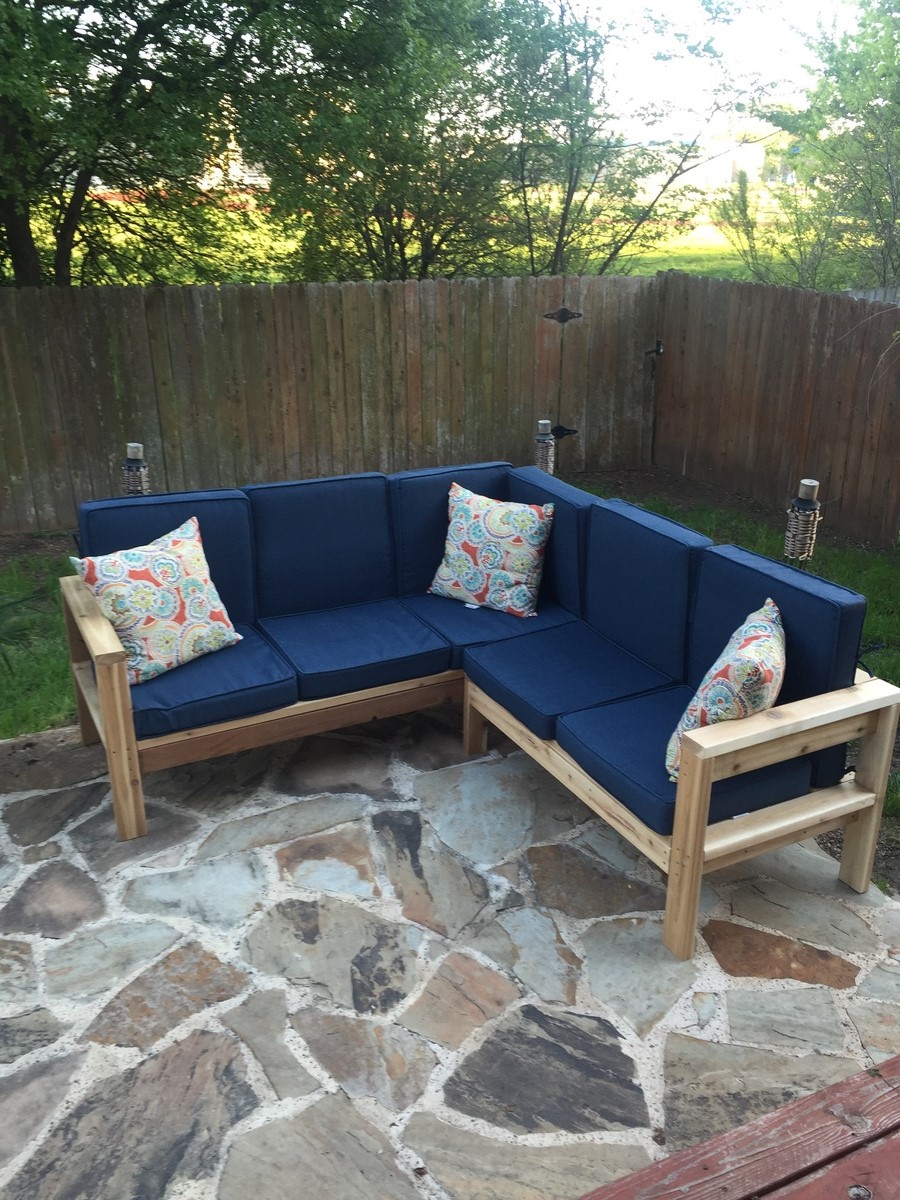
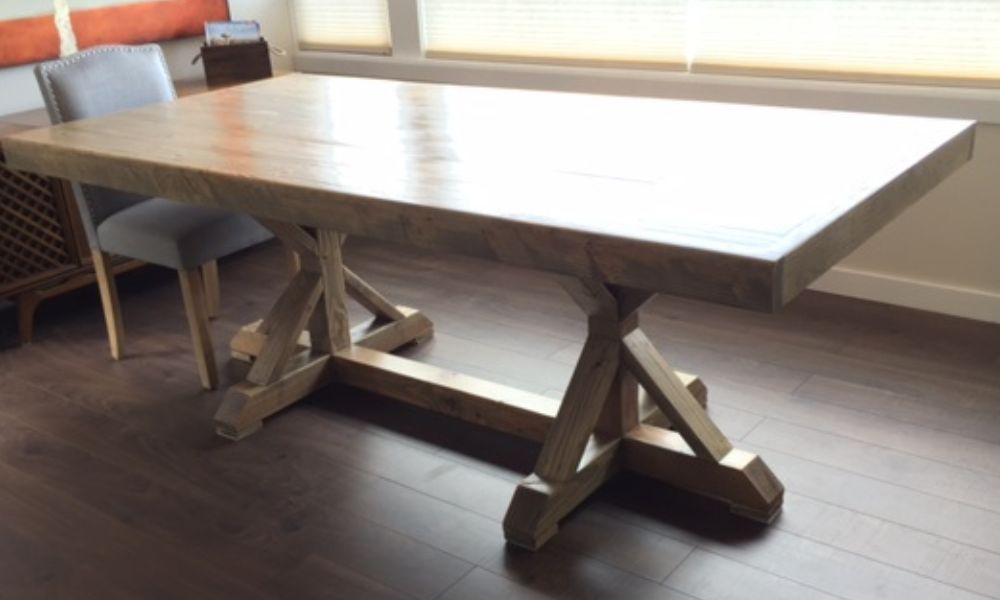
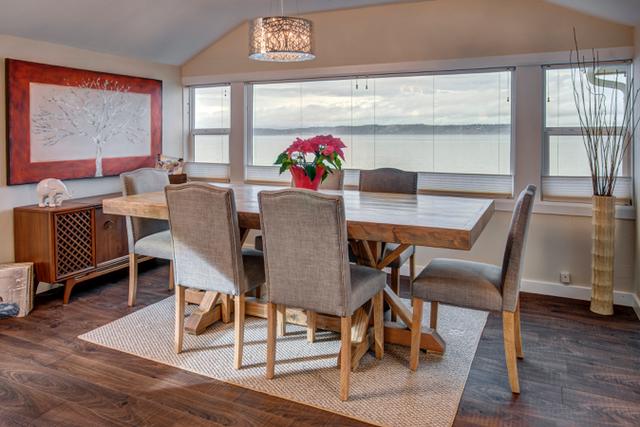
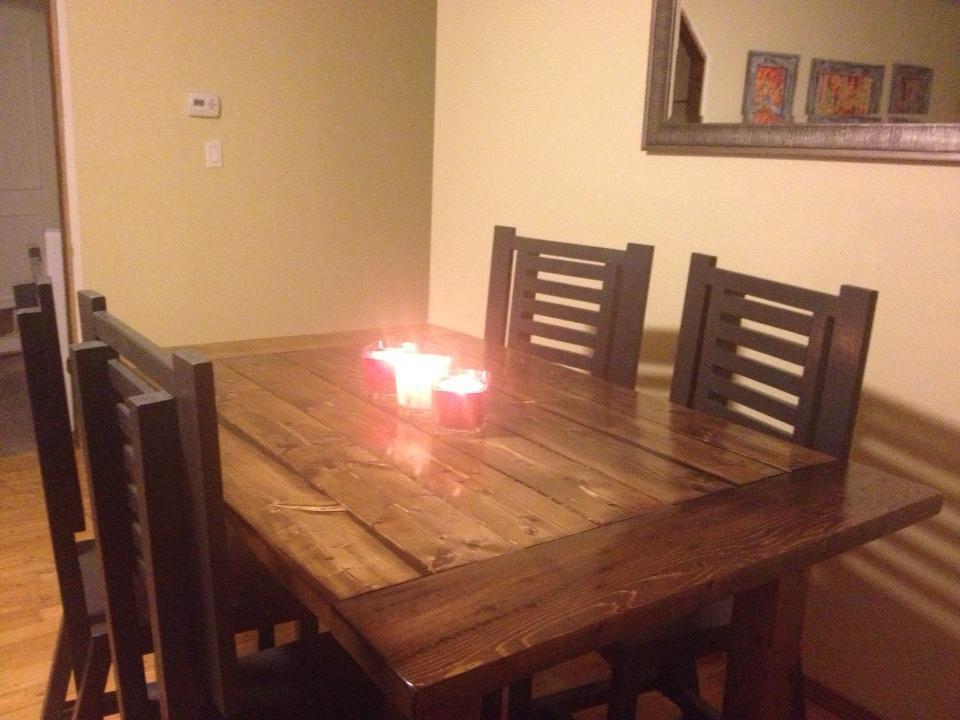
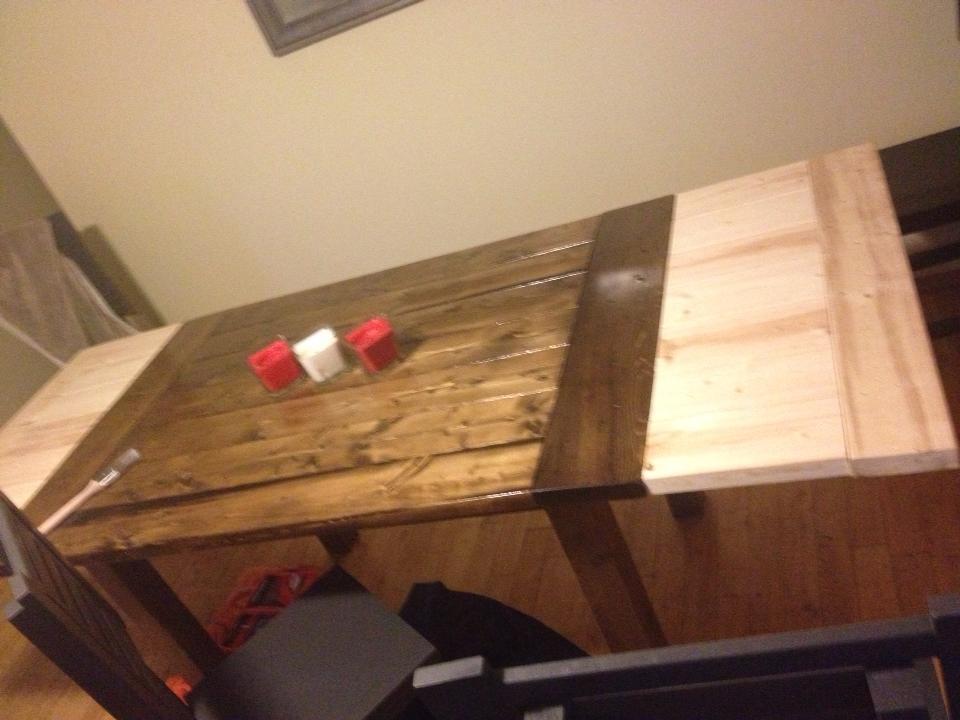
This was my first table - I added extensions by notching out the end 2x4's and making extensions that slide into the pockets. There were a few mistakes I made that will be corrected when I build my next.
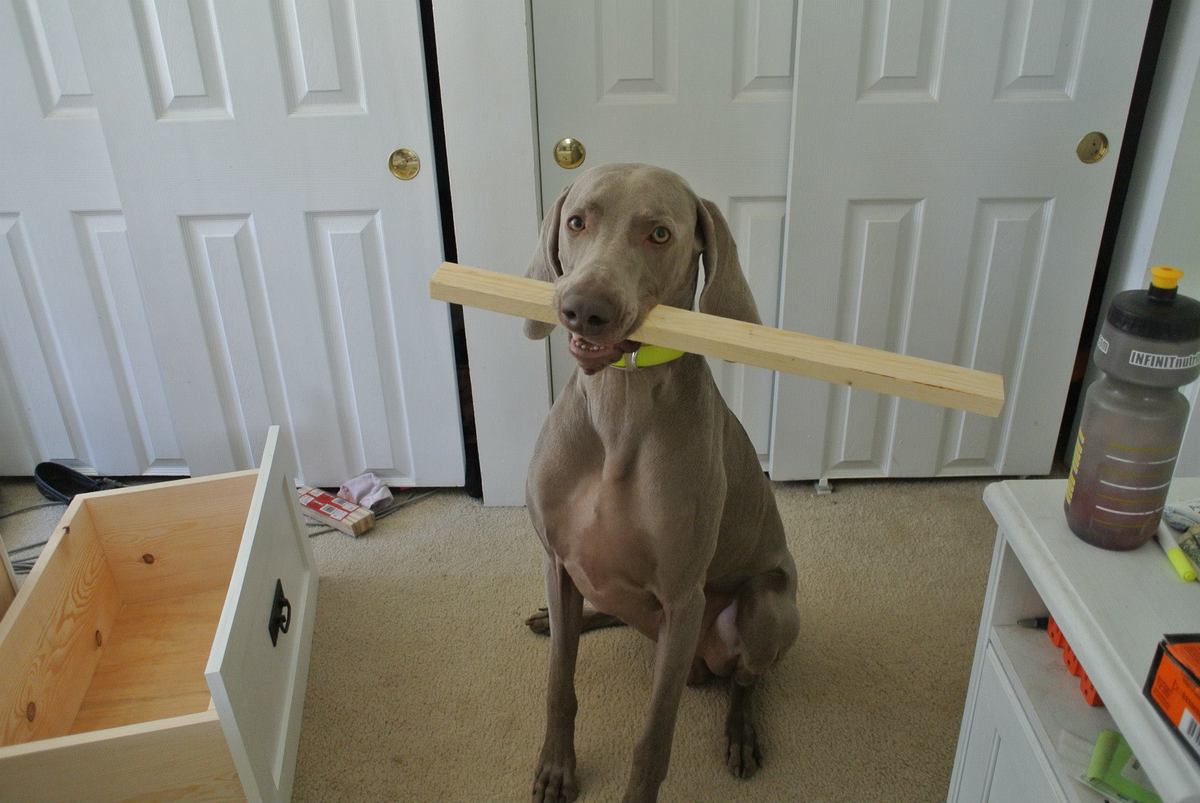
I modified the length of the table down to 5 feet long, but with the extensions in it goes up to 8'. The table is also 34" tall due to a giant husband and Great Dane. The chairs were likewise modified in height and I made the backs a bit fancier using 1x2's and a nail gun.

Estimated Time Investment
Week Long Project (20 Hours or More)
Finish Used
Chairs are painted and waxed, table is stained and polyurethaned. When I do my next table it will be waxed.
Recommended Skill Level
Beginner

Outdoor Pool Cabana

Submitted by Anonymous (not verified) on Thu, 10/31/2019 - 20:21

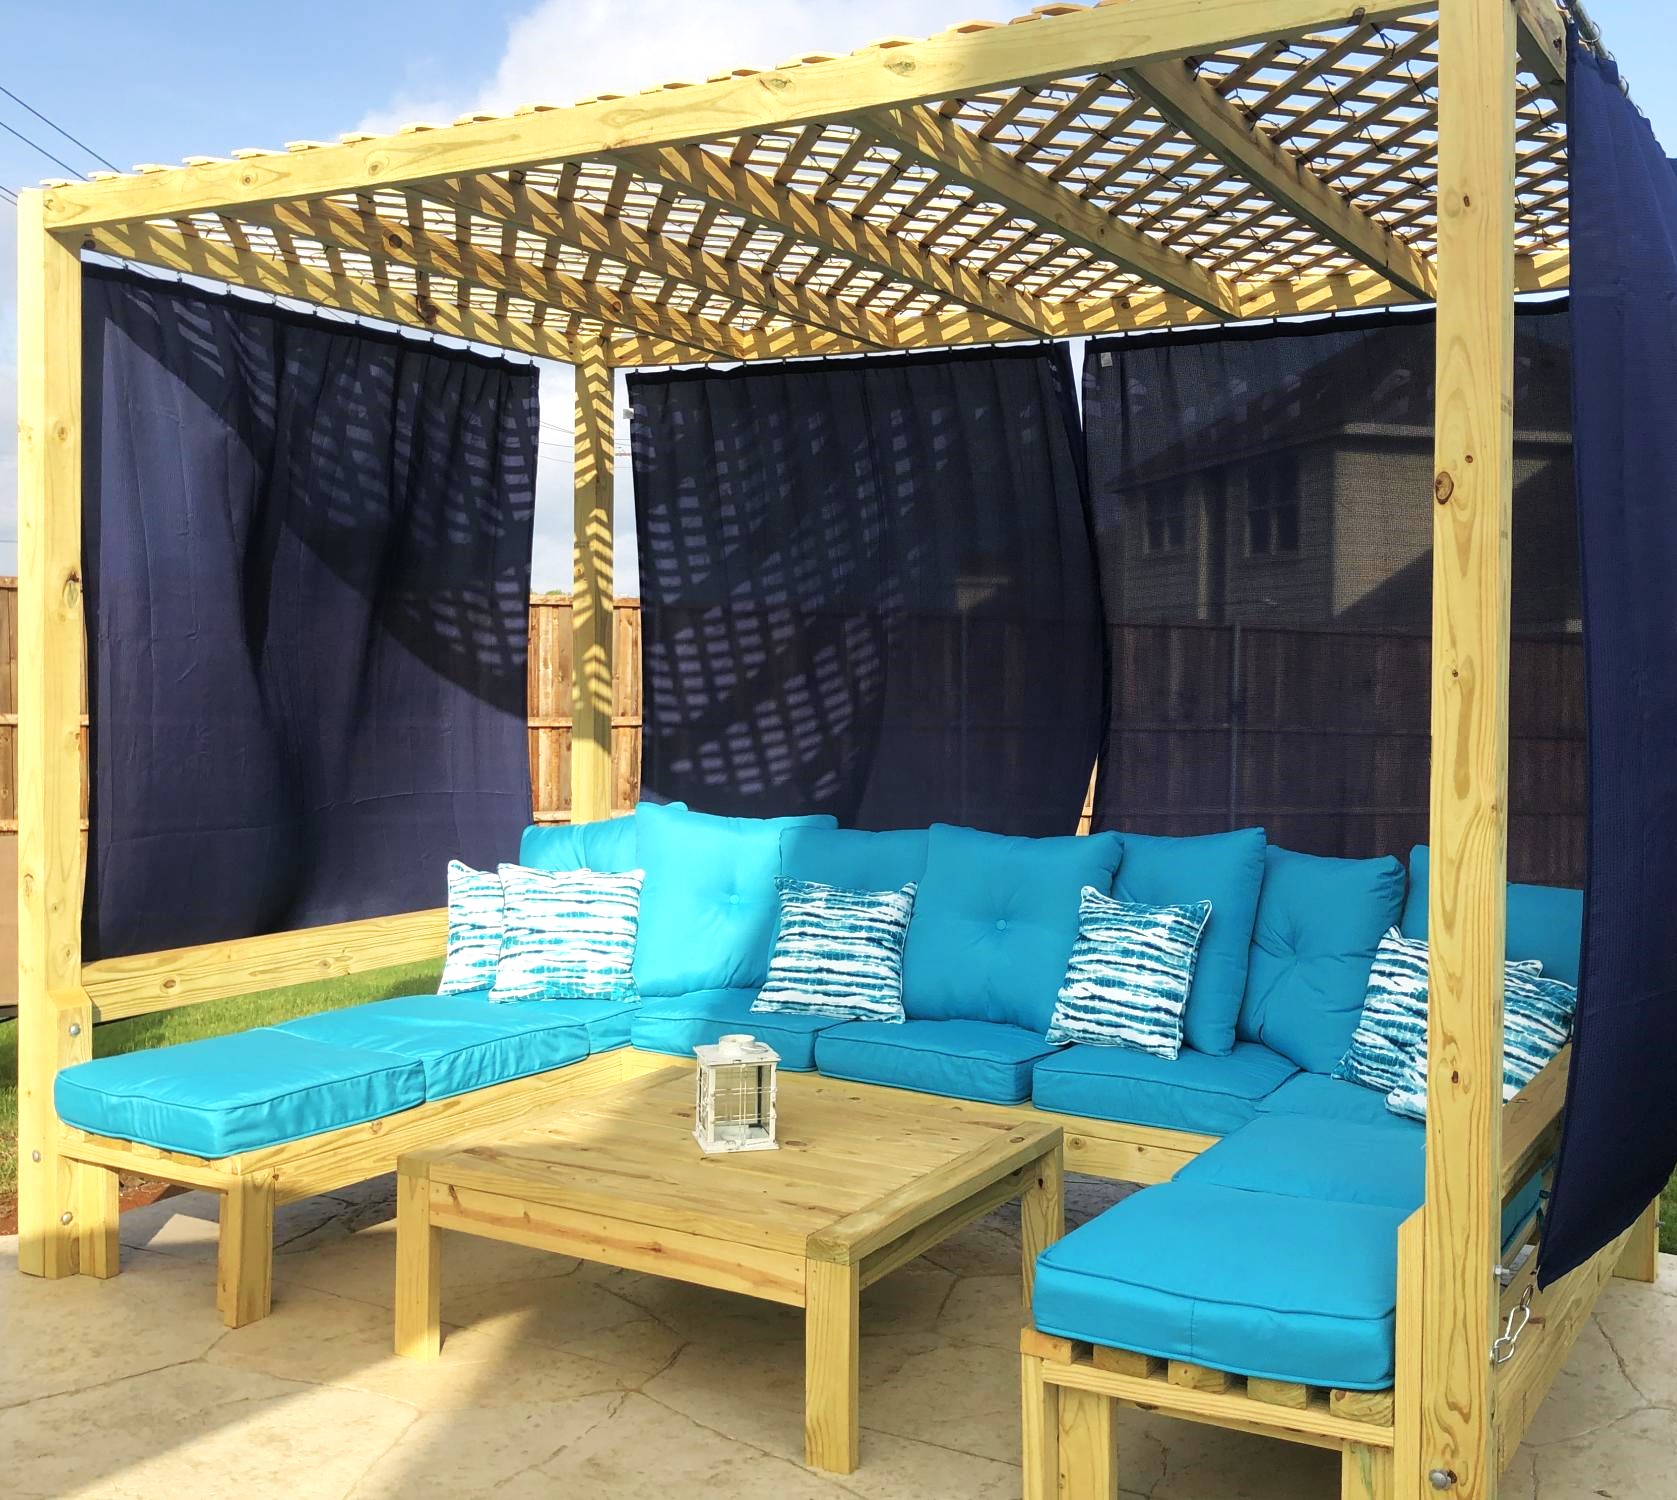
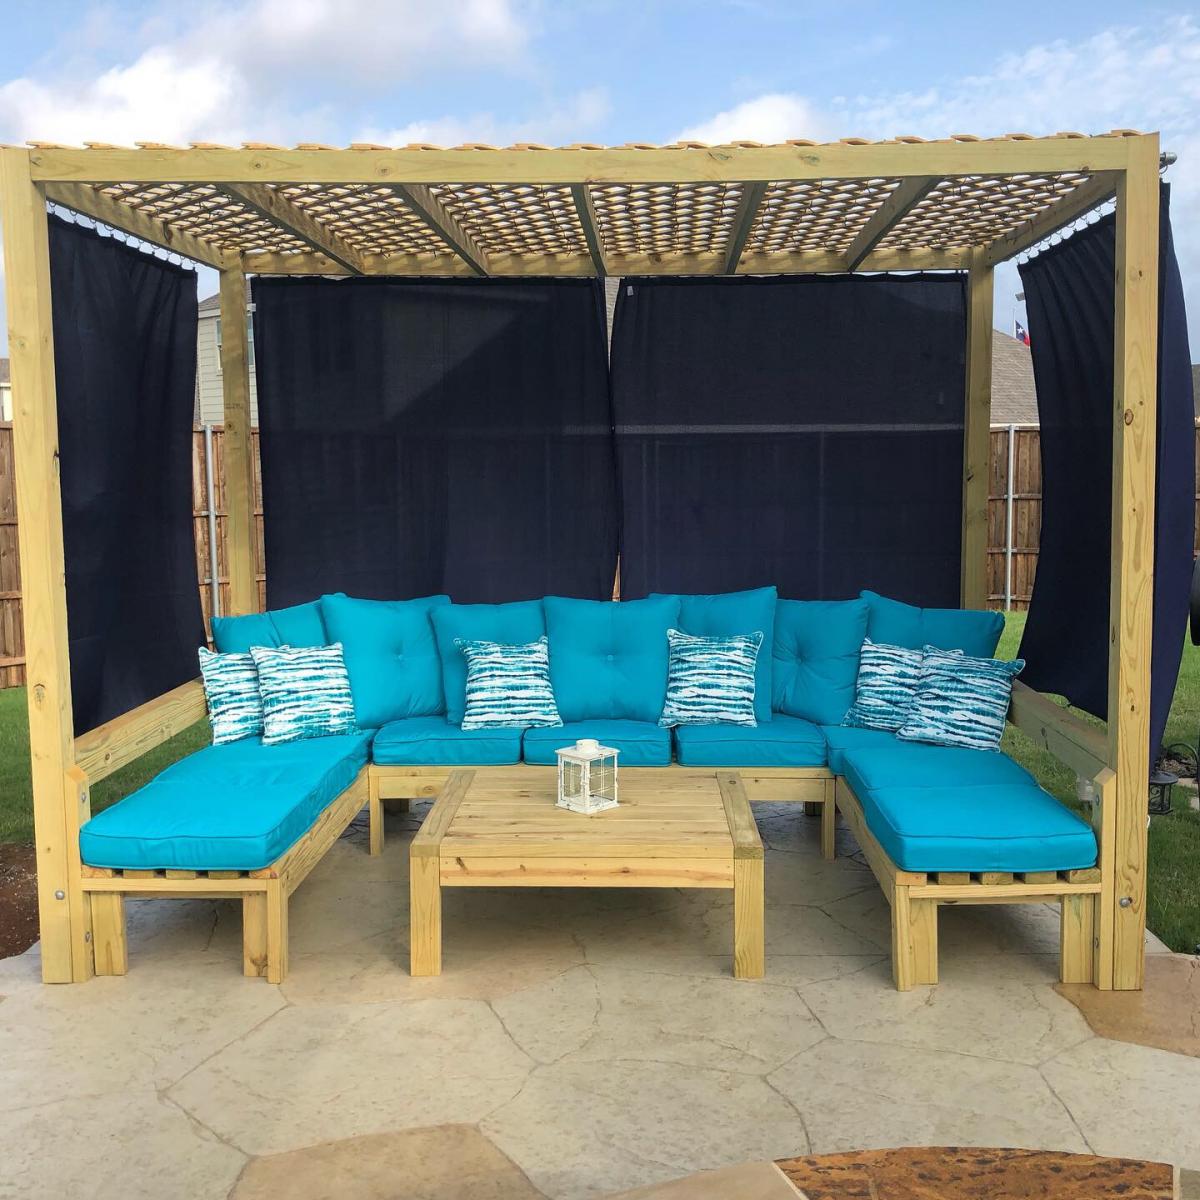
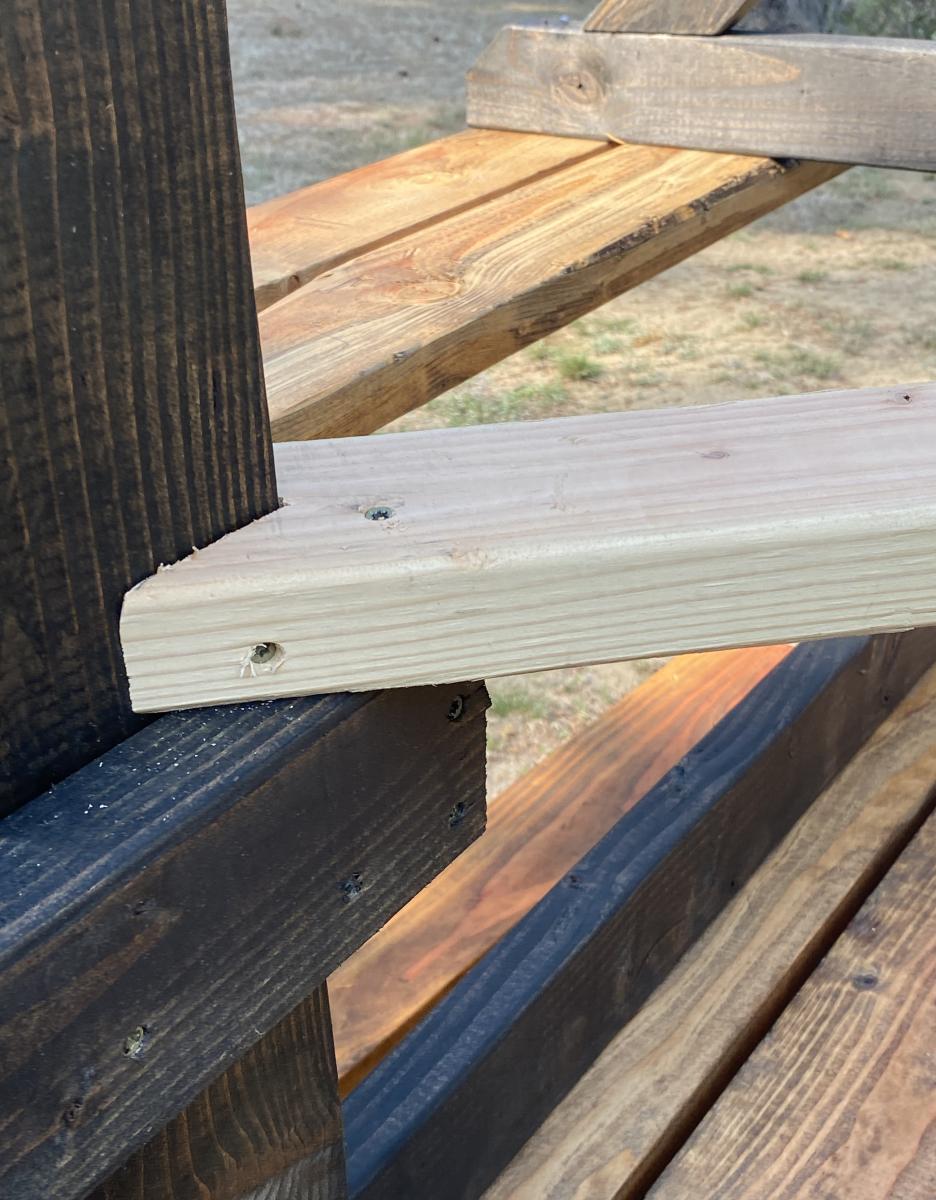
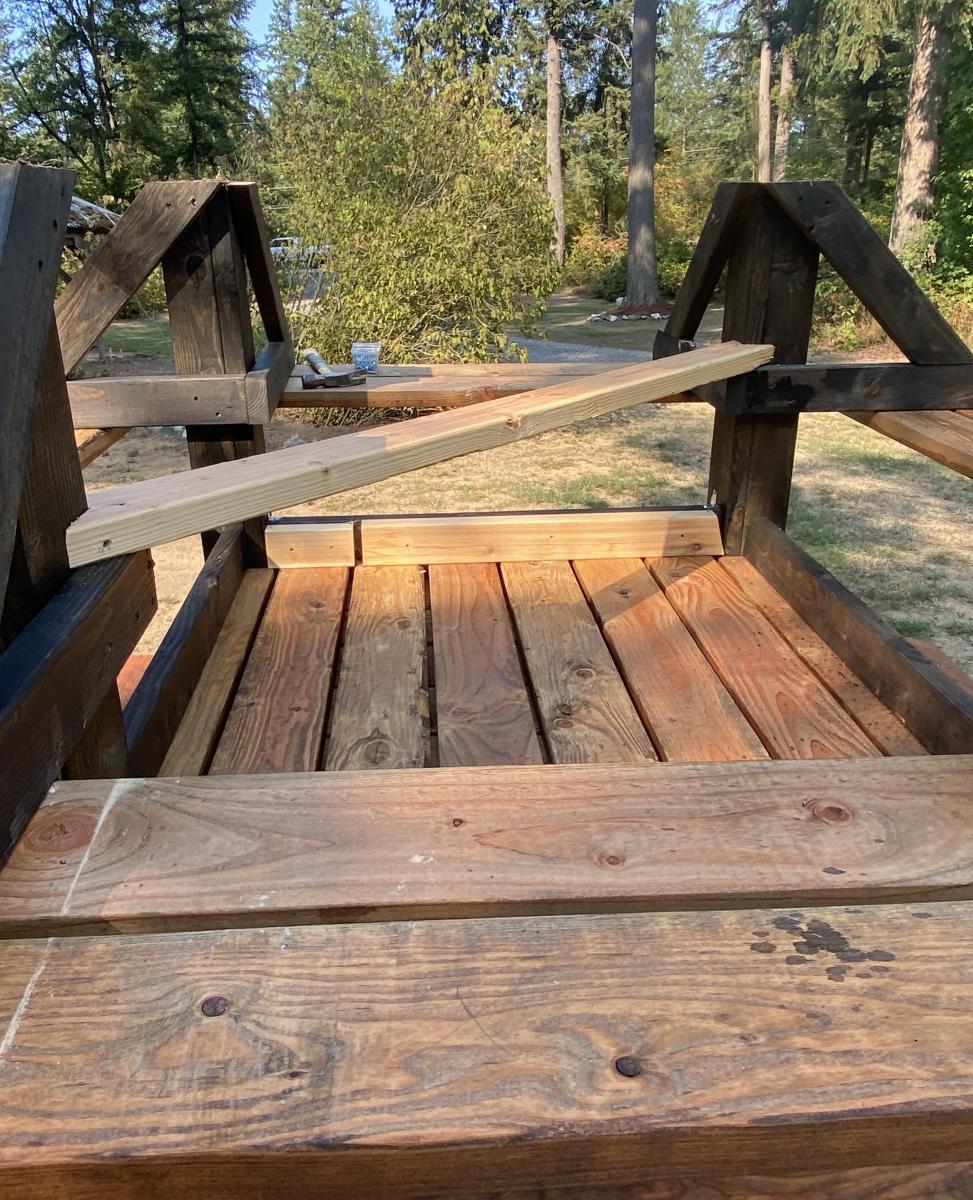
I wanted a huge cabana for my outdoor pool area to have a place guests could kick back and relax if they weren’t swimming. I took the plans from the one arm and armless outdoor sofas and modified the plan to include posts and a lattice top for shade. This inspired plan was finished off with cushions from at home and features seating comfortably for 9. Everyone loves this area in the backyard to kick back! At night we have solar lights twinkle at the top and they complete the project perfectly with a soft twinkle.

Estimated Cost
$250 before cushions
Estimated Time Investment
Weekend Project (10-20 Hours)
Finish Used
Nothing yet. Needed to wait for the pretreated wood to finish drying out.
Recommended Skill Level
Intermediate

Comments

Seasonal And Holiday

TWINNING!

Twin Farmhouse Storage Bed With Hinged Footboard.
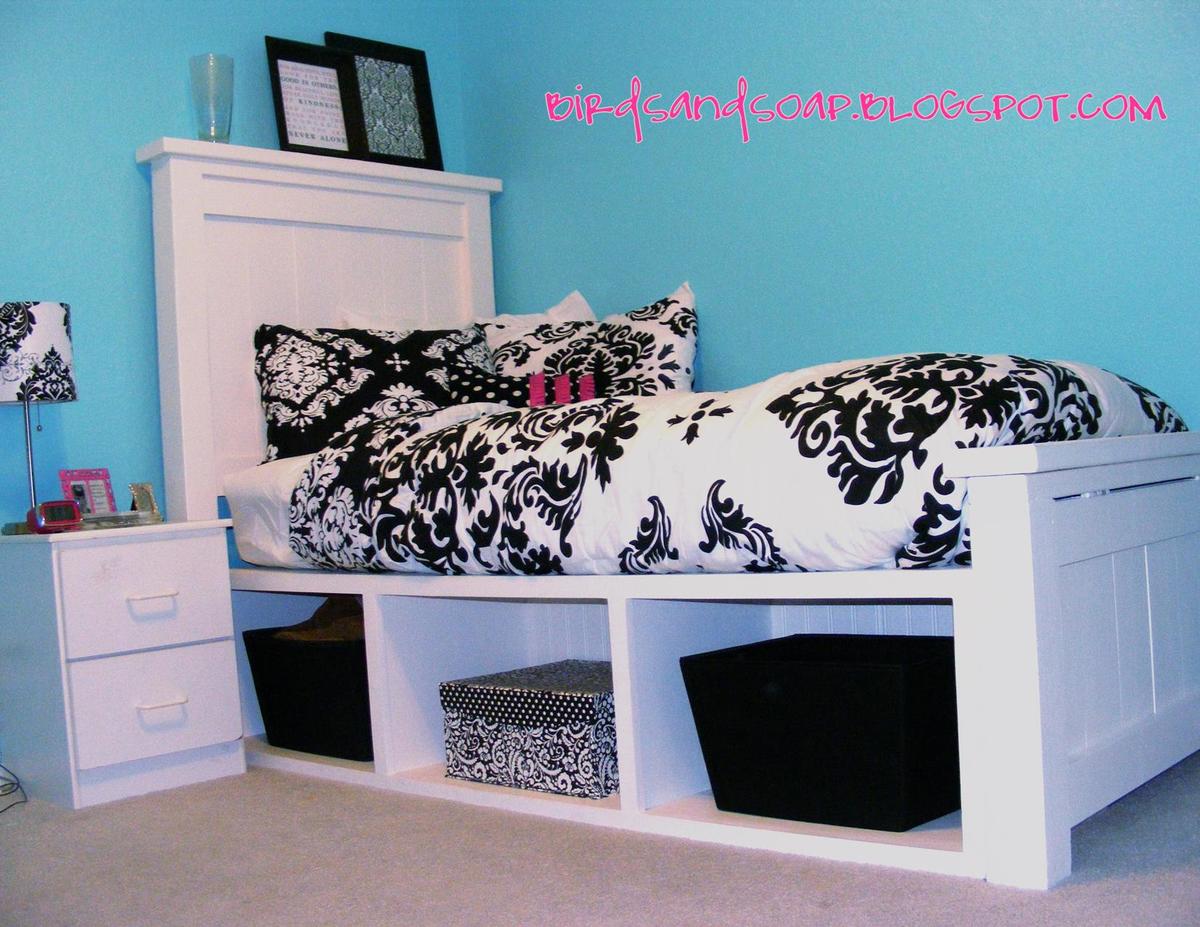
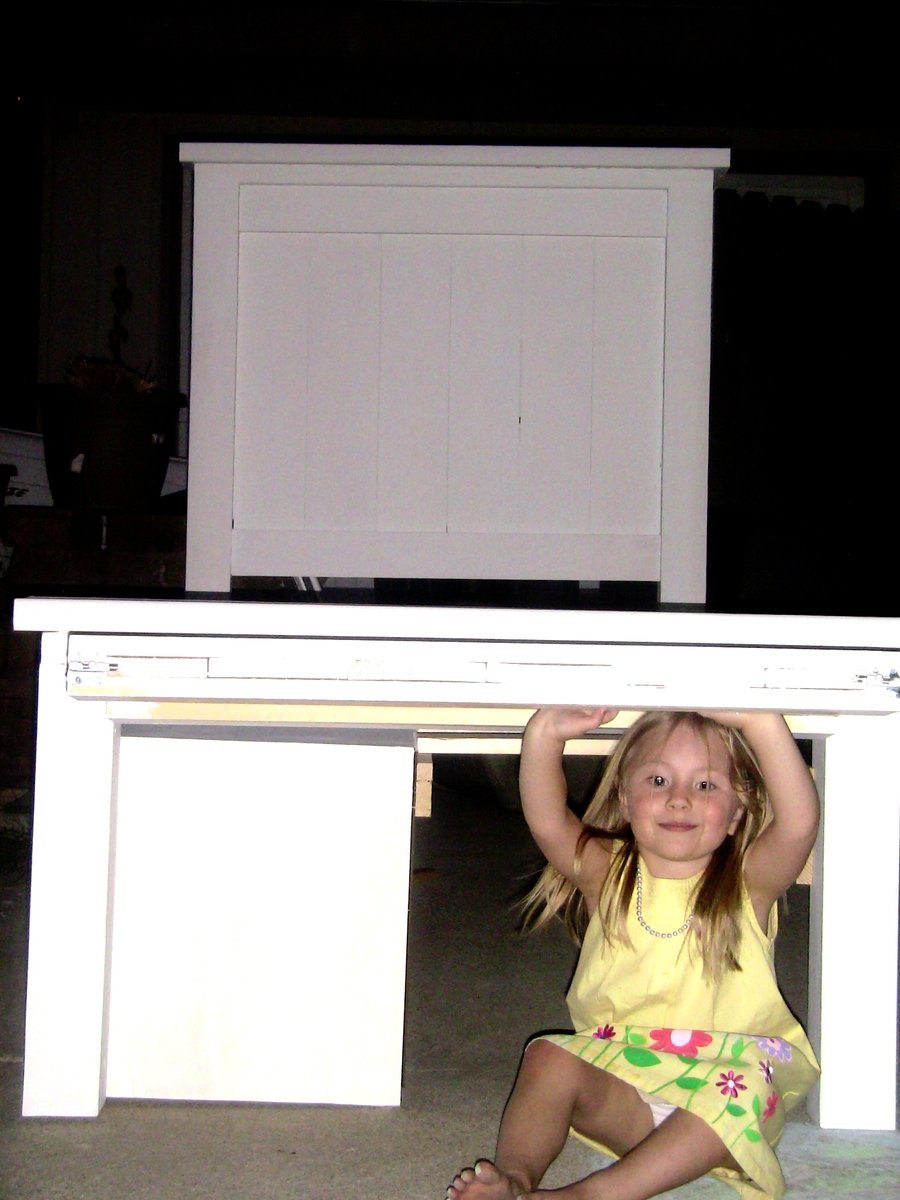
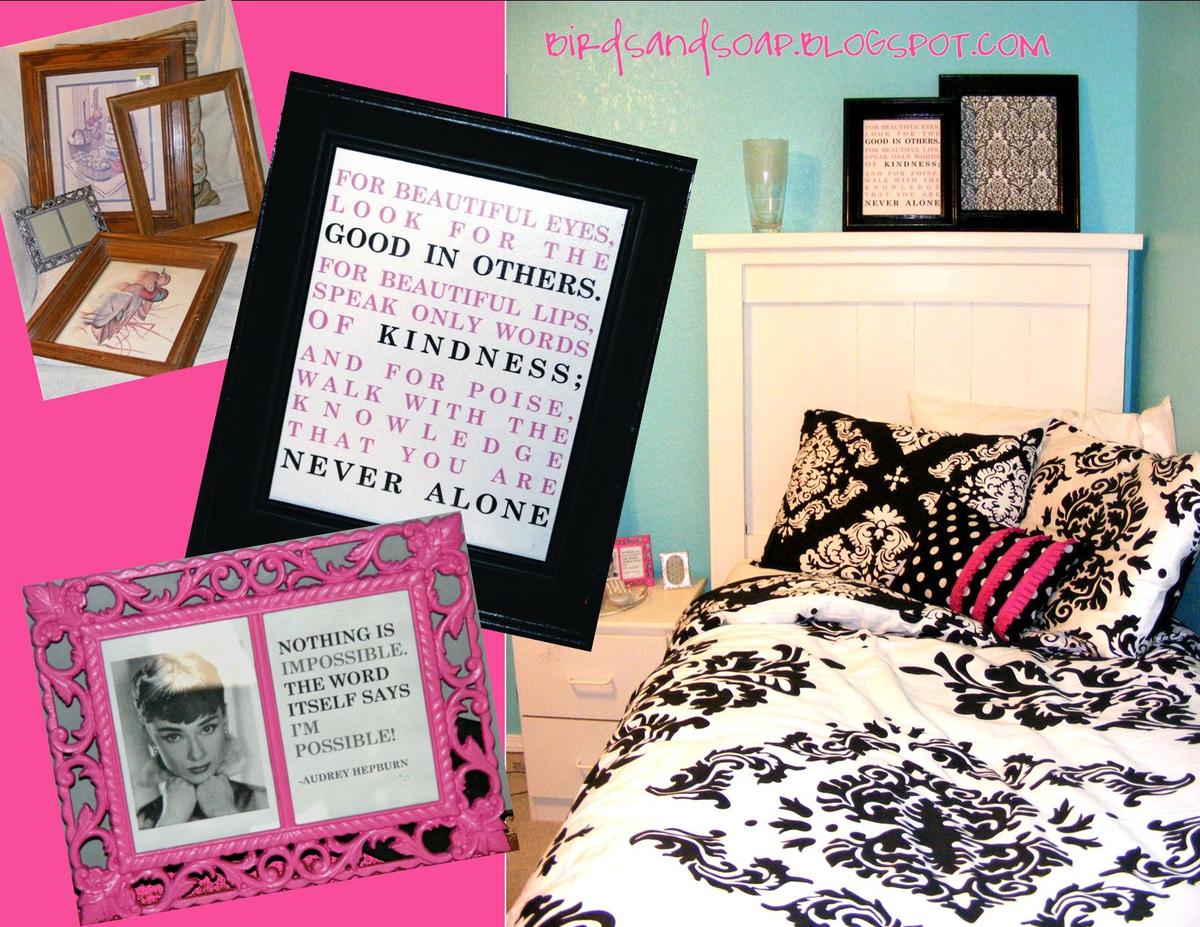
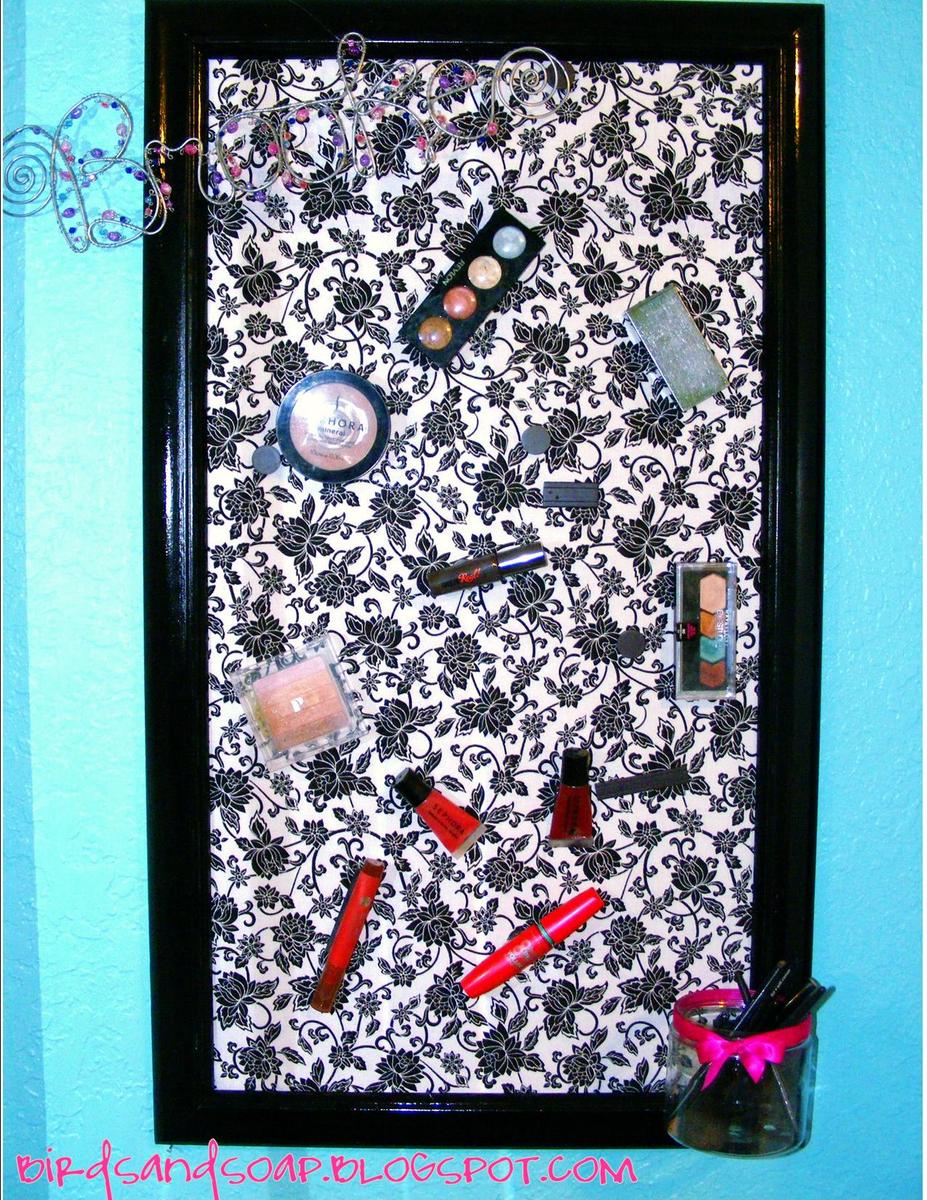
After making a queen-size for myself, I built this twin-sized version for my niece. Along with a "Breakfast at Tiffany's inspired" theme, she got a new bed and a new bedroom for her 15th birthday.
For this version of the bed, I made just one storage cubby because it sits against a wall. With the addition of the hinged footboard, she has a secret vault for storing her Super Secret Teen items (or shoes or snowboards). I followed the traditional farmhouse bed design, omitting one 1x6 in the head/footboard panels. This way, it is not as wide and the storage cubby meets the bedpost on center.
(Again, my daughter modeling the hinging action).

Estimated Cost
$150
Estimated Time Investment
Weekend Project (10-20 Hours)
Finish Used
Primed and painted with Olympic Heirloom Lace in Satin.
Recommended Skill Level
Beginner

Comments

kad050209 (not verified)

Tue, 09/11/2012 - 20:43

I'm wanted to make my daughter a bed simple to this... Was wondering, since you took one 1x6 piece out on each end... How many inches is the gap from the wall to bed? I want to have my DD's bed against the wall but, since she is only 3 I don't want a big gap for her to fall into! I hope you understand what I mean. Thanks.

In reply to by kad050209 (not verified)

birdsandsoap

Tue, 09/11/2012 - 21:53

The gap is actually determined by the widest part of the bed, which is the cap piece on the head and footboards. At most, your gap would be around 3 inches, but you can shove a foam pool noodle from the dollar store in that gap if you are concerned she will get stuck.

And just to be clear, I only removed (1) 1x6 from the headboard and (1) 1x6 from the footboard to match; not two boards from each panel. Wasn't sure if you understood.

Double Vanity

Submitted by krmoon81 on Thu, 03/31/2016 - 22:30

Well to make a long story short I started out just replacing an old tub in the bathroom which turned into a whole remodel!! I’m talking new toilet, floor, lighting and heck while I was at it lets knock down a wall and make some room for a double vanity. After all in a few years three teenage girls  will be fighting for sink space!!! Honestly I just didn’t want to spend $800 - $1,000 on a double vanity so I decided to take matters into my own hands. This was my first time building any type of functional furniture. I made a ton of mistakes but I also learned many valuable lessons. I really took my time....about 3 weeks...ok, maybe 4. Building this vanity was like cutting 101 for me. #1 lesson I learned, MAKE SURE YOUR CUTS ARE STRAIGHT!!! I also learned the value in test cuts and having a lot of patience and extra wood on hand. Anyone can do this, just be willing to put the time and effort in…and do lots of research.

Estimated Time Investment
Week Long Project (20 Hours or More)
Finish Used
Paint
Recommended Skill Level
Beginner

Comments

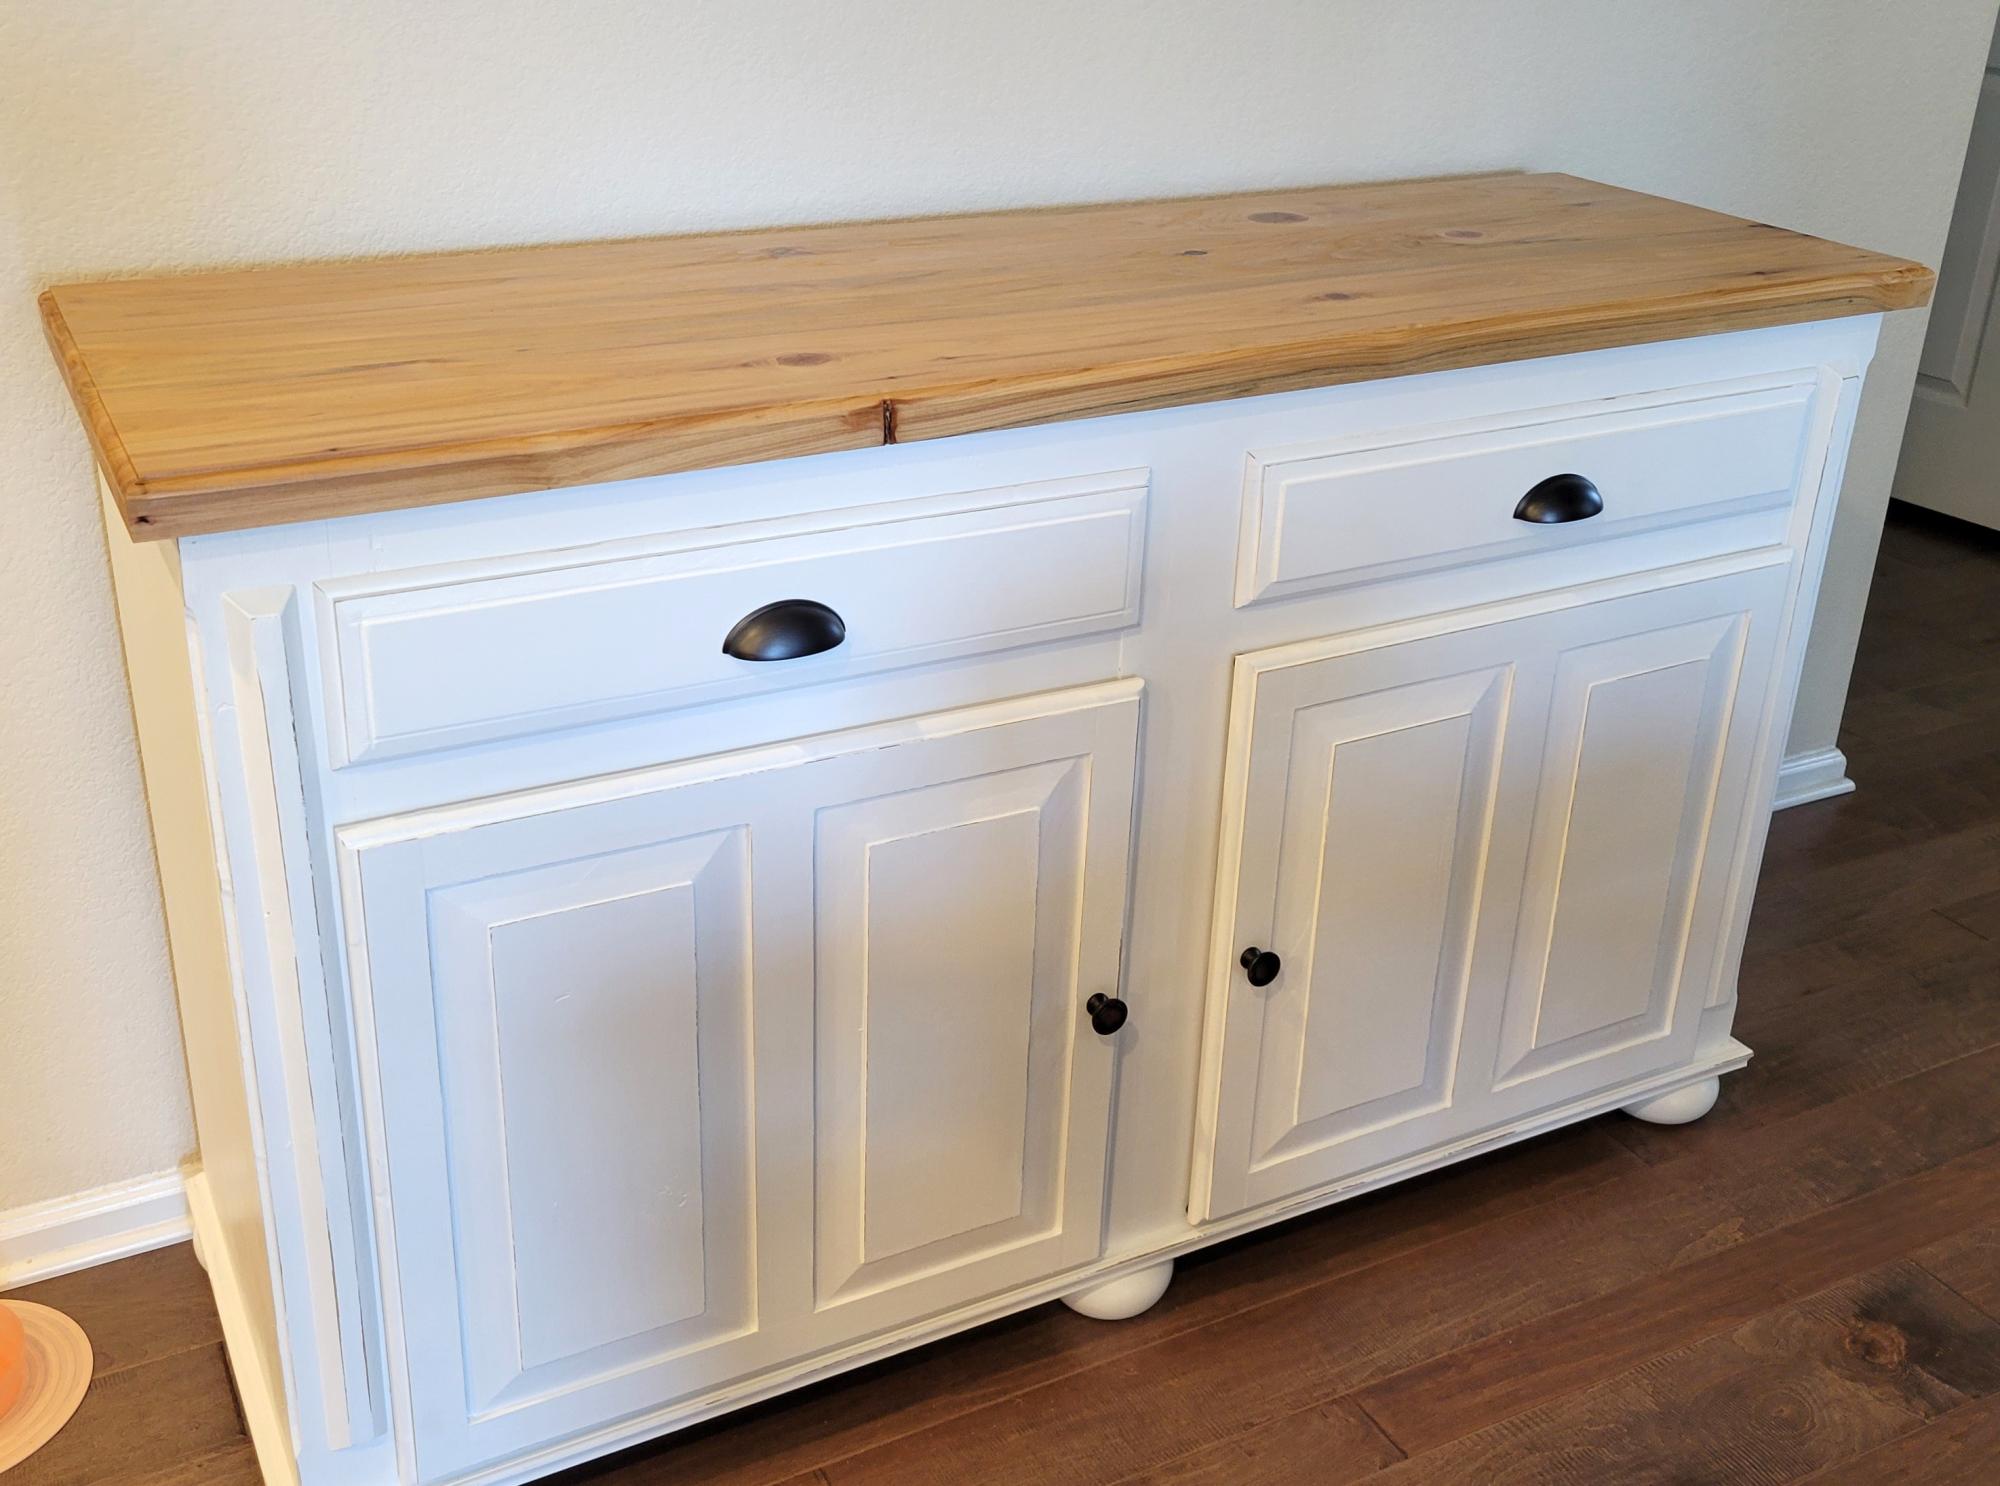
DIY Farmhouse Cabinet

Submitted by Anonymous (not verified) on Thu, 08/10/2023 - 15:53

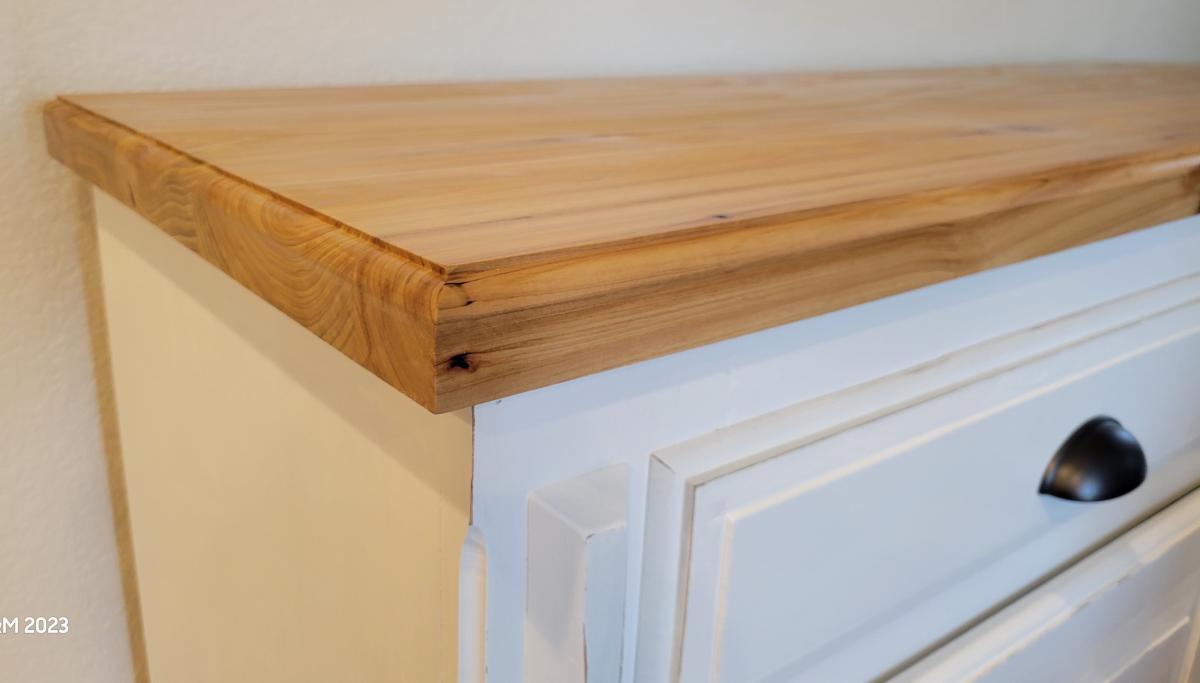
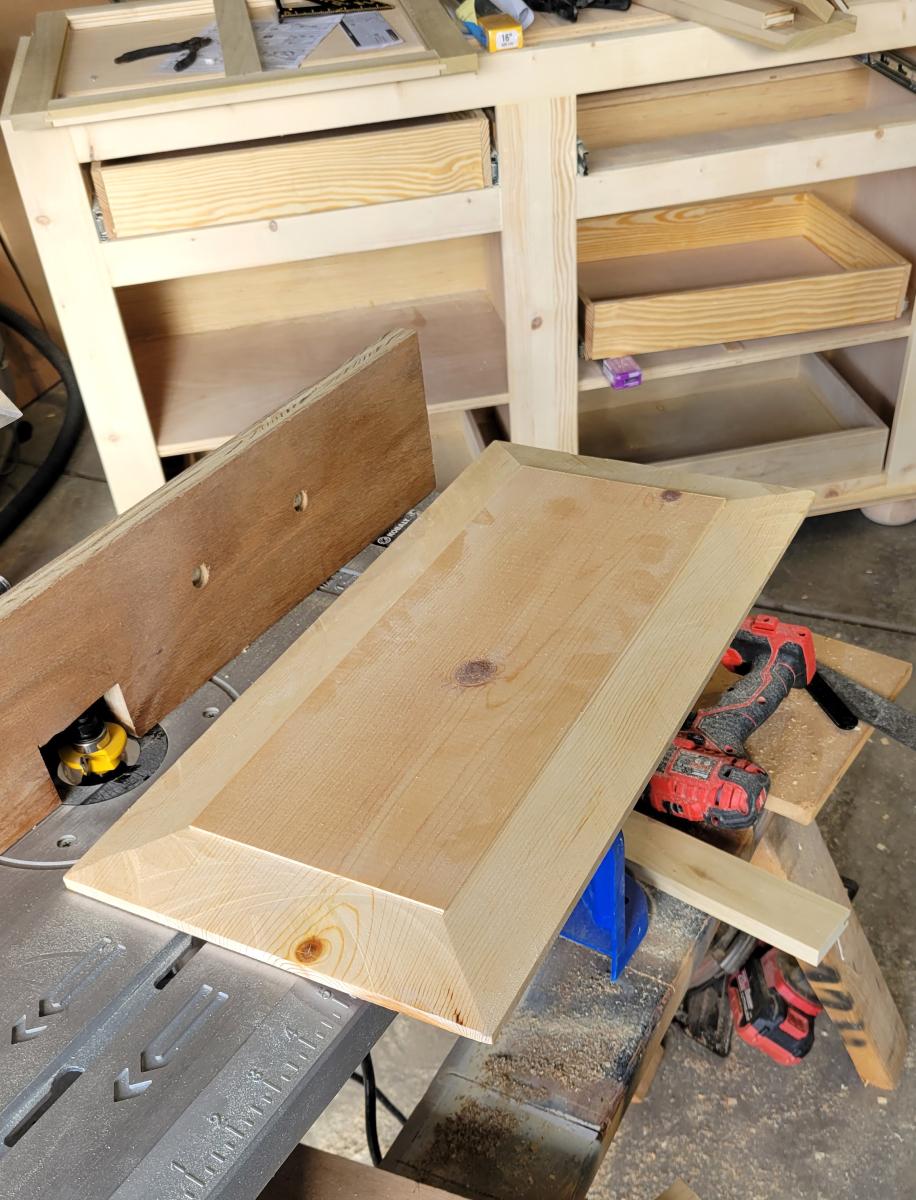
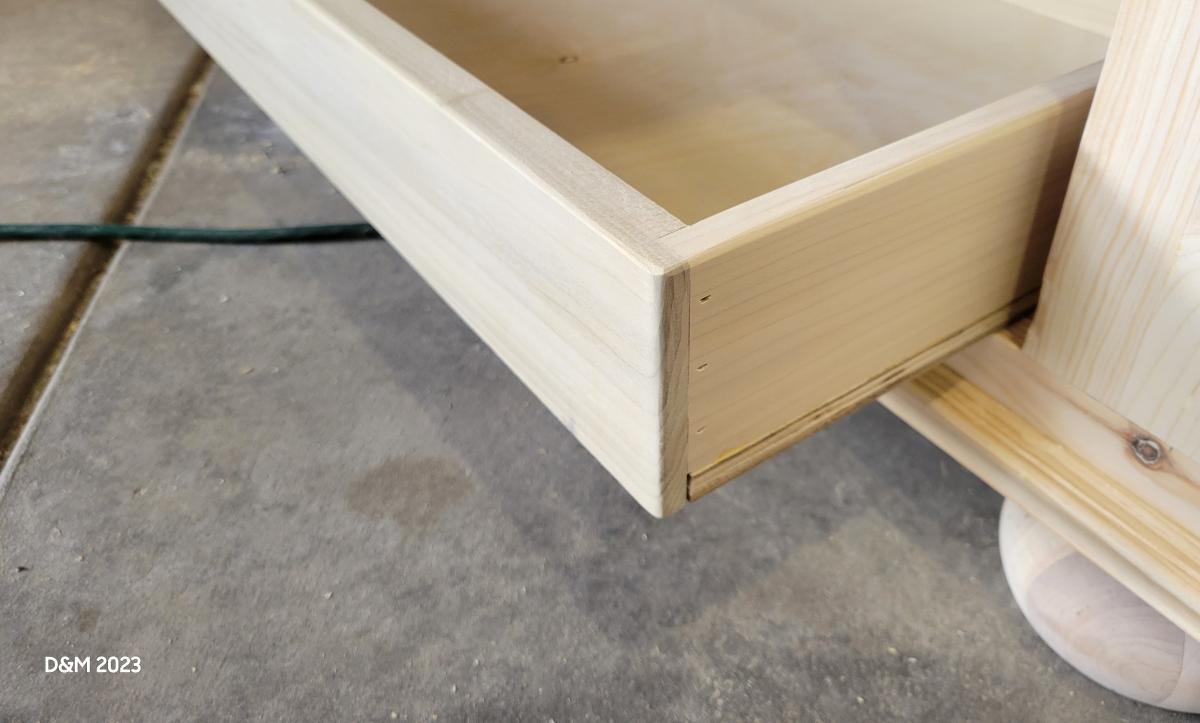
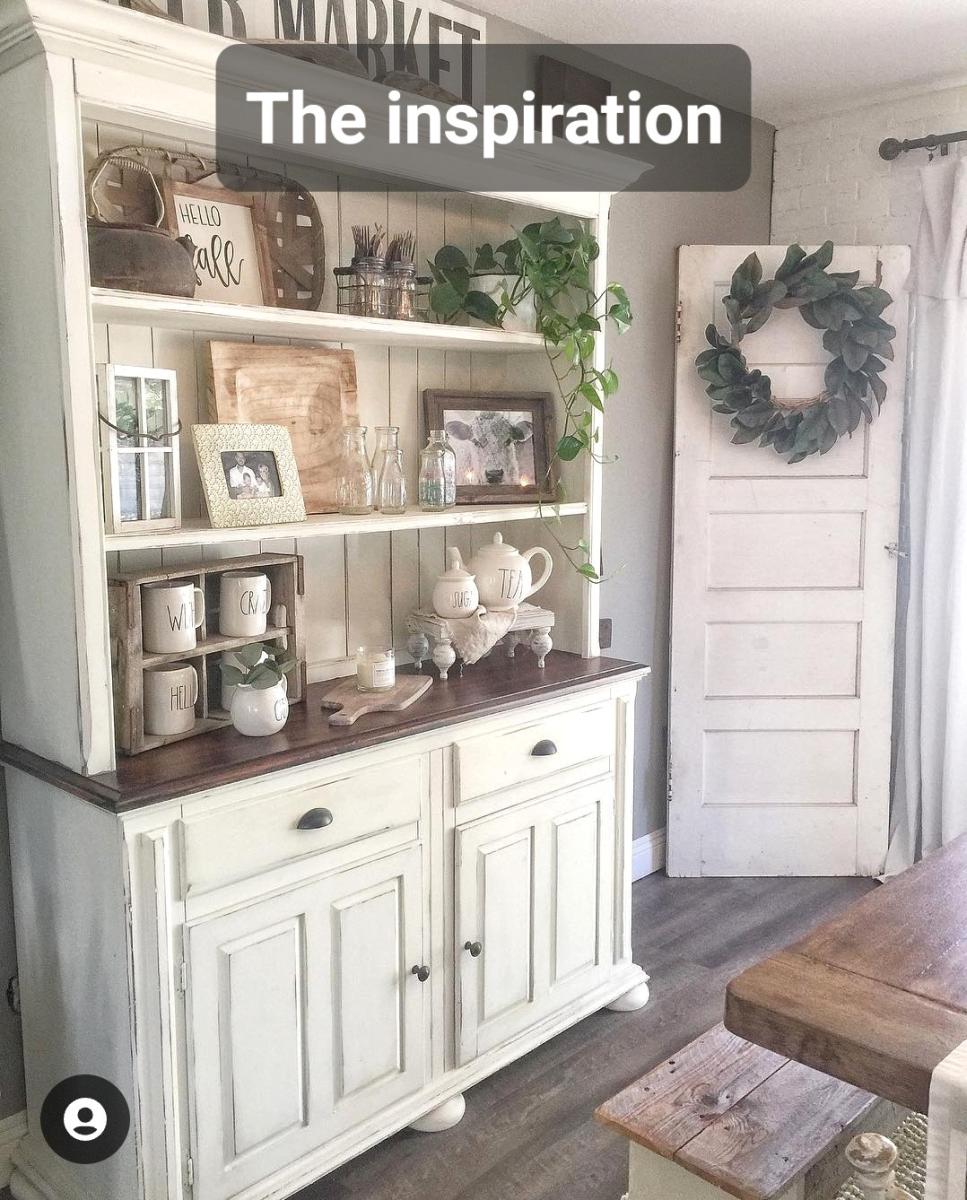
The inspiration for this piece came from an Instagram post. We decided on our overall dimensions (36" tall, 18" deep and 60" long), then more or less guessed what the size of the pieces for the face frame would be. We recreated it as best we could and I think it came out incredible. It has soft close drawers on top and the hand-made sliding shelves are also soft close. The raised panels for the doors were made on a table saw. The doors have soft close hinges. The cabinet is made from maple plywood, oak plywood, yellow pine and poplar. The top is made of cypress and stained with Minwax "fruitwood" color and semi-gloss urethane. Next step is to make the shelves which will be 48" tall overall.

Dave Patterson

DIY Can Good Storage

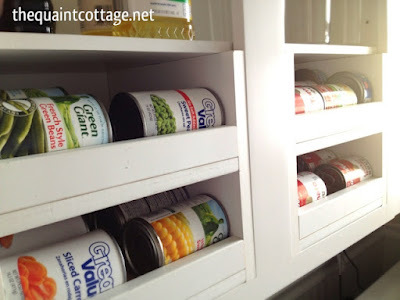
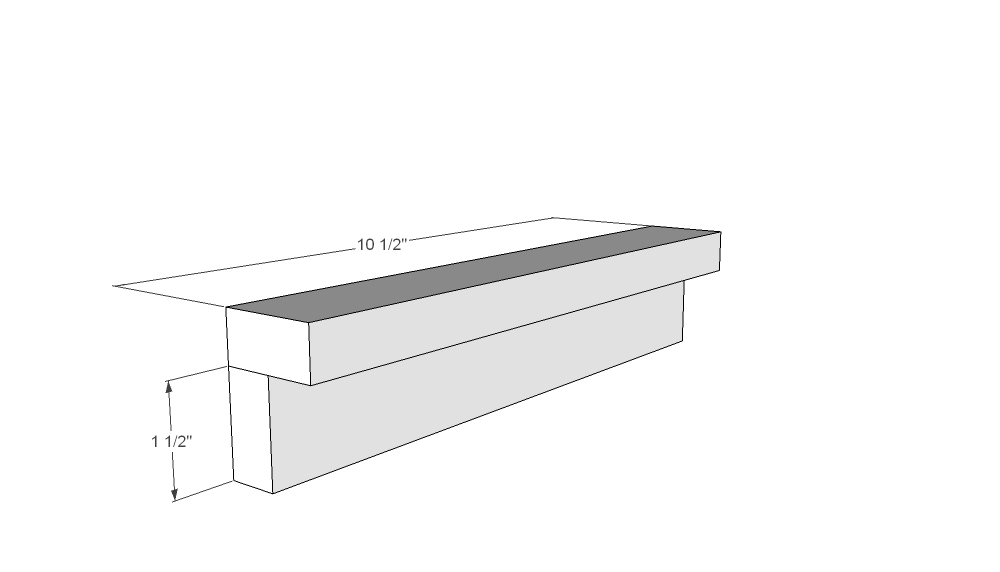
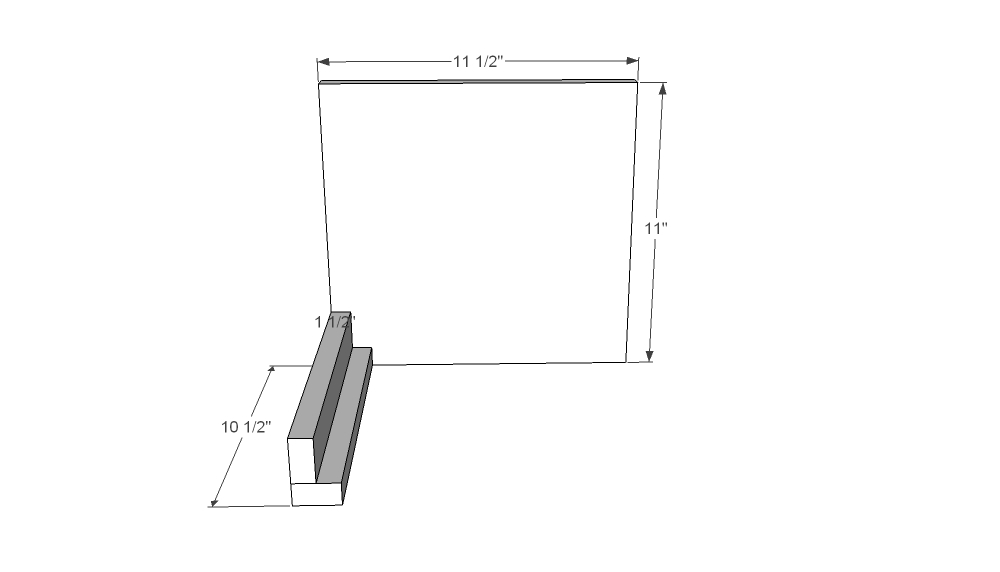
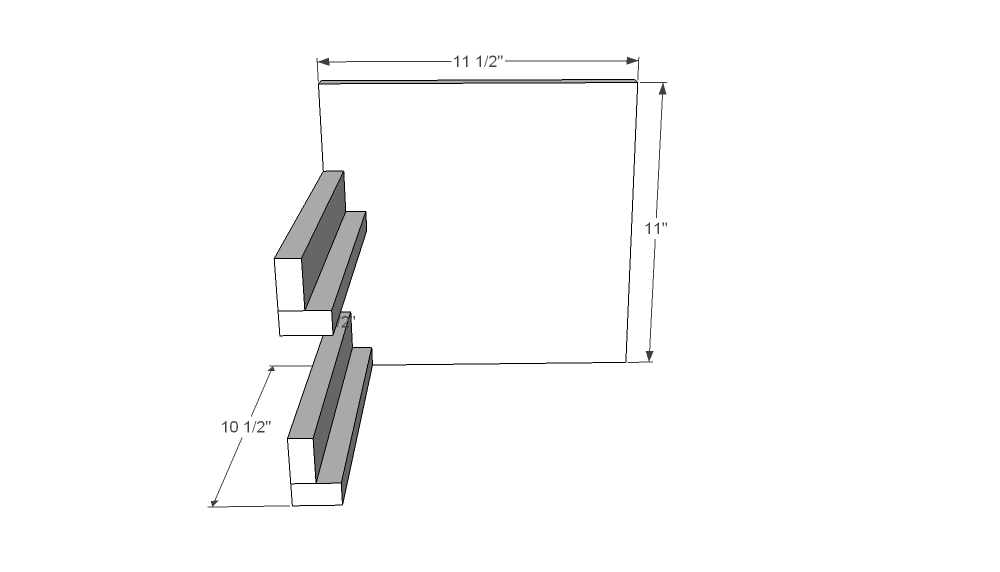
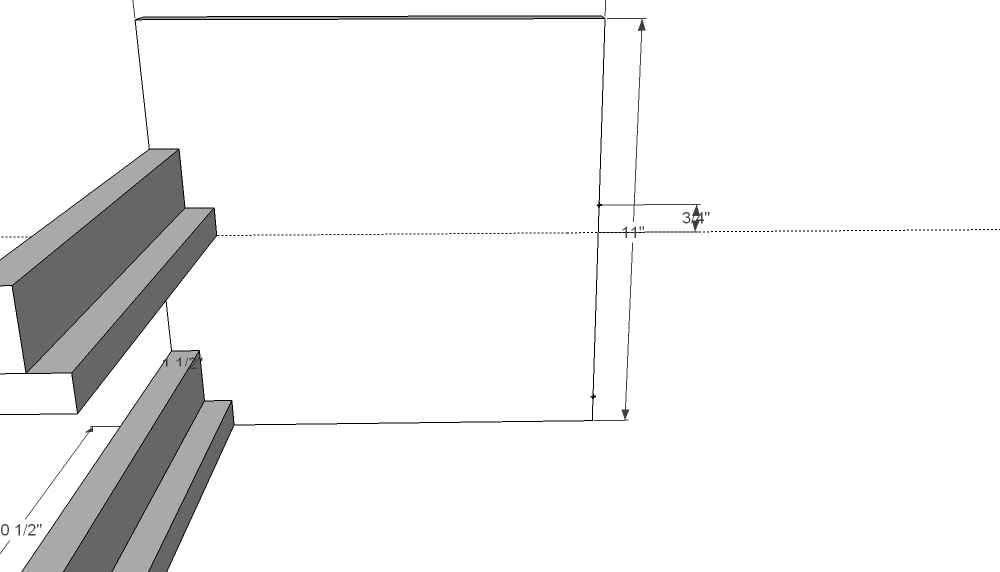
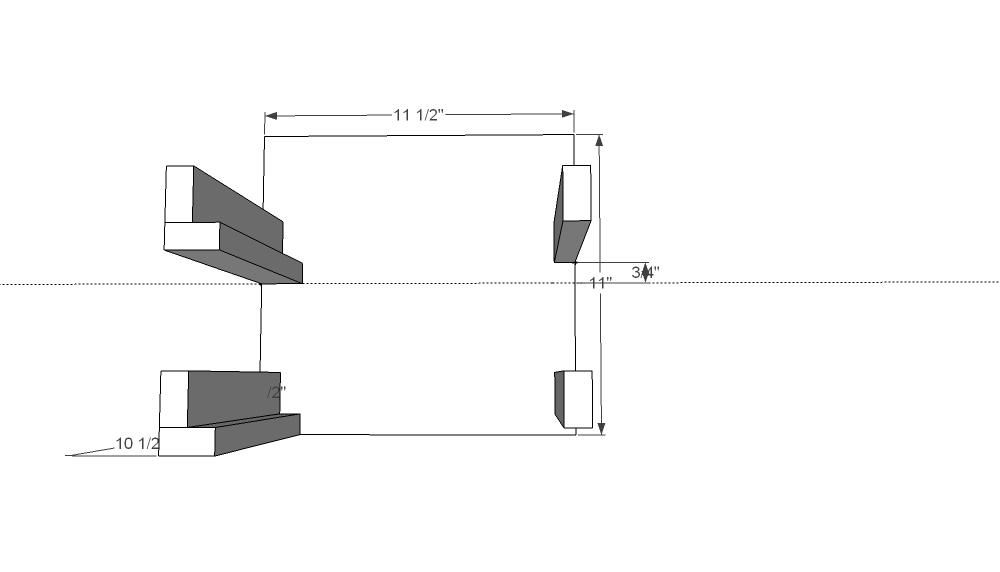
The can good organizers I found on line were metal and didn't fit the exact opening I needed. I built my own for much less than the metal ones (which were $36 each!). With this plan, you can build up to four of the size I made for under $36. See how they just blend into the cabinet and look like they are built in it? Here is the process. Step one: Cut the sides and the ledges. Step two: Attach pieces to the walls of the unit. Step three: Set the lauan onto the ledgers. See? I told you it was easy! I drew up a sketch of the size I used for my 12" opening with a cabinet depth of 11.5" (if you have doors, it will be a depth of 10.5-10.75"). The height of my can good holders are 11". Again, the plan can be adjusted to any size space, but I think if you go past three cans wide, you may want to use something more sturdy than the lauan. Additionally, if you make the unit taller and add shelves, make certain the cans will fit thru the opening, don't just measure with the can in place on the shelf. Cut list for 1 can good holder: 2 - 11"tall x 11.5"deep walls (the melamine is 11.75" deep, I had to trim mine down) If your doors are on your cabinets, your cuts will probably be between 10.5" and 10.75" 6 - 1x2" 10.5" strips 2 - 10.5x10.75" lauan cut for the shelf If your doors are on your cabinets, your cuts will probably by between 9.75" and 10" I used 1.25" finish nails, but you can use screws if you prefer. Wood glue, wood filler, etc. Cut 6 equal size 1x2 strips. 2 per ledge, one for the back support. The size of the opening subtract the width of the melamine walls (.75x2=1.5"). My opening was 12" and then I subtracted the 1.5" (for walls). Nail the bottom 1x2 to the end of the upright 1x2 as shown above to create the front ledge.  Flip the ledge over and attach the ledge to the front (finished) edge of the melamine. Make sure the bottom ledge is flush with the front and the bottom of the wall. Measure down 5.5" (halfway point) from the top and mark the edge of the wall. Attach the top ledge to the wall keeping the front of the ledge flush with the side wall front edge.  Find your center point again (5.5") and measure up toward the top .75" to create a bit of a roll for the cans to come forward when you remove one. Do the same for the bottom. Measure .75 up from the bottom and mark. Attach the back supports at the marks you made in the last step. Attach second wall and screw or nail supports and ledges. Once all the 1x2s are in place and secure, the lauan pieces will fit in place and stay with the weight of the cans. You can add glue to secure them, your preference. Then touch up the nail holes and slide into place. I hope this gave you a helpful way to store your can goods. Let me know if you have any questions. Happy building! Karen :)
Estimated Cost
About $36 for 4 units
Estimated Time Investment
An Hour or Two (0-2 Hours)
Recommended Skill Level
Starter Project

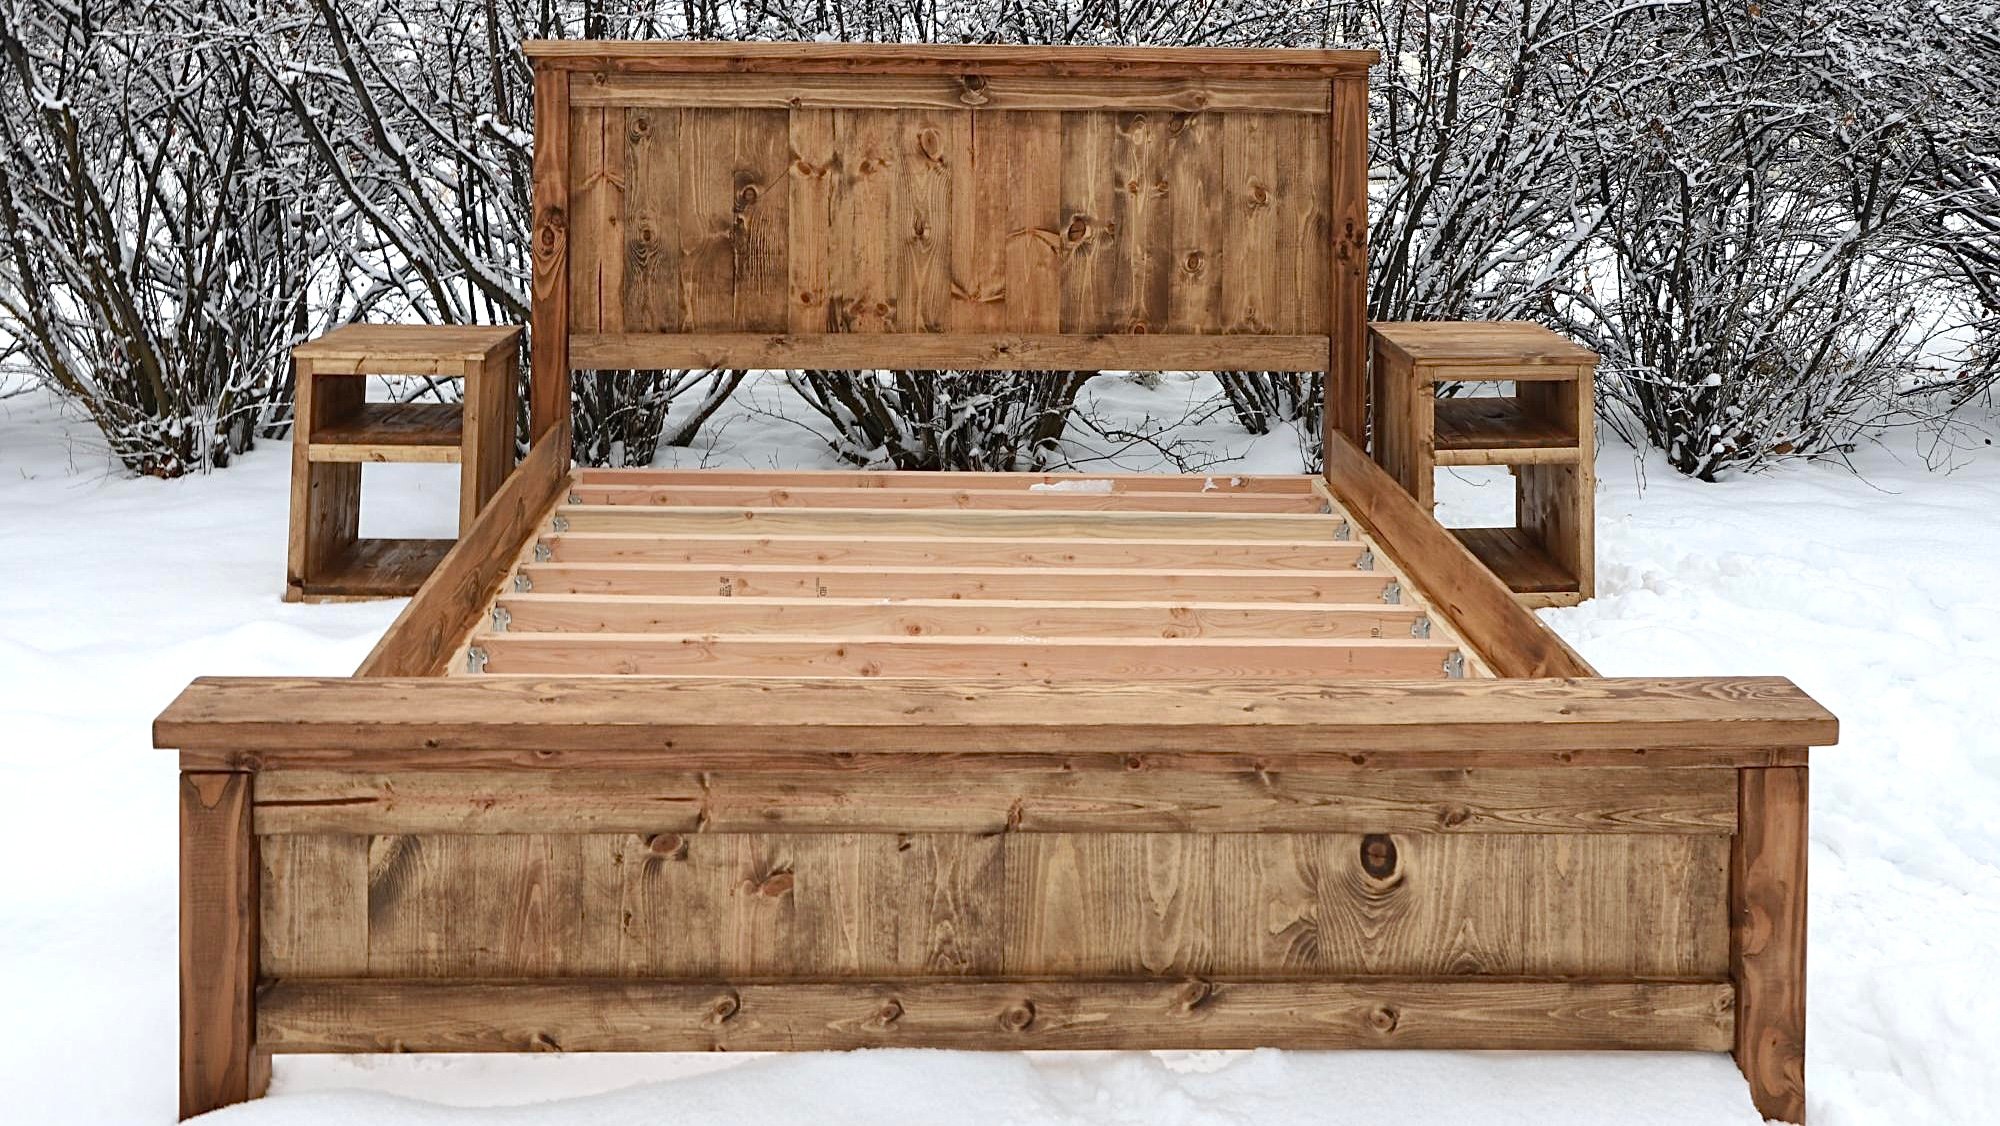
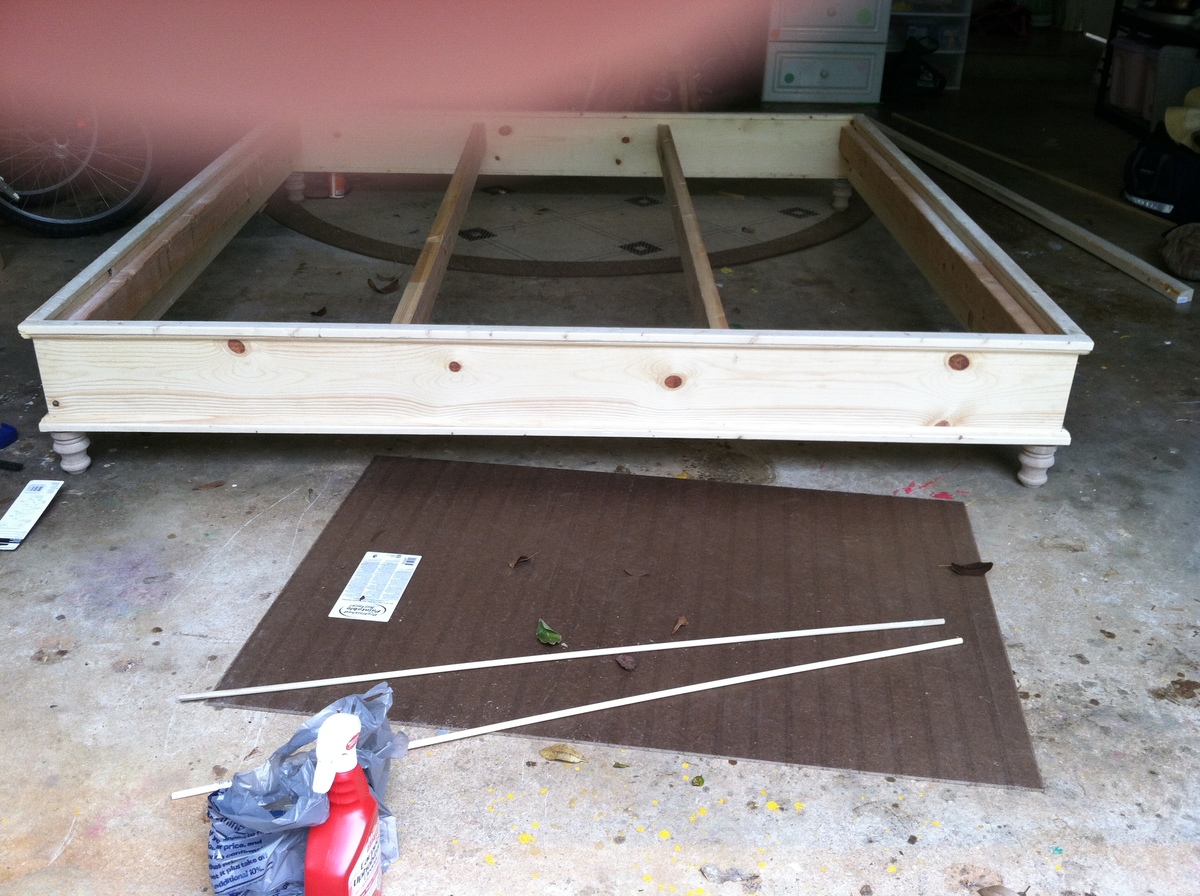
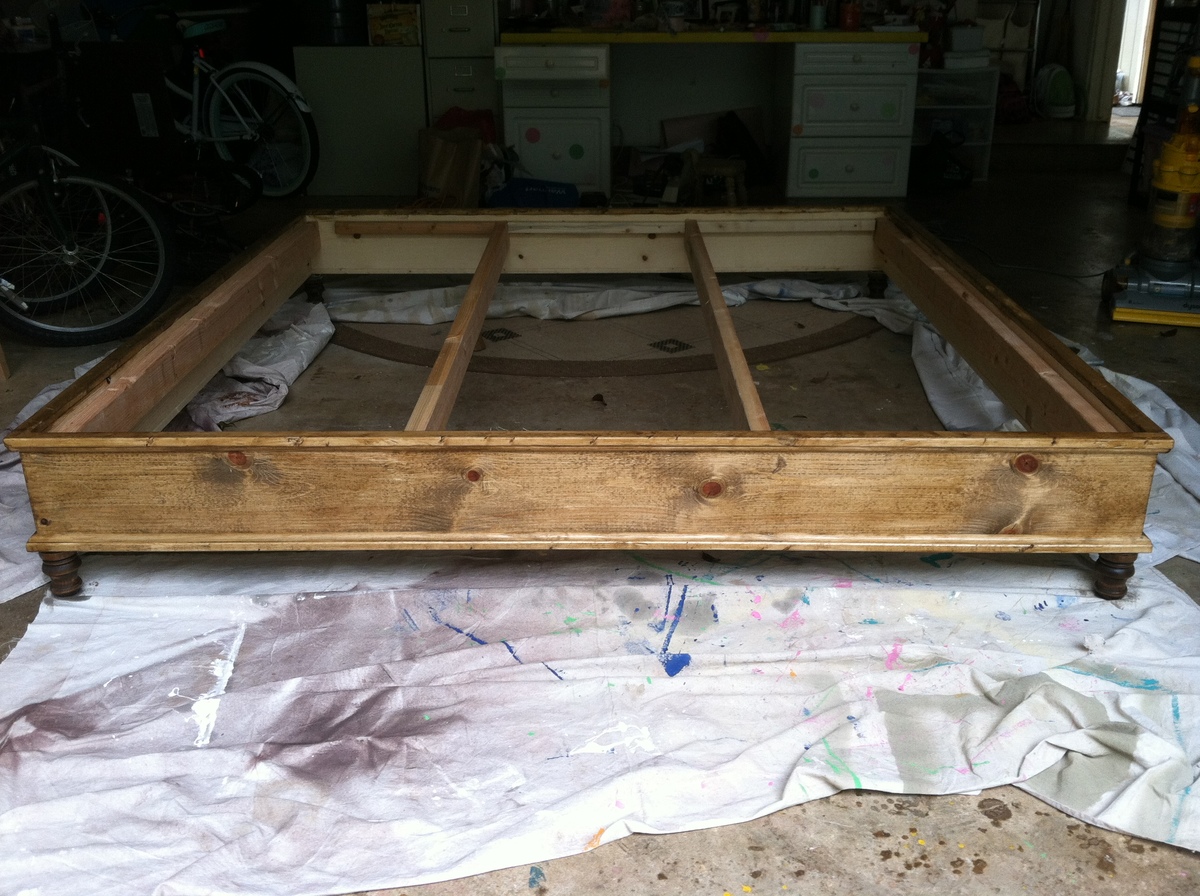
Farmhouse King Bed Frame

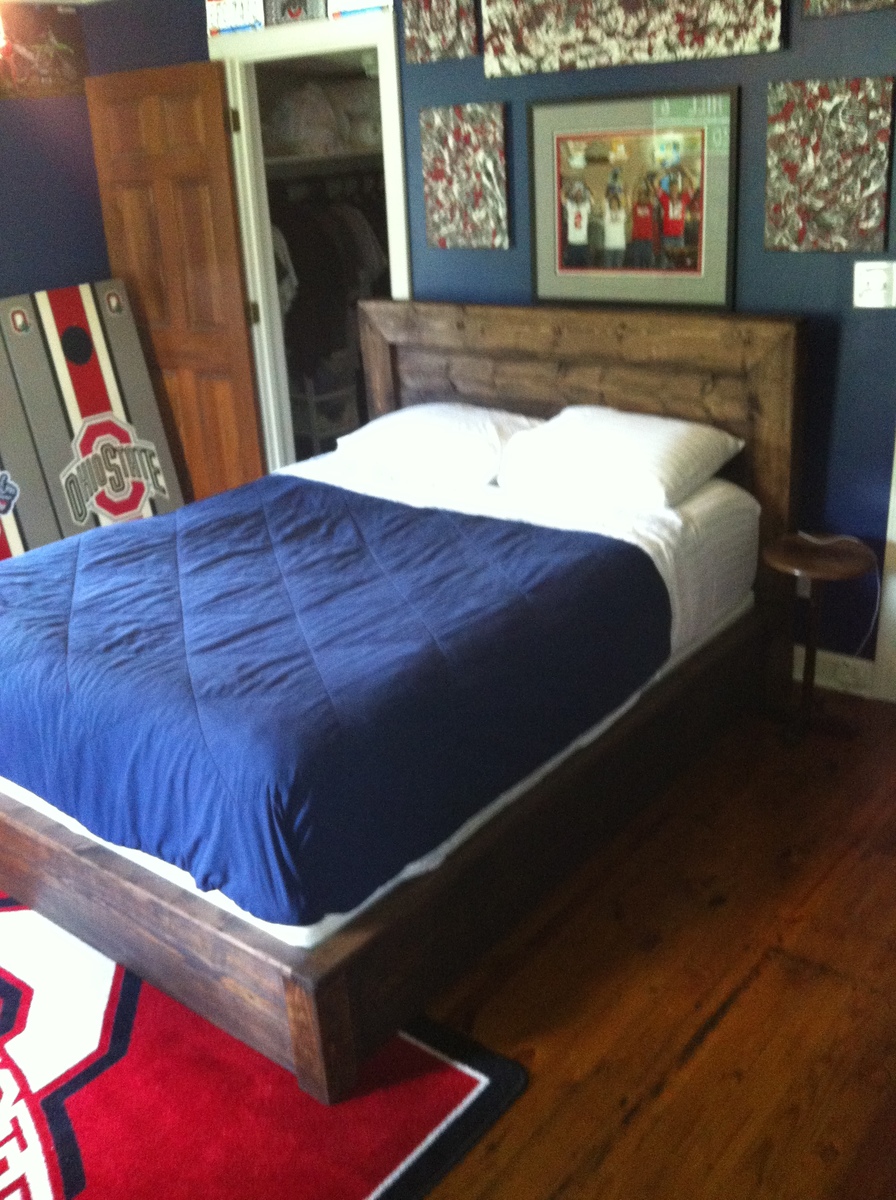
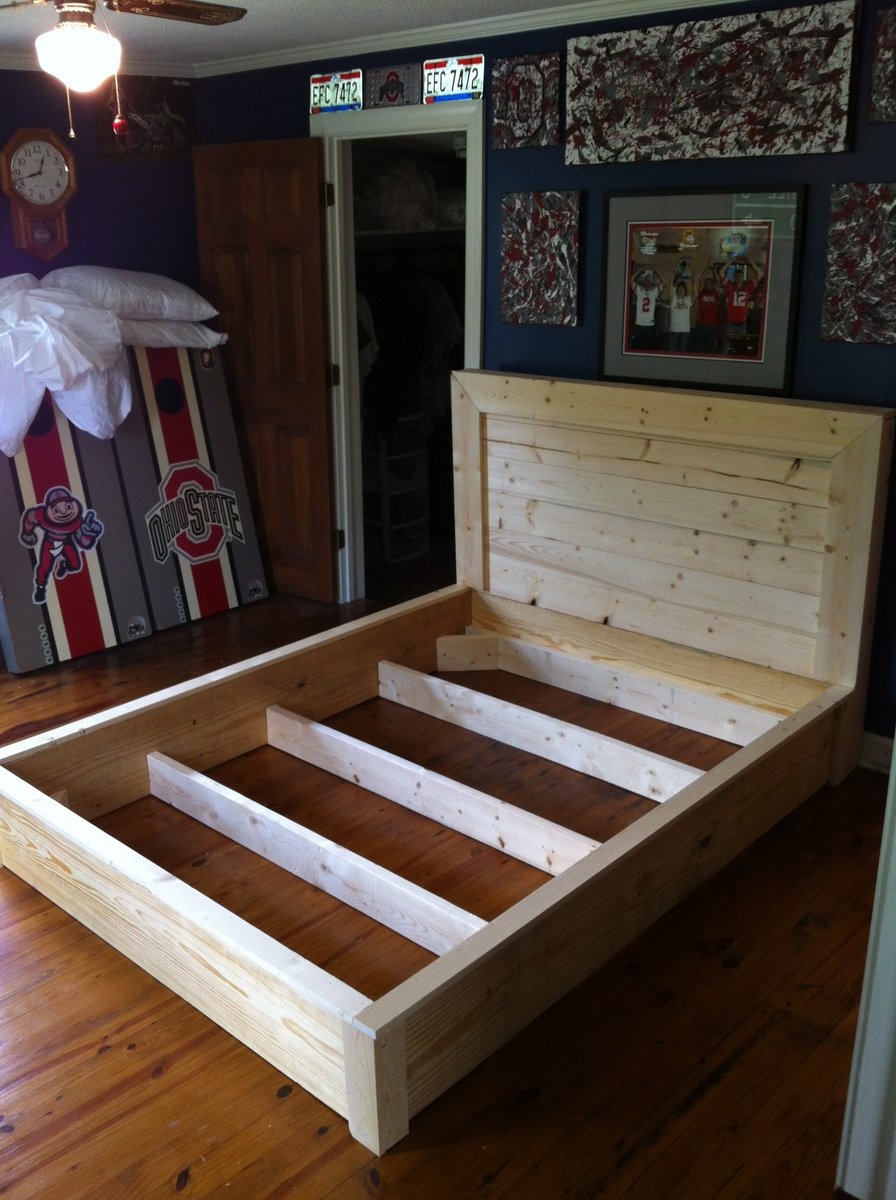
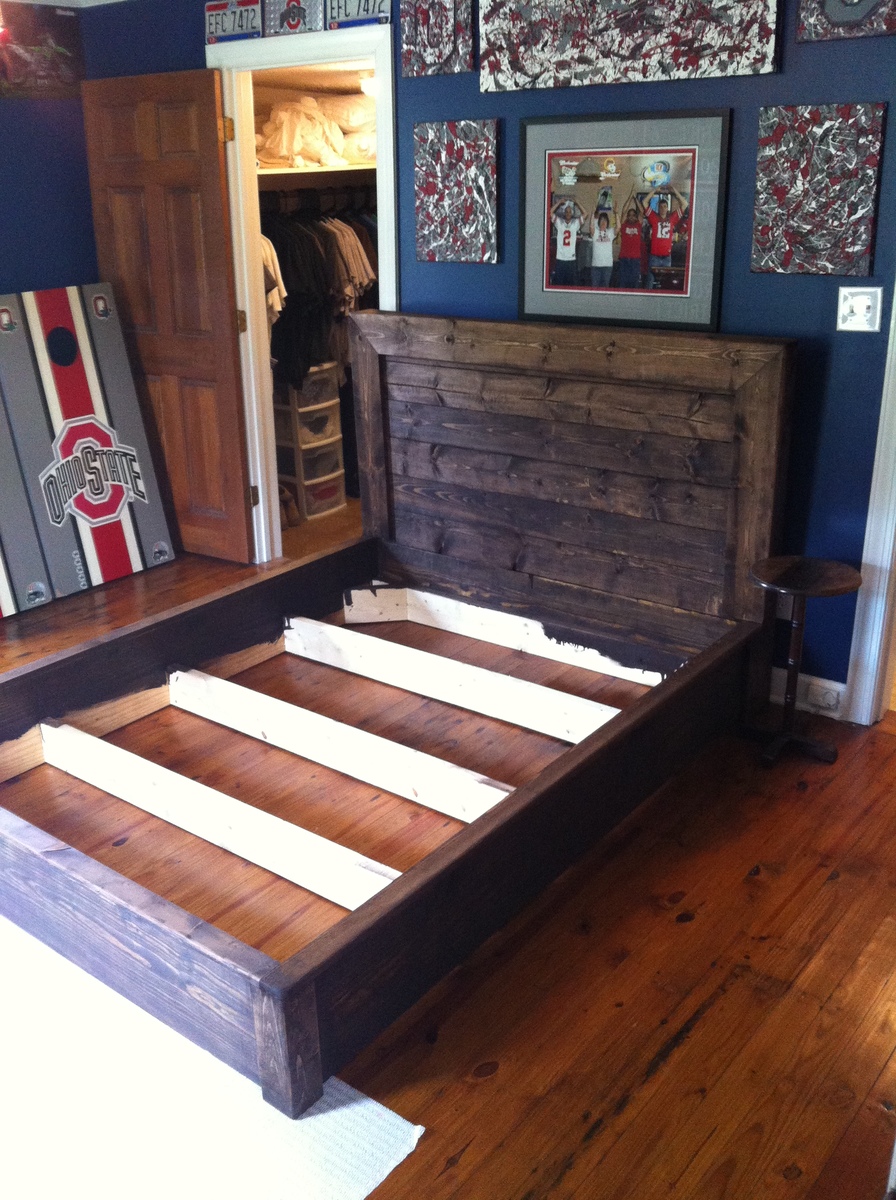
Since developing a love for woodworking I’ve began building things for other people. This particular bed frame I built for a couple who are rebuilding their home after it unfortunately burned down. It’s a beautiful farmhouse home out in the country, and this bed frame fits perfectly in their new home.

Estimated Cost
$250
Estimated Time Investment
Weekend Project (10-20 Hours)
Finish Used
I used minwax pre-stain to prepare the wood. I then stained it using special walnut by Varathane (got it from The Home Depot). Finally, I finished it using a clear satin polyurethane by Minwax.
Recommended Skill Level
Beginner

Lego and Art Table

Submitted by ahicks6 on Fri, 12/27/2019 - 08:57

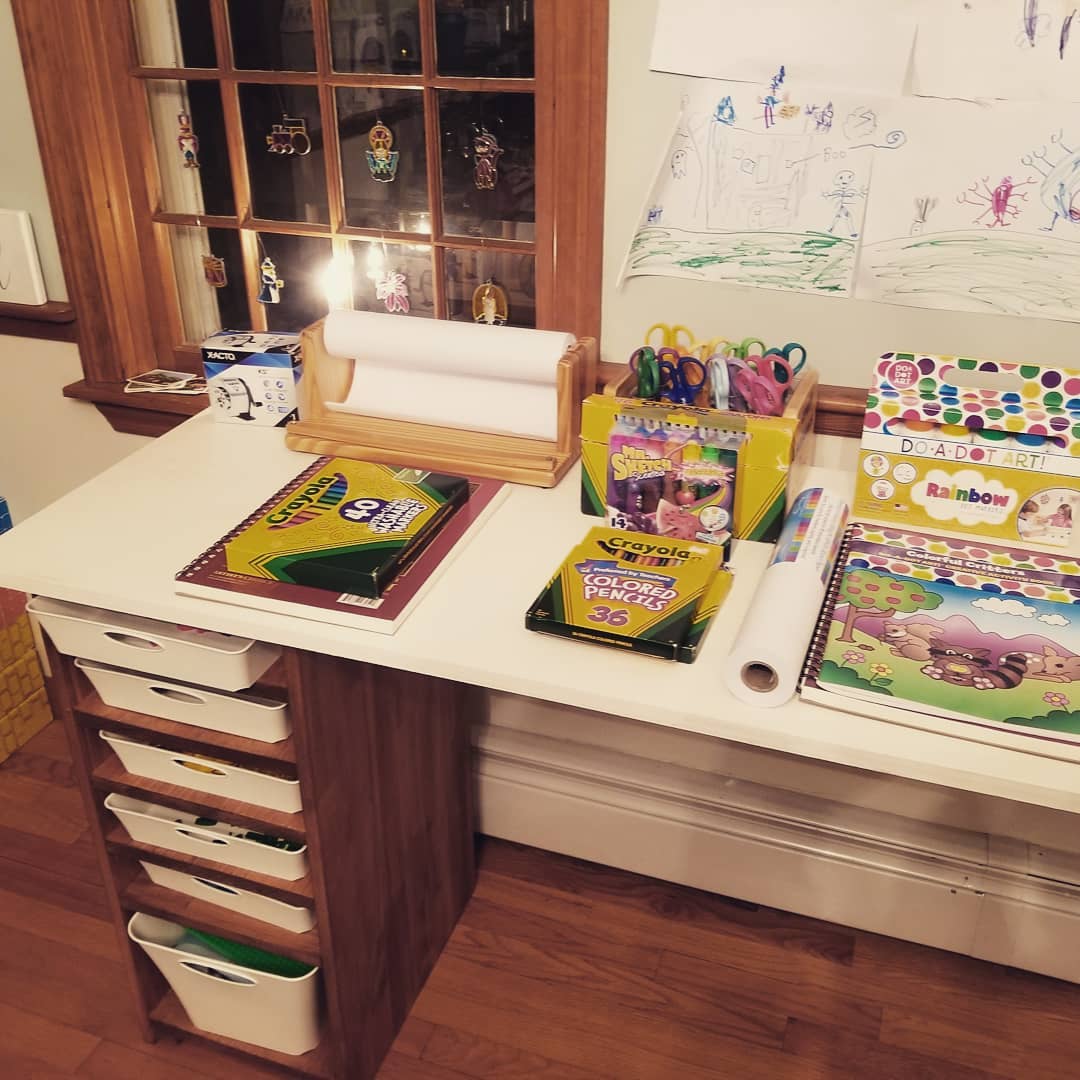
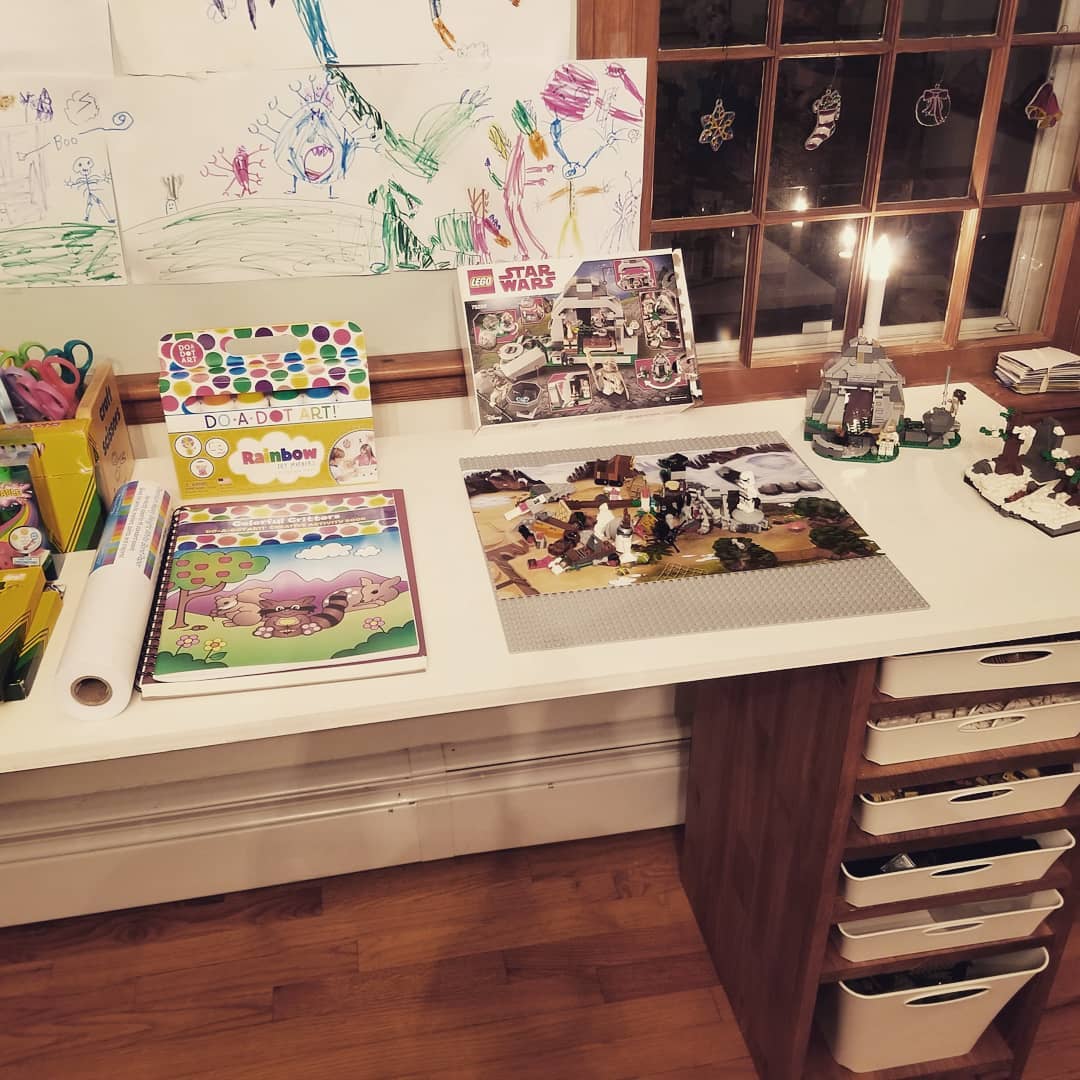
I looked everywhere for a Lego table that would fit my needs and not be super expensive, but I kept coming up with nothing. So I decided to make my own and to make it a place for my kids to do their art as well.

This was my first time using a Kreg Jig as I wanted it to be really stable. I found the drawers at The Container Store. They house all of the color coordinated Legos together.

It has been amazing so far and I'm so glad I didn't settle for any old Lego table on the market that didn't suit our needs. 

If you want more info regarding sizes, cut list, etc, let me know and I'll try to post them. 

Estimated Time Investment
Weekend Project (10-20 Hours)
Finish Used
Homemade chalk paint, Minwax Red Chestnut stain, Rustoleum Clear Enamel Spray
Recommended Skill Level
Intermediate

Combo of Farmhouse Bed with Farmhouse Storage Bed

Submitted by jeniroosen on Mon, 01/27/2014 - 21:39

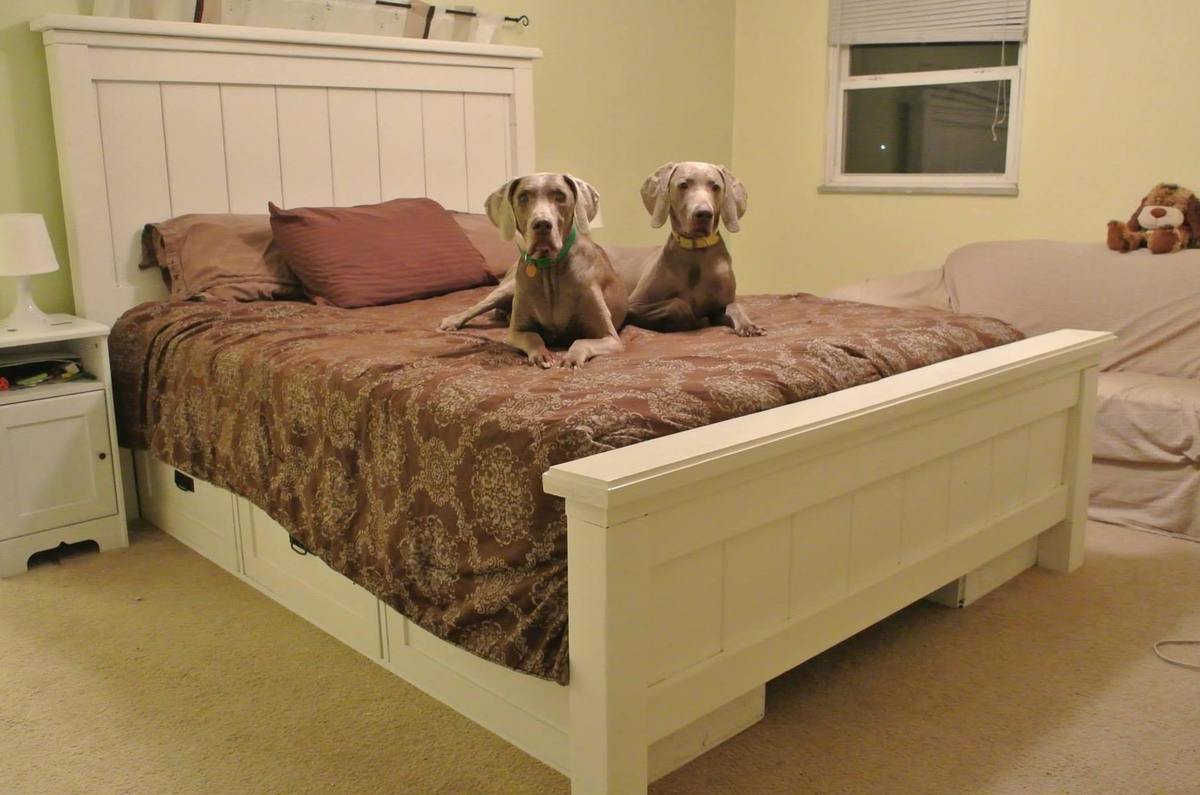
I meshed the Farmhouse Bed with the Farmhouse Storage Bed with Storage Drawers and this is the final product. Let me know if you have any questions. I learned along the way.

A few things I modified -

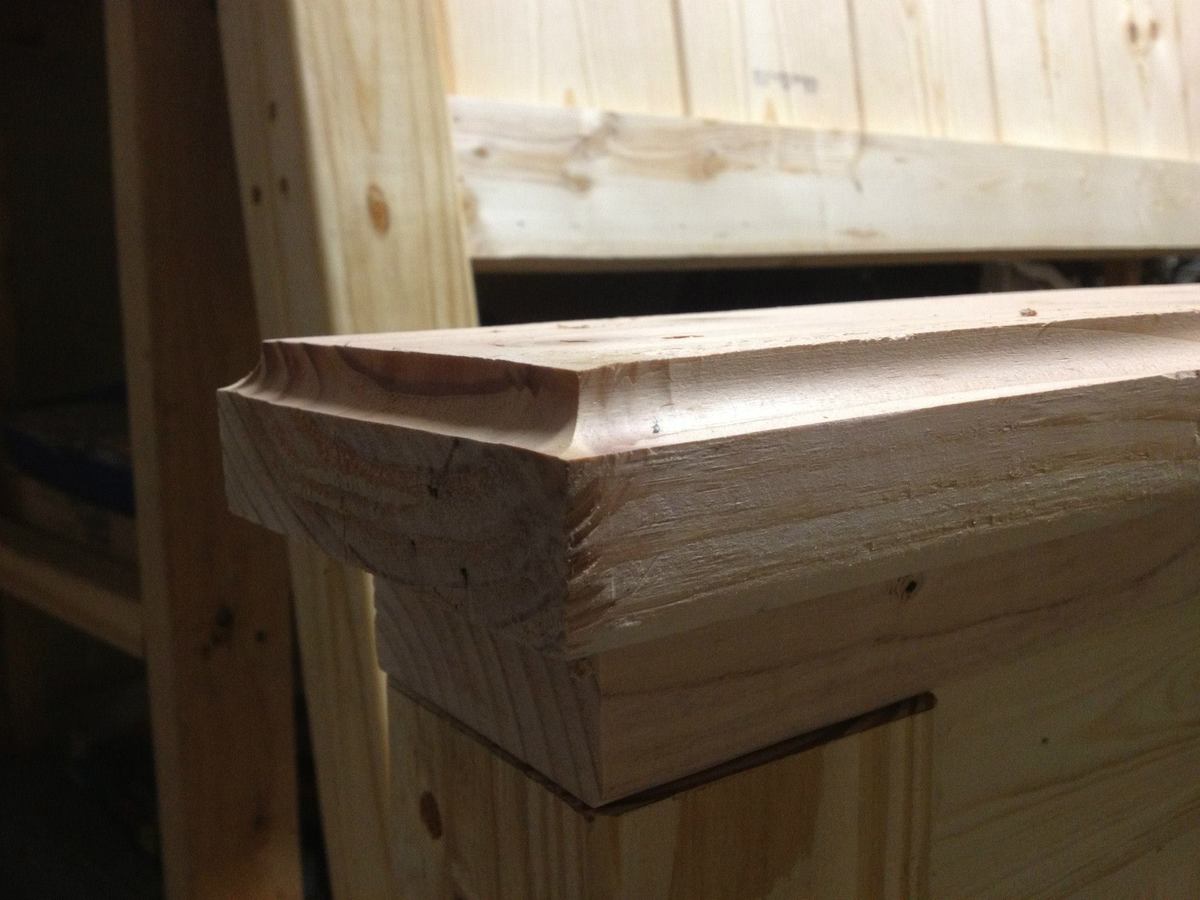
I knocked off the corners of the 1x8's used in the footboard and headboard as I wasn't a fan with how they butted up straight. I liked the rounded edges of the routered boards instead.

I cove routered the tops of 2x6's and loved how they turned out

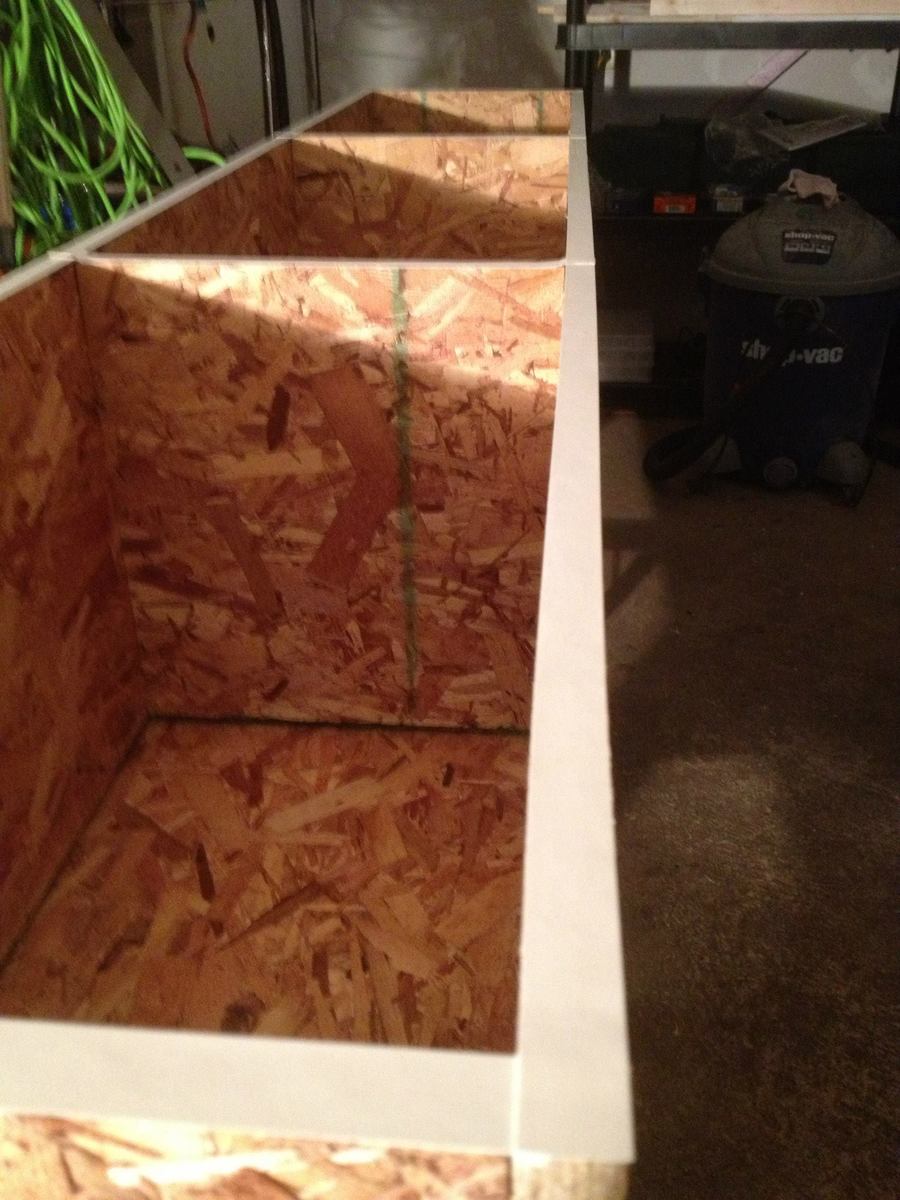
When I handed my cutlist to the kid at the big orange store, he pulled OSB instead of plywood for the storage cabinets. I realized it halfway through the cutting as I was shopping for other things and didn't have the heart to tell him halfway through the job. I had to edge band (first time) the edges and the OSB soaked up a lot of primer.

Estimated Cost
$400
Estimated Time Investment
Week Long Project (20 Hours or More)
Finish Used
Glidden Antique White
Recommended Skill Level
Beginner

Comments

3 Square Picnic Tables!

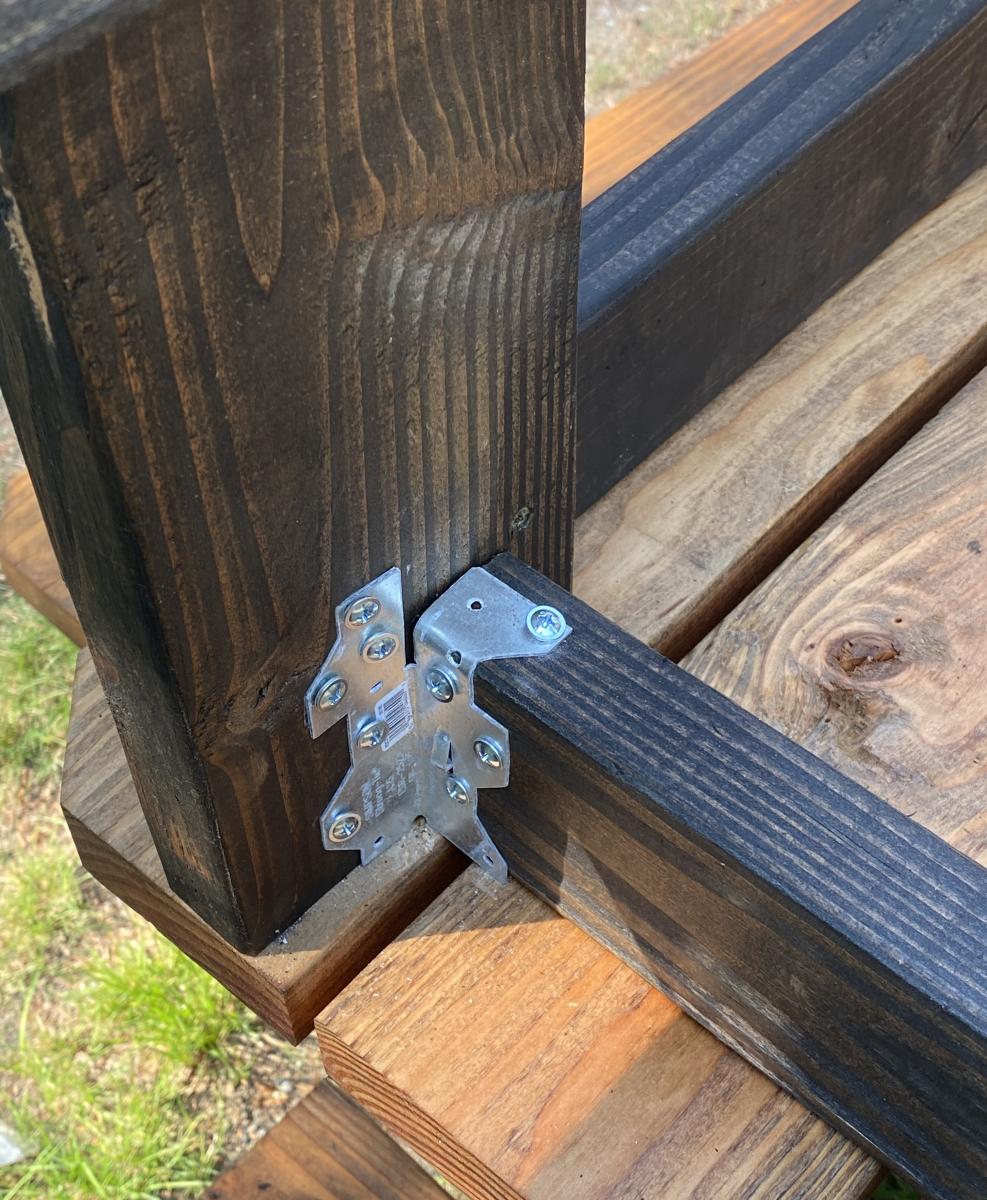
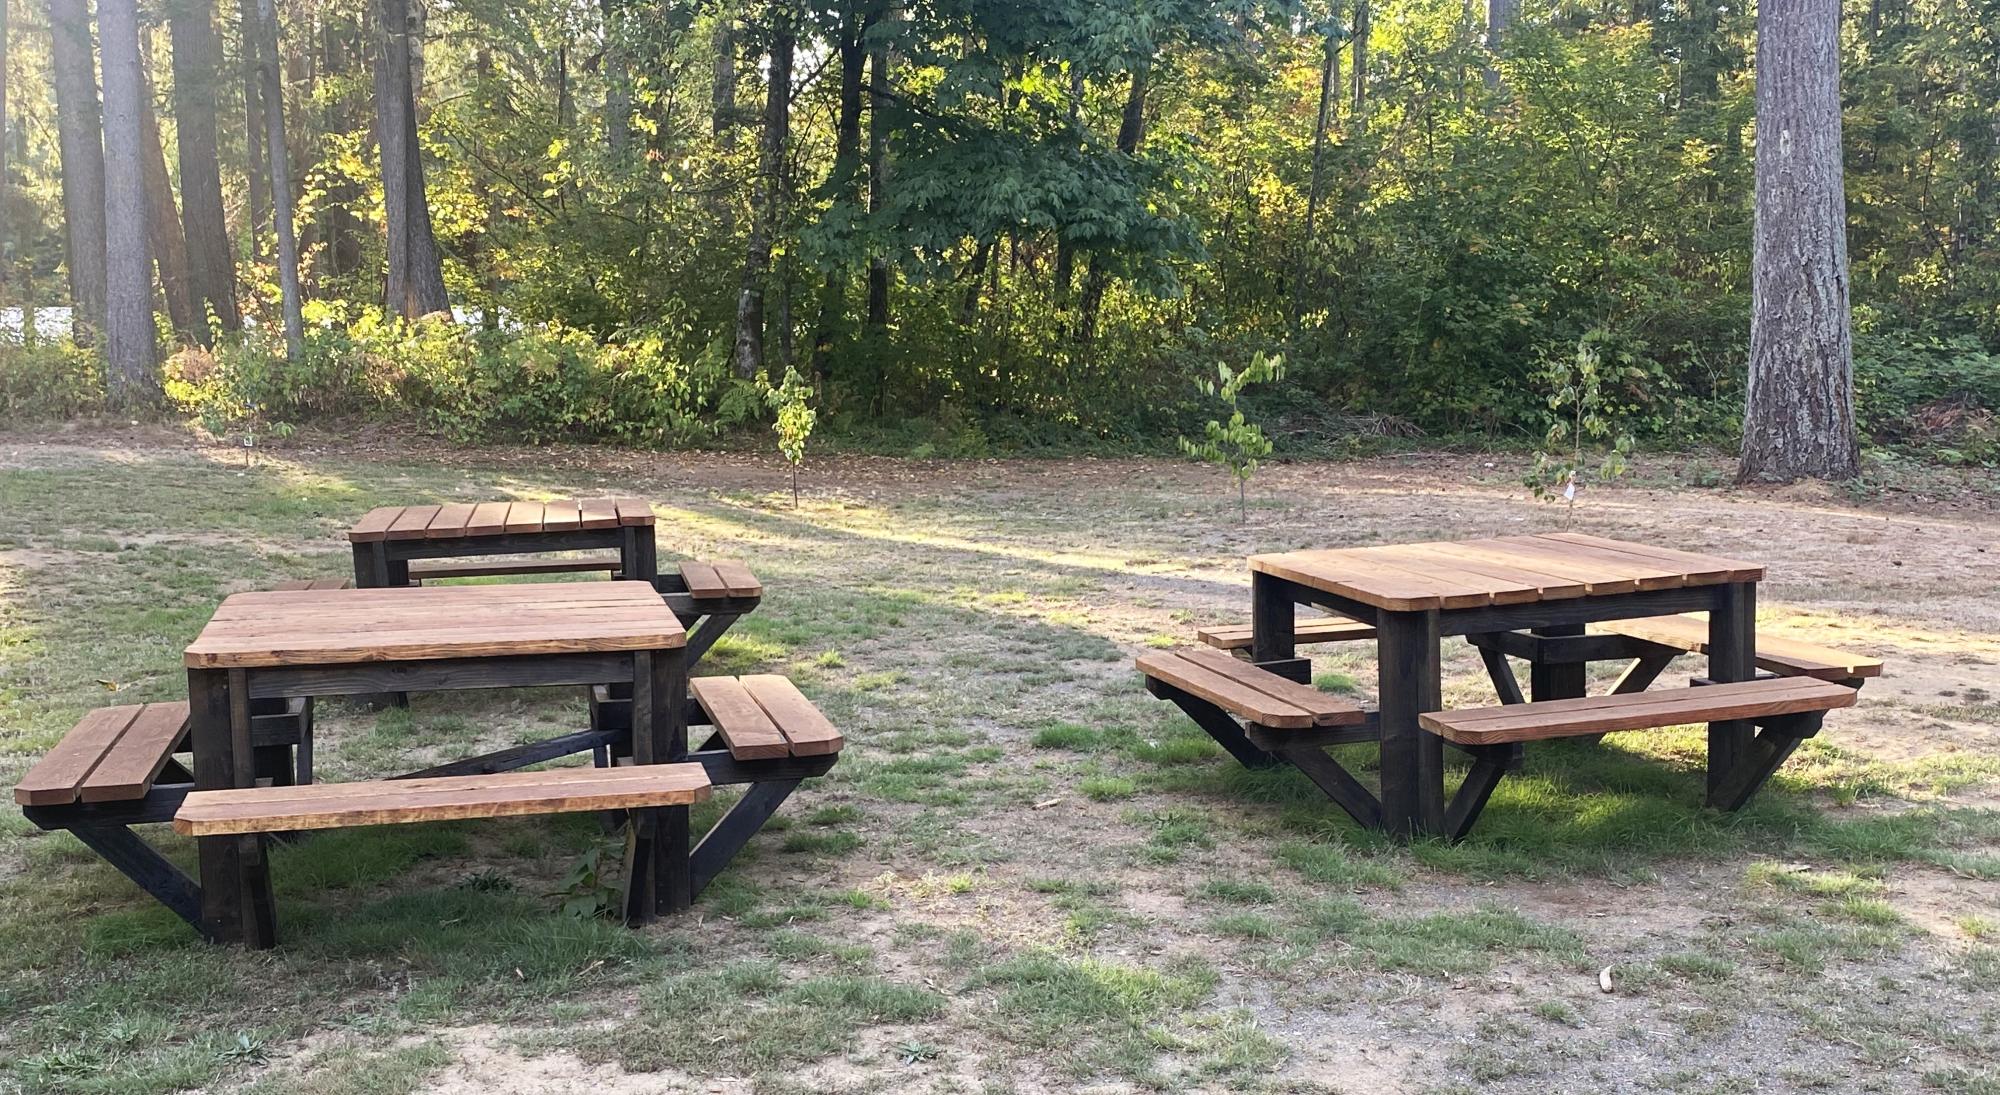
I built 3 of the square picnic tables, as we have a large extended family. I enjoyed the project and the results. I did end up adding a cross brace and some metal clips, they added a little more strength for the table when it was full of people.

Thank you for sharing your plans.

Rick

Built from Plan(s)

Little Girl Dress Up Caddy

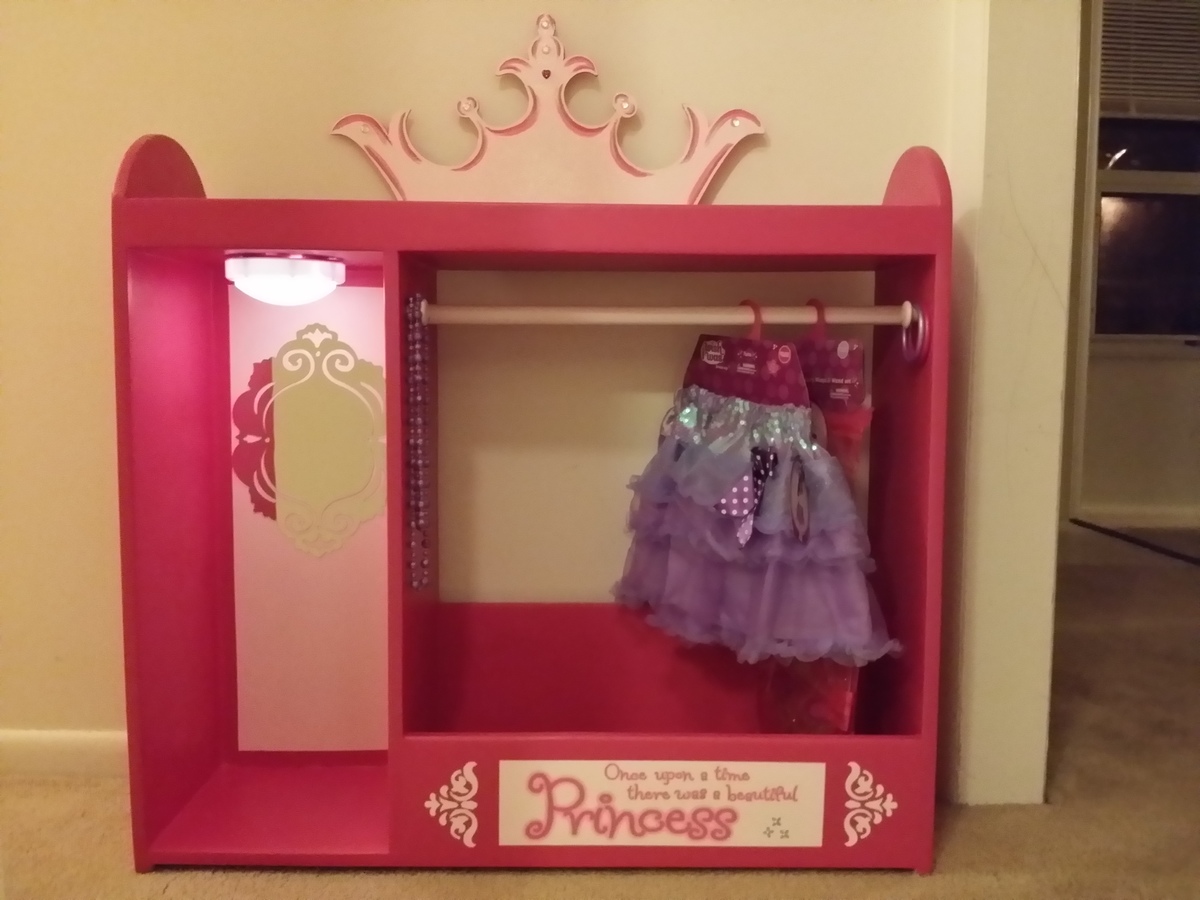
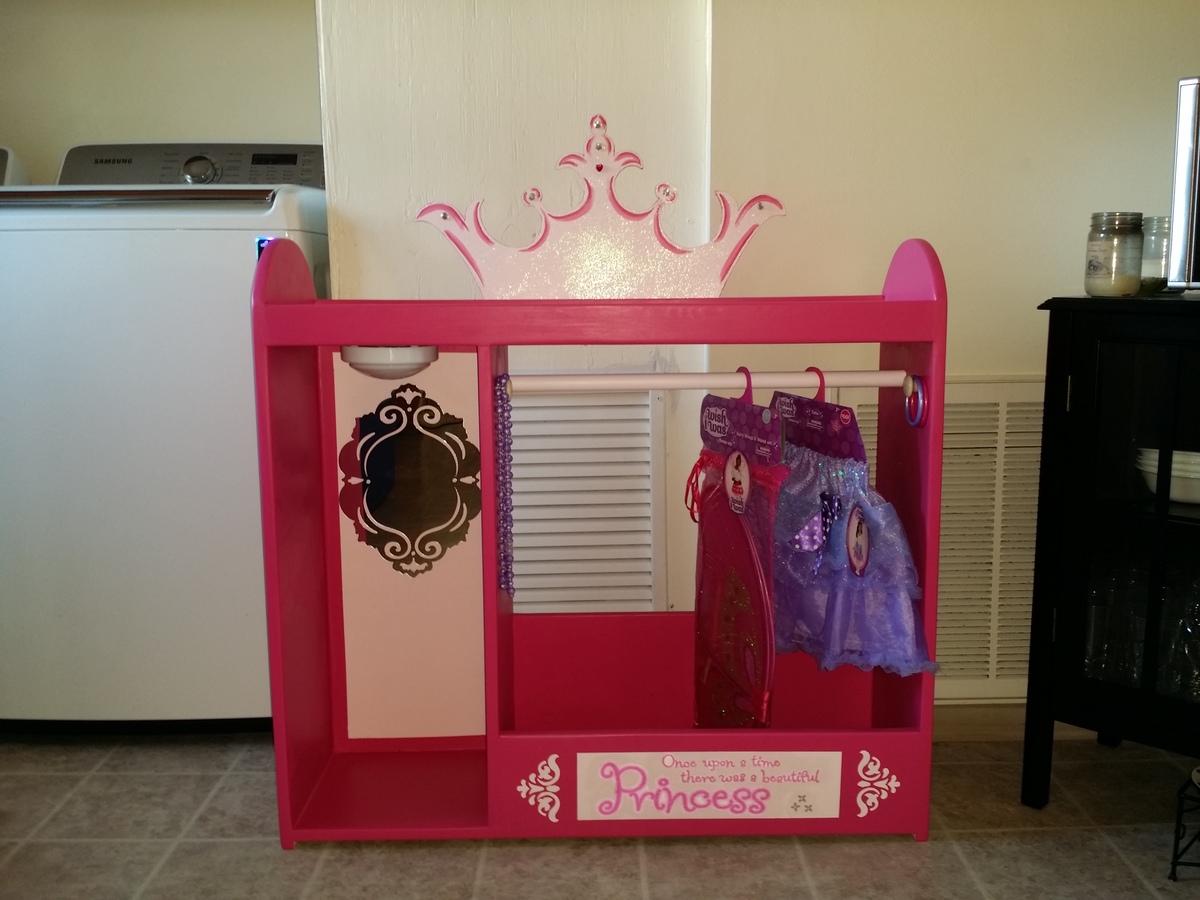
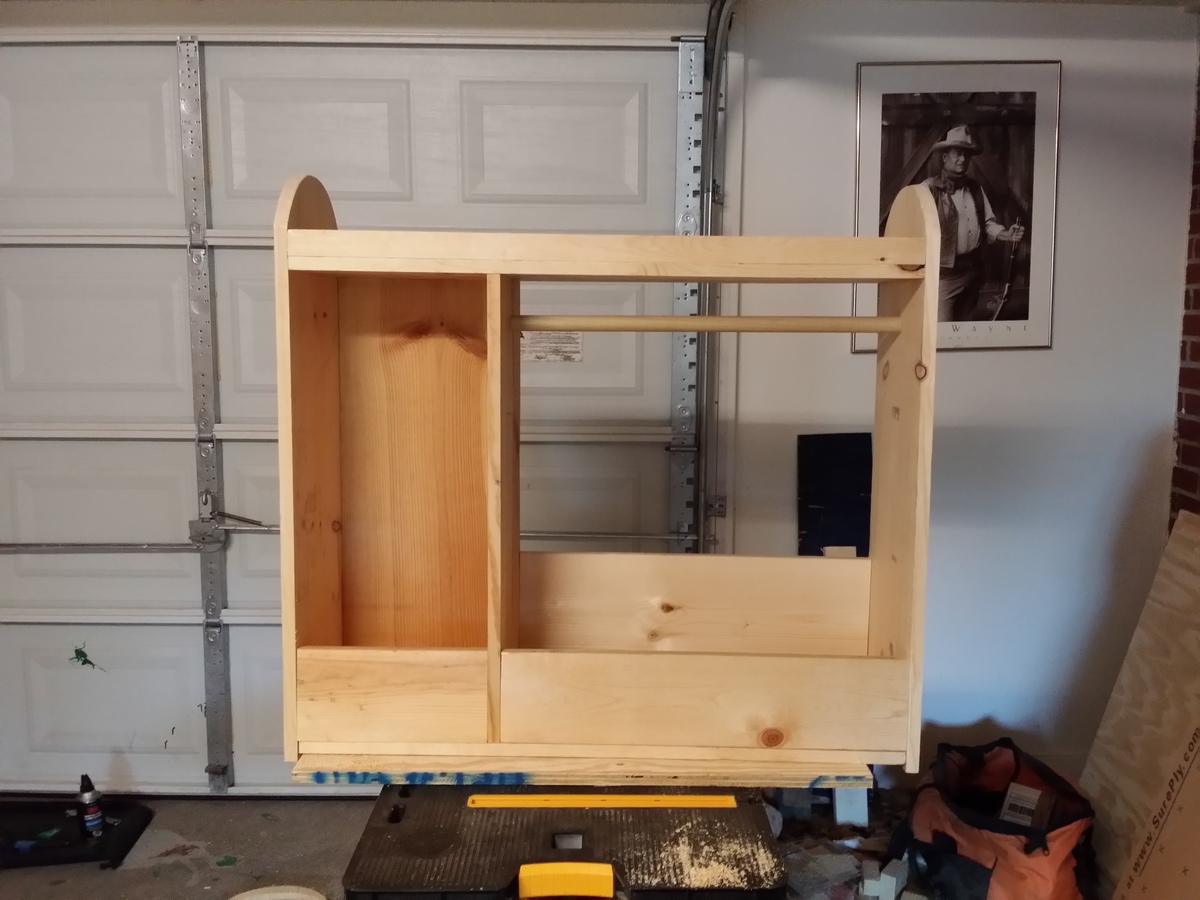
This project took about a week of commitment because of the multiple coats of paint. Otherwise, it was a very quick build, built in one day, but quite tedious sanding. I wish I could have sanded before I built it because the corners were very difficult to get around on the inside. I drew the crown on very thin Plywood that I had laying around from a night table I built and cut it out with a jigsaw.

Estimated Cost
Under $100 with stencils, paint, light, stick on mirror ($10 from Amazon) and jewels for the crown
Estimated Time Investment
Week Long Project (20 Hours or More)
Finish Used
Valspar Pantone Cabaret, Disney Shimmering Glitter Specialty Finish on the crown, and satin polycrylic
Recommended Skill Level
Starter Project

Slipcovered Bench

Submitted by Linda7 on Tue, 02/11/2014 - 16:55

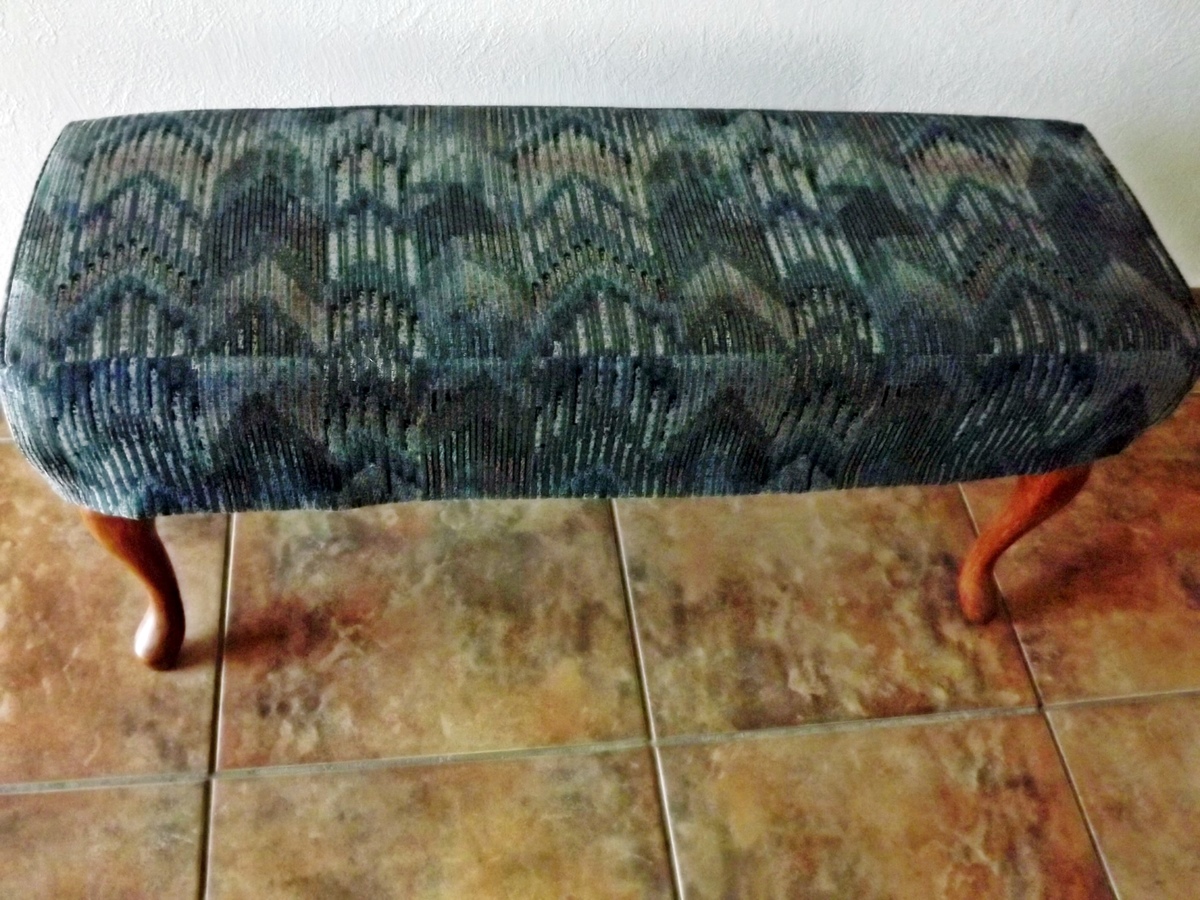
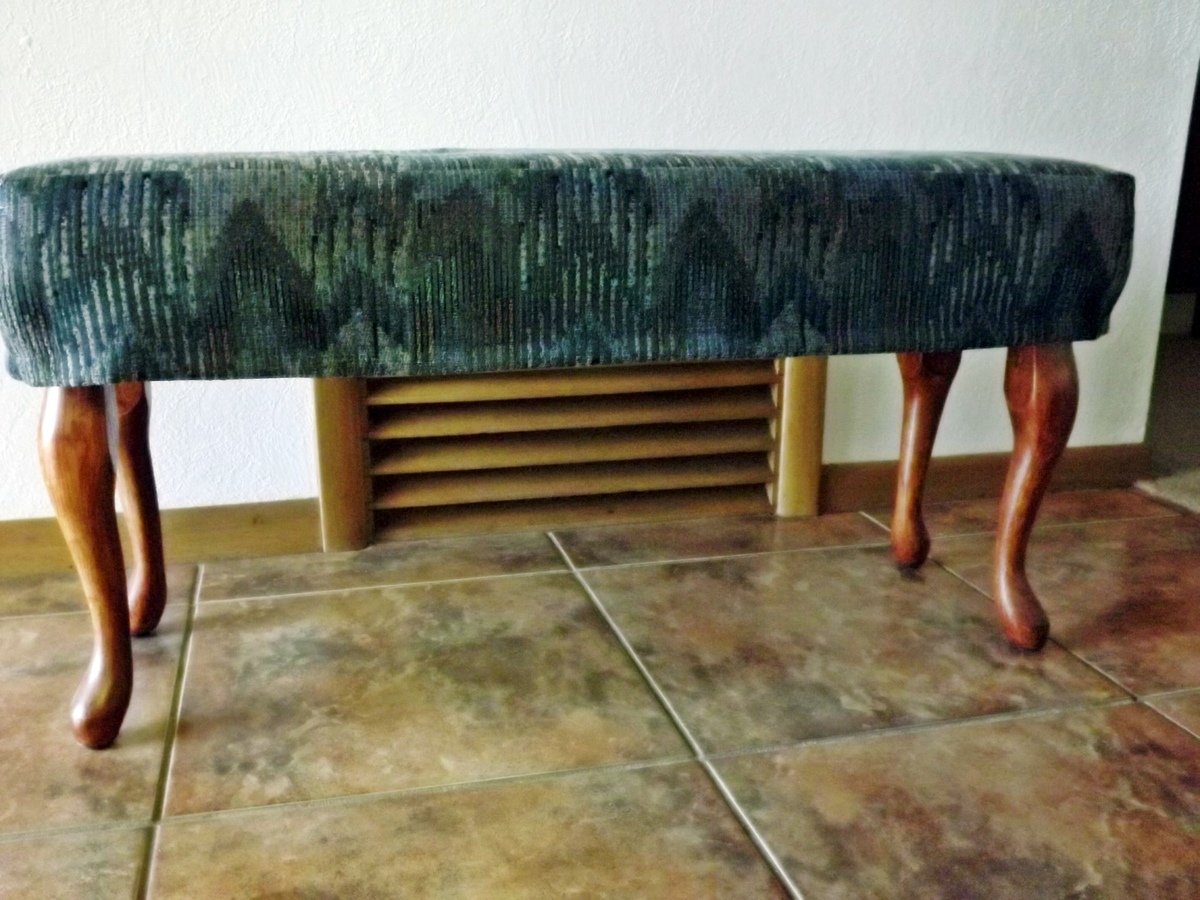
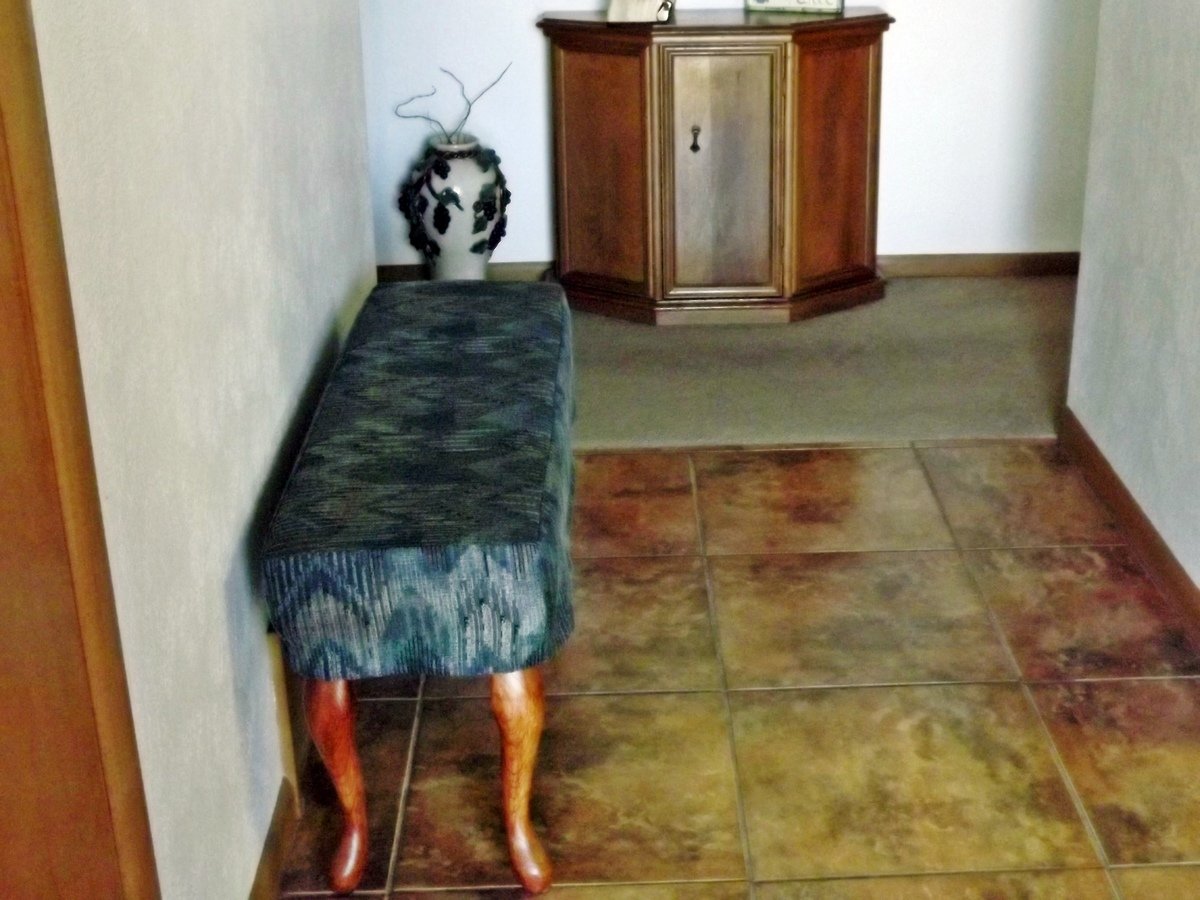
My mother needed a bench in her small entryway. She had definite dimensions in mind and we looked everywhere. None fit the bill. Then I saw these plans and we went from there. She had leftover fabric from recovering her dining room chairs, and I had the plywood. She wanted the Queen Anne legs to go with her traditional furniture; we put felt floor protectors on the bottom of the feet of the legs, which helps keep the bench from moving so easily on the tile floor. The plans were easy to follow, including the tutorial on how to sew the slipcover. The bench worked out just like she had hoped. Thanks Ana, for the great plans.

Built from Plan(s)
Estimated Cost
$60.00; about $40 for the legs, foam, and finish
Estimated Time Investment
Day Project (6-9 Hours)
Finish Used
Minwax Polyshades in walnut; two or three coats. This acts more like paint, but you can re-coat in just an hour or so. I then used minwax poly in satin three coats for protection.
Recommended Skill Level
Beginner

Restoration Hardware Inspired table

Submitted by EstebanM on Fri, 05/20/2016 - 10:31

Needed a classy table...

Purchased the chairs separetely. Sanded the legs from black paint back to wood, and stained them to match the table.

Estimated Cost
$150
Estimated Time Investment
Week Long Project (20 Hours or More)
Finish Used
Weathered Oak with a satin seal
Recommended Skill Level
Intermediate

Platform inspired bed frame

Submitted by KL728MX on Sun, 02/23/2014 - 15:01

I had searched for a nice bed frame for the longest time. I wanted something that would last and the prices in furniture stores or antique shops were crazy. I found the plans for the platform bed/headboard and modified them a little. I used 2x12's for the frame and set my 2x6's down inside for my box spring. 2x6's for the headboard and trimmed it the same way as in the plans. I love it. Thanks for the plans Ana.

Built from Plan(s)
Estimated Cost
125
Estimated Time Investment
Day Project (6-9 Hours)
Finish Used
Rust oleum dark walnut. I didn't put polyurethane on it so it would have an older look.
Recommended Skill Level
Beginner

Comments

Jmar2038

Fri, 05/30/2014 - 18:40

Love your inspired bed! What size mattress is your frame for? I am looking to make a frame just like yours for a queen size bed. Do you have your measurements or are they pretty similar to the original post? Complete beginner here, any help is much appreciated!!

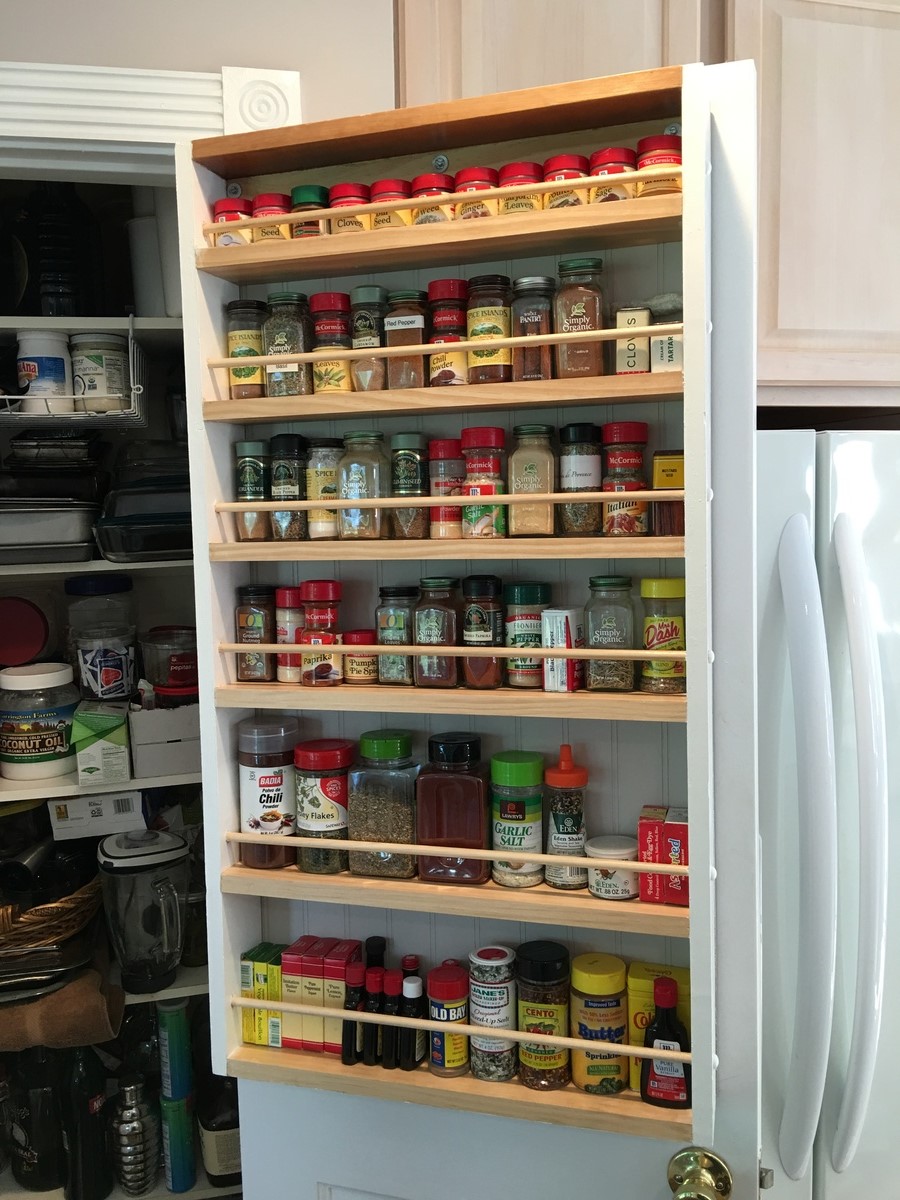
Door spice rack

Submitted by Anonymous (not verified) on Fri, 06/10/2016 - 18:02

love Ana!  We moved from the city to a late 1800's Victorian farm house with no closets, no basement, no storage!  This was a great Woodshop 101 project for my husband and me, and gave us extra space in the kitchen. Can't wait to do another Ana project. 

Built from Plan(s)
Estimated Time Investment
Afternoon Project (3-6 Hours)
Finish Used
A mix of paint and water-base poly
Recommended Skill Level
Starter Project

Comments

King Size Platform Bed

Submitted by hawaiitara on Sun, 06/03/2012 - 20:09

After building my daughter's beds and some outdoor day beds, I finally got around to building a bed for my husband and I. I altered the plans to a king size bed. I added a second 2x4 in the middle for support and around the inside edges as I used the box springs to make the bed taller. Using the kreg jig really made this project so easy. I also used 1x8's instead of 2x8's because I couldn't find those in Hawaii anywhere, except pressure treated wood. It still turned out great.
Thanks for the wonderful plans!

Estimated Cost
$125
Estimated Time Investment
Afternoon Project (3-6 Hours)
Finish Used
I used cabot stain in antique walnut with a cabot satin poly over it.
Recommended Skill Level
Beginner

Comments

Katie Saldivar (not verified)

Mon, 06/25/2012 - 19:40

I LOVE this bed! I'm asking my husband to build it and I was wondering if you could email me the dimensions for the plans of a king size Chestwick Platform bed? I'm pretty sure he could figure them out on his own, but I'd love to make it easier for him :) Love your work!
Larryshandywife

Wed, 08/22/2012 - 23:04

Whats the point of sharing projects with people when they dont leave the dimensions????............How stupid!!!

sgilly

Thu, 08/23/2012 - 08:25

For sharing. It's beautiful, and how smart you are to work from existing plans but be able to figure out the dimensions you need for your own bed!

DIY Media Console

Several months ago, my sister approached me with the request of helping her build a media console for her home.   We left off the doors and drawers in favor of having open shelves.  We worked on this project over the course of several weekends and my sister is very happy with the final result!

Built from Plan(s)
Estimated Cost
$150
Estimated Time Investment
Week Long Project (20 Hours or More)
Finish Used
Minwax Jacobean, ECOS Paints WoodShield Satin Varnish
Recommended Skill Level
Intermediate

Barstools

Submitted by lazyLiz on Sat, 06/09/2012 - 21:22

A 30" tall bar stools inspired by the plan simplest stool.

Built from Plan(s)
Estimated Cost
$ 40- $60
Estimated Time Investment
Afternoon Project (3-6 Hours)
Finish Used
valspar white paint
Recommended Skill Level
Beginner

Comments

Handygirl

Sat, 07/07/2012 - 18:47

I love these stools! I love the curve in the top. Are yours square on top or rectangle?
Also, what size of board is the top (seat)?

Rusty Cottage

Fri, 07/20/2012 - 05:32

I like your design. Finally made an account and will be making matching ones. Thanks for the inspiration. If the better half doesn't like the first one I will have a new stool for my workbench

MrsPowers

Fri, 08/31/2012 - 20:27

Hi! You're stools came out wonderful. I was wondering how you got the seat to be curved that way.
Thanks!

Back