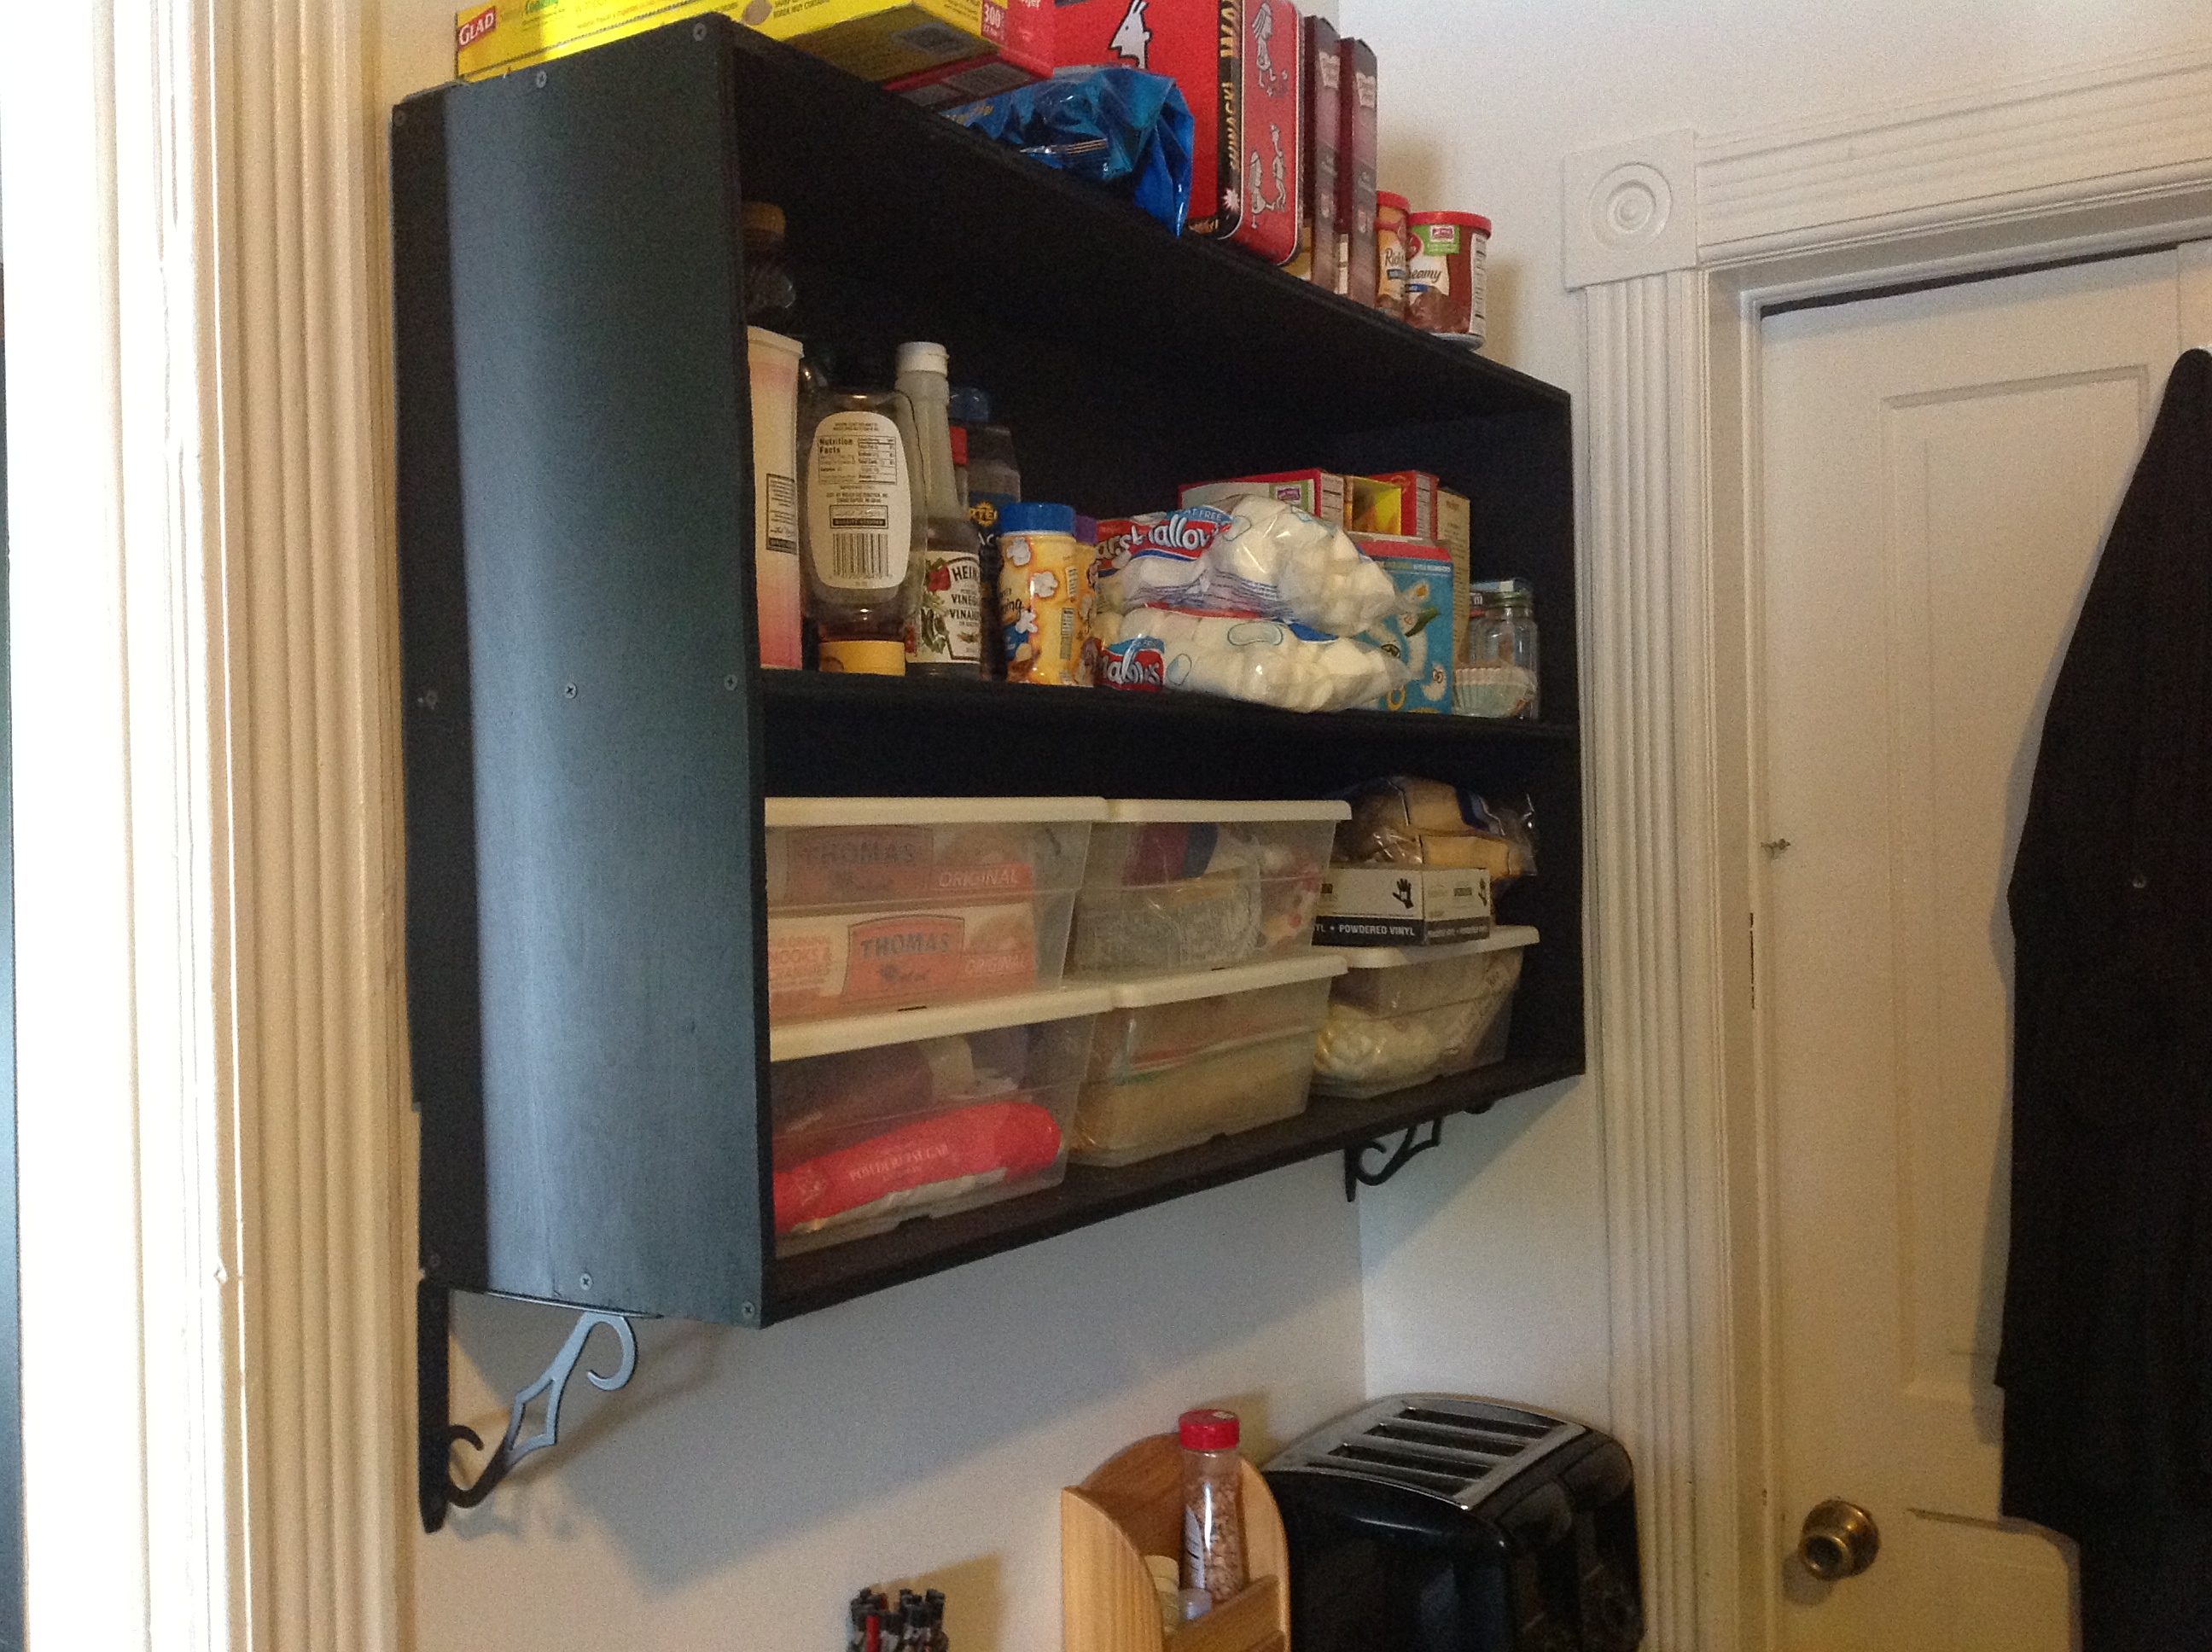
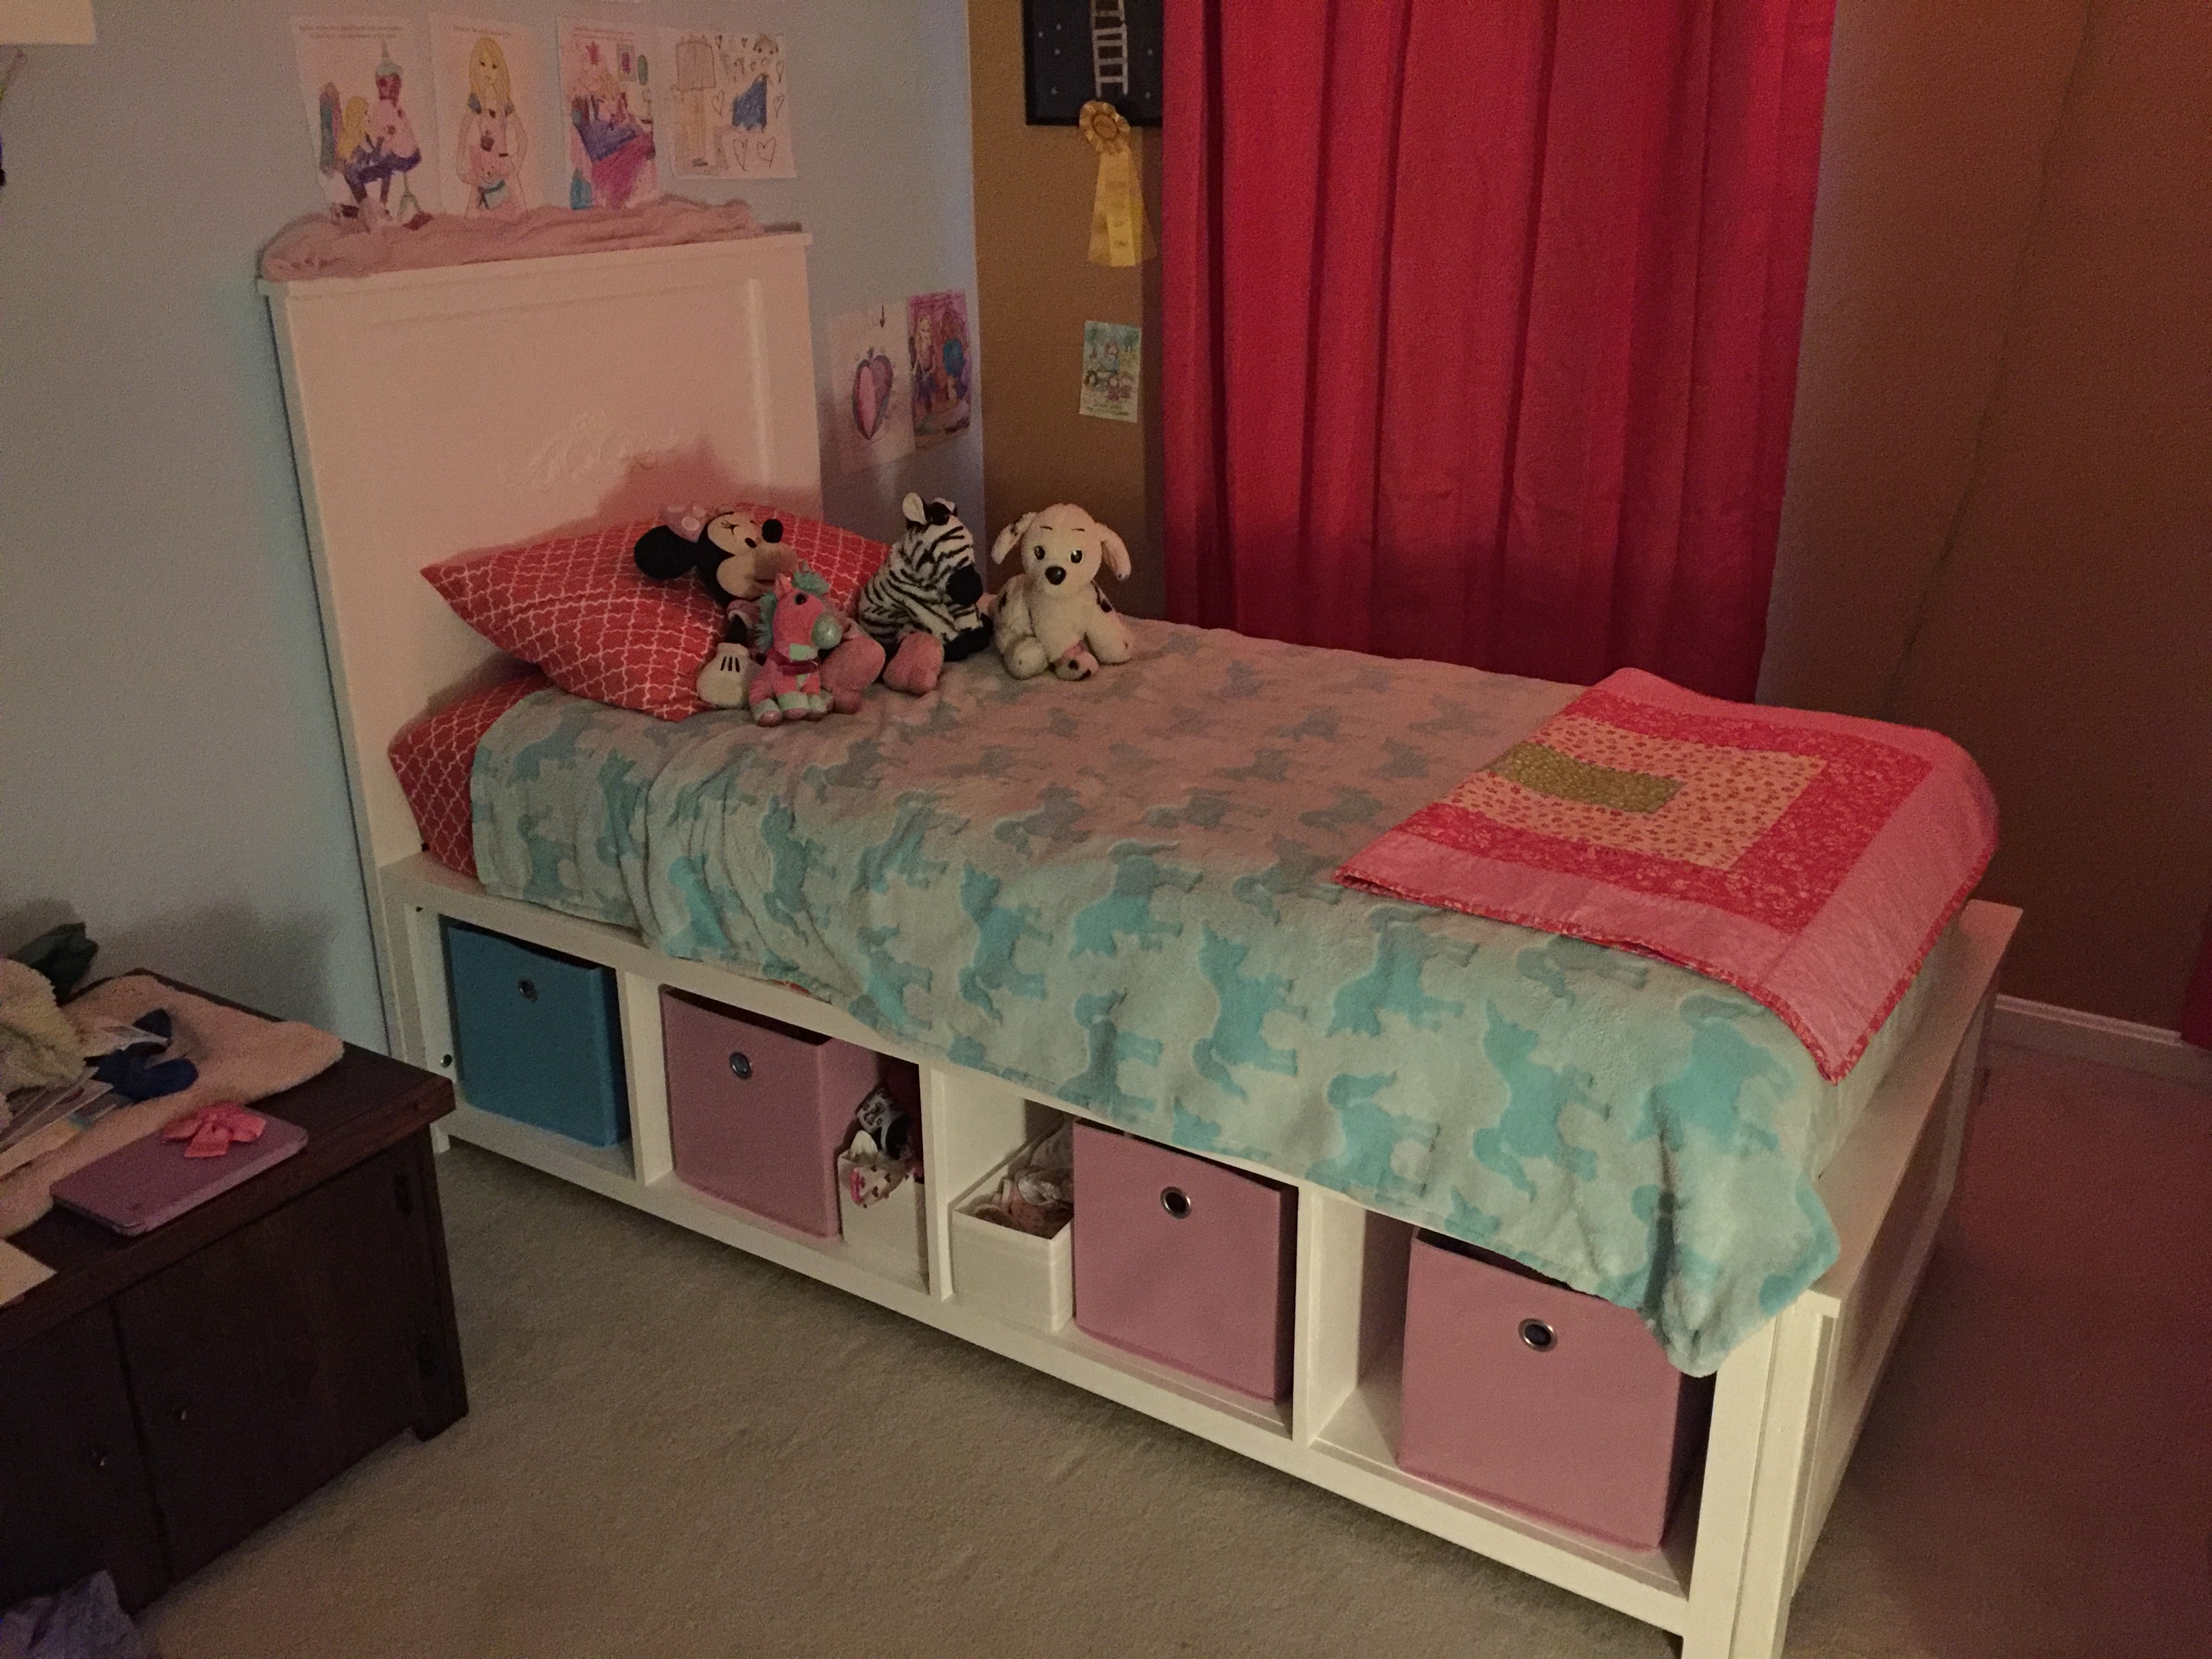
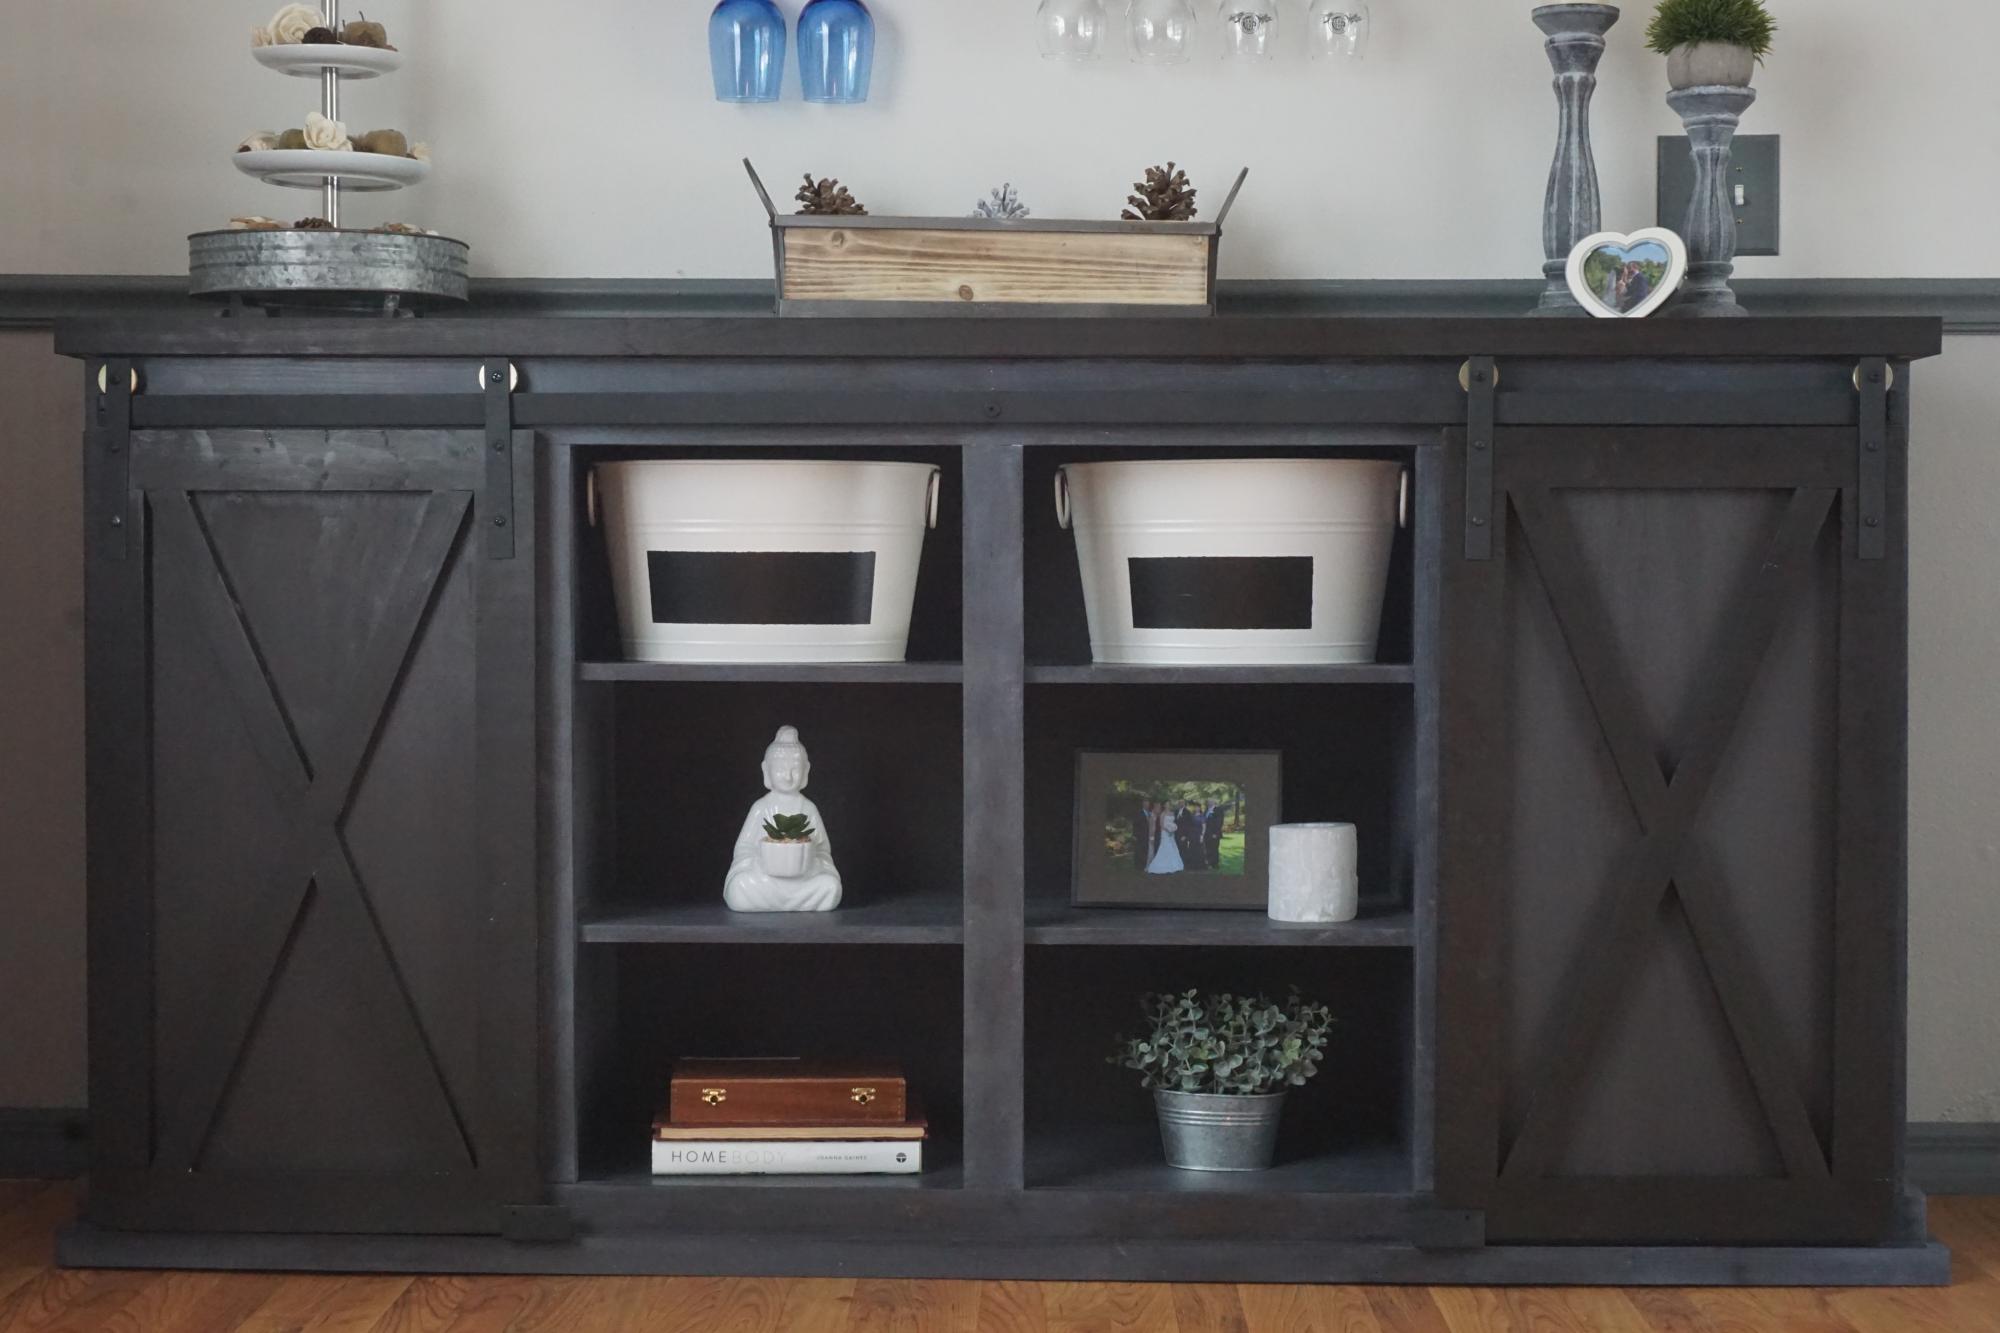
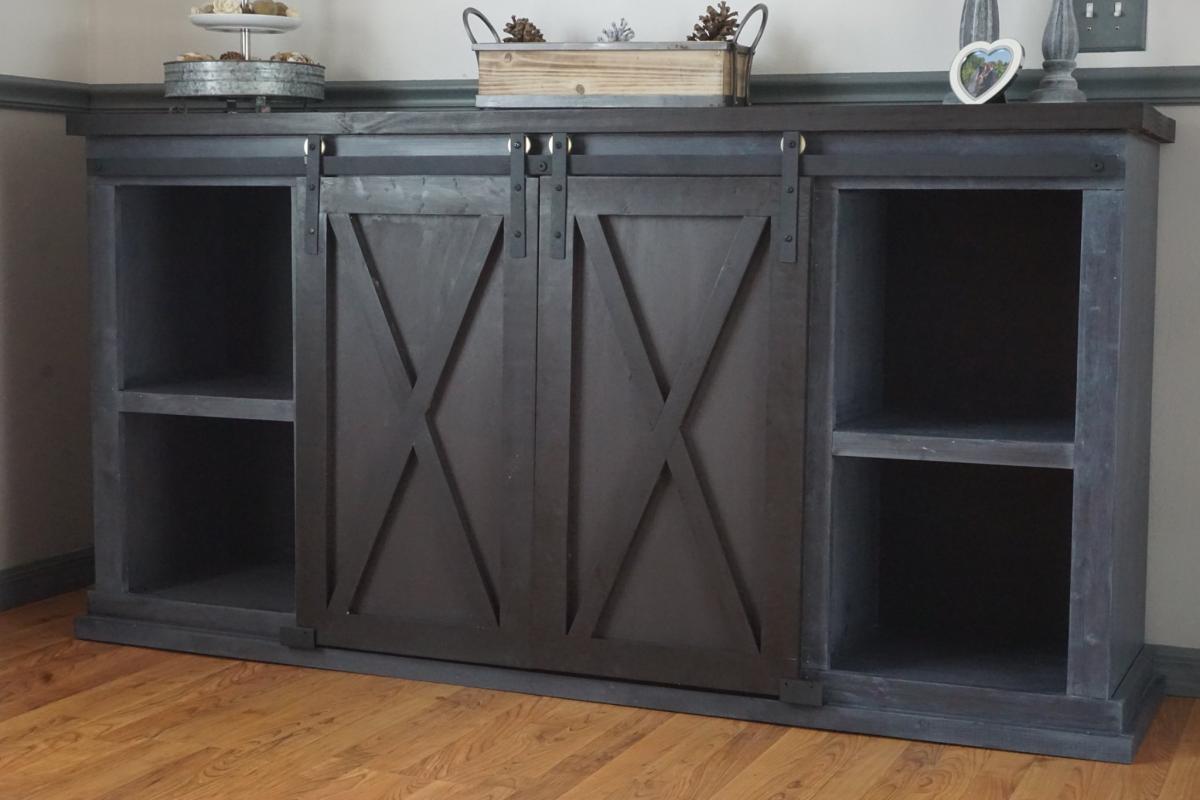
Community Brag Posts

10 Cube Shelf

Submitted by john.h on Sun, 03/16/2014 - 18:38

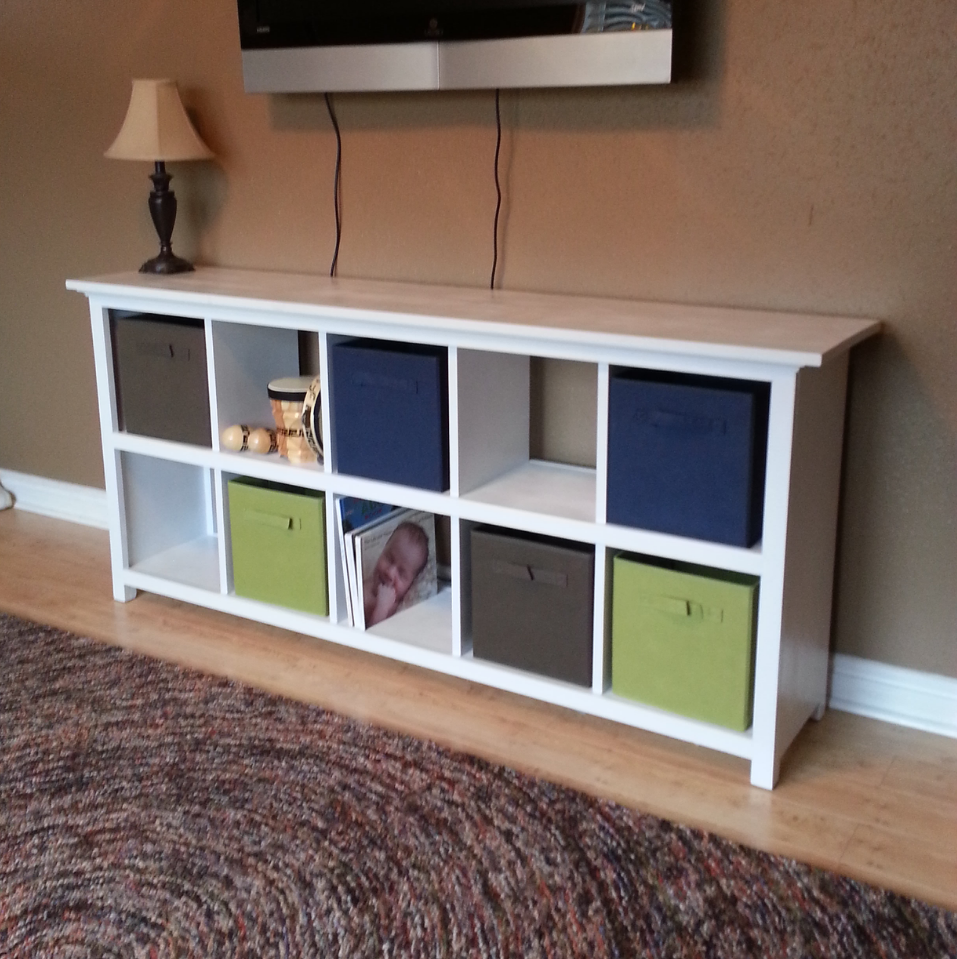
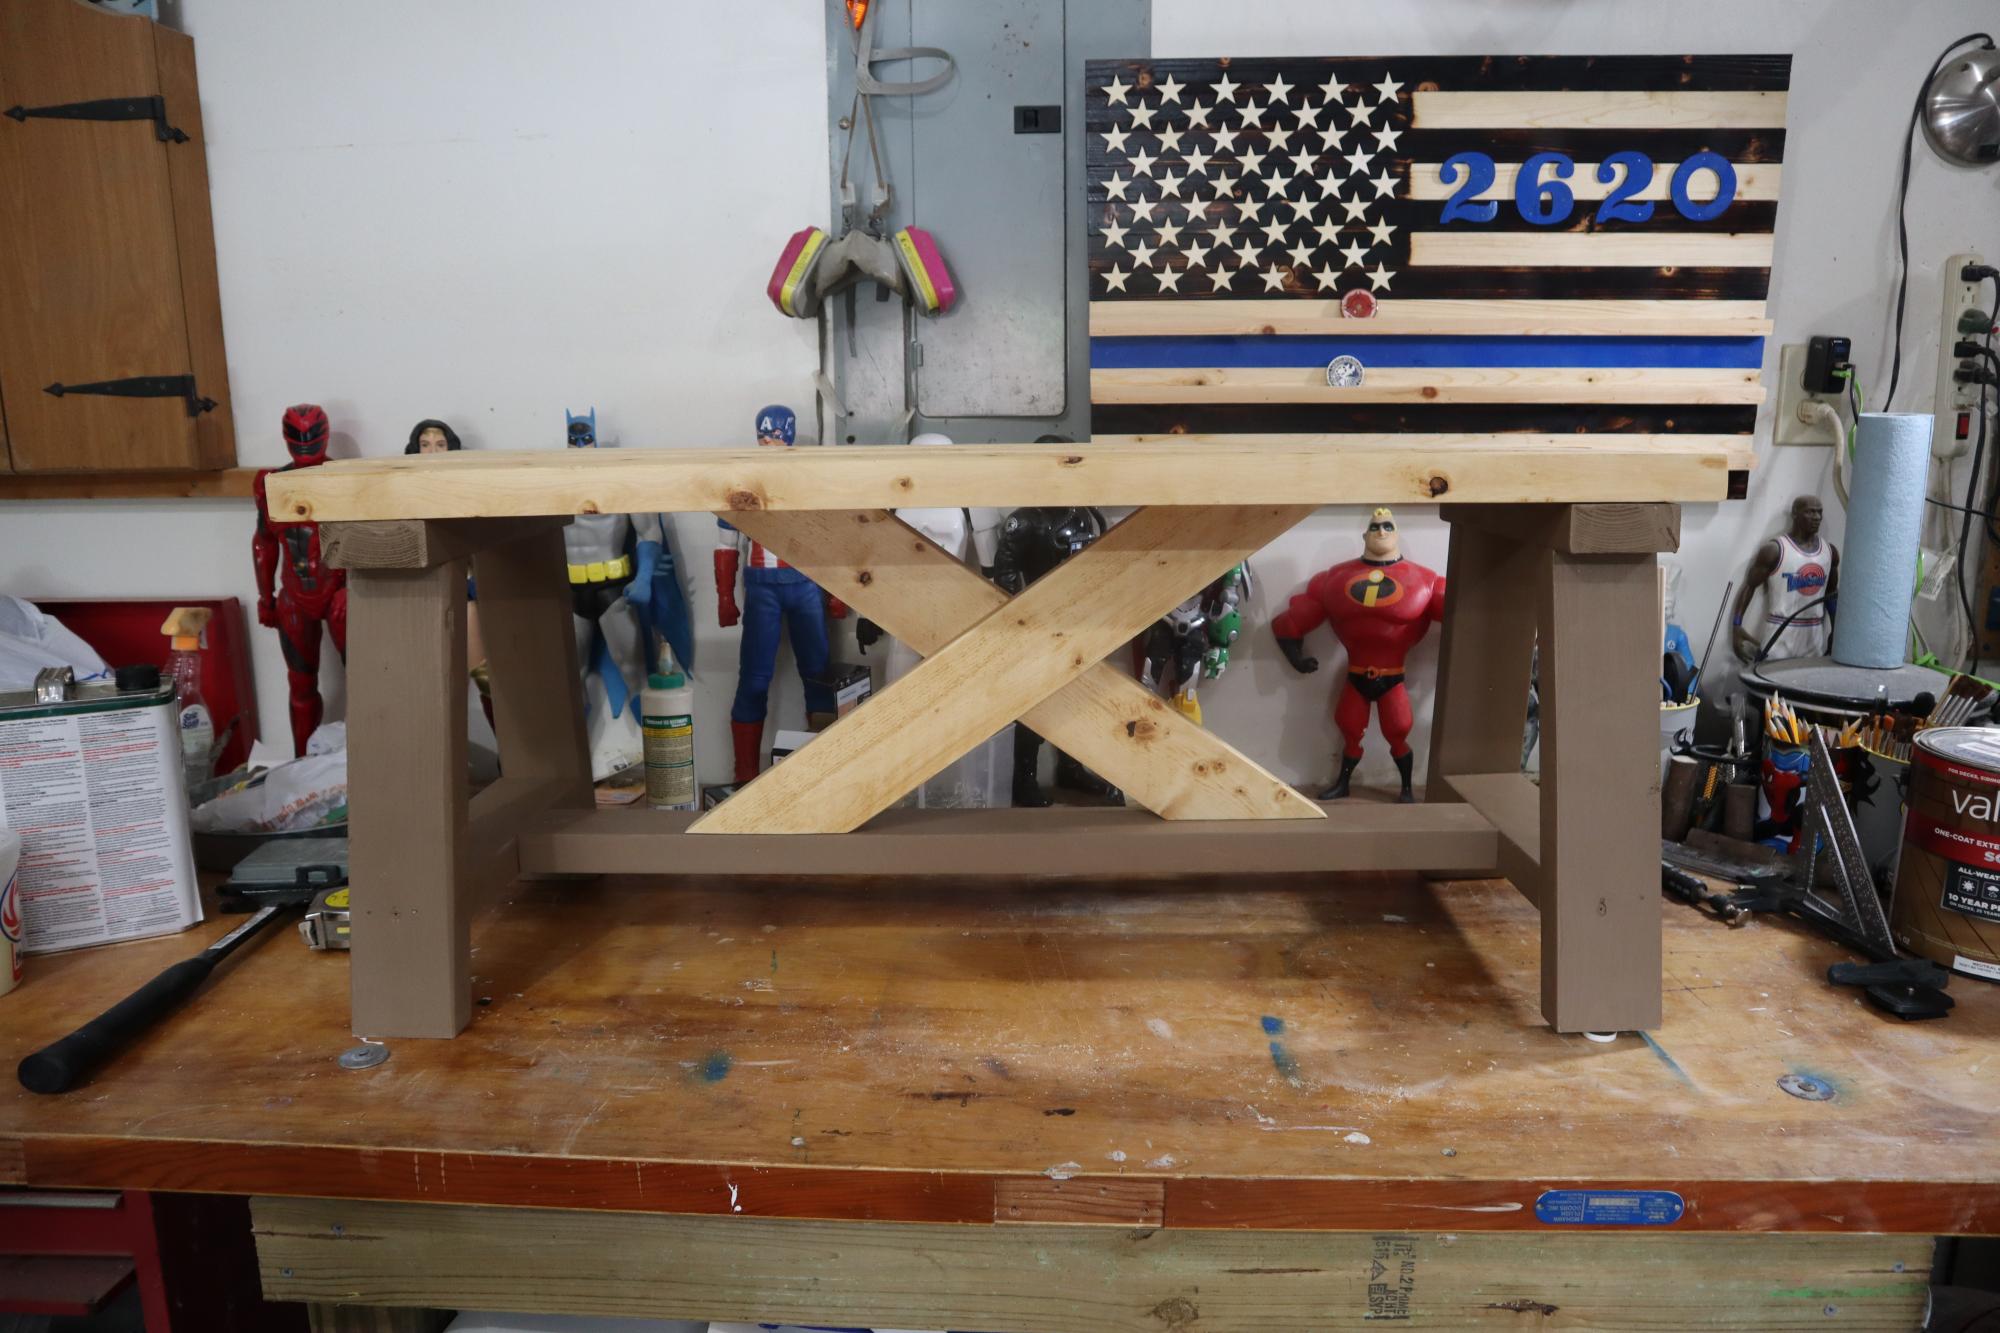
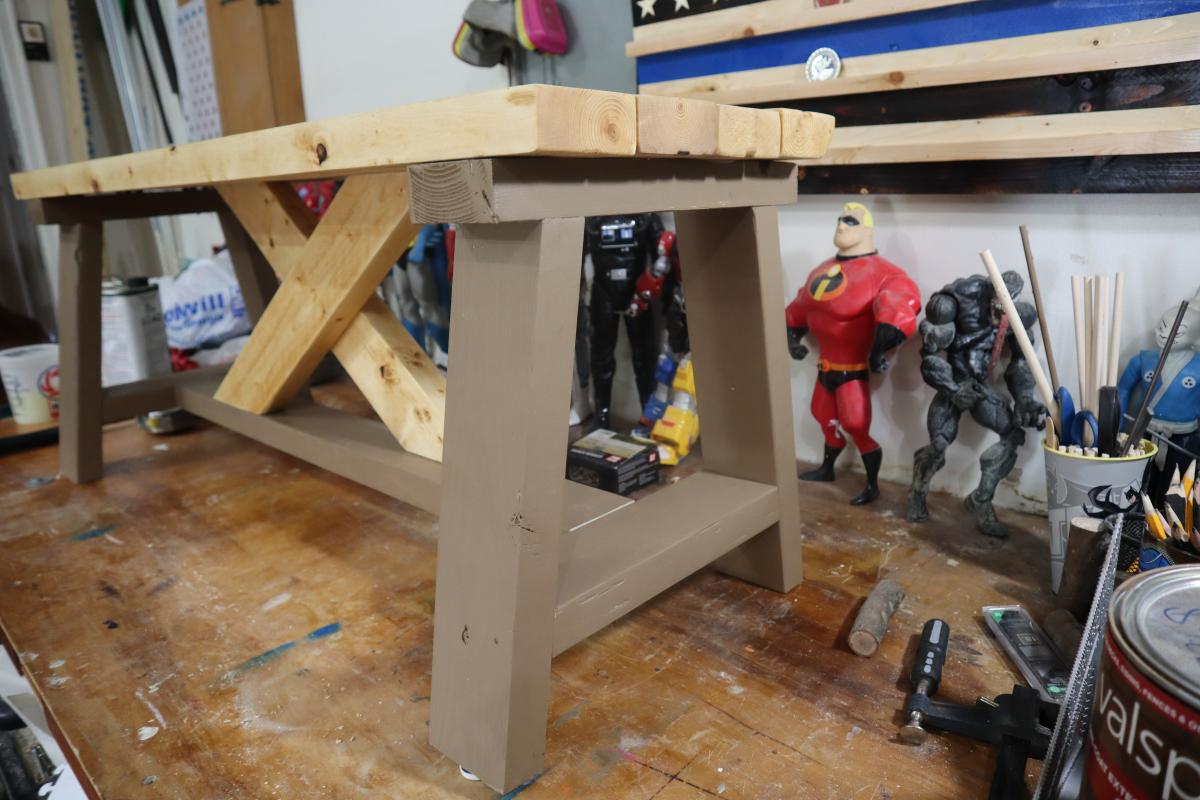
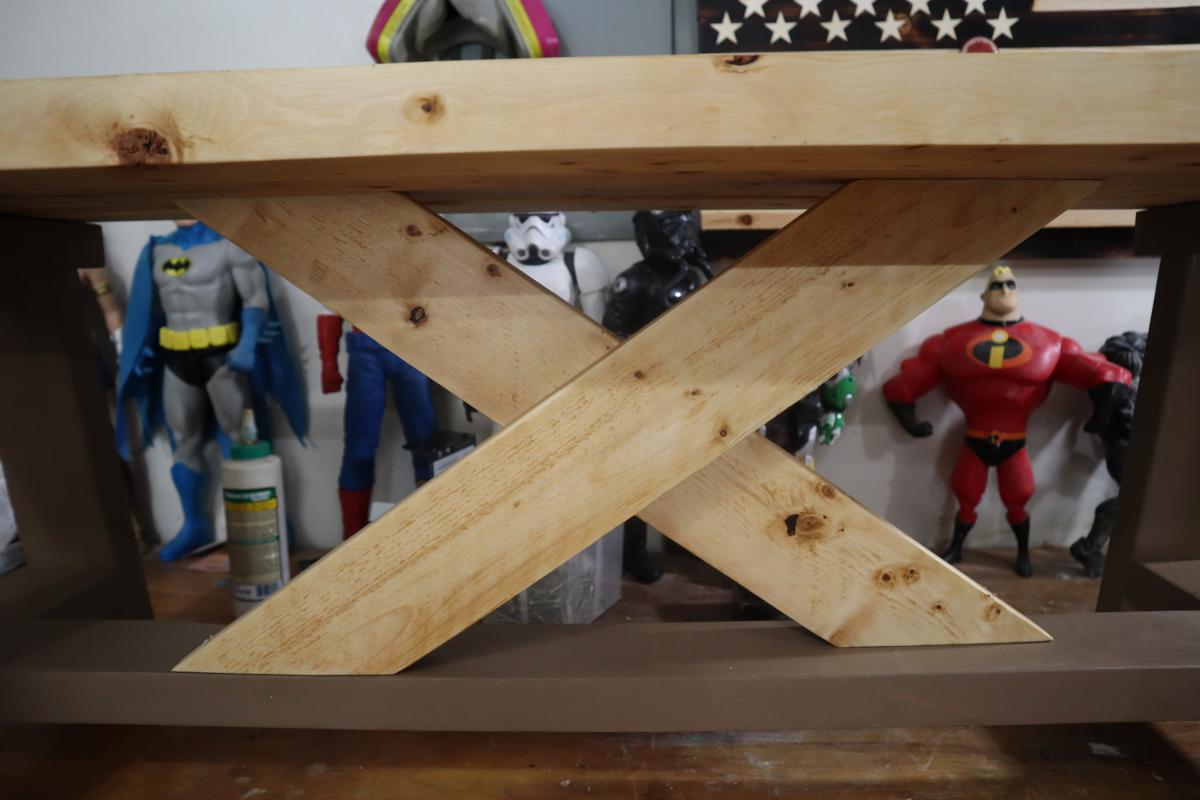
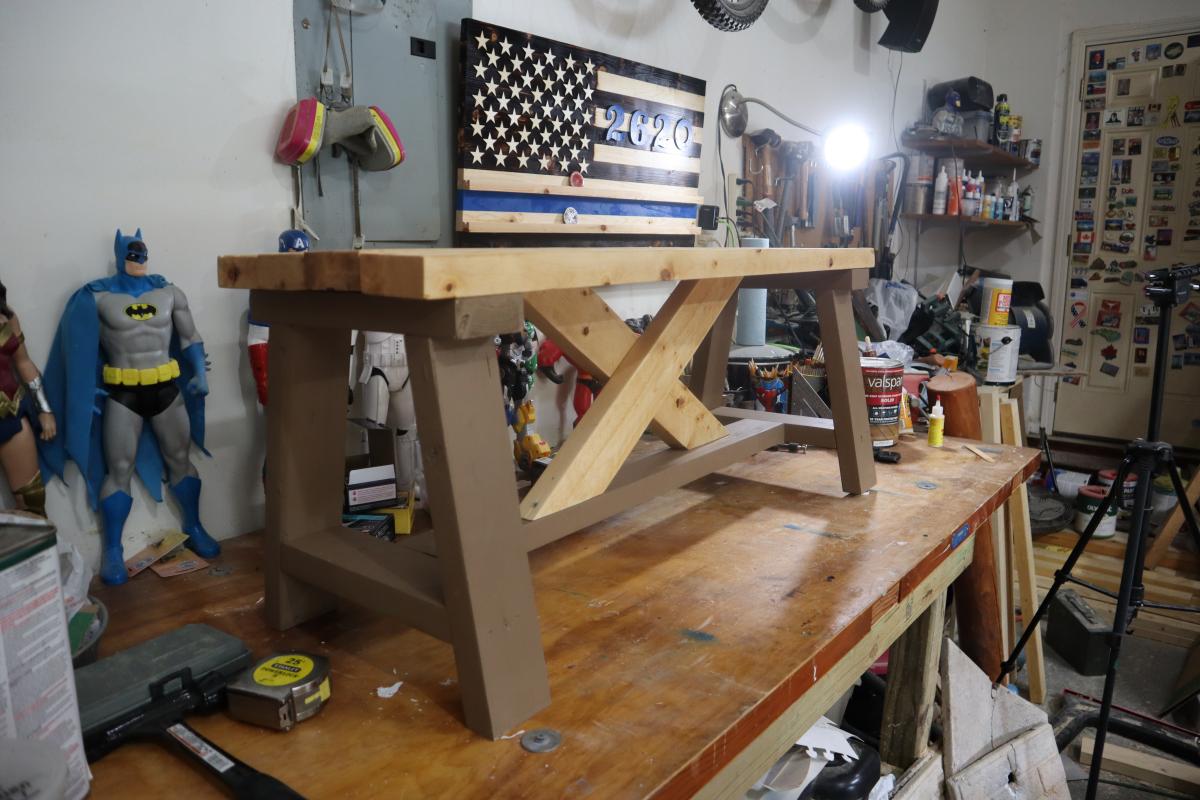
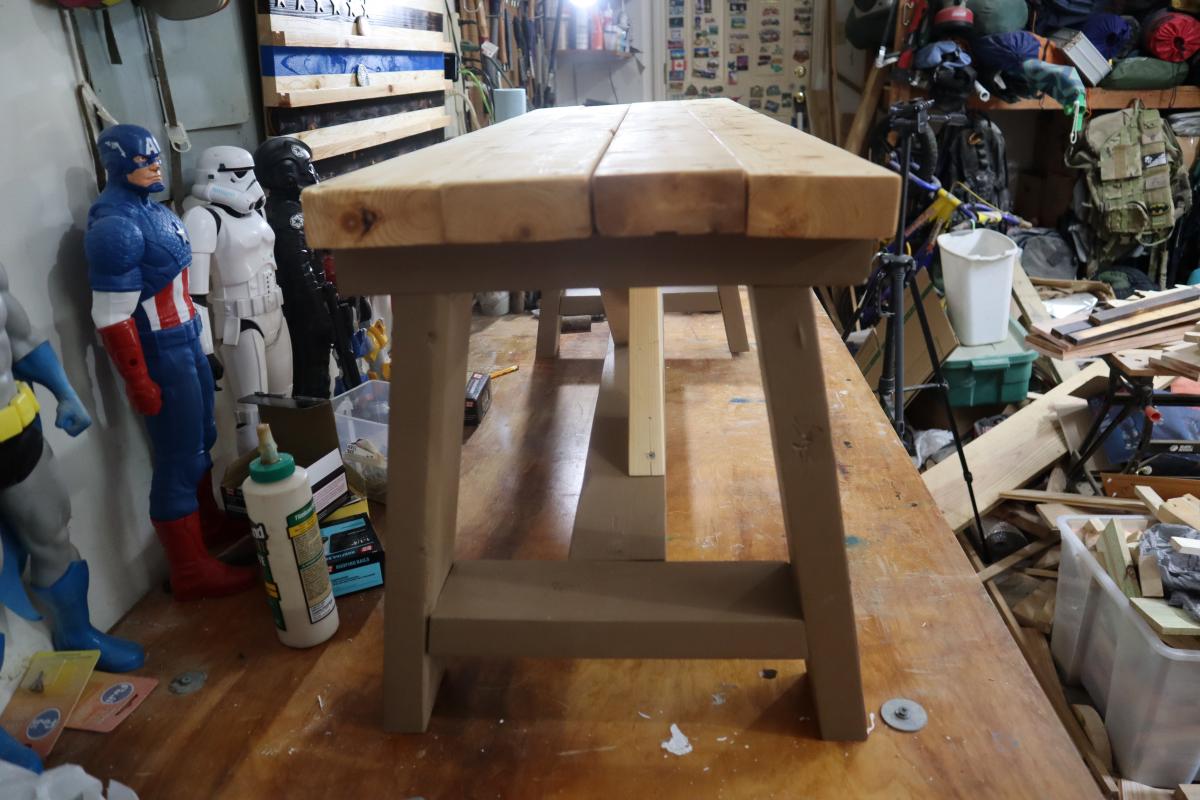
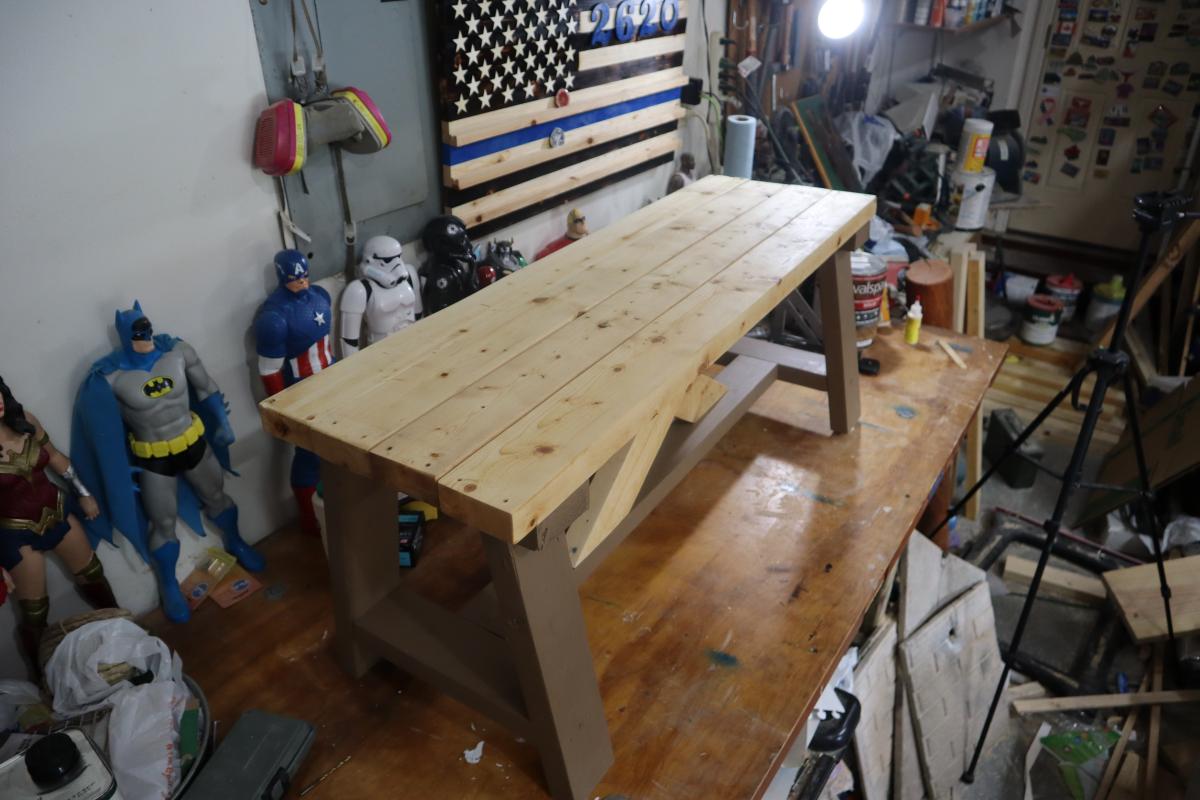
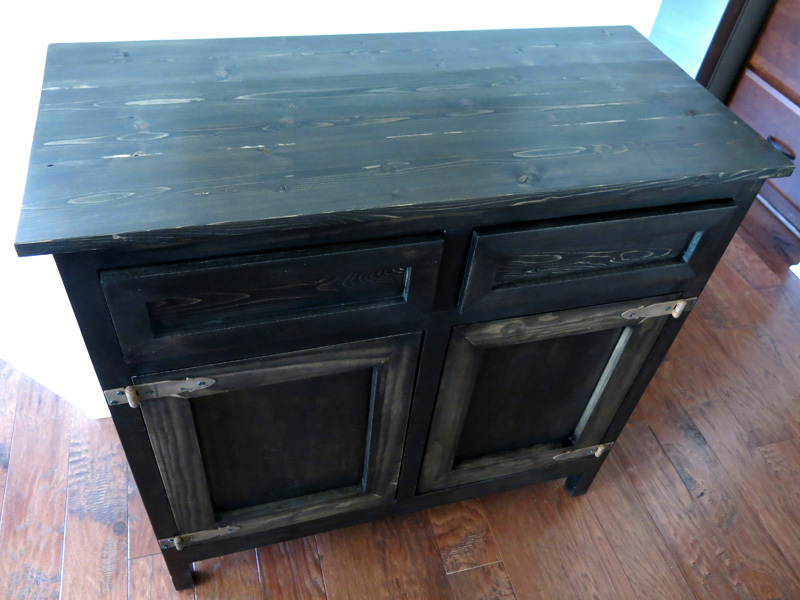
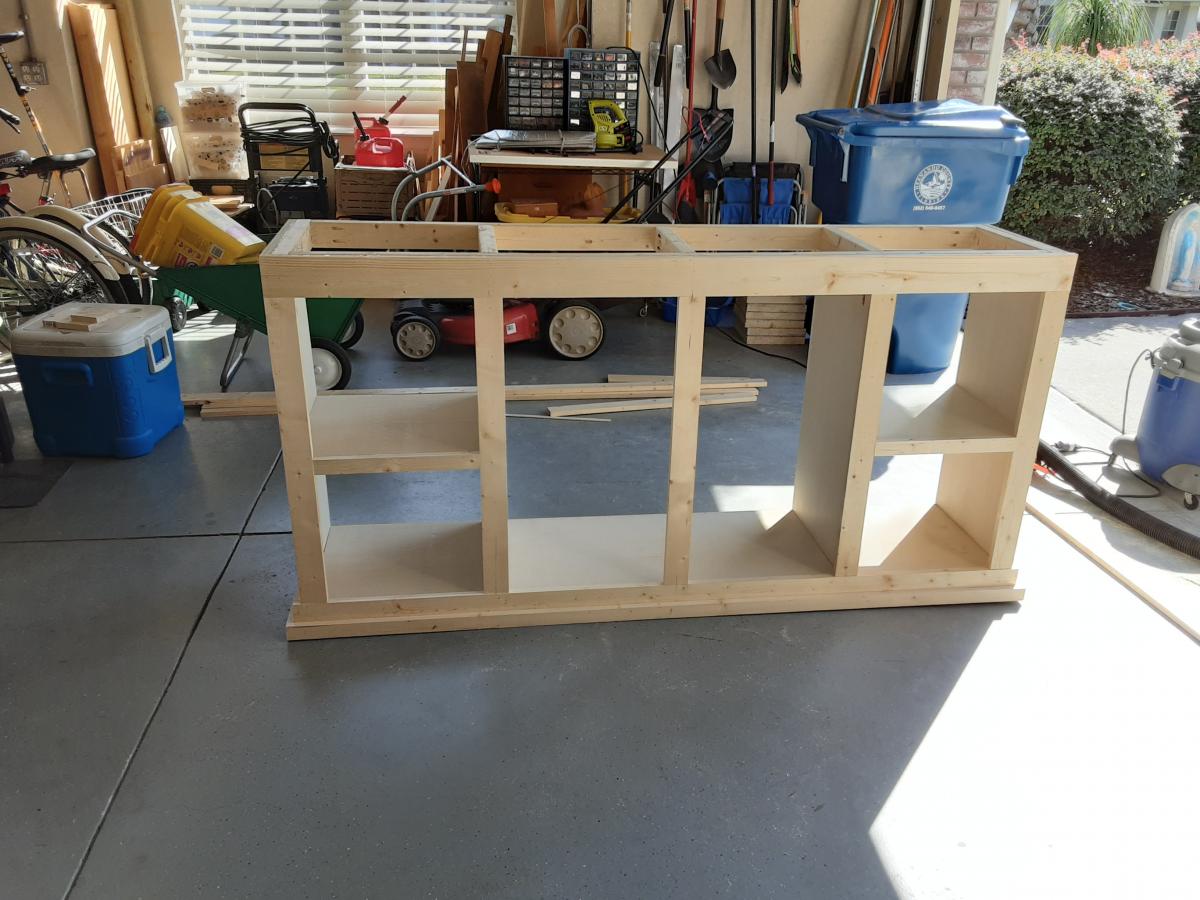
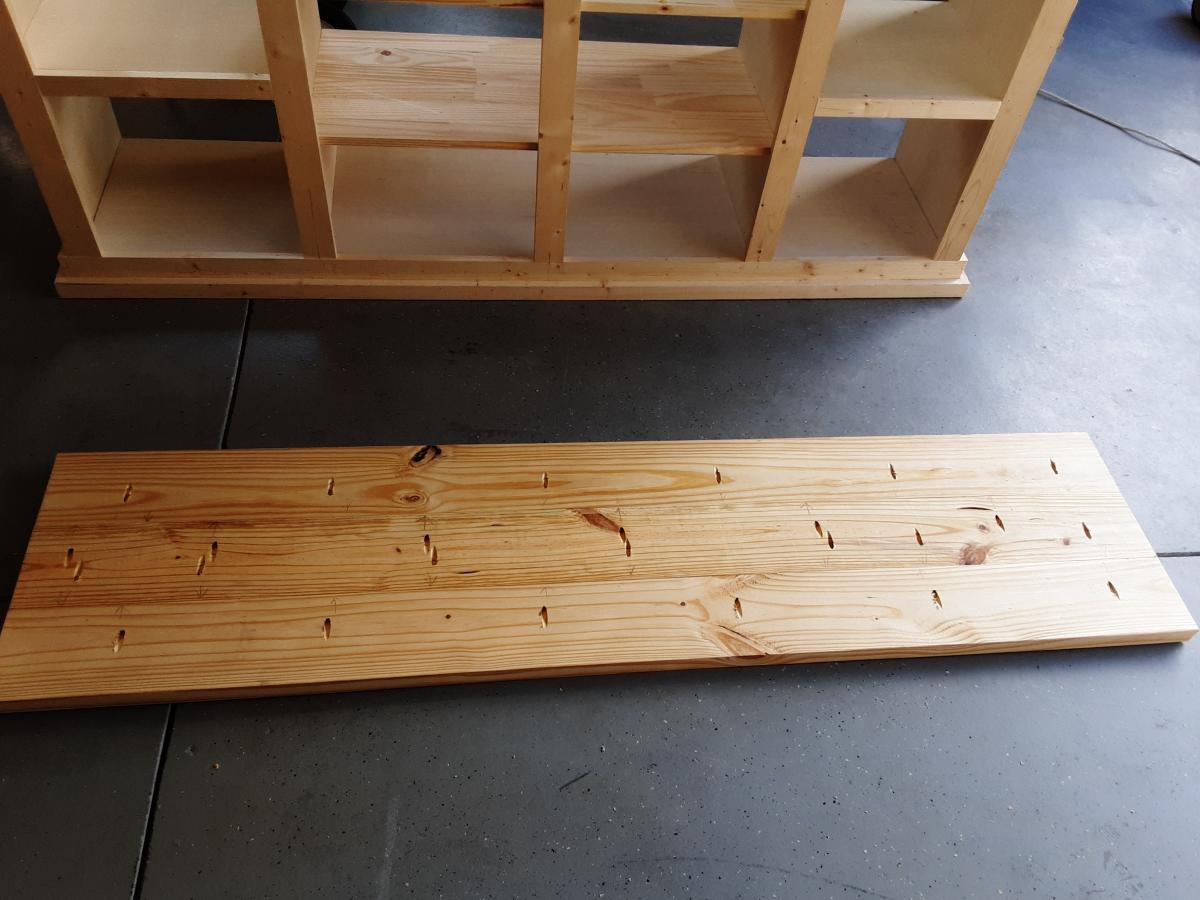
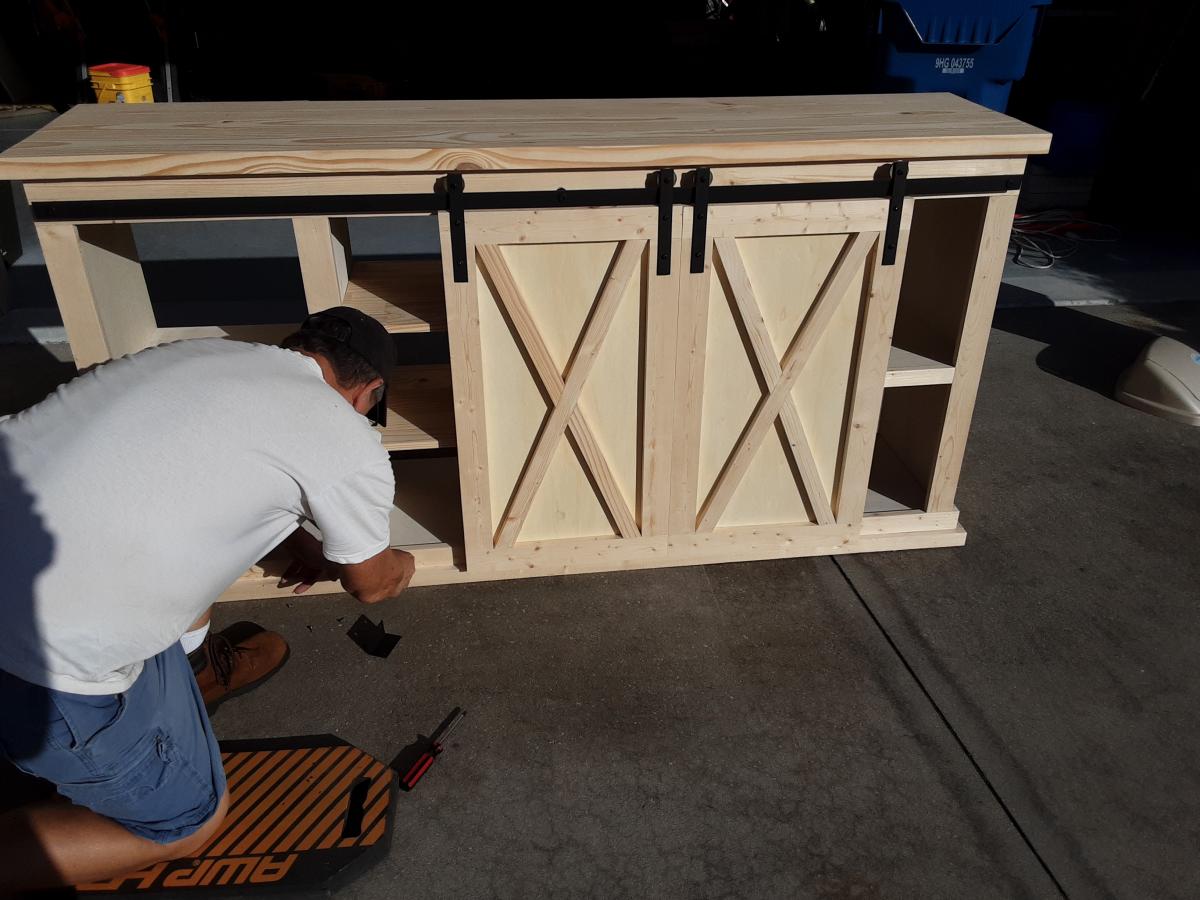
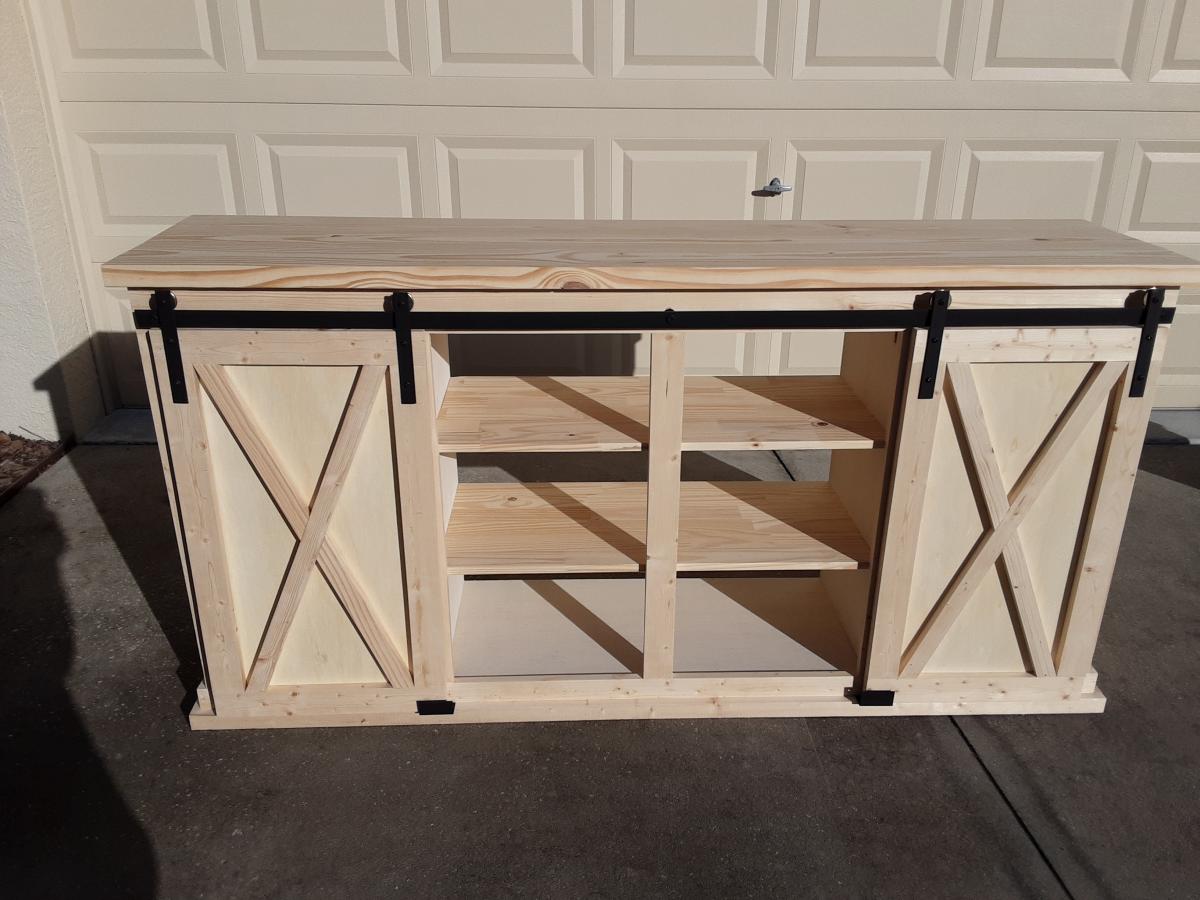
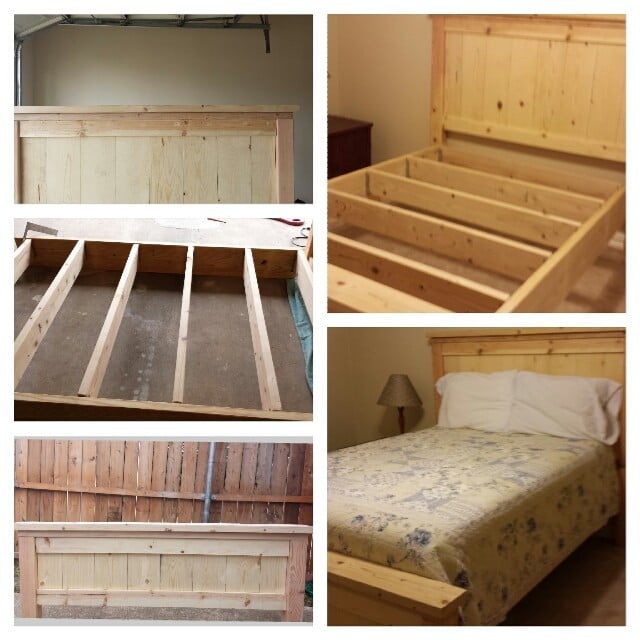
Expanded the 6 cube shelf to 10 cubes, beefed up the feet a little and fancied up the top to more closely match the picture in the plan page. Just joined a couple 1x8's and cut to length for the top.

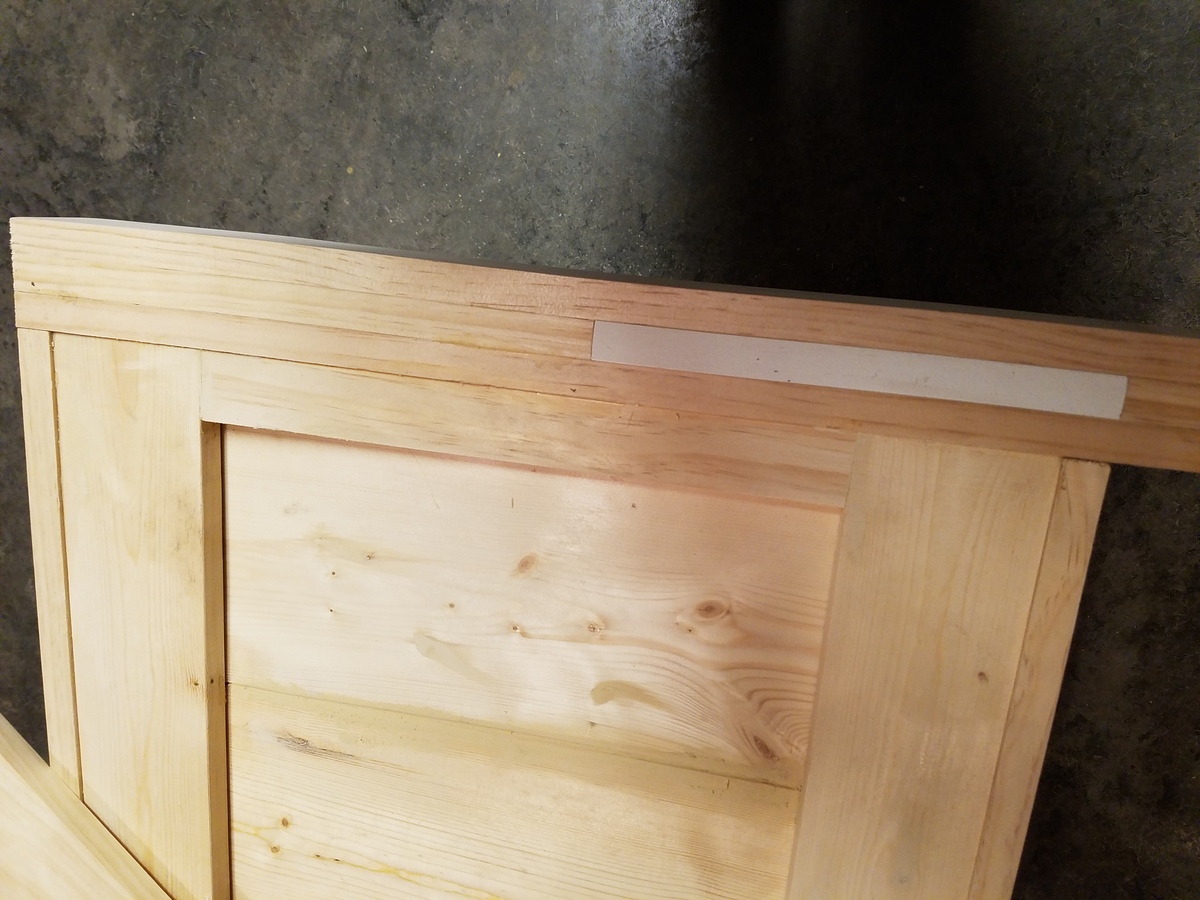
Used the Kreg Jig to make the shelf box and face frames - biscuit joiner for top.

Built from Plan(s)
Estimated Cost
150? had some leftover material and spent a little extra on finishes.
Estimated Time Investment
Weekend Project (10-20 Hours)
Finish Used
primer/spray paint
Recommended Skill Level
Beginner

Comments

rwkaupas

Wed, 11/26/2014 - 05:32

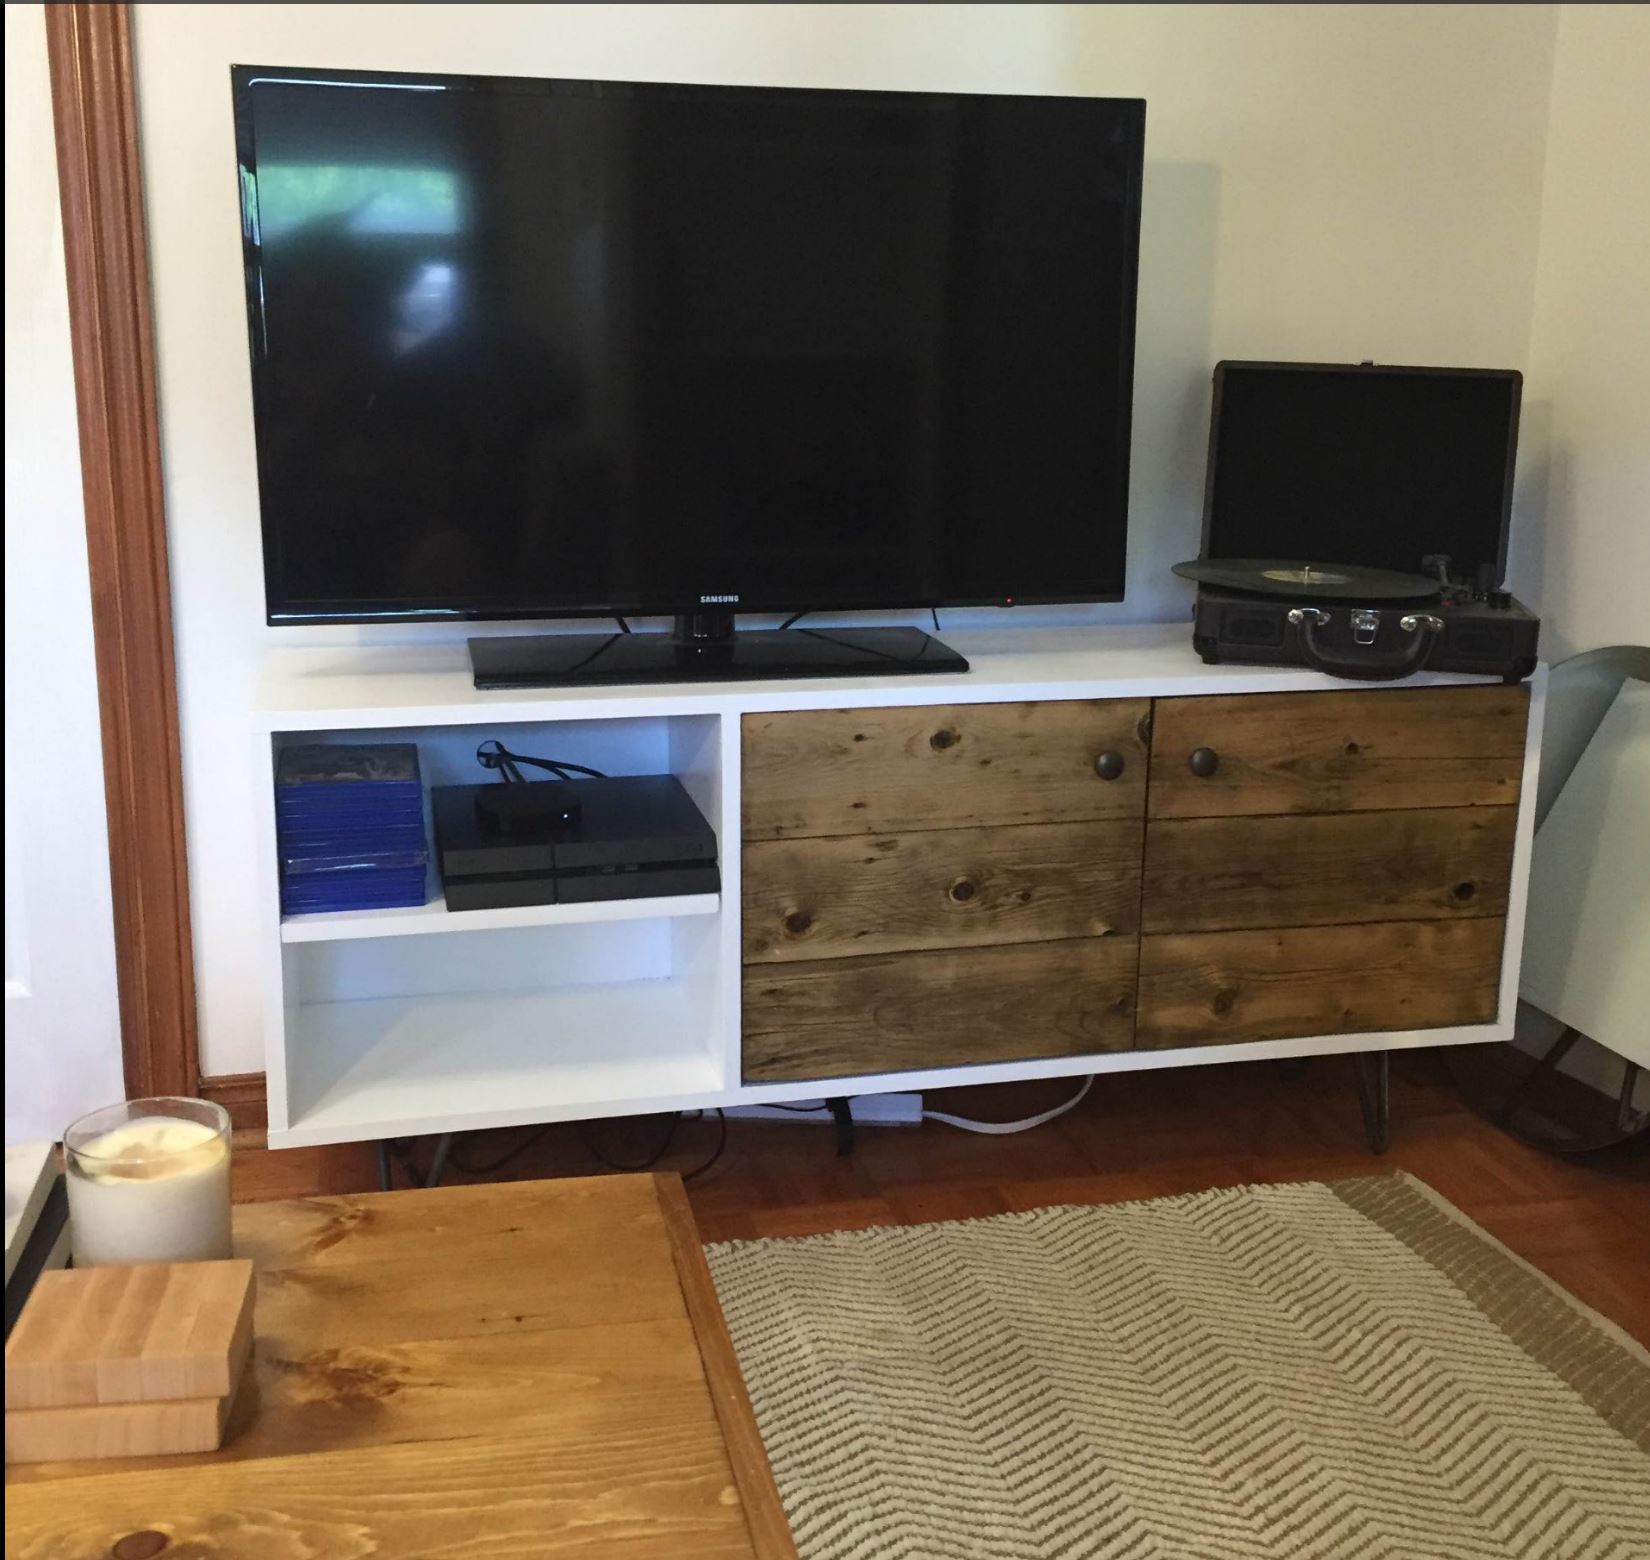
Hi John- this is exactly what I'm looking for- did you by any chance save your modification measurements and cut list?  Also- I'm considering putting a 50 inch tv on the unit- would you recommend additional support?  Thanks for any help.


Cedar Wood Fired Hot Tub

Submitted by Anonymous (not verified) on Fri, 06/17/2016 - 16:31

We are developing a completely off-grid property and before starting on construction of the house, we decided to start with a smaller project to get our feet wet (no pun intended!). We also wanted a place to soak our sore muscles while we build a house since we are restricted to taking 60-second hot showers, and so we came up with the idea of a wood-fired cedar hot tub.

Buying a cedar hot tub retail can cost anywhere from $3,000 to $7,000, but we were curious to see what we could build our own for and it turns out, we spent $850. Since there were no existing plans on the internet that we cound find for such a project, we decided to document the entire process and make our own! We struggled a bit with the build, but on our blog we documented what worked to save other people time who want to build something similar. In our post here, you will find a 9-part video series on how we put the hot tub together. Enjoy!

Estimated Cost
$850
Estimated Time Investment
Week Long Project (20 Hours or More)
Finish Used
No finish needed on a cedar hot tub.
Recommended Skill Level
Advanced

Comments

Headboard out of a door

I made this headboard last year. I got tired of my 5 year old shutting the door on my 2 year old, it was a large heavy old wooden door, so I took it off the hinges and had it sitting there staring at me forever. So I decided to make a headboard out of it. It was simple, just using the basics of the farmhouse bed around it. I love it :D

Estimated Time Investment
Day Project (6-9 Hours)
Finish Used
A can of mistinted semigloss paint from walmart
Recommended Skill Level
Beginner

Entry Way Cabinet

Submitted by AndyH on Thu, 03/20/2014 - 12:15

Entry Way Table. Although not made from one of your plans I wanted to share it as is the biggest thing I have made so far from my own design.

Estimated Cost
$210
Estimated Time Investment
Weekend Project (10-20 Hours)
Finish Used
Minwax Ebony (2 coats) and Minwax Poly Satin Finish (2 coats).
Recommended Skill Level
Intermediate

Long Modern Media Console or Entertainment Center

Submitted by Anonymous (not verified) on Tue, 06/21/2016 - 19:55

I essentially used the same materials as posted on Ana's website, with the addition of modifiying the plans to fit to my needs. I used the same hinges, however got mine from home depot Canada for 3 bucks each! woot woot. The paint was a high gloss enamal with 4 coats on the top or so. The legs were bought from a local hair pin leg guy and the cabanit doors were something a lil more special. The doors were made from 3 really really really old fence boards, that were sanded down and stained with golden oak minwax then 2 layers of oil polyurathane. Since the boards were a little more fragine than i thought, i attached them together with an extremely thing pieace of birch plywood and screws on the back. I really loved this project and pleased that ana replicated it on her website. Thanks Ana!

Estimated Cost
$200, with $80 hairpin legs.
Estimated Time Investment
Weekend Project (10-20 Hours)
Finish Used
behr high gloss enamel paint, minwax golden oak, oil based poly
Recommended Skill Level
Advanced

Rustic x hall tree

Submitted by Anonymous (not verified) on Sun, 04/19/2020 - 19:57

My first wood working project. Made it a little taller and added a shelf.

Built from Plan(s)
Estimated Cost
$125
Estimated Time Investment
Weekend Project (10-20 Hours)
Finish Used
Paint and stain
Recommended Skill Level
Beginner

Hall Tree for Apartment!

Submitted by Anonymous (not verified) on Sun, 11/26/2023 - 12:26

My husband built this for my birthday. He adjusted the seat height so the storage bins would fit underneath. We also added the corbels under the shelf on top. I can't stop staring at it! Just love it! We had no place for coats etc by the front door of our apartment before!

Built from Plan(s)

The Carb Cupboard

Submitted by Booooozle on Tue, 06/05/2012 - 18:34

Anther creation of my own but this would easily be created from Ana's plans for this wall shelf. There isn’t much cupboard storage in our kitchen so when friends gave us a sideboard they didn’t have use for & it fit perfectly in one of our kitchen’s oddly spaced corners we were thrilled. It became our “Toasting Station” where the toaster & Panini grill are. I decided that we needed matching shelving to house our “Carbs” since it was much easier to make toast & sandwiches when the bread was right above the toasting implements.

Estimated Time Investment
Afternoon Project (3-6 Hours)
Finish Used
Valspar Flat Black Indorr/Outdoor Enamel
Recommended Skill Level
Beginner

Entrance Cabinet

Submitted by AndyH on Tue, 04/01/2014 - 19:55

First project from own design and wanted to share as pretty pleased with how it turned out. Sides are 4 by 2s with a routed 45 degree grove on each edge to give some detail. Wanted to make the drawers stand out so I added the edging detail.

Estimated Cost
$220
Estimated Time Investment
Week Long Project (20 Hours or More)
Finish Used
Minwax pre stain. Minwax Ebony - 2 coats. Minwax Poly Satin - 2 coats.
Recommended Skill Level
Intermediate

Susie's Big Girl Bed

After moving from Hawaii to Maryland, I was finally able to make good on my promise to make a new bed for Suzie. I made very few minor modifications to the plans as posted.

Built from Plan(s)
Estimated Cost
$300
Estimated Time Investment
Weekend Project (10-20 Hours)
Finish Used
We used simple white interior latex semi-gloss paint. Several coats.
Recommended Skill Level
Intermediate

picture ledge

Submitted by Jess1ka on Tue, 04/21/2020 - 07:44

A great way to display books in the kids playroom. So easy to make.

Built from Plan(s)
Estimated Time Investment
An Hour or Two (0-2 Hours)
Recommended Skill Level
Starter Project

Outdoor Sofa

Submitted by Anonymous (not verified) on Sun, 12/03/2023 - 08:46

I'm a 65 year-old woman and proud to say I built this all by myself with leftover lumber from our deck project. I'm almost finished with a second sofa and plan on building the section piece and a dining table and benches.

Keren Weaver

Built from Plan(s)
Seasonal And Holiday

Tryed Side Table

Submitted by pekuhlers on Fri, 06/08/2012 - 11:42

This was my first project using an Ana White plan. I thought the plans were easy to understand and follow which made the project go smooth. I am a fan of painted and distressed furniture so I went with that look for this project. After painting the tables I used a hand sander to scuff up the corners and then added "worm holes" using a hammer and nail.

Estimated Cost
$20
Estimated Time Investment
An Hour or Two (0-2 Hours)
Finish Used
Paint
Recommended Skill Level
Beginner

Farmhouse Pedestal Table Build

I used the plans from your site to build this table for a friend. I made a couple of little design changes just to make it look different. The plans were very easy to follow, and I had a lot of fun putting this together. I did have a small problem with the pine stock wanting to bow and twist, but that was taken care of with the planer and sander.

Built from Plan(s)
Finish Used
MinWax Dark Walnut and satin polyurethane
Recommended Skill Level
Intermediate

Loft bed

Submitted by Ball on Tue, 06/28/2016 - 08:26

The bed is a mixutre of the loft bed plan and the farmhouse loft bed plan with some modifications of my own thrown in.  I liked the headboard look of the farmhouse loft bed and incorporated it into the plan.  I also made the side rails out of 1x10's to make it more beefy looking and I think it works better.  The supports for the mattress are made out of 3/4" bookshelves, cut down to fit as it added more support than 1/2's.  The desk is based off the loft bed desk plan, but I made the top piece out of 3/4" MDF. I think it makes a nicer look.  I added 1x2's to the face of the bookcases and desk top to finish it off and make everything look more finished.

I also added a programmable, remote controlled, RBG LED lighting system under the bed.  My daughter can go from dance party to mood lighting depending on the situation.  This bed will deliver.

I also modeled everything in 3D CAD using Solid Edge.  This was a very helpful tool to get all the measurements correct as well as incorporating 3 different deisigns blended with my own.


Estimated Cost
$300
Estimated Time Investment
Week Long Project (20 Hours or More)
Finish Used
Sherwin Williams Pro-Classic acrylic latex enamel.
Recommended Skill Level
Intermediate

Farmhouse Barn Door Console

Submitted by calcowoods on Fri, 04/24/2020 - 08:11

Followed the overall plan to build the console for my daughter's birthday. Made several modifications including using (3) 2 X 6 inch pine boards attached using Kreg pocket hole screws for a seamless and sturdy top; substituted barn door hardware rollers with Barton Kramer 1-1/2 in. Patio Door Wheels providing a smooth glide and budget friendly alternative; added more partitions to accommodate extra shelving; and utilized u shaped brackets lined with felt to keep barn doors in line.

Used Kreg pocket holes to assemble the unit which gave us the ability to easily transport this rather heavy and
6-foot large console. My daughter was extremely pleased and actually many of her friends wanted to know where she bought the unit. This was truly a rewarding experience and confidence builder for me and my wife.

Built from Plan(s)
Estimated Cost
$100
Estimated Time Investment
Week Long Project (20 Hours or More)
Finish Used
Varathane Weathered Grey and Kona Wood Stain.
Entire cabinet finished using MinWax Paste Finishing Wax Natural applied with a rag and buffed for a durable finish.
Recommended Skill Level
Intermediate

Backyard Retreat Daybed

Submitted by Anonymous (not verified) on Fri, 12/08/2023 - 08:43

We fell in love with this daybed plan right out of the gate but had to modify the plan somewhat due to the rain and crazy weather we are experiencing during the warmer seasons. Rather than use a twin mattress we purchased the largest size outdoor cushion we could. We covered it in Dacron wrap and used an olefin material for the huge cover which maxed out at 54x96. It was one heck of a big zipper to sew! The material is mould and mildew resistant and has proven to be really resilient and I vacuum to keep it clean. It feels luxurious to slide into. We added a polycarbonate roof with a 6% slant, that projects 8-10 inches from the front and back, for rain and snow and because it sits under a crabapple tree which provides shade but will drop small projectiles on your head. We wanted to be able to manage the snow efficiently if we received a heavy fall. We hung the curtains using a chain link fence rail and are able to spend afternoons resting catching the breeze and reading so comfortably. It is situated in a southwest exposure so they are necessary to provide a little protection. The curtains are closed and secured with clamps for heavy rainfalls and so far so good! Everything has stayed dry despite high winds.
 

As you can see from the little ramp, we have four buddies that love the bed as much as we do! It is our little retreat. We love our magic space and the relaxation we experience the minute we slide in. Thanks for such great plans. It was so straightforward that modifications were simple and easy!

Built from Plan(s)
Seasonal And Holiday

Seesaw

This was a pretty quick and easy project. My third one from this site, as well as being my third one ever. We rented a mitre saw to cut the wood (and cut wood for a few more projects we had on the go at the same time), and then it was just a matter of staining it and putting it together. The staining and waiting for it to dry actually took a couple of weeks, mostly because we don't have a lot of room to do that, so couldn't do it all at once, and it wouldn't stop raining. Once we actually had that done, drilling and assembling only took 2-3 hours at most. (Maybe even less, but hard to judge as I had two children helping the whole time.)

I've put a video of it in use on my blog as well. :)

Built from Plan(s)
Estimated Cost
$25
Estimated Time Investment
Afternoon Project (3-6 Hours)
Finish Used
Some of the wood was finished with Behr natural cedar that I had a sample can of, but I ran out and decided I didn't like how orange it ended up being. I bought a can of CIL walnut semi-transparent stain that was on sale for the rest, as well as putting it over the Behr on the ones I had already done.
Recommended Skill Level
Beginner

Full size farmhouse bed

Submitted by sbethTX on Sat, 04/05/2014 - 19:09

Day one...Two of us making cuts and starting headboard and footboard.

Day two...Working solo, had to get creative in order to add posts and 24 and 26 to top of headboard. Sanding and staining complete.

Day three...Two of us again. Built frame and added slats using decking brackets rather than screws for ease in disassembly. Attached headboard and rails with bolts.

Only issue not specified in plans was how to attach frame to footboard. But we made it work.

Thanks, Ana!!

Estimated Time Investment
Weekend Project (10-20 Hours)
Finish Used
Clear polyurethane
Recommended Skill Level
Intermediate
Back